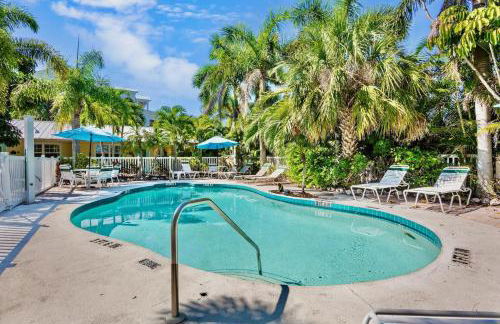
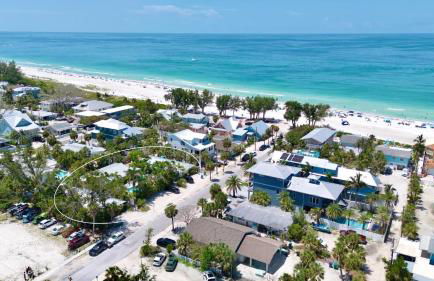
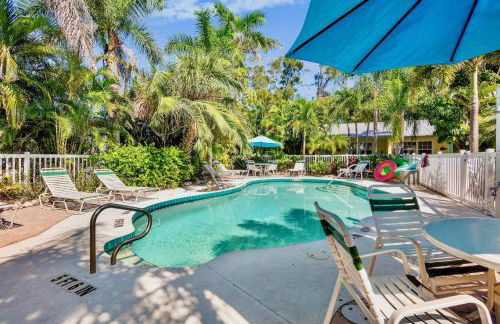
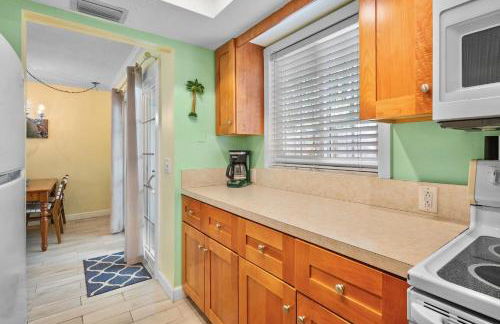
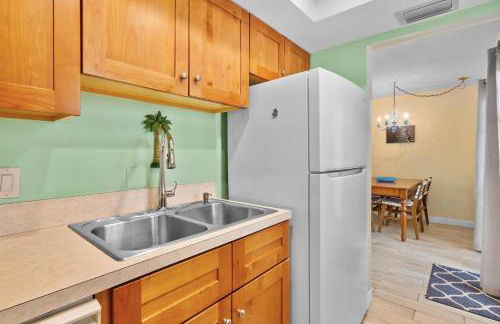
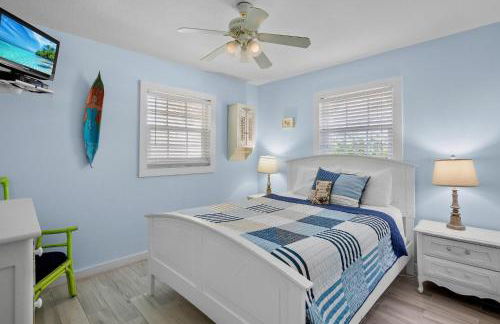
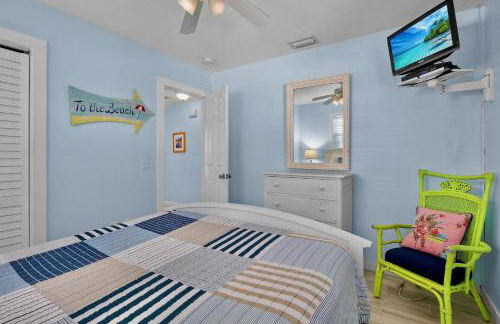
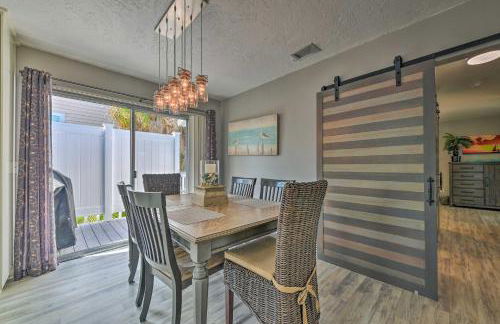
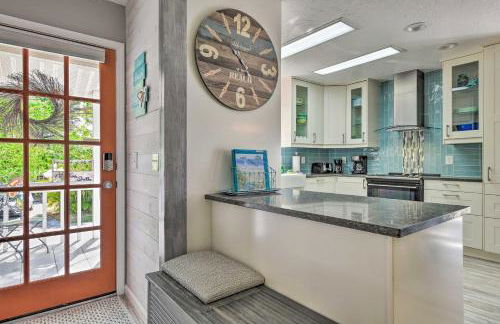
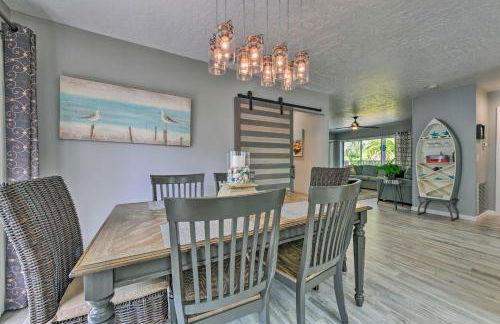
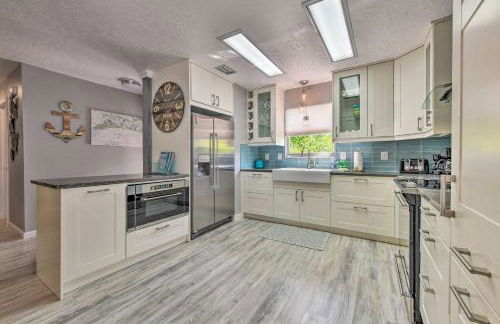
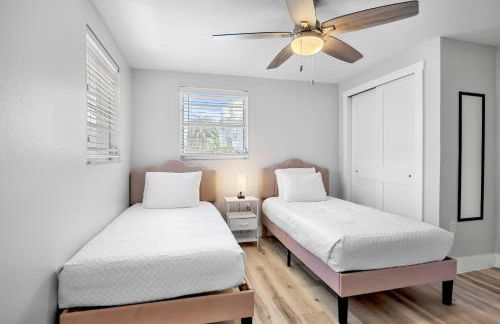
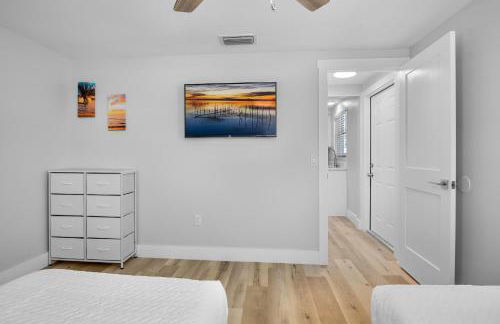
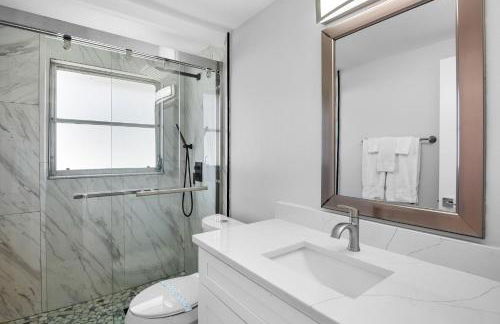
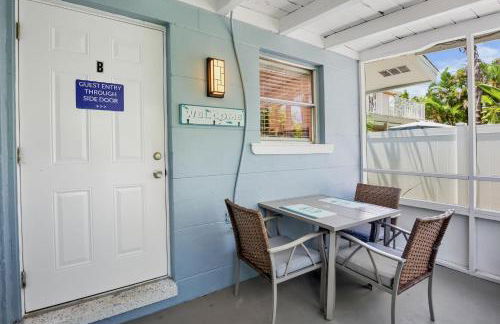
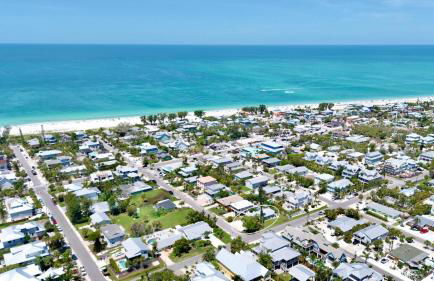
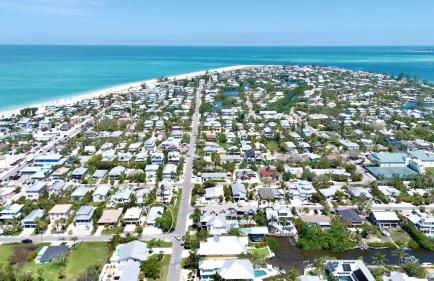
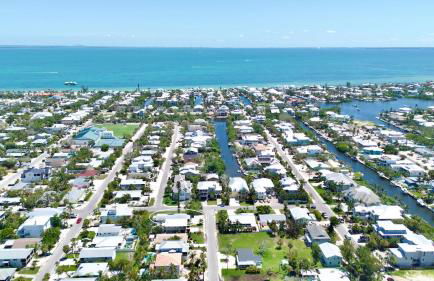
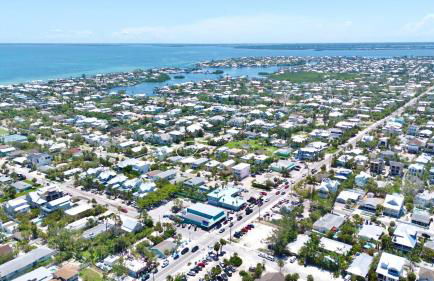
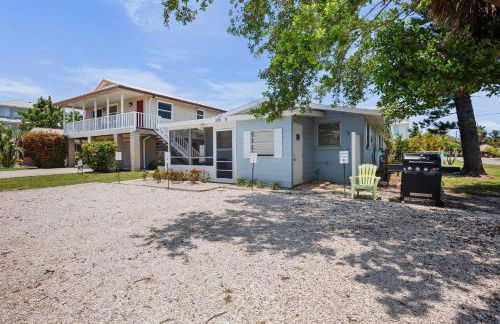
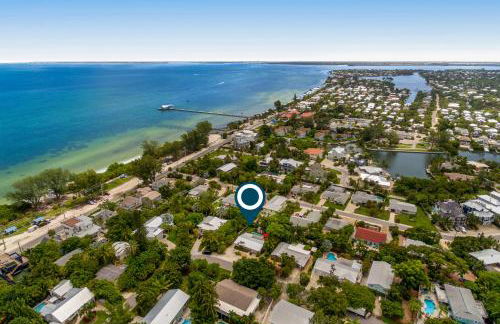
318 Apartamentos en Anna Maria
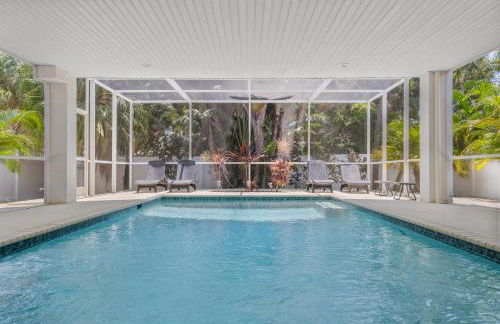

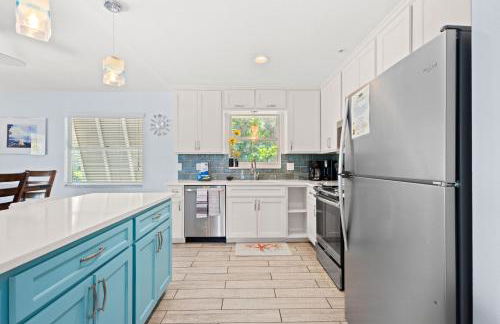
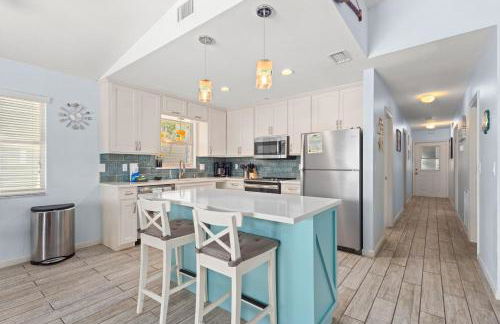
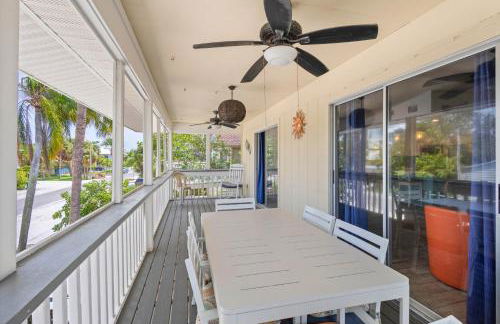
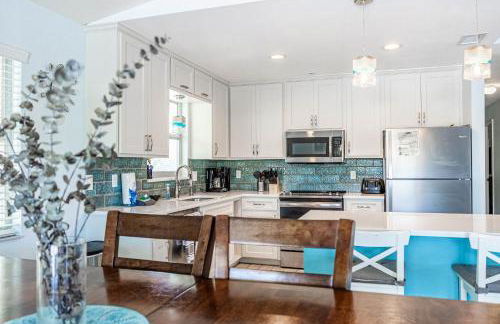


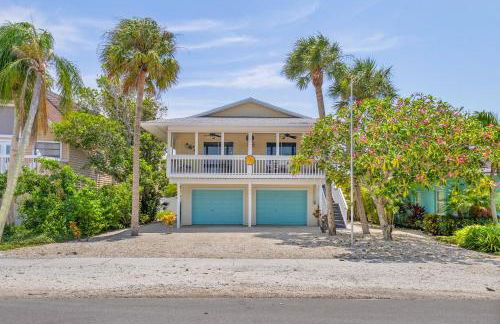
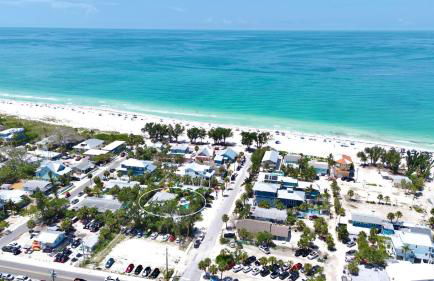
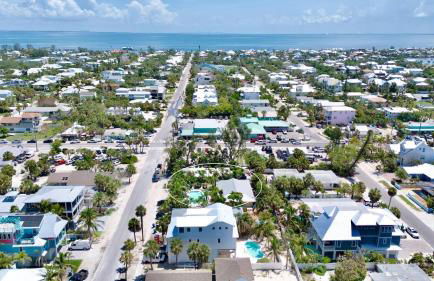
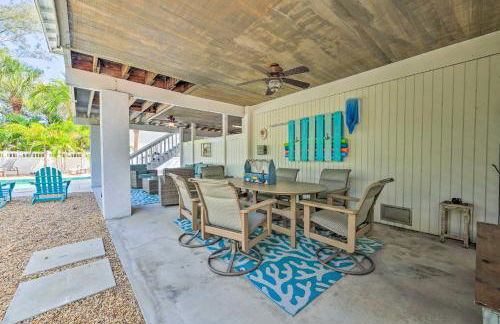
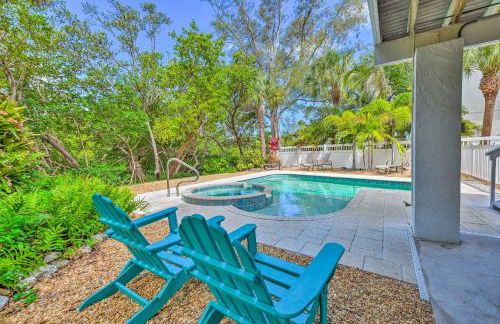
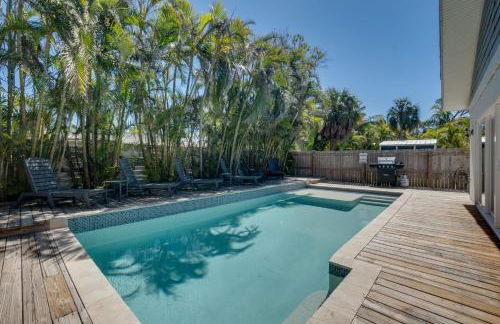
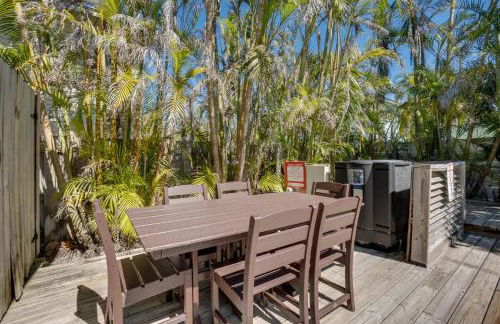
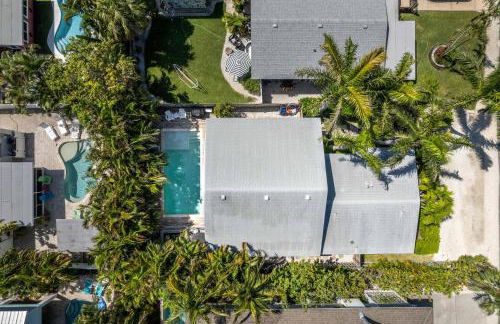
AMI 1 Block 2 Beach, Big Heated Saltwater Pool
Anna Maria
- 177 M2
- 4 habitaciones
- 8 personas
- Aire acondicionado
- Calefacción
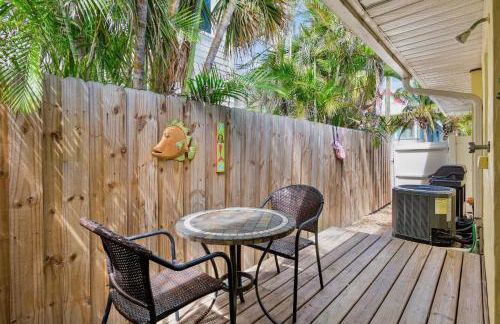
- Terraza
- Piscina
- Parking
- Barbacoa
2 reseñas


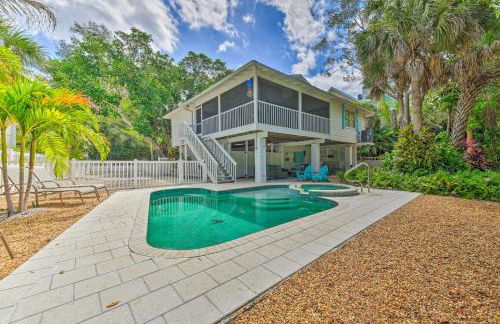

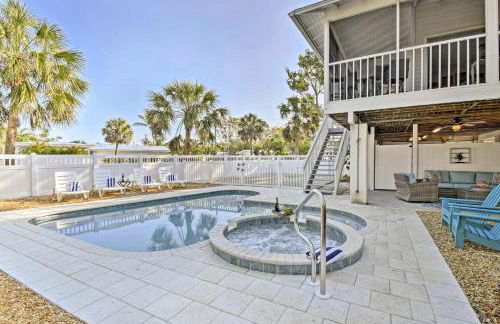
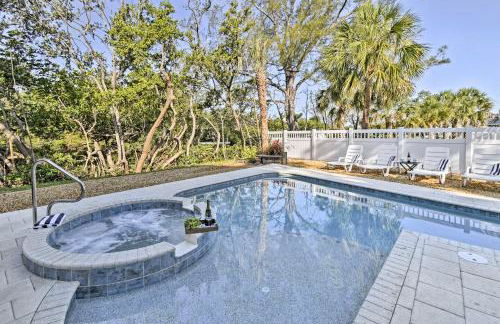
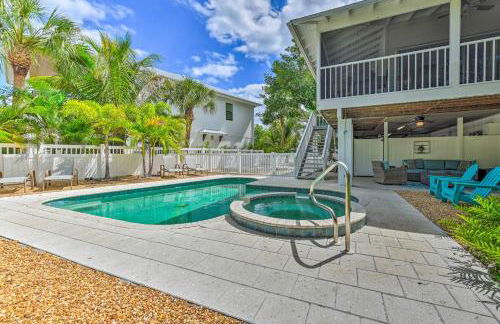
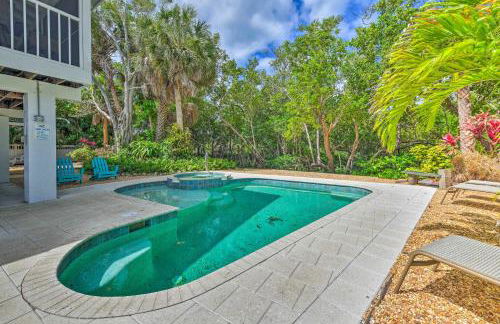
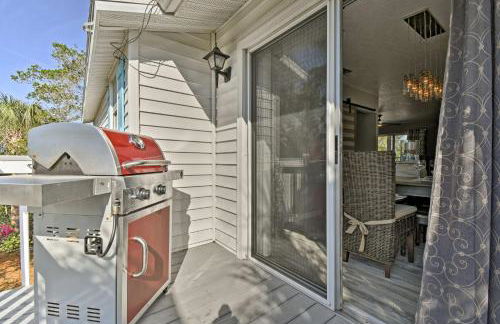


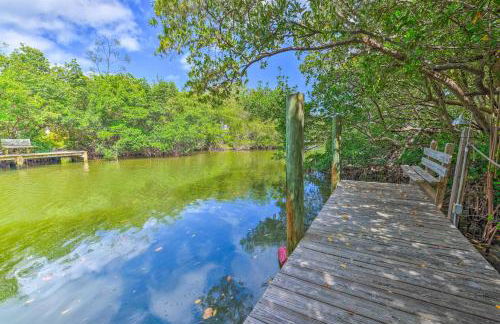
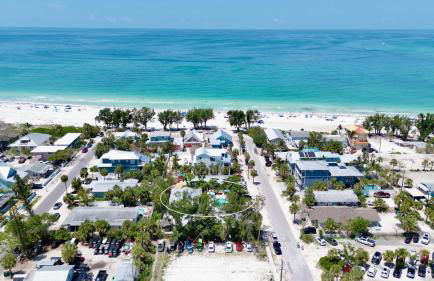
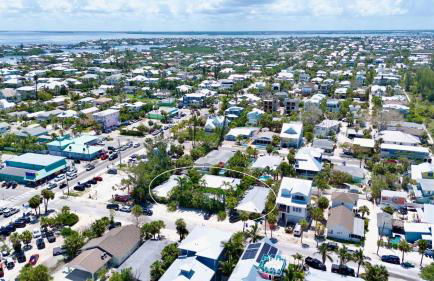
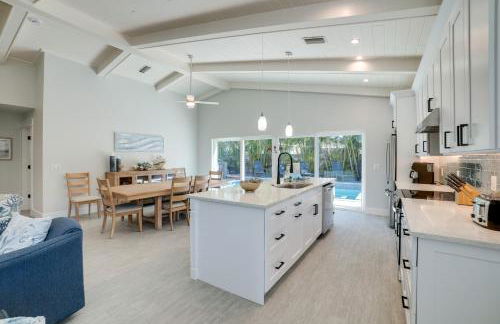
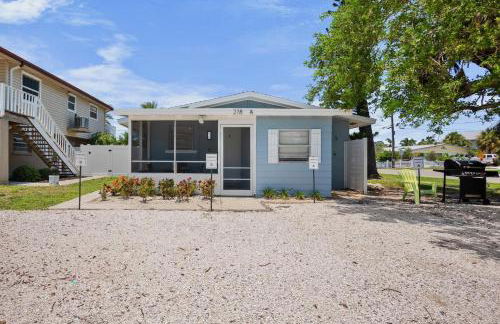
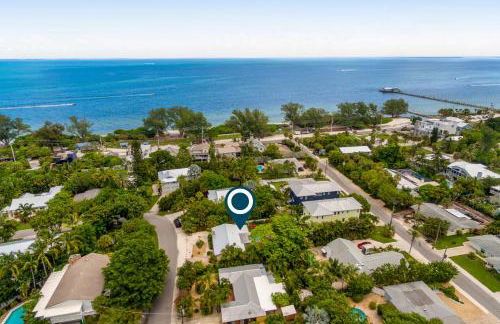
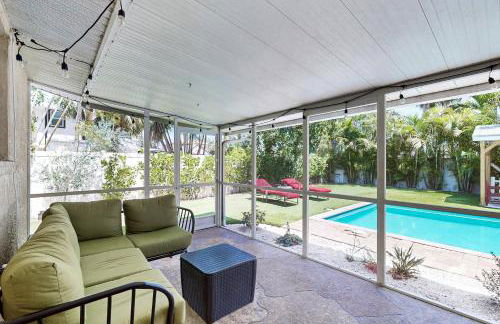
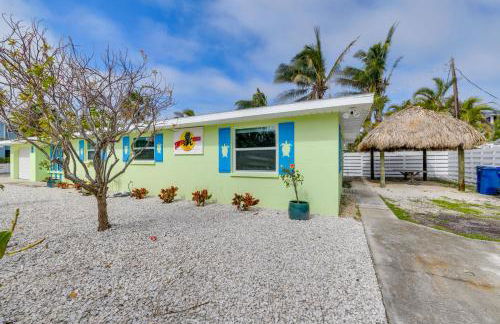
Canal-front Gem with Pool and Hot Tub in Anna Maria
Anna Maria
- 119 M2
- 2 habitaciones
- 6 personas
- Calefacción
- Piscina
- Parking
9 reseñas
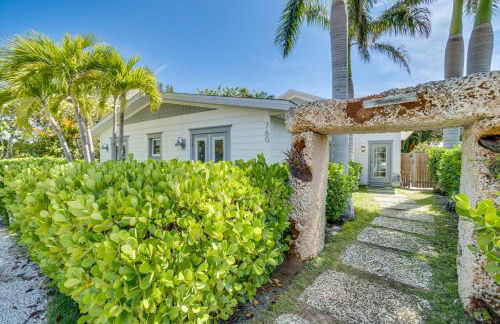
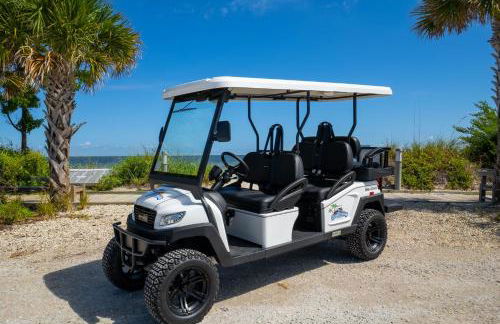


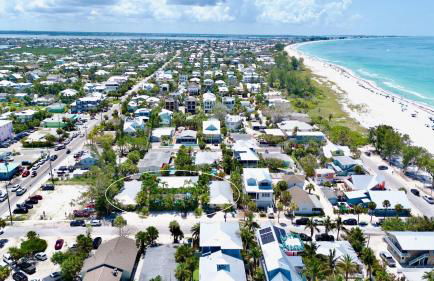
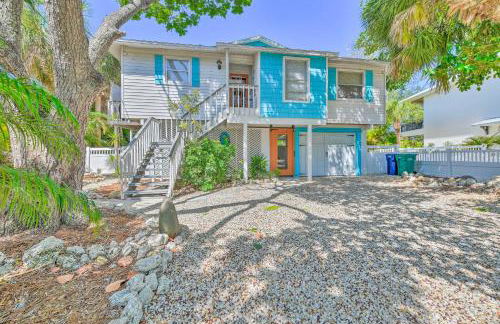
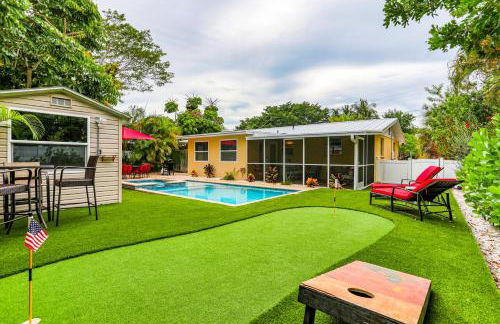
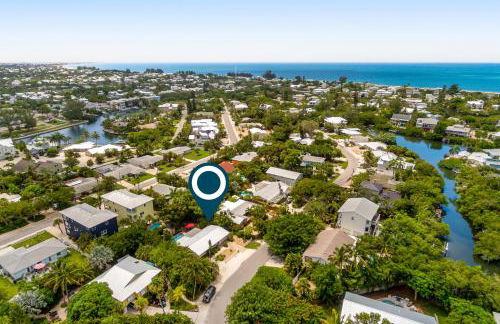
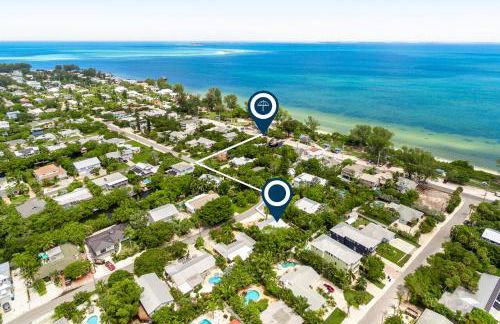
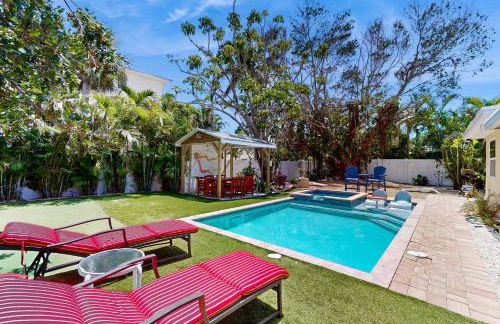
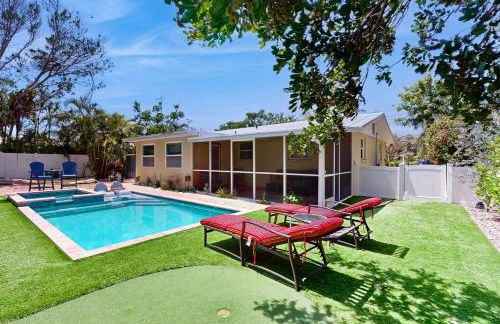
Golf Cart included! Short walk to the Beach on the Peaceful North End
Anna Maria
- 151 M2
- 4 habitaciones
- 8 personas
- Aire acondicionado
- Calefacción
- Terraza
- Piscina
2 reseñas


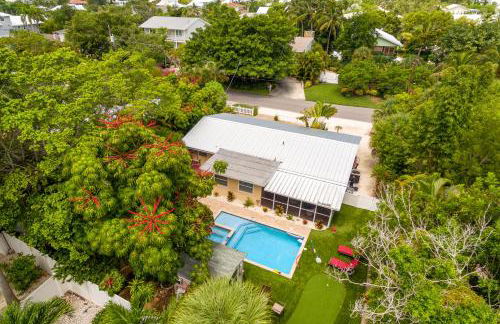
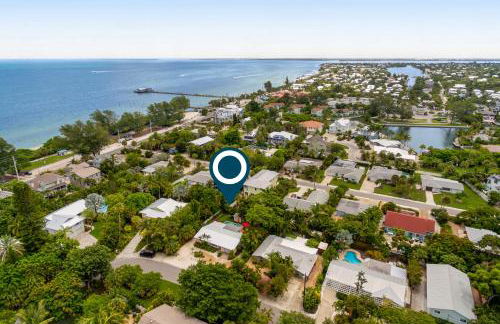
Sea's The Day
Anna Maria
- 75 M2
- 2 habitaciones
- 6 personas
- Aire acondicionado
- Calefacción
- Piscina
- Jardín
- Barbacoa
16 reseñas


Mermaid Manor
Anna Maria
- 315 M2
- 4 habitaciones
- 8 personas
- Aire acondicionado
- Calefacción
- Piscina
- Jardín
2 reseñas


Sandy's Getaway
Anna Maria
- 111 M2
- 3 habitaciones
- 8 personas
- Aire acondicionado
- Calefacción
- Jardín
- Barbacoa
14 reseñas


Sundance Cottage
Anna Maria
- 139 M2
- 3 habitaciones
- 6 personas
- Aire acondicionado
- Calefacción
- Piscina
- Jardín
- Barbacoa
7 reseñas


Getaway on Gladiolus
Anna Maria
- 111 M2
- 2 habitaciones
- 6 personas
- Aire acondicionado
- Calefacción
- Piscina
- Jardín
- Barbacoa
8 reseñas


Isla Living, 3 Bed, Canal, Pool
Anna Maria
- 120 M2
- 3 habitaciones
- 6 personas
- Aire acondicionado
- Terraza
- Piscina
- Parking
- Jardín
4 reseñas


Beach to Bay Getaway
Anna Maria
- 4 habitaciones
- 8 personas
- Aire acondicionado
- Calefacción
- Piscina
- Barbacoa
3 reseñas


Fish, Swim and Unwind Anna Maria Apt Steps to Beach
Anna Maria
- 70 M2
- 2 habitaciones
- 6 personas
- Calefacción
- Parking
5 reseñas


Anna Maria's Finest
Anna Maria
- 188 M2
- 3 habitaciones
- 6 personas
- Aire acondicionado
- Calefacción
- Piscina
- Jardín
- Barbacoa
21 reseñas