
60 Apartamentos en Berrien
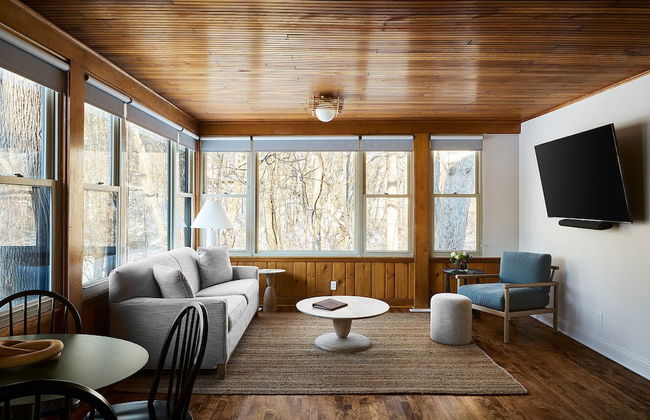


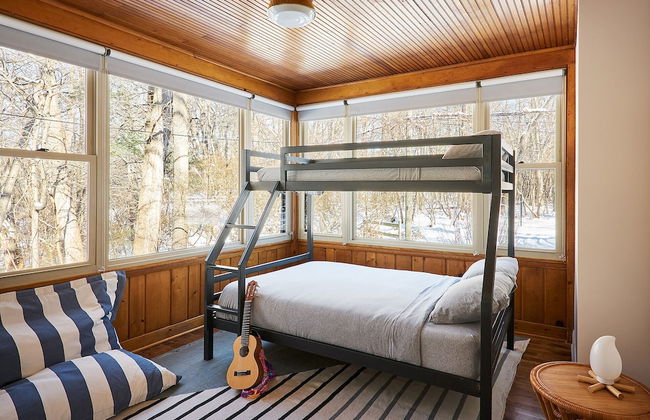


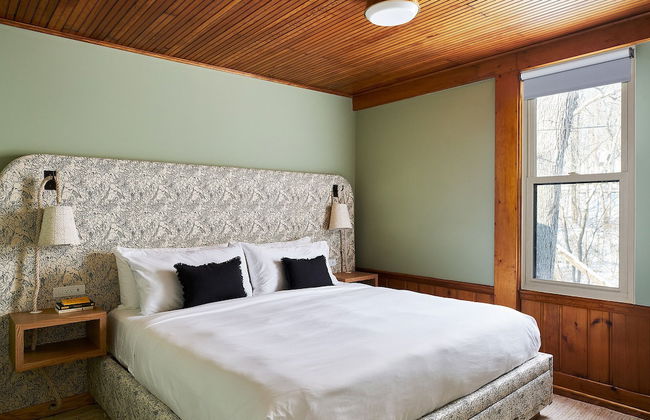


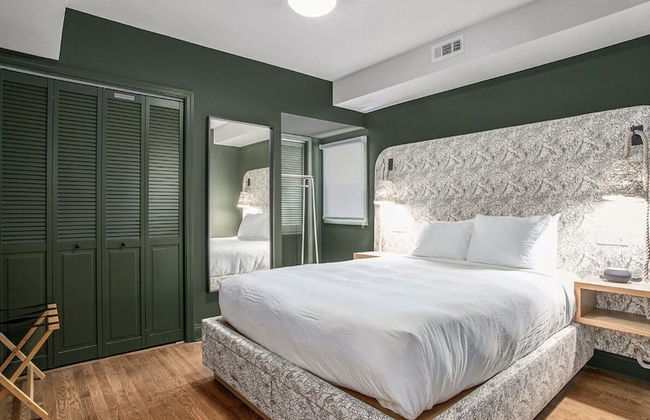


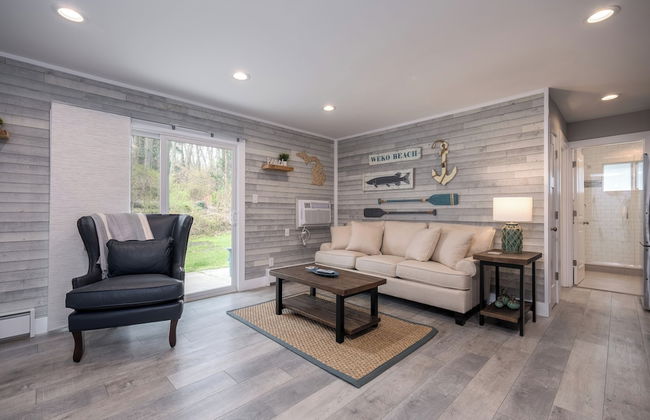
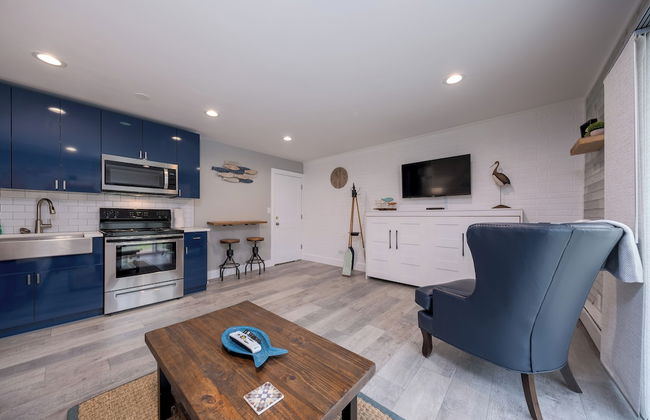
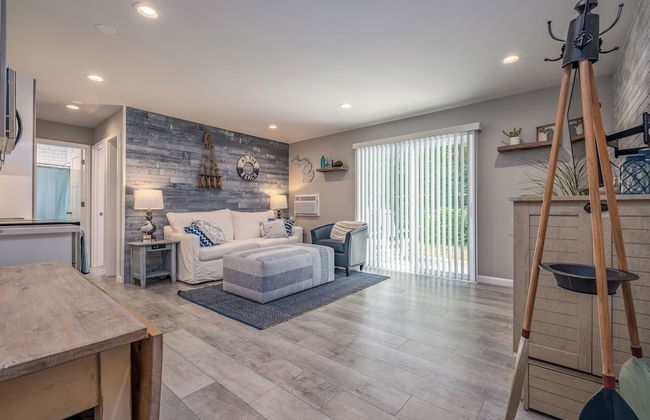
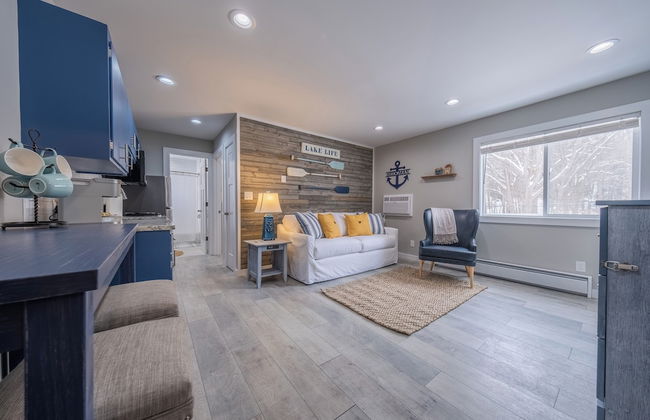
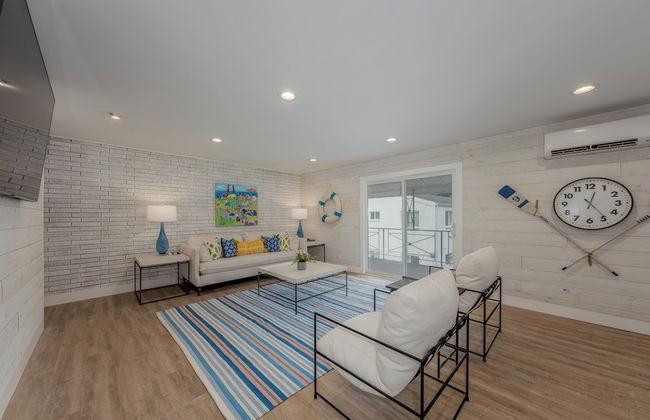
The Neighborhood Hotel - Grand Beach
New Buffalo
- 8 personas
- Aire acondicionado
- Calefacción
- Terraza
- Piscina
- Parking
- Televisión
- Chimenea
- Barbacoa
- Toallas
- Sábanas
47 reseñas


Square Toe's Last Resort
New Buffalo
- 84 M2
- 2 habitaciones
- 6 personas
- Aire acondicionado
- Calefacción
- Parking
- Jardín
11 reseñas


Eagles Beach Nest II
New Buffalo
- 93 M2
- 3 habitaciones
- 8 personas
- Aire acondicionado
- Calefacción
- Parking
- Jardín
15 reseñas


Walking Distance To Beach And Shops
New Buffalo
- 93 M2
- 3 habitaciones
- 9 personas
- Aire acondicionado
- Calefacción
- Terraza
- Parking
- Jardín
- Barbacoa
41 reseñas


Dahlia By Dwell Vacations
Berrien
- 929 M2
- 11 habitaciones
- 43 personas
- Aire acondicionado
- Calefacción
- Piscina
- Parking
- Barbacoa
2 reseñas


The Tree House
New Buffalo
- 139 M2
- 2 habitaciones
- 6 personas
- Aire acondicionado
- Calefacción
- Jardín
- Barbacoa
3 reseñas


Hidden Serenity
Sawyer
- 221 M2
- 4 habitaciones
- 10 personas
- Aire acondicionado
- Calefacción
- Jardín
- Barbacoa
3 reseñas
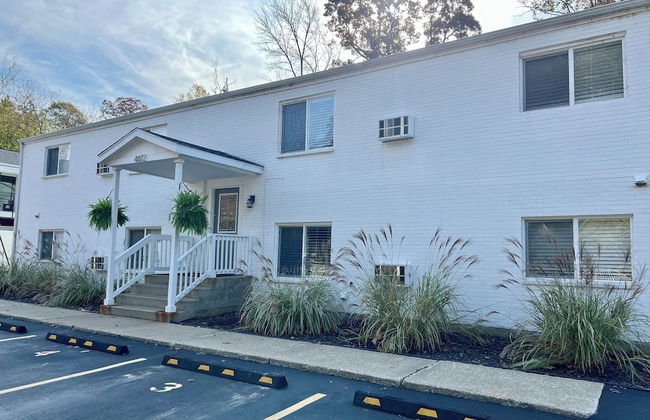

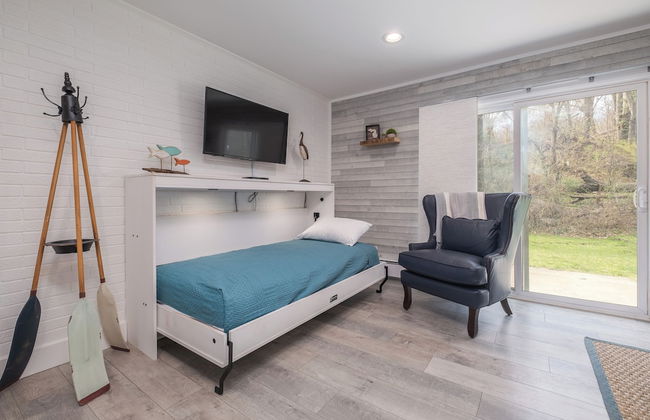

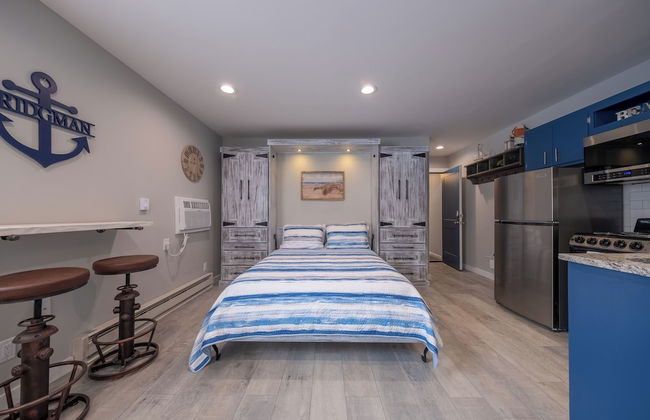

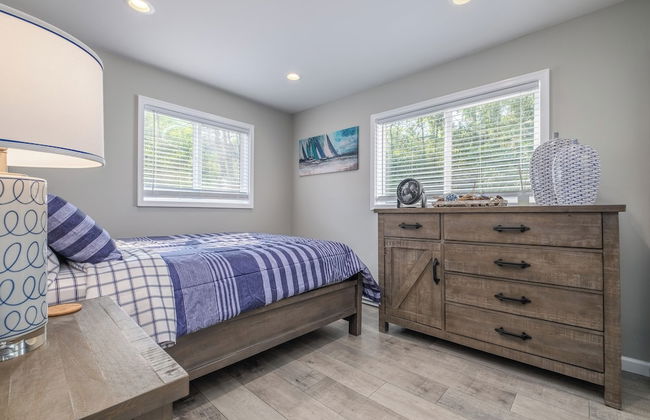


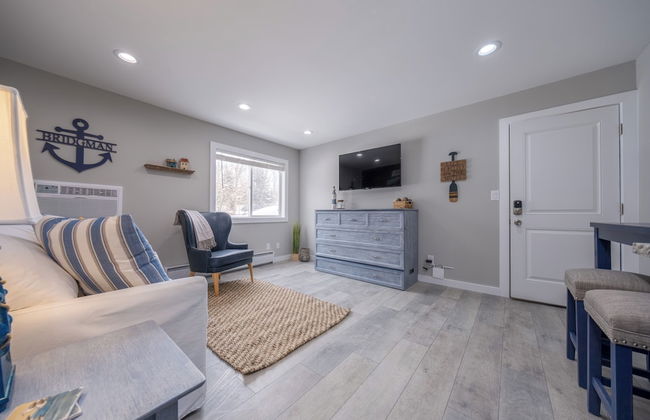
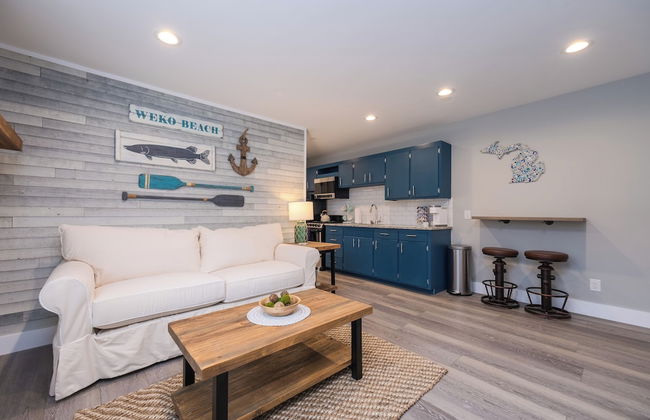


Sunset Dunes Vacation Villas
Bridgman
- 111 M2
- 2 habitaciones
- 8 personas
- Cocina pequeña
- Aire acondicionado
- Calefacción
- Terraza
- Parking
- Balcón
- Televisión
- Chimenea
- Sábanas
1 reseña


House on Paw Paw Lake with Private Dock!
Watervliet
- 139 M2
- 4 habitaciones
- 10 personas
- Calefacción
- Parking
2 reseñas


The Gatehouse on Orchard Beach
Lakeside
- 130 M2
- 3 habitaciones
- 8 personas
- Aire acondicionado
- Calefacción
- Jardín
- Barbacoa
3 reseñas


Fontano Casa
Coloma
- 158 M2
- 4 habitaciones
- 17 personas
- Aire acondicionado
- Calefacción
- Jardín
- Barbacoa
7 reseñas


8-Acre Bridgman Oasis Pool, Hot Tub and Game Room
Bridgman
- 557 M2
- 6 habitaciones
- 25 personas
- Calefacción
- Piscina
- Parking
1 reseña


Pete's Place by Juniper Holiday + Home
Sawyer
- 237 M2
- 4 habitaciones
- 8 personas
- Aire acondicionado
- Calefacción
- Parking
- Jardín
- Barbacoa
1 reseña


Three Oaks Home with Guest House - 8 Mi to Beach!
Three Oaks
- 102 M2
- 4 habitaciones
- 8 personas
- Calefacción
- Parking
1 reseña


Golden Crest Getaway
Stevensville
- 200 M2
- 4 habitaciones
- 8 personas
- Aire acondicionado
- Calefacción
- Parking
- Jardín
- Barbacoa
1 reseña


Mac's Bluff
New Buffalo
- 327 M2
- 4 habitaciones
- 14 personas
- Aire acondicionado
- Calefacción
- Piscina
- Jardín
- Barbacoa
1 reseña