
99 Apartamentos en Bushmills


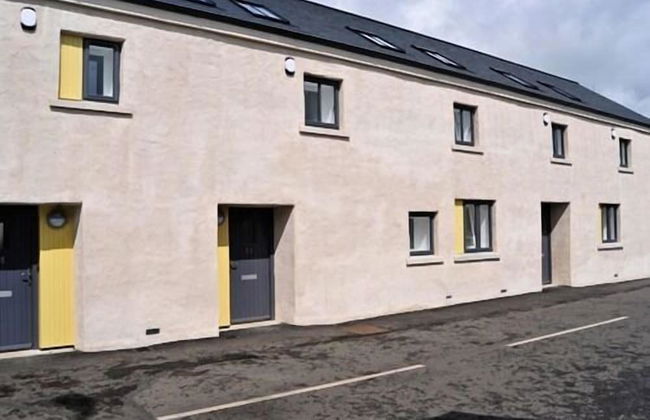
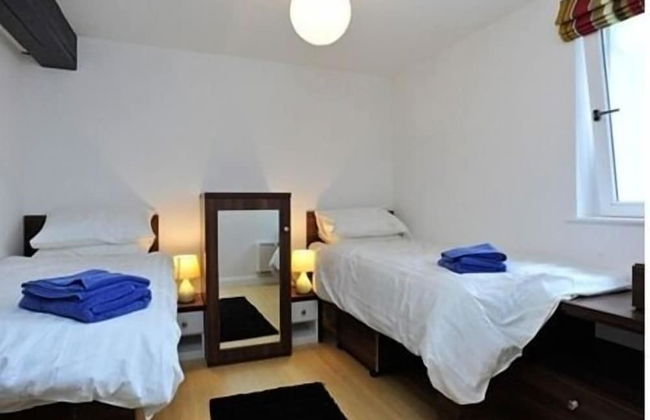
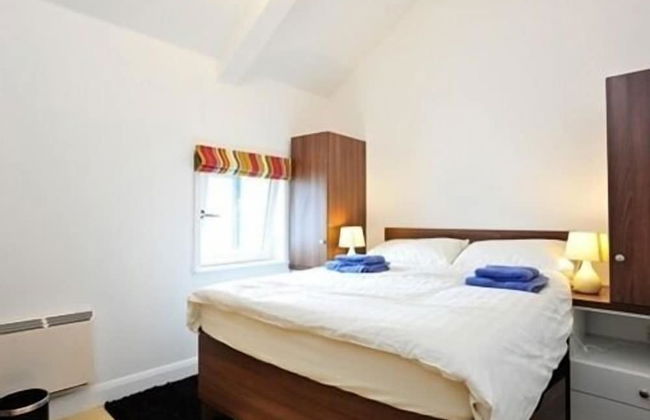
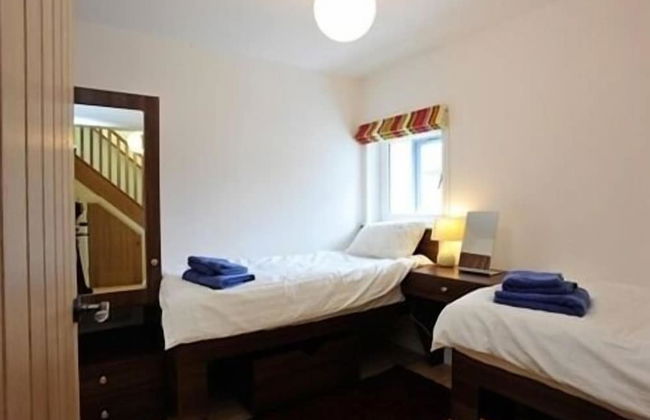
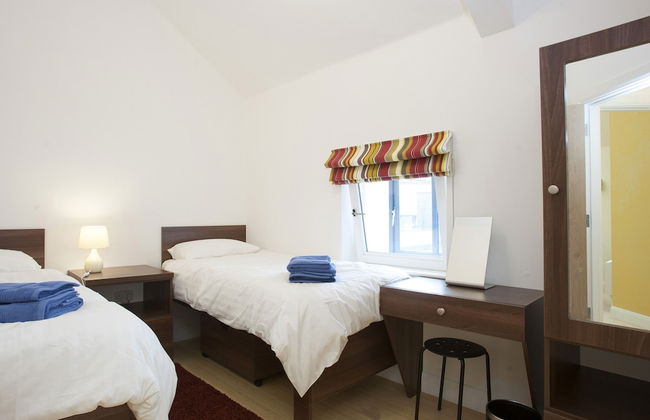
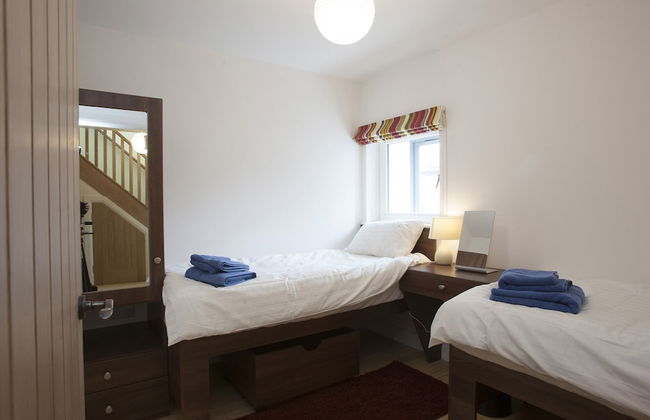
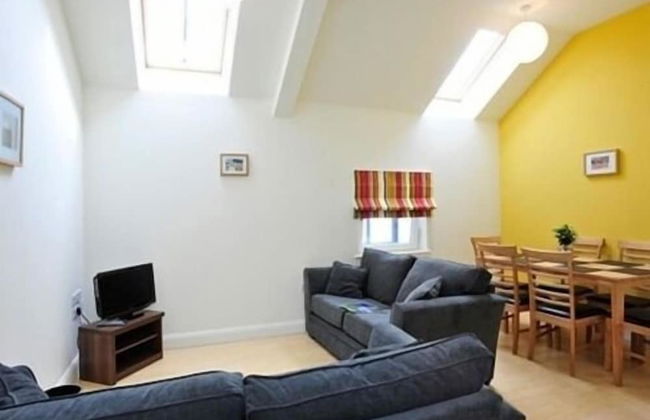
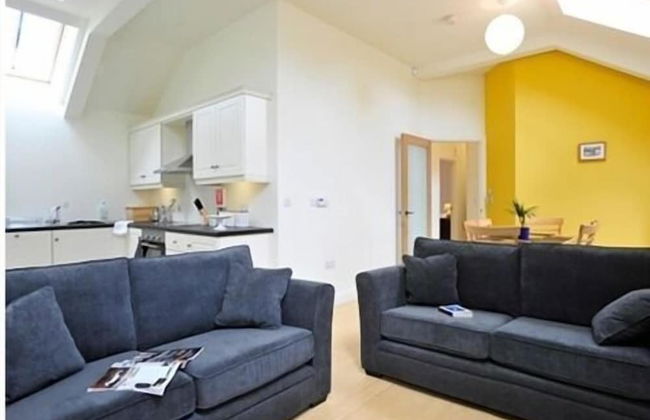
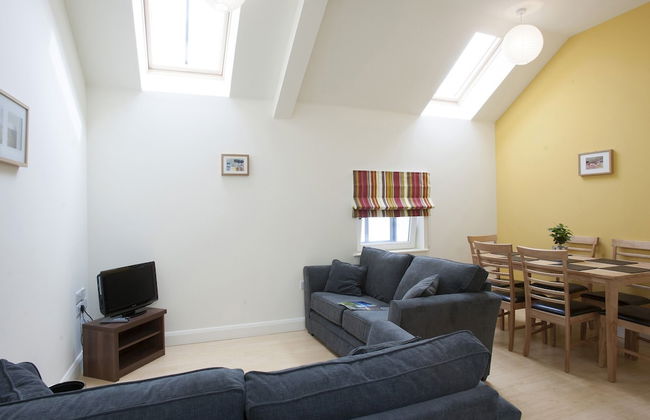
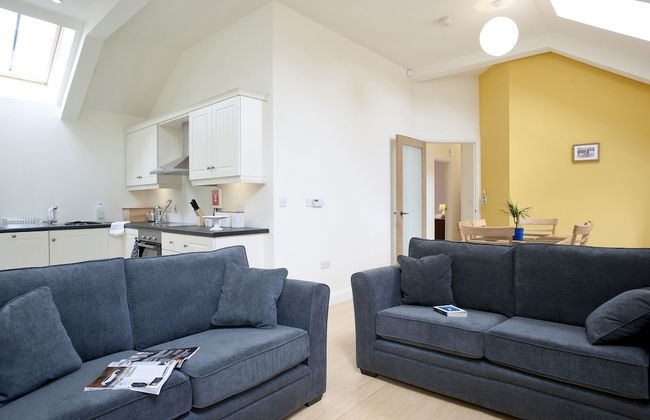
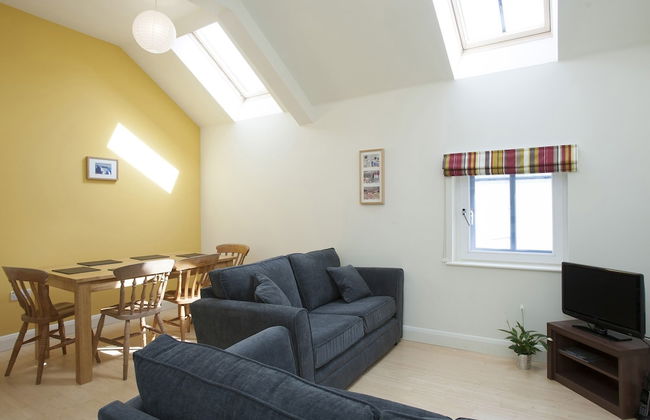
The Old Bushmills Barn
Bushmills - Bushmills
- 232 M2
- 4 habitaciones
- 8 personas
- Calefacción
- Terraza
- Parking
- Jardín
- Barbacoa
20 reseñas


Reubens Loft for 1 to 6 person Family 4 miles outside Portrush Bushmills Coleraine Ballymoney
Bushmills - Bushmills
- 1400 M2
- 1 habitación
- 6 personas
- Calefacción
- Parking
- Jardín
24 reseñas


Distillery House
Bushmills - Bushmills
- 3 habitaciones
- 6 personas
- Calefacción
- Terraza
- Parking
- Jardín
- Barbacoa
68 reseñas


Ballyhemlin Pods - Haw thorn
Bushmills - Bushmills
- 21 M2
- 1 habitación
- 2 personas
- Calefacción
- Parking
- Jardín
- Barbacoa
31 reseñas


Craig Cottage Self-catering
Bushmills - Bushmills
- 160 M2
- 3 habitaciones
- 6 personas
- Parking
- Jardín
52 reseñas


Bush House Accommodation - The Distillery
Bushmills - Bushmills
- 40 M2
- 1 habitación
- 4 personas
- Calefacción
74 reseñas


Ulster Cottages 4 miles From Portrush Bushmills Coleraine and Ballymoney
Bushmills - Bushmills
- 84 M2
- 3 habitaciones
- 6 personas
- Calefacción
- Parking
- Jardín
78 reseñas


Port Tara Holiday Home
Bushmills - Portballintrae
- 279 M2
- 5 habitaciones
- 12 personas
- Calefacción
- Terraza
- Parking
- Jardín
- Barbacoa
16 reseñas


Little Nook, Dunseverick
Bushmills - Bushmills
- 65 M2
- 2 habitaciones
- 4 personas
- Calefacción
- Terraza
- Parking
- Jardín
51 reseñas


Greenbrae's Apartment- Bushmills
Bushmills - Bushmills
- 251 M2
- 4 personas
- Terraza
- Parking
- Jardín
- Barbacoa
15 reseñas


Cosy Coastal Cottage in Portballintrae
Bushmills - Portballintrae
- 3 habitaciones
- 6 personas
- Parking
- Jardín
- Barbacoa
23 reseñas


Beech House
Bushmills - Portballintrae
- 88 M2
- 3 habitaciones
- 5 personas
- Calefacción
- Parking
- Jardín
23 reseñas


Pyjama Factory Self Catering Accommodation
Bushmills - Bushmills
- 80 M2
- 3 habitaciones
- 6 personas
- Parking
- Televisión
- Sábanas
29 reseñas


Bushmills Boutique Apartment
Bushmills - Bushmills
- 1500 M2
- 3 habitaciones
- 6 personas
- Terraza
- Parking
14 reseñas


Obsidian: Arguably the best view in Portballintrae
Bushmills - Portballintrae
- 16 M2
- 3 habitaciones
- 6 personas
- Terraza
- Parking
17 reseñas


Shoreline Portballintrae North Coast Views Near Giants Causeway & Royal Portrush
Bushmills - Portballintrae
- 25 M2
- 3 habitaciones
- 6 personas
- Parking
- Jardín
15 reseñas


Outside of Coleraine Cottage
Bushmills - Bushmills
- 93 M2
- 3 habitaciones
- 6 personas
- Calefacción
- Parking
- Jardín
6 reseñas