
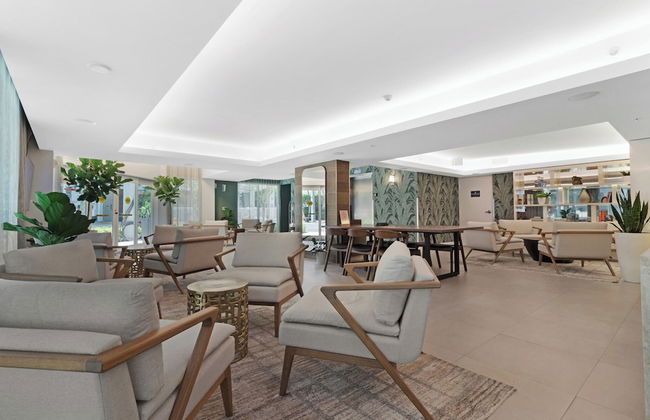

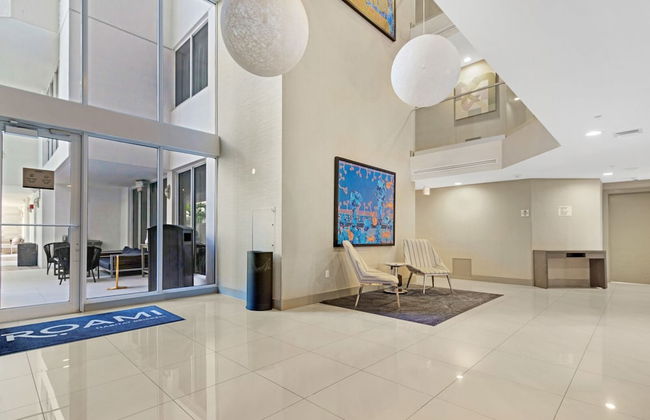
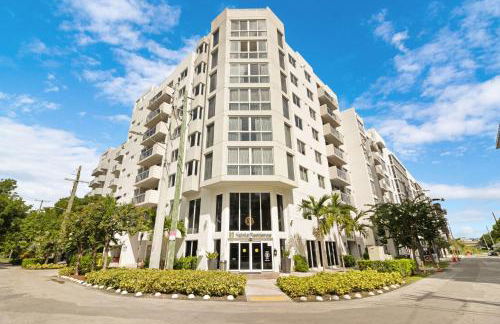


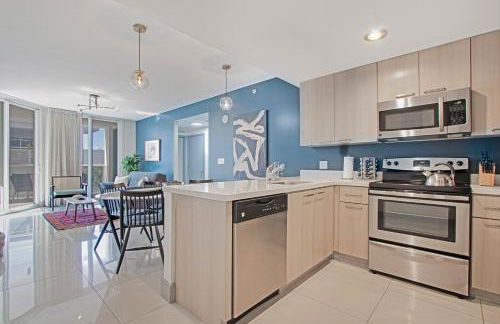
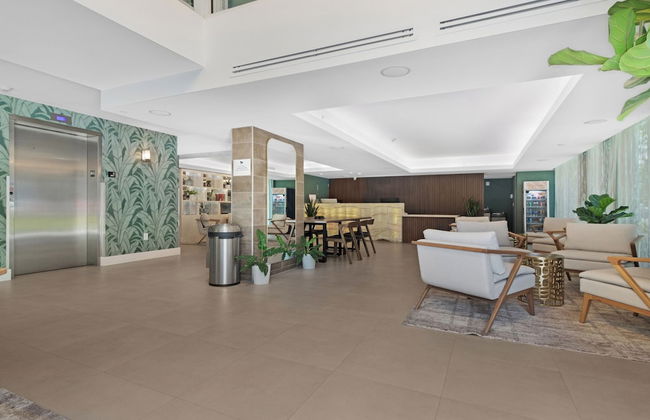
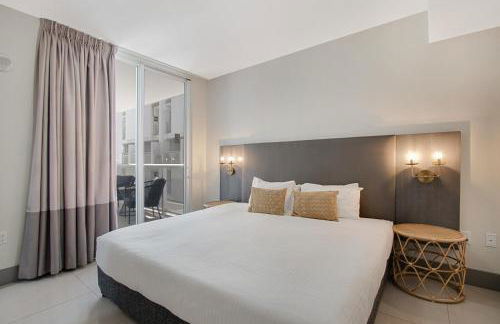
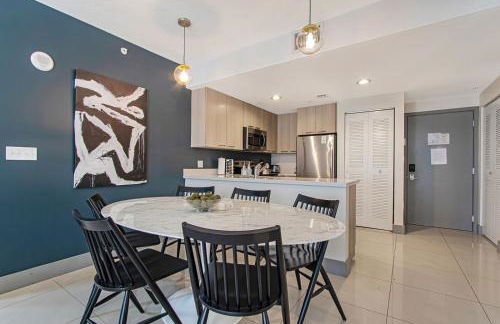


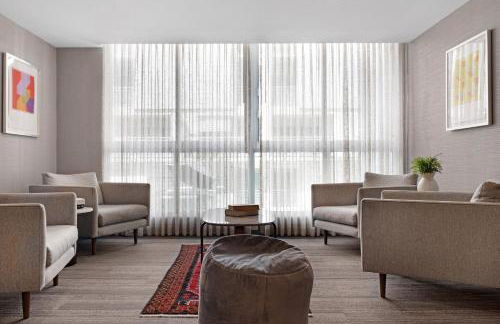
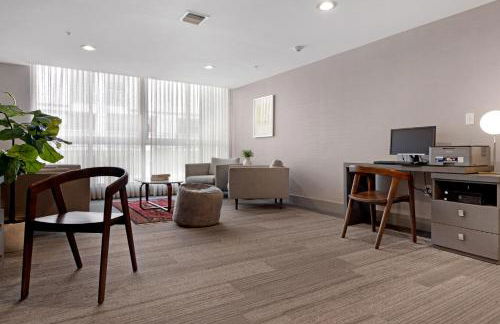
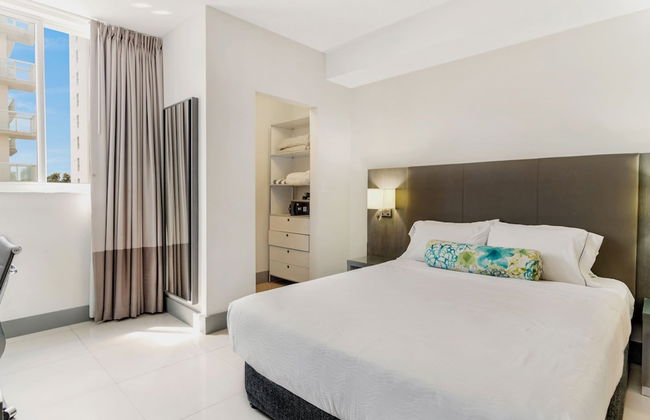

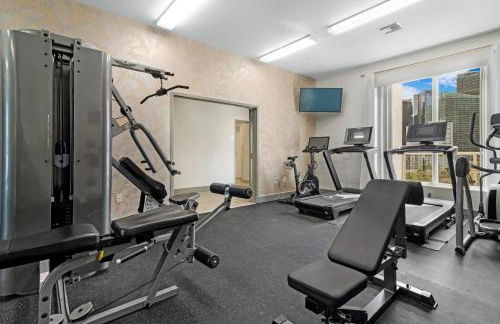

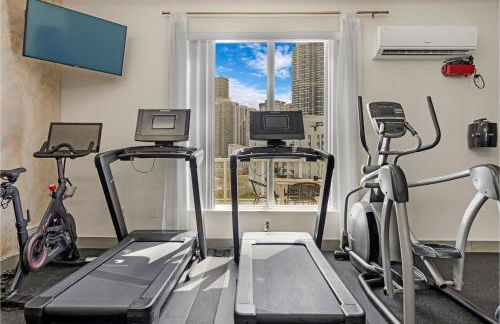
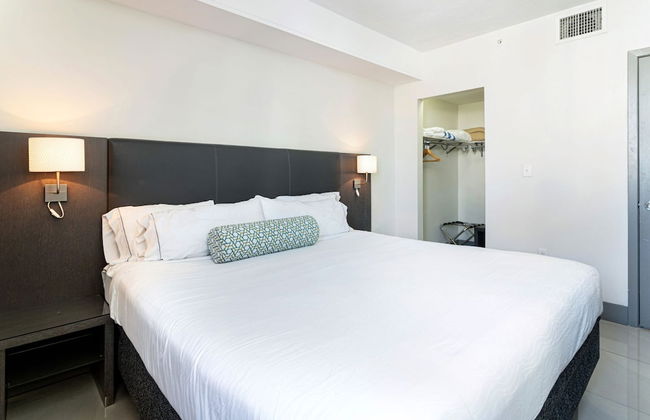


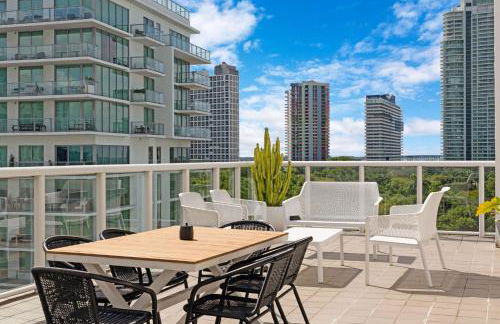

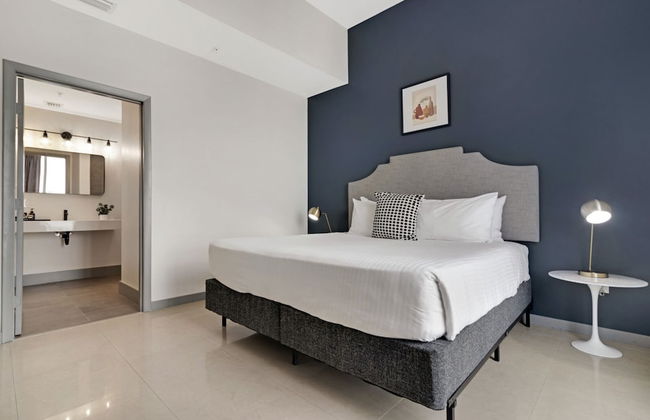


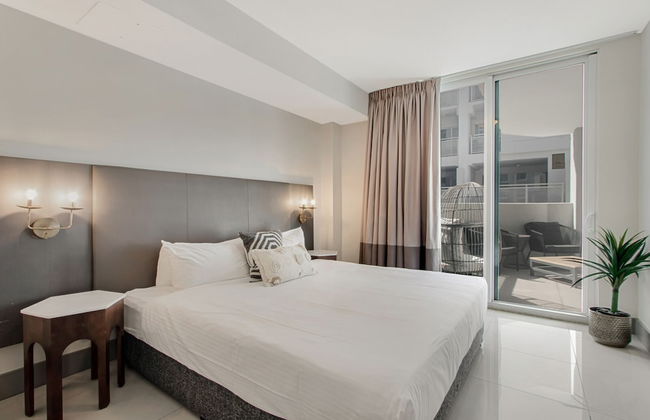
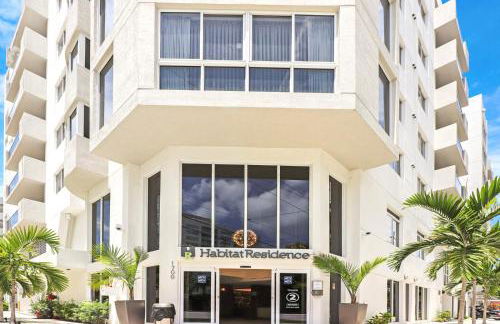


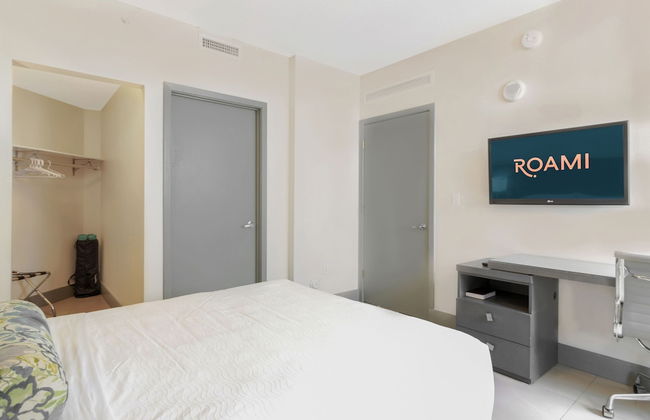
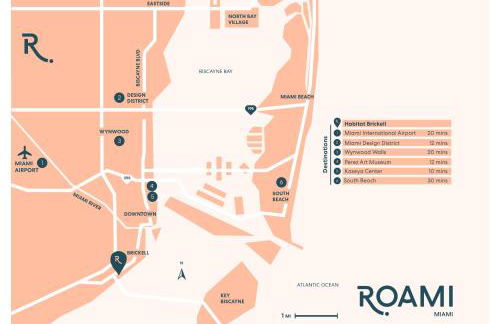
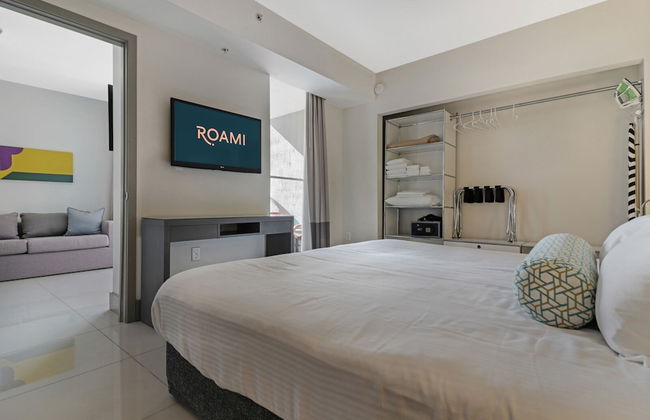
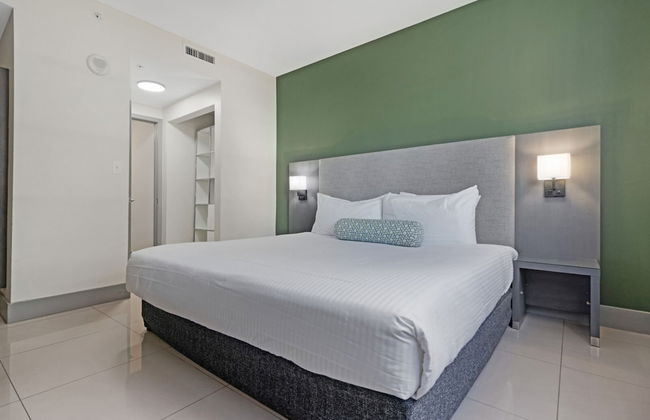


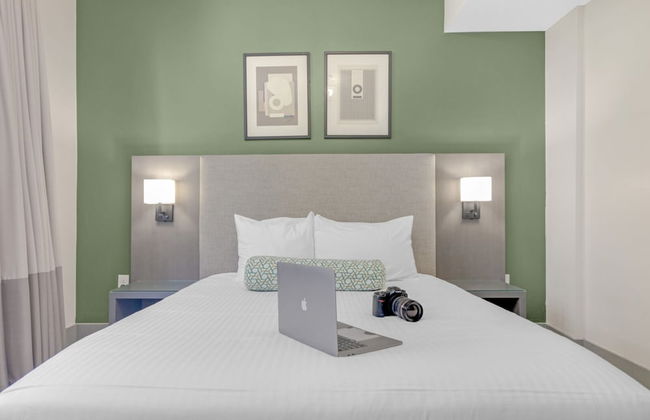
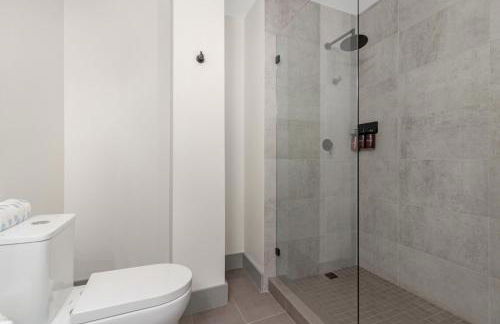
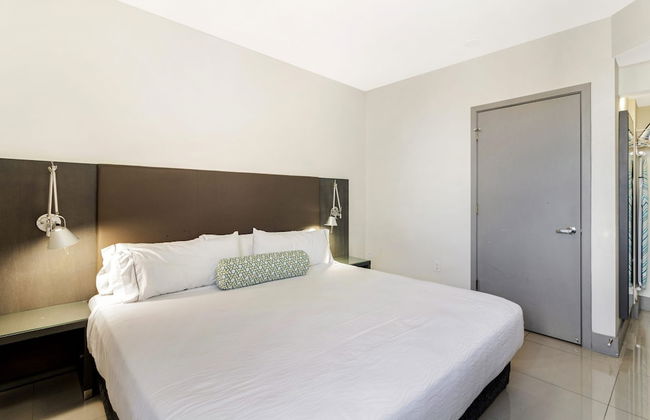

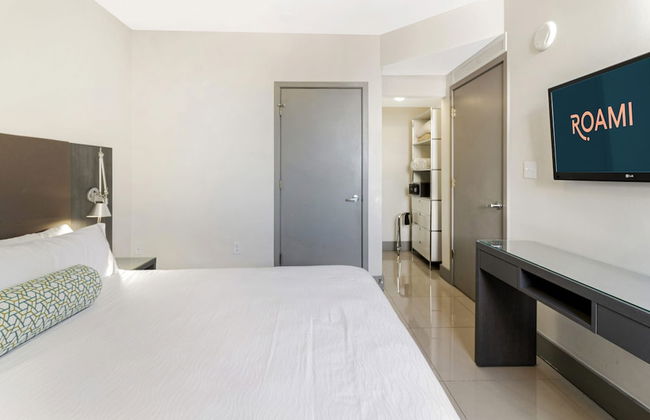


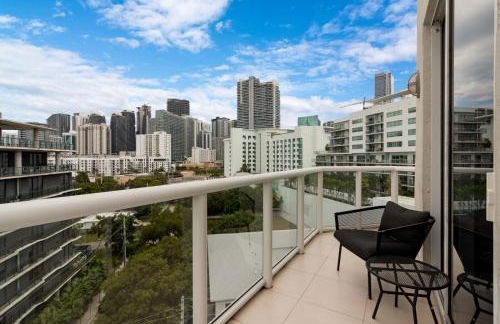

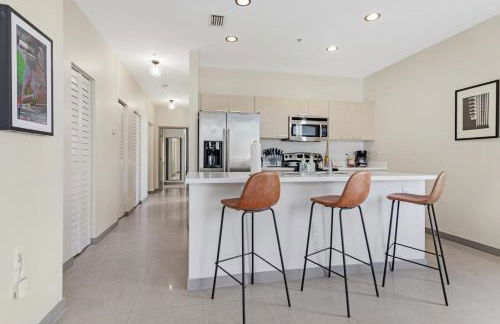


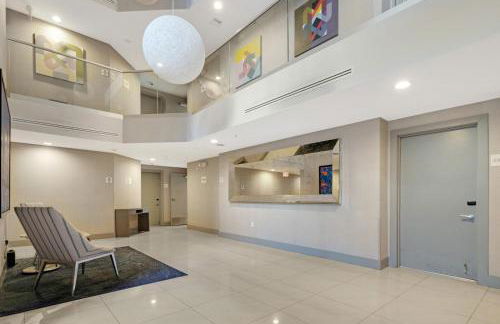
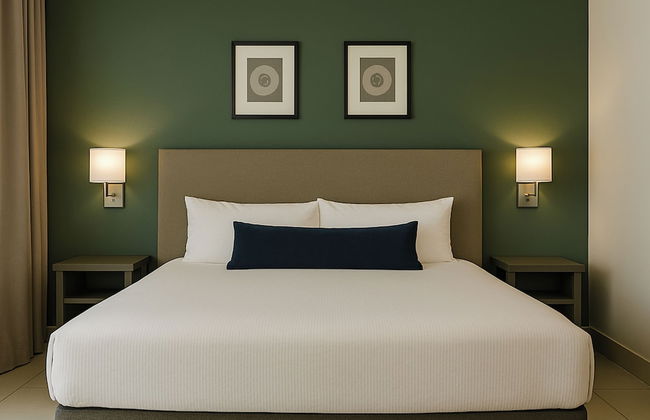

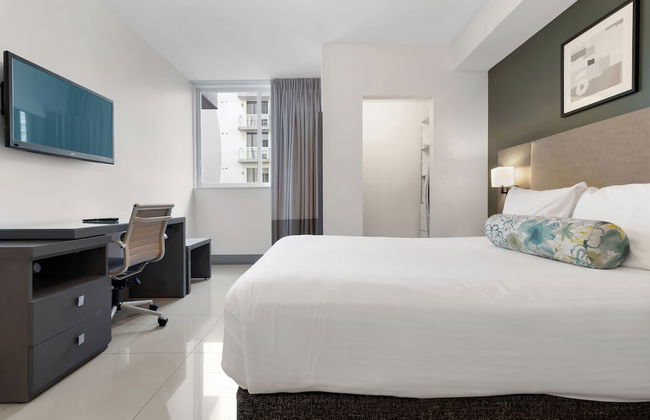
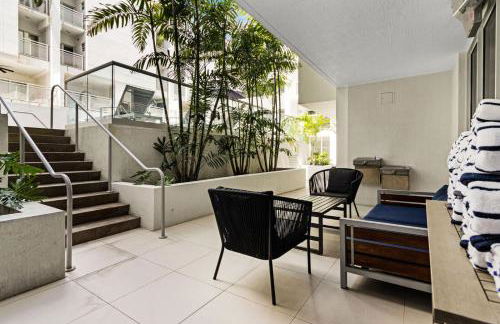
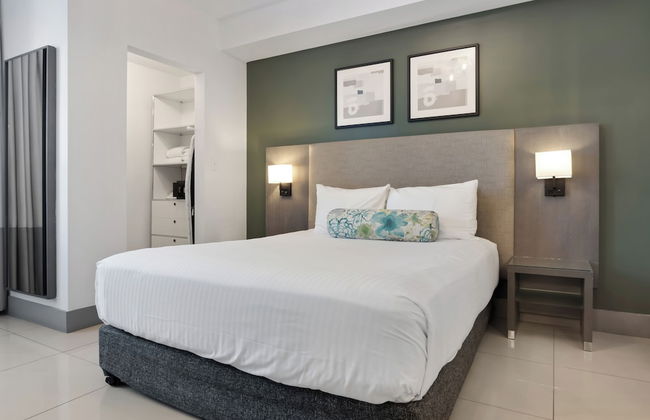
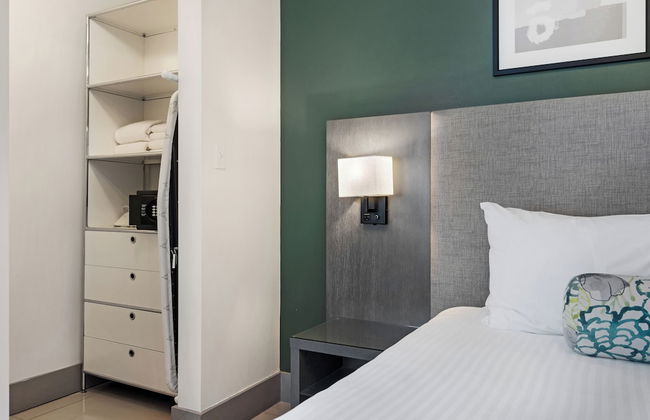
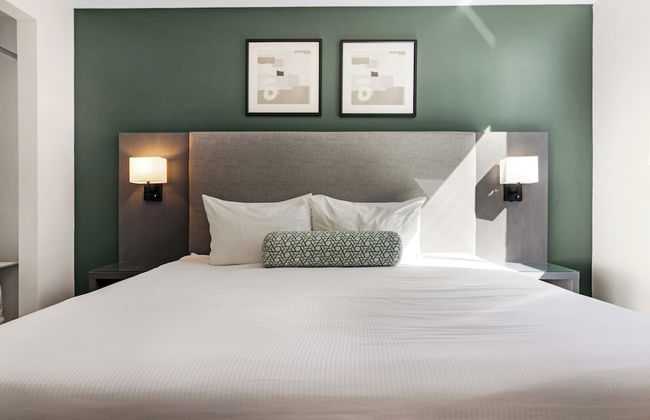
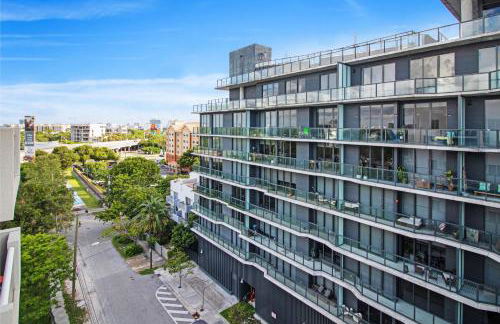

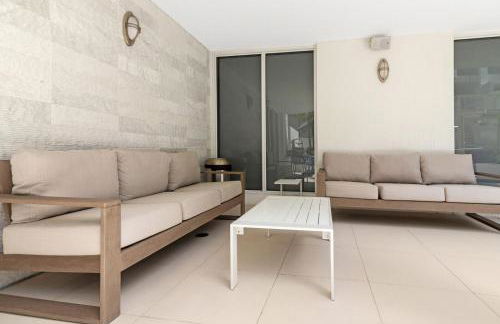

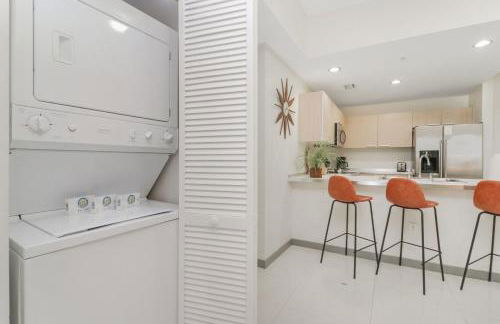
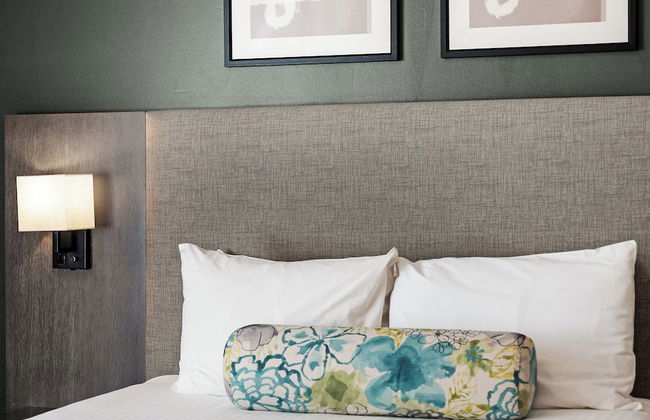


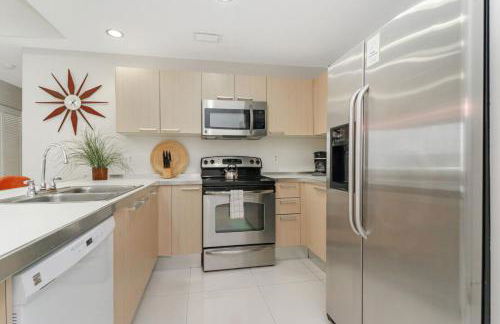
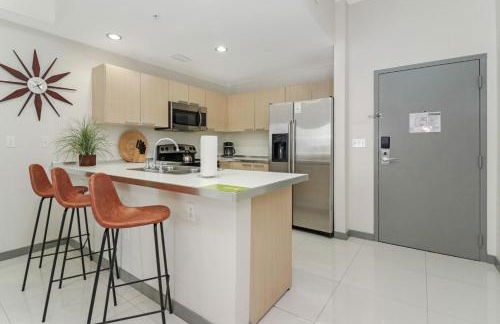

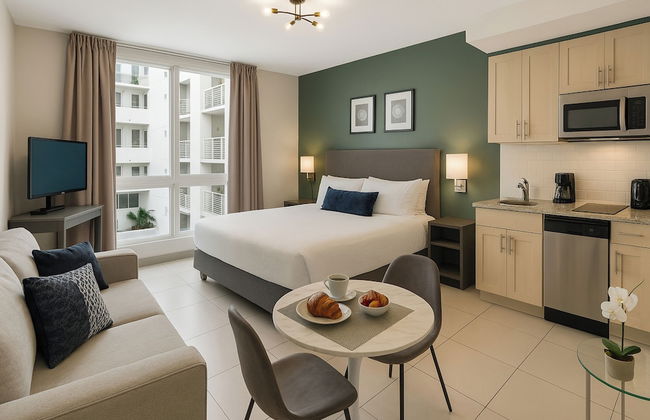

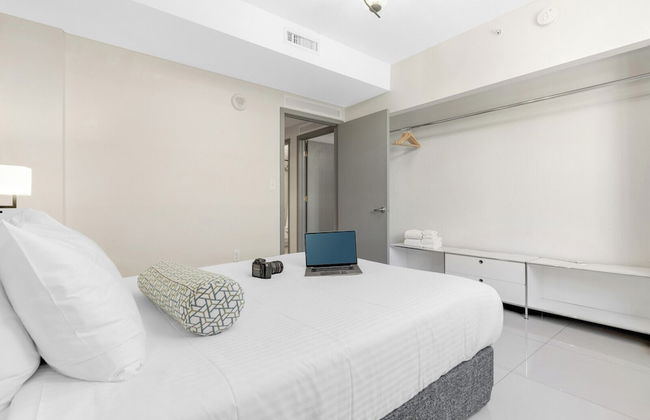

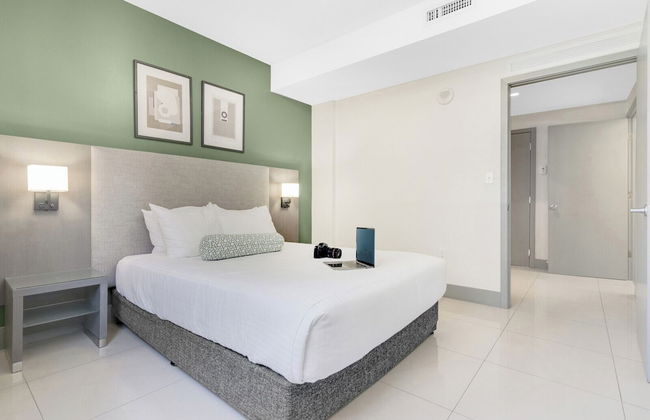


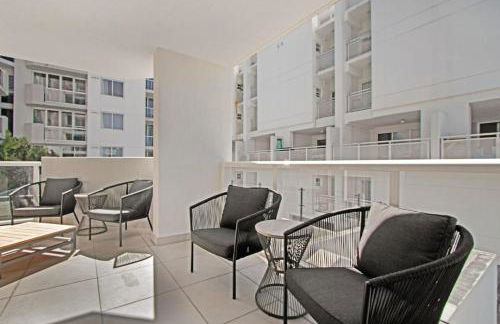
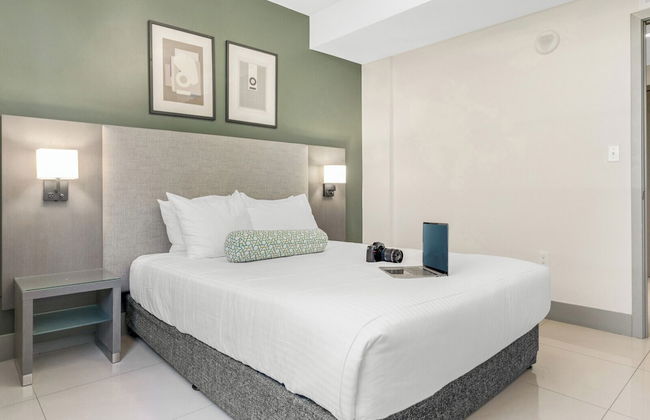
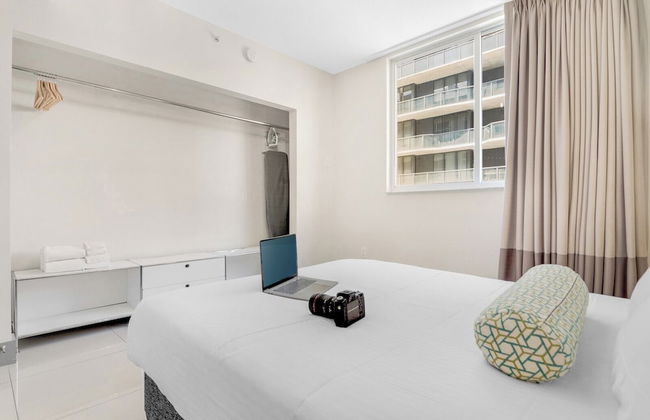
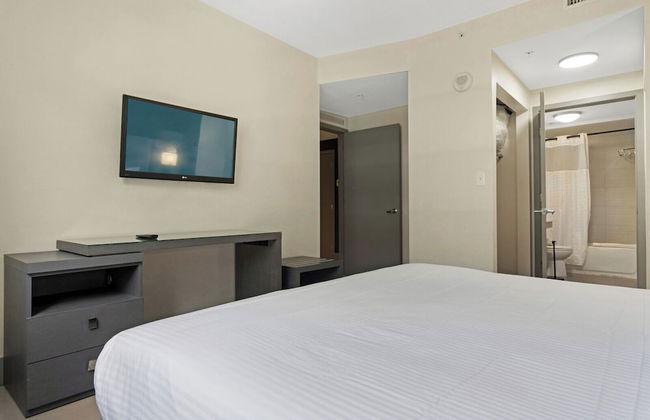


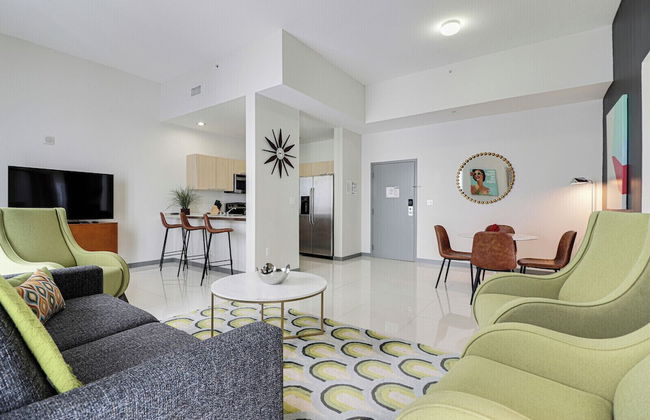
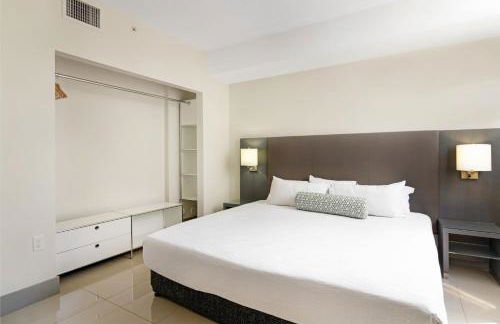
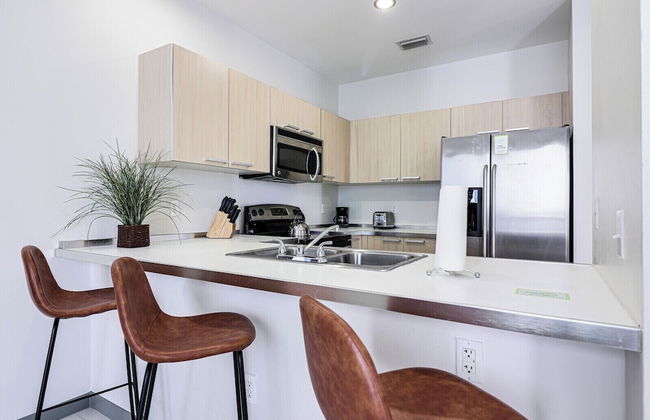
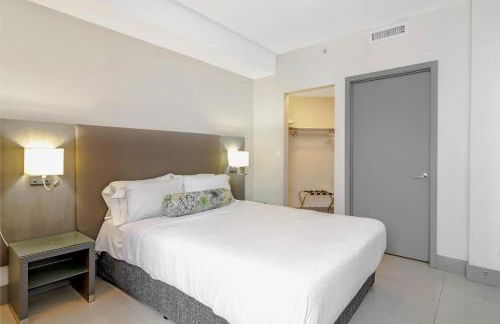
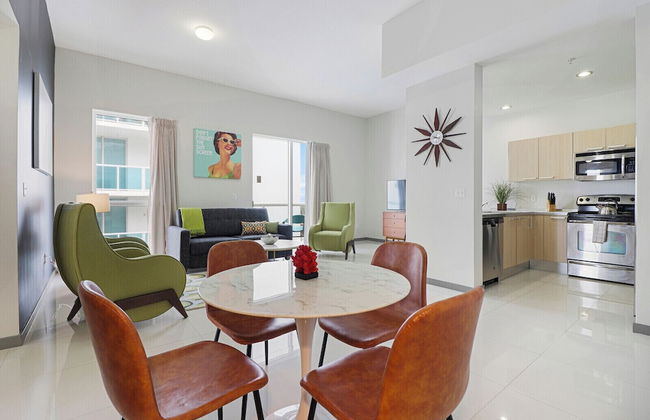


Roami at Habitat Brickell
Miami - Coral Way - A 1.2 km del centro
- 149 M2
- 7 habitaciones
- 12 personas
- Aire acondicionado
- Calefacción
- Piscina
- Parking
- Ascensor
- Balcón
- Jardín
- Televisión
- Lavadora
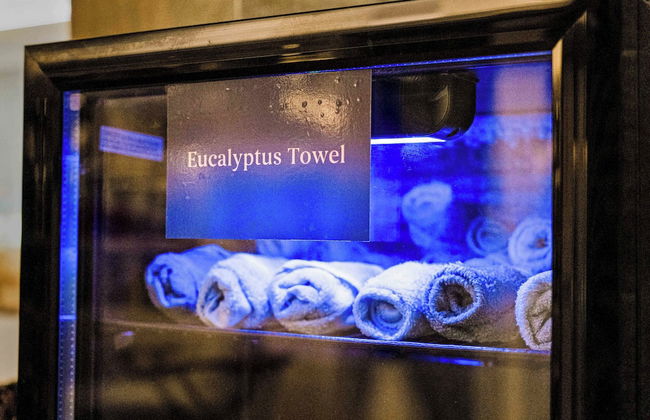
- Toallas
- Sábanas


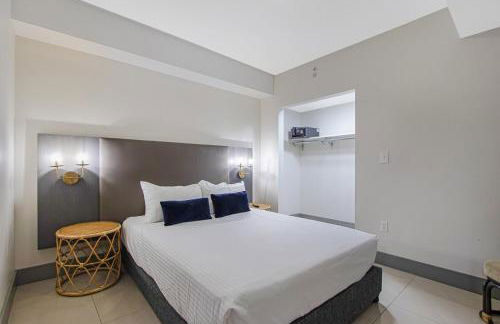
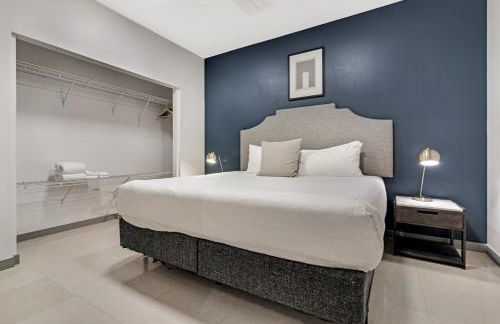
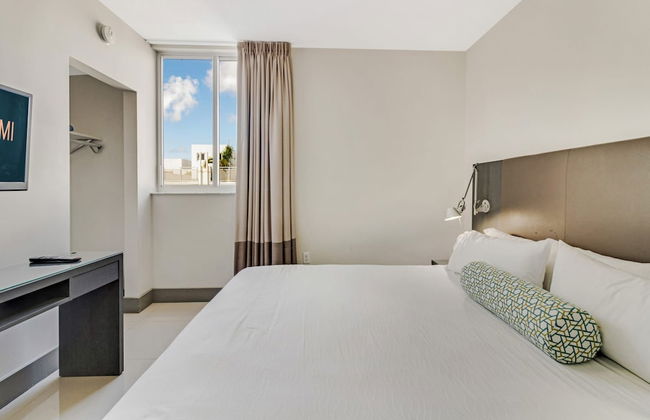
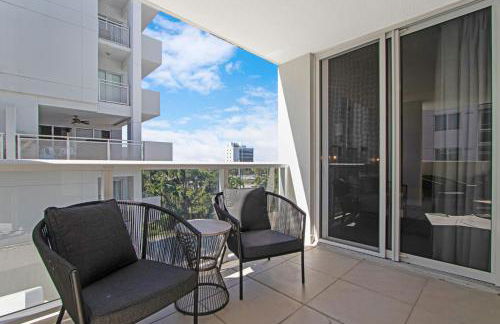
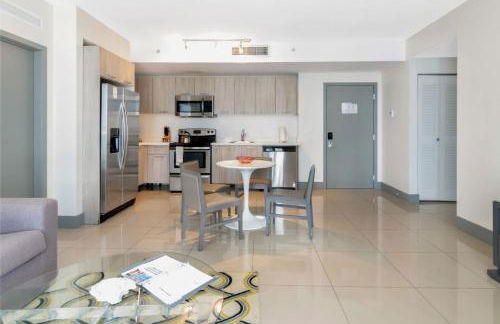
Cozy Miami Suite with FREE Parking
Miami - Coral Way - A 4.7 km del centro
- 42 M2
- 2 personas
- Aire acondicionado
- Terraza
- Parking


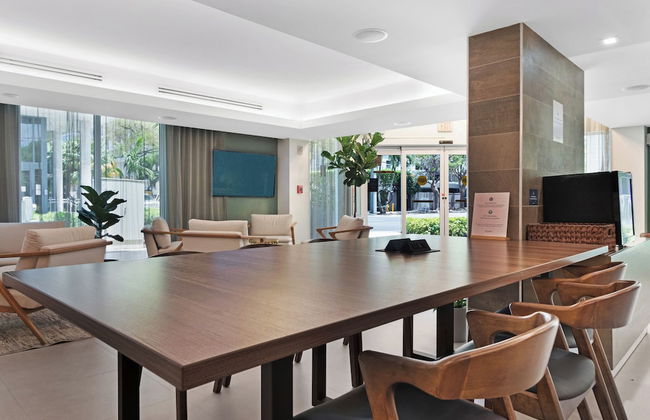
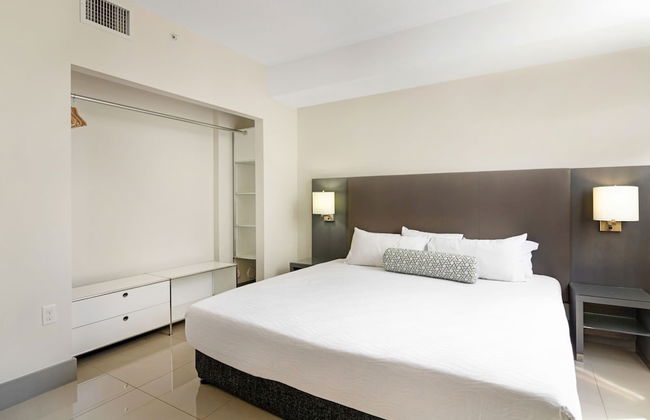
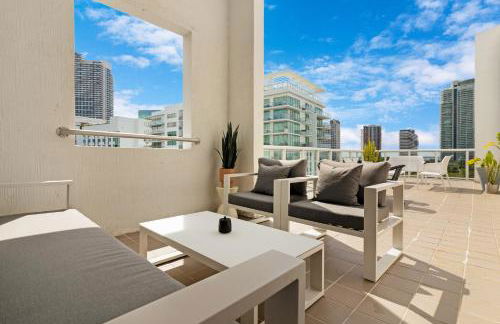
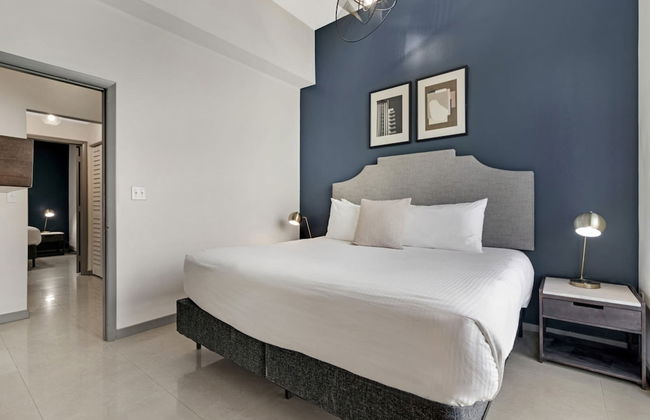
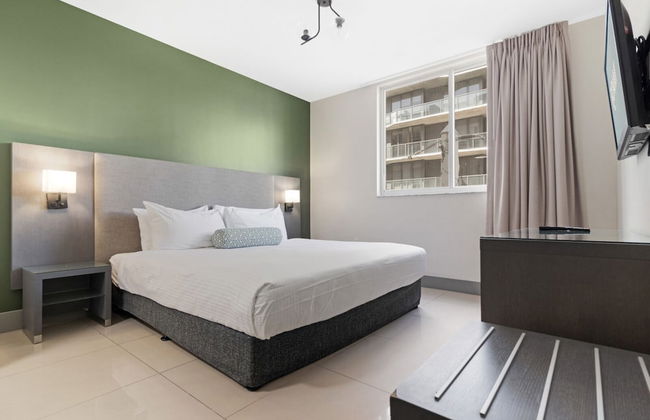
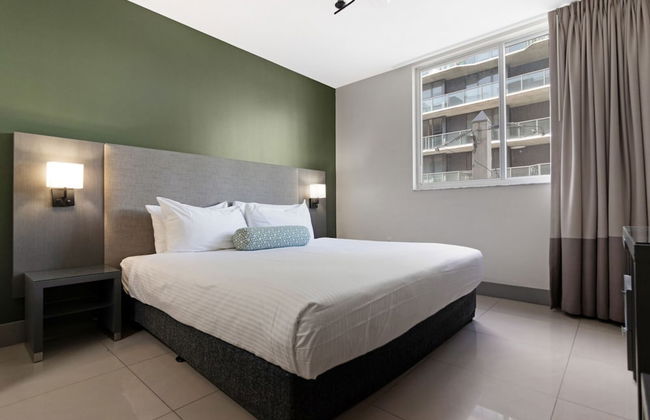
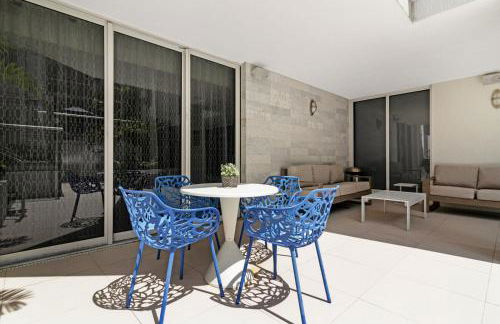
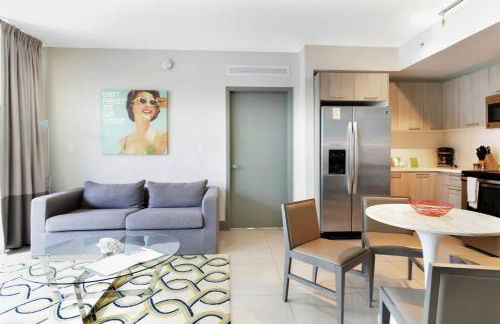
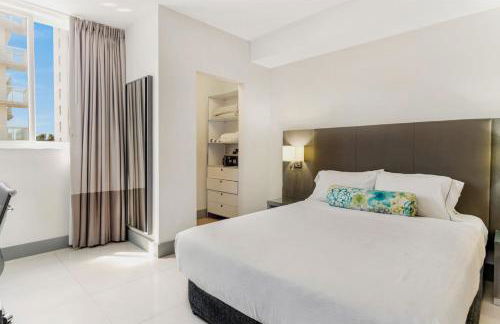
Roami at Grove 27
Miami - Coral Way - A 4.1 km del centro
- 237 M2
- 5 habitaciones
- 14 personas
- Aire acondicionado
- Calefacción
- Parking
- Ascensor
- Televisión
- Lavadora
- Toallas
- Sábanas


Broadway Suites Downtown by RocketStay
Miami - Coral Way - A 960 m del centro
- 84 M2
- 2 habitaciones
- 5 personas
- Aire acondicionado
- Terraza
- Parking
- Jardín
- Televisión
- Toallas
- Sábanas


La Casita
Miami - Coral Way - A 1.9 km del centro
- 60 M2
- 4 personas
- Aire acondicionado
- Parking
- Jardín


Luxury Retreat 3B ,2Ba POOL , Coral Gables Center
Miami - Coral Way - A 4.5 km del centro
- 232 M2
- 3 habitaciones
- 8 personas
- Aire acondicionado
- Terraza
- Piscina
- Parking
- Jardín
- Barbacoa


Miami Oasis by Brickell and Beaches
Miami - Coral Way - A 2.6 km del centro
- 168 M2
- 3 habitaciones
- 8 personas
- Aire acondicionado
- Terraza
- Parking
- Jardín
- Barbacoa


Stylish Stay Close to UM City Vibes
Miami - Coral Way - A 5.4 km del centro
- 88 M2
- 6 personas
- Aire acondicionado
- Calefacción
- Parking
- Jardín


Cozy house close Brickell
Miami - Coral Way - A 1.6 km del centro
- 84 M2
- 2 habitaciones
- 4 personas
- Aire acondicionado
- Calefacción
- Terraza
- Parking
- Jardín


Zoka House 5 mints from Brickell
Miami - Coral Way - A 2.8 km del centro
- 19 M2
- 3 habitaciones
- 6 personas
- Aire acondicionado
- Terraza
- Parking
- Jardín


Vacay Spot Happy Escape 15 Min Beach Massage Shower Prime LOC! 6 blocks away from Bars, Nite Clubs, Res, Shops
Miami - Coral Way - A 5.5 km del centro
- 111 M2
- 2 habitaciones
- 10 personas
- Aire acondicionado
- Calefacción
- Terraza
- Parking
- Jardín
- Barbacoa


Escape GameRoom, BAR, BBQ, Spacious,KING Bed, All Luxury mattresses, Near Beach, 6 blocks away from Bars, Nite Clubs, Res, Shops
Miami - Coral Way - A 5.6 km del centro
- 179 M2
- 3 habitaciones
- 13 personas
- Aire acondicionado
- Calefacción
- Terraza
- Parking
- Jardín
- Barbacoa


Taste of Miami Vive
Miami - Coral Way - A 2.5 km del centro
- 59 M2
- 1 habitación
- 4 personas
- Aire acondicionado
- Parking


Miami's Cozy Tropical Getaway
Miami - Coral Way - A 5.7 km del centro
- 84 M2
- 2 habitaciones
- 5 personas
- Aire acondicionado
- Calefacción
- Parking
- Jardín
- Barbacoa


Casa la Miami - Central location Villa with Pool & Gym
Miami - Coral Way - A 3.1 km del centro
- 232 M2
- 3 habitaciones
- 6 personas
- Aire acondicionado
- Calefacción
- Terraza
- Piscina
- Parking
- Jardín
- Barbacoa


Little havana paradise
Miami - Coral Way - A 2.2 km del centro
- 84 M2
- 1 habitación
- 2 personas
- Aire acondicionado
- Terraza
- Piscina
- Parking
- Jardín


New! Miami & Calle Ocho Simpson's Funhouse!
Miami - Coral Way - A 2.4 km del centro
- 167 M2
- 3 habitaciones
- 6 personas
- Aire acondicionado
- Terraza
- Parking
- Jardín


Orange You Glad you came
Miami - Coral Way - A 2.5 km del centro
- 59 M2
- 1 habitación
- 4 personas
- Aire acondicionado
- Calefacción
- Parking


LaBella Suite
Miami - Coral Way - A 4.4 km del centro
- 900 M2
- 2 habitaciones
- 5 personas
- Aire acondicionado
- Parking
- Jardín


Central Miami Oasis, Near Brickell, Grove & Little Havana
Miami - Coral Way - A 2.6 km del centro
- 88 M2
- 2 habitaciones
- 6 personas
- Parking