


Kasa Altmayer Savannah
Savannah - Downtown Savannah - En el centro
- 61 M2
- 4 personas
- Aire acondicionado
- Calefacción
- Ascensor
- Televisión
- Lavadora
- Toallas
- Sábanas


Habersham 2 by Tybee Vacation Rentals
Savannah - Downtown Savannah - En el centro
- 111 M2
- 4 personas
- Calefacción
- Parking
- Ascensor
- Televisión
- Lavadora
- Toallas


The Irish Bar near Bay Historic Savannah
Savannah - Downtown Savannah - En el centro
- 6 personas
- Aire acondicionado
- Calefacción
- Terraza
- Televisión
- Lavadora
- Toallas


Habersham 1 by Tybee Vacation Rentals
Savannah - Downtown Savannah - En el centro
- 111 M2
- 4 personas
- Calefacción
- Parking
- Ascensor
- Televisión
- Toallas


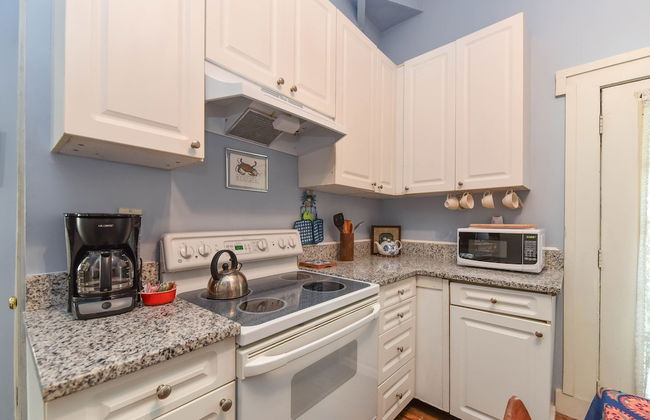
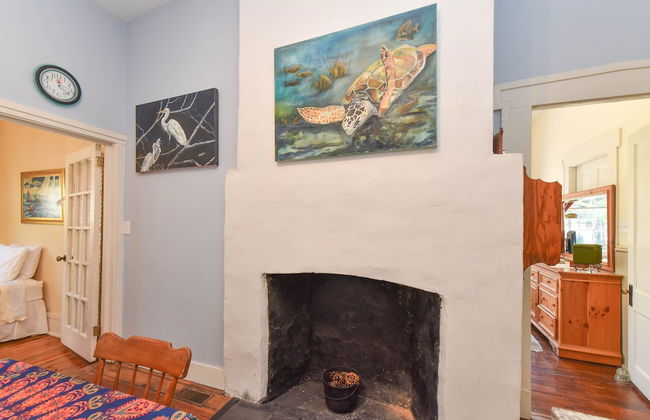
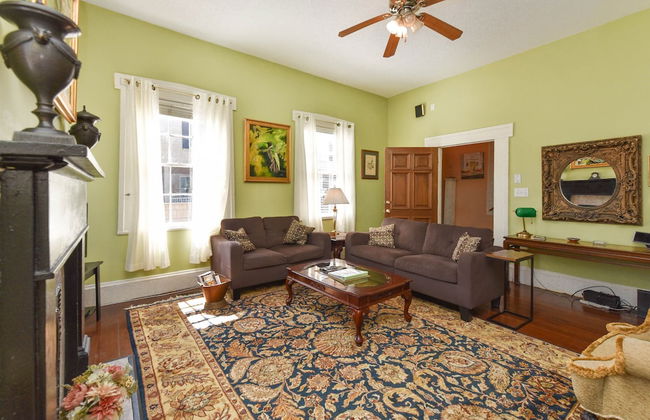
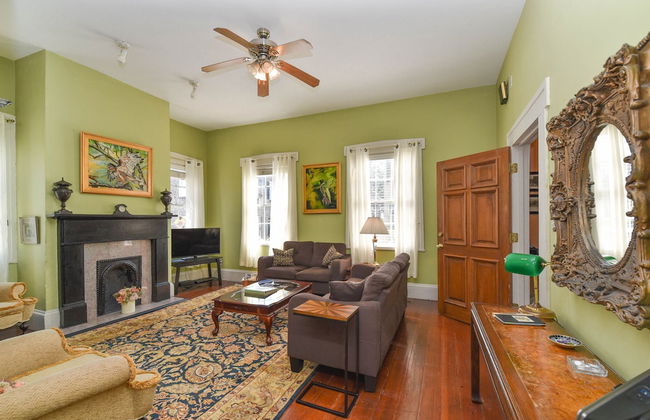
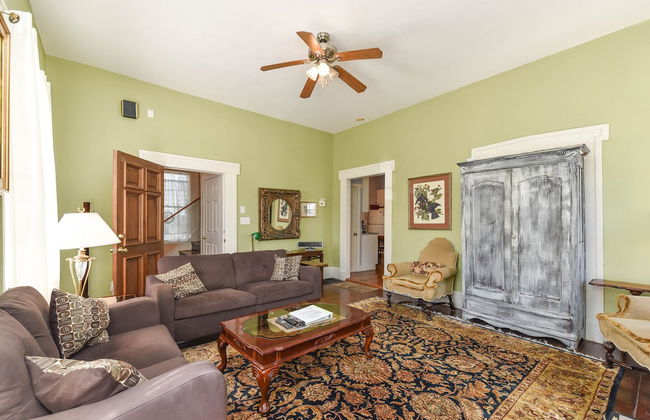
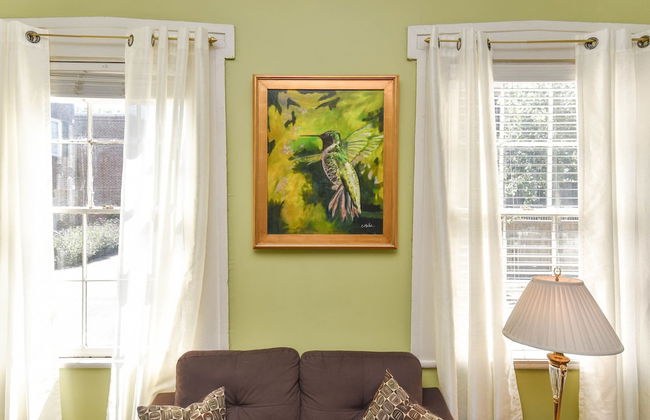
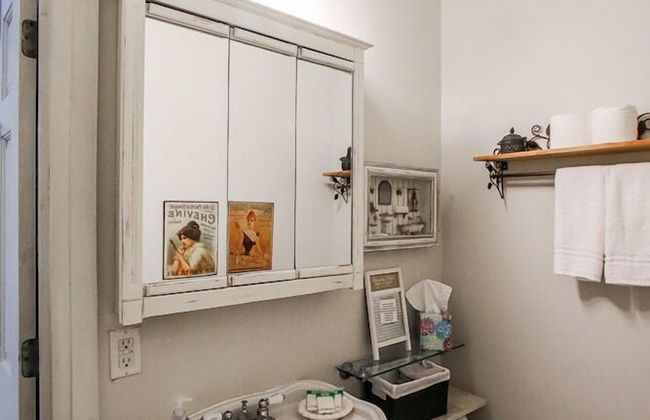
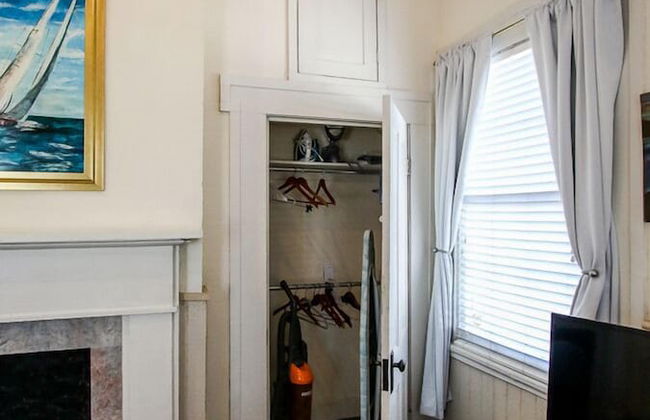
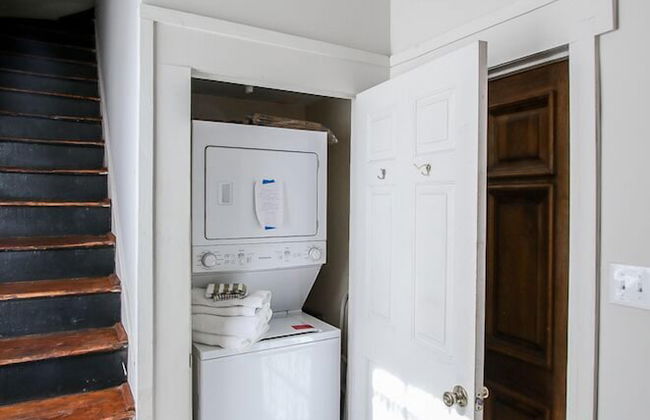
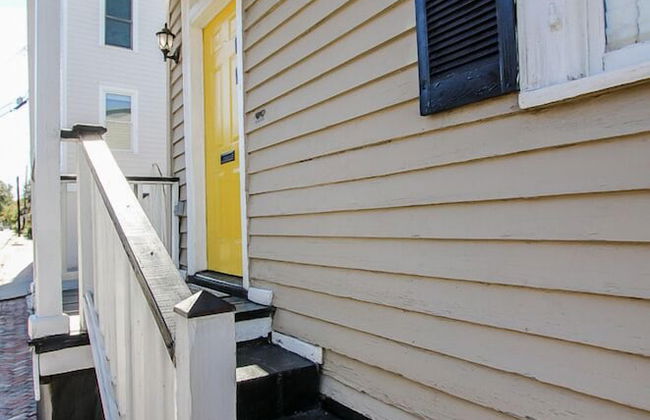
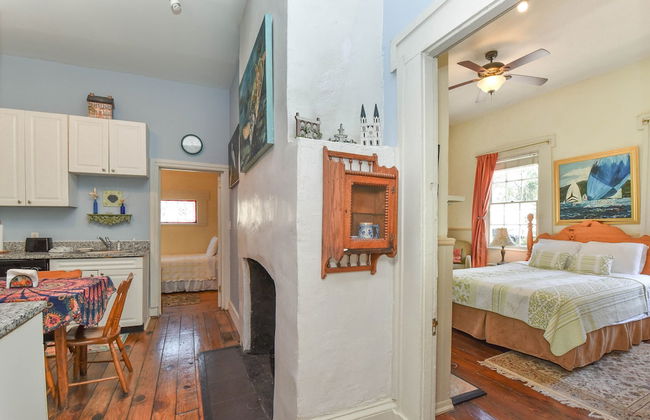
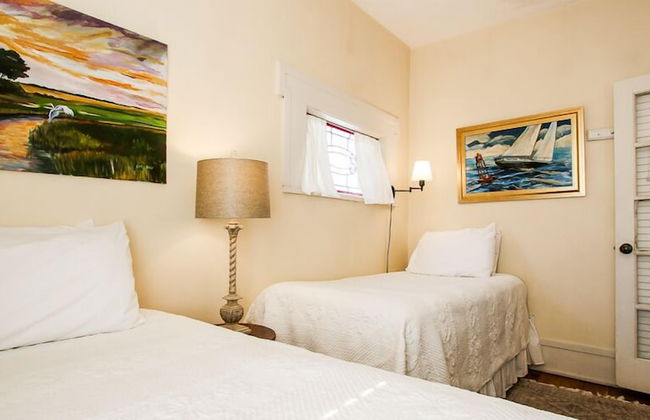
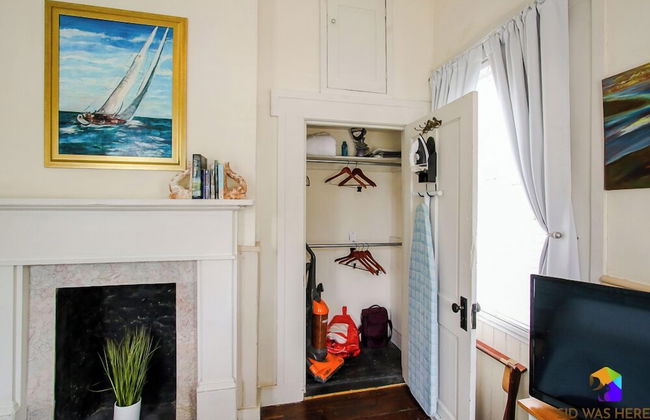
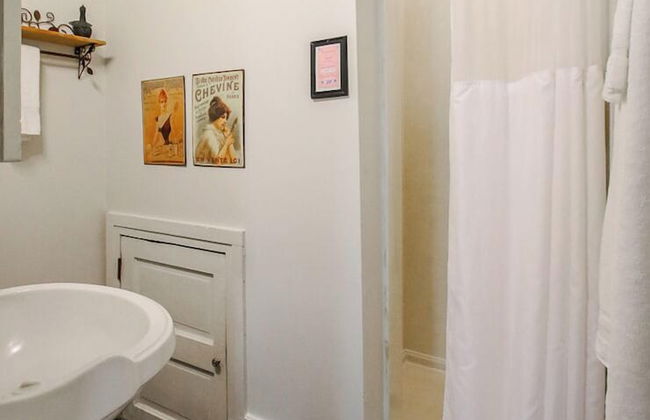
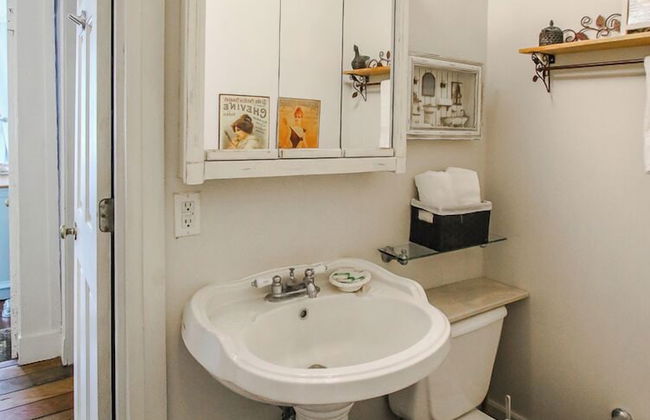
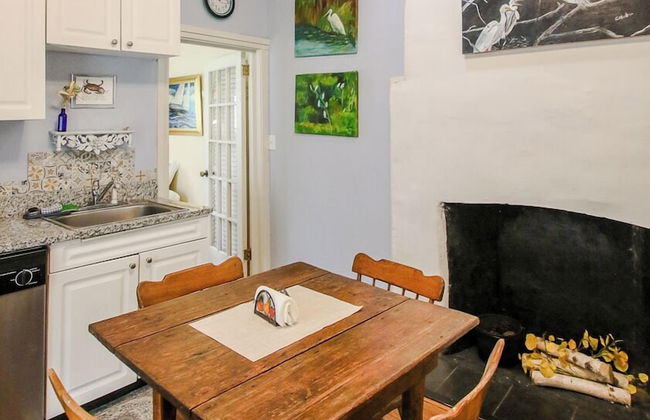
Artist's House Upper Apt Walk to Forsyth
Savannah - Downtown Savannah - A 930 m del centro
- 84 M2
- 6 personas
- Aire acondicionado
- Calefacción
- Parking
- Televisión
- Lavadora
- Toallas


The Savannah Belle Forsyth Park A Side
Savannah - Downtown Savannah - A 940 m del centro
- 74 M2
- 4 personas
- Aire acondicionado
- Calefacción
- Balcón
- Televisión
- Toallas


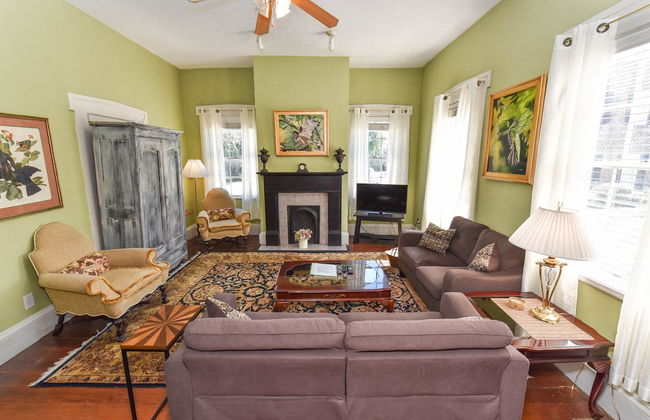
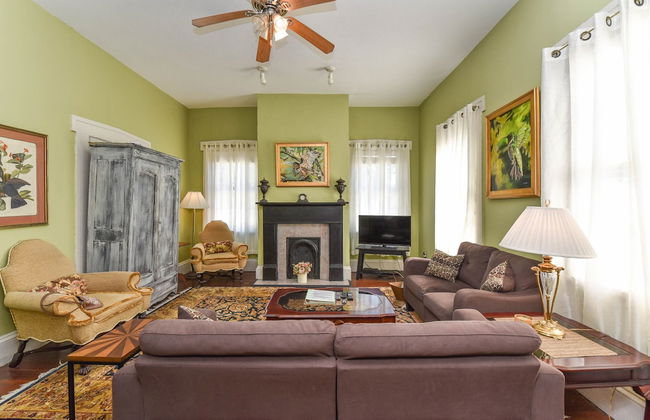

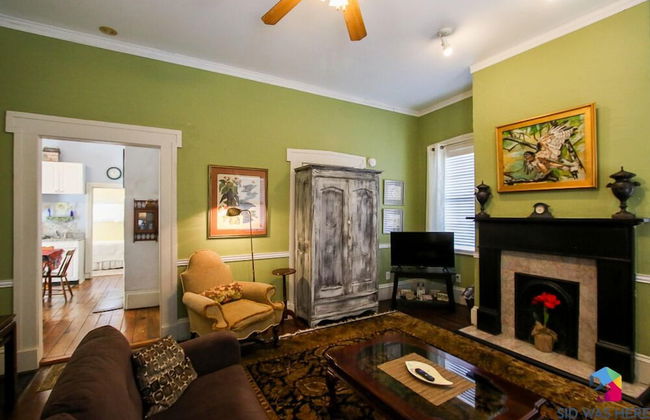

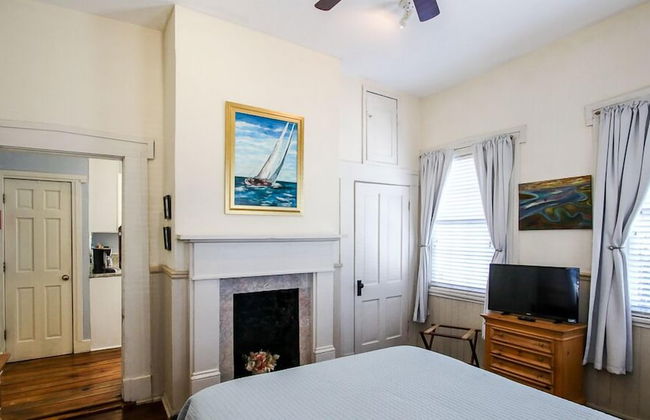
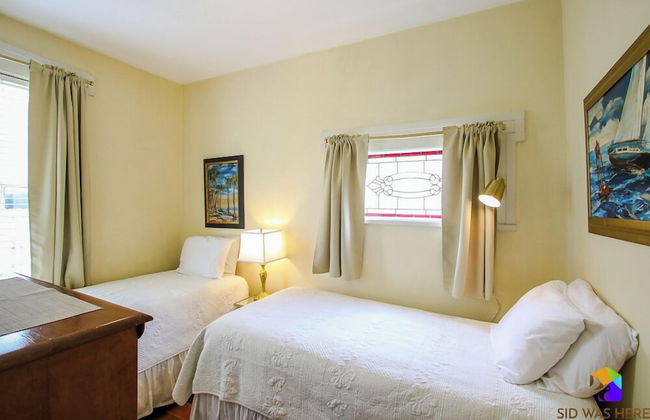
Artist House Lower in Forsyth Park Neighborhood Hist Savannah
Savannah - Downtown Savannah - A 930 m del centro
- 102 M2
- 4 personas
- Aire acondicionado
- Calefacción
- Televisión
- Lavadora
- Toallas


Habersham House by Tybee Vacation Rentals
Savannah - Downtown Savannah - En el centro
- 384 M2
- 14 personas
- Calefacción
- Parking
- Televisión
- Lavadora
- Toallas
- Sábanas


Whitaker By Design by Tybee Vacation Rentals
Savannah - Downtown Savannah - A 600 m del centro
- 268 M2
- 8 personas
- Calefacción
- Parking
- Televisión
- Lavadora
- Toallas
- Sábanas


The Belle Aire - Hist District Savannah
Savannah - Downtown Savannah - A 940 m del centro
- 74 M2
- 4 personas
- Televisión
- Lavadora
- Toallas


Hawkins House - Historic Savannah Stay near Forsyth Park with Designer Interiors and Plunge Pool
Savannah - Downtown Savannah - A 620 m del centro
- 119 M2
- 3 habitaciones
- 6 personas
- Aire acondicionado
- Calefacción
- Piscina


Habersham 3 by Tybee Vacation Rentals
Savannah - Downtown Savannah - En el centro
- 163 M2
- 3 habitaciones
- 6 personas
- Aire acondicionado
- Calefacción
- Parking
- Ascensor
- Televisión
- Lavadora
- Toallas


Savannah Jetsetter by Tybee Vacation Rentals
Savannah - Downtown Savannah - A 1.1 km del centro
- 195 M2
- 3 habitaciones
- 6 personas
- Aire acondicionado
- Calefacción
- Parking
- Balcón
- Televisión
- Lavadora
- Toallas
- Sábanas


Southern Belle Carriage by Lucky Savannah
Savannah - Downtown Savannah - A 550 m del centro
- 3 personas
- Calefacción
- Parking


Spanish Moss by Lucky Savannah
Savannah - Downtown Savannah - A 480 m del centro
- 1 habitación
- 4 personas
- Calefacción
- Parking


Chateau on Tattnall by Lucky Savannah
Savannah - Downtown Savannah - A 970 m del centro
- 3 habitaciones
- 7 personas
- Calefacción
- Parking


Southern Belle Garden by Lucky Savannah
Savannah - Downtown Savannah - A 570 m del centro
- 4 personas
- Calefacción
- Parking


Gaston Haus by Lucky Savannah
Savannah - Downtown Savannah - A 720 m del centro
- 74 M2
- 2 personas
- Calefacción


The Park House 2B by Lucky Savannah
Savannah - Downtown Savannah - A 680 m del centro
- 2 personas
- Calefacción
- Parking