


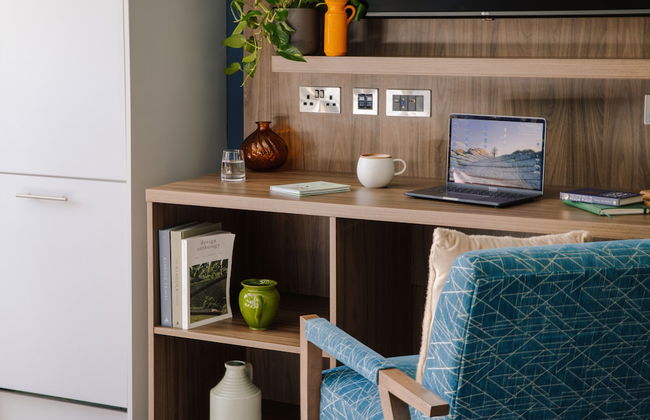
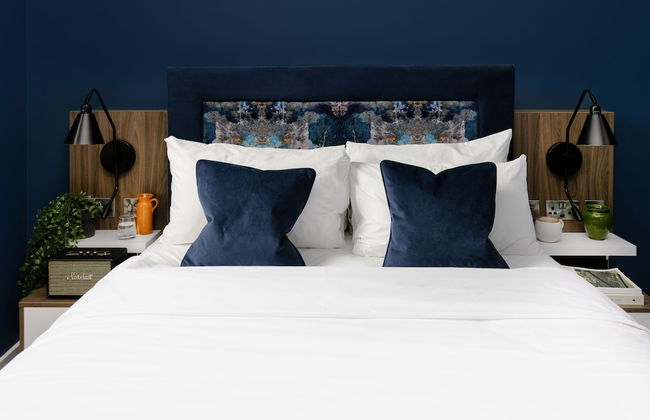
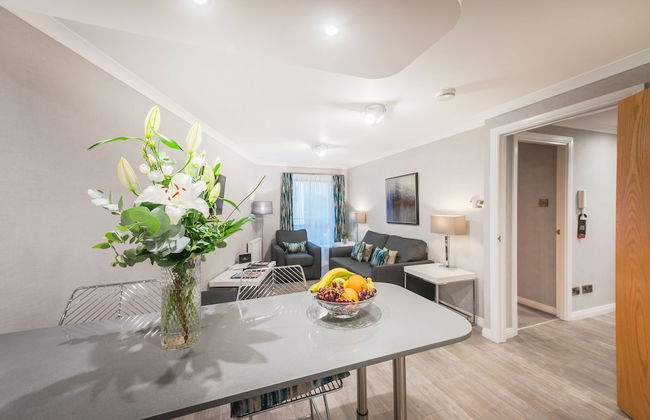
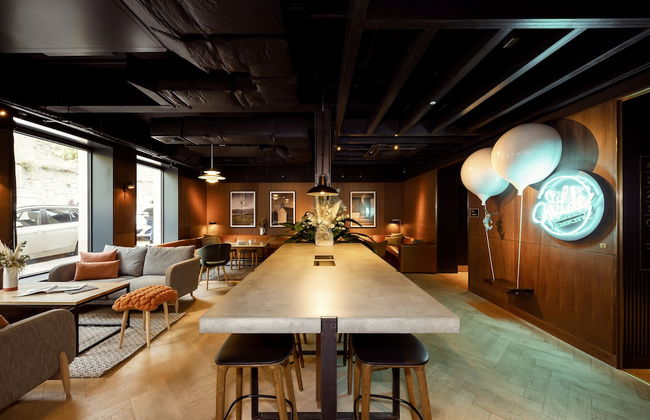
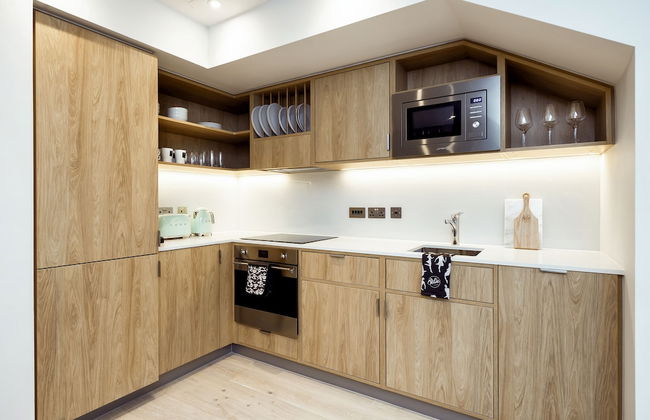
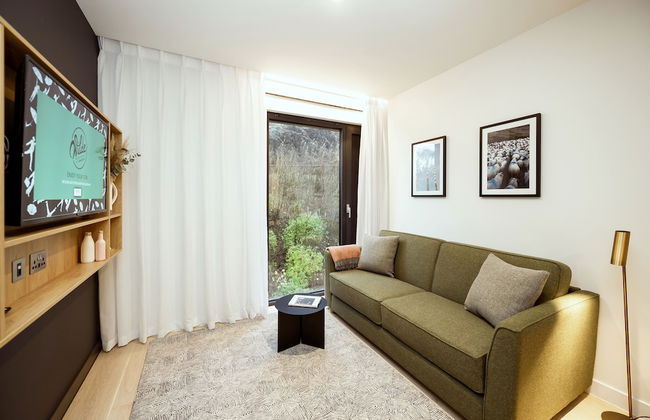
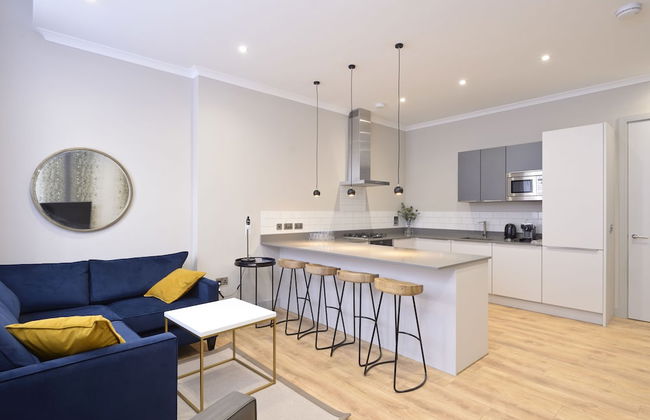
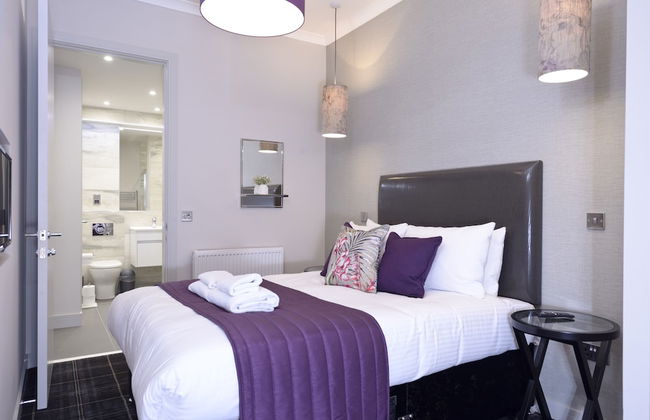
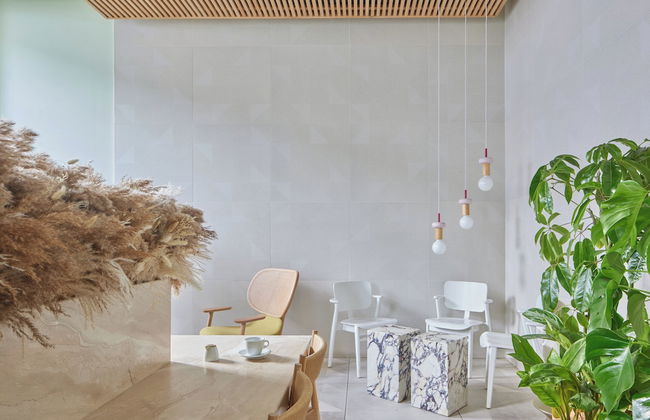
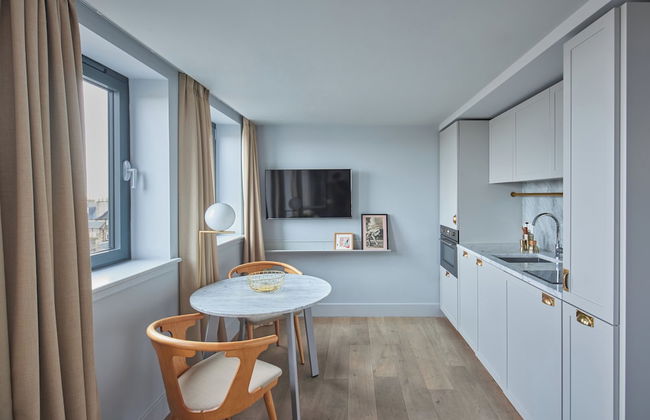
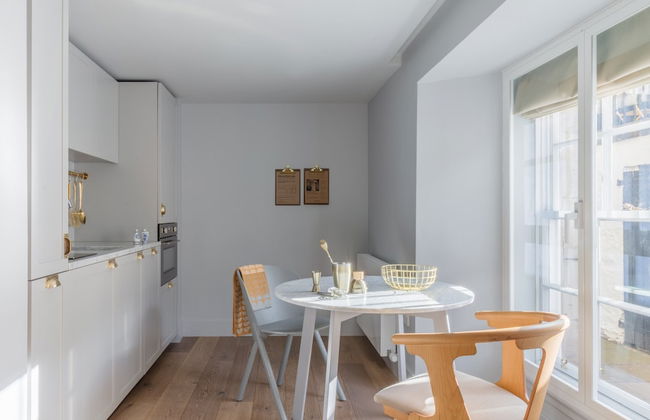
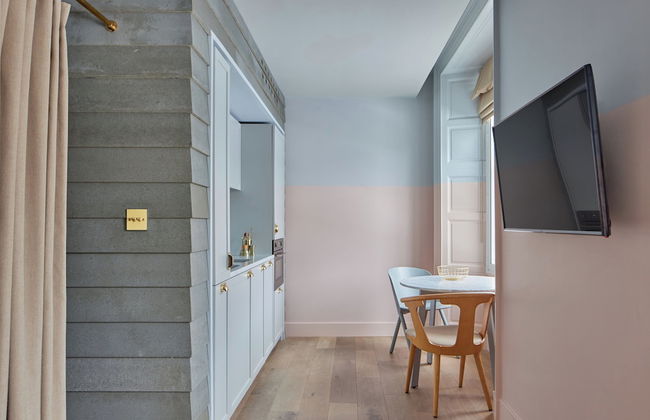
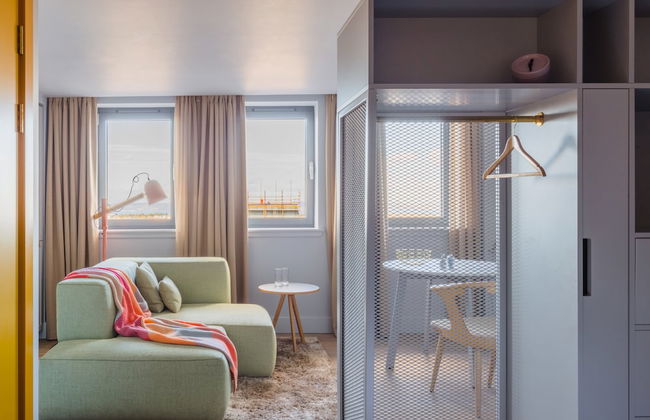
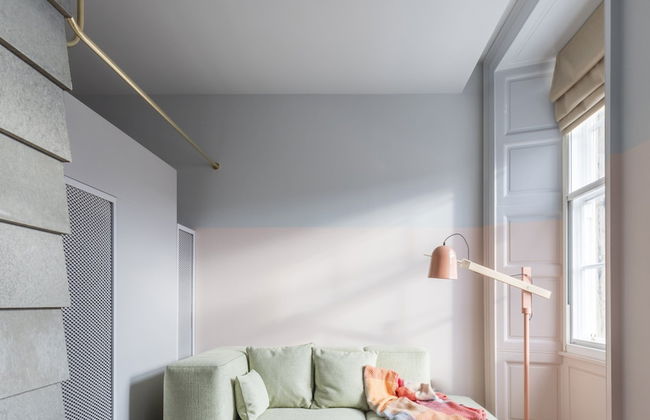
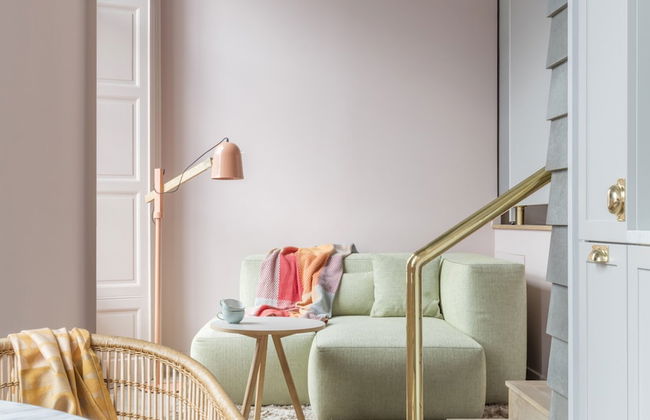
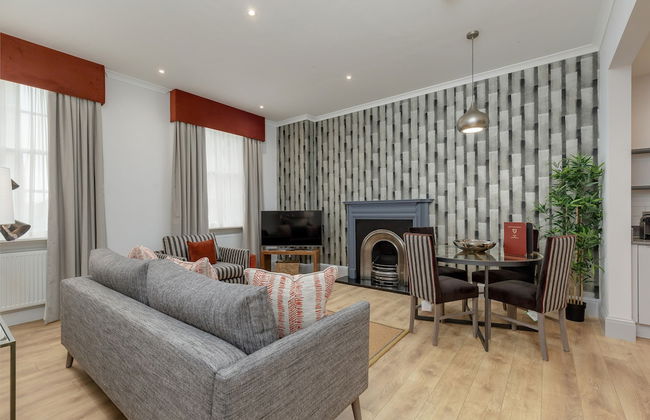
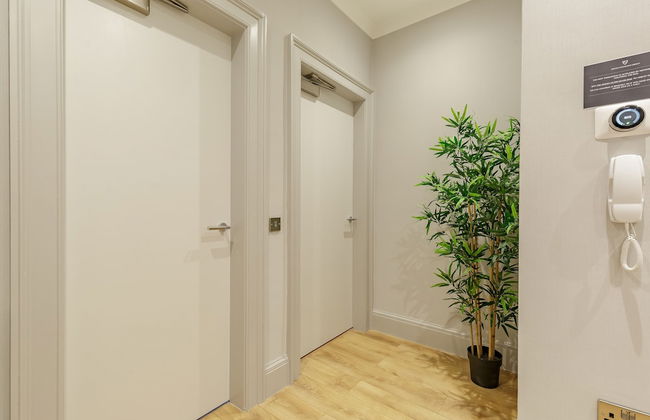
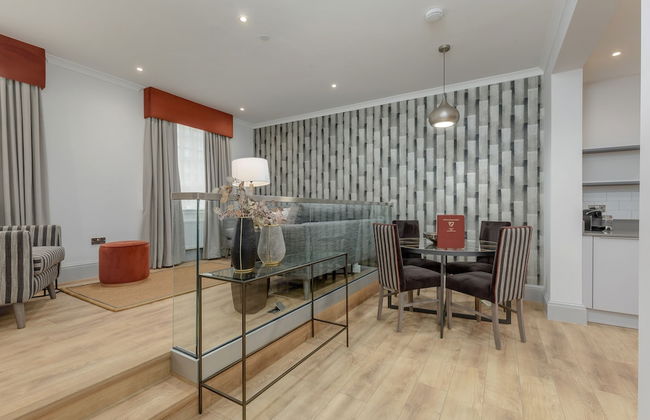
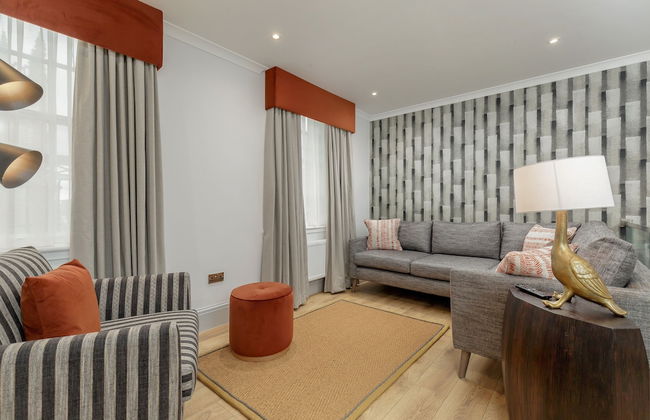
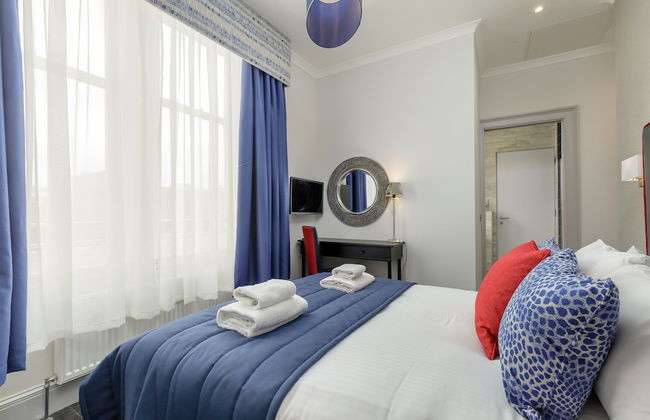
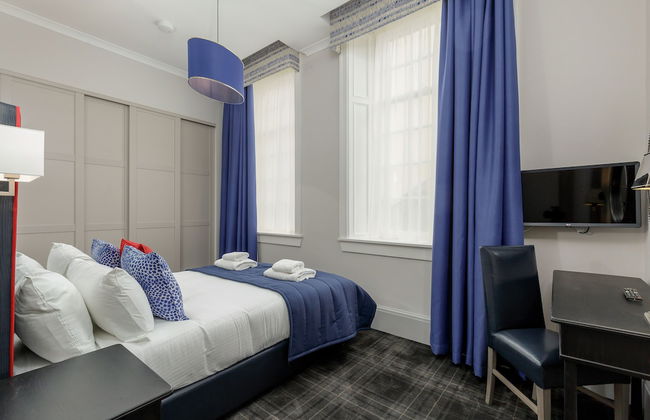
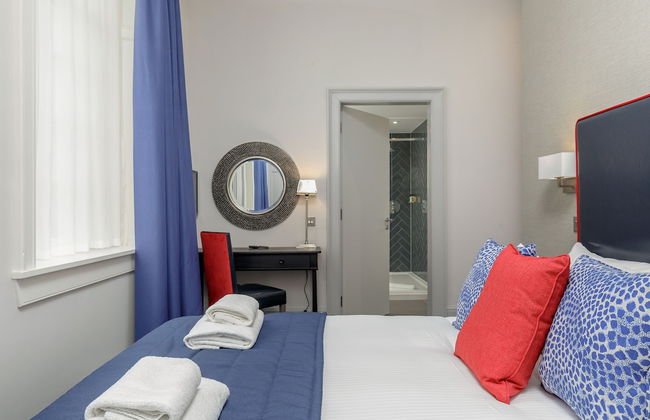
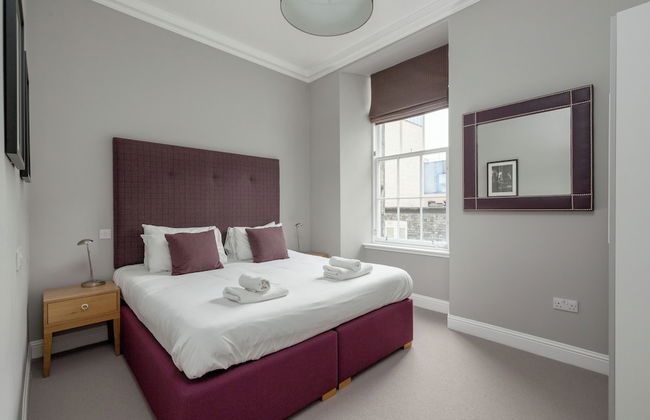
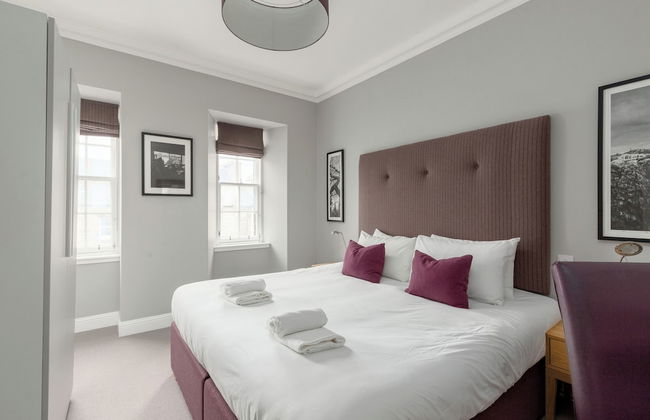
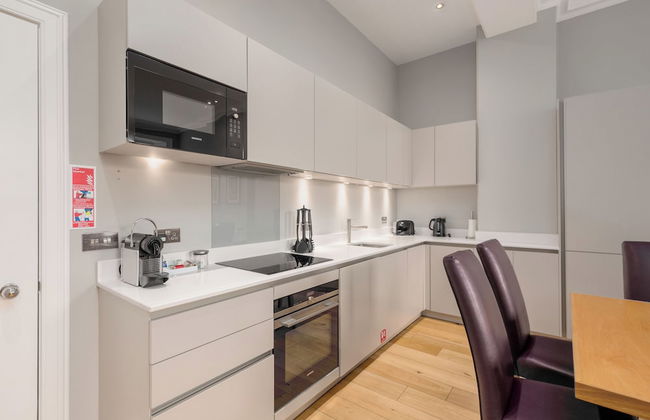
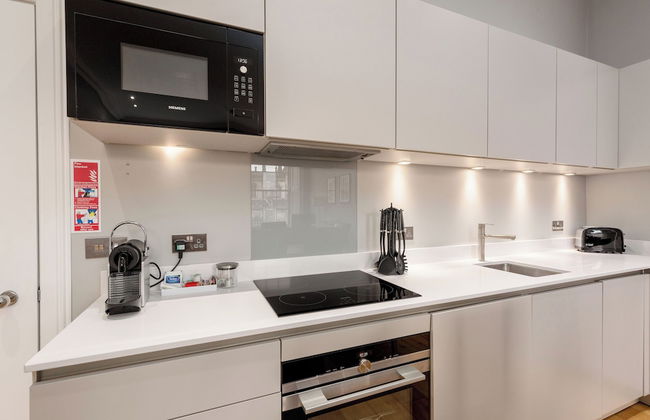
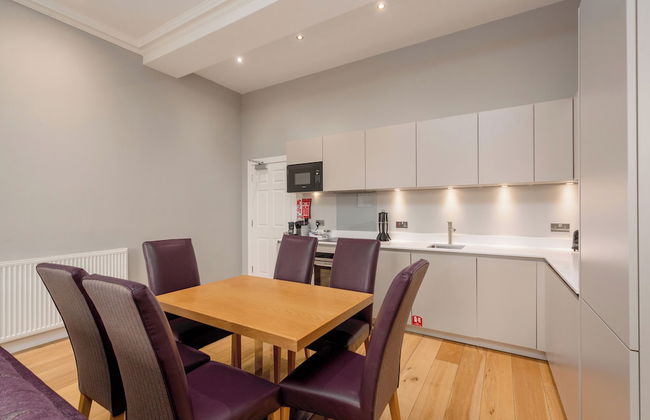
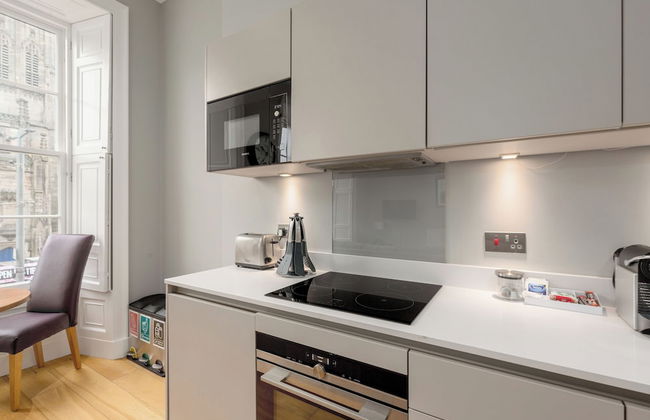
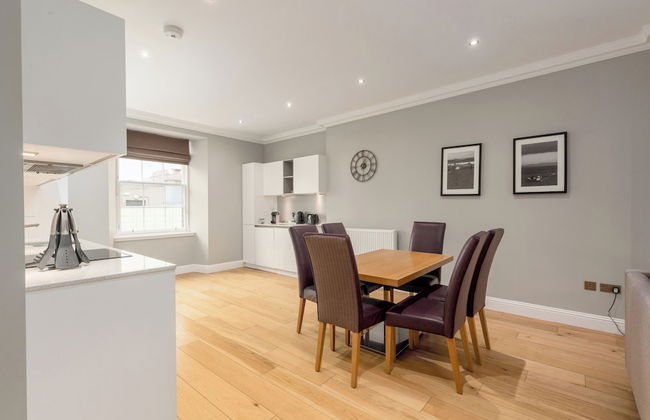
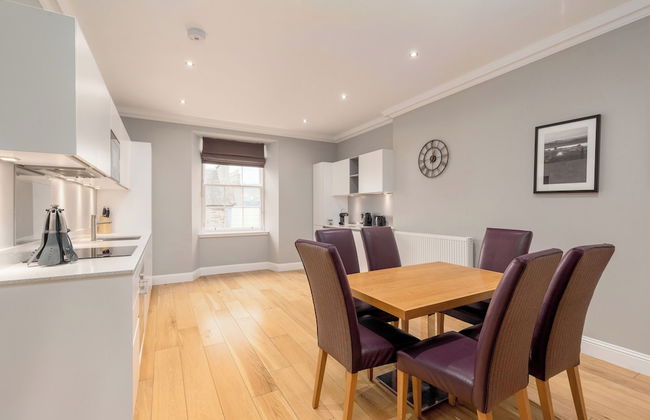
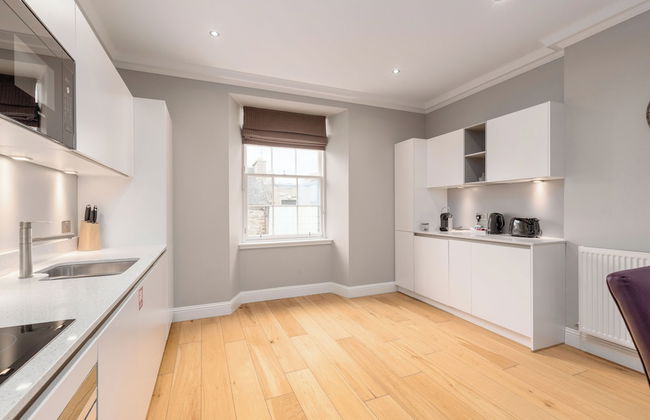
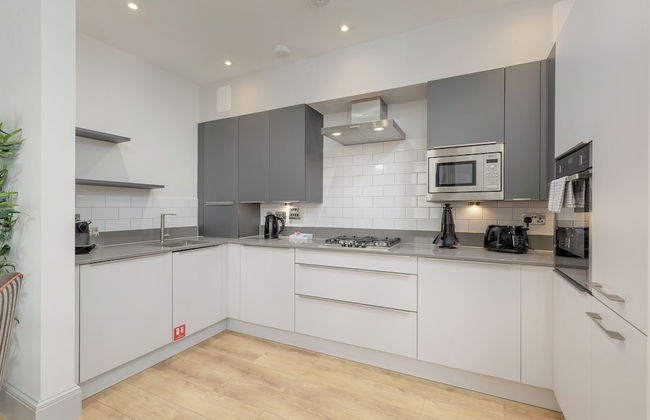
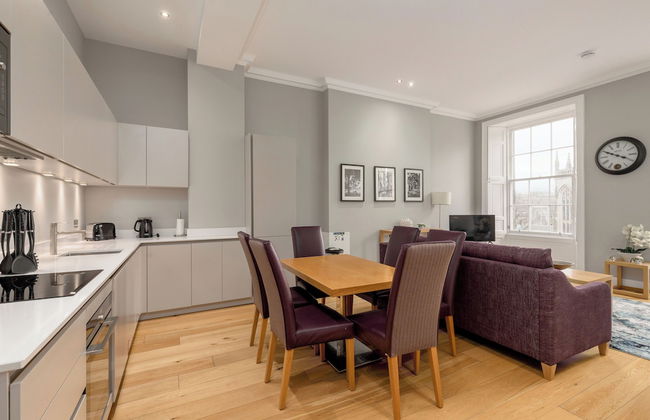
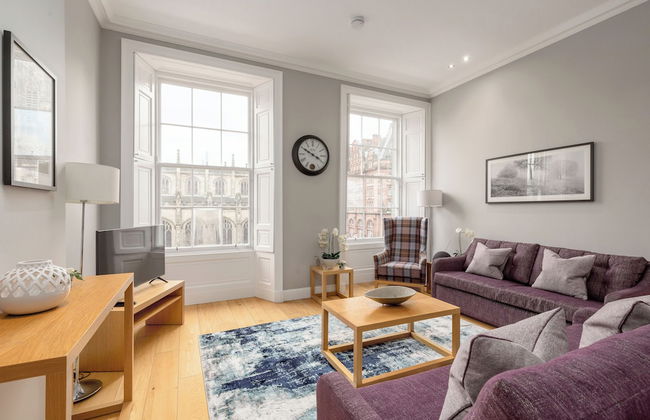
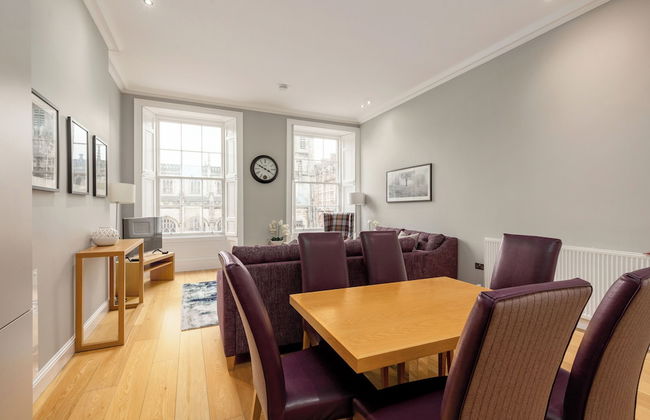
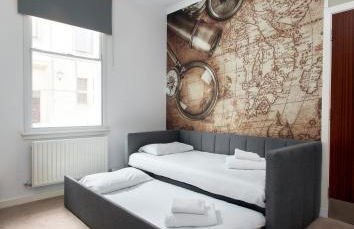
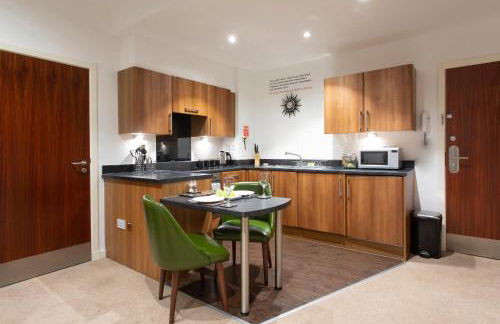
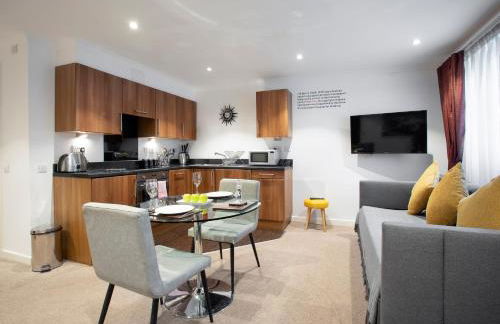
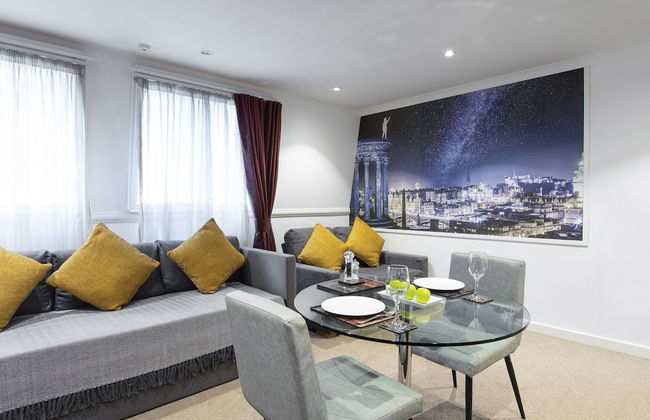
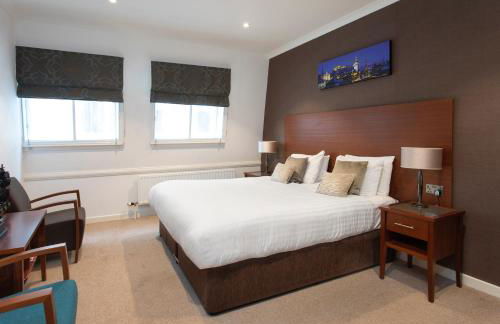
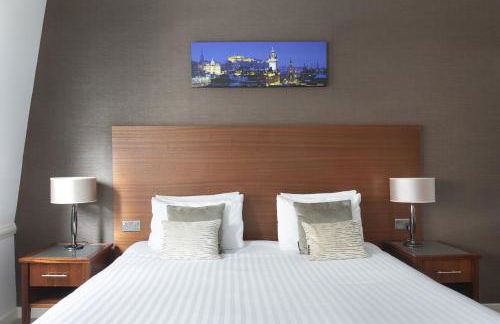
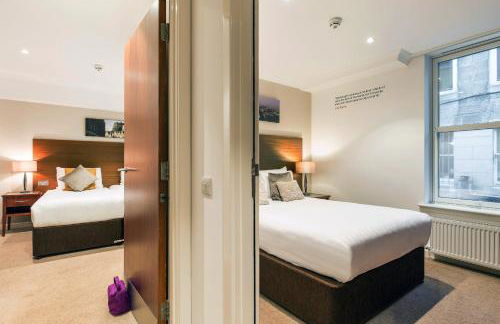
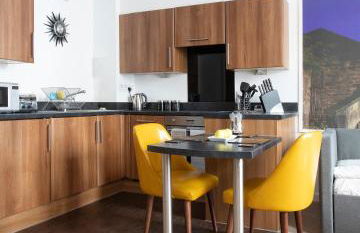
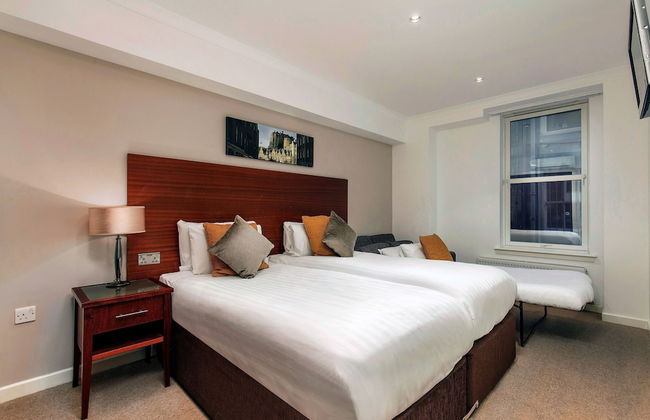
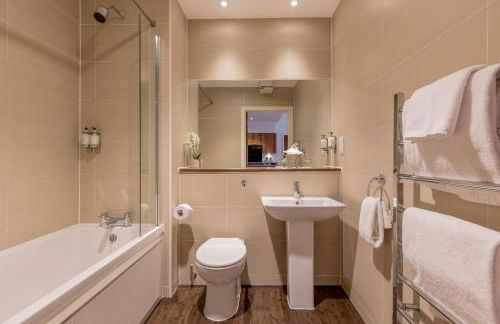
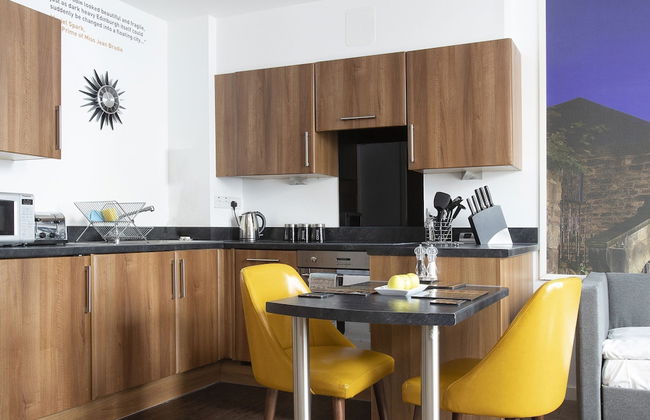
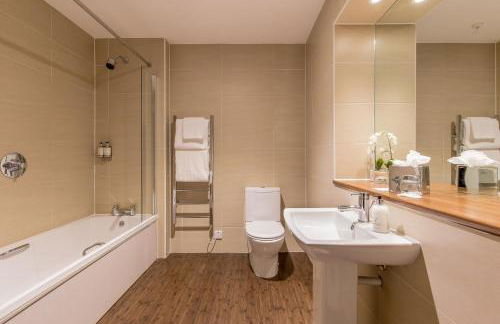
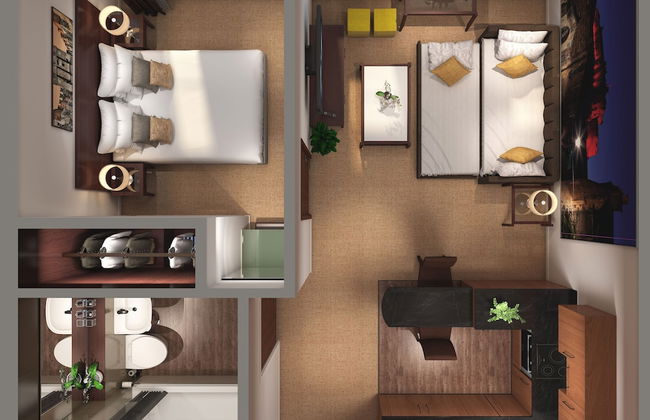
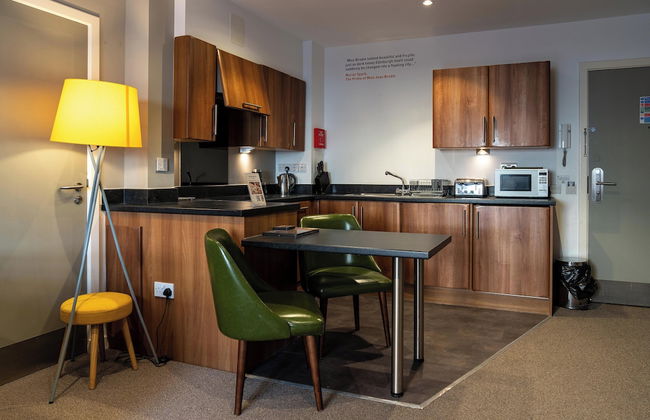
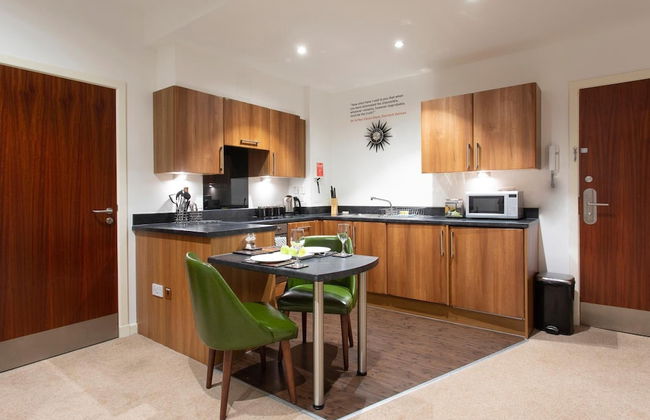
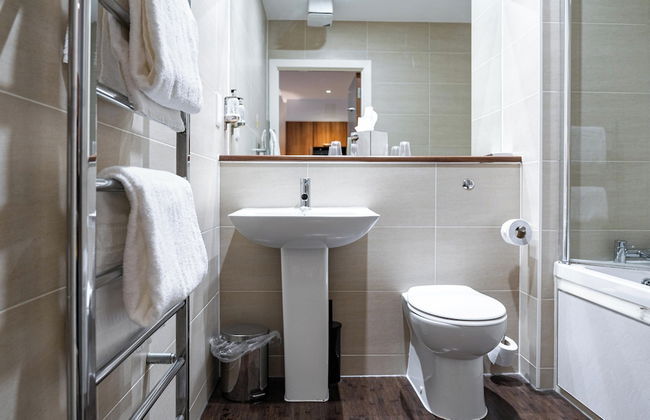
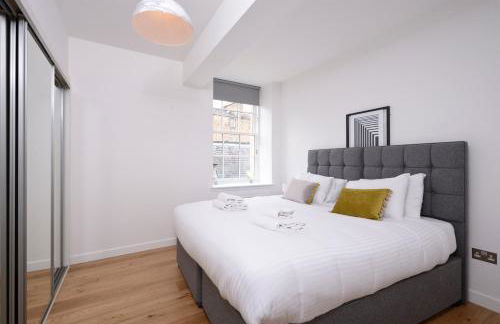
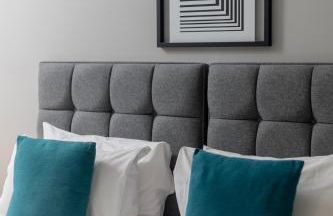
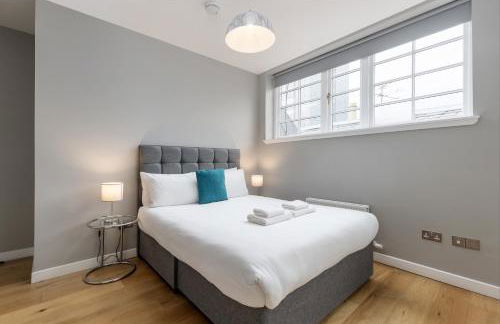
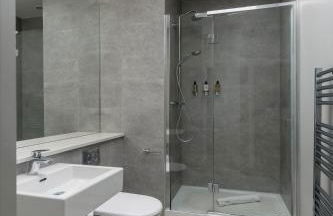
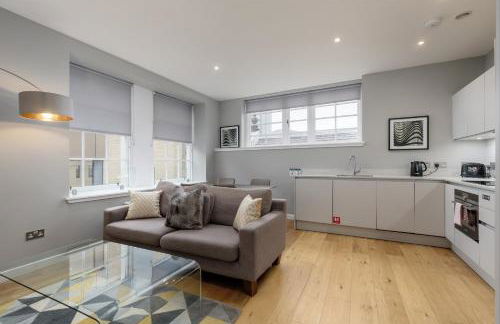
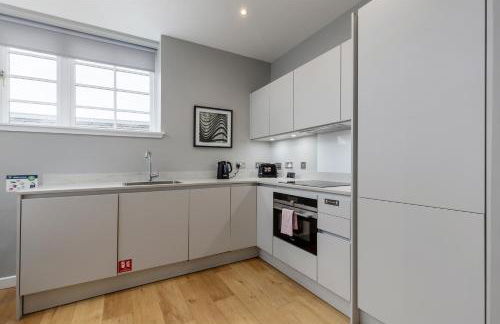
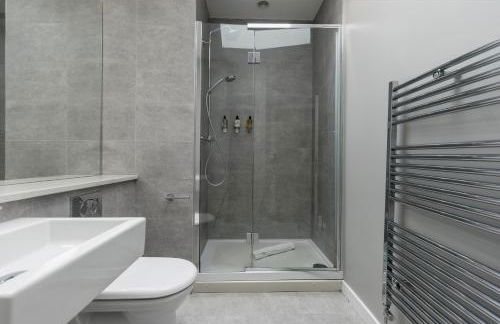
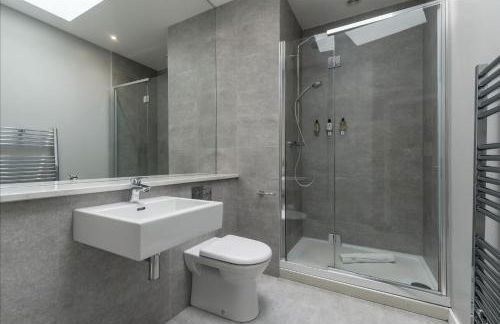
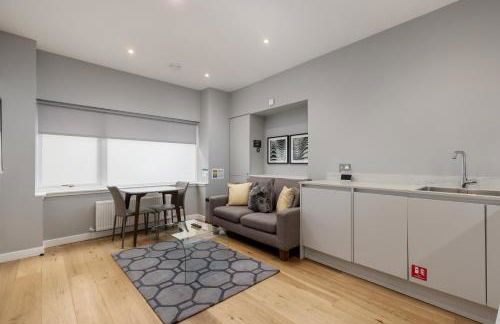
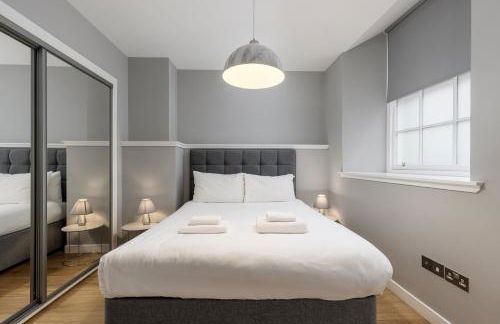
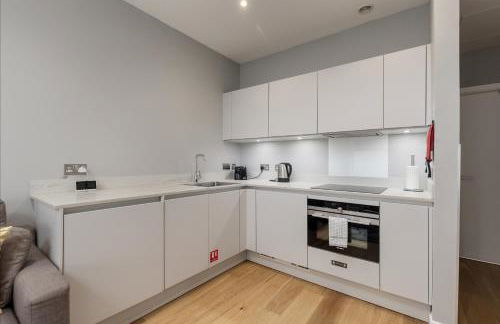
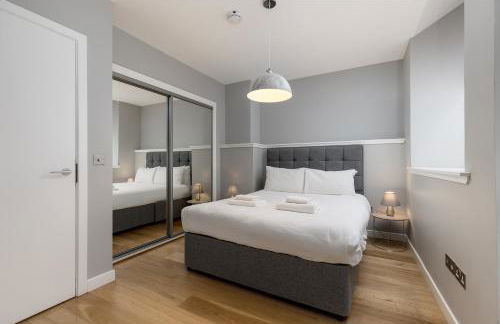
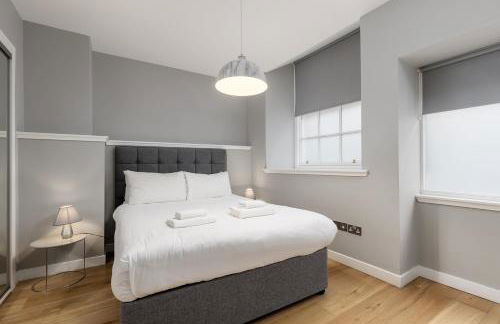
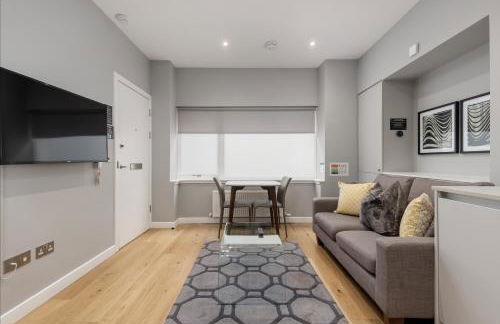
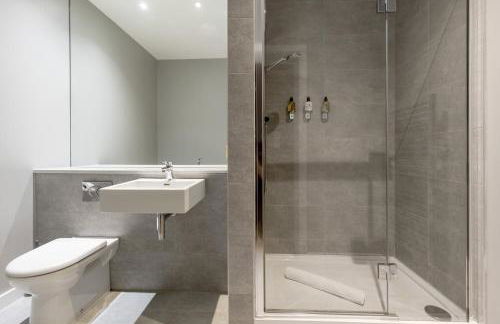
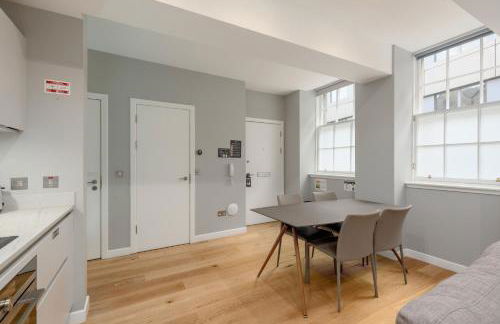
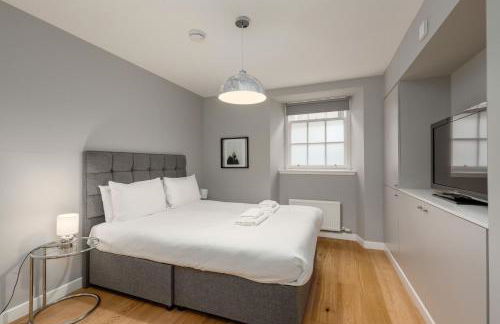
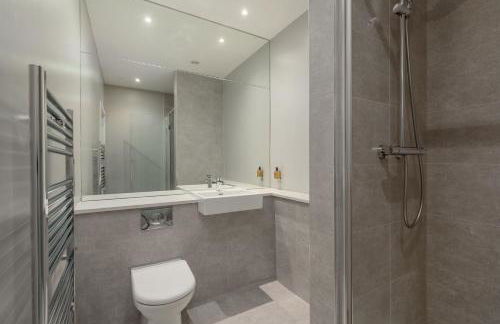
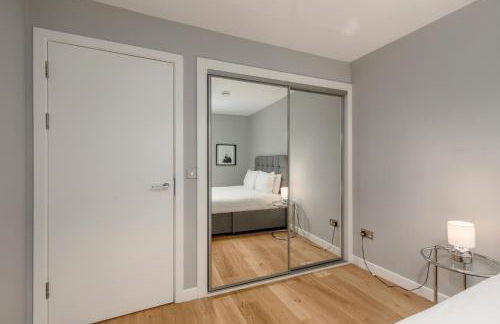
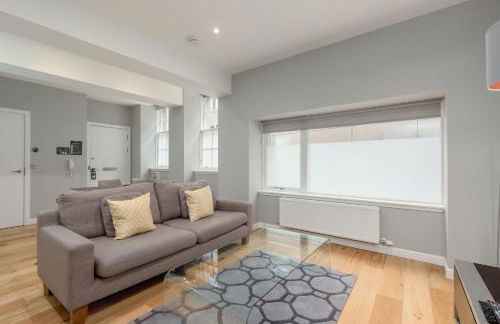
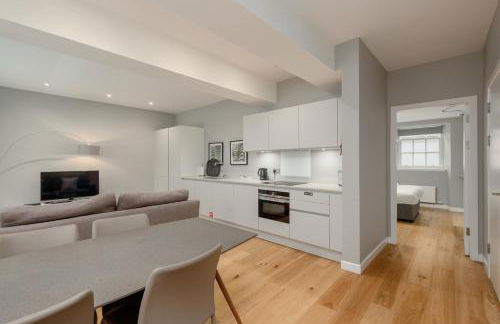
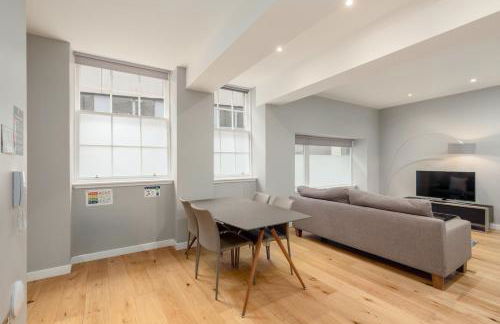
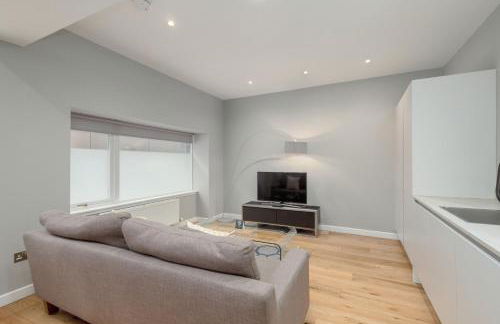
RÌGH Residences - George Street
Edimburgo - EH2 - En el centro
- 72 M2
- 2 habitaciones
- 5 personas
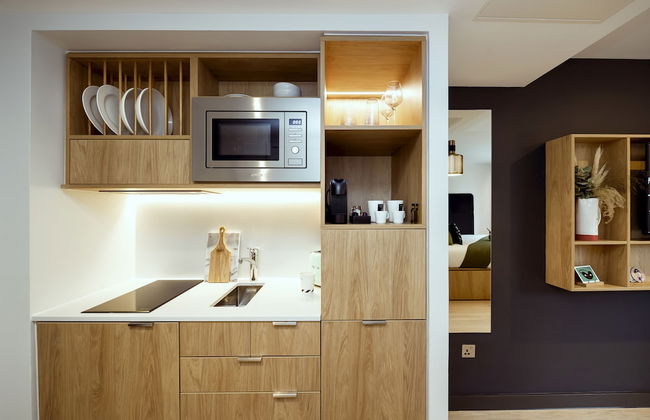
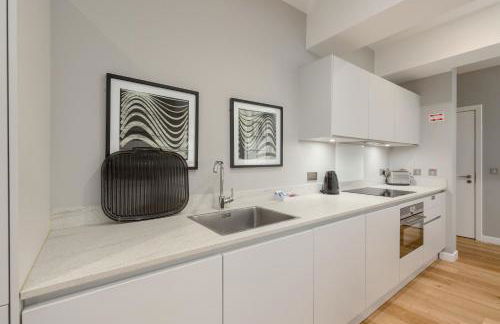
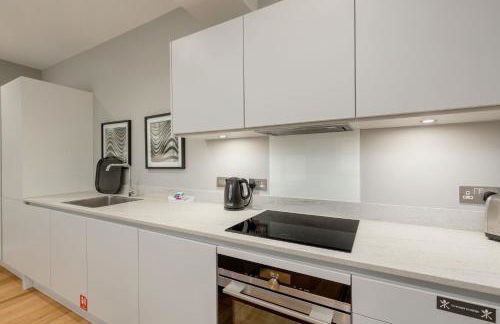
- Cocina pequeña
- Aire acondicionado
- Calefacción
- Ascensor
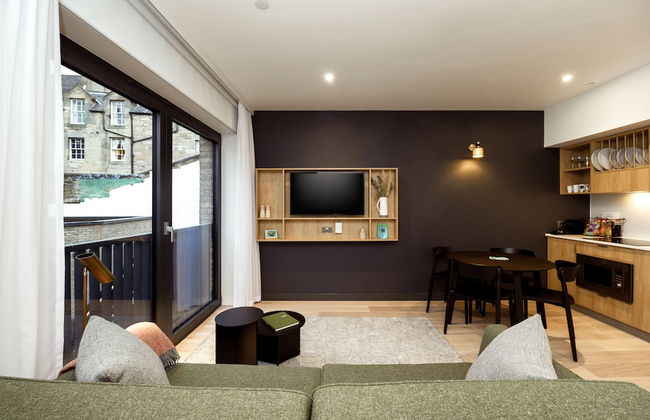
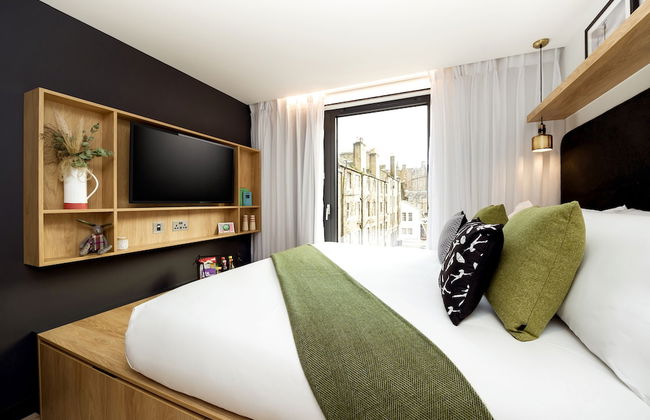
- Televisión
- Toallas
- Sábanas


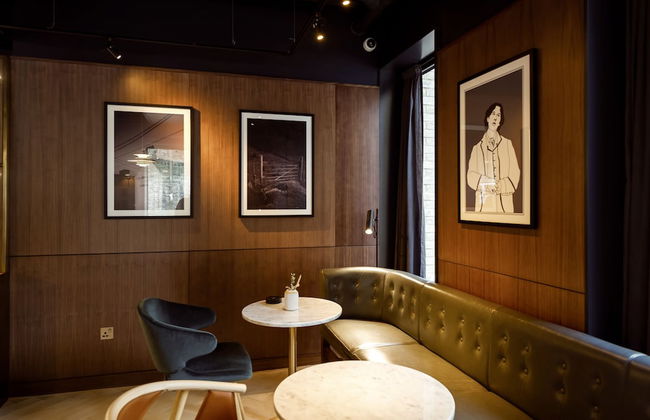
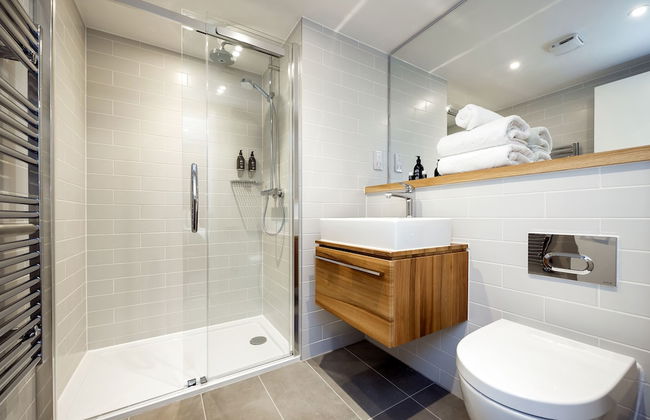
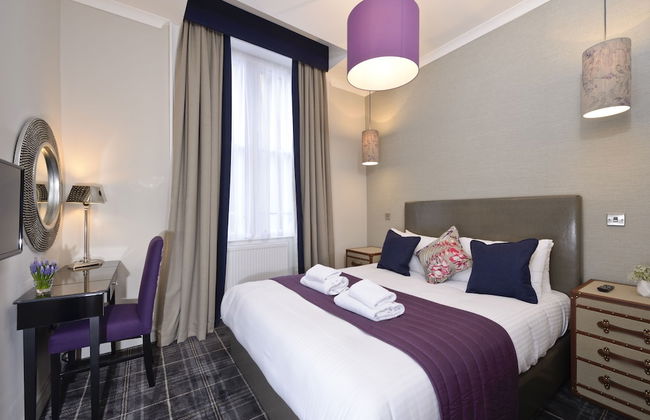
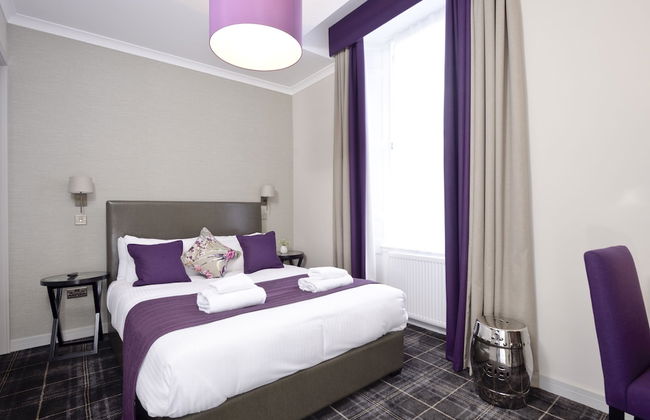
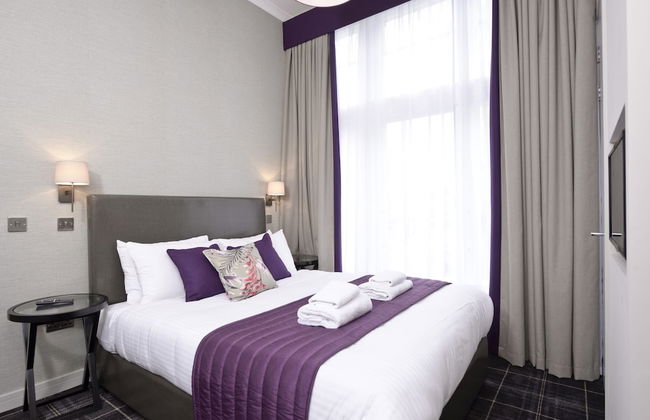
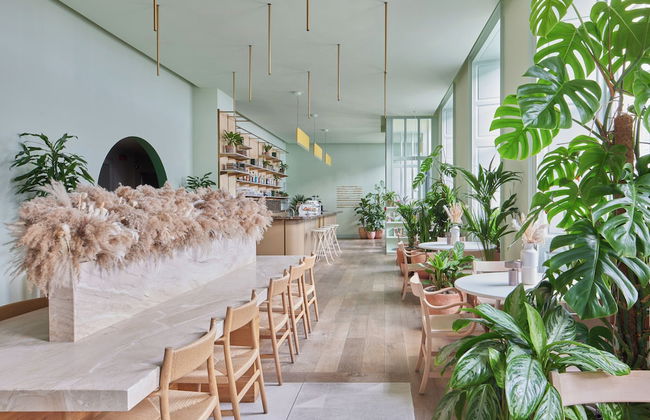
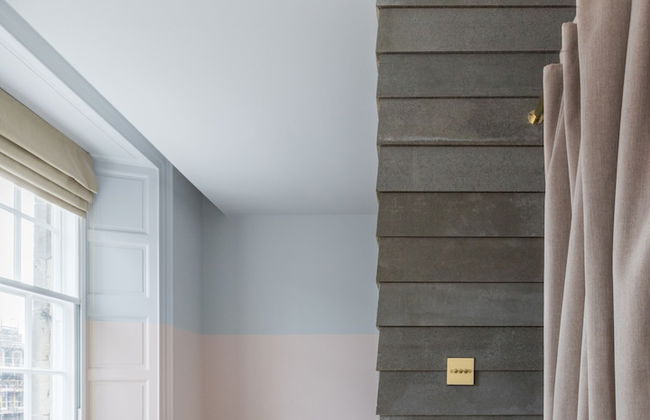
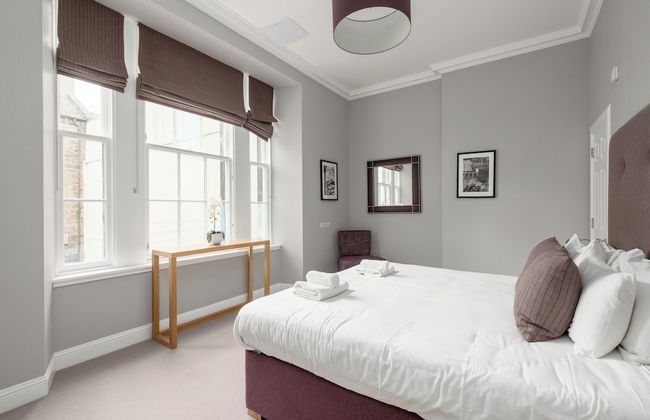
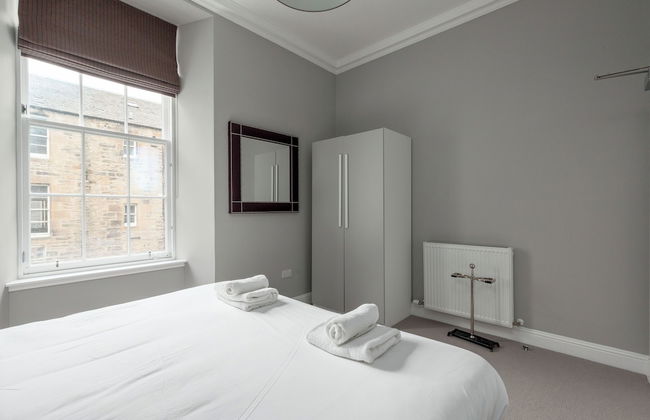
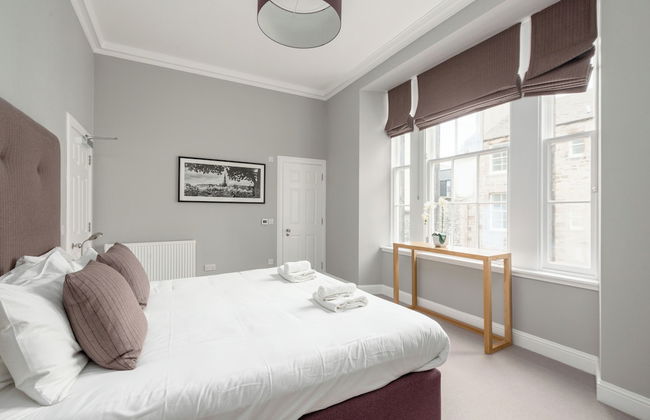
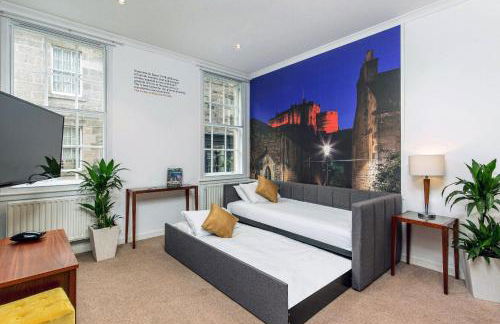
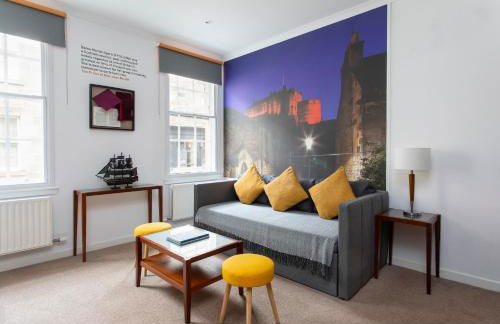
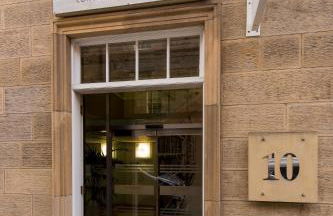
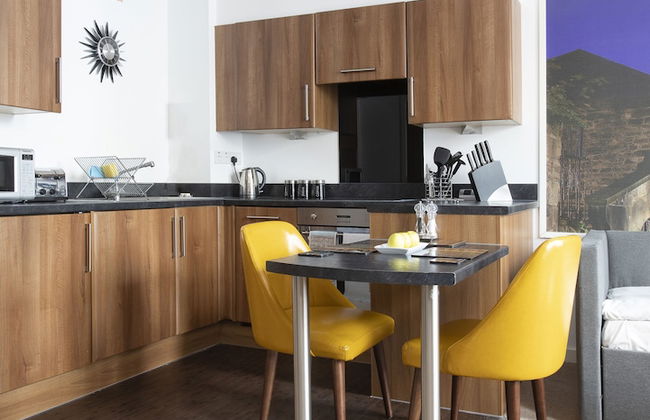
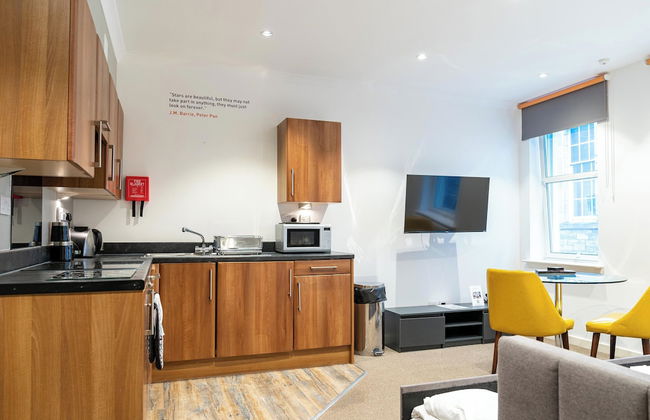
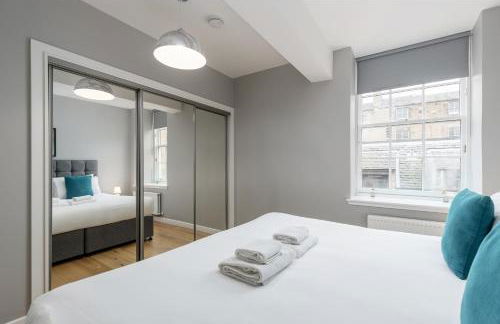
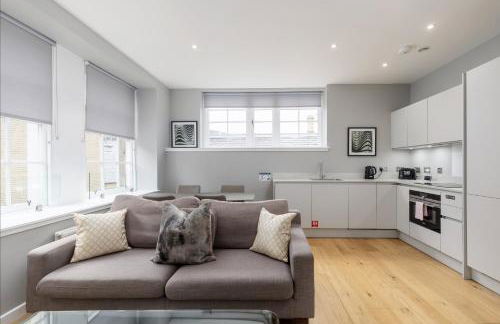
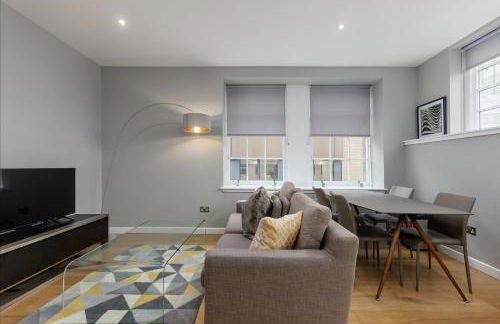
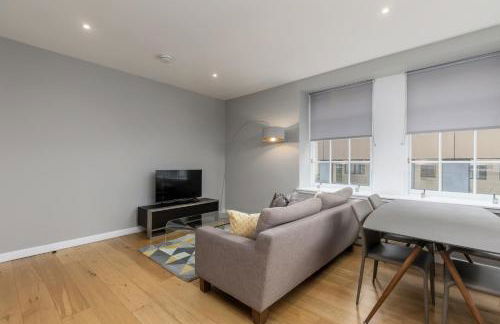
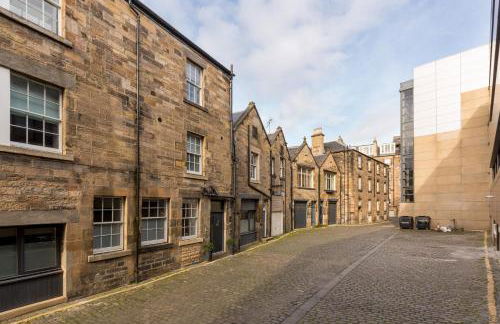
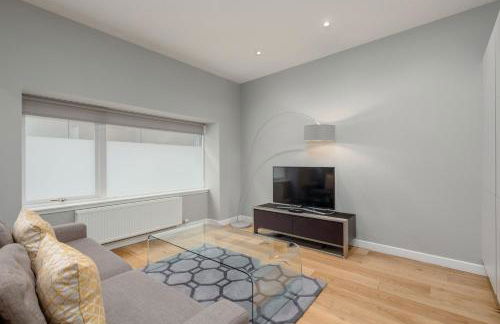
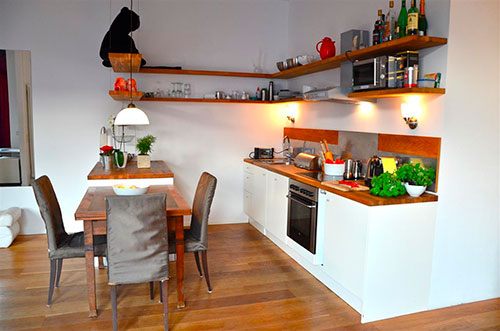
Grassmarket, Below Edinburgh Castle in Old Town
Edimburgo - EH1 - A 350 m del centro
- 76 M2
- 4 personas
- Calefacción
- Televisión
- Lavadora
- Chimenea
- Toallas
- Sábanas


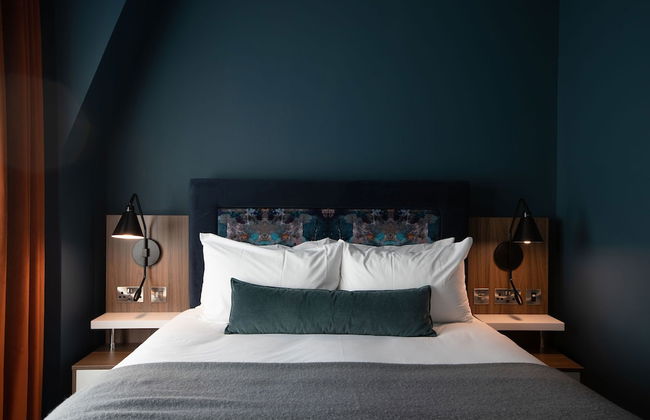
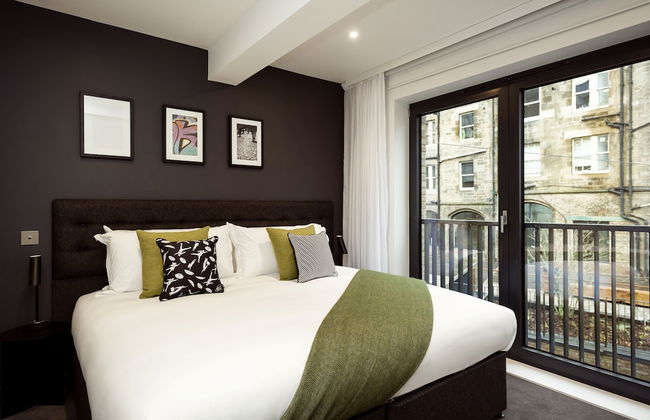
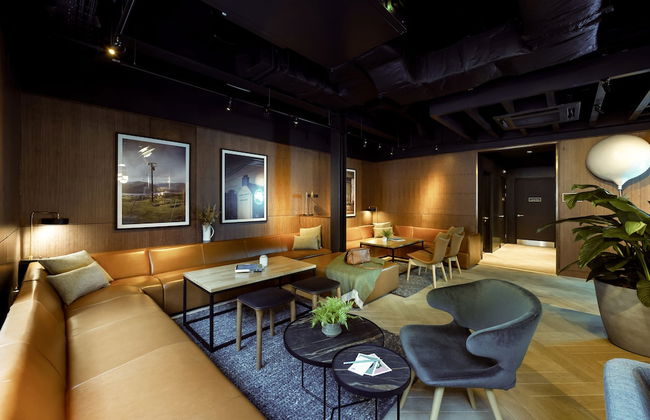
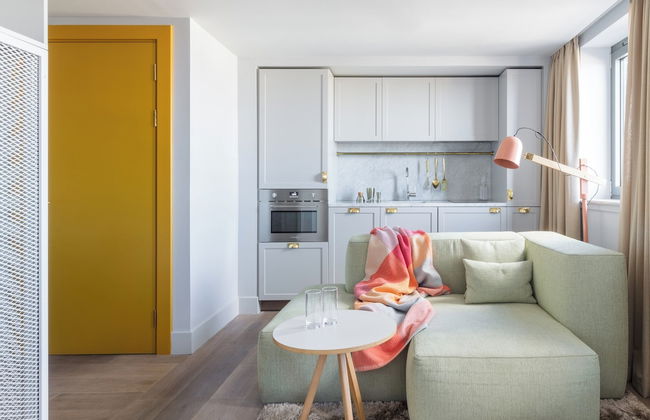
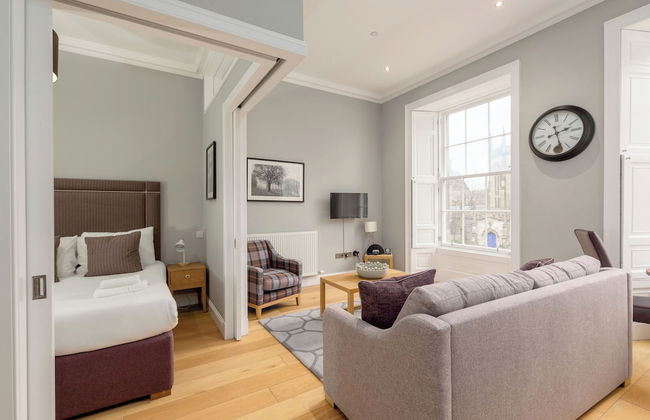
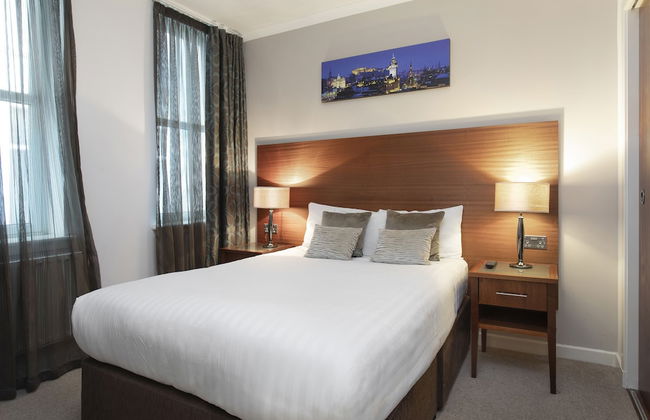
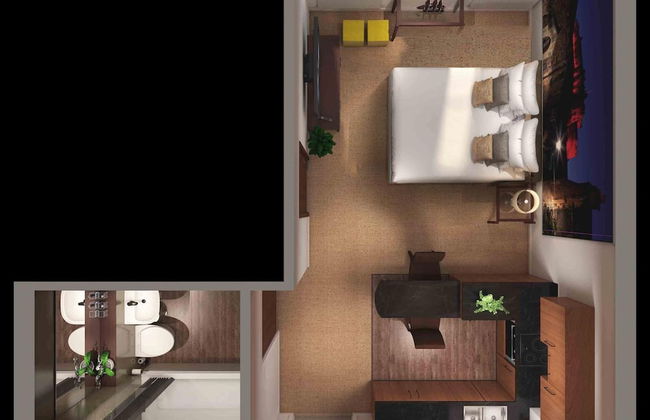
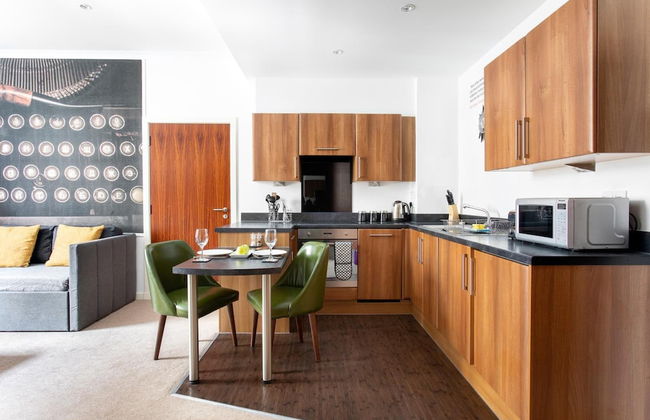
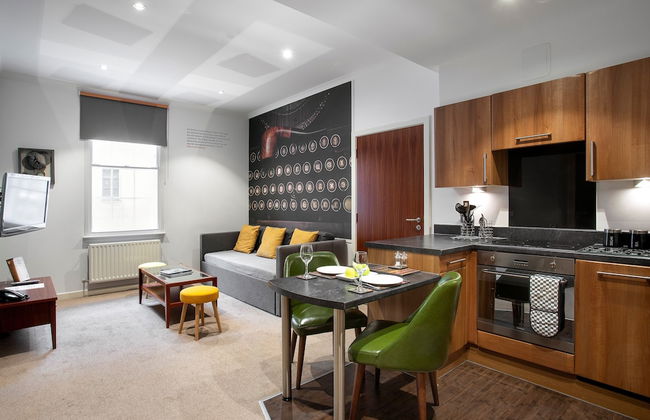
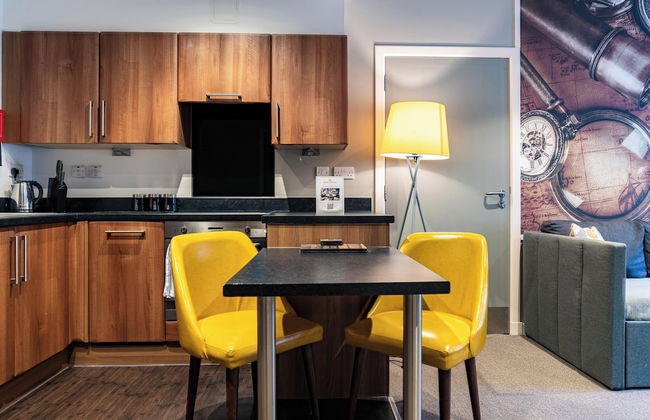
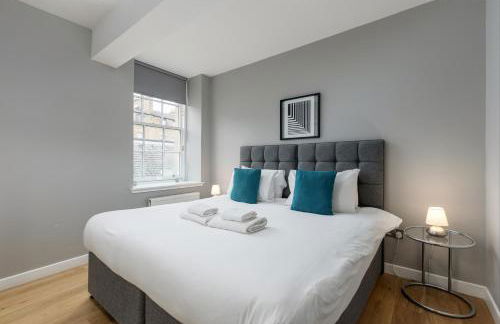
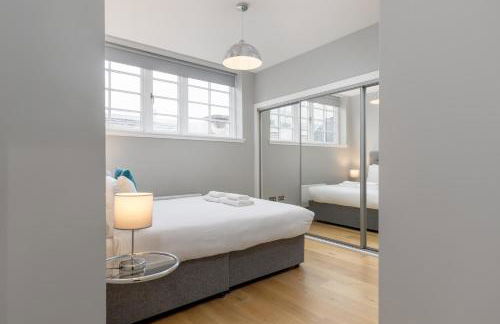
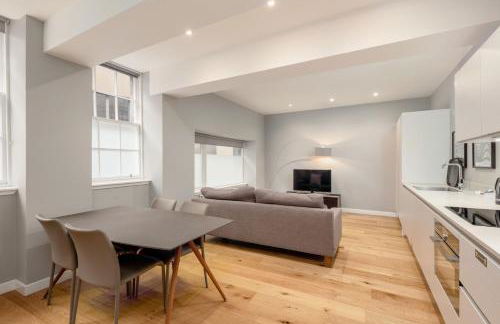
Linton Collection - 28 North Bridge
Edimburgo - EH1 - A 420 m del centro
- 58 M2
- 2 habitaciones
- 4 personas
- Cocina pequeña
- Calefacción
- Ascensor
- Televisión
- Lavadora
- Toallas
- Sábanas


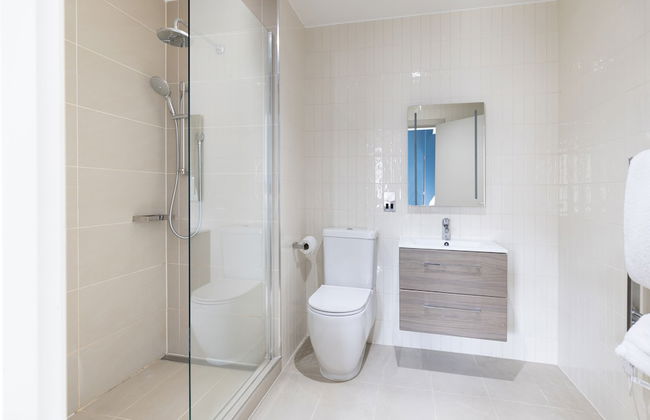


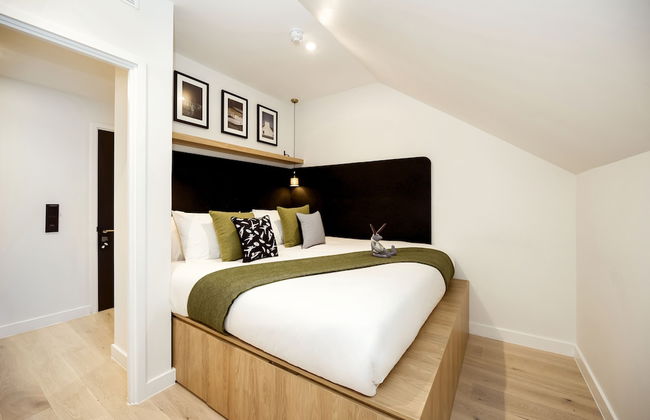
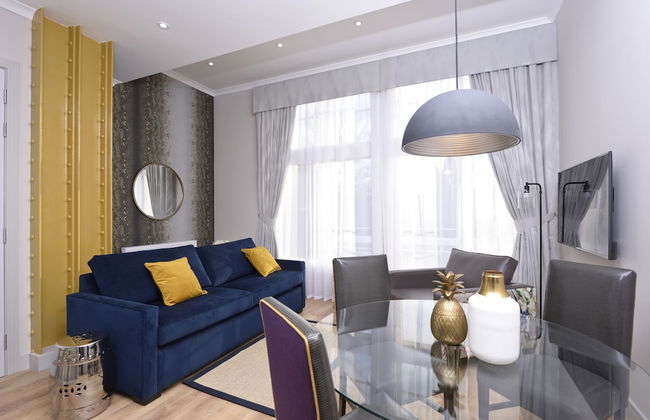
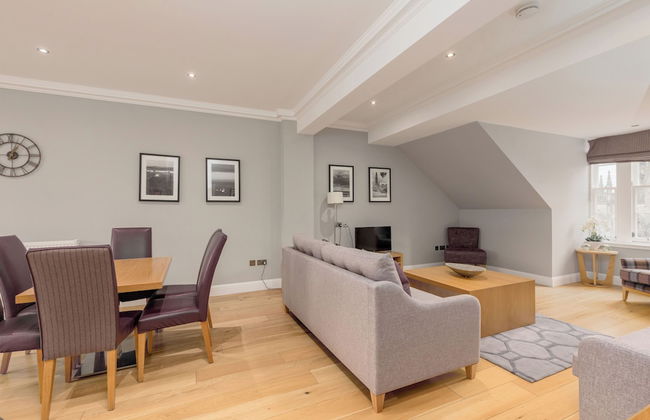
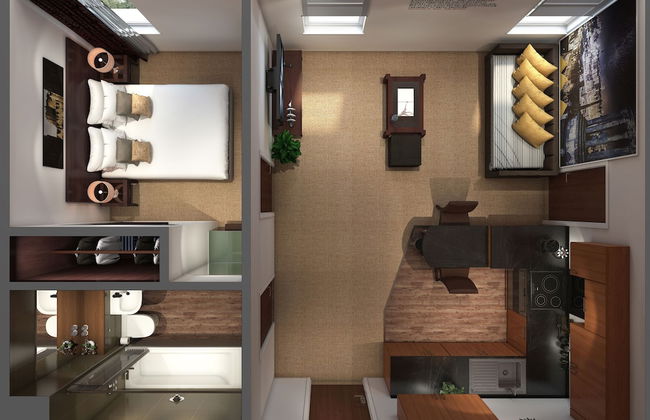
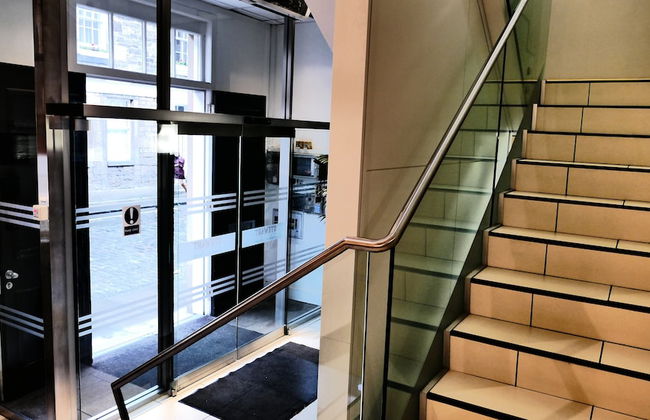
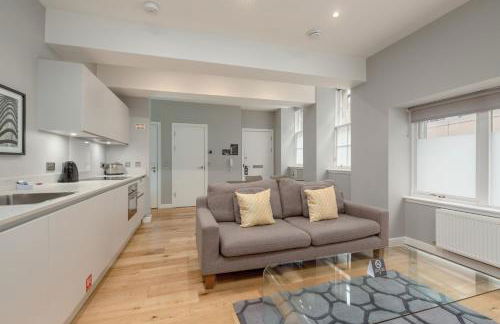
Heeton Concept Aparthotel Edinburgh Queen Street
Edimburgo - EH2 - En el centro
- 34 M2
- 6 personas
- Aire acondicionado
- Calefacción
- Parking
- Ascensor
- Televisión
- Lavadora
- Chimenea
- Toallas
- Sábanas


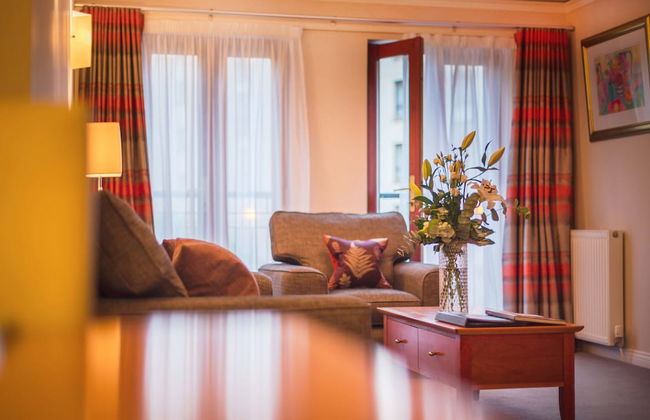
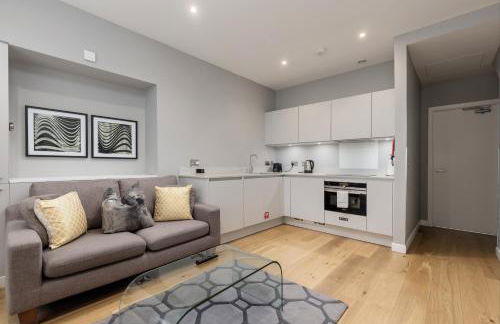
Luxury Romantic West-End Apartment With Jacuzzi Spa Bath
Edimburgo - EH2 - A 300 m del centro
- 93 M2
- 1 habitación
- 2 personas
- Aire acondicionado
- Calefacción
- Terraza
- Parking
- Jardín


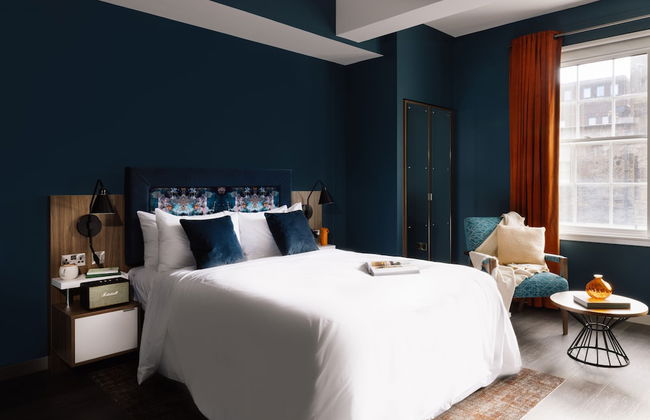
The Knight Residence Apartments by Mansley
Edimburgo - EH3 - A 490 m del centro
- 59 M2
- 3 habitaciones
- 5 personas
- Calefacción
- Parking
- Ascensor
- Televisión
- Lavadora
- Toallas
- Sábanas


Wilde Aparthotels, Edinburgh, Grassmarket
Edimburgo - EH1 - A 340 m del centro
- 33 M2
- 6 personas
- Cocina pequeña
- Aire acondicionado
- Calefacción
- Ascensor
- Televisión
- Toallas
- Sábanas


Princes Street Suites
Edimburgo - EH1 - A 410 m del centro
- 120 M2
- 3 habitaciones
- 6 personas
- Calefacción
- Terraza
- Parking
- Ascensor
- Televisión
- Lavadora
- Toallas


Destiny Scotland Charlotte Square Apartments
Edimburgo - EH2 - En el centro
- 78 M2
- 2 habitaciones
- 4 personas
- Calefacción
- Parking
- Televisión
- Lavadora
- Toallas
- Sábanas


No1. Apartments Edinburgh - New Town
Edimburgo - EH3 - En el centro
- 50 M2
- 4 personas
- Calefacción
- Televisión
- Toallas
- Sábanas


Silver Lining - Penthouse with parking
Edimburgo - EH3 - A 940 m del centro
- 5 personas
- Calefacción
- Terraza
- Parking
- Televisión
- Lavadora
- Toallas
- Sábanas


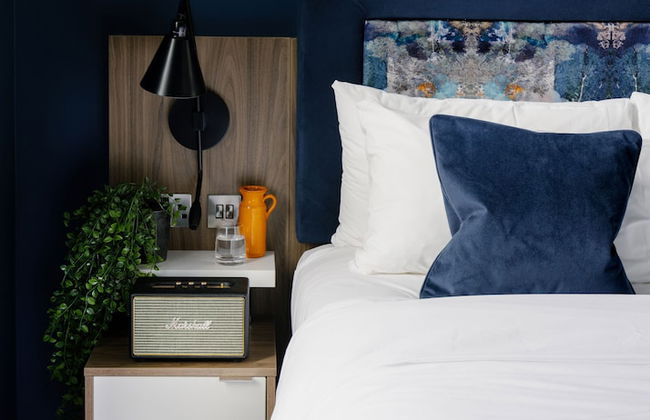
Eden Locke
Edimburgo - EH2 - En el centro
- 33 M2
- 3 personas
- Aire acondicionado
- Calefacción
- Televisión
- Lavadora
- Toallas
- Sábanas


Clarendon Luxury Apartments
Edimburgo - EH4 - A 340 m del centro
- 3 personas
- Cocina pequeña
- Televisión
- Toallas
- Sábanas


Destiny Scotland - Broughton St Lofts
Edimburgo - EH1 - A 350 m del centro
- 55 M2
- 2 habitaciones
- 4 personas
- Calefacción
- Parking
- Televisión
- Lavadora
- Toallas
- Sábanas


Destiny Scotland - Princes Street Residence
Edimburgo - EH2 - En el centro
- 115 M2
- 3 habitaciones
- 6 personas
- Calefacción
- Parking
- Televisión
- Lavadora
- Toallas
- Sábanas


Edinburgh Nine
Edimburgo - EH1 - A 340 m del centro
- 29 M2
- 2 personas
- Cocina pequeña
- Calefacción
- Televisión
- Toallas
- Sábanas


Destiny Scotland - Distillers House
Edimburgo - EH3 - A 670 m del centro
- 65 M2
- 2 habitaciones
- 4 personas
- Calefacción
- Televisión
- Lavadora
- Toallas
- Sábanas


Luxury Georgian City Retreat by Sovo Apartments
Edimburgo - EH6 - A 2.7 km del centro
- 3 habitaciones
- 6 personas
- Calefacción
- Parking
- Jardín


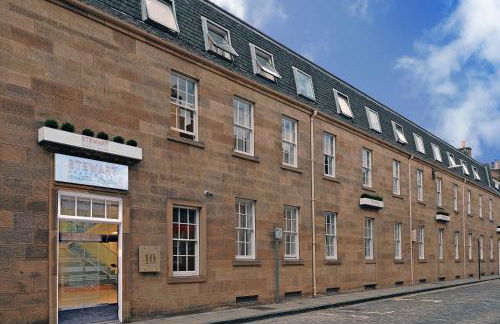


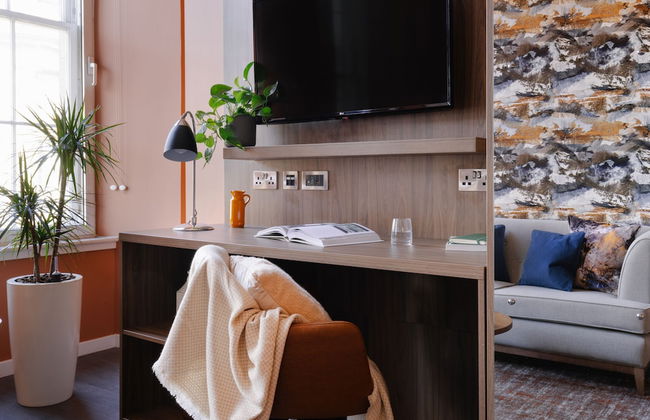
Stewart by Heeton Concept - Aparthotel Edinburgh
Edimburgo - EH2 - En el centro
- 46 M2
- 1 habitación
- 7 personas
- Aire acondicionado
- Calefacción
- Parking
- Ascensor
- Televisión
- Lavadora
- Toallas
- Sábanas


Destiny Scotland Apartments at Canning Street Lane
Edimburgo - EH3 - A 370 m del centro
- 80 M2
- 2 habitaciones
- 4 personas
- Calefacción
- Parking
- Televisión
- Lavadora
- Toallas
- Sábanas
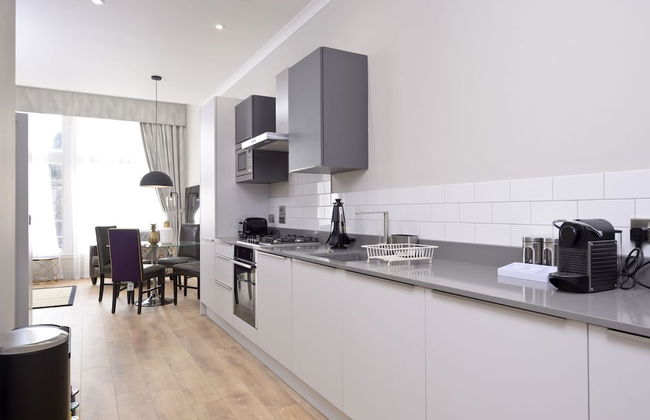
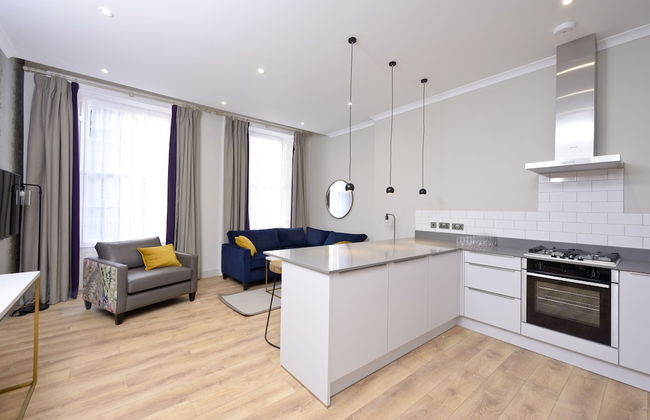
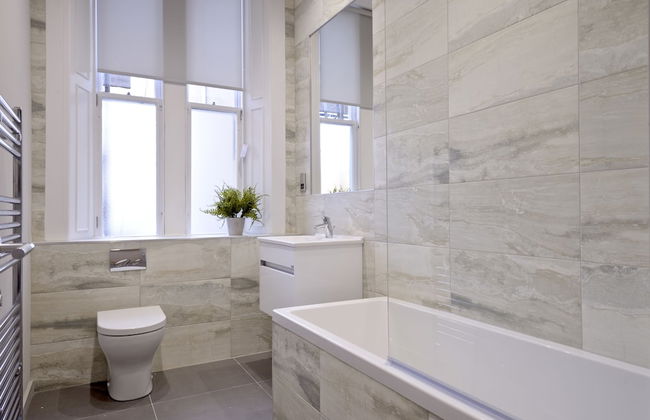
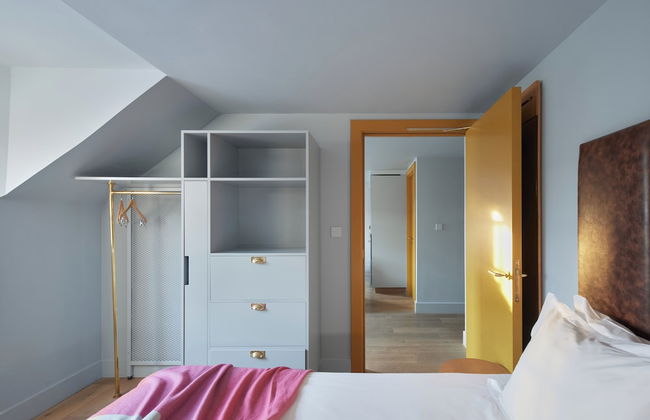
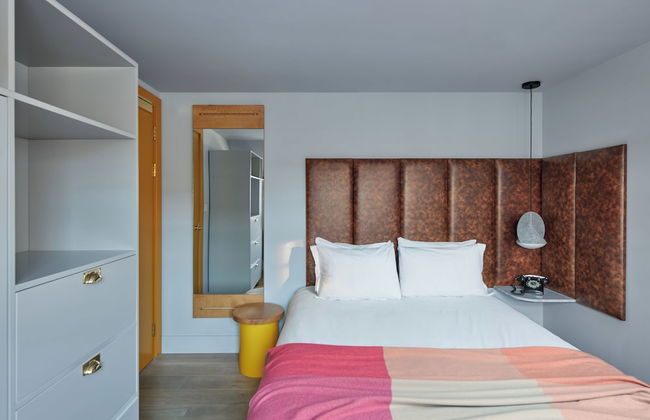
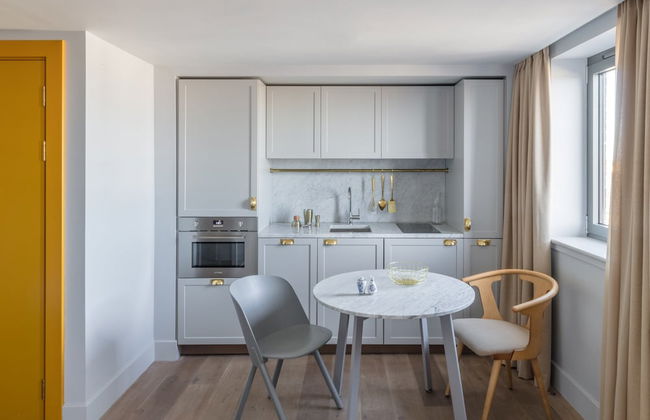
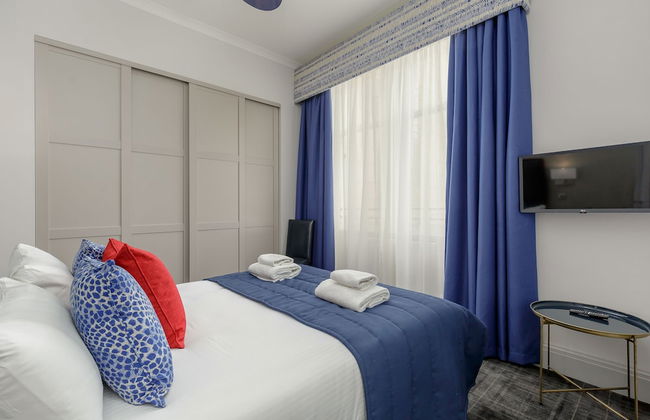
Apartamentos en Edimburgo - Alojamiento asequible
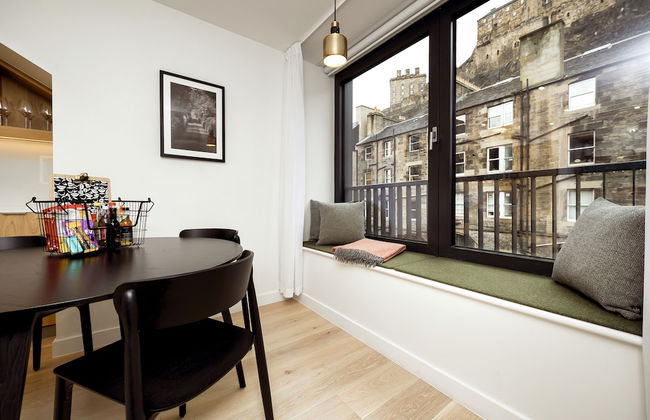
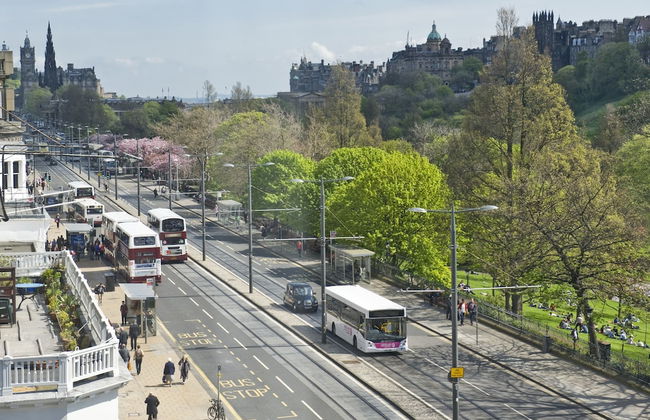
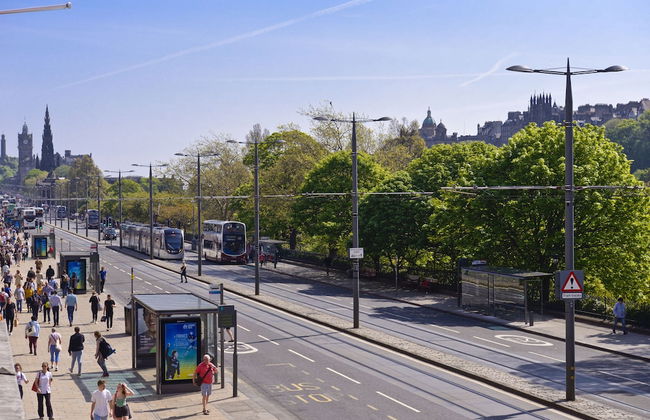
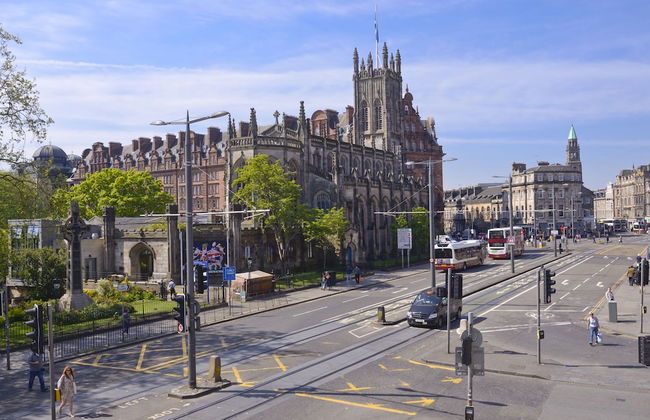
Edimburgo es un bastión de historia, adornado con bonitas fachadas y arquitectura increíble. Las Wynds, o calles estrechas, transcurren hacia el exterior desde el centro de la ciudad vieja llegando a aldeas urbanas llenas de cultura y encanto rústico, con un montón de rincones y grietas a la espera de ser explorados. Alrededor de cada esquina hay una nueva vista con la que empaparse, tanto si se trata de una librería vintage, una torre adornada de iglesia o un castillo en una colina. Pero la belleza natural de Edimburgo también es impresionante, con cerros elevados y de intenso color verde, riscos de color rojizo y con la inmensidad del mar en la distancia. Las escenas del pasado van de la mano de impresionantes vistas, creando una ciudad increíblemente acogedora y cultural. Para el viajero contemporáneo hay una colección de bares de moda, conciertos improvisados, fiestas toda la noche y una mezcla ecléctica de tiendas de primera categoría. Alójate en uno de nuestros apartamentos en Edimburgo y comienza a explorar esta ciudad multidimensional.
Castillos, Callejones y Catedrales - Cosas que hacer en Edimburgo
Con una historia fascinante y un increíble telón de fondo, Edimburgo es el lugar perfecto para que lo explores. Nuestros apartamentos en Edimburgo se pueden encontrar por toda la ciudad, lo que te da una gran oportunidad para descubrir sus muchos secretos y curiosidades.
- Castillo de Edimburgo - Una fortaleza del siglo XI que se asienta con orgullo en su posición elevada y alberga las Joyas de la Corona y el Museo Nacional de la Guerra de Escocia.
- Palacio de Holyrood - La residencia oficial de los monarcas británicos en Escocia es un palacio Estuardo construido en el siglo XVI. Está llena de salones regios y numerosas colecciones de antigüedades y reliquias.
- Real Jardín Botánico de Edimburgo - Este centro científico se centra en el estudio de las plantas y se extiende por 70 acres de exuberantes jardines.
- HMY Britannia - El antiguo yate real de la reina Isabel II, que estuvo en servicio entre 1954 y 1997. Hoy en día los visitantes pueden pasear por el buque.
- La silla de Arturo - Una colina increíble con vistas a Edimburgo, y se encuentra dentro de los exuberantes confines de Holyrood Park.
- Torre Outlook - También conocida como la Cámara Oscura y Mundo de las Ilusiones, esta institución de entretenimiento alberga todo tipo de ilusiones ópticas de tamaño natural y engaños para la vista.
- El callejón de Mary King - Toma su nombre de la hija de Alexander King en el siglo XVII. Este callejón ofrece visitas guiadas con personajes disfrazados y te cuentan historias del pasado.
- Galería Nacional de Escocia -- Situada en The Mound, en el corazón de Edimburgo, esta galería neoclásica fue inaugurada a mediados de la década de 1800. Hoy en día cuenta con una gran colección de obras maestras europeas y pinturas escocesas locales.
- Jardines de Princess Street - Un jardín público que ofrece un pedazo de paraíso en medio del bullicio de la ciudad. Hay una serie de monumentos y memoriales repartidos para que los veas.
- Catedral de St Giles - Este edificio gótico-medieval es el lugar de culto más importante de Edimburgo.
- Holyrood Park - Un exquisito parque real situado al este del castillo de Edimburgo que se caracteriza por exuberantes laderas verdes y riscos rojizos.
- Our Dynamic Earth - Esta popular atracción es para divertirse con toda la familia, donde das un paseo por la historia desde el Big Bang hasta hoy.
- Murrayfield Stadium -- Hogar de la Selección escocesa de rugby, este estadio alberga varios eventos deportivos durante todo el año.
Explorar el lado literario de Edimburgo
Además de su historia antigua e impresionantes paisajes, Edimburgo también es conocido por su historia literaria. Sus paisajes han inspirado a numerosos poetas y escritores en los últimos años, y hay un montón de monumentos dedicados a la literatura.
Empieza tomando un café en el Elephant House Café. No sólo es que sus bebidas calientes puedan ser las mejores de la ciudad, sino que también es el lugar donde JK Rowling escribió los primeros libros de Harry Potter. Por lo tanto, siéntate en una mesa, métete entre las pequeñas estatuas de elefantes repartidas y empápate de inspiración.
Es difícil andar por Edimburgo sin encontrar una librería. La ciudad está, literalmente, llena de ellas, lo que hace que sea el territorio perfecto para los amantes de la literatura. Echa un vistazo a la Old Town Bookshop, una de las mejores de la ciudad, así como Analogue Books y World Power Books. Tómate tu tiempo para revisar las polvorientas estanterías y sumérgete en muchos mundos diferentes.
Si quieres ir tras las huellas del genio literario, haz el tour de Dorothy Wordsworth. Ella viajó a Edimburgo con su hermana en 1803 y escribió una prosa impresionante sobre su belleza y ambiente único.
Para terminar, ve a la Biblioteca Nacional de Escocia, que es un emocionante muestrario de libros antiguos, mapas y cartas. Aquí puedes navegar a través de manuscritos raros como los de Byron, Austen, y Melville.
Adéntrate en el corazón de la grandeza literaria con la tranquilidad de nuestros apartamentos en Edimburgo, que pueden encontrarse alrededor de todos estos refugios de la literatura.
Alojamiento en Edimburgo
La rica historia de la ciudad y su gran arquitectura se refleja en el alojamiento de Edimburgo, con grandes hoteles antiguos, acogedoras casas de huéspedes y pintorescos B & B escondidos en calles sinuosas. Para armonizarlo con su lujoso presente, también hay un puñado de hoteles de primera categoría y apartamentos con encanto.
Facilitar tu camino a Edimburgo - Cómo llegar
El aeropuerto de Edimburgo está a sólo ocho kilómetros de distancia del centro de la capital de Escocia, y hay varias maneras para llegar fácilmente a la ciudad.
En primer lugar, está el servicio de autobuses premium Airlink, que salen del aeropuerto cada 10 minutos y viajan a Waverley Bridge, en el centro de la ciudad. Hay también algunas paradas a lo largo del oeste de la ciudad, por si te vas a quedar en esa zona.
Como alternativa, si prefieres una opción más agradable y económica, coge el autobús local. Tarda más que el autobús Airlink, pero viaja a más partes de la ciudad y te ofrece la oportunidad de ver algo de Edimburgo a medida que vas llegando.
Por último, también puedes tomar un taxi desde las terminales del aeropuerto. Hay un montón de paradas y los precios son bastante asequibles. Obviamente ésta no es la opción más barata, pero si lo que buscas es velocidad y comodidad, entonces es lo mejor que puedes hacer.