
74 Apartamentos en Glynn


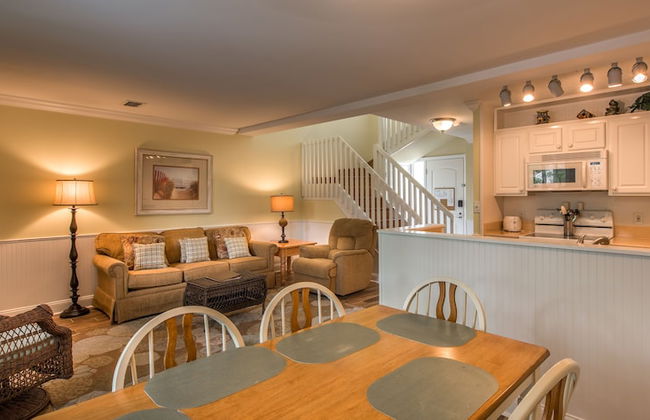
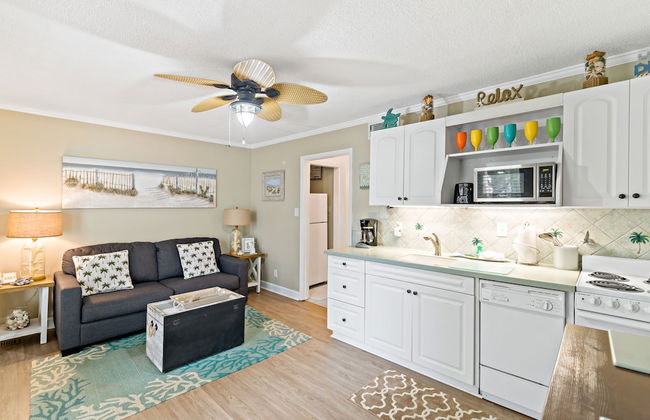
The Sea Gate
St Simons Island
- 4 personas
- Aire acondicionado
- Calefacción
- Terraza
- Piscina
- Parking
- Ascensor
- Balcón
- Televisión
- Lavadora
- Toallas
- Sábanas
575 reseñas


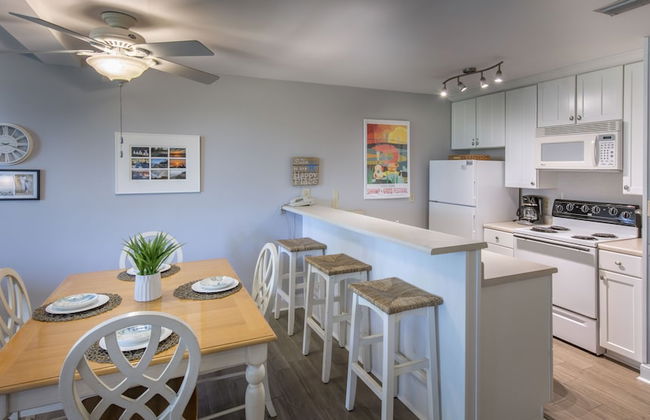
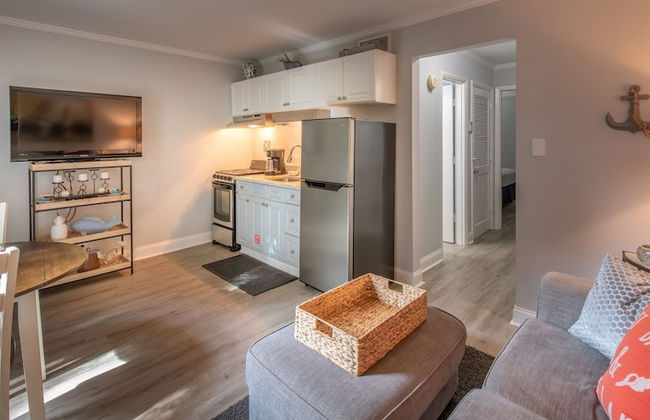
Hodnett Cooper's Beach Club
St Simons Island
- 6 personas
- Aire acondicionado
- Calefacción
- Piscina
- Parking
- Ascensor
- Balcón
- Televisión
- Lavadora
- Barbacoa
- Toallas
- Sábanas
104 reseñas


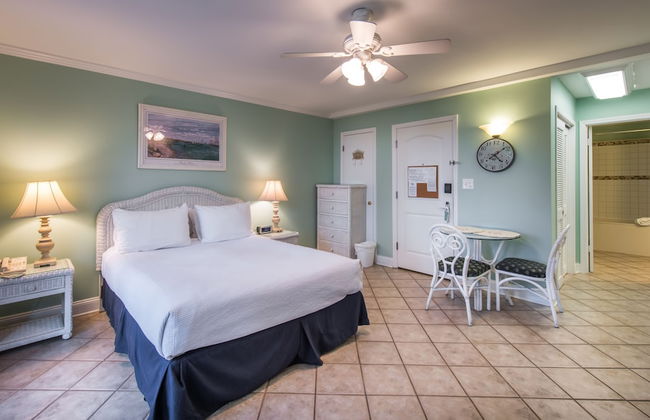
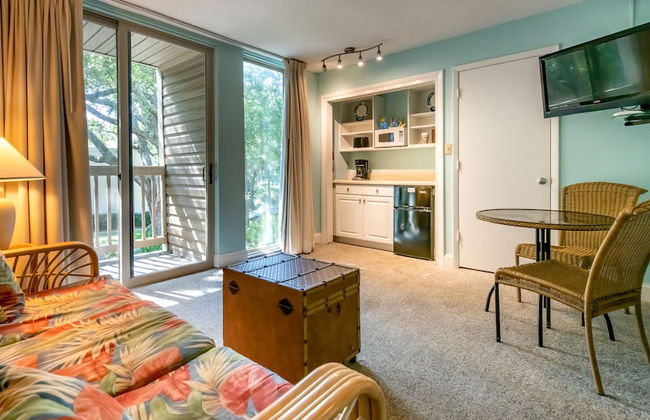
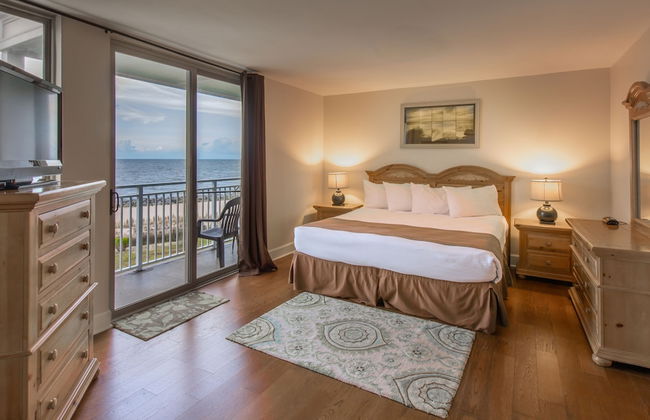
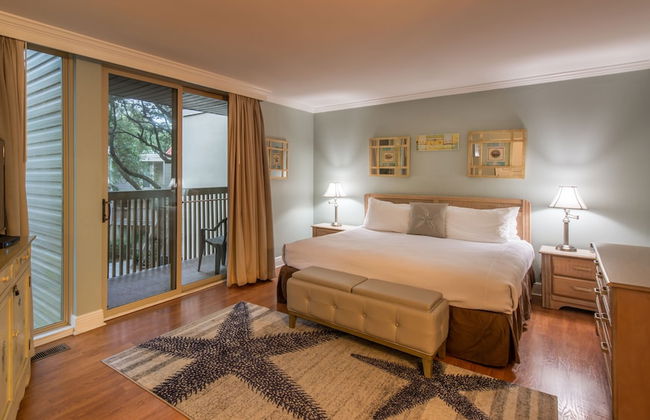
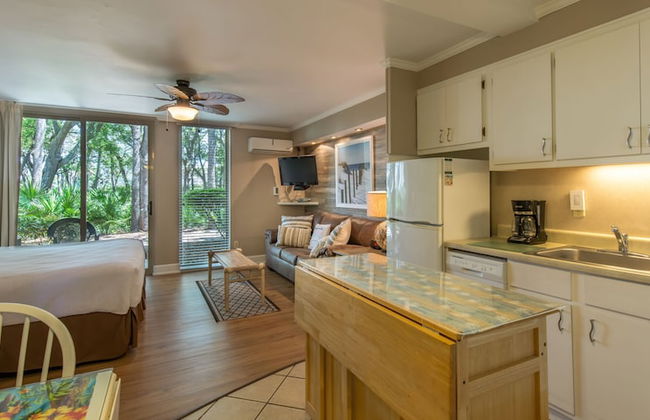
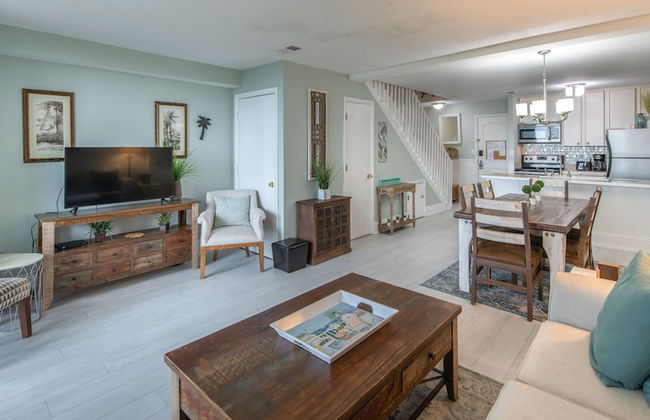
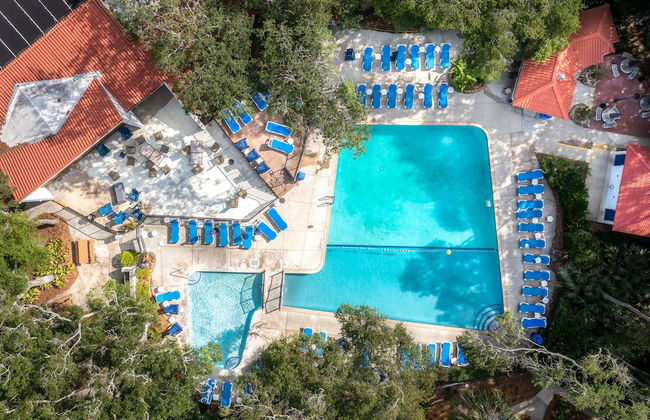
Ocean Lodge Resort
St Simons Island
- 84 M2
- 2 habitaciones
- 6 personas
- Aire acondicionado
- Calefacción
- Terraza
- Parking
- Ascensor
- Jardín
- Televisión
- Toallas
- Sábanas
288 reseñas


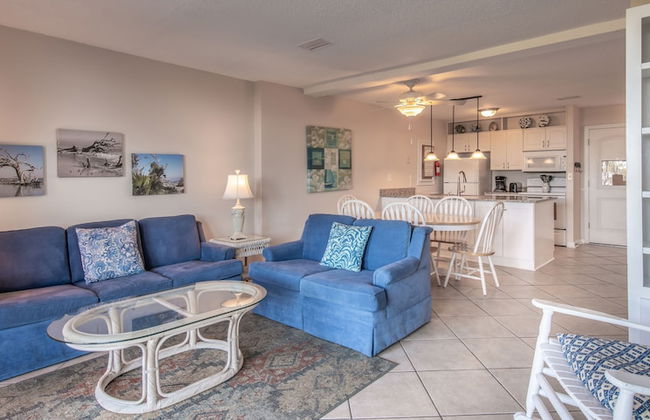


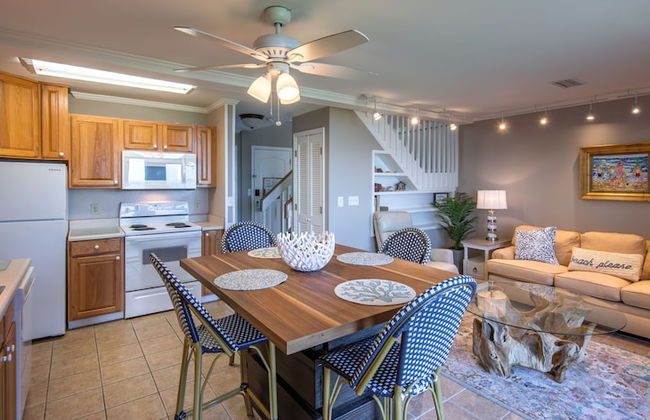

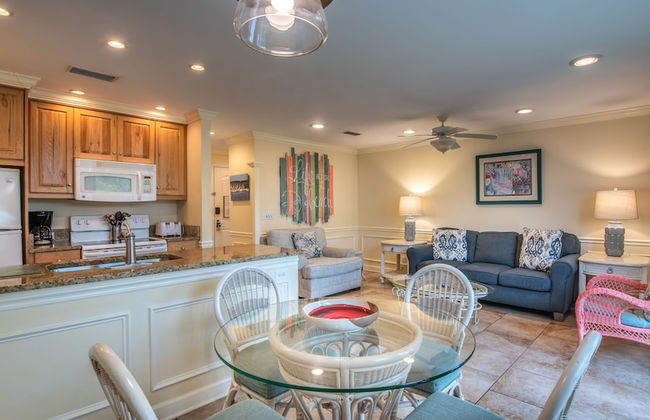
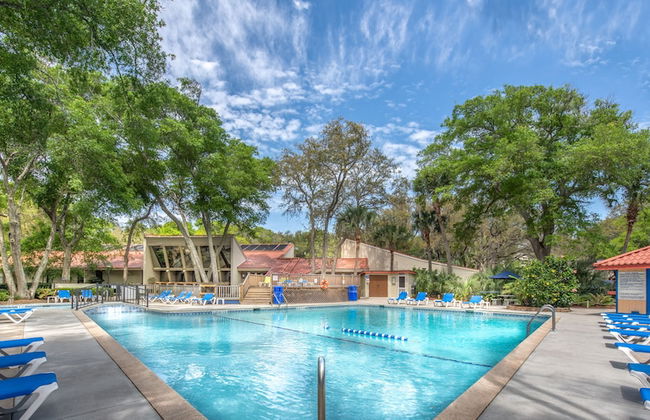


Villas By the Sea Resort & Conference Center
Jekyll Island
- 114 M2
- 6 personas
- Cocina pequeña
- Aire acondicionado
- Calefacción
- Piscina
- Parking
- Televisión
- Barbacoa
- Toallas
- Sábanas
981 reseñas


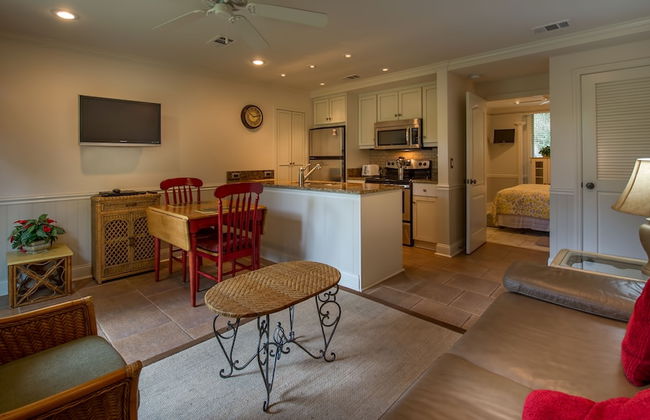
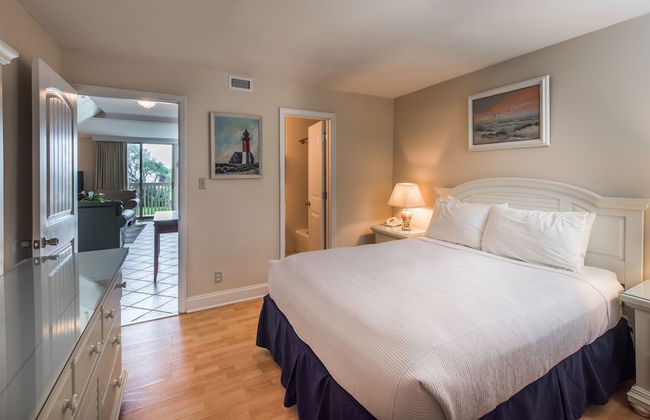
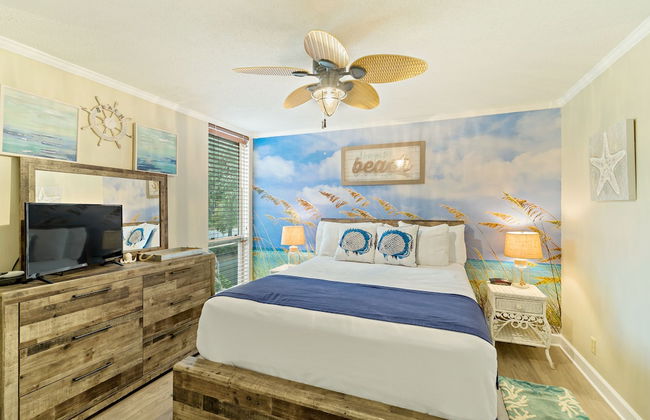
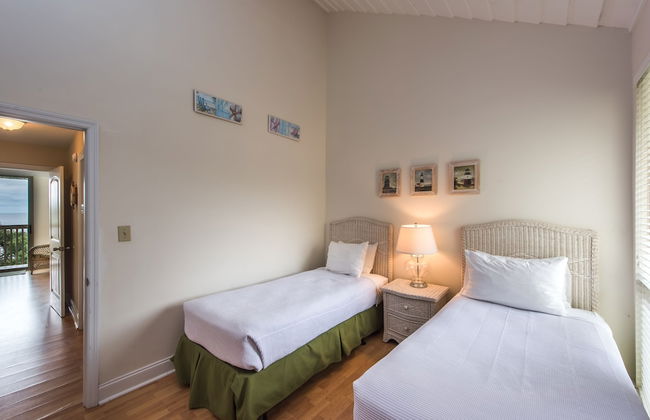
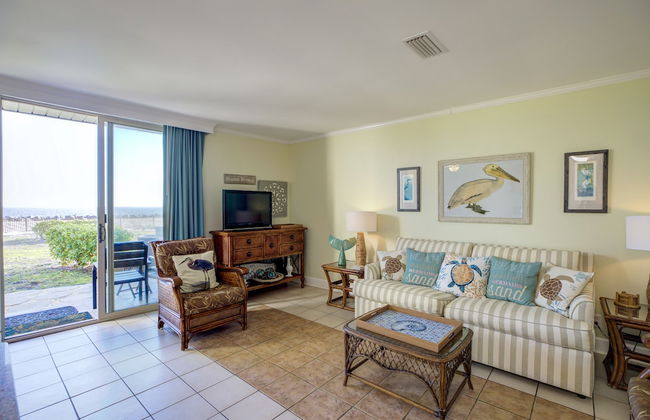
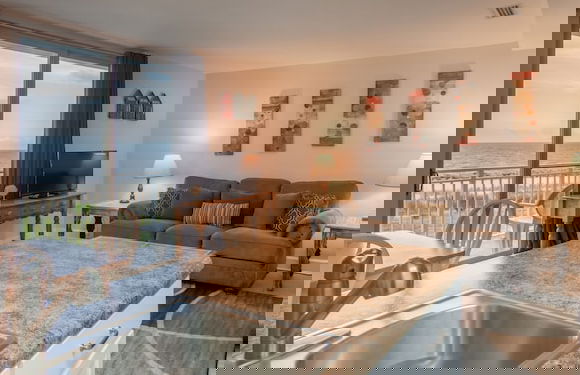
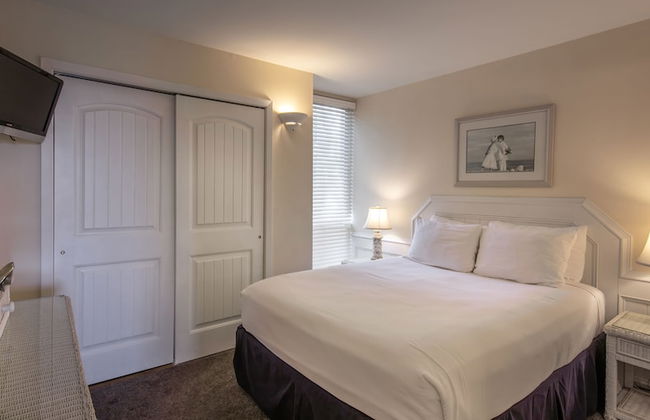
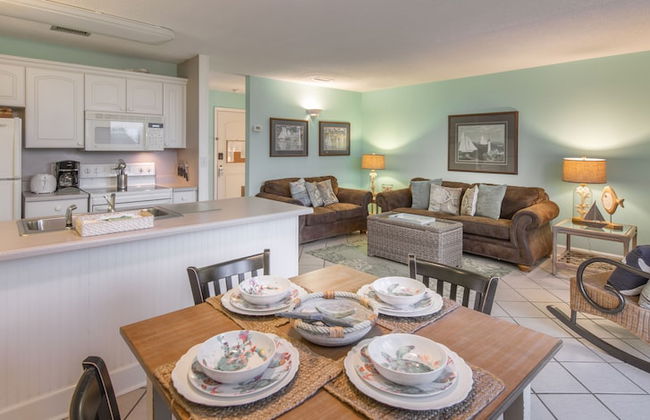
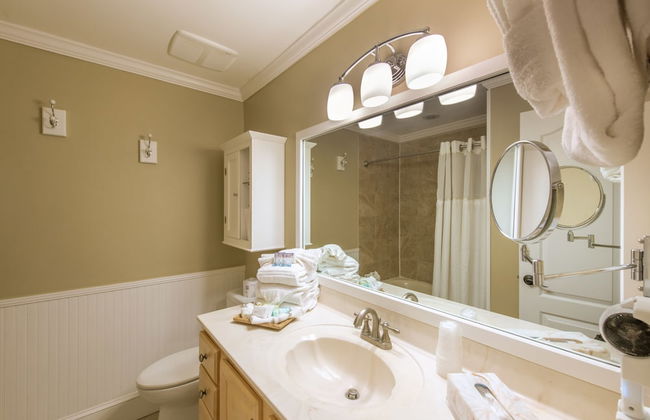
W2 Ocean Walk Resort upstairs 2 bed king and two twins next to back pool
St Simons Island
- 89 M2
- 2 habitaciones
- 4 personas
- Aire acondicionado
- Calefacción
11 reseñas


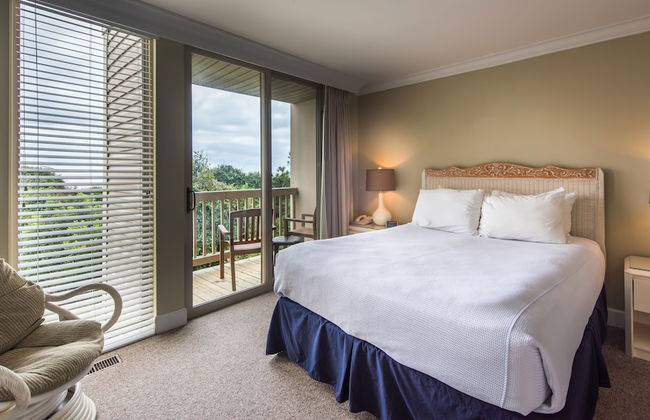
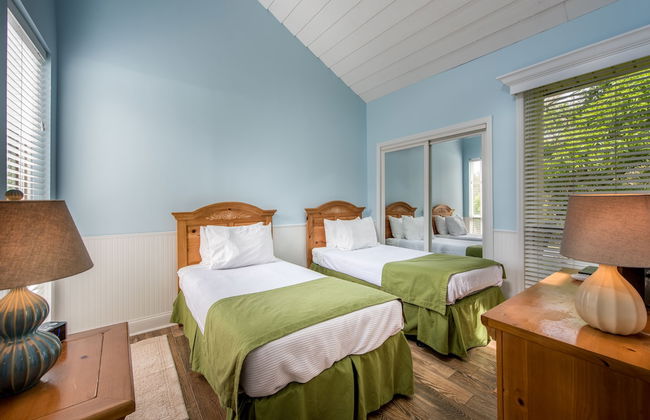
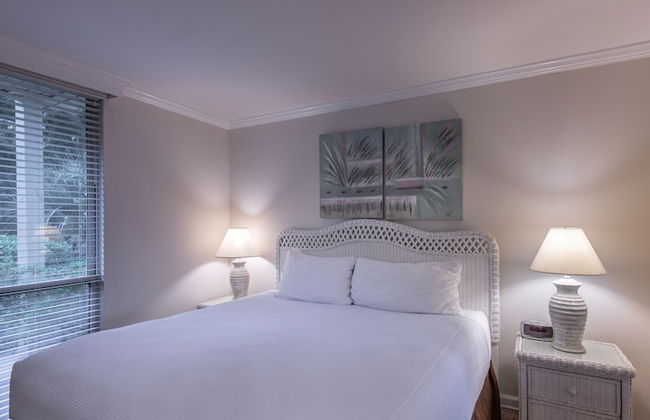
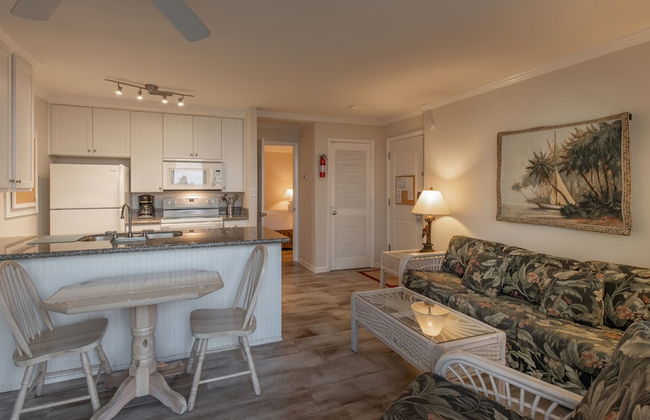
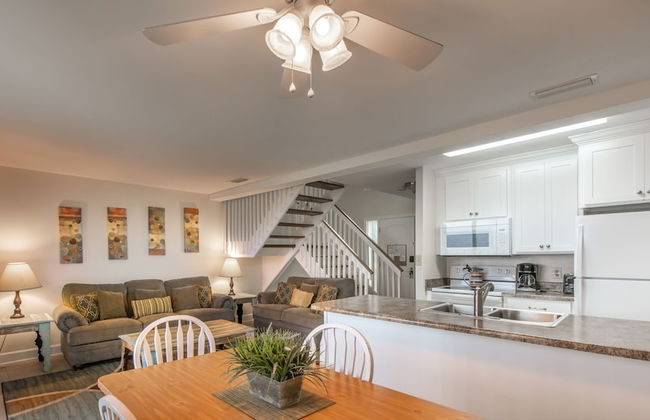
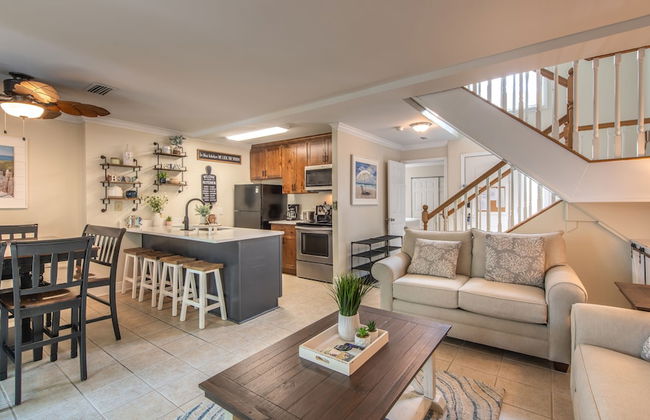
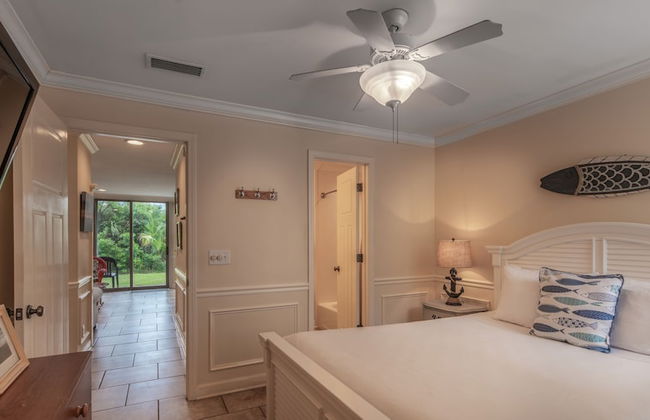
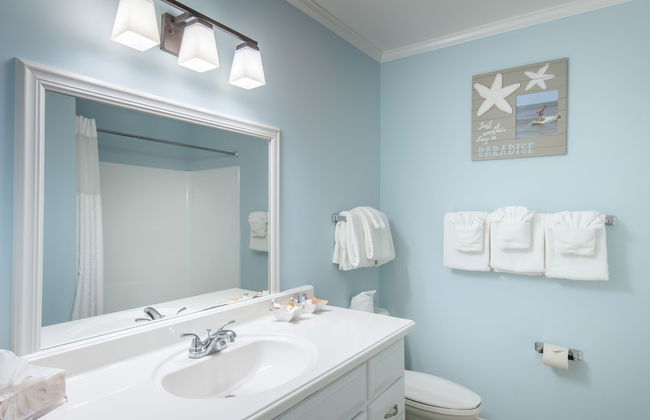
H1 downstairs and comfy king and two twins really nice kitchen and baths
St Simons Island
- 89 M2
- 2 habitaciones
- 4 personas
- Aire acondicionado
- Calefacción
4 reseñas


Welcome to the Kind Apartment!
Brunswick - A 1.6 km del centro
- 56 M2
- 2 personas
- Aire acondicionado
- Calefacción
- Parking
- Barbacoa
5 reseñas


Bosch Huis Porch - Entire Property
Brunswick - A 510 m del centro
- 279 M2
- 4 habitaciones
- 15 personas
- Aire acondicionado
- Terraza
- Parking
- Jardín
- Barbacoa
1 reseña


Relaxing, dog-friendly home with furnished patio, washer/dryer, WiFi, & AC
St Simons Island
- 222 M2
- 4 habitaciones
- 10 personas
- Aire acondicionado
- Calefacción
- Parking
- Jardín
- Barbacoa
1 reseña


