
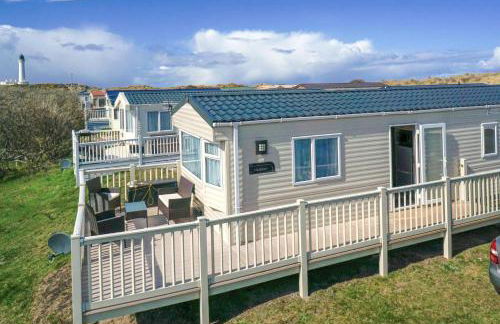
79 Apartamentos en Lossiemouth


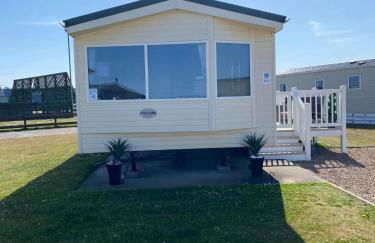
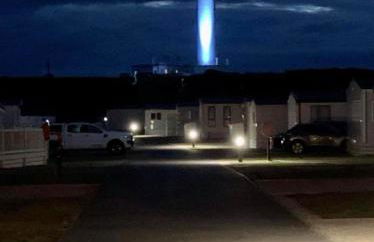
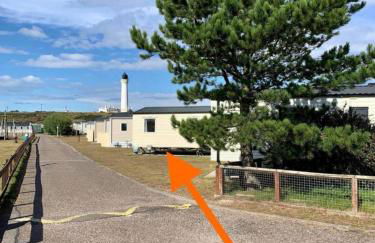
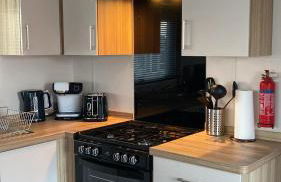
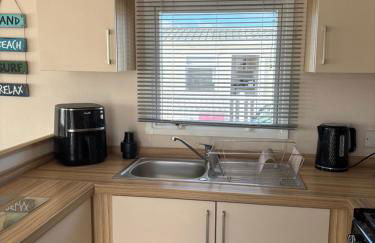
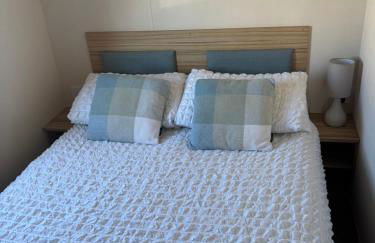
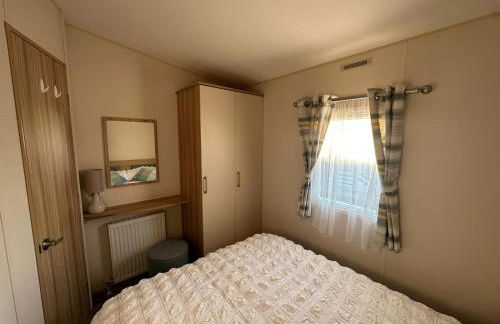
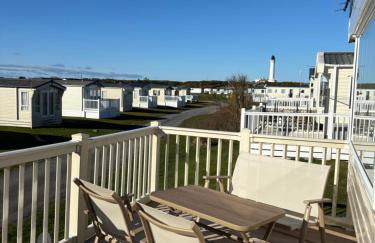
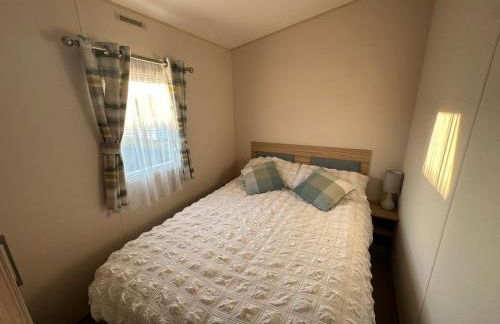
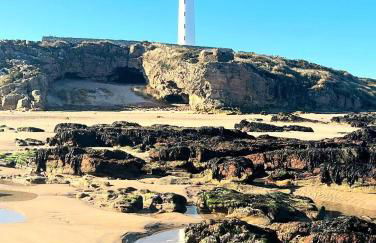
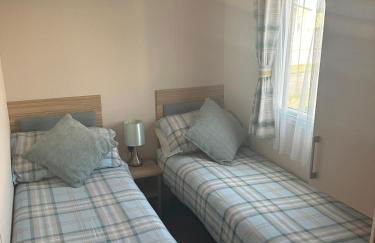
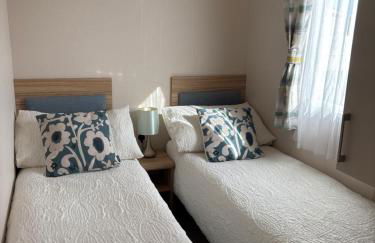
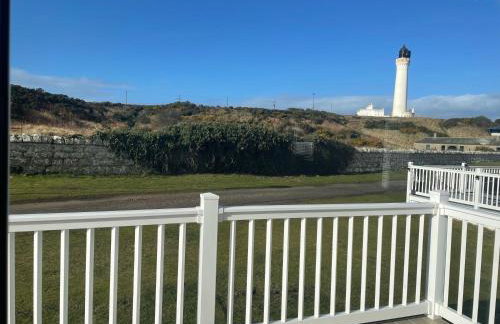
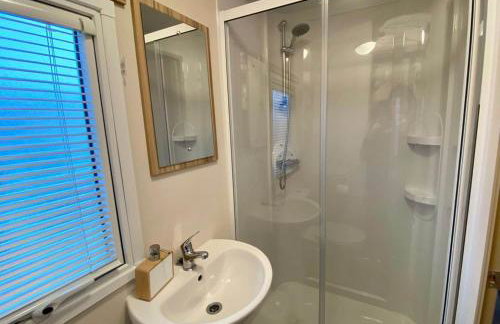
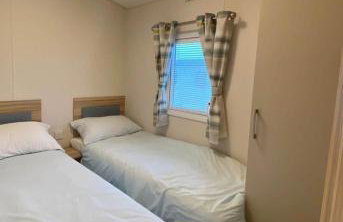
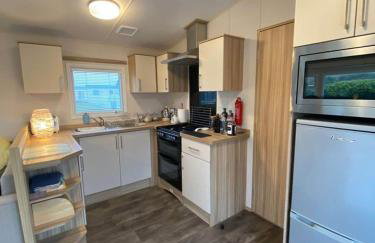
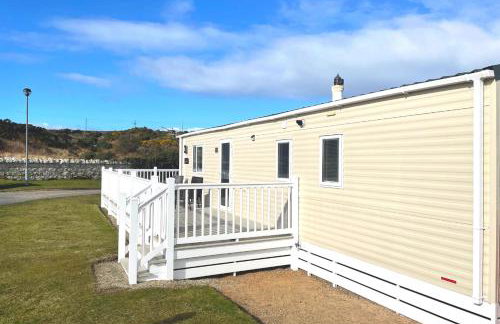
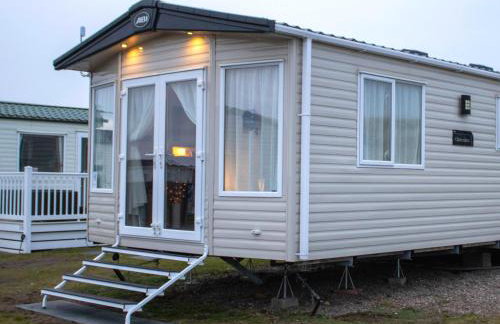
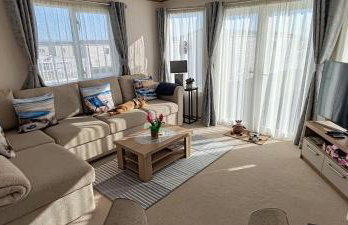
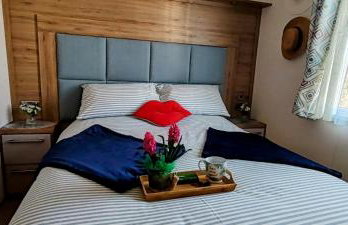
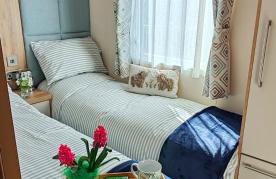
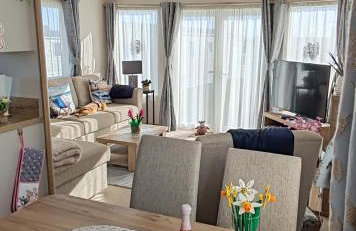
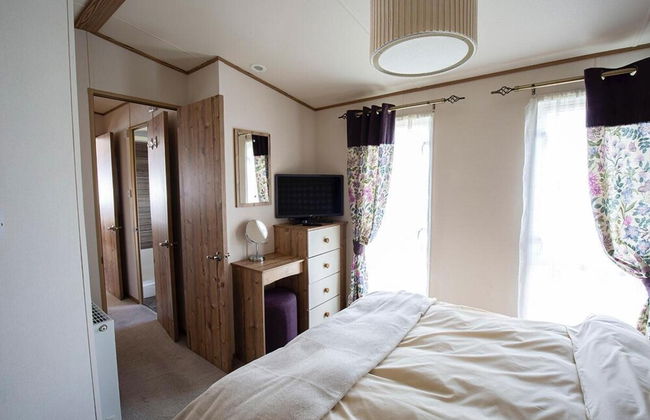
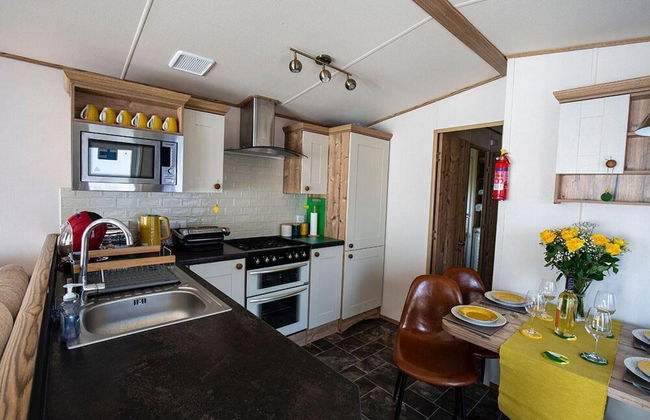
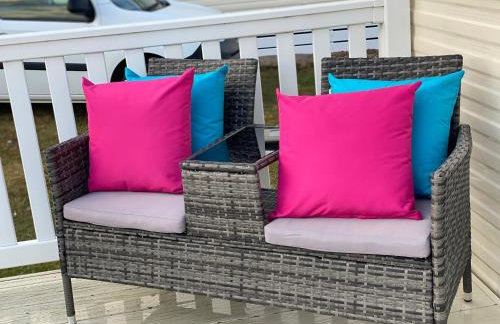
Dune View Caravan
Lossiemouth - Lossiemouth
- 1 M2
- 2 habitaciones
- 4 personas
- Terraza
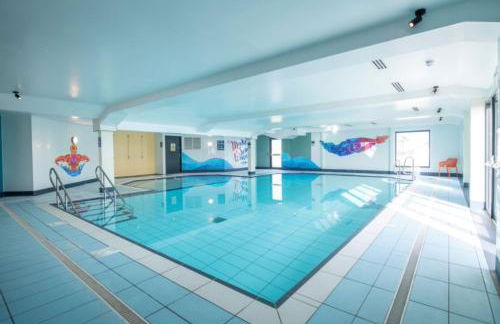
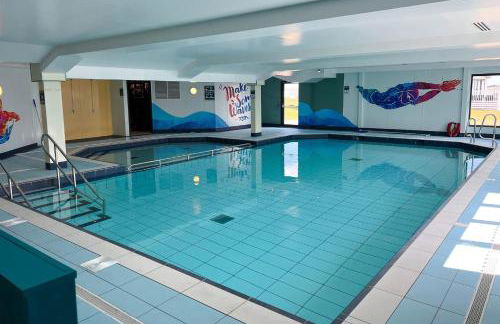
- Piscina
- Parking
- Jardín
75 reseñas


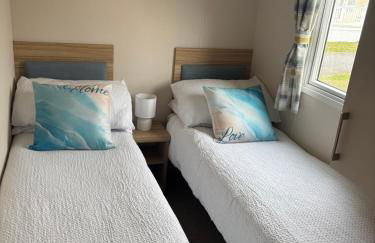
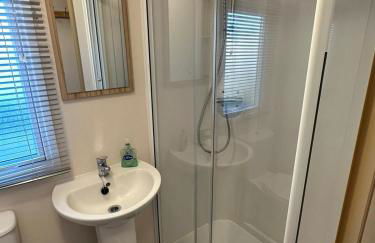
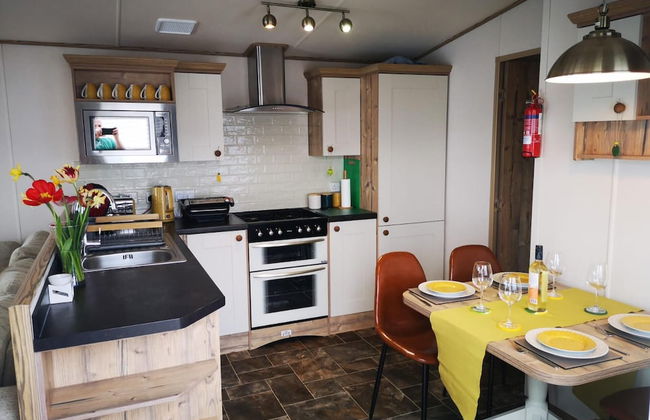
WELCOMEHOUSE close to east beach, shops, restaurants and RAF base
Lossiemouth - Lossiemouth
- 14 M2
- 2 habitaciones
- 4 personas
- Calefacción
- Terraza
- Parking
- Jardín
35 reseñas


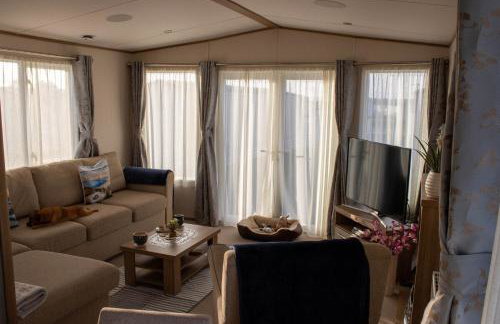
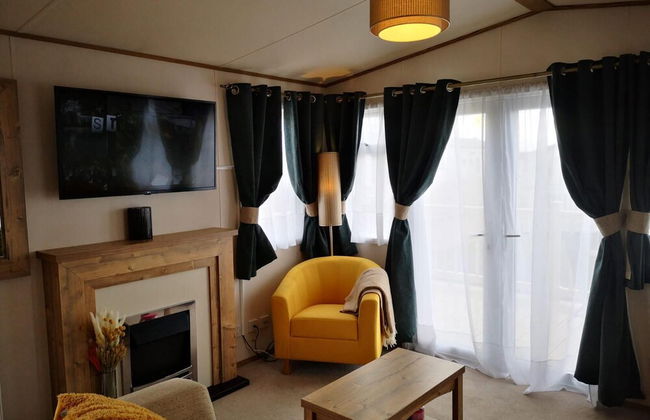
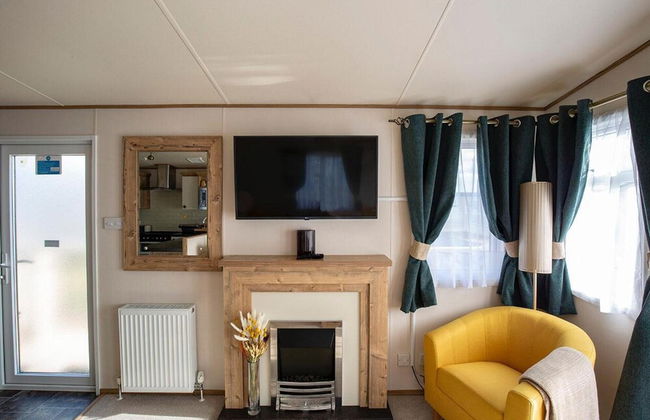
Tighnabruaich Annex
Lossiemouth - Lossiemouth
- 45 M2
- 1 habitación
- 3 personas
- Calefacción
- Parking
144 reseñas


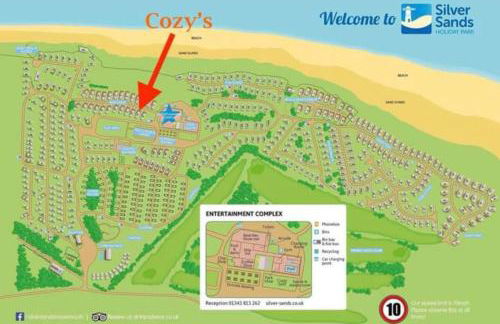

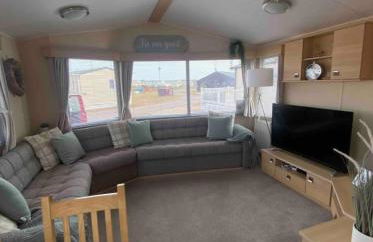

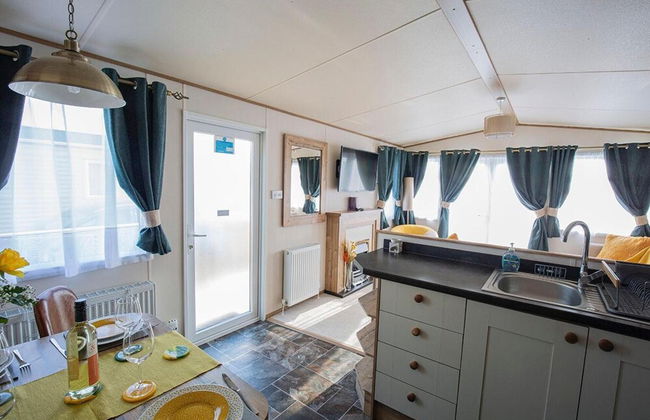
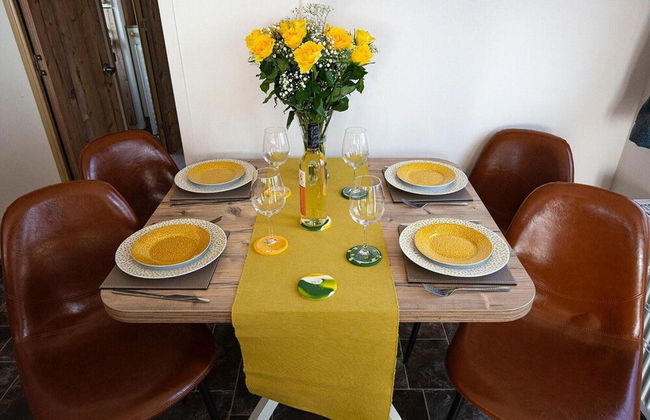
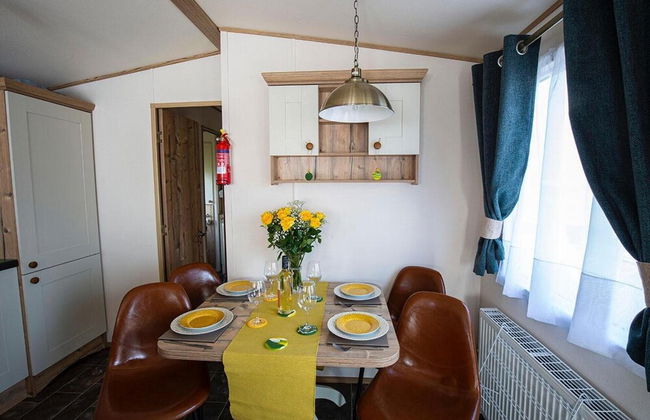
Cozy’s caravan hire
Lossiemouth - Lossiemouth
- 39 M2
- 3 habitaciones
- Calefacción
- Terraza
- Parking
- Jardín
20 reseñas


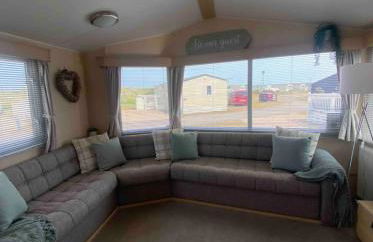
Swallows at Silversands
Lossiemouth - Lossiemouth
- 39 M2
- 3 habitaciones
- 6 personas
- Terraza
- Piscina
- Parking
- Jardín
9 reseñas
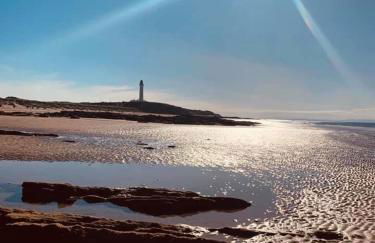


Skerry View - Overlooking the Moray Firth - close to Beaches, Harbour, Shops and Restaurants
Lossiemouth - Lossiemouth
- 5 M2
- 1 habitación
- 4 personas
- Calefacción
- Parking
47 reseñas


Sea La Vie Caravan at Silver Sands Holiday Park
Lossiemouth - Lossiemouth
- 39 M2
- 2 habitaciones
- 6 personas
- Piscina
- Parking
13 reseñas


Silver Dunes
Lossiemouth - Lossiemouth
- 27 M2
- 2 habitaciones
- 4 personas
- Calefacción
- Terraza
- Piscina
- Parking
- Jardín
18 reseñas


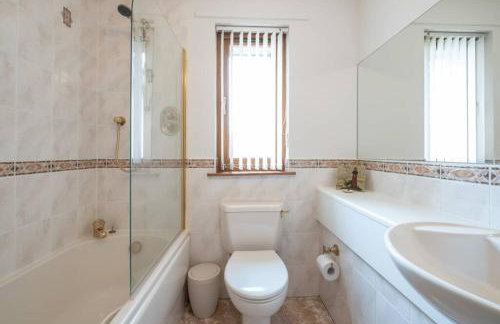


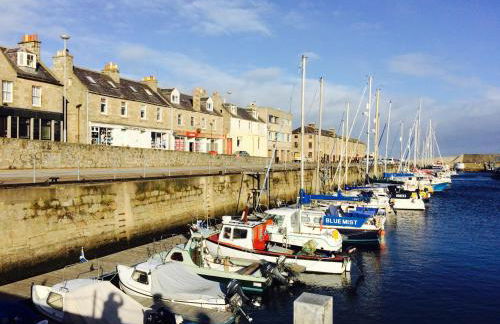
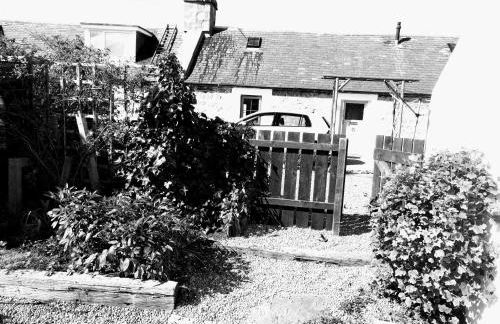
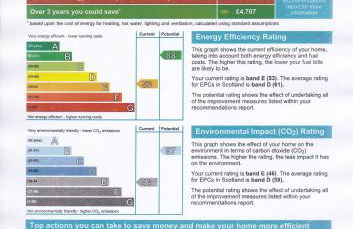
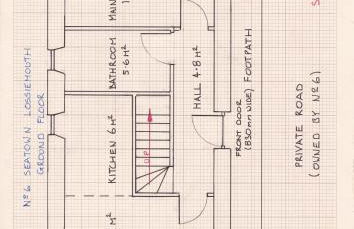
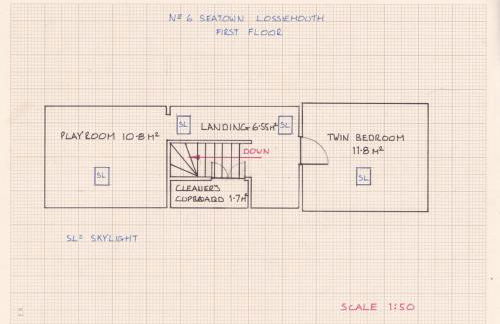
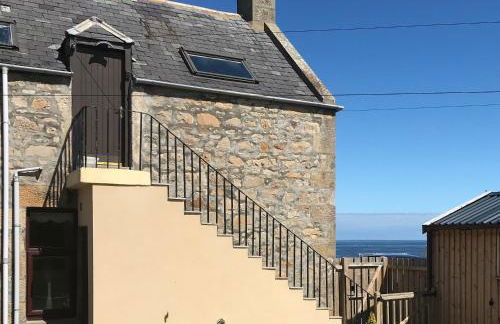
6 Seatown, Lossiemouth
Lossiemouth - Lossiemouth
- 60 M2
- 2 habitaciones
- 4 personas
- Calefacción
- Terraza
- Parking
- Jardín
- Barbacoa
16 reseñas


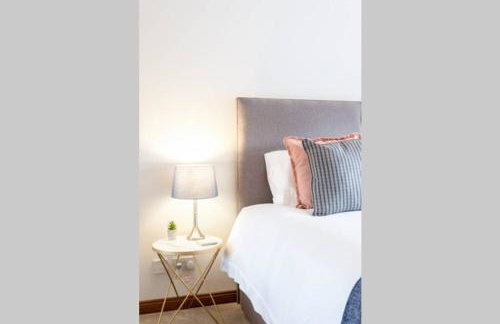
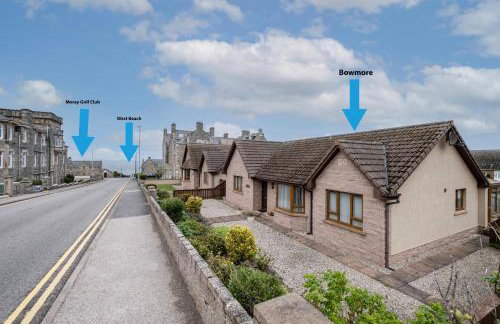
5 Fulmar Road**Next to West Beach and Golf Course
Lossiemouth - Lossiemouth
- 1 M2
- 2 habitaciones
- 4 personas
- Calefacción
- Parking
- Jardín
36 reseñas


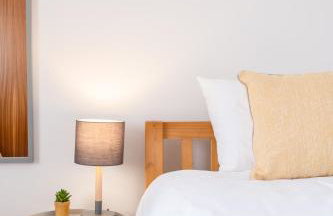
1 Fulmar Road**Next to West Beach and Golf Course
Lossiemouth - Lossiemouth
- 16 M2
- 2 habitaciones
- 4 personas
- Terraza
- Parking
- Jardín
50 reseñas


The Hudson @ Silversands
Lossiemouth - Lossiemouth
- 40 M2
- 2 habitaciones
- 6 personas
- Calefacción
- Terraza
- Piscina
- Parking
- Jardín
65 reseñas


Eagle's Den Caravan Holiday Retreat
Lossiemouth - Lossiemouth
- 42 M2
- 2 habitaciones
- Calefacción
- Piscina
- Parking
- Barbacoa
28 reseñas


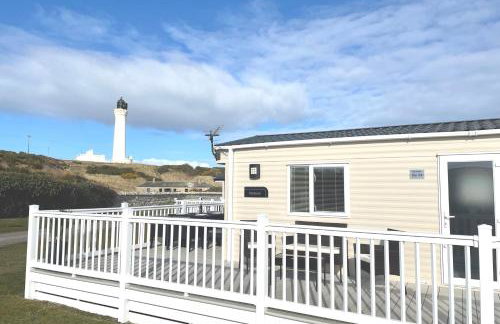
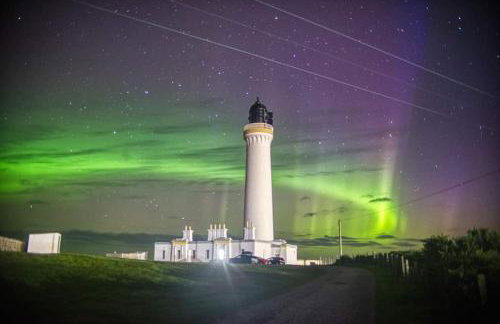
87 Lighthouse View Lodge
Lossiemouth - Lossiemouth
- 7 M2
- 2 habitaciones
- 6 personas
- Calefacción
- Terraza
- Piscina
- Parking
68 reseñas