


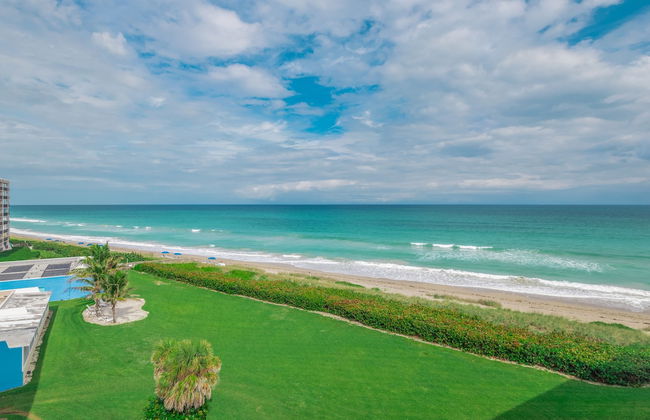
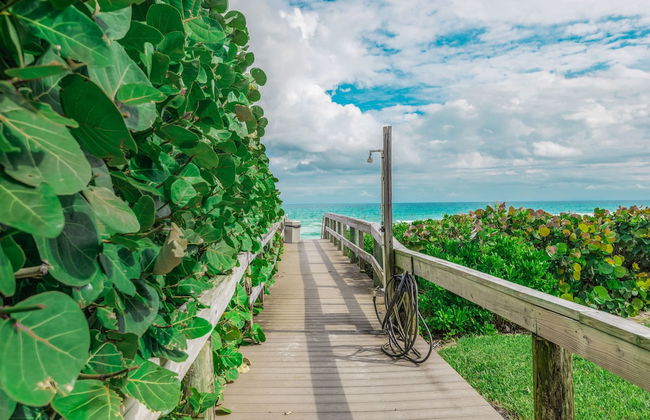
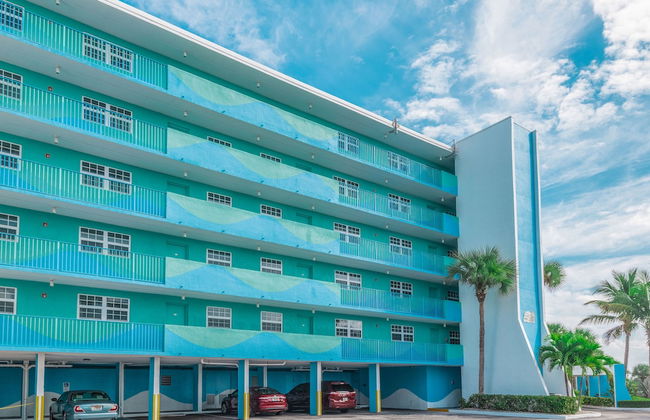
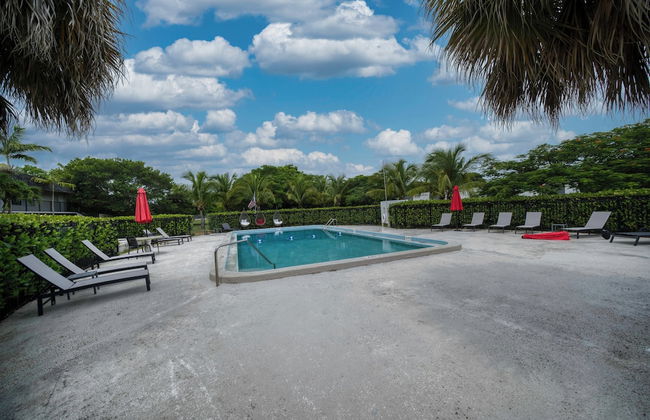
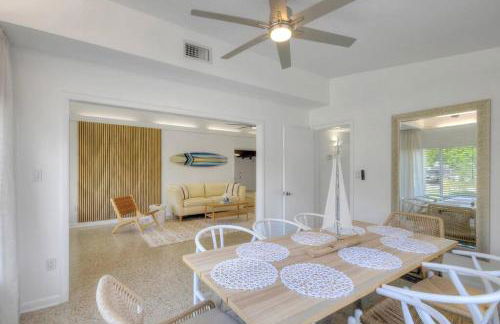
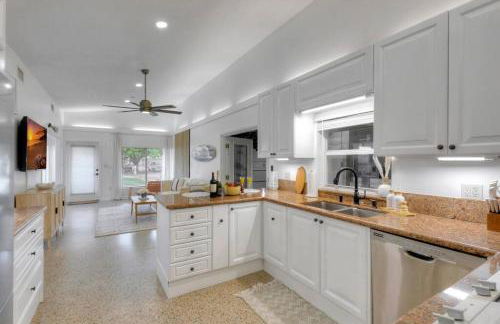
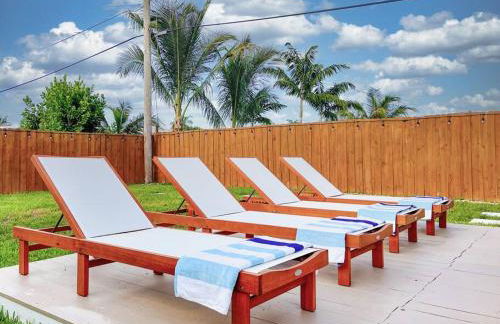
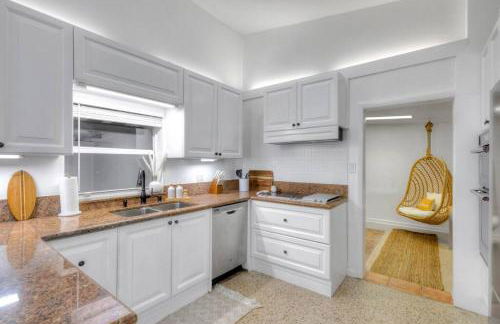
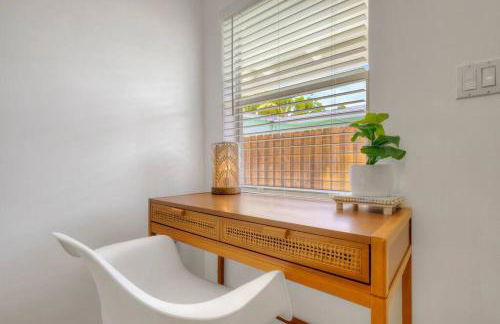
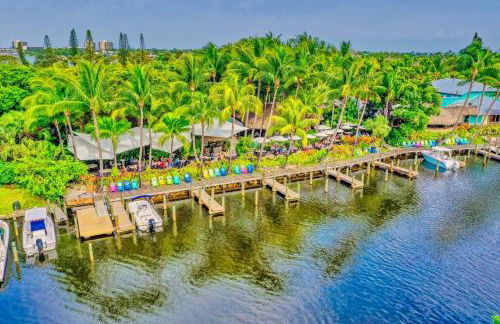
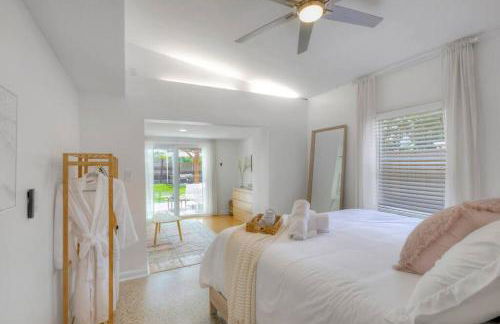
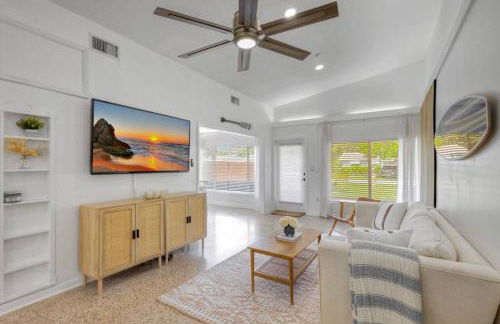
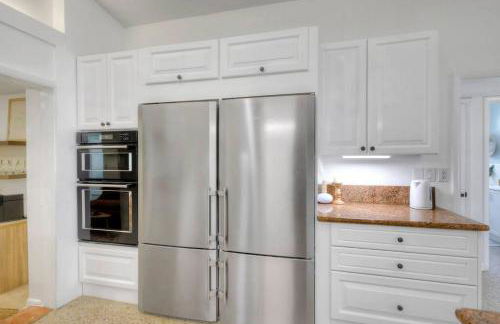
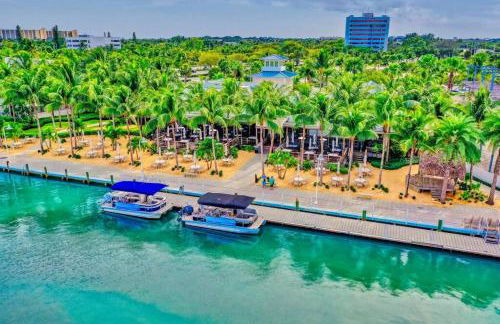
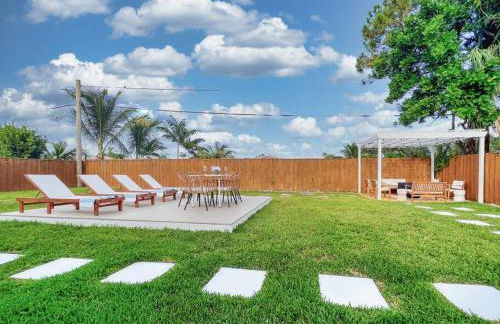
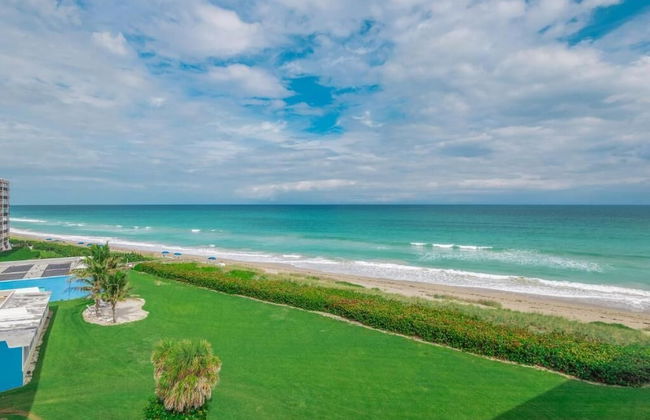
GetAways at Turtle Reef Club
Jensen Beach - Hutchinson Island South - A 2.5 km del centro
- 83 M2
- 6 personas
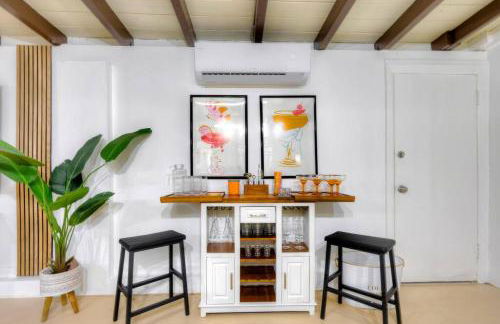
- Aire acondicionado
- Terraza
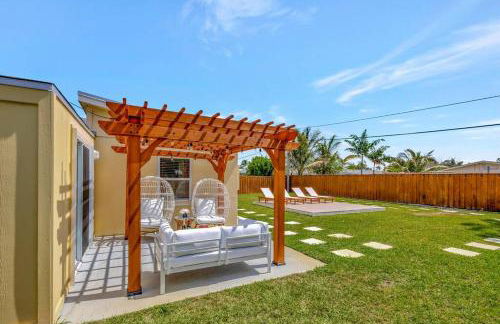
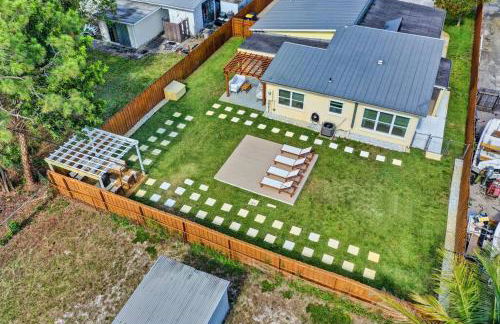
- Piscina
- Parking
- Jardín
- Televisión
- Barbacoa
- Toallas
- Sábanas


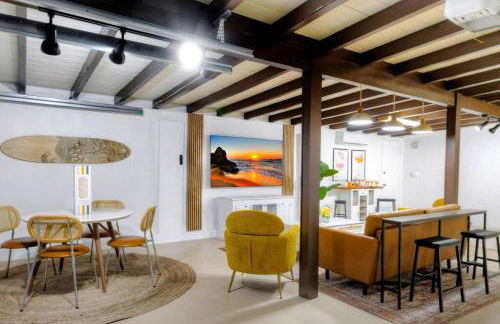
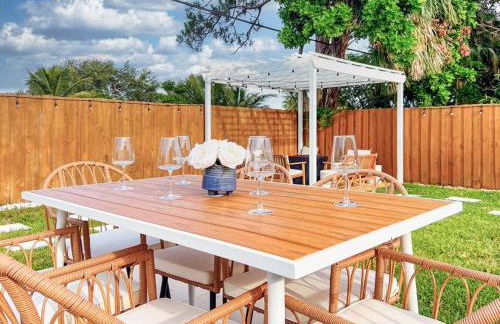
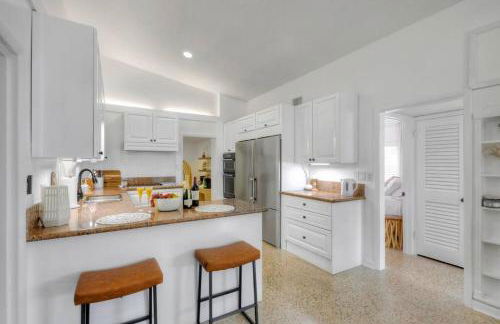
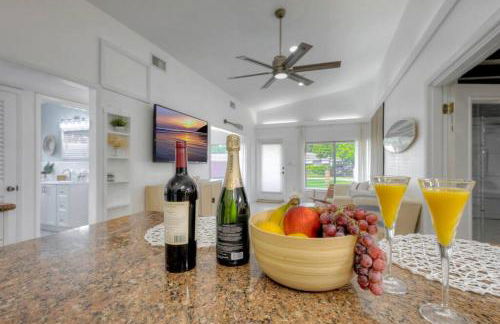
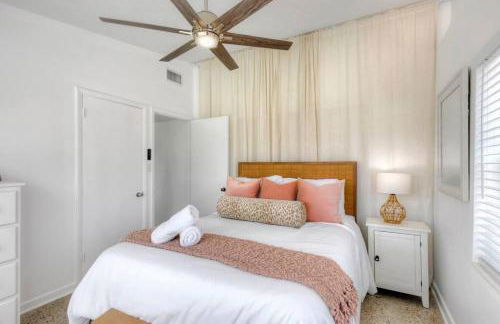
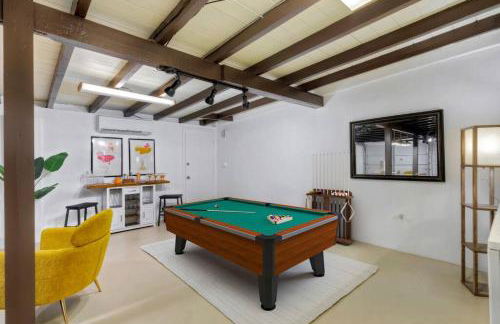
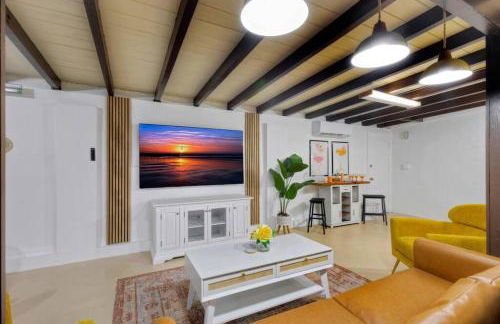
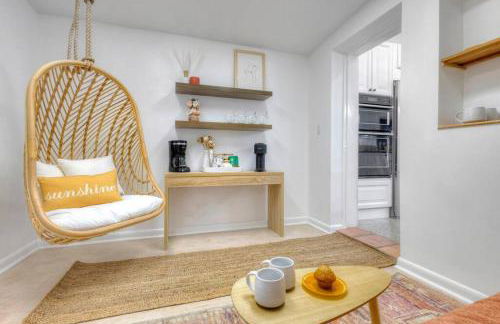
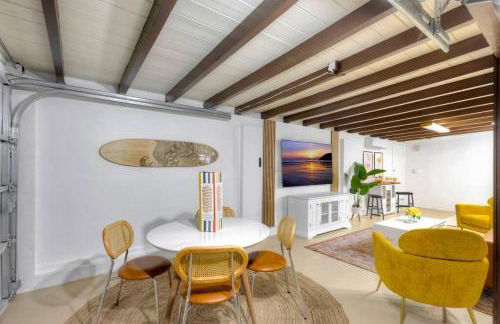
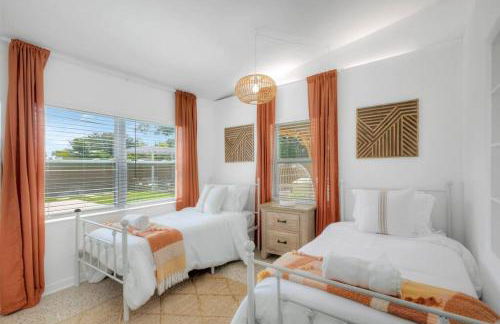
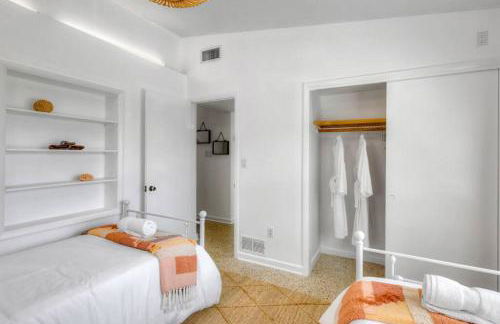
Ambers Jensen Beachhouse with Hot Tub
Jensen Beach - Jensen Beach - A 2.5 km del centro
- 129 M2
- 3 habitaciones
- 6 personas
- Aire acondicionado
- Calefacción
- Terraza
- Parking
- Jardín
- Barbacoa
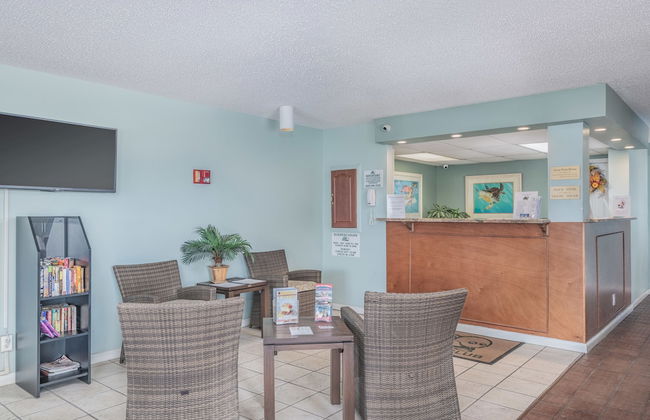


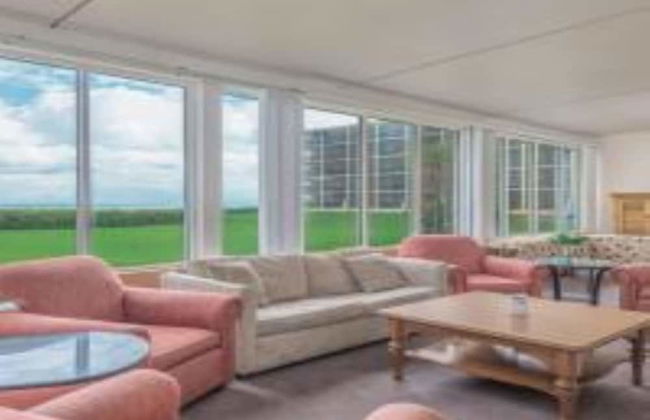


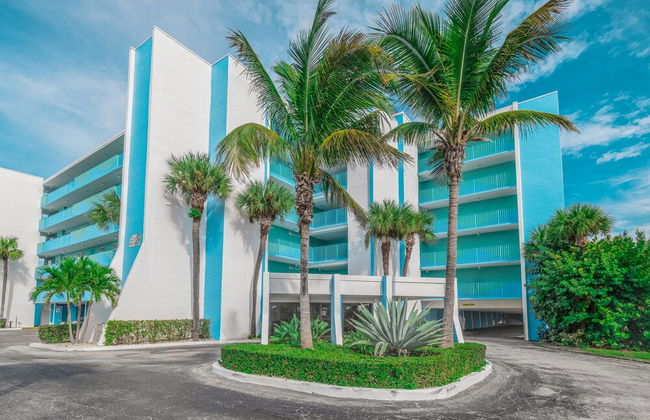

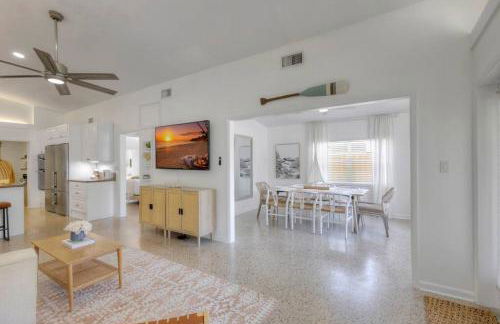
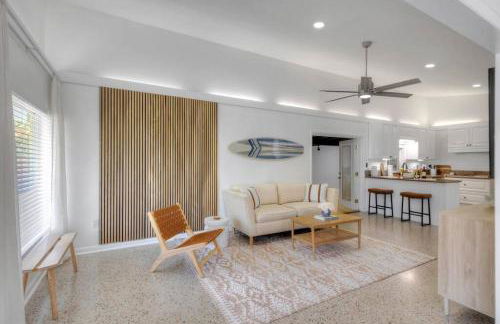
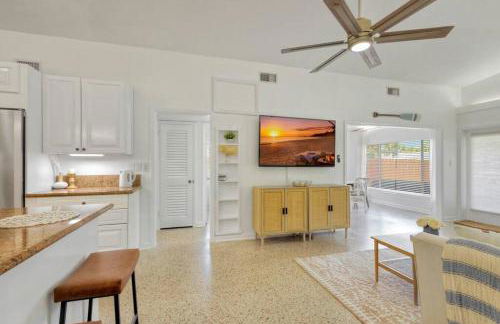
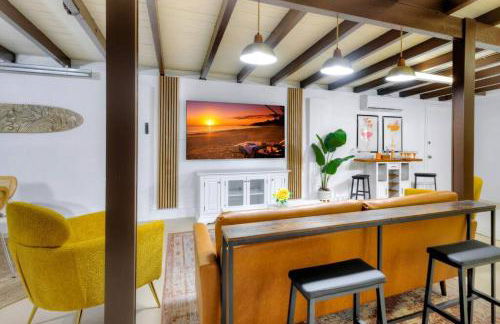
Turtle Reef Club
Jensen Beach - Hutchinson Island South - A 2.6 km del centro
- 93 M2
- 6 personas
- Aire acondicionado
- Calefacción
- Piscina
- Parking
- Ascensor
- Balcón
- Televisión
- Barbacoa
- Toallas


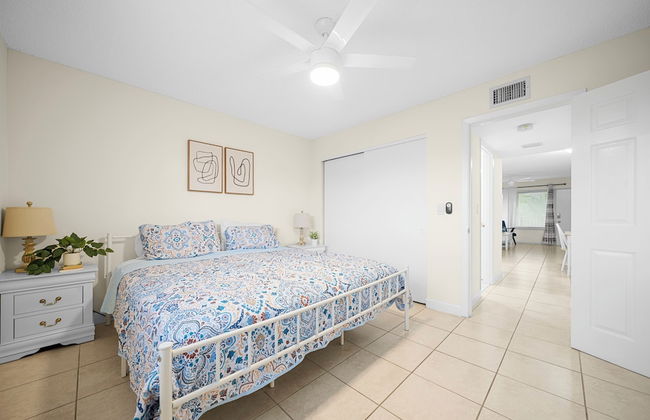

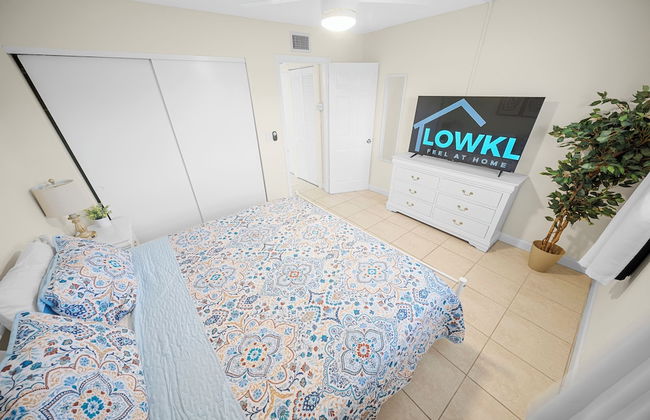


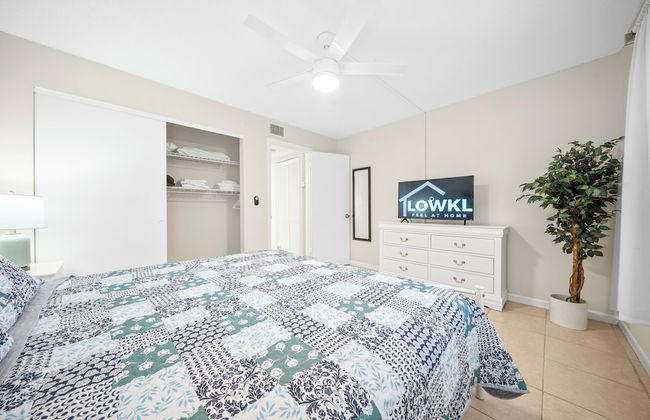


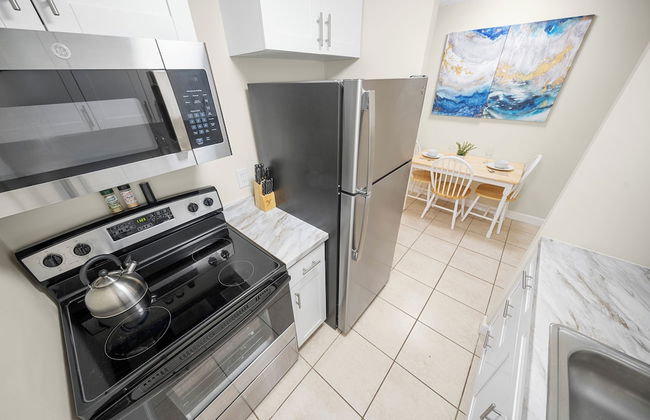


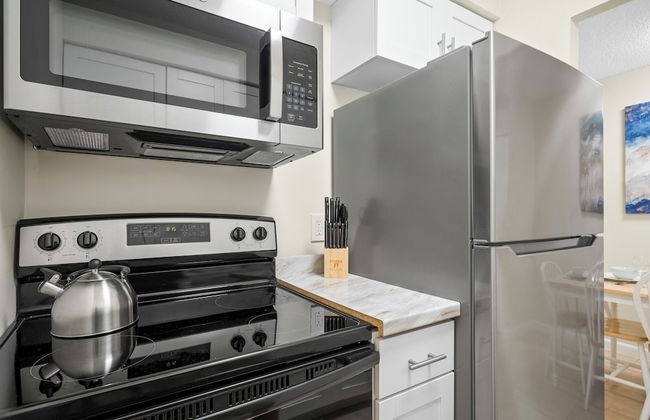


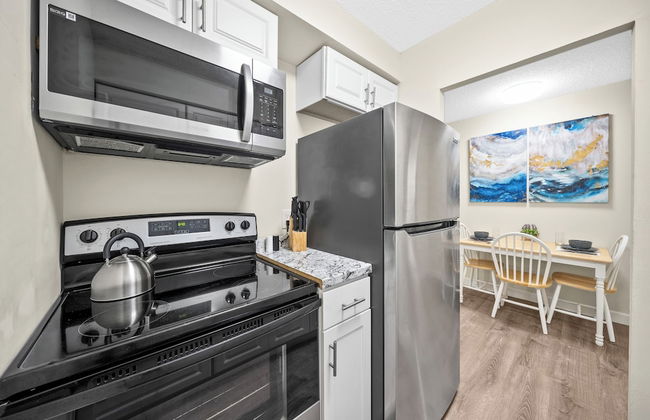


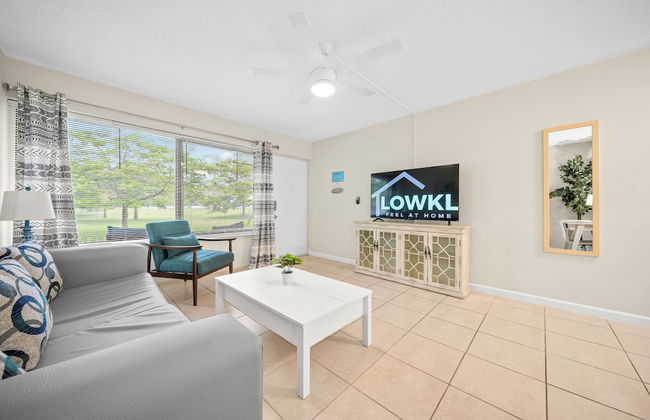


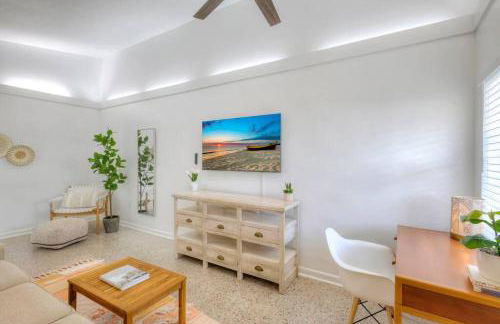
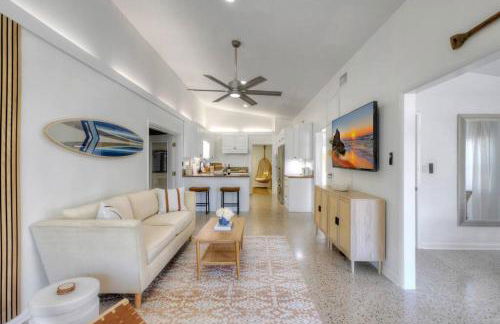
Riverwatch Apartments by Lowkl
Jensen Beach - Jensen Beach - A 3.3 km del centro
- 60 M2
- 1 habitación
- 4 personas
- Aire acondicionado
- Piscina
- Parking
- Jardín
- Televisión
- Toallas
- Sábanas


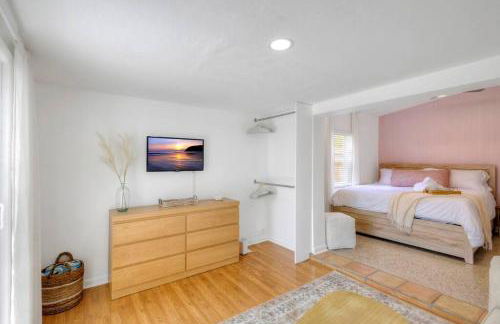
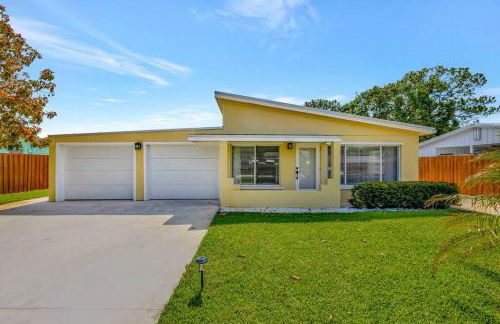
Jensen Beach Home with Heated Pool!
Jensen Beach - Jensen Beach - A 3.5 km del centro
- 158 M2
- 3 habitaciones
- 7 personas
- Calefacción
- Piscina
- Parking


4 Mi to Dtwn Jensen Beach Cottage
Jensen Beach - Rio - A 4.5 km del centro
- 84 M2
- 2 habitaciones
- 6 personas
- Parking
- Jardín


Sailfish Suites 3 - waterfront
Stuart - Port Salerno - A 8 km del centro
- 56 M2
- 3 personas
- Aire acondicionado
- Piscina
- Parking


*NEW* The Surf Shack Jupiter!
Jupiter - A 3.9 km del centro
- 4 habitaciones
- 10 personas
- Aire acondicionado
- Terraza
- Parking
- Jardín
- Barbacoa


Renovated Studio in Downtown Stuart #5
Stuart - En el centro
- 20 M2
- 2 personas
- Aire acondicionado
- Parking


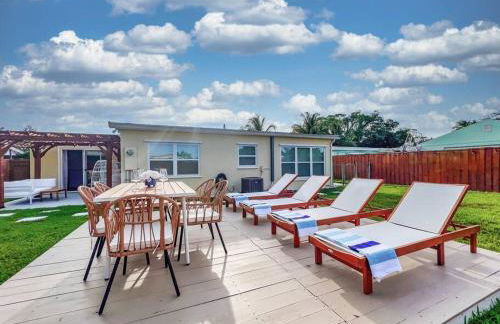
Palm City Home with Pool and Florida Room - Near Golf
Palm City - Palm City - A 750 m del centro
- 185 M2
- 3 habitaciones
- 8 personas
- Calefacción
- Piscina
- Parking


Florida Gem Saltwater Pool By Beaches and Kayaking!
Jensen Beach - Jensen Beach - A 1.7 km del centro
- 160 M2
- 3 habitaciones
- 9 personas
- Piscina
- Parking


Stuart Condo at Beachfront Resort with Ocean Views
Stuart - A 7.9 km del centro
- 91 M2
- 2 habitaciones
- 6 personas
- Calefacción
- Piscina
- Parking
- Ascensor


Sailfish Suites 1 - Waterfront & pet friendly
Stuart - Port Salerno - A 8 km del centro
- 56 M2
- 3 personas
- Aire acondicionado
- Piscina
- Parking


Tropical Cottage Less Than 2 Mi to Hobe Sound Beach!
Hobe Sound - Hobe Sound - A 290 m del centro
- 65 M2
- 1 habitación
- 4 personas
- Parking
- Jardín


Palm City Canalfront Home with Boat Dock and Fire Pit!
Palm City - Palm City - A 800 m del centro
- 115 M2
- 2 habitaciones
- 8 personas
- Calefacción
- Parking


Turtle Reef Club
Jensen Beach - Hutchinson Island South - A 2.6 km del centro
- 6 personas
- Aire acondicionado
- Calefacción
- Piscina
- Parking
- Ascensor
- Televisión


Updated Cottage on Pine Ave
Stuart - A 370 m del centro
- 60 M2
- 2 personas
- Aire acondicionado
- Parking


Sailfish Suites 8 - Waterfront Lodging
Stuart - Port Salerno - A 8 km del centro
- 56 M2
- 3 personas
- Aire acondicionado
- Piscina
- Parking


Art on the Beach
Stuart - A 8.7 km del centro
- 465 M2
- 8 habitaciones
- 20 personas
- Aire acondicionado
- Calefacción
- Terraza
- Piscina
- Parking
- Ascensor
- Jardín
- Barbacoa


La Dolce Vita
Stuart - A 8.1 km del centro
- 334 M2
- 8 habitaciones
- 20 personas
- Aire acondicionado
- Calefacción
- Terraza
- Piscina
- Parking
- Ascensor
- Jardín
- Barbacoa