


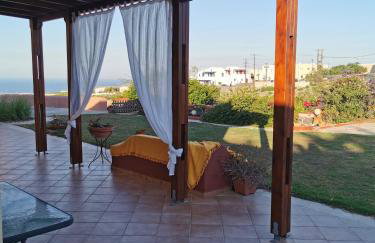
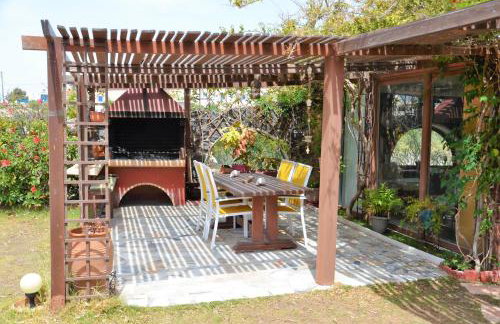
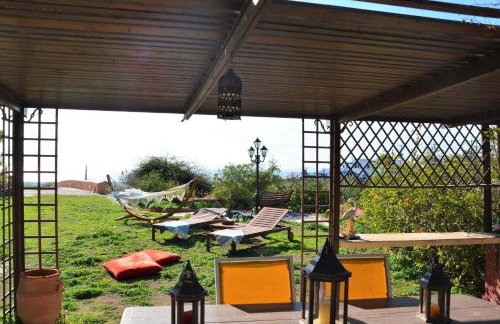
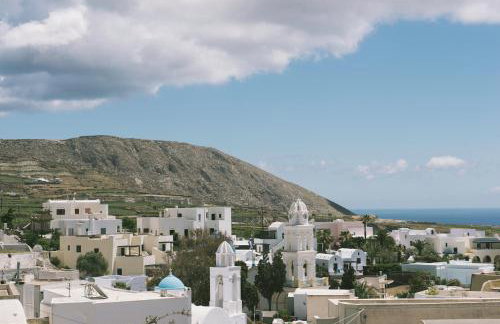
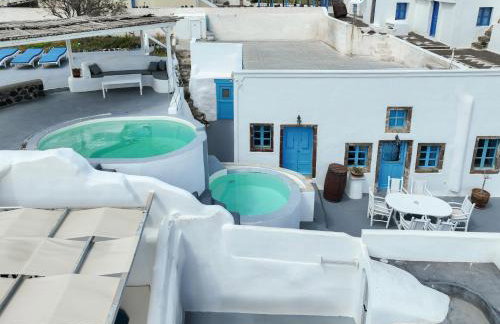
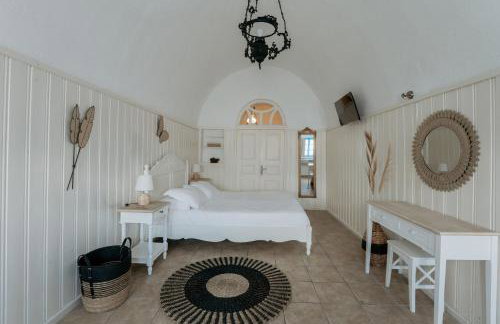
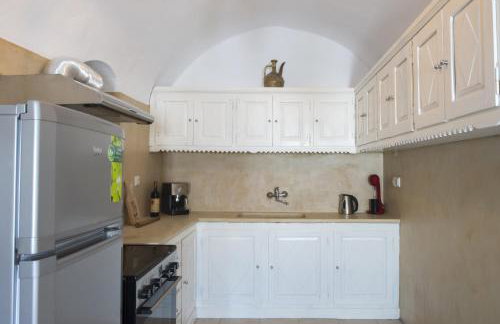
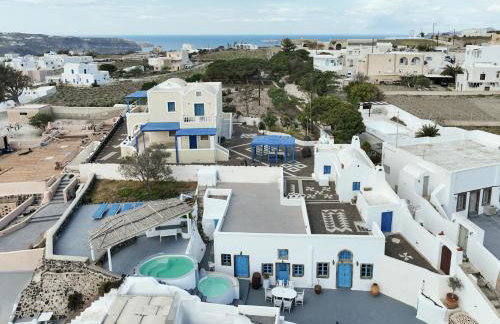
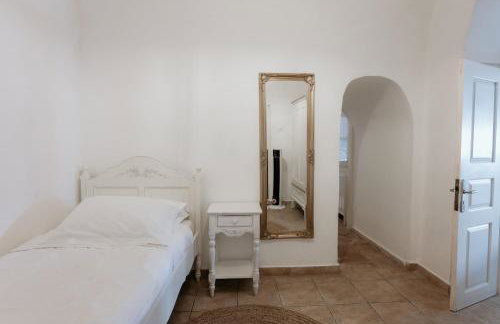
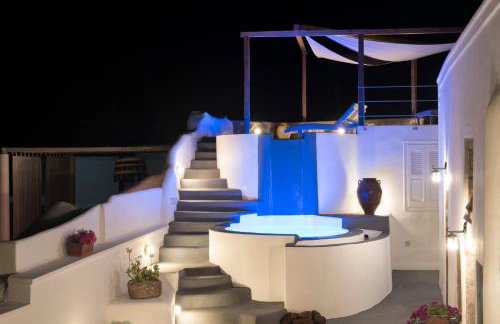
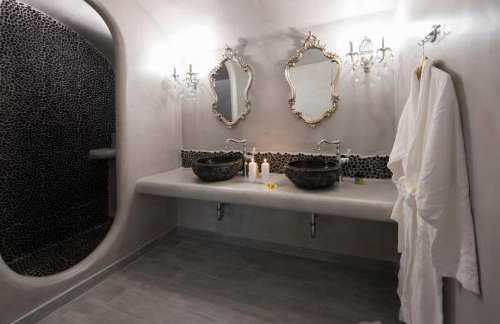
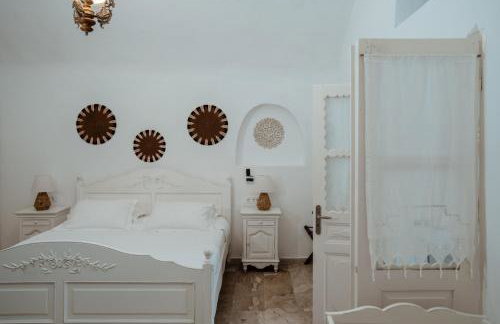
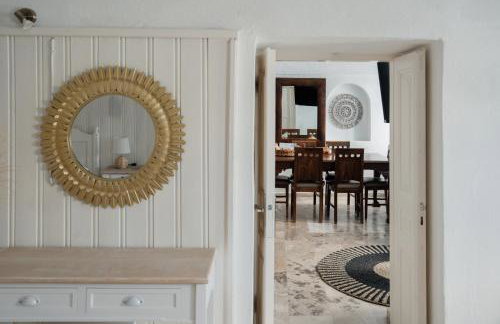
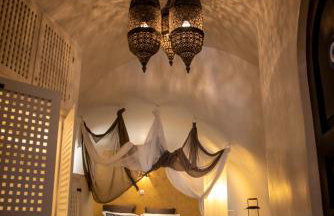
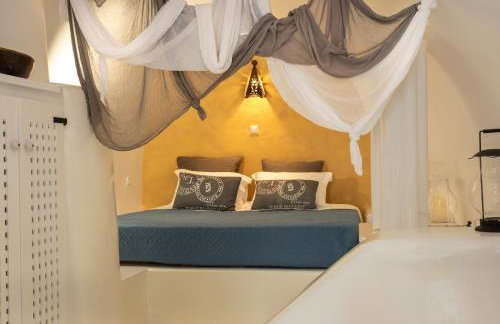
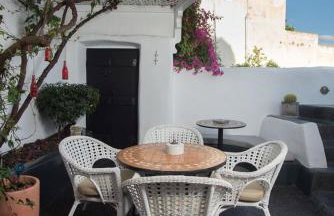
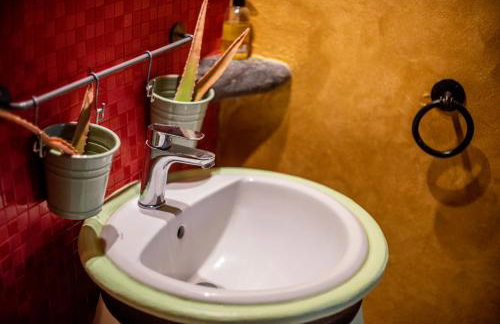
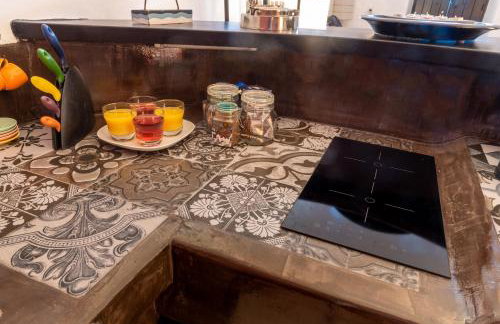
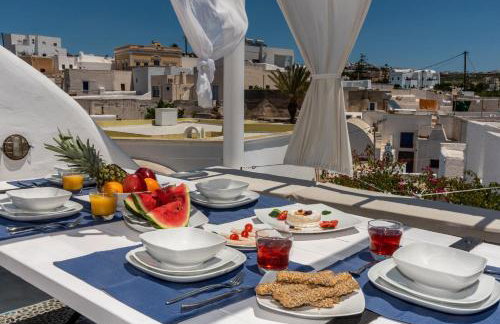
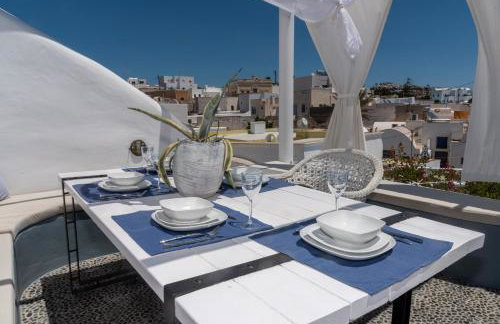
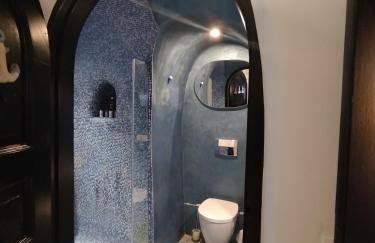
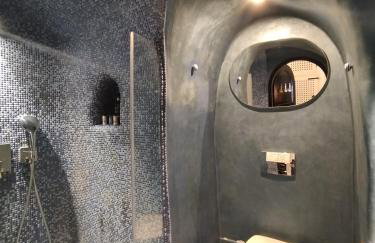
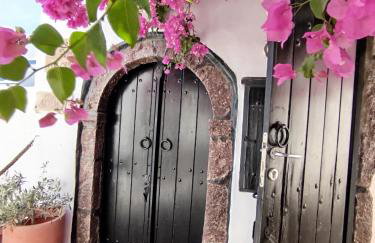
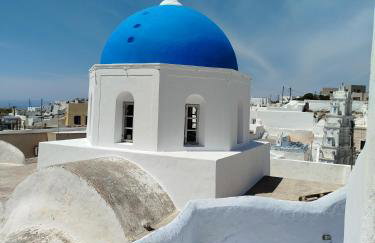
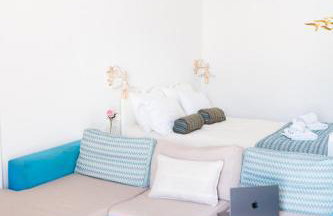
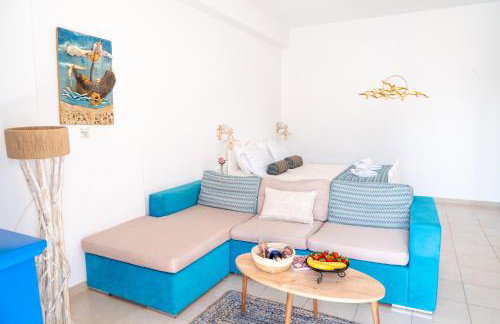
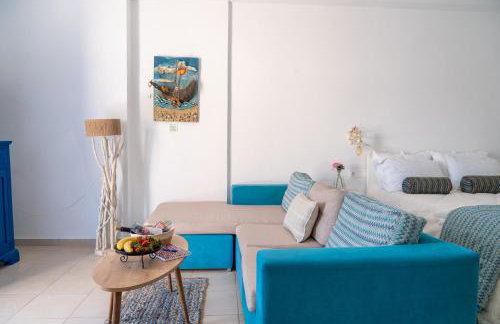
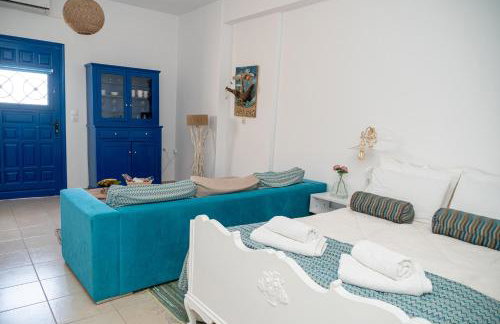
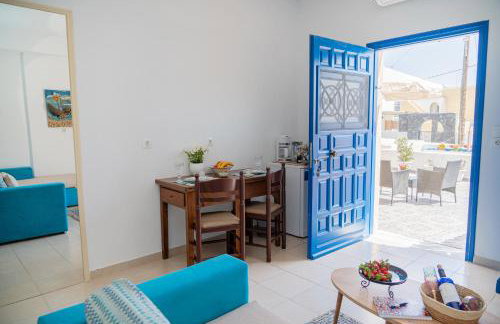
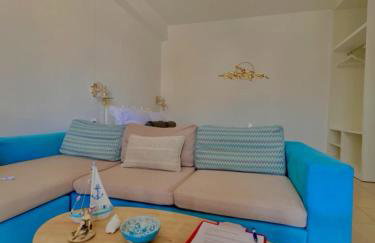
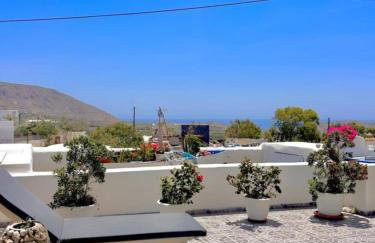
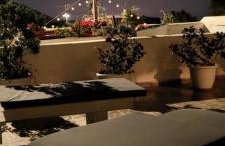
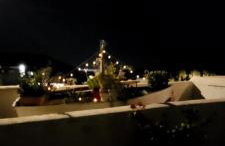
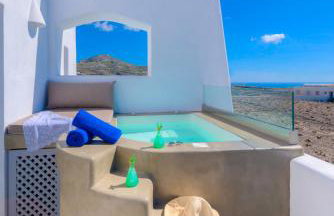
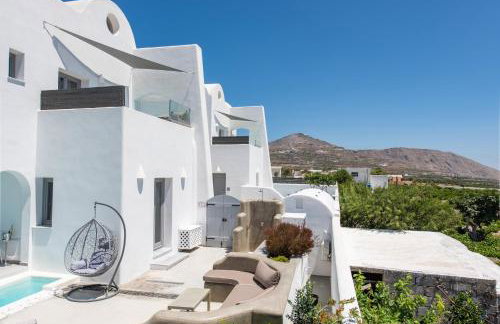
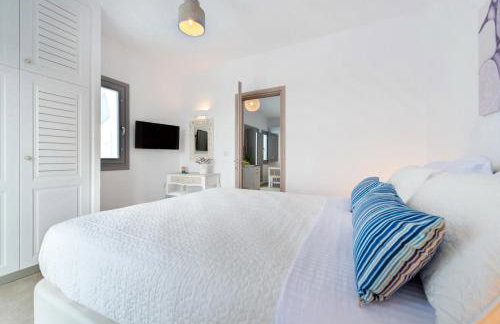
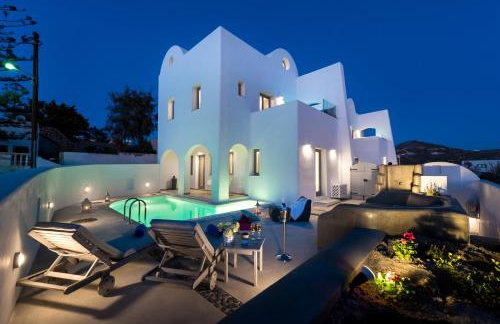
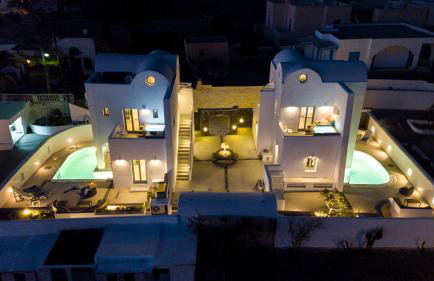
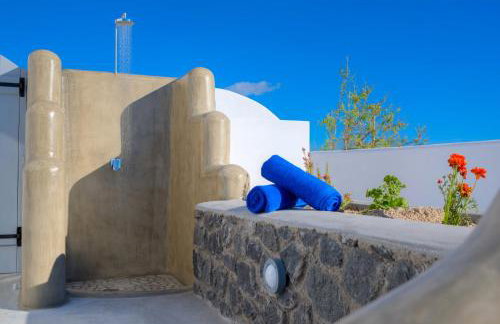
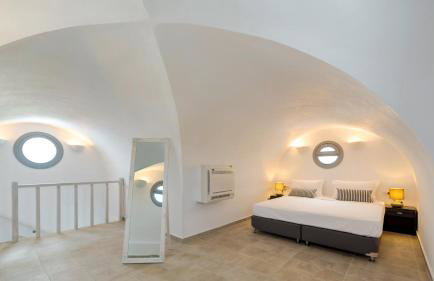
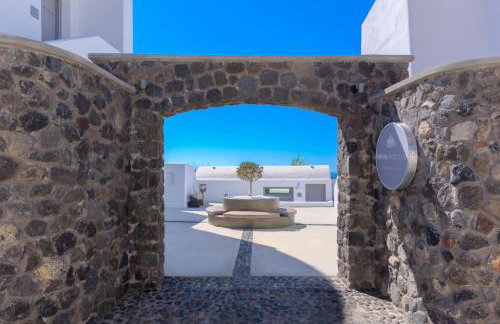
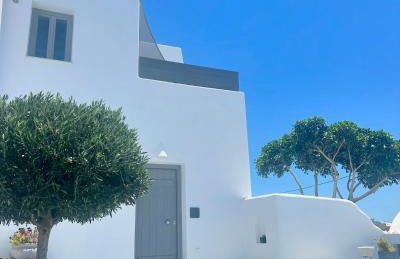
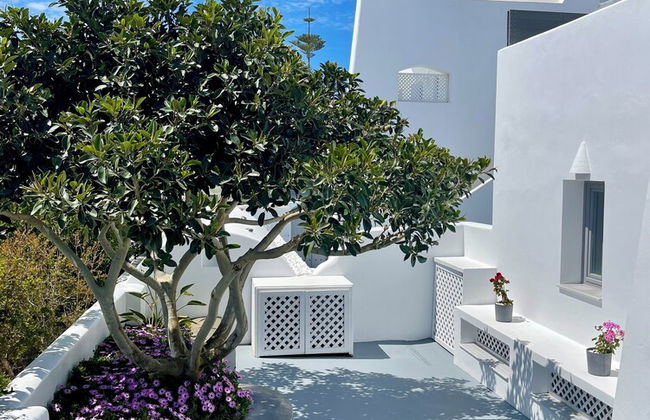
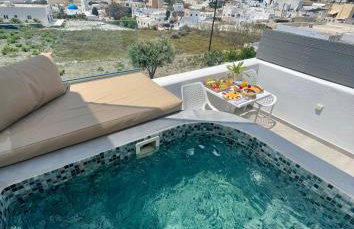
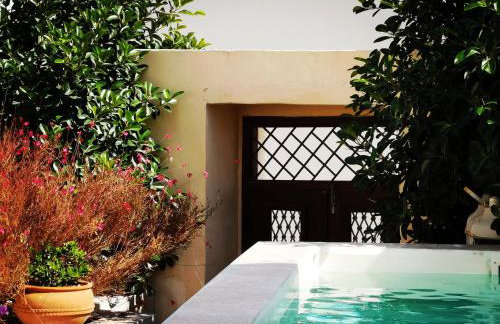
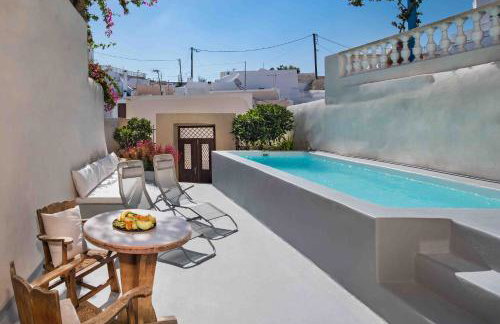
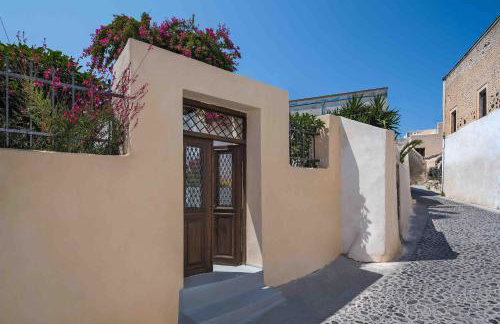
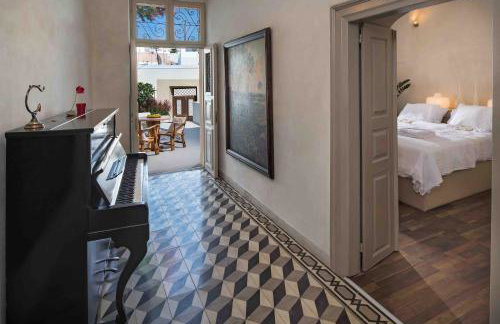
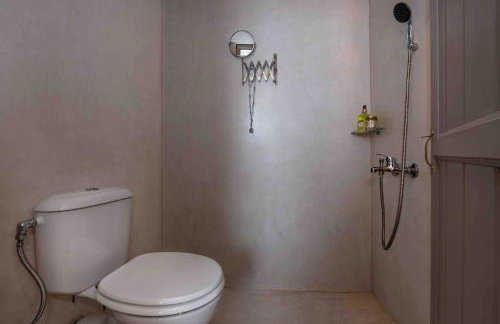
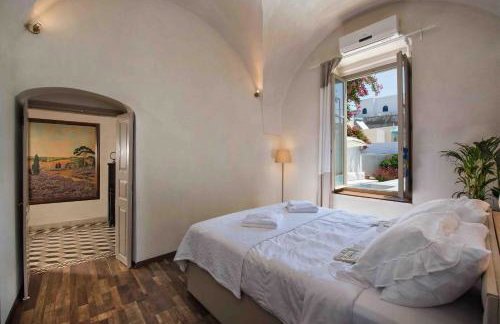
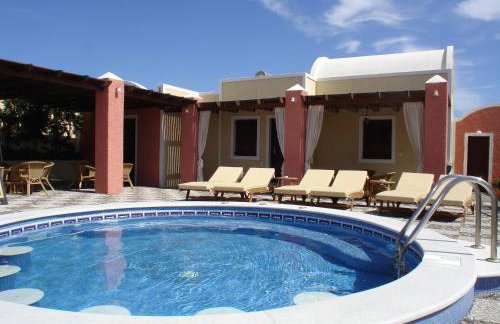
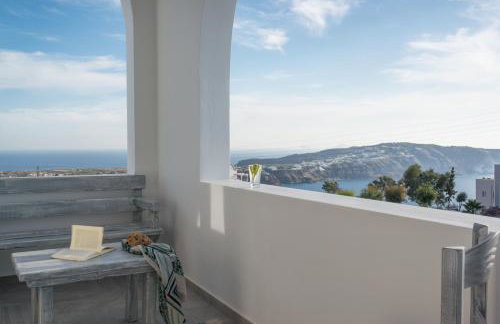
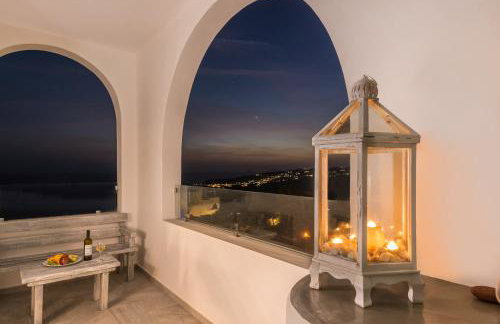
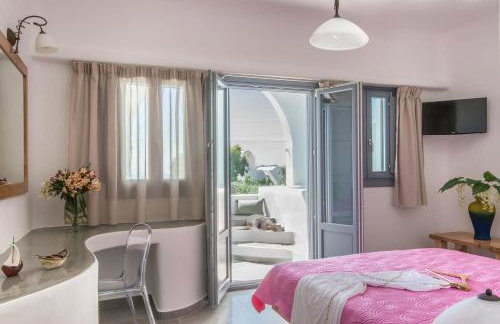
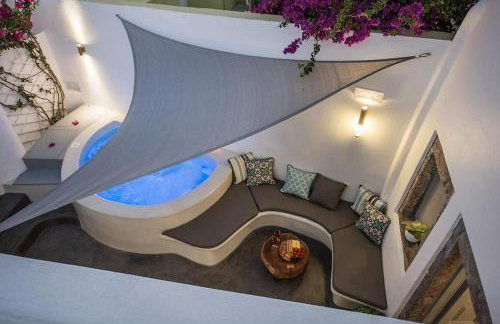
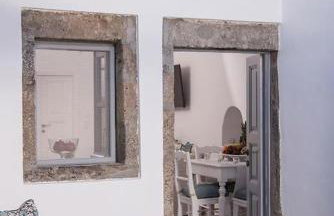
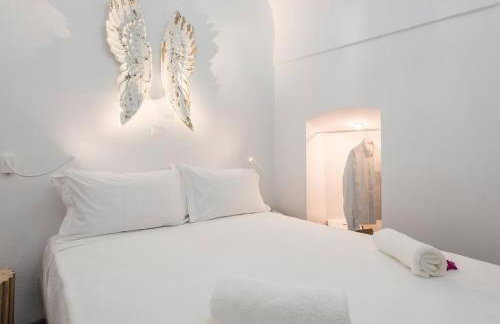
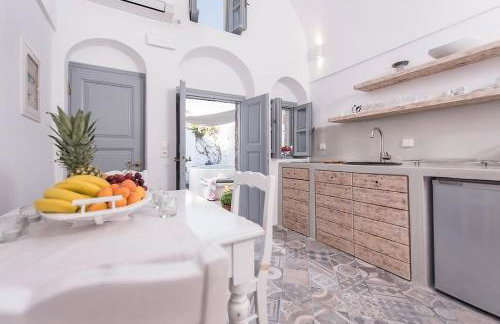
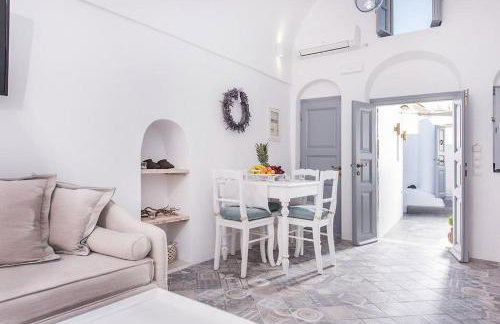
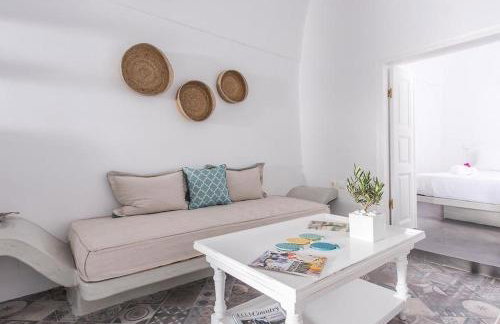
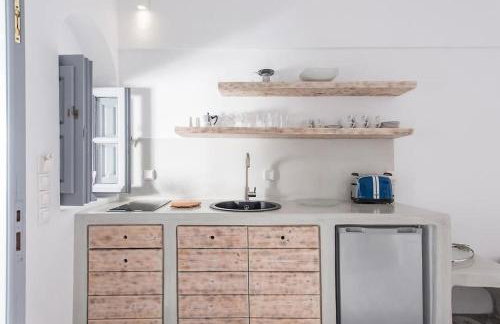
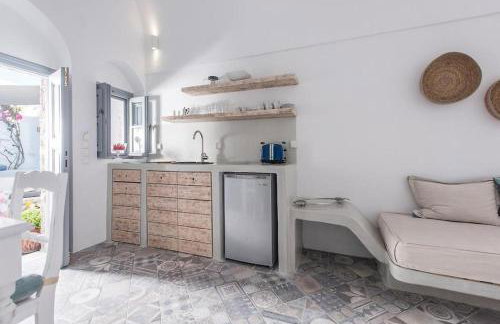
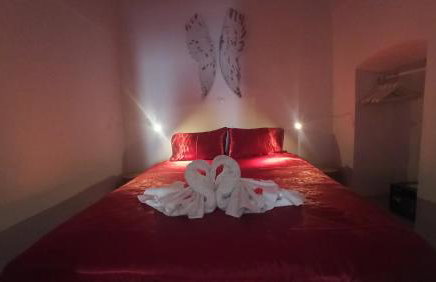
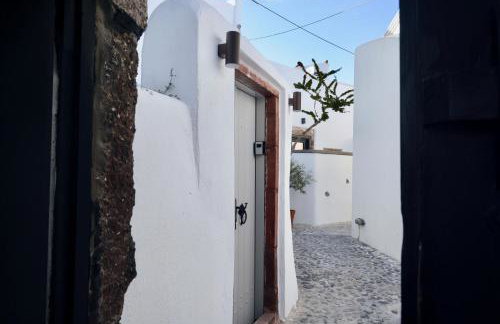
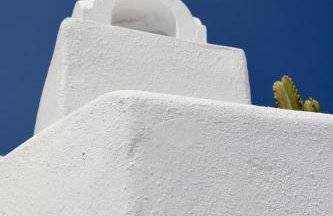
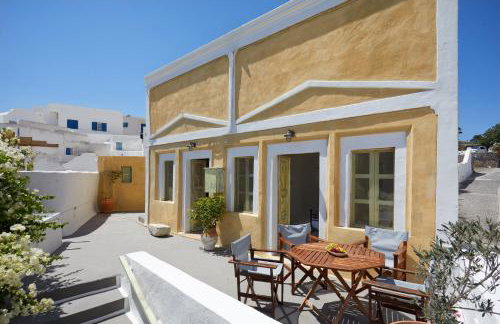
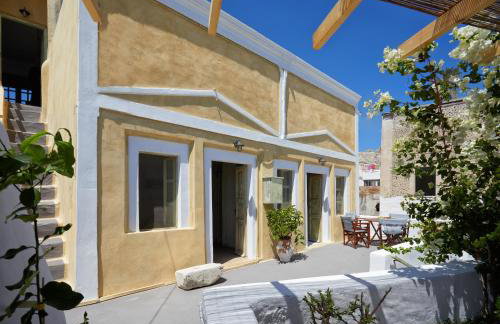
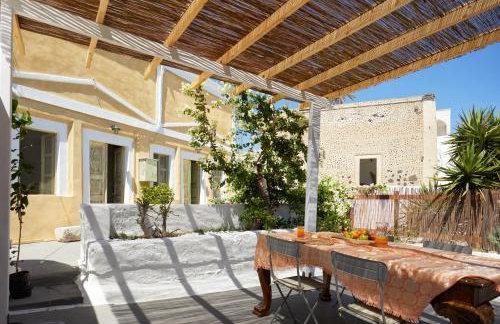
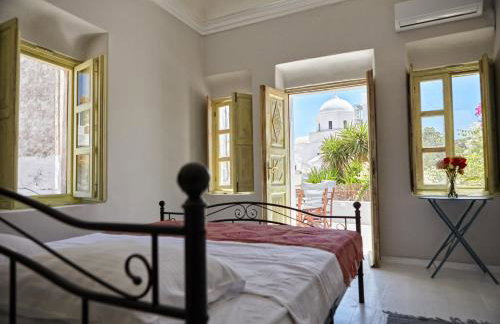
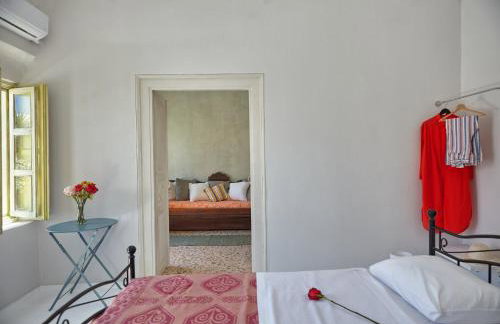
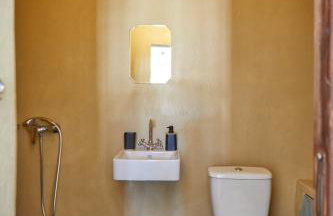
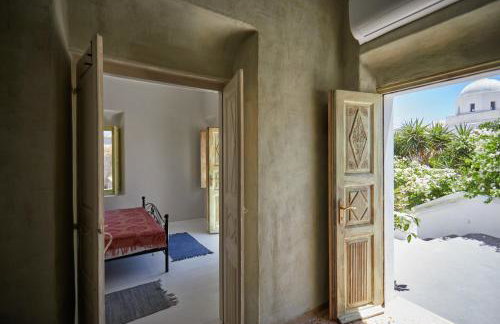
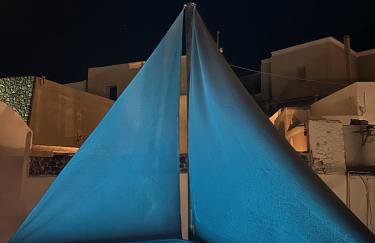
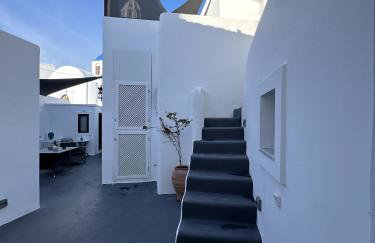
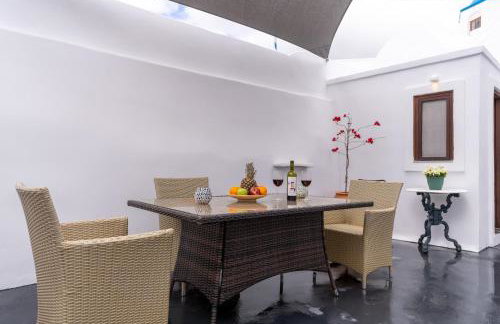
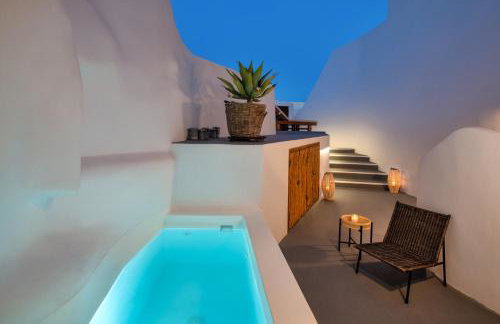
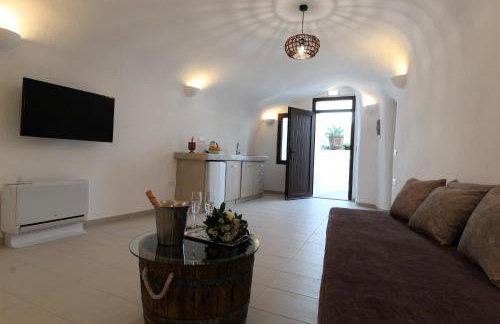
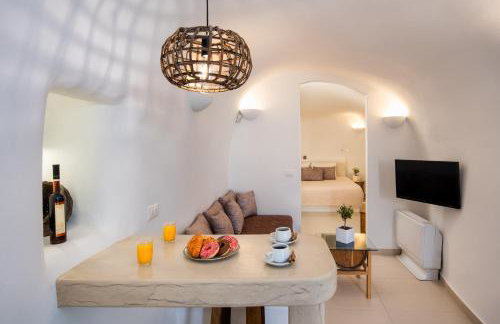
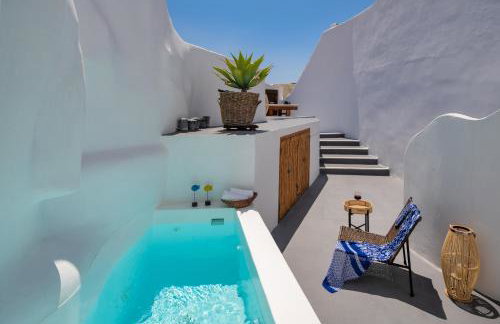
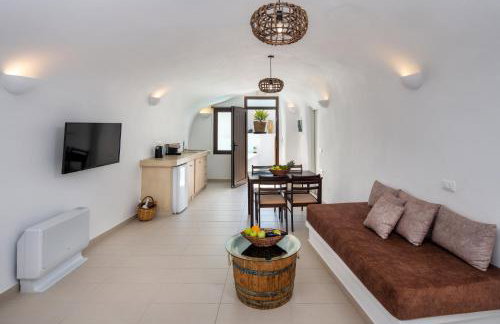
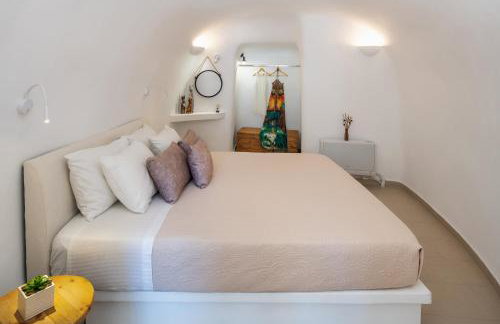
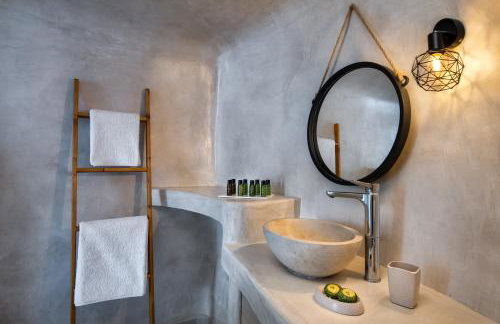
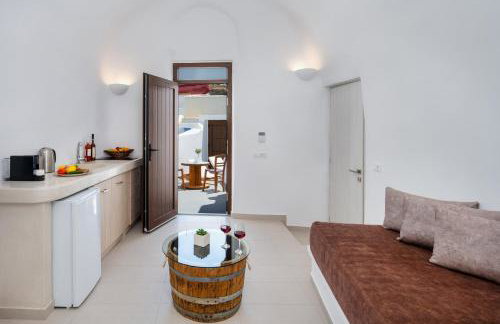
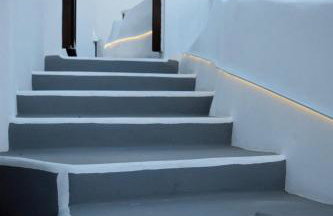
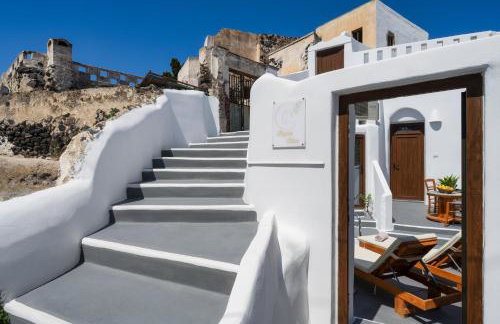
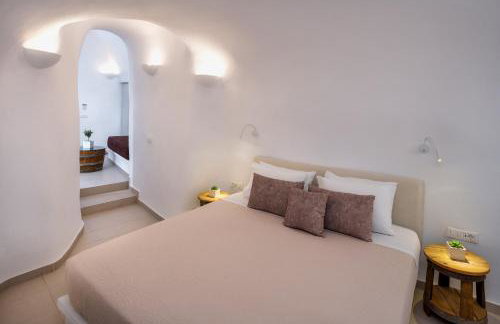
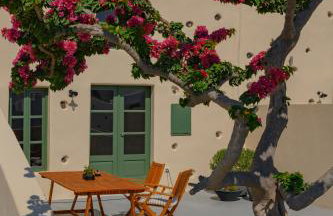
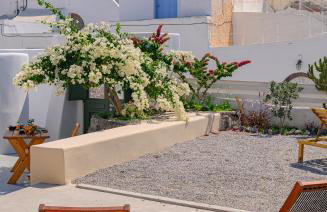
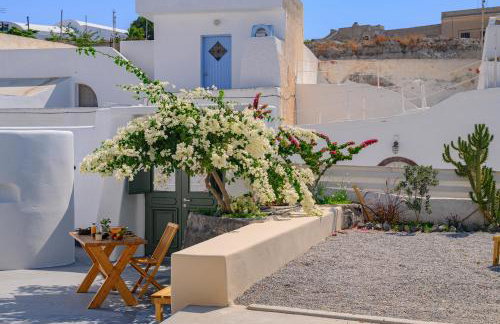
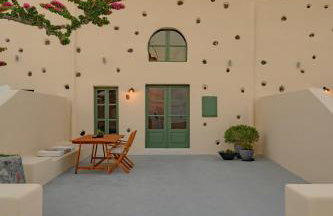
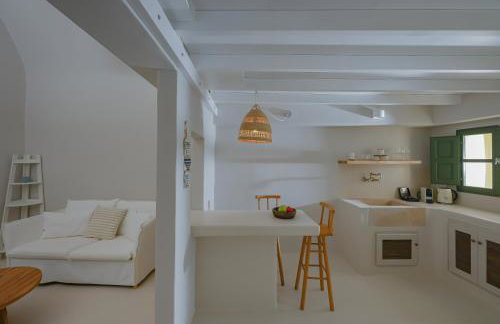
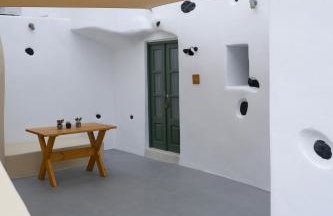
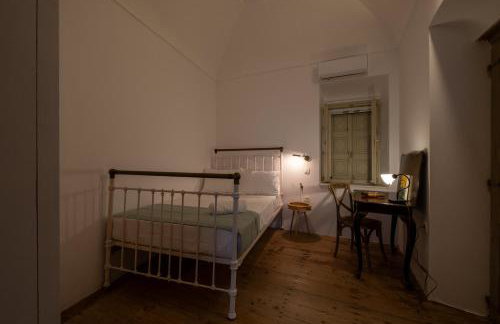
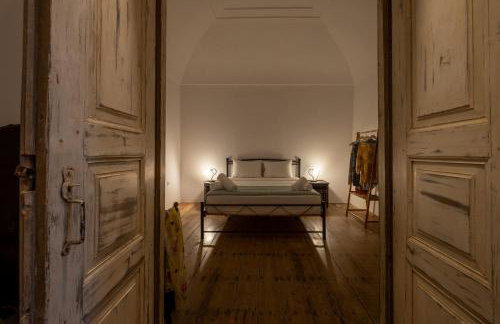
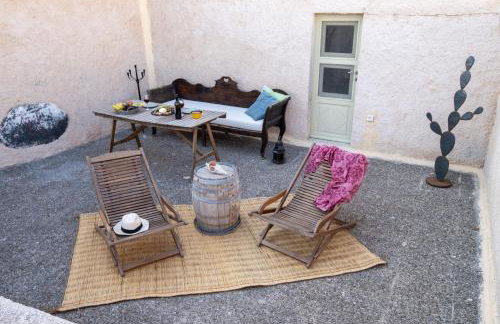
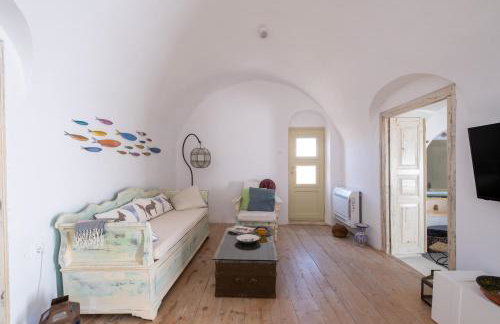
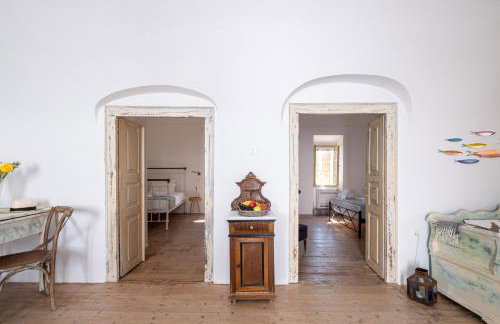
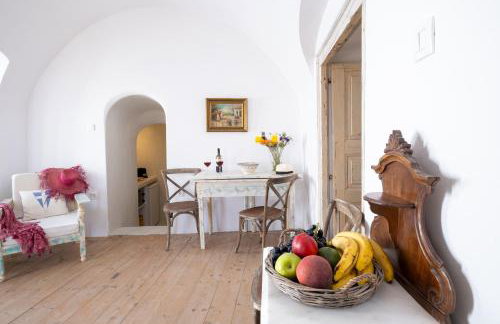
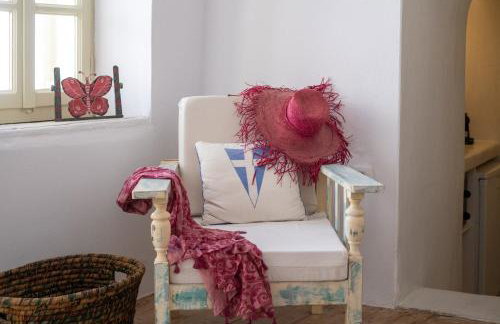
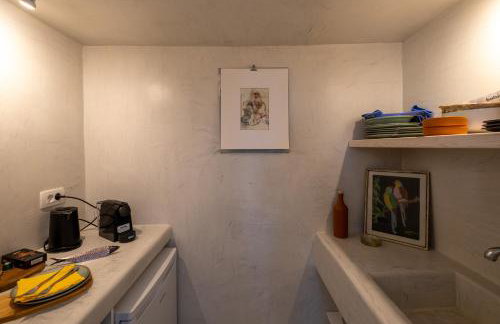
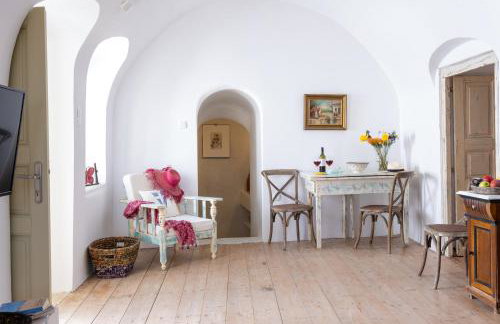
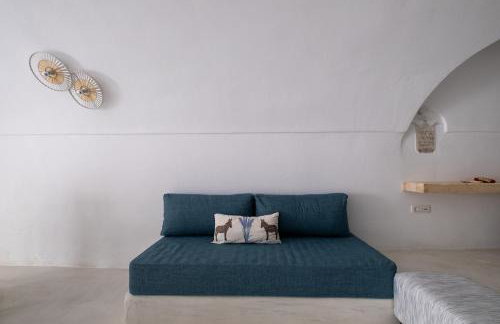
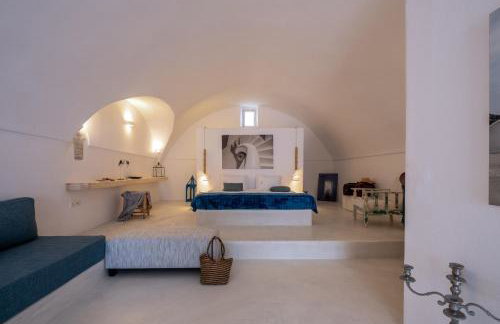
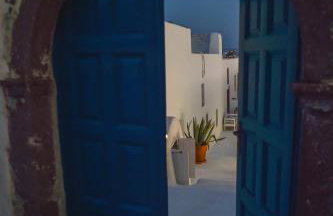
Aspronisi Luxury Villa
Thira - Megalochori - A 4.6 km del centro
- 80 M2
- 6 personas
- Aire acondicionado
- Calefacción
- Terraza
- Parking
- Televisión
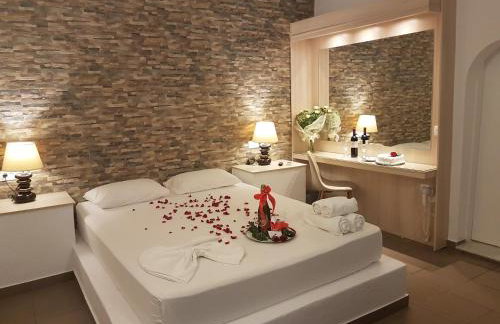
- Toallas
- Sábanas
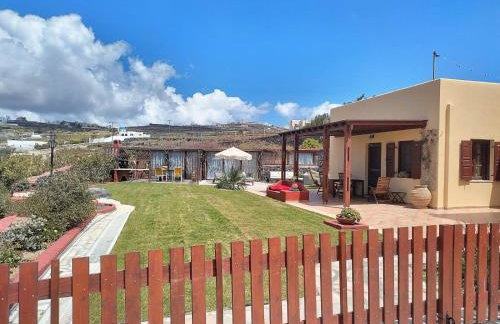


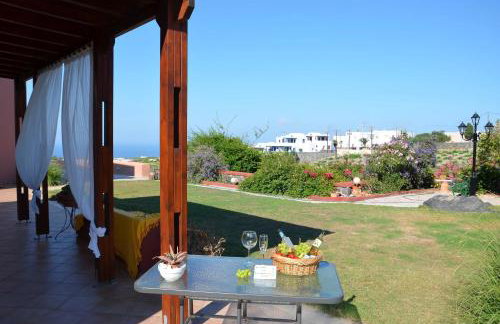


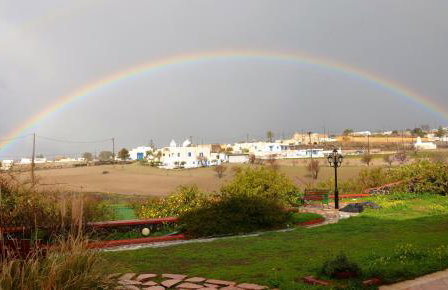


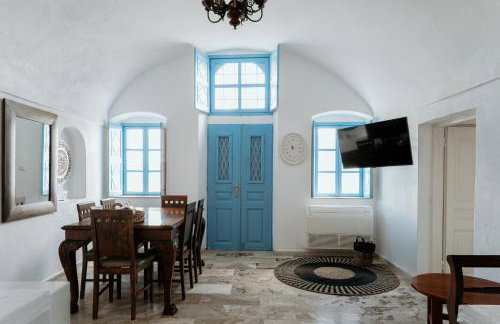
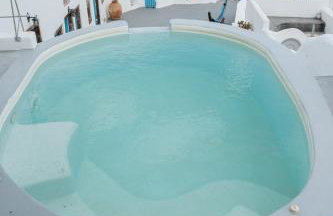
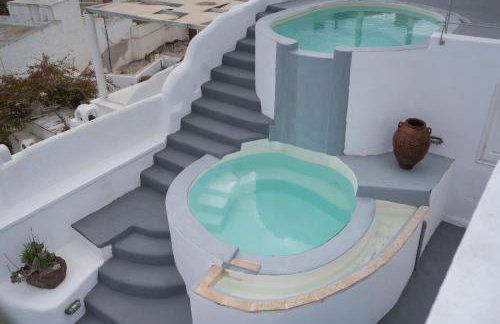
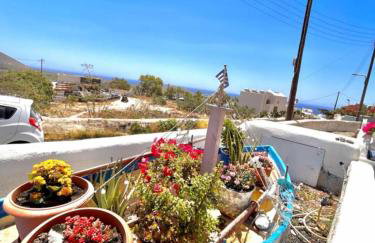
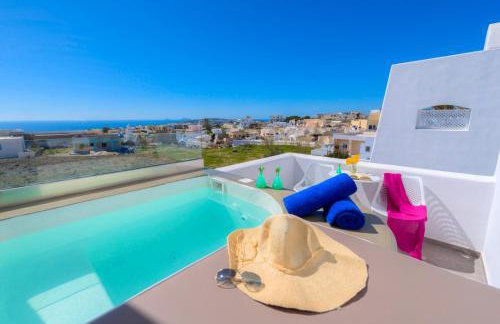
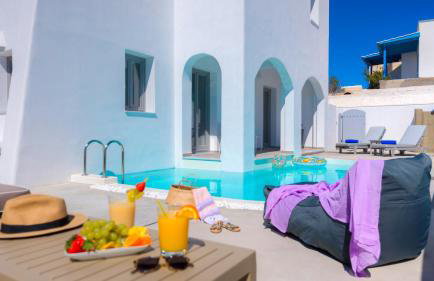
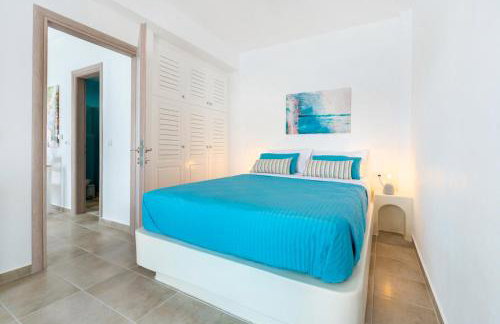
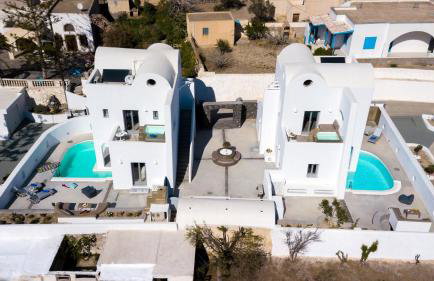
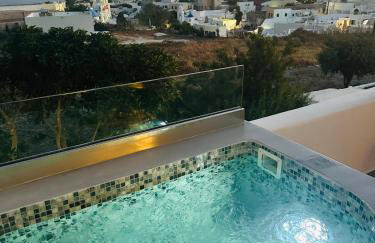
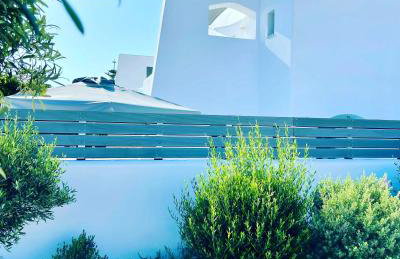
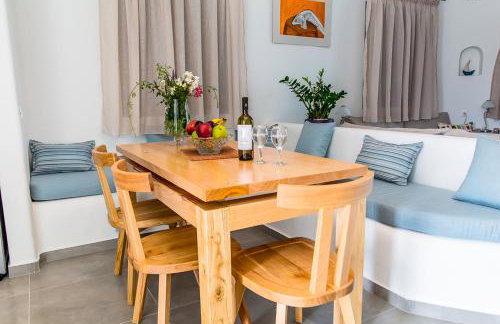
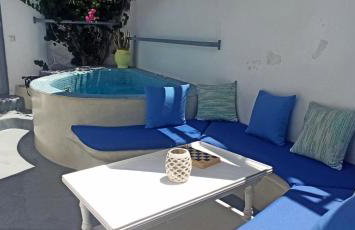
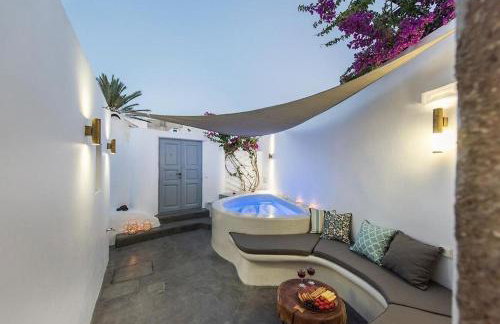
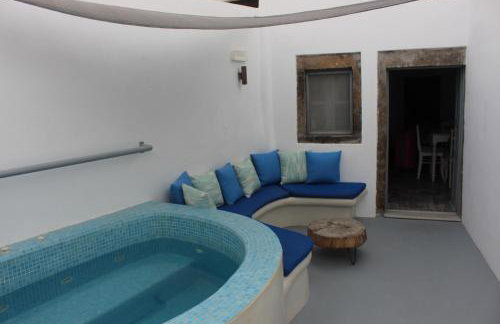
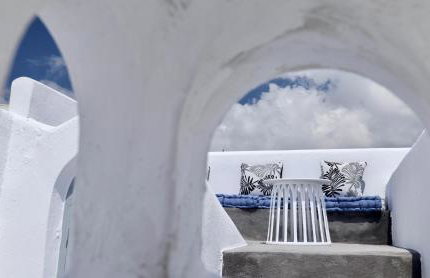
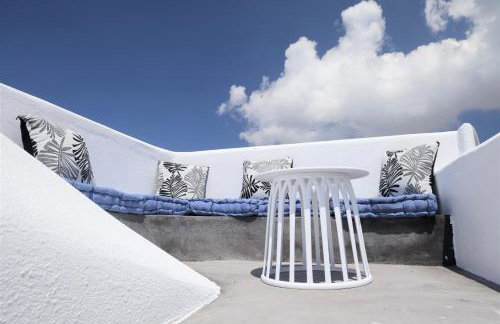
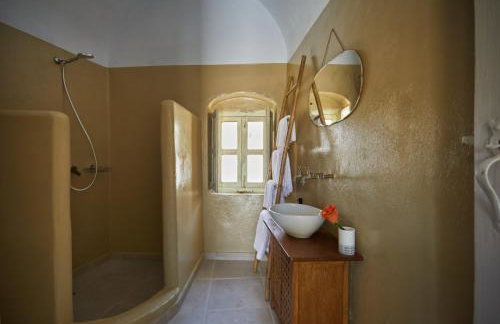
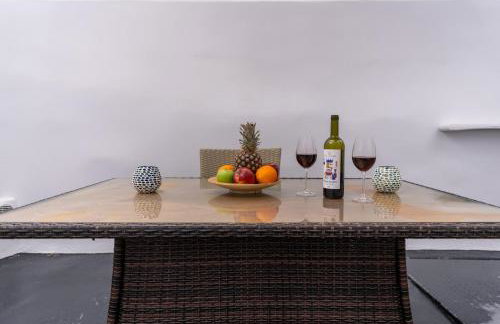
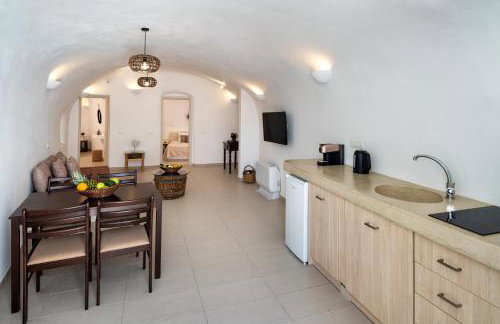
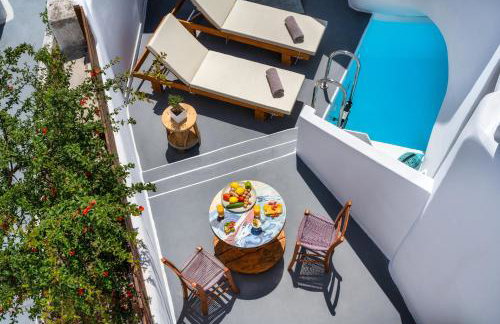
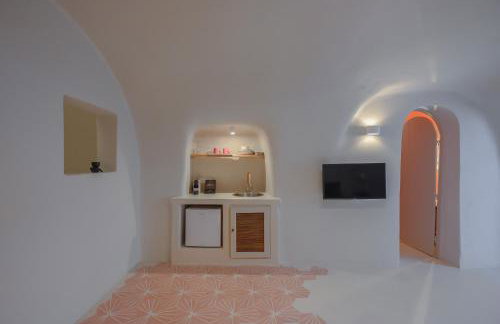
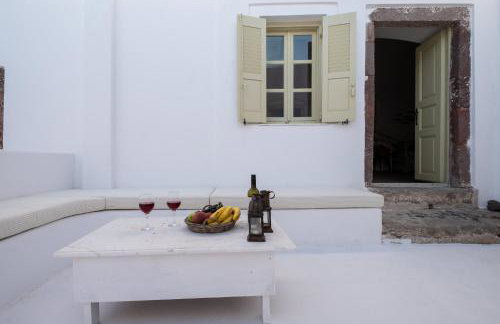
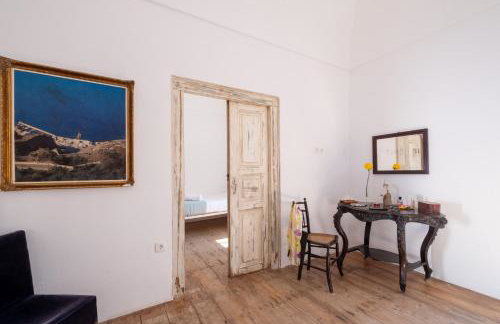
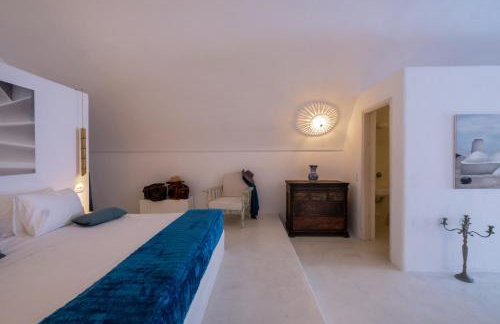
Vineyards Hill Villa
Thira - Megalochori - A 4.6 km del centro
- 50 M2
- 2 habitaciones
- 4 personas
- Aire acondicionado
- Terraza
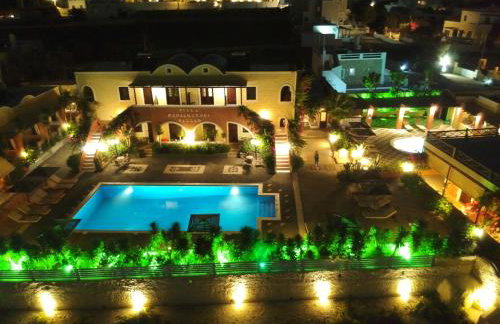
- Piscina
- Parking
- Jardín
- Barbacoa
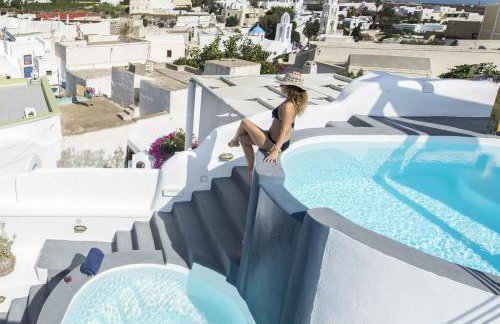


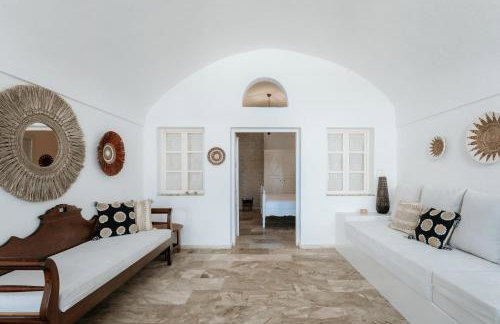


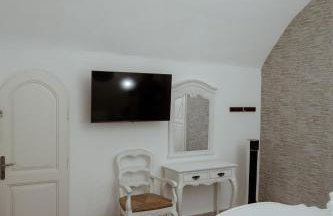
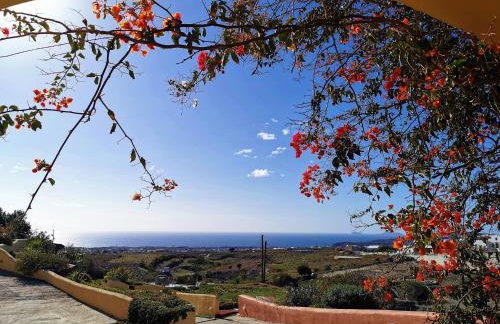
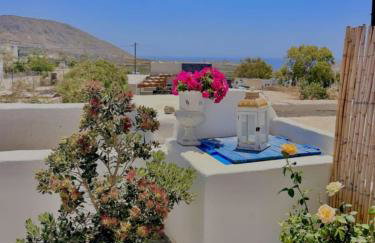
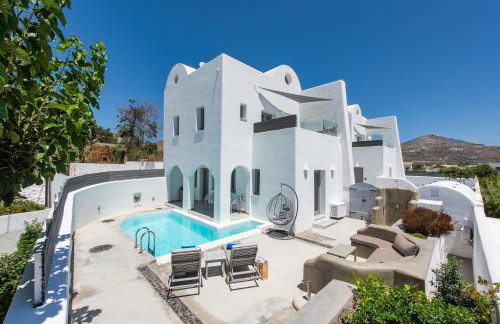
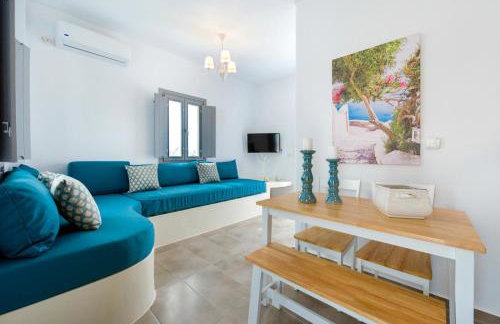
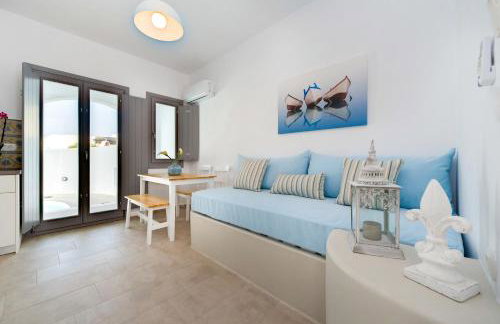
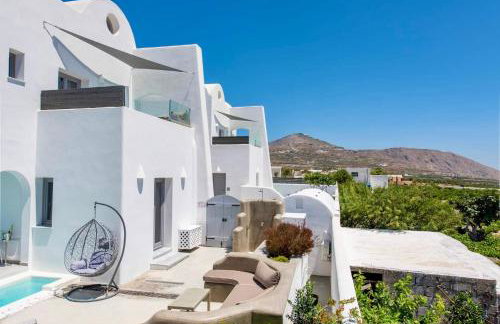
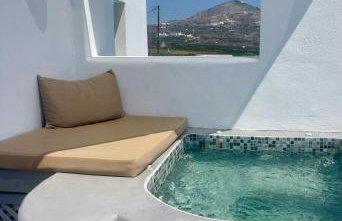
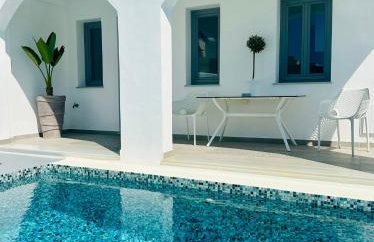
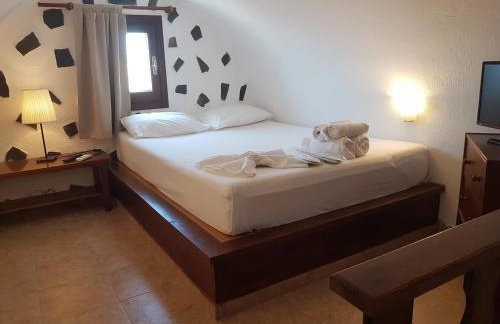
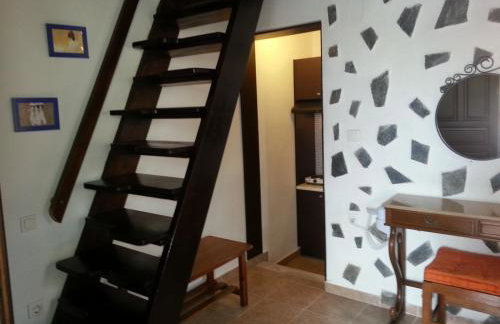
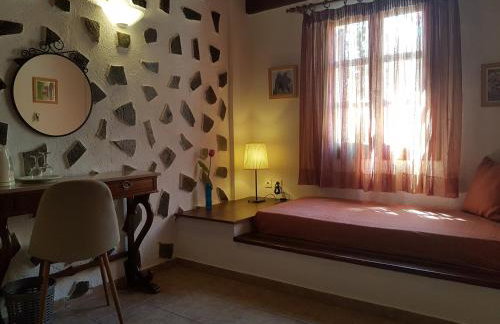
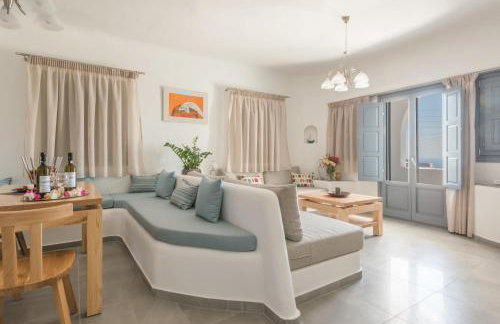
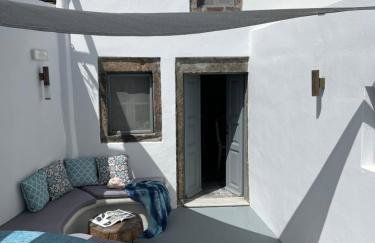
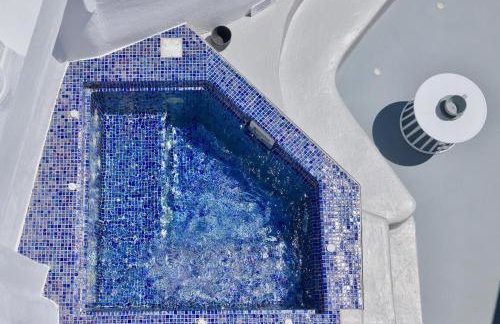
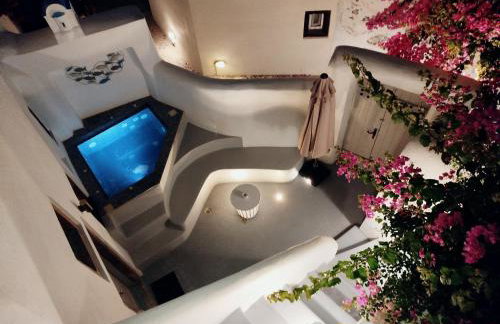
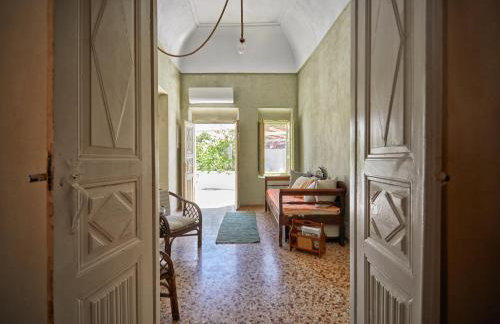
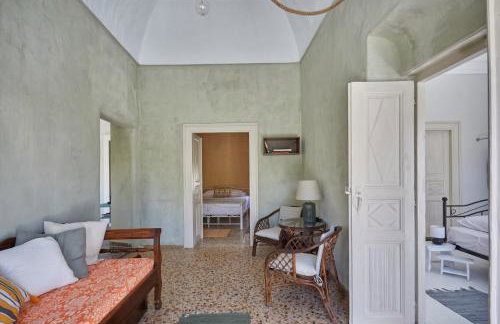
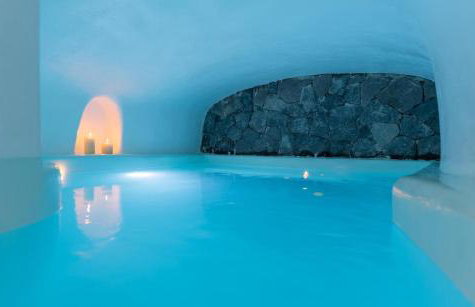
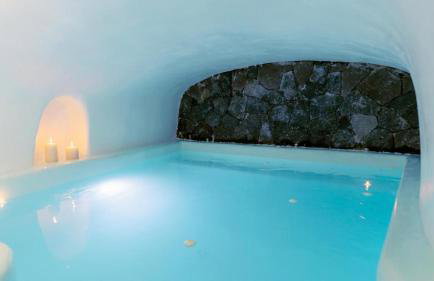
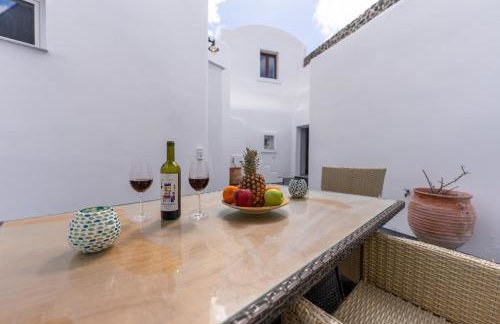
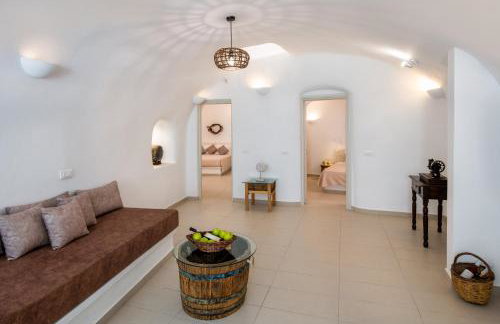
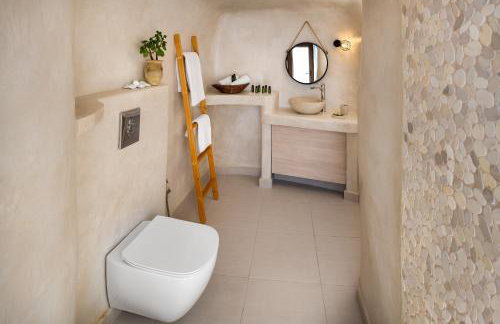
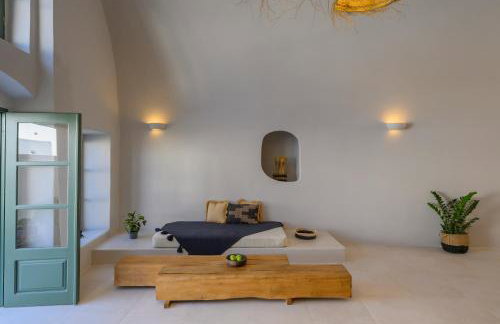
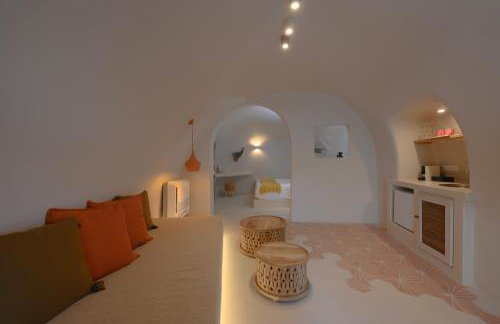
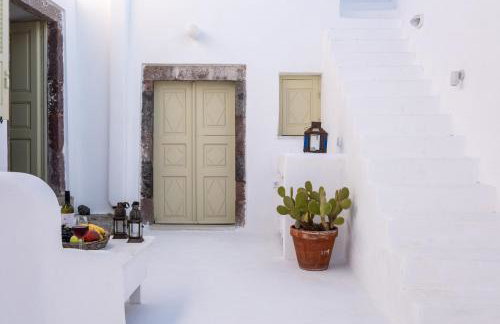
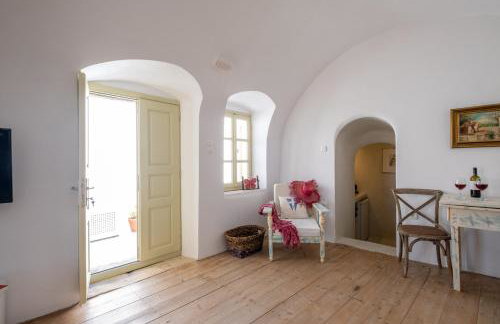
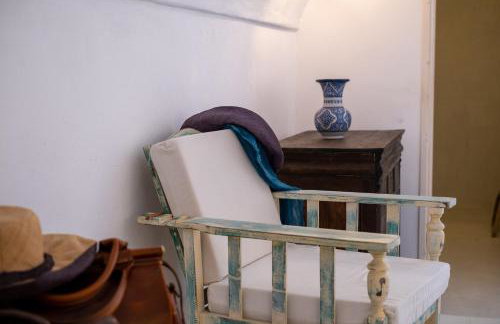
Simantiri Private Villa
Thira - Megalochori - A 4.6 km del centro
- 98 M2
- 3 habitaciones
- 5 personas
- Aire acondicionado
- Calefacción
- Terraza
- Piscina
- Parking
- Jardín


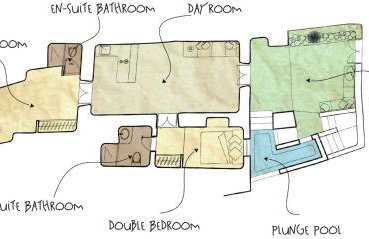

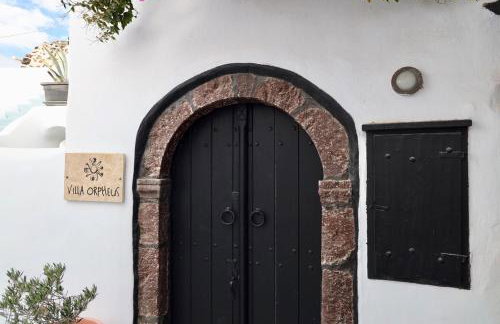


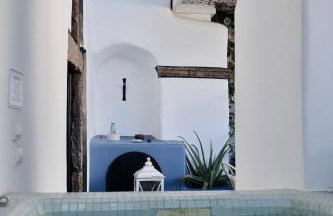


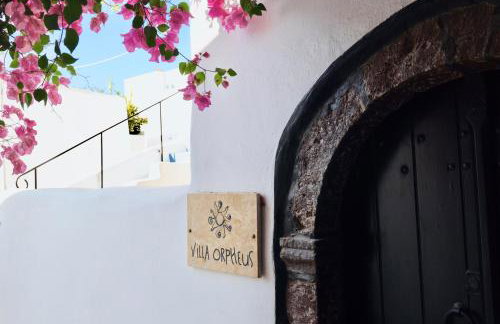


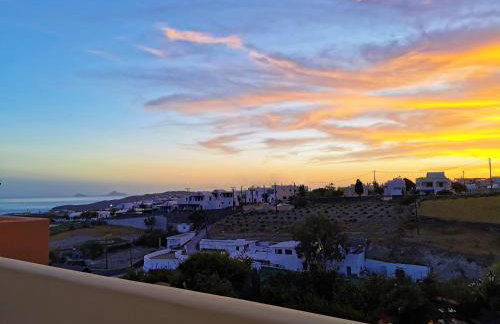
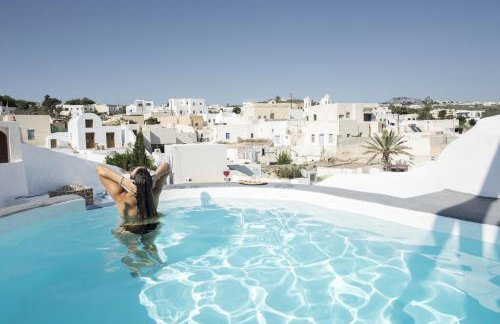
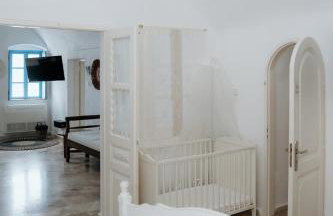
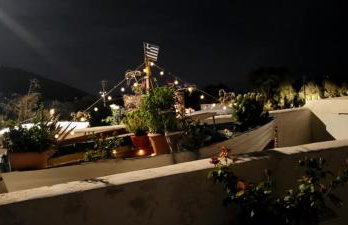
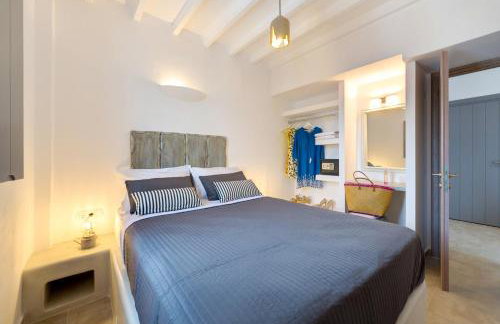
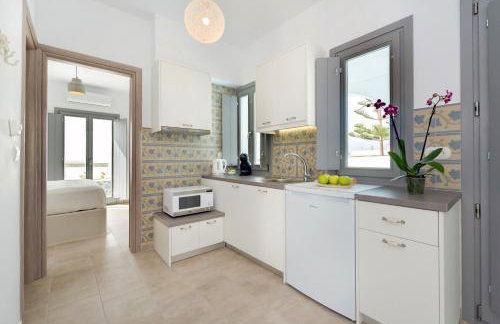
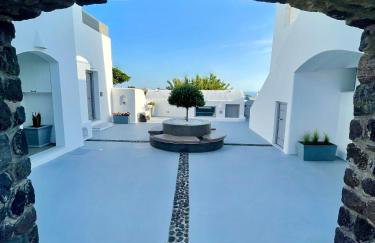
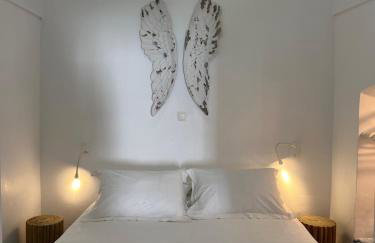
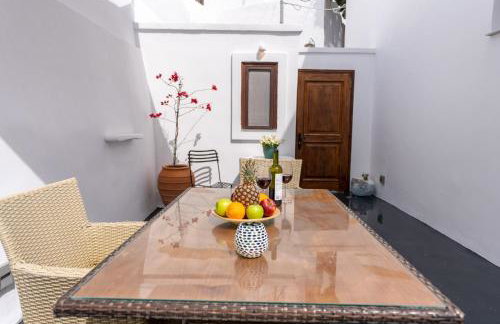
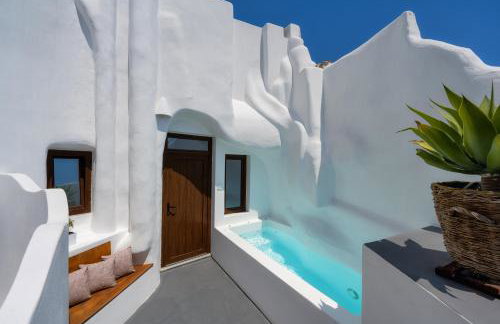
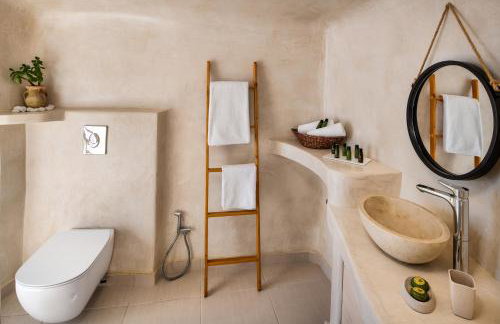
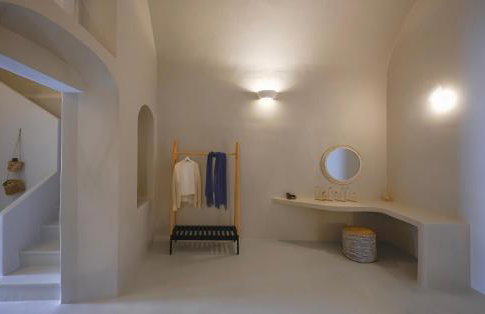
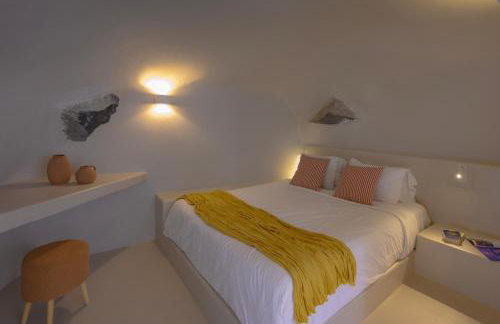
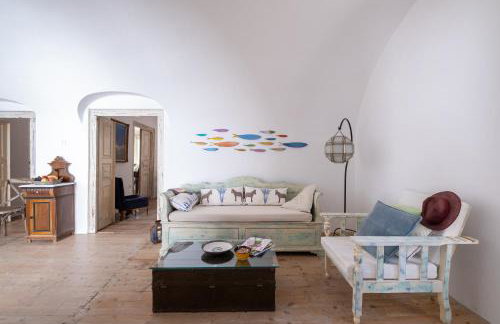
Villa Orpheus Santorini
Thira - Megalochori - A 4.6 km del centro
- 80 M2
- 2 habitaciones
- 5 personas
- Aire acondicionado
- Calefacción
- Terraza
- Piscina
- Jardín


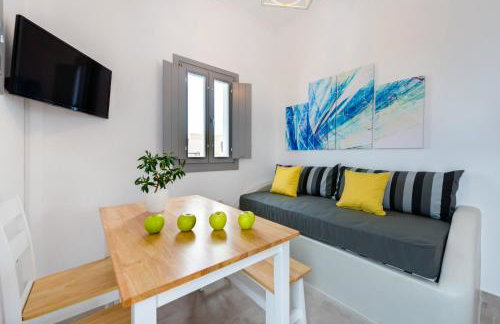
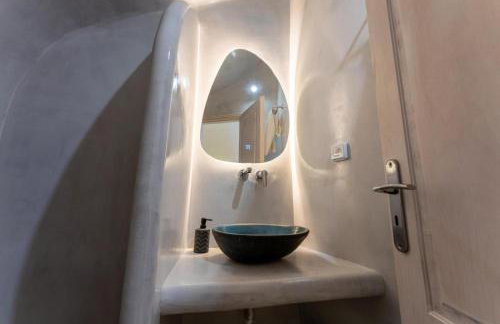
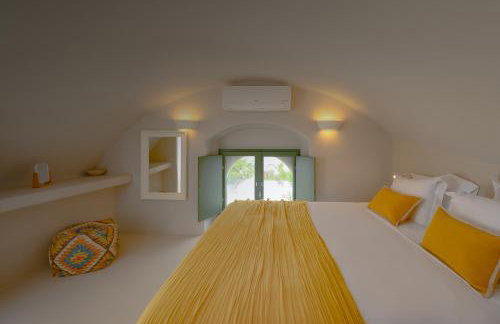
LyMaRou Collection
Thira - Megalochori - A 4.8 km del centro
- 36 M2
- 1 habitación
- 4 personas
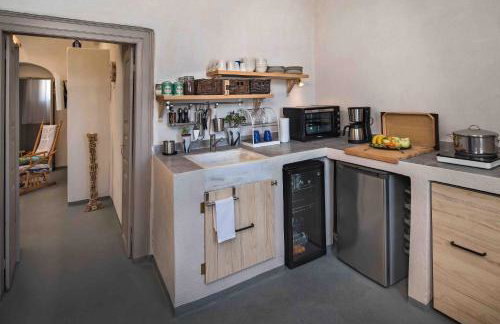
- Cocina pequeña
- Aire acondicionado
- Calefacción
- Terraza
- Piscina
- Parking
- Balcón
- Jardín
- Televisión
- Toallas
- Sábanas


Rosalia Studio Megalochori
Thira - Megalochori - A 4.7 km del centro
- 31 M2
- 2 personas
- Aire acondicionado
- Terraza
- Parking
- Jardín


Milestone Villas
Thira - Megalochori - A 4.9 km del centro
- 50 M2
- 1 habitación
- 3 personas
- Aire acondicionado
- Calefacción
- Terraza
- Piscina
- Parking
- Jardín
- Televisión
- Toallas
- Sábanas


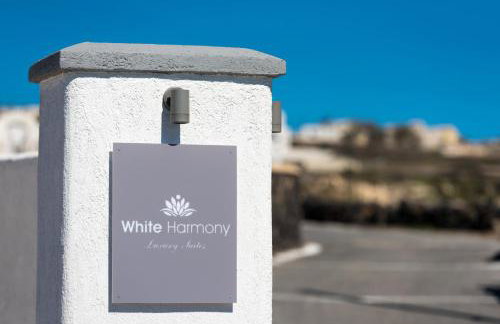


White Harmony Suites
Thira - Megalochori - A 4.5 km del centro
- 70 M2
- 2 habitaciones
- 5 personas
- Aire acondicionado
- Calefacción
- Terraza
- Piscina
- Parking
- Balcón
- Jardín
- Televisión
- Toallas
- Sábanas


Alchemy Luxury Villa
Thira - Megalochori - A 4.4 km del centro
- 149 M2
- 8 personas
- Aire acondicionado
- Calefacción
- Terraza
- Piscina
- Parking
- Balcón
- Televisión
- Lavadora
- Toallas
- Sábanas


Sandandstone villa Santorini
Thira - Megalochori - A 4.4 km del centro
- 160 M2
- 3 habitaciones
- 10 personas
- Aire acondicionado
- Calefacción
- Terraza
- Piscina
- Parking
- Jardín
- Barbacoa


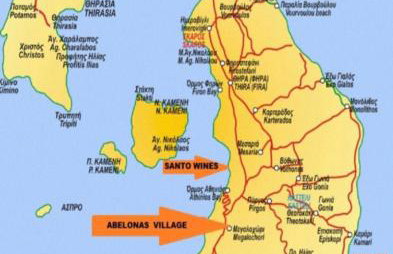


Abelonas Village
Thira - Megalochori - A 4.9 km del centro
- 15 M2
- 2 personas
- Aire acondicionado
- Calefacción
- Terraza
- Piscina
- Parking
- Jardín


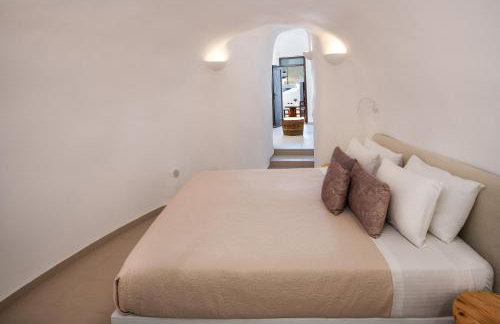
Aspronisi Luxury Villa with Caldera View
Thira - Megalochori - A 4.8 km del centro
- 80 M2
- 2 habitaciones
- 6 personas
- Aire acondicionado
- Calefacción
- Terraza
- Jardín


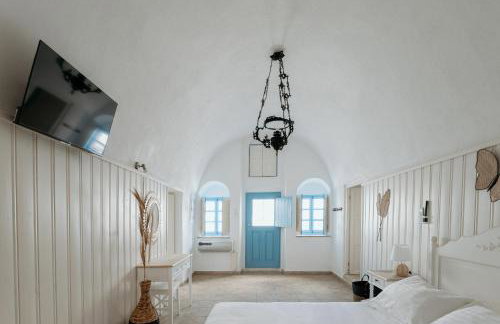
Angels Villa Santorini
Thira - Megalochori - A 4.6 km del centro
- 60 M2
- 1 habitación
- 5 personas
- Aire acondicionado
- Calefacción
- Terraza
- Jardín


Aidos Villa Santorini
Thira - Megalochori - A 4.6 km del centro
- 60 M2
- 2 habitaciones
- 6 personas
- Aire acondicionado
- Terraza
- Jardín


Constantis Mansion
Thira - Megalochori - A 4.4 km del centro
- 120 M2
- 3 habitaciones
- 10 personas
- Aire acondicionado
- Terraza
- Jardín


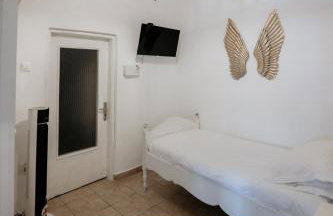
Argy's Luxury Caves
Thira - Megalochori - A 4.6 km del centro
- 20 M2
- 2 personas
- Aire acondicionado
- Calefacción
- Terraza


Aegean Mist Luxury Suites
Thira - Megalochori - A 4.6 km del centro
- 120 M2
- 3 habitaciones
- 8 personas
- Aire acondicionado
- Calefacción
- Terraza
- Parking
- Jardín


Elements Cave Suites
Thira - Megalochori - A 4.4 km del centro
- 160 M2
- 3 habitaciones
- 7 personas
- Aire acondicionado
- Calefacción
- Terraza
- Parking
- Jardín


Art Canava Luxury Villas
Thira - Megalochori - A 4.5 km del centro
- 79 M2
- 2 habitaciones
- 5 personas
- Aire acondicionado
- Terraza
- Jardín


The Wine Nest
Thira - Megalochori - A 4.4 km del centro
- 55 M2
- 1 habitación
- 3 personas
- Aire acondicionado
- Parking