
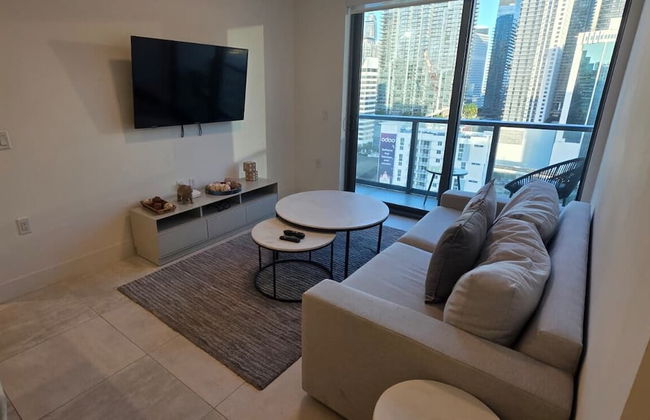
3475 Apartamentos en Miami


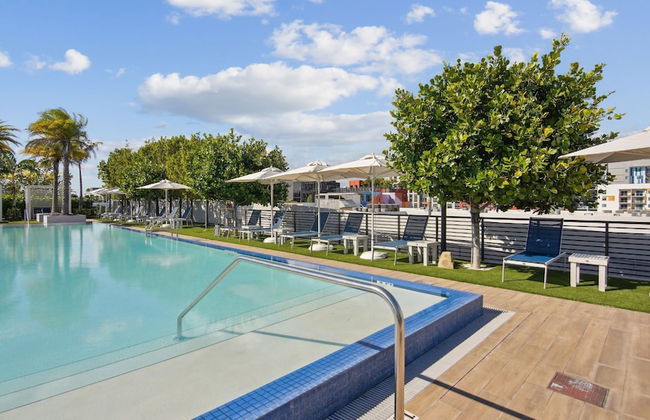
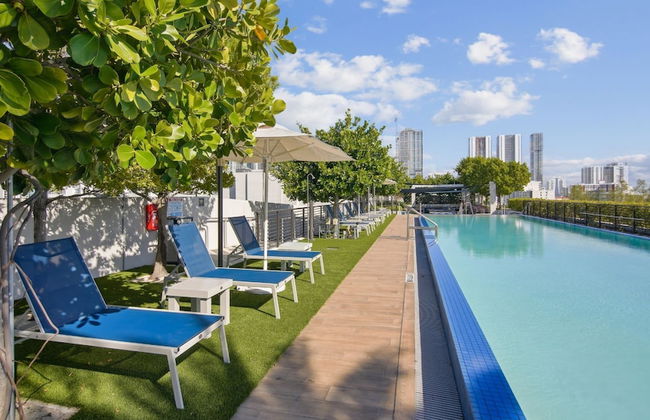


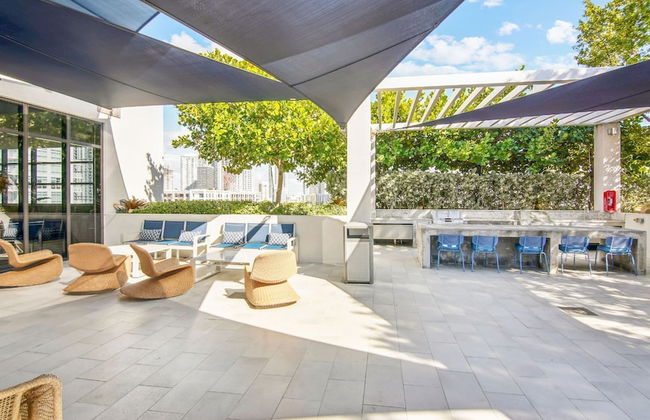
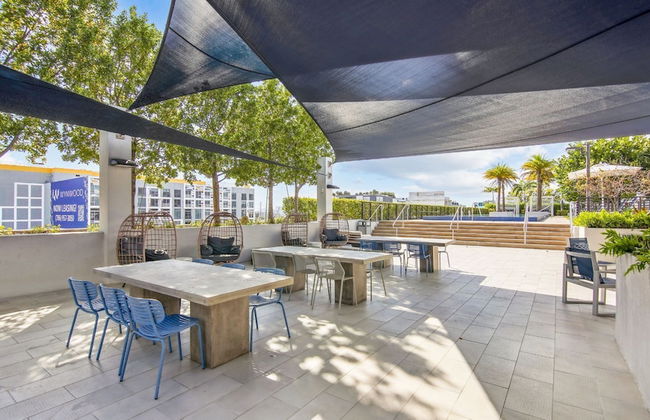

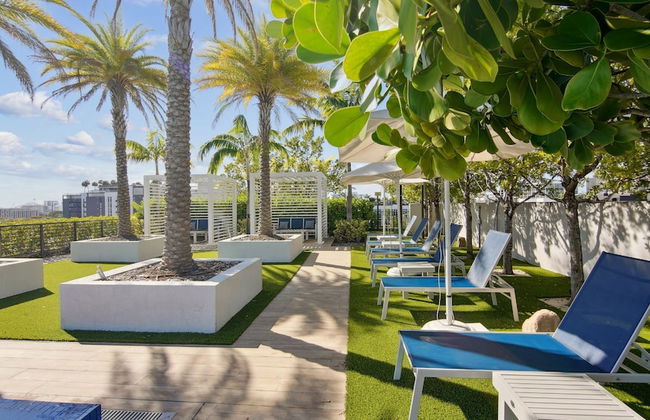

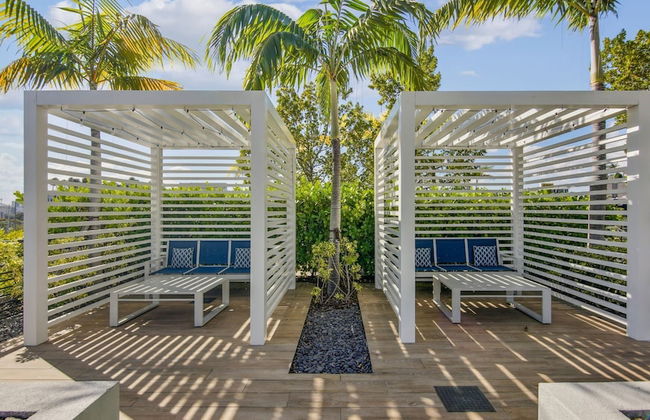
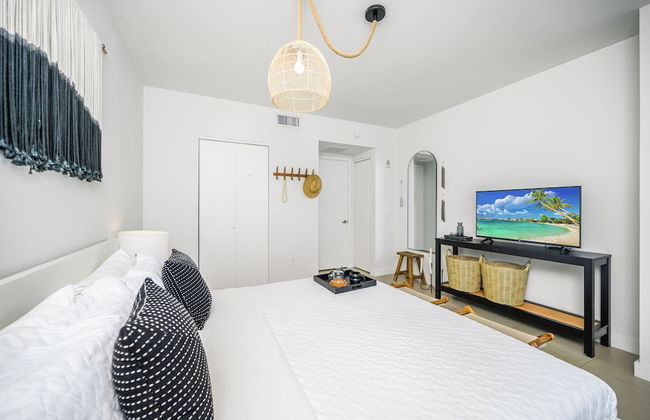
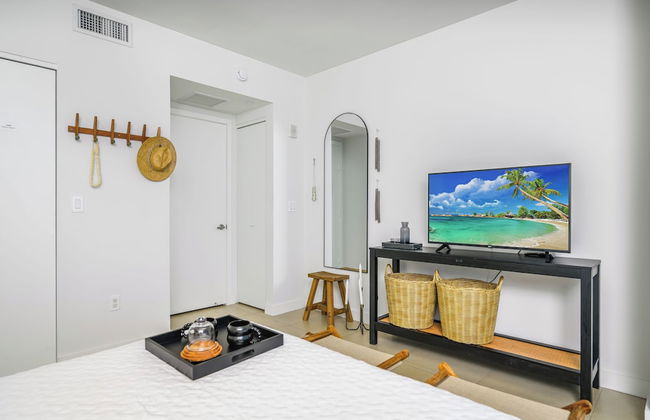
Sentral Wynwood
Miami - A 13.7 km del centro
- 91 M2
- 6 personas
- Aire acondicionado
- Calefacción
- Terraza
- Piscina
- Parking
- Ascensor
- Televisión
- Lavadora
- Chimenea
- Barbacoa
- Toallas
1314 reseñas

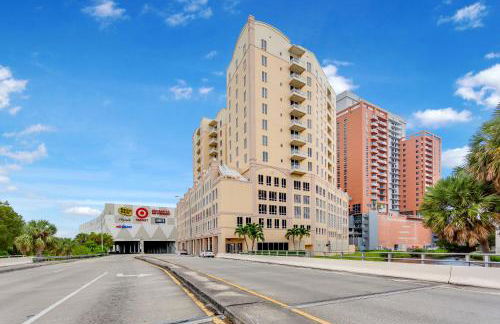


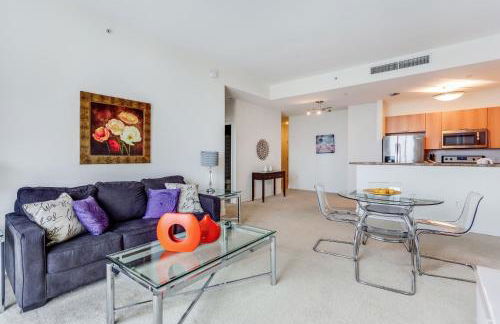

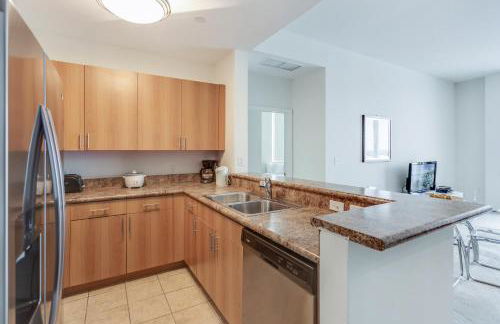


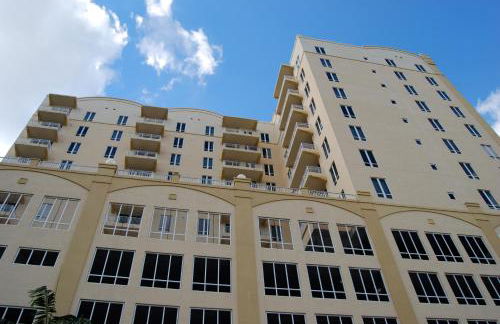

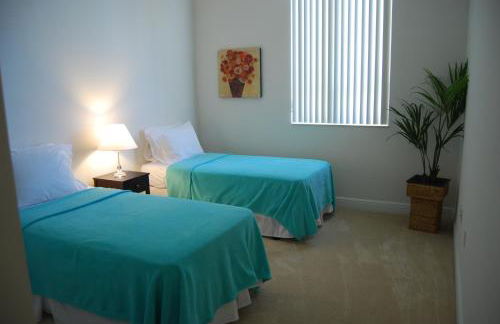

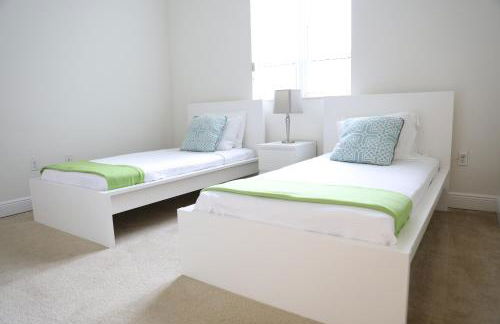

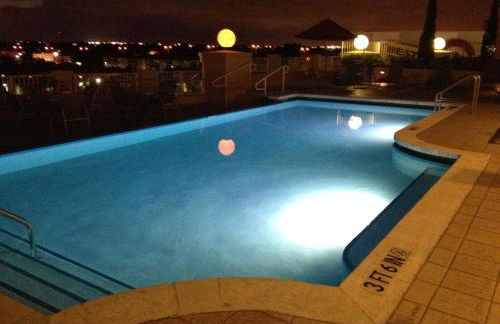


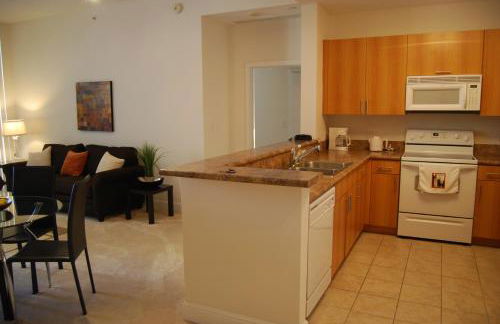

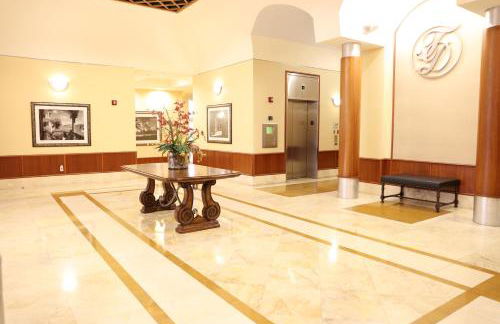

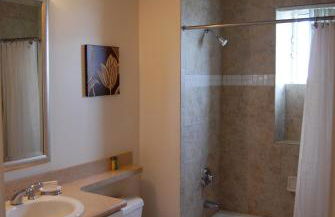

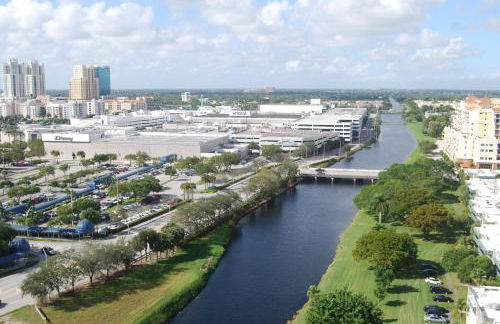


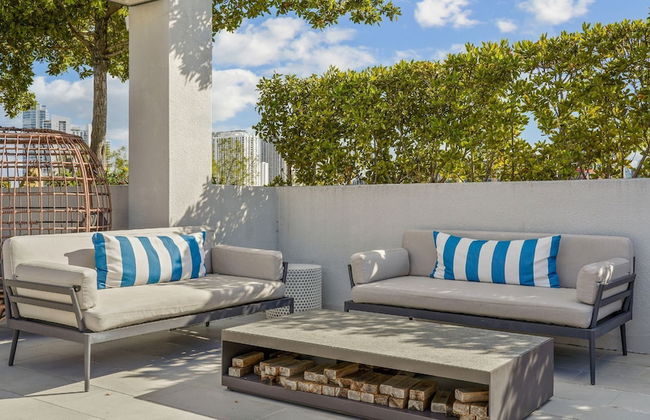
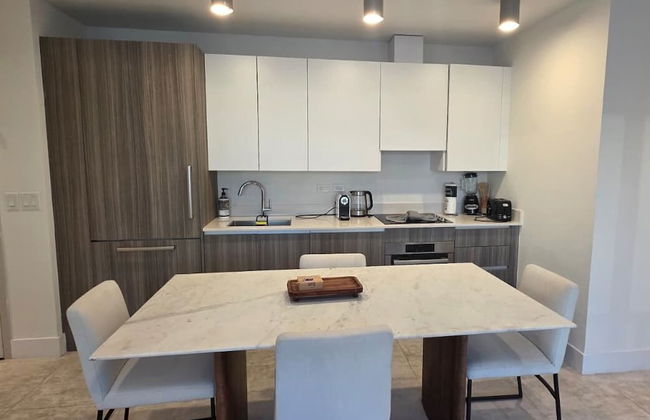
Towers of Dadeland by Miami Vacations
Miami - Glenvar Heights - A 13.7 km del centro
- 102 M2
- 2 habitaciones
- 6 personas
- Aire acondicionado
- Calefacción
- Terraza
- Piscina
- Parking
- Ascensor
- Balcón
- Televisión
- Lavadora
- Toallas
- Sábanas
359 reseñas


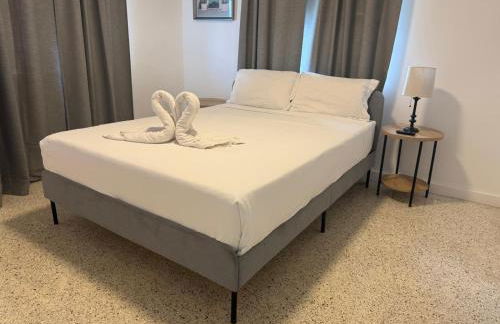
Nomada Destination Residences - Quadro
Miami - Design District - A 3.9 km del centro
- 99 M2
- 2 habitaciones
- 6 personas
- Aire acondicionado
- Calefacción
- Terraza
- Piscina
- Parking
- Ascensor
- Balcón
- Televisión
- Lavadora
- Barbacoa
- Toallas
- Sábanas
462 reseñas


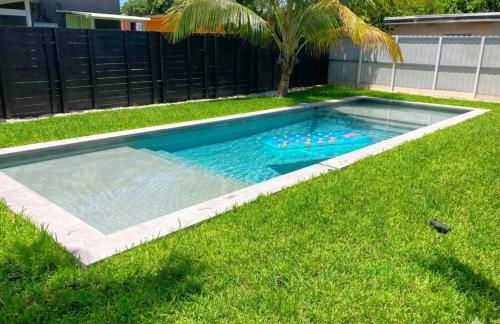
Miami Luxury Executive Apartment
Miami - Downtown Miami - A 1.2 km del centro
- 2 personas
- Cocina pequeña
- Piscina
- Parking
- Lavadora
10 reseñas


Miami Vacation Rentals - Downtown
Miami - A 16.4 km del centro
- 8 personas
- Aire acondicionado
- Terraza
- Piscina
- Parking
- Balcón
- Jardín
- Televisión
- Lavadora
- Toallas
- Sábanas
19 reseñas


Andy Resort
Miami - A 39.1 km del centro
- 254 M2
- 4 personas
- Aire acondicionado
- Calefacción
- Terraza
- Piscina
- Parking
- Jardín
- Televisión
- Chimenea
- Barbacoa
- Toallas
- Sábanas
11 reseñas


Upscale Apartment in the Heart of Brickell
Miami - Downtown Miami - A 1.1 km del centro
- 74 M2
- 1 habitación
- 4 personas
- Aire acondicionado
- Calefacción
- Terraza
- Piscina
- Parking
- Ascensor
- Jardín
- Televisión
- Lavadora
- Barbacoa
- Toallas
- Sábanas
10 reseñas


Roami at Adagio
North Bay Village
- 465 M2
- 6 habitaciones
- 16 personas
- Aire acondicionado
- Calefacción
- Terraza
- Piscina
- Parking
- Ascensor
- Balcón
- Televisión
- Lavadora
- Toallas
31 reseñas


Milan Aventura Hotel
Miami - A 19.2 km del centro
- 79 M2
- 2 personas
- Cocina pequeña
- Aire acondicionado
- Parking
- Ascensor
- Balcón
- Televisión
- Toallas
- Sábanas
23 reseñas

Brickell Bay View
Miami - Downtown Miami - A 330 m del centro
- 46 M2
- 3 personas
- Aire acondicionado
- Calefacción
- Terraza
- Piscina
- Parking
- Ascensor
- Jardín
19 reseñas


High-End Brickell Condos
Miami - A 17.7 km del centro
- 99 M2
- 7 personas
- Aire acondicionado
- Piscina
- Parking
- Ascensor
- Televisión
- Lavadora
- Toallas
- Sábanas
6 reseñas


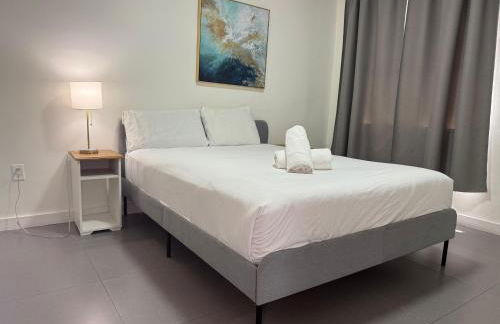

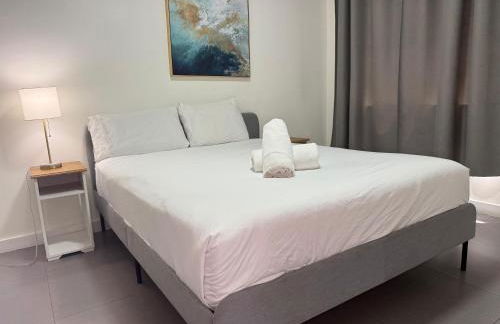

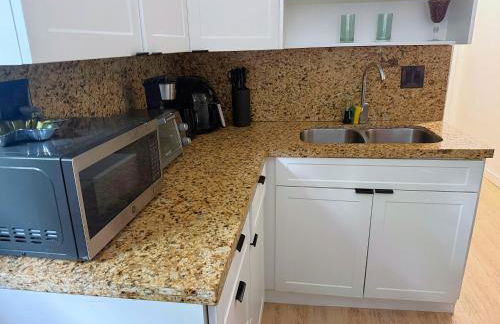

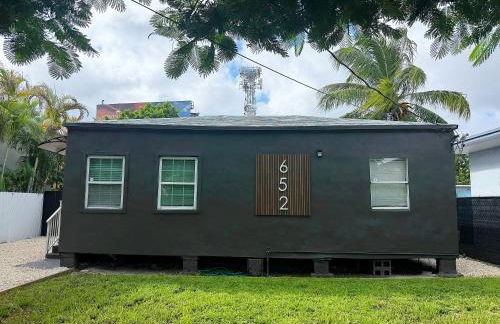


Wynwood Bungalows By Renzzi
Miami - Allapattah - A 2.7 km del centro
- 60 M2
- 2 habitaciones
- 4 personas
- Aire acondicionado
- Calefacción
- Piscina
- Parking
- Jardín
- Televisión
- Toallas
- Sábanas
15 reseñas


Lofts of Aventura
Miami - A 20.1 km del centro
- 92 M2
- 1 habitación
- 6 personas
- Aire acondicionado
- Calefacción
- Piscina
- Parking
- Ascensor
- Televisión
- Lavadora
- Barbacoa
- Toallas
- Sábanas
32 reseñas


Miami Vacation Rentals - Brickell
Miami - Downtown Miami - A 640 m del centro
- 2 habitaciones
- 6 personas
- Aire acondicionado
- Terraza
- Piscina
- Parking
- Ascensor
- Balcón
- Jardín
- Televisión
- Lavadora
- Toallas
- Sábanas
516 reseñas


Amazing apartment in the Heart of Brickell
Miami - Downtown Miami - A 1.1 km del centro
- 1 habitación
- 8 personas
- Aire acondicionado
- Terraza
- Piscina
- Parking
- Ascensor
- Jardín
- Televisión
- Lavadora
- Toallas
- Sábanas
40 reseñas


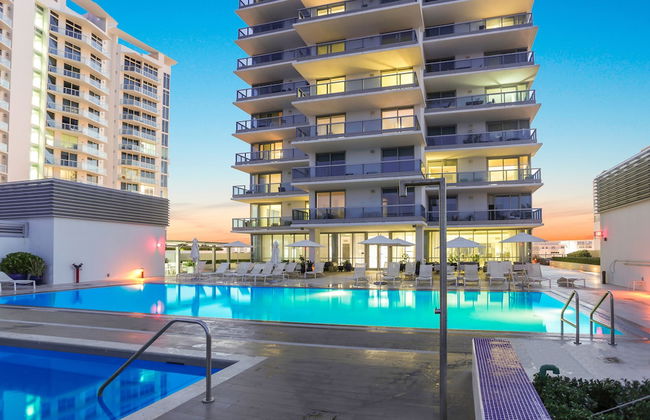
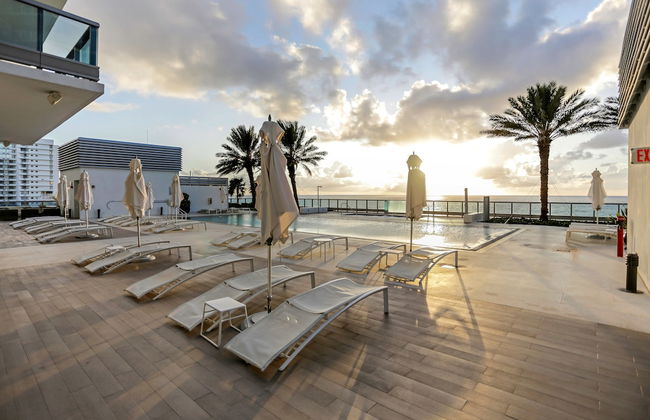


Monte Carlo by Miami Vacations
Miami - A 13 km del centro
- 69 M2
- 4 personas
- Aire acondicionado
- Calefacción
- Terraza
- Piscina
- Parking
- Ascensor
- Balcón
- Televisión
- Lavadora
- Toallas
- Sábanas
580 reseñas


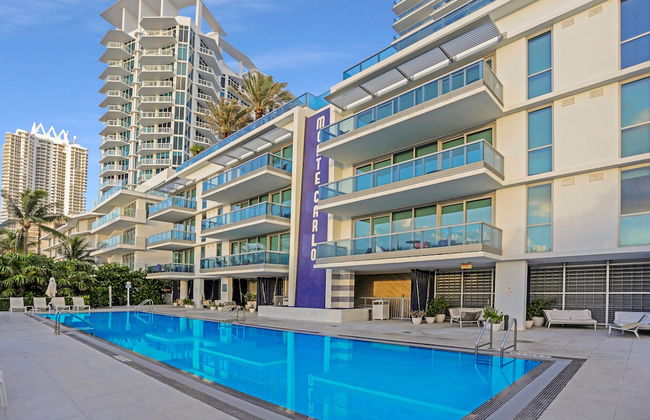
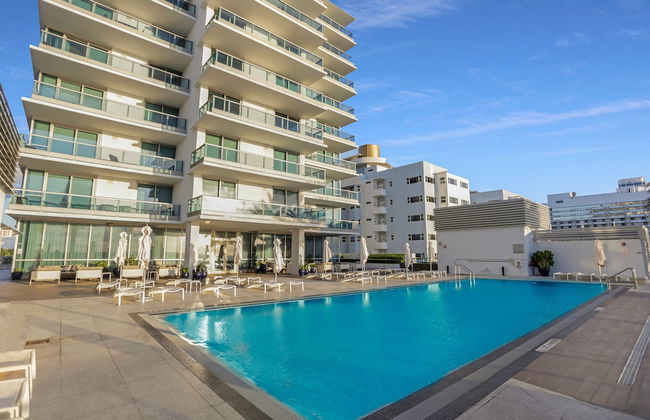
Dharma Home Suites Miami at Monte Carlo
Miami - A 12.9 km del centro
- 91 M2
- 5 personas
- Aire acondicionado
- Calefacción
- Terraza
- Piscina
- Parking
- Ascensor
- Balcón
- Televisión
- Lavadora
- Toallas
- Sábanas
151 reseñas


Well-Appointed Condos in Brickell
Miami - A 18.2 km del centro
- 114 M2
- 9 personas
- Aire acondicionado
- Terraza
- Piscina
- Parking
- Balcón
- Televisión
- Lavadora
- Toallas
- Sábanas
7 reseñas


DOWNTOWN DORAL, FLORIDA. NEW CONDO STYLE RESORT.
Doral - En el centro
- 63 M2
- 1 habitación
- 4 personas
- Aire acondicionado
- Calefacción
- Terraza
- Piscina
- Parking
- Ascensor
- Jardín
37 reseñas


Flow Hotel Miami
Miami - Downtown Miami - A 360 m del centro
- 92 M2
- 4 personas
- Aire acondicionado
- Calefacción
- Piscina
- Parking
- Ascensor
- Balcón
- Televisión
- Lavadora
- Toallas
- Sábanas
101 reseñas