
5 Apartamentos en Murrells Inlet


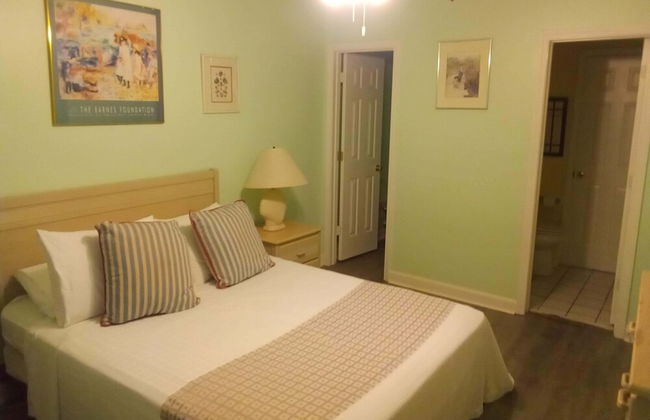
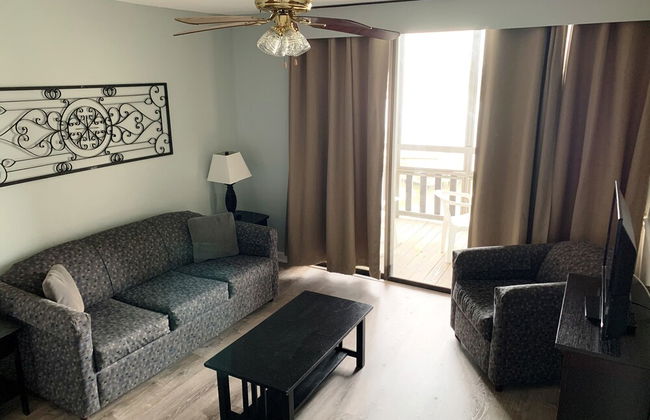
Atalaya Towers
Murrells Inlet
- 89 M2
- 8 personas
- Aire acondicionado
- Calefacción
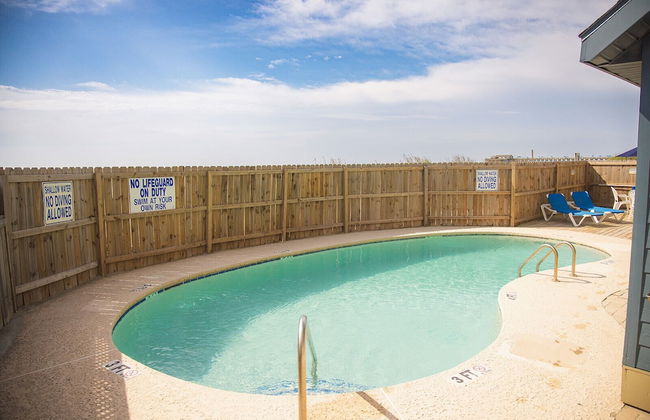
- Piscina
- Parking
- Ascensor
- Balcón
- Televisión
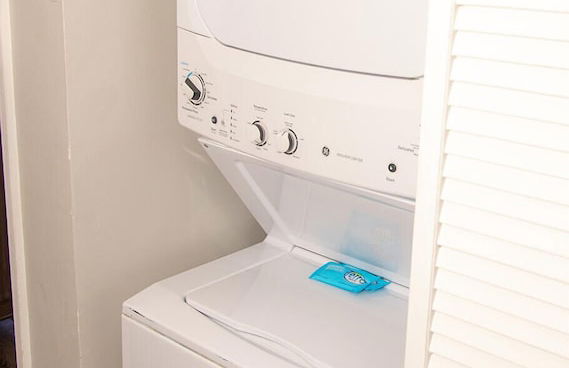
- Lavadora
- Toallas
13 reseñas


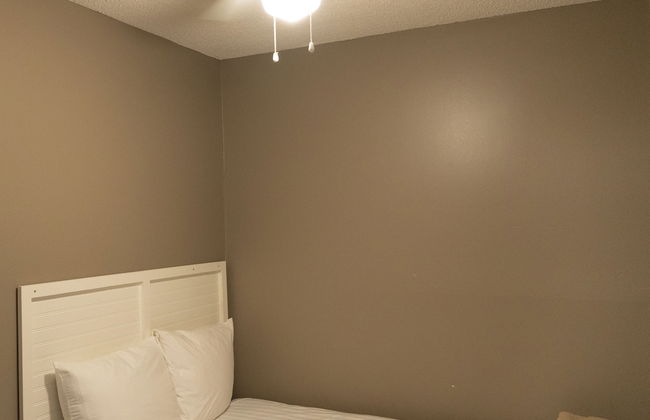


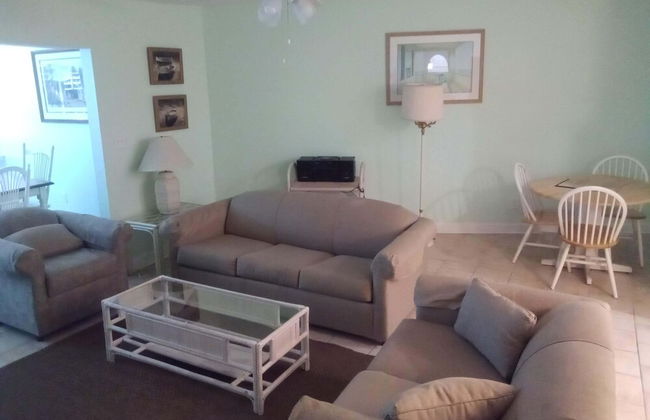


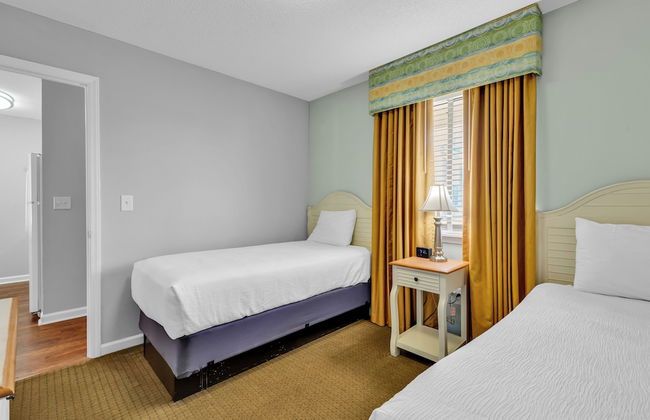
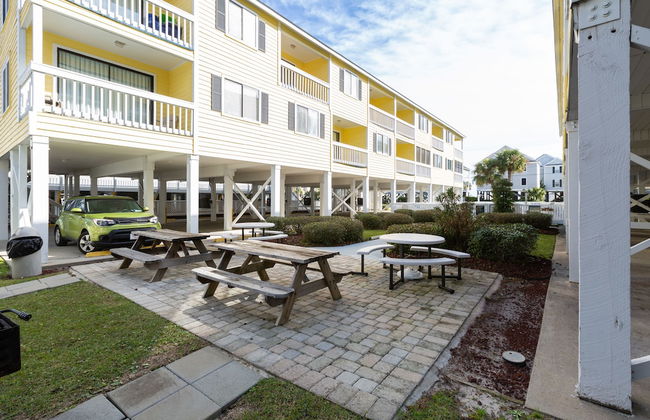
Seawatch Inn at the Landing
Murrells Inlet
- 8 personas
- Aire acondicionado
- Calefacción
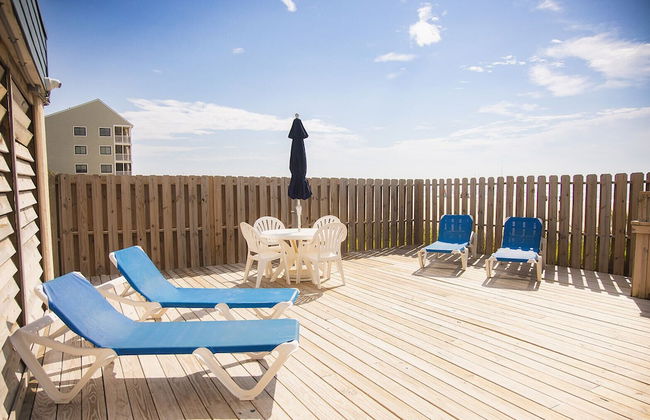
- Terraza
- Piscina
- Parking
- Jardín
- Televisión
- Lavadora
- Barbacoa
- Toallas
- Sábanas
10 reseñas
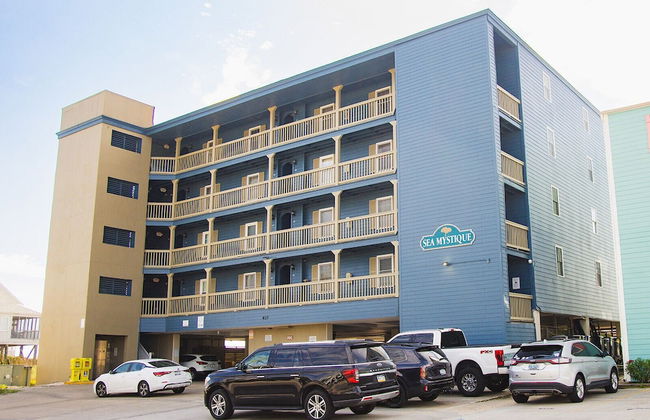


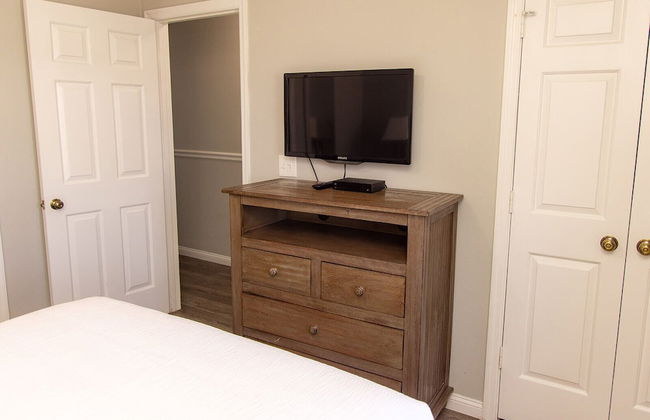


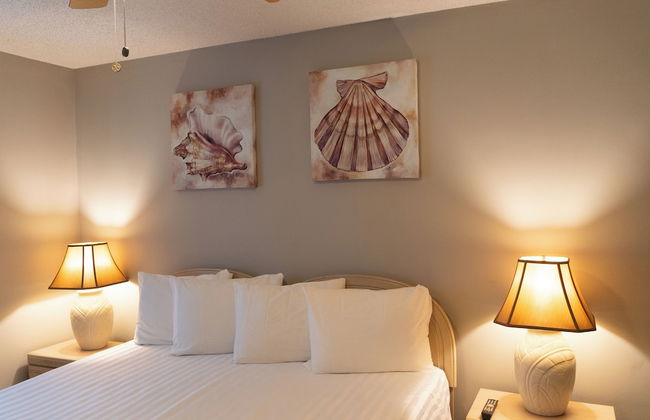
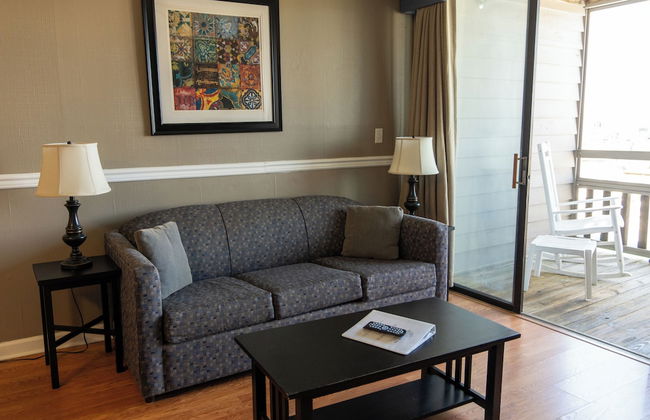
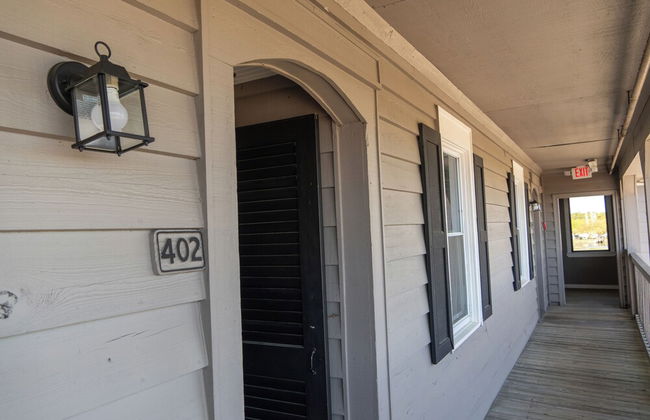
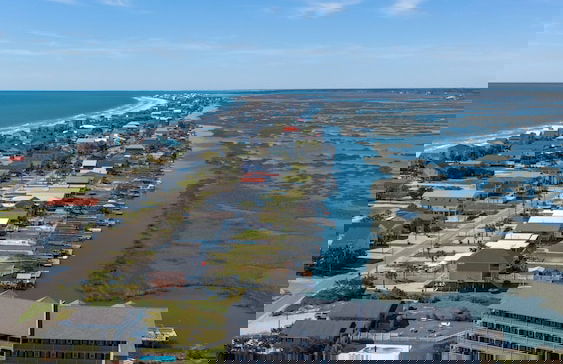
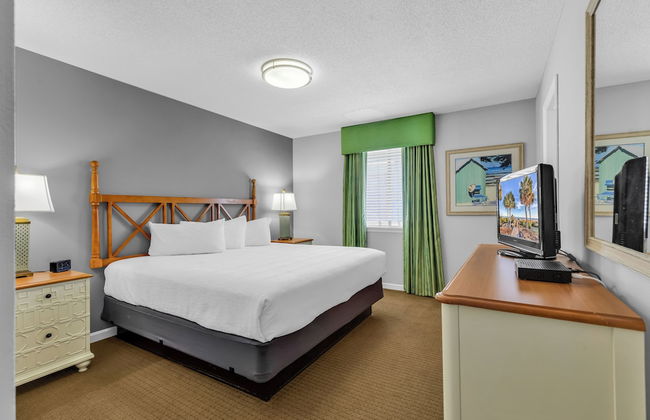
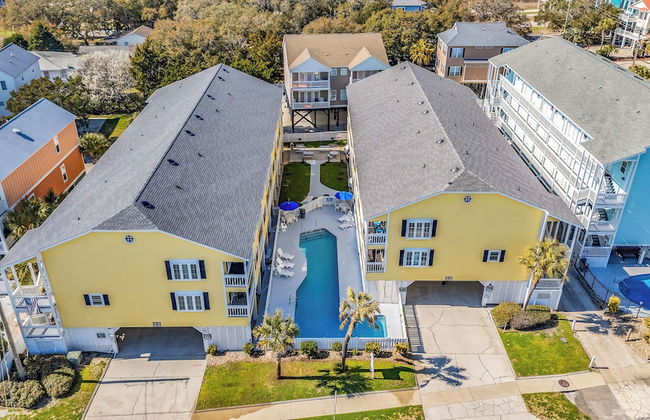
Sea Mystique Murrells Inlet
Murrells Inlet
- 6 personas
- Aire acondicionado
- Calefacción
- Piscina
- Parking
- Balcón
- Jardín
- Televisión
- Lavadora
- Barbacoa
- Toallas
- Sábanas
44 reseñas


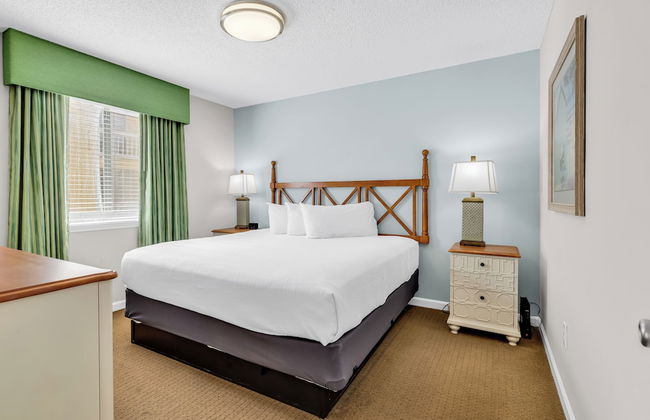


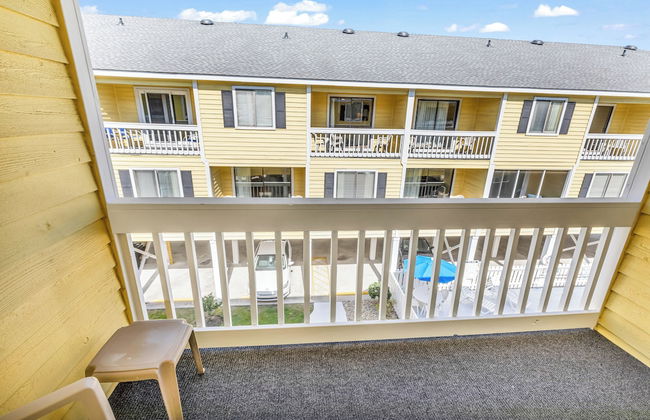

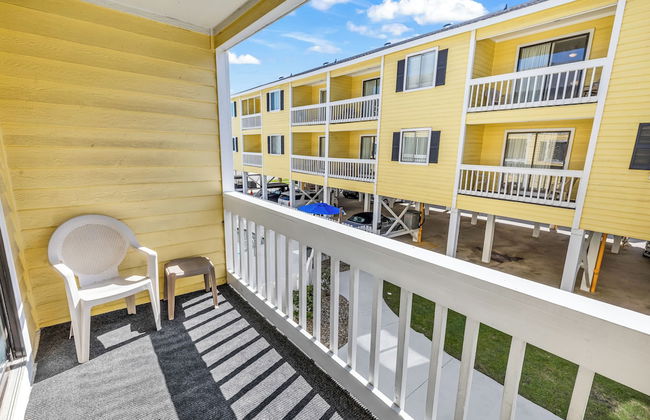


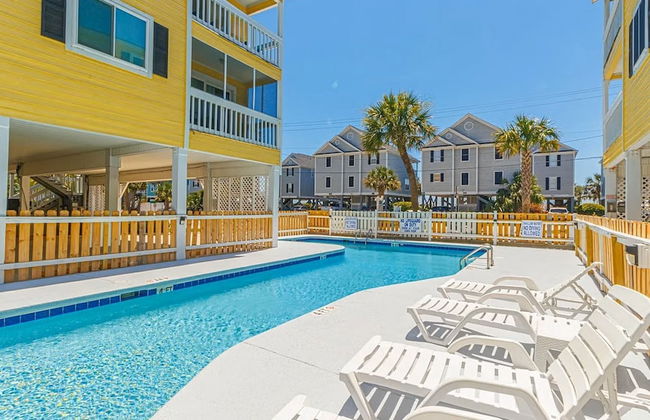

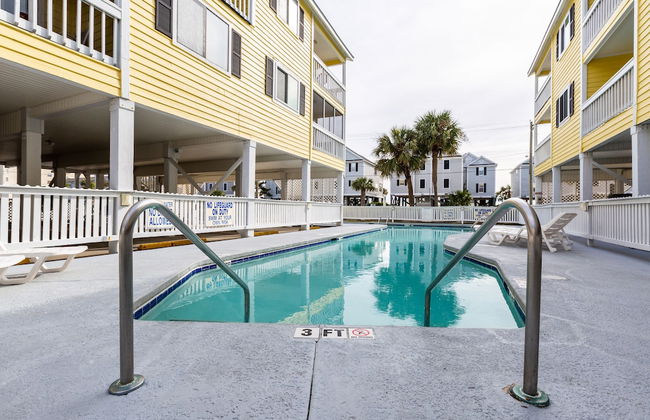

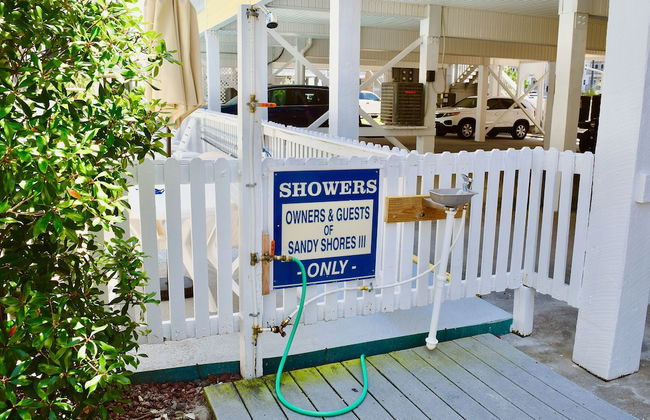


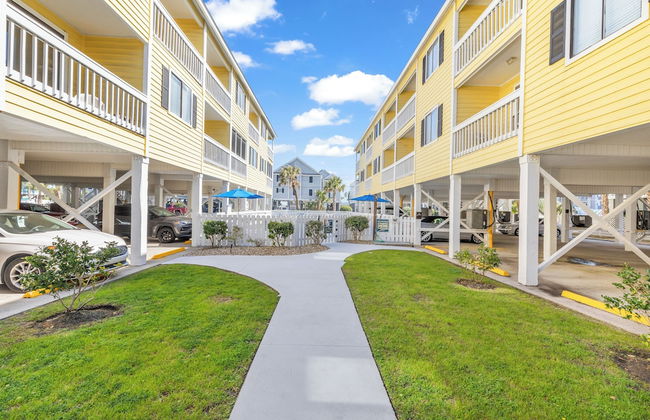


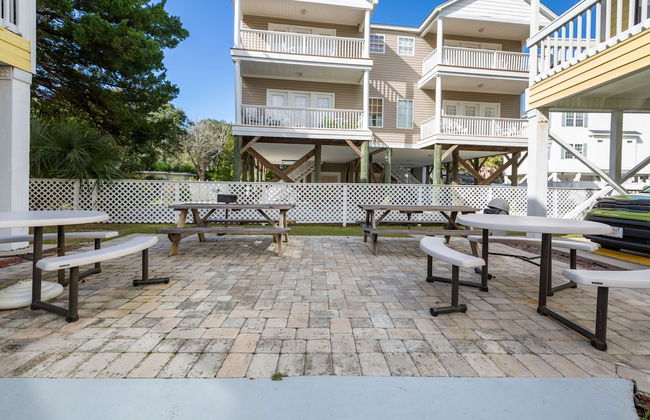


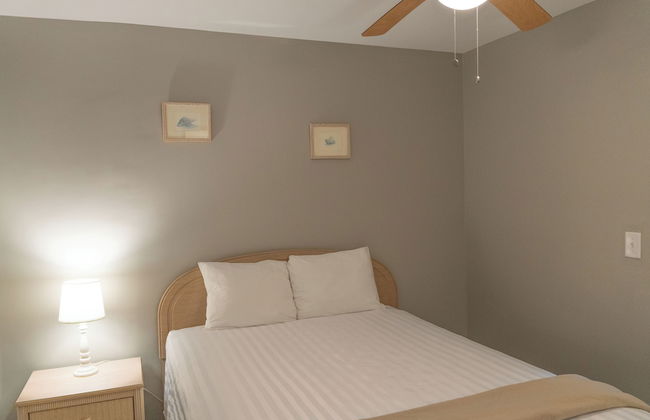
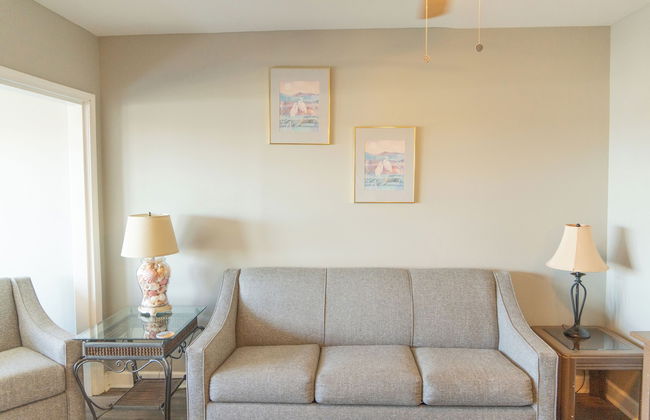
Sandy Shores III
Murrells Inlet
- 83 M2
- 8 personas
- Aire acondicionado
- Calefacción
- Piscina
- Parking
- Balcón
- Televisión
- Lavadora
- Barbacoa
- Toallas
- Sábanas
102 reseñas


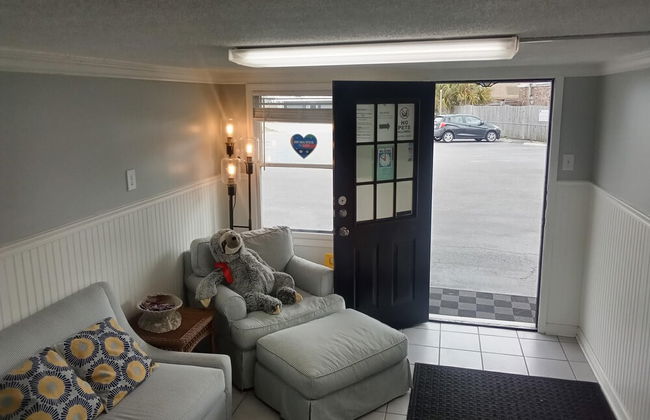
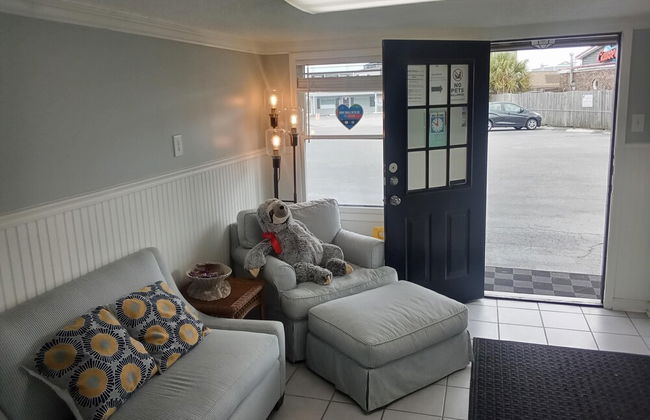
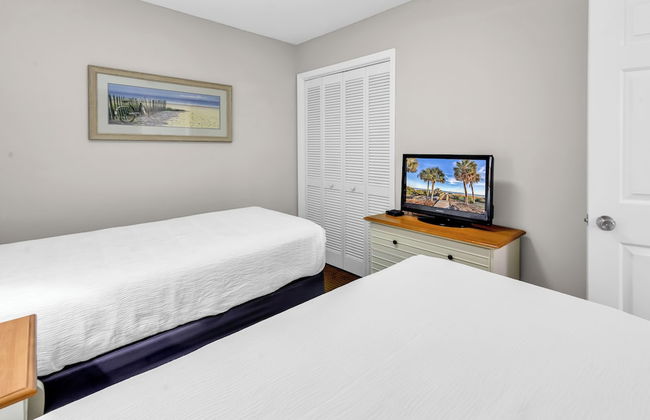
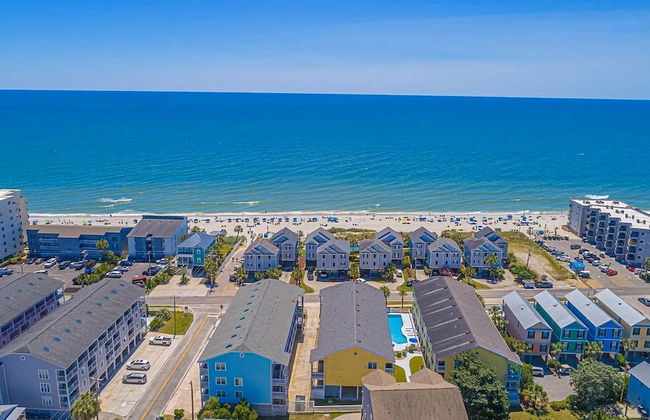
Garden City Beach House Escape!
Murrells Inlet
- 8 personas
- Aire acondicionado
- Calefacción
- Terraza
- Parking
- Jardín
- Televisión
- Lavadora
- Barbacoa
- Toallas
- Sábanas