41 Apartamentos en Newtonmore


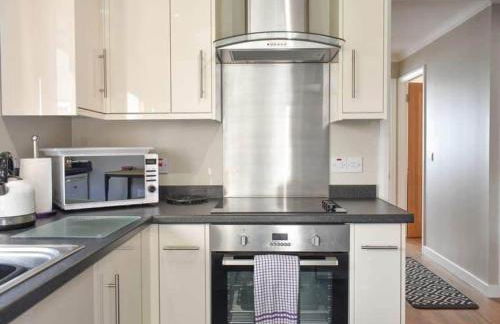
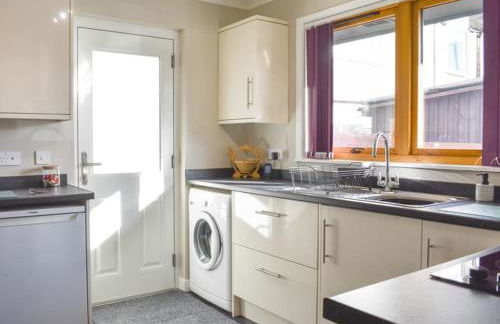
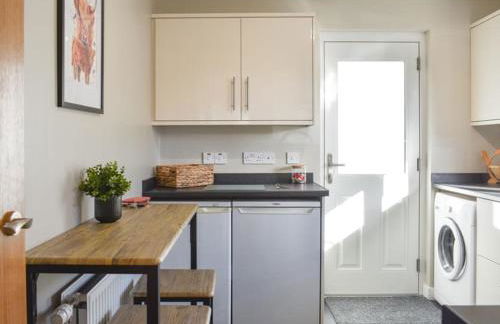


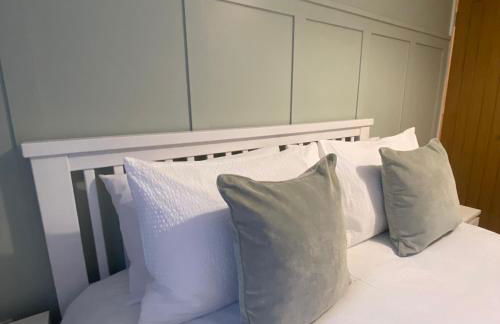

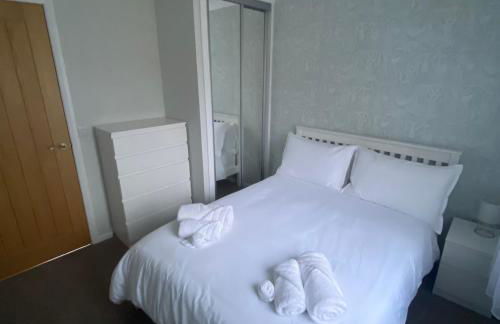
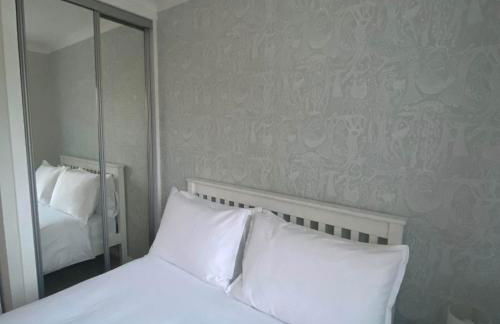


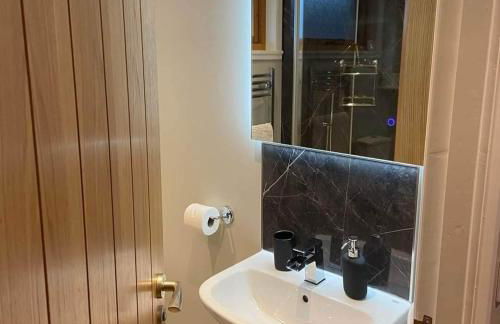


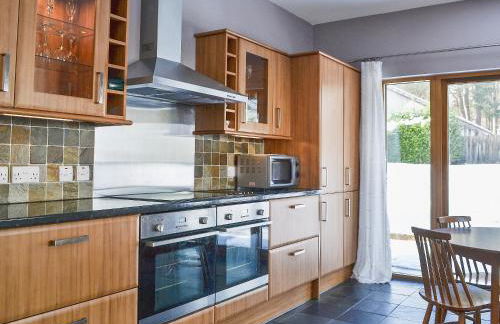
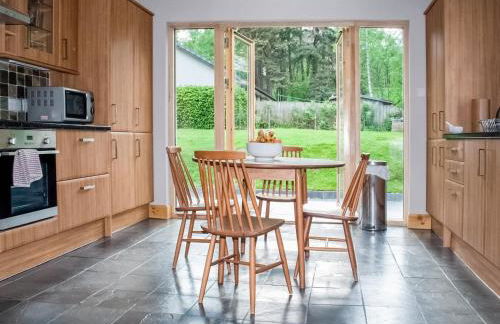
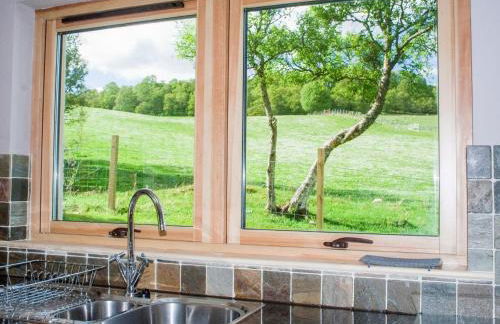
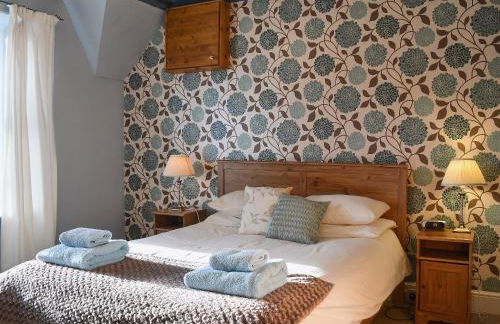
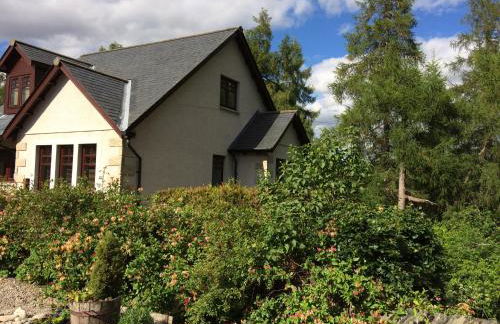
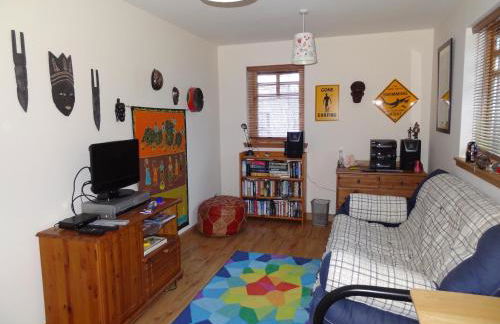
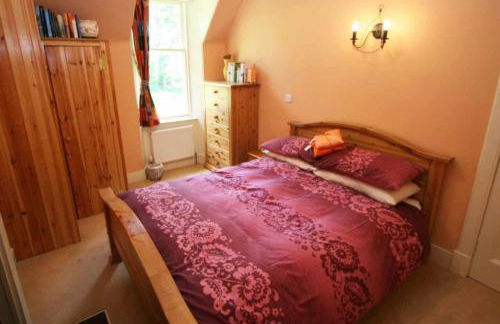
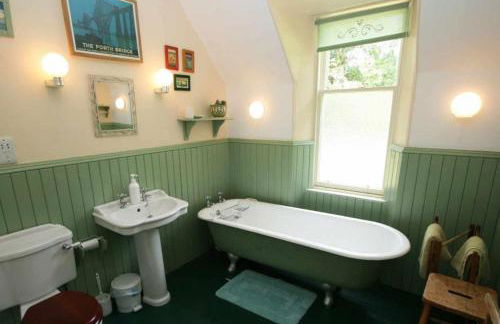
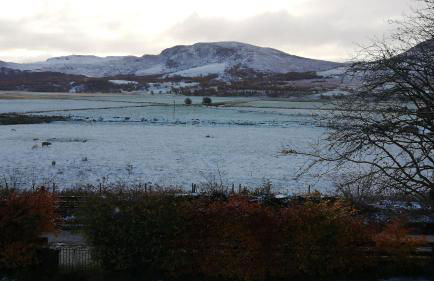
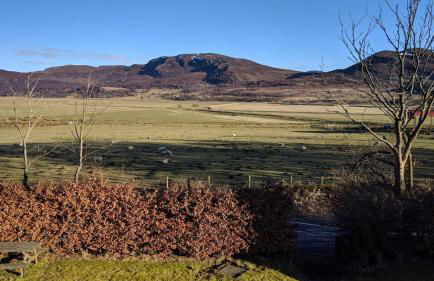
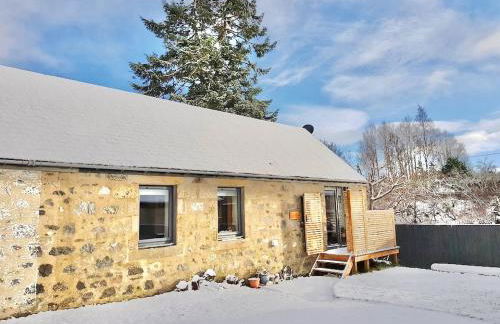
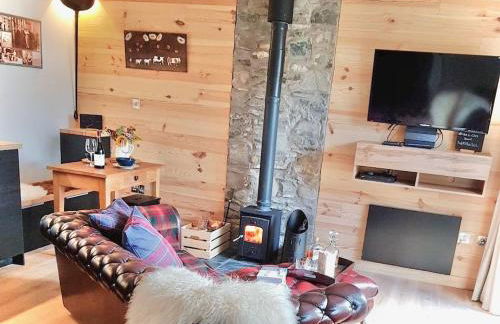
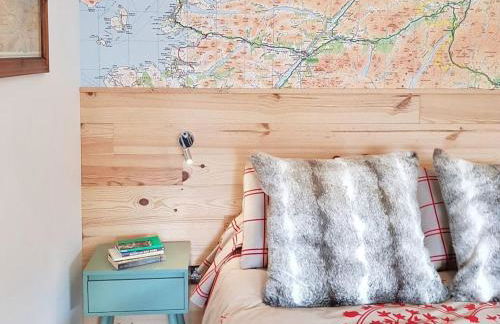
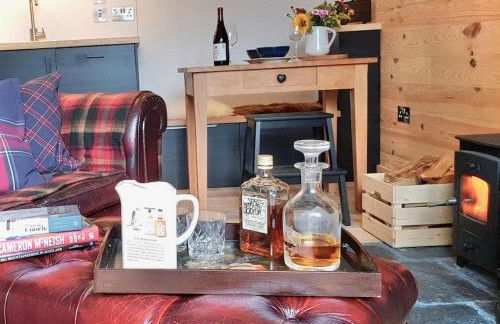
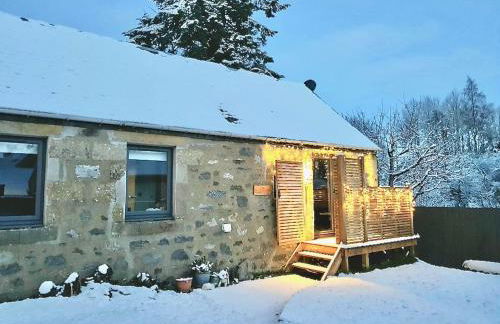
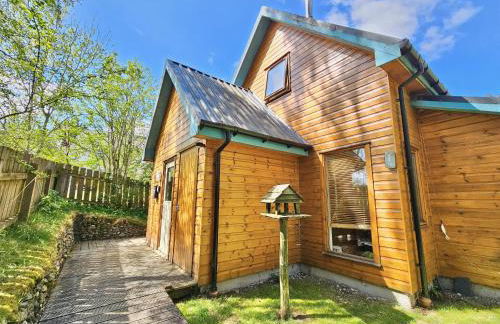
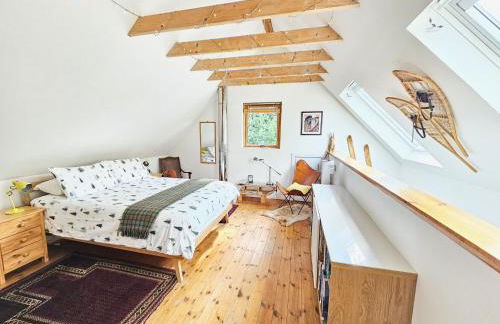
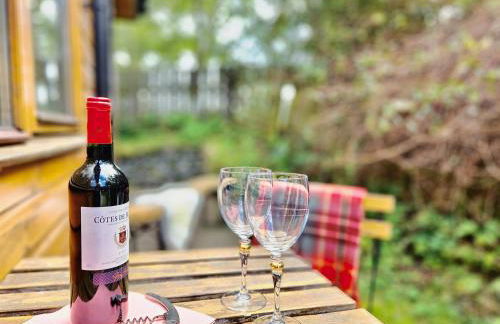
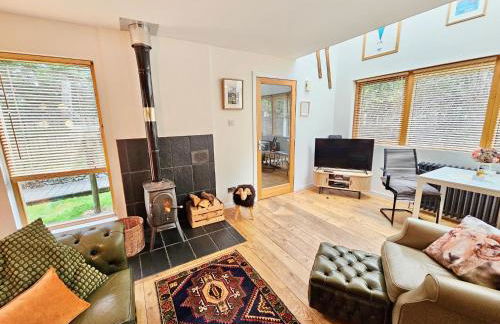
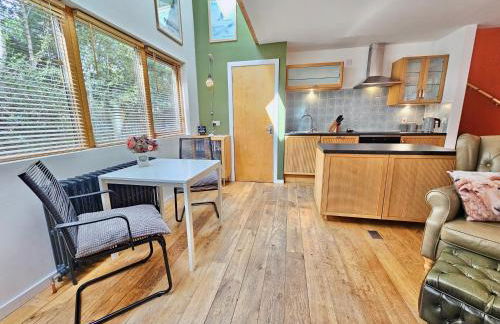
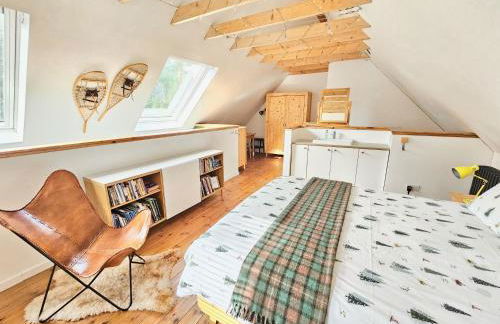
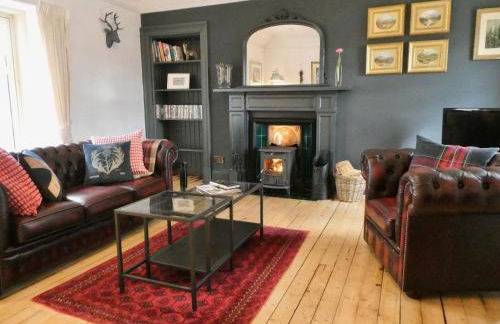
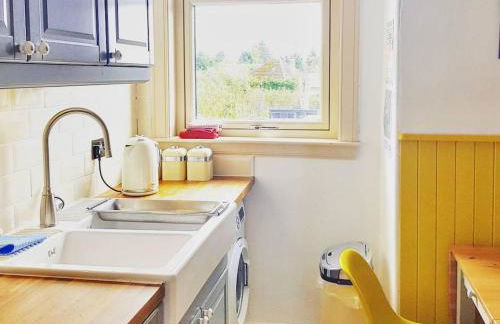
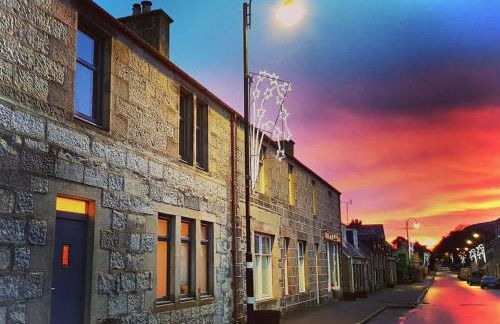
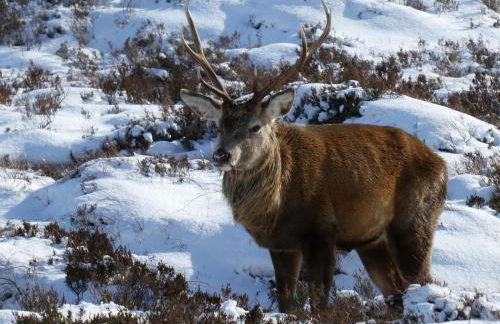
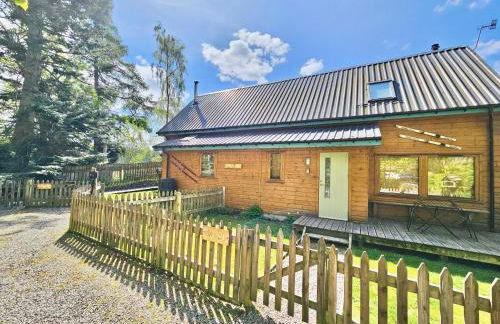
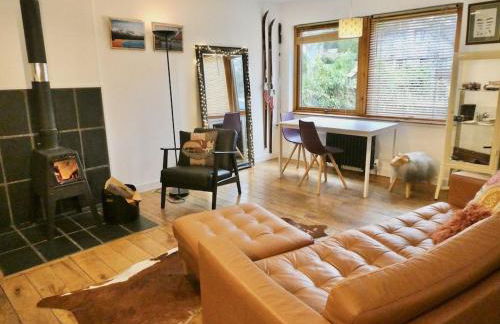
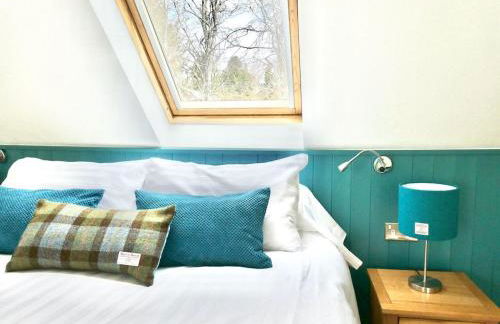
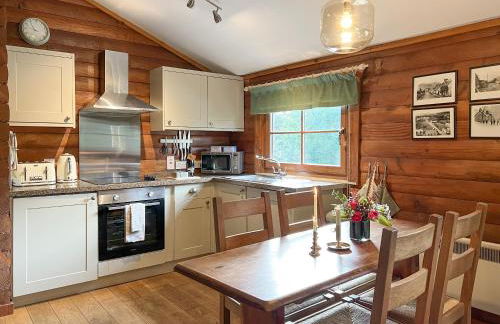
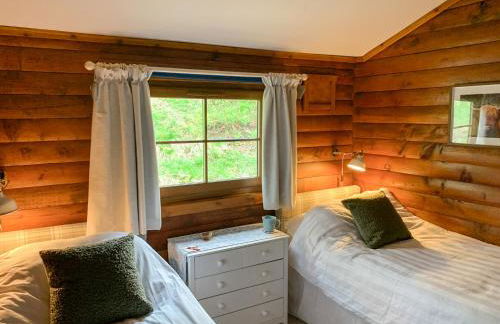
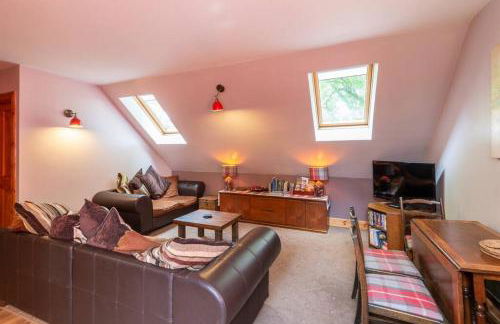
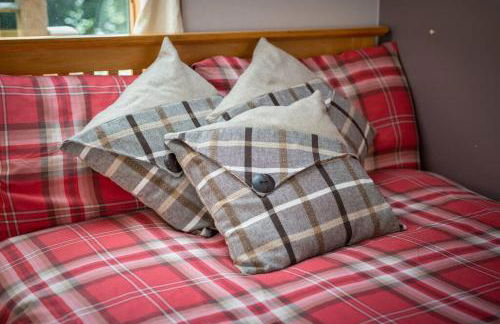
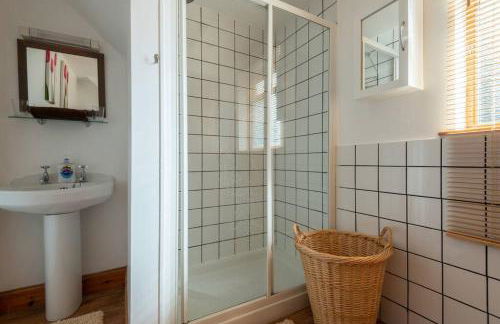
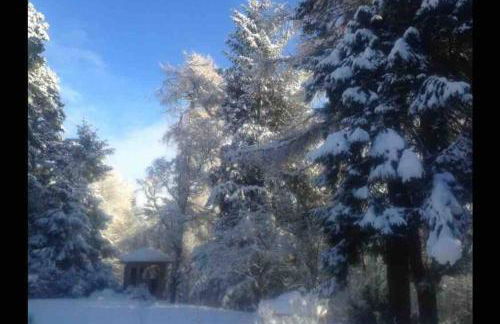
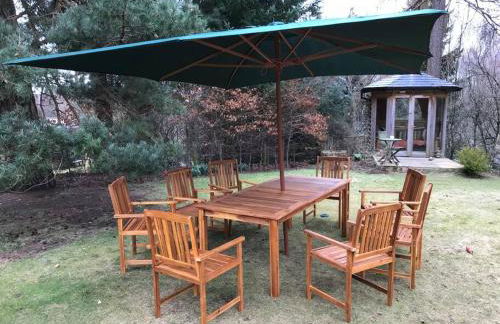
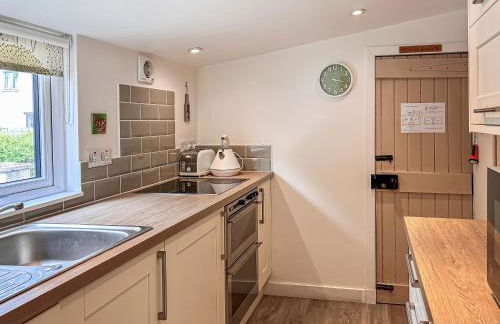
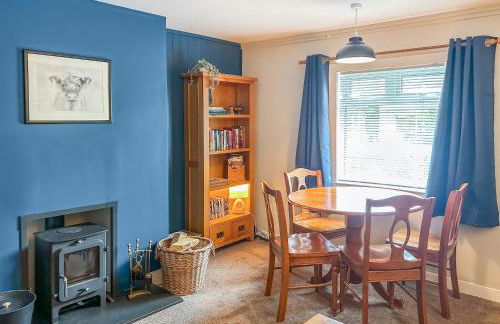
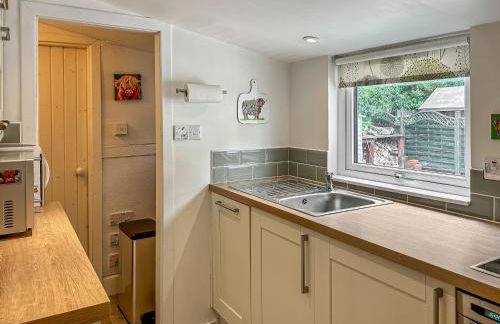
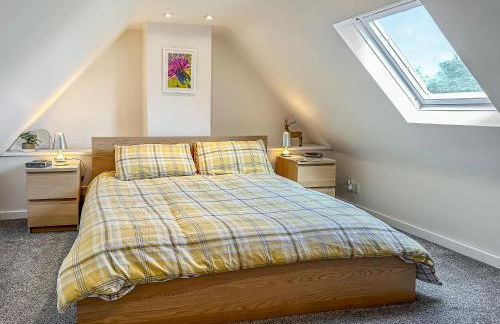
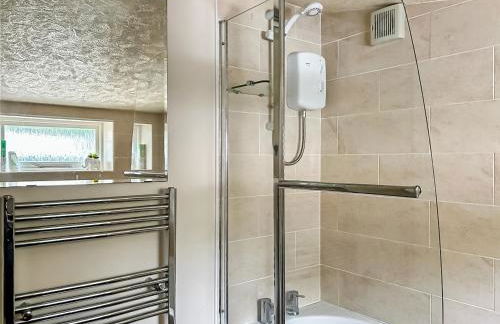
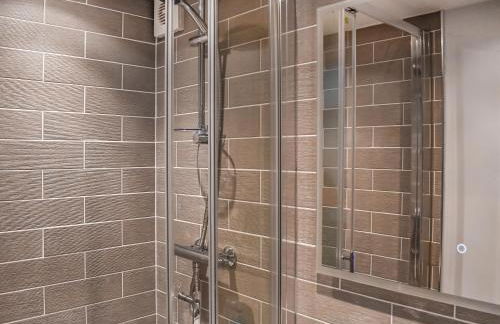
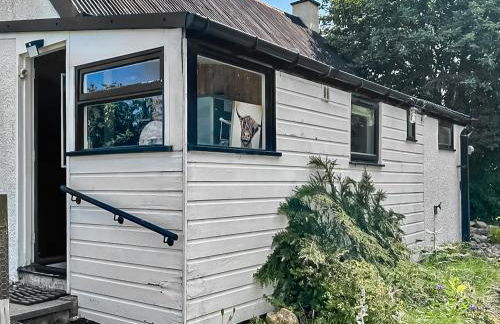
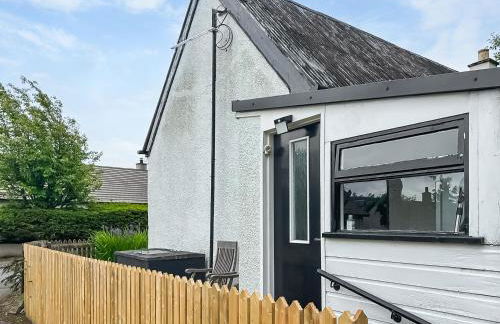
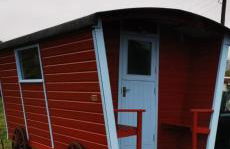
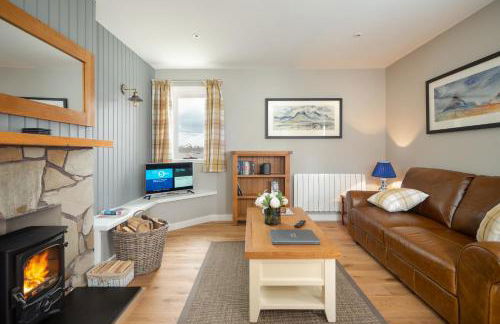
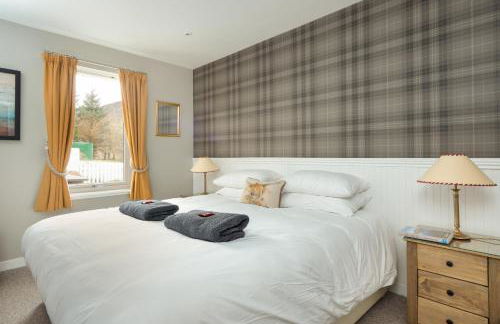
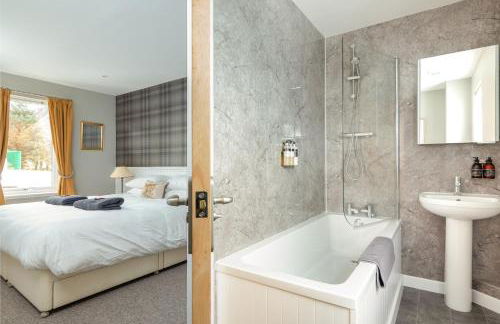
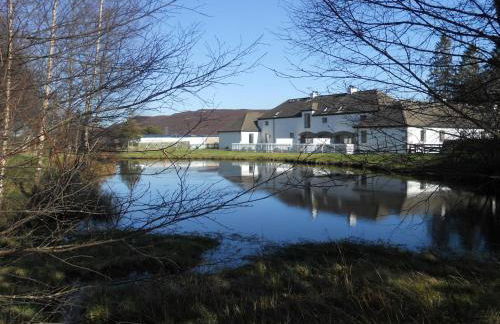
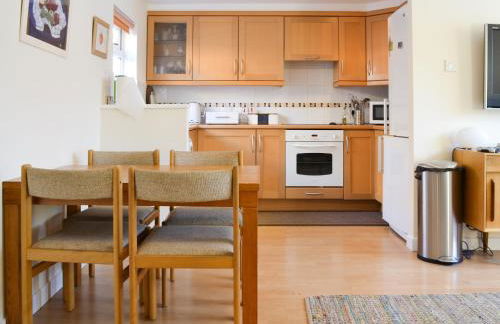
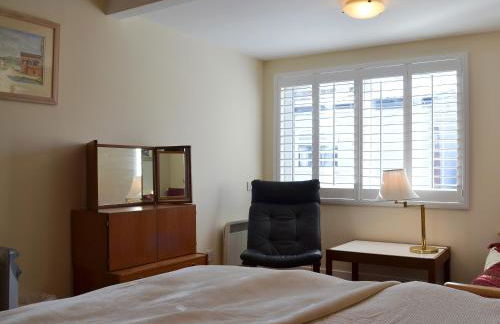
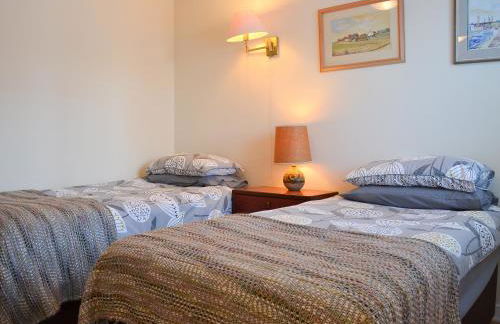
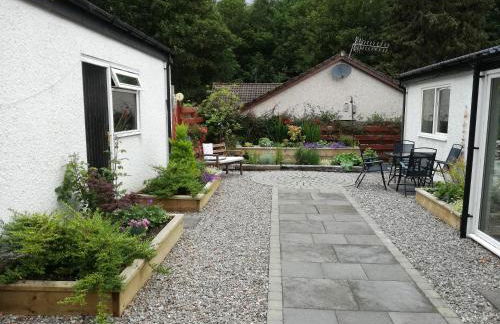
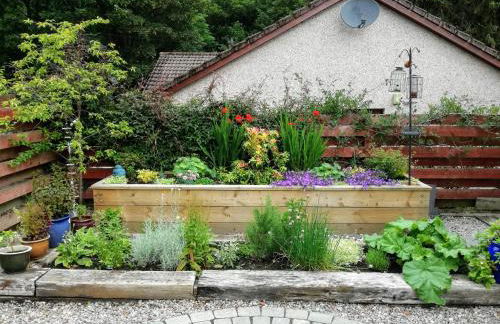
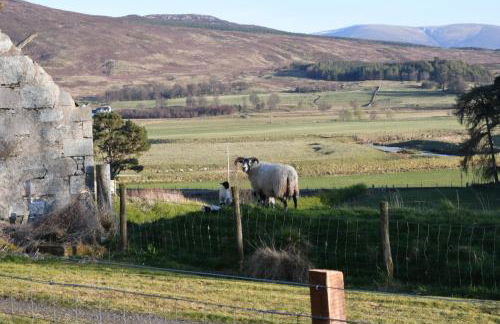
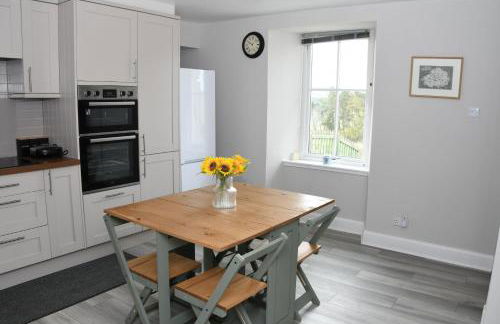
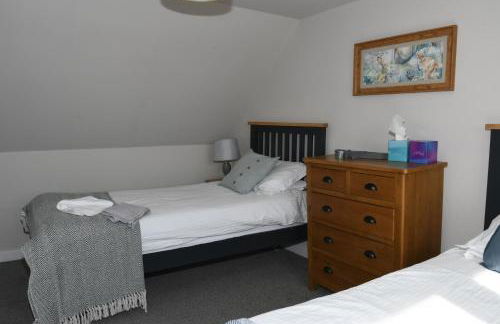
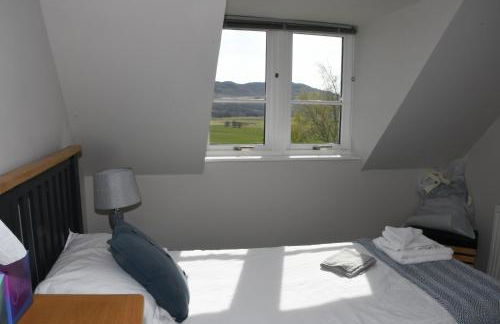
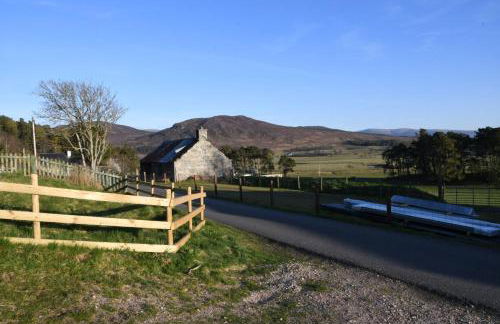
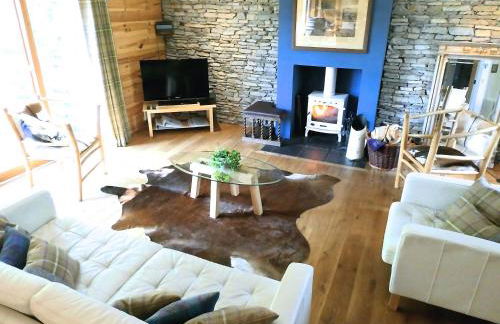
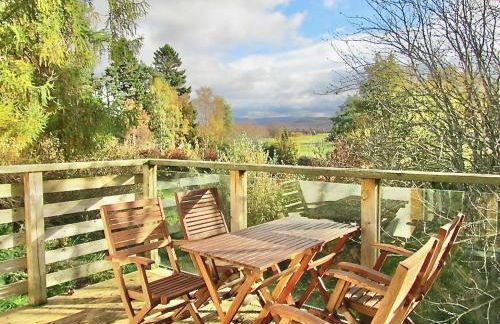
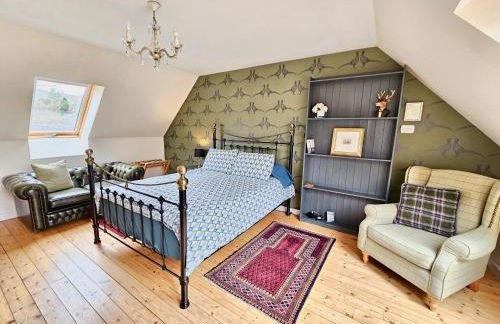
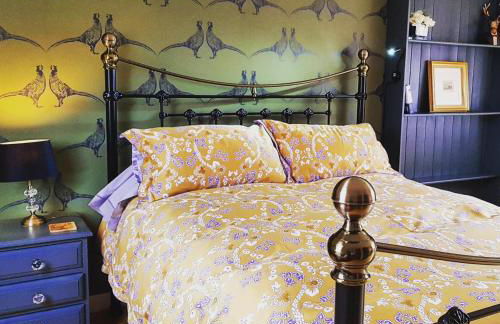
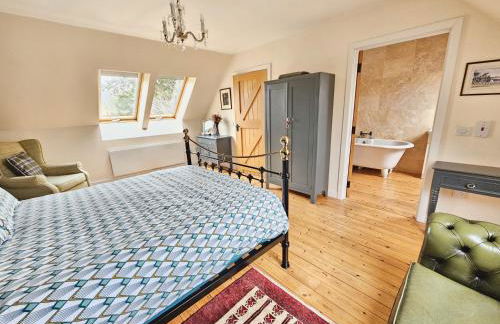
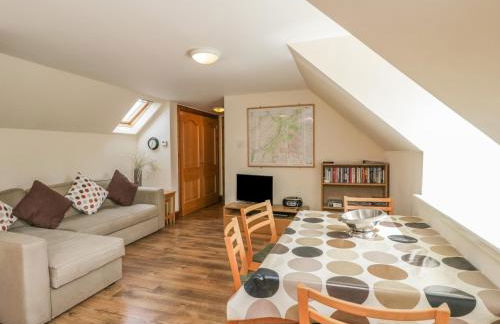
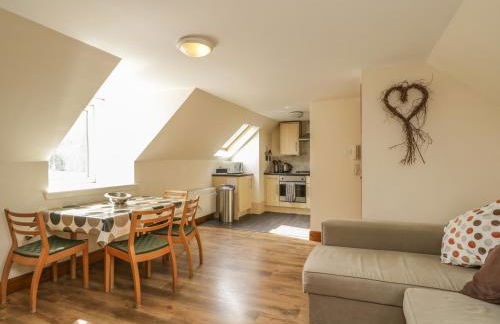
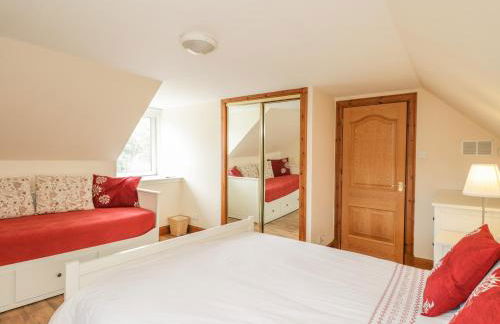
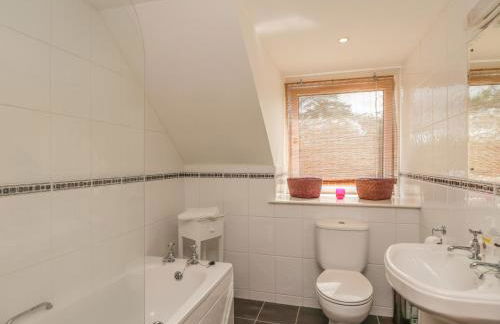
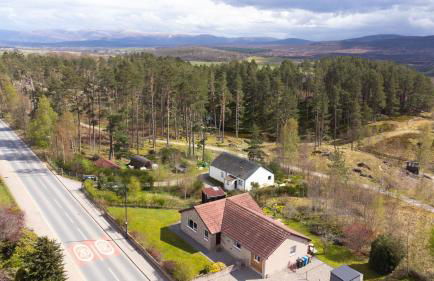
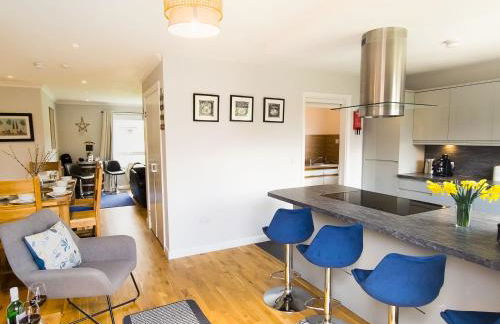
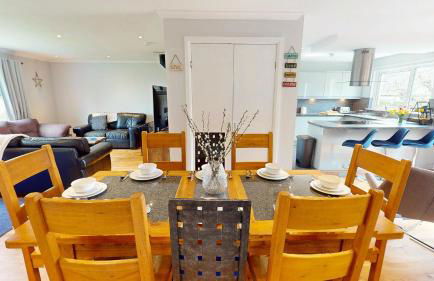
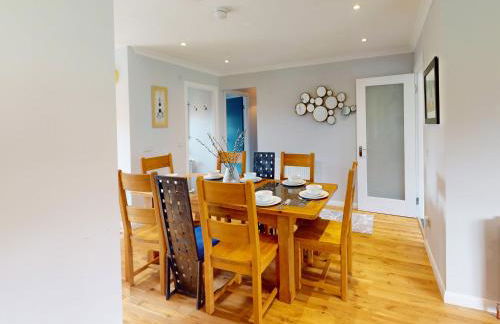
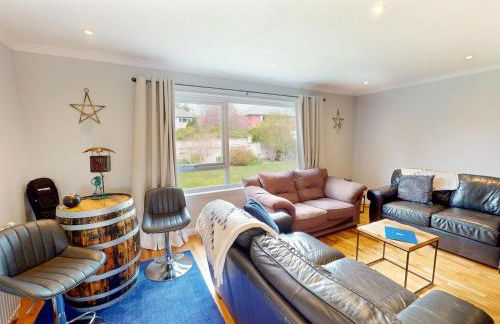
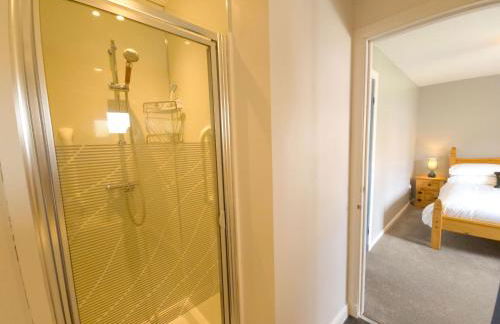
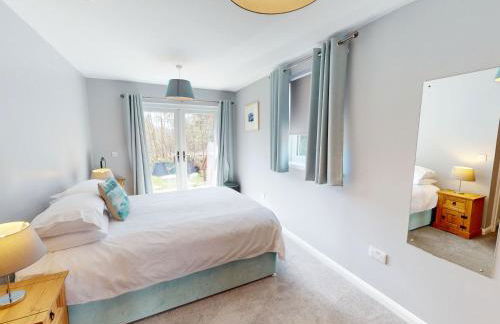
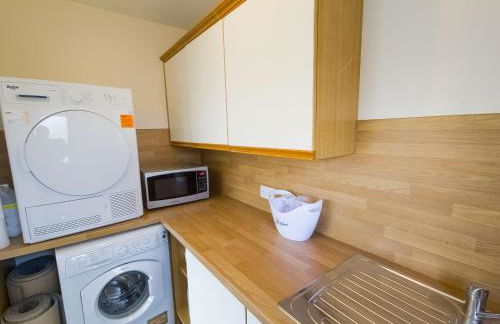
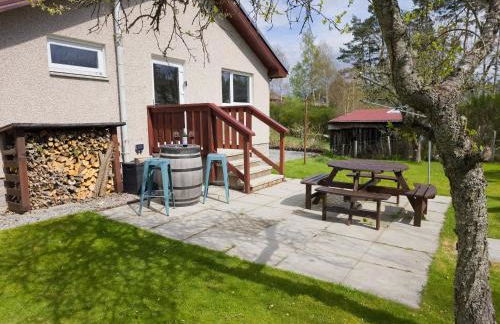
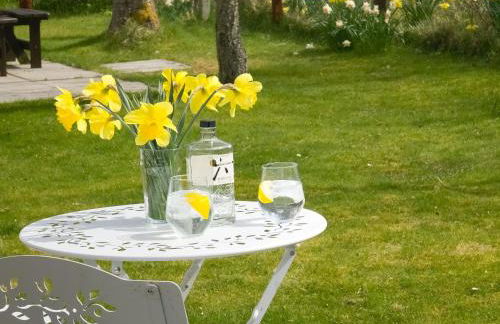
Cathwill - Cosy 4 Star Cottage - Cairngorm National Park
Newtonmore - Newtonmore
- 71 M2
- 3 habitaciones
- 4 personas
- Calefacción
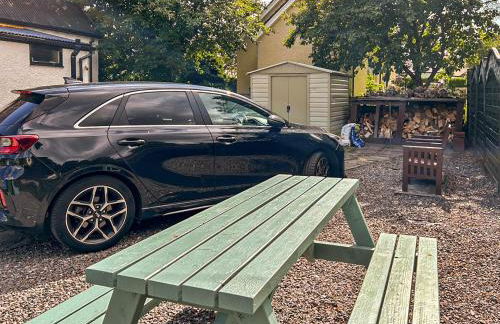
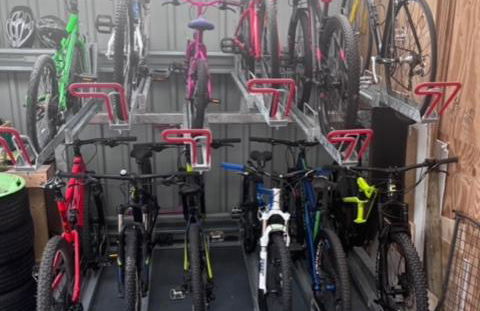
- Parking
- Jardín
44 reseñas

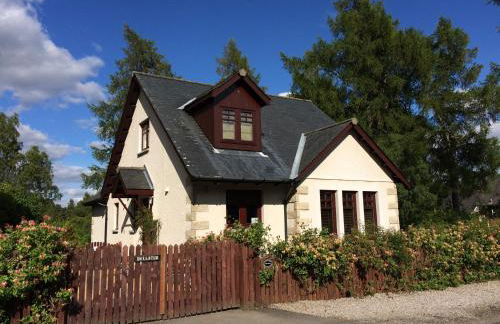


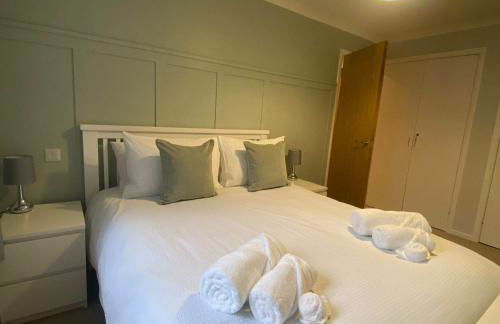
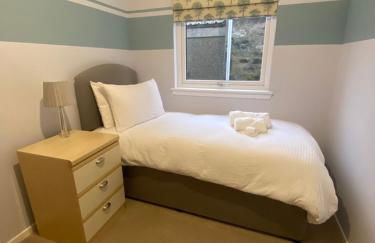
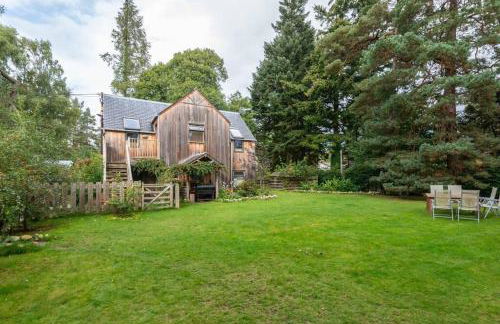
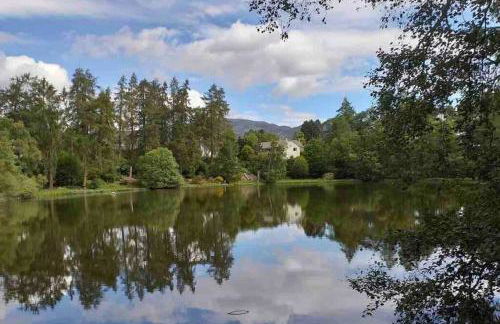
Dullatur
Newtonmore - Newtonmore
- 70 M2
- 3 habitaciones
- 6 personas
- Calefacción
- Terraza
- Parking
- Jardín
- Barbacoa
22 reseñas


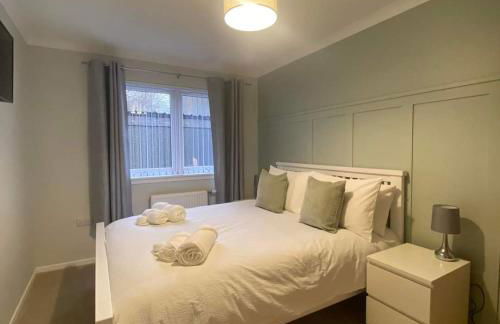
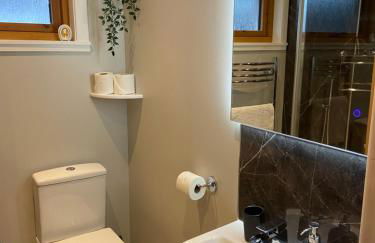
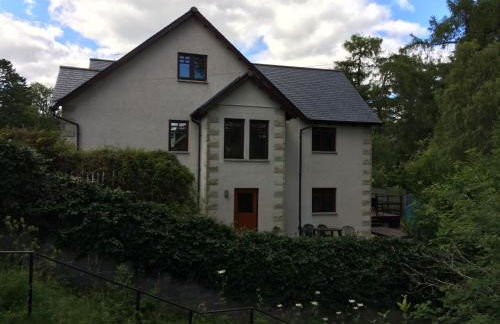
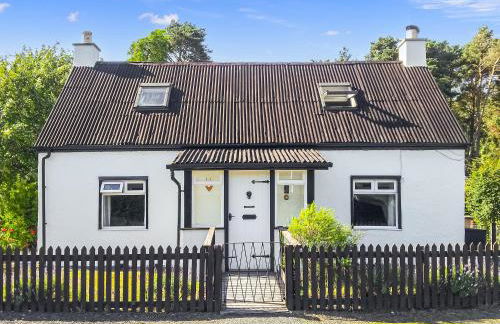
Cluny Mains
Newtonmore - Newtonmore
- 200 M2
- 5 habitaciones
- 12 personas
- Calefacción
- Parking
- Jardín
- Barbacoa
17 reseñas


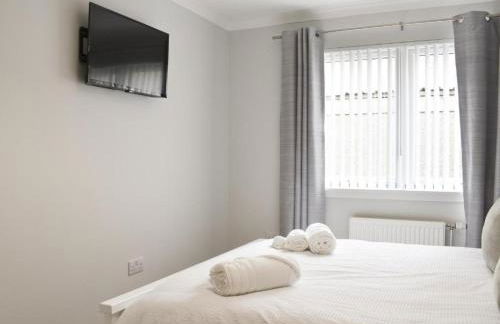
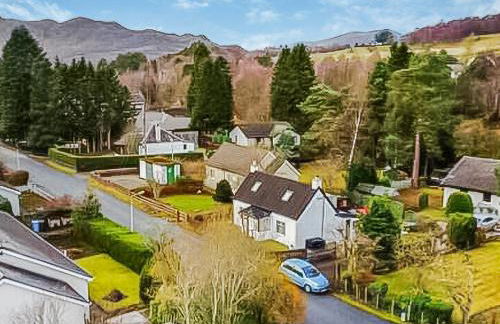
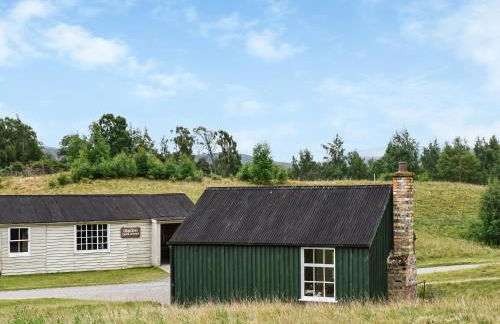
The Bakehouse - by Where Stags Roar
Newtonmore - Newtonmore
- 44 M2
- 1 habitación
- 2 personas
- Parking
- Jardín
14 reseñas


Baltinna East - by Where Stags Roar
Newtonmore - Newtonmore
- 70 M2
- 1 habitación
- 2 personas
- Parking
- Jardín
16 reseñas

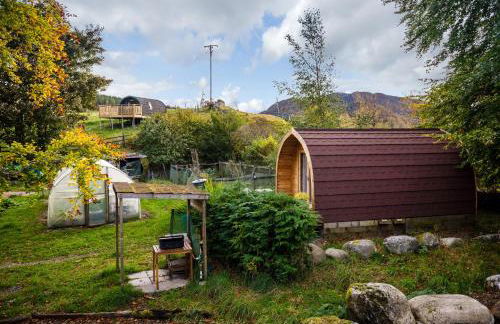
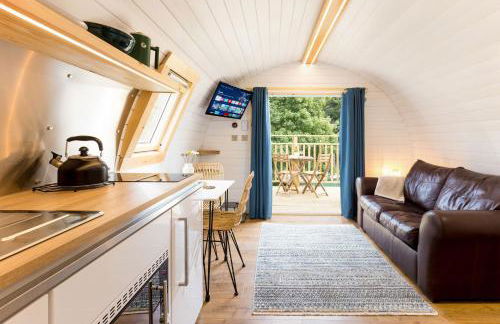


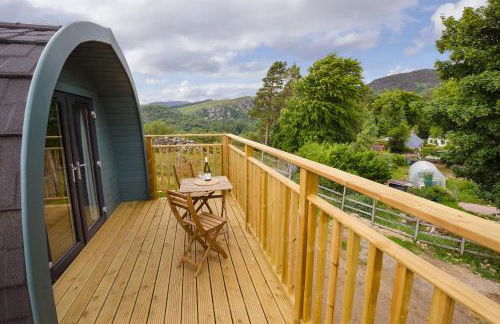


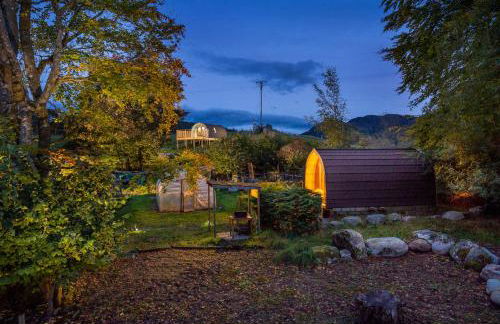


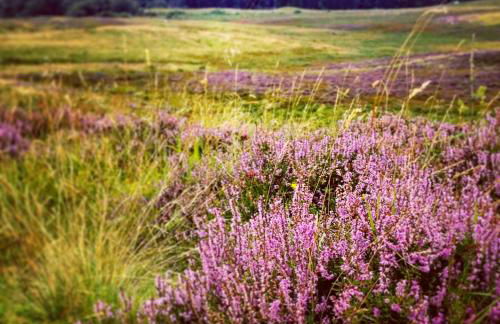
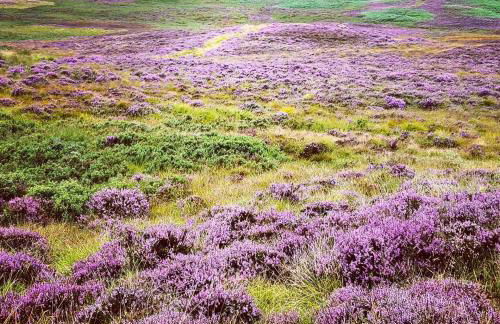
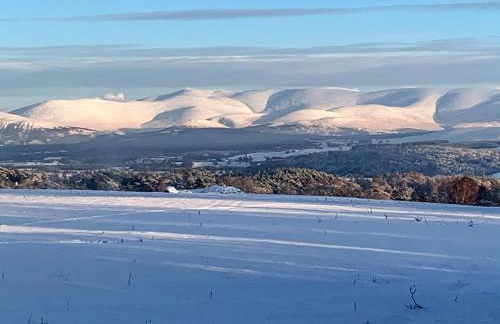
Spectacular Mountain View Ecopod
Newtonmore - Newtonmore
- 21 M2
- 1 habitación
- 2 personas
- Terraza
- Parking
- Jardín
31 reseñas


Caman House Apt 2 - by Where Stags Roar
Newtonmore - Newtonmore
- 77 M2
- 2 habitaciones
- 4 personas
- Parking
29 reseñas


Baltinna West - by Where Stags Roar
Newtonmore - Newtonmore
- 70 M2
- 1 habitación
- 2 personas
- Terraza
- Parking
- Jardín
6 reseñas

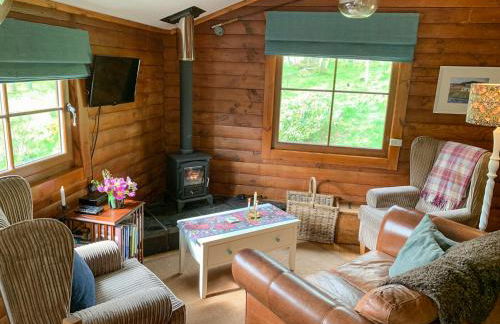

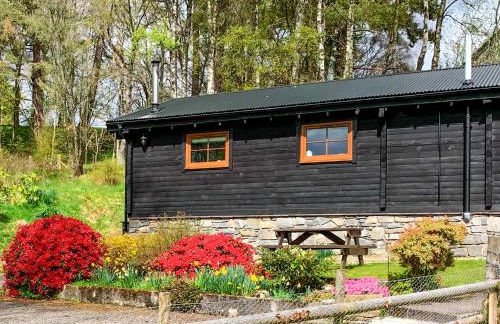
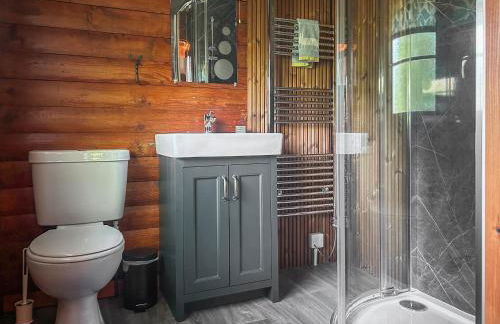
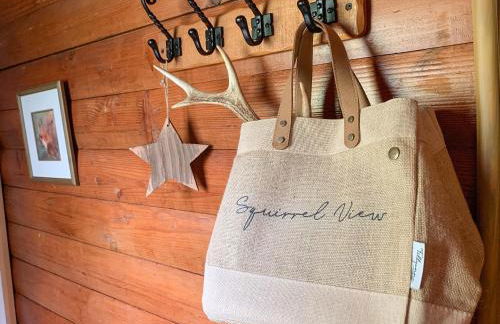


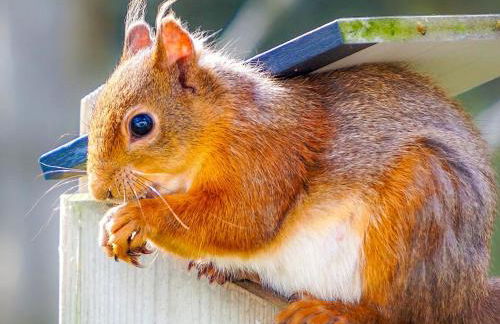
Squirrel View
Newtonmore - Newtonmore
- 2 habitaciones
- 4 personas
- Calefacción
- Parking
- Jardín
- Barbacoa
13 reseñas

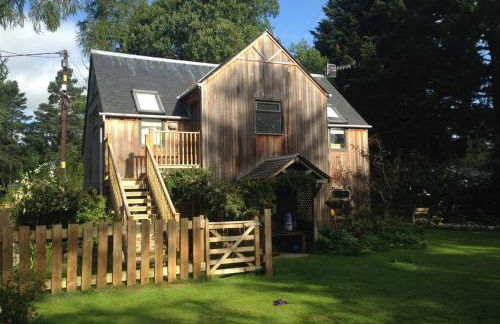
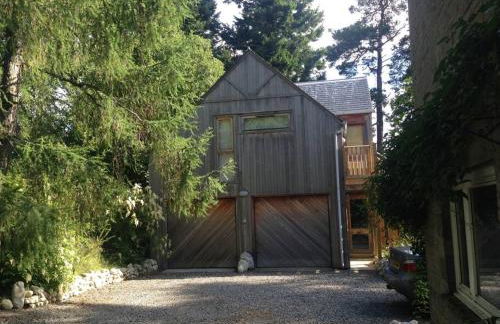
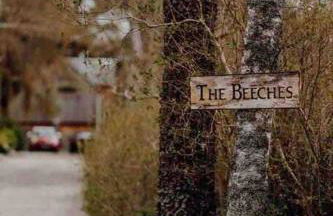
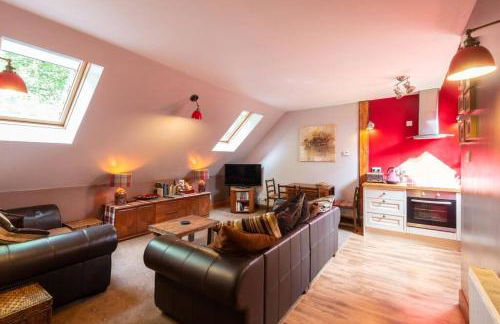


The Beeches Studio, Highlands of Scotland
Newtonmore - Newtonmore
- 50 M2
- 2 habitaciones
- 4 personas
- Calefacción
- Parking
- Jardín
- Barbacoa
34 reseñas


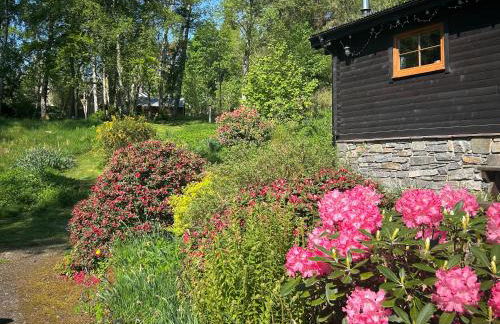
Broom Cottage
Newtonmore - Newtonmore
- 3 habitaciones
- 6 personas
- Calefacción
- Parking
- Jardín
- Barbacoa
11 reseñas


Highland Holiday Cottages
Newtonmore - Newtonmore
- 100 M2
- 3 habitaciones
- 6 personas
- Calefacción
- Parking
- Jardín
- Barbacoa
14 reseñas


Bruich Cottage
Newtonmore - Newtonmore
- 2 habitaciones
- 4 personas
- Calefacción
- Parking
- Jardín
- Barbacoa
3 reseñas


The Byre - by Where Stags Roar
Newtonmore - Newtonmore
- 145 M2
- 2 habitaciones
- 4 personas
- Terraza
- Parking
- Jardín
4 reseñas


10 Monarch Country Apartments
Newtonmore - Newtonmore
- 90 M2
- 1 habitación
- 4 personas
- Parking
- Jardín
26 reseñas


Killiechangie House
Newtonmore - Newtonmore
- 117 M2
- 4 habitaciones
- 8 personas
- Calefacción
- Parking
- Jardín
2 reseñas