
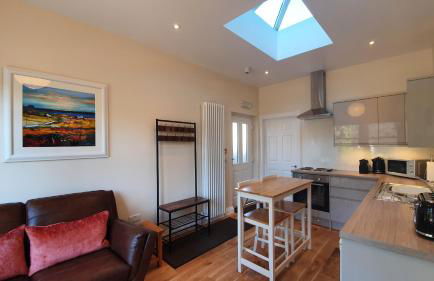
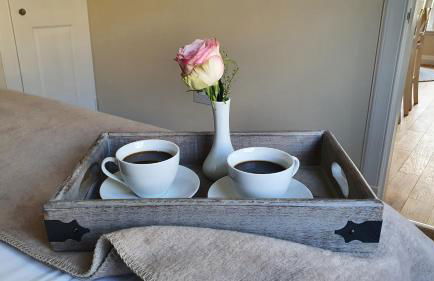
127 Apartamentos en Pitlochry

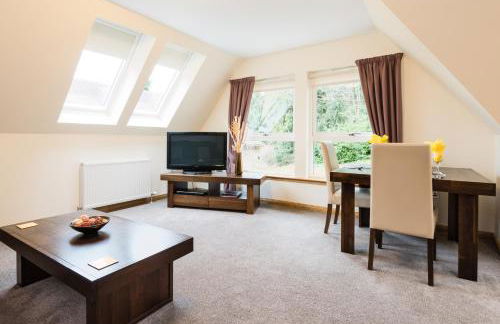

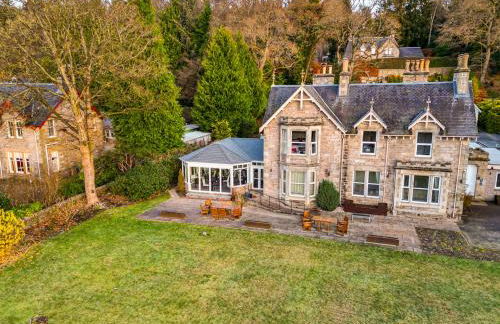


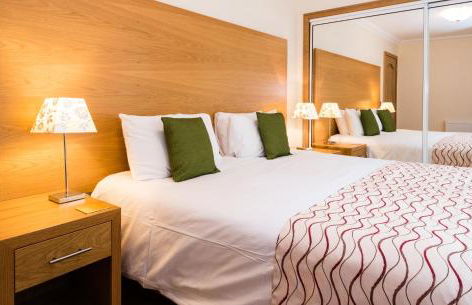

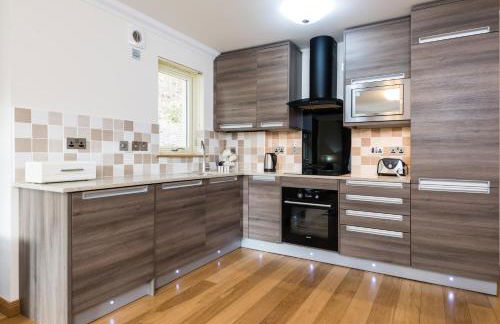

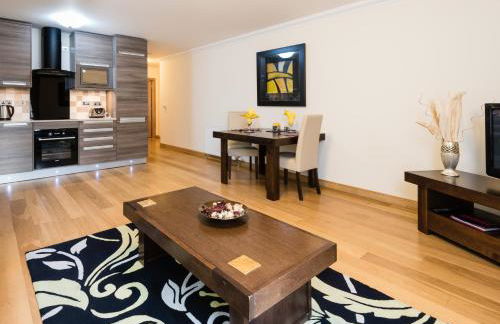

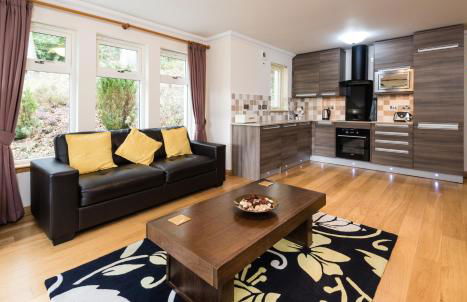

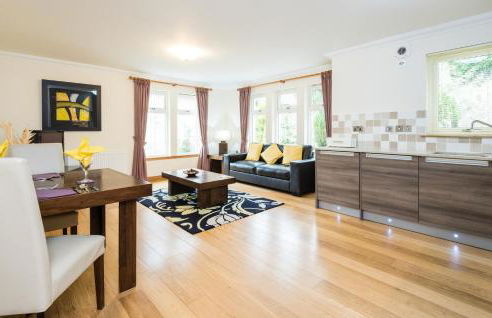


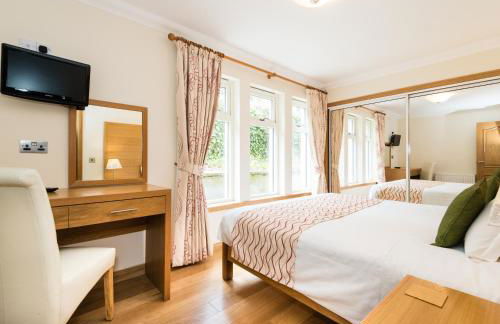

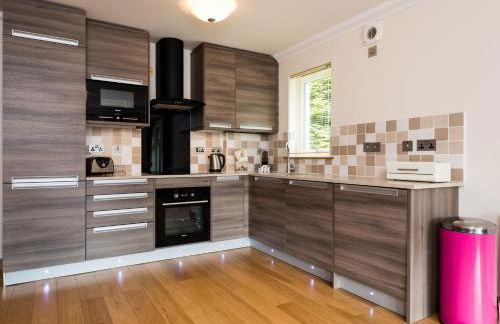

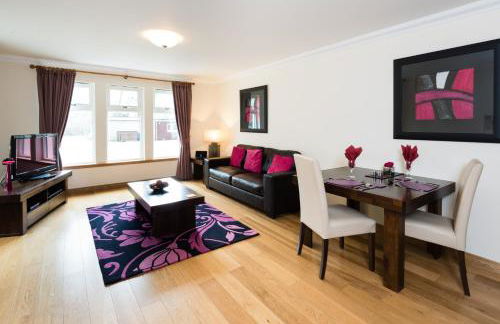

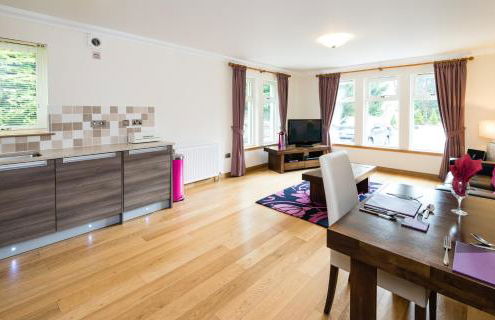


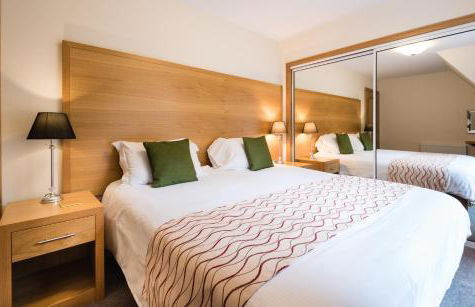


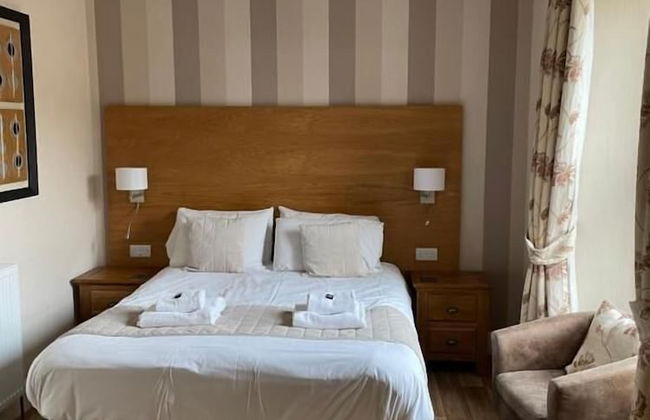
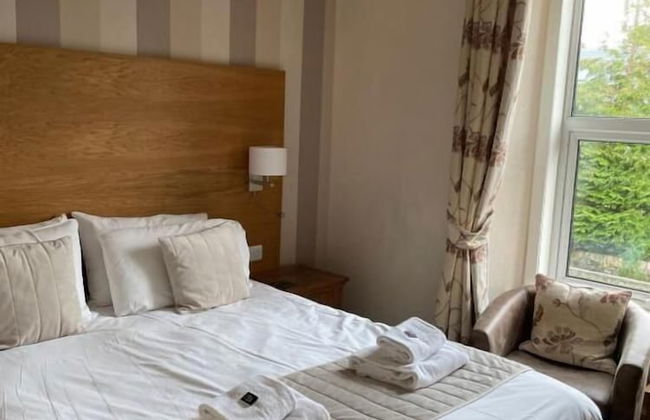

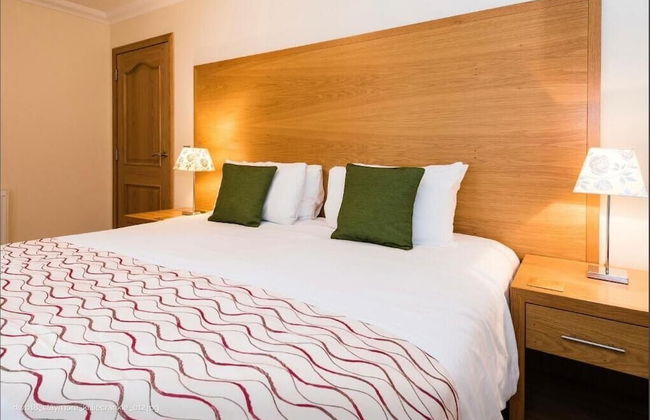

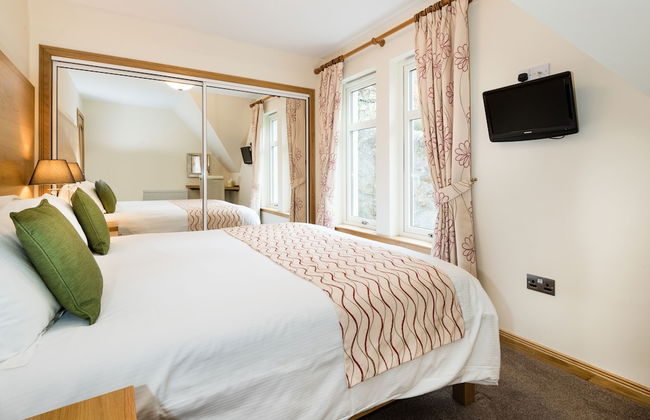


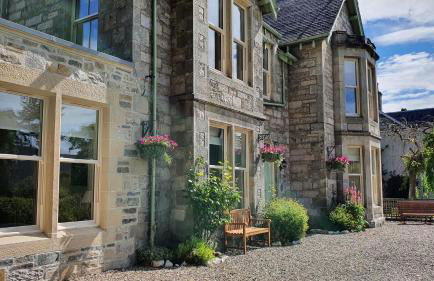
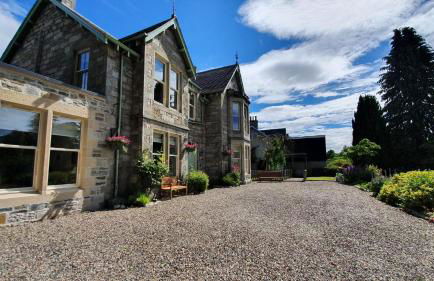
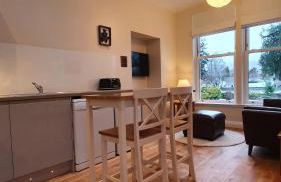
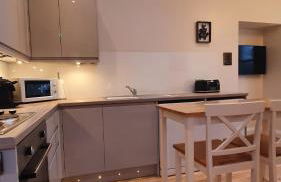
Claymore Guest House and Apartments
Pitlochry - Pitlochry
- 54 M2
- 1 habitación
- 2 personas
- Calefacción
- Terraza
- Parking
- Televisión
- Toallas
- Sábanas
140 reseñas


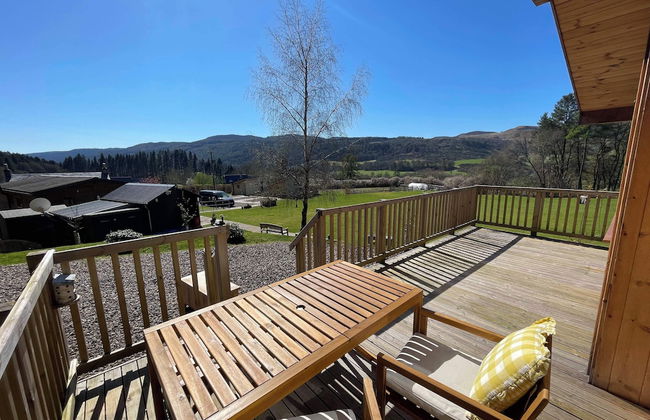
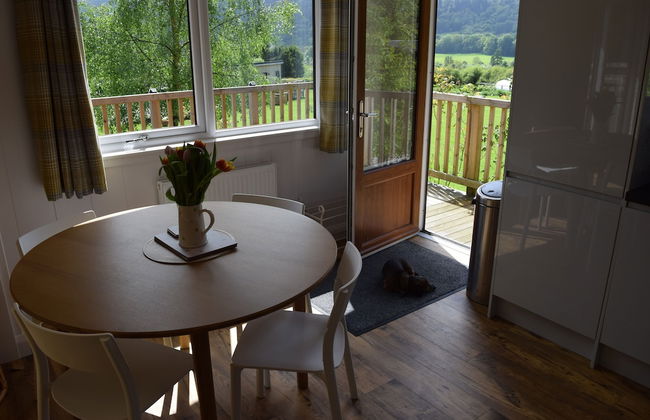
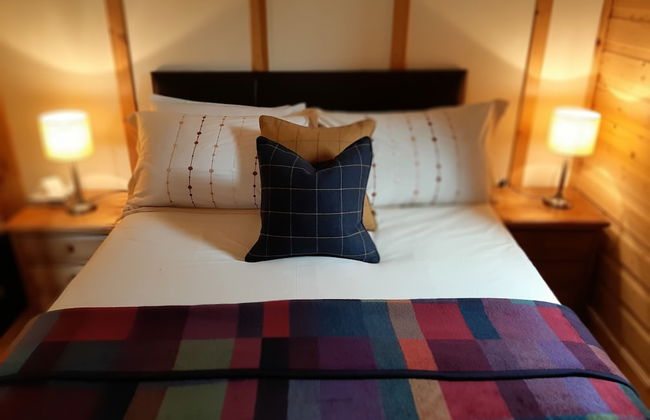
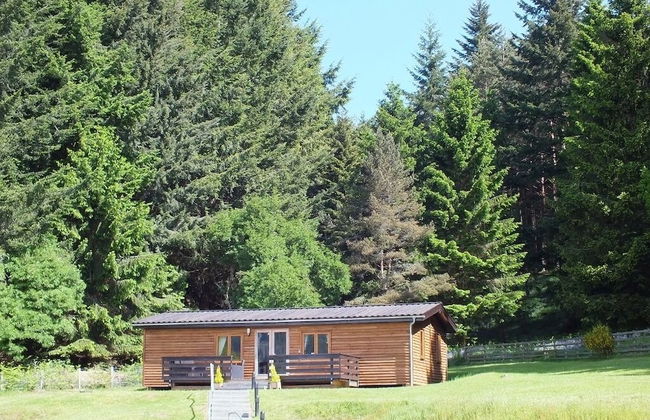
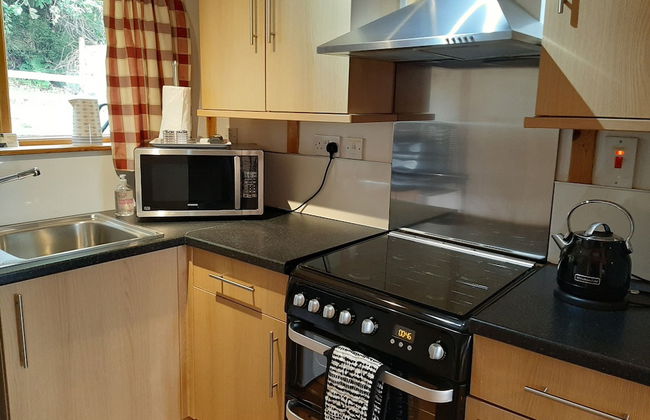
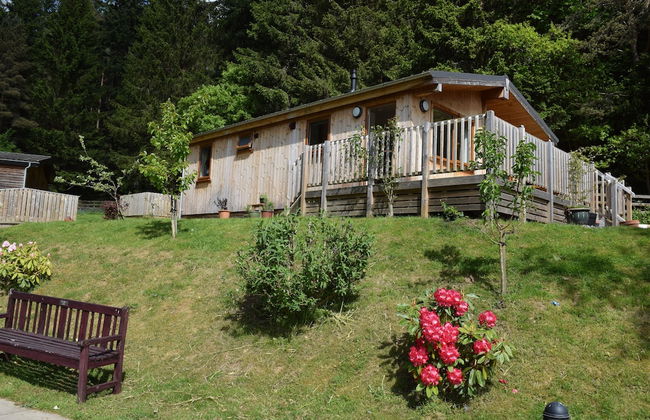

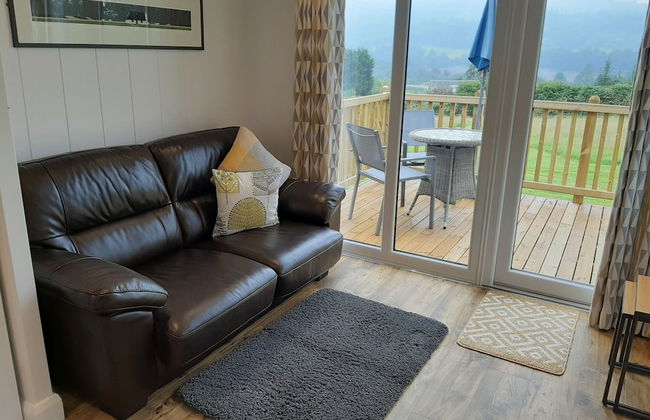
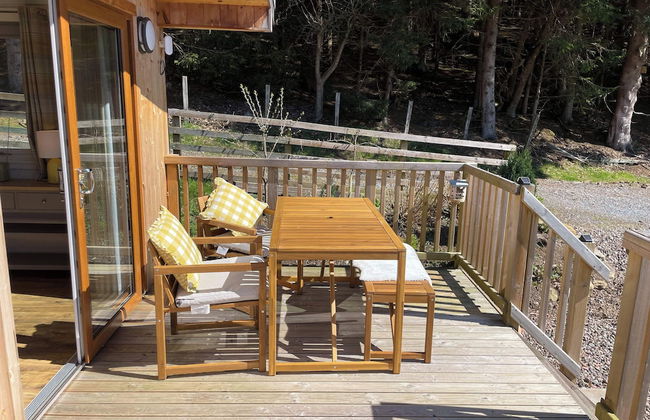

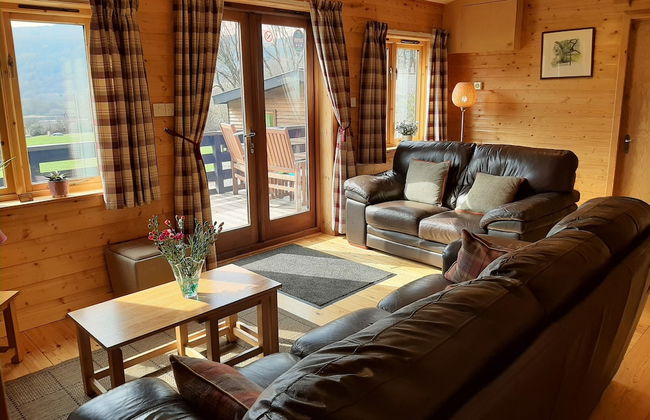


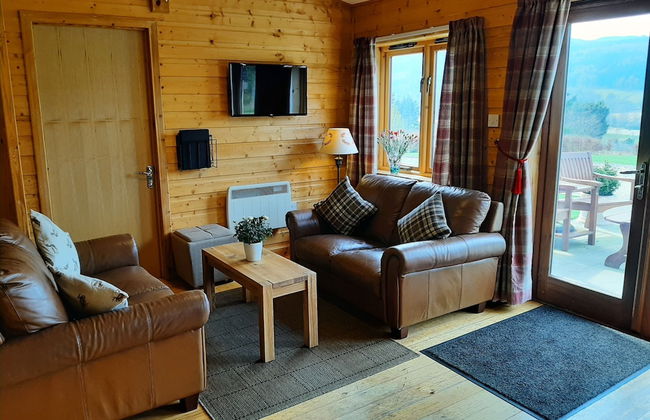

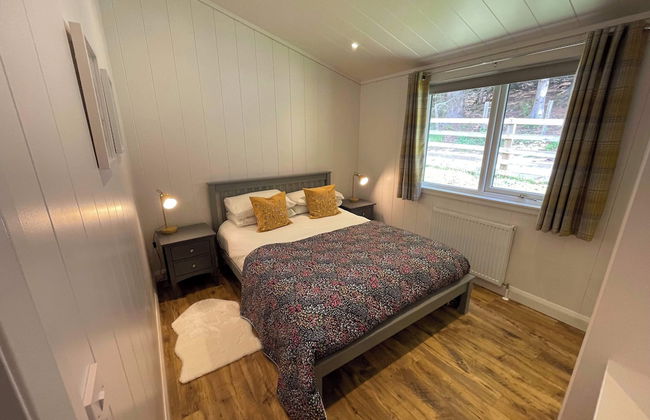
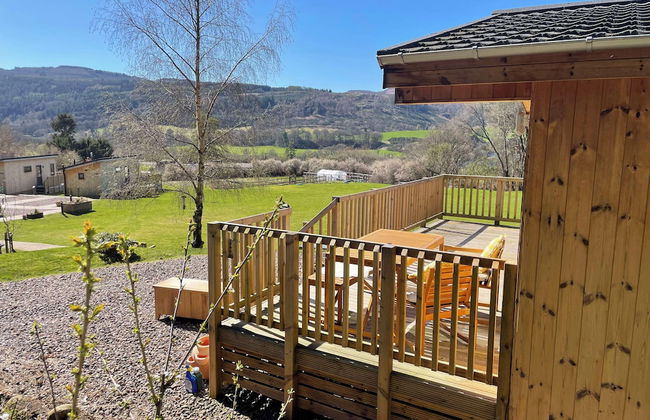
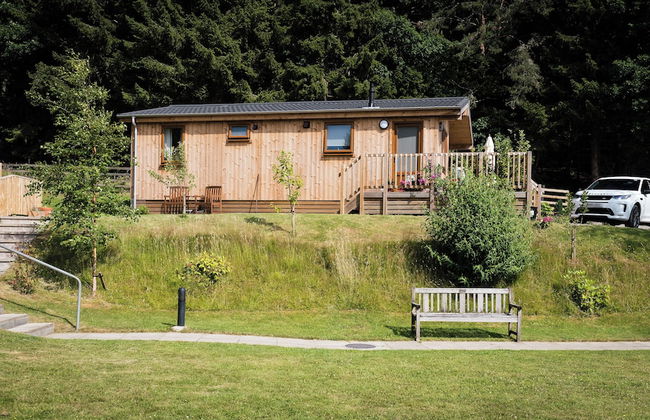
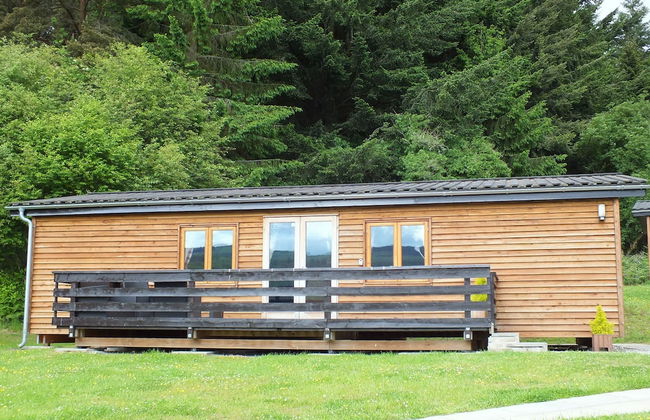
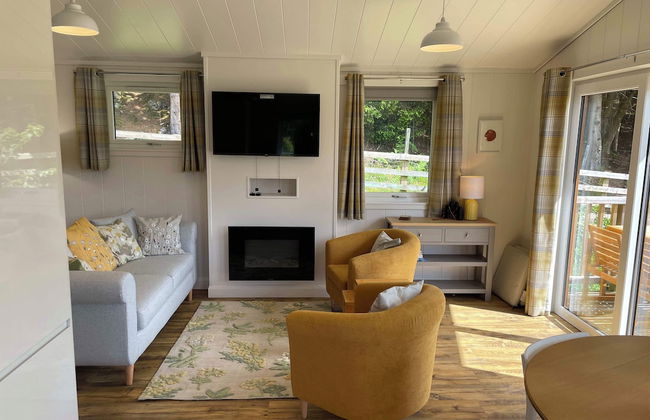
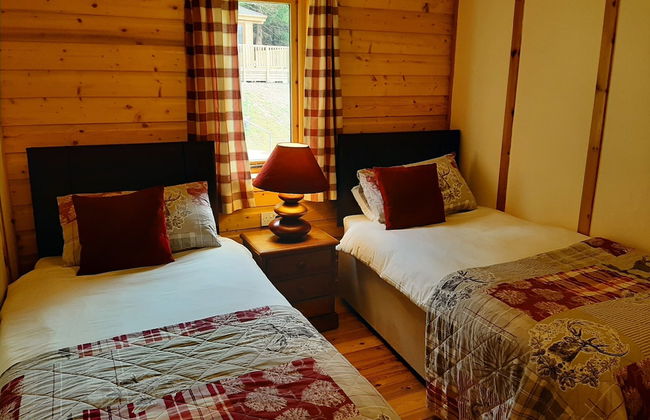
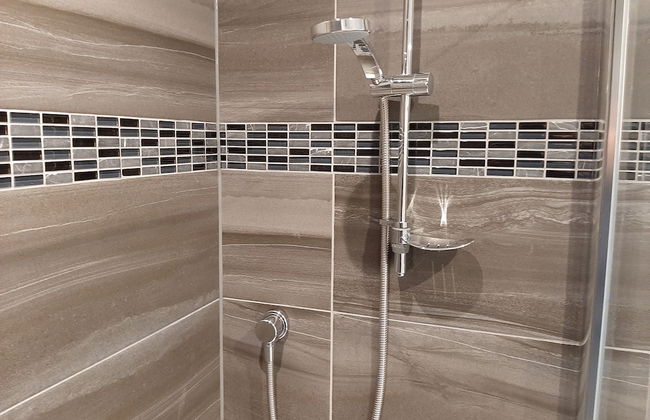
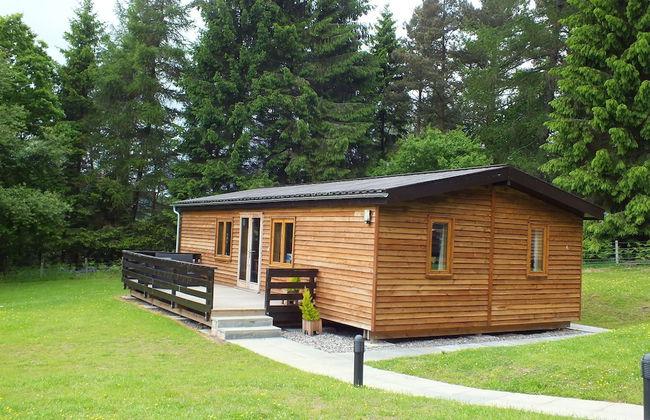
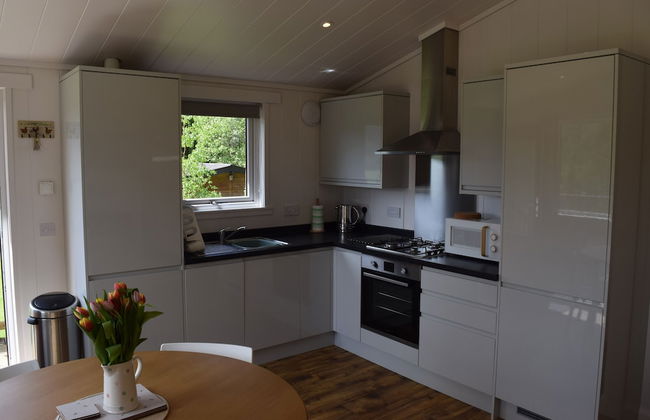
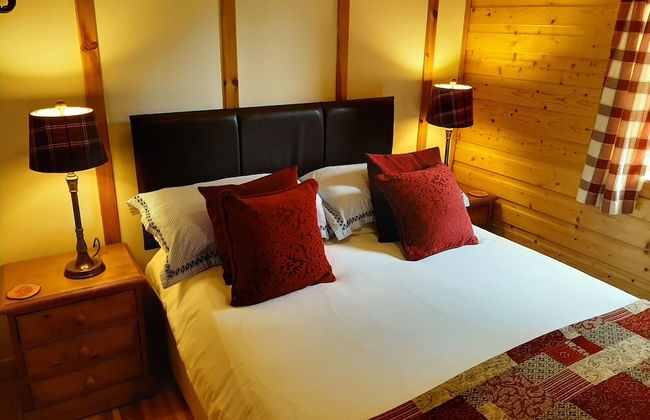
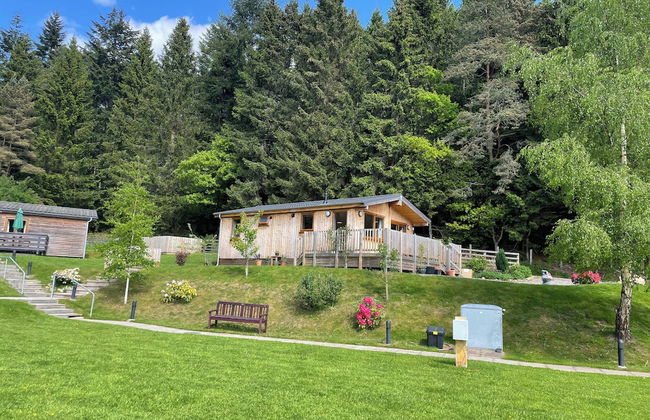
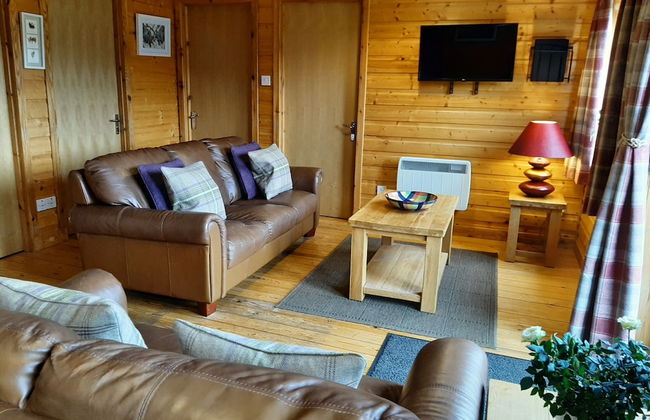

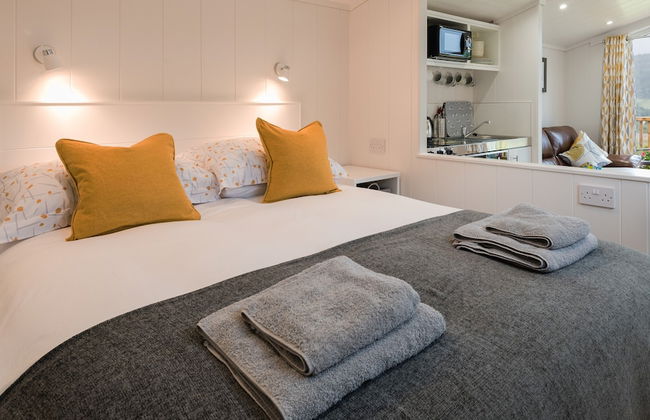
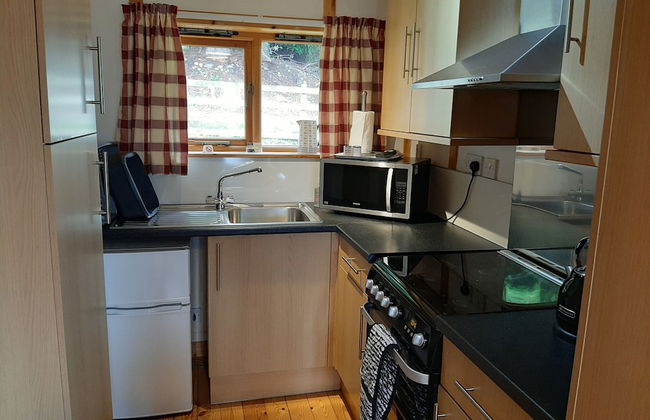
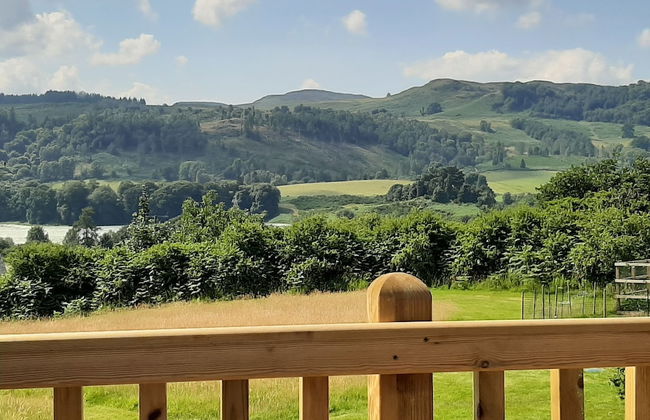
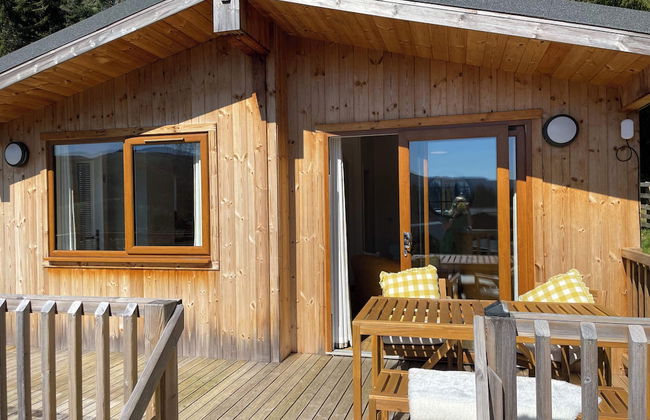


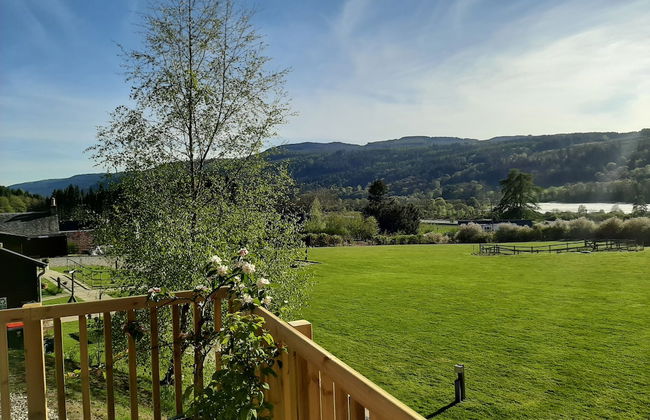
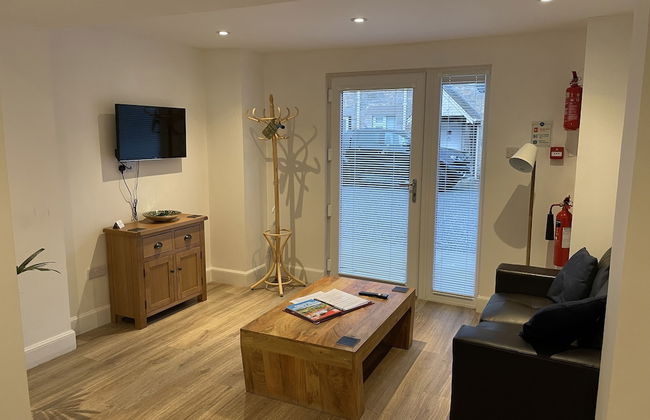
Tayview Lodges
Pitlochry - Kindallaghan
- 6 personas
- Calefacción
- Terraza
- Parking
- Ascensor
- Balcón
- Jardín
- Televisión
- Barbacoa
- Toallas
15 reseñas


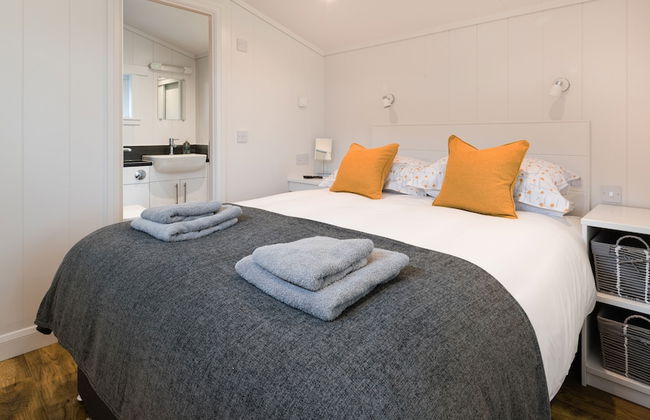
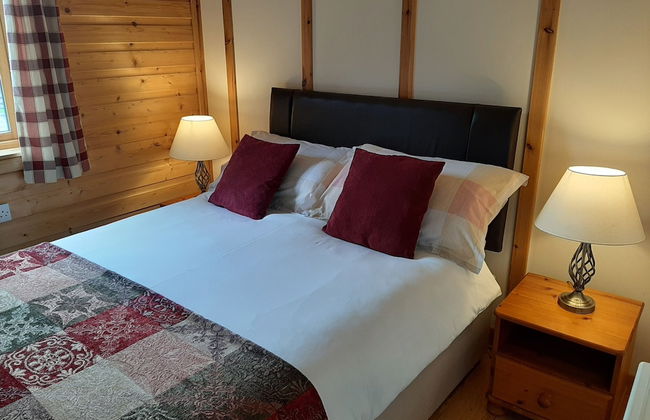
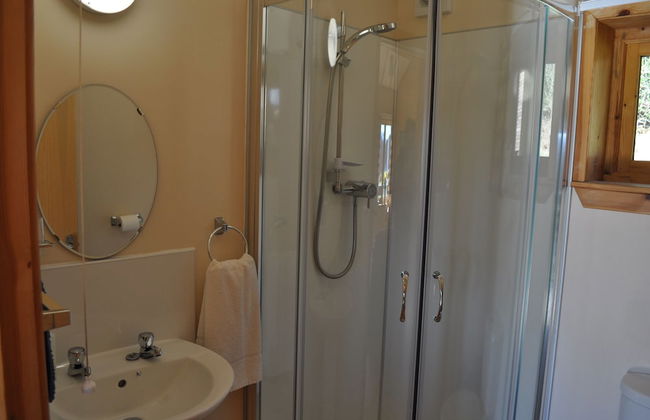
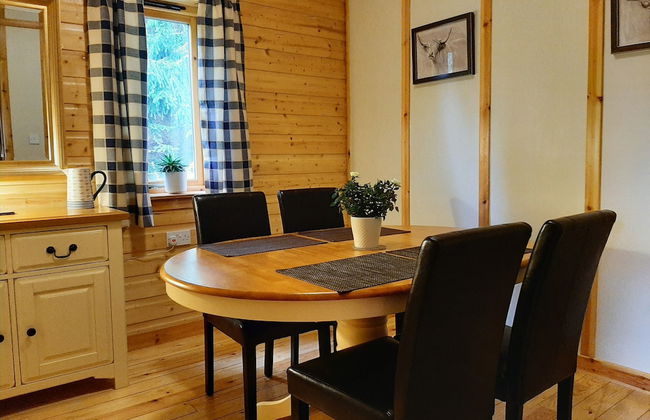
The Struan Inn Self Catering Lodge
Pitlochry - Calvine
- 338 M2
- 4 habitaciones
- 8 personas
- Calefacción
- Parking
- Jardín
- Televisión
- Lavadora
- Chimenea
- Barbacoa
- Toallas
- Sábanas
181 reseñas

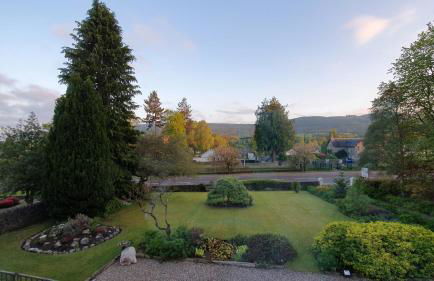
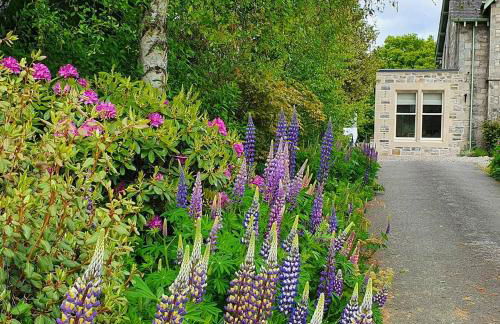
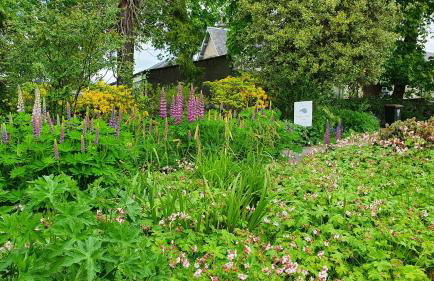
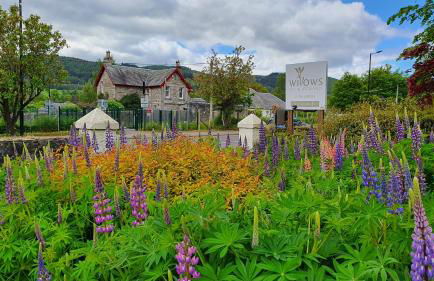
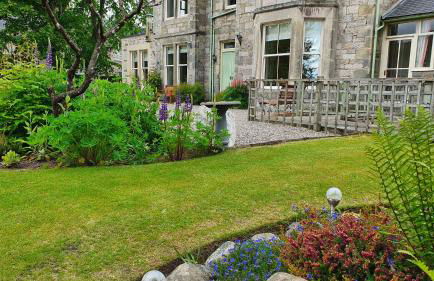
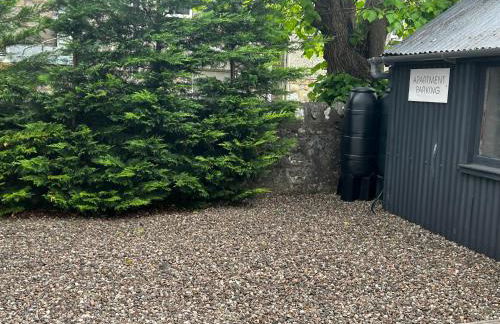
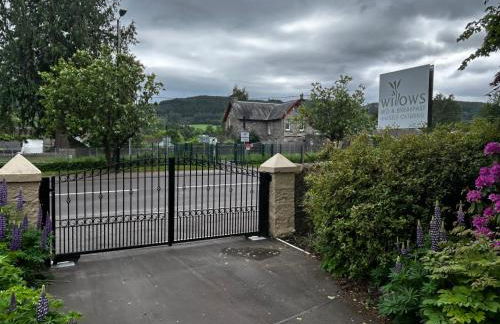
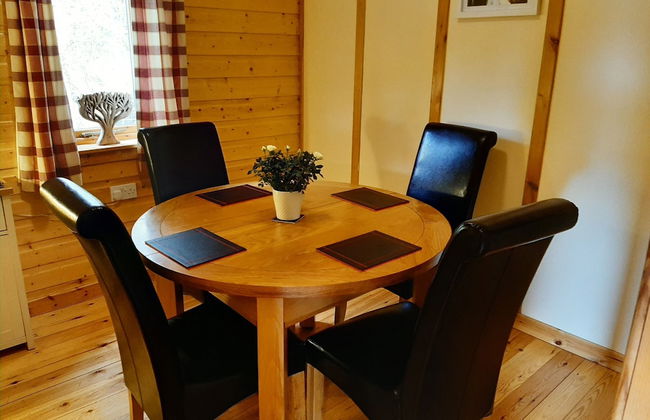
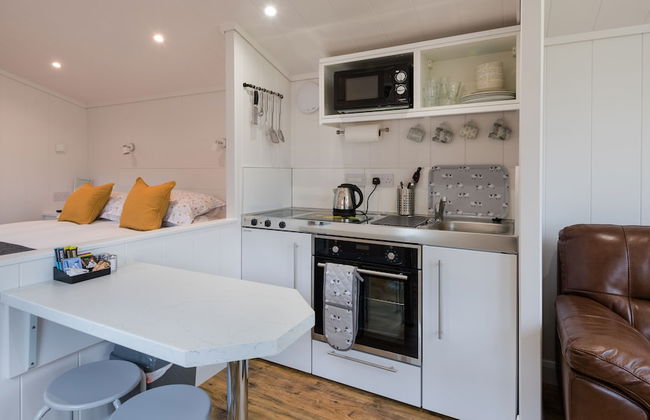
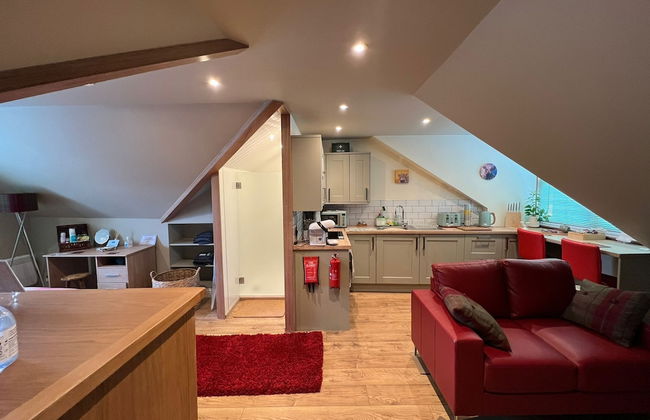
Willows Apartment
Pitlochry - Pitlochry
- 51 M2
- 1 habitación
- 2 personas
- Calefacción
- Terraza
- Parking
- Jardín
22 reseñas


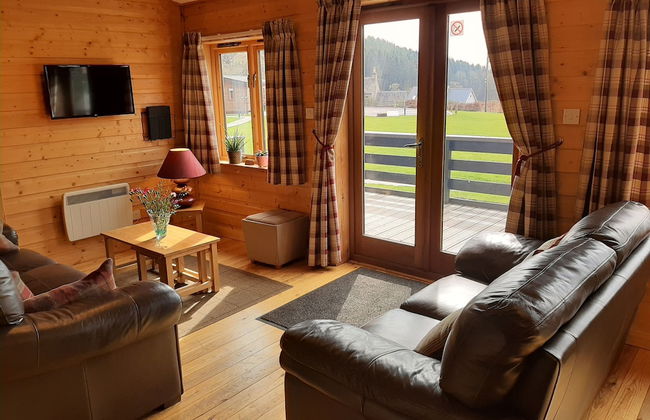
Scottish Highland Lodge
Pitlochry - Pitlochry
- 150 M2
- 7 personas
- Calefacción
- Terraza
- Parking
- Balcón
- Jardín
- Televisión
- Sábanas
2 reseñas


Heather Nook- luxury studio in Pitlochry
Pitlochry - Pitlochry
- 25 M2
- 2 personas
- Calefacción
- Parking
- Jardín
65 reseñas


Cosy Romantic Cottage, Pitlochry
Pitlochry - Pitlochry
- 65 M2
- 1 habitación
- 2 personas
- Calefacción
- Parking
- Jardín
- Barbacoa
11 reseñas


Tummel View Pitlochry
Pitlochry - Pitlochry
- 65 M2
- 2 habitaciones
- 4 personas
- Terraza
- Parking
- Jardín
43 reseñas


Alba Apartment Central Pitlochry
Pitlochry - Pitlochry - A 170 m de Pitlochry Railway Station (geolocation.placetype.train_station)
- 45 M2
- 2 personas
- Parking
12 reseñas


The Old Manse of Blair, Boutique Hotel & Michelin Restaurant
Pitlochry - Blair Atholl
- 30 M2
- 4 personas
- Calefacción
- Terraza
- Parking
- Jardín
190 reseñas


Ballinduin Bothy
Pitlochry - Strathtay
- 136 M2
- 3 habitaciones
- 6 personas
- Calefacción
- Terraza
- Parking
- Jardín
23 reseñas


Inviting 1-bed Studio in Pitlochry
Pitlochry - Pitlochry
- 2 personas
- Calefacción
- Televisión
- Toallas
- Sábanas
2 reseñas


Braeside Cottage - Adorable 2 Bedroom Eco-Friendly Character Cottage
Pitlochry - Pitlochry
- 1000 M2
- 2 habitaciones
- 4 personas
- Terraza
- Parking
- Jardín
34 reseñas


Cobbler's Cottage at Kindrochet, Strathtay
Pitlochry - Grandtully
- 50 M2
- 1 habitación
- 2 personas
- Calefacción
- Parking
- Jardín
140 reseñas


Craigmhor Lodge & Courtyard
Pitlochry - Pitlochry
- 26 M2
- 2 personas
- Calefacción
- Terraza
- Parking
- Jardín
1262 reseñas