


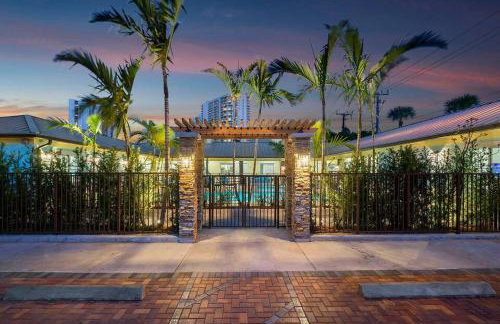
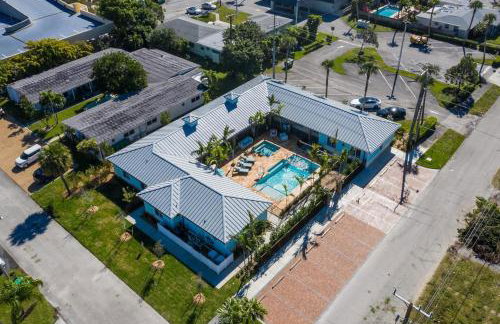
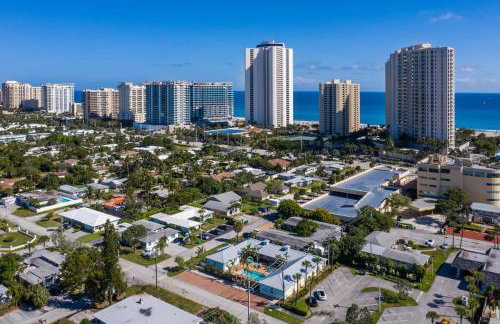
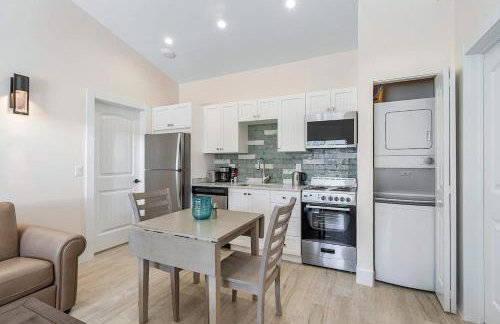
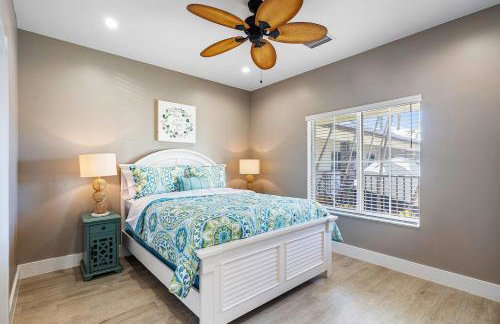
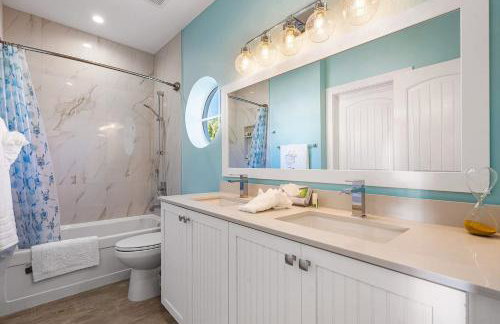
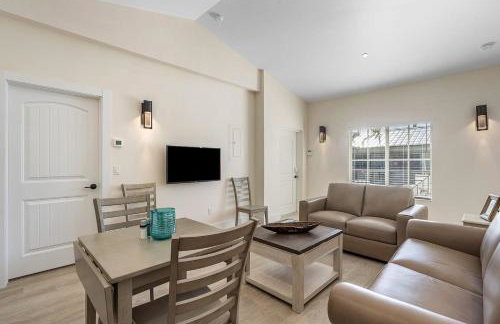
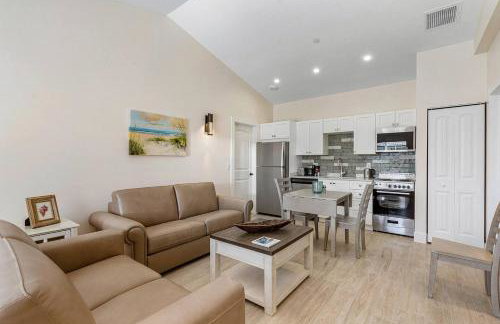
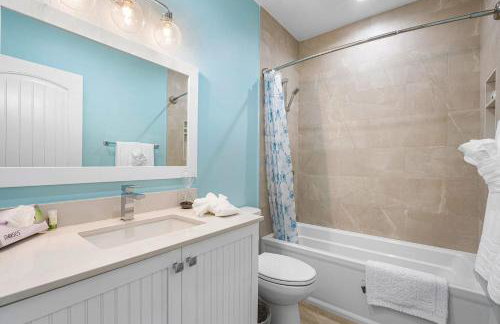
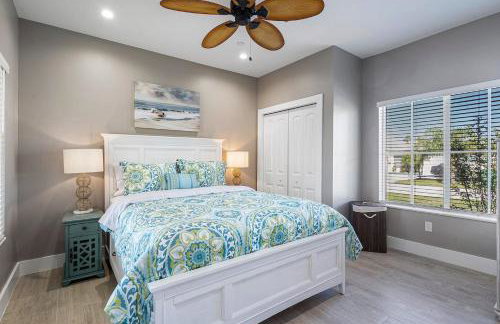
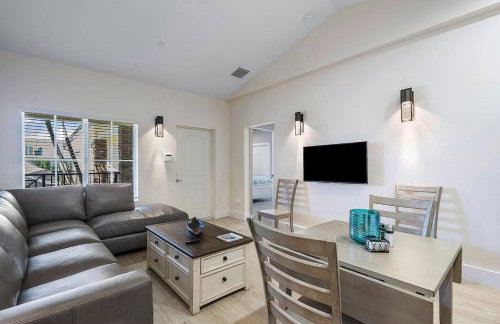
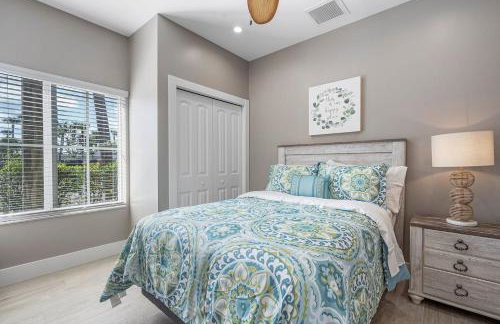
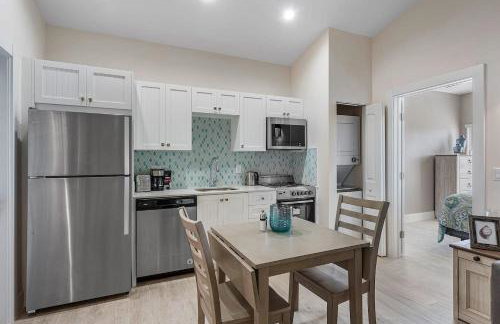
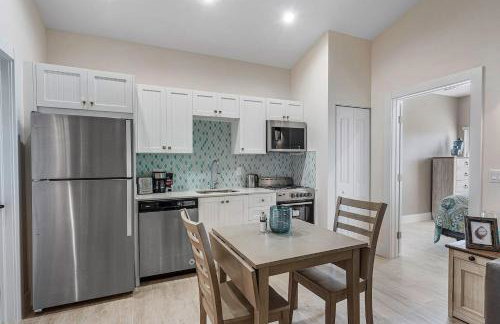
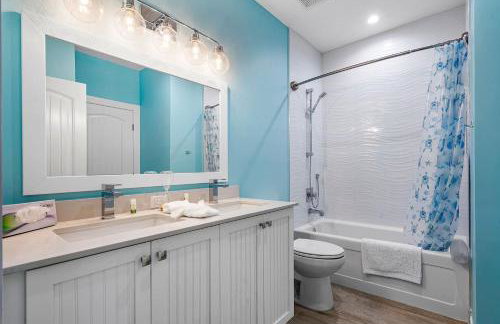
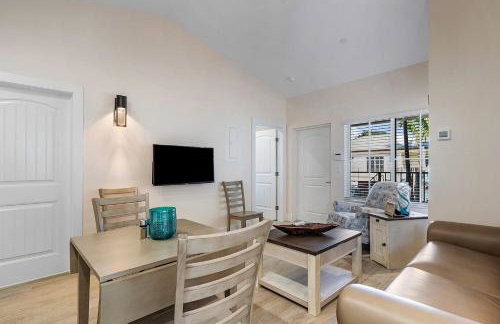
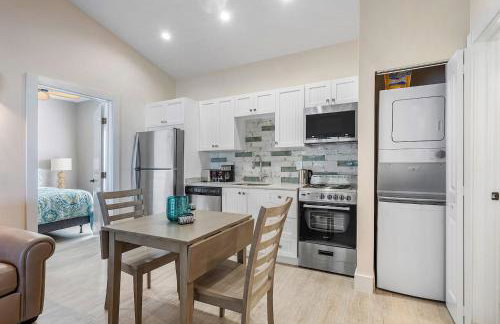
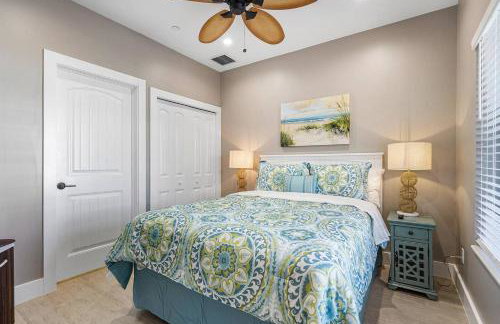
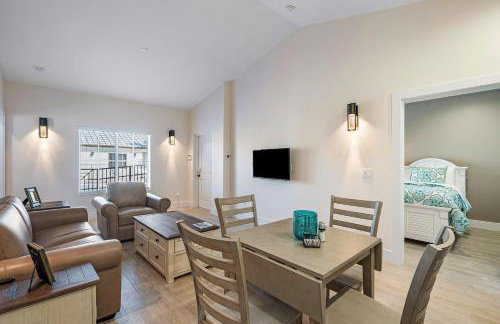
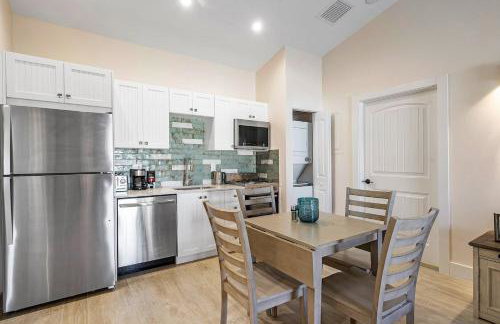
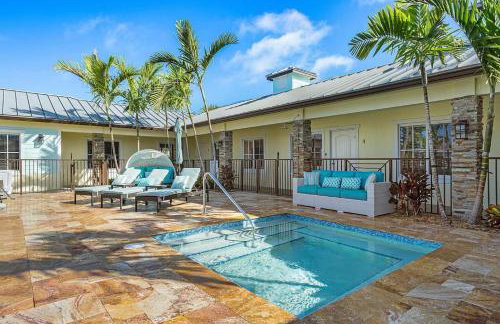
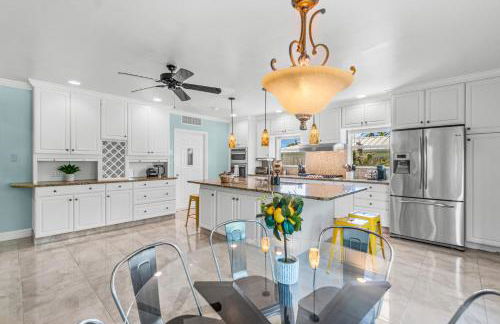
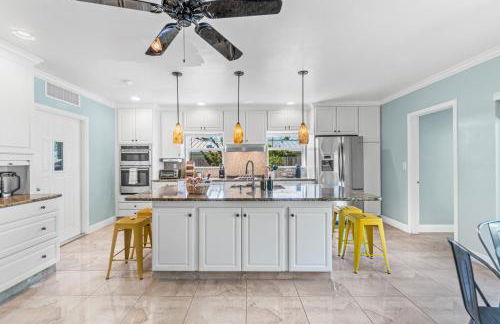
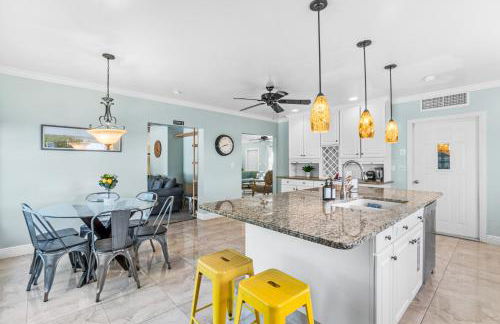
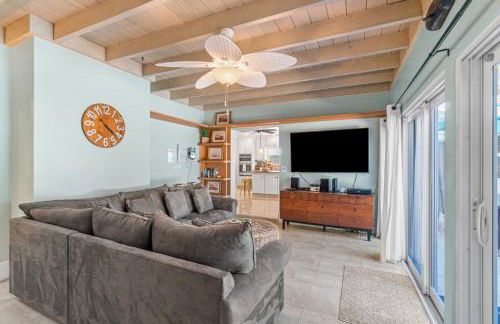
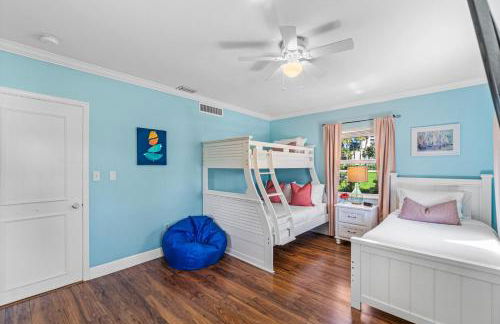
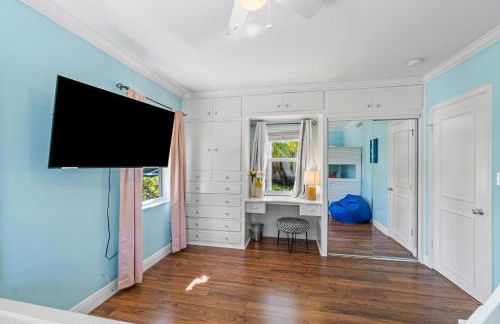
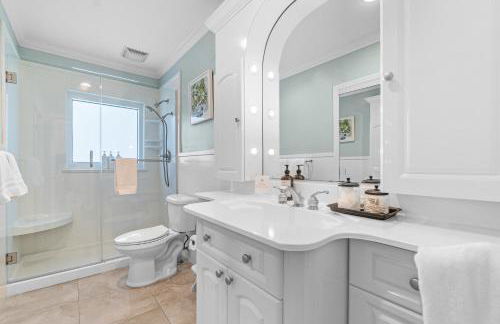
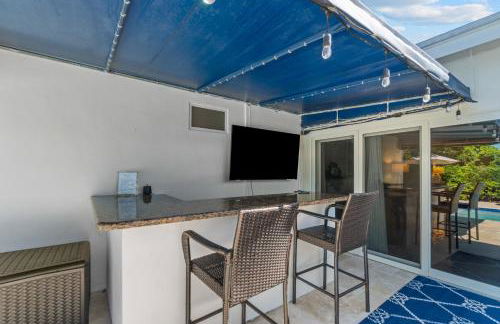
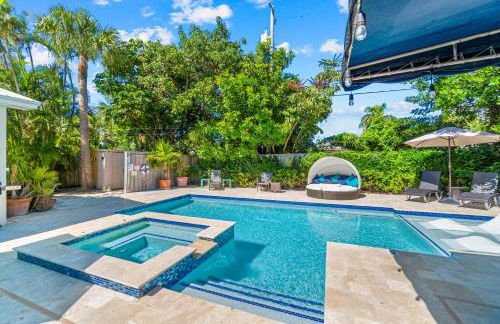
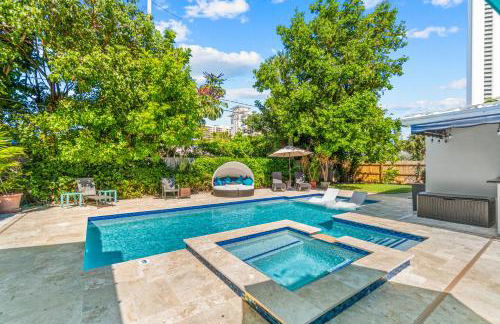
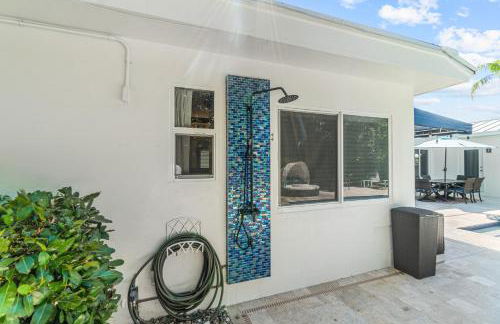
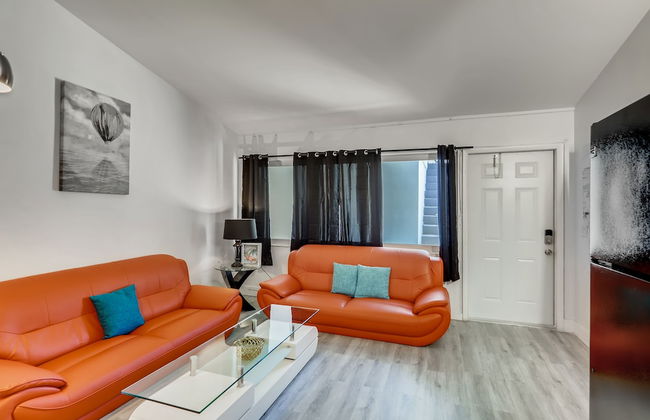
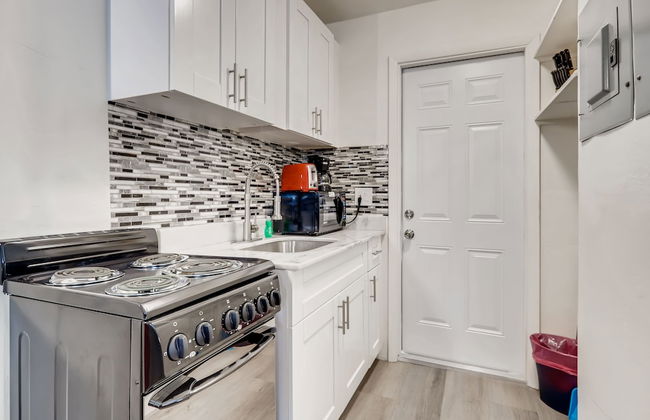
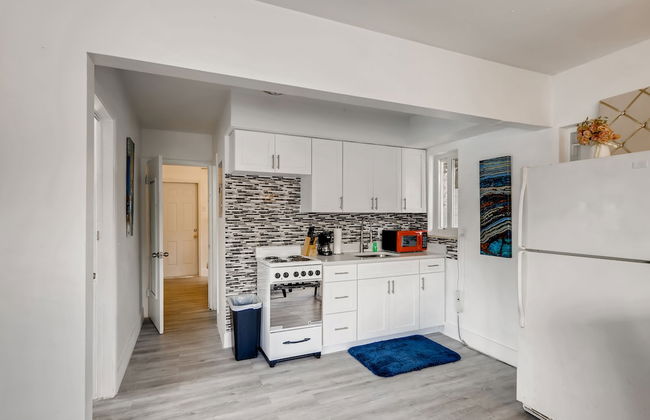
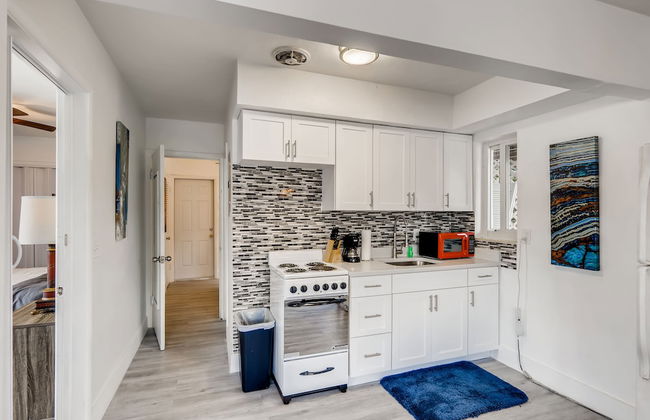
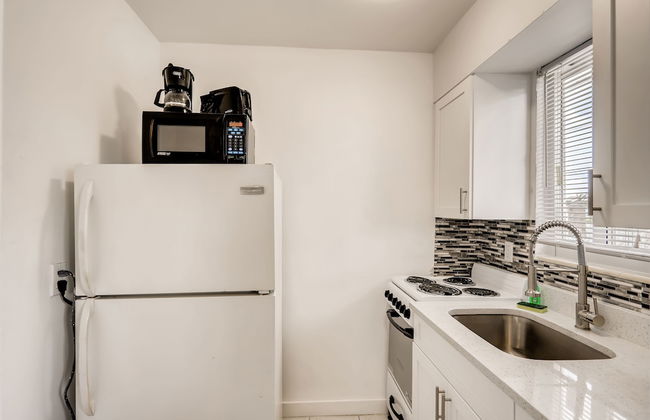
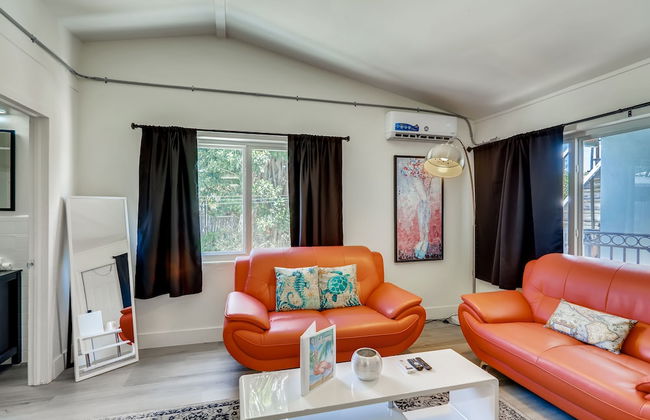
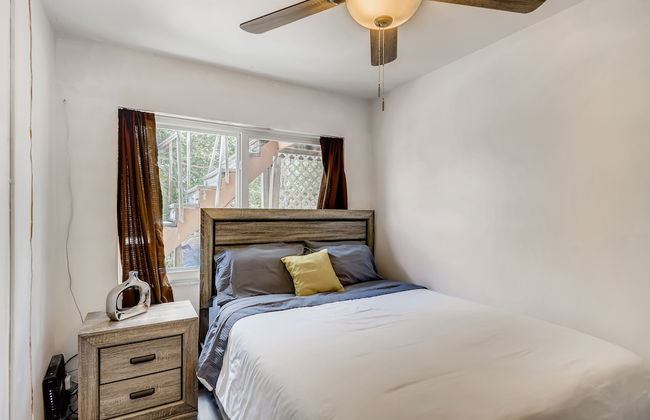
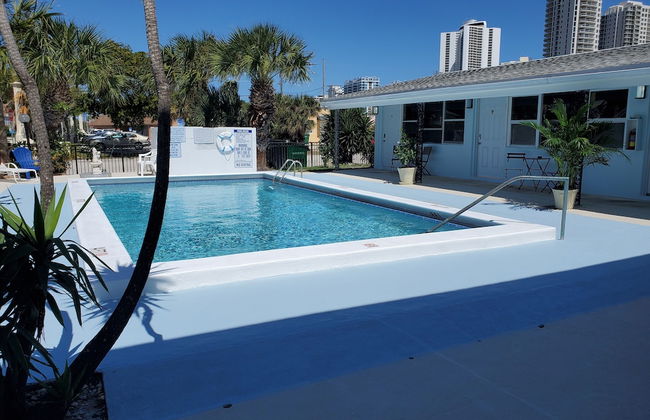
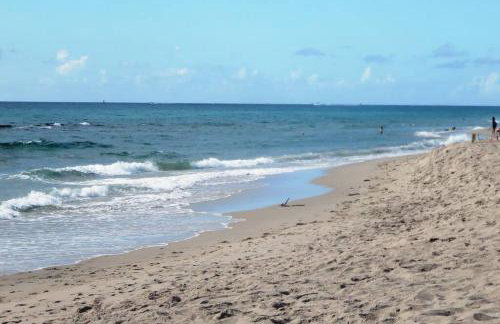
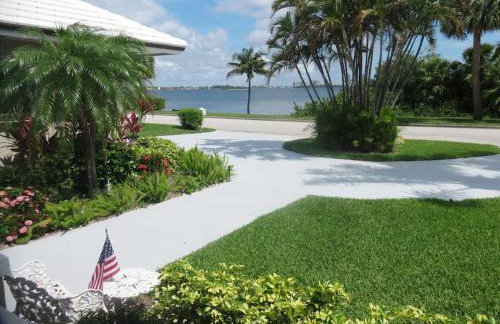
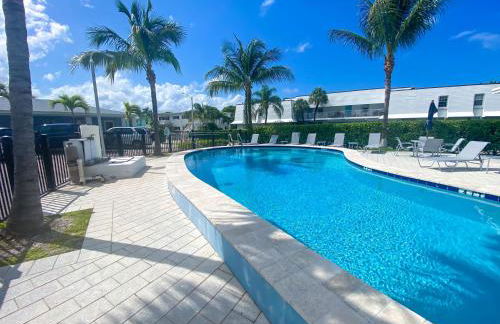
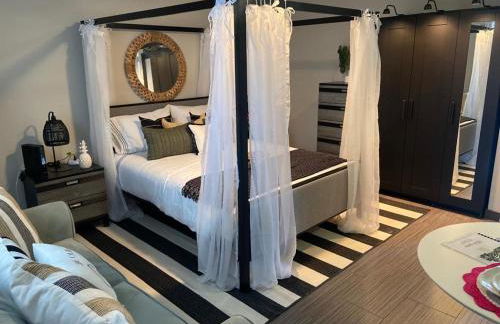
Blue Horizon With Shared Spaces
Riviera - Marsh Harbour - A 2.2 km del centro
- 88 M2
- 1 habitación
- 2 personas
- Aire acondicionado
- Piscina
- Parking
- Jardín


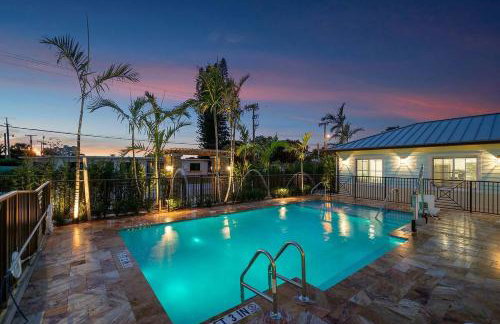
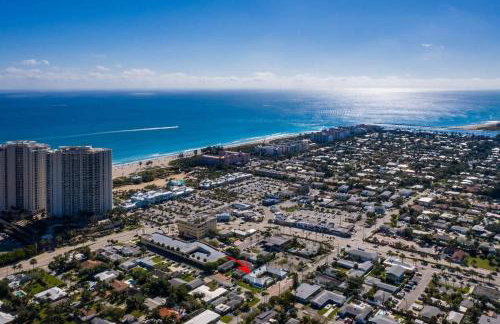
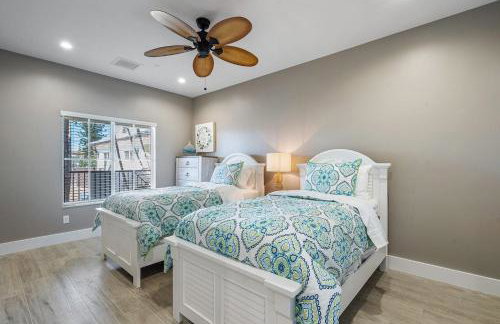
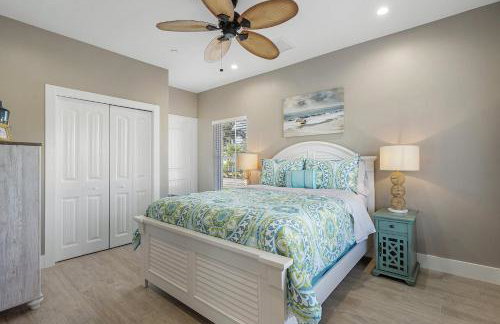
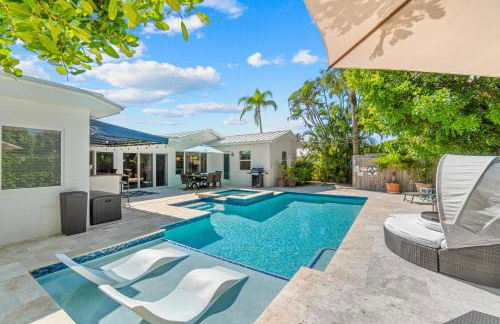
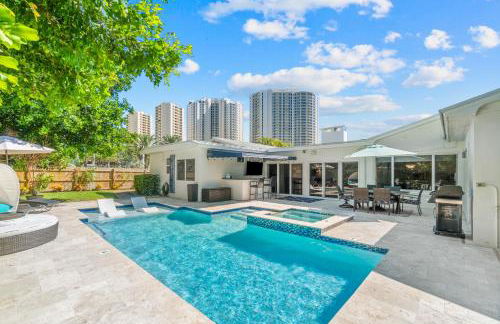
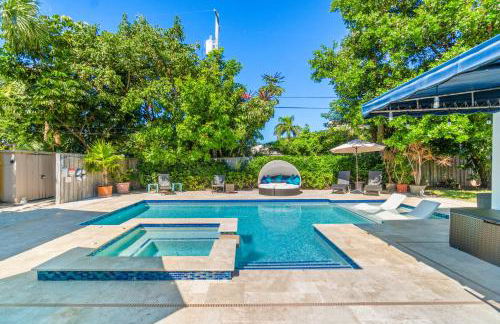
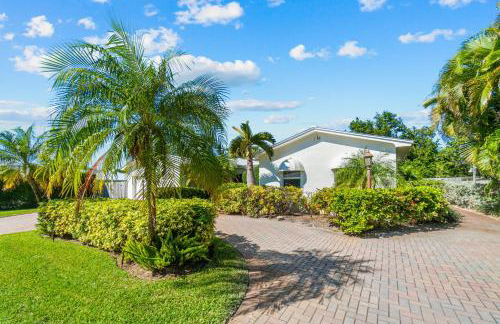
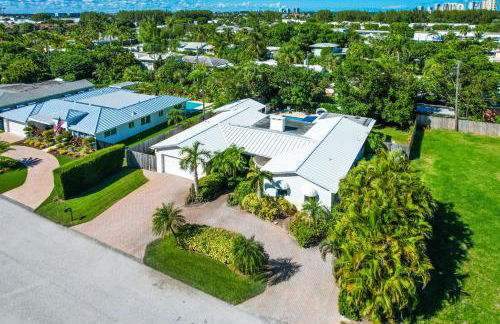
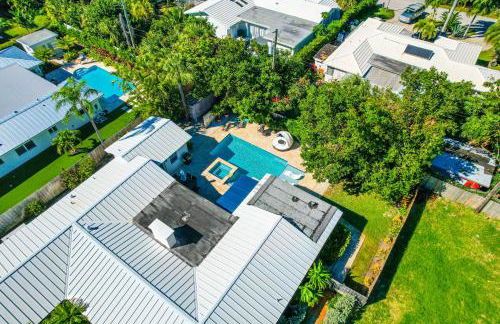
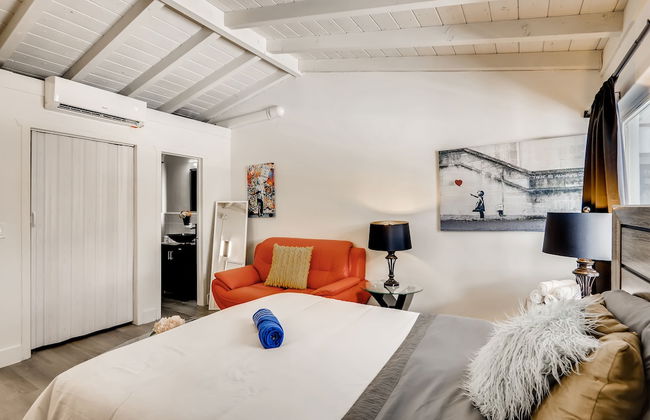
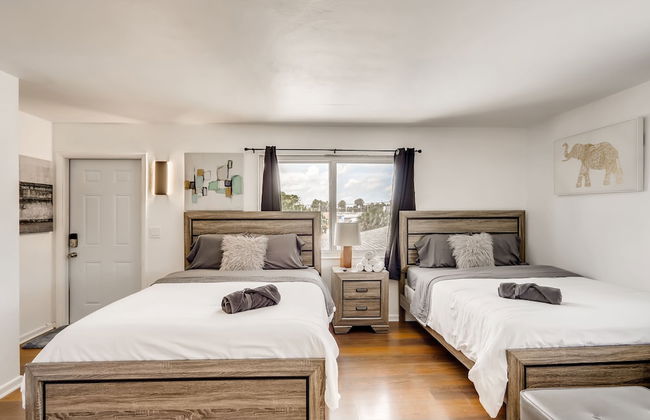
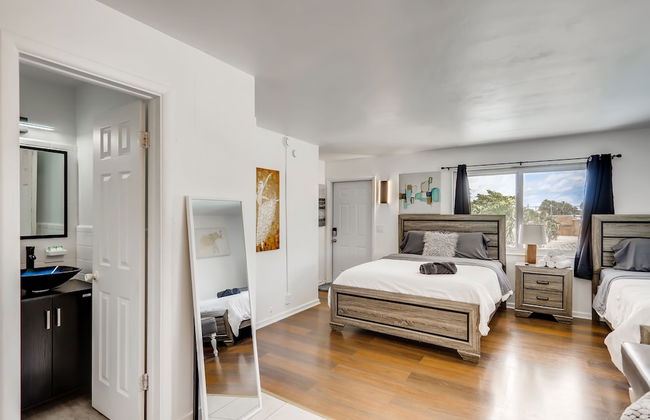
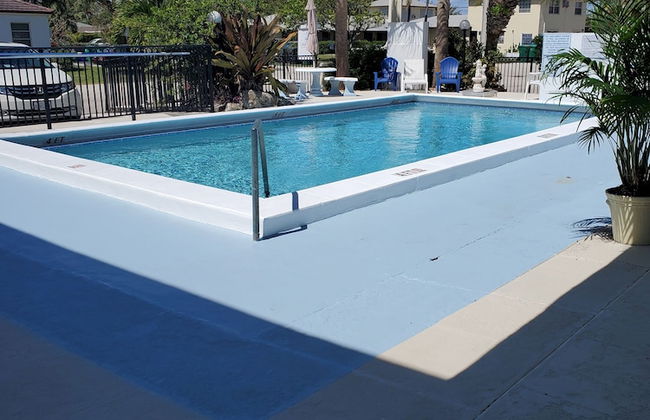
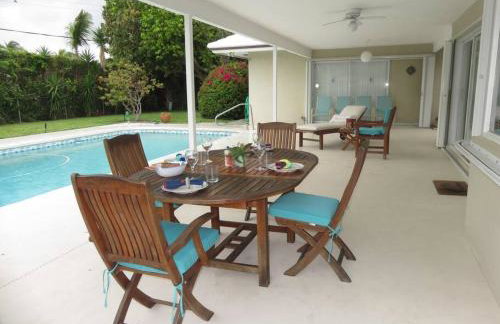
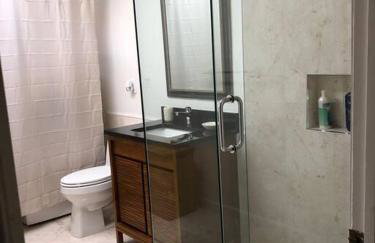
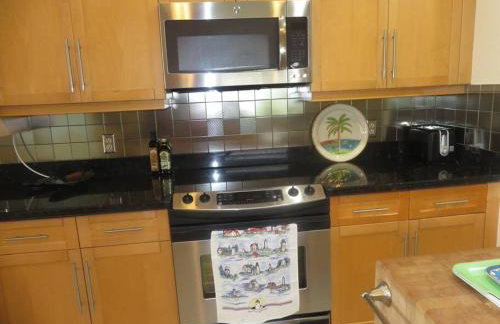
Modern Beach Home, Family Friendly, Heated Pool
Riviera - Yacht Harbor Estates - A 2.4 km del centro
- 177 M2
- 4 habitaciones
- Aire acondicionado
- Terraza
- Piscina
- Parking
- Jardín
- Barbacoa


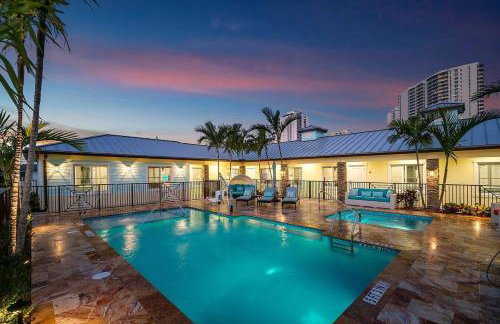
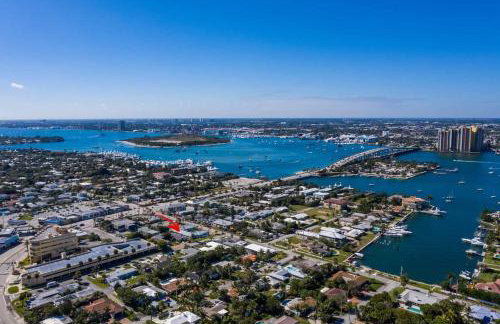
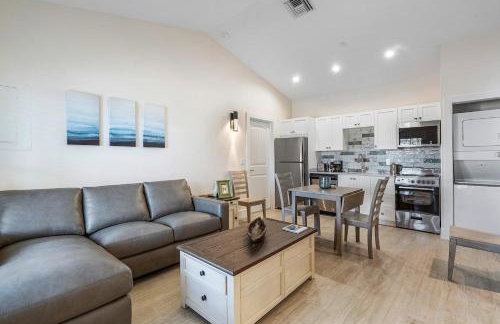
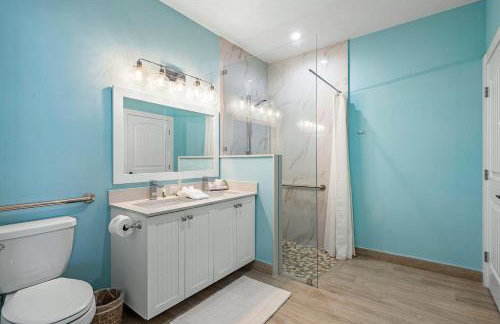
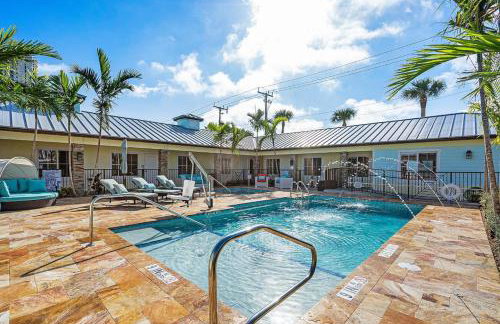
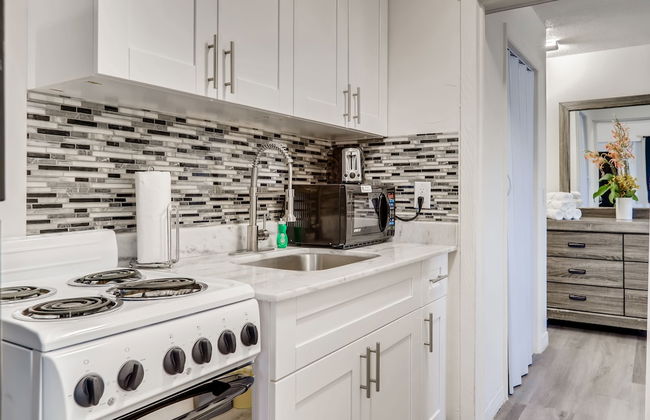
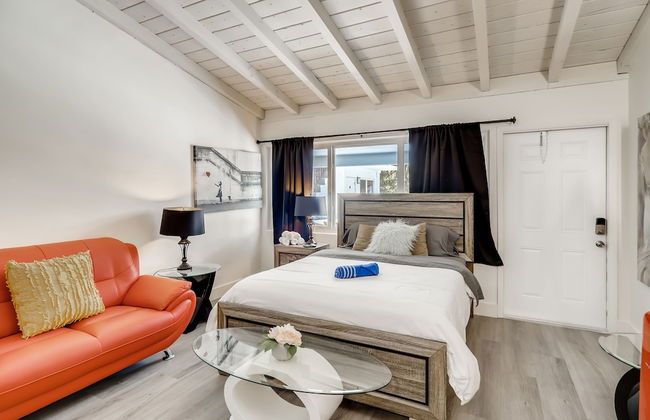
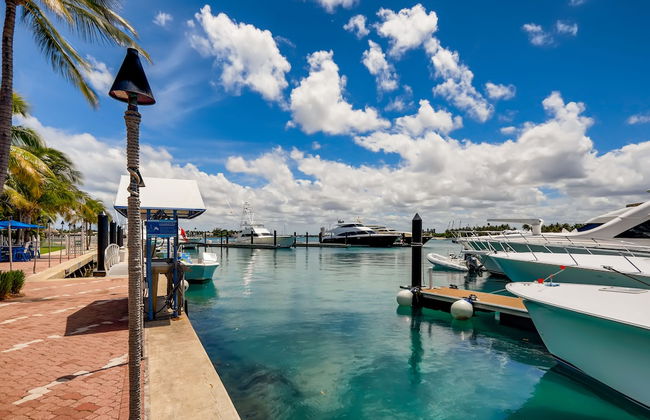
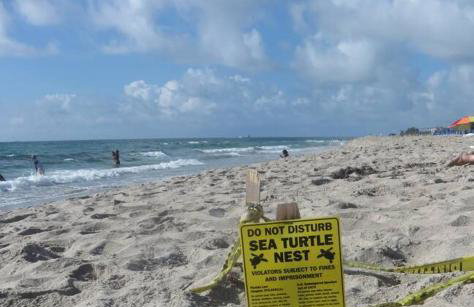
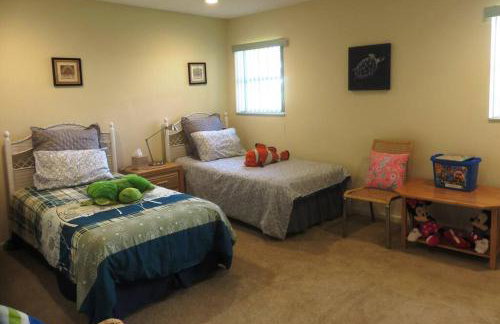
Blue Harbour
Riviera - Marsh Harbour - A 2.2 km del centro
- 88 M2
- 2 habitaciones
- Aire acondicionado
- Calefacción
- Parking
- Jardín
- Barbacoa


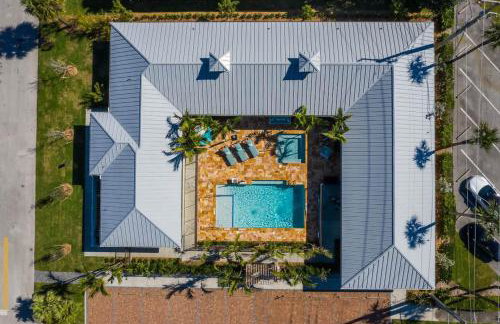
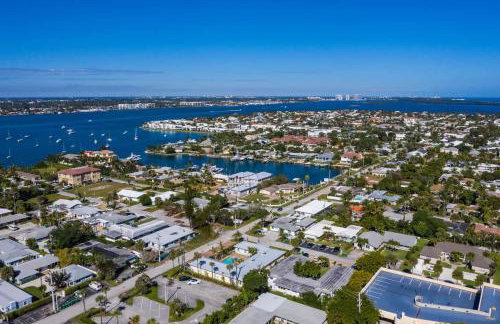


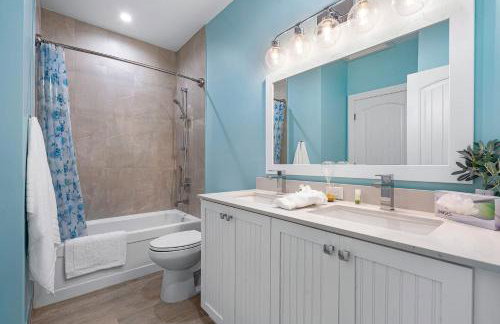


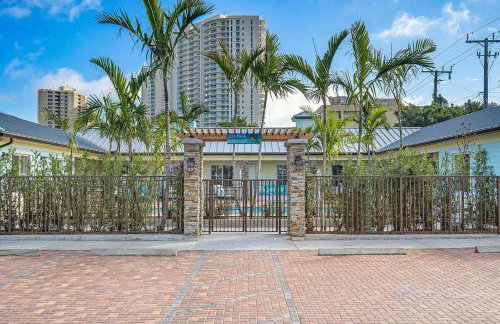

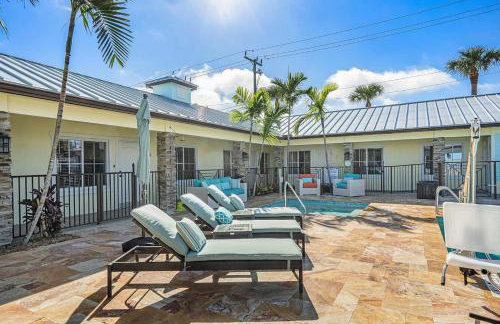
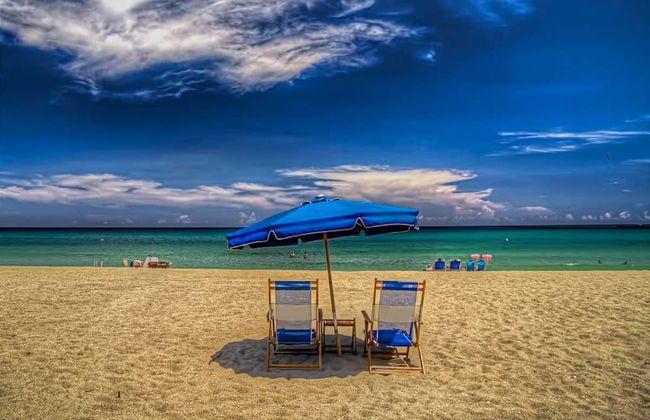
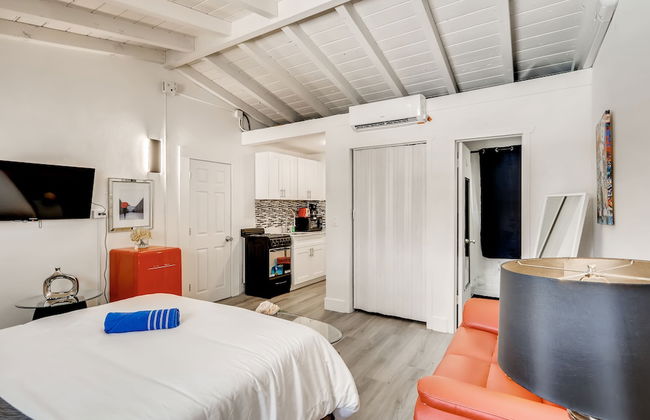
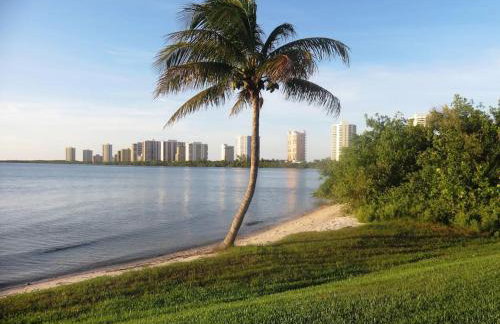
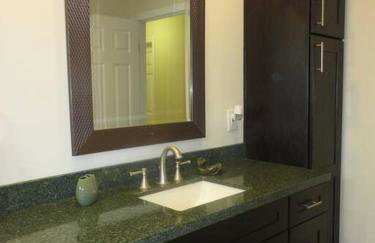
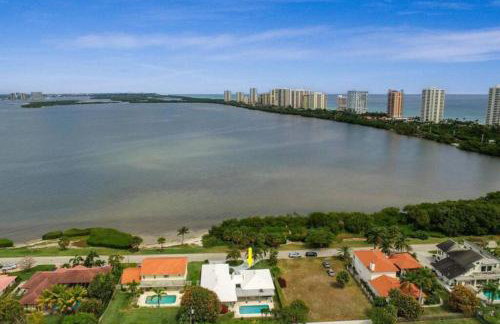
Bermuda Bungalows (Tropical Island Getaway)
Riviera - Yacht Harbor - A 2.2 km del centro
- 77 M2
- 2 habitaciones
- Aire acondicionado
- Calefacción
- Terraza
- Piscina
- Parking
- Jardín


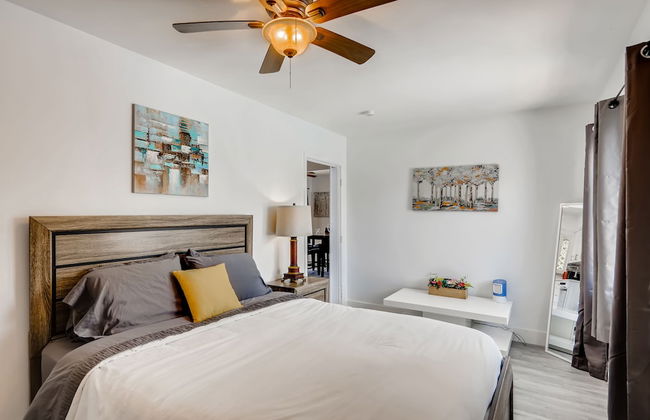
Pink Paradise at Seascape. Getaway by the beach!
Riviera - Yacht Harbor Estates - A 2.4 km del centro
- 500 M2
- 1 habitación
- 4 personas
- Aire acondicionado
- Piscina
- Parking


Seven Palms Waterfront- Private Dock, Heated Pool & Lanai -Walk to beach! by Maven Vacation Rentals
Riviera - Palm Beach Isles - A 2.4 km del centro
- 182 M2
- 3 habitaciones
- 8 personas
- Aire acondicionado
- Calefacción
- Terraza
- Piscina
- Parking
- Jardín
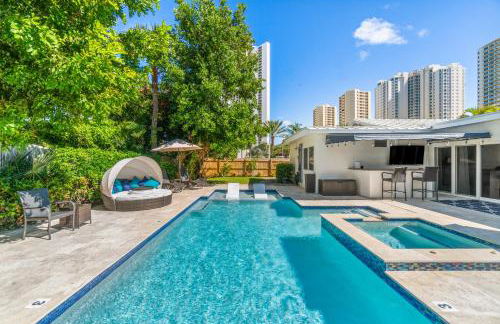
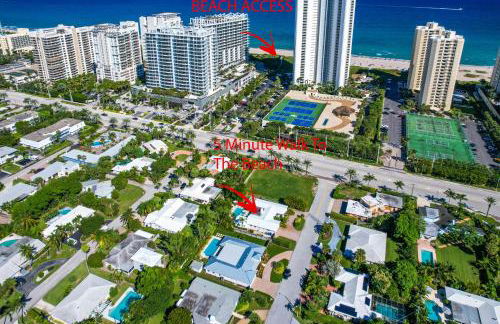
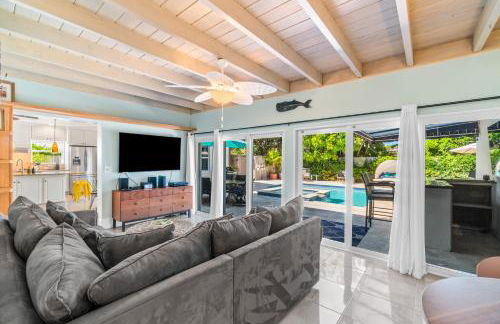
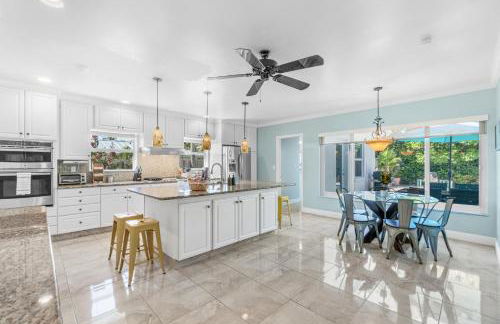
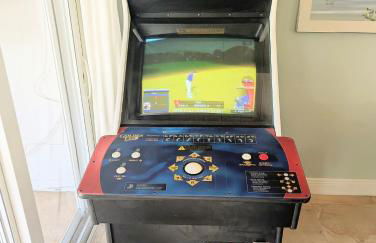
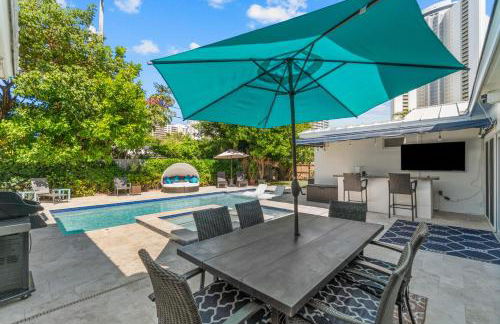
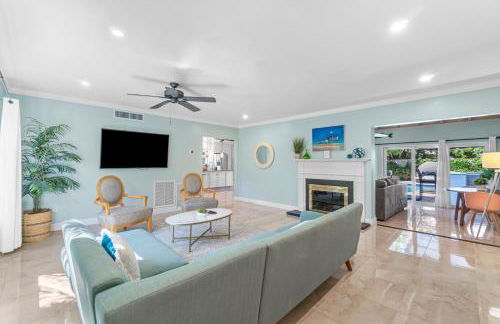

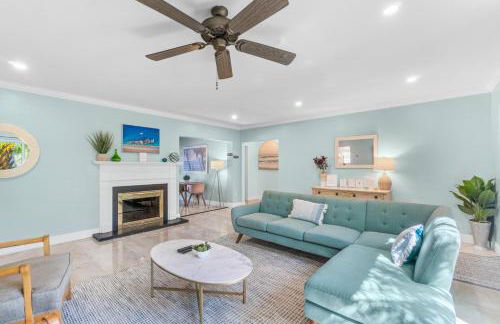


Across from Beach- 3 Master Suites, Heated Pool & Spa, Tanning Ledge, Golden Tee - by Maven Vacation Rentals
Riviera - Yacht Harbor Estates - A 2.4 km del centro
- 223 M2
- 4 habitaciones
- 10 personas
- Aire acondicionado
- Calefacción
- Terraza
- Piscina
- Parking
- Jardín
- Barbacoa


!!Coral Sands 1 Bedroom Stunner!!
Riviera - A 2.2 km del centro
- 139 M2
- 1 habitación
- 6 personas
- Aire acondicionado
- Calefacción
- Terraza
- Piscina
- Parking
- Jardín
- Televisión
- Barbacoa
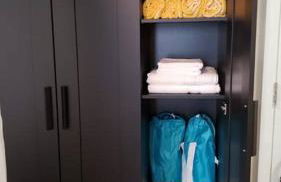
- Toallas
- Sábanas


Sun-Kissed Bliss: Dreamy Getaway
Riviera - Park Manor - En el centro
- 9 M2
- 3 habitaciones
- 8 personas
- Aire acondicionado
- Piscina
- Parking
- Jardín
- Barbacoa


Spacious villa, pool, water views, walk to beach
Riviera - Pine Point - A 2.5 km del centro
- 251 M2
- 3 habitaciones
- 6 personas
- Aire acondicionado
- Terraza
- Piscina
- Parking
- Jardín


Riviera Beach Vacation Home with Pool Walk to Beach
Riviera - Yacht Harbor Manor - A 2.3 km del centro
- 158 M2
- 3 habitaciones
- 10 personas
- Calefacción
- Piscina
- Parking


Beach Anchor Palm
Riviera - Inlet Shores - A 610 m del centro
- 197 M2
- 4 habitaciones
- Aire acondicionado
- Calefacción
- Parking
- Jardín
- Barbacoa


Tropical Oasis by the beach and shops, with pool
Riviera - Yacht Harbor Estates - A 2.4 km del centro
- 46 M2
- 2 personas
- Aire acondicionado
- Piscina
- Parking
- Jardín


2BR 2BA Luxury Condo Beachfront at Wellness Resort Amrit
Riviera - Yacht Harbor Estates - A 2.5 km del centro
- 2 habitaciones
- 6 personas
- Aire acondicionado
- Terraza
- Piscina
- Parking
- Ascensor
- Jardín
- Barbacoa


Riviera Beach Home with Pool - Walk to Beaches!
Riviera - Pine Point - A 2.6 km del centro
- 201 M2
- 4 habitaciones
- 9 personas
- Calefacción
- Piscina
- Parking
- Jardín


Across from Beach - Renovated Coastal Home, Gourmet Kitchen & Jetted Tub - by Maven Vacation Rentals
Riviera - Yacht Harbor Estates - A 2.3 km del centro
- 180 M2
- 2 habitaciones
- 6 personas
- Aire acondicionado
- Calefacción
- Terraza
- Parking
- Jardín
- Barbacoa


Cozy West Palm Beach Condo 1 Block to Shore!
Riviera - Yacht Harbor Estates - A 2.4 km del centro
- 89 M2
- 2 habitaciones
- 9 personas
- Parking


Peanut Island Paradise I 4 Mins to Island Shuttle!
Riviera - Lakeview Park - A 650 m del centro
- 156 M2
- 4 habitaciones
- 9 personas
- Aire acondicionado
- Parking
- Jardín


Cool Breeze Home -steps to the beach with Pool!
Riviera - Yacht Harbor Estates - A 2.4 km del centro
- 1 habitación
- 4 personas
- Aire acondicionado
- Piscina
- Parking


2BR 2BA condo with ocean views in Luxury Resort Amrit
Riviera - Yacht Harbor Estates - A 2.5 km del centro
- 139 M2
- 1 habitación
- 5 personas