


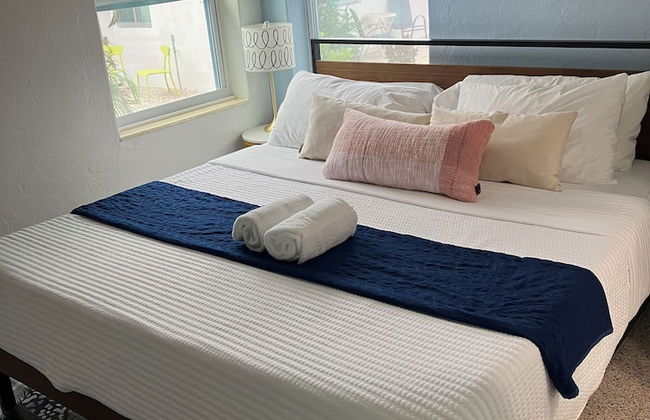
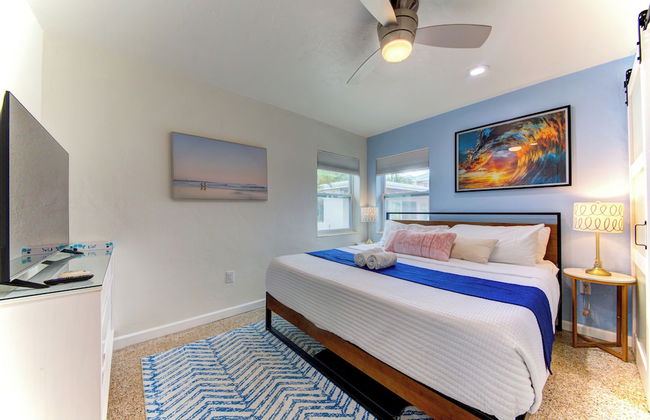
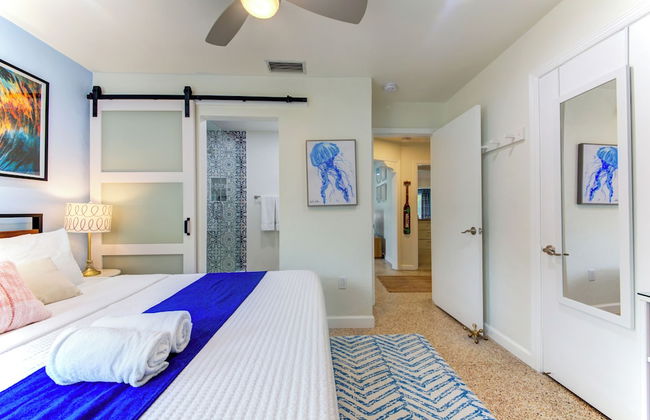
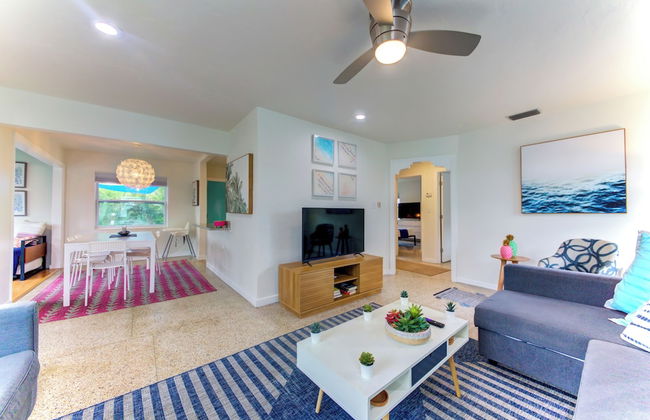
The Inn On Siesta Key
Sarasota - Sarasota Beach - A 7.3 km del centro
- 102 M2
- 8 personas
- Aire acondicionado
- Calefacción
- Terraza
- Piscina
- Parking
- Balcón
- Jardín
- Televisión
- Barbacoa
- Toallas
- Sábanas


Tropical Villas of Venice Beach
Venice - En el centro
- 6 personas
- Cocina pequeña
- Aire acondicionado
- Calefacción
- Terraza
- Piscina
- Parking
- Jardín
- Televisión
- Lavadora
- Barbacoa
- Toallas
- Sábanas


Siesta Key Island Rentals
Sarasota - Sarasota Beach - A 7.4 km del centro
- 167 M2
- 4 habitaciones
- 10 personas
- Aire acondicionado
- Calefacción
- Terraza
- Piscina
- Parking
- Balcón
- Jardín
- Televisión
- Lavadora
- Barbacoa
- Toallas
- Sábanas


Venice Beach Villas
Venice - En el centro
- 71 M2
- 5 personas
- Cocina pequeña
- Aire acondicionado
- Calefacción
- Terraza
- Piscina
- Parking
- Balcón
- Televisión
- Barbacoa
- Toallas
- Sábanas


Siesta Key
Sarasota - A 8.4 km del centro
- 111 M2
- 5 personas
- Aire acondicionado
- Calefacción
- Piscina
- Parking
- Ascensor
- Televisión
- Lavadora
- Barbacoa
- Toallas
- Sábanas


Island House Beach Resort
Sarasota - Secluded Harbour - A 8.4 km del centro
- 117 M2
- 4 personas
- Aire acondicionado
- Calefacción
- Piscina
- Parking
- Ascensor
- Balcón
- Televisión
- Lavadora
- Barbacoa
- Toallas
- Sábanas


Siesta Palms By the Beach
Sarasota - Point of Rocks Terrace - A 9.7 km del centro
- 130 M2
- 8 personas
- Aire acondicionado
- Calefacción
- Terraza
- Piscina
- Parking
- Jardín
- Televisión
- Barbacoa
- Toallas
- Sábanas


Kon Tiki Inn
Venice - A 2.4 km del centro
- 4 personas
- Cocina pequeña
- Piscina
- Parking
- Barbacoa
- Toallas
- Sábanas


The Residences on Siesta Key within Hyatt Residence Club
Sarasota - Sarasota by the Sea - A 9.6 km del centro
- 176 M2
- 6 personas
- Aire acondicionado
- Calefacción
- Terraza
- Piscina
- Parking
- Ascensor
- Balcón
- Jardín
- Televisión
- Lavadora
- Chimenea
- Barbacoa
- Toallas
- Sábanas


Tropical Beach Resorts
Sarasota - Sarasota by the Sea - A 9.6 km del centro
- 60 M2
- 6 personas
- Cocina pequeña
- Aire acondicionado
- Terraza
- Piscina
- Parking
- Jardín
- Televisión
- Lavadora
- Barbacoa
- Toallas
- Sábanas


Casa Del Mar Longboat Key
Longboat Key - A 3.2 km del centro
- 72 M2
- 6 personas
- Aire acondicionado
- Calefacción
- Piscina
- Parking
- Jardín
- Televisión
- Lavadora
- Barbacoa
- Toallas
- Sábanas


Beach Castle Resort by RVA
Longboat Key - A 4.8 km del centro
- 104 M2
- 7 personas
- Aire acondicionado
- Calefacción
- Terraza
- Piscina
- Parking
- Balcón
- Jardín
- Televisión
- Lavadora
- Barbacoa
- Toallas
- Sábanas


The Ringling Beach House
Sarasota - Sarasota Beach - A 7.4 km del centro
- 111 M2
- 12 personas
- Aire acondicionado
- Calefacción
- Terraza
- Piscina
- Parking
- Jardín
- Televisión
- Barbacoa
- Toallas
- Sábanas


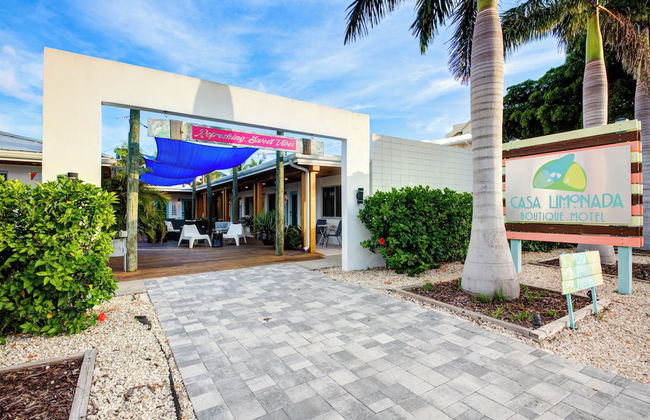


Casa Limonada Boutique Motel
Sarasota - Lido Key - A 4.2 km del centro
- 111 M2
- 6 personas
- Aire acondicionado
- Terraza
- Parking
- Televisión
- Lavadora
- Toallas
- Sábanas


Beach Club at Siesta Key by RVA
Sarasota - Sarasota by the Sea - A 9.6 km del centro
- 6 personas
- Aire acondicionado
- Calefacción
- Piscina
- Parking
- Balcón
- Televisión
- Lavadora
- Barbacoa
- Toallas


Living the Dream by Beachside Managment
Sarasota - Mira Mar Beach - A 7.2 km del centro
- 74 M2
- 6 personas
- Aire acondicionado
- Calefacción
- Terraza
- Piscina
- Parking
- Balcón
- Jardín
- Televisión
- Lavadora
- Barbacoa
- Toallas
- Sábanas


Siesta Breakers #603, Gulfside in Siesta Key, FL
Sarasota - A 9.3 km del centro
- 118 M2
- 2 habitaciones
- 6 personas
- Aire acondicionado
- Calefacción
- Terraza
- Piscina
- Parking
- Ascensor
- Jardín
- Barbacoa


Lulu's Key House Kemp Ridley 1/1 Downstairs
Sarasota - Sarasota Beach - A 7.1 km del centro
- 59 M2
- 4 personas
- Aire acondicionado
- Calefacción
- Terraza
- Piscina
- Parking
- Televisión
- Barbacoa
- Toallas
- Sábanas


Sun and Sea by Beachside Management
Sarasota - Sarasota by the Sea - A 9.5 km del centro
- 64 M2
- 6 personas
- Aire acondicionado
- Calefacción
- Piscina
- Parking
- Balcón
- Televisión
- Lavadora
- Toallas
- Sábanas


Crescent Beach Villas By Beachside Management
Sarasota - Point of Rocks Terrace - A 9.8 km del centro
- 77 M2
- 2 habitaciones
- 6 personas
- Aire acondicionado
- Calefacción
- Terraza
- Piscina
- Parking
- Balcón
- Televisión
- Lavadora
- Barbacoa
- Toallas
- Sábanas