
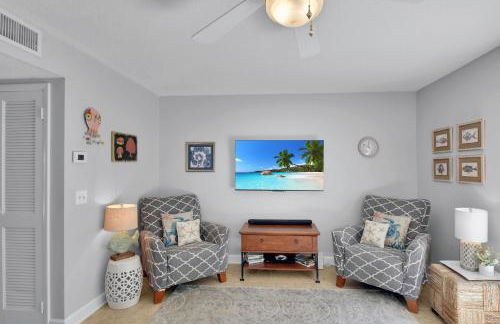
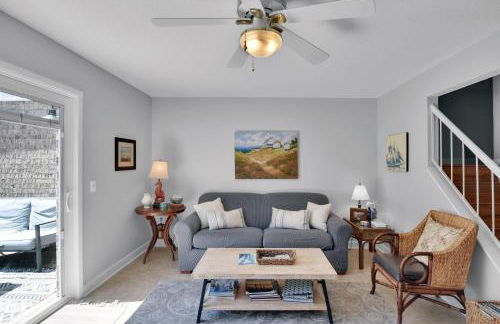
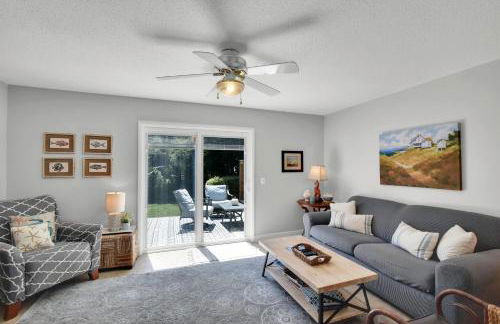
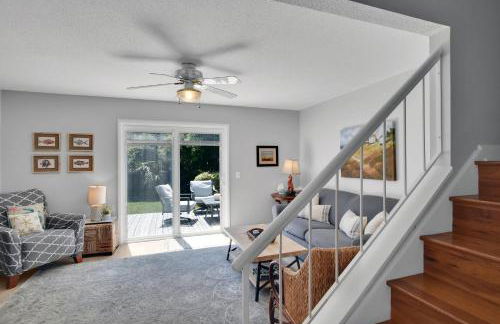
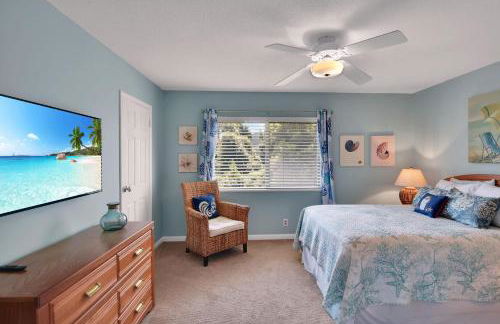
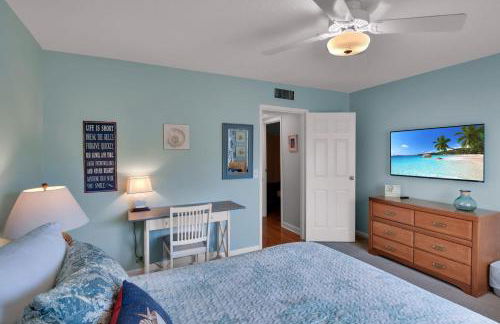
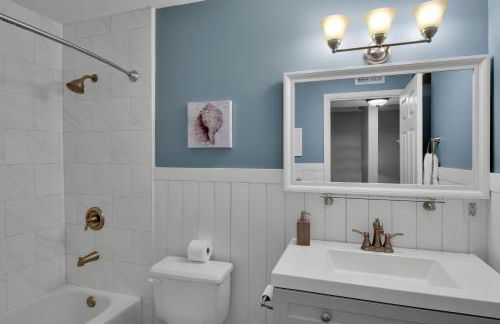
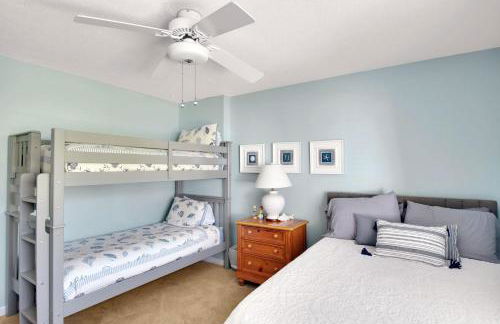
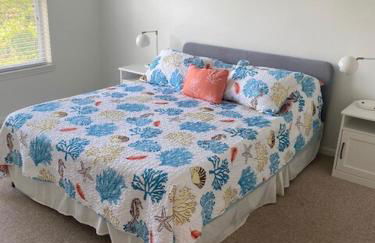
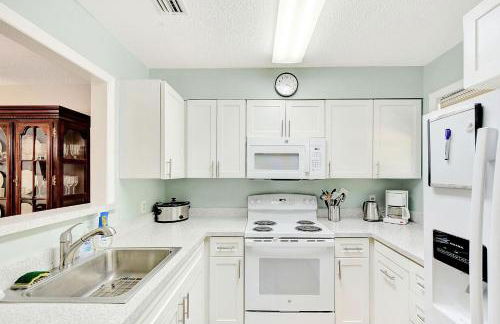
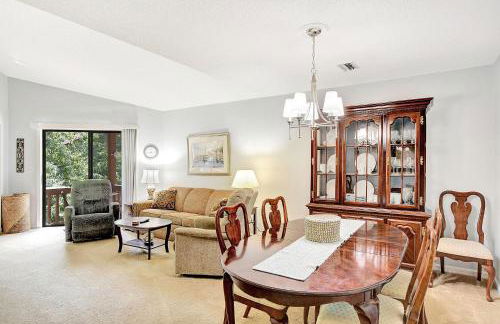
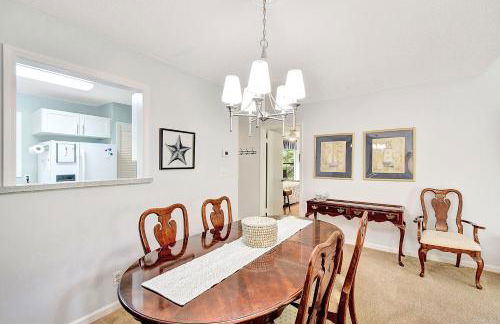
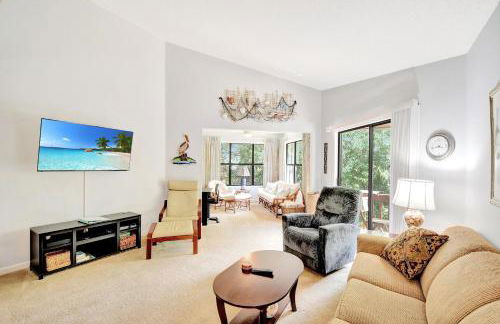
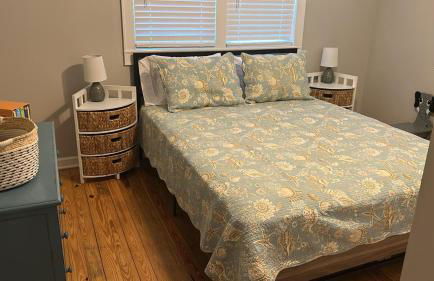
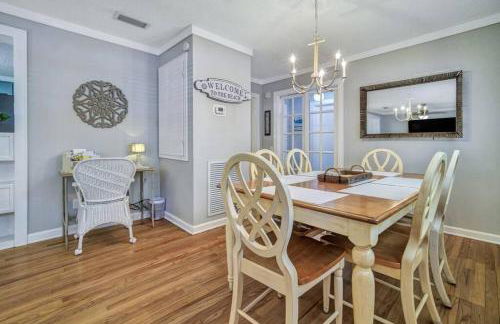
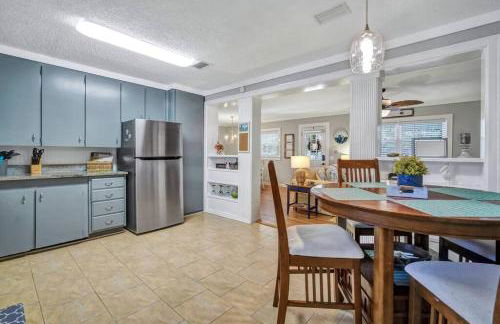
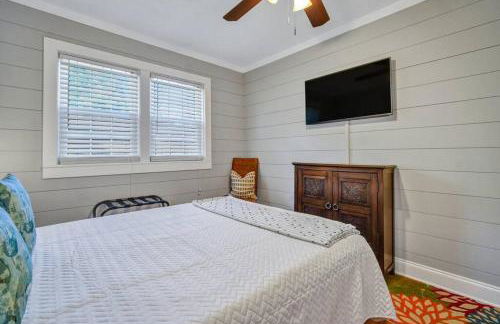
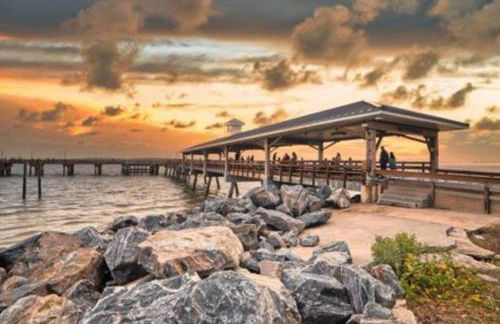
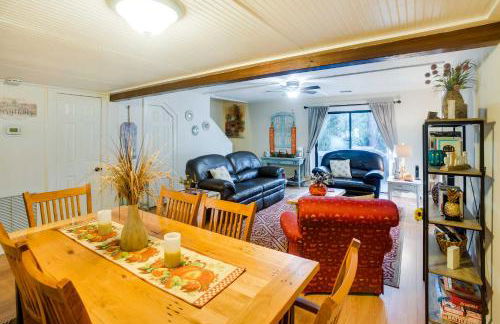
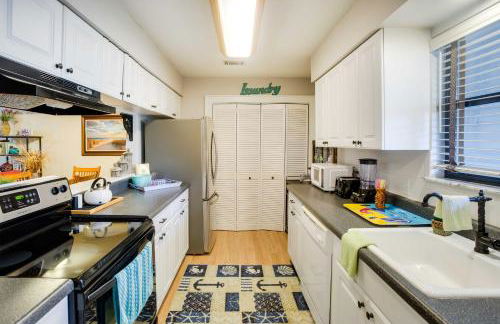
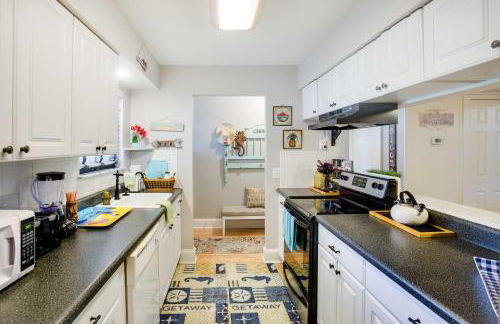
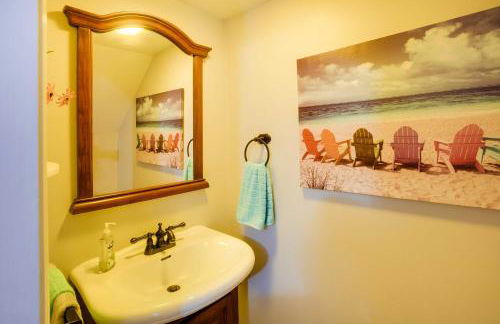
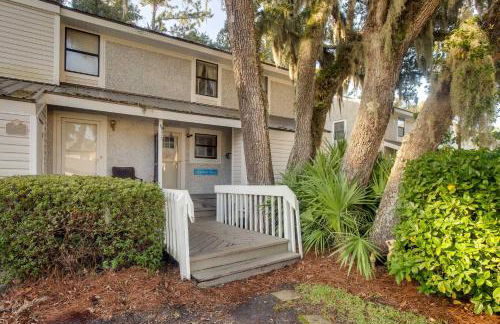
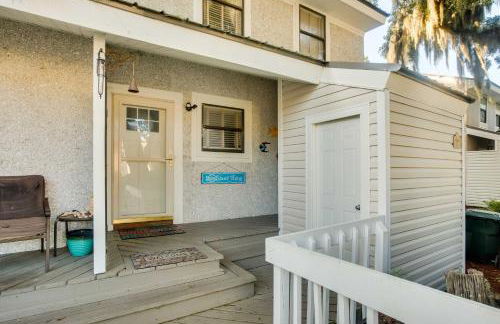
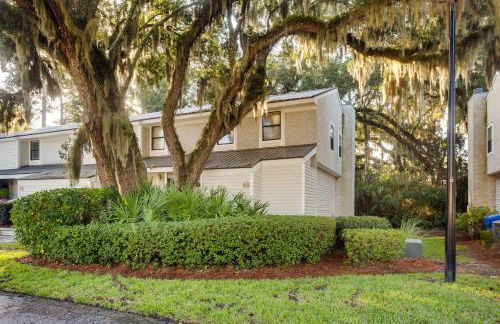
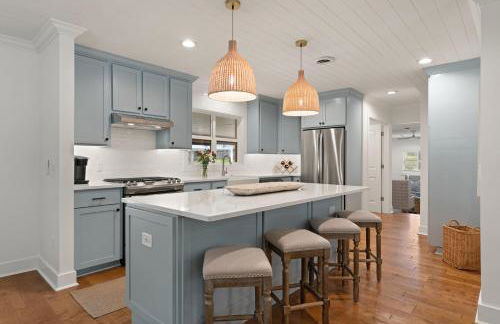
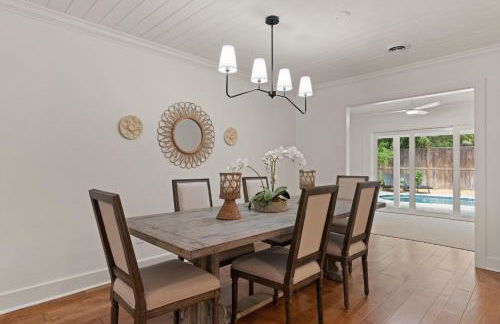
259 Apartamentos en St Simons Island


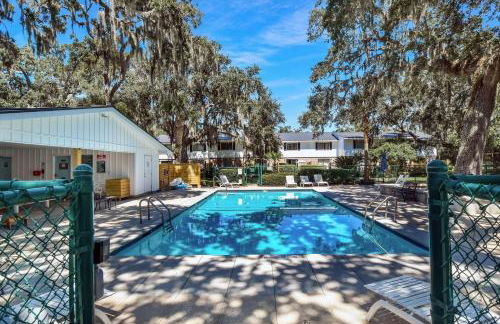
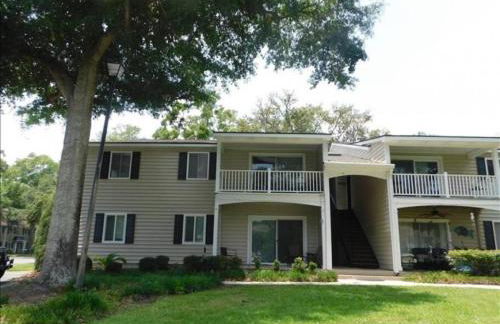
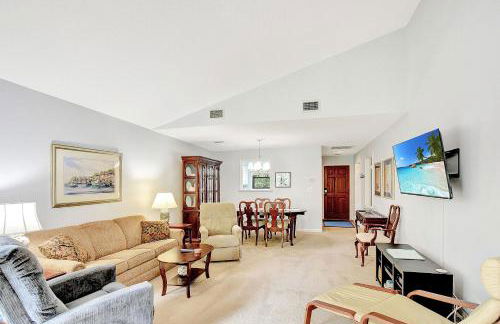
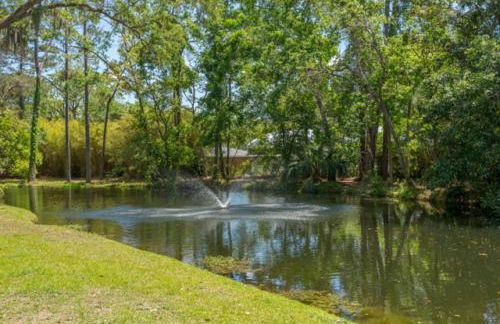
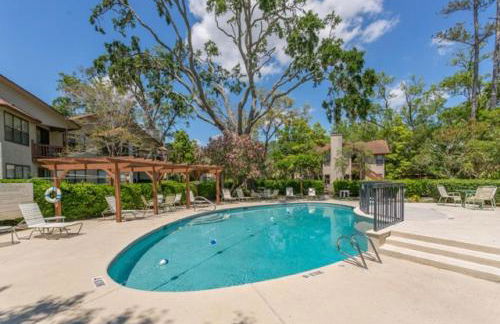
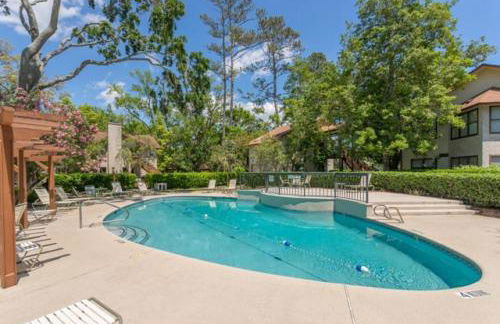
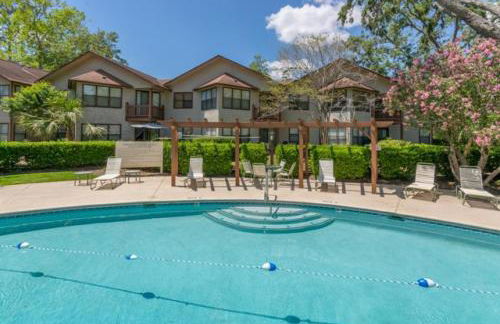
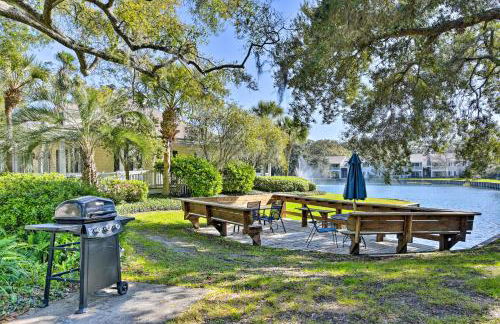
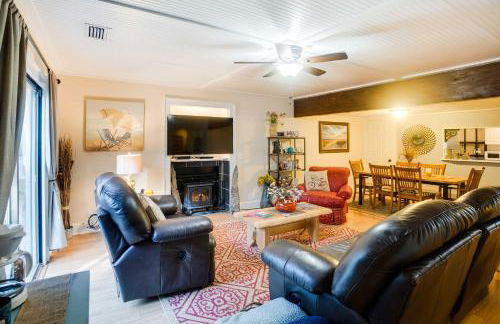
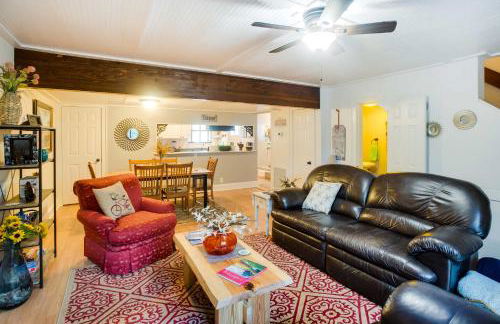
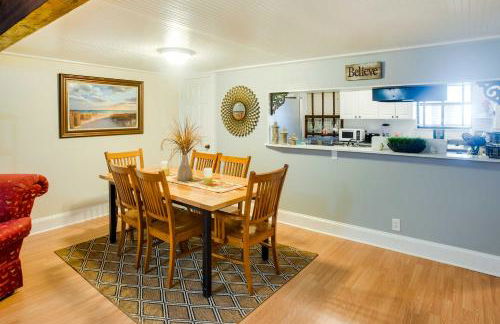
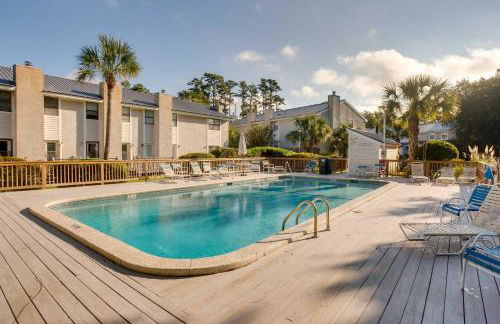
The Sea Gate
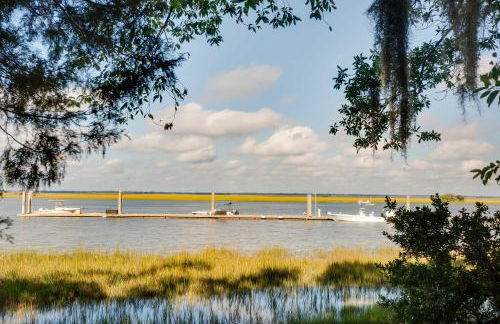
St Simons Island
- 4 personas
- Aire acondicionado
- Calefacción
- Terraza
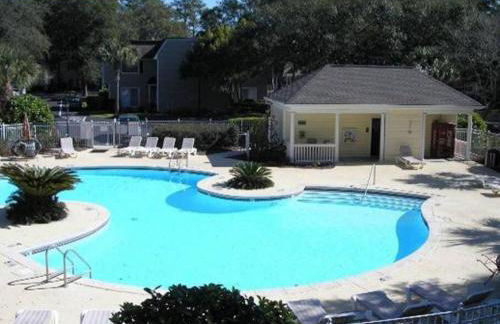
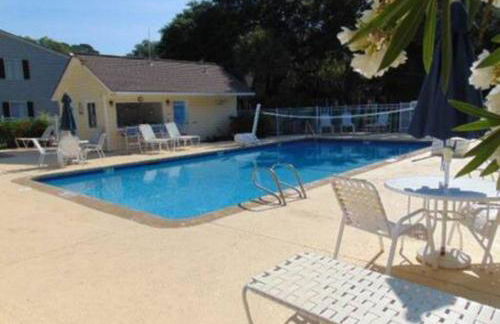
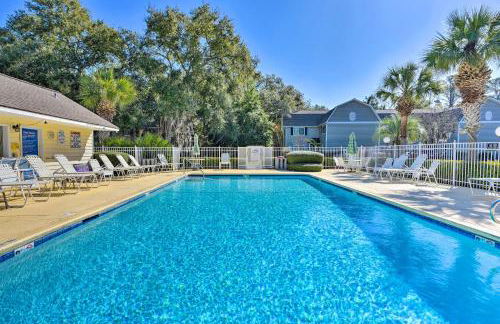
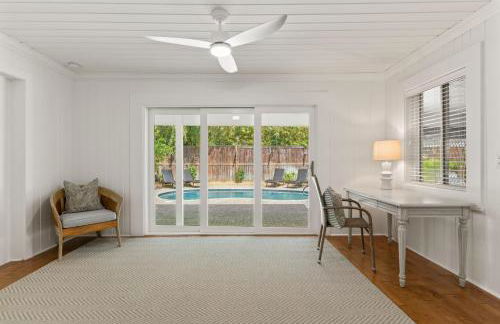
- Piscina
- Parking
- Ascensor
- Balcón
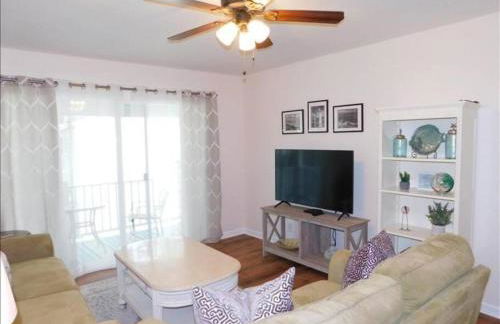
- Televisión
- Lavadora
- Toallas
- Sábanas
575 reseñas


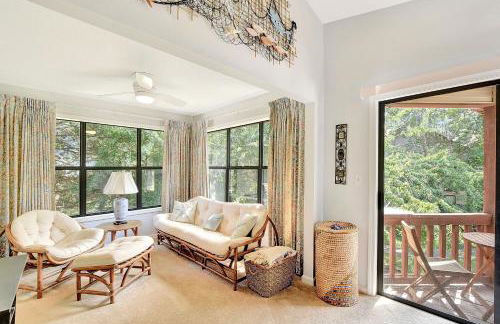
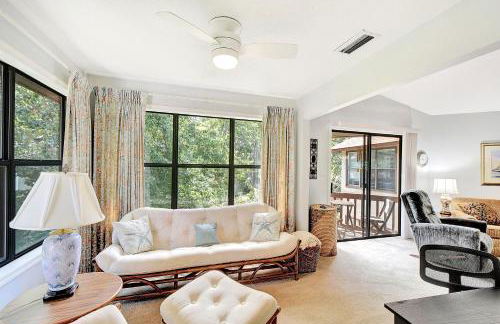
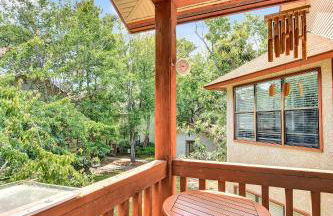
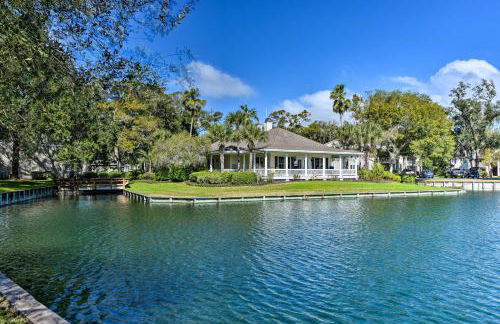
Ocean Lodge Resort
St Simons Island
- 84 M2
- 2 habitaciones
- 6 personas
- Aire acondicionado
- Calefacción
- Terraza
- Parking
- Ascensor
- Jardín
- Televisión
- Toallas
- Sábanas
288 reseñas


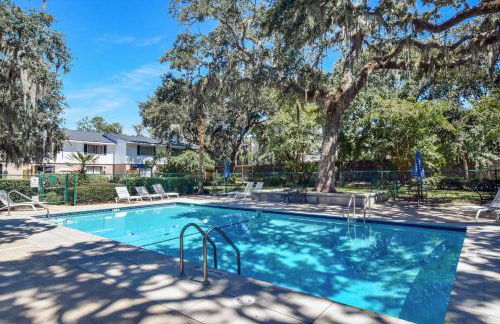
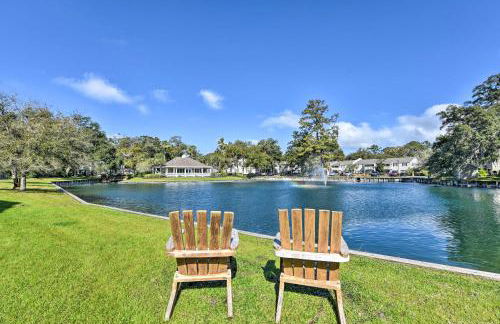
Hodnett Cooper's Beach Club
St Simons Island
- 6 personas
- Aire acondicionado
- Calefacción
- Piscina
- Parking
- Ascensor
- Balcón
- Televisión
- Lavadora
- Barbacoa
- Toallas
- Sábanas
104 reseñas
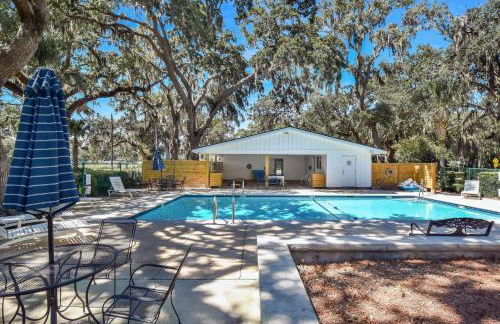


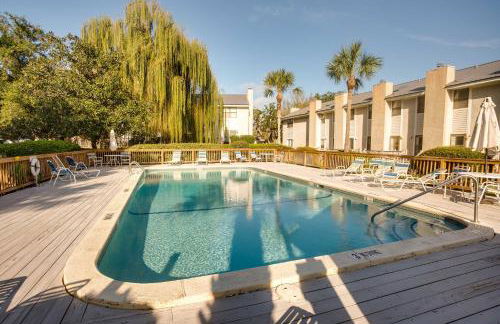
Coastal Condo with pool, minutes from beach
St Simons Island
- 111 M2
- 4 personas
- Aire acondicionado
- Piscina
- Parking
3 reseñas


E10 comfortable and neat 2 bedroom 2 bath
St Simons Island
- 89 M2
- 2 habitaciones
- 4 personas
- Aire acondicionado
- Calefacción
21 reseñas


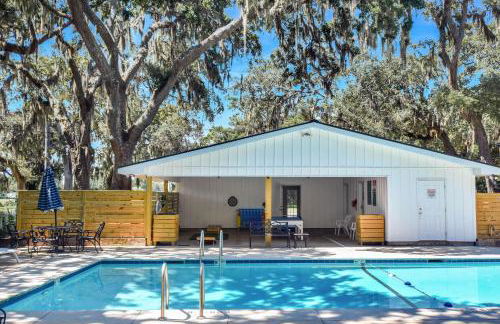
F3 close to front heated pool
St Simons Island
- 89 M2
- 2 habitaciones
- 4 personas
- Aire acondicionado
6 reseñas
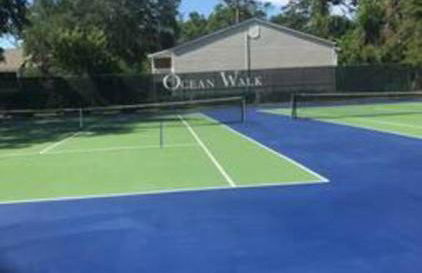


Q16 Comfortable 2 BR, 2 BA second level in Ocean Walk
St Simons Island
- 8 M2
- 2 habitaciones
- 4 personas
- Aire acondicionado
- Calefacción
- Piscina
- Parking
- Jardín
- Barbacoa
6 reseñas


Q4 Professionally decorated upstairs beautiful soothing colors close to back pool
St Simons Island
- 89 M2
- 2 habitaciones
- 4 personas
- Aire acondicionado
- Calefacción
8 reseñas


Pierside Retreat Saint Simons Island 3BR Sleeps 8
St Simons Island
- 102 M2
- 3 habitaciones
- 8 personas
- Aire acondicionado
- Terraza
- Parking
- Jardín
- Barbacoa
4 reseñas


Condo with Amazing Amenities 1 Mi to Beach!
St Simons Island
- 70 M2
- 1 habitación
- 2 personas
- Calefacción
- Piscina
- Parking
2 reseñas


Resort-Style Condo in St Simons about 1 Mi to Pier!
St Simons Island
- 102 M2
- 2 habitaciones
- 6 personas
- Calefacción
- Piscina
- Parking
4 reseñas


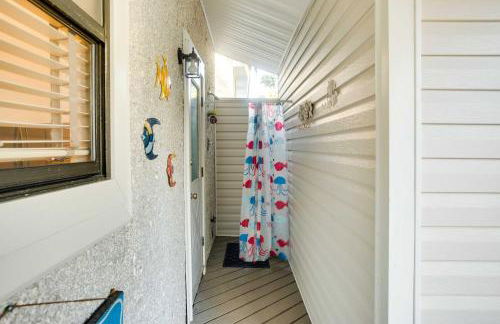


St Simons Island Condo with Deck and Outdoor Shower
St Simons Island
- 111 M2
- 3 habitaciones
- 6 personas
- Calefacción
- Piscina
- Parking
6 reseñas


Steps to East Beach & Pet Friendly w/ 2 King Beds
St Simons Island
- 110 M2
- 2 habitaciones
- 9 personas
- Aire acondicionado
- Calefacción
- Parking
- Jardín
- Barbacoa
2 reseñas
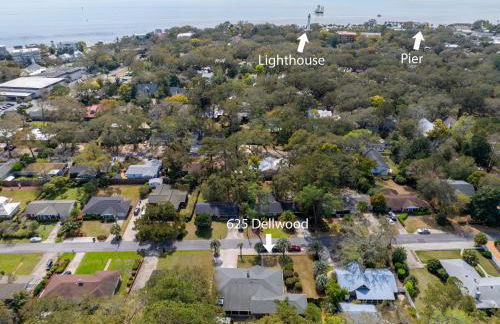
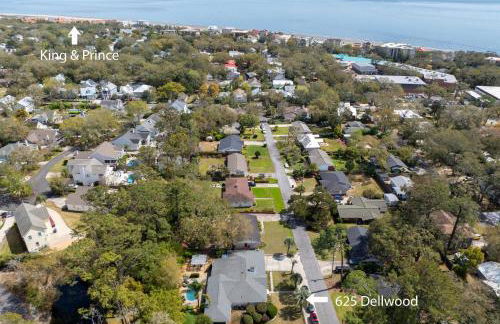
Knot On Call - 625 Dellwood Ave
St Simons Island
- 214 M2
- 4 habitaciones
- 8 personas
- Calefacción
- Piscina
4 reseñas


W2 Ocean Walk Resort upstairs 2 bed king and two twins next to back pool
St Simons Island
- 89 M2
- 2 habitaciones
- 4 personas
- Aire acondicionado
- Calefacción
12 reseñas


