


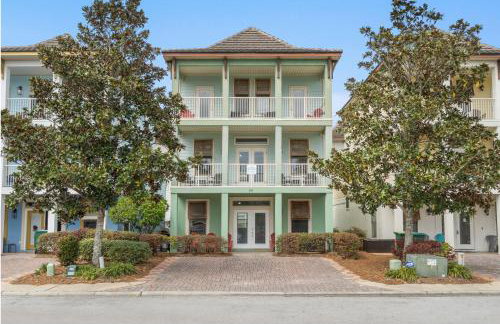
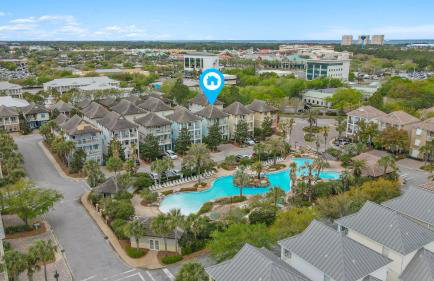
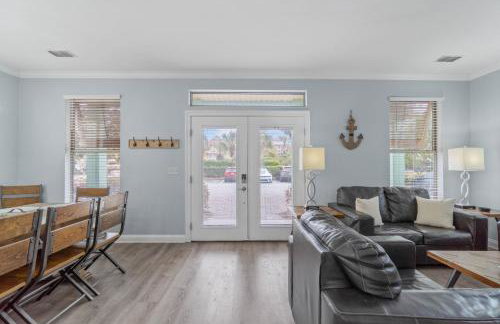
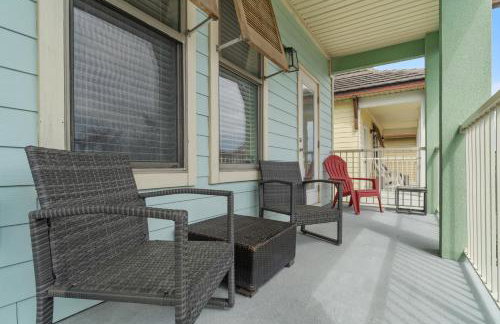
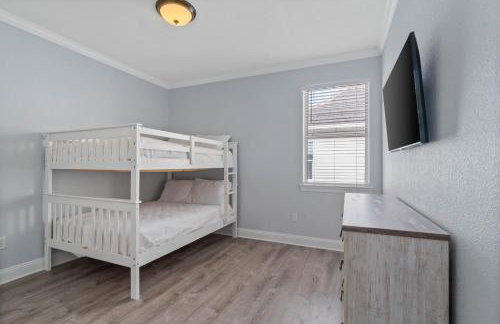
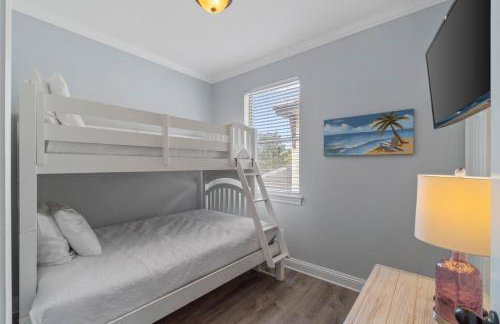
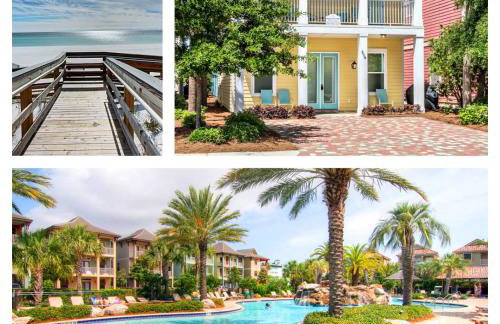
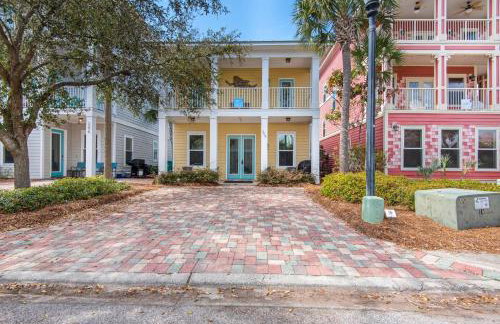
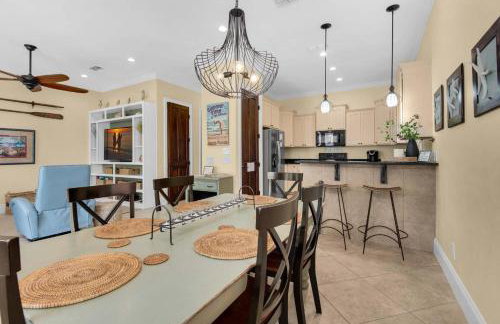
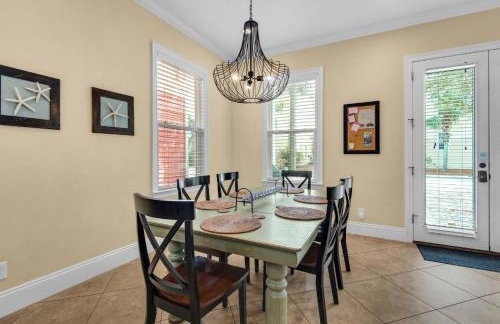
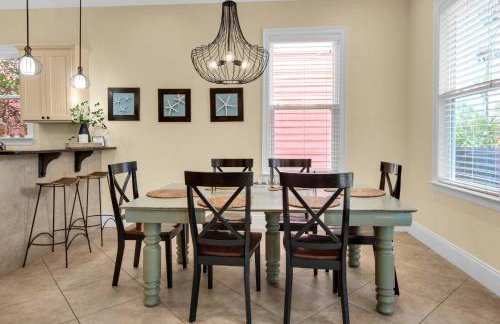
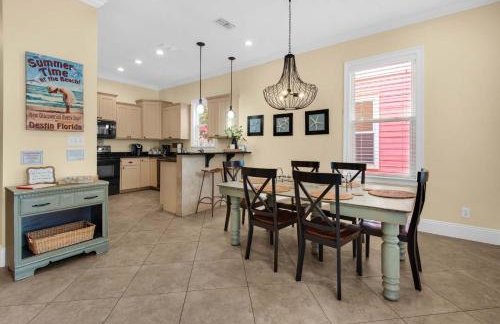
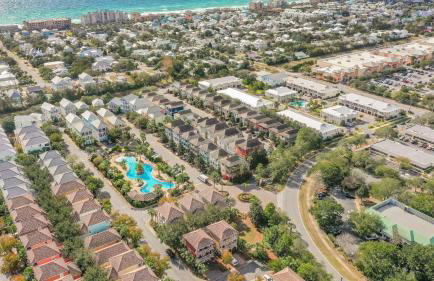
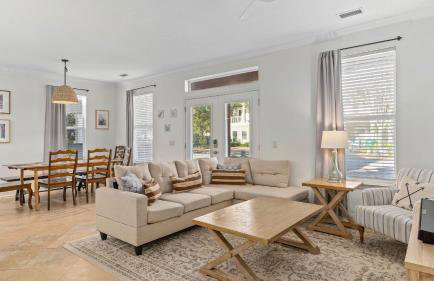
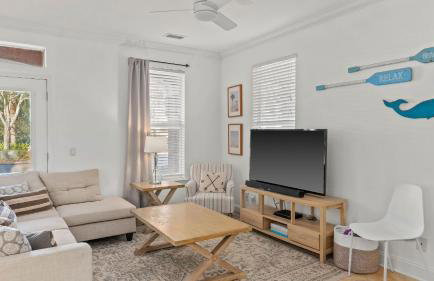
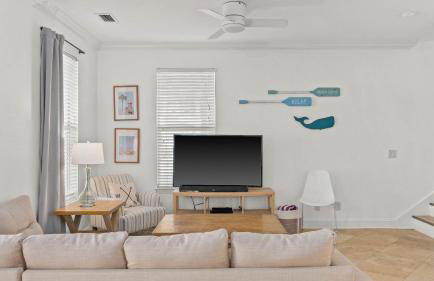
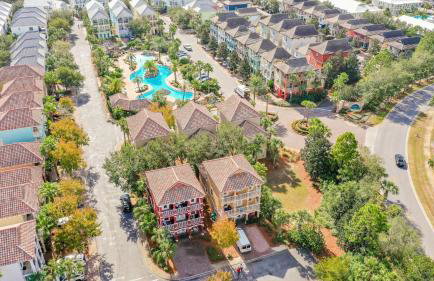
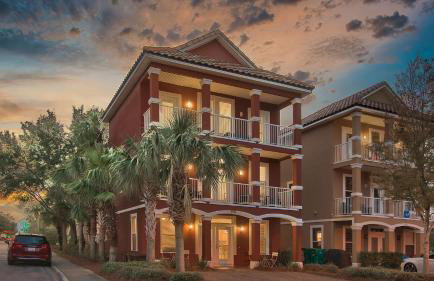
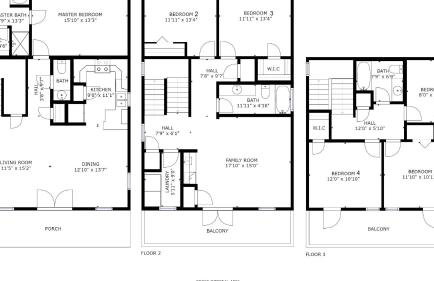
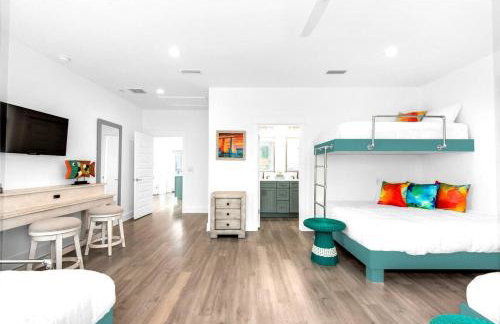
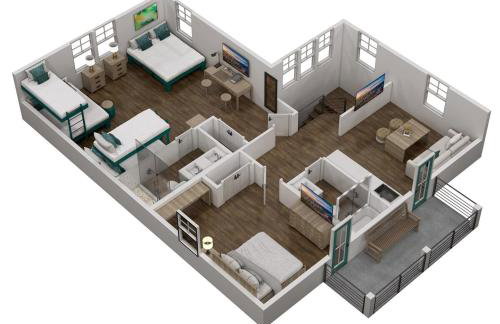
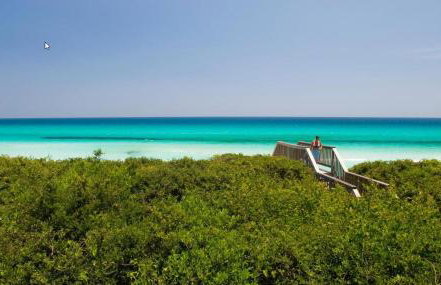
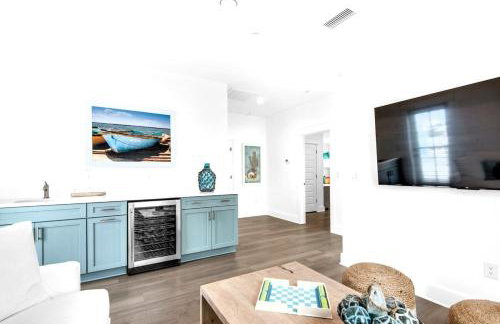
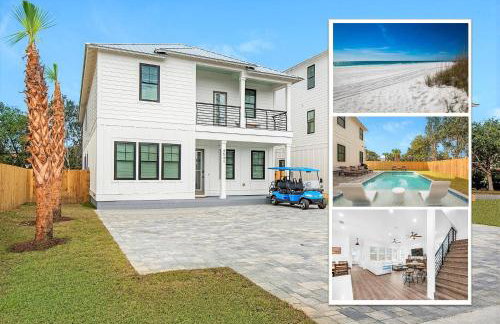
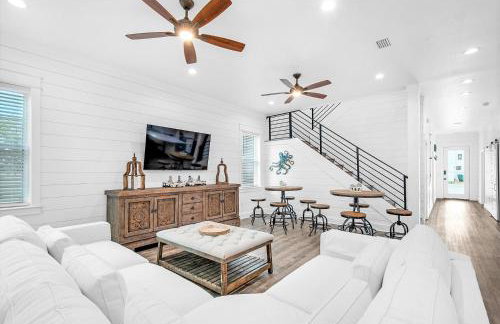
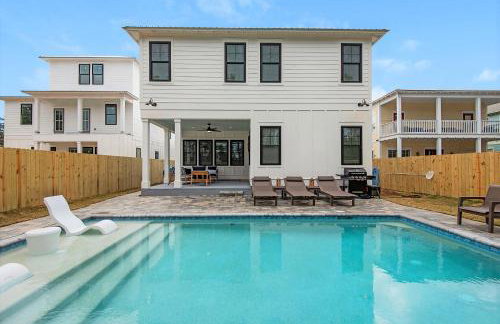
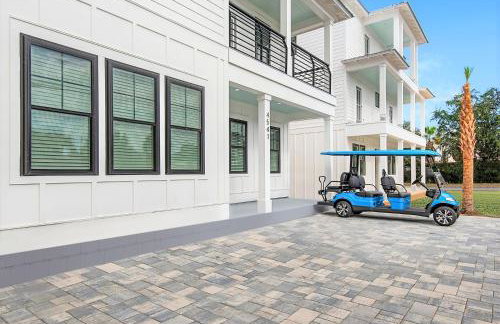
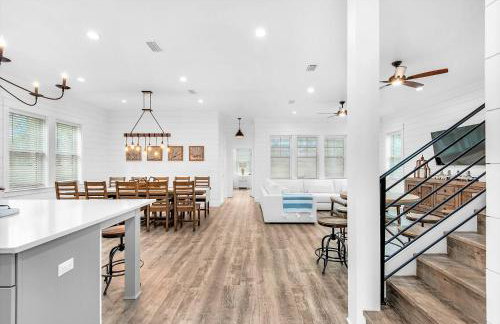
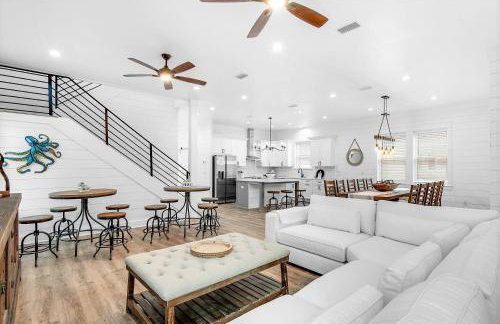
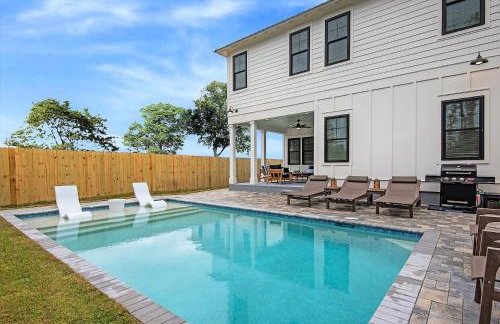
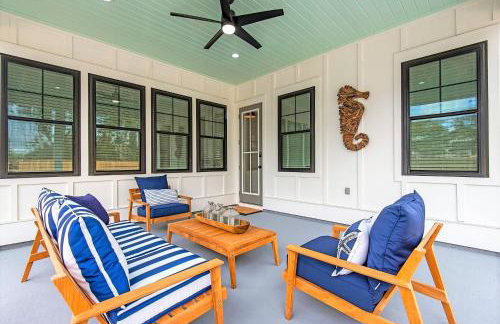
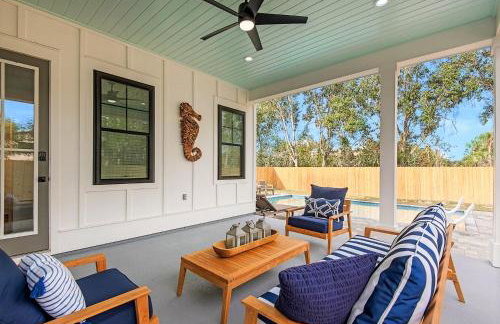
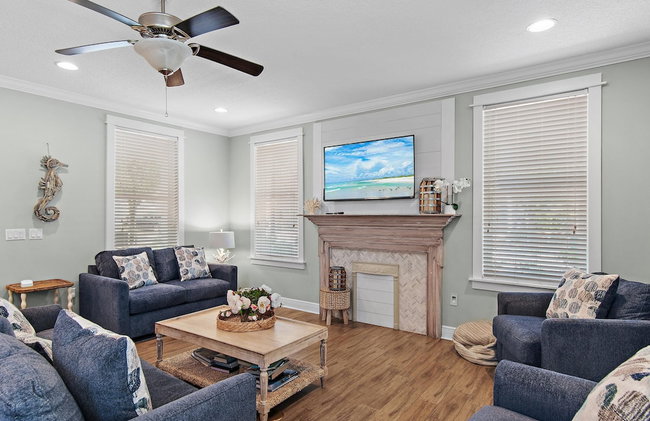
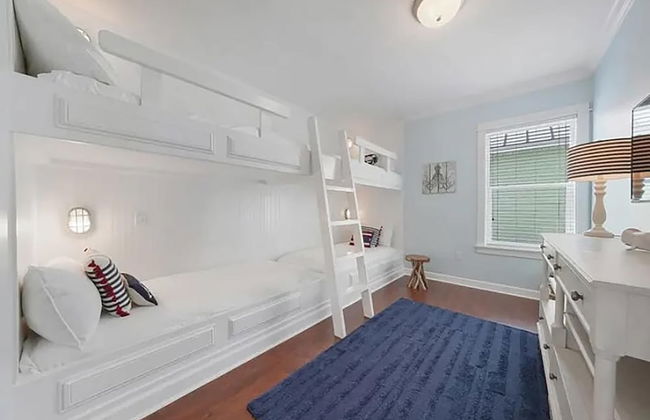
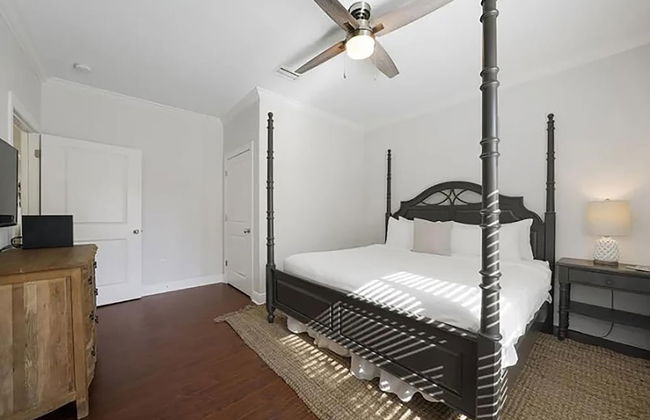
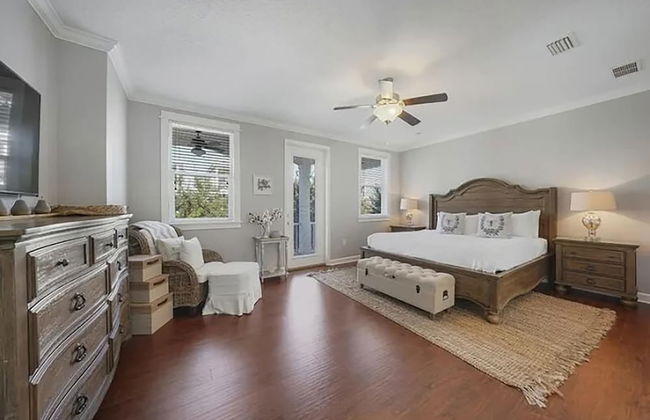
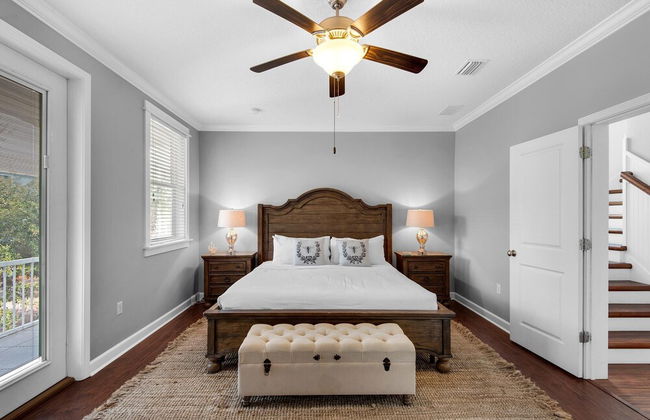
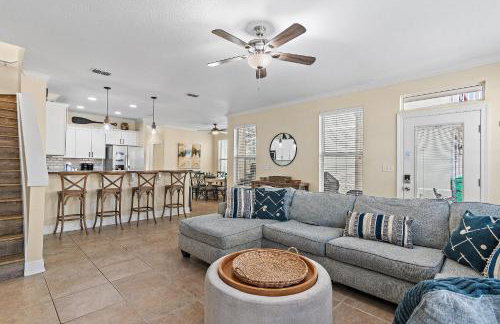
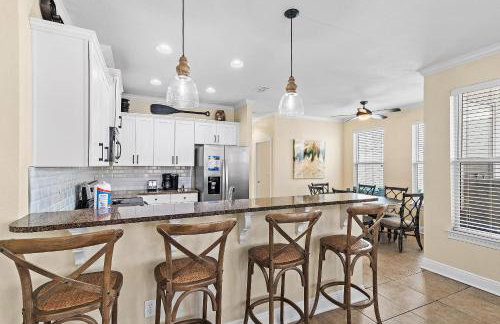
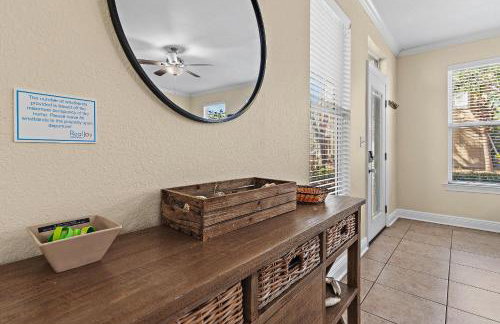
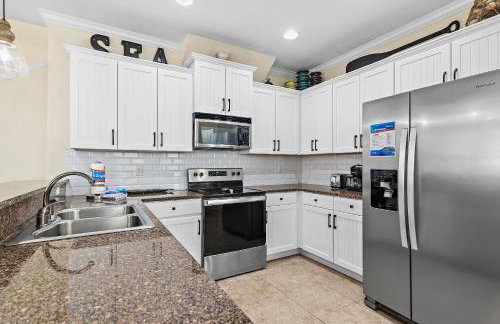
Seas The Dream at The Villages of Crystal Beach
Destin - Villages of Crystal Beach - A 6.9 km del centro
- 288 M2
- 6 habitaciones
- 14 personas
- Aire acondicionado
- Terraza
- Piscina
- Parking
- Jardín
- Barbacoa


The Bluefin - Luxury Beach Home!
Destin - Villages of Crystal Beach - A 6.9 km del centro
- 232 M2
- 6 habitaciones
- 17 personas
- Aire acondicionado
- Calefacción
- Piscina
- Parking


Abbie's Anchor
Destin - Villages of Crystal Beach - A 6.8 km del centro
- 242 M2
- 6 habitaciones
- 16 personas
- Aire acondicionado
- Piscina
- Parking


Happily Ever After
Destin - Villages of Crystal Beach - A 6.8 km del centro
- 218 M2
- 4 habitaciones
- 10 personas
- Aire acondicionado
- Calefacción
- Piscina
- Parking
- Balcón
- Televisión
- Lavadora
- Toallas


Amazing 4 Bedroom Vacation Home in The Villages of Crystal Lakes
Destin - Villages of Crystal Beach - A 6.7 km del centro
- 190 M2
- 5 habitaciones
- 12 personas
- Aire acondicionado
- Calefacción
- Parking


Ooh La La
Destin - Villages of Crystal Beach - A 6.8 km del centro
- 260 M2
- 5 habitaciones
- 14 personas
- Aire acondicionado
- Calefacción
- Piscina
- Parking
- Barbacoa


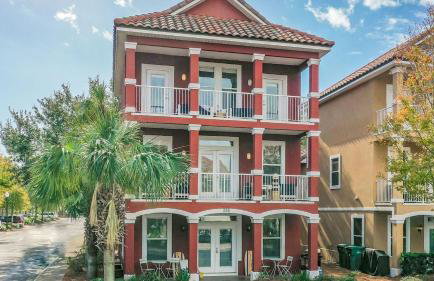
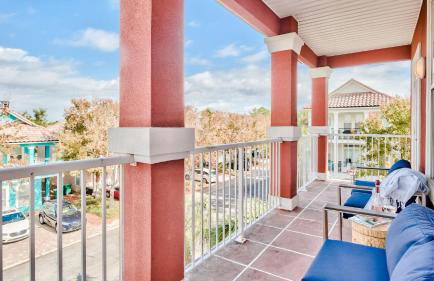
Coral By Avantstay Gorgeous Three Story Home w/ Two Balconies
Destin - Villages of Crystal Beach - A 6.8 km del centro
- 241 M2
- 15 personas
- Aire acondicionado
- Calefacción
- Terraza
- Piscina
- Parking
- Balcón
- Televisión
- Lavadora
- Barbacoa
- Toallas
- Sábanas


Coral by AvantStay
Destin - Villages of Crystal Beach - A 6.8 km del centro
- 241 M2
- 6 habitaciones
- 15 personas
- Aire acondicionado
- Calefacción
- Piscina
- Parking
- Barbacoa


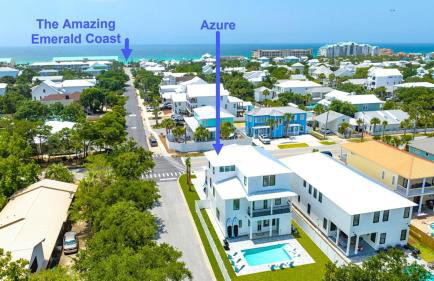
Azure! Sleeps 22 - Golf Cart - Beach Access - Pool
Destin - Villages of Crystal Beach - A 6.9 km del centro
- 338 M2
- 8 habitaciones
- 22 personas
- Aire acondicionado
- Piscina
- Parking


Azure! Sleeps 22! Golf Cart! Beach Access! Pool
Destin - Villages of Crystal Beach - A 6.9 km del centro
- 338 M2
- 22 personas
- Aire acondicionado
- Piscina
- Parking


Latitude! New 8 Bedrooms! Beach!
Destin - Villages of Crystal Beach - A 6.9 km del centro
- 385 M2
- 8 habitaciones
- 20 personas
- Aire acondicionado
- Piscina
- Parking
- Jardín


Bikini Villa
Destin - Villages of Crystal Beach - A 6.7 km del centro
- 181 M2
- 4 habitaciones
- 11 personas
- Aire acondicionado
- Calefacción
- Piscina
- Parking
- Balcón
- Televisión
- Lavadora
- Barbacoa
- Toallas


Better Together
Destin - Villages of Crystal Beach - A 6.8 km del centro
- 306 M2
- 6 habitaciones
- 16 personas
- Aire acondicionado
- Calefacción
- Piscina
- Parking
- Balcón
- Televisión
- Lavadora
- Barbacoa


Serenity
Destin - Villages of Crystal Beach - A 6.9 km del centro
- 238 M2
- 6 habitaciones
- 15 personas
- Aire acondicionado
- Calefacción
- Piscina
- Parking
- Balcón
- Televisión
- Lavadora
- Toallas


Here Comes the Sun
Destin - Villages of Crystal Beach - A 6.8 km del centro
- 257 M2
- 5 habitaciones
- 12 personas
- Aire acondicionado
- Calefacción
- Piscina
- Parking
- Balcón
- Televisión
- Lavadora
- Toallas


Sandsational Memories
Destin - Villages of Crystal Beach - A 6.9 km del centro
- 189 M2
- 4 habitaciones
- 12 personas
- Aire acondicionado
- Calefacción
- Piscina
- Parking
- Balcón
- Televisión
- Lavadora
- Toallas


Sweet Life
Destin - Villages of Crystal Beach - A 6.7 km del centro
- 154 M2
- 3 habitaciones
- 10 personas
- Aire acondicionado
- Calefacción
- Piscina
- Parking
- Balcón
- Televisión
- Lavadora
- Toallas


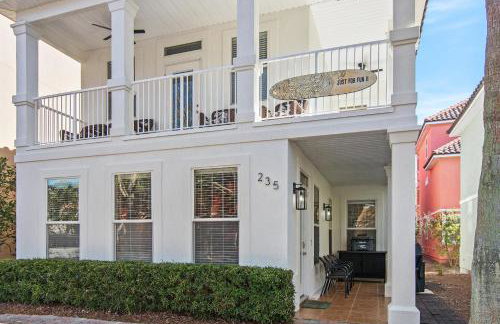

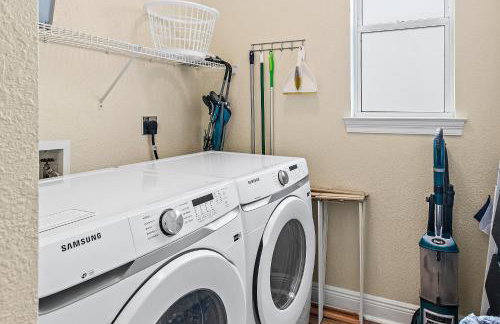

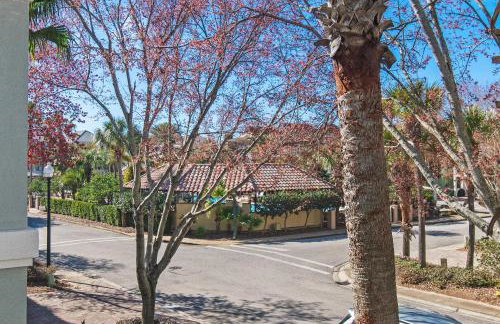


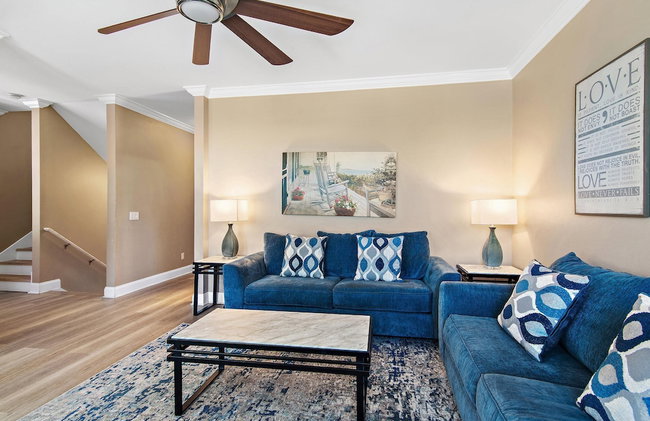
Just for Fun II
Destin - Villages of Crystal Beach - A 6.8 km del centro
- 189 M2
- 5 habitaciones
- 12 personas
- Aire acondicionado
- Calefacción
- Piscina
- Parking
- Balcón
- Televisión
- Lavadora
- Toallas


Changes in Latitude VCB
Destin - Villages of Crystal Beach - A 6.8 km del centro
- 241 M2
- 16 personas
- Aire acondicionado
- Piscina
- Parking
- Balcón
- Televisión
- Lavadora
- Barbacoa
- Toallas


Turquoise Waters
Destin - Villages of Crystal Beach - A 6.8 km del centro
- 195 M2
- 4 habitaciones
- 12 personas
- Aire acondicionado
- Calefacción
- Piscina
- Parking
- Balcón
- Televisión
- Lavadora
- Barbacoa
- Toallas