
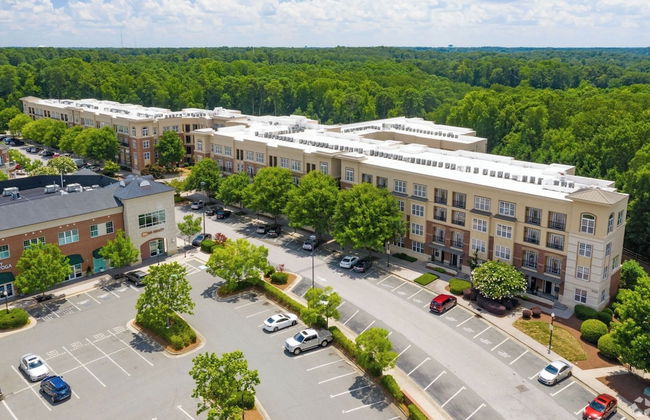
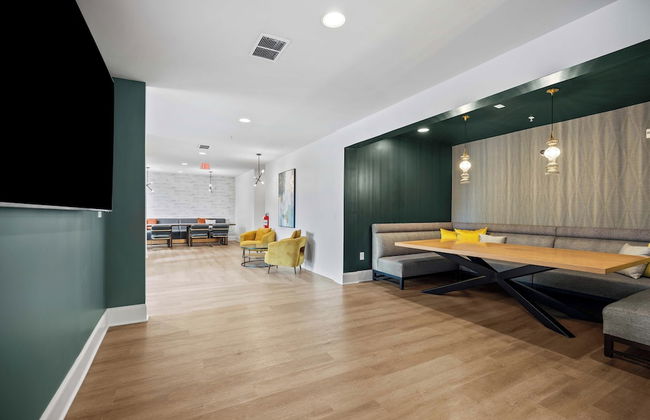
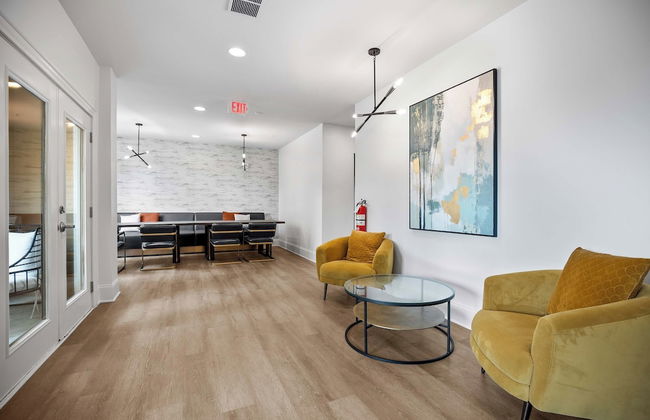
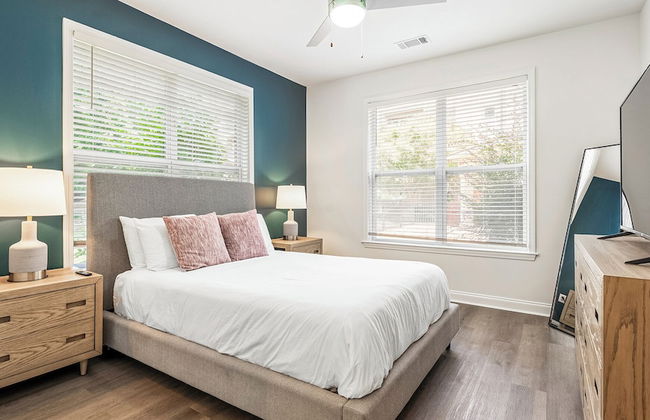
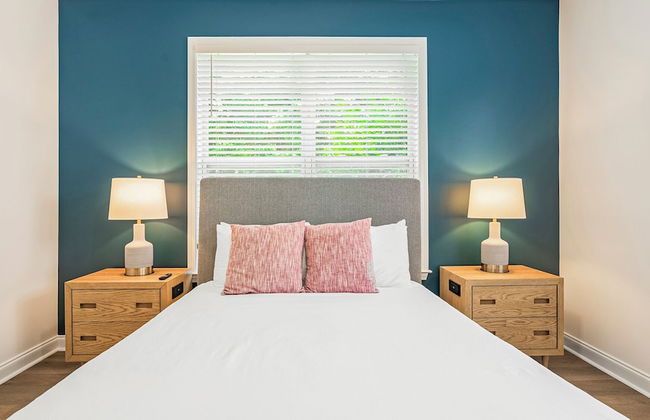
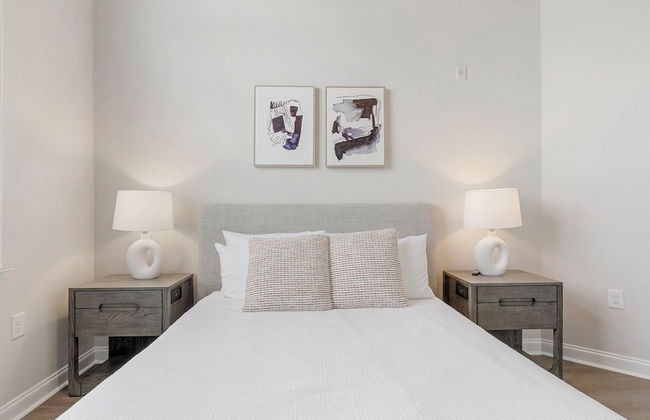
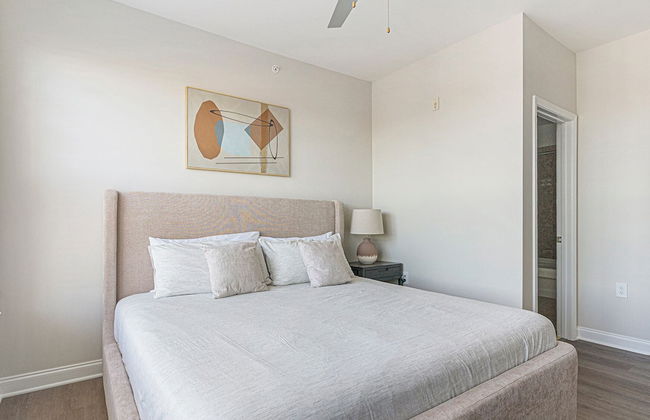
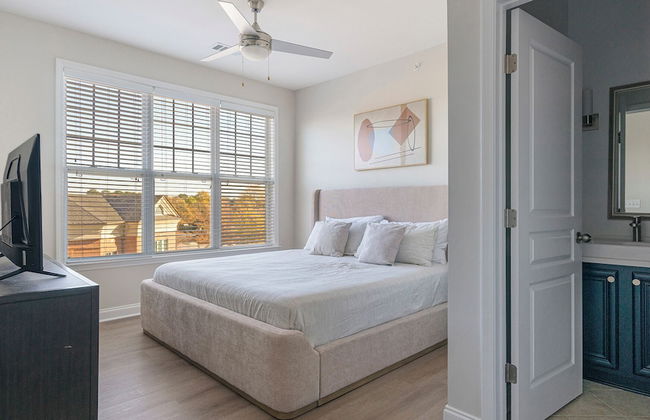
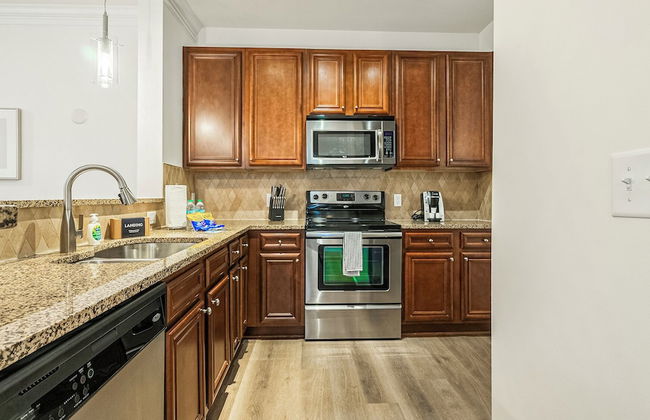
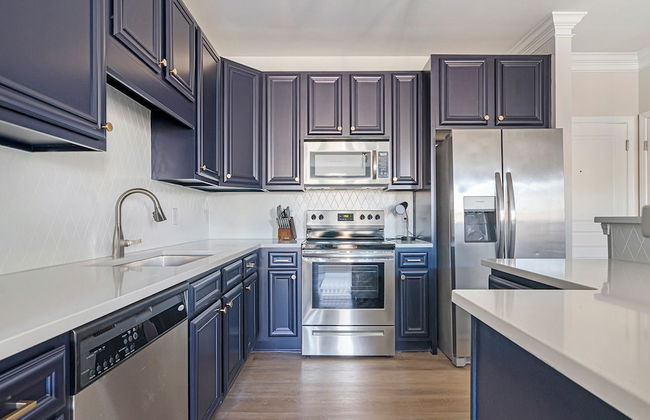
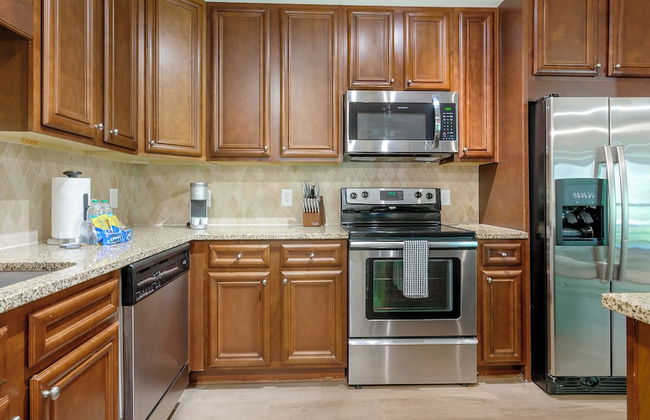
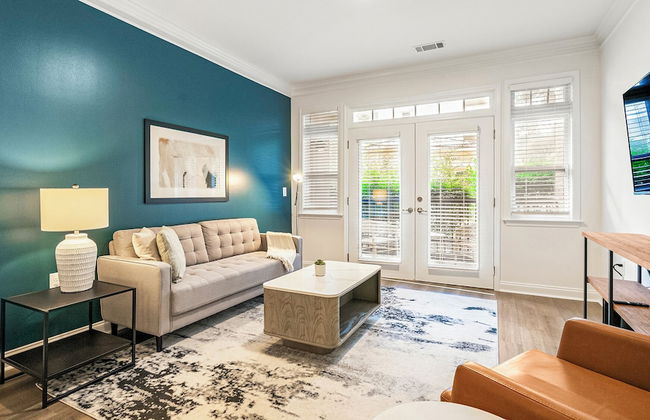
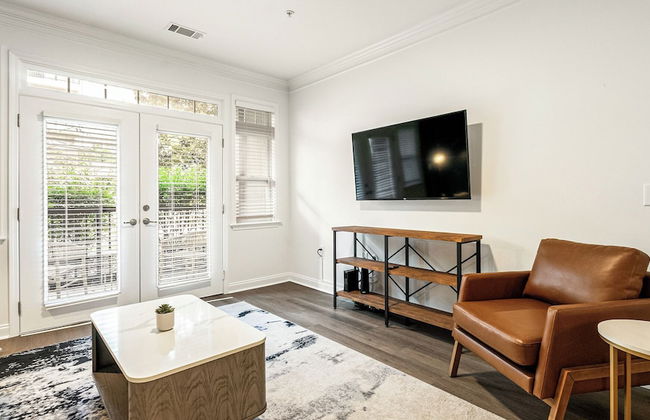
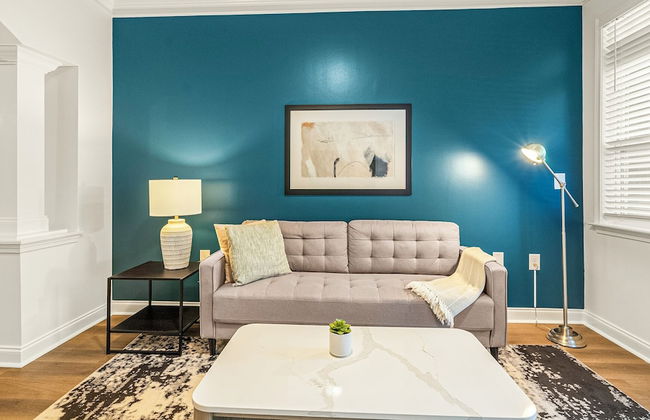
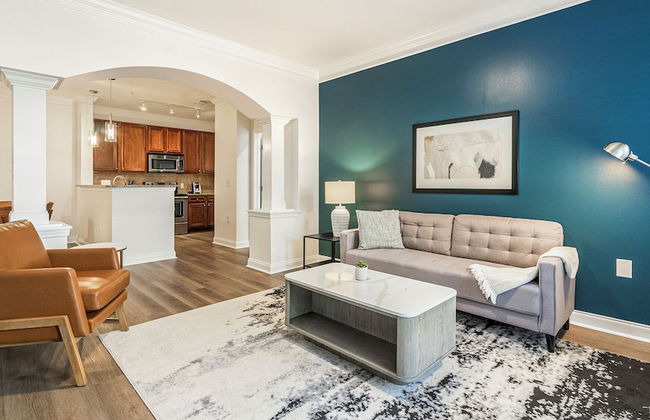

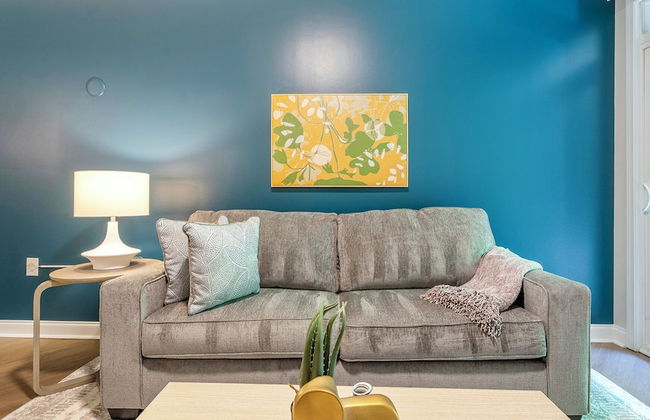
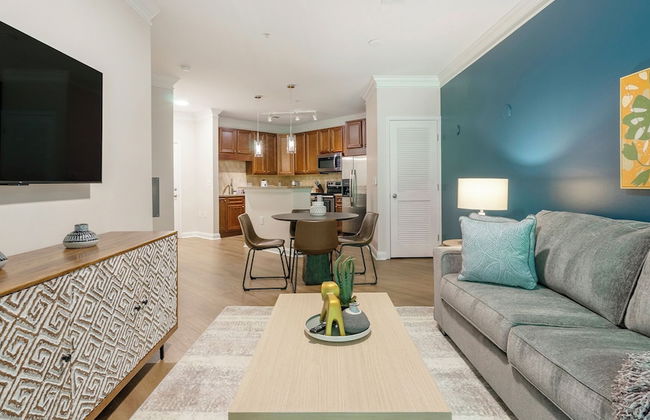
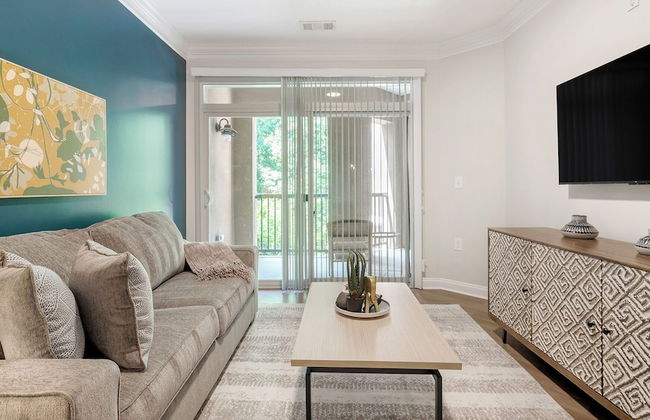
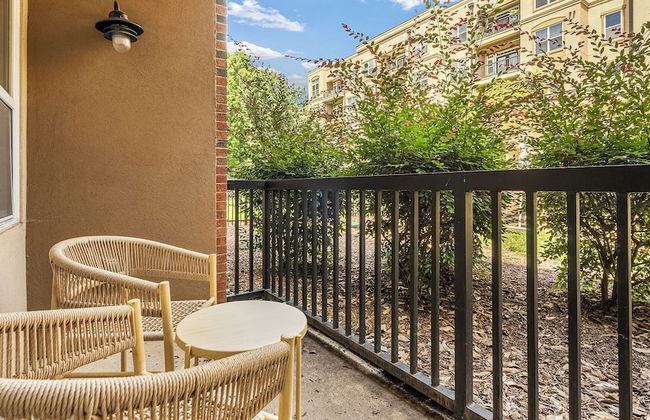

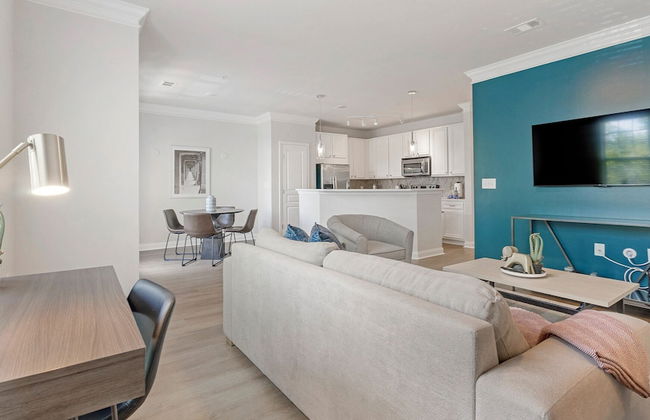
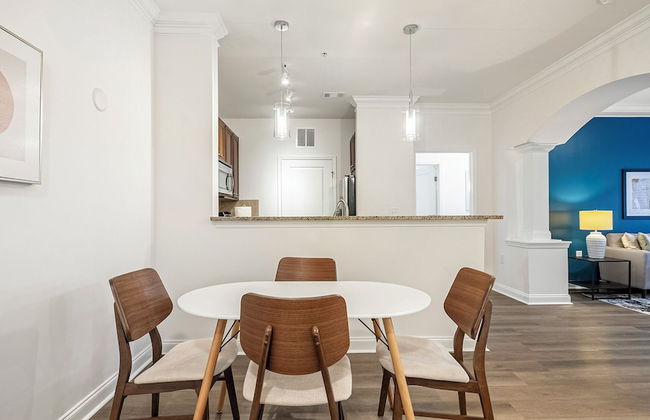
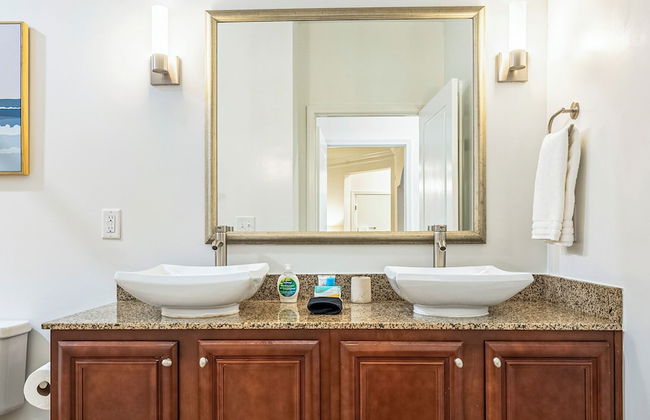
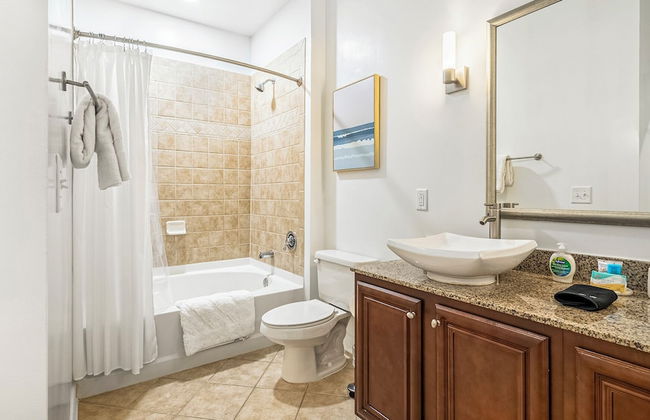
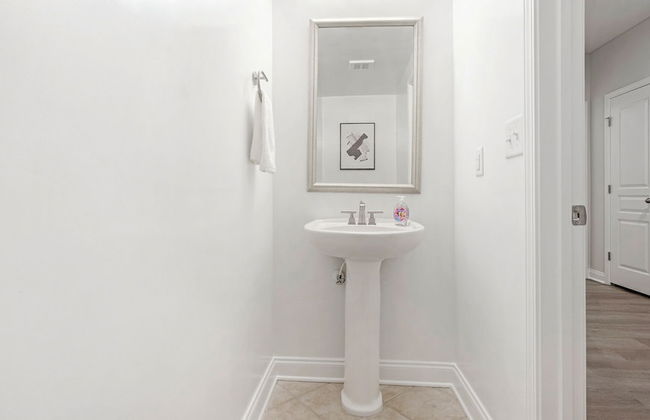
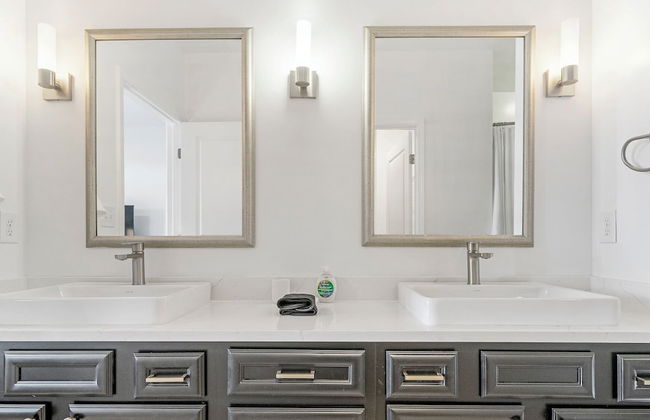
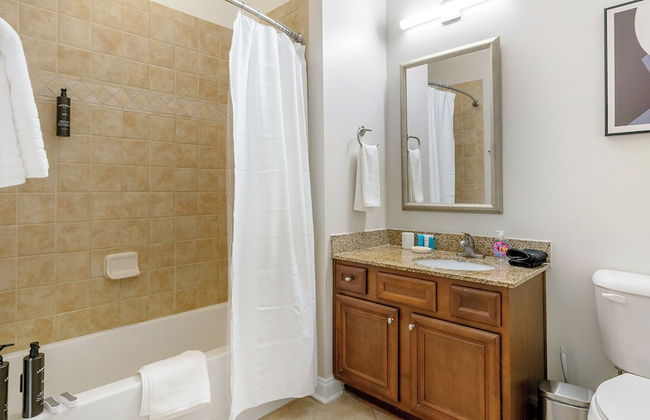


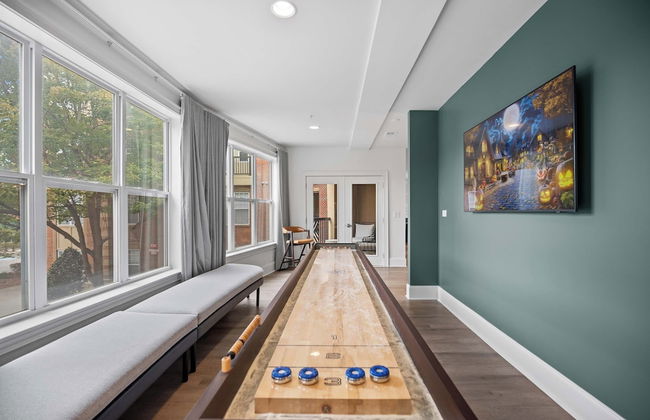
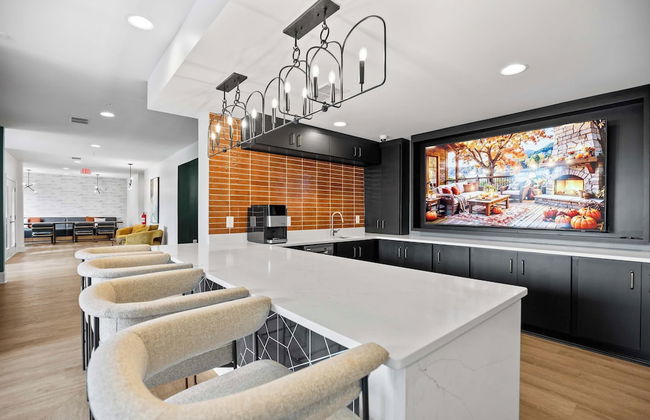

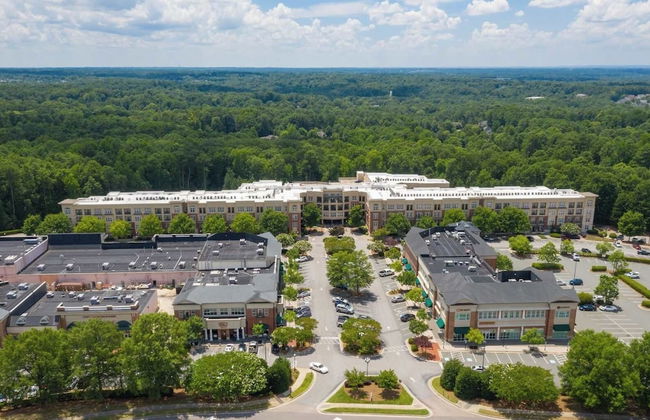
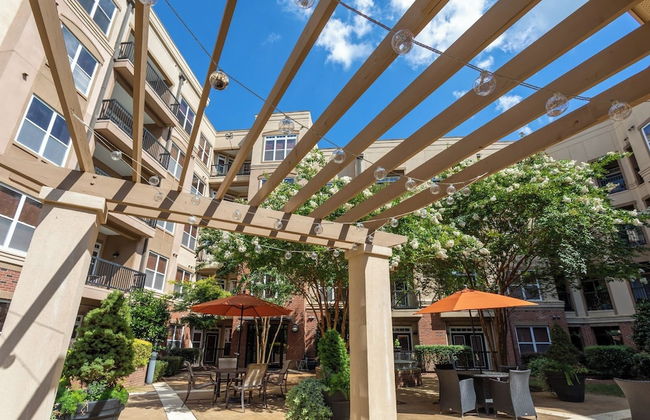
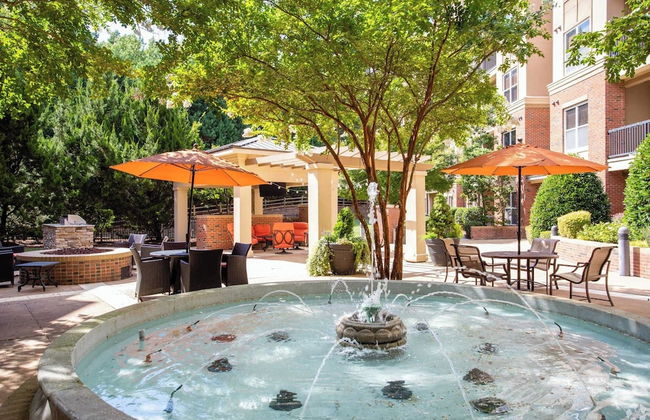

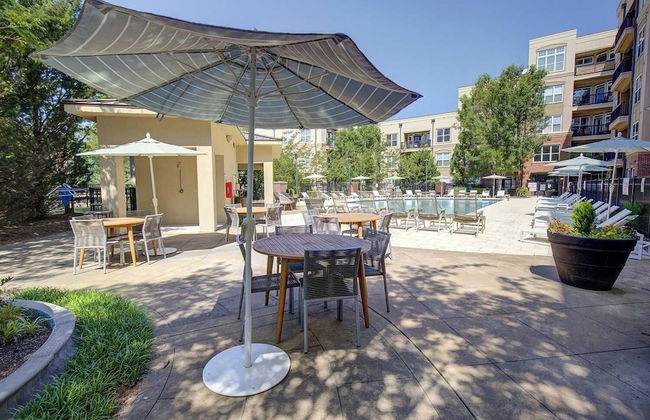
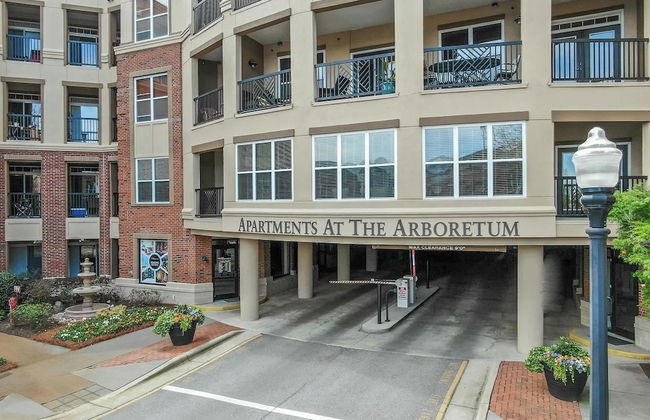

Cary Apartments by Landing
Cary - The Arboretum - A 3.7 km del centro
- 108 M2
- 4 personas
- Aire acondicionado
- Calefacción
- Piscina
- Parking
- Ascensor
- Televisión
- Lavadora
- Chimenea
- Barbacoa
- Toallas
- Sábanas


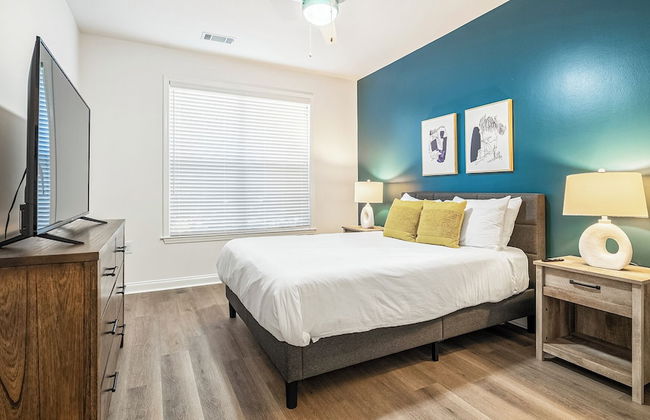
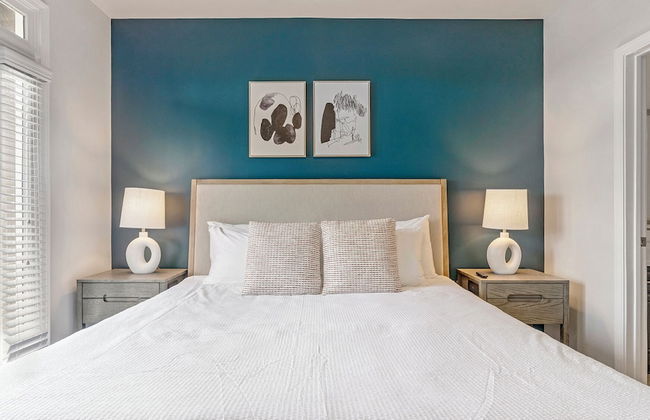
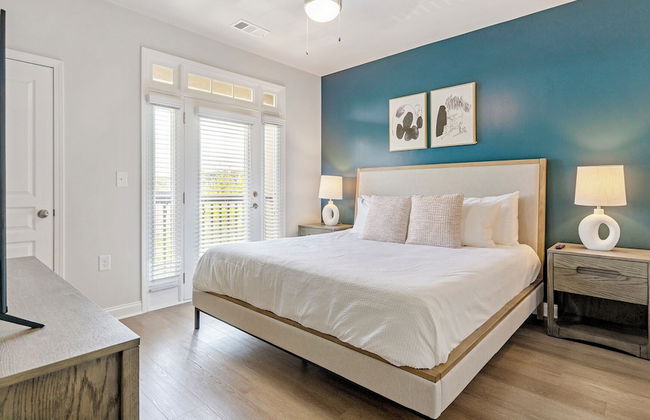
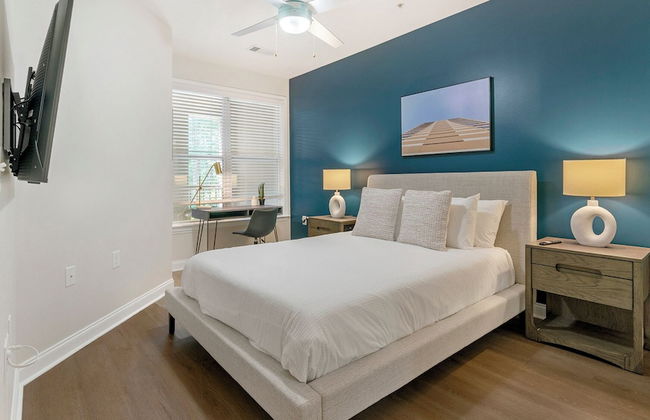
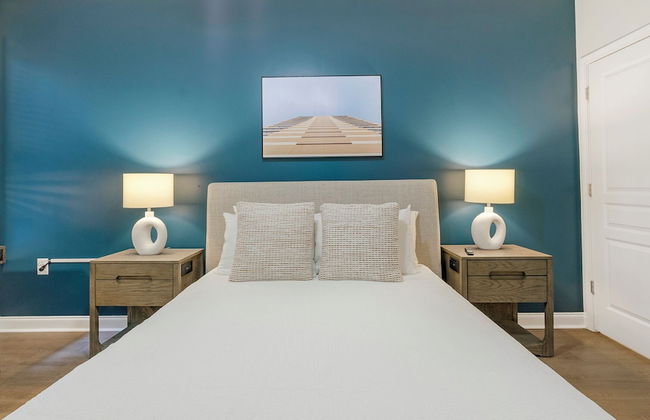
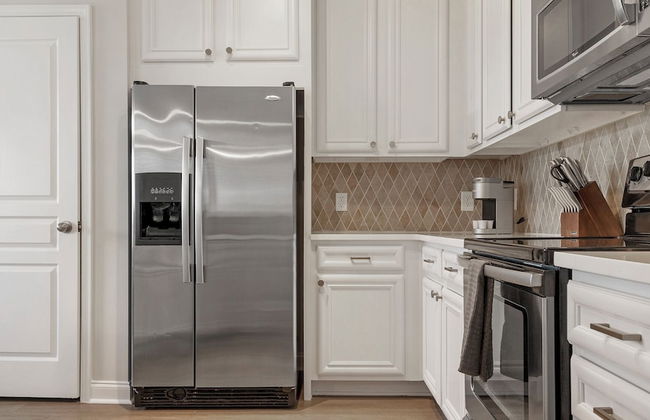
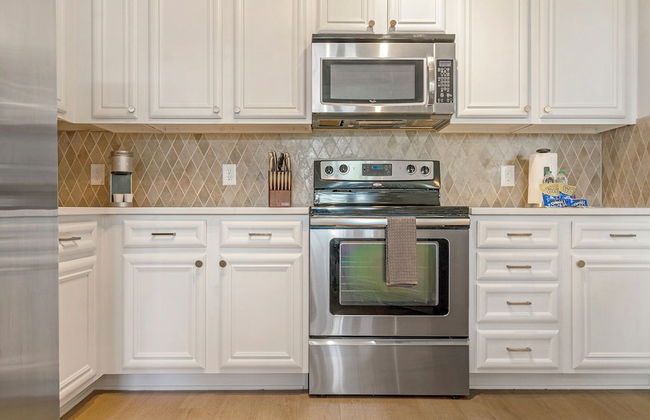
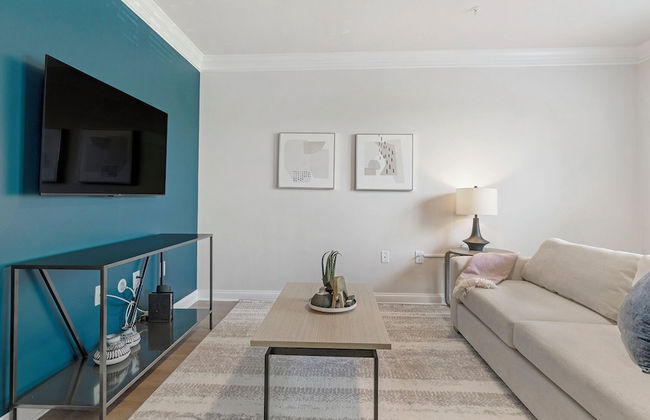
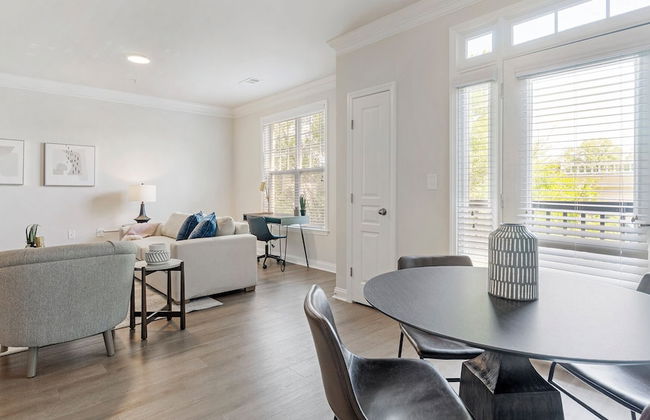
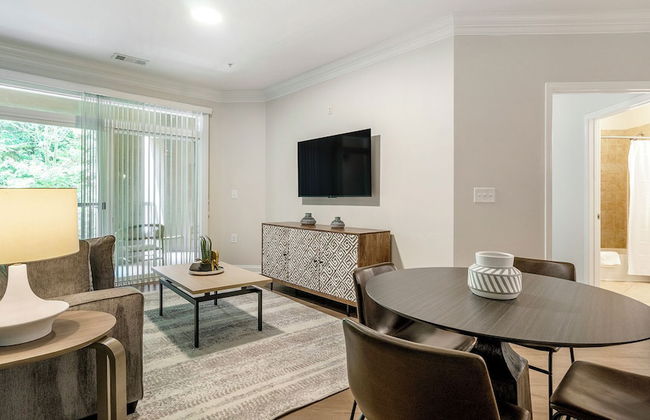
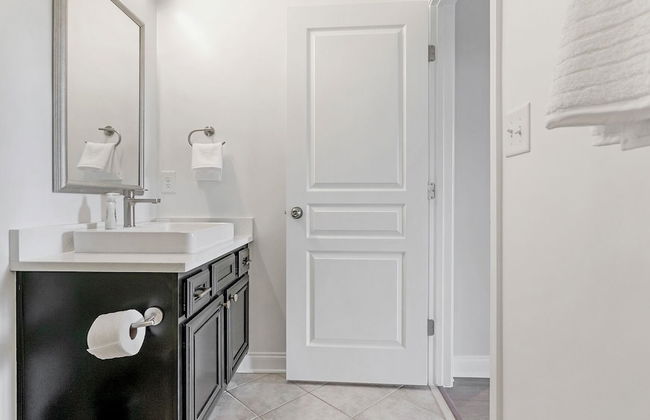
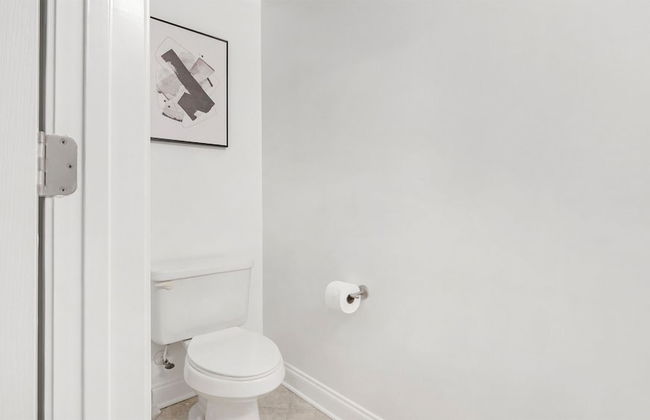
Kasa Village District Raleigh
Raleigh - University - A 1.3 km del centro
- 68 M2
- 1 habitación
- 2 personas
- Aire acondicionado
- Calefacción
- Piscina
- Parking
- Ascensor
- Jardín
- Televisión
- Lavadora
- Barbacoa
- Toallas
- Sábanas


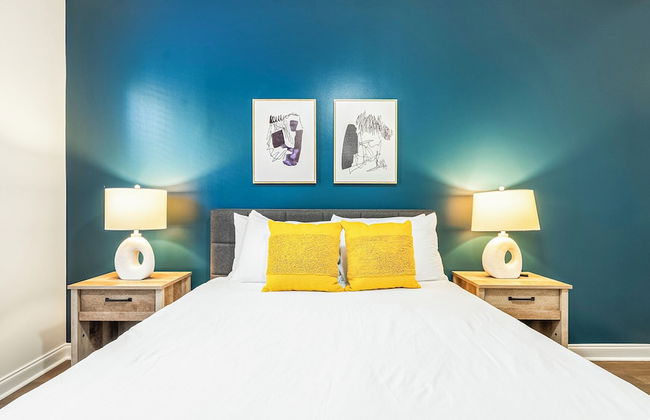
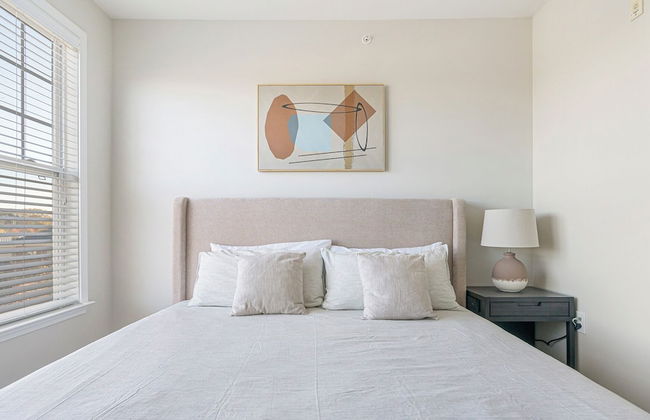
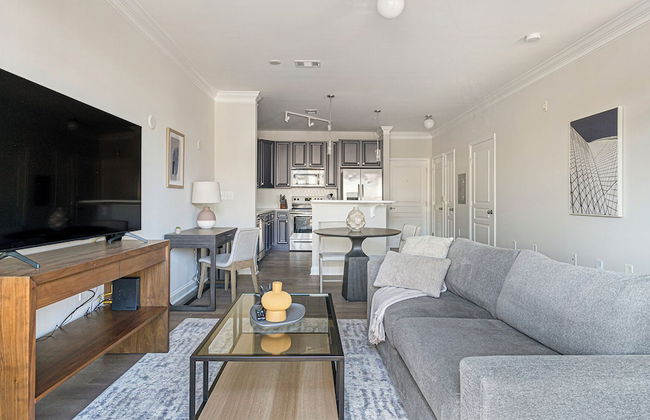
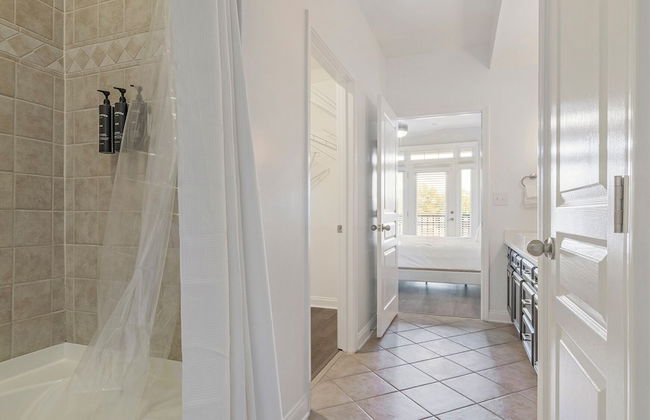
3 Beds, Kids Friendly Ranch,Jaccuzzi Tub,Walk to Food Lion,Restaurant, Keurig , sleep noise machine,,Crib,5G
Cary - A 4.1 km del centro
- 132 M2
- 3 habitaciones
- 6 personas
- Aire acondicionado
- Terraza
- Parking
- Jardín
- Barbacoa


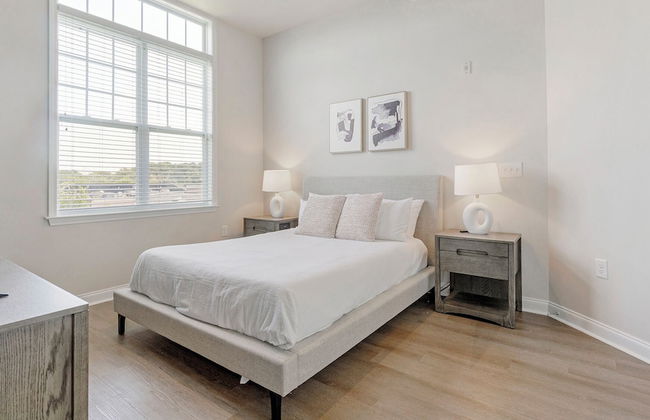
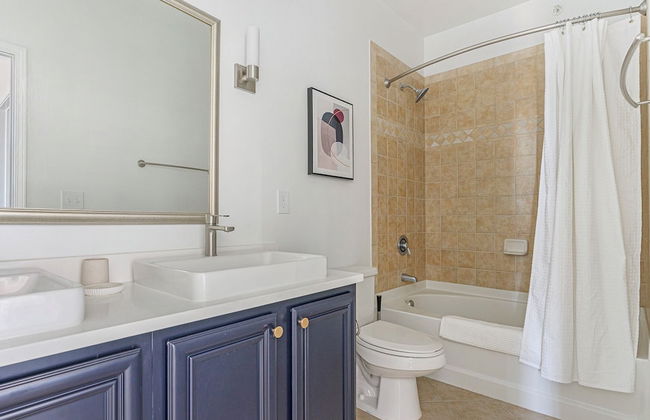
Revisn
Raleigh - University - En el centro
- 46 M2
- 1 habitación
- 3 personas
- Aire acondicionado
- Calefacción
- Terraza


Heart of Raleigh
Raleigh - Northeast Raleigh - A 9.2 km del centro
- 14 M2
- 2 habitaciones
- 6 personas
- Aire acondicionado
- Calefacción
- Parking
- Jardín


Beautiful spacious 4 bedroom house , sleeps 8+
Raleigh - Southeast Raleigh - A 6.8 km del centro
- 172 M2
- 4 habitaciones
- 8 personas
- Aire acondicionado
- Calefacción
- Parking


Serene Landing Place near Downtown Cary
Cary - A 2 km del centro
- 167 M2
- 4 habitaciones
- 10 personas
- Aire acondicionado
- Piscina
- Parking
- Jardín


3Bed City Ranch near DTR
Raleigh - Southwest Raleigh - A 5 km del centro
- 139 M2
- 3 habitaciones
- 6 personas
- Aire acondicionado
- Terraza
- Parking
- Jardín


Center St Retreat - 1 Block from Downtown!
Apex - A 230 m del centro
- 149 M2
- 3 habitaciones
- 7 personas
- Aire acondicionado
- Parking


Limited-Time Offer , Raleigh Luxe Family Retreat, Sleeps 6! 15 Min to Downtown, Kids Gear, Fast WiFi for WFH, Ping Pong! EV & Pet Friendly
Raleigh - Southeast Raleigh - A 10.5 km del centro
- 203 M2
- 3 habitaciones
- 6 personas
- Aire acondicionado
- Terraza
- Parking
- Jardín


DTGem-SelfCheckin-RainShower-300M-Parking-Walkable
Raleigh - Central Raleigh - A 2 km del centro
- 121 M2
- 3 habitaciones
- 6 personas
- Aire acondicionado
- Parking


Warehouse District Modern Condo with Private Garage
Raleigh - Central Raleigh - A 440 m del centro
- 73 M2
- 1 habitación
- 4 personas
- Aire acondicionado
- Calefacción
- Parking


902 S East Street Stays #200
Raleigh - South Park - A 1.6 km del centro
- 74 M2
- 2 habitaciones
- 4 personas
- Aire acondicionado
- Calefacción
- Parking
- Jardín


Brand New 4bd - Modern - Prime Location - Spacious
Raleigh - South Park - A 1.6 km del centro
- 163 M2
- 4 habitaciones
- 10 personas
- Aire acondicionado
- Calefacción
- Parking
- Jardín


Peaceful 3BR near soccer park
Raleigh - Northeast Raleigh - A 14.5 km del centro
- 155 M2
- 3 habitaciones
- 6 personas
- Aire acondicionado
- Parking
- Jardín


stayAPT Suites Raleigh Durham RTP
Morrisville - A 4.3 km del centro
- 4 personas
- Aire acondicionado
- Calefacción
- Parking
- Televisión
- Chimenea
- Barbacoa
- Toallas
- Sábanas


Convenient Remote-friendly suburban oasis
Raleigh - Northeast Raleigh - A 10.1 km del centro
- 251 M2
- 3 habitaciones
- 6 personas
- Aire acondicionado
- Calefacción
- Parking
- Jardín
- Barbacoa


BOHO BUNGALOW - STEPS FROM HISTORIC DOWNTOWN APEX
Apex - En el centro
- 70 M2
- 1 habitación
- 3 personas
- Aire acondicionado
- Parking
- Jardín


Meadow Farm in Holly Springs, NC
Holly Springs - A 4.9 km del centro
- 130 M2
- 3 habitaciones
- 8 personas
- Aire acondicionado
- Parking
- Jardín
- Barbacoa


Simple Elegant Townhouse DT Raleigh NCSU
Raleigh - Southwest Raleigh - A 4.6 km del centro
- 93 M2
- 2 habitaciones
- 4 personas
- Aire acondicionado
- Piscina
- Parking
- Jardín