

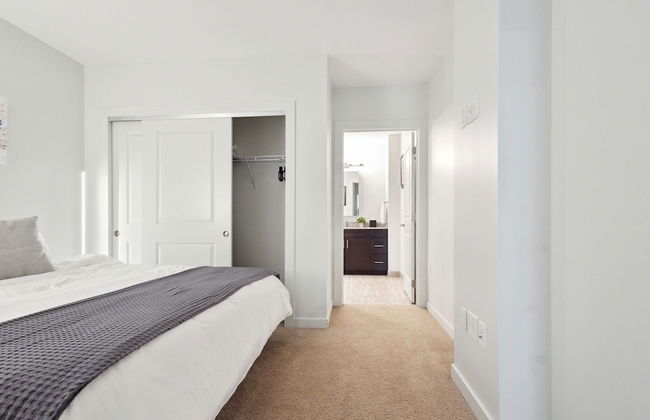


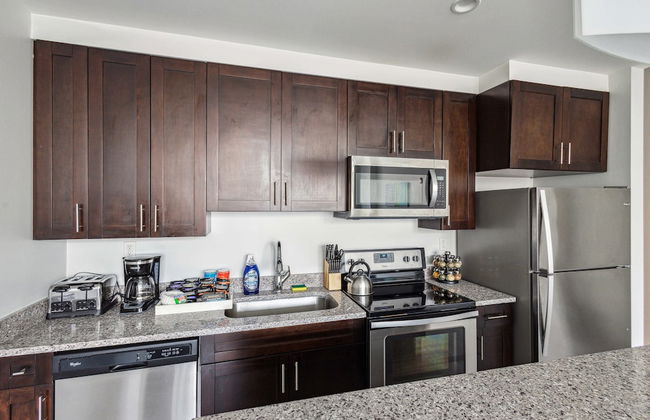


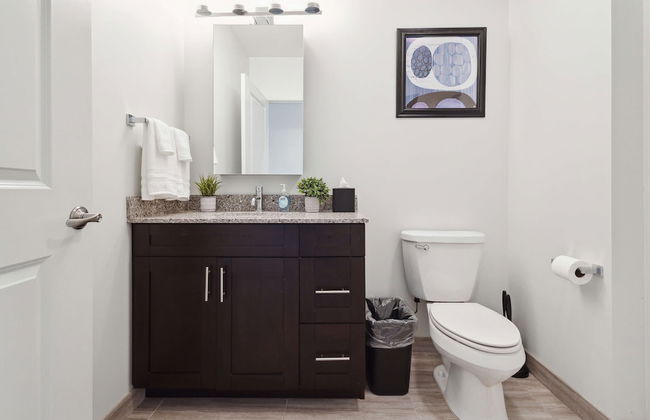


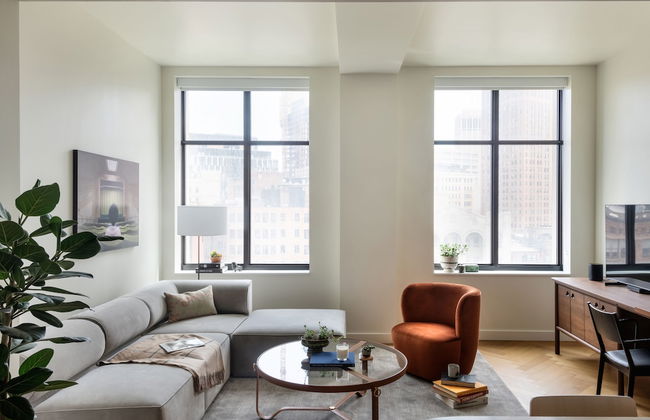
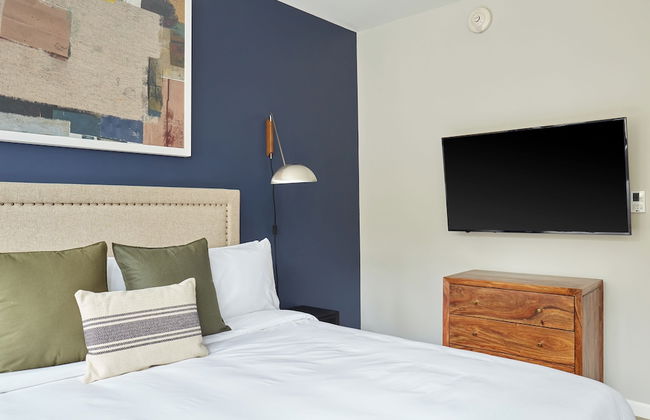
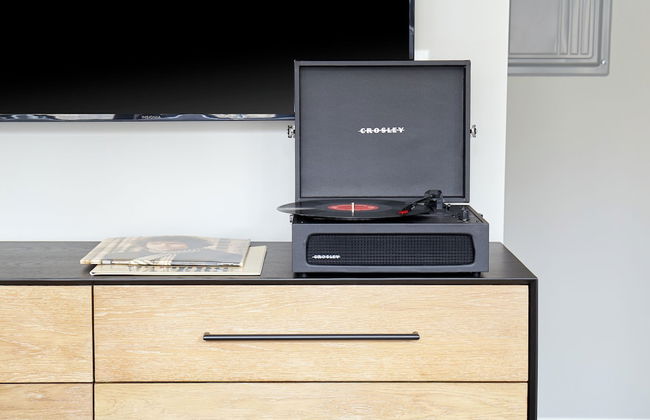
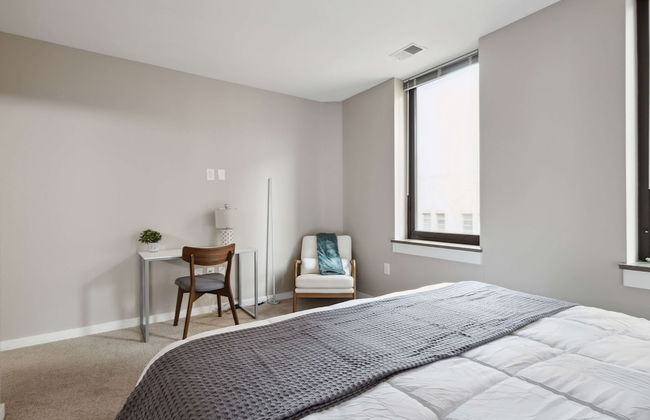
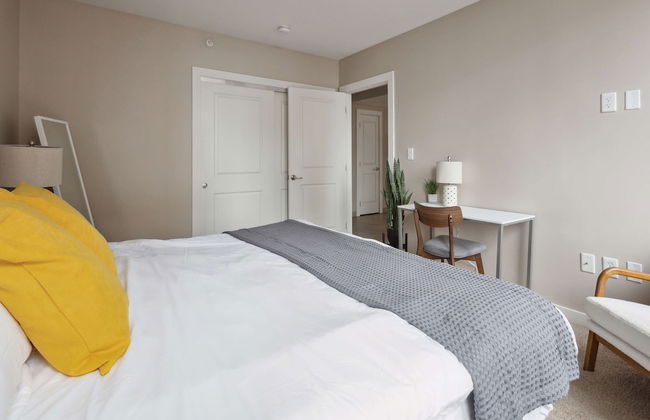
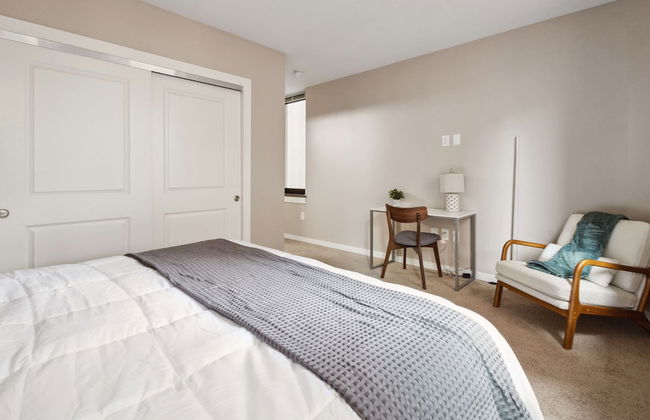
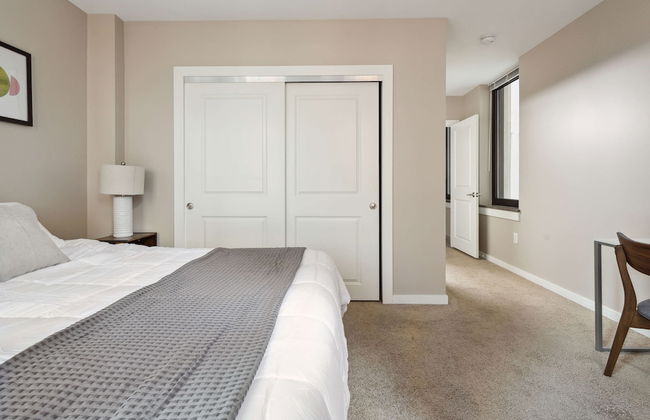
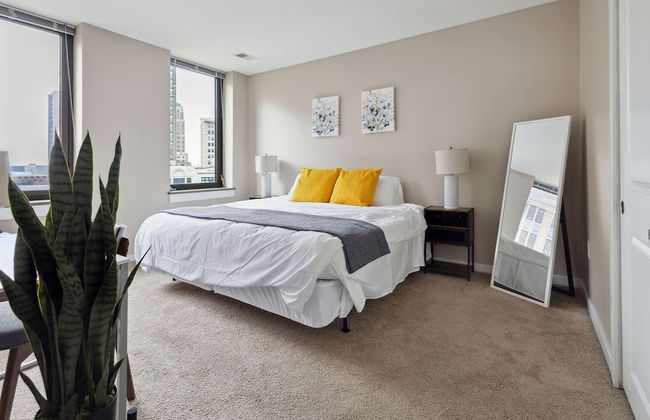
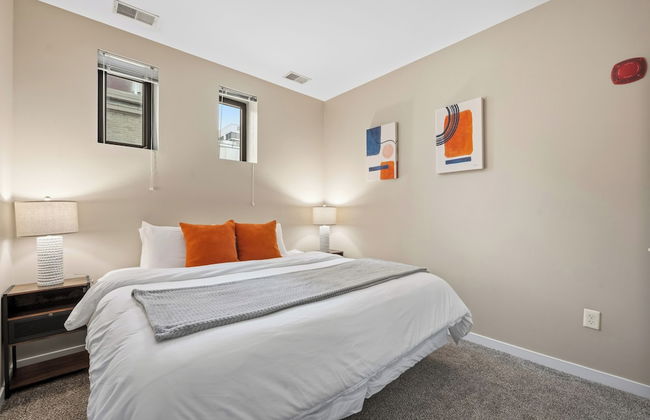
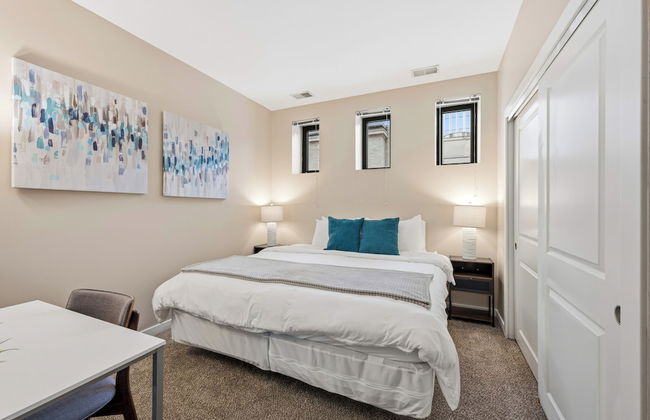
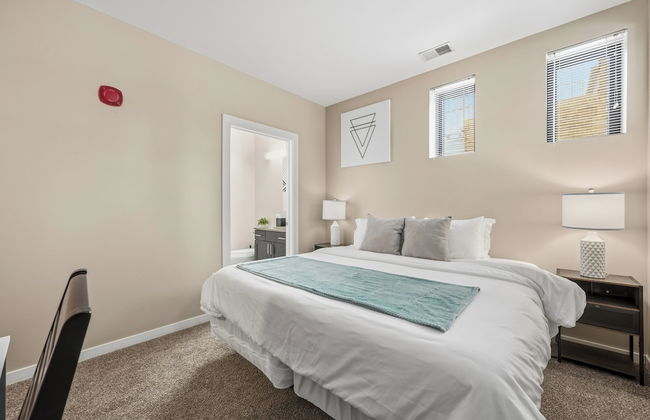
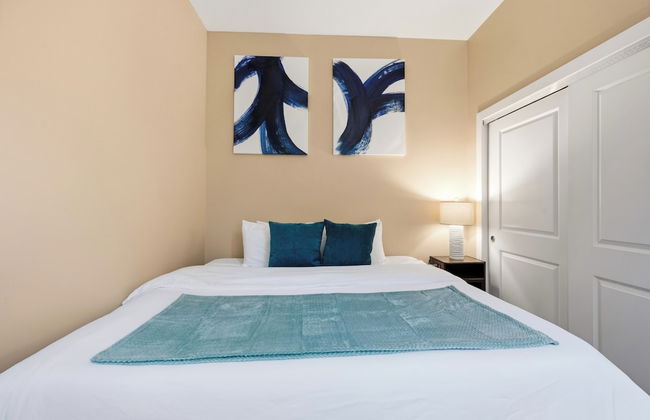
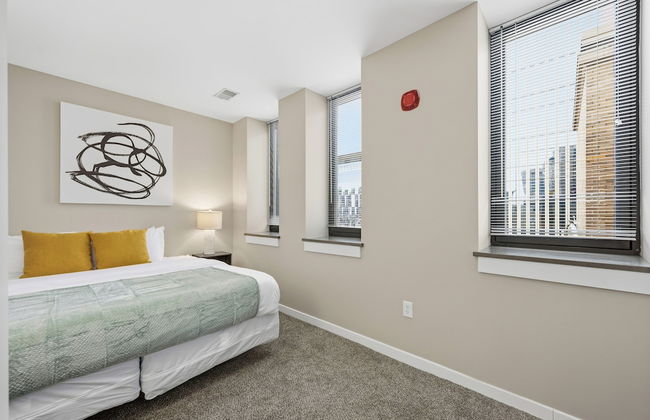
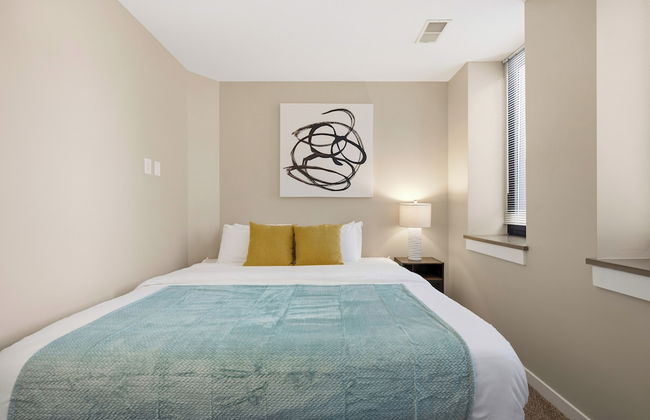
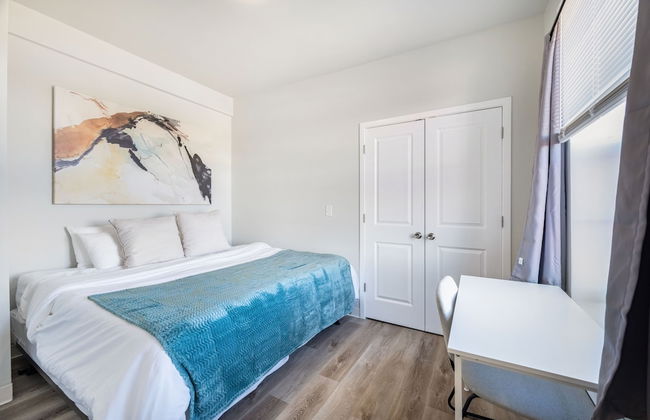
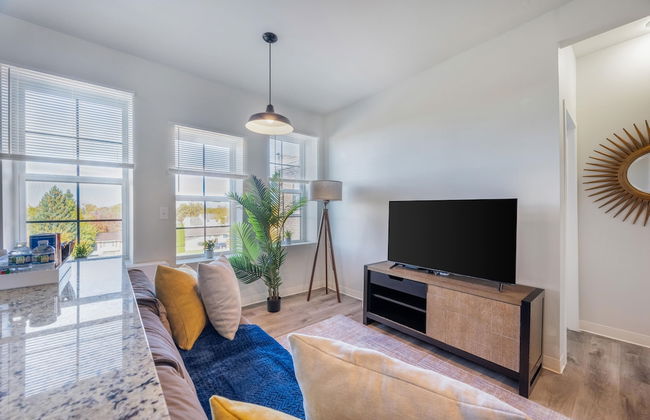
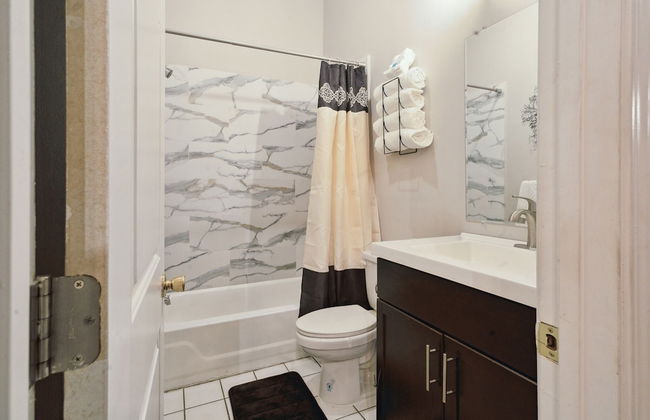
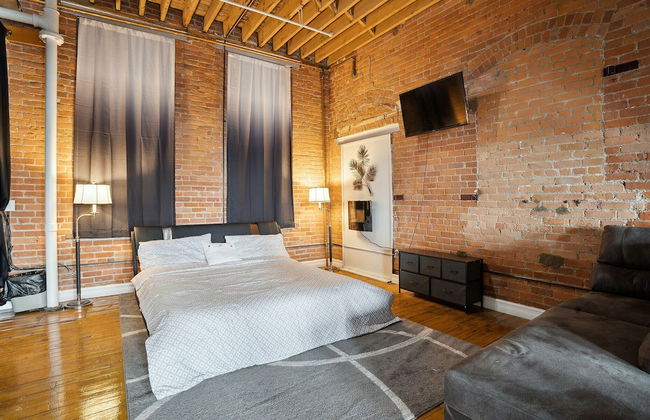
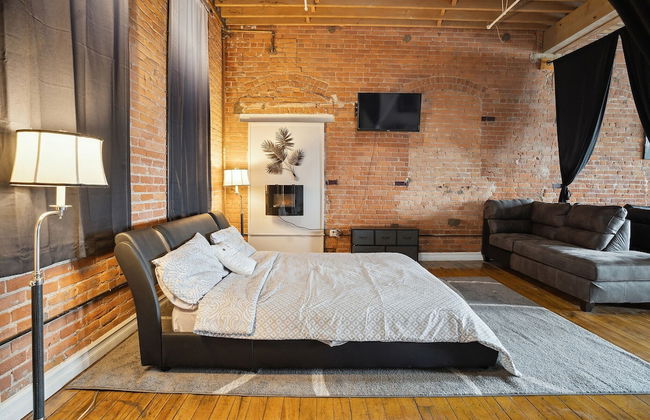
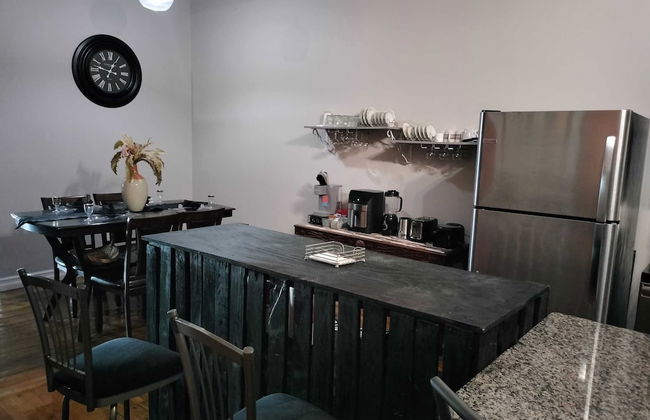
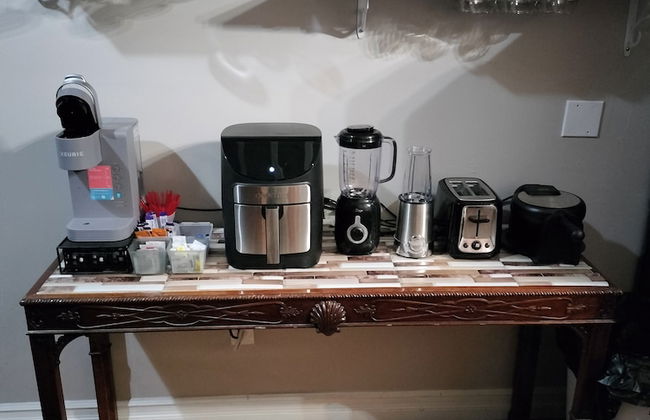
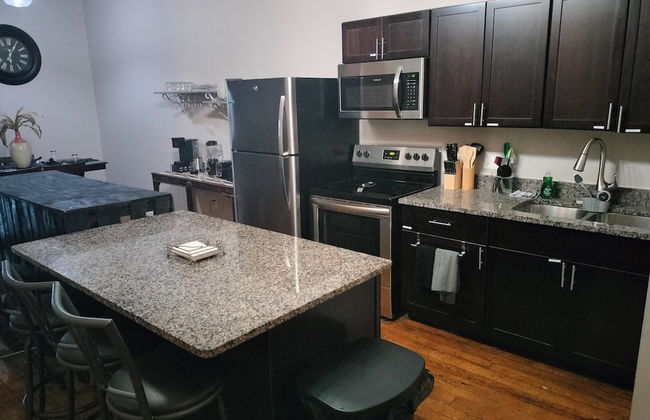
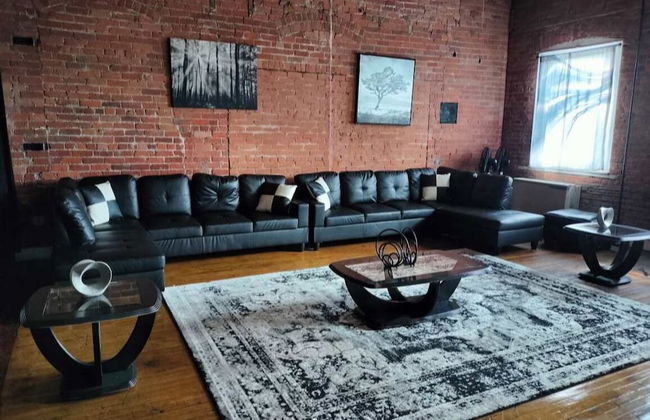
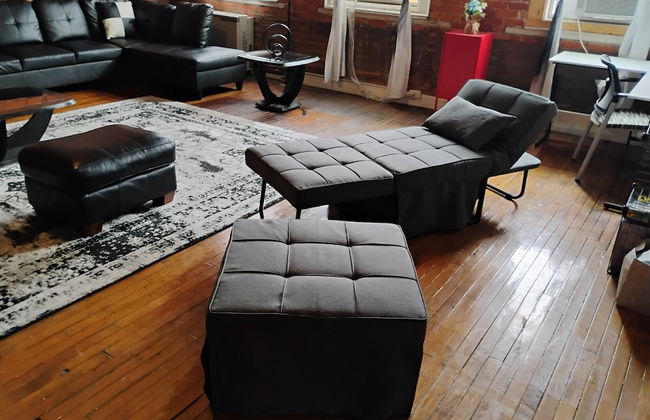
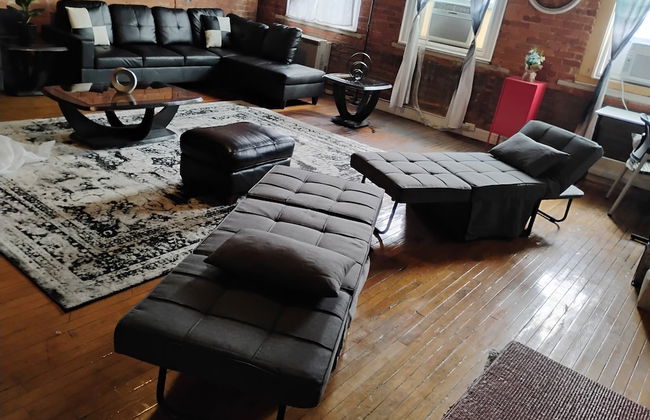
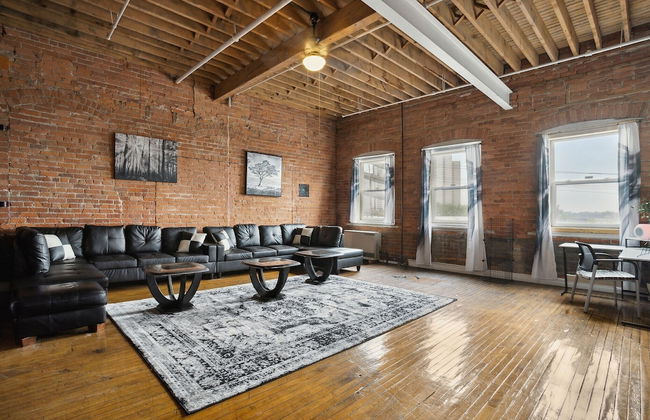
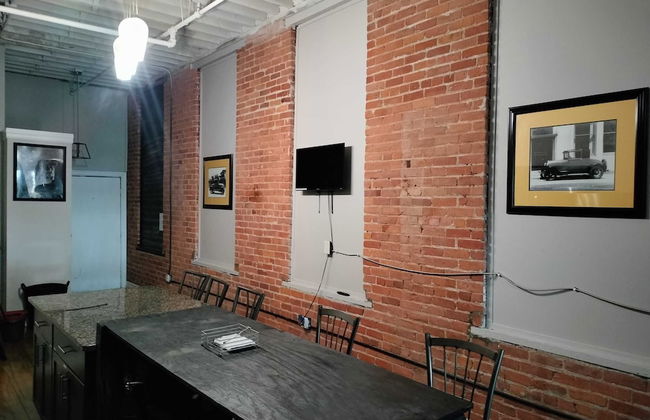
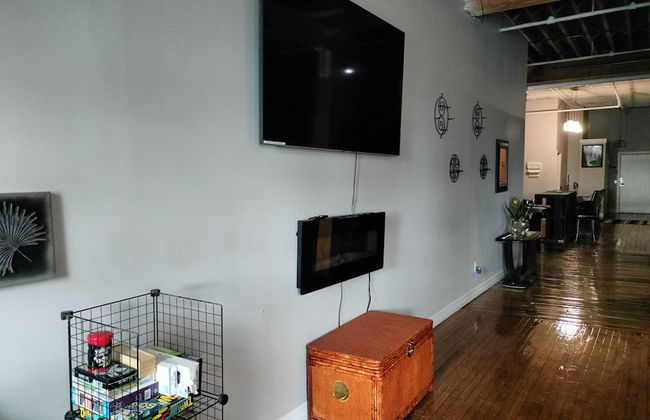
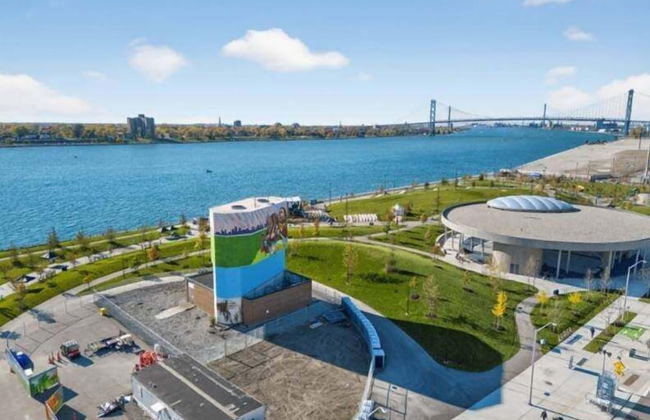
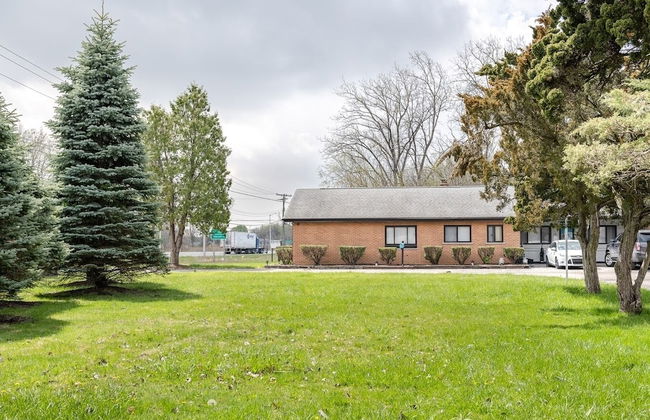
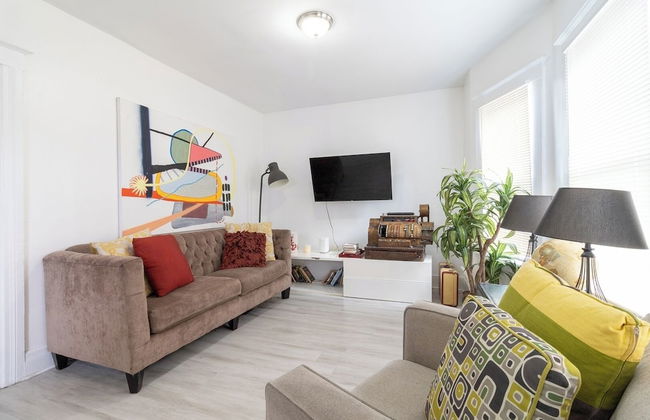
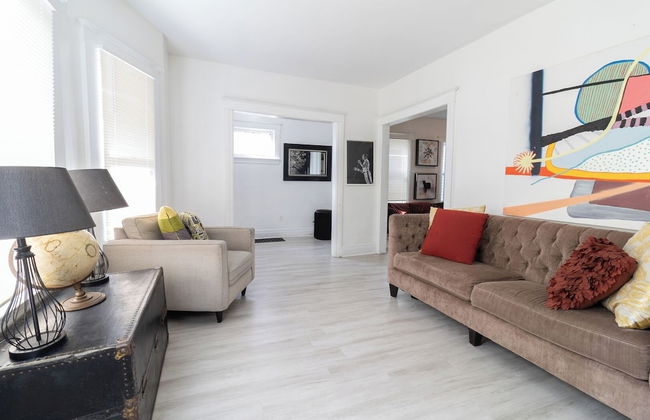
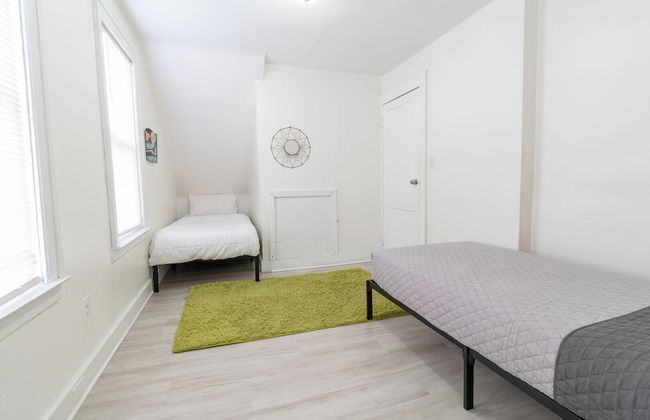
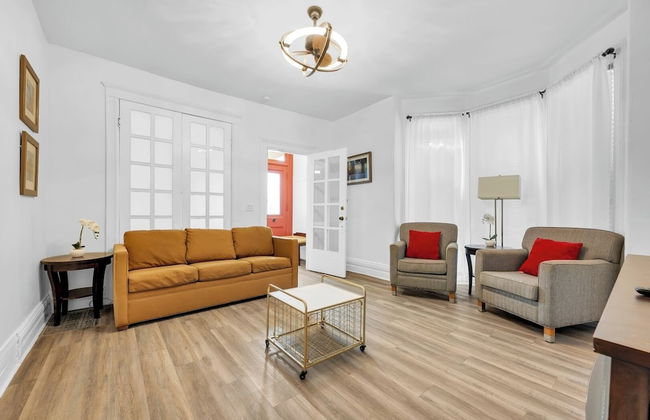
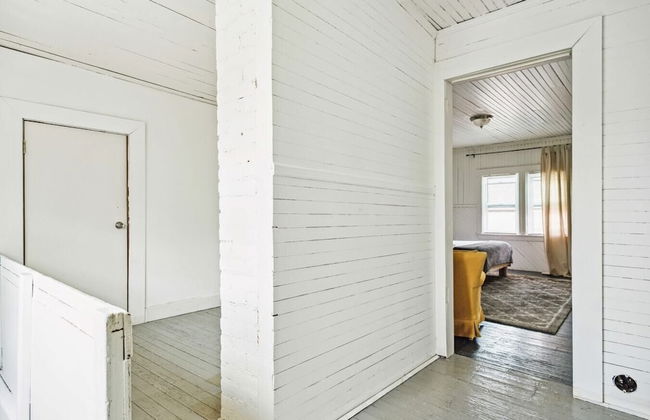
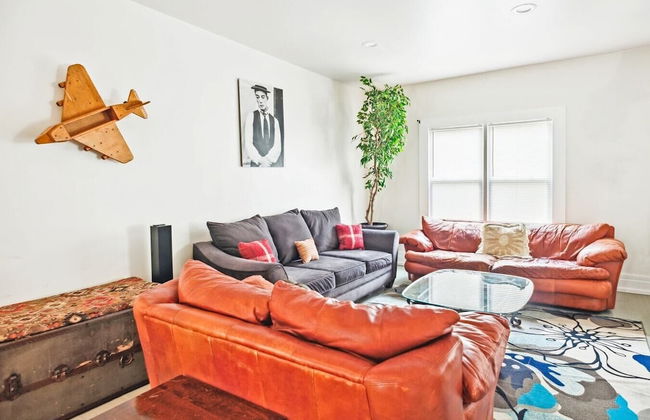
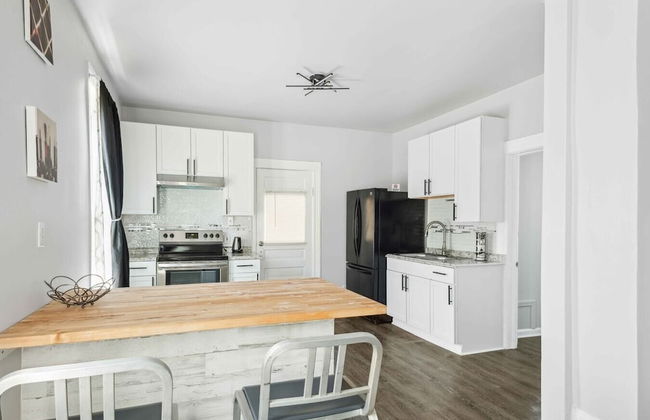
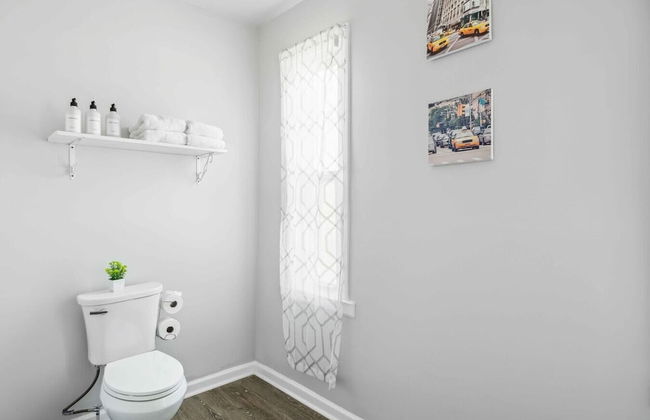
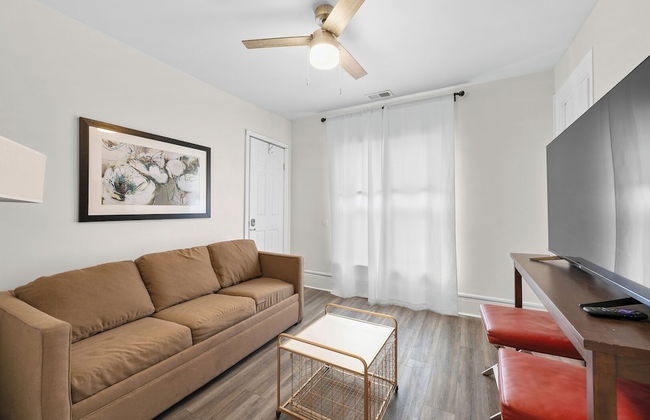
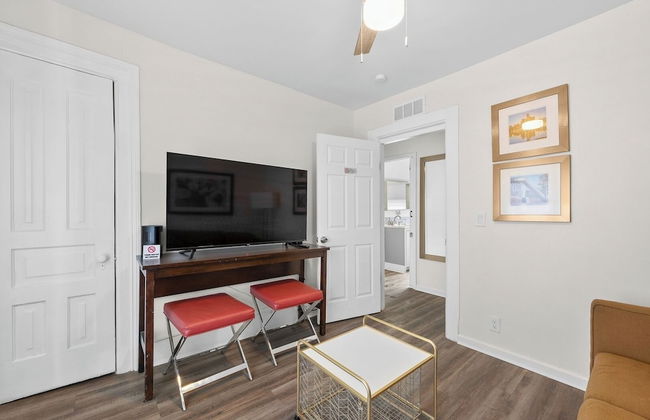
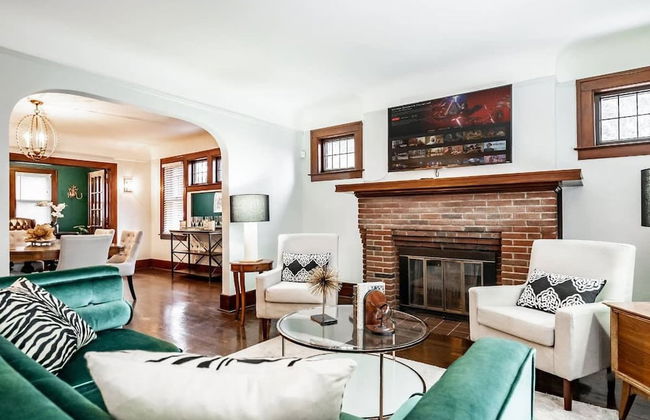
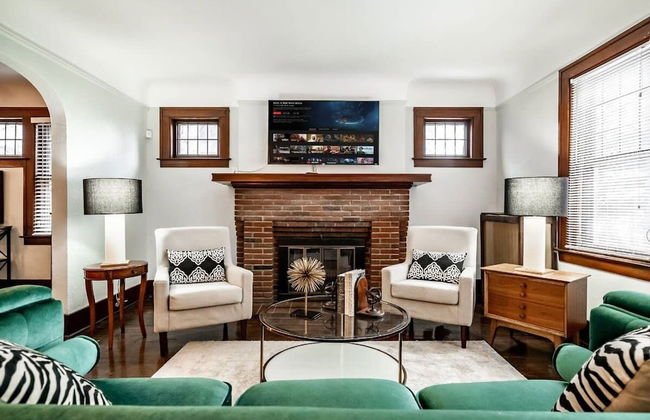
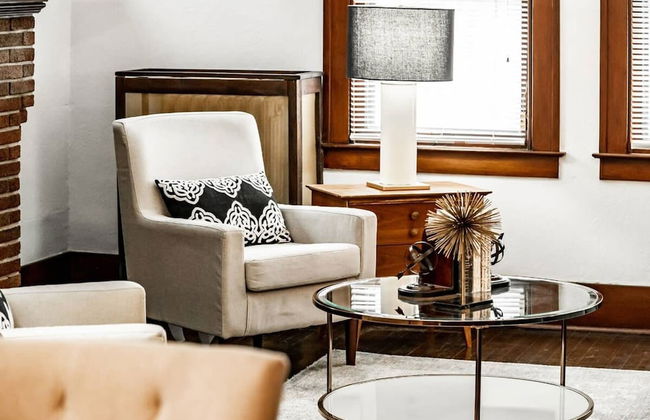
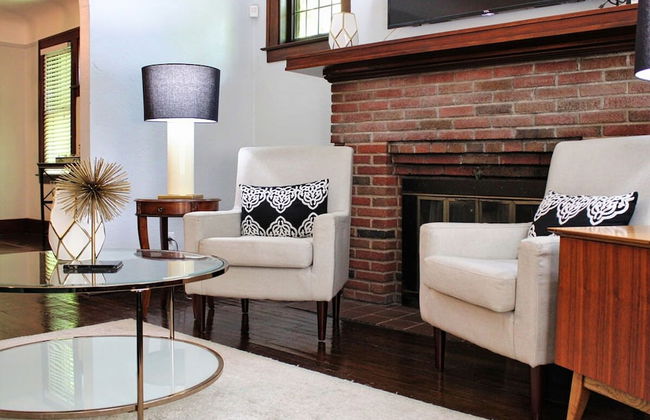
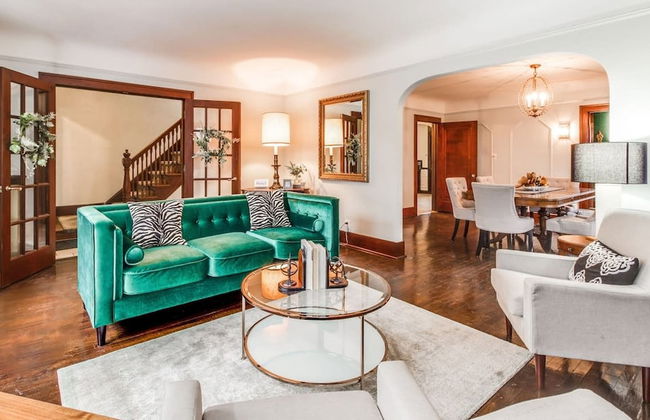
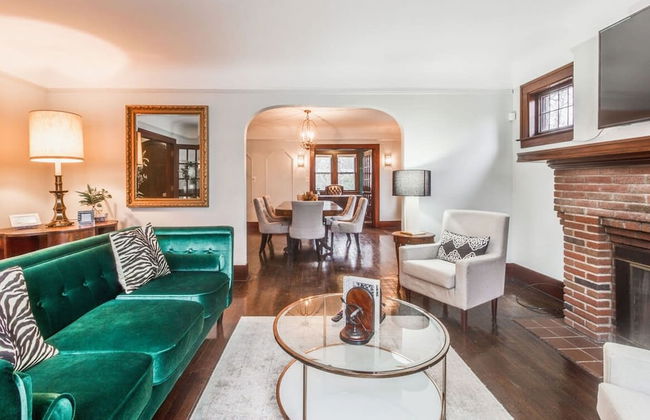
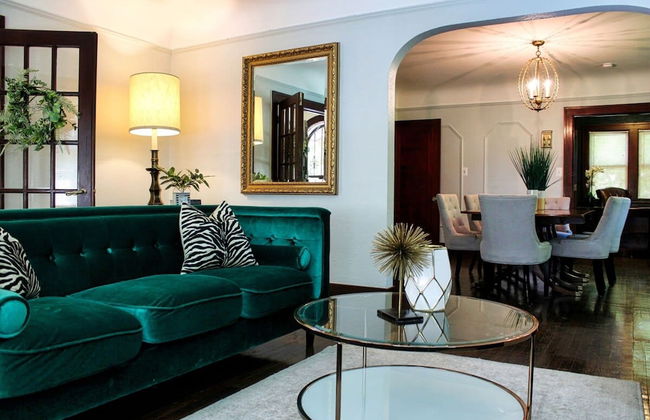
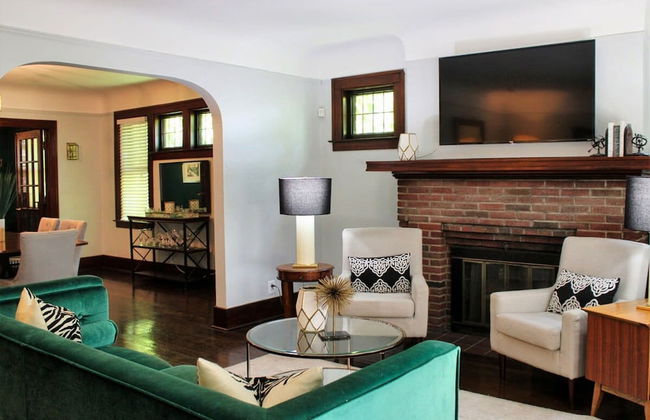
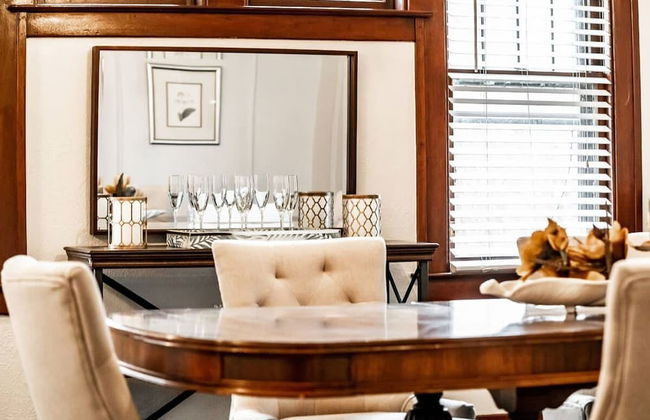
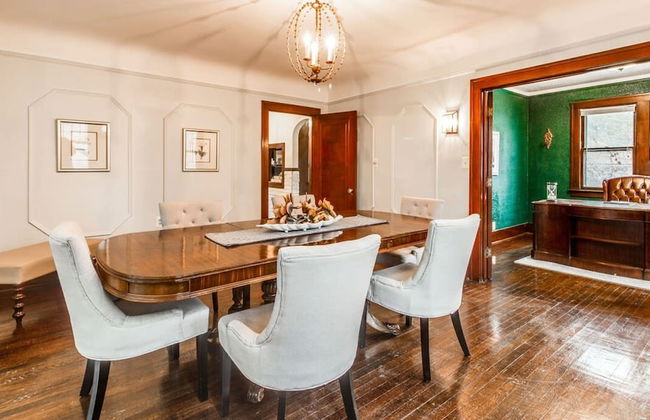
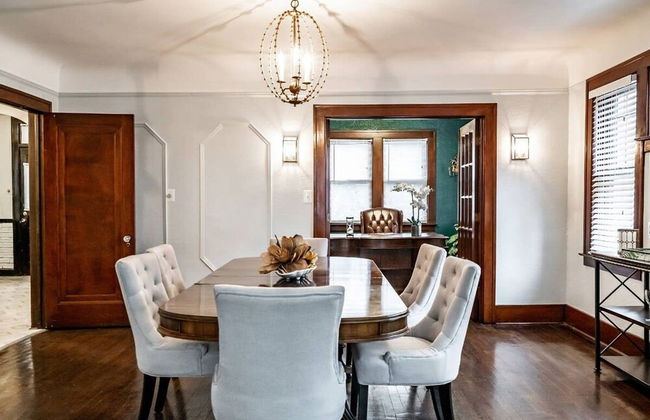
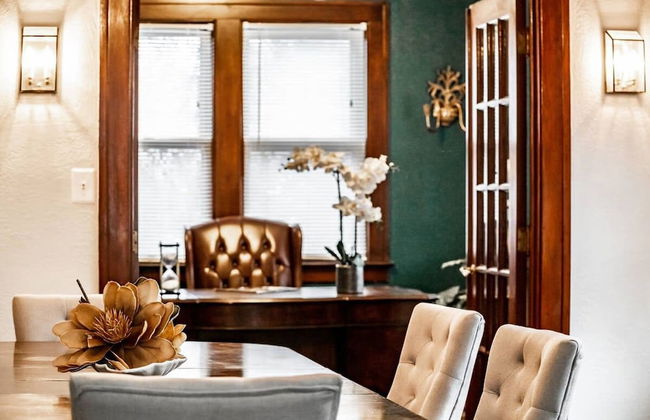
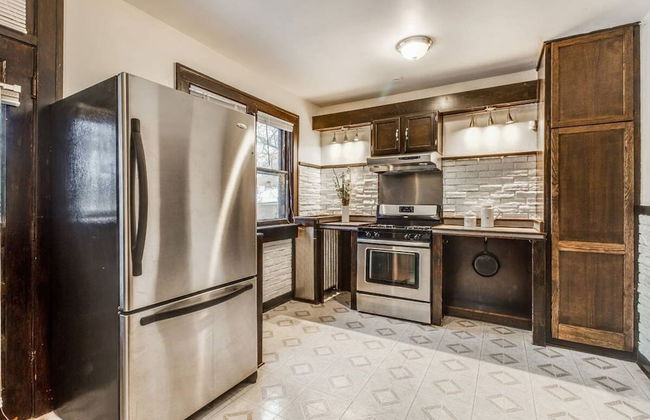
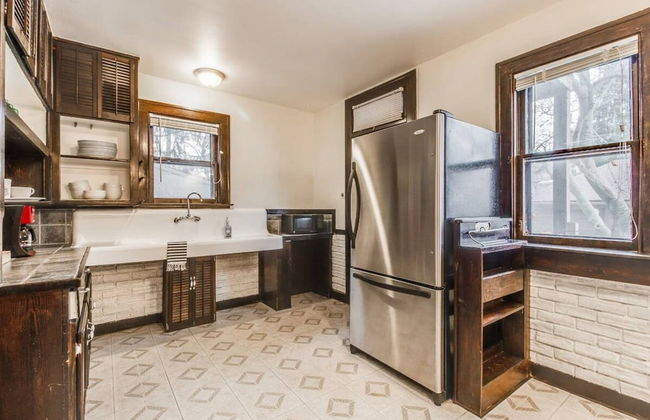
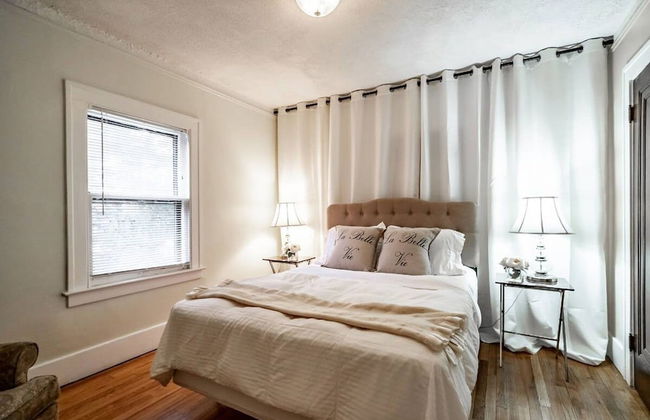
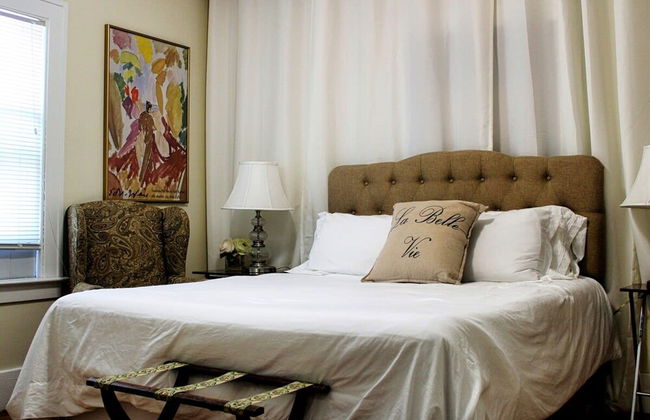
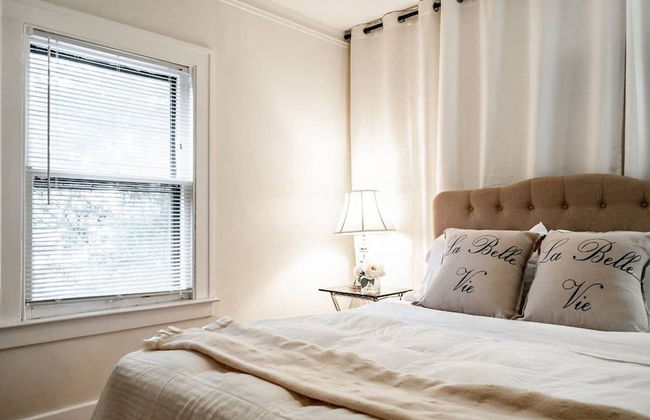
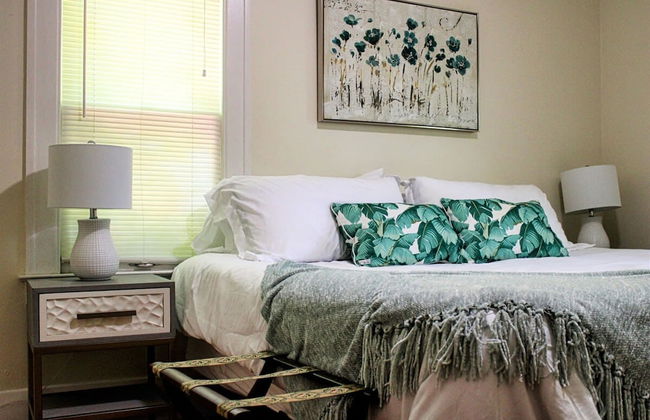
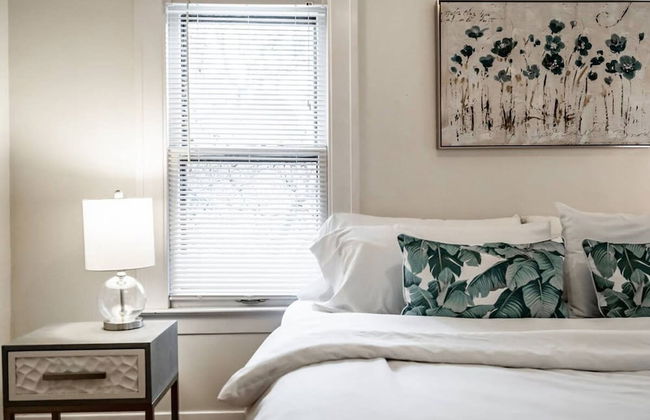
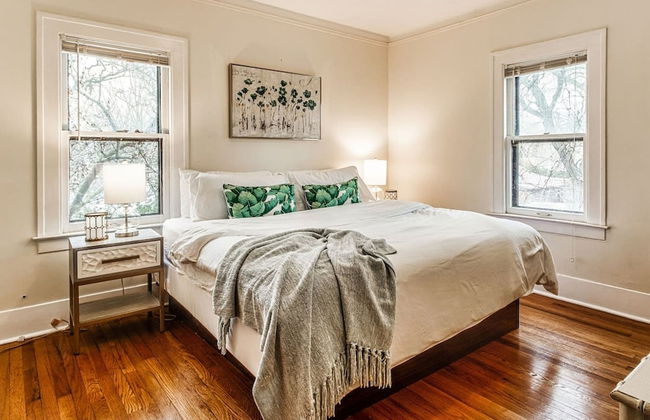
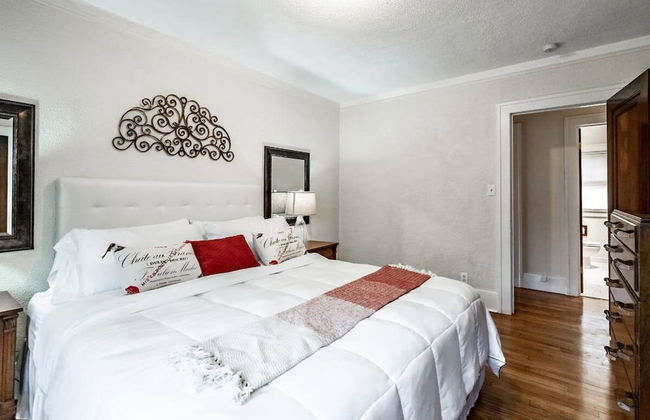
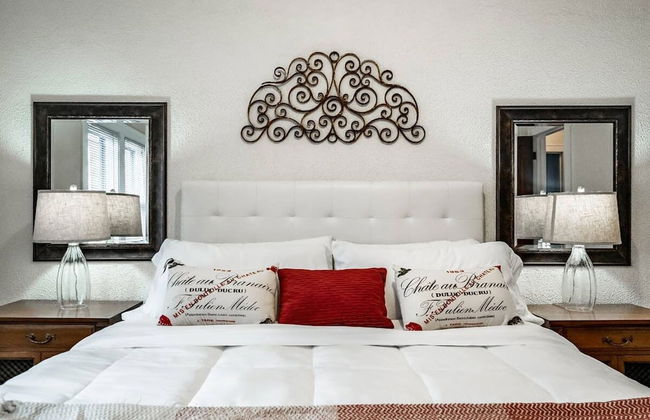
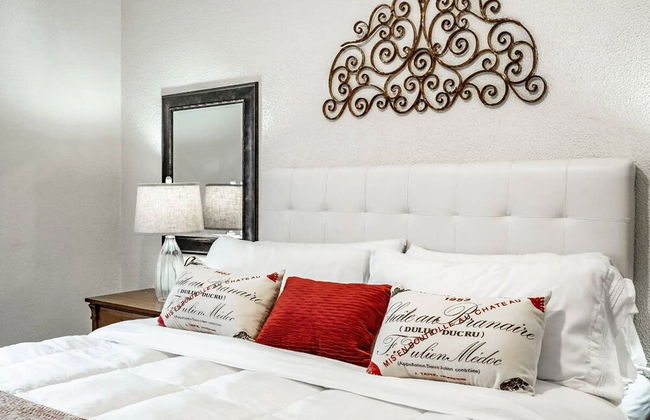
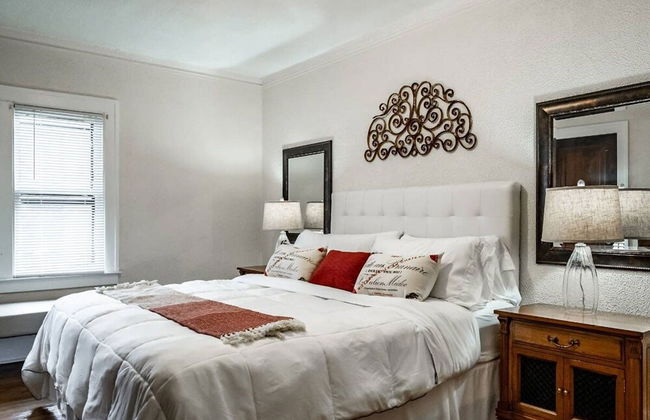
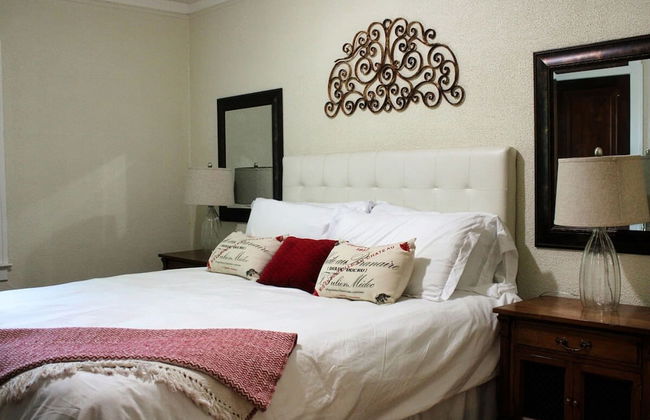
Executive Downtown Retreat
Detroit - Downtown - En el centro
- 6 personas
- Parking
- Ascensor
- Televisión
- Lavadora
- Toallas
- Sábanas


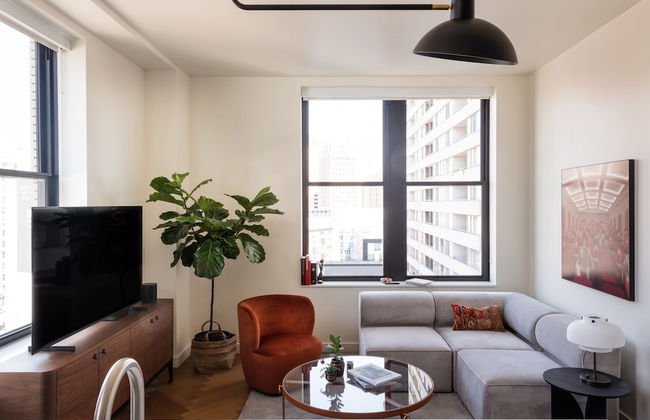


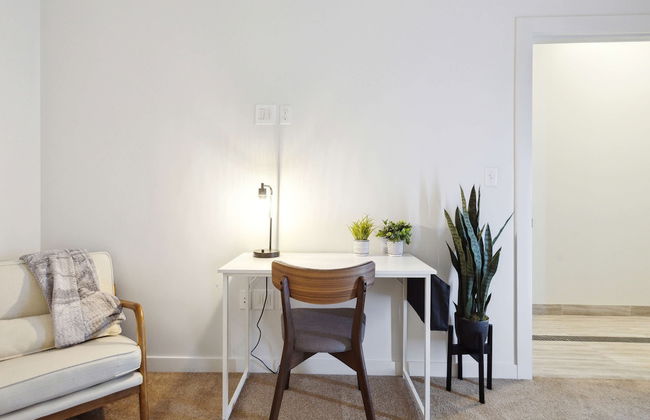
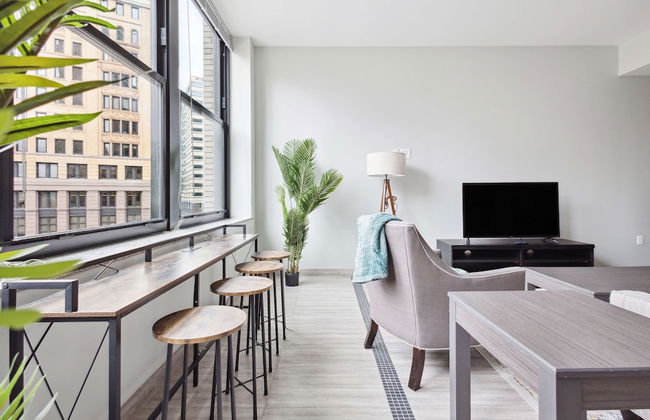
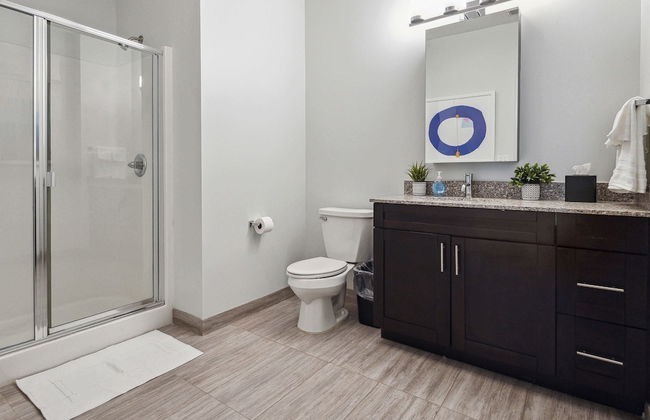
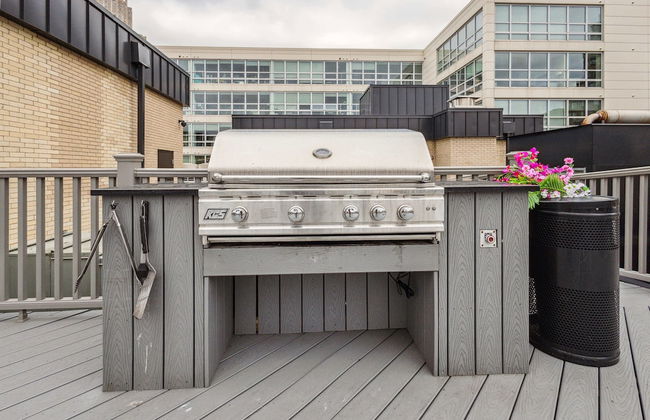
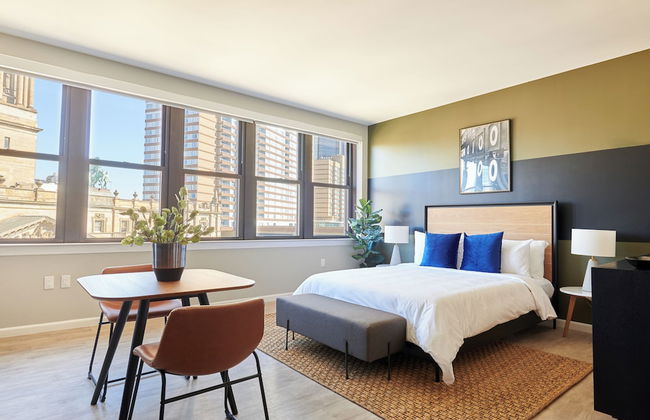
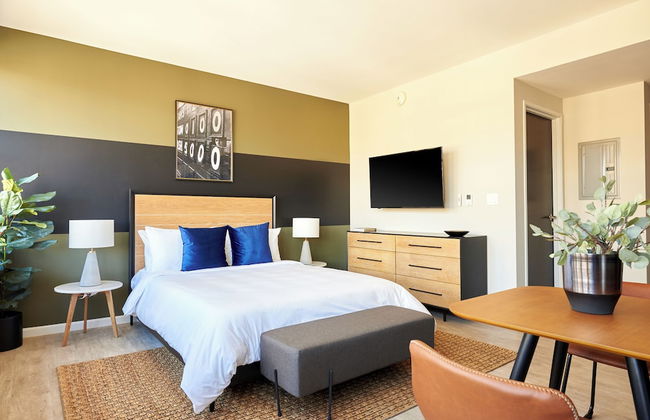
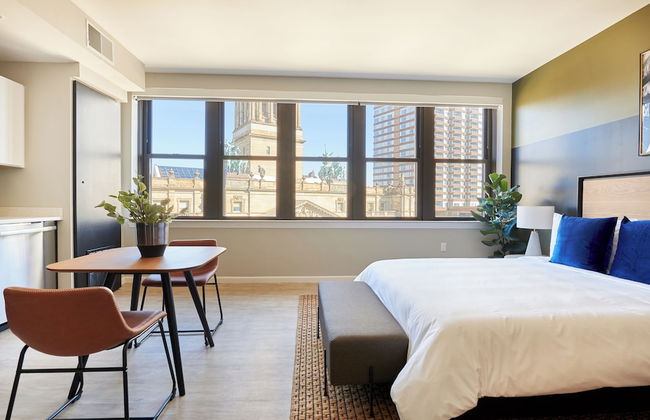
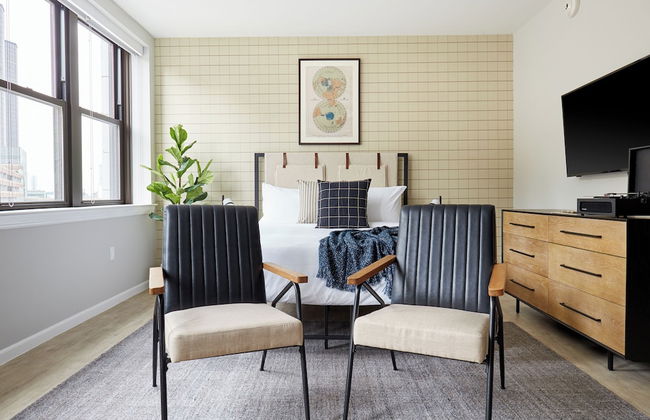
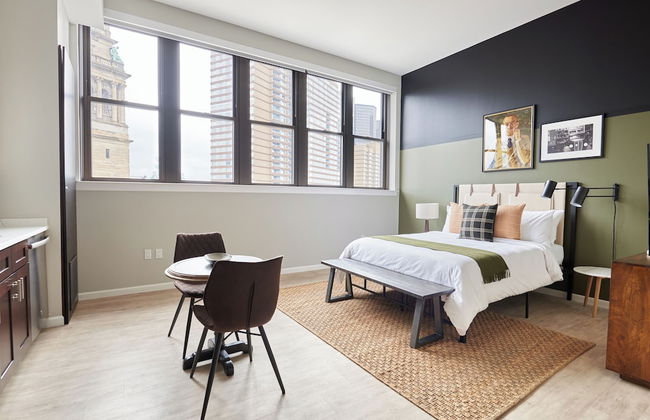
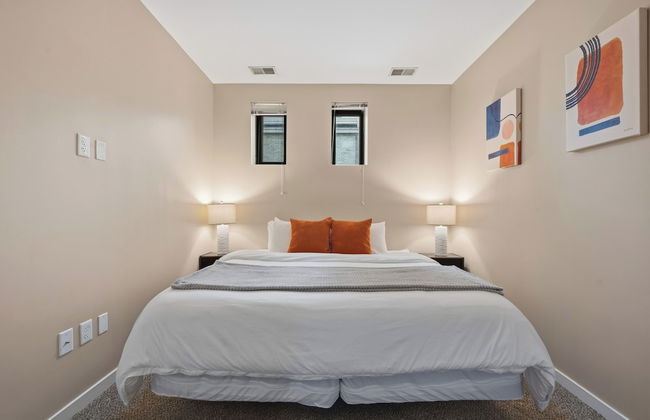
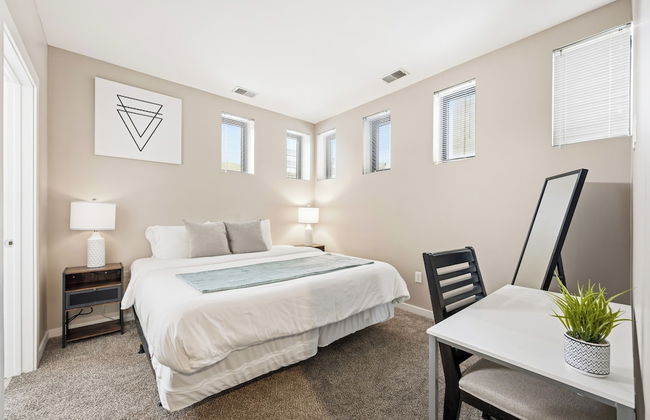
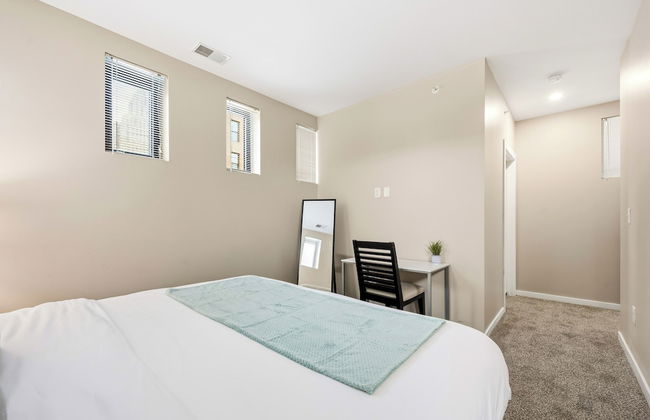
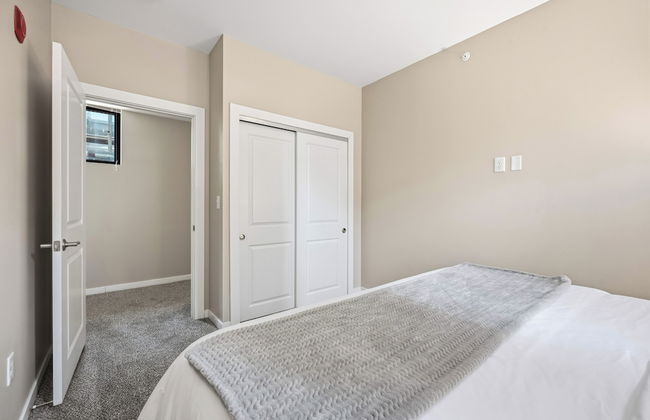
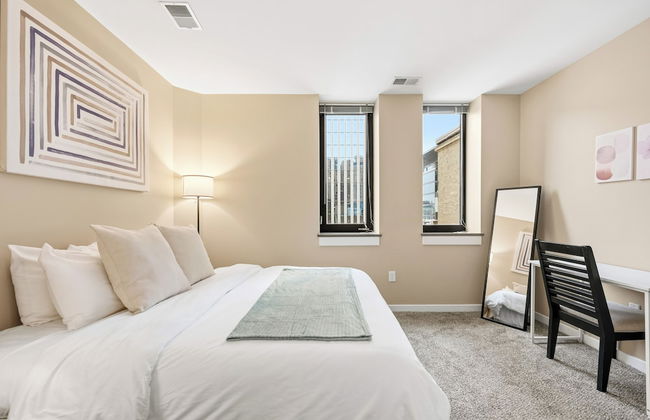
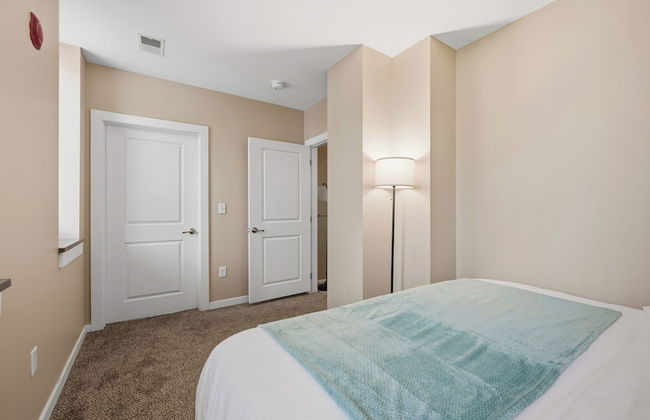
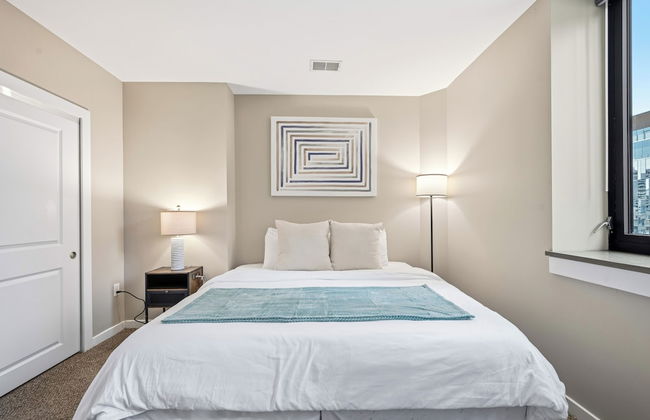
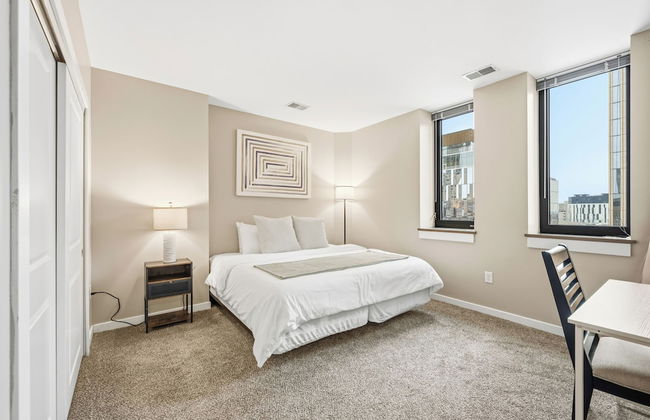
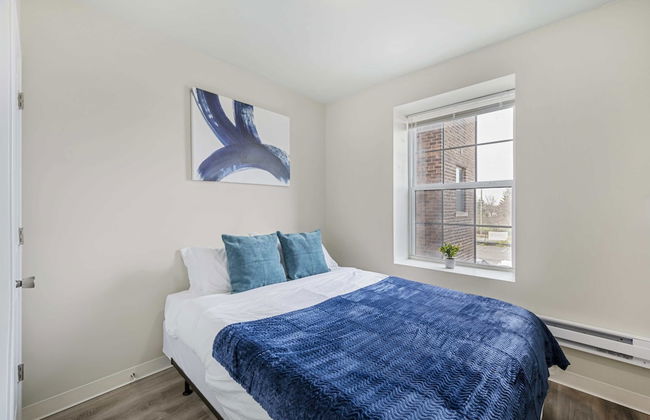
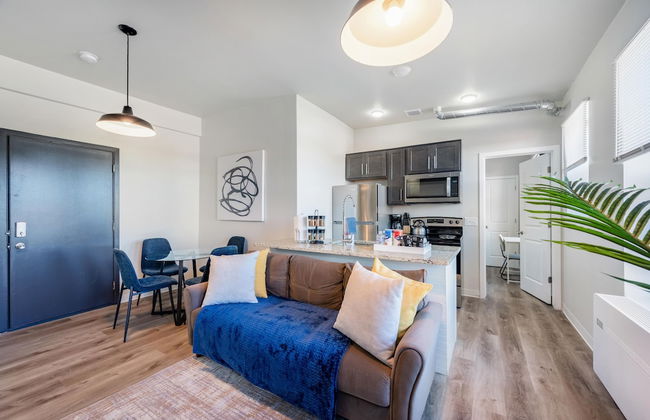
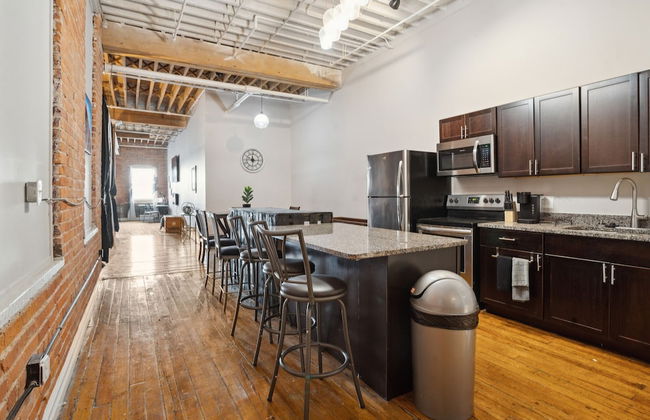
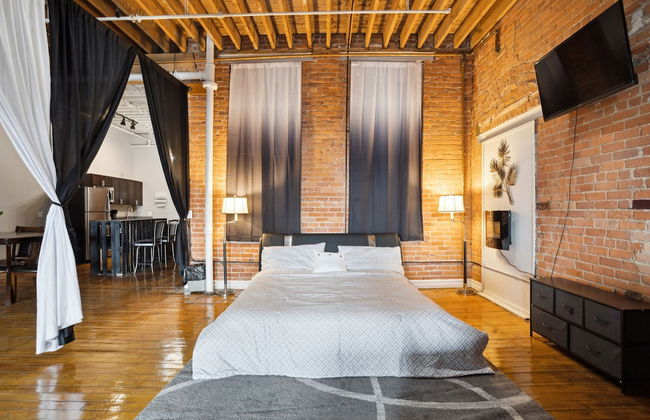
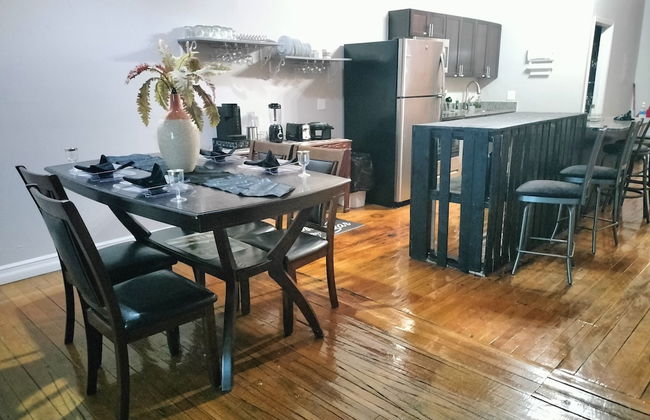
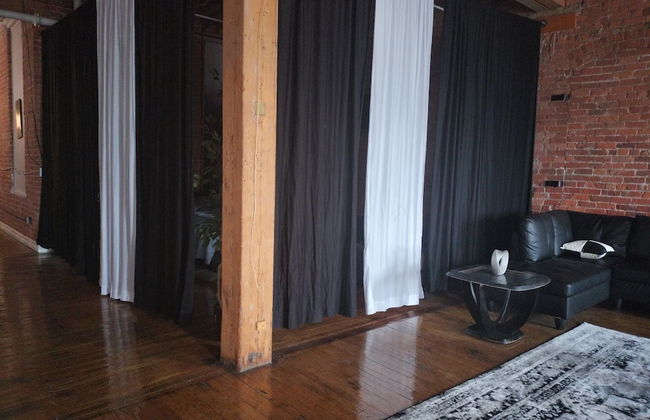
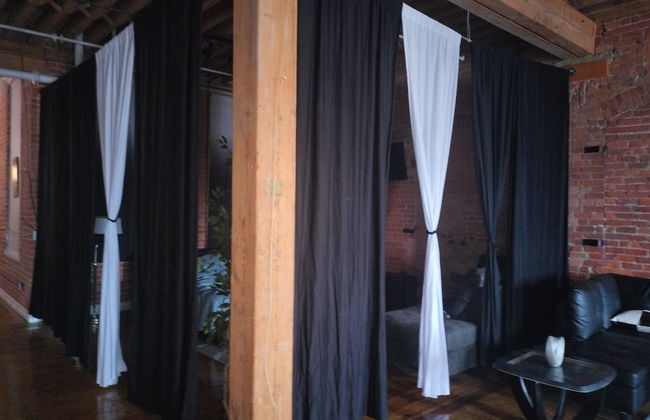
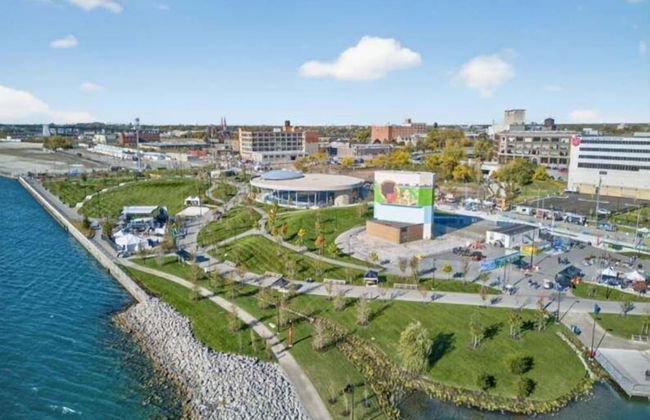
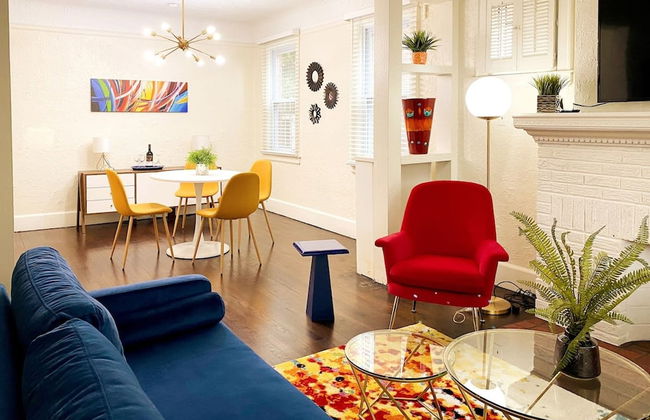
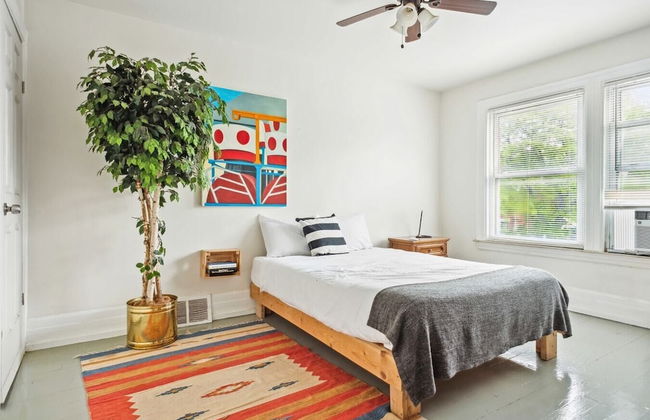
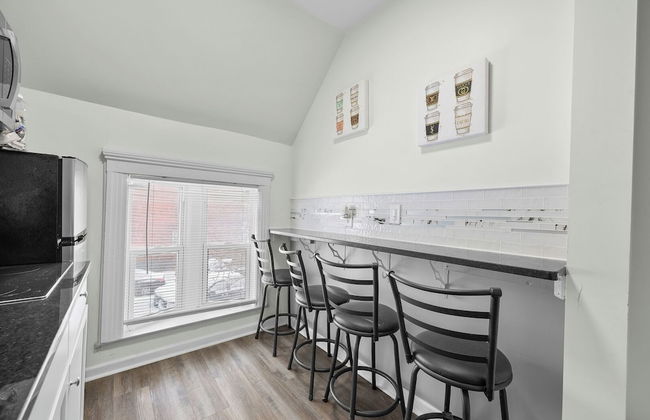
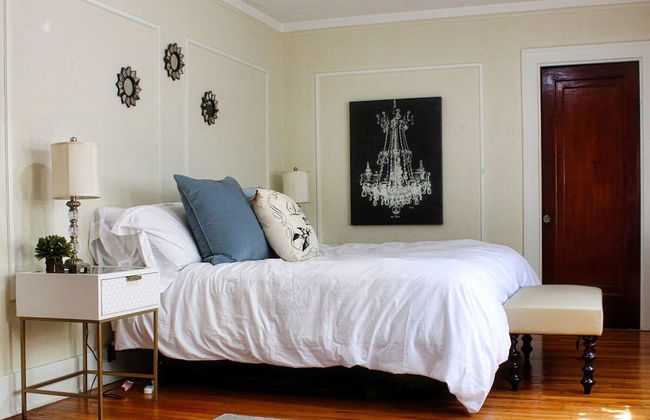
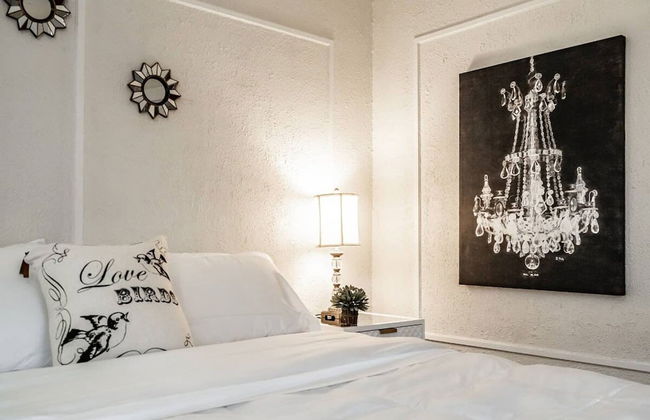
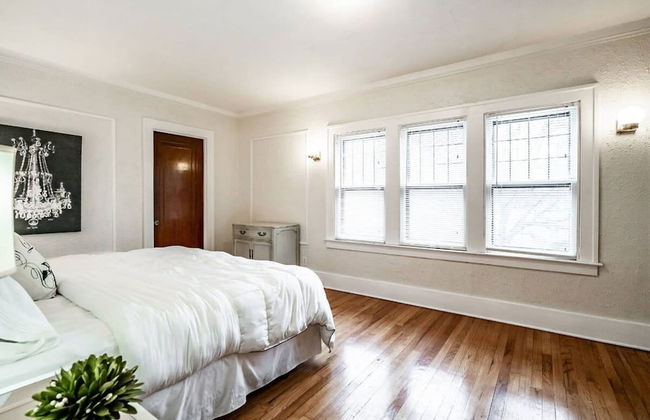
ROOST Detroit
Detroit - Downtown - En el centro
- 95 M2
- 4 personas
- Aire acondicionado
- Calefacción
- Parking
- Ascensor
- Televisión
- Lavadora
- Chimenea
- Barbacoa
- Toallas
- Sábanas


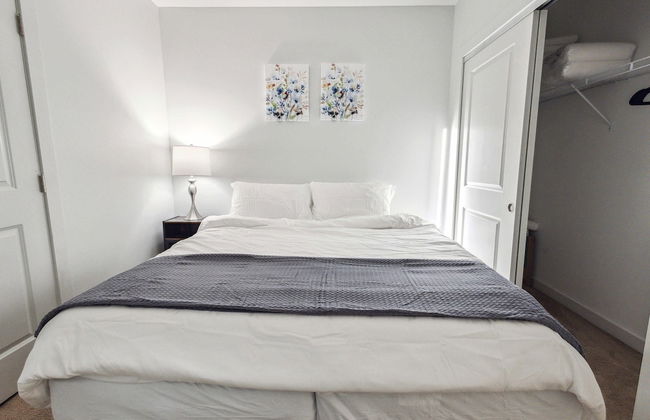
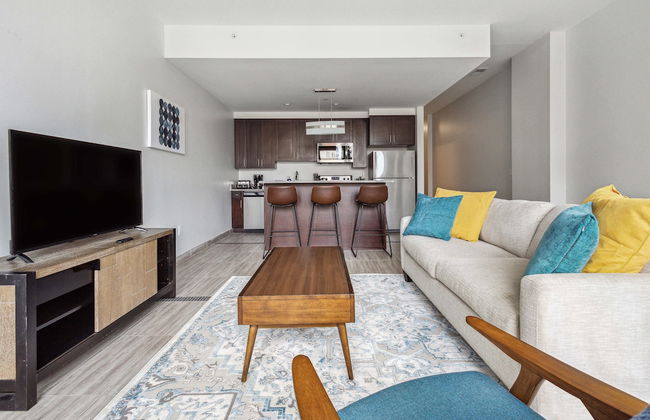
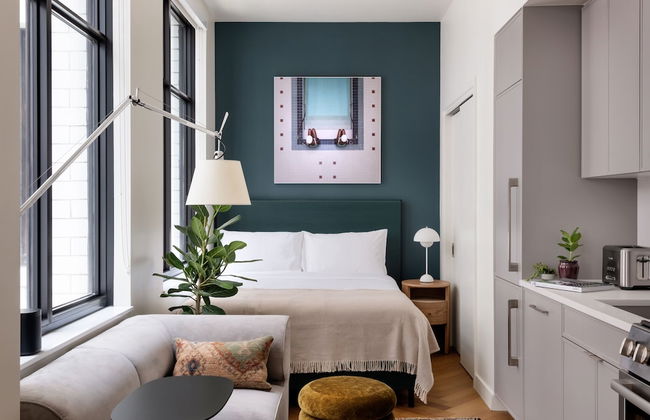
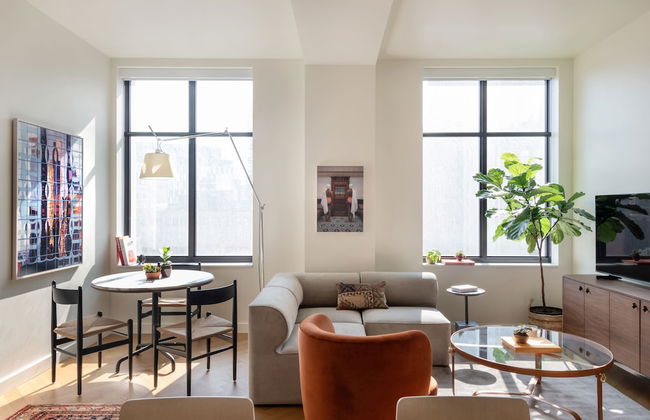
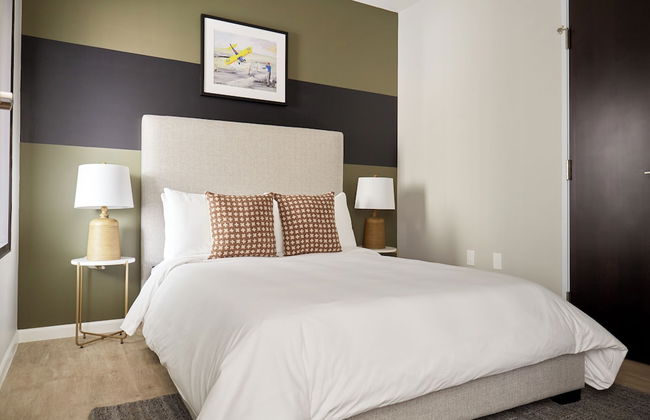
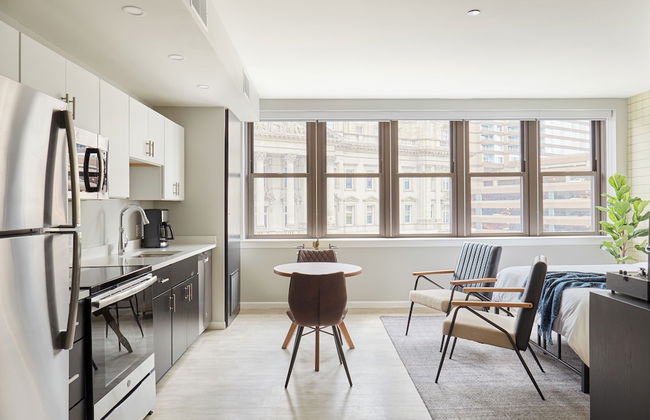
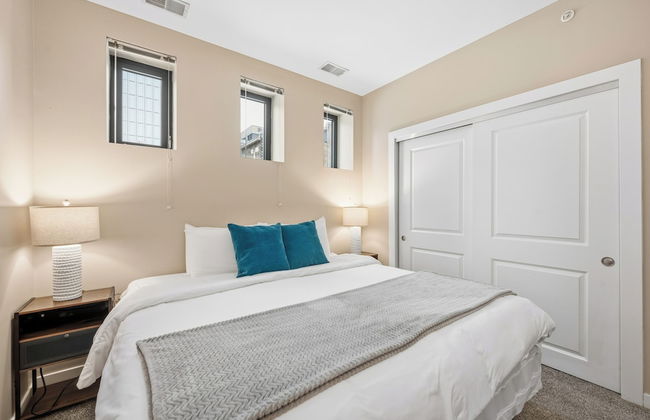
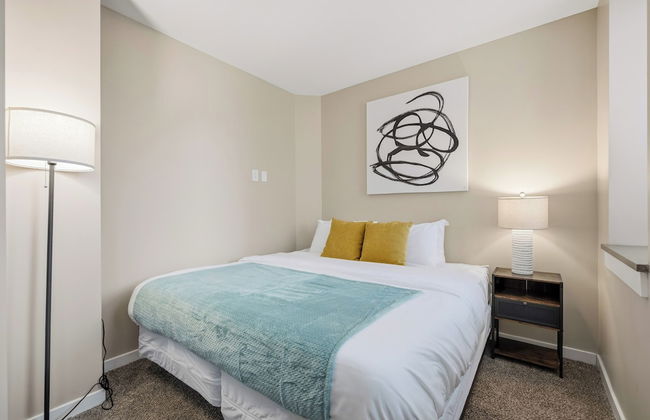
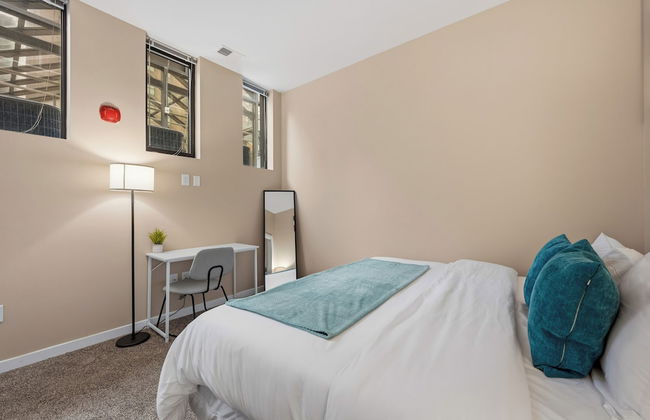
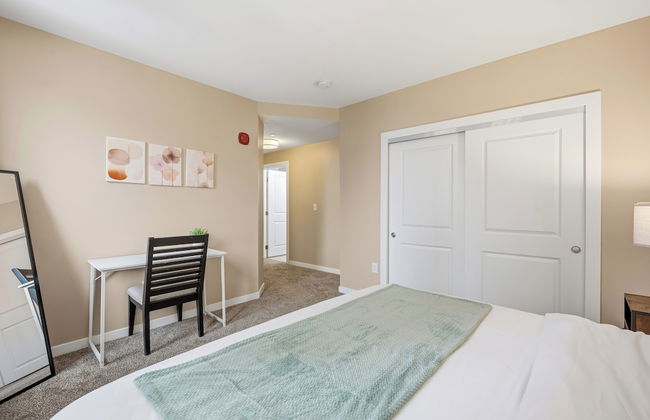
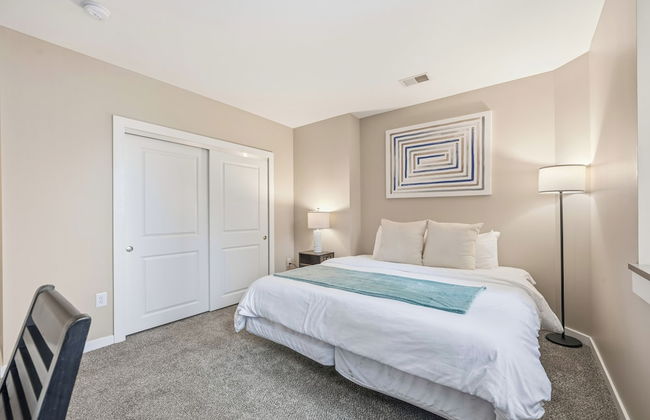
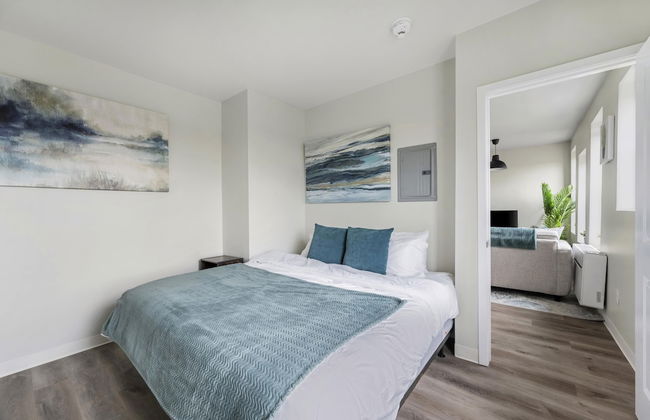
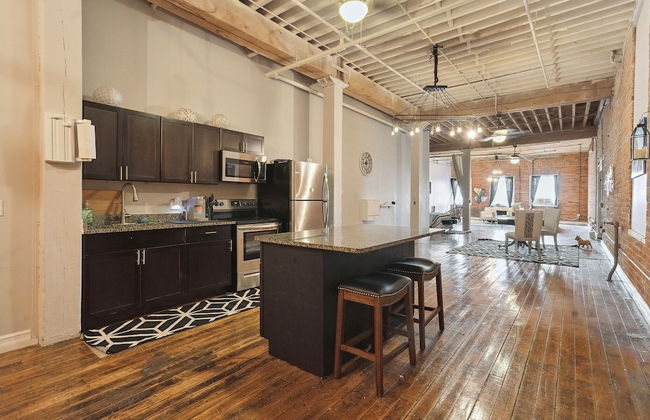
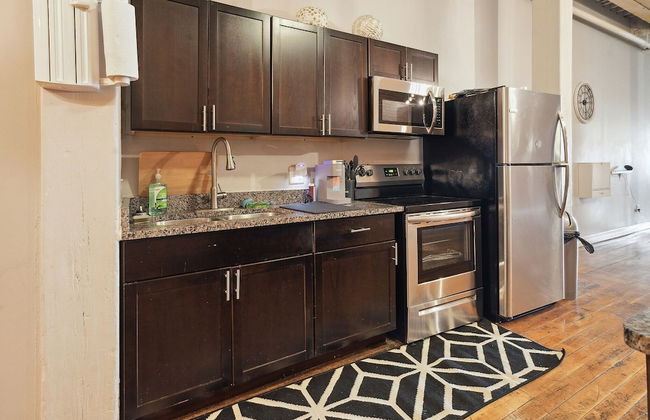
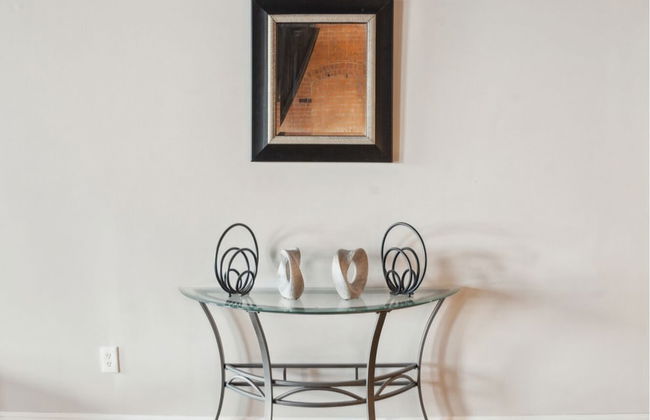
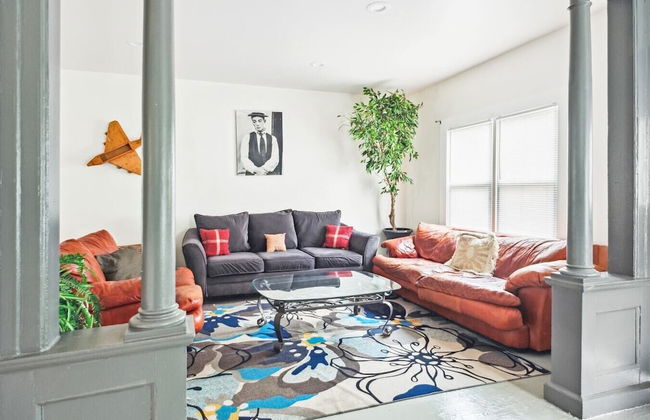
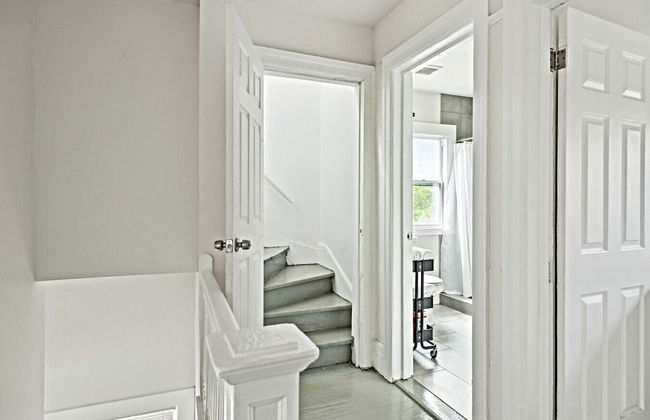
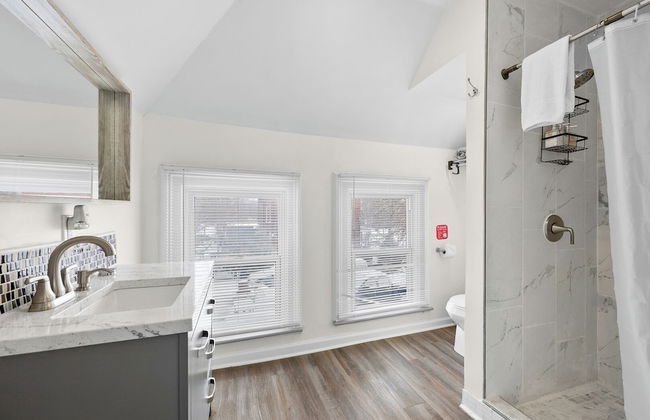
Sonder by Marriott Bonvoy Gabriel Richard Apartments Downtown
Detroit - Downtown - En el centro
- 6 personas
- Aire acondicionado
- Calefacción
- Ascensor
- Televisión
- Lavadora
- Toallas
- Sábanas


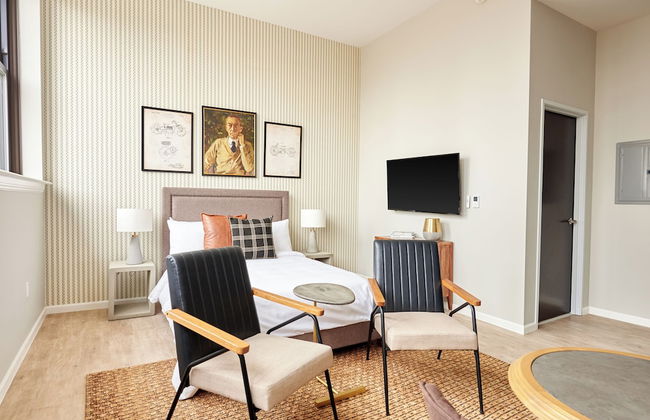


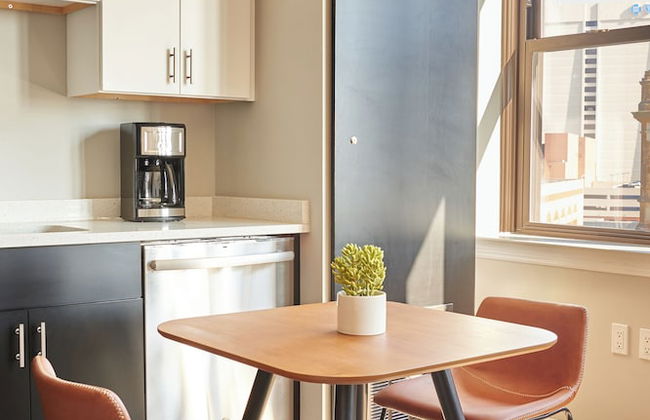


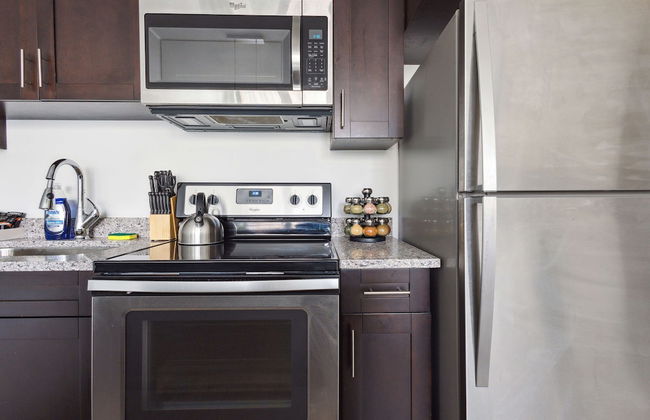
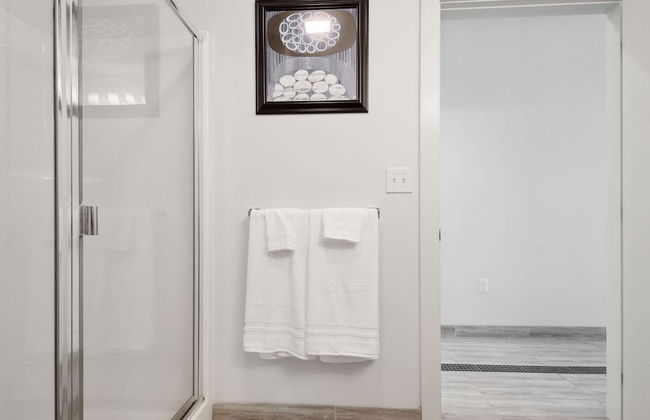
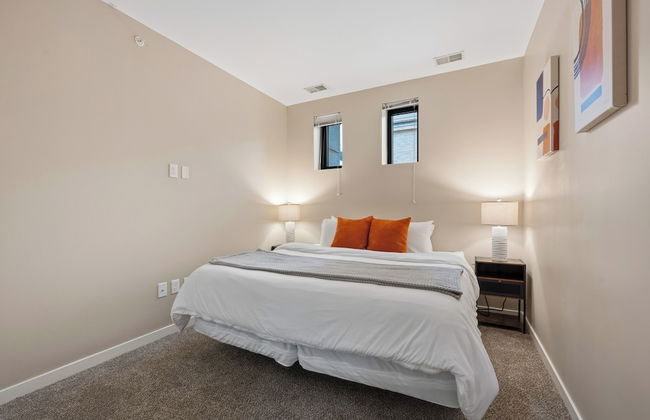
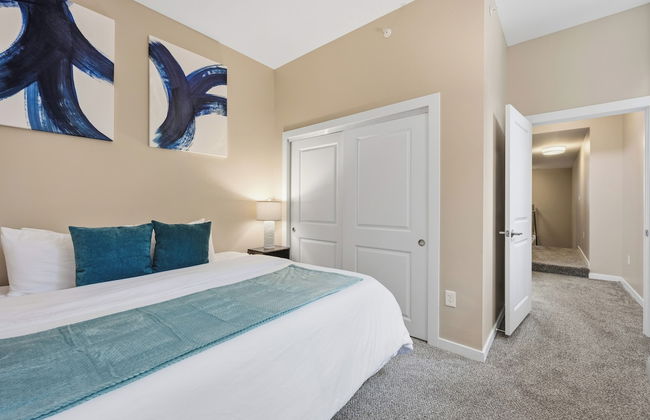
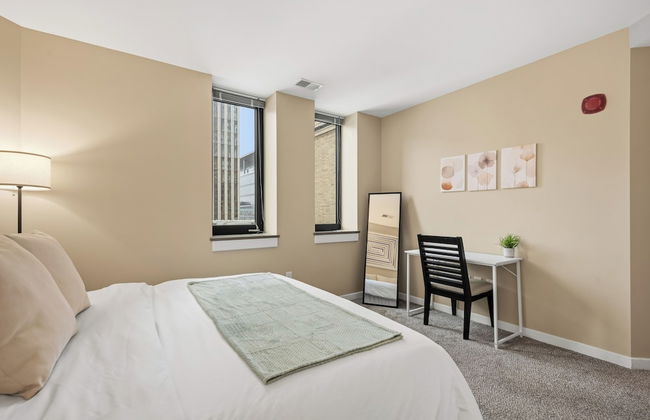
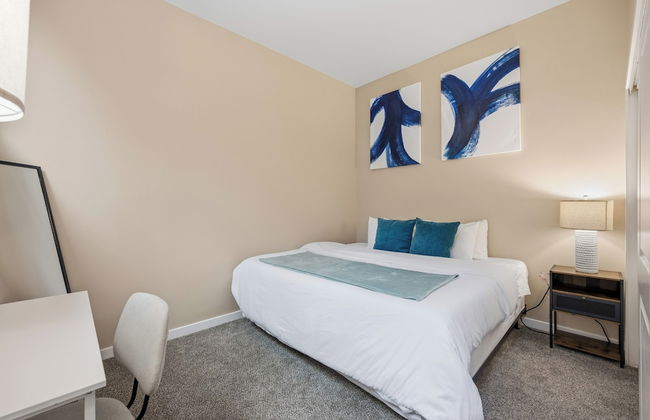
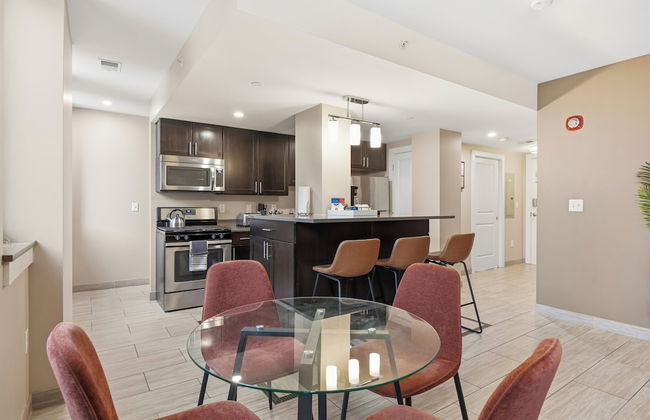
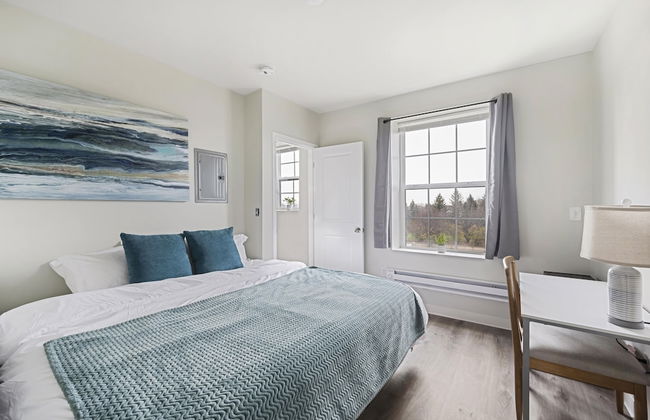
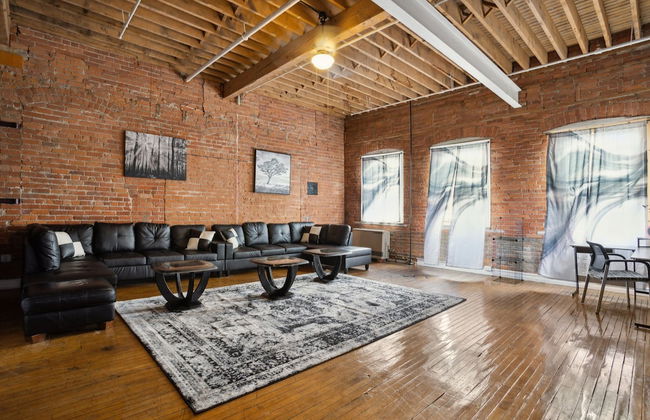
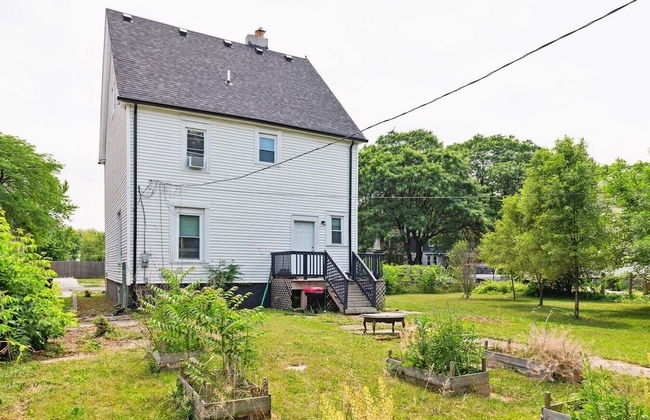
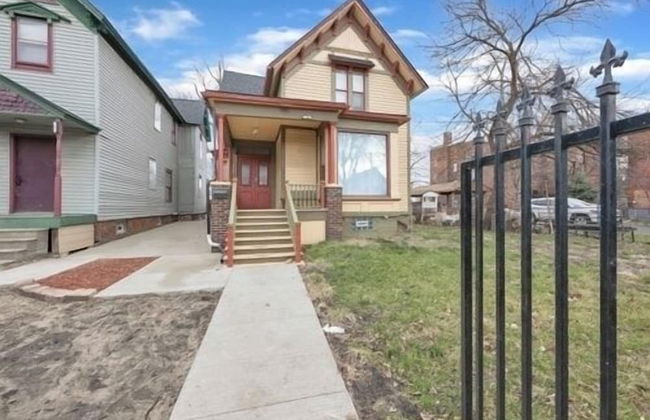
Kasa Cadillac Square Detroit
Detroit - Downtown - En el centro
- 74 M2
- 6 personas
- Aire acondicionado
- Calefacción
- Parking
- Ascensor
- Televisión
- Lavadora
- Toallas
- Sábanas


Modern Downtown Apartment
Detroit - Downtown - En el centro
- 8 personas
- Parking
- Ascensor
- Lavadora
- Toallas
- Sábanas


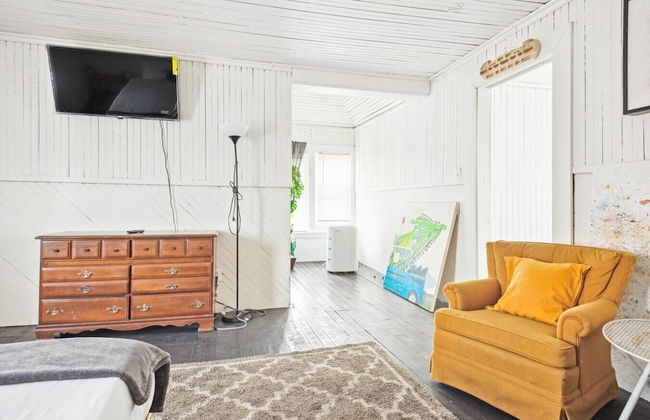
Modern Retreat Near Henry Ford
Detroit - Virginia Park - A 4.8 km del centro
- 116 M2
- 6 personas
- Calefacción
- Parking
- Televisión
- Lavadora
- Toallas
- Sábanas


Queen G Investments 1 Bedroom Apts by RedAwning
Detroit - West Side Industrial - A 680 m del centro
- 88 M2
- 4 personas
- Aire acondicionado
- Calefacción
- Ascensor
- Televisión
- Lavadora
- Toallas
- Sábanas


Downtown Detroit Loft - Fully equipped & Absolutely Gorgeous theme by RedAwning
Detroit - West Side Industrial - A 680 m del centro
- 297 M2
- 5 personas
- Aire acondicionado
- Calefacción
- Ascensor
- Televisión
- Lavadora
- Toallas
- Sábanas


The Botticelli Club - Classic
Detroit - West Side Industrial - A 670 m del centro
- 4 personas
- Aire acondicionado
- Parking
- Televisión
- Toallas


Evanston BnB
Detroit - Denby - A 10.3 km del centro
- 92 M2
- 6 personas
- Aire acondicionado
- Calefacción
- Parking
- Balcón
- Televisión
- Toallas


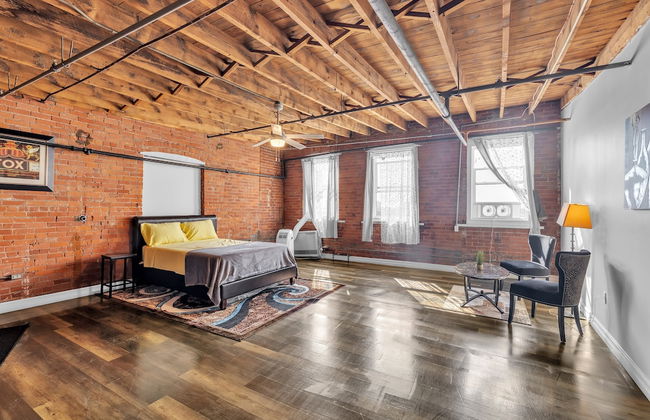


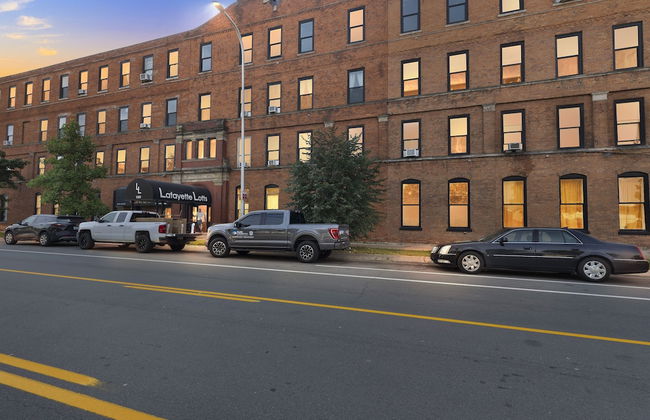


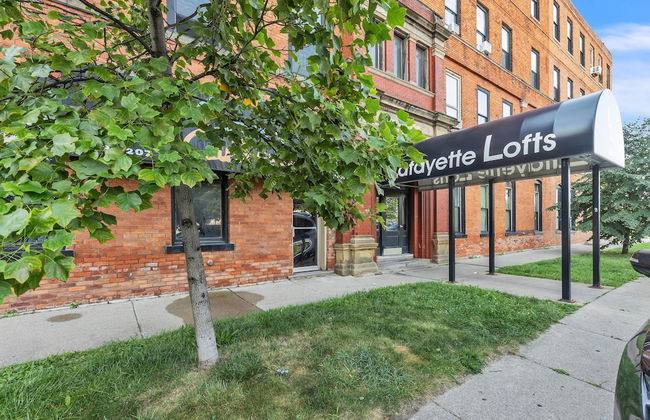
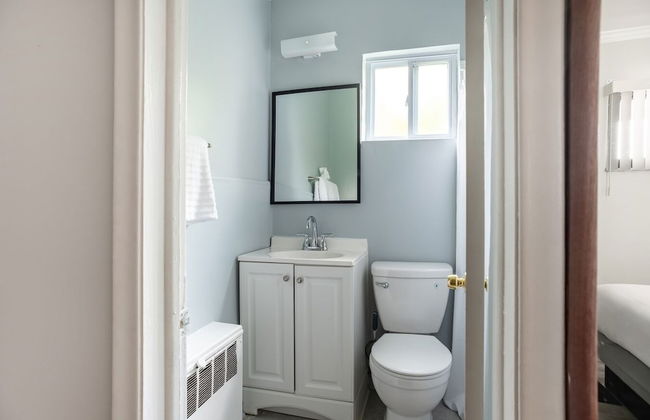
Stylish Chic Retreat At Lafayette Lofts 1 Bedroom Apts by RedAwning
Detroit - West Side Industrial - A 680 m del centro
- 4 personas
- Aire acondicionado
- Ascensor
- Televisión
- Toallas
- Sábanas


Private Room w/ Bath & Kitchen Access in Brownstown
Riverview
- 2 personas
- Aire acondicionado
- Calefacción
- Parking
- Televisión
- Toallas
- Sábanas


Spacious 4BR Family Home in Detroit Wifi & Parking
Detroit - A 5.2 km del centro
- 8 personas
- Aire acondicionado
- Calefacción
- Parking
- Jardín
- Televisión
- Sábanas


Spacious 3BR Detroit Apt Sleeps 7 + Wifi
Detroit - Mexicantown - A 3.1 km del centro
- 1500 M2
- 7 personas
- Aire acondicionado
- Calefacción
- Parking
- Televisión
- Sábanas


Gather Around the Mid-century Table at a Tranquil Haven
Detroit - University District - A 11.7 km del centro
- 4 personas
- Aire acondicionado
- Calefacción
- Parking
- Televisión
- Toallas
- Sábanas


Pet Friendly 5BR Home near Downtown Detroit by RedAwning
Detroit - Islandview - A 4.3 km del centro
- 10 personas
- Aire acondicionado
- Calefacción
- Parking
- Balcón
- Televisión
- Lavadora
- Toallas
- Sábanas


Spacious 4BR Getaway: Perfect for Family & Friends
Detroit - A 5.1 km del centro
- 8 personas
- Aire acondicionado
- Calefacción
- Parking
- Sábanas


Downtown Detroit Gem 3 Bedrooms & Culture!
Detroit - Southwest - A 3.8 km del centro
- 7 personas
- Aire acondicionado
- Calefacción
- Parking
- Televisión
- Sábanas


Detroit Escape: 2BR Apartment for 7 w/ Wifi
Detroit - Mexicantown - A 3.1 km del centro
- 800 M2
- 7 personas
- Calefacción
- Parking
- Televisión
- Sábanas


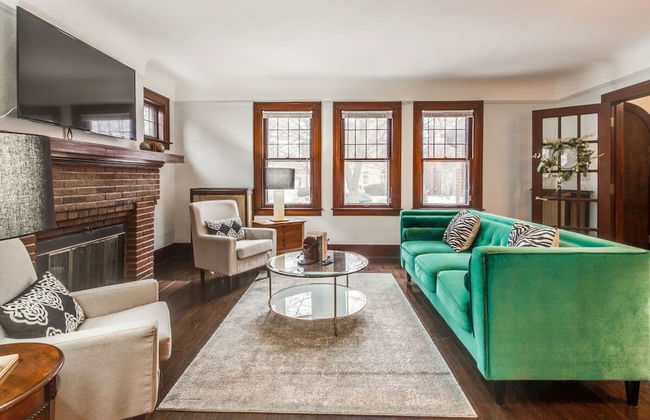
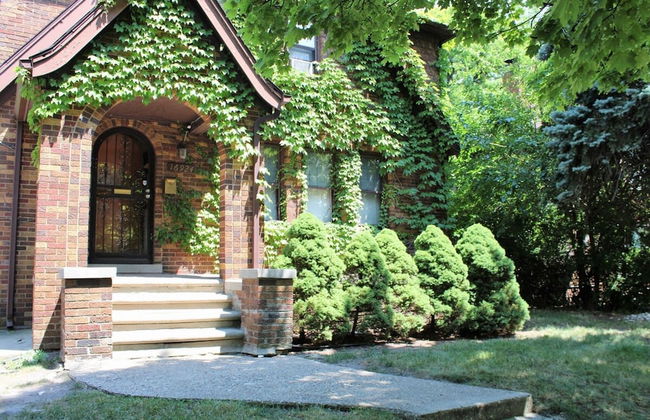
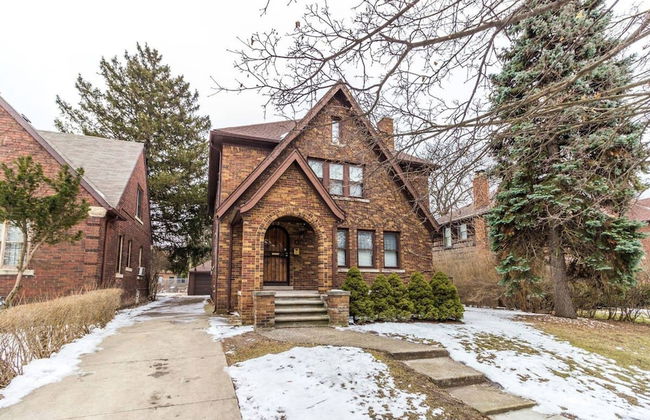
Glamorous Green Beauty in the Heart of University District 15min to Downtown
Detroit - Martin Park - A 11.3 km del centro
- 8 personas
- Calefacción
- Parking
- Balcón
- Jardín
- Televisión
- Toallas
- Sábanas