
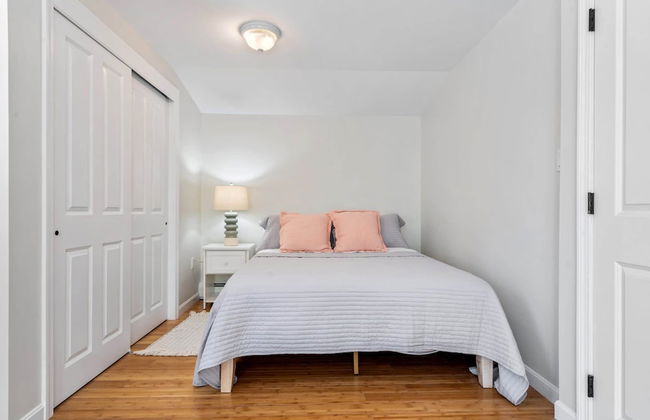
60 Apartamentos en York


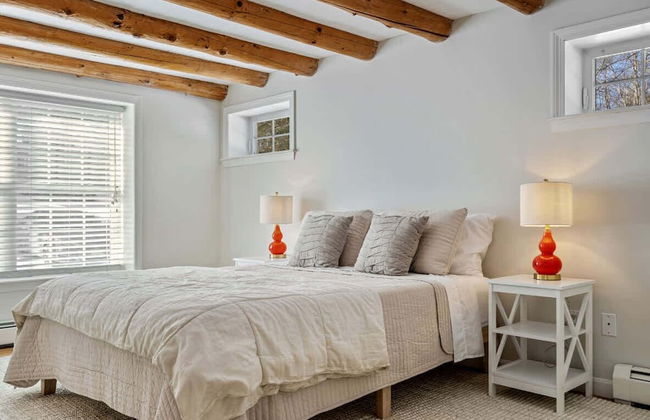
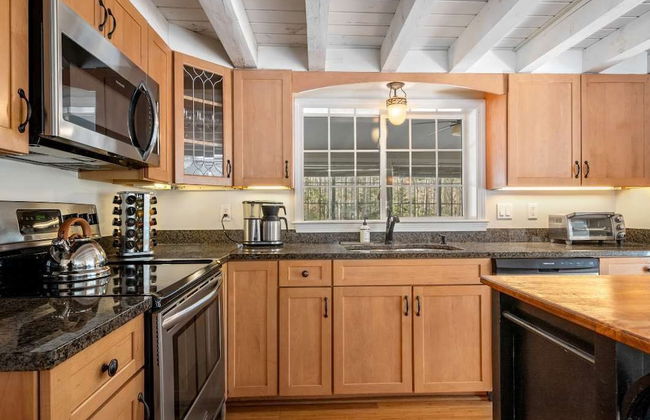
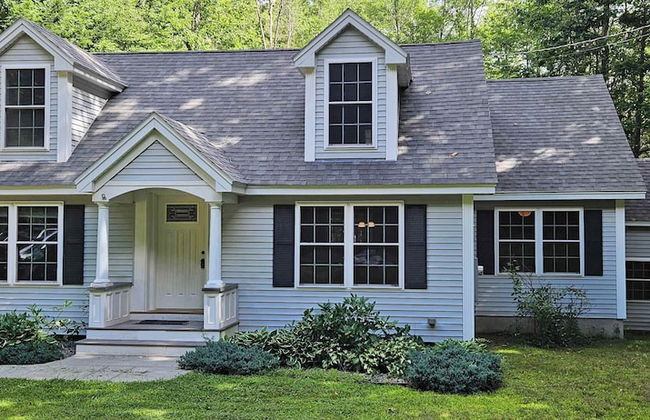
Owls Head Cottage at One Long Beach
York
- 93 M2
- 3 habitaciones
- 6 personas
- Aire acondicionado
- Calefacción
- Parking
1 reseña


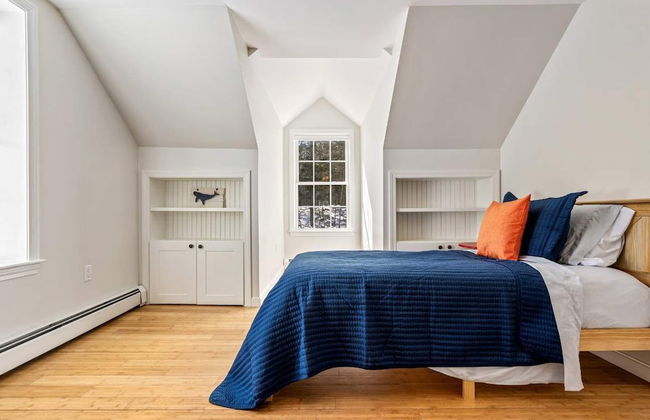
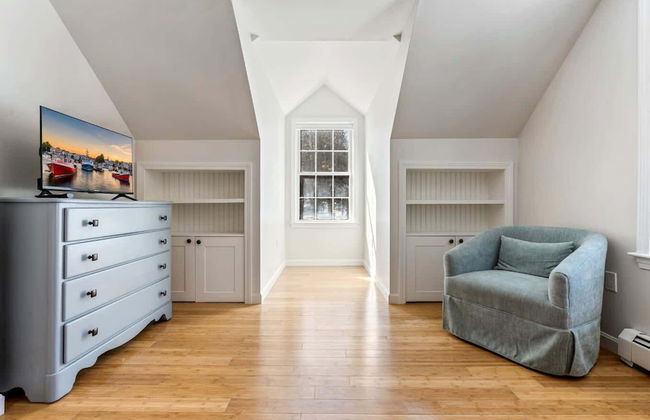
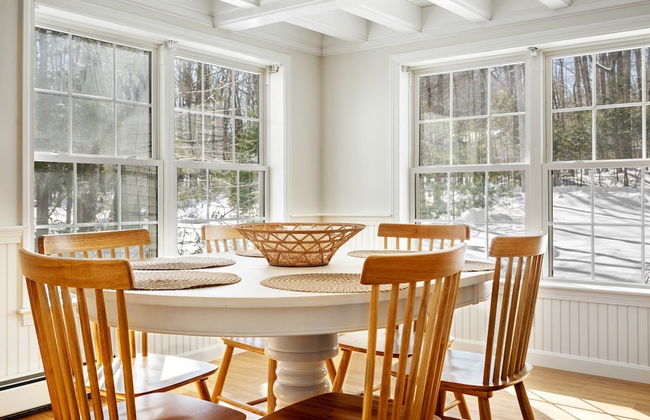
Good Tidings Stay for 8
York
- 192 M2
- 3 habitaciones
- 8 personas
- Aire acondicionado
- Calefacción
- Parking
1 reseña


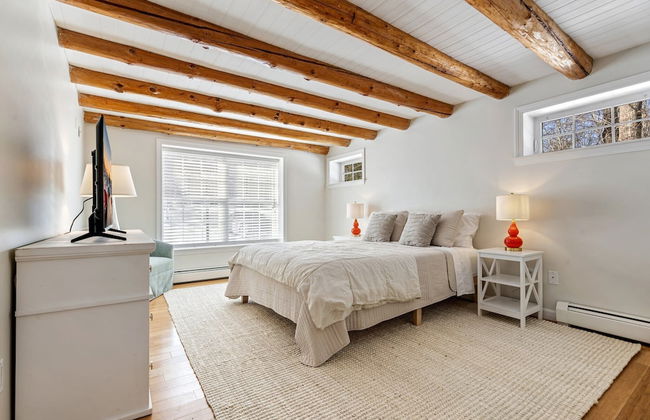
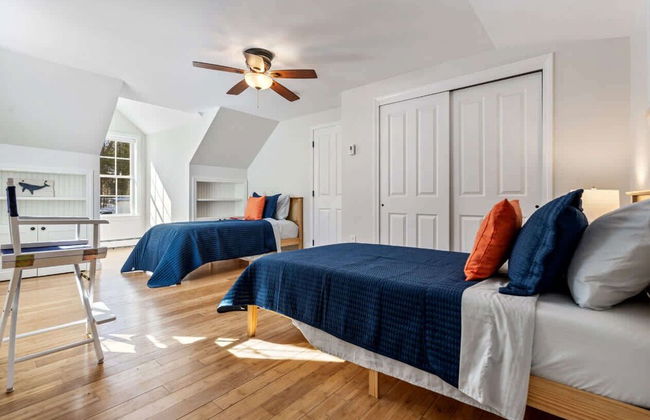


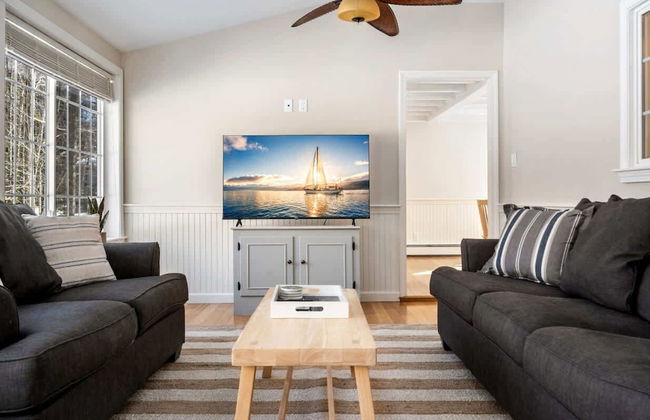


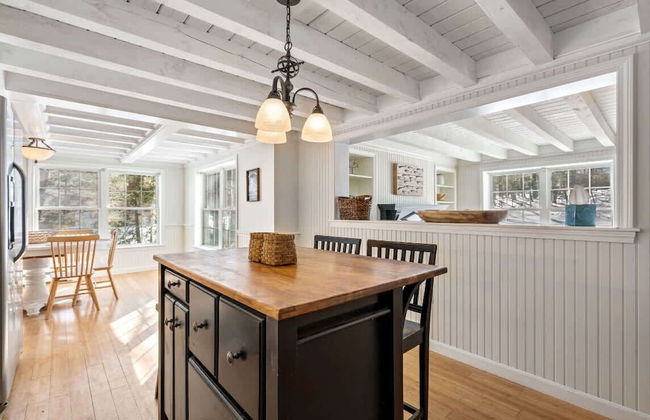


Good Tidings Stay for 8!
York
- 192 M2
- 8 personas
- Aire acondicionado
- Calefacción
- Parking
- Televisión
- Lavadora
- Toallas
- Sábanas