
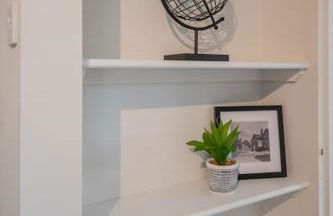
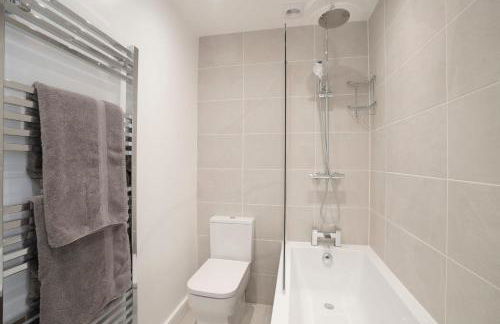
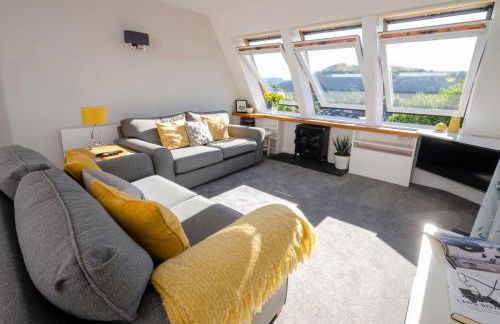
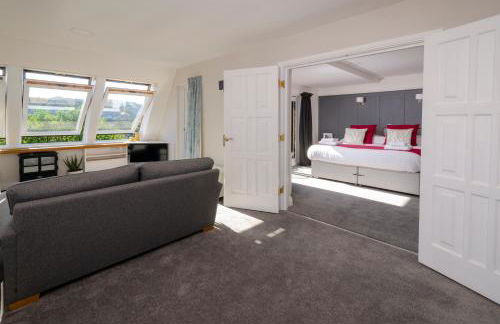
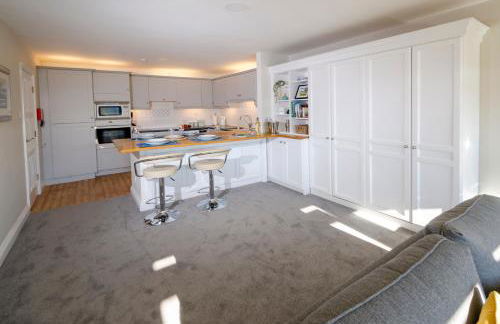
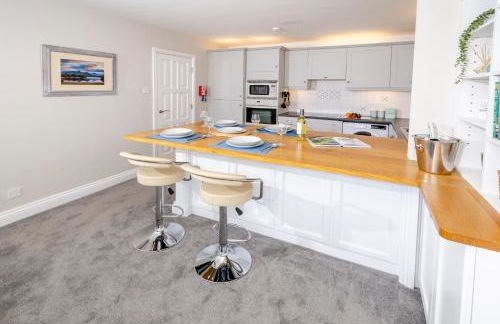
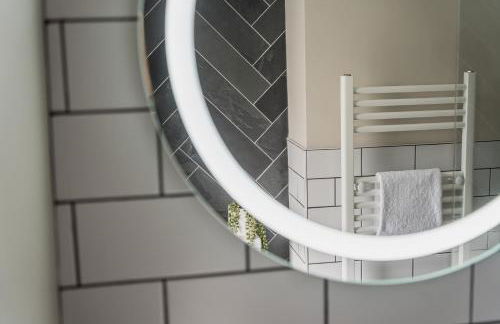
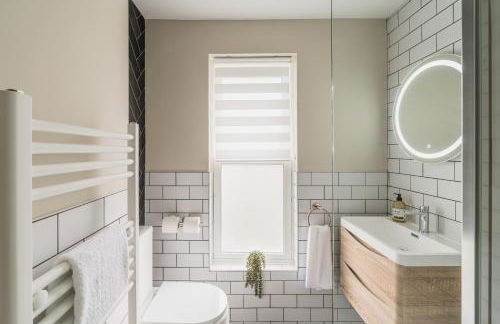
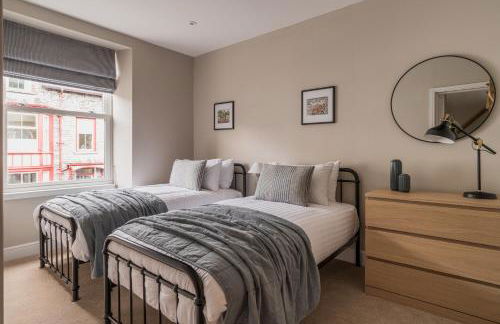
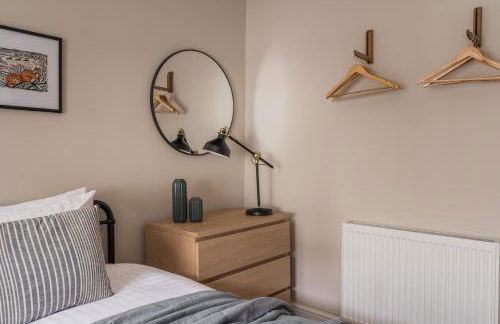
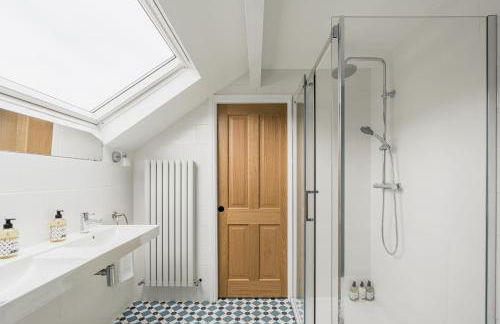
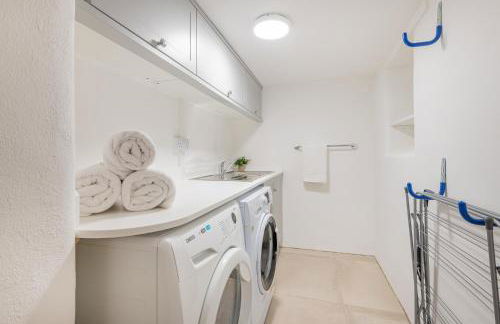
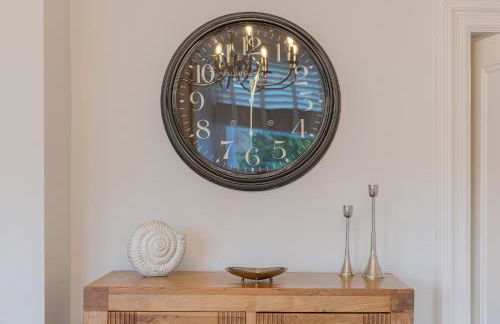
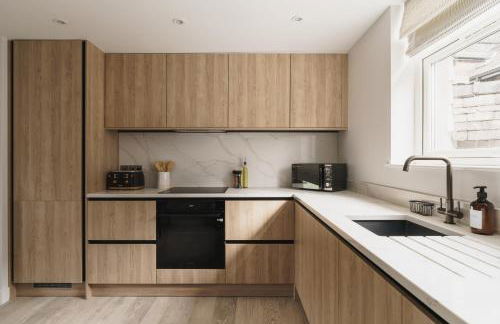
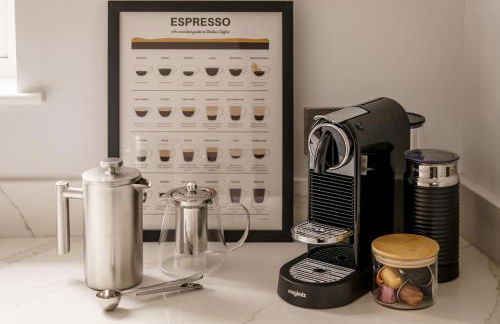
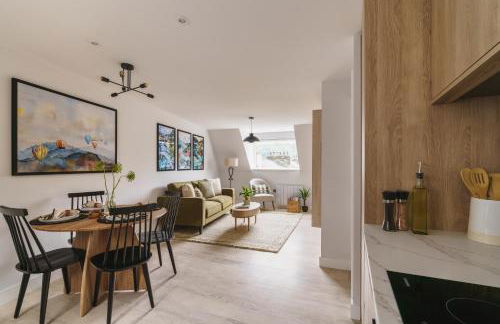
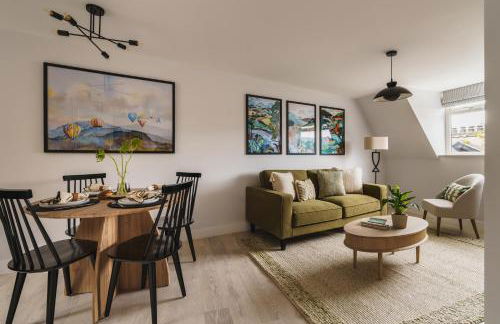
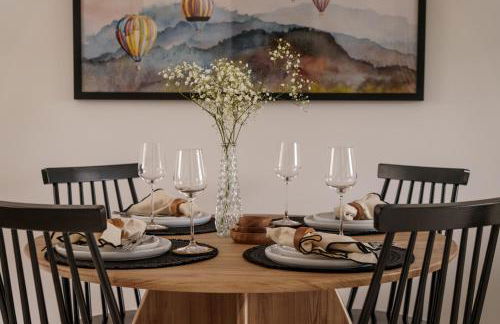
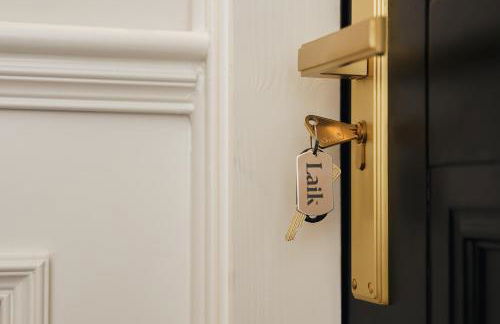
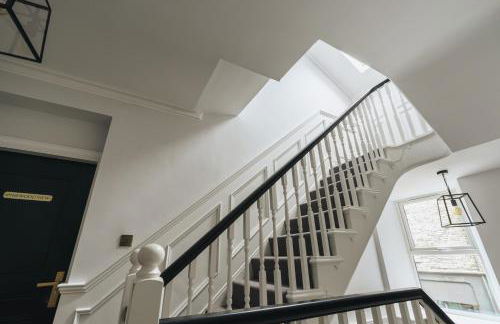
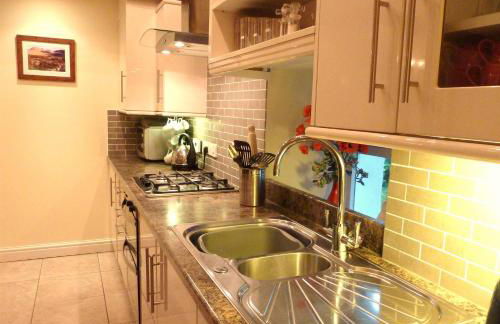
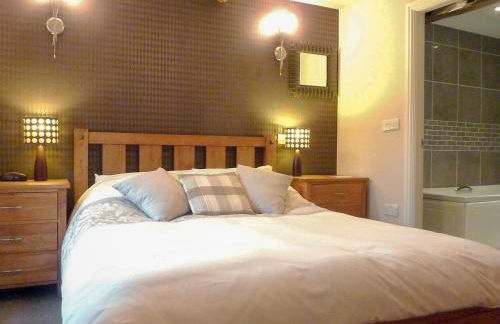
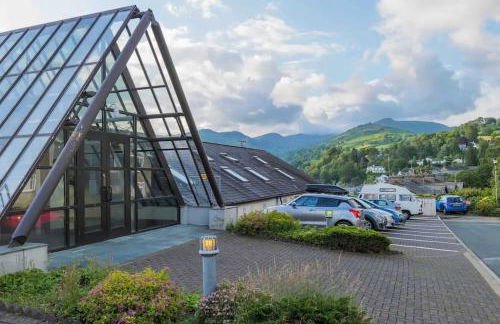
401 Apartamentos en Ambleside
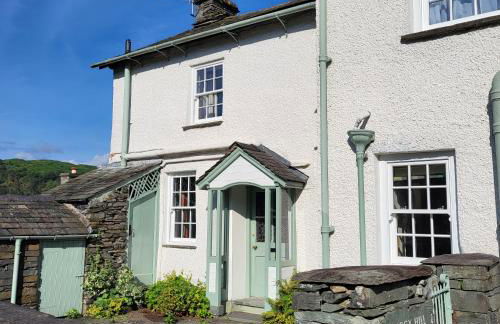
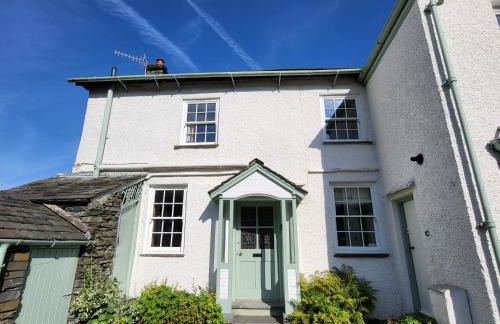
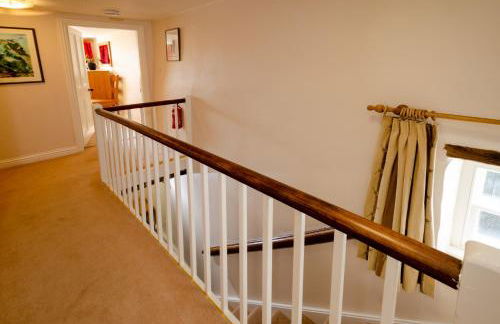


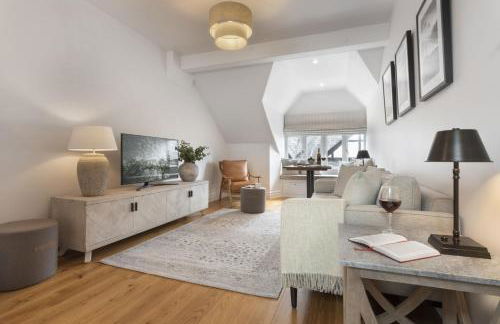

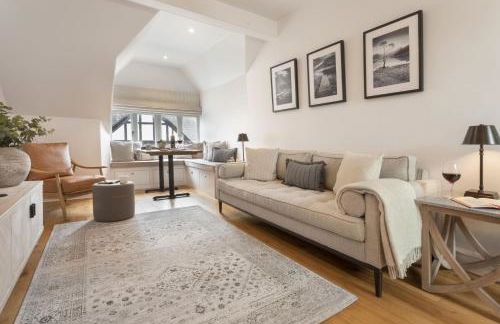

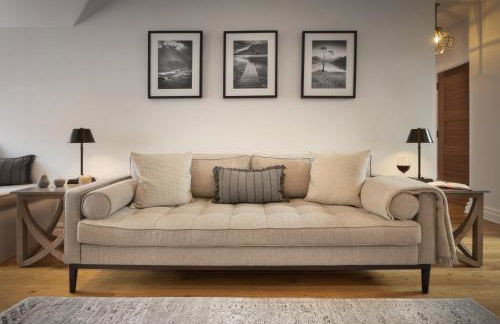

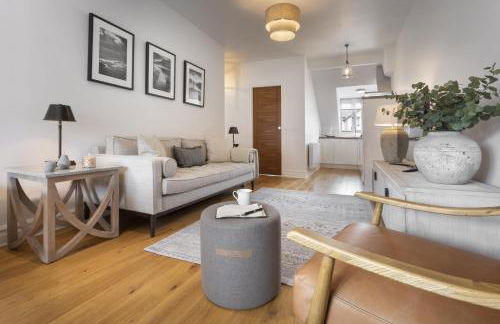

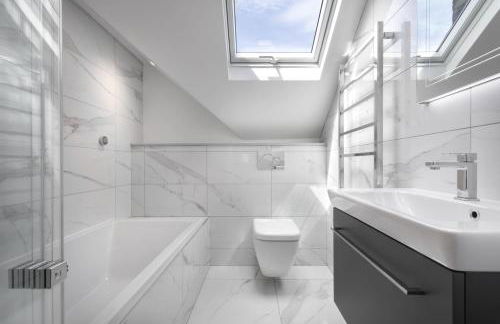

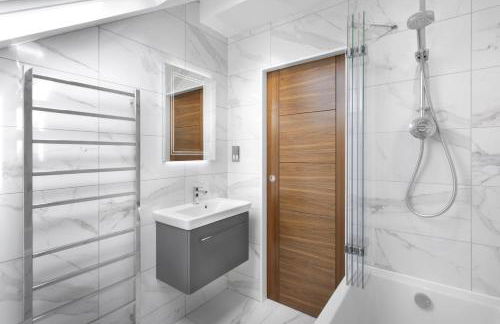

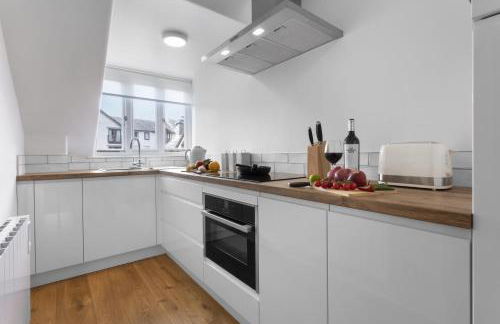

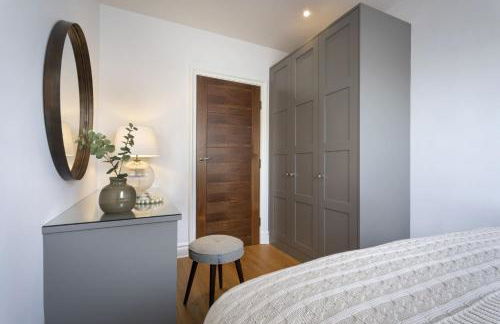

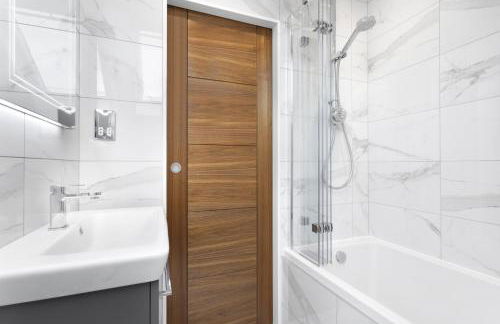

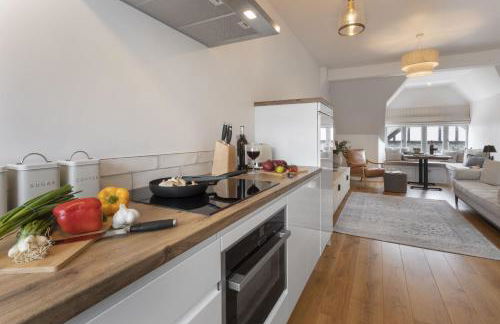

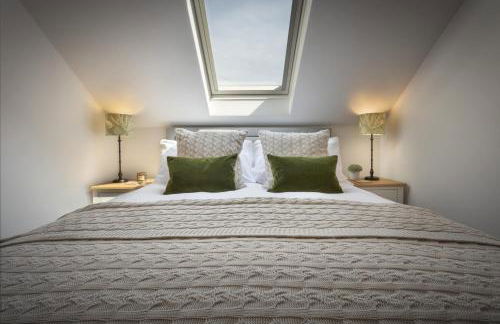

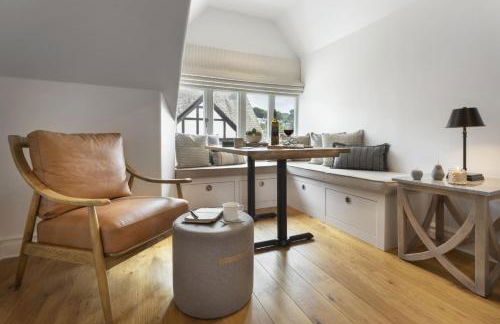

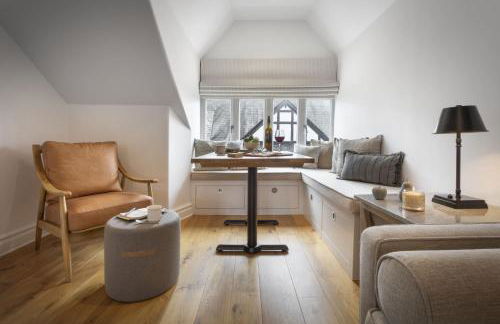

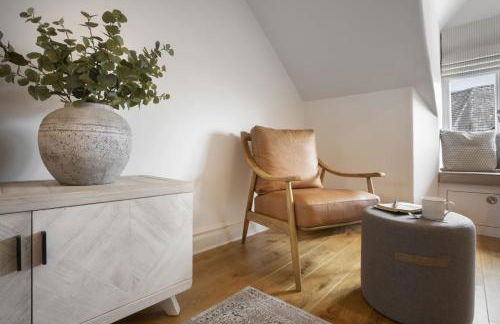

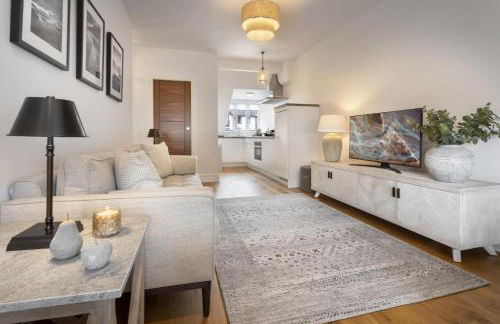


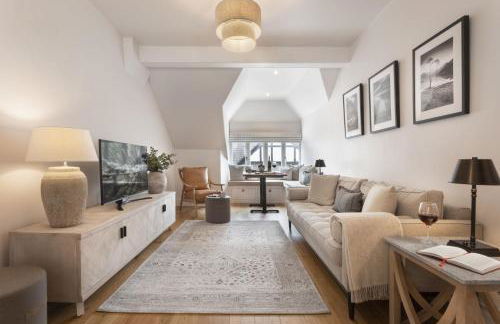

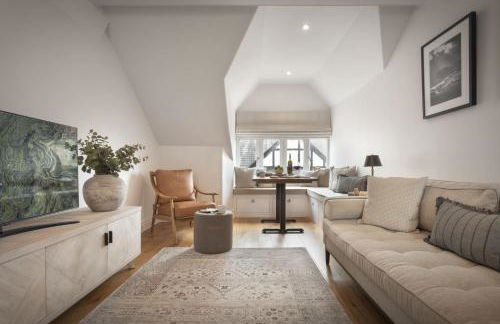


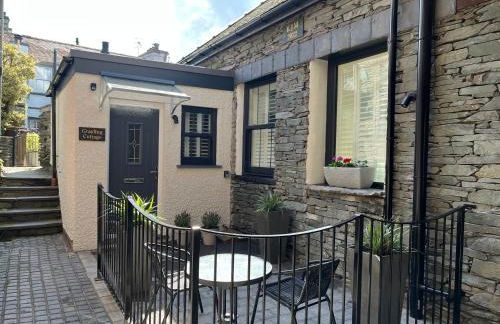
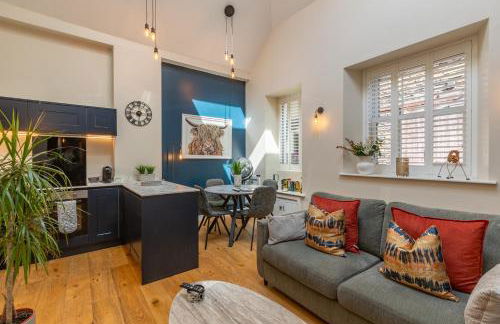
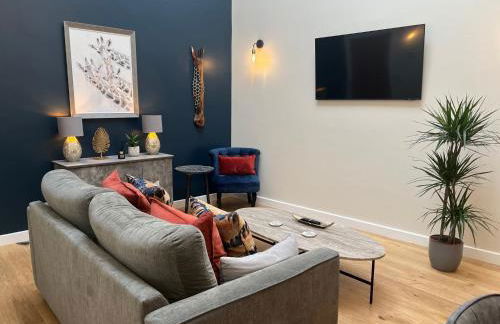
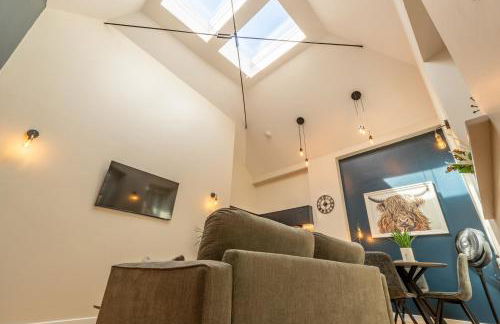
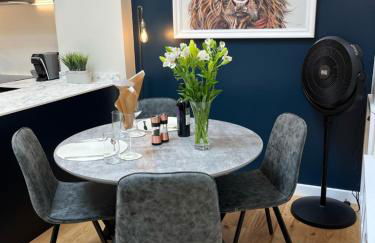
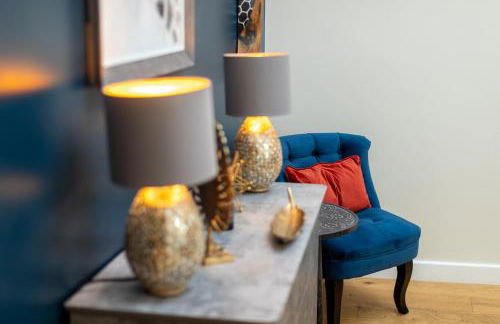
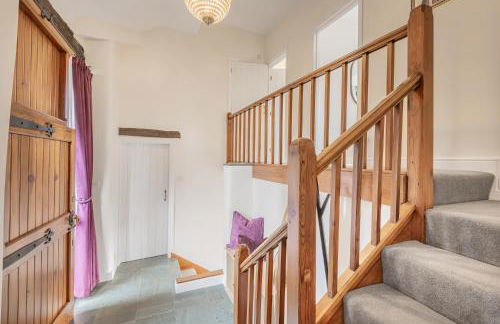
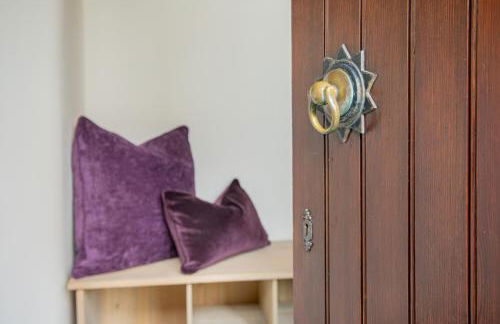
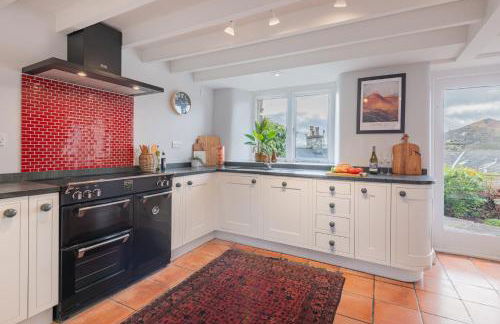
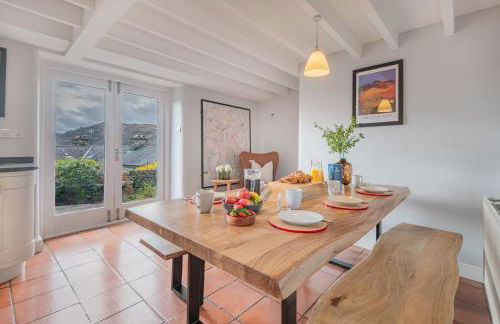
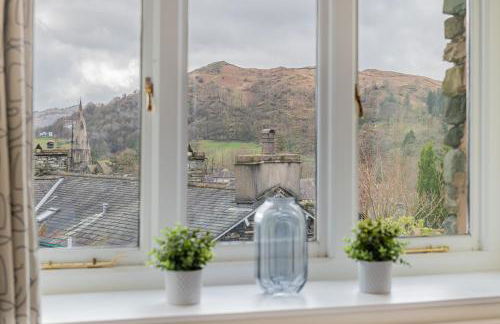
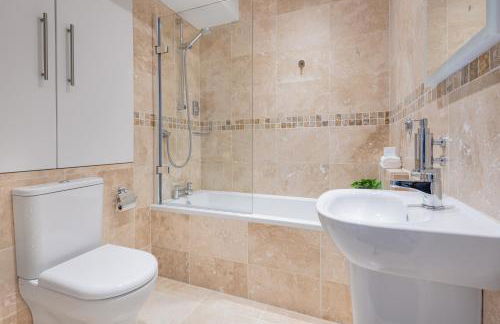
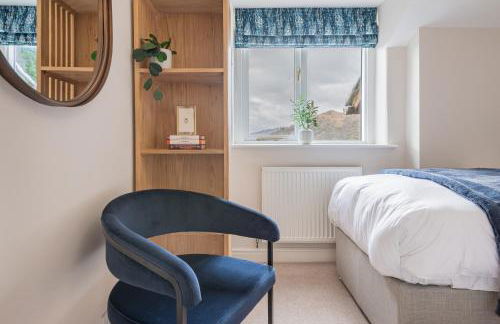
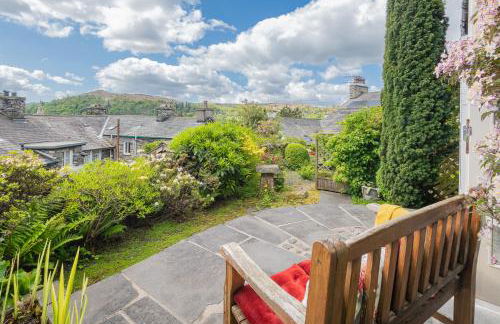
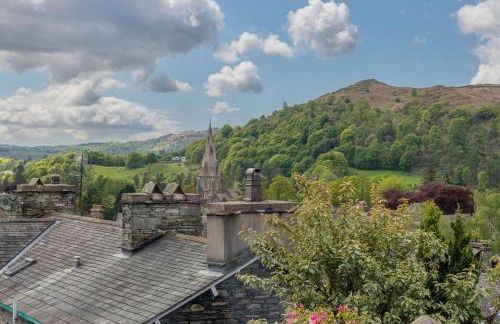
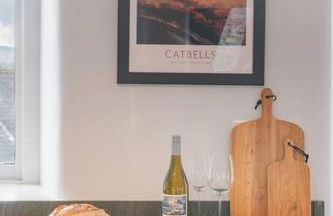
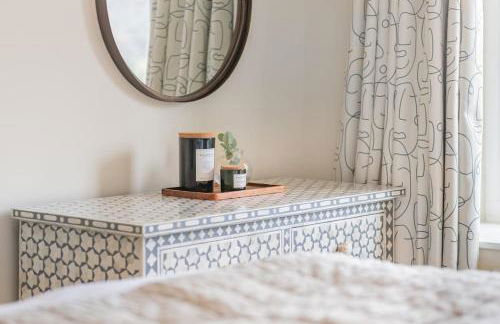
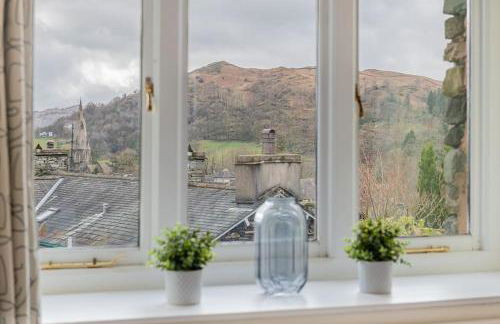
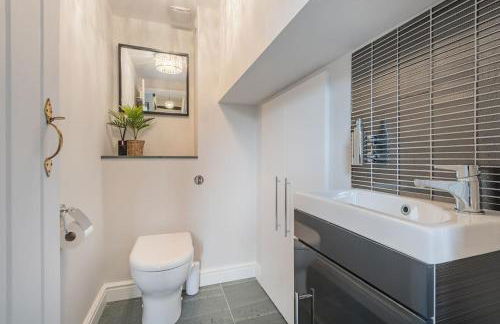
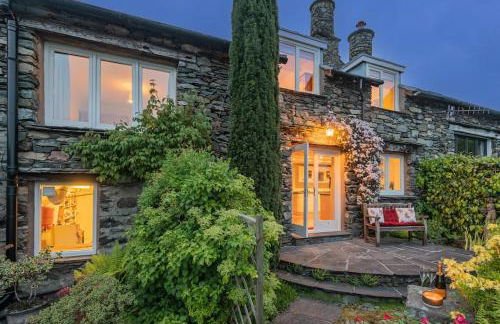
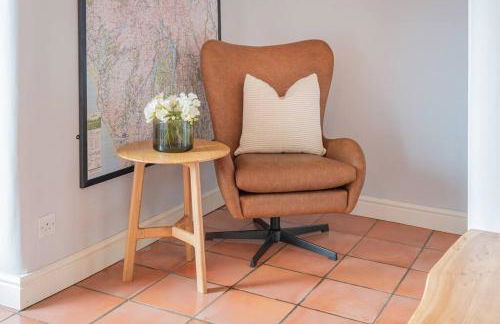
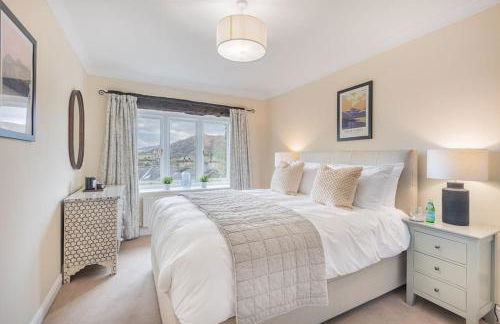
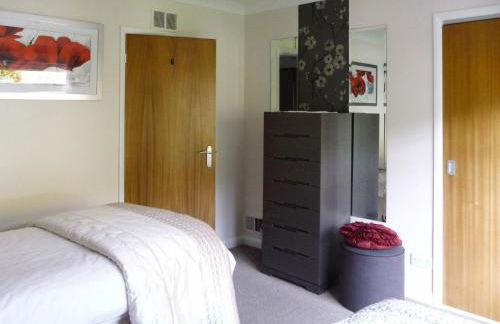
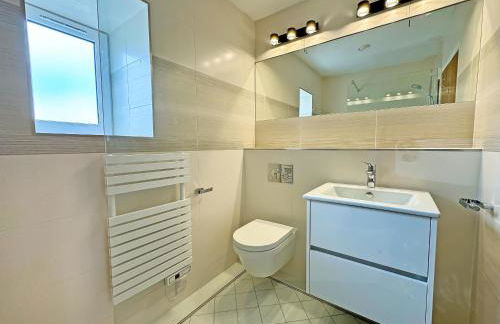
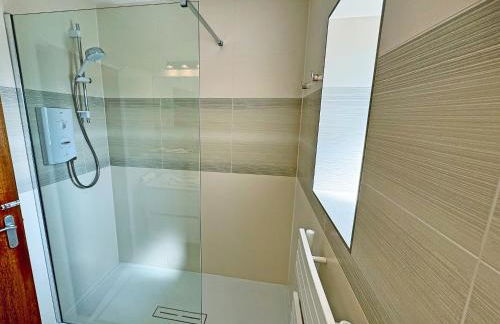
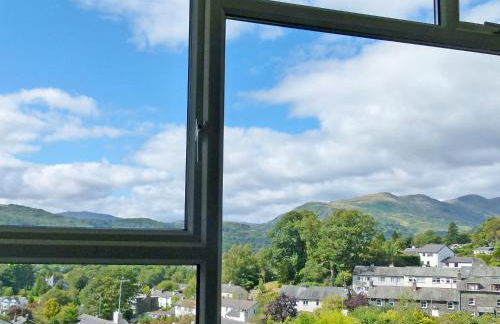
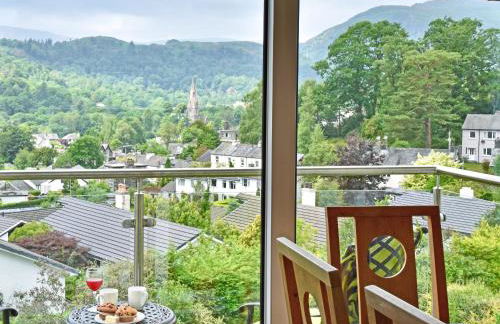
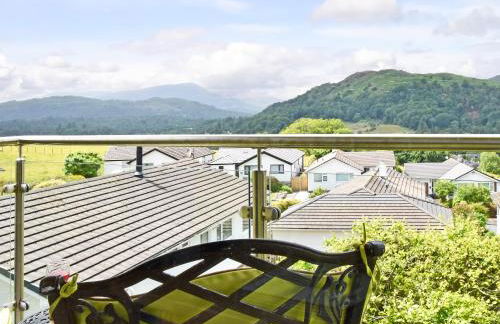
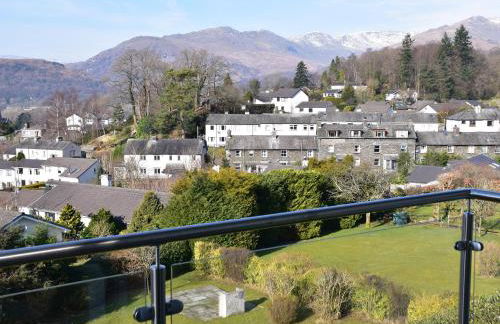
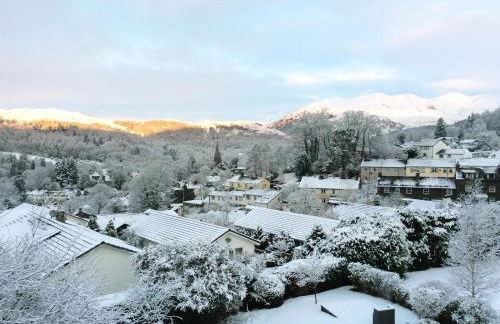
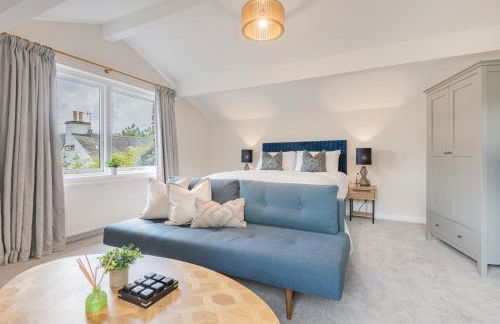
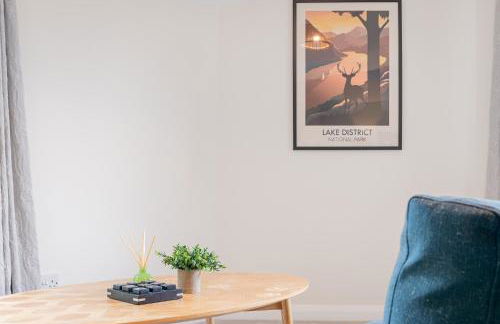
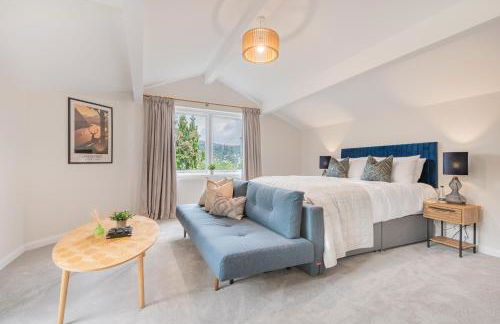
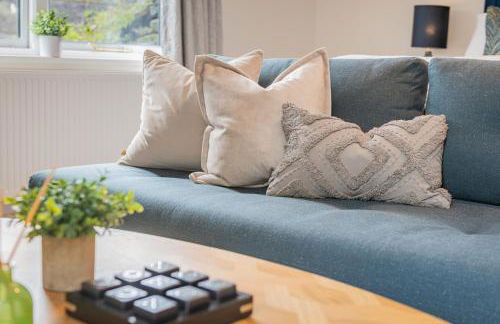
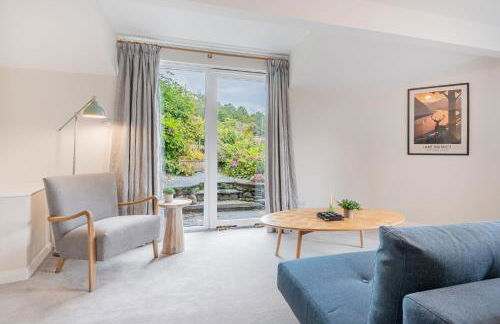
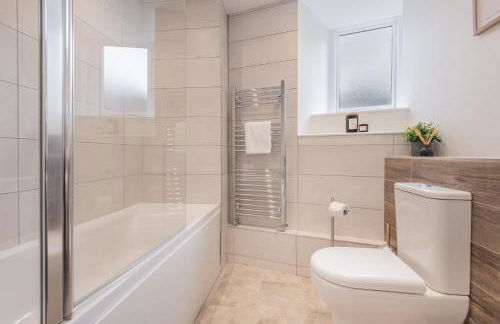
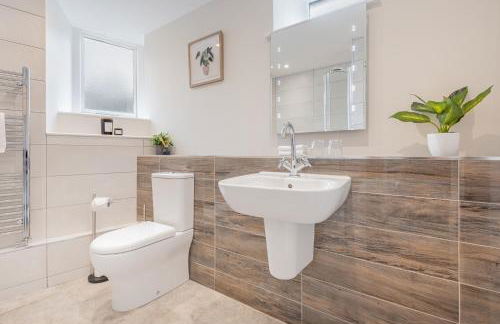
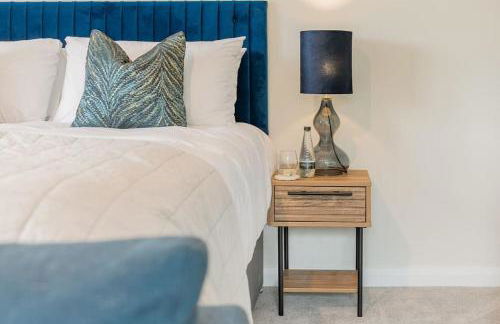
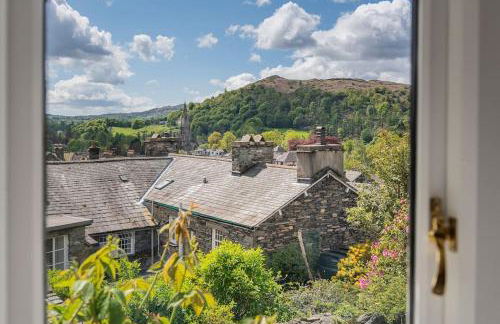
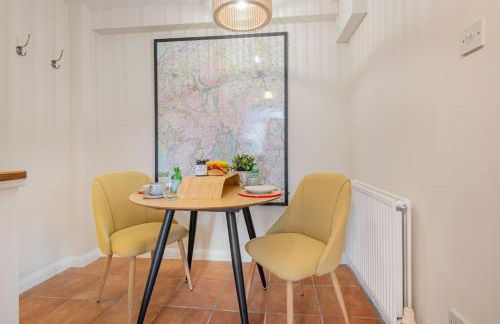
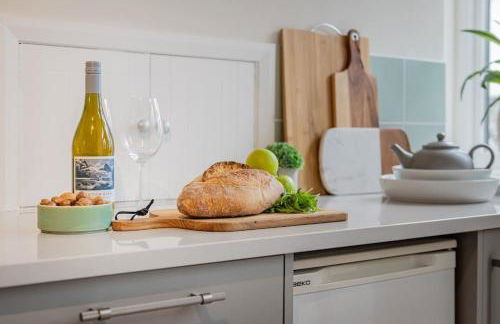
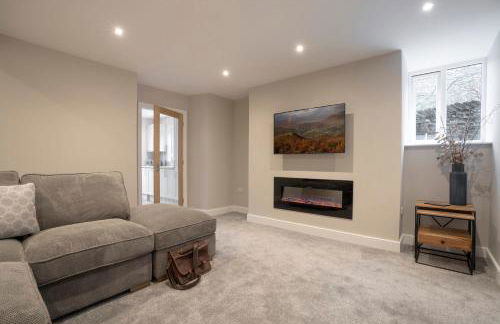
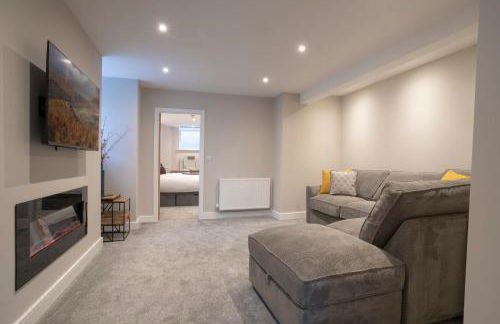
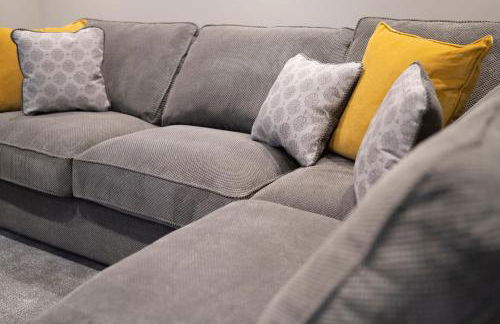
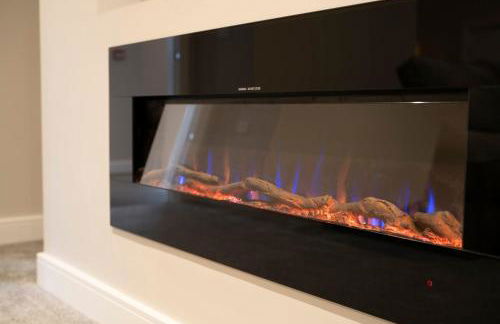
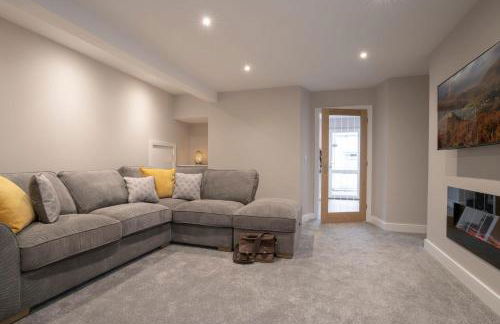
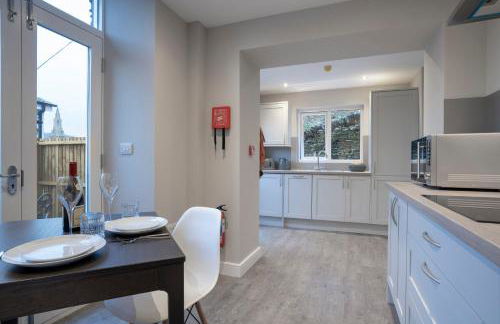
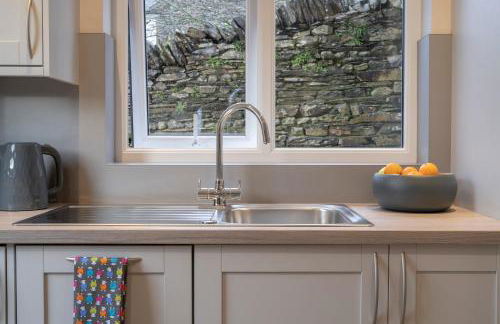
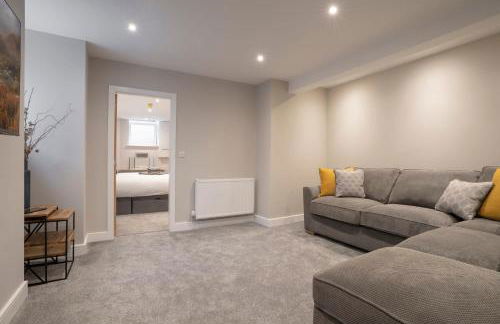
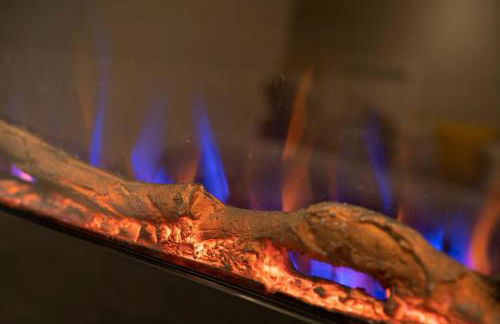
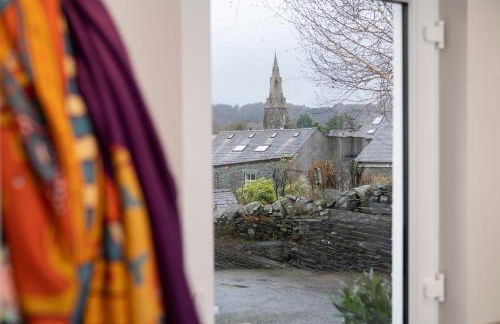
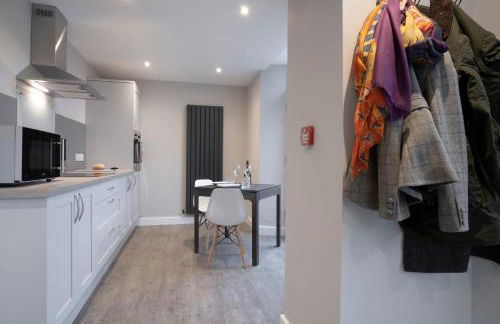
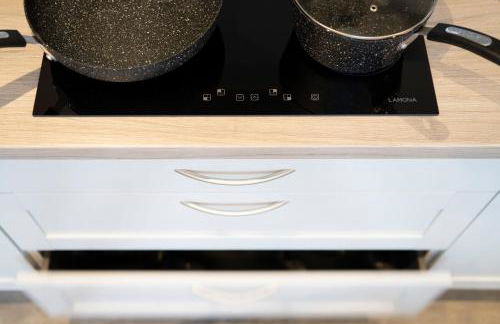
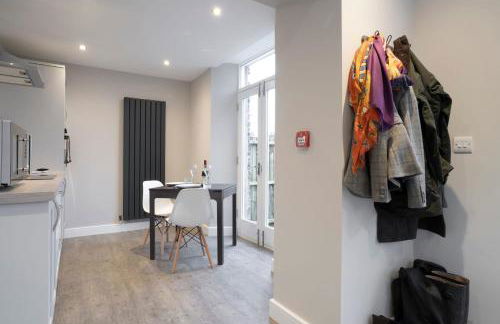
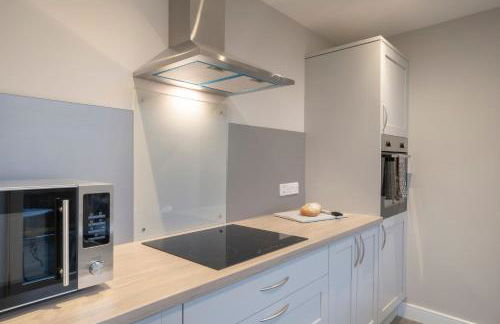
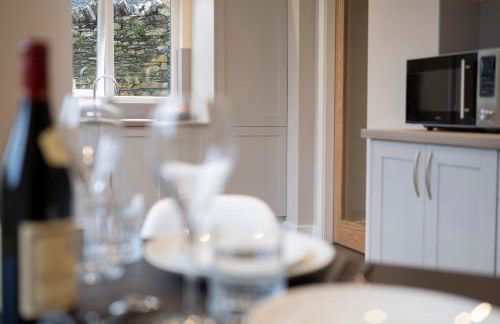
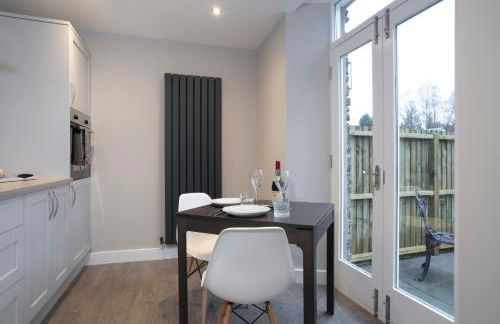
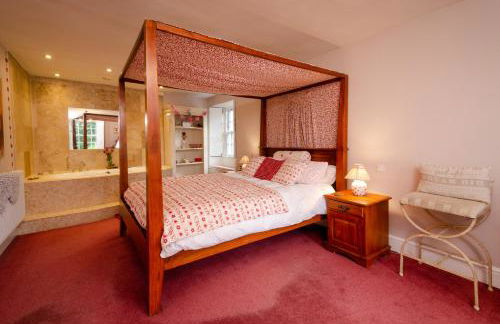
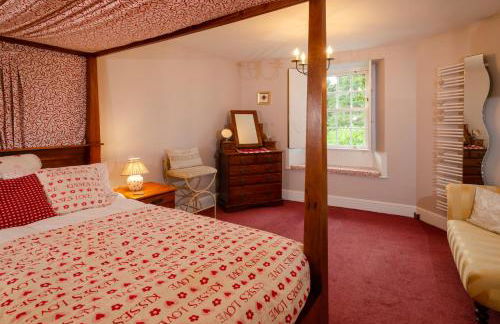
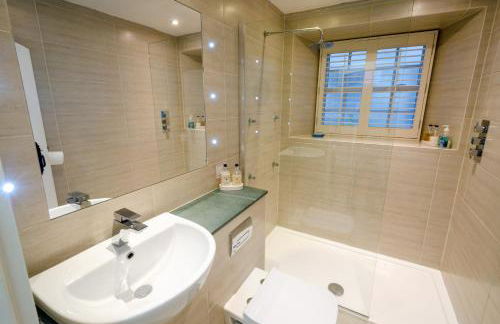
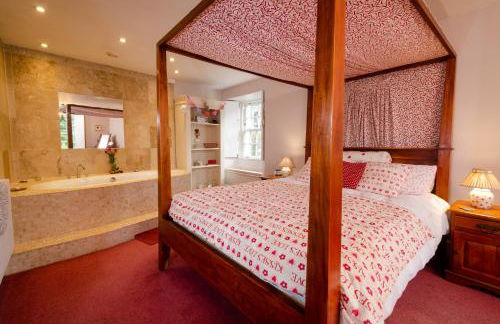
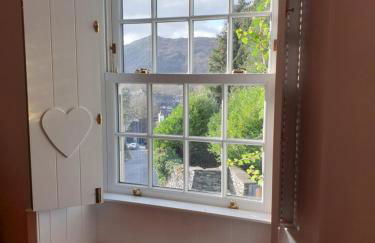
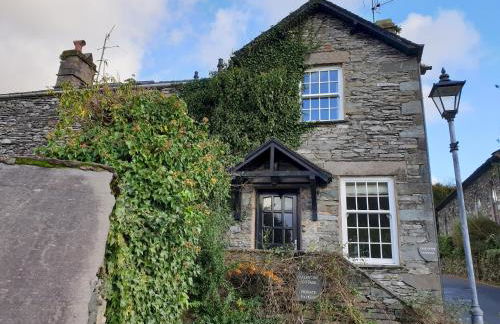
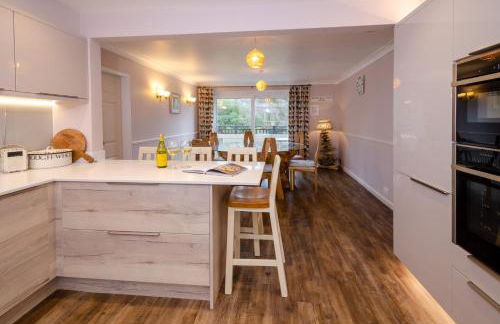
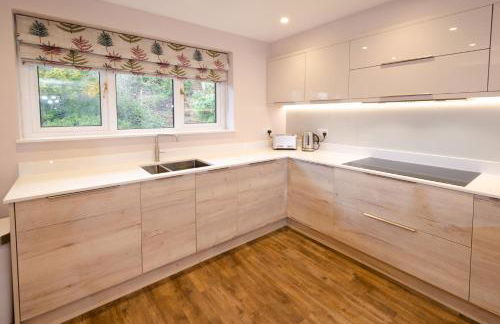
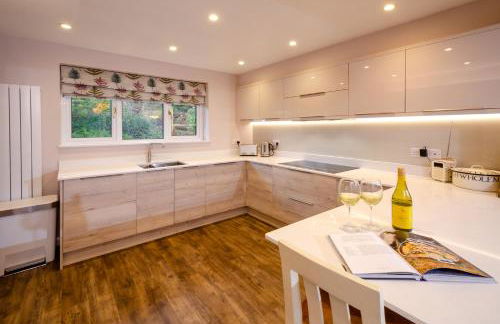
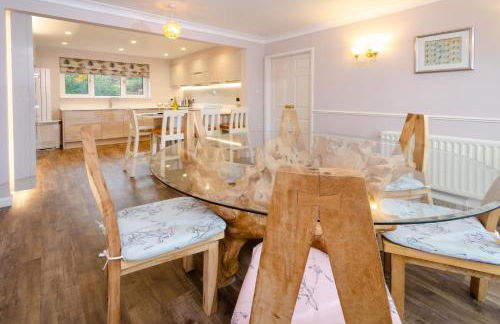
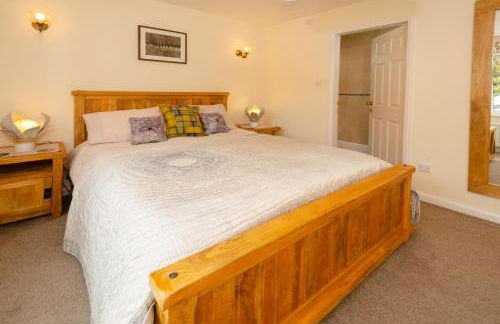
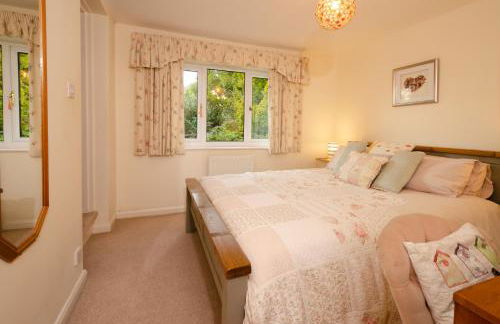
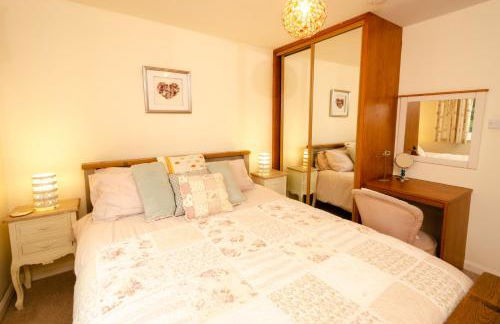
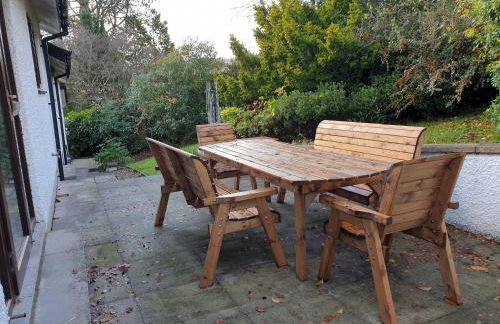
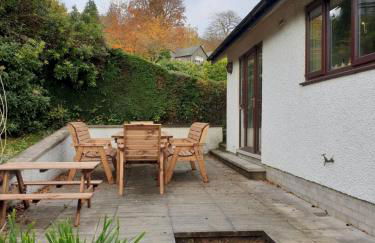
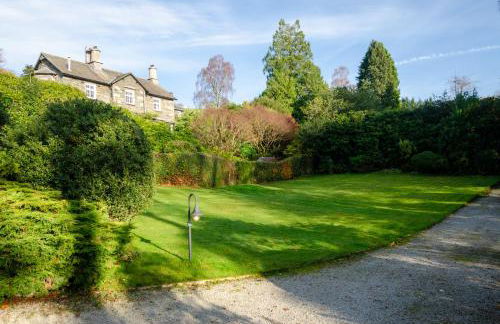
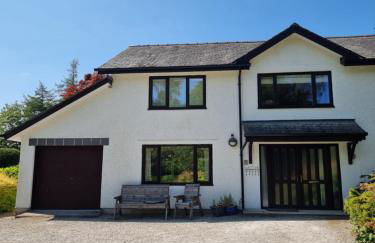
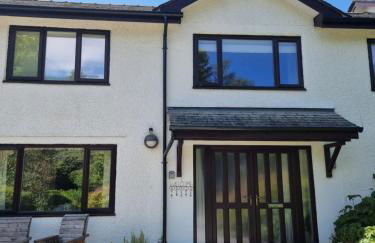
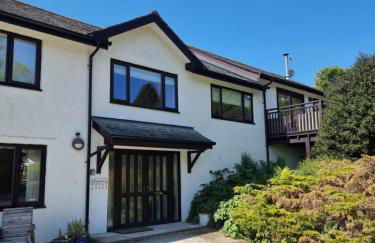
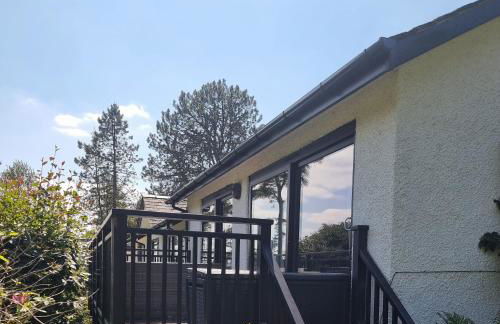
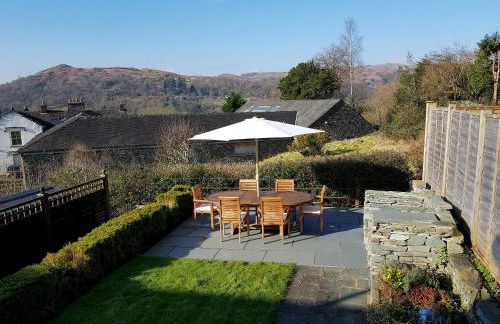
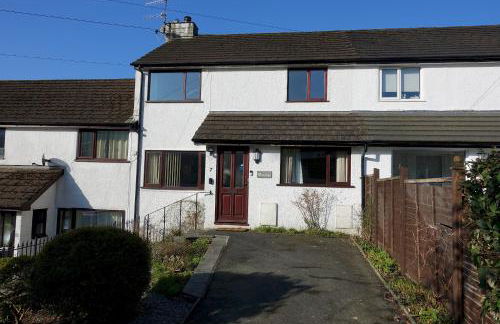
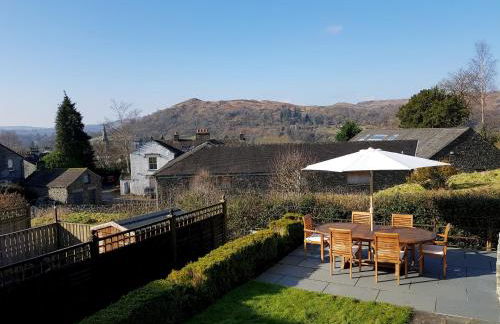
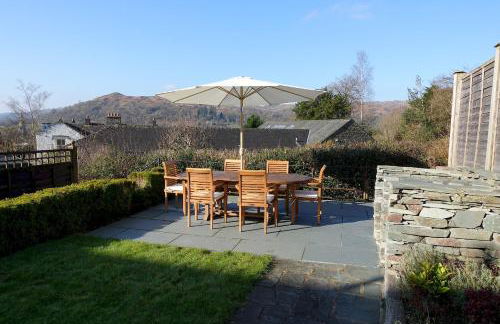
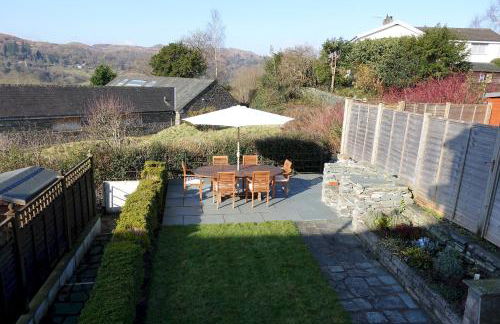
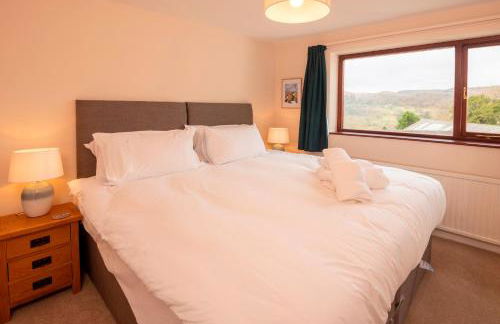
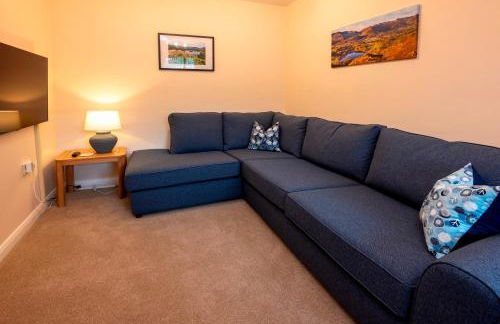
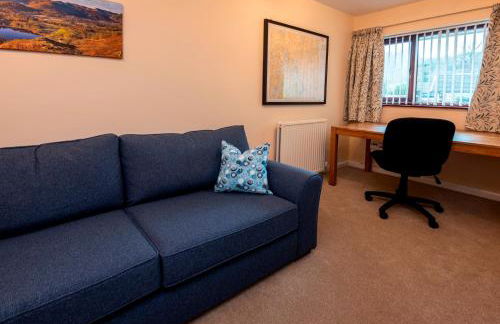
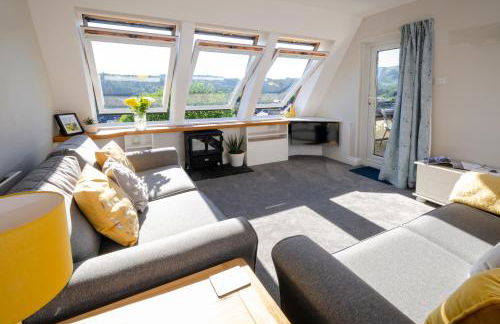
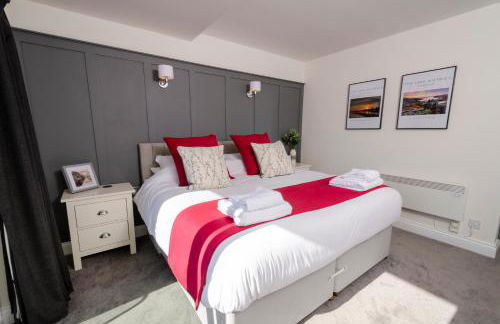
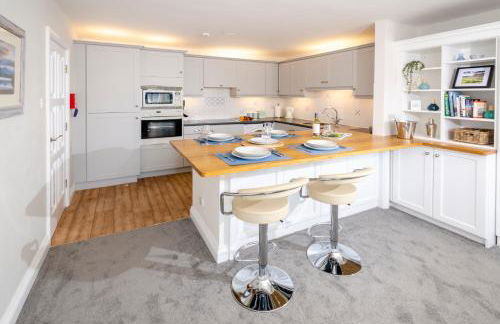
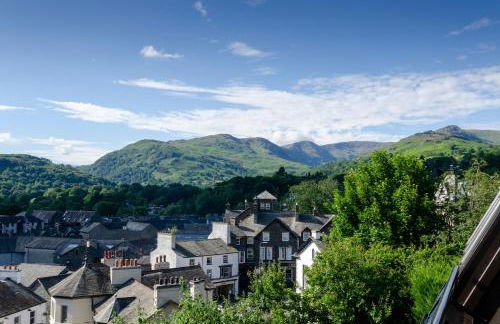
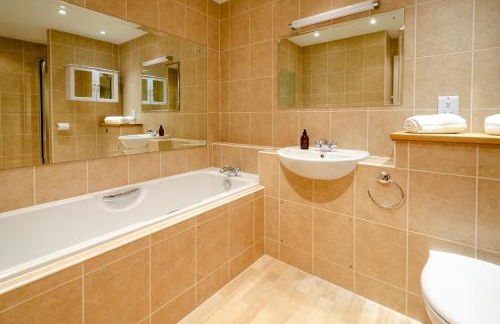
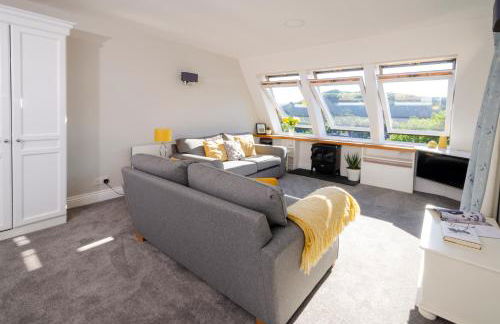
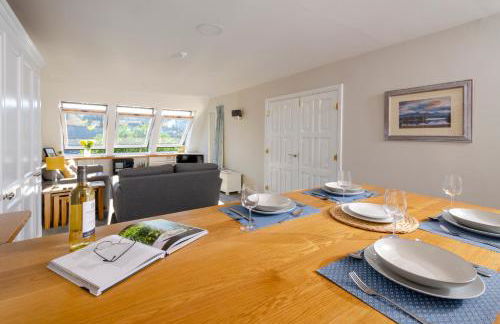
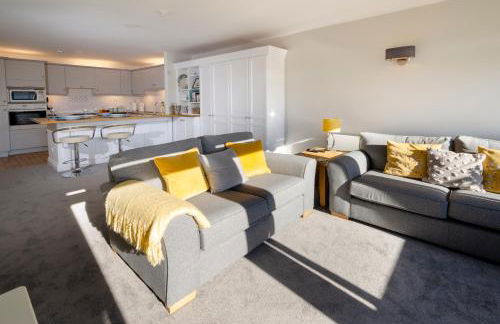
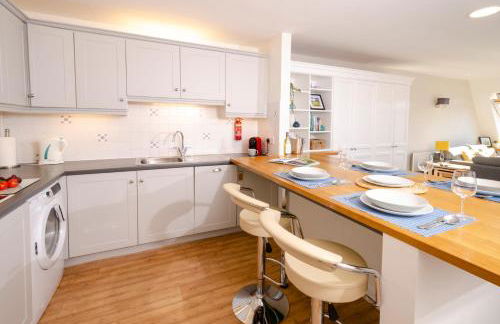
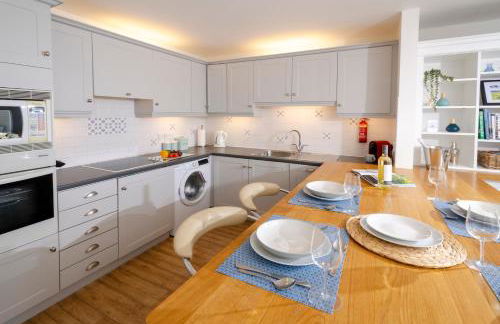
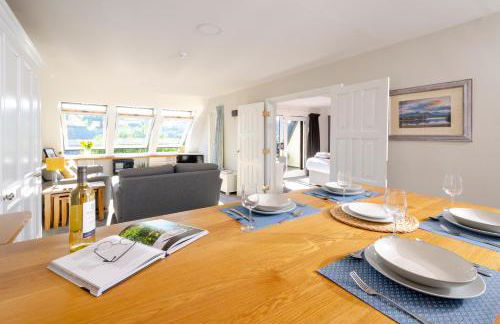
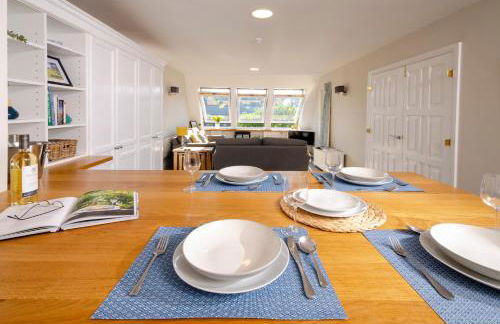
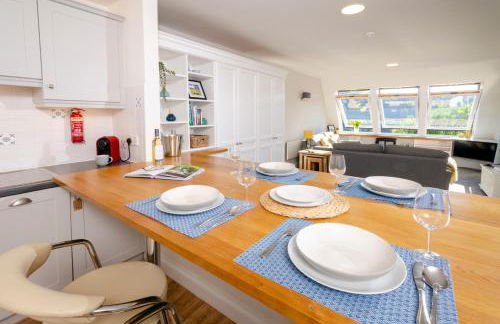
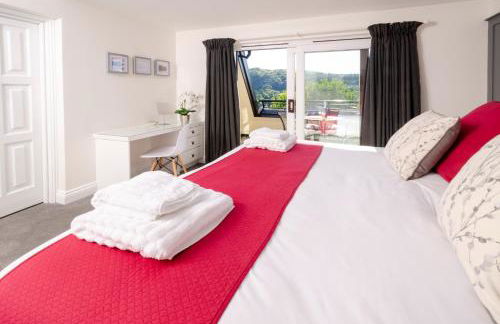
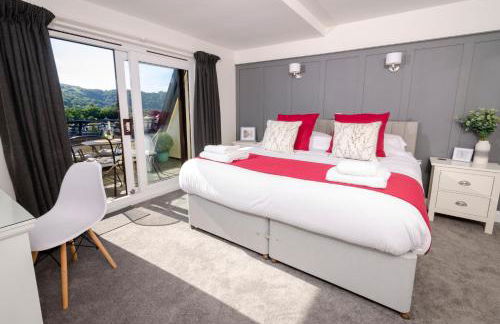
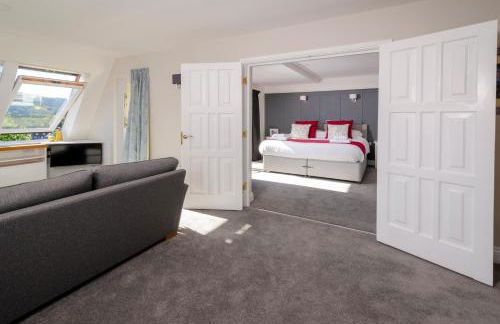
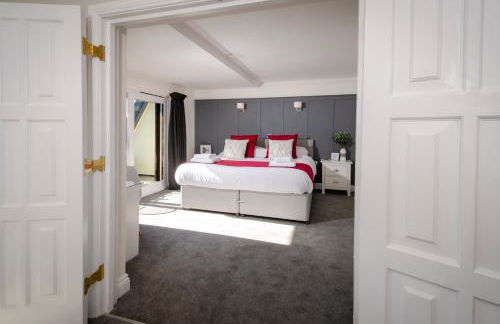
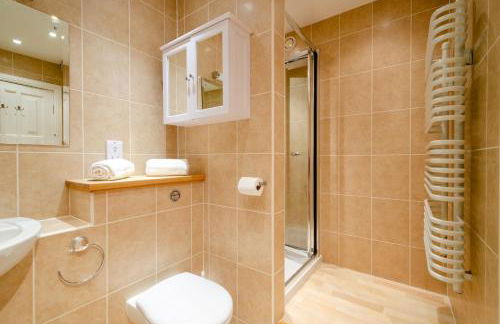
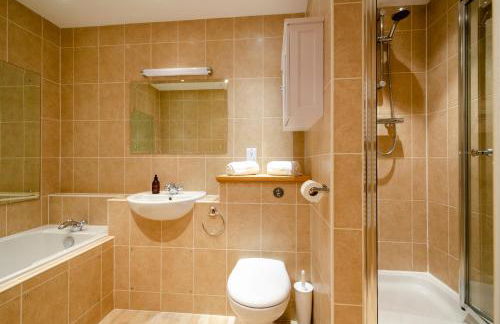
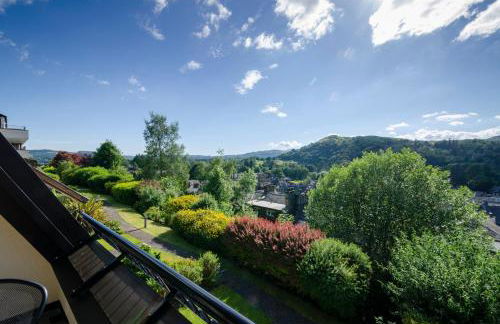
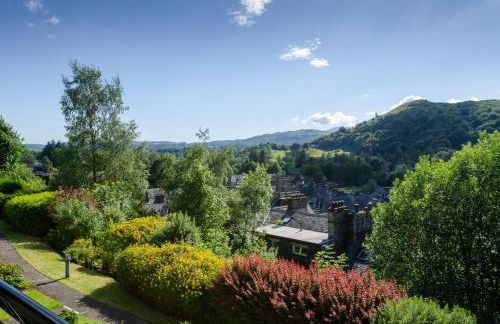
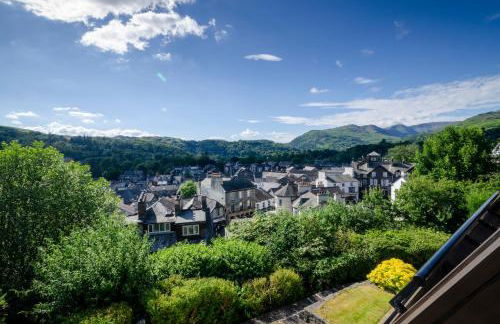
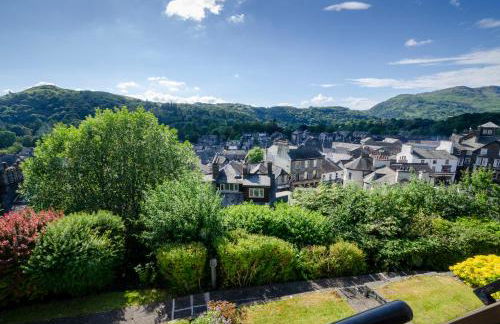
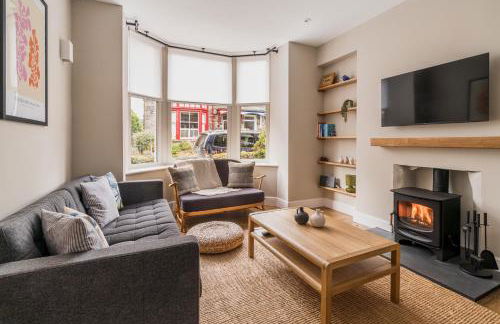
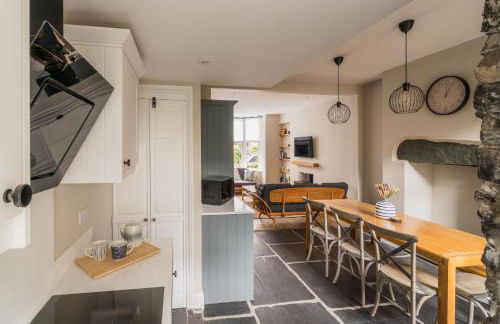
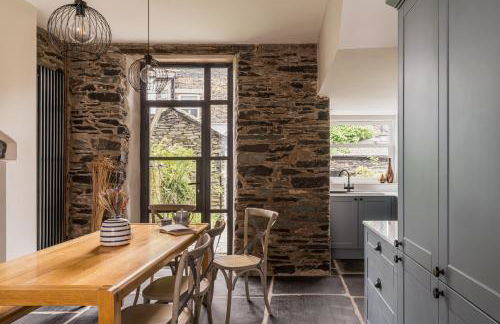
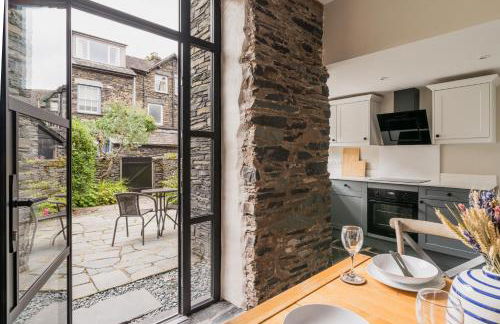
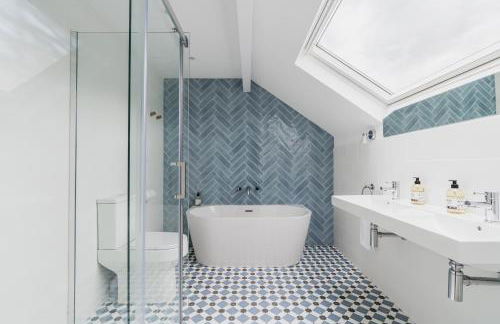
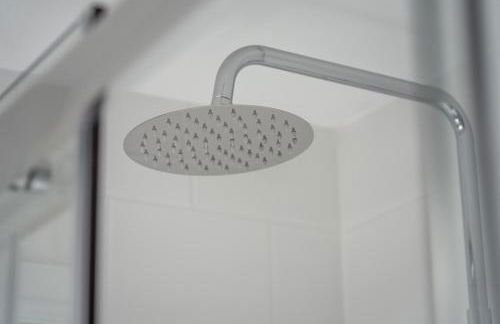
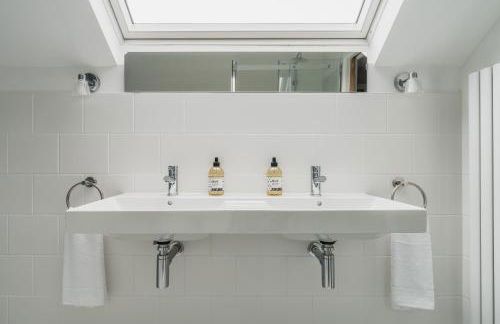
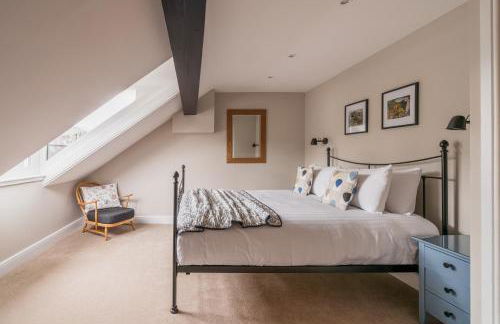
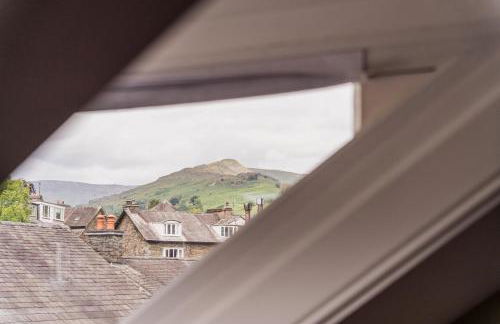
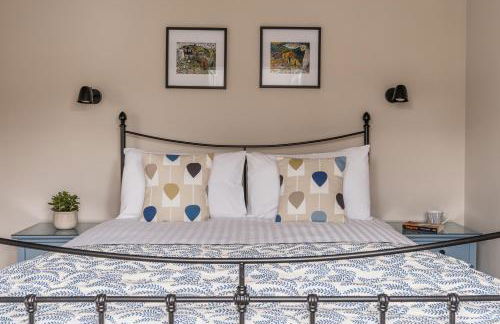
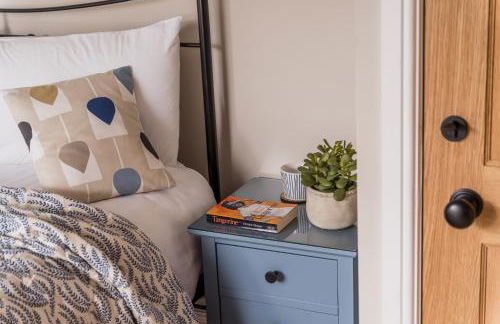
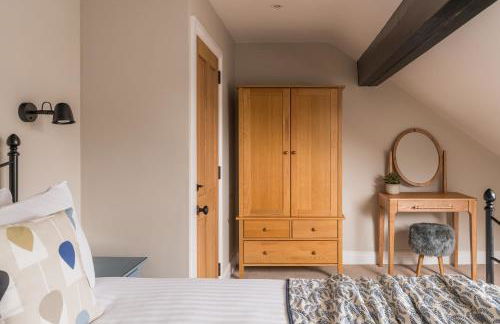
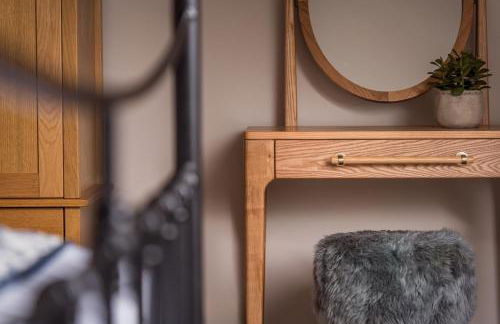
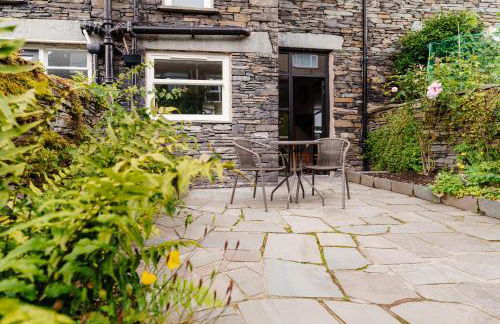
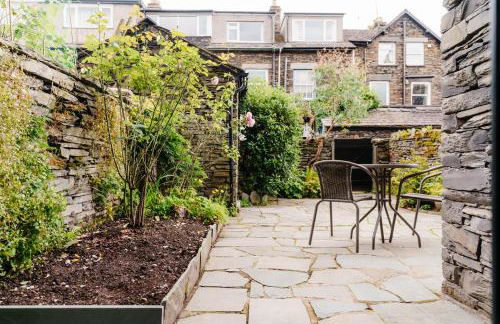
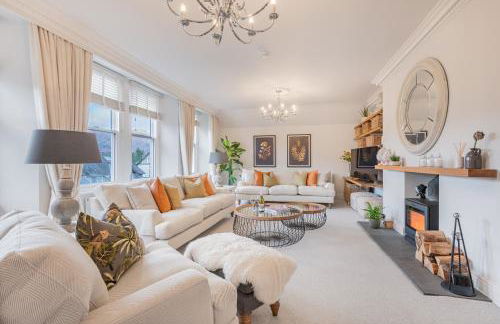
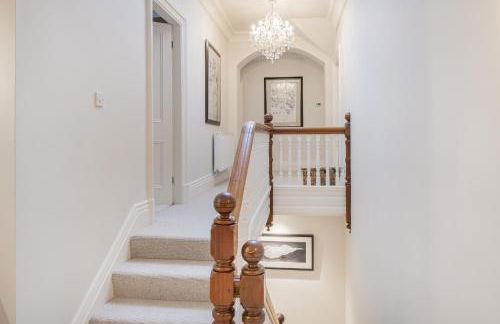
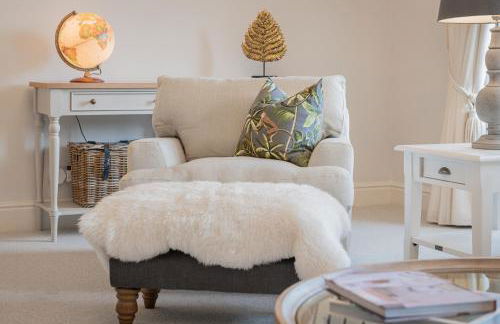
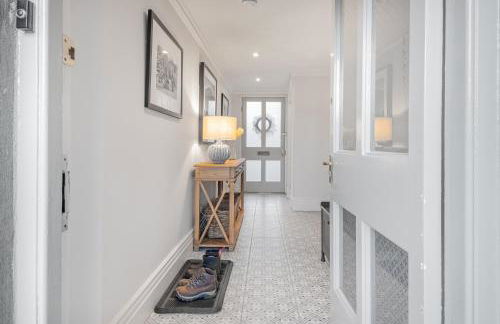
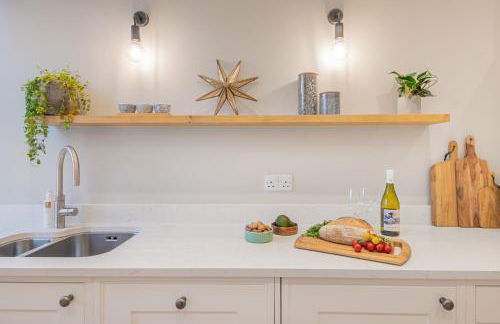
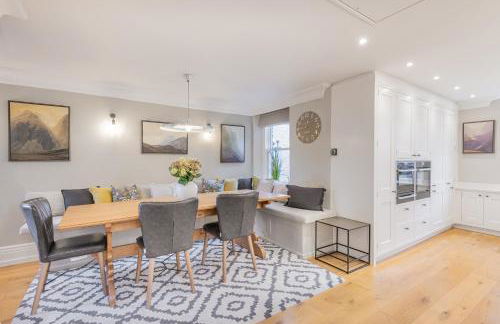
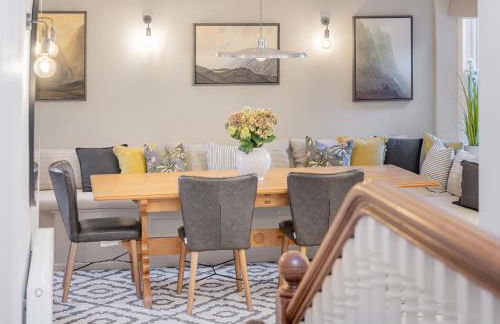
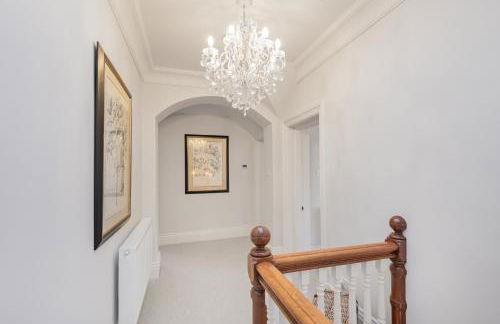
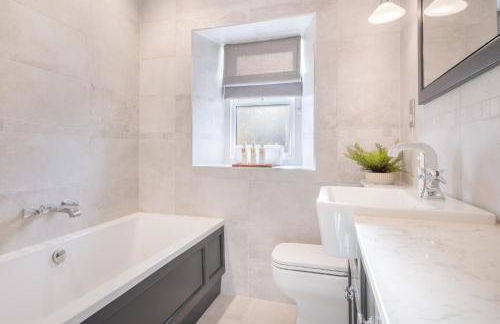
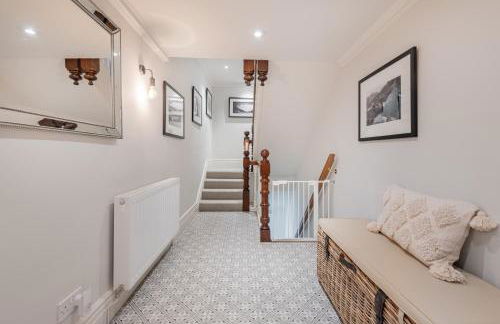
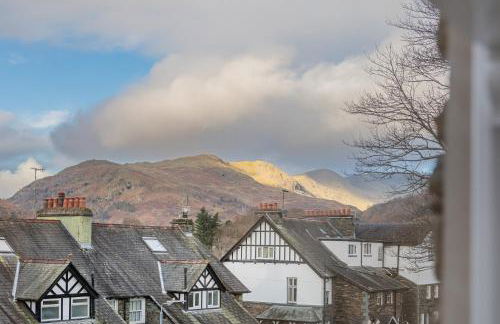
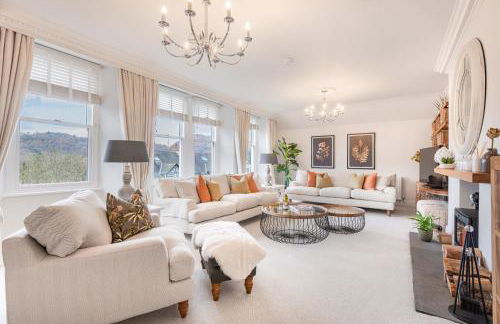
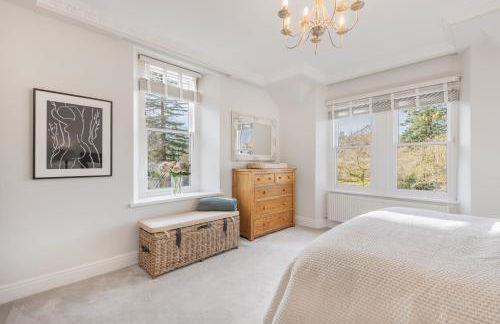
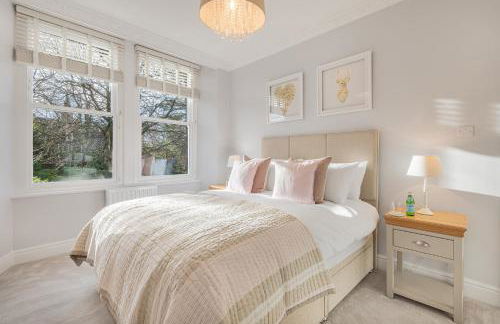
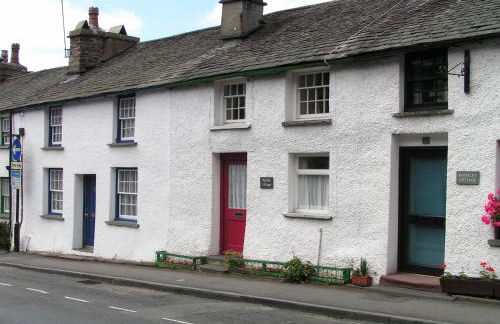
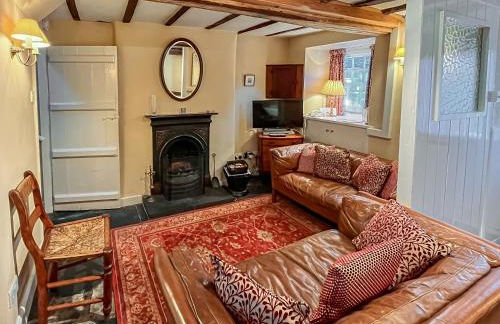
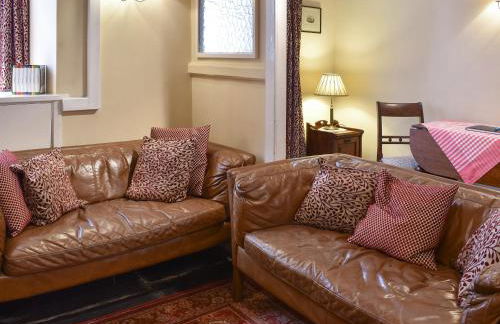
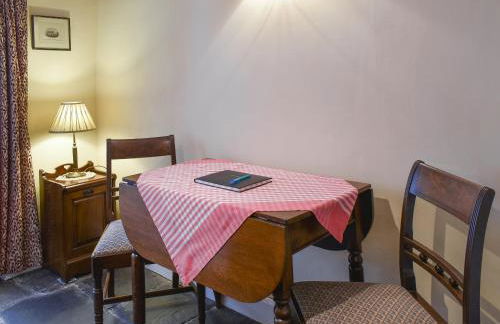
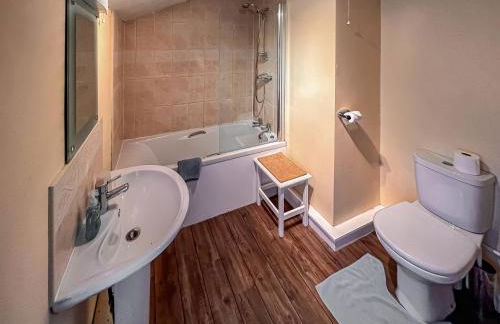
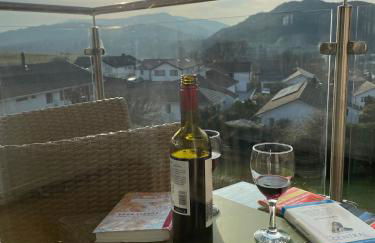
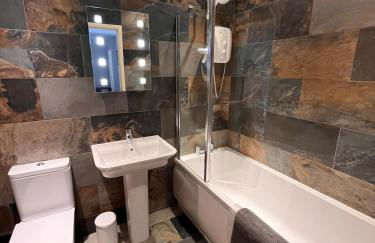
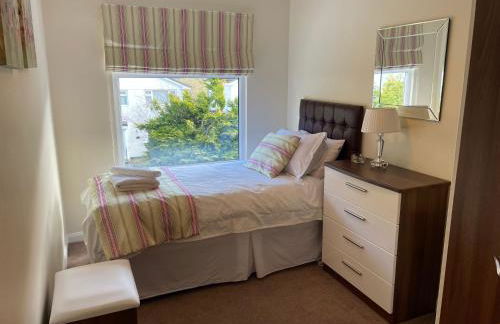
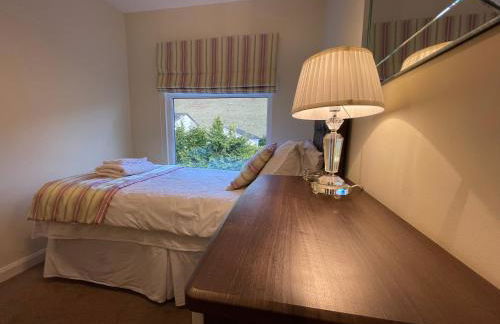
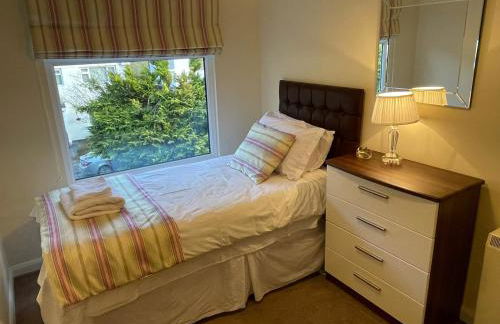
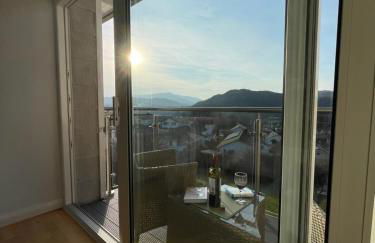
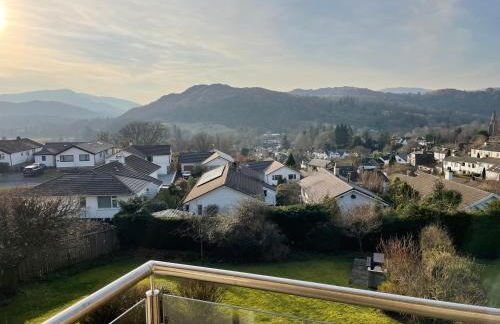
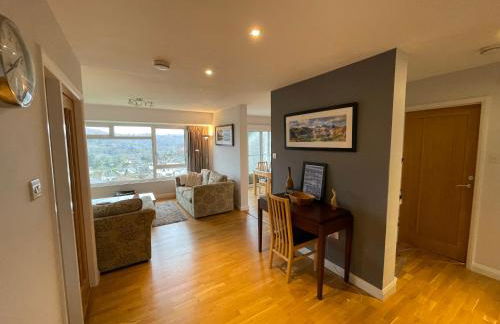
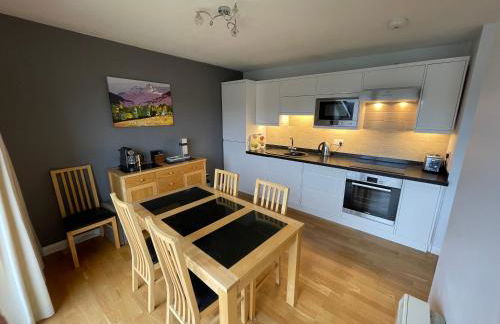
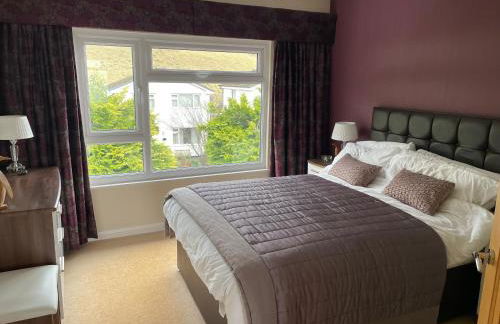
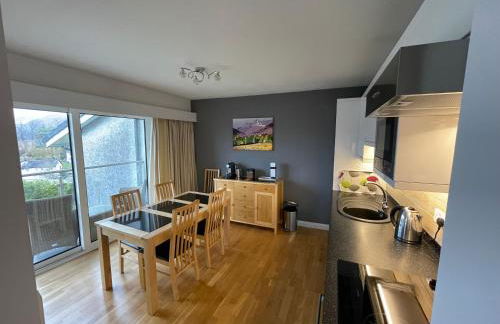
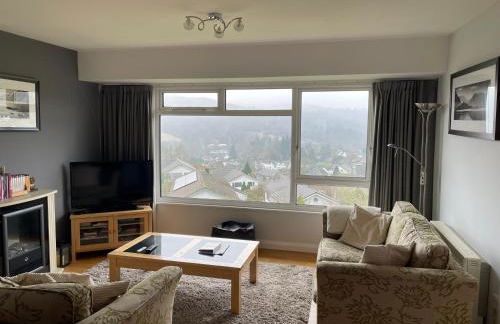
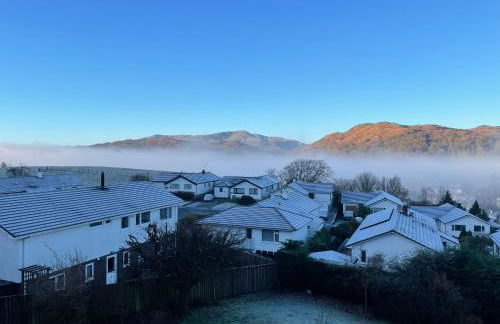
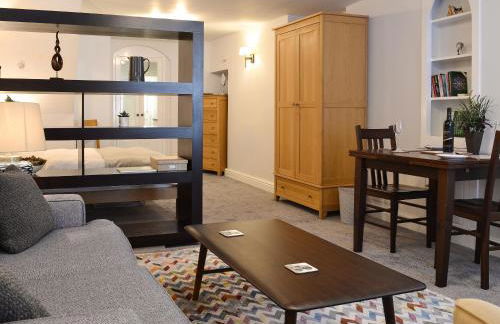
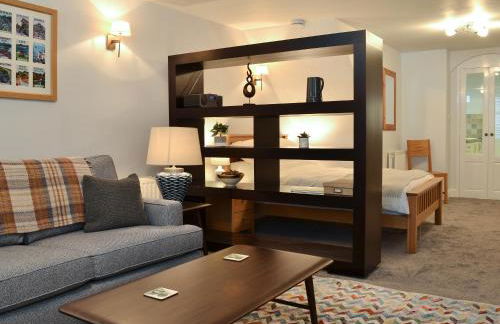
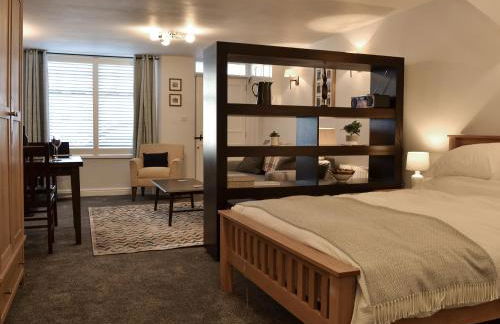
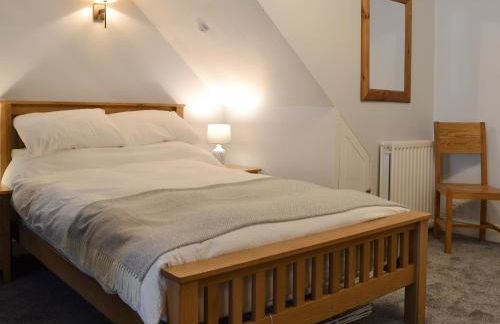
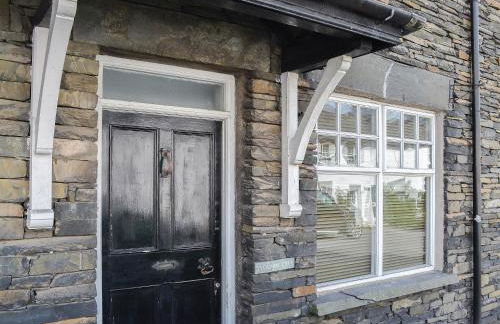
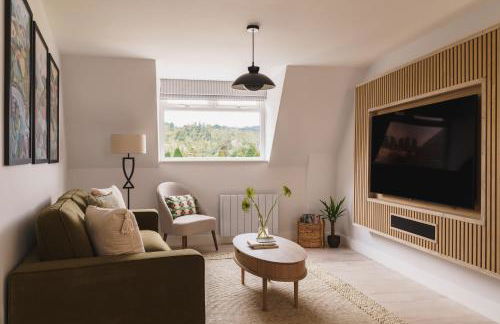
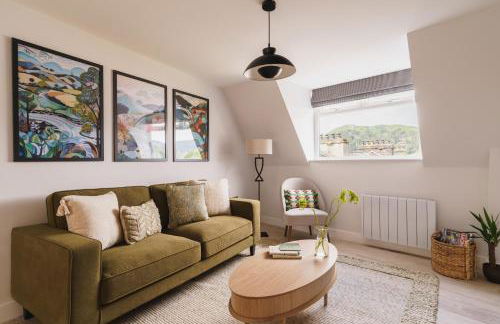
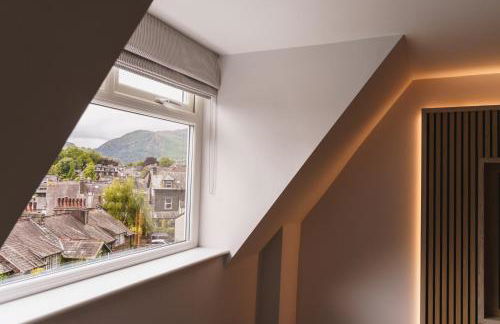
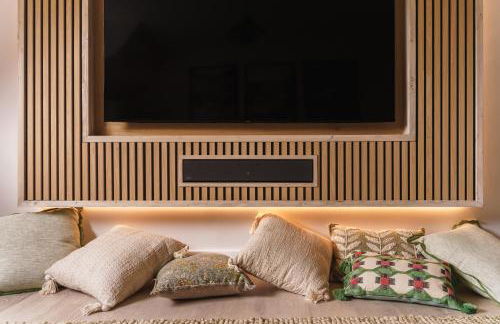
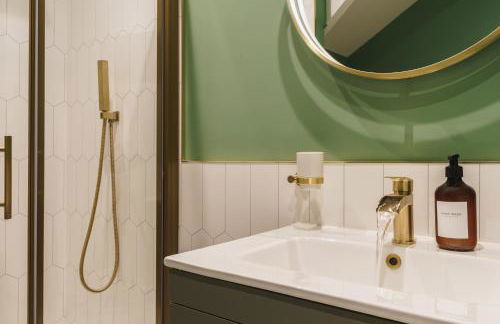
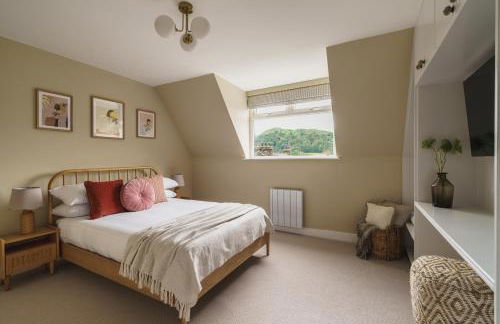
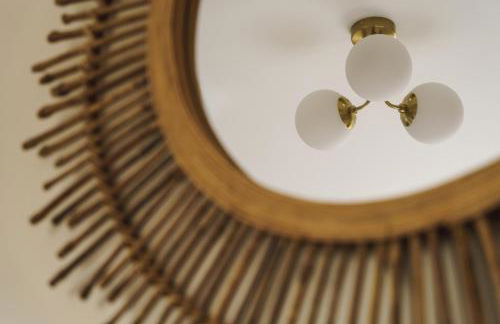
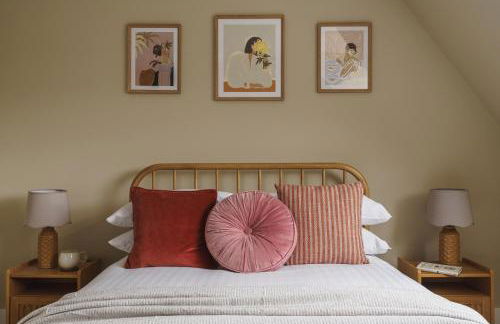
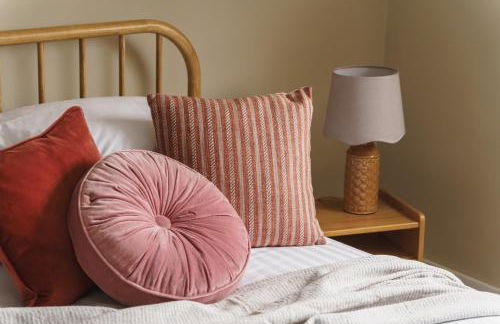
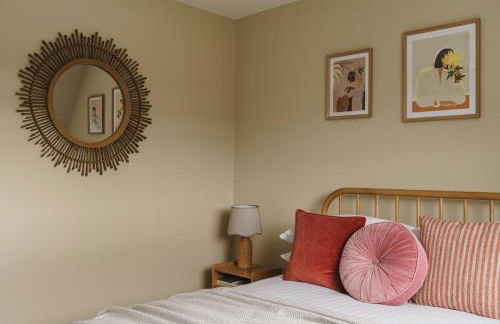
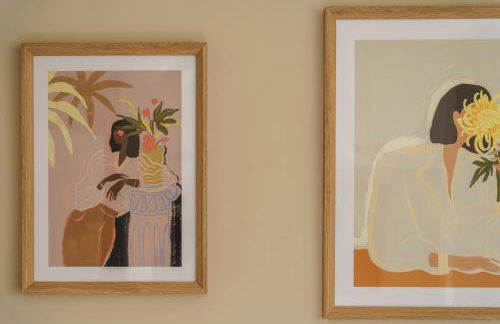
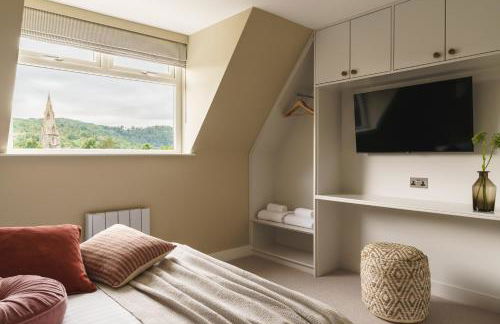
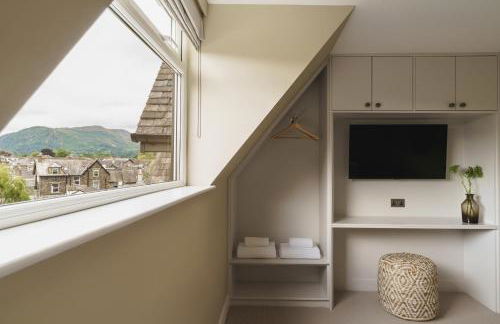
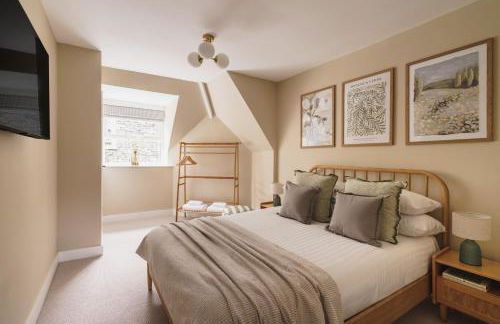
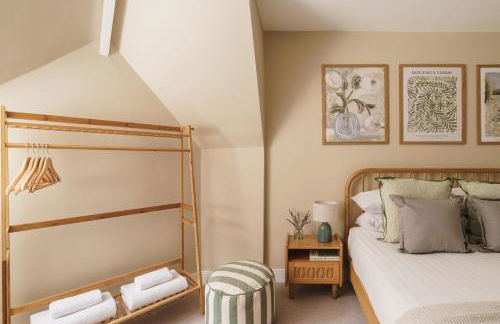
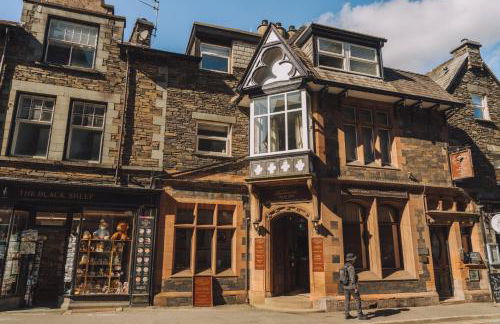
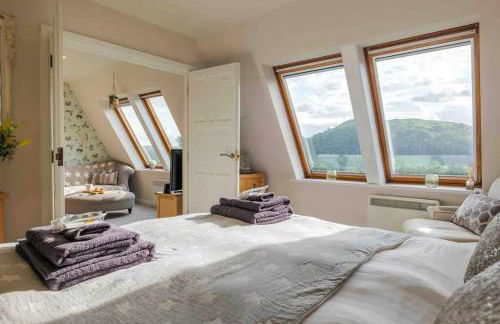
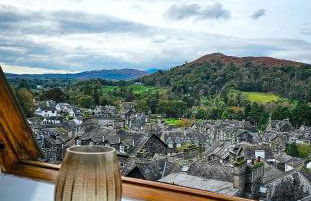
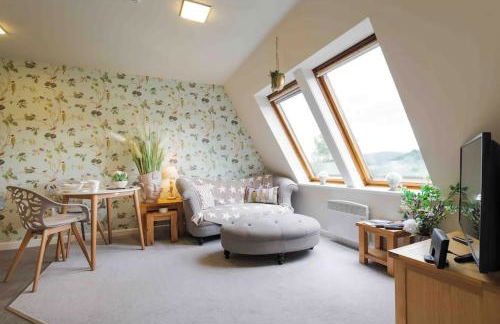
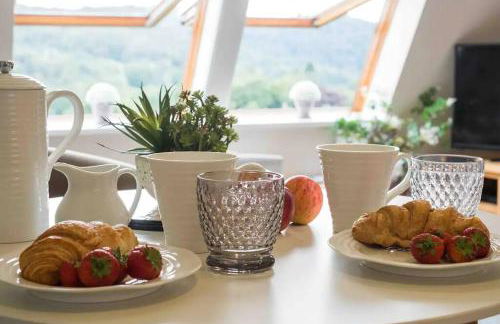
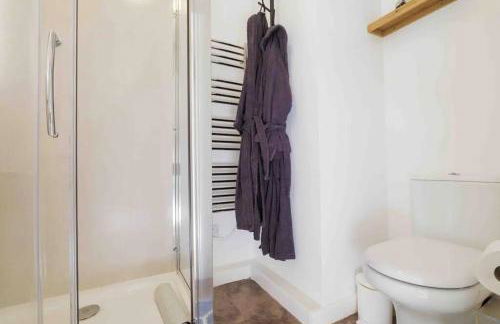
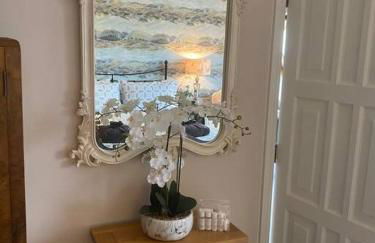
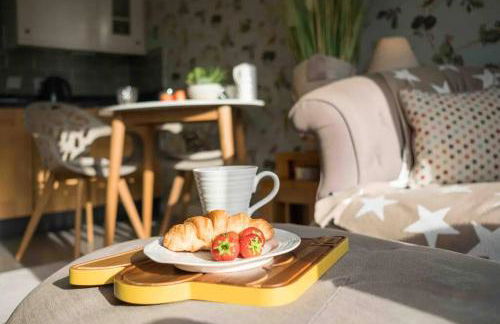
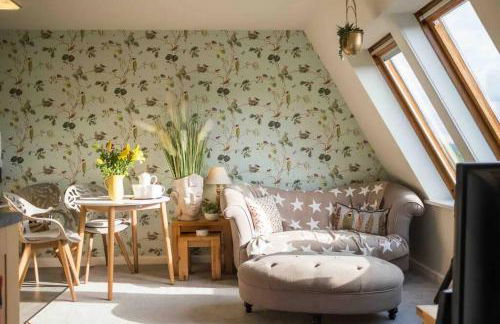
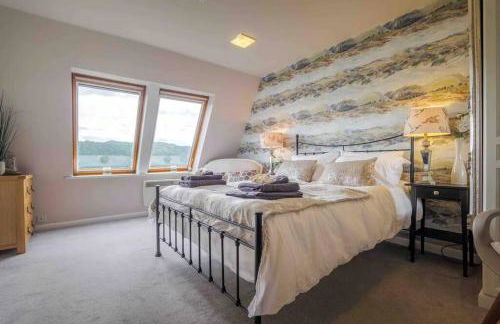
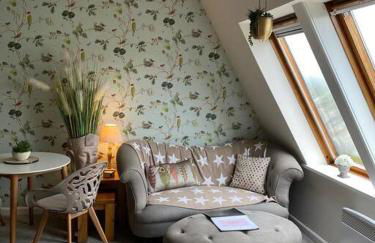
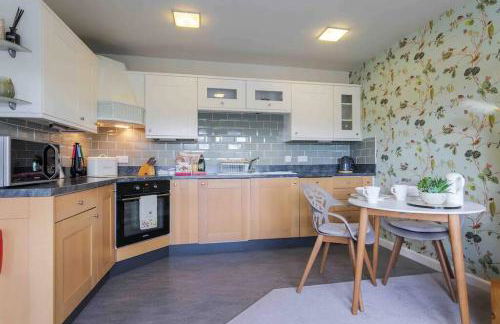
Rohan Rise - Lake District Escape for Two - Ridgestone
Ambleside - Ambleside
- 430 M2
- 2 personas
- Calefacción
- Parking
- Televisión
- Lavadora
- Toallas
- Sábanas
43 reseñas

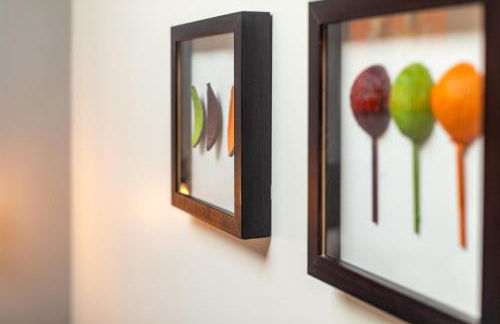
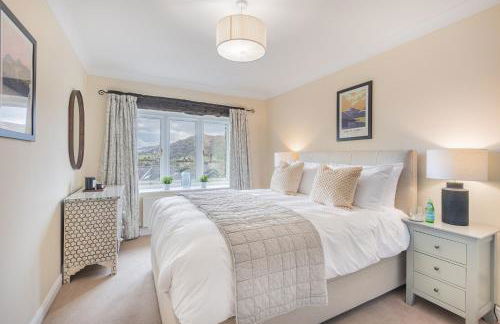
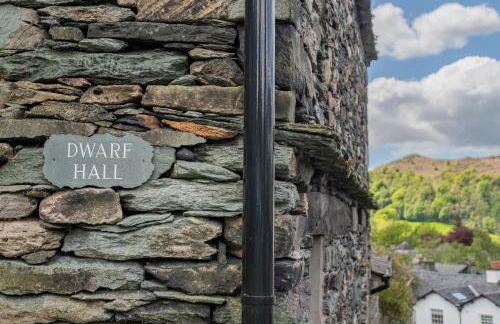


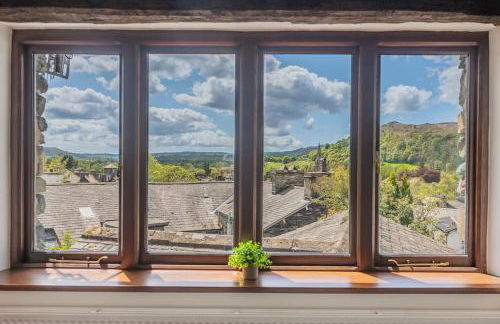
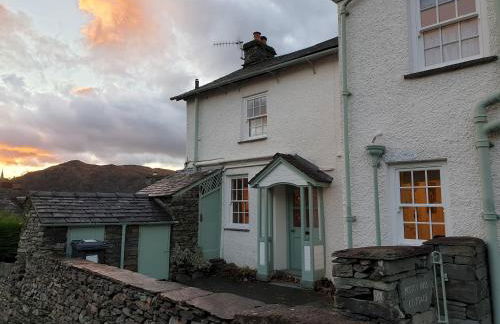
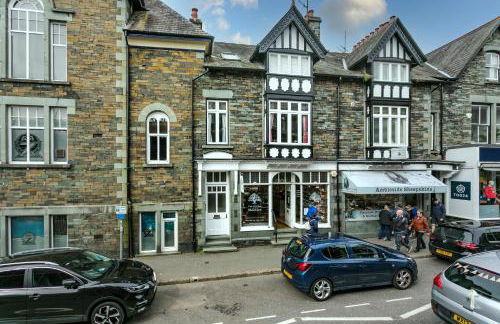
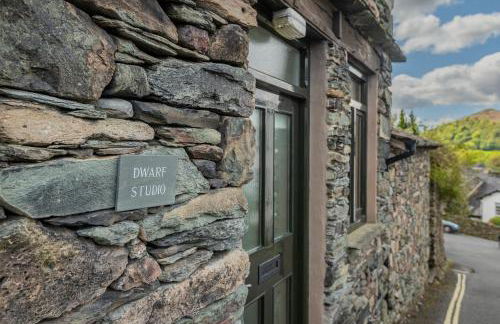
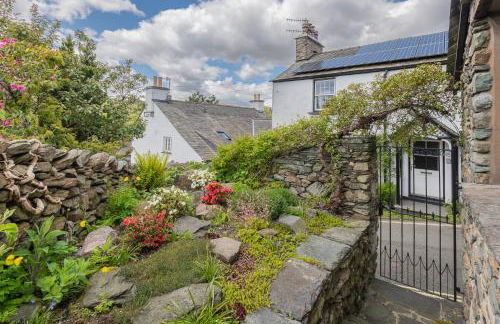
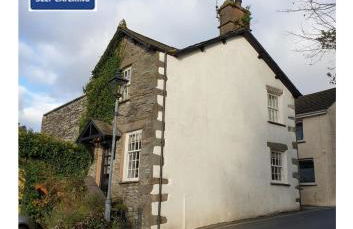
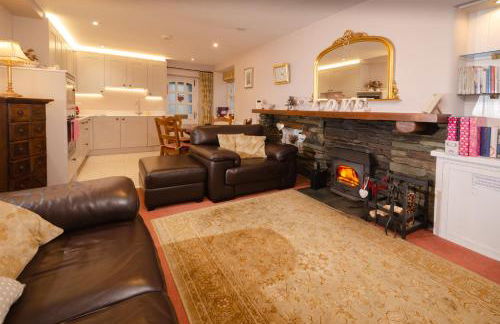
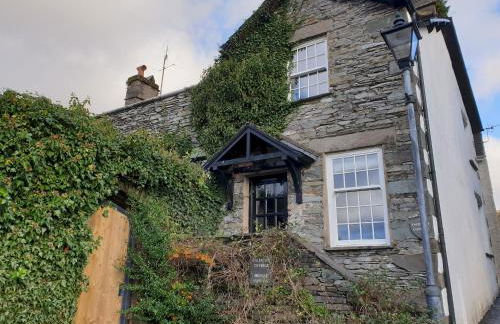
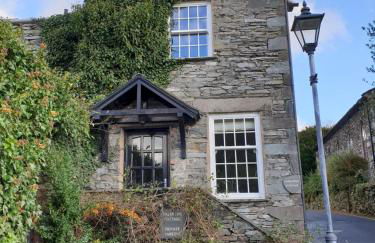
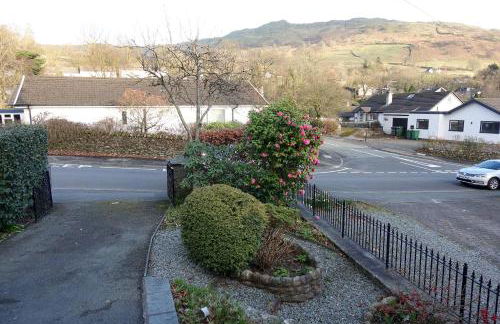
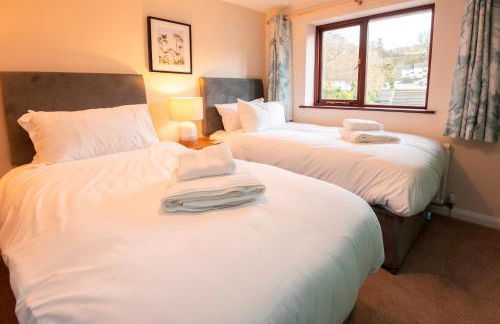
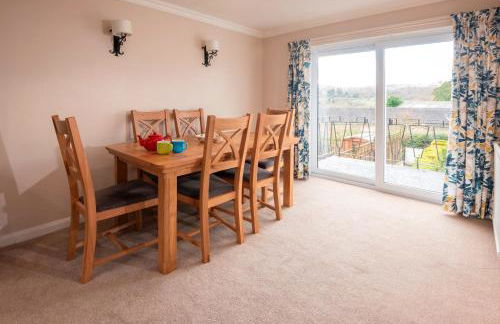
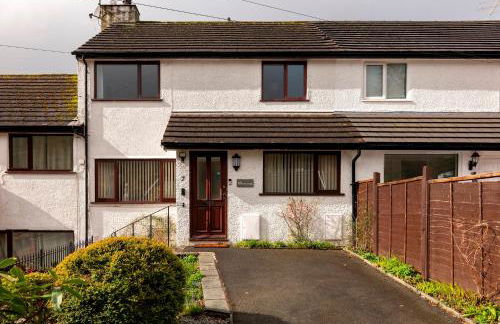
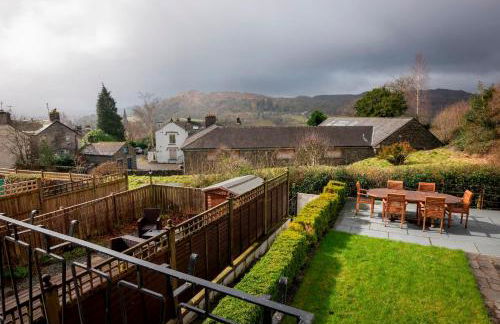
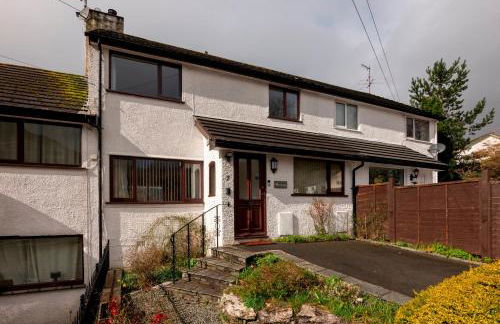
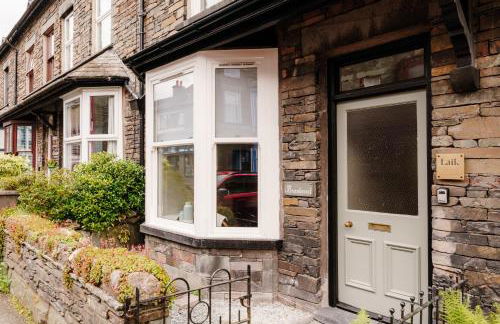
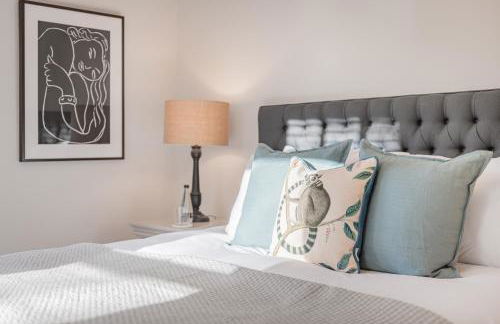
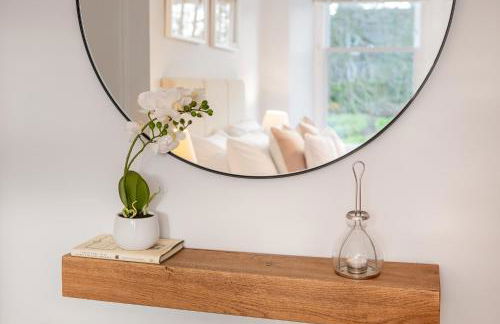
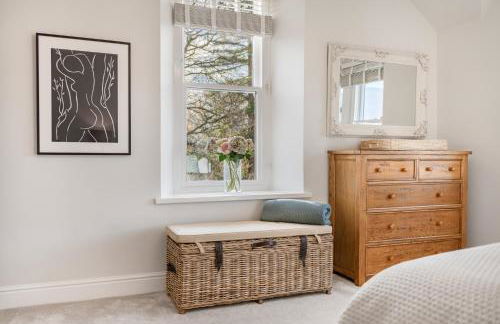
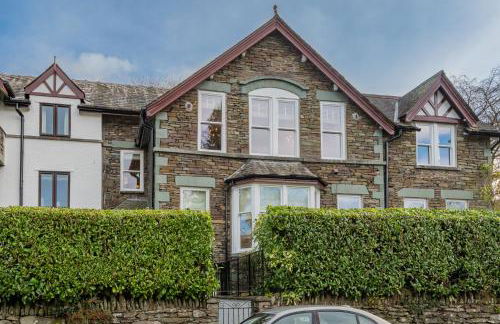
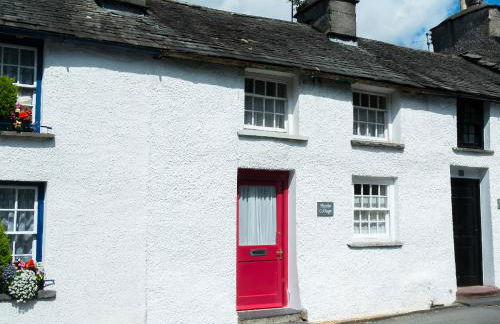
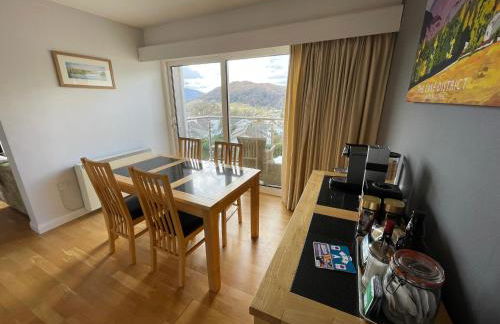
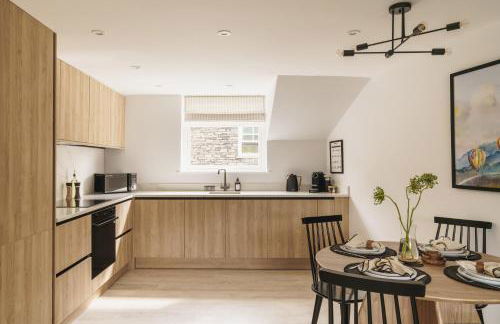
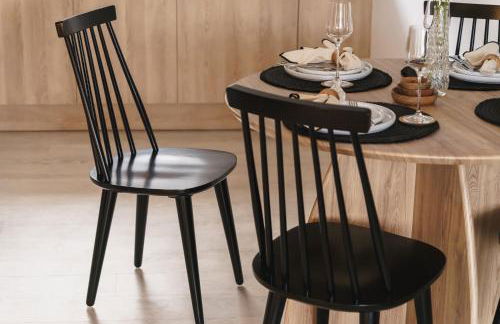
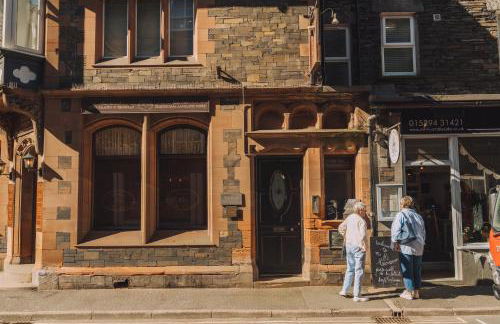
Dwarf Hall - central Ambleside
Ambleside - Ambleside
- 3 habitaciones
- 6 personas
- Calefacción
- Parking
27 reseñas


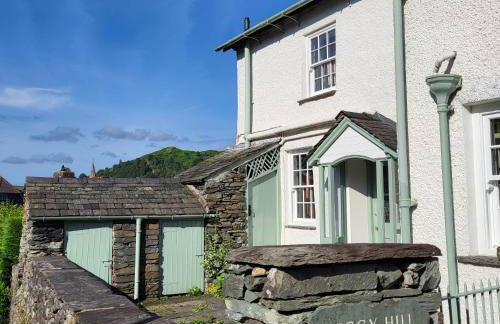
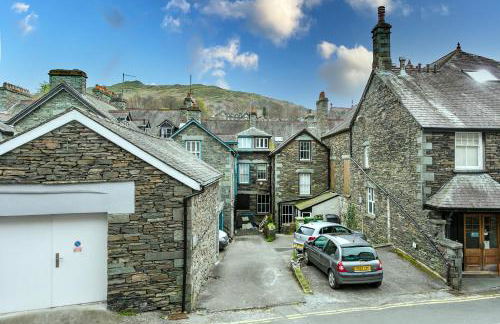
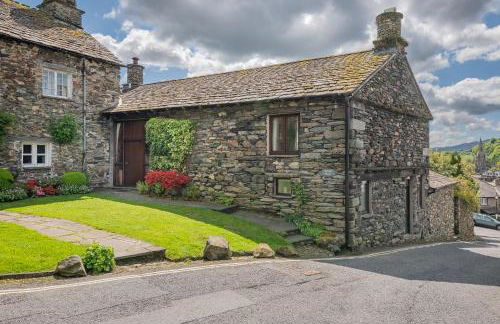
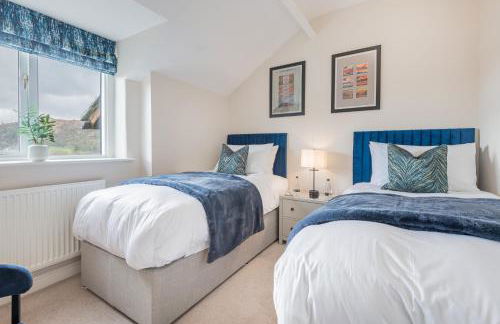
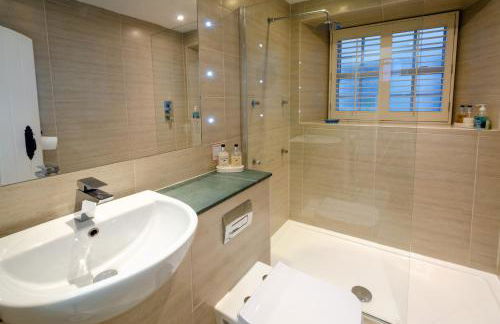
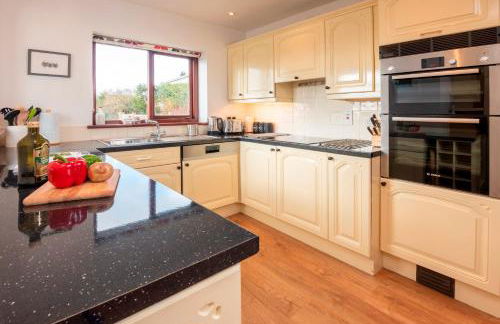
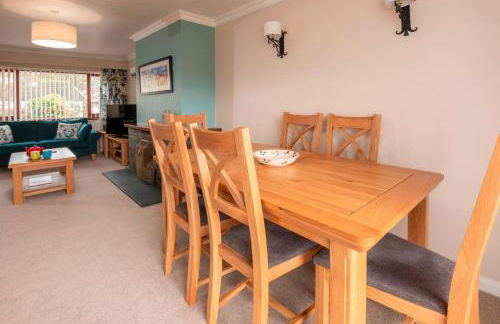
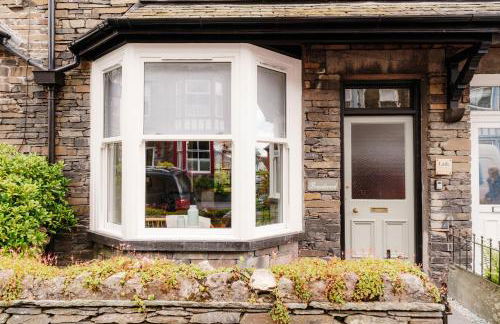
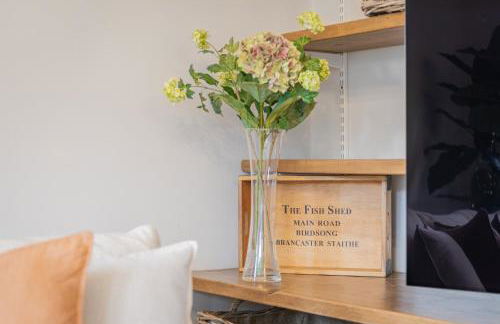
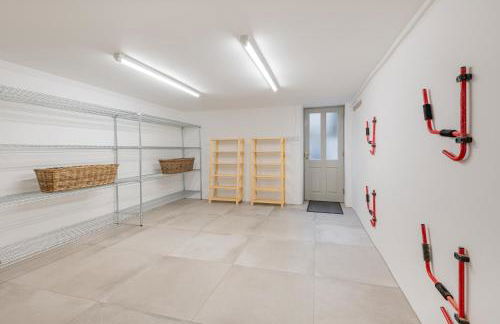
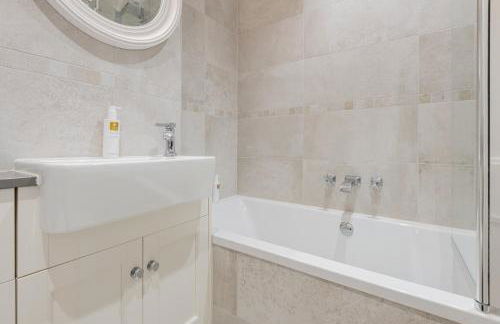
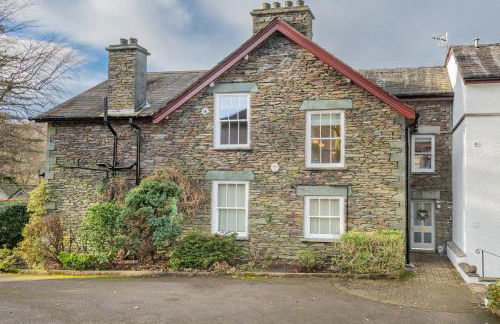
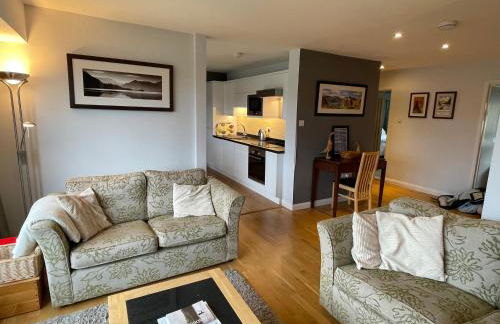
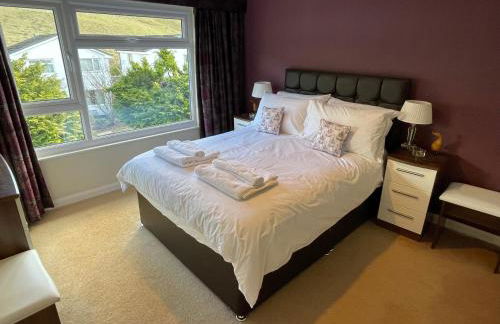
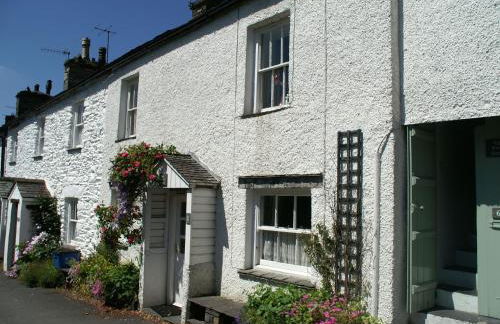
Badgers Rake 12 Squirrels Nest
Ambleside - Ambleside
- 2 habitaciones
- 4 personas
- Calefacción
- Parking
- Jardín
11 reseñas


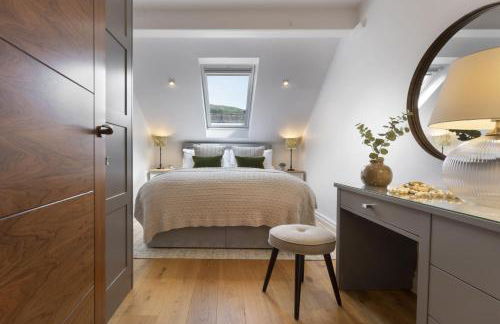
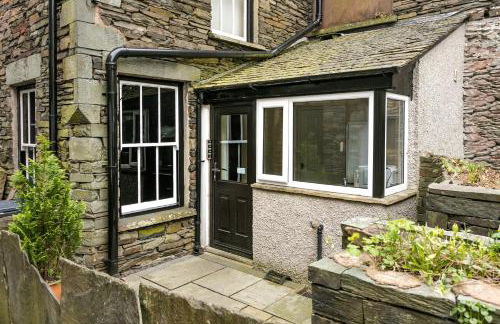
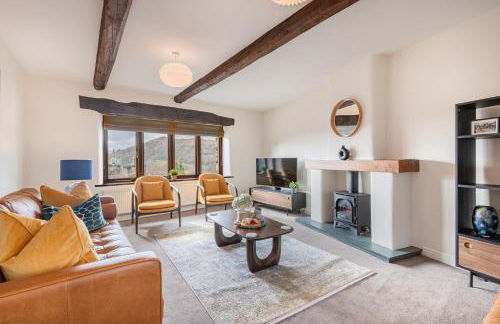
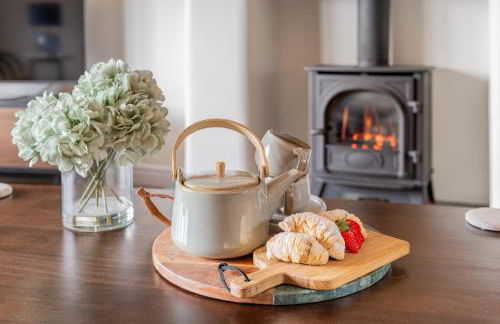
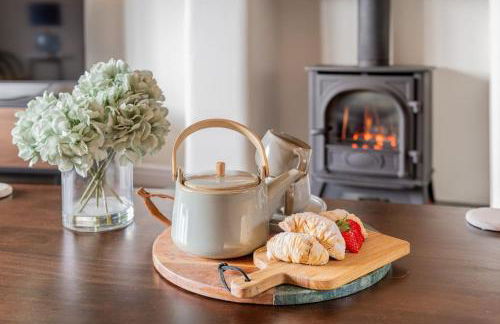
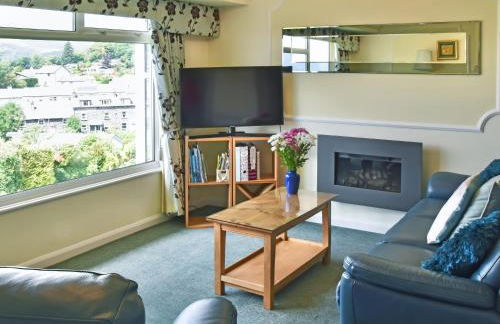
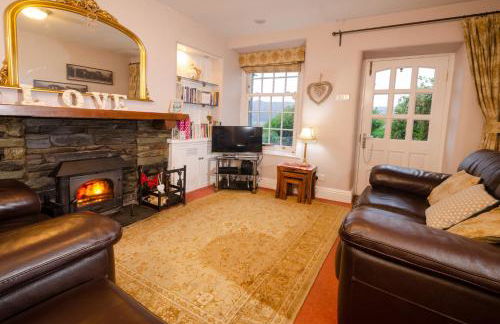
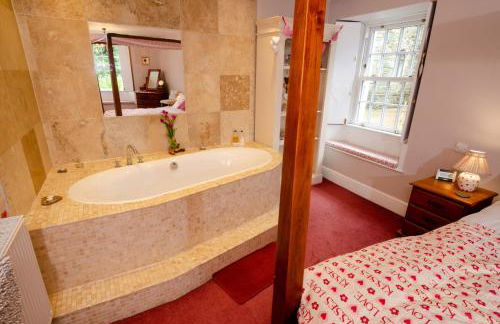
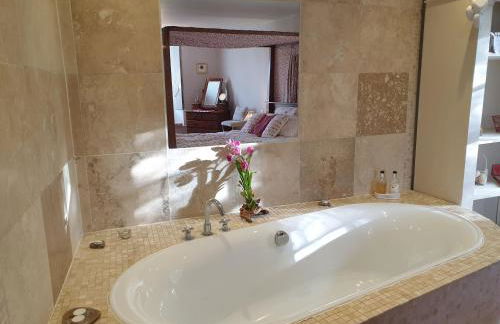
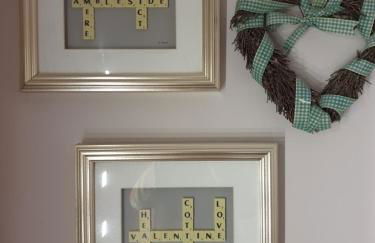
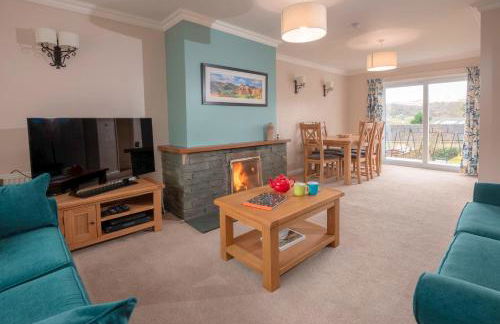
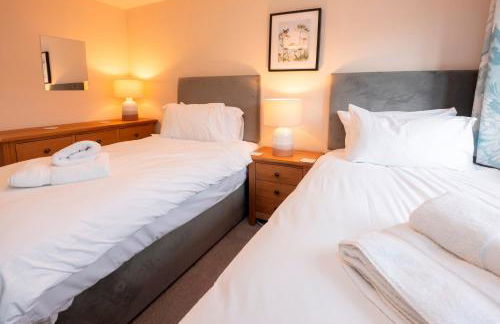
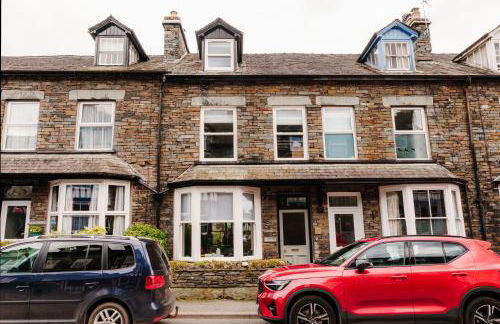
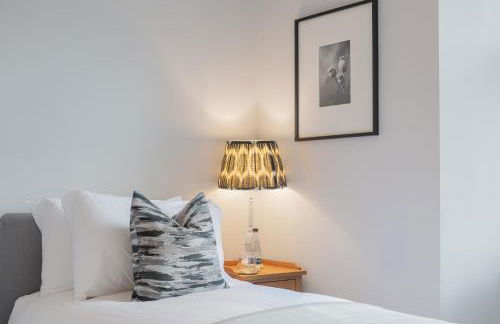
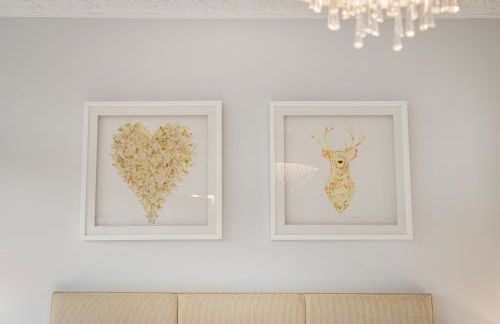
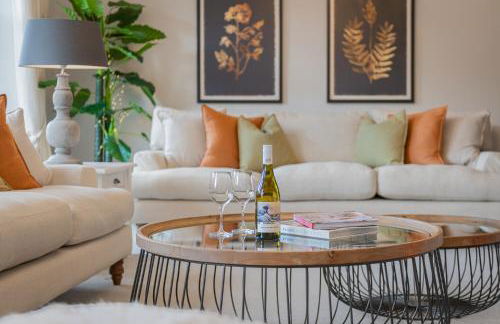
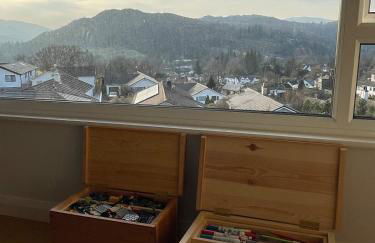
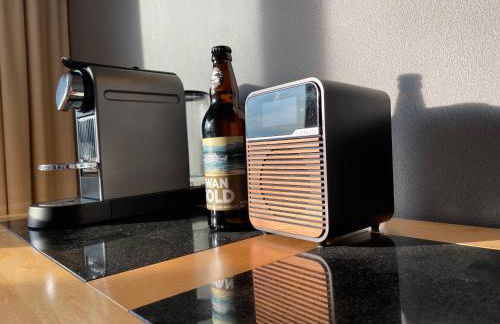
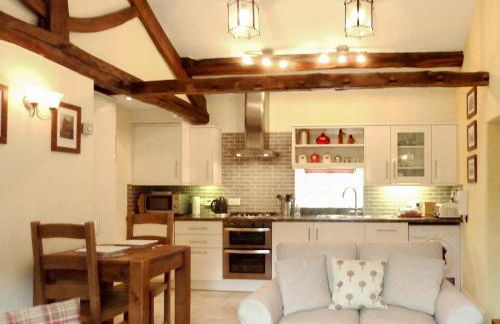
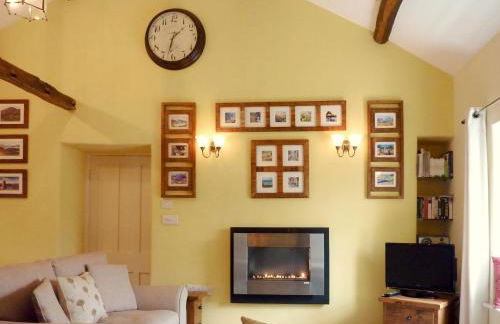
The Hideaway with Cosy Fireplace by LetMeStay
Ambleside - Ambleside
- 40 M2
- 2 personas
- Calefacción
- Parking
21 reseñas


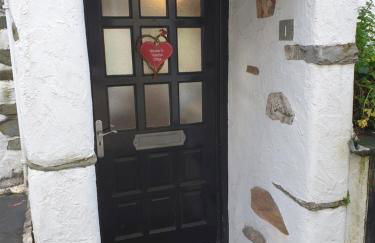


No. 1
Ambleside - Ambleside
- 60 M2
- 4 personas
- Calefacción
- Parking
- Ascensor
- Televisión
- Toallas
- Sábanas
3 reseñas
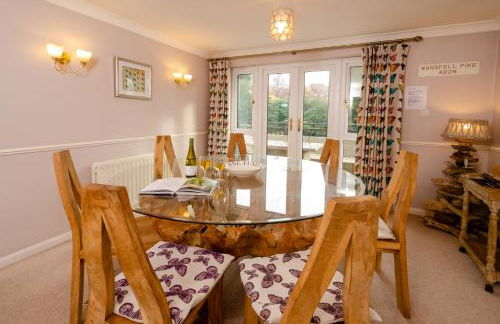
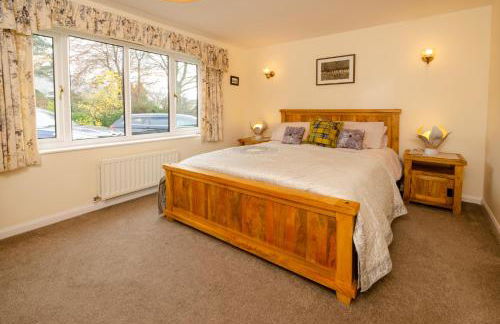
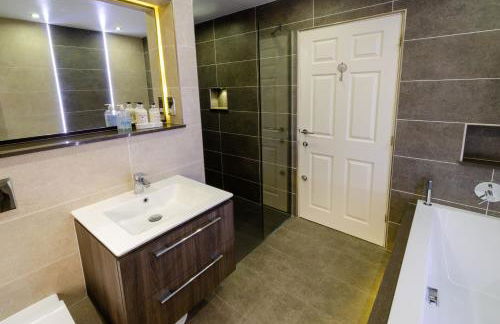
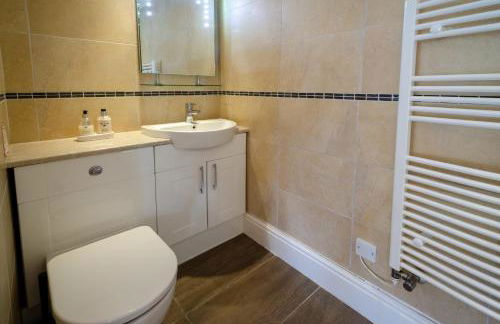
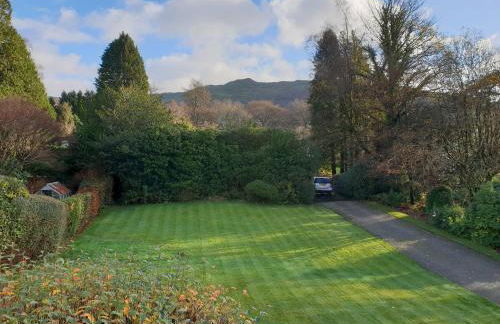
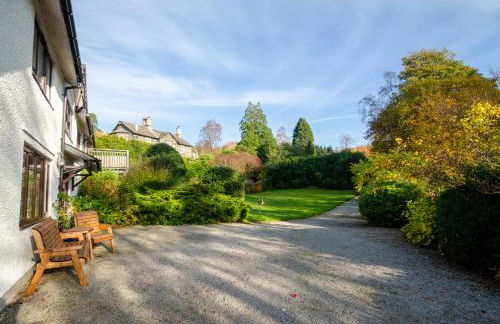
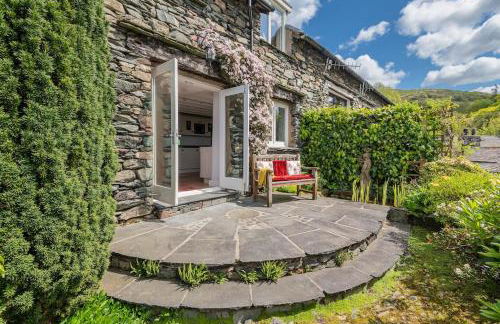
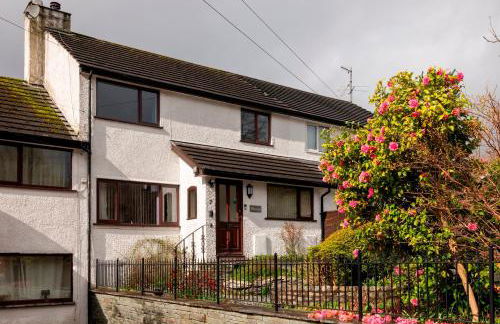
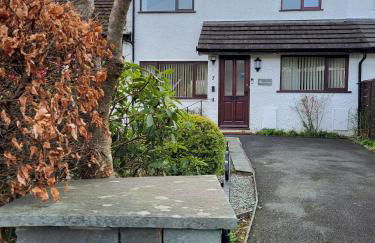
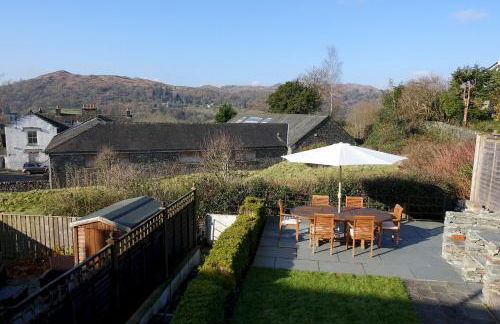
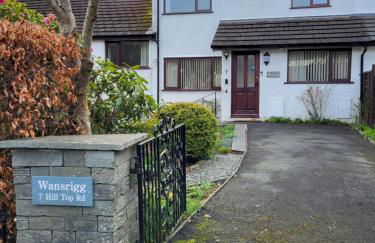
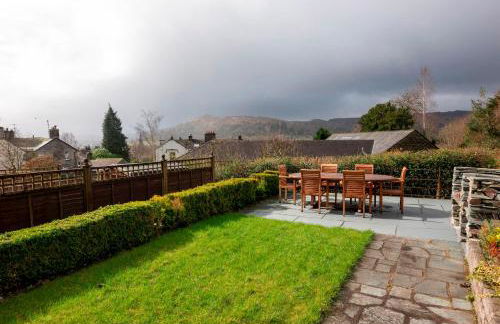
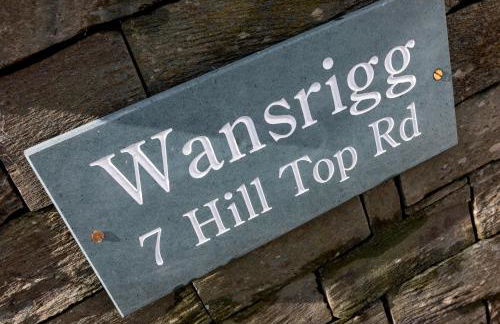
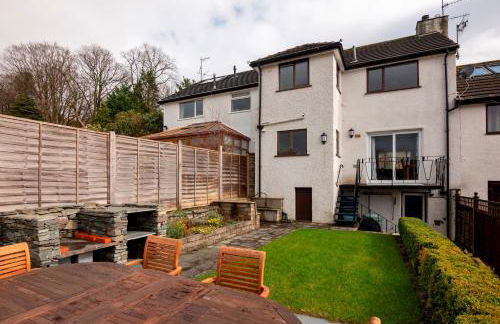
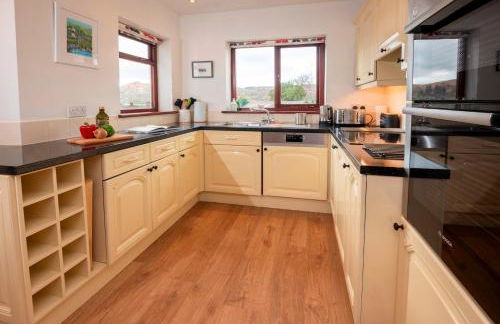
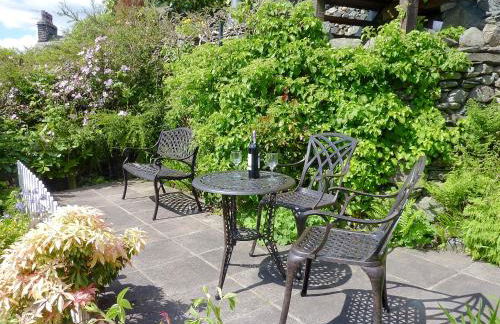
Wansfell
Ambleside - Ambleside
- 2000 M2
- 4 habitaciones
- 6 personas
- Calefacción
- Terraza
- Parking
- Jardín
2 reseñas


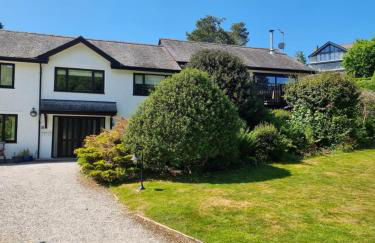
Brantwood - 4 bed home Ambleside
Ambleside - Ambleside
- 160 M2
- 4 habitaciones
- 8 personas
- Parking
10 reseñas
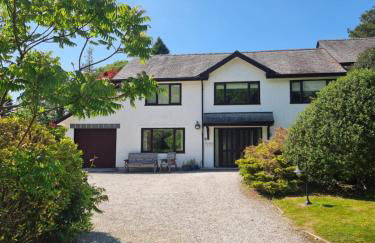
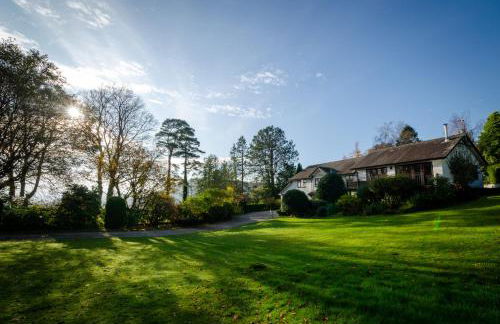
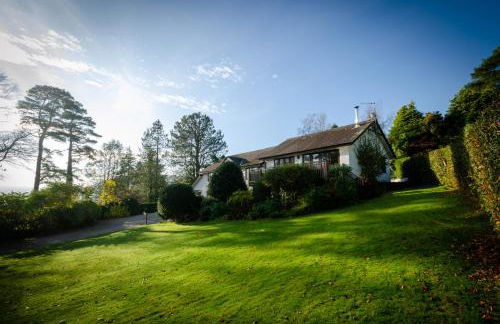
The Retreat - Luxury Home, Ambleside
Ambleside - Ambleside
- 1000 M2
- 3 habitaciones
- 6 personas
- Parking
13 reseñas


Ambleside 3 Bedroom Apartment
Ambleside - Ambleside
- 90 M2
- 3 habitaciones
- 5 personas
- Calefacción
- Parking
- Jardín
28 reseñas


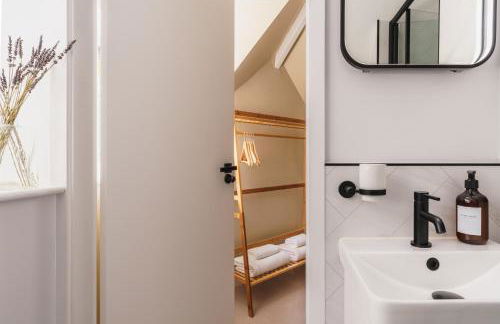
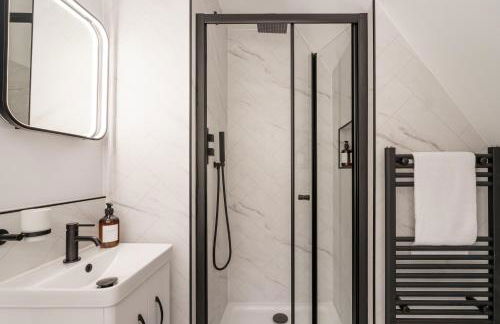
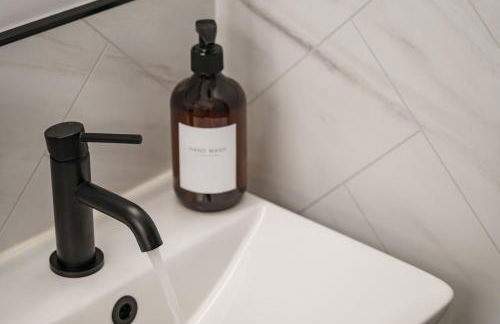

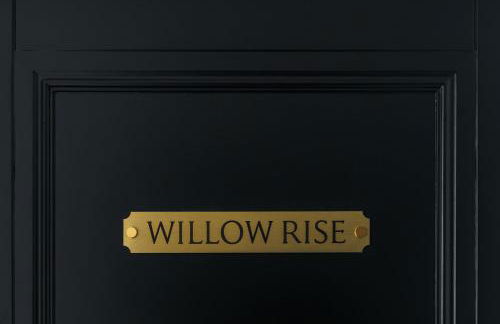
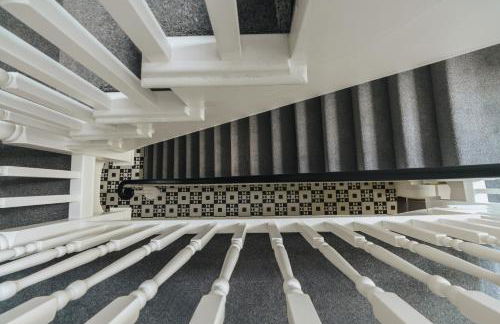
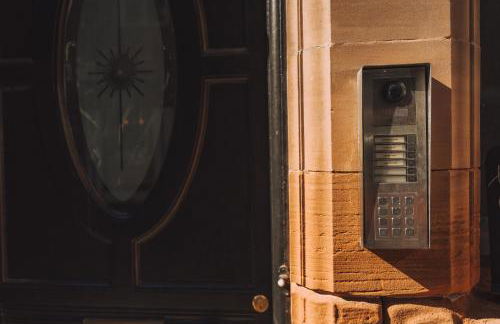
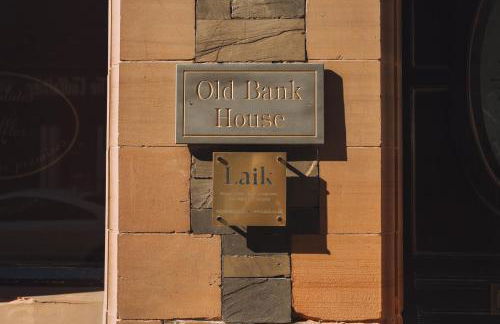
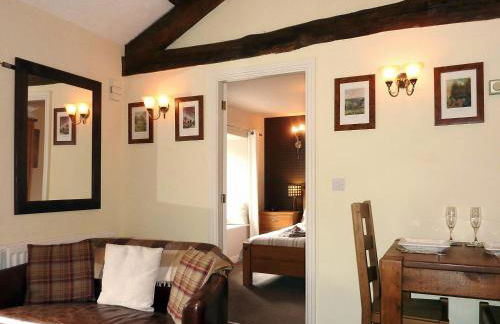
Willow Rise, the Old Bank House
Ambleside - Ambleside
- 55 M2
- 2 habitaciones
- 4 personas
- Calefacción
- Parking
16 reseñas
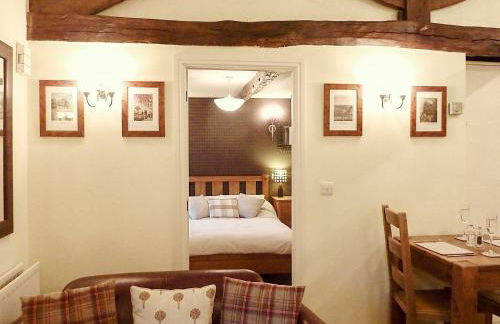


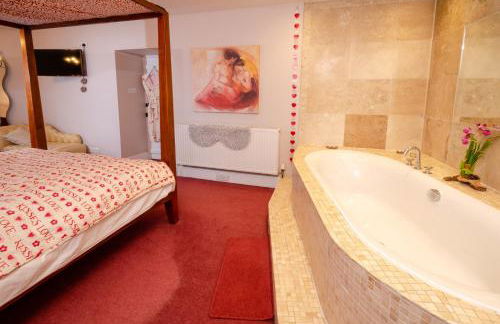
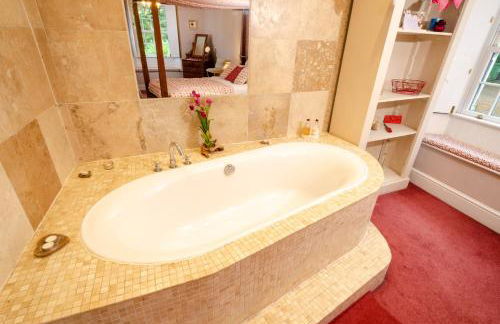
Serendipity ~ Romantic Hideaway in Ambleside
Ambleside - Ambleside
- 42 M2
- 1 habitación
- 2 personas
- Parking
- Ascensor
115 reseñas