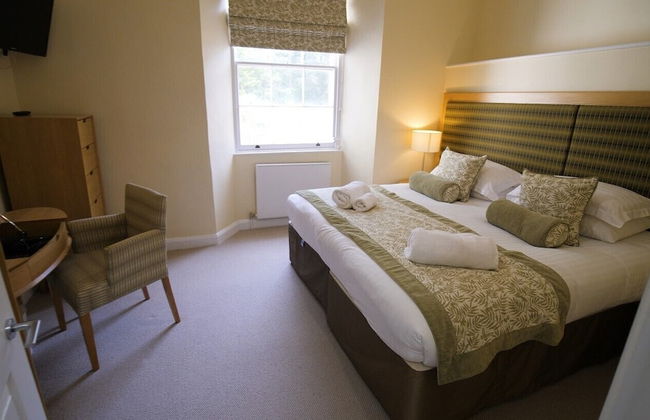
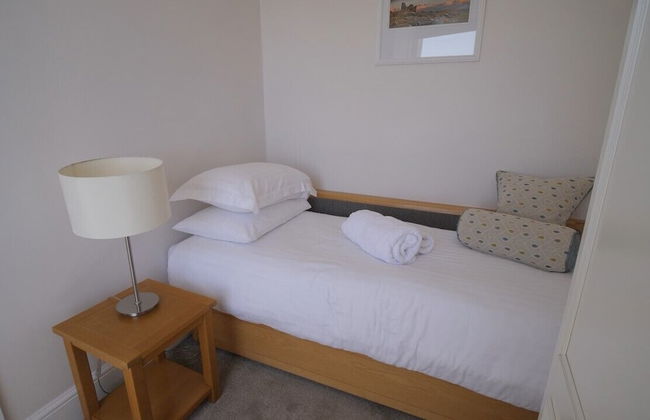
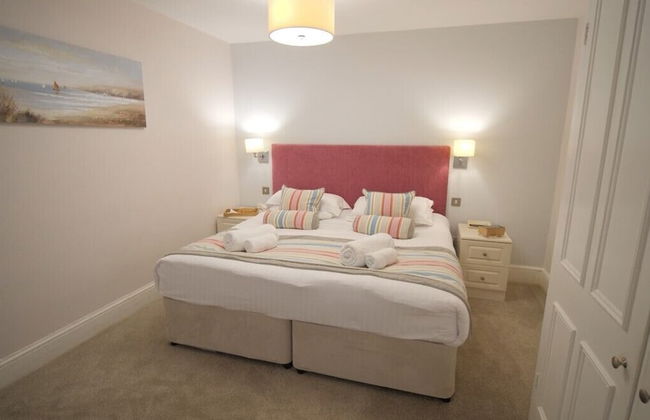
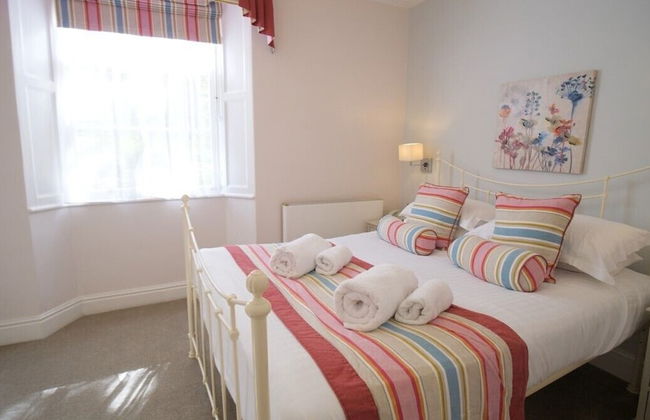
106834 Apartamentos en Inglaterra
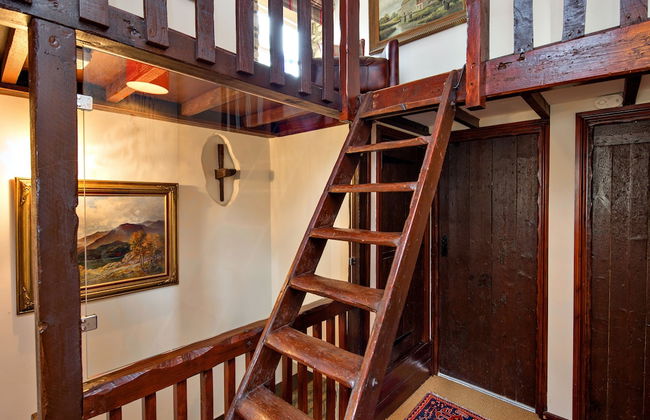
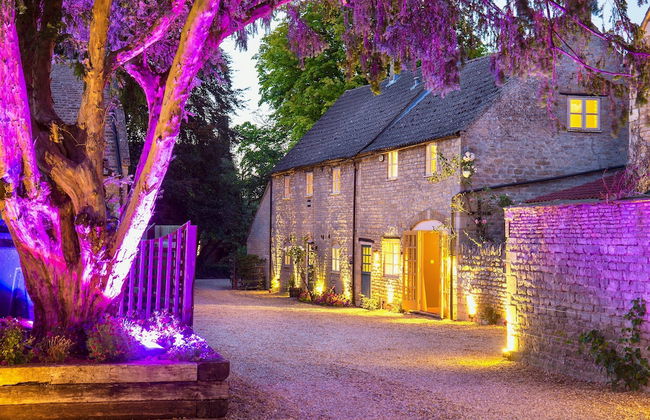
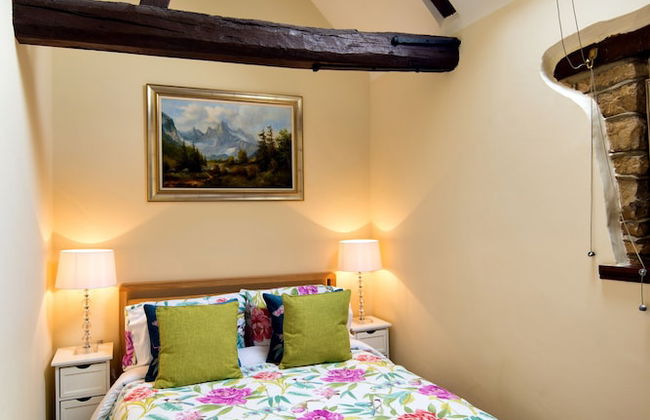
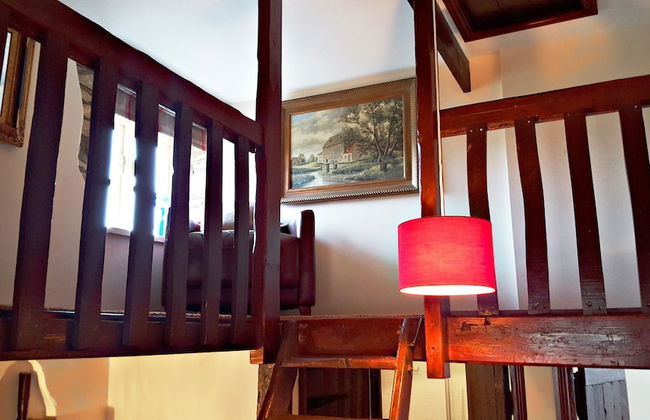
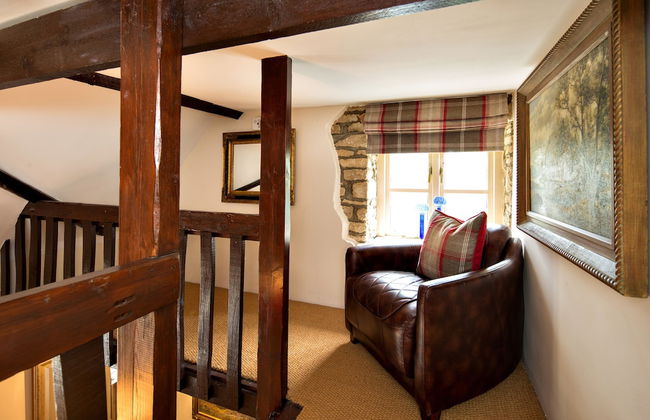
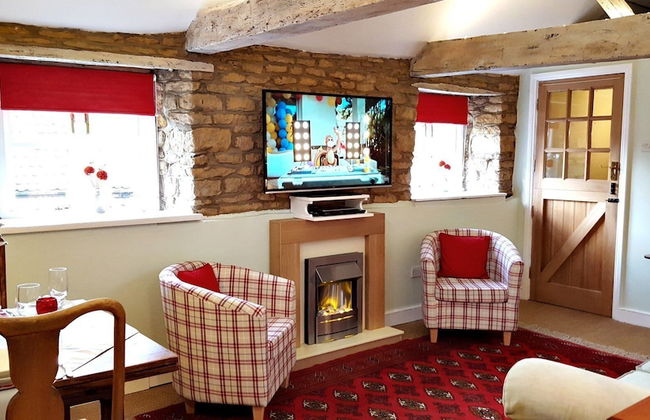
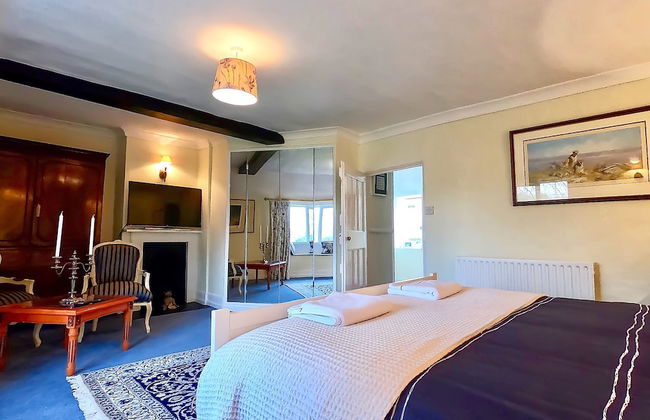
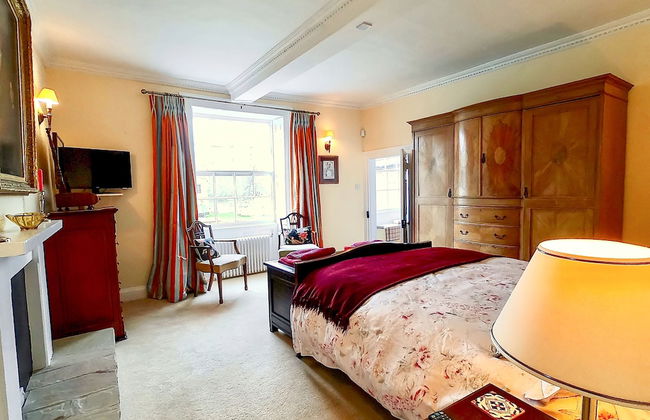
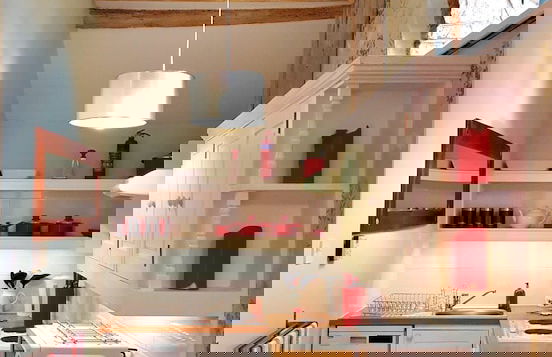
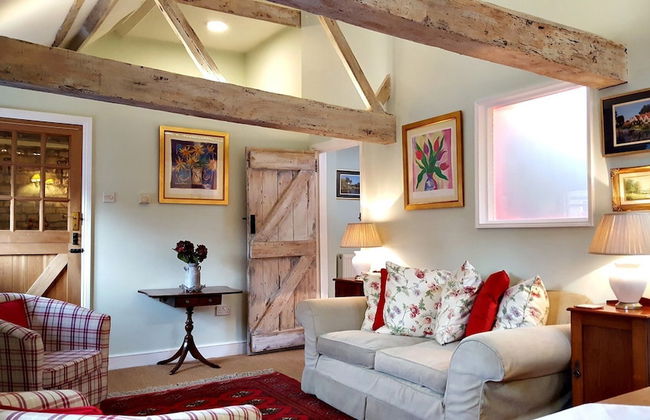
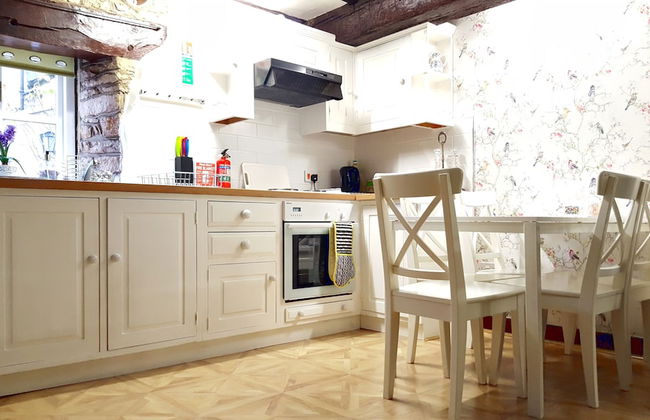
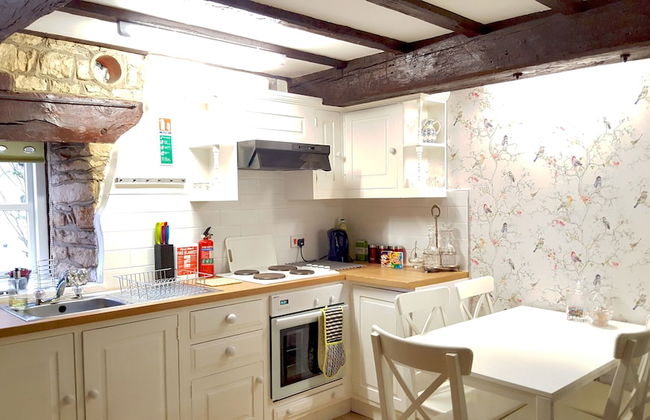
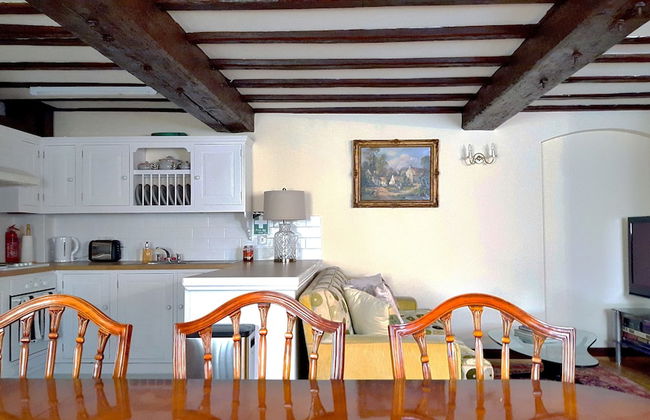
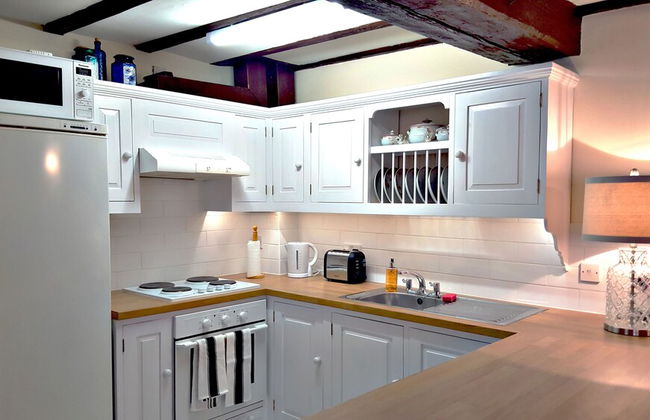
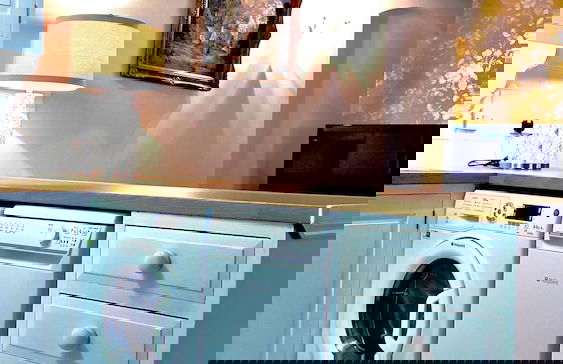
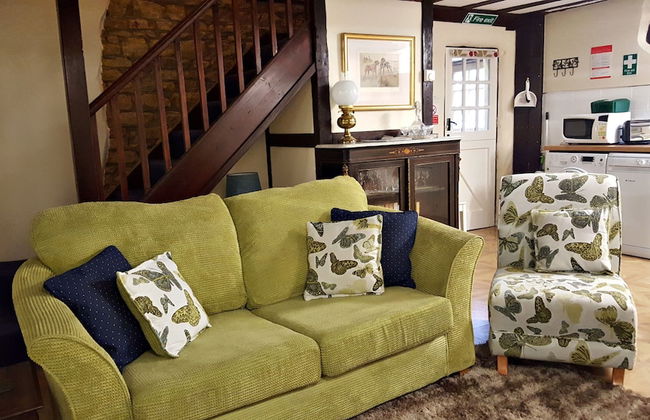
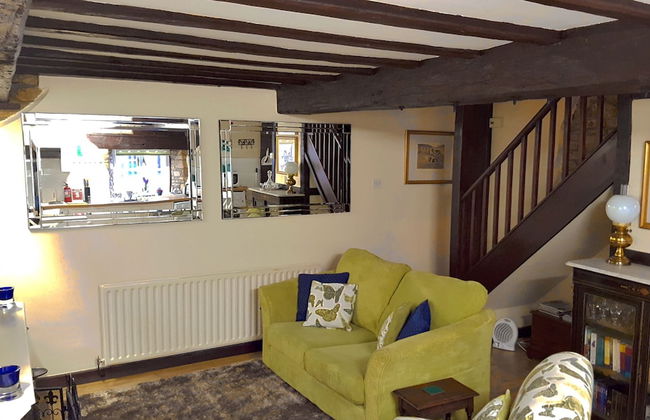
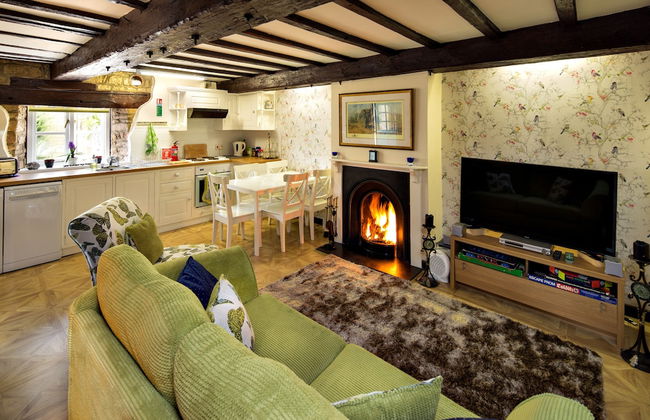
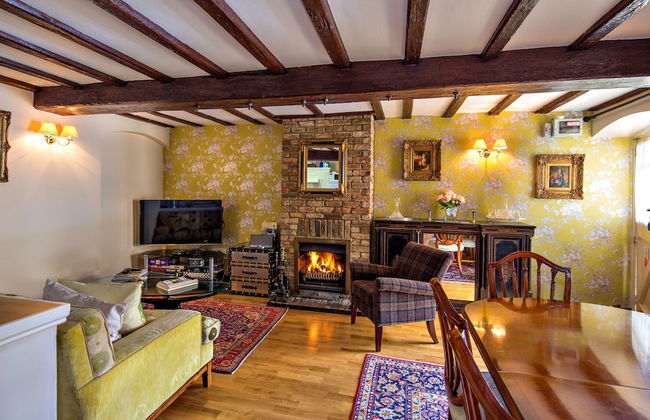
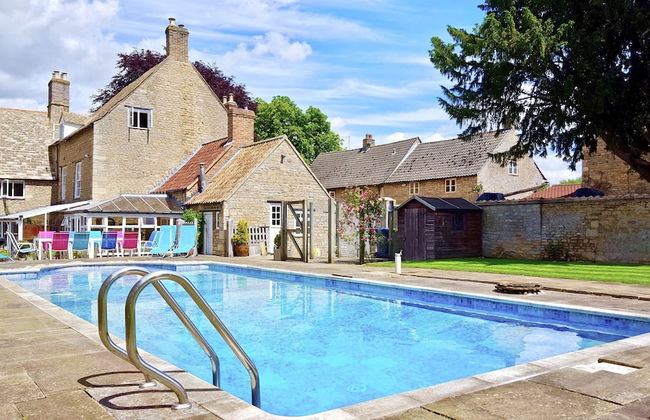
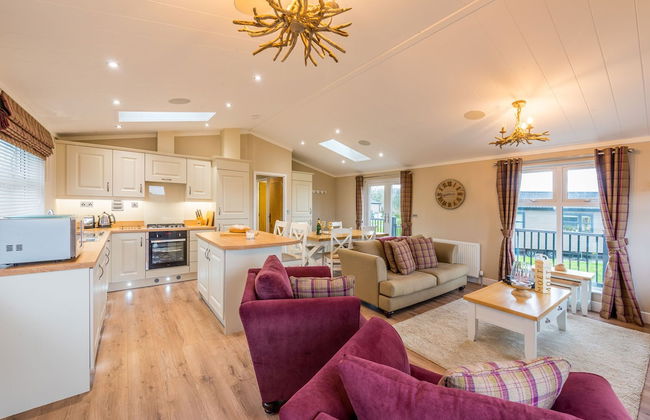
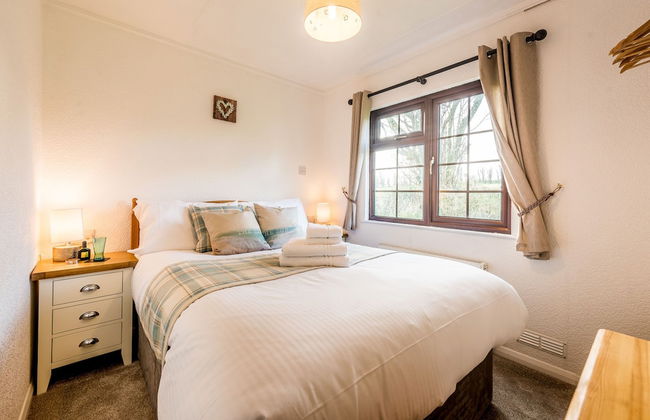
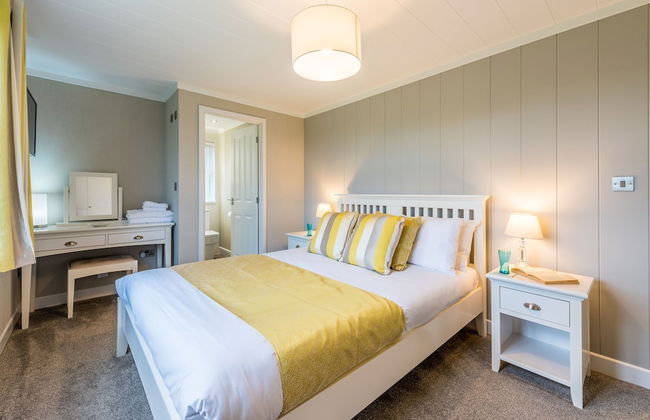
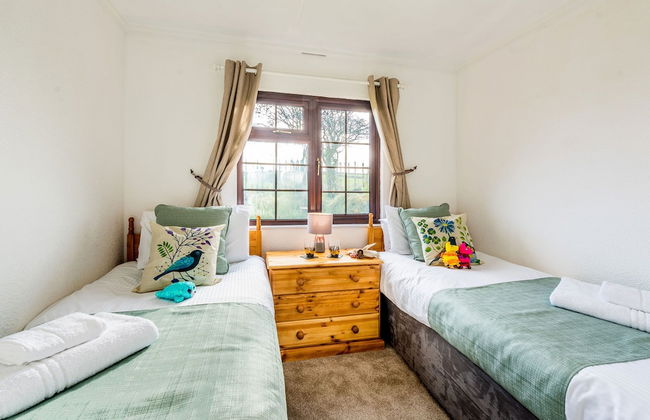
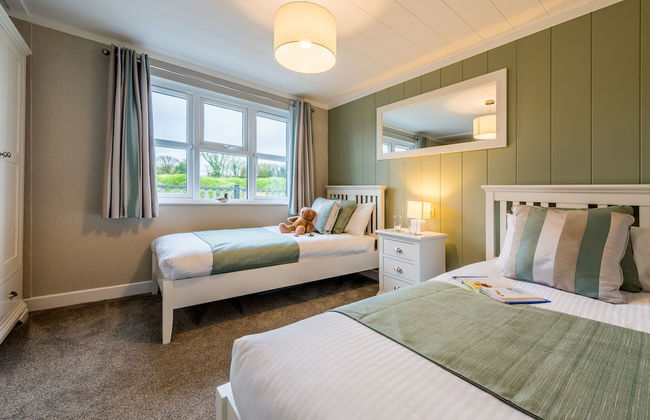
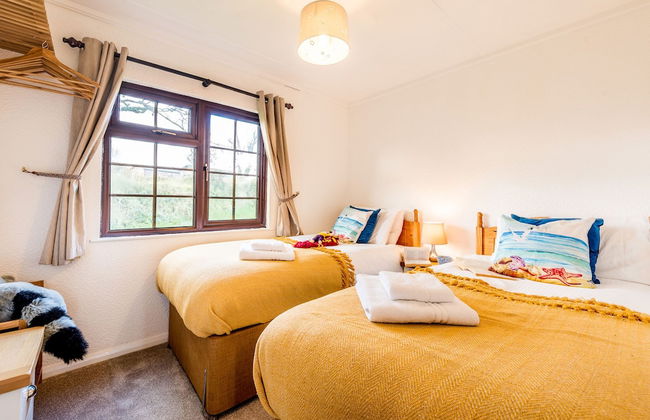
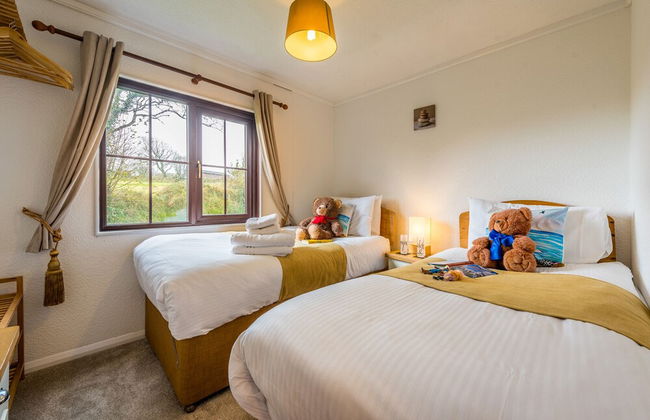
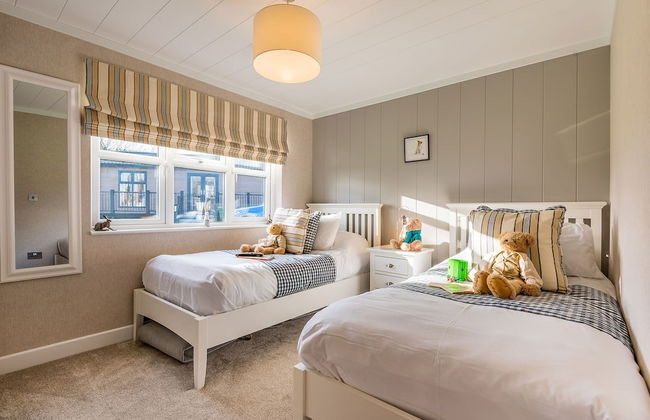
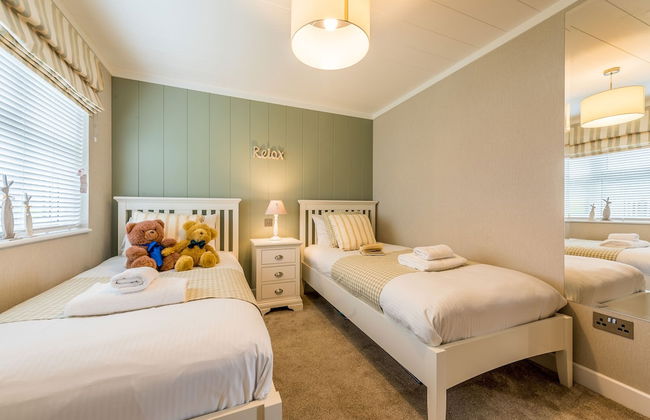
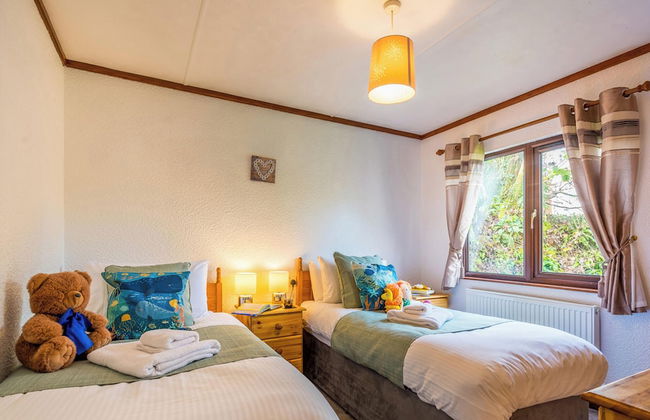
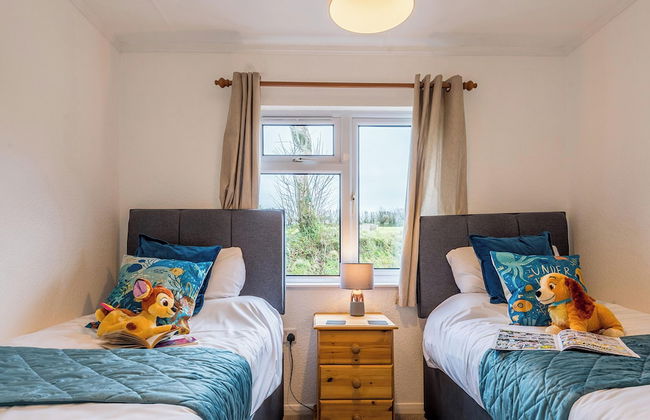
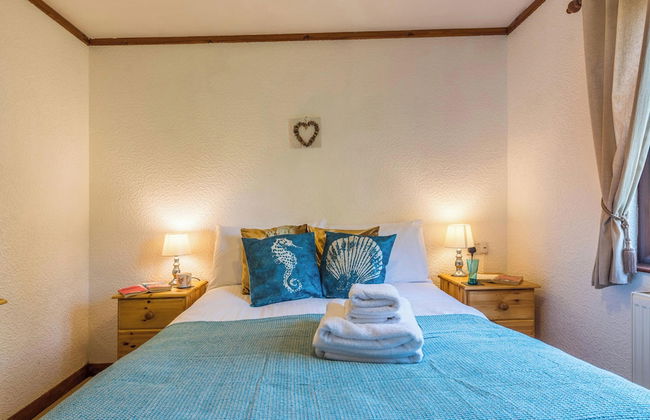
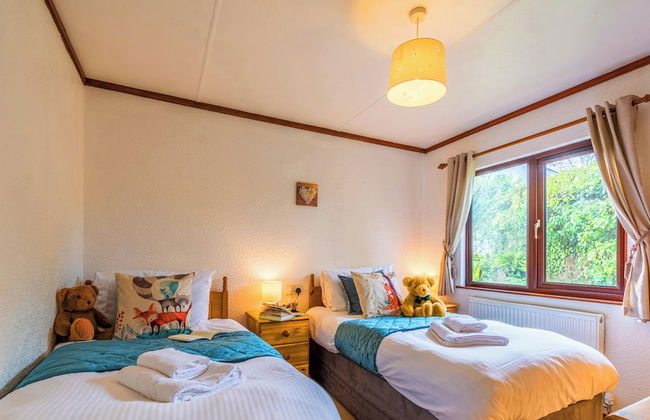
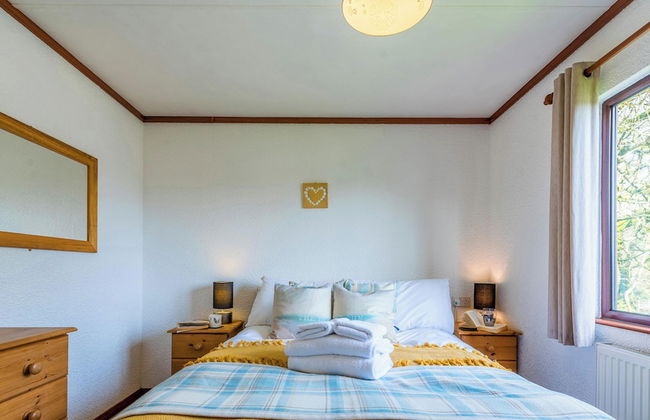
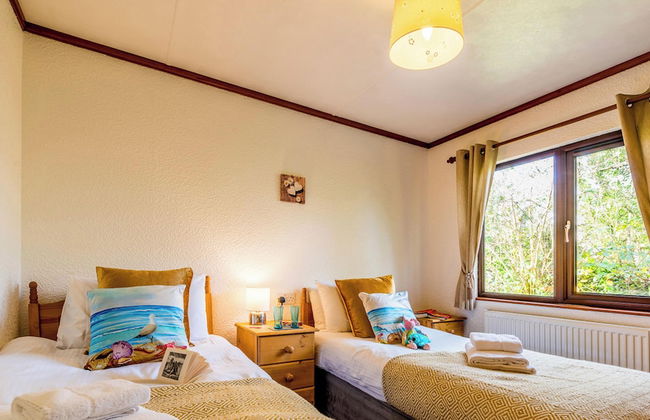
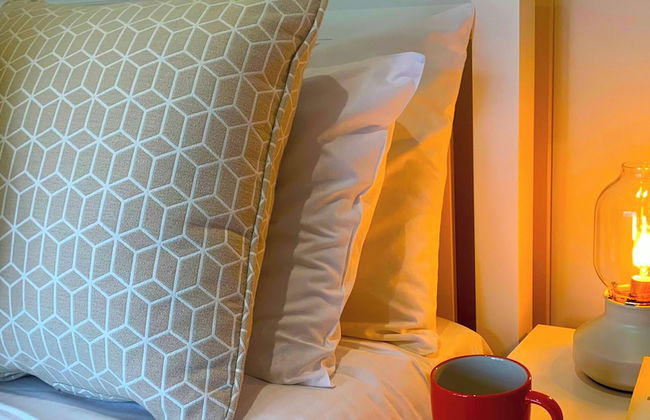
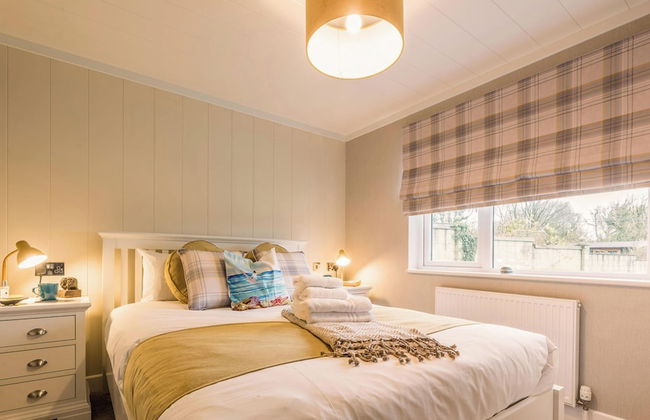
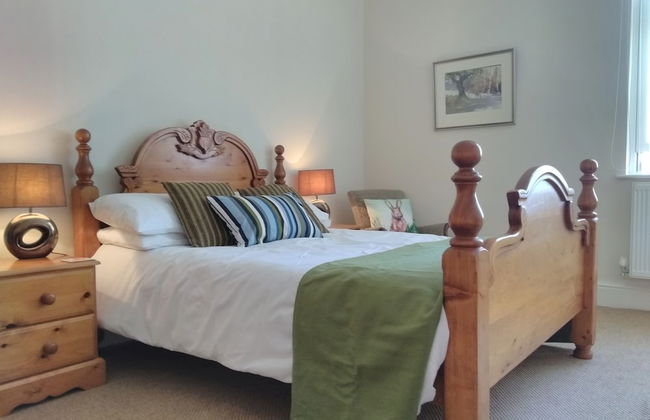
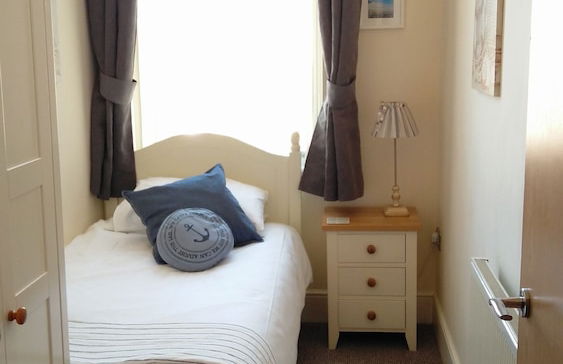
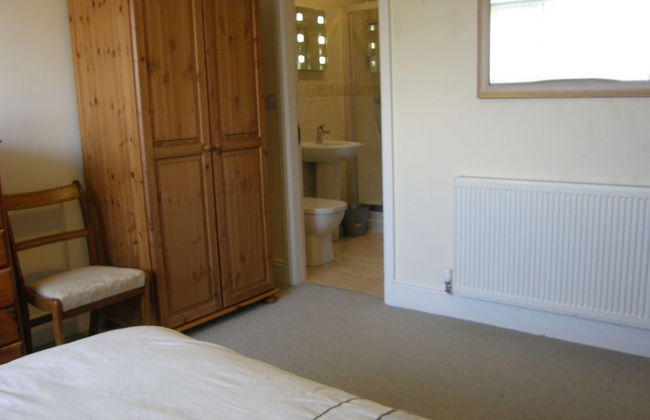
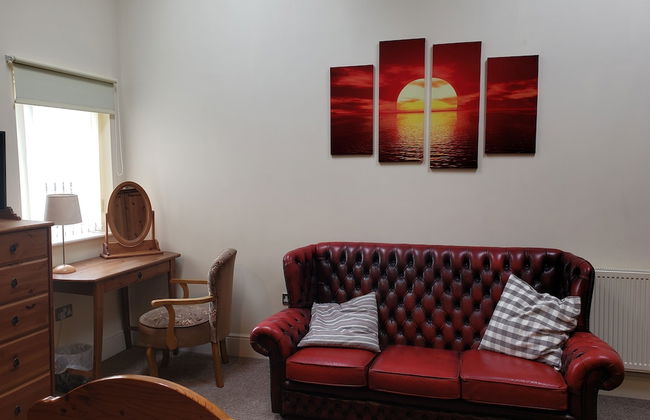
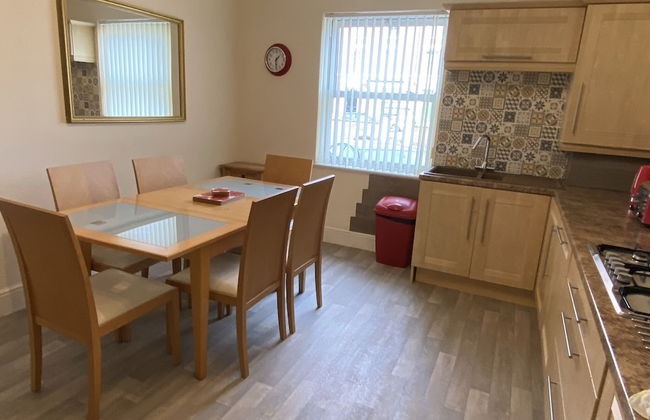
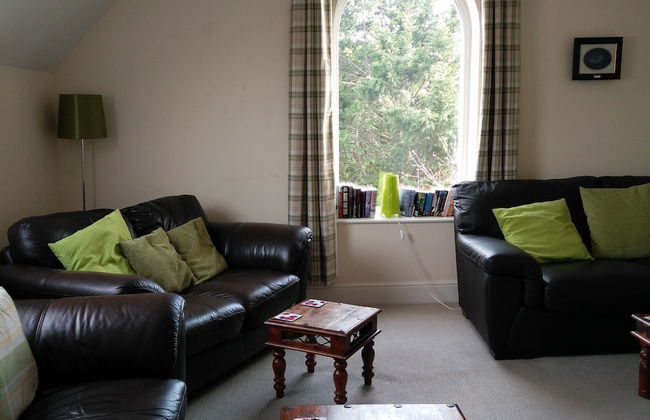
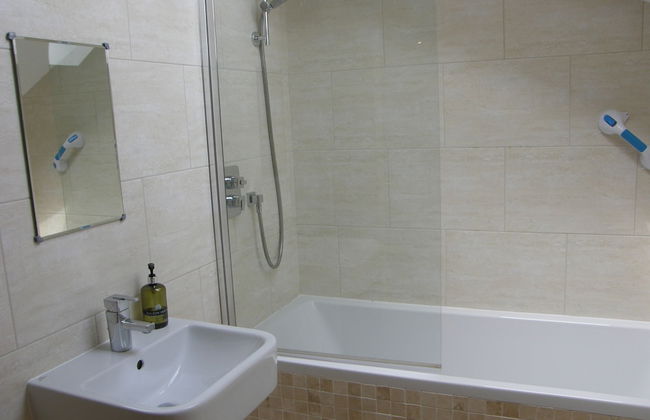
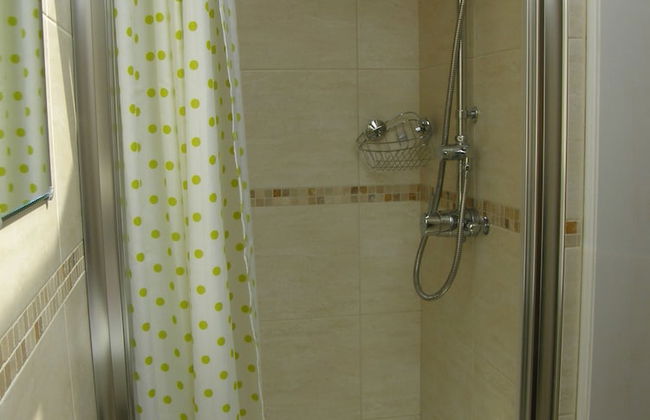
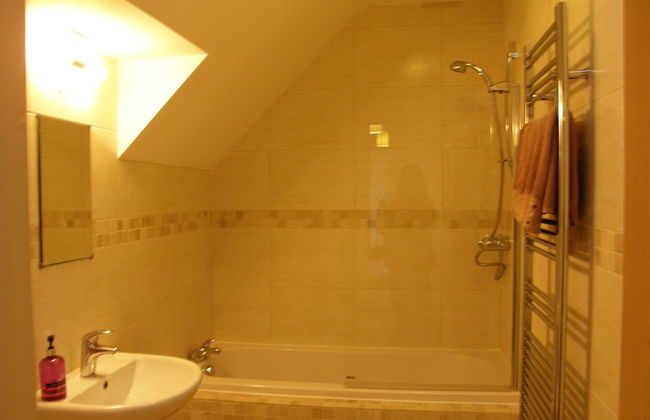
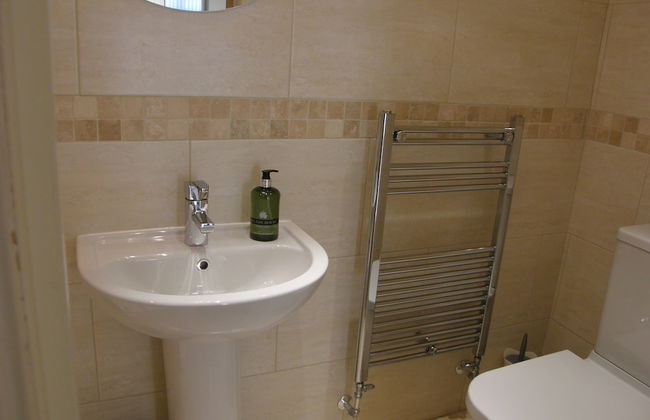
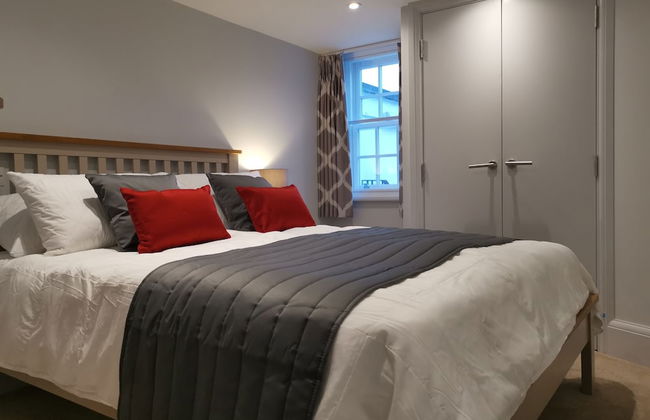
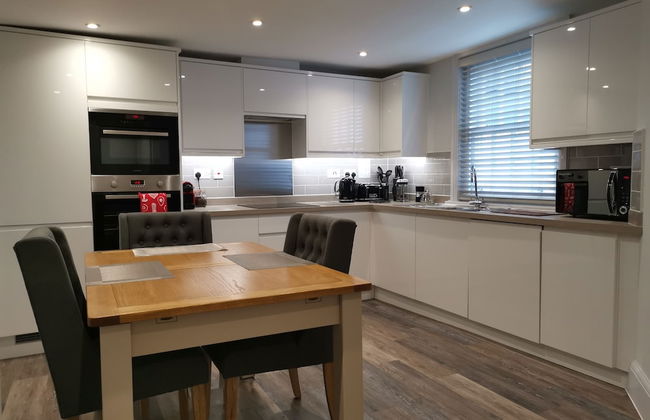
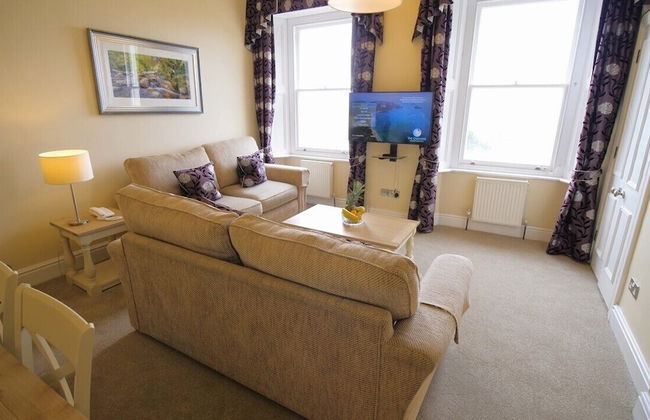
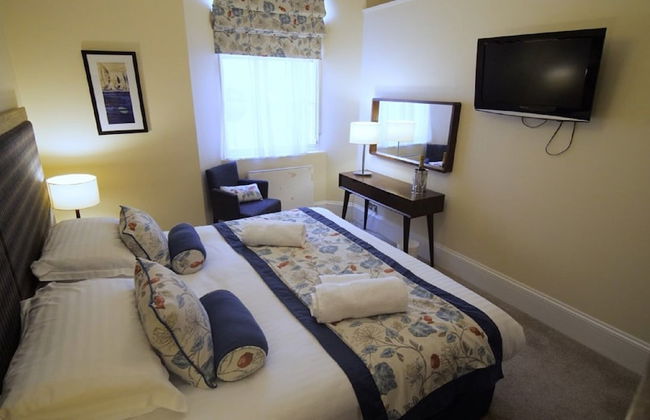
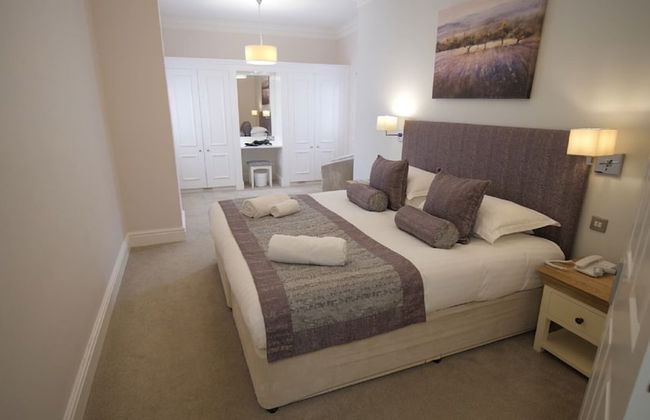
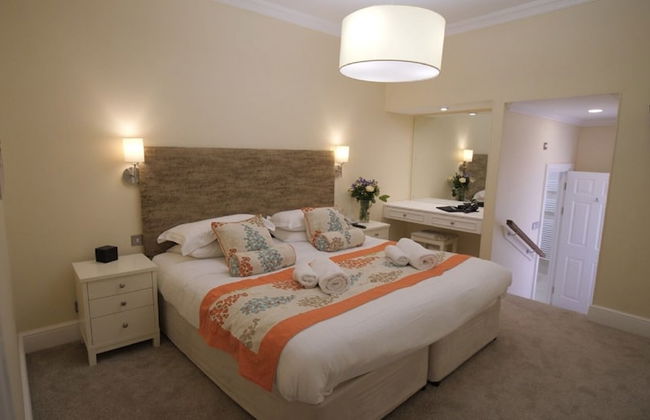
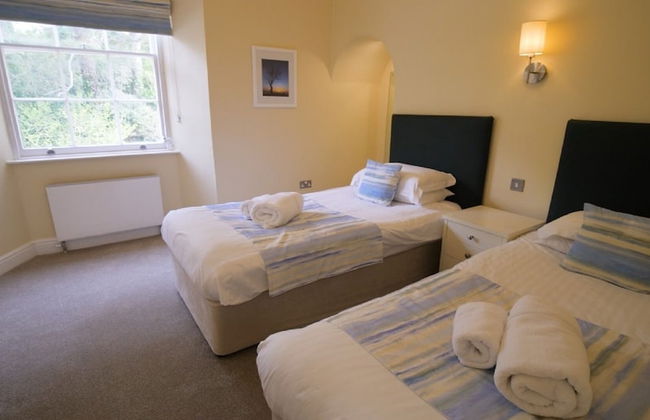
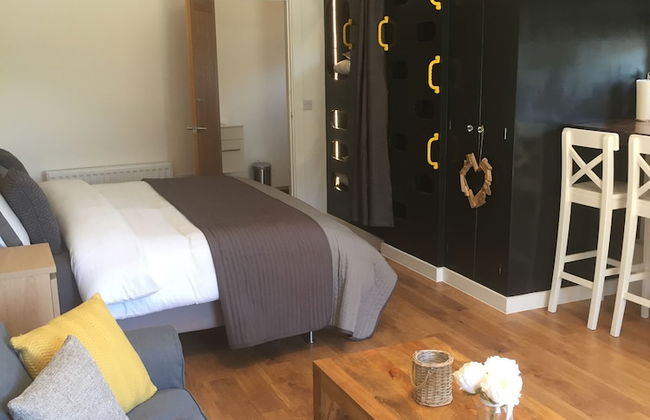
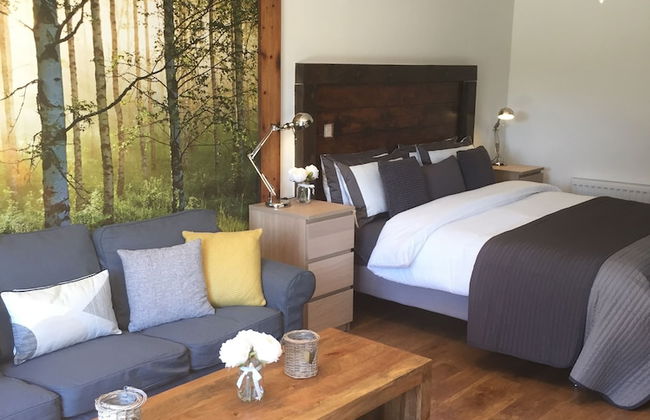
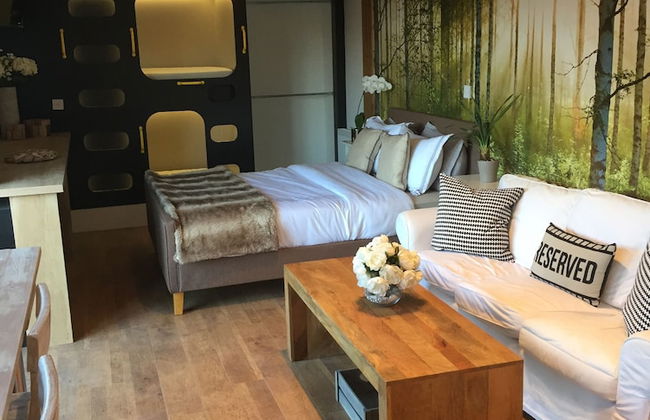
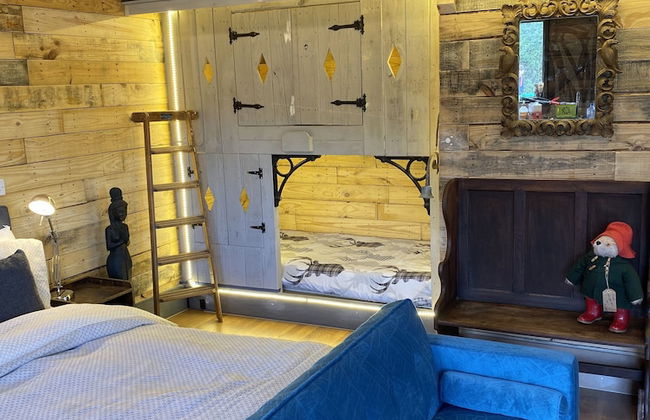
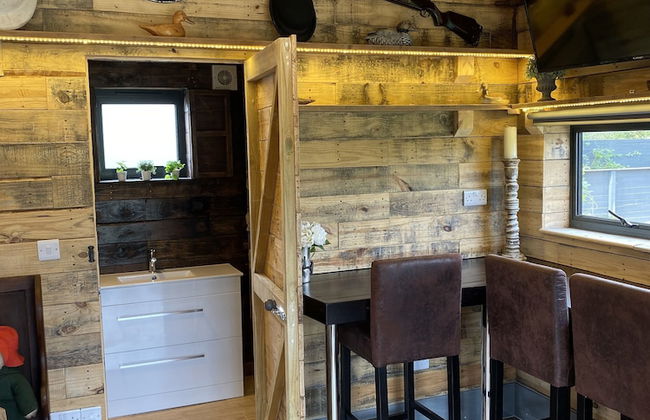
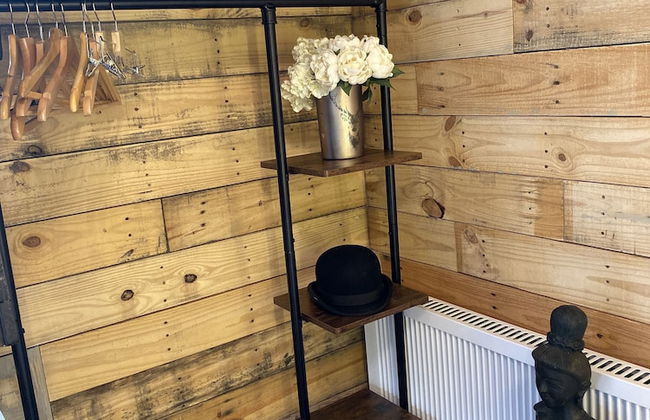
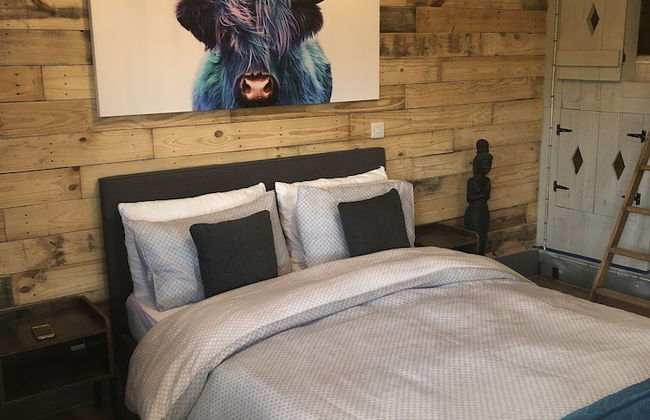
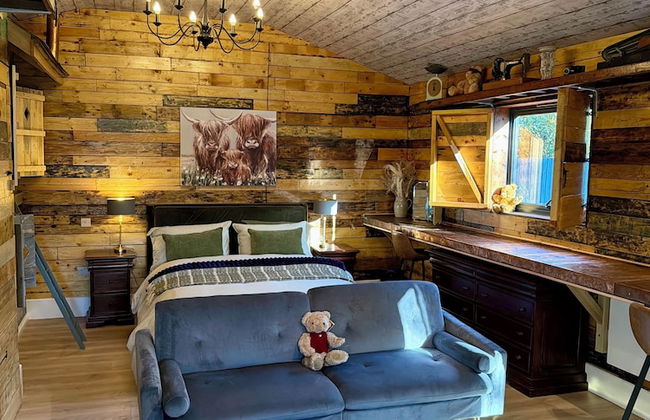
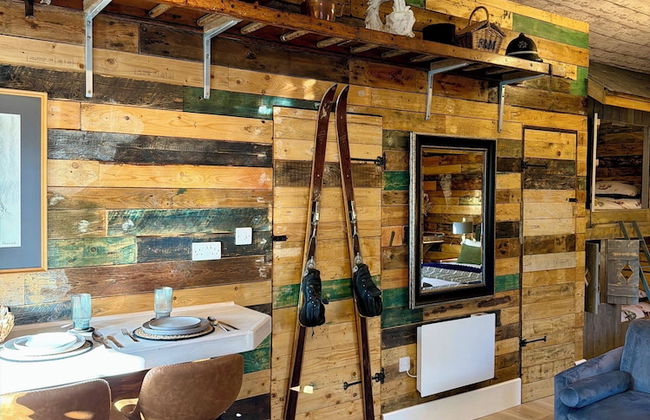
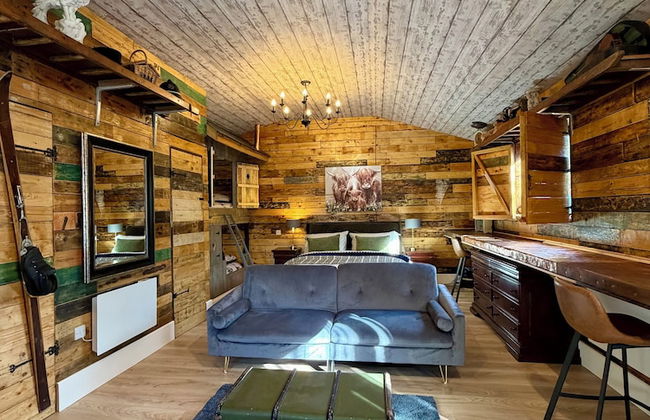
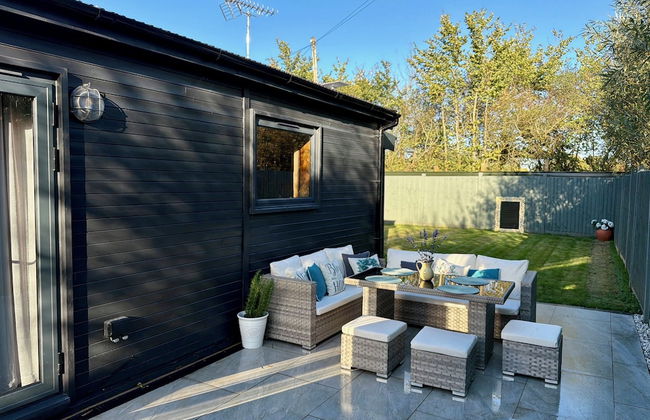
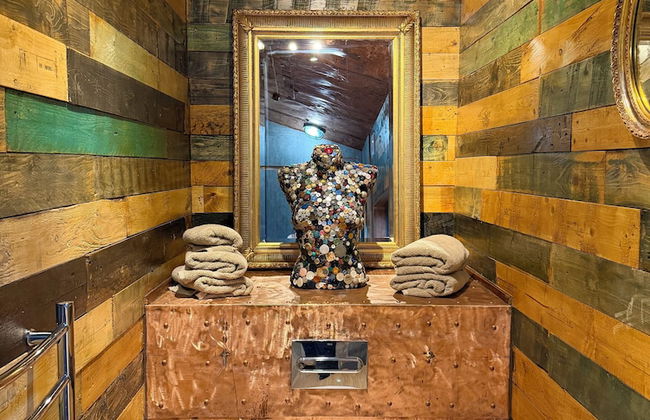
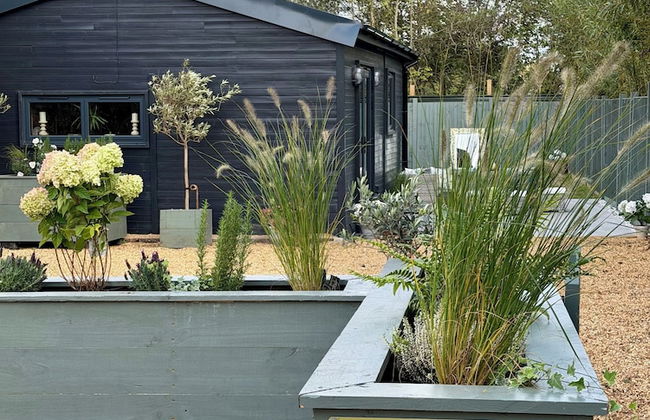
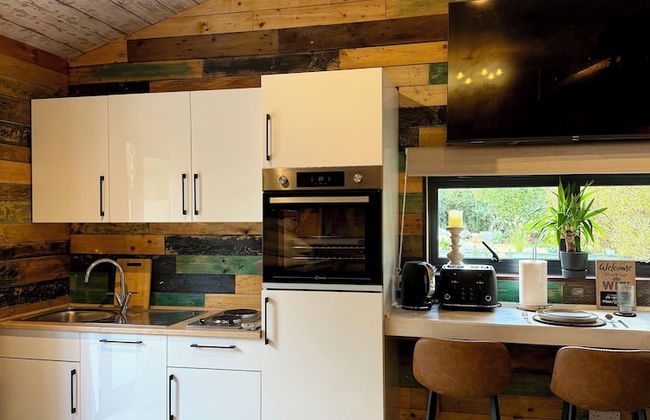
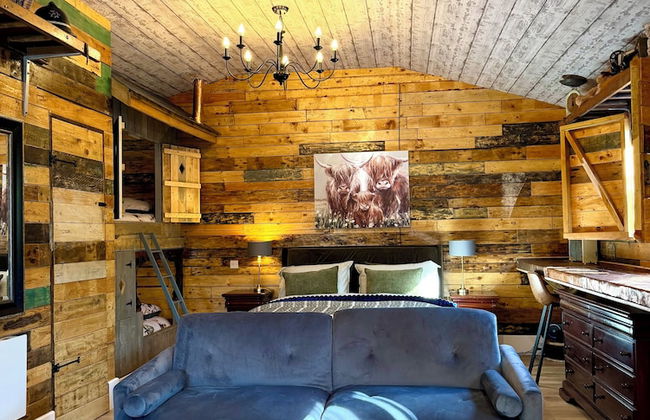
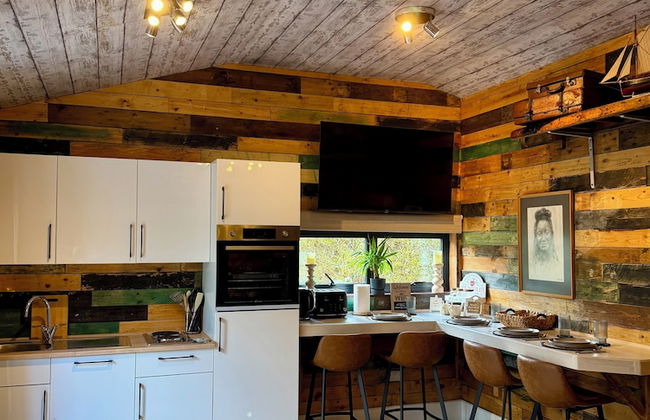
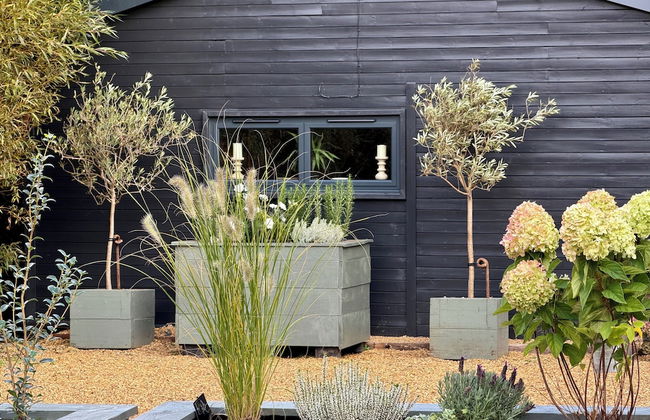
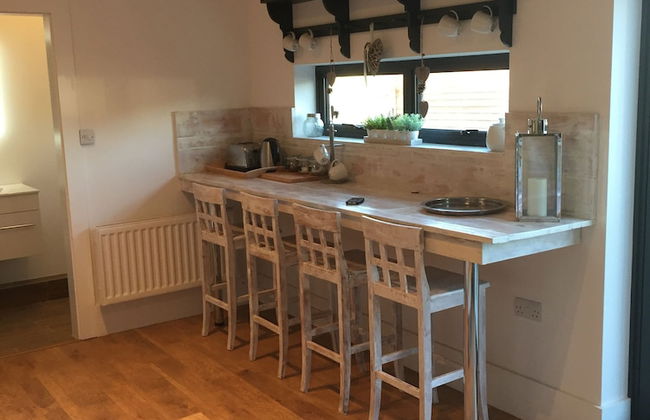
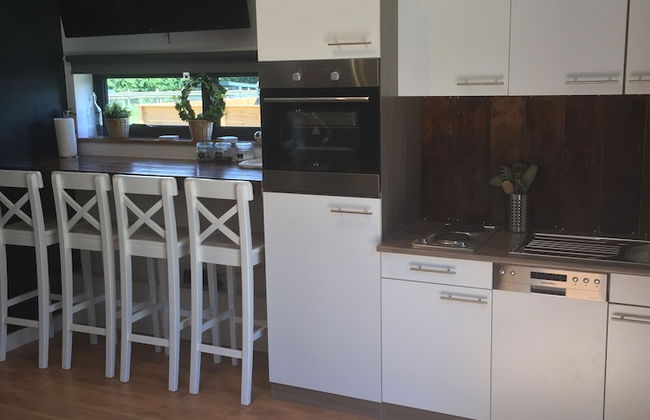
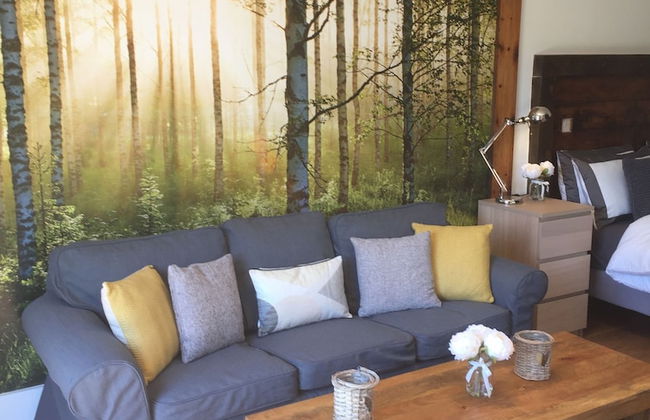
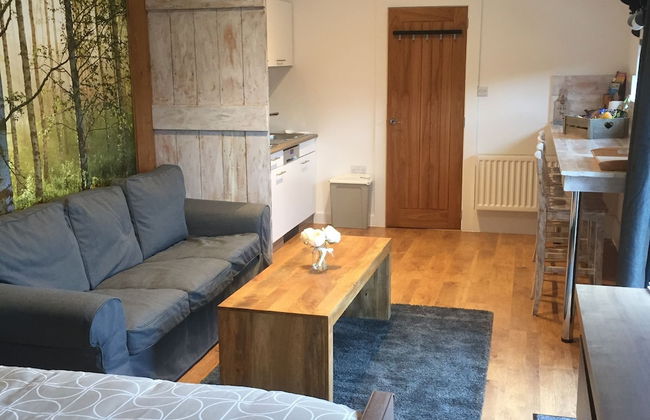
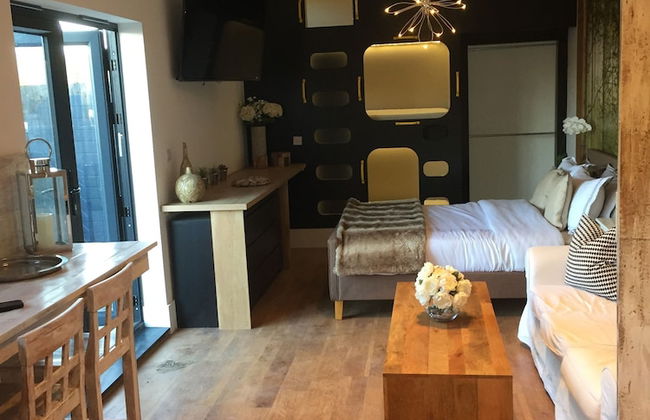
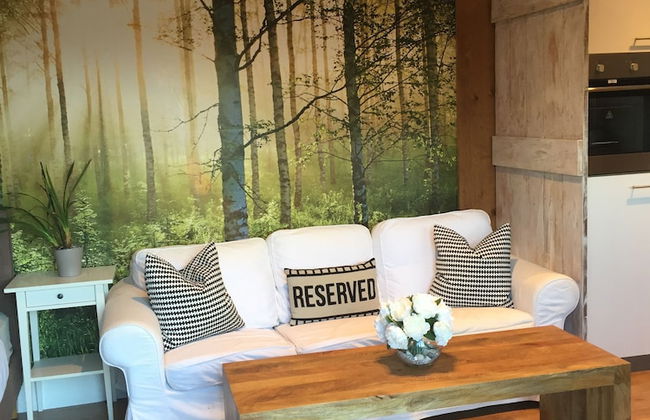
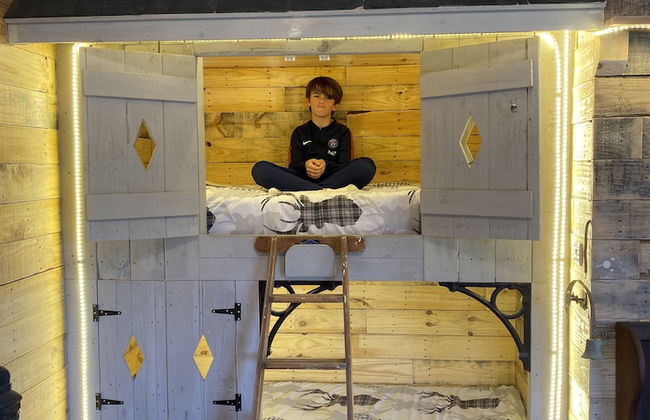
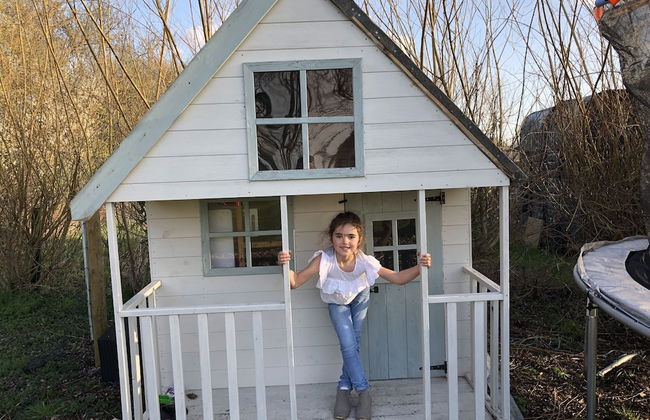
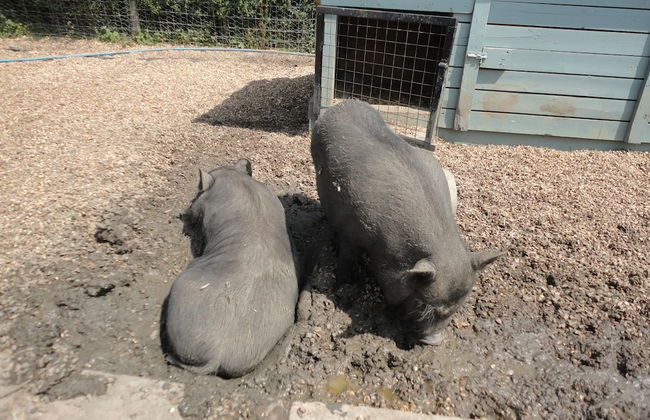
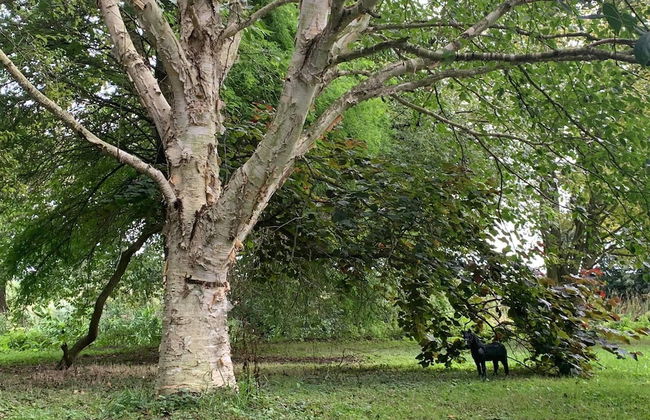
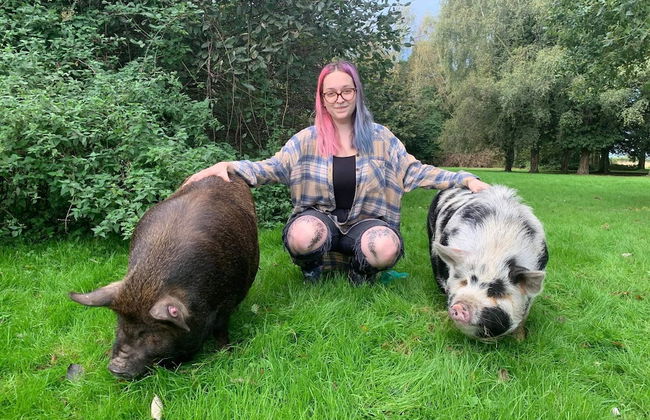
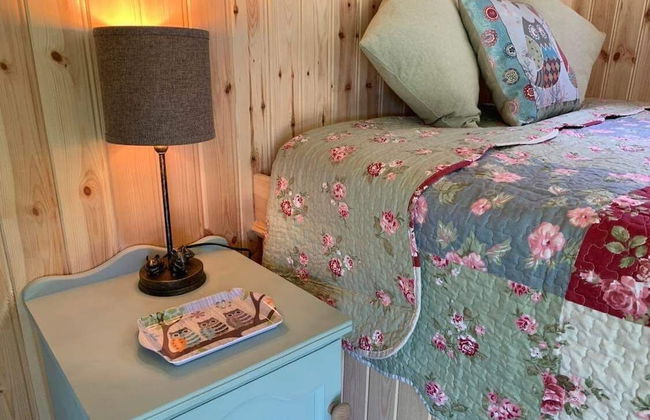
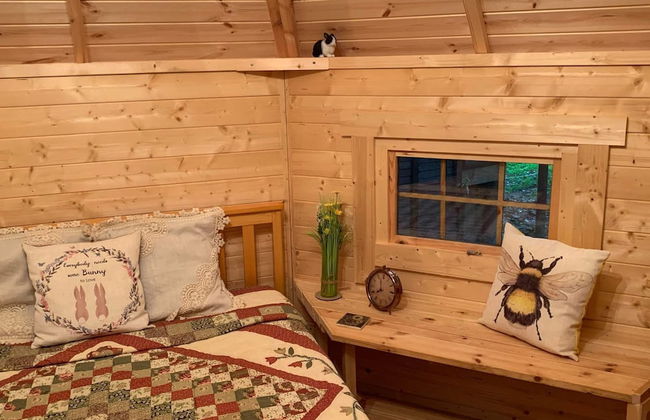
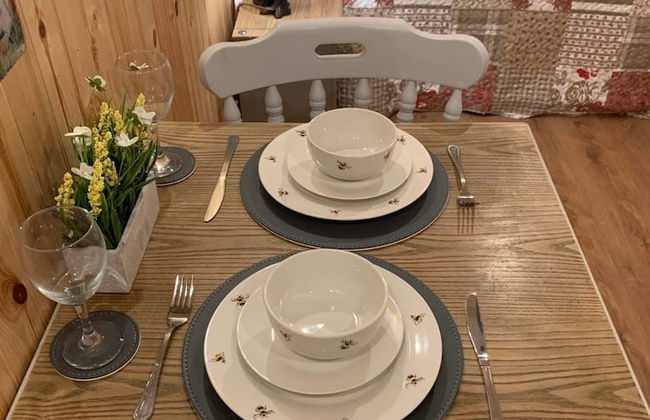
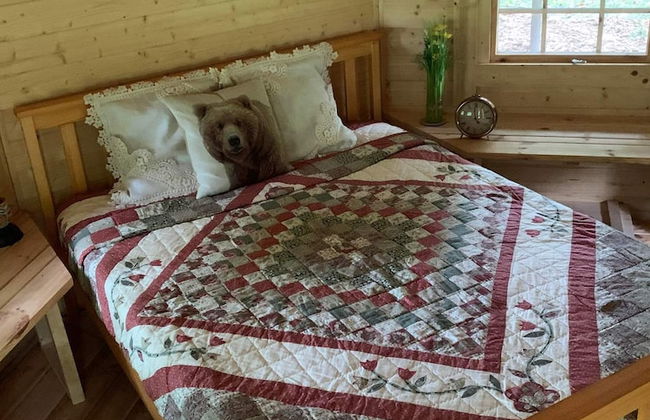
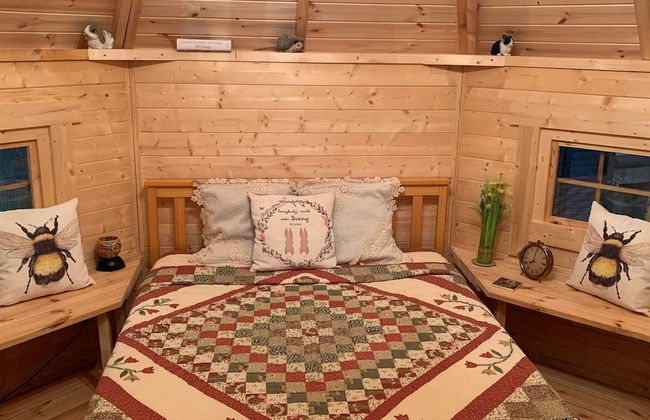
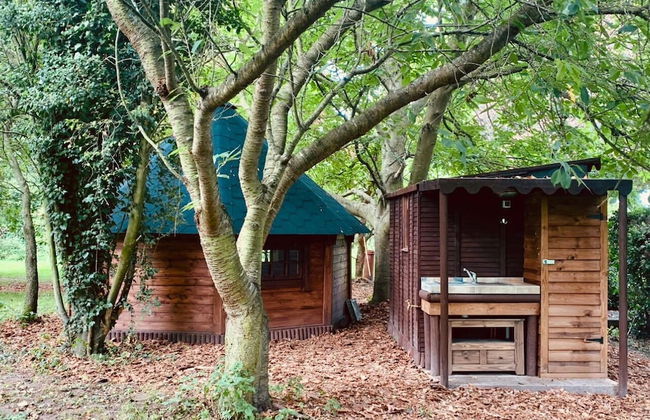
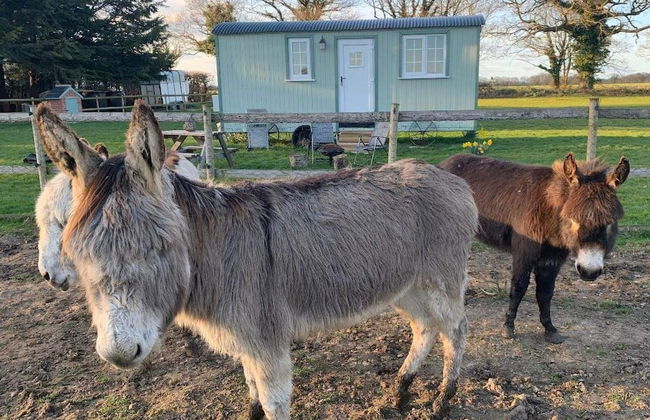
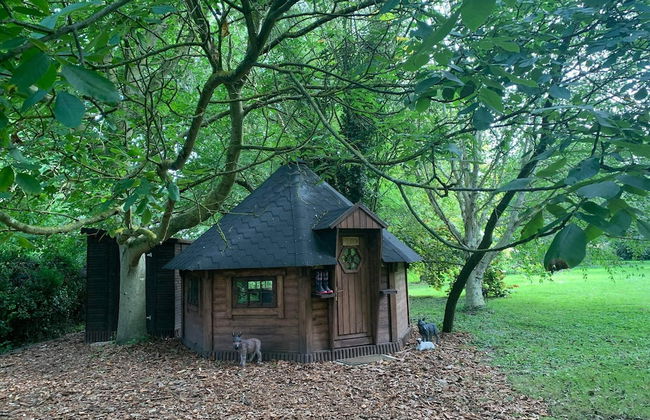
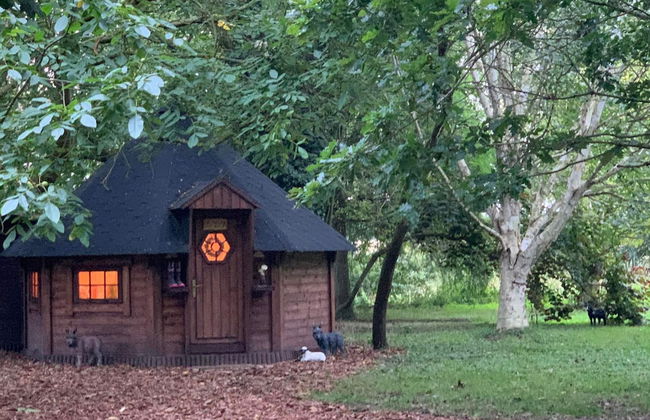
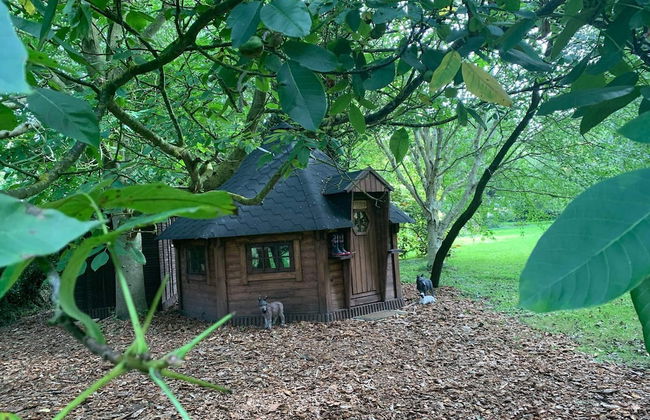
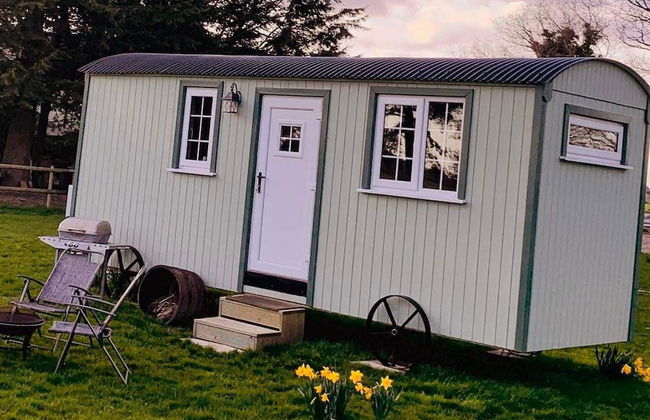
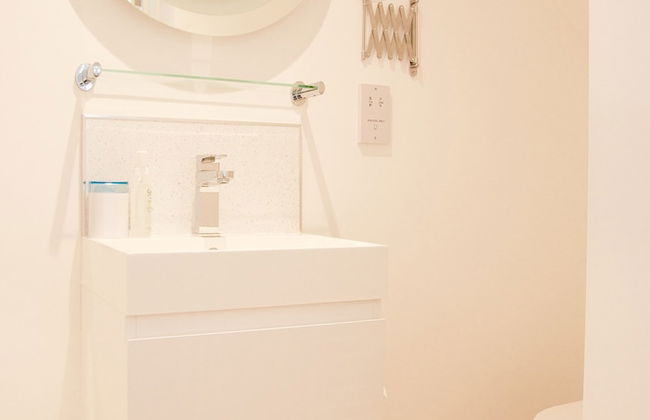
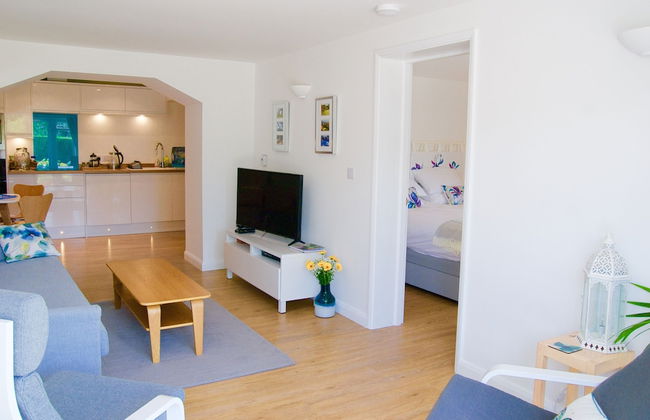
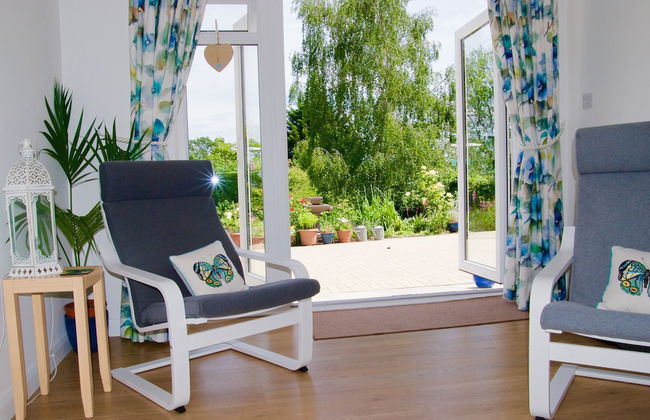
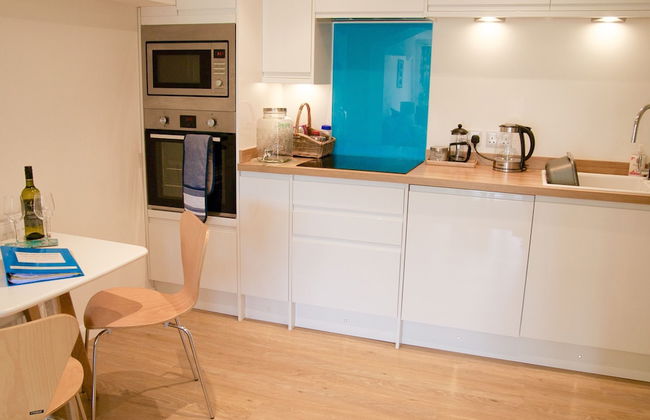
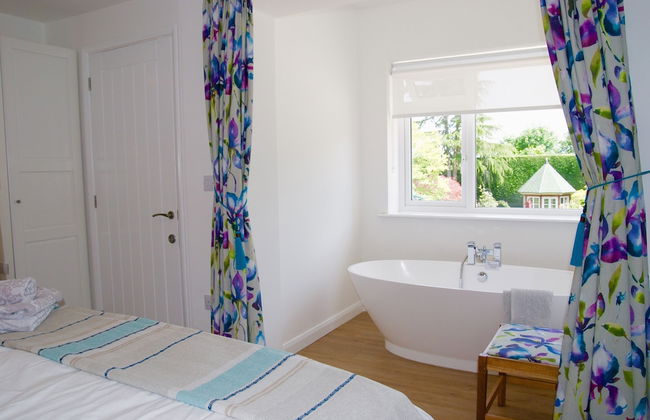
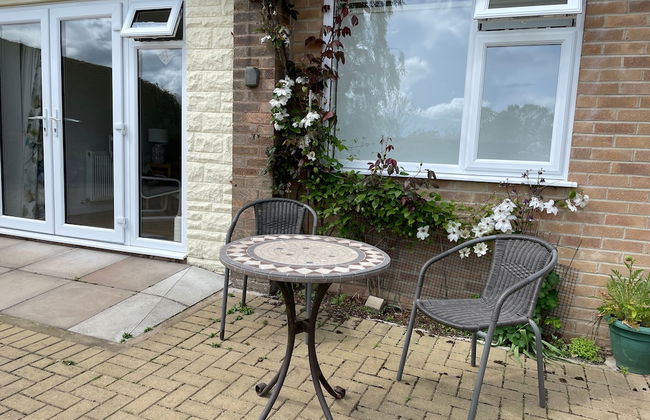
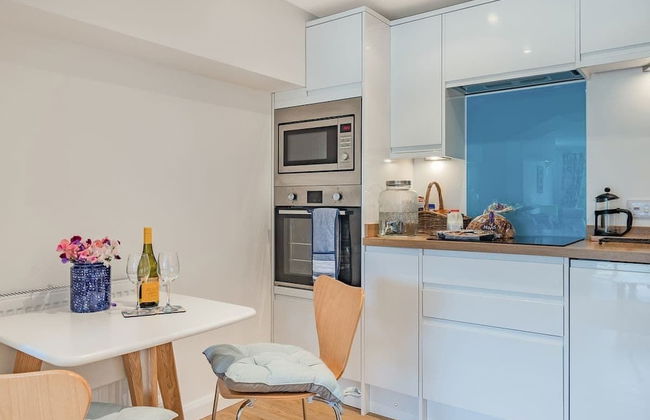
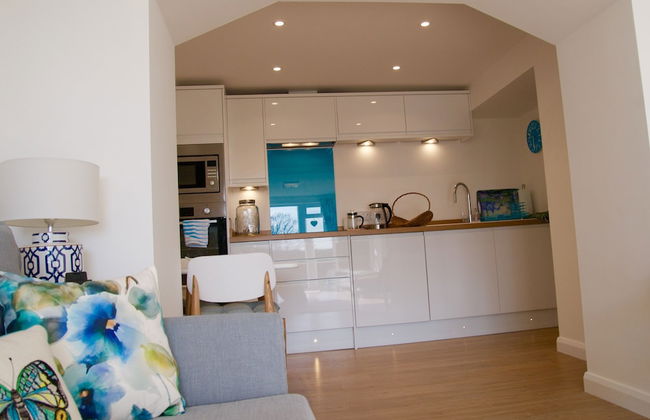
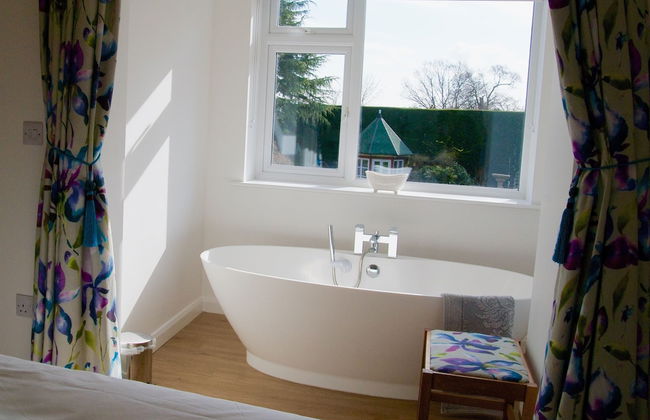
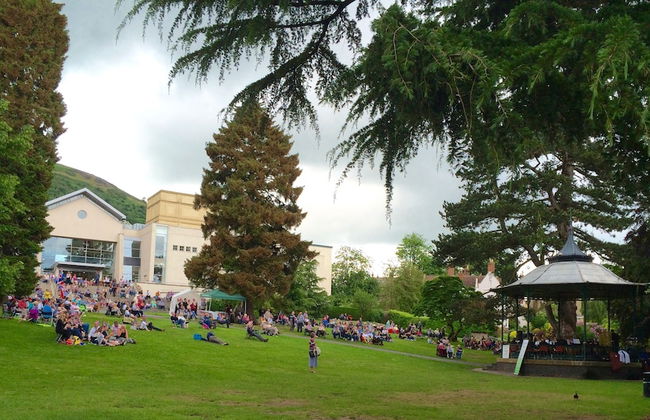
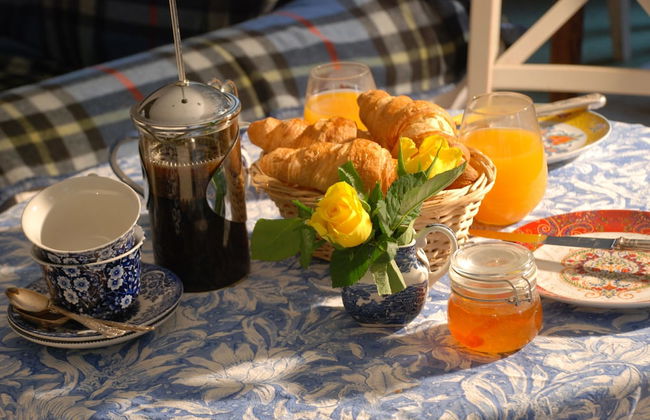
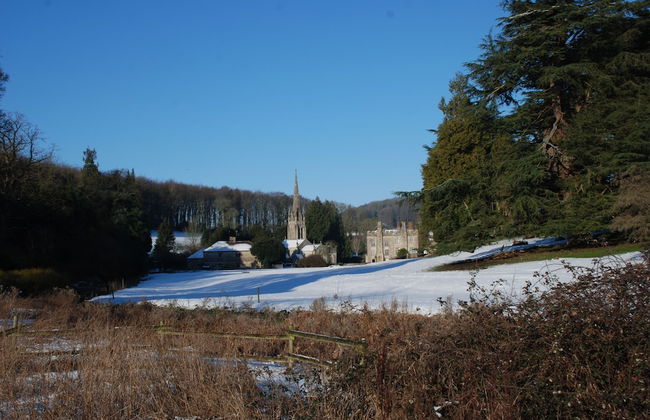
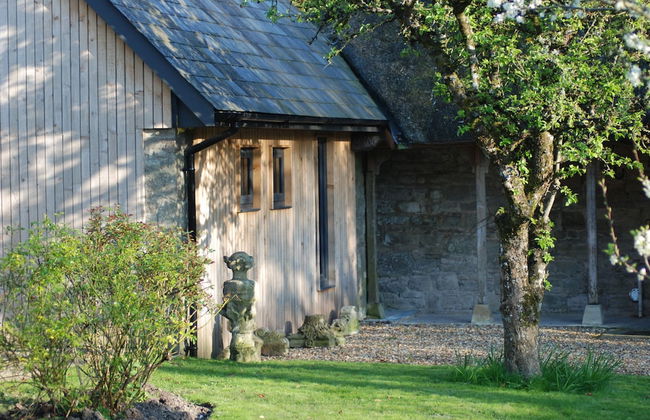
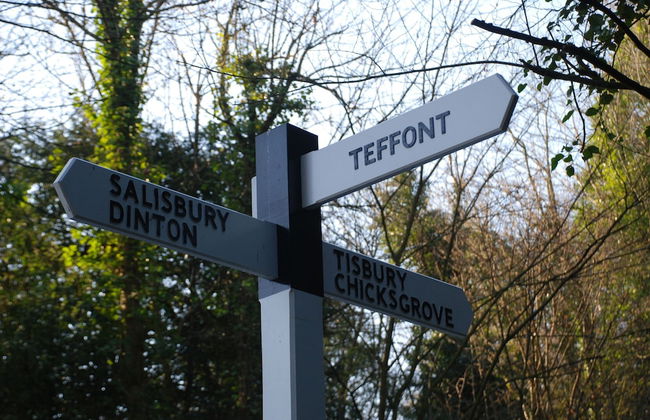
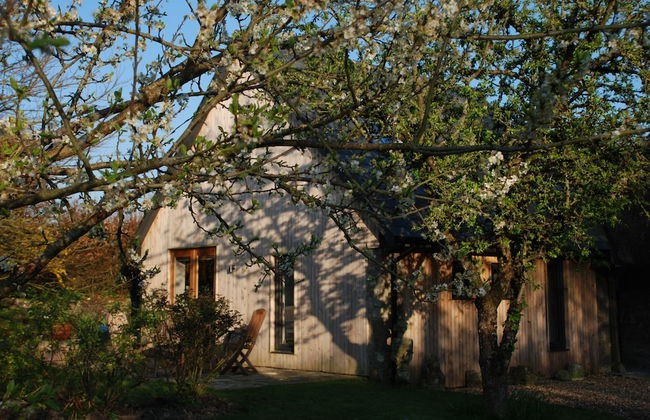
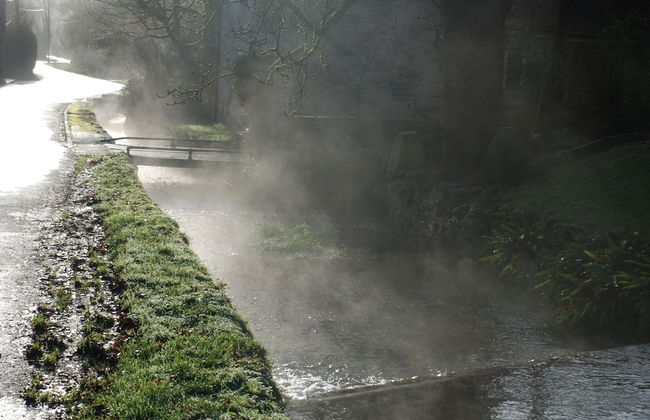
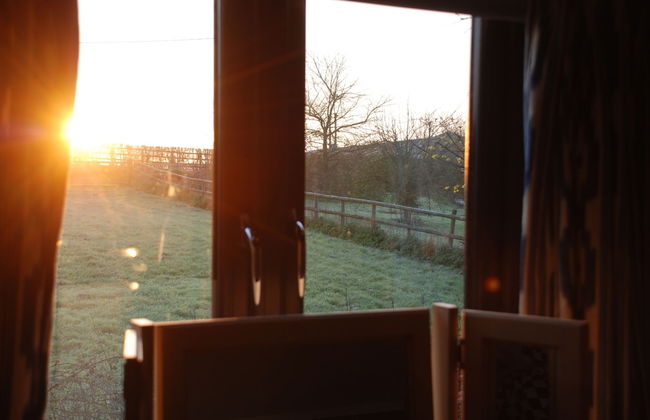
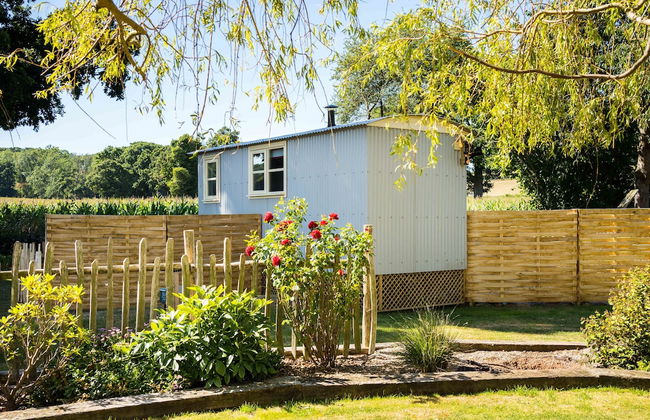
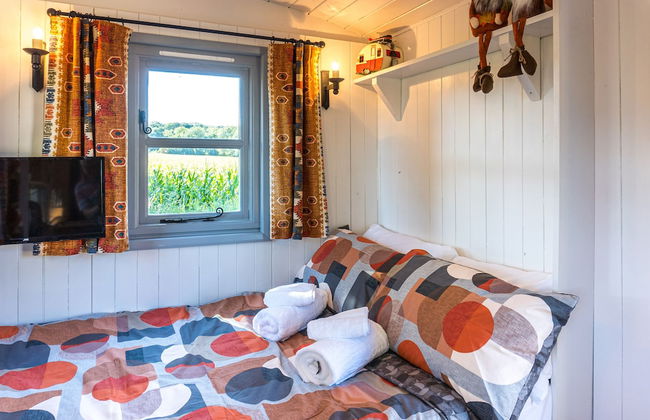
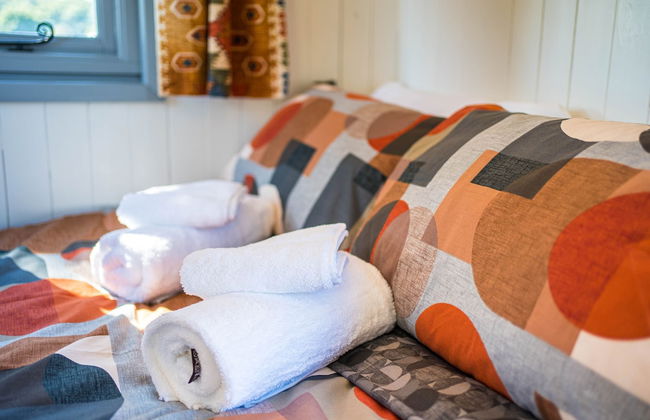
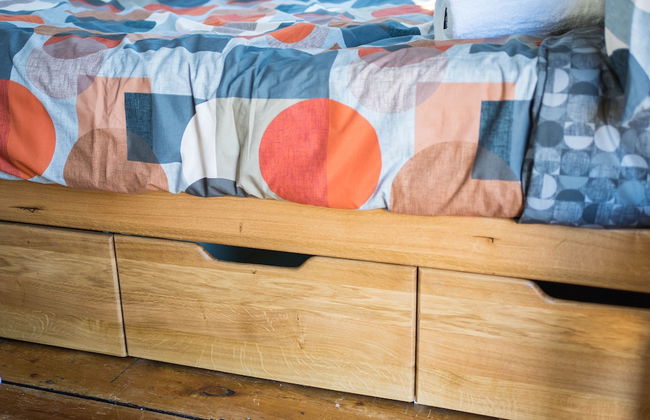
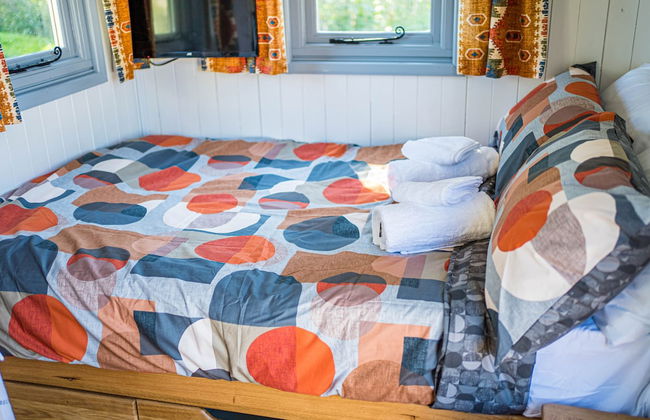
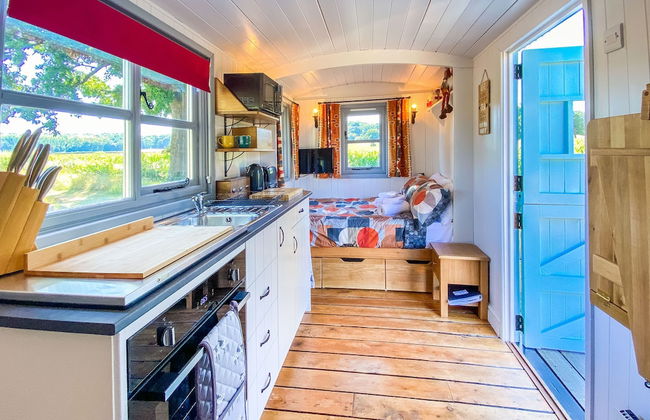
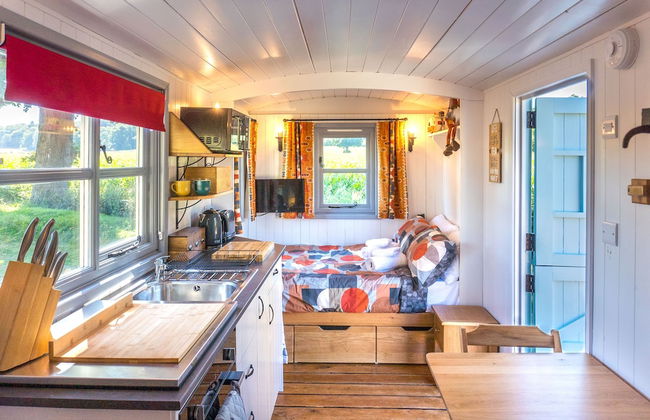
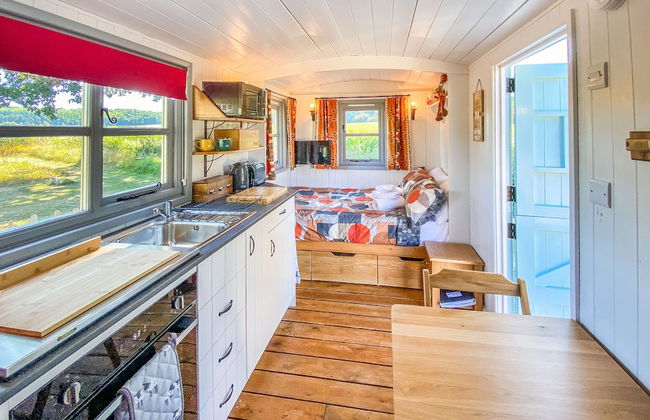
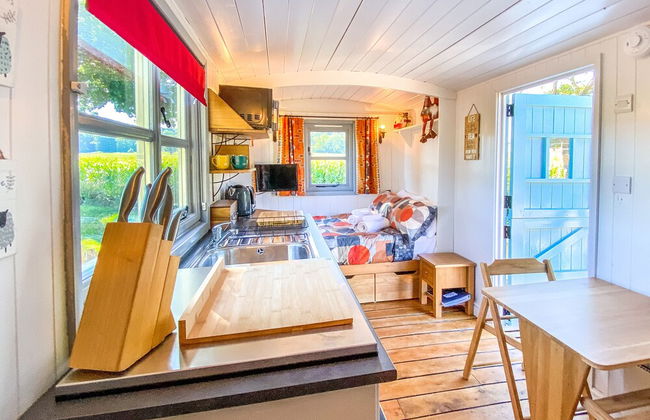
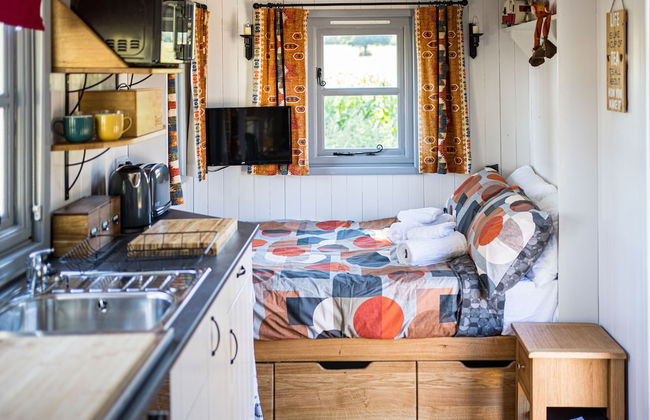
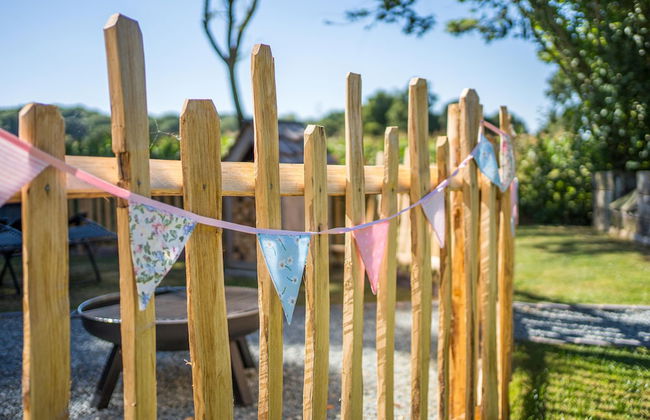
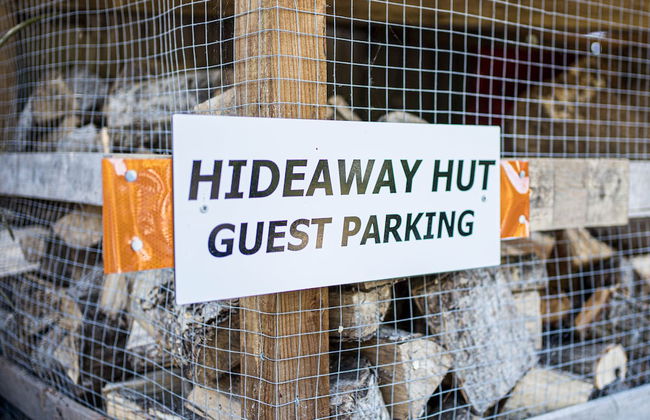
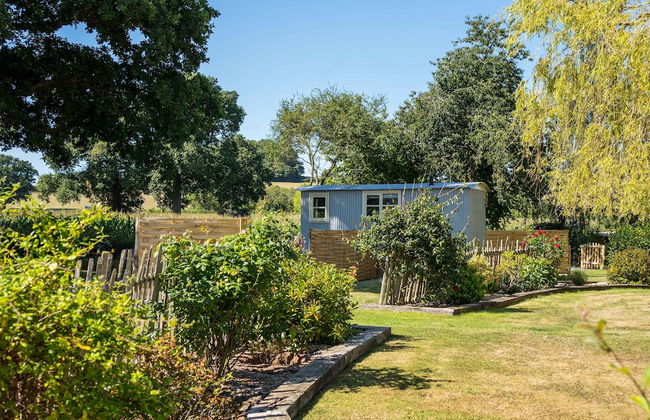
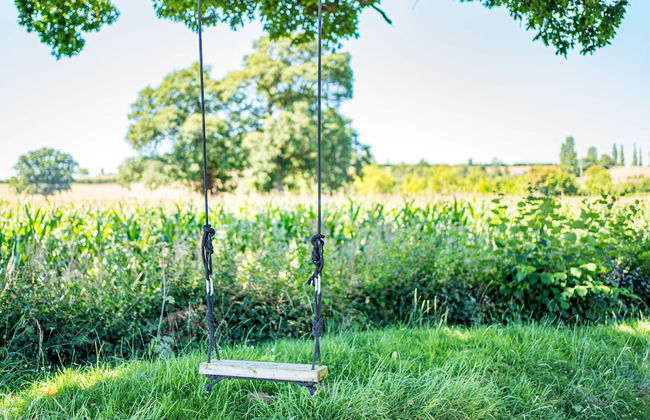
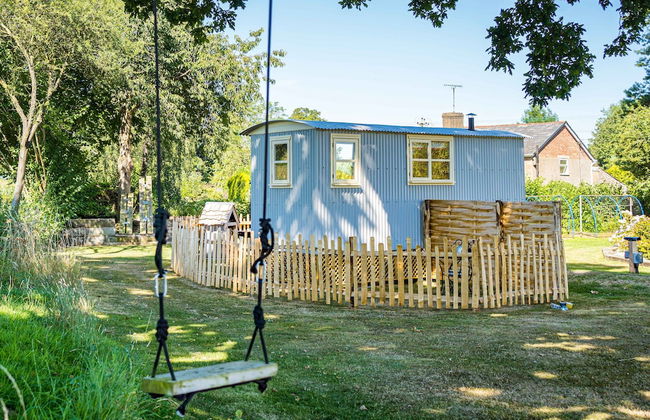
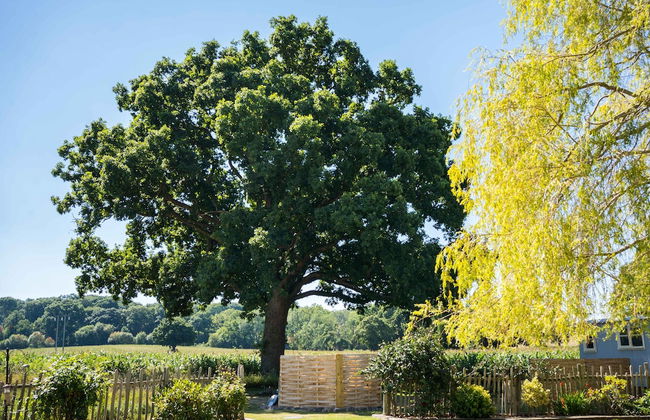
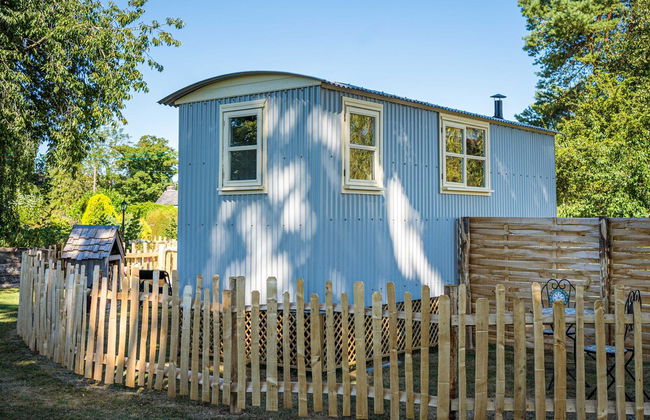
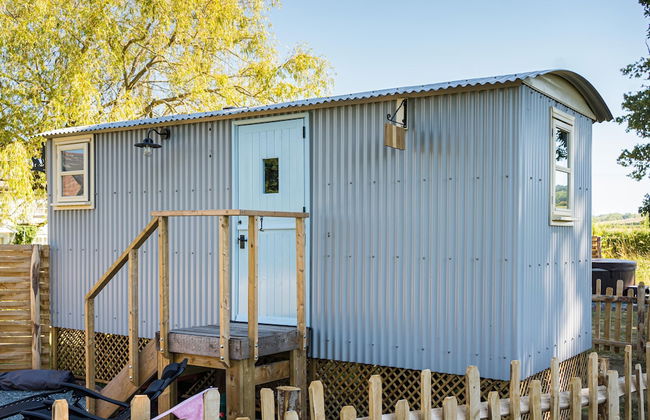
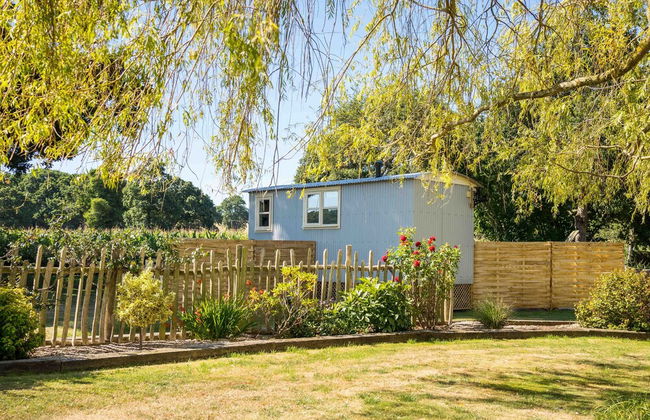
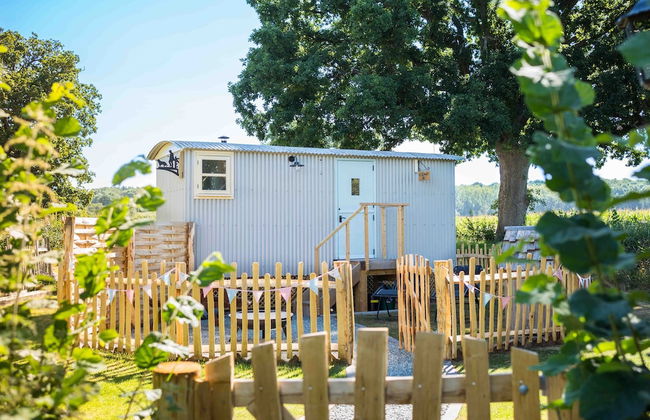
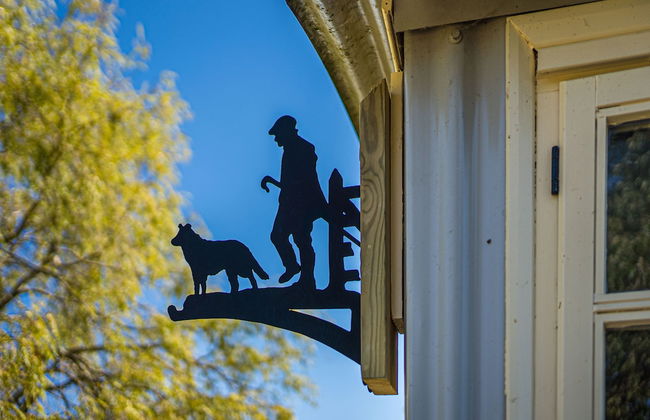
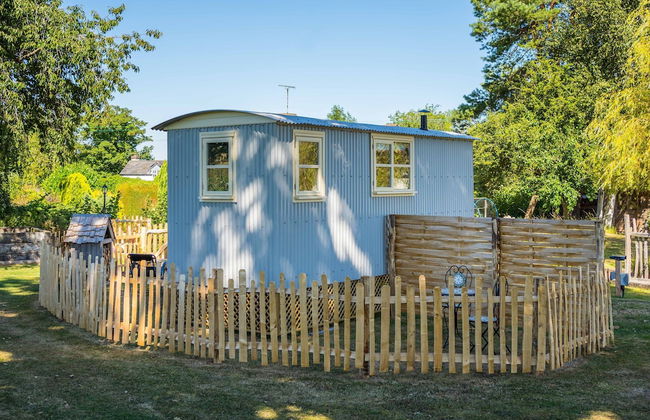
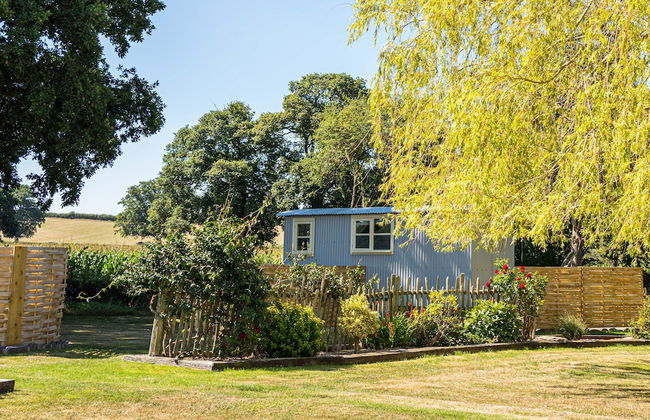
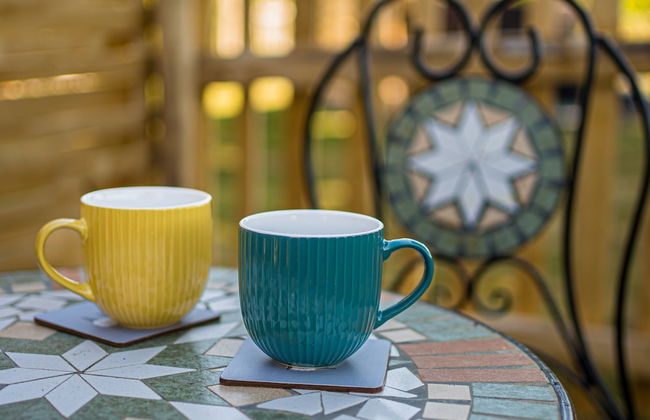
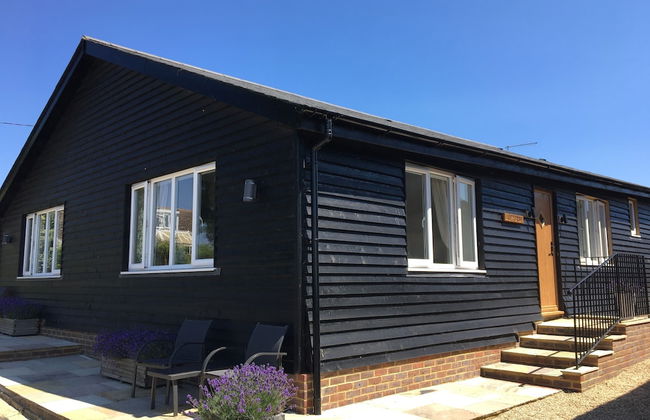
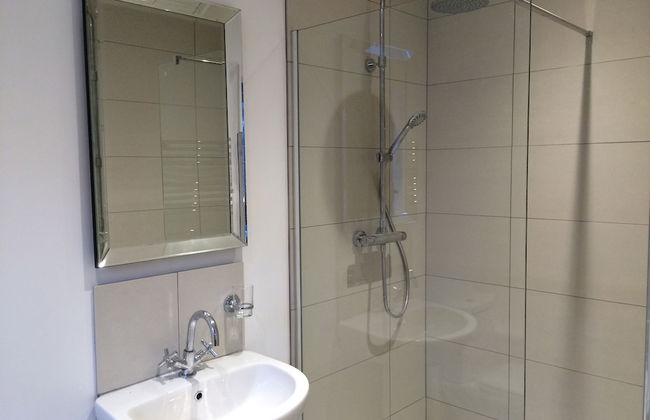
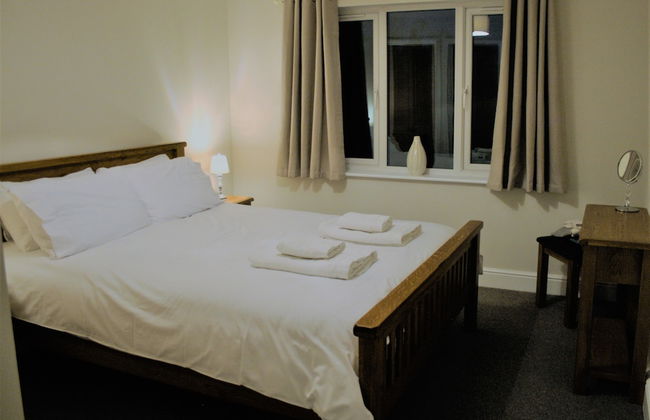
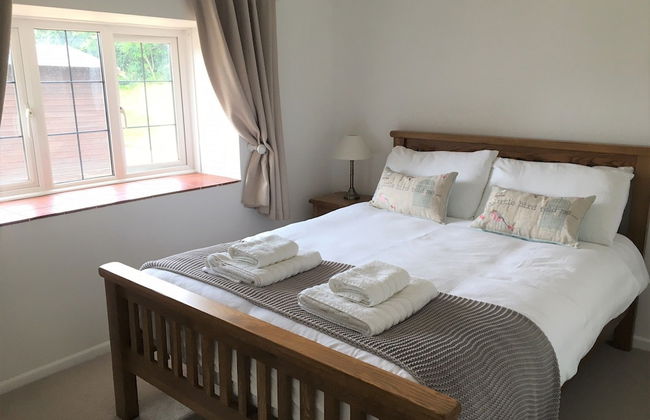
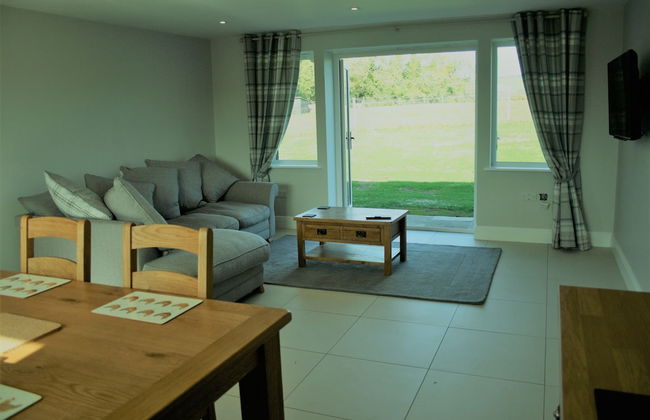
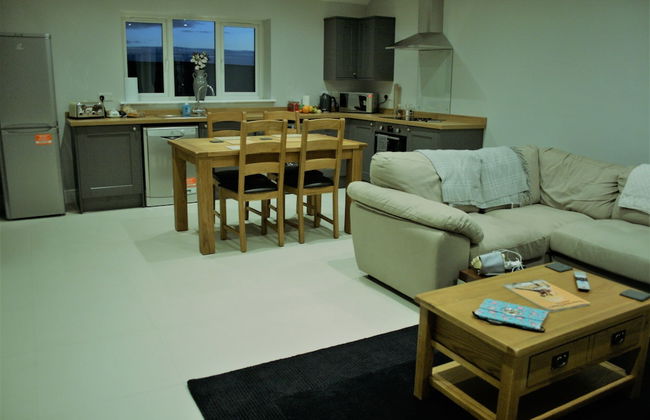
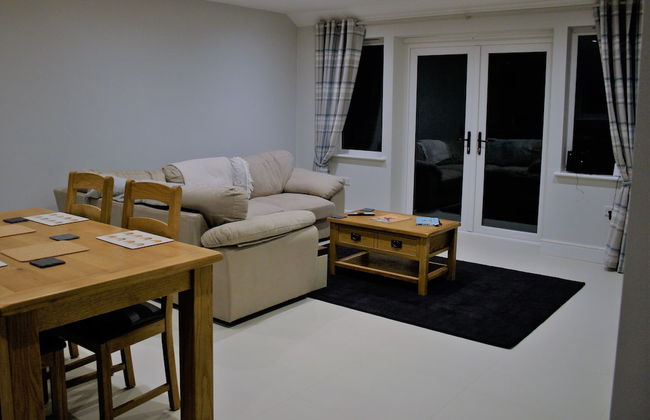
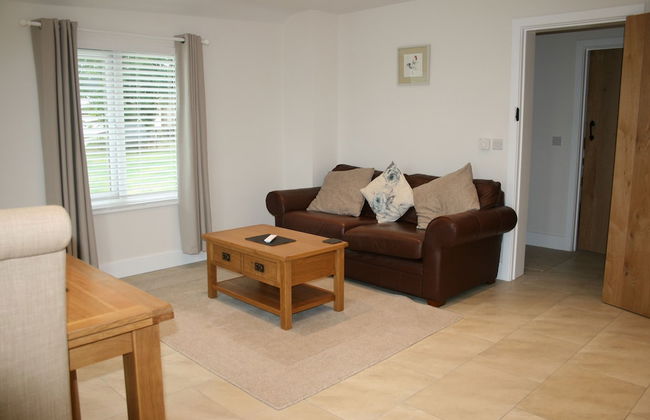
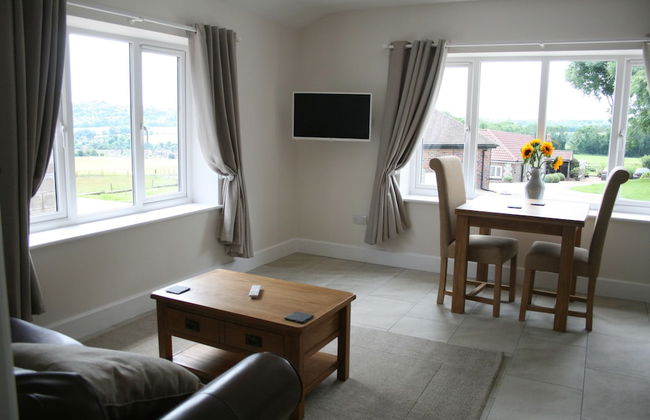
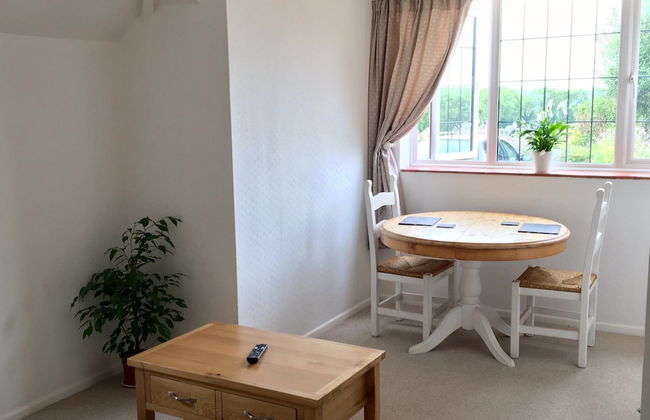
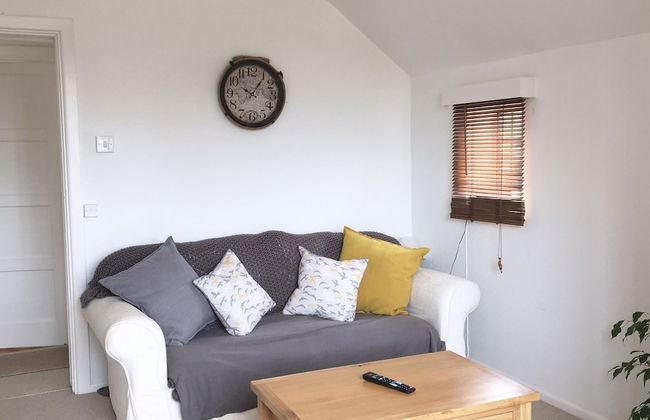
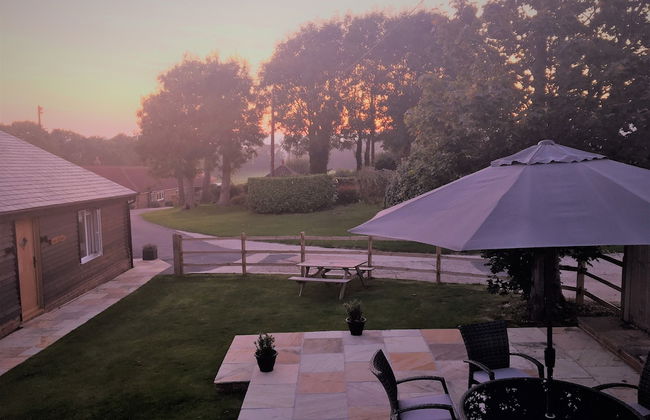
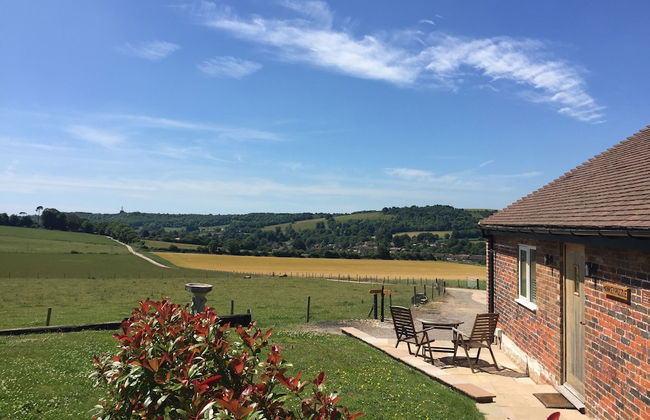
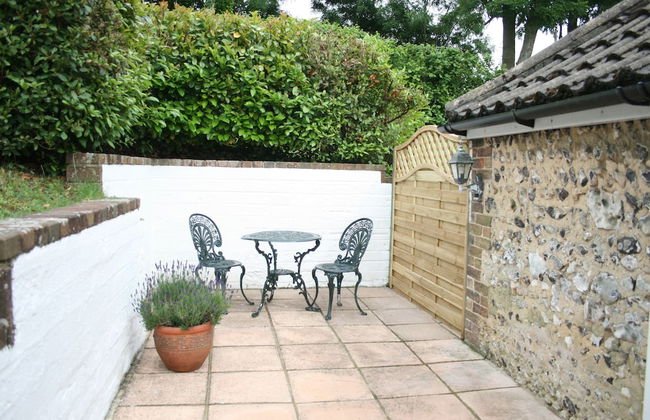
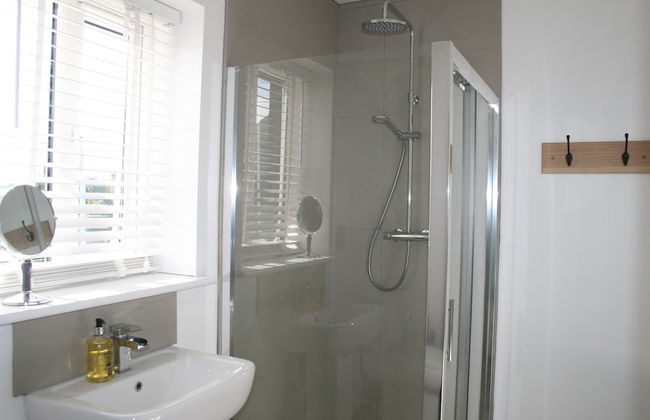
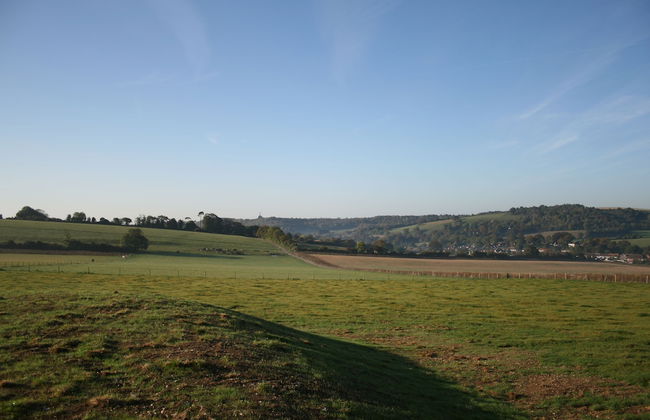
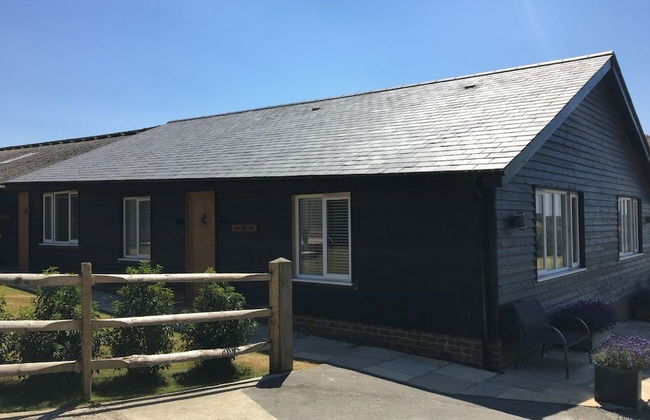
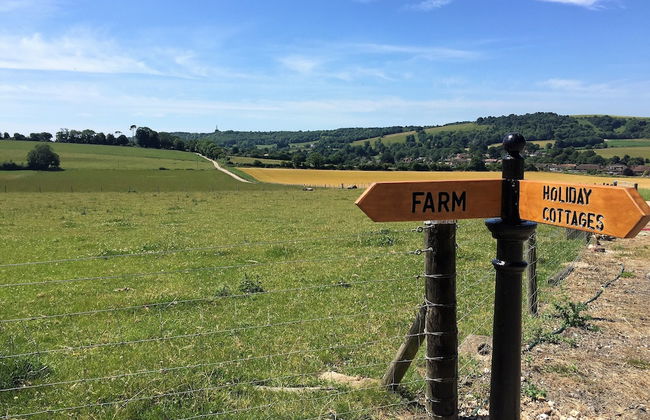
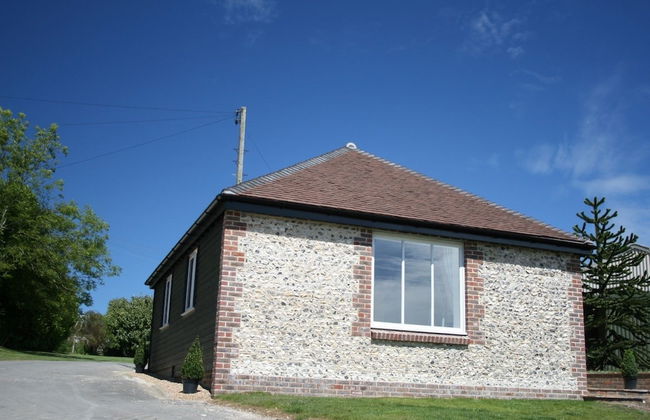
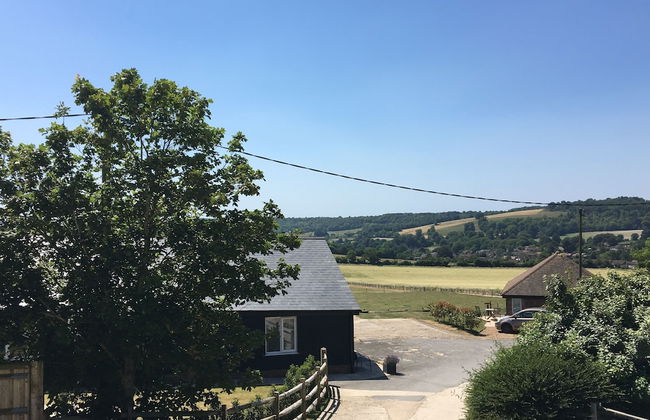
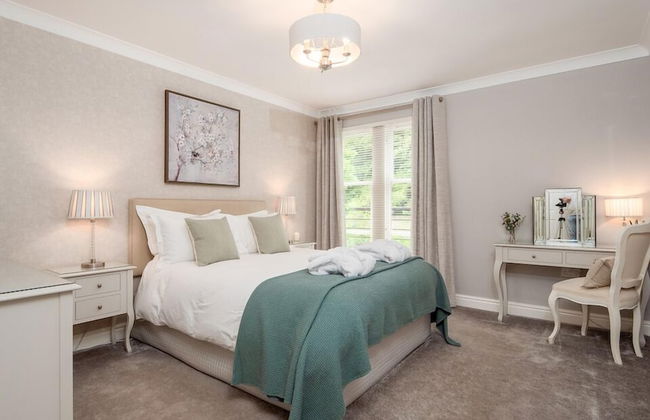
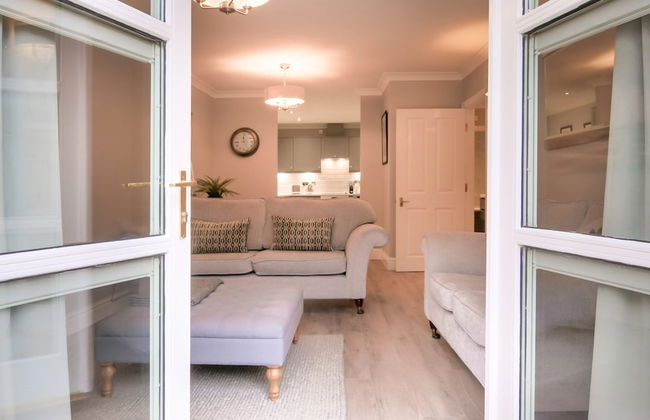
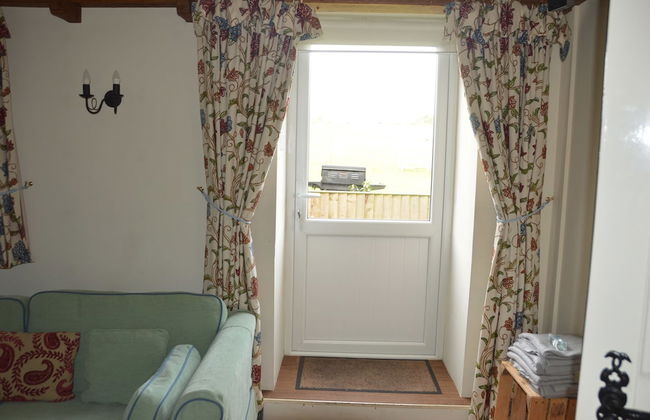
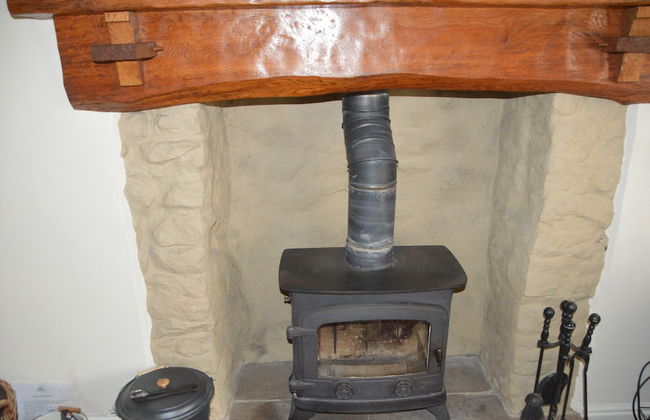
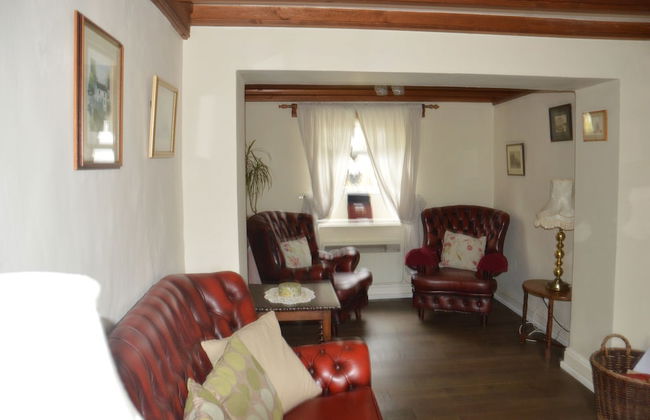
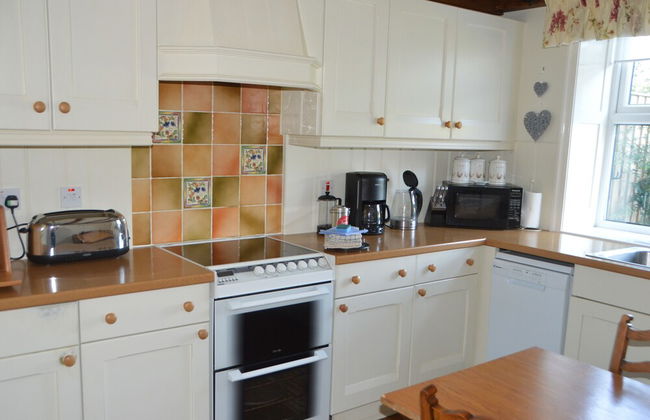
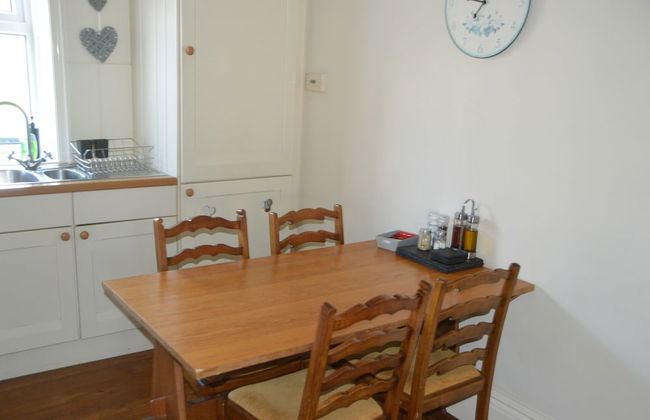
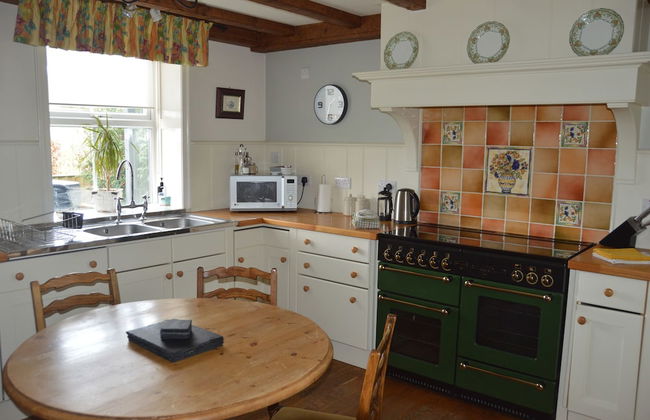
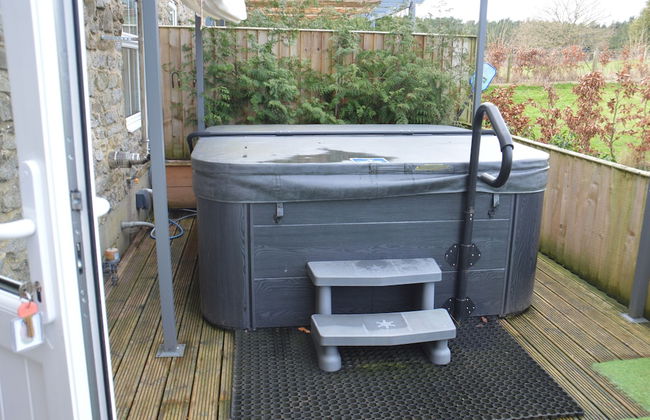
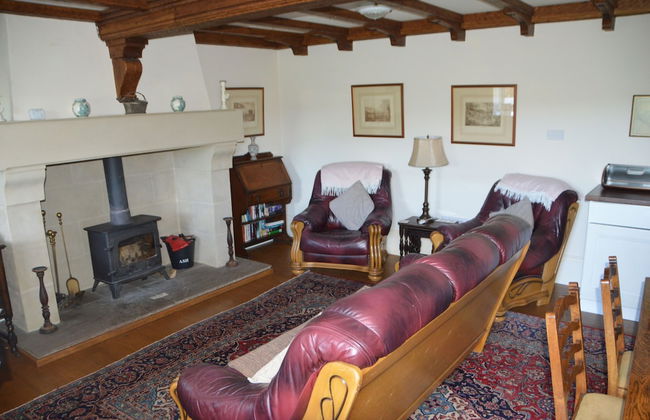
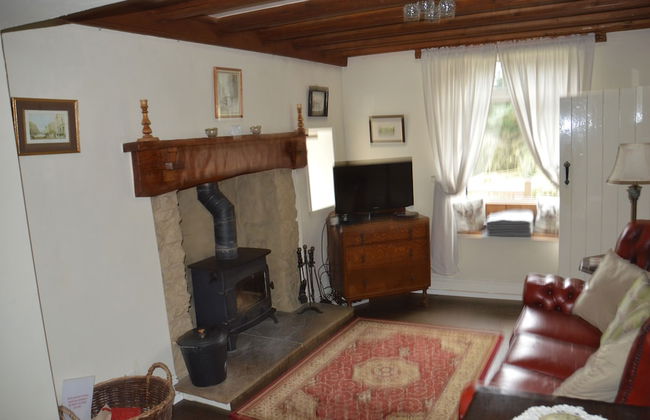
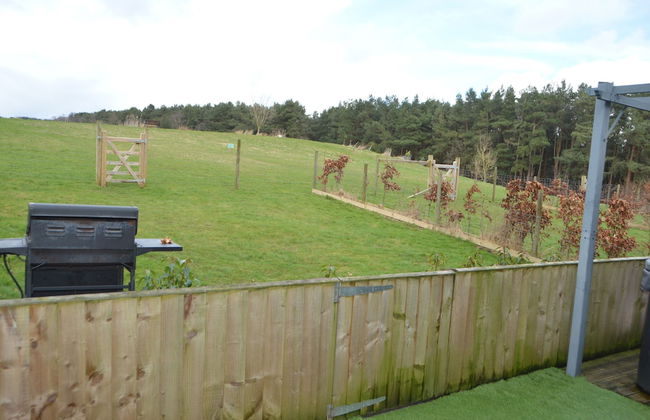
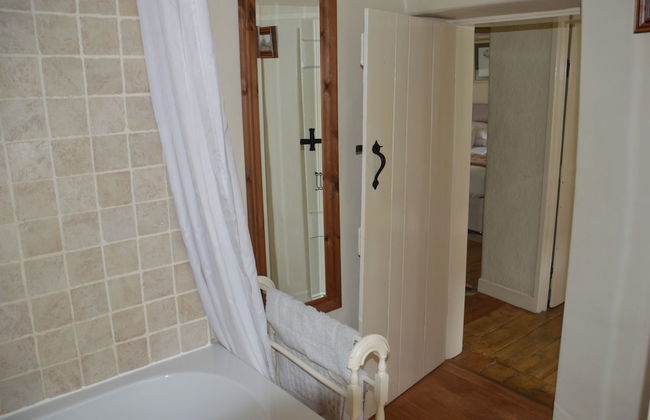
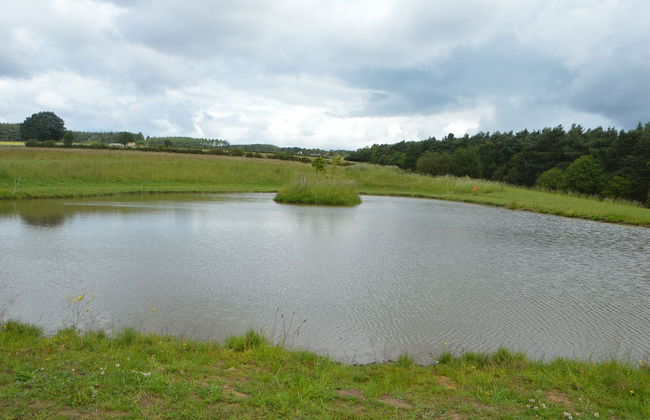
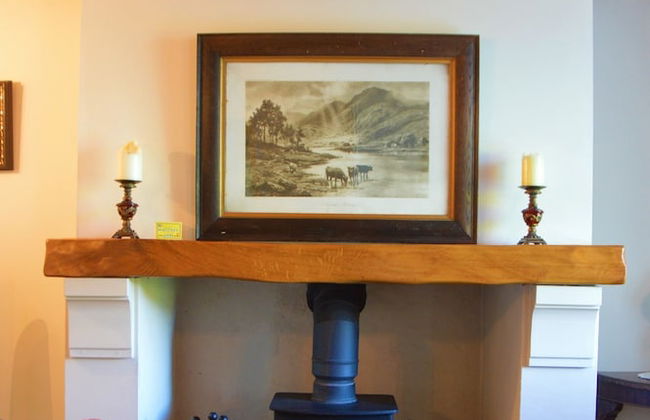
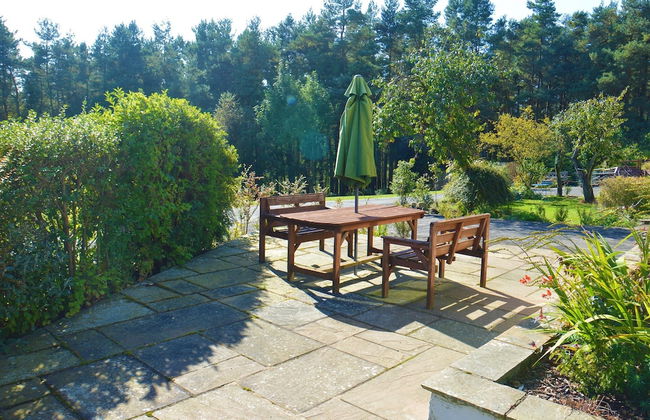
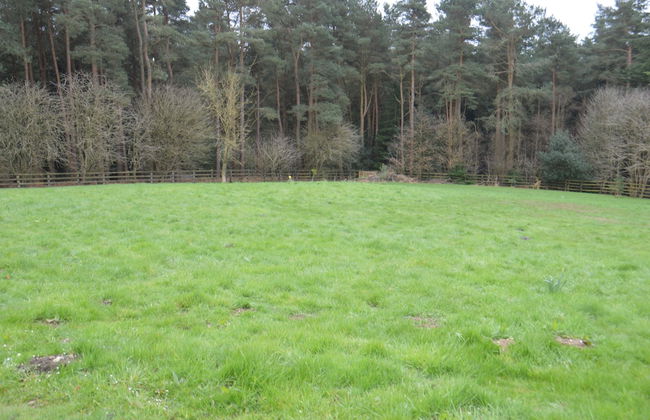
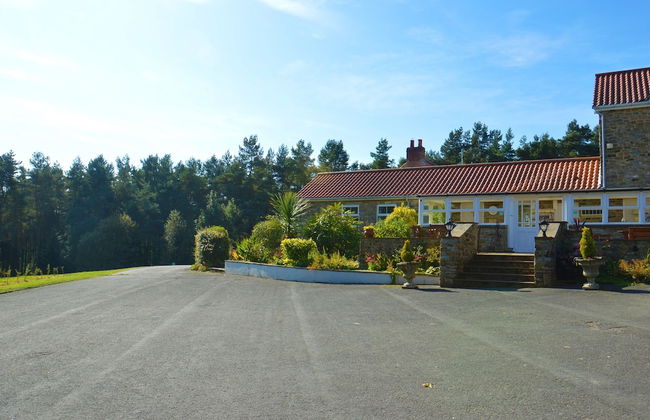
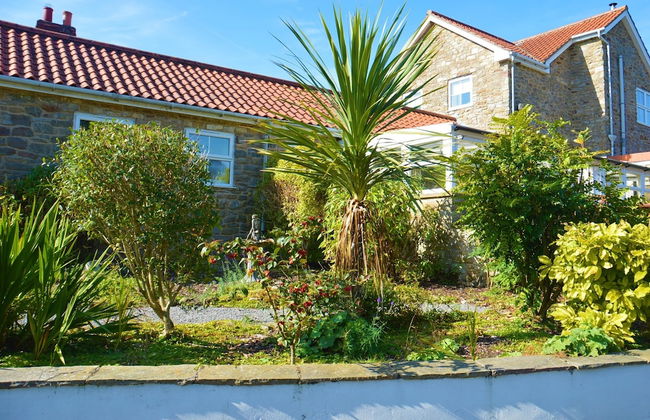
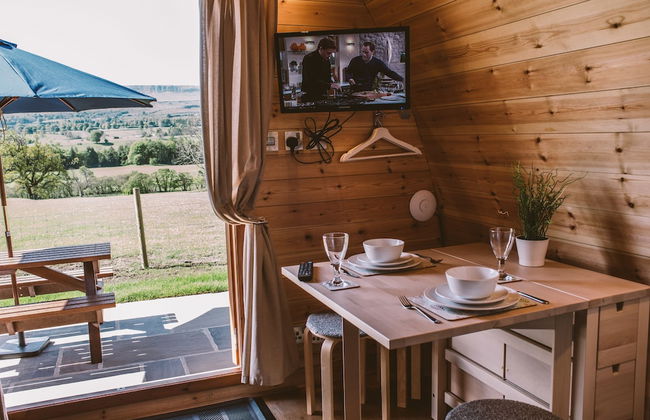
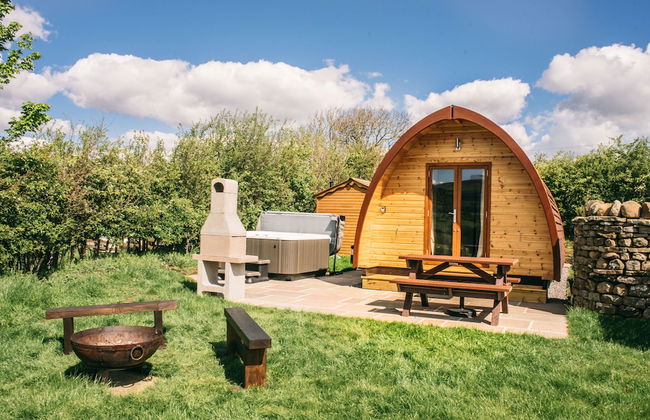
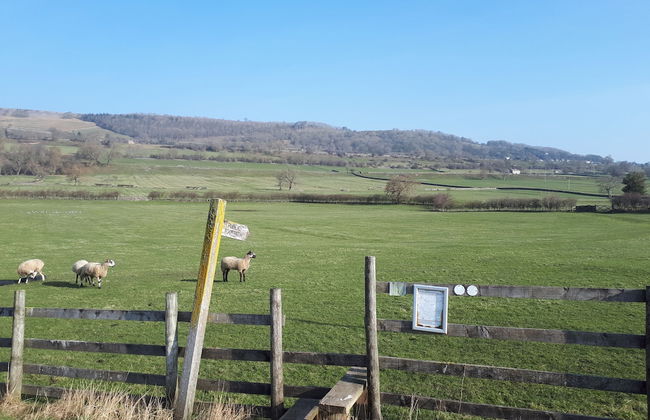
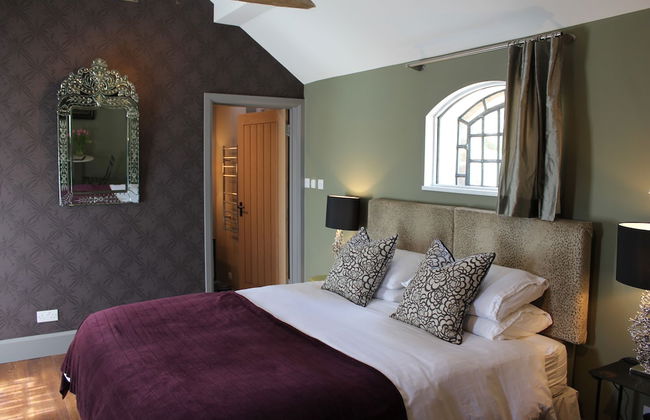
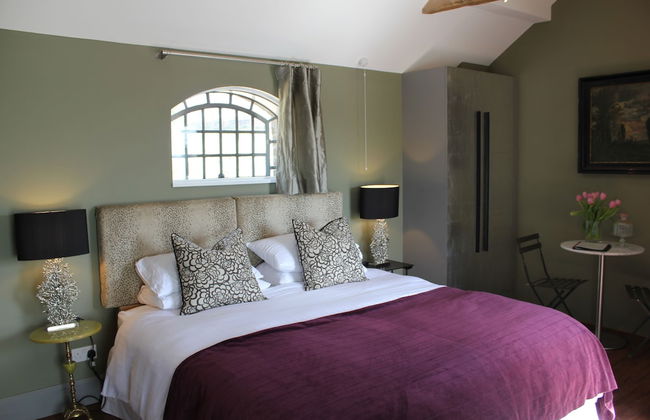
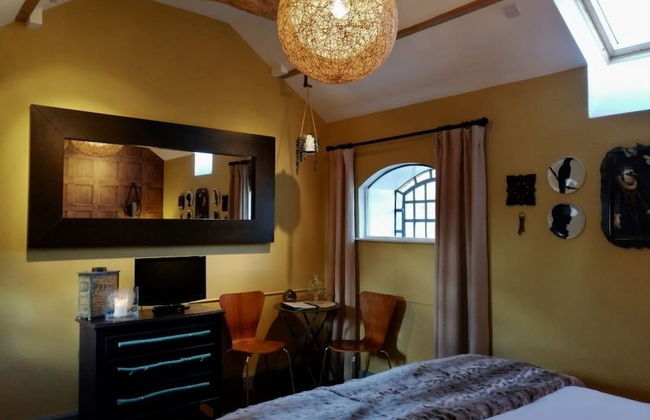
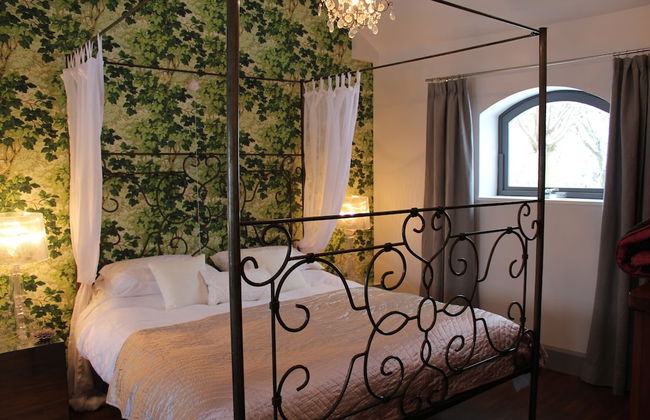
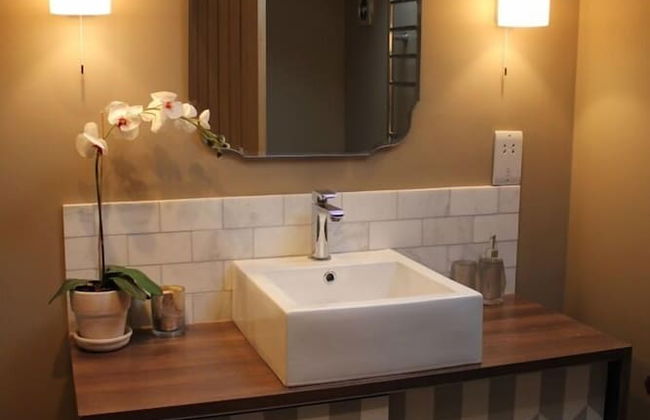
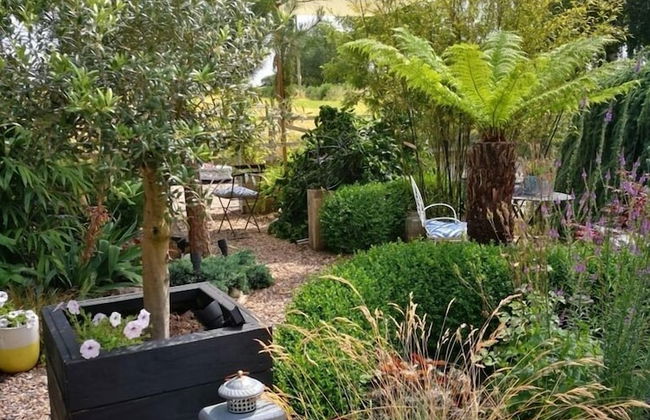
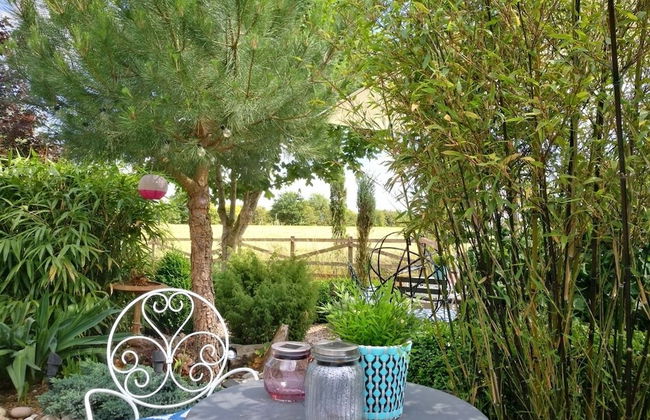
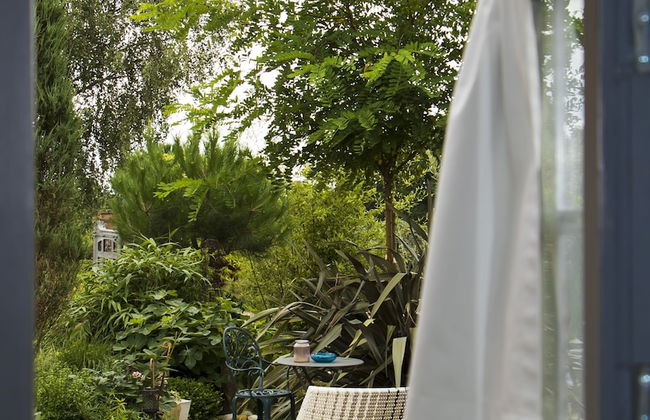
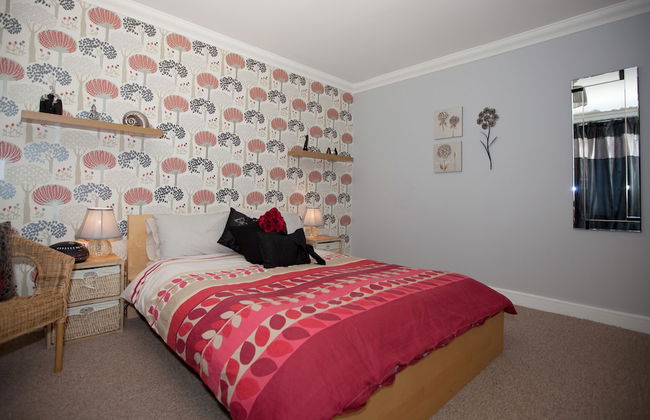
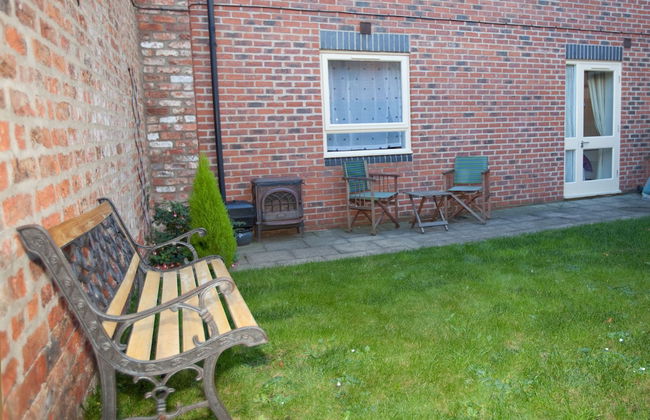
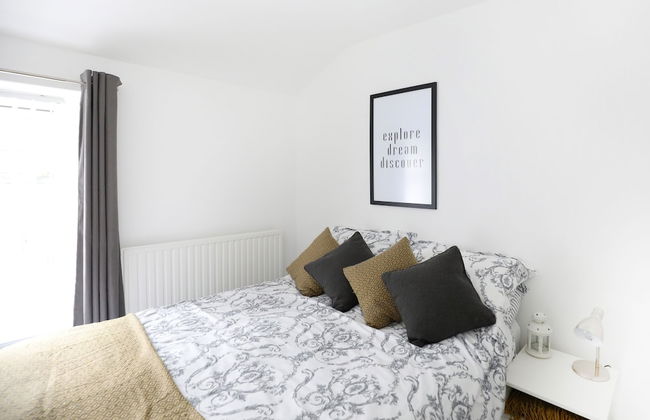
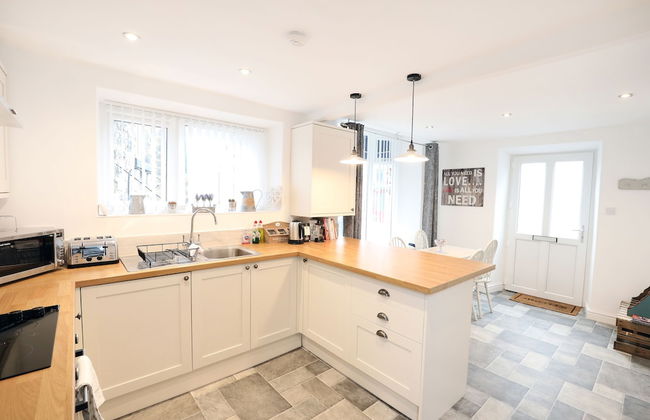
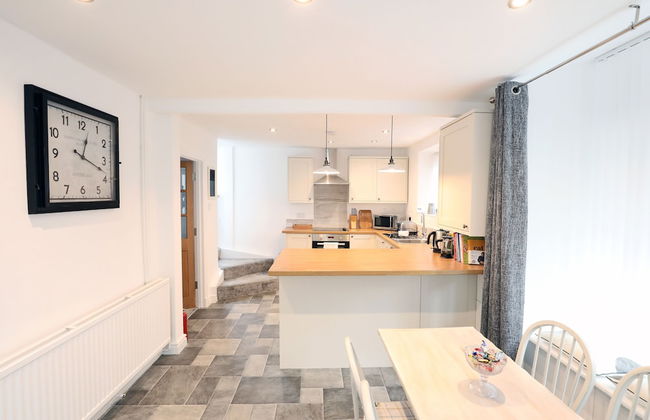
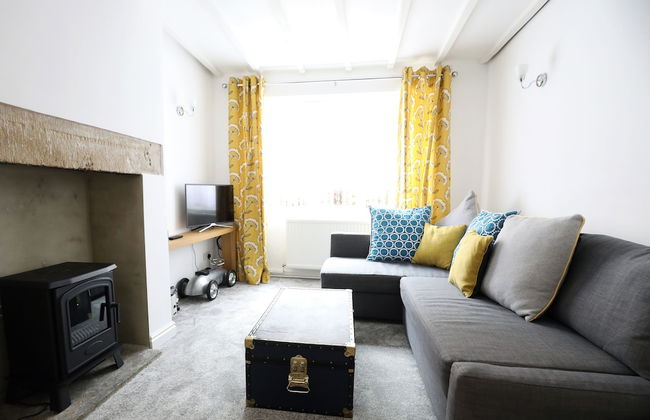
St. Tinney Farm - Foto 1
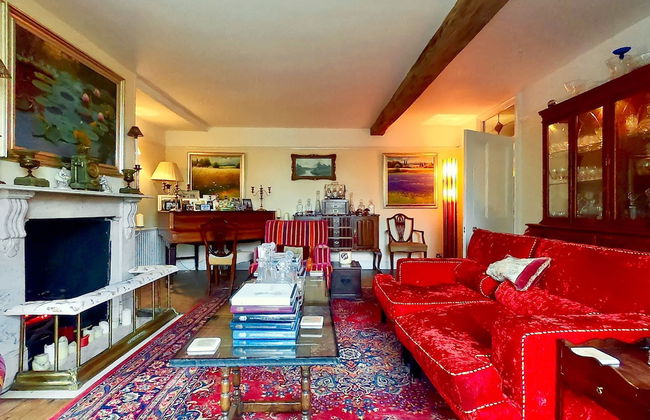
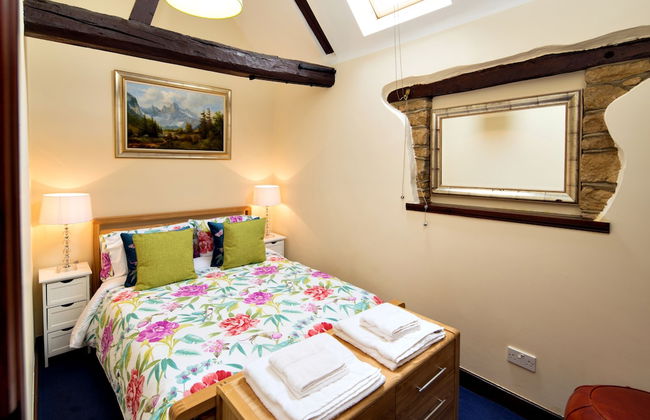
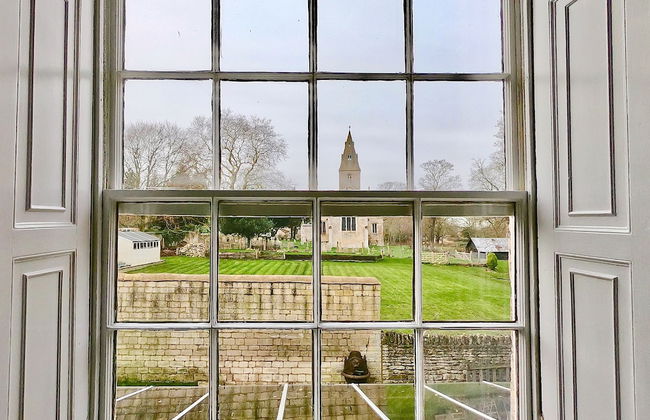
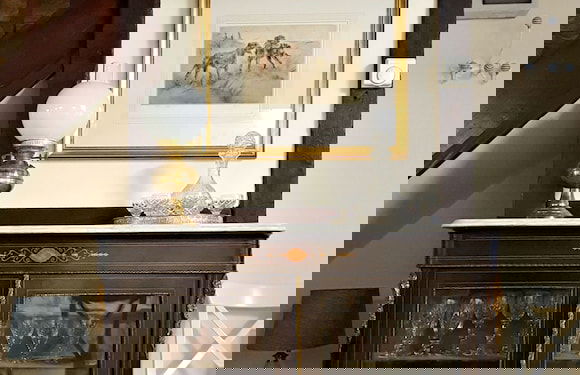
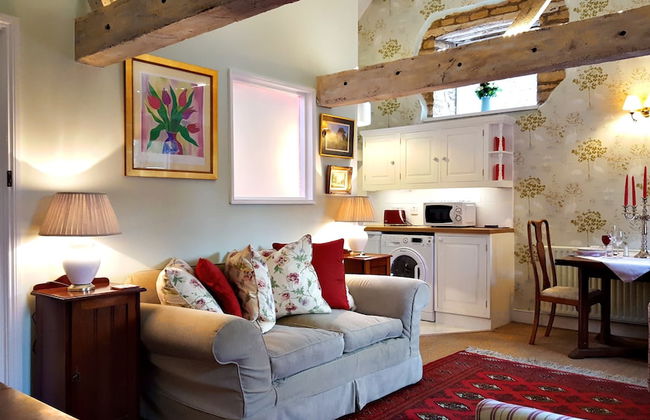
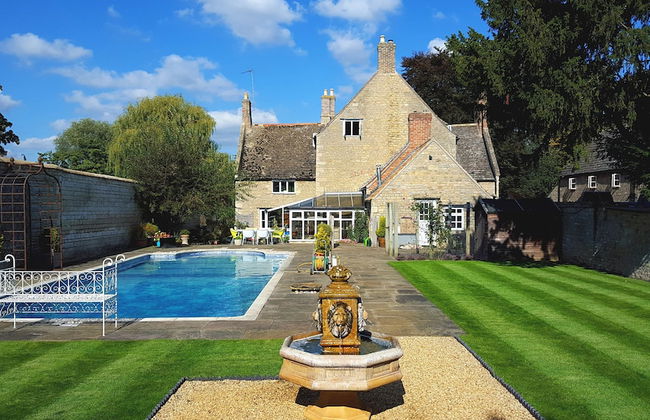
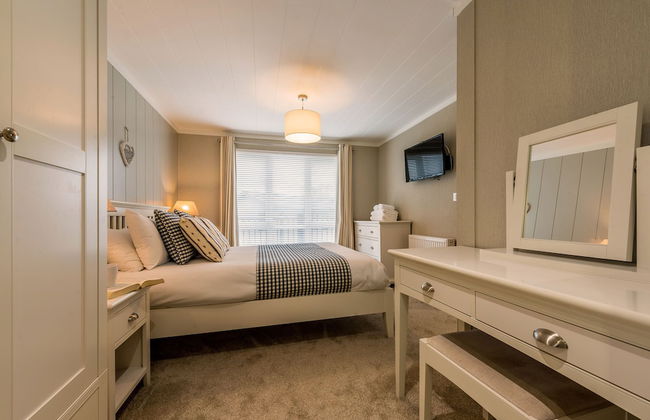
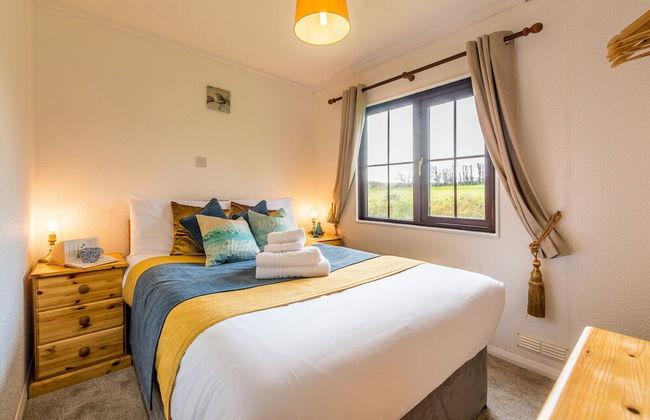
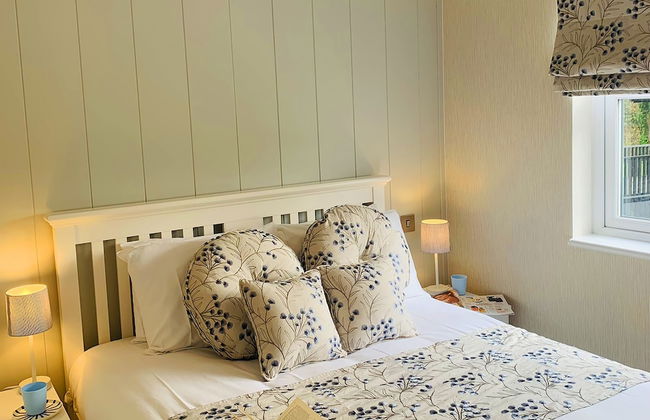
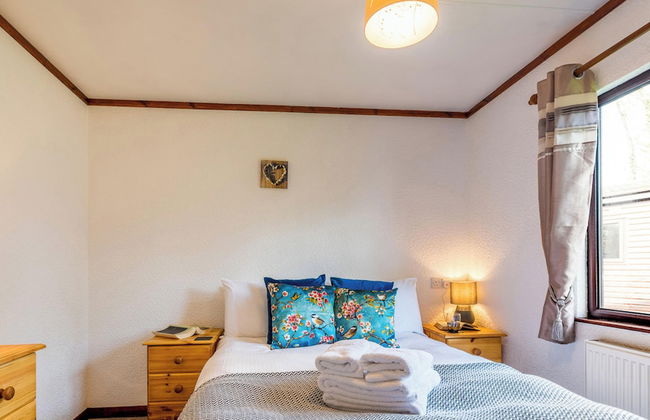
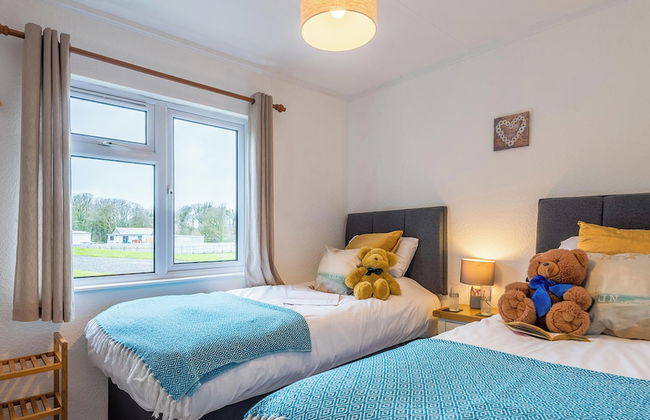
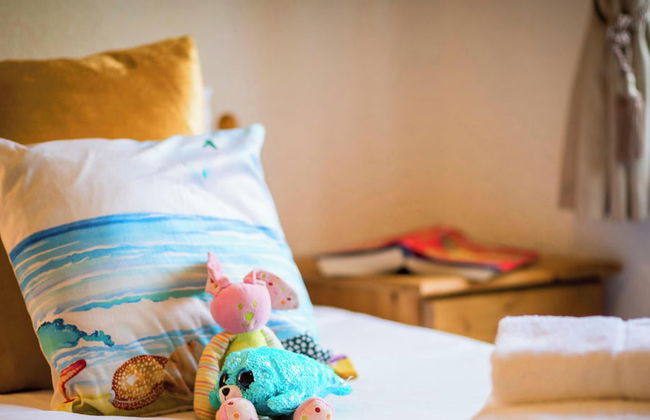
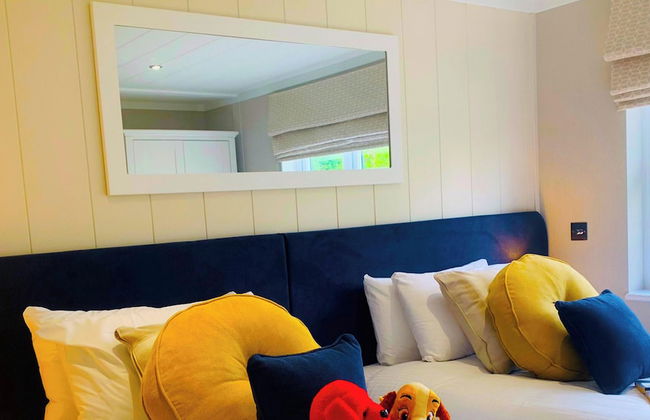
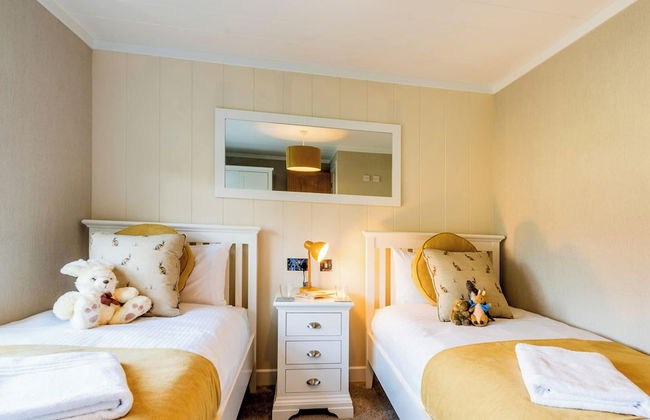
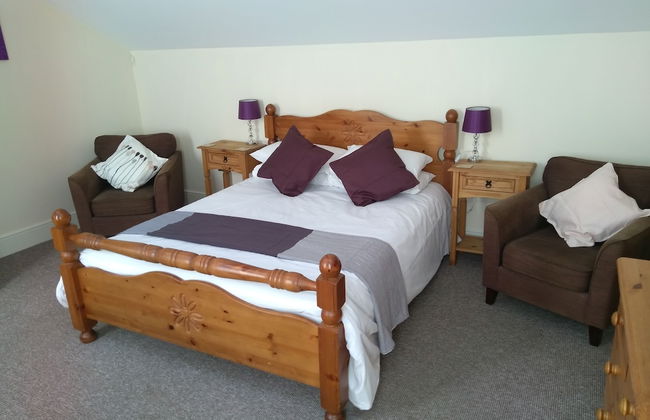
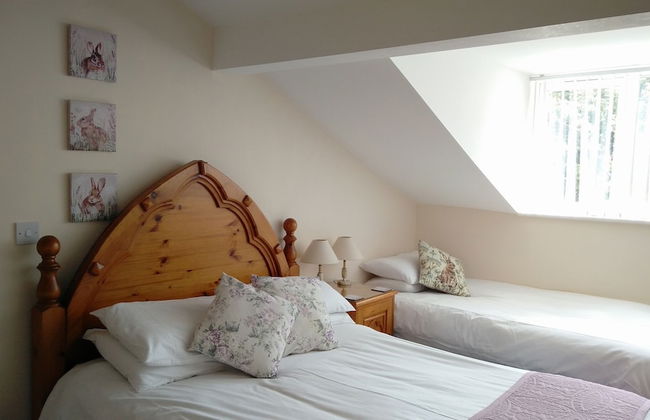
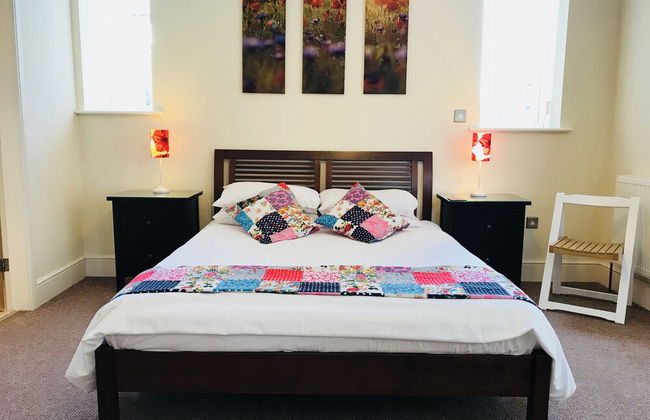
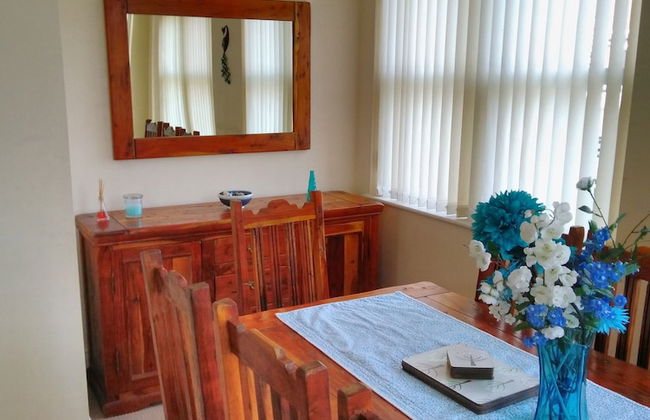
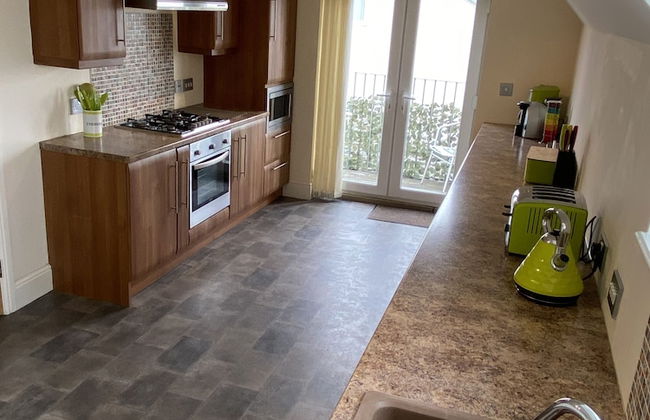
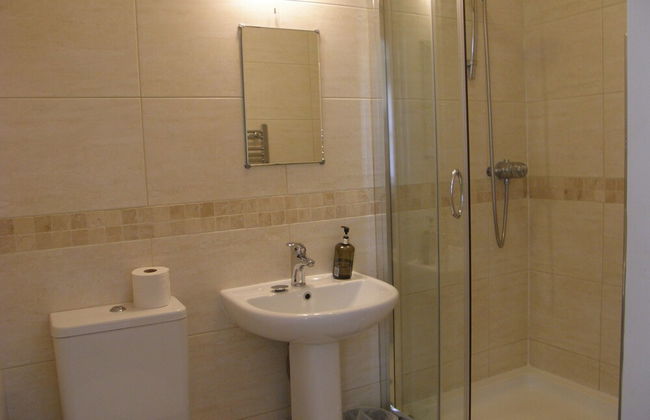
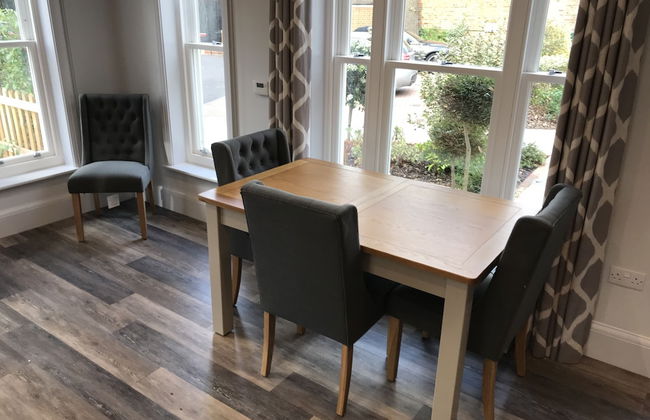
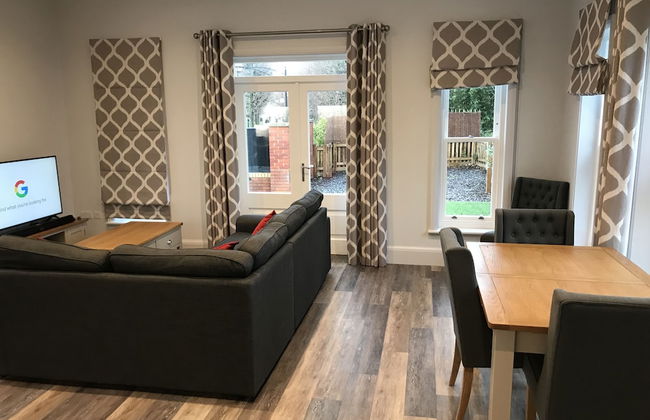
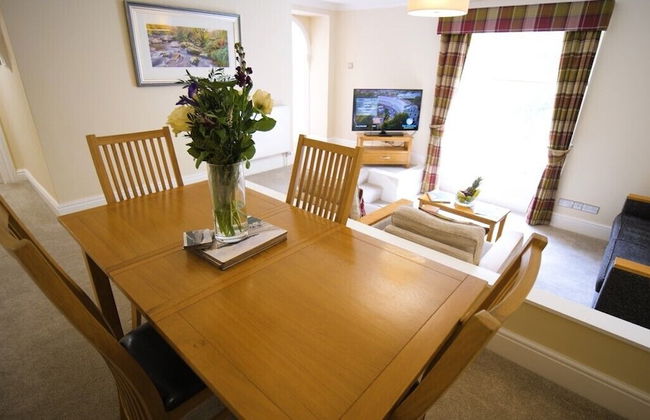
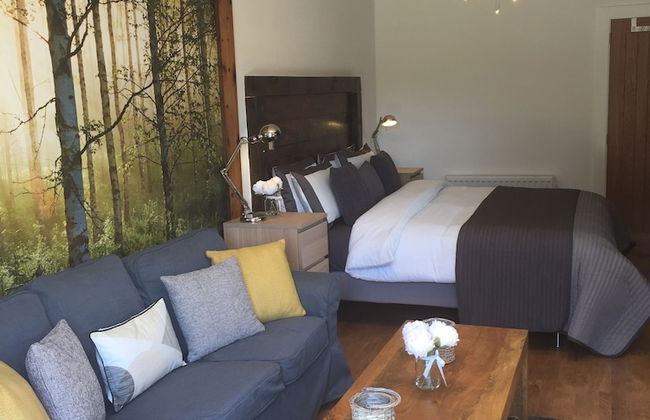
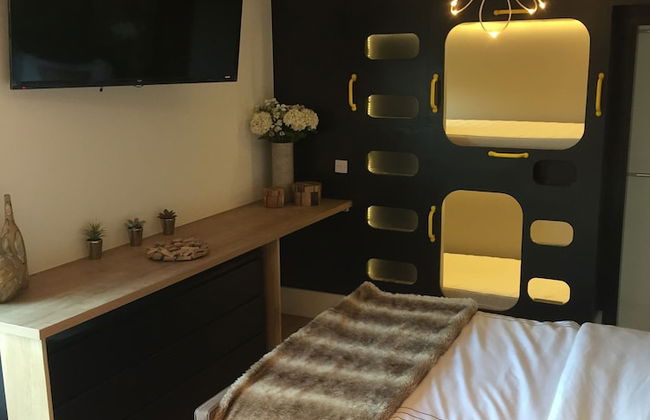
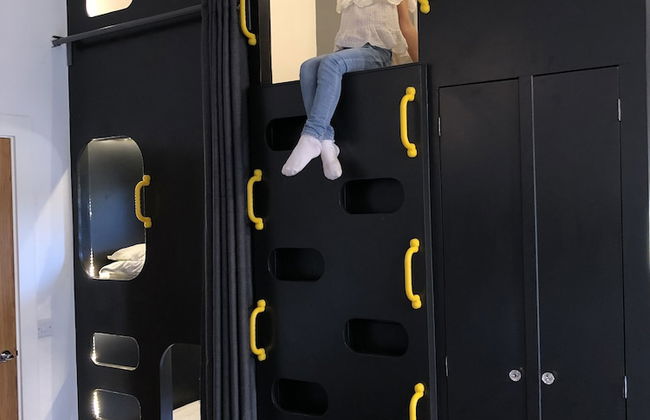
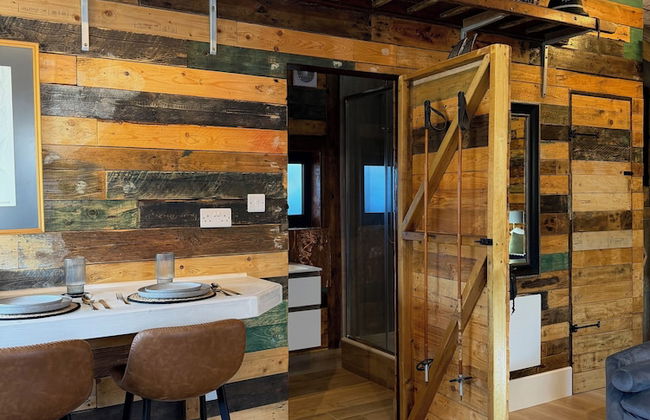
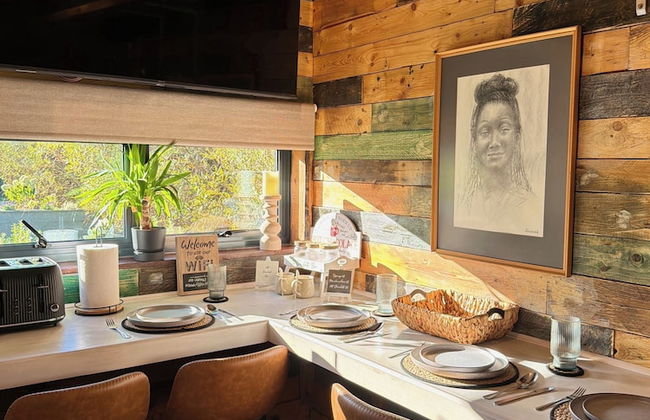
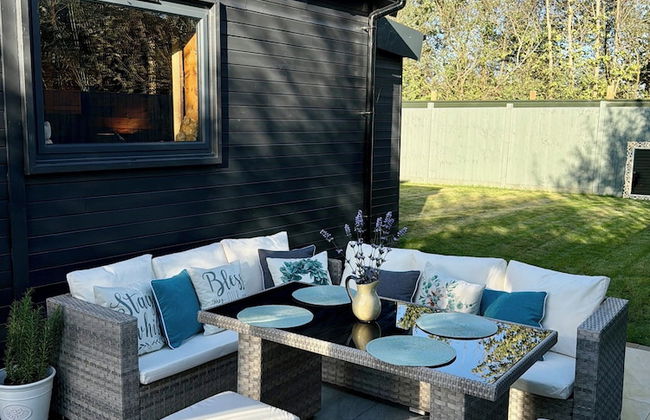
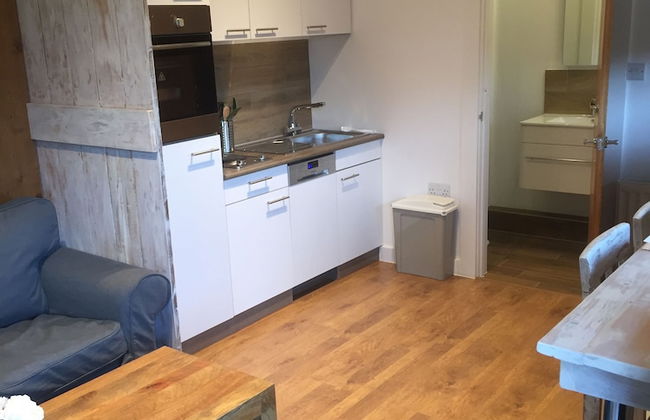
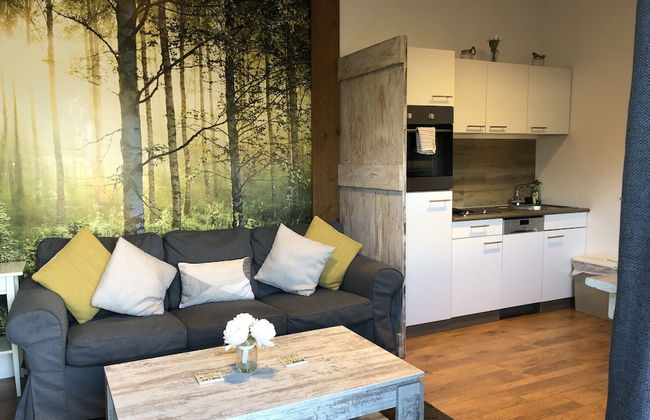
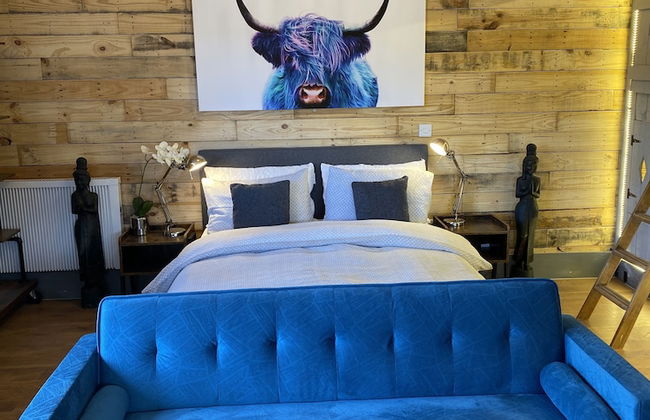
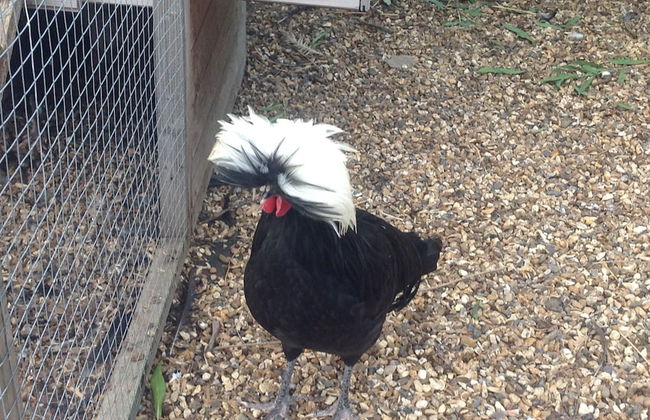
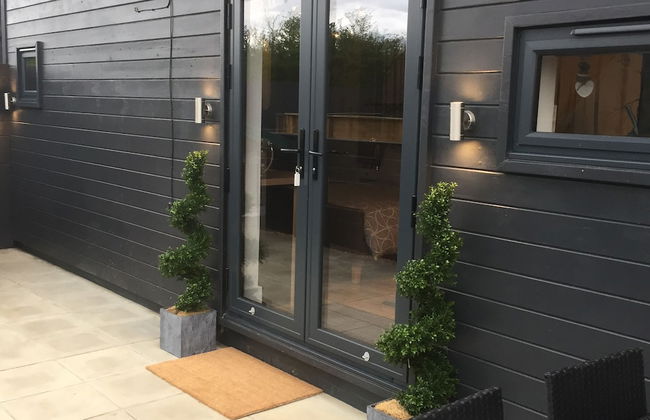
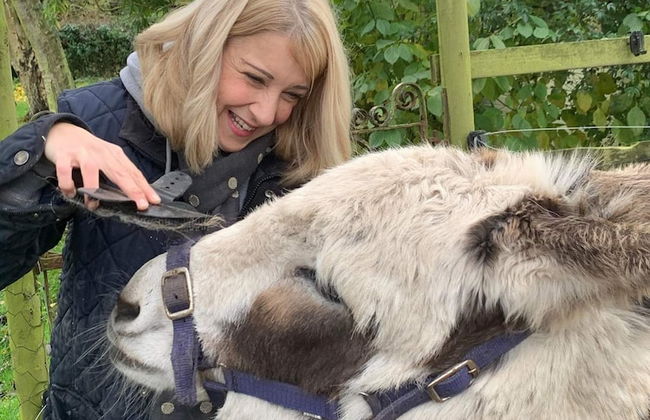
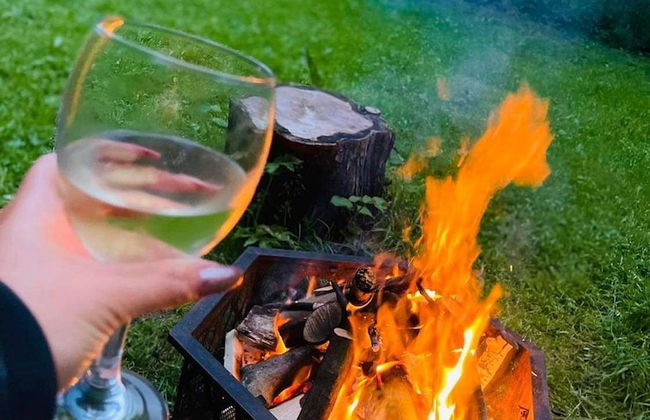
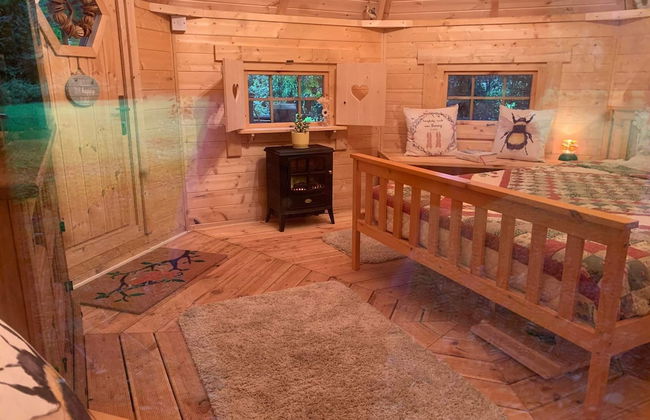
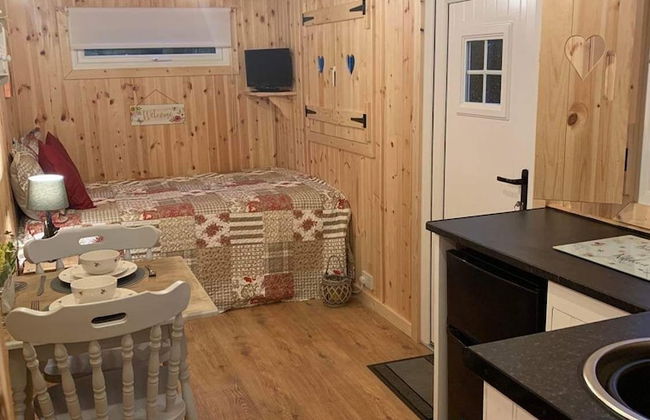
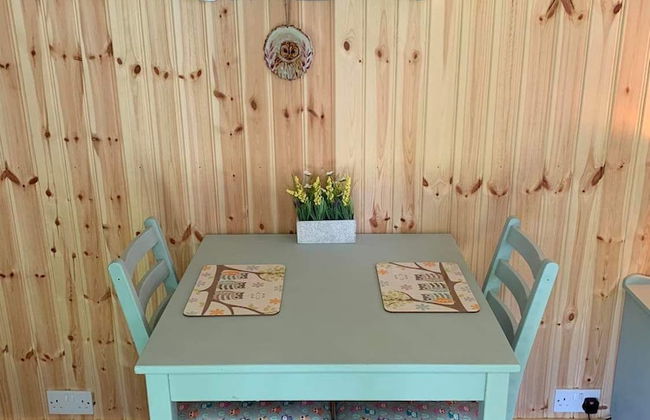
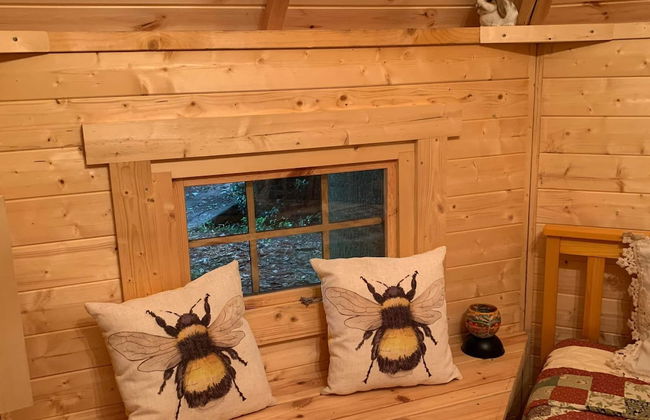
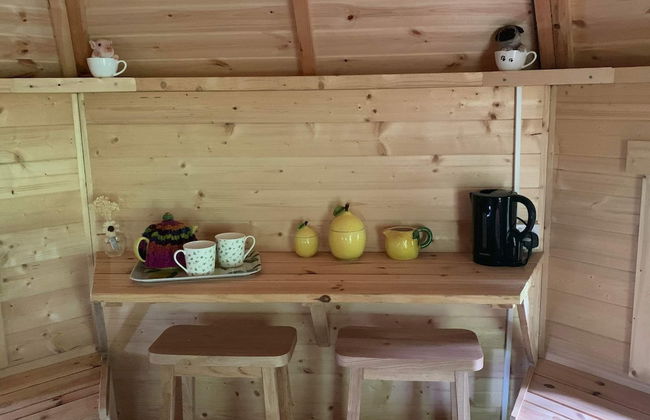
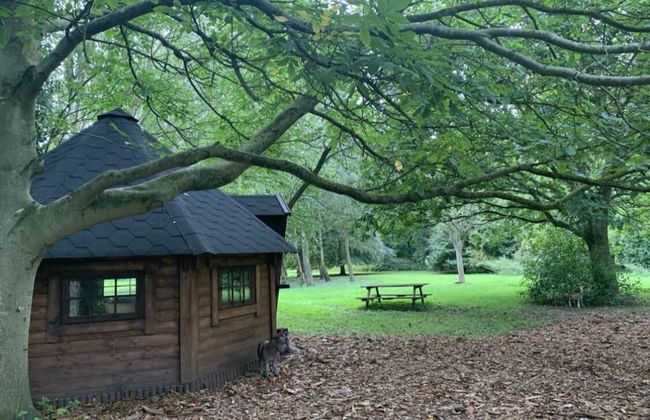
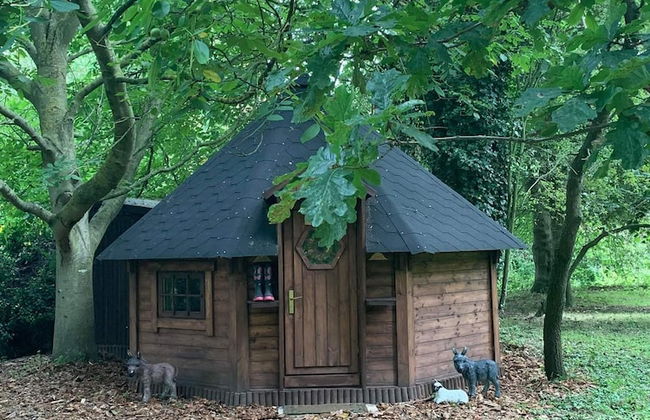
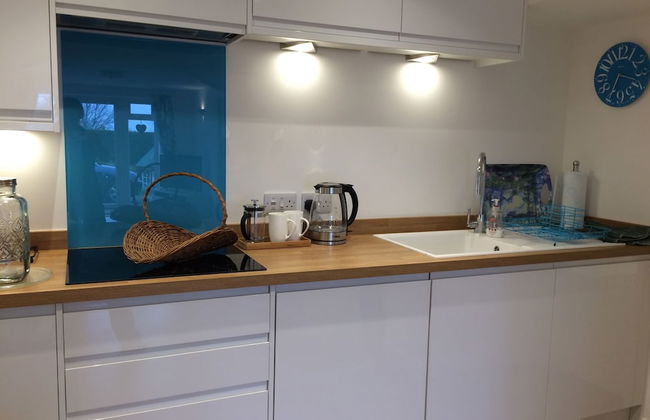
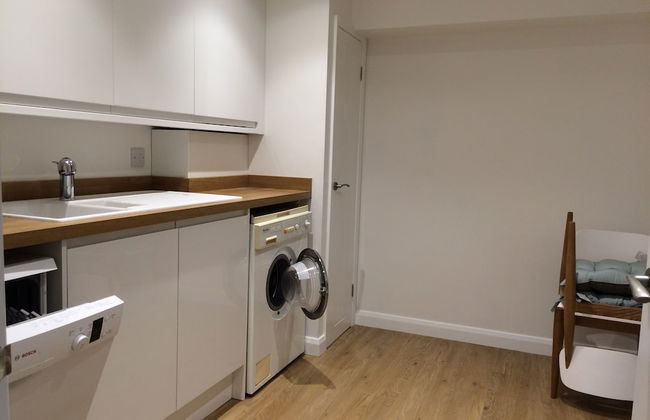
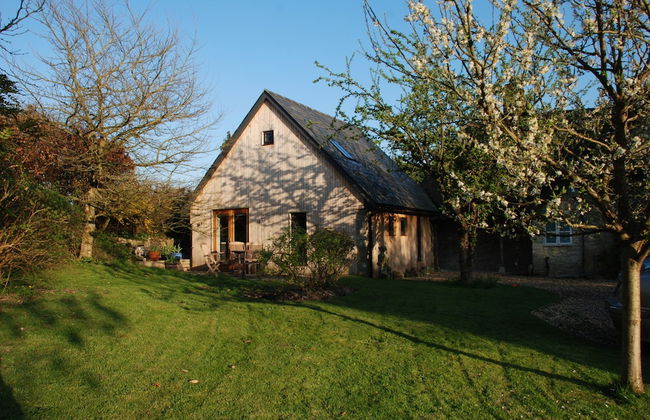
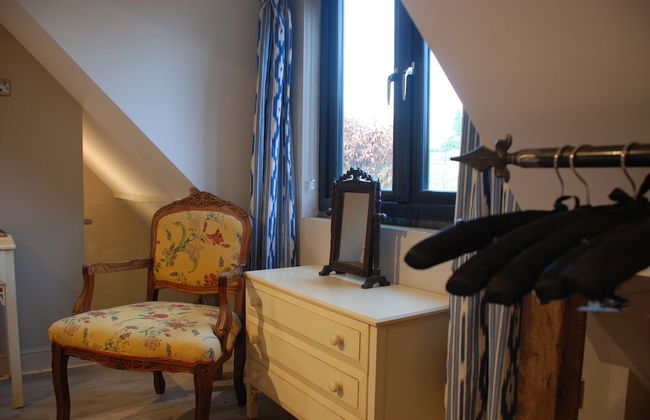
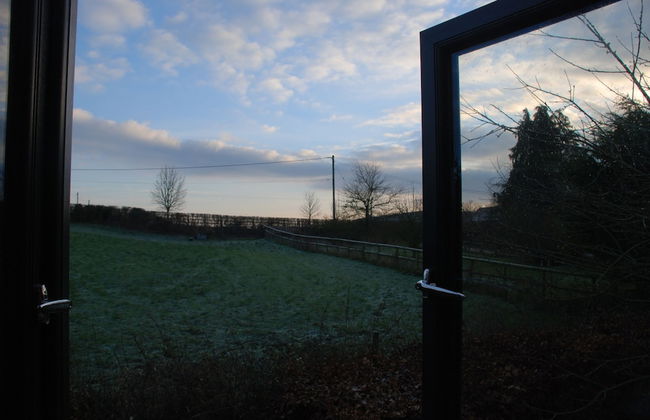
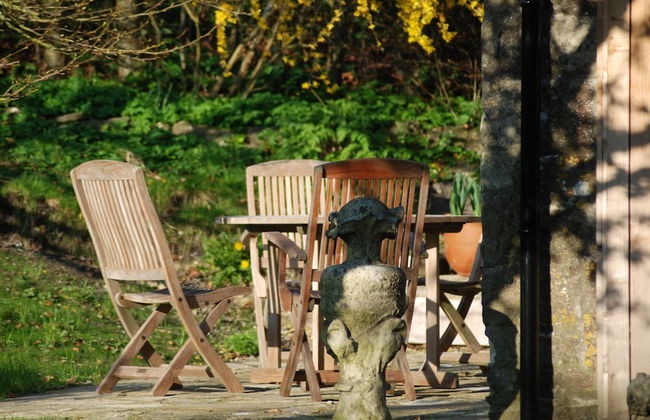
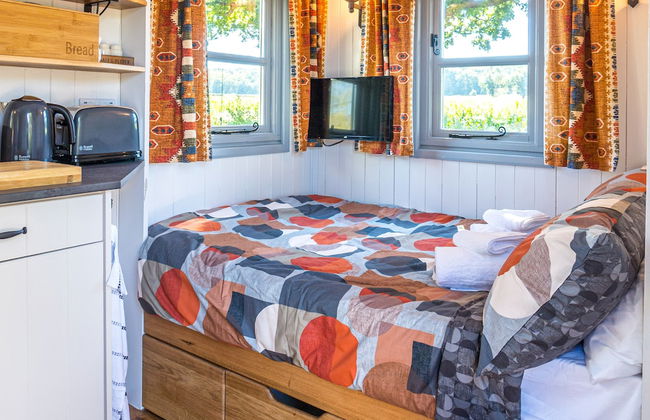
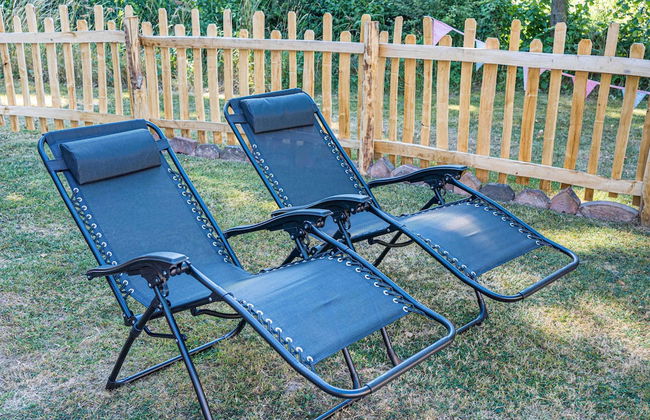
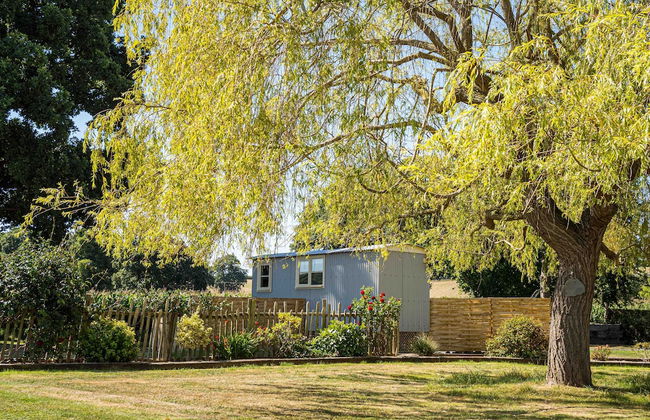
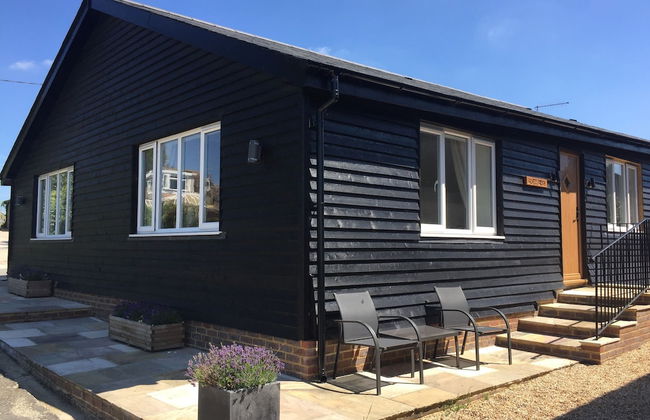
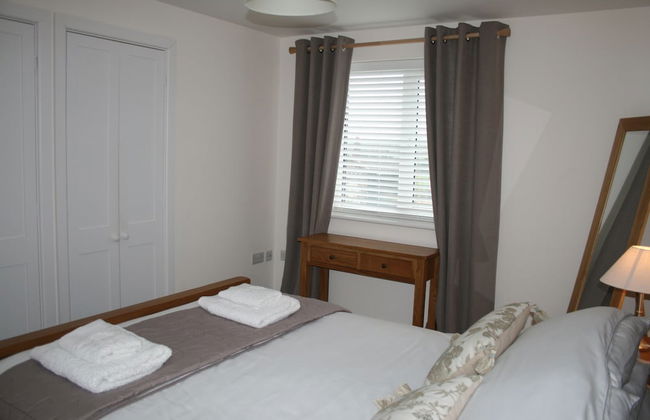
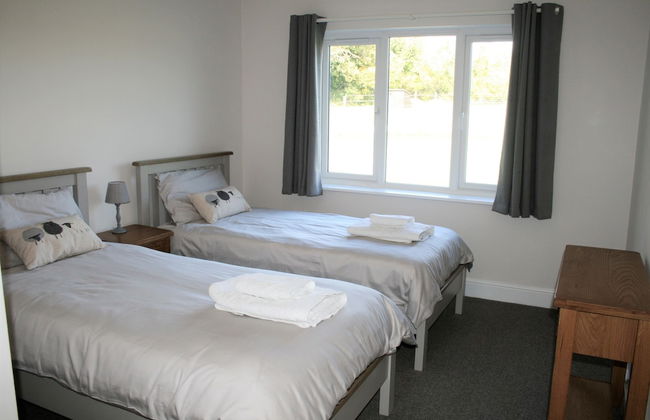
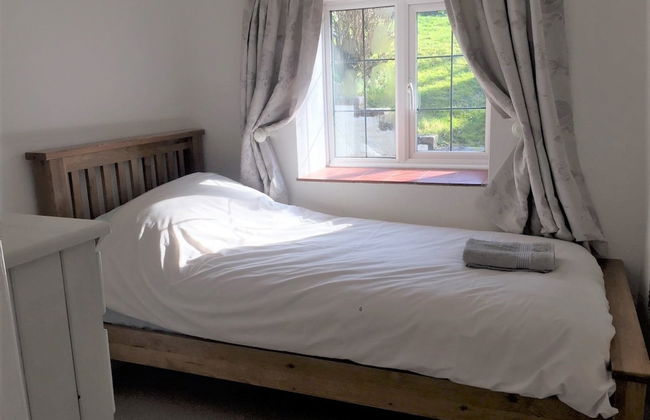
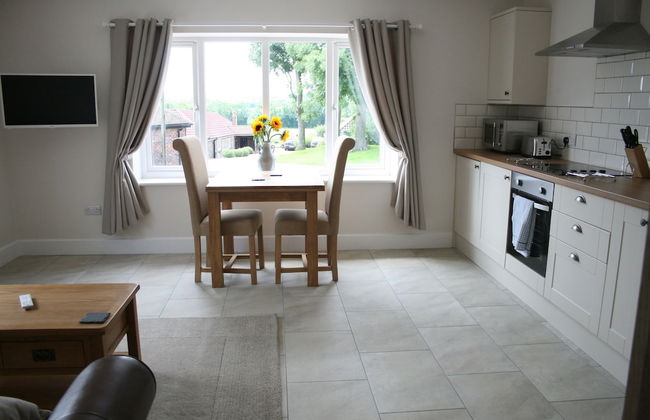
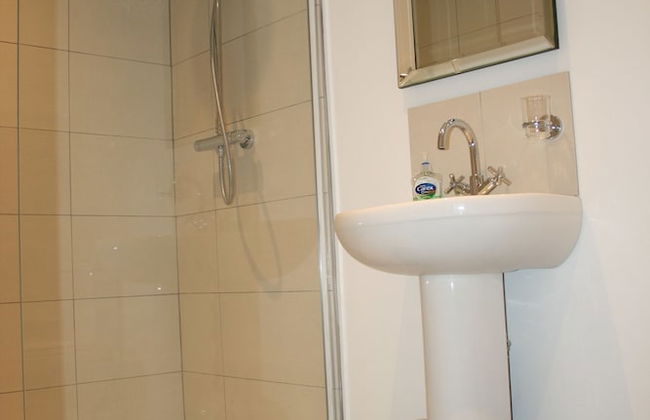
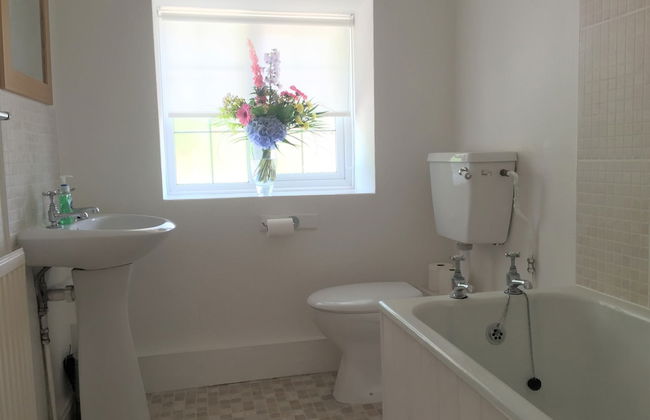
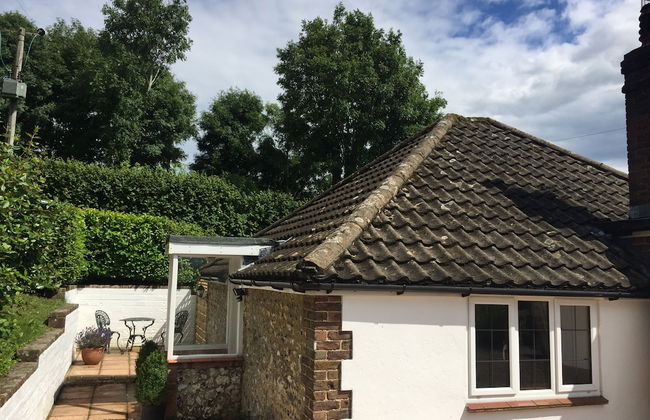
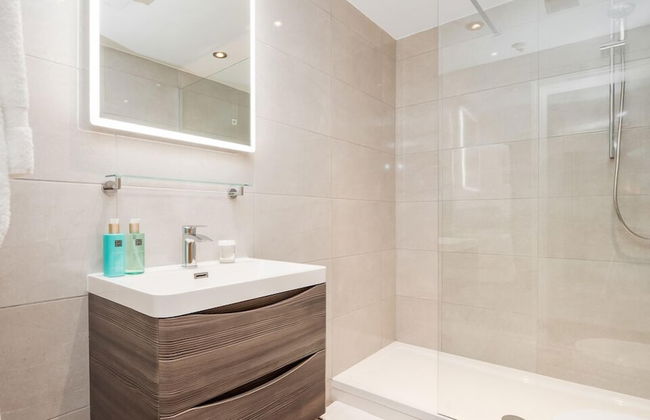
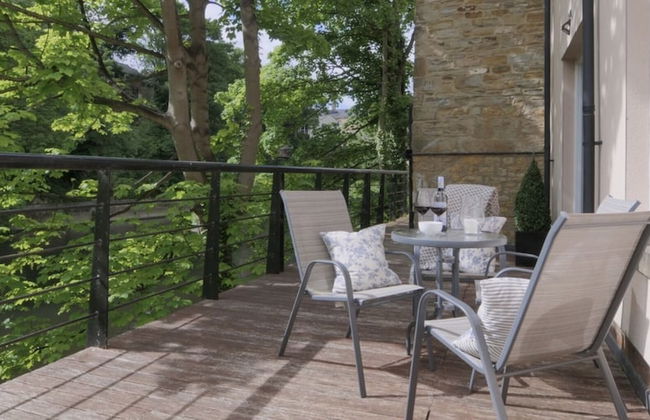
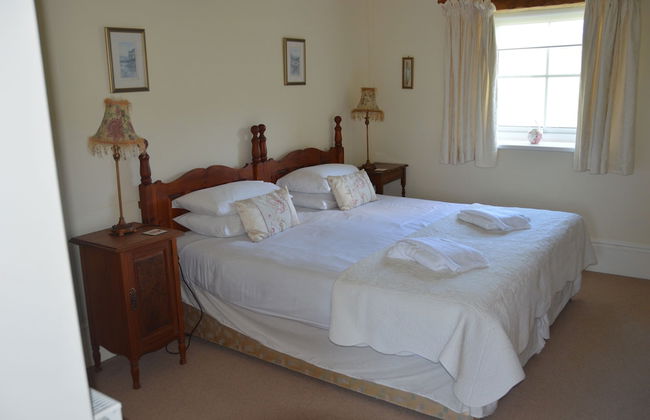
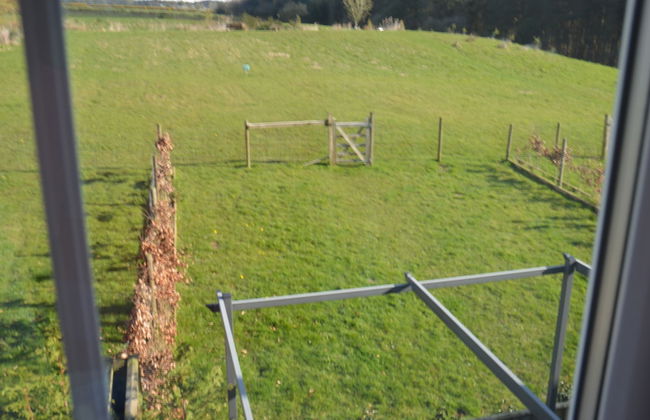
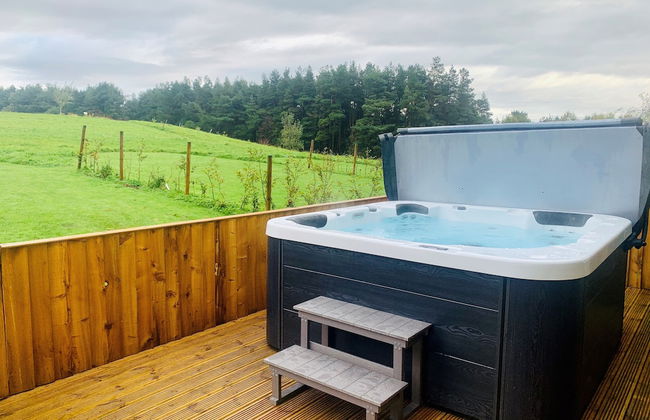
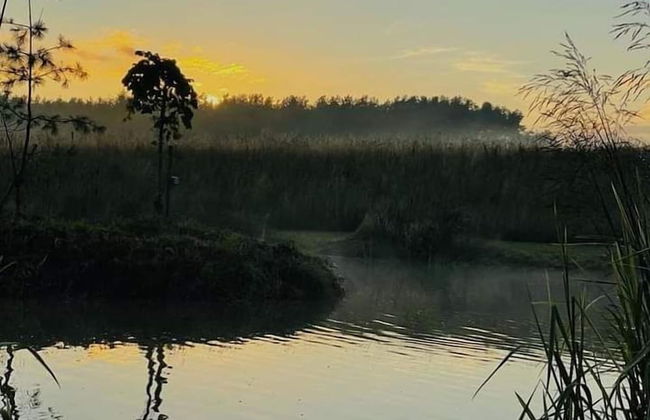
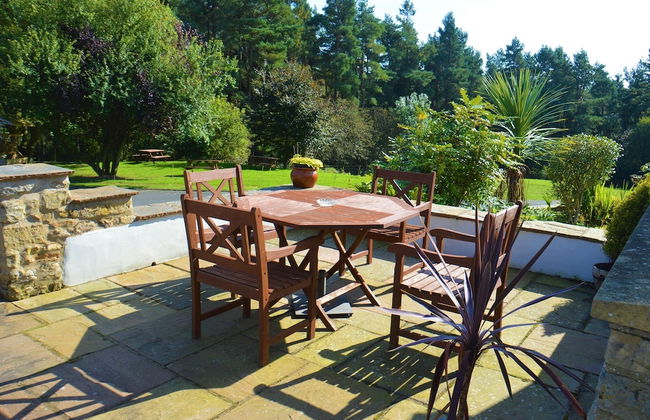
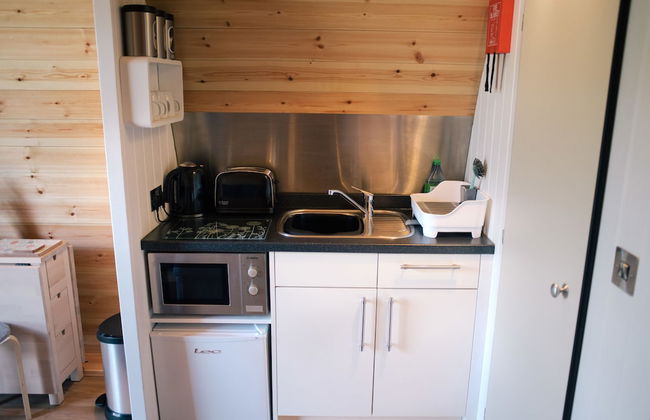
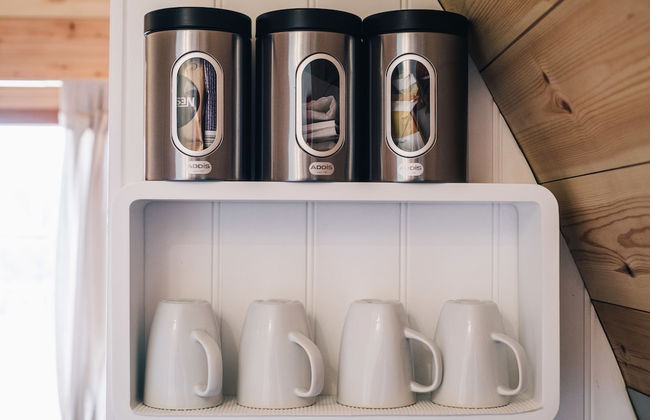
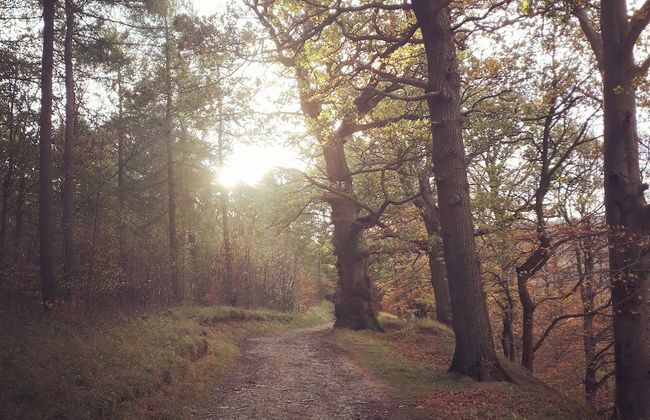
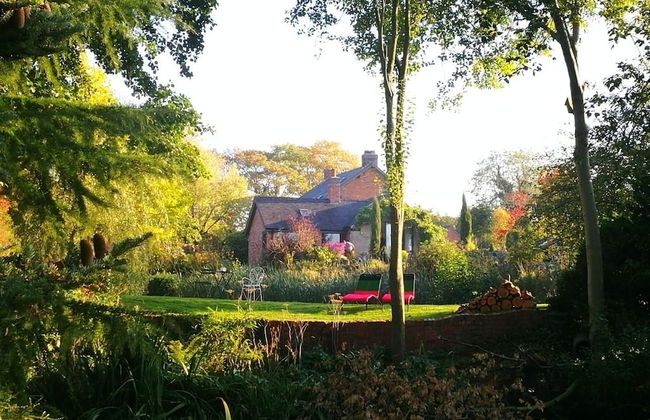
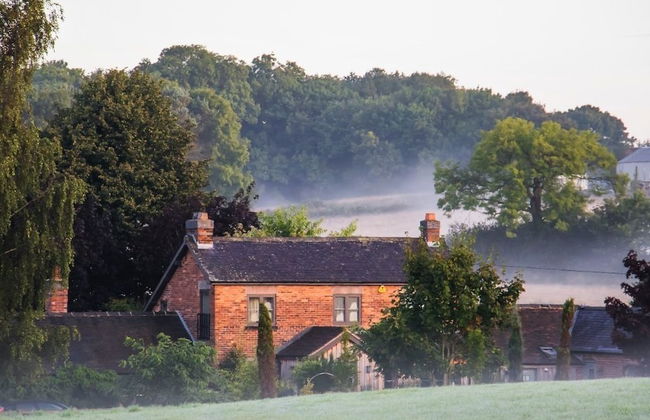
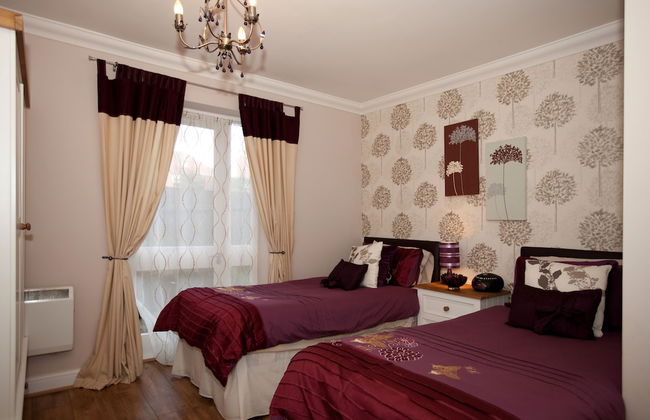
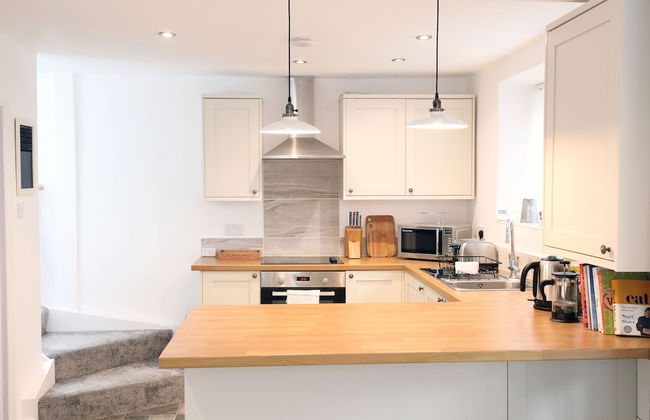
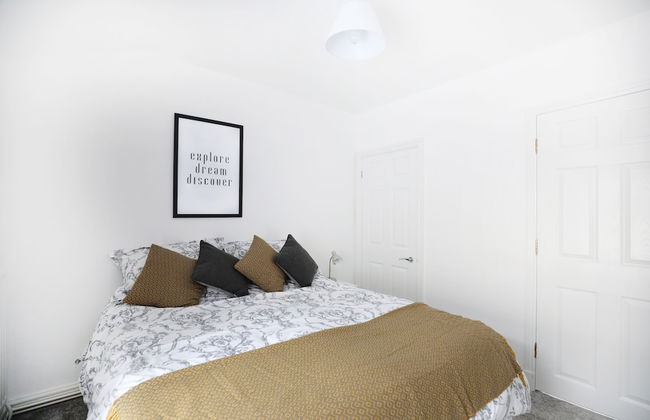
St. Tinney Farm - Foto 2
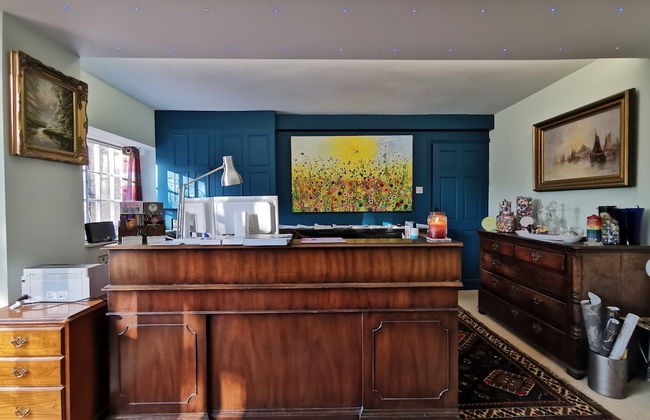
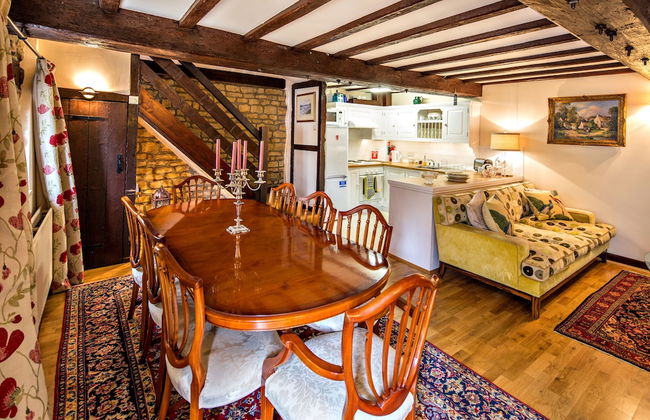
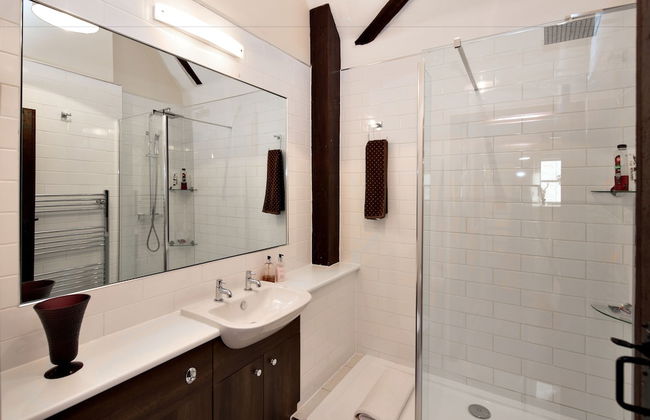
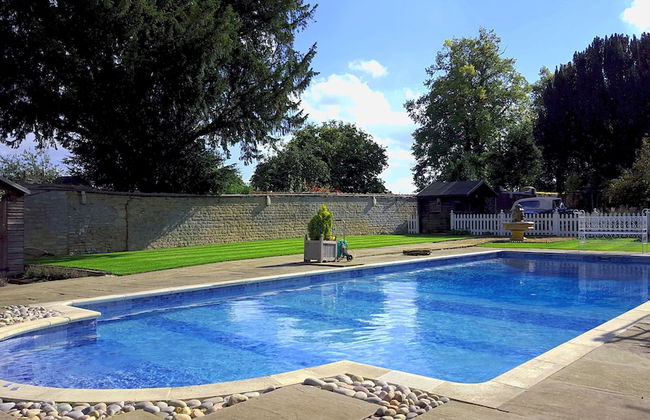
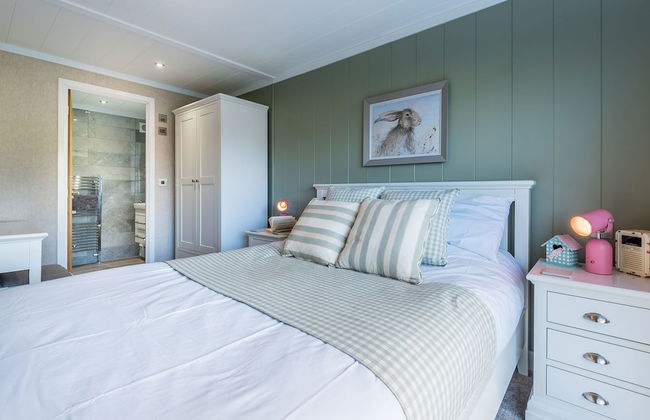
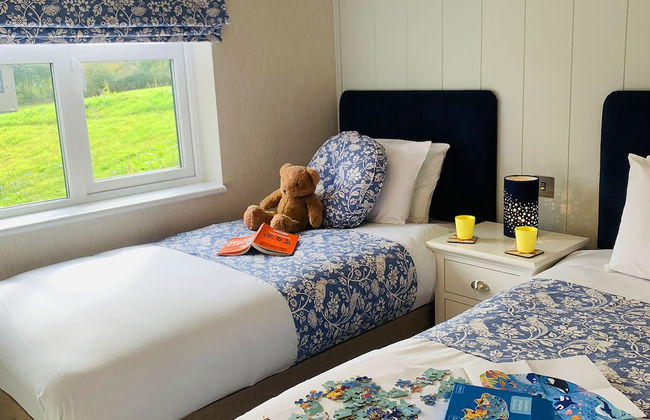
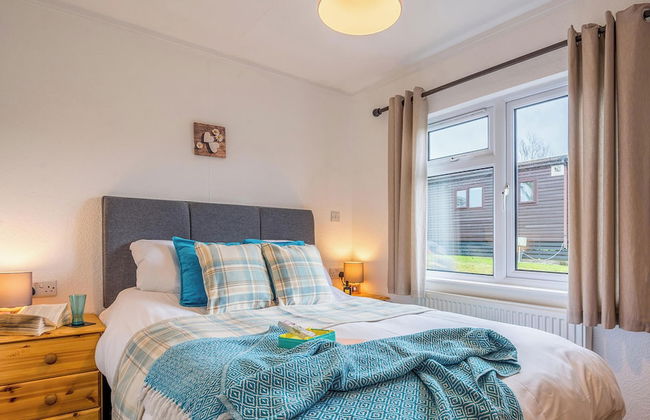
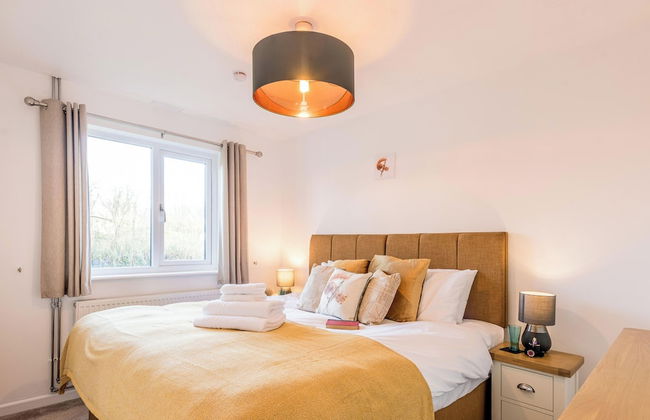
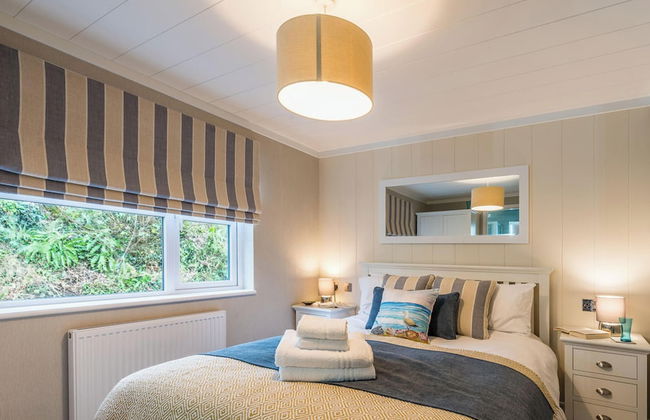
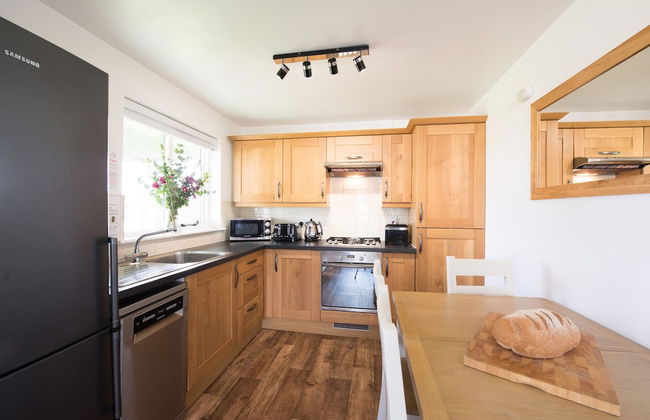
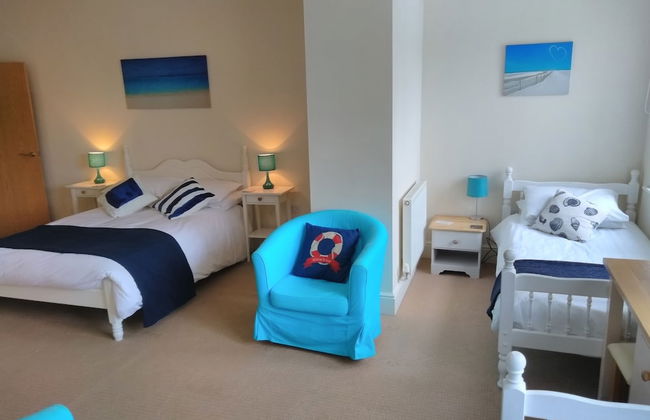
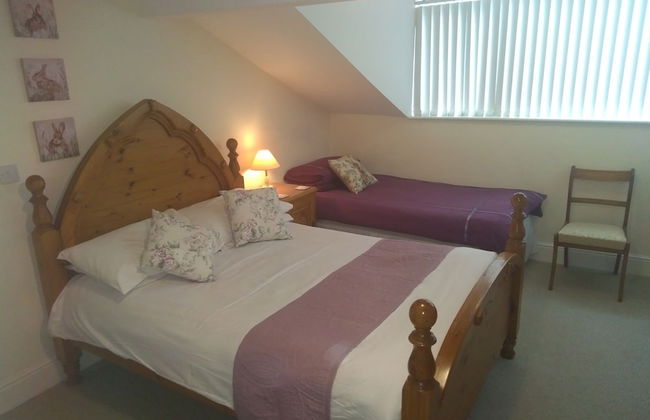
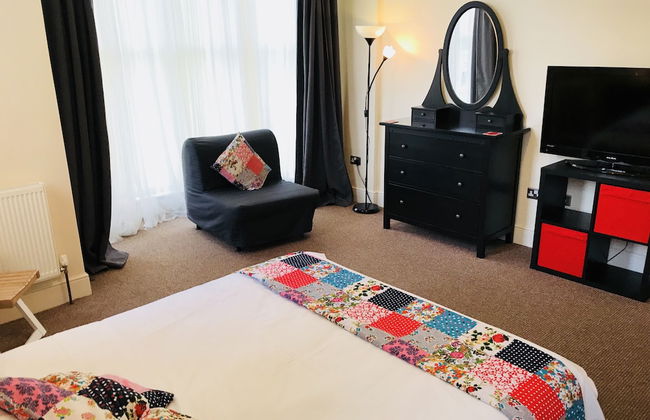
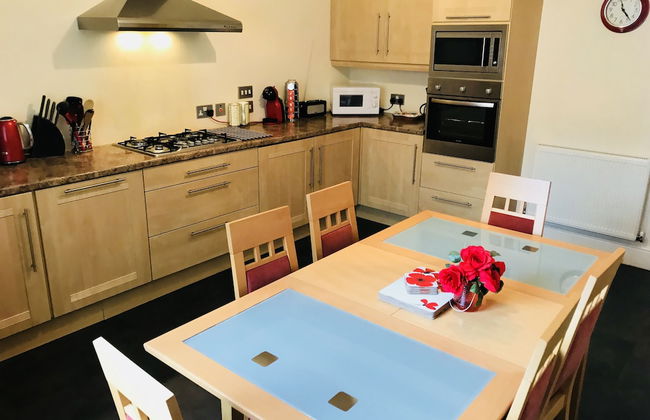
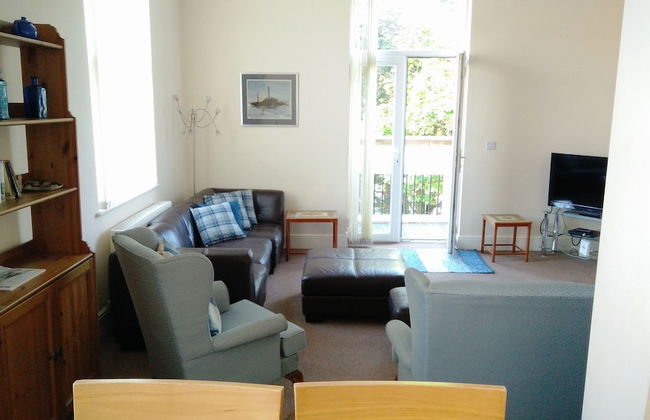
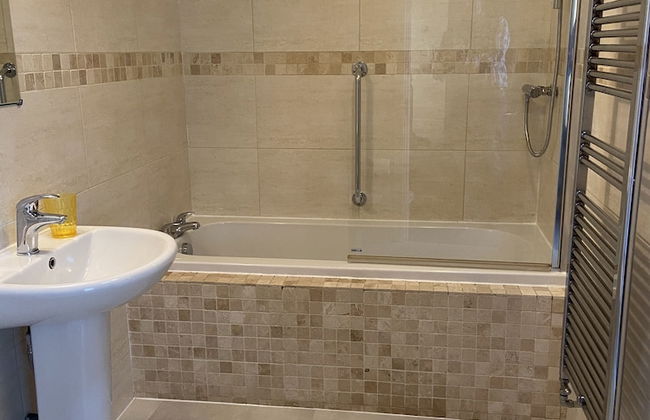
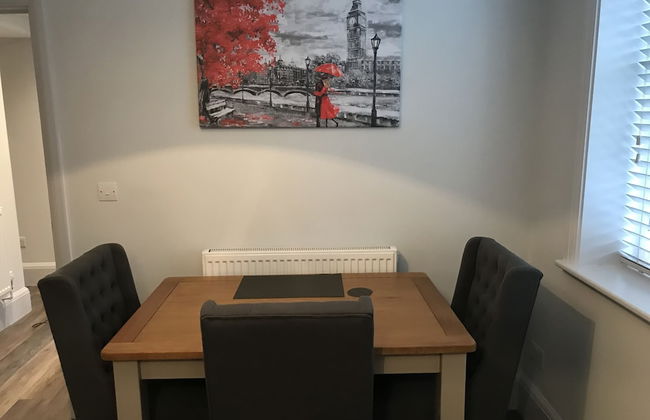
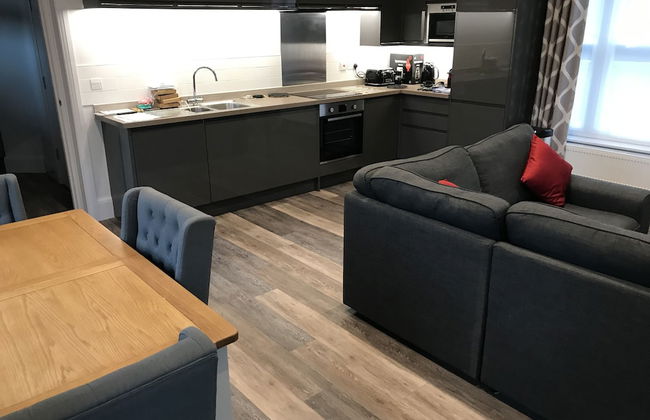
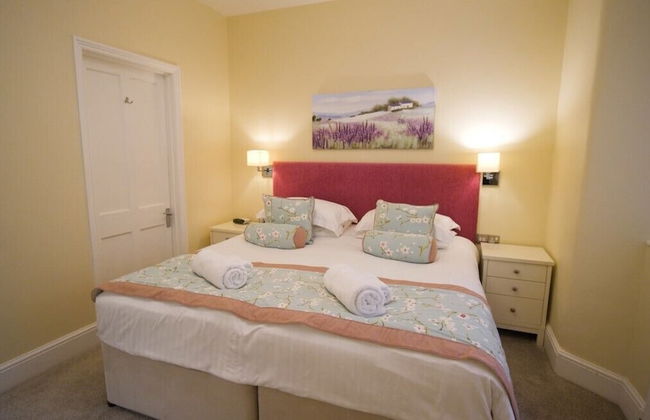
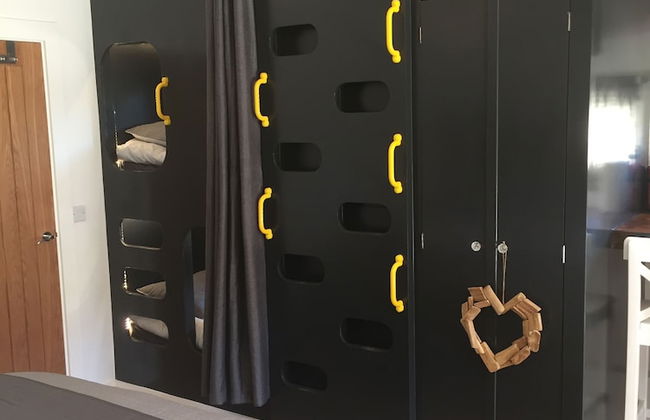
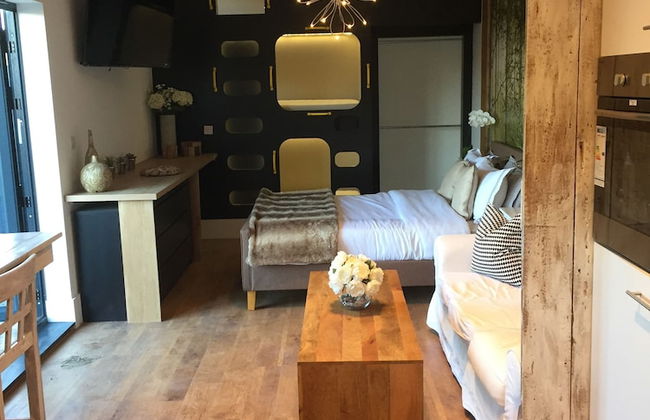
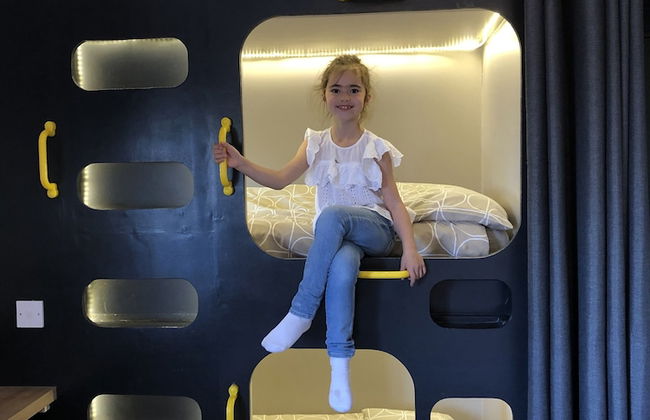
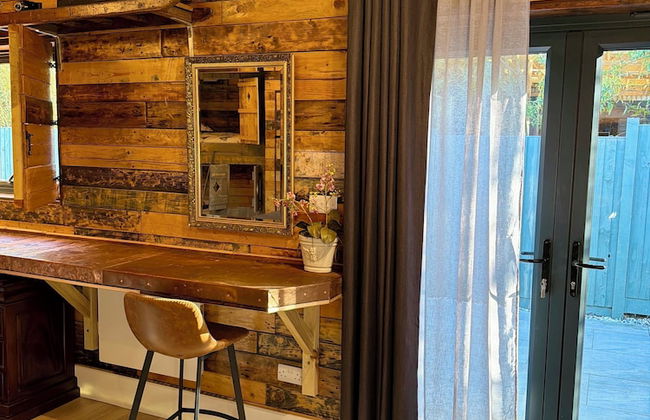
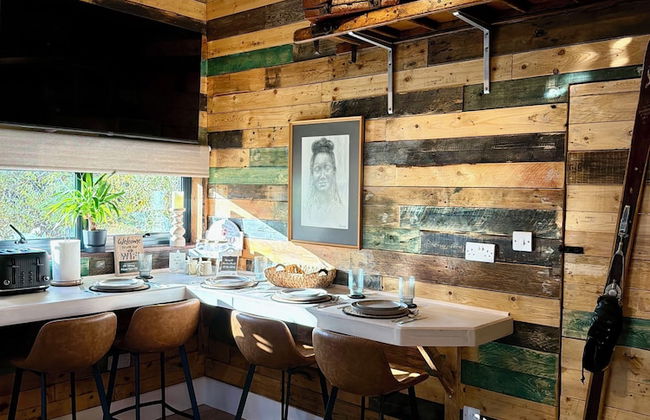
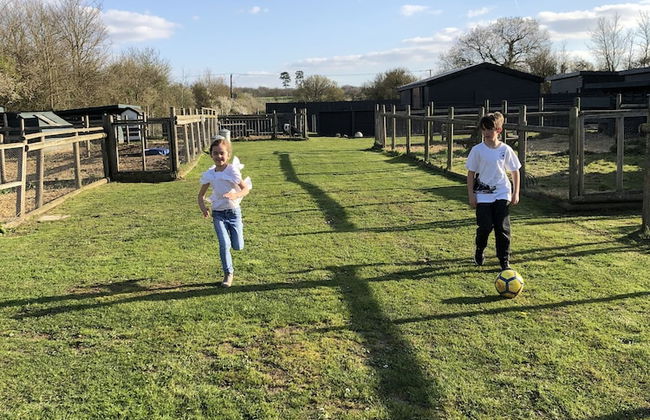
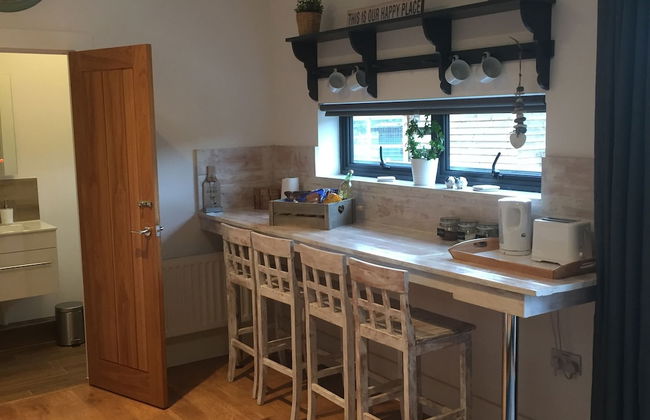
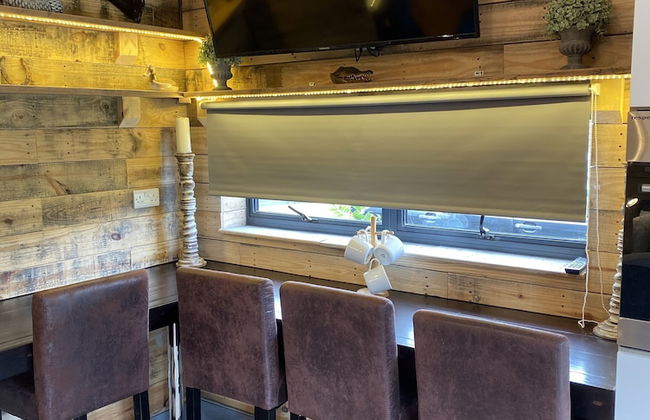
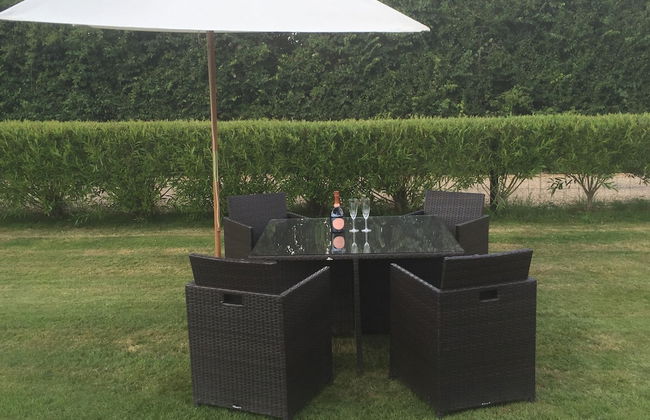
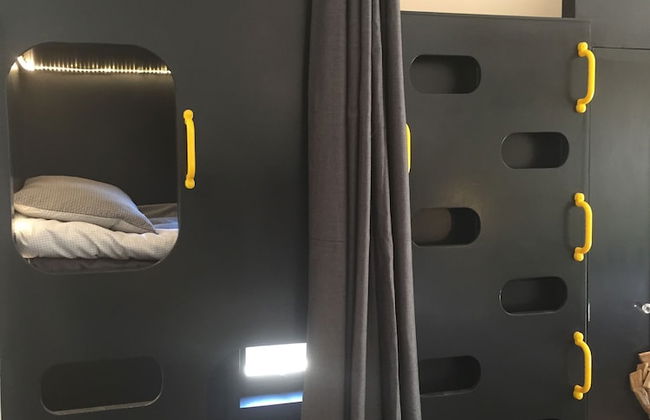
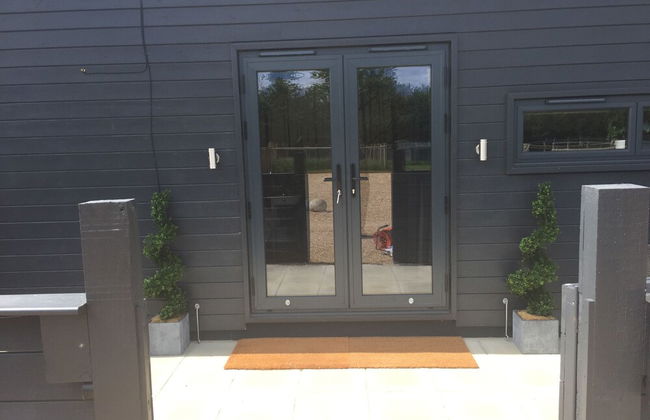
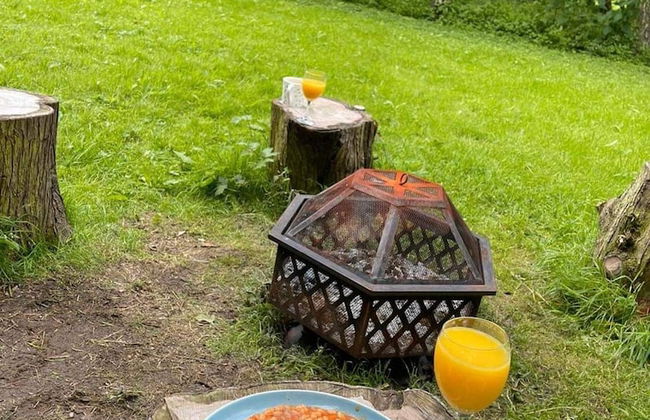
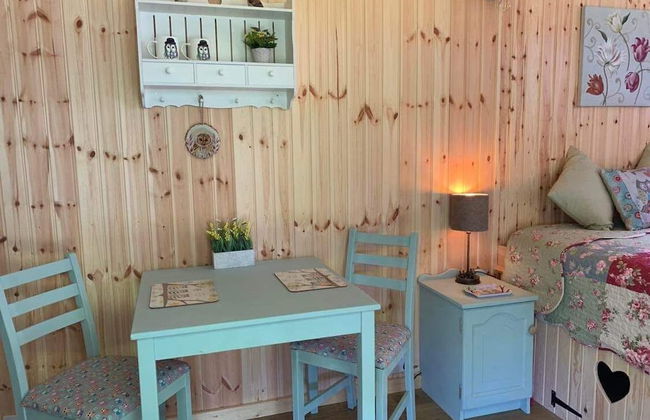
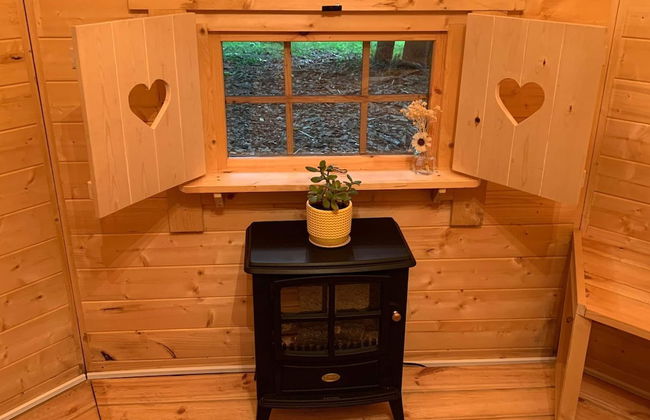
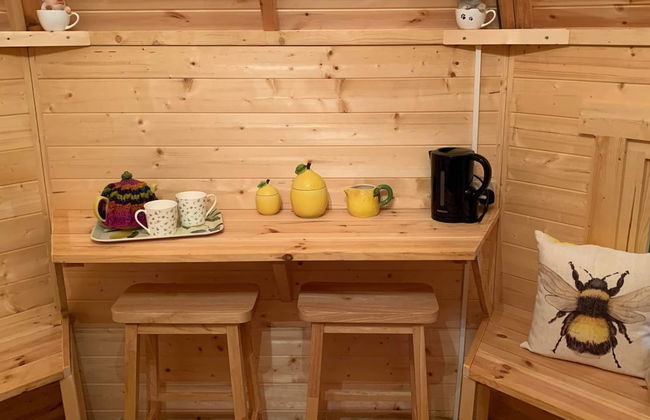
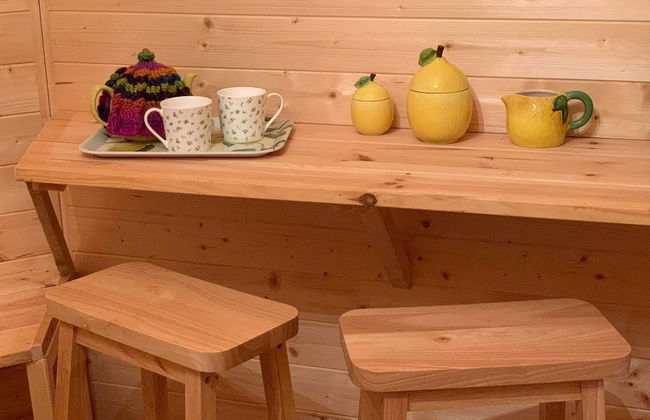
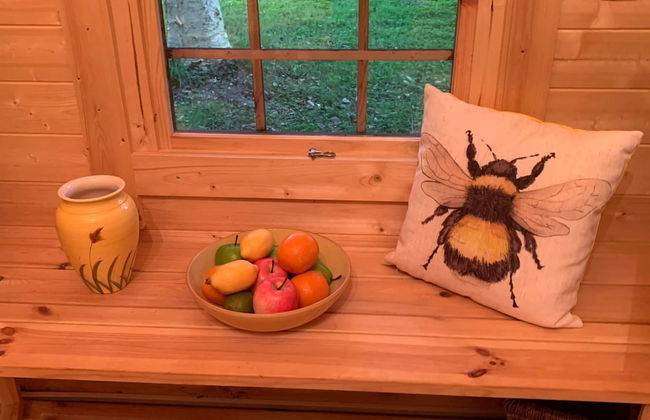
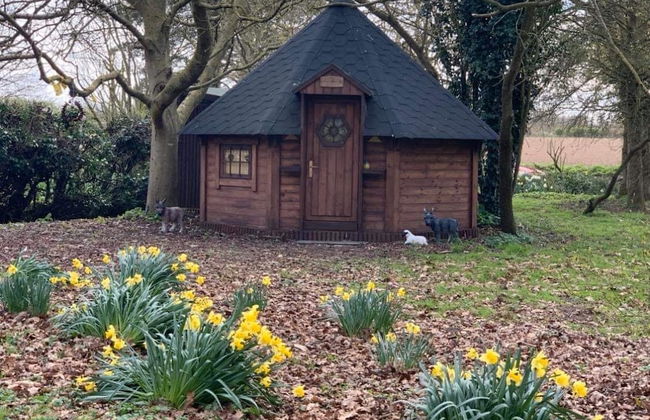
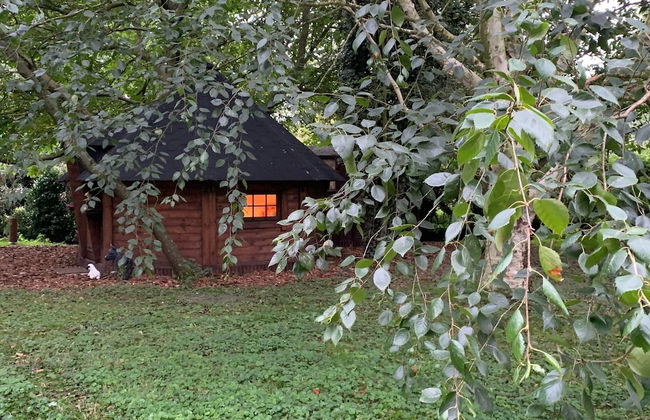
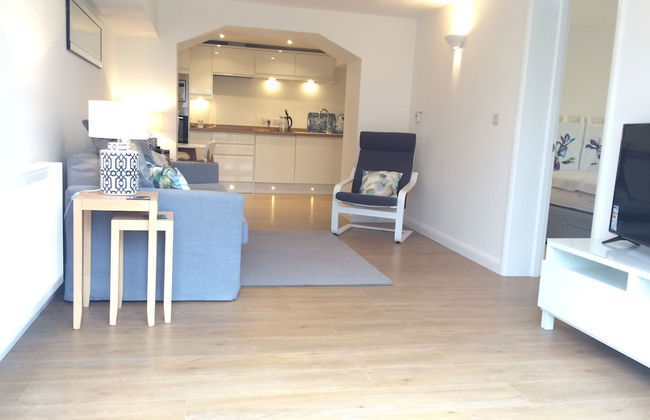
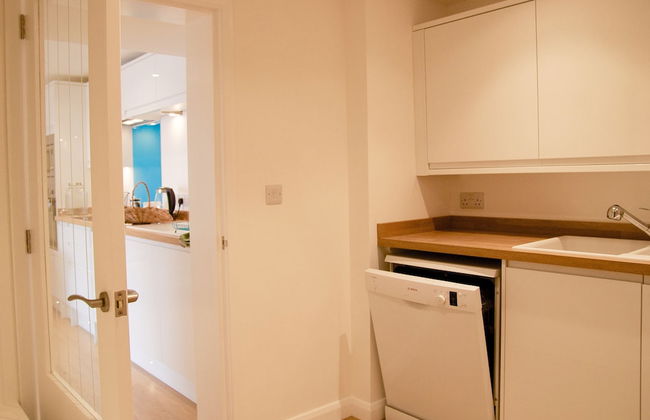
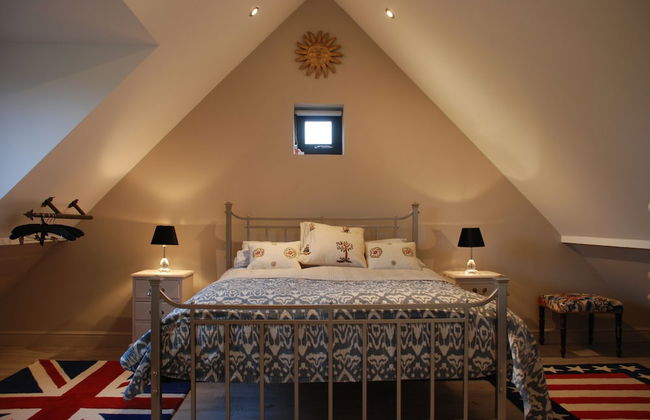
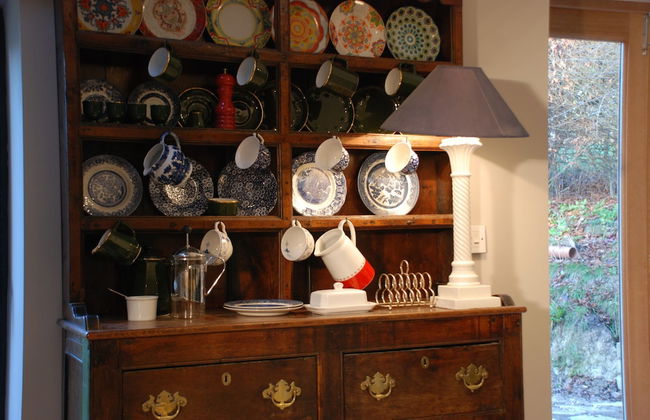
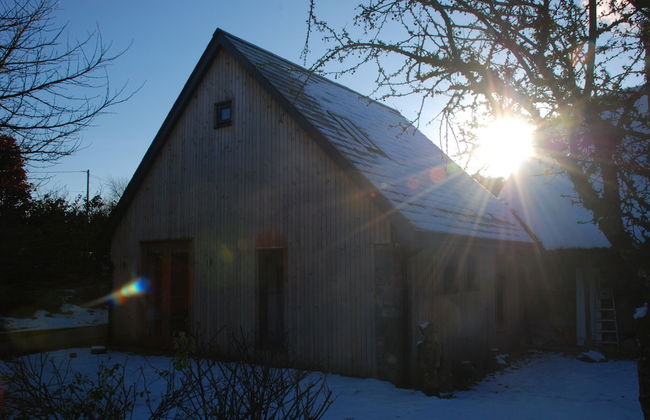
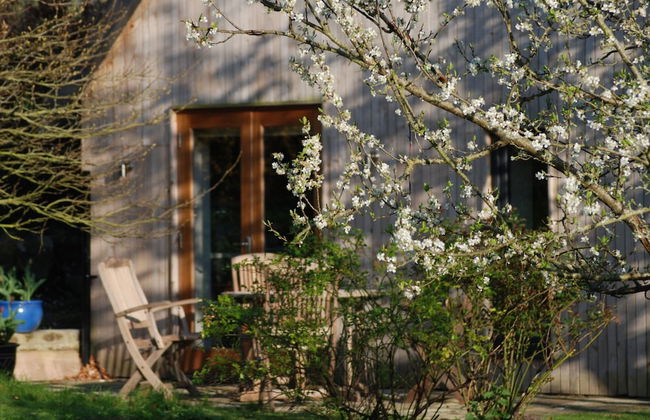
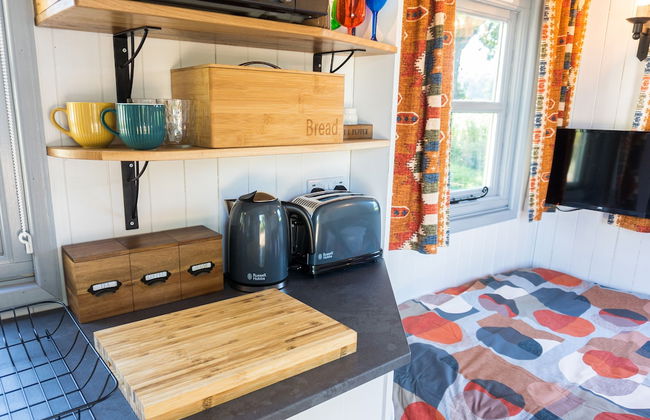
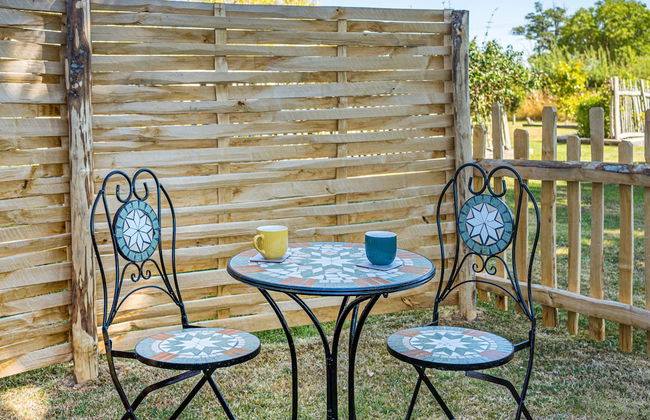
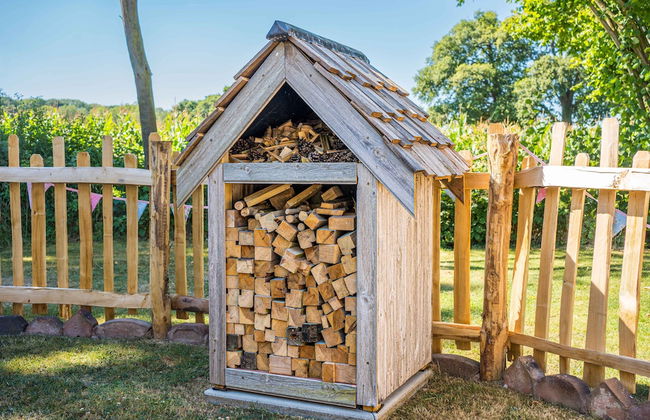
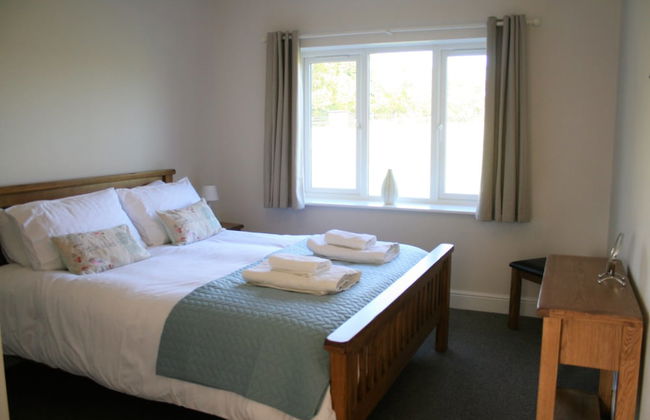
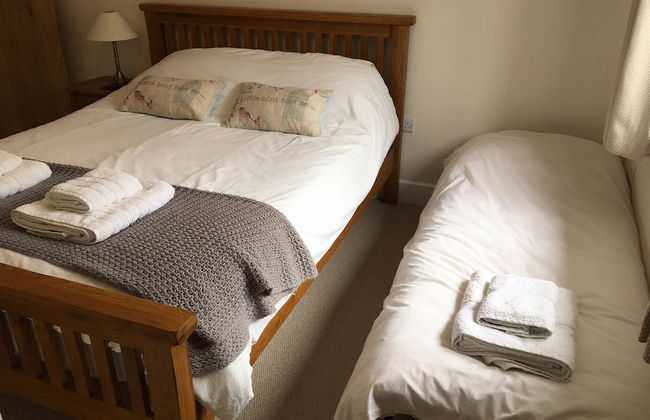
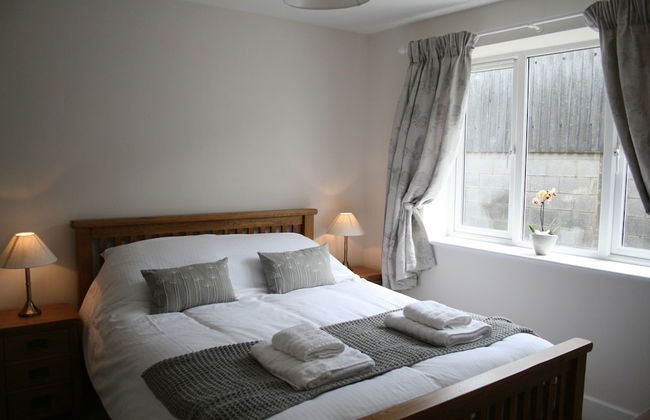
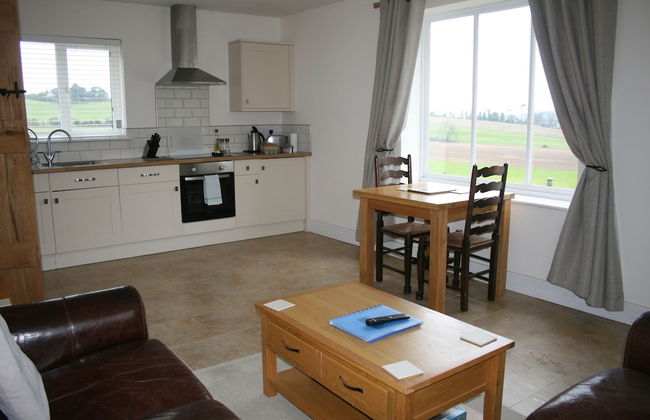
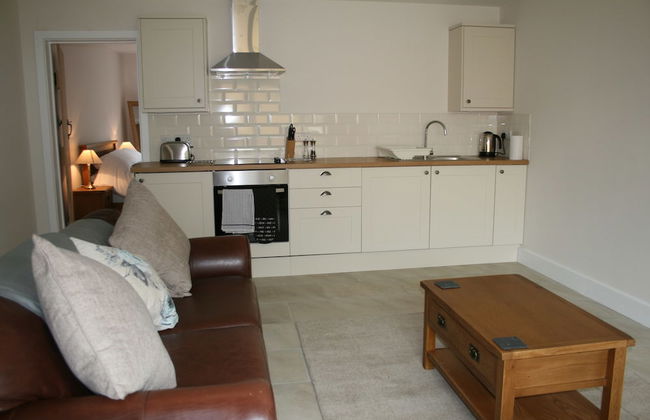
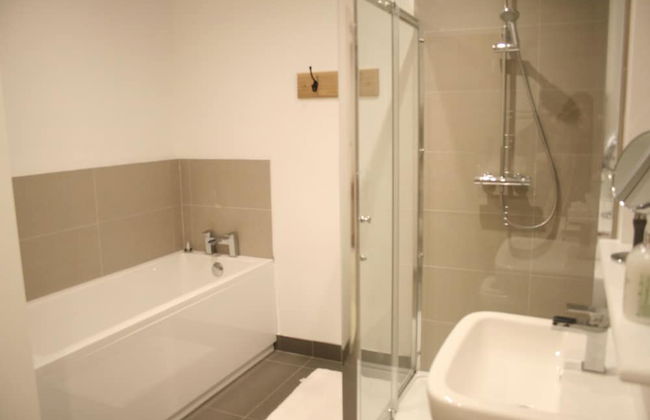
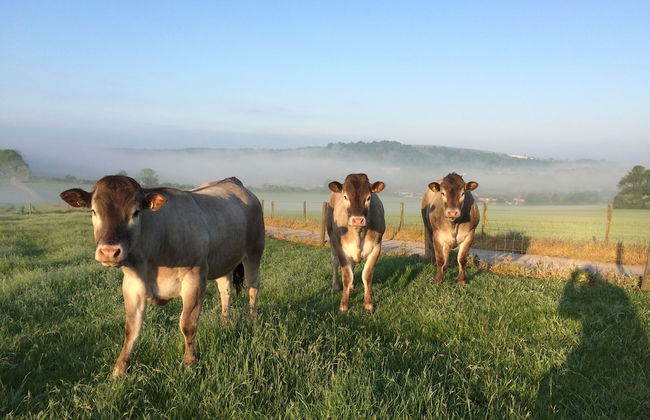
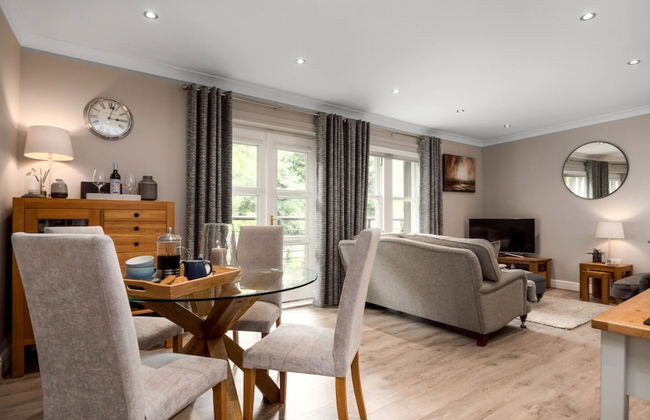
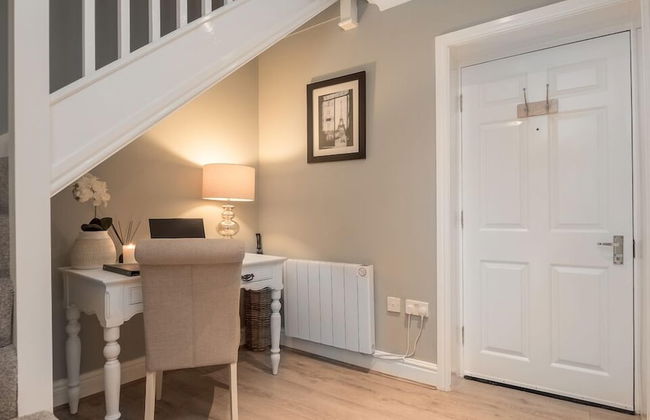
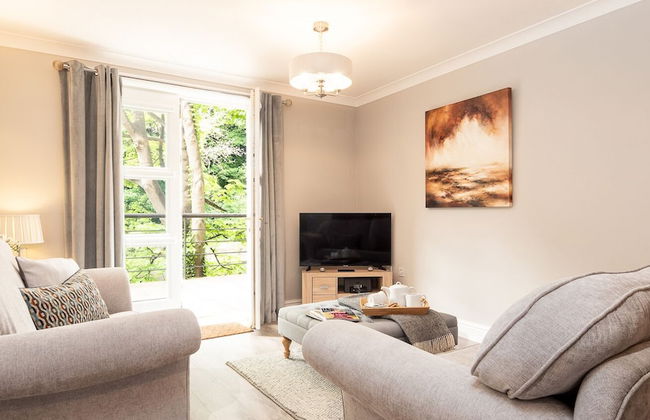
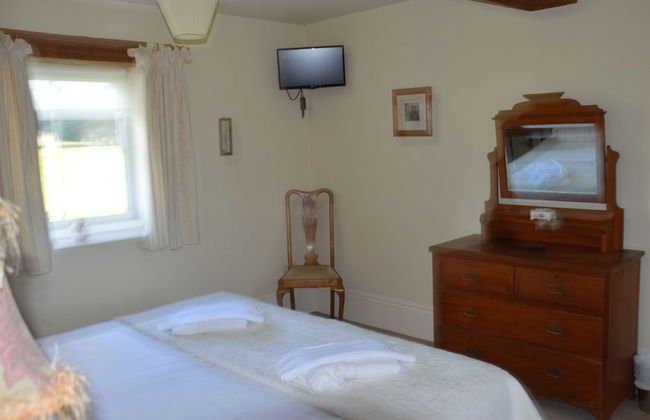
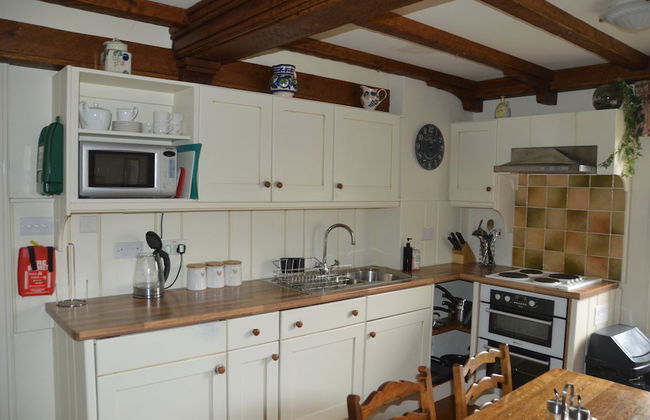
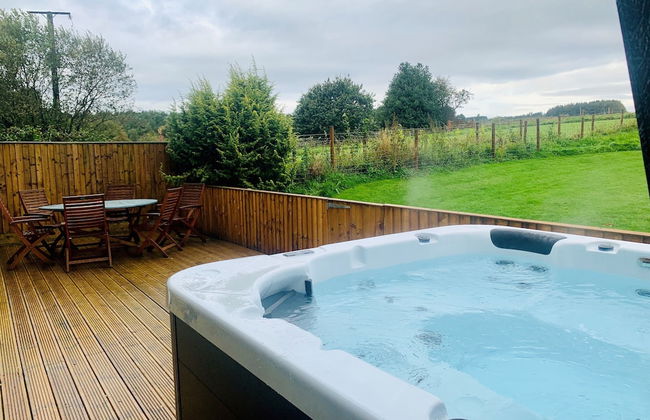
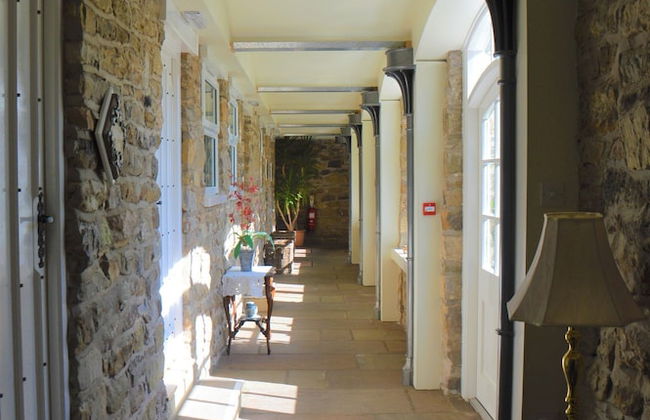
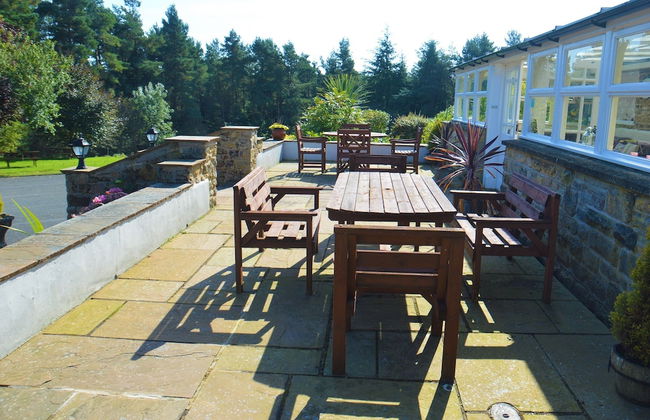
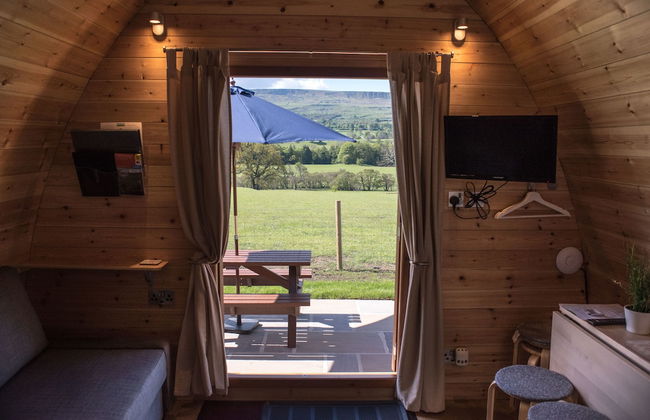
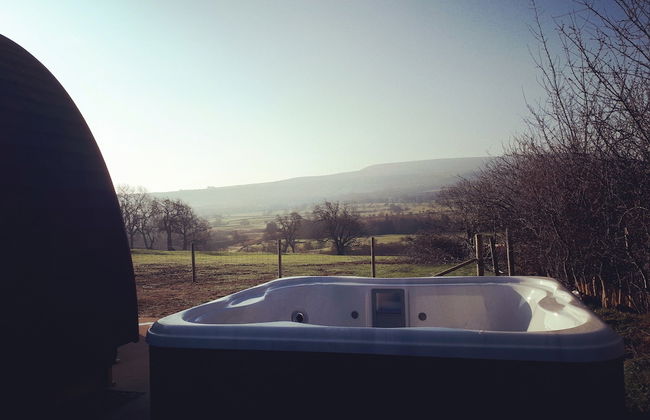
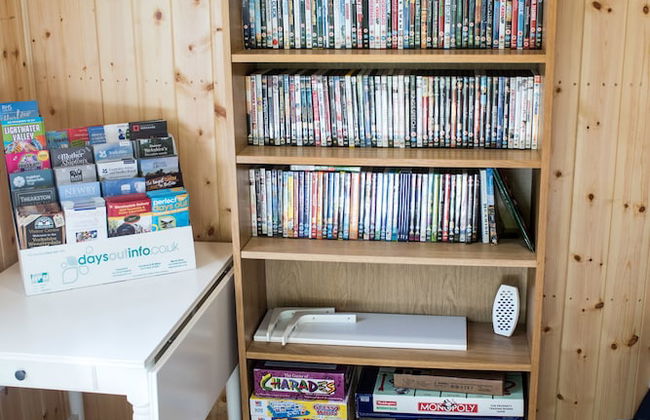
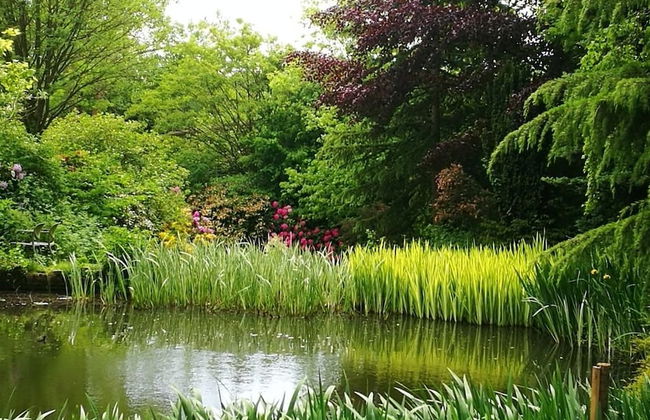
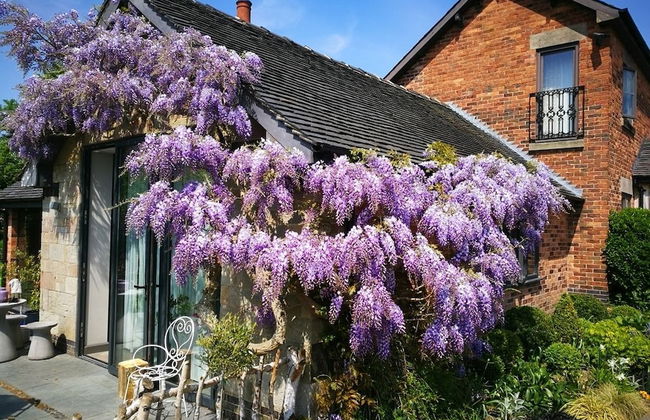
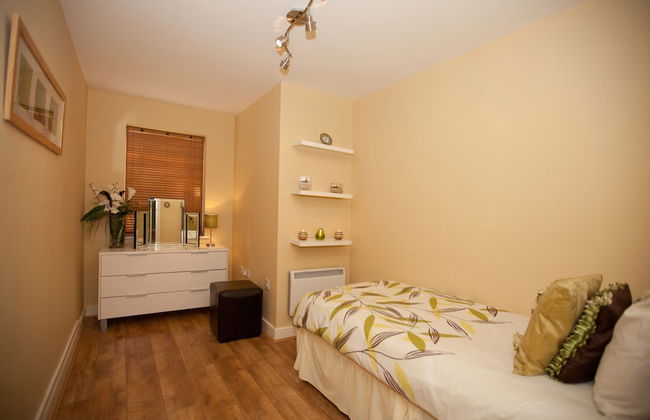
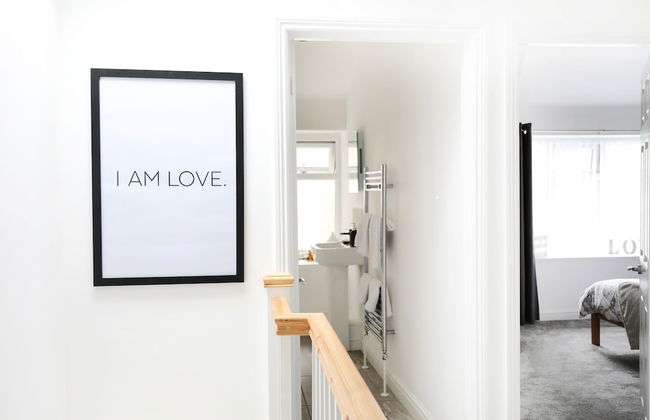
St. Tinney Farm - Foto 3
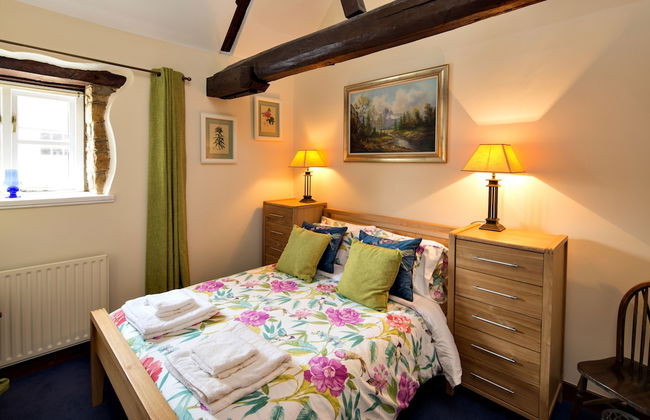
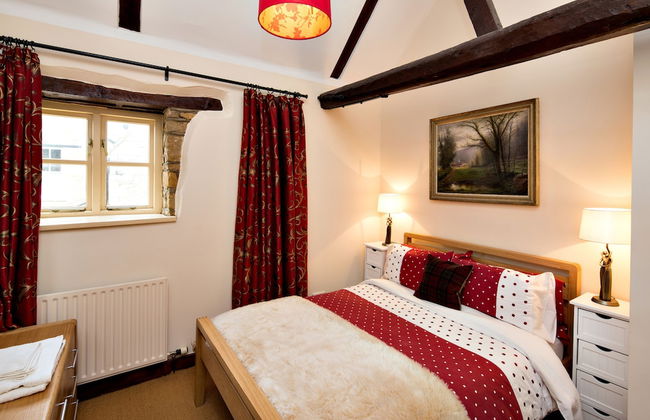
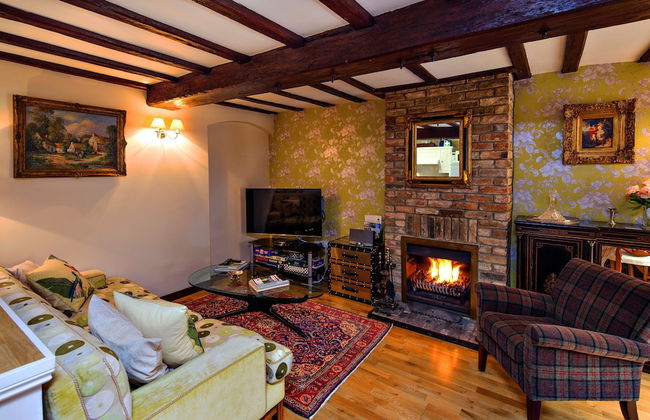
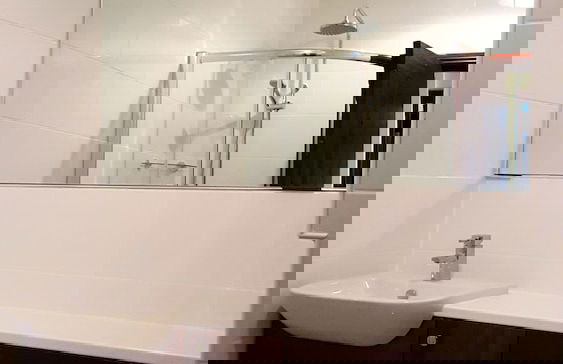
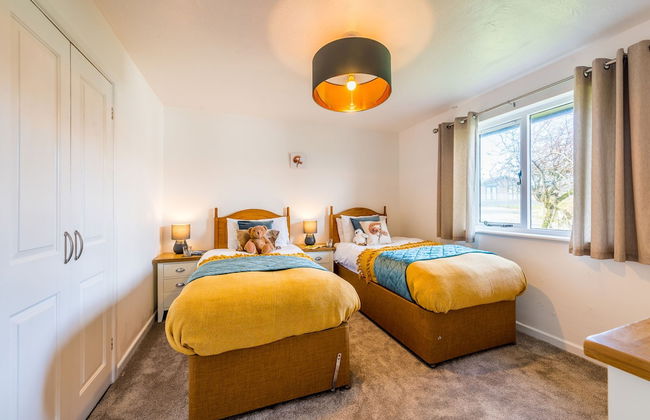
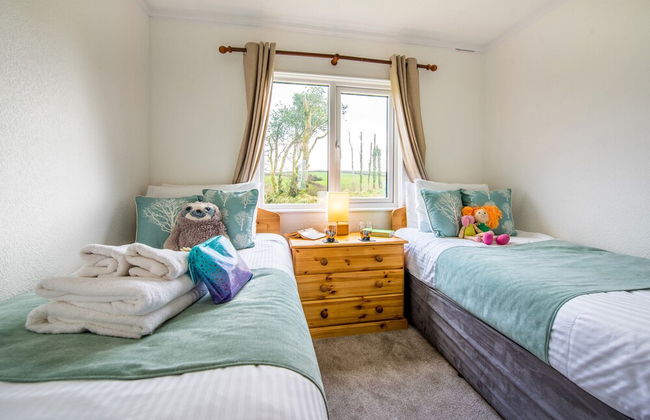
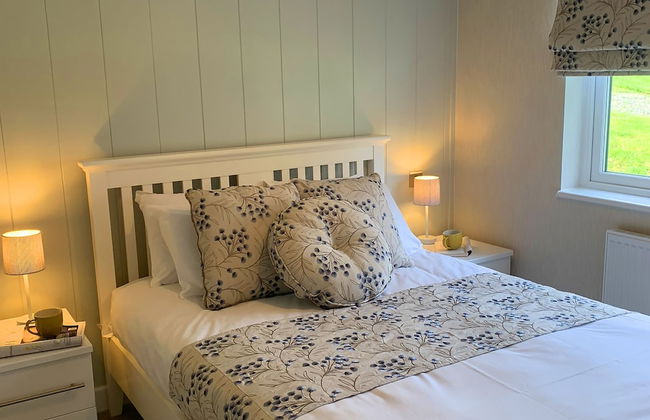
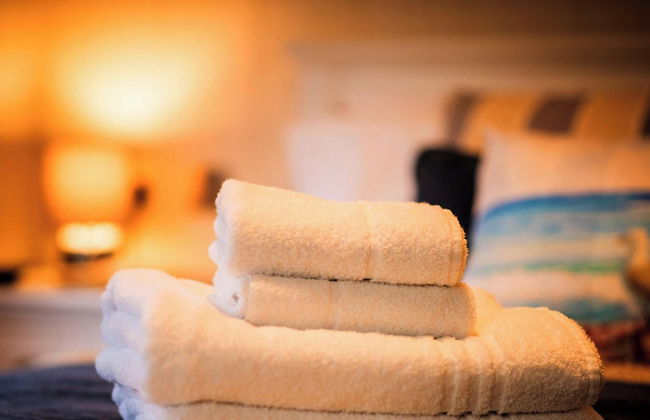
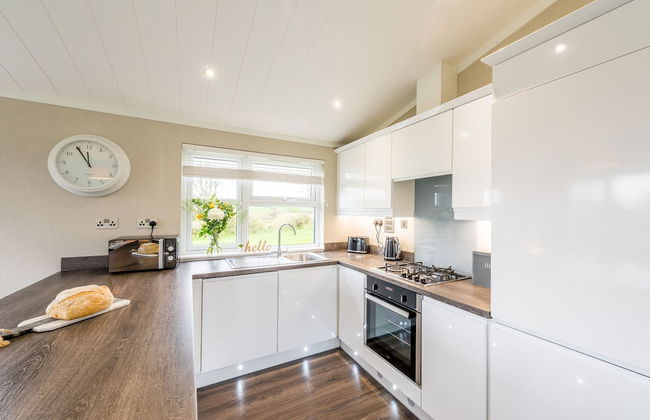
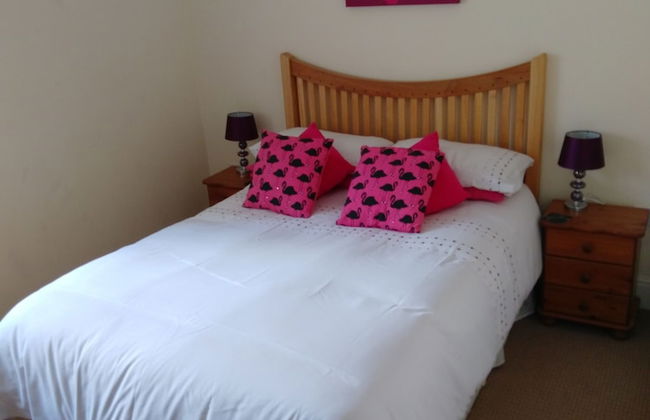
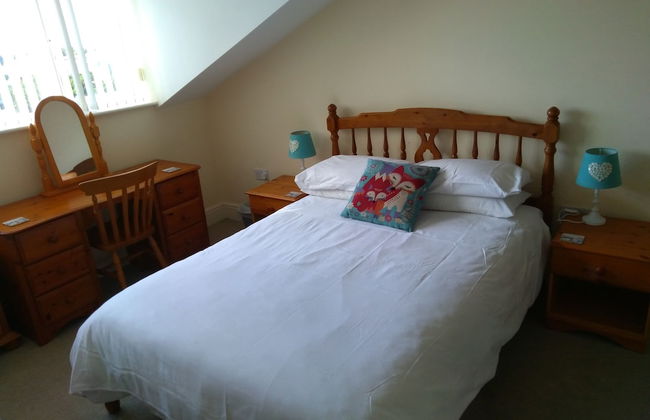
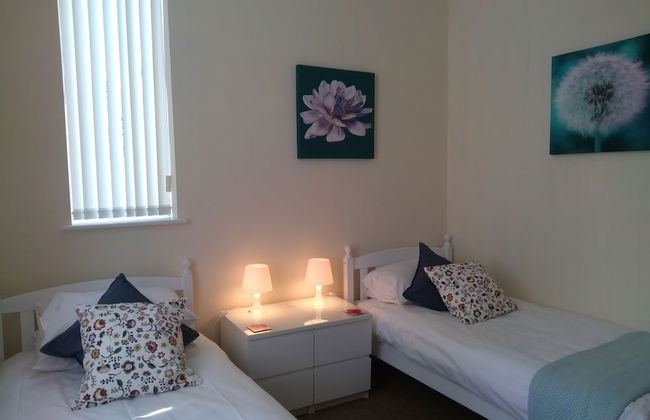
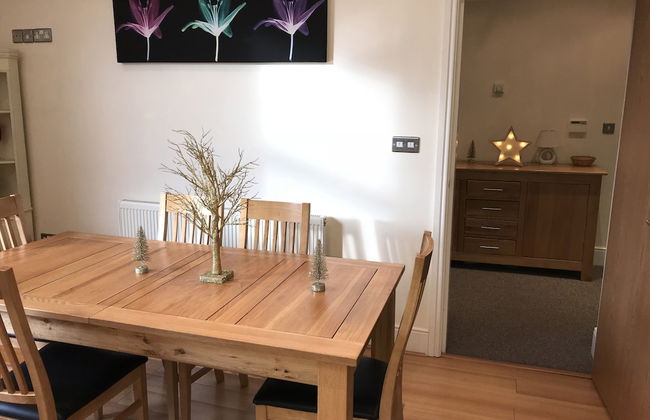
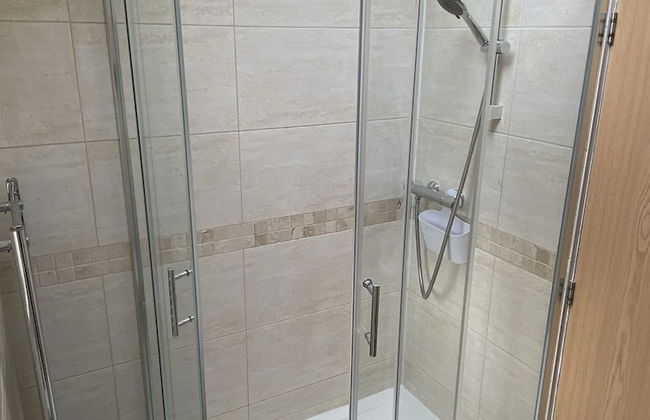
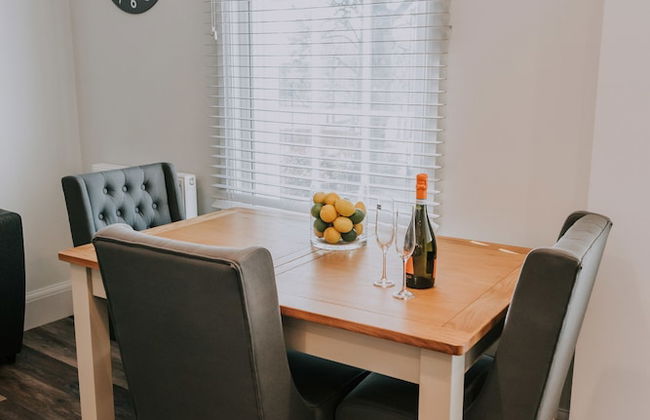
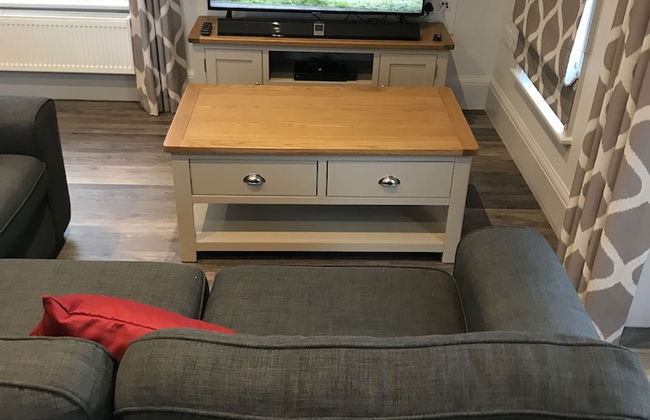
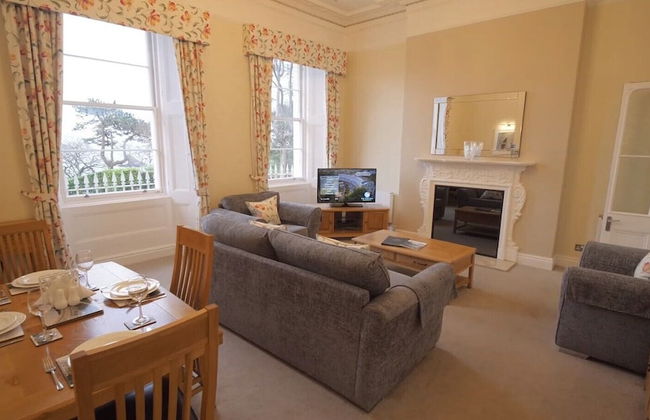
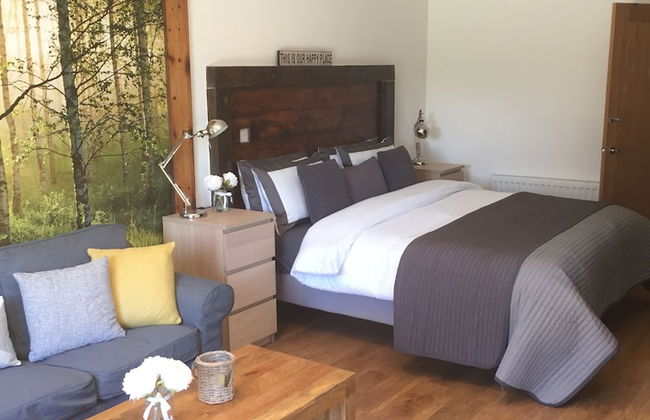
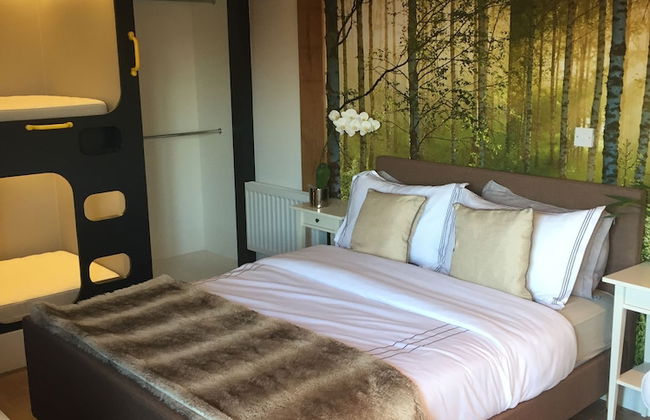
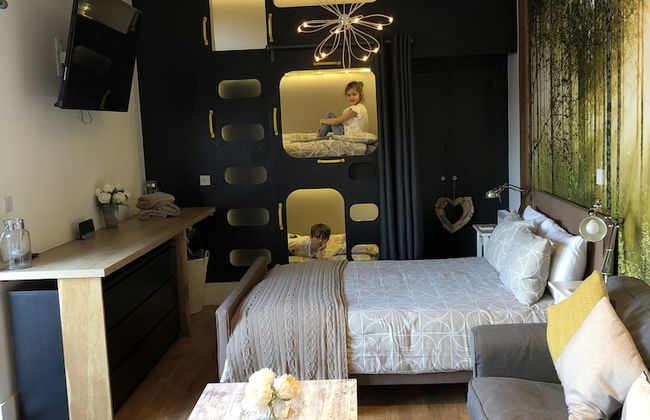
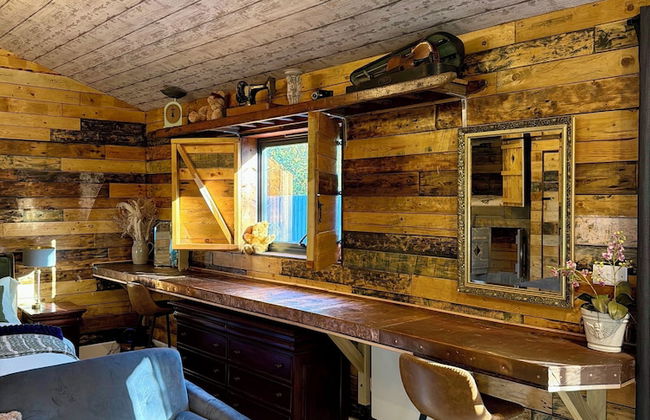
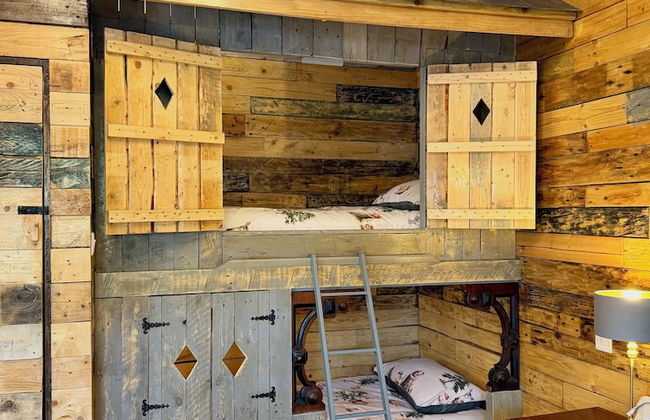
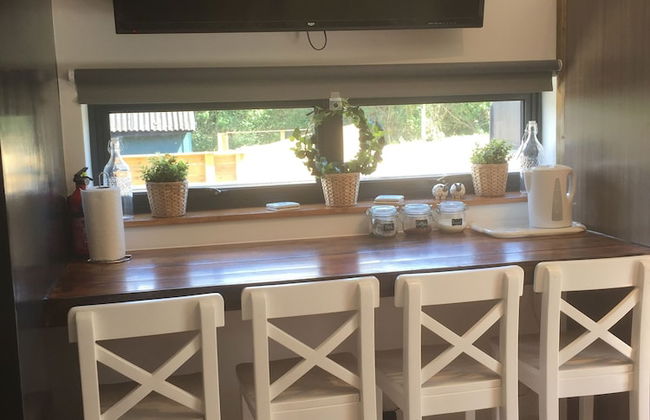
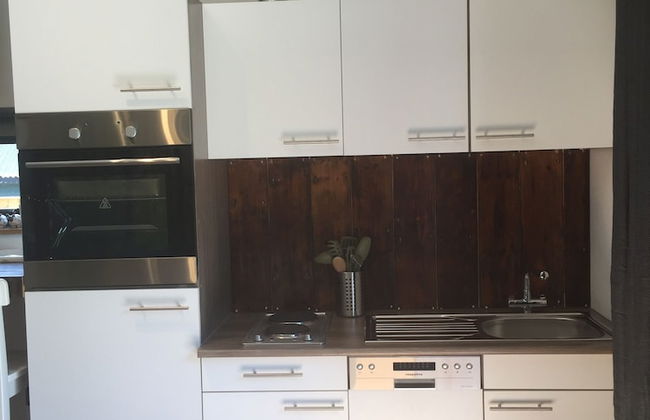
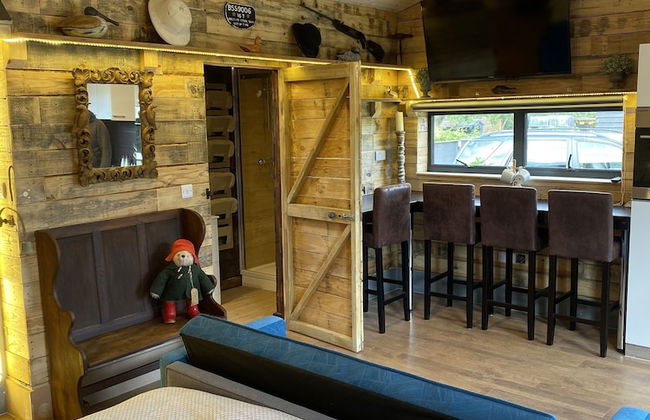
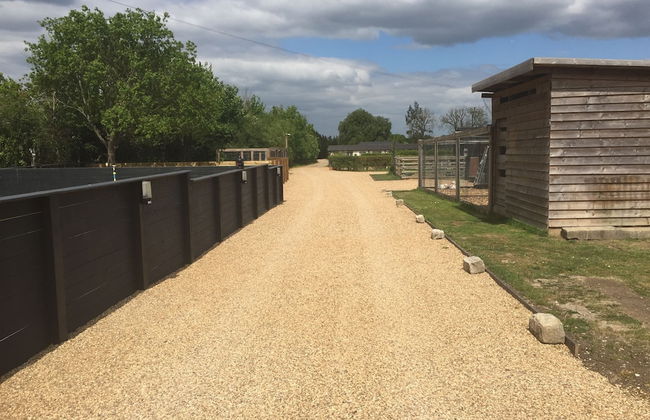
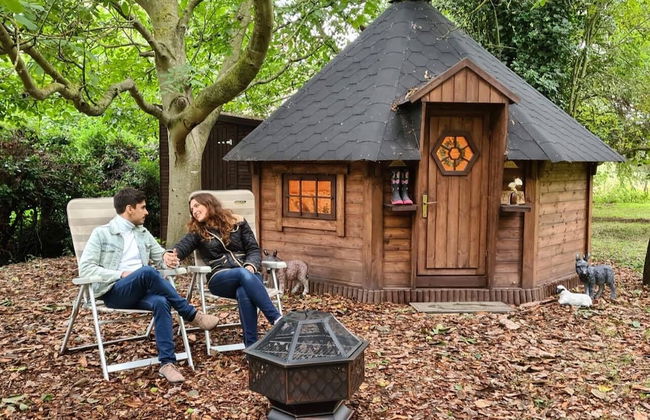
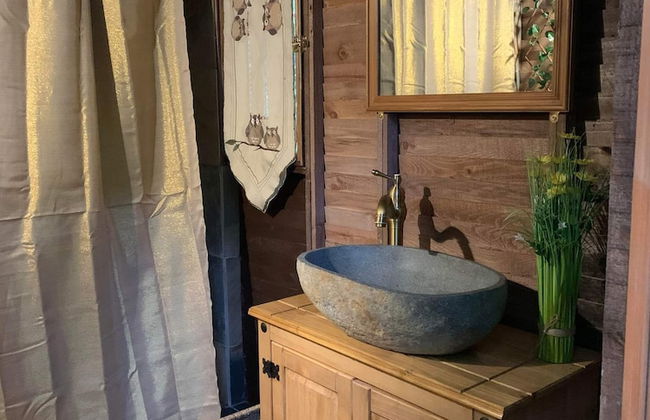
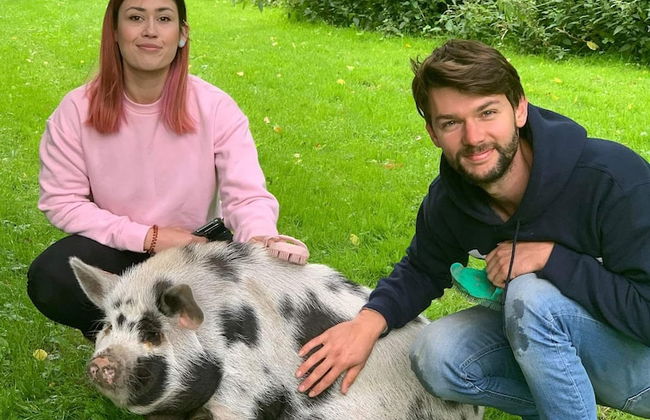
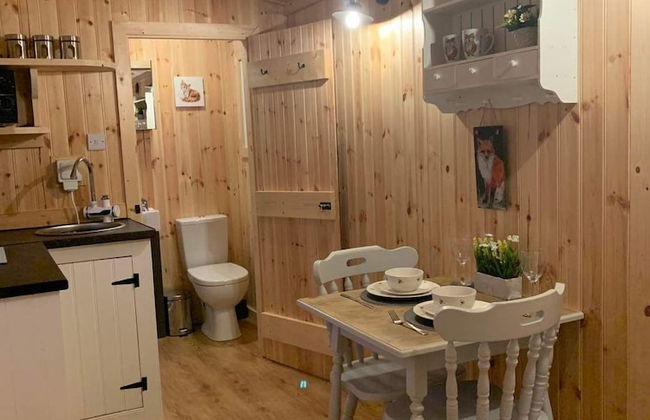
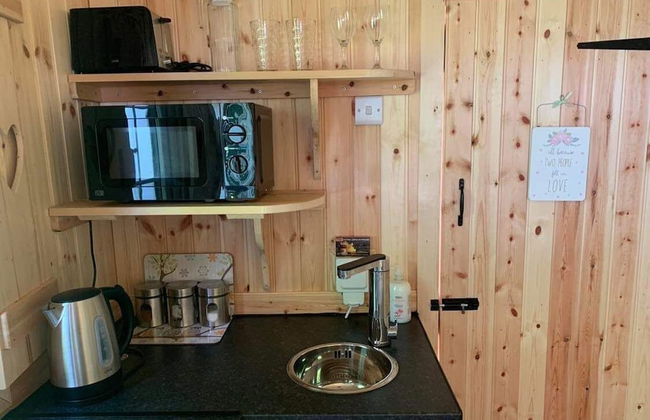
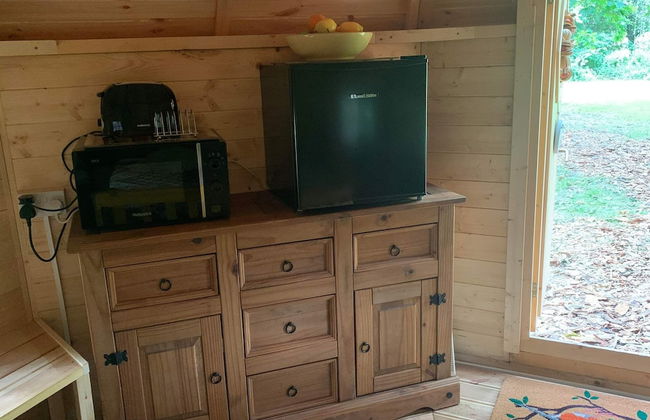
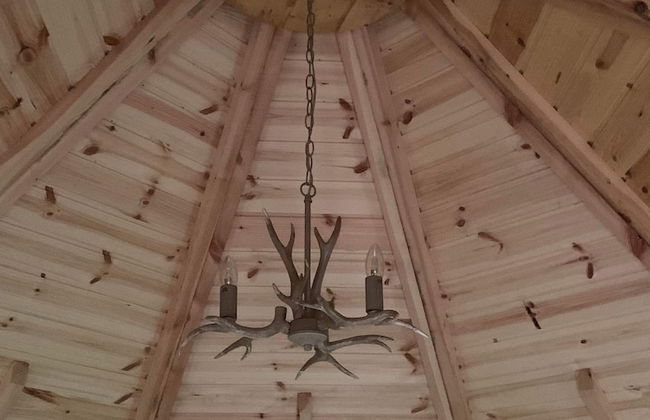
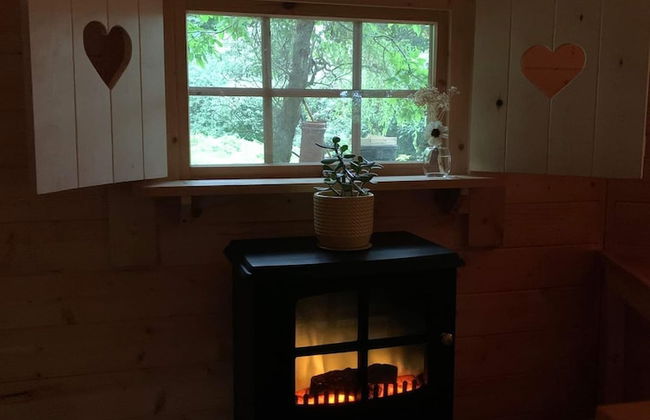
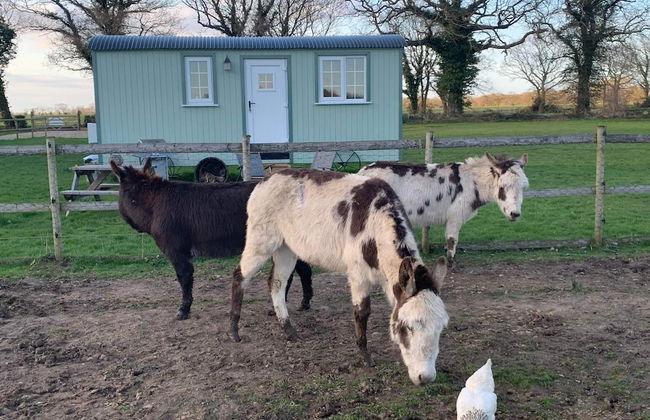
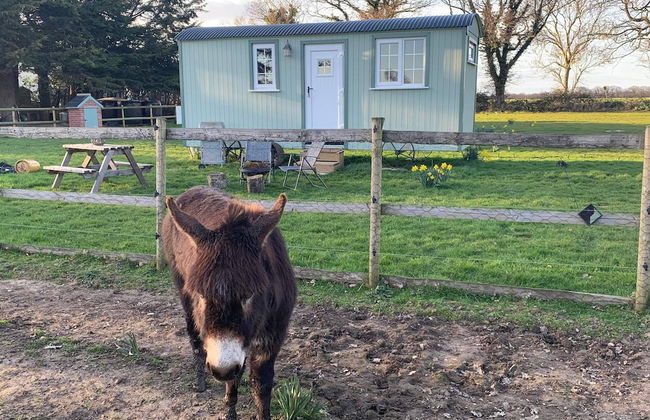
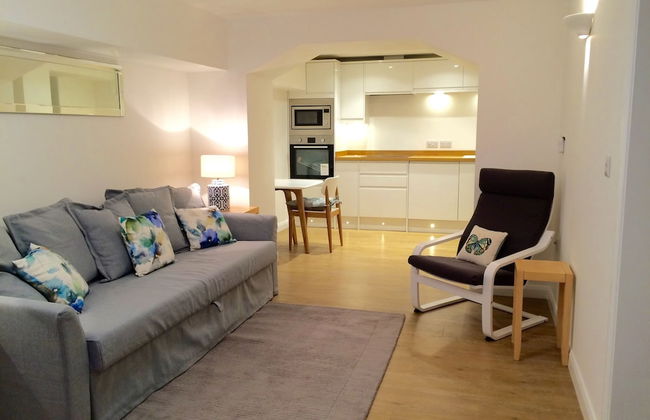
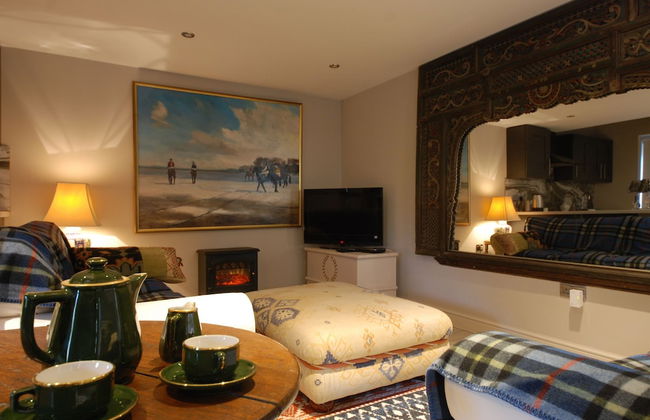
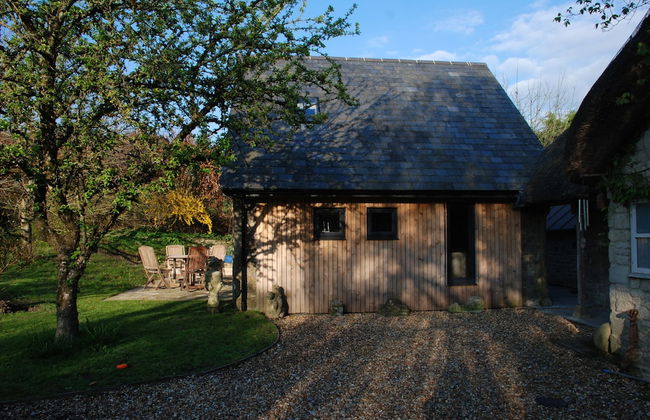
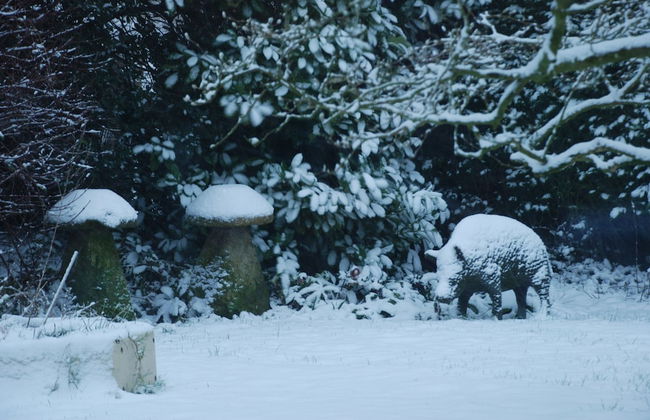
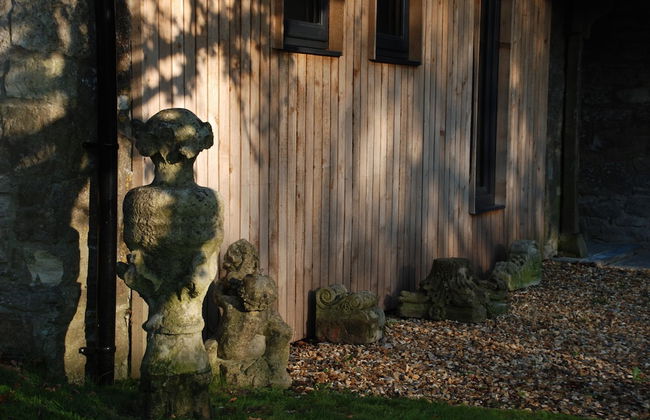
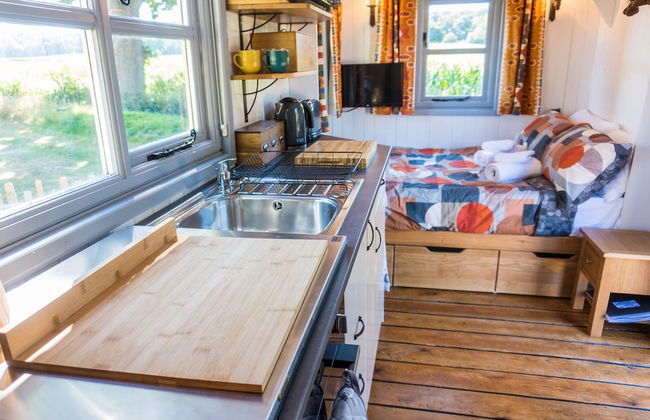
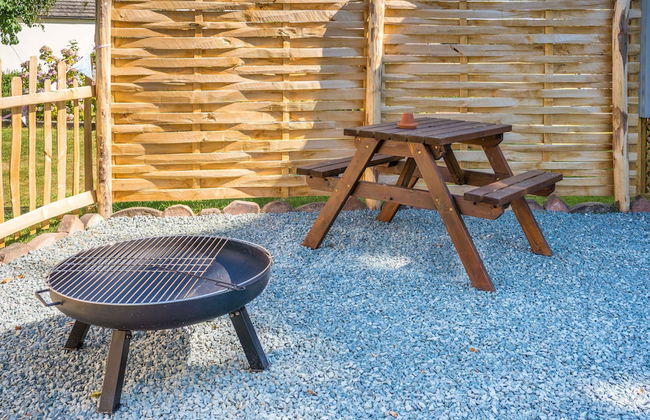
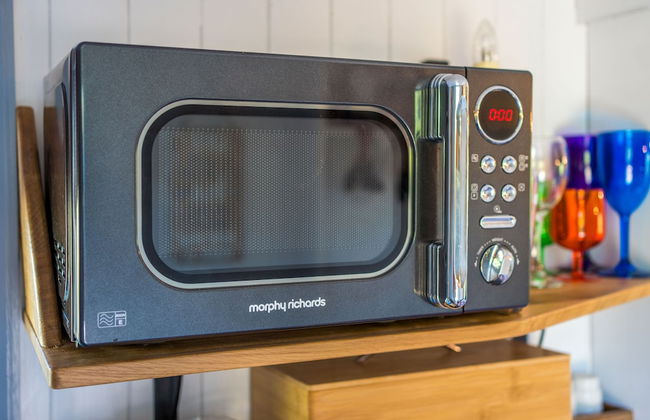
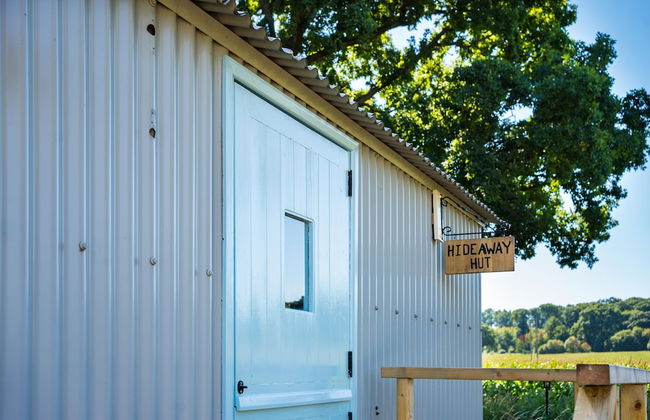
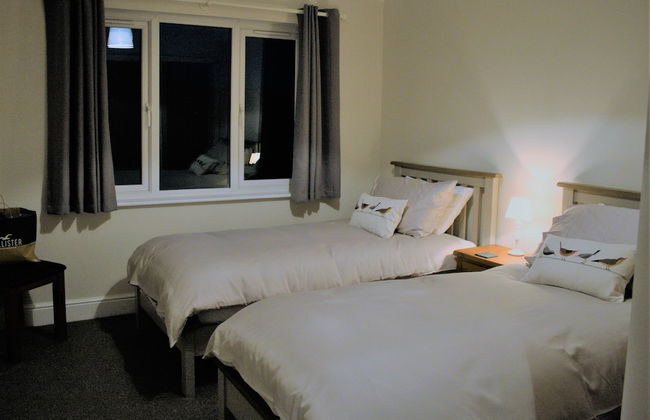
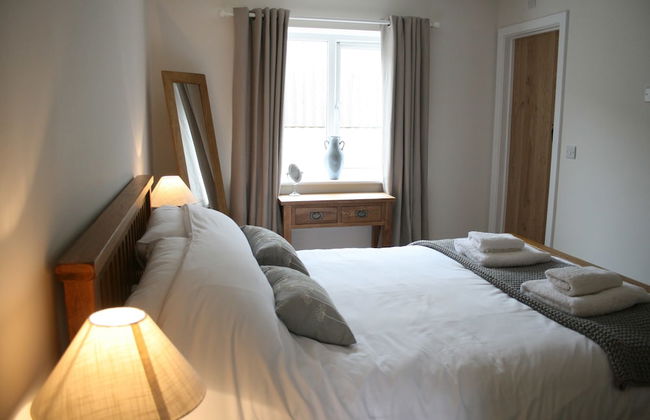
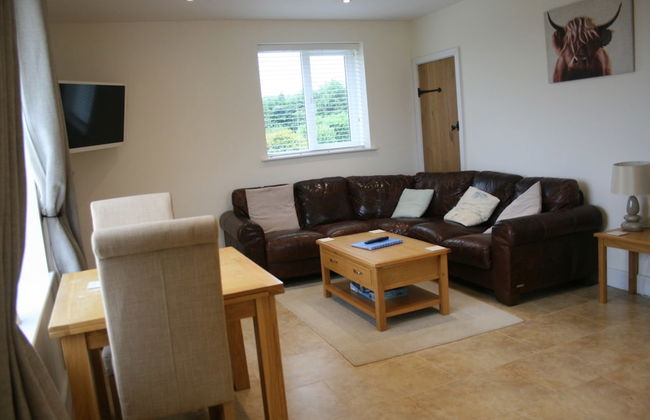
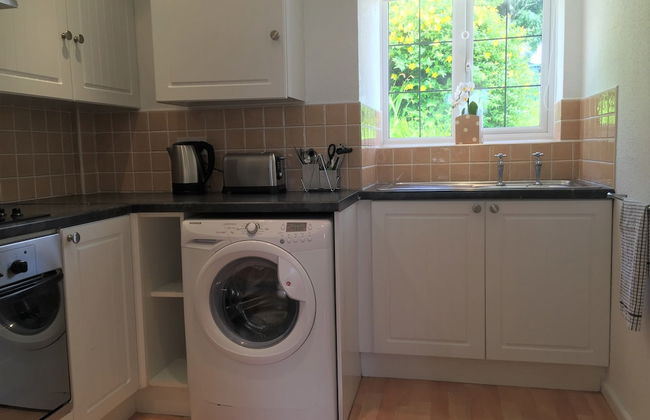
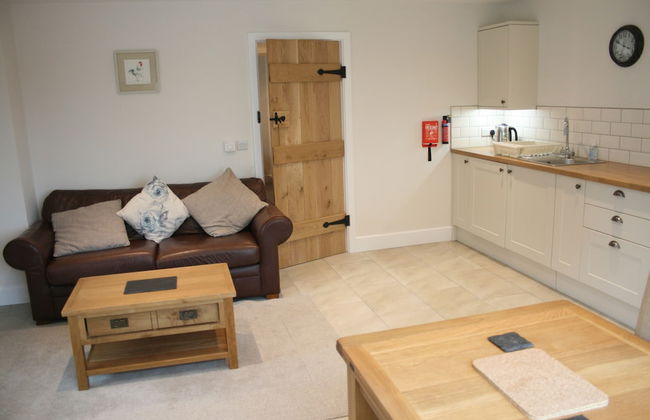
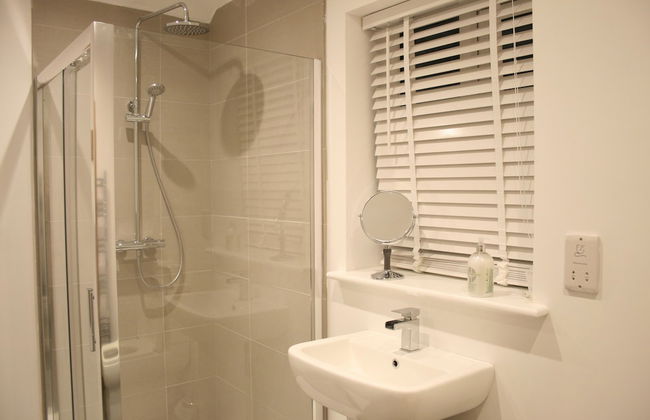
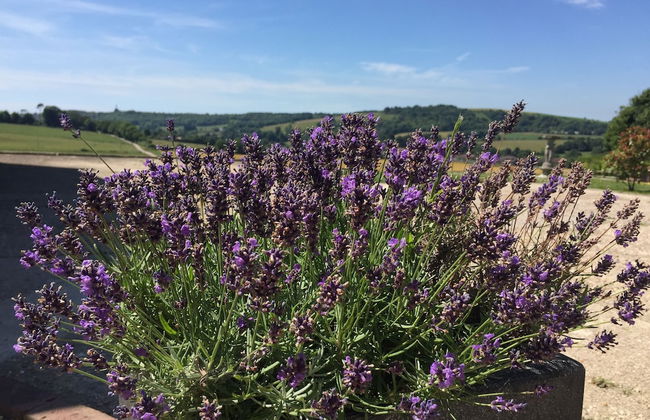
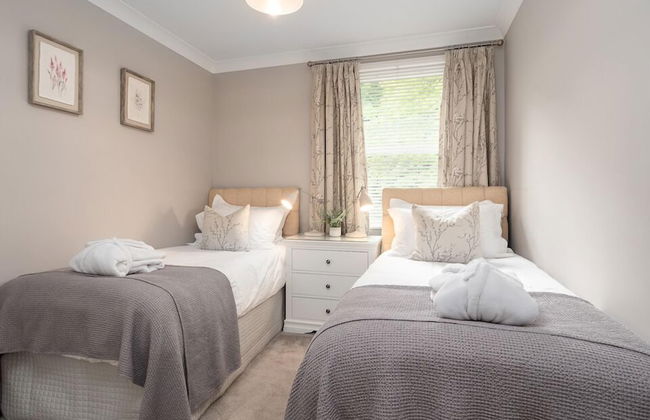
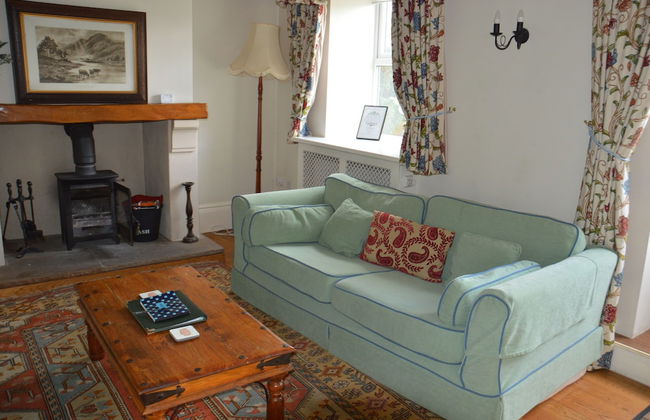
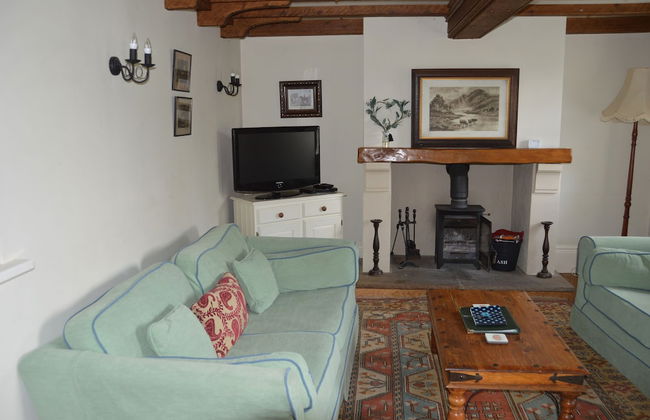
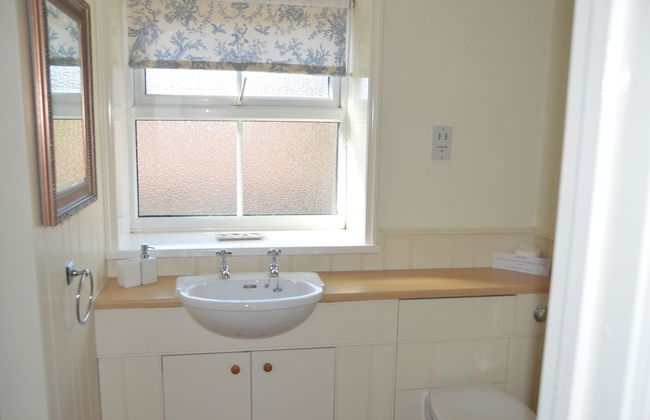
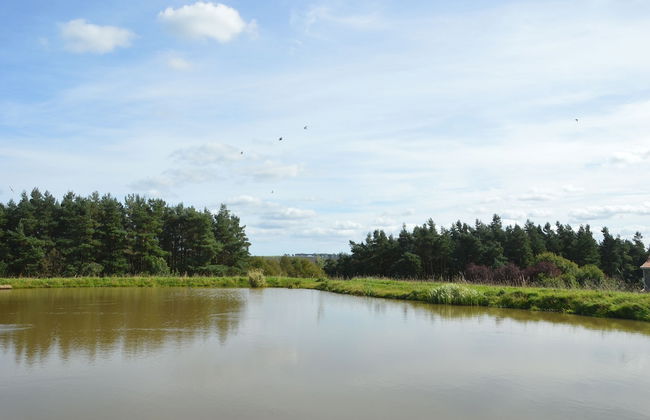
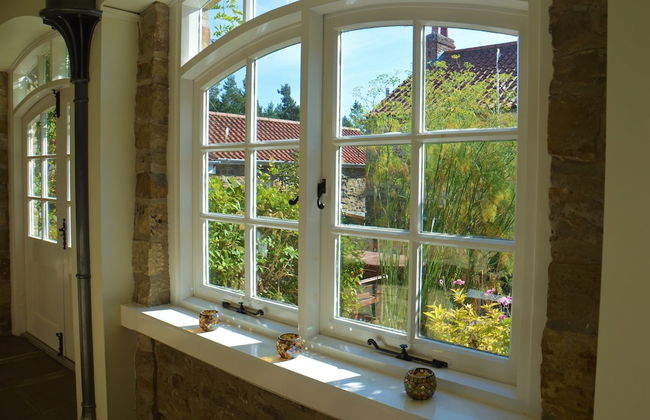
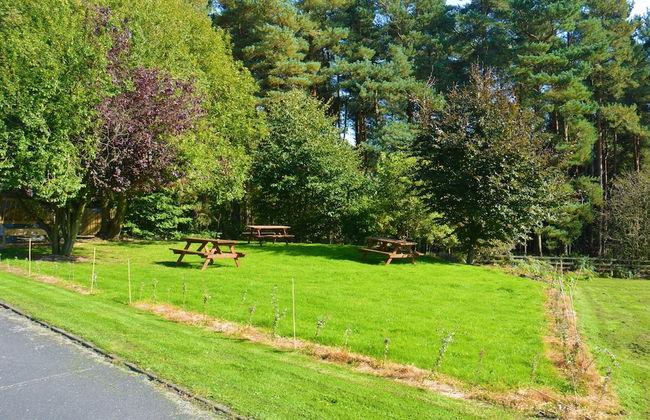
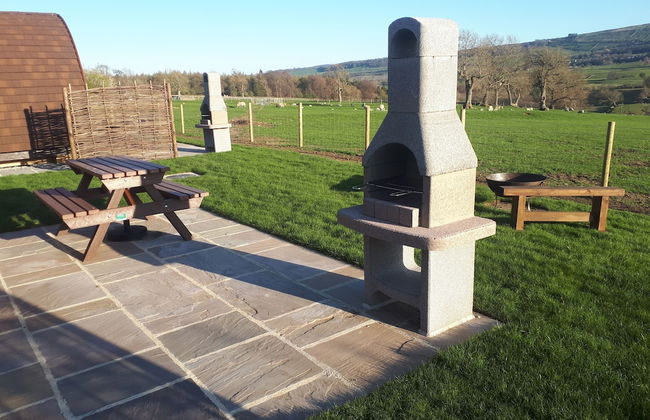
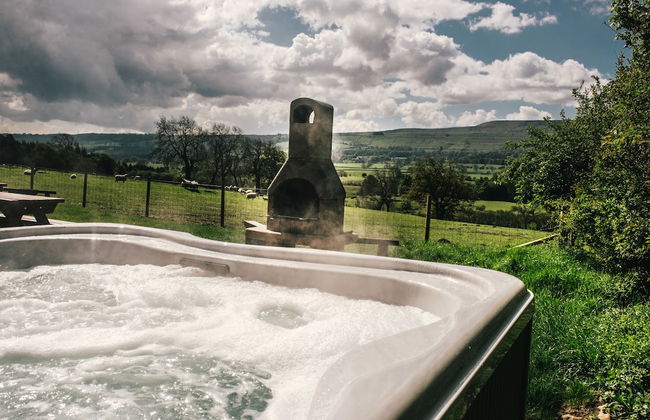
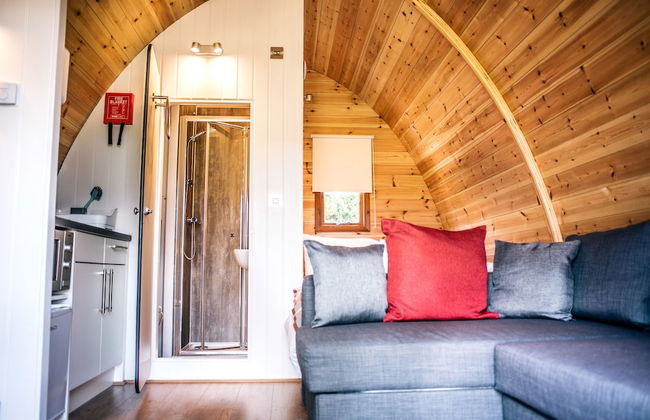
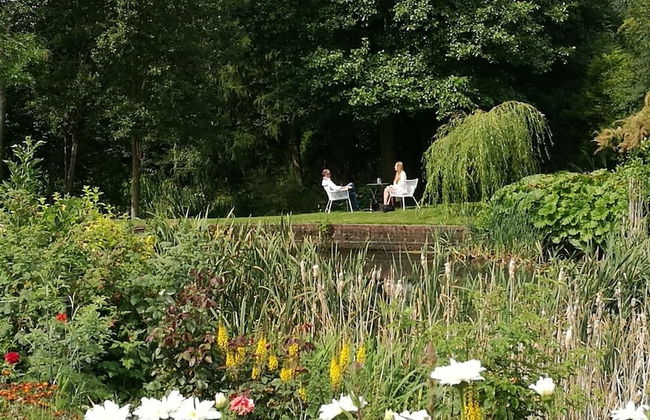
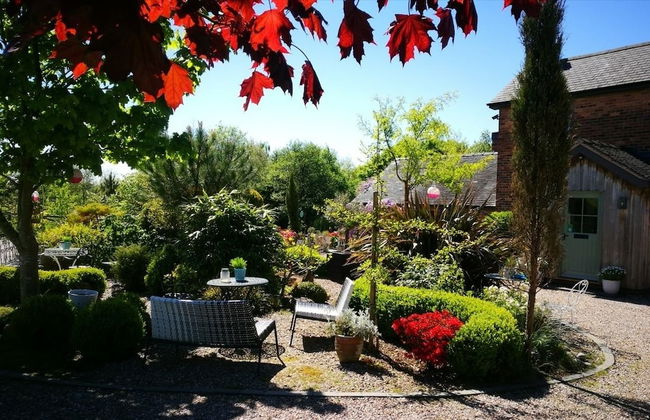
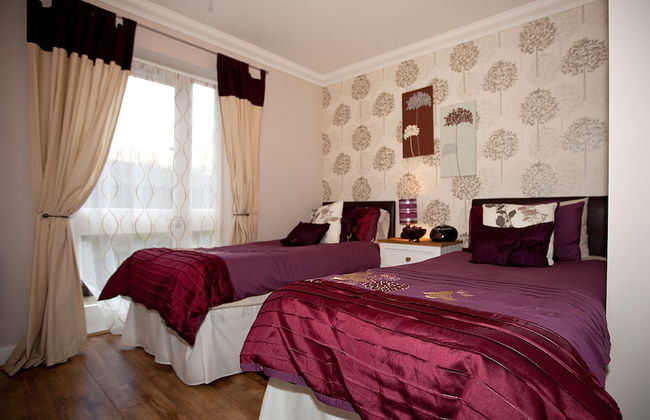
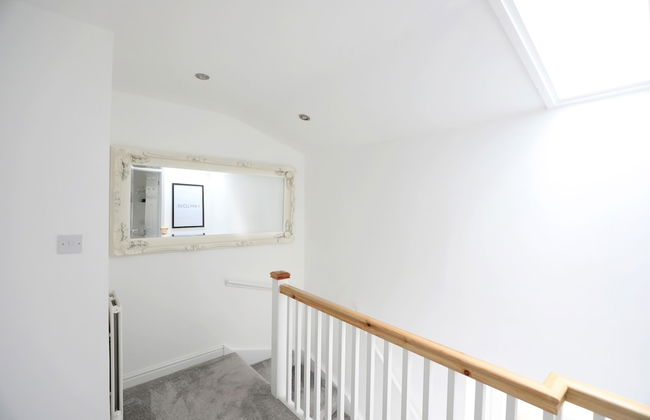
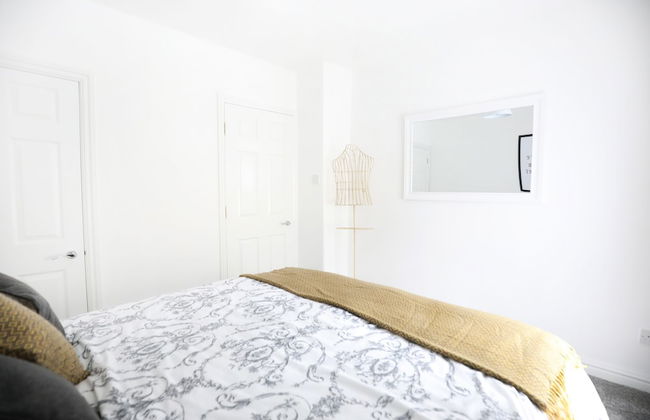
St. Tinney Farm - Foto 4
St. Tinney Farm - Foto 5
St. Tinney Farm - Foto 6
St. Tinney Farm - Foto 7
St. Tinney Farm - Foto 8
St. Tinney Farm - Foto 9
St. Tinney Farm - Foto 10
St. Tinney Farm - Foto 11
St. Tinney Farm - Foto 12
St. Tinney Farm - Foto 13
St. Tinney Farm - Foto 14
St. Tinney Farm - Foto 15
St. Tinney Farm - Foto 16
St. Tinney Farm - Foto 17
St. Tinney Farm - Foto 18
St. Tinney Farm - Foto 19
St. Tinney Farm - Foto 20
St. Tinney Farm - Foto 21
St. Tinney Farm - Foto 22
St. Tinney Farm - Foto 23
St. Tinney Farm - Foto 24
St. Tinney Farm - Foto 25
St. Tinney Farm - Foto 26
St. Tinney Farm - Foto 27
St. Tinney Farm - Foto 28
St. Tinney Farm - Foto 29
St. Tinney Farm - Foto 30
St. Tinney Farm - Foto 31
St. Tinney Farm - Foto 32
St. Tinney Farm - Foto 33
St. Tinney Farm - Foto 34
St. Tinney Farm - Foto 35
St. Tinney Farm - Foto 36
St. Tinney Farm - Foto 37
St. Tinney Farm - Foto 38
St. Tinney Farm - Foto 39
St. Tinney Farm - Foto 40
St. Tinney Farm - Foto 41
St. Tinney Farm - Foto 42
St. Tinney Farm - Foto 43
St. Tinney Farm - Foto 44
St. Tinney Farm - Foto 45
St. Tinney Farm - Foto 46
St. Tinney Farm - Foto 47
St. Tinney Farm - Foto 48
St. Tinney Farm - Foto 49
St. Tinney Farm - Foto 50
St. Tinney Farm - Foto 51
St. Tinney Farm - Foto 52
St. Tinney Farm - Foto 53
St. Tinney Farm - Foto 54
St. Tinney Farm - Foto 55
St. Tinney Farm - Foto 56
St. Tinney Farm - Foto 57
St. Tinney Farm - Foto 58
St. Tinney Farm - Foto 59
St. Tinney Farm - Foto 60
St. Tinney Farm - Foto 61
St. Tinney Farm - Foto 62
St. Tinney Farm - Foto 63
St. Tinney Farm - Foto 64
St. Tinney Farm - Foto 65
St. Tinney Farm - Foto 66
St. Tinney Farm - Foto 67
St. Tinney Farm - Foto 68
St. Tinney Farm - Foto 69
St. Tinney Farm - Foto 70
St. Tinney Farm - Foto 71
St. Tinney Farm - Foto 72
St. Tinney Farm - Foto 73
St. Tinney Farm - Foto 74
St. Tinney Farm - Foto 75
St. Tinney Farm - Foto 76
St. Tinney Farm - Foto 77
St. Tinney Farm - Foto 78
St. Tinney Farm - Foto 79
St. Tinney Farm - Foto 80

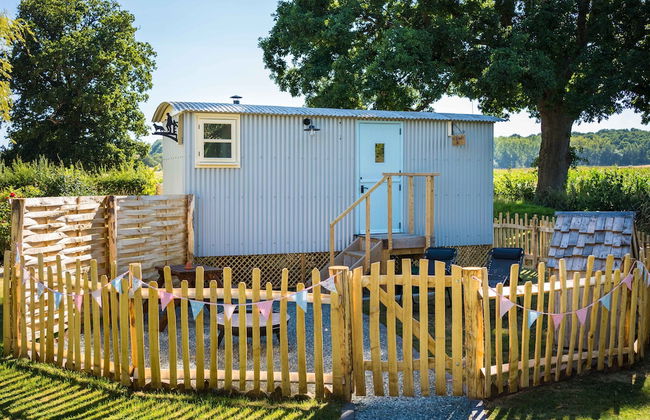
St. Tinney Farm

Camelford - Otterham

  • 74 M2
  • 6 personas
  • Calefacción
  • Terraza
  • Piscina
  • Parking
  • Balcón
  • Jardín
  • Televisión
  • Lavadora
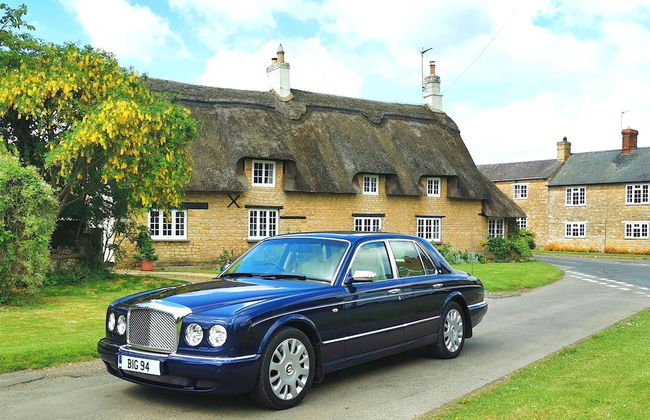
  • Chimenea
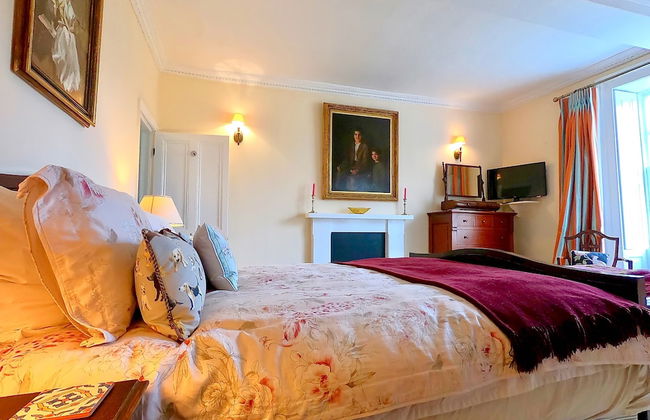
  • Toallas
  • Sábanas
10Magnífico | 25 reseñas
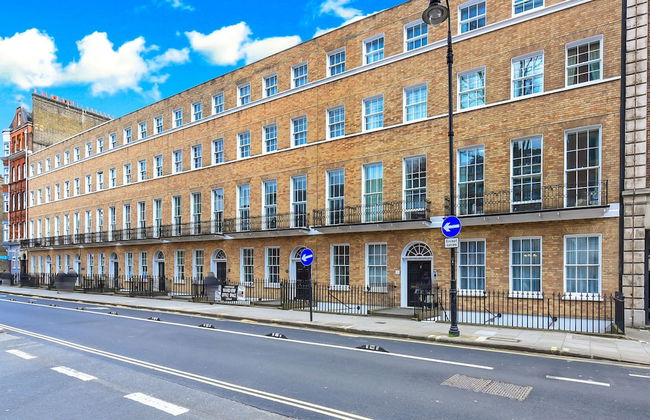
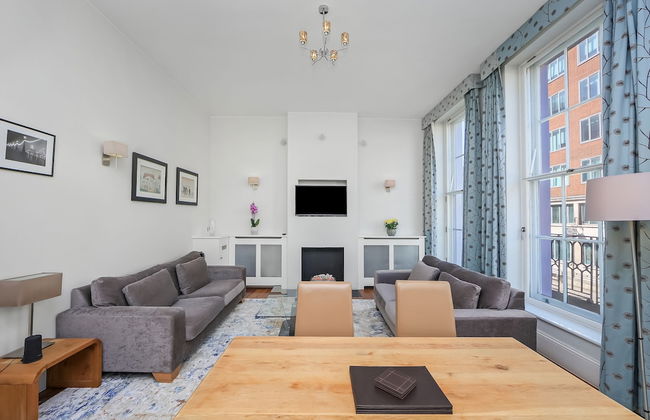
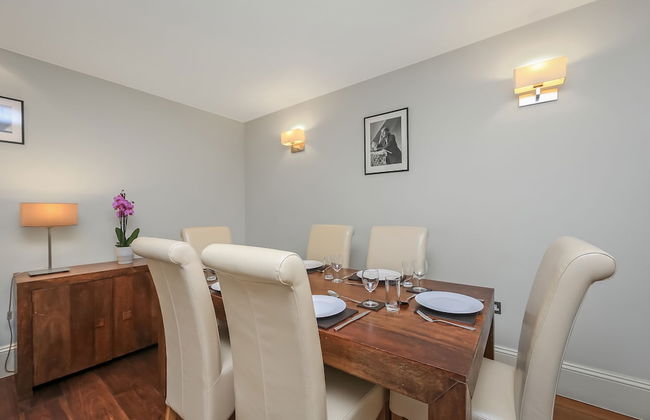
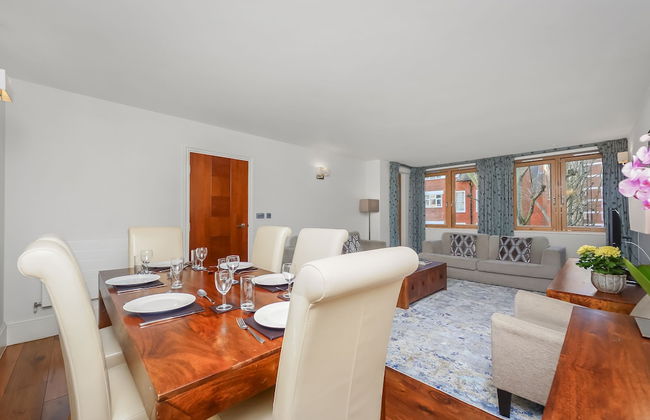
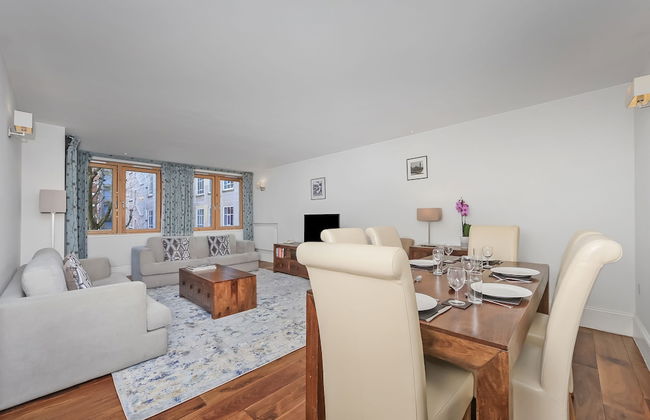
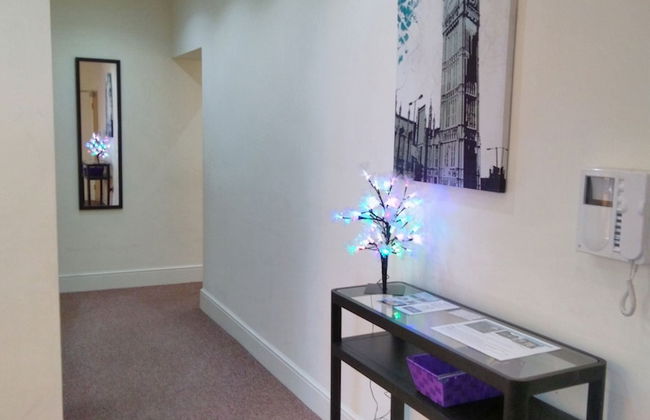
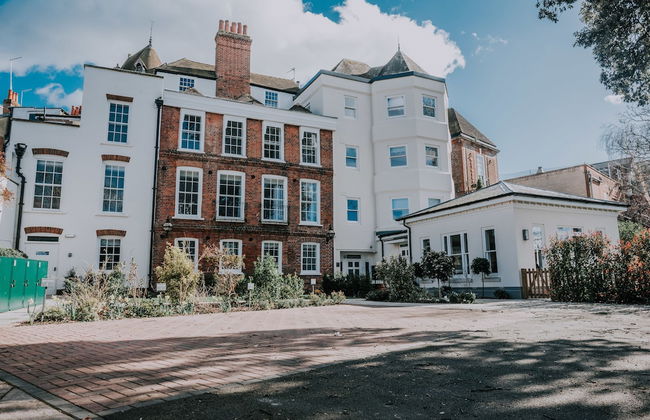
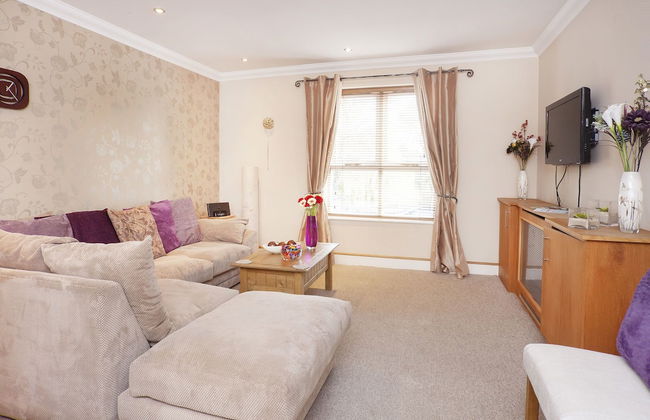
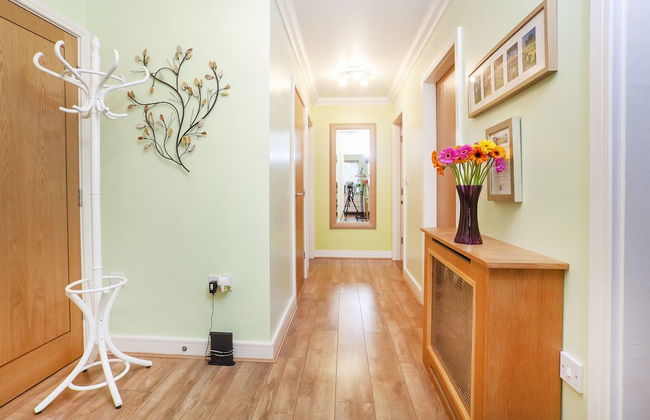
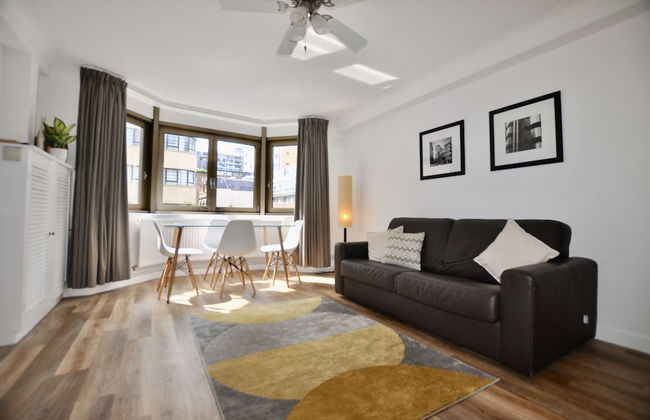
Tavistock Place Apartments - Foto 1
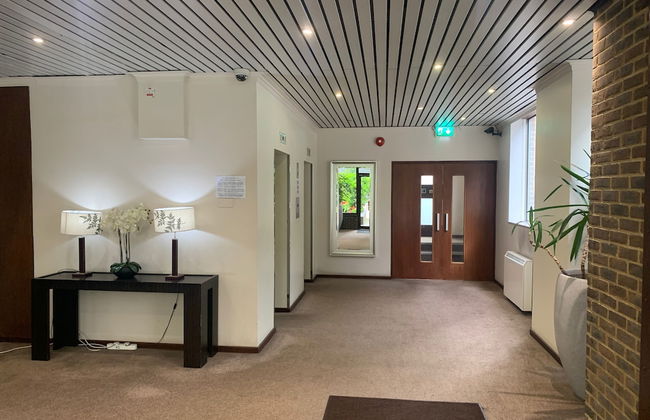
Tavistock Place Apartments - Foto 2
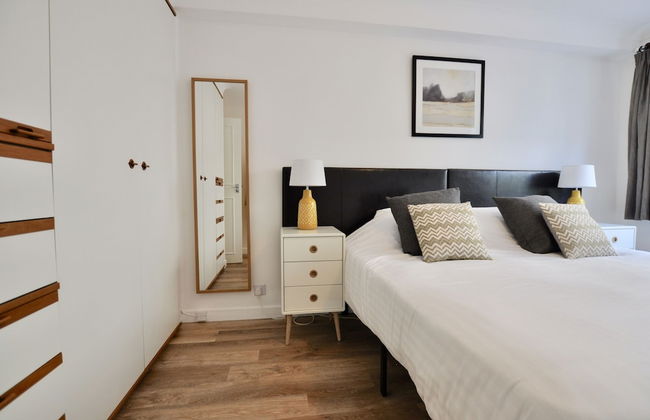
Tavistock Place Apartments - Foto 3
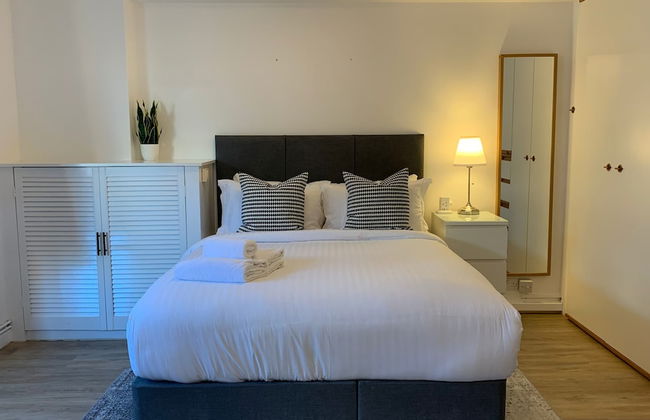
Tavistock Place Apartments - Foto 4
Tavistock Place Apartments - Foto 5
Tavistock Place Apartments - Foto 6
Tavistock Place Apartments - Foto 7
Tavistock Place Apartments - Foto 8
Tavistock Place Apartments - Foto 9
Tavistock Place Apartments - Foto 10
Tavistock Place Apartments - Foto 11
Tavistock Place Apartments - Foto 12
Tavistock Place Apartments - Foto 13
Tavistock Place Apartments - Foto 14
Tavistock Place Apartments - Foto 15
Tavistock Place Apartments - Foto 16
Tavistock Place Apartments - Foto 17
Tavistock Place Apartments - Foto 18
Tavistock Place Apartments - Foto 19
Tavistock Place Apartments - Foto 20
Tavistock Place Apartments - Foto 21
Tavistock Place Apartments - Foto 22
Tavistock Place Apartments - Foto 23
Tavistock Place Apartments - Foto 24
Tavistock Place Apartments - Foto 25
Tavistock Place Apartments - Foto 26
Tavistock Place Apartments - Foto 27
Tavistock Place Apartments - Foto 28
Tavistock Place Apartments - Foto 29
Tavistock Place Apartments - Foto 30
Tavistock Place Apartments - Foto 31
Tavistock Place Apartments - Foto 32
Tavistock Place Apartments - Foto 33
Tavistock Place Apartments - Foto 34
Tavistock Place Apartments - Foto 35
Tavistock Place Apartments - Foto 36
Tavistock Place Apartments - Foto 37
Tavistock Place Apartments - Foto 38
Tavistock Place Apartments - Foto 39
Tavistock Place Apartments - Foto 40
Tavistock Place Apartments - Foto 41
Tavistock Place Apartments - Foto 42
Tavistock Place Apartments - Foto 43
Tavistock Place Apartments - Foto 44
Tavistock Place Apartments - Foto 45
Tavistock Place Apartments - Foto 46
Tavistock Place Apartments - Foto 47
Tavistock Place Apartments - Foto 48
Tavistock Place Apartments - Foto 49
Tavistock Place Apartments - Foto 50
Tavistock Place Apartments - Foto 51
Tavistock Place Apartments - Foto 52
Tavistock Place Apartments - Foto 53
Tavistock Place Apartments - Foto 54
Tavistock Place Apartments - Foto 55
Tavistock Place Apartments - Foto 56
Tavistock Place Apartments - Foto 57
Tavistock Place Apartments - Foto 58
Tavistock Place Apartments - Foto 59
Tavistock Place Apartments - Foto 60
Tavistock Place Apartments - Foto 61
Tavistock Place Apartments - Foto 62
Tavistock Place Apartments - Foto 63
Tavistock Place Apartments - Foto 64
Tavistock Place Apartments - Foto 65
Tavistock Place Apartments - Foto 66
Tavistock Place Apartments - Foto 67
Tavistock Place Apartments - Foto 68
Tavistock Place Apartments - Foto 69
Tavistock Place Apartments - Foto 70
Tavistock Place Apartments - Foto 71
Tavistock Place Apartments - Foto 72
Tavistock Place Apartments - Foto 73
Tavistock Place Apartments - Foto 74
Tavistock Place Apartments - Foto 75
Tavistock Place Apartments - Foto 76
Tavistock Place Apartments - Foto 77
Tavistock Place Apartments - Foto 78
Tavistock Place Apartments - Foto 79
Tavistock Place Apartments - Foto 80

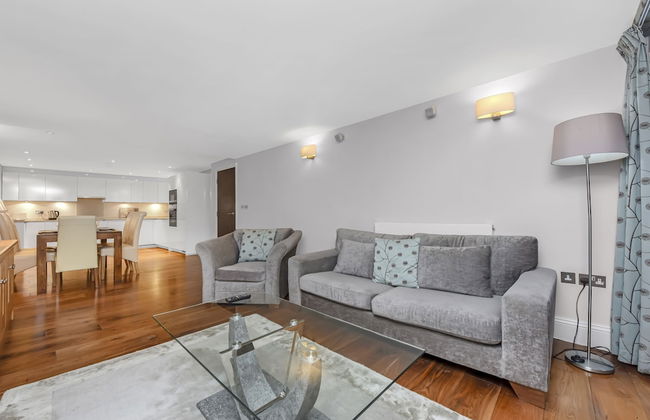
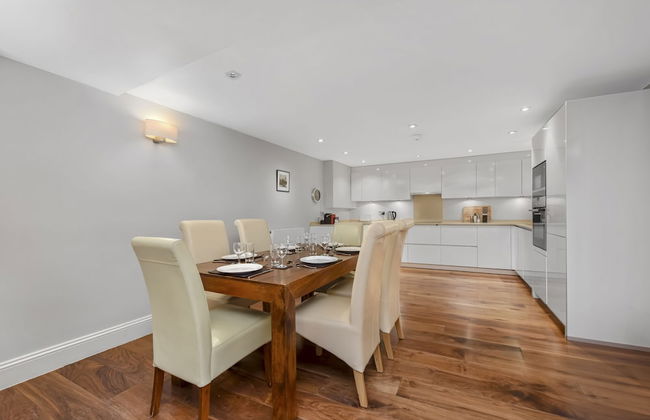
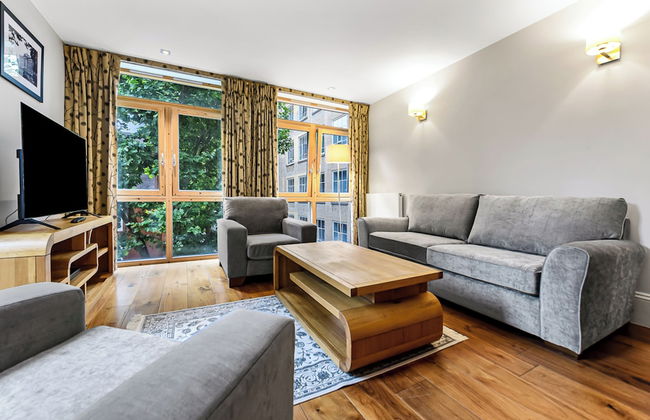
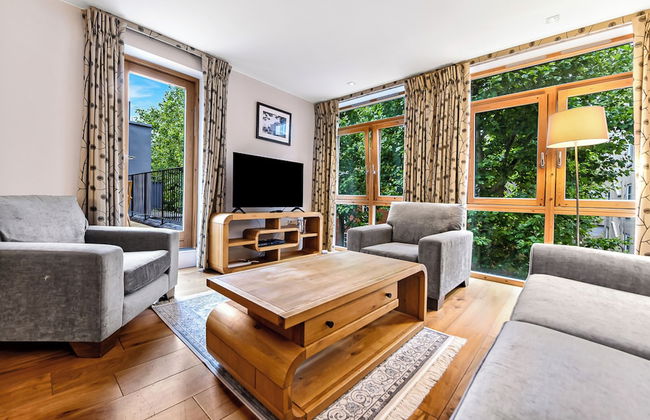
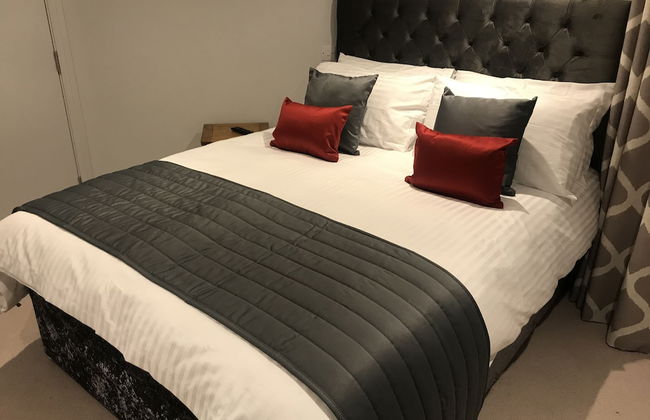
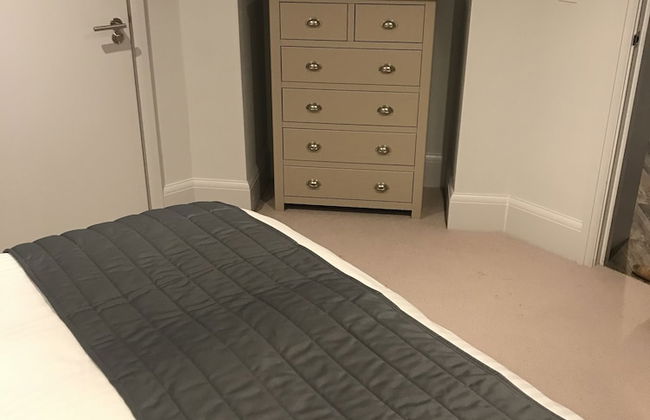
Tavistock Place Apartments

Londres - St Pancras - A 1.5 km del centro

  • 105 M2
  • 7 personas
  • Calefacción
  • Terraza
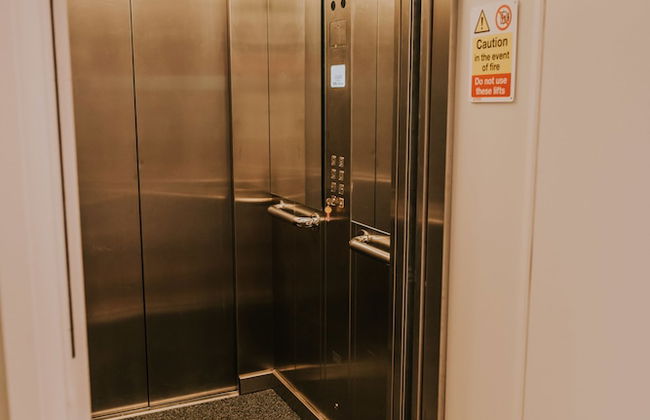
  • Ascensor
  • Balcón
  • Televisión
  • Lavadora
  • Chimenea
  • Toallas
  • Sábanas
10Magnífico | 15 reseñas
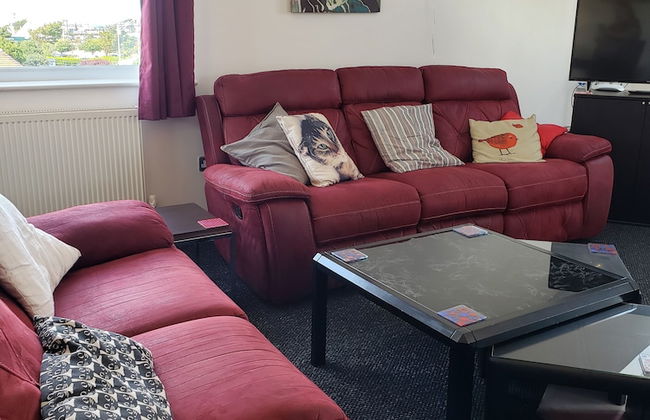
River Nene Cottages - Foto 1
River Nene Cottages - Foto 2
River Nene Cottages - Foto 3
River Nene Cottages - Foto 4
River Nene Cottages - Foto 5
River Nene Cottages - Foto 6
River Nene Cottages - Foto 7
River Nene Cottages - Foto 8
River Nene Cottages - Foto 9
River Nene Cottages - Foto 10
River Nene Cottages - Foto 11
River Nene Cottages - Foto 12
River Nene Cottages - Foto 13
River Nene Cottages - Foto 14
River Nene Cottages - Foto 15
River Nene Cottages - Foto 16
River Nene Cottages - Foto 17
River Nene Cottages - Foto 18
River Nene Cottages - Foto 19
River Nene Cottages - Foto 20
River Nene Cottages - Foto 21
River Nene Cottages - Foto 22
River Nene Cottages - Foto 23
River Nene Cottages - Foto 24
River Nene Cottages - Foto 25
River Nene Cottages - Foto 26
River Nene Cottages - Foto 27
River Nene Cottages - Foto 28
River Nene Cottages - Foto 29
River Nene Cottages - Foto 30
River Nene Cottages - Foto 31
River Nene Cottages - Foto 32
River Nene Cottages - Foto 33
River Nene Cottages - Foto 34
River Nene Cottages - Foto 35
River Nene Cottages - Foto 36
River Nene Cottages - Foto 37
River Nene Cottages - Foto 38
River Nene Cottages - Foto 39
River Nene Cottages - Foto 40
River Nene Cottages - Foto 41
River Nene Cottages - Foto 42
River Nene Cottages - Foto 43
River Nene Cottages - Foto 44
River Nene Cottages - Foto 45
River Nene Cottages - Foto 46
River Nene Cottages - Foto 47
River Nene Cottages - Foto 48
River Nene Cottages - Foto 49
River Nene Cottages - Foto 50
River Nene Cottages - Foto 51
River Nene Cottages - Foto 52
River Nene Cottages - Foto 53
River Nene Cottages - Foto 54
River Nene Cottages - Foto 55
River Nene Cottages - Foto 56
River Nene Cottages - Foto 57
River Nene Cottages - Foto 58
River Nene Cottages - Foto 59
River Nene Cottages - Foto 60
River Nene Cottages - Foto 61
River Nene Cottages - Foto 62
River Nene Cottages - Foto 63
River Nene Cottages - Foto 64
River Nene Cottages - Foto 65
River Nene Cottages - Foto 66
River Nene Cottages - Foto 67
River Nene Cottages - Foto 68
River Nene Cottages - Foto 69
River Nene Cottages - Foto 70
River Nene Cottages - Foto 71
River Nene Cottages - Foto 72
River Nene Cottages - Foto 73
River Nene Cottages - Foto 74
River Nene Cottages - Foto 75
River Nene Cottages - Foto 76
River Nene Cottages - Foto 77
River Nene Cottages - Foto 78
River Nene Cottages - Foto 79
River Nene Cottages - Foto 80
River Nene Cottages - Foto 81
River Nene Cottages - Foto 82
River Nene Cottages - Foto 83
River Nene Cottages - Foto 84
River Nene Cottages - Foto 85
River Nene Cottages - Foto 86
River Nene Cottages - Foto 87
River Nene Cottages - Foto 88
River Nene Cottages - Foto 89
River Nene Cottages - Foto 90
River Nene Cottages - Foto 91
River Nene Cottages - Foto 92
River Nene Cottages - Foto 93
River Nene Cottages - Foto 94
River Nene Cottages - Foto 95
River Nene Cottages - Foto 96
River Nene Cottages - Foto 97
River Nene Cottages - Foto 98
River Nene Cottages - Foto 99
River Nene Cottages - Foto 100
River Nene Cottages - Foto 101
River Nene Cottages - Foto 102
River Nene Cottages - Foto 103
River Nene Cottages - Foto 104
River Nene Cottages - Foto 105
River Nene Cottages - Foto 106
River Nene Cottages - Foto 107
River Nene Cottages - Foto 108
River Nene Cottages - Foto 109
River Nene Cottages - Foto 110
River Nene Cottages - Foto 111
River Nene Cottages - Foto 112
River Nene Cottages - Foto 113
River Nene Cottages - Foto 114
River Nene Cottages - Foto 115
River Nene Cottages - Foto 116
River Nene Cottages - Foto 117
River Nene Cottages - Foto 118
River Nene Cottages - Foto 119
River Nene Cottages - Foto 120
River Nene Cottages - Foto 121
River Nene Cottages - Foto 122
River Nene Cottages - Foto 123
River Nene Cottages - Foto 124
River Nene Cottages - Foto 125
River Nene Cottages - Foto 126
River Nene Cottages - Foto 127
River Nene Cottages - Foto 128
River Nene Cottages - Foto 129
River Nene Cottages - Foto 130
River Nene Cottages - Foto 131
River Nene Cottages - Foto 132

River Nene Cottages

Peterborough - Waternewton - A 7.5 km del centro

  • 60 M2
  • 2 habitaciones
  • 4 personas
  • Calefacción
  • Terraza
  • Piscina
  • Parking
  • Jardín
  • Televisión
  • Lavadora
  • Chimenea
  • Barbacoa
  • Toallas
  • Sábanas
10Magnífico | 13 reseñas
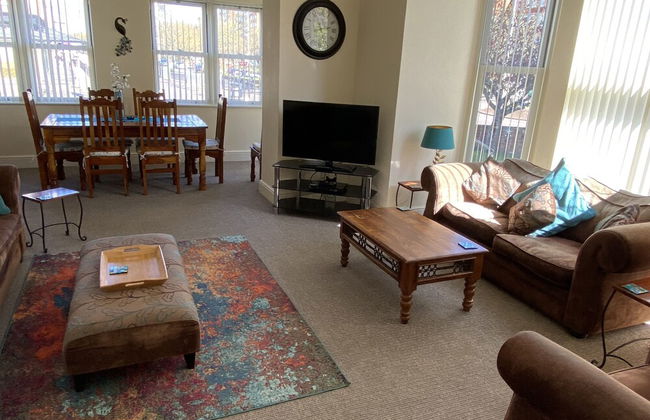
Middlehead Huts at Cropton Forest - Foto 1
Middlehead Huts at Cropton Forest - Foto 2
Middlehead Huts at Cropton Forest - Foto 3
Middlehead Huts at Cropton Forest - Foto 4
Middlehead Huts at Cropton Forest - Foto 5
Middlehead Huts at Cropton Forest - Foto 6
Middlehead Huts at Cropton Forest - Foto 7
Middlehead Huts at Cropton Forest - Foto 8
Middlehead Huts at Cropton Forest - Foto 9
Middlehead Huts at Cropton Forest - Foto 10

Middlehead Huts at Cropton Forest

Pickering - Stape

  • 13 M2
  • 2 personas
  • Cocina pequeña
  • Aire acondicionado
  • Calefacción
  • Terraza
  • Parking
  • Jardín
  • Televisión
  • Chimenea
  • Toallas
  • Sábanas
10Magnífico | 11 reseñas
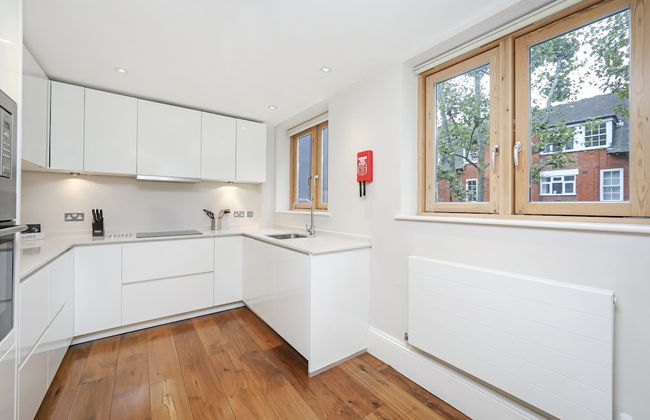
West Lexham Wellness and Retreat Centre - Foto 1
West Lexham Wellness and Retreat Centre - Foto 2
West Lexham Wellness and Retreat Centre - Foto 3
West Lexham Wellness and Retreat Centre - Foto 4
West Lexham Wellness and Retreat Centre - Foto 5
West Lexham Wellness and Retreat Centre - Foto 6
West Lexham Wellness and Retreat Centre - Foto 7
West Lexham Wellness and Retreat Centre - Foto 8
West Lexham Wellness and Retreat Centre - Foto 9
West Lexham Wellness and Retreat Centre - Foto 10
West Lexham Wellness and Retreat Centre - Foto 11
West Lexham Wellness and Retreat Centre - Foto 12
West Lexham Wellness and Retreat Centre - Foto 13
West Lexham Wellness and Retreat Centre - Foto 14
West Lexham Wellness and Retreat Centre - Foto 15
West Lexham Wellness and Retreat Centre - Foto 16
West Lexham Wellness and Retreat Centre - Foto 17
West Lexham Wellness and Retreat Centre - Foto 18
West Lexham Wellness and Retreat Centre - Foto 19
West Lexham Wellness and Retreat Centre - Foto 20
West Lexham Wellness and Retreat Centre - Foto 21
West Lexham Wellness and Retreat Centre - Foto 22
West Lexham Wellness and Retreat Centre - Foto 23
West Lexham Wellness and Retreat Centre - Foto 24
West Lexham Wellness and Retreat Centre - Foto 25
West Lexham Wellness and Retreat Centre - Foto 26
West Lexham Wellness and Retreat Centre - Foto 27
West Lexham Wellness and Retreat Centre - Foto 28
West Lexham Wellness and Retreat Centre - Foto 29
West Lexham Wellness and Retreat Centre - Foto 30
West Lexham Wellness and Retreat Centre - Foto 31
West Lexham Wellness and Retreat Centre - Foto 32
West Lexham Wellness and Retreat Centre - Foto 33
West Lexham Wellness and Retreat Centre - Foto 34
West Lexham Wellness and Retreat Centre - Foto 35
West Lexham Wellness and Retreat Centre - Foto 36
West Lexham Wellness and Retreat Centre - Foto 37
West Lexham Wellness and Retreat Centre - Foto 38
West Lexham Wellness and Retreat Centre - Foto 39
West Lexham Wellness and Retreat Centre - Foto 40
West Lexham Wellness and Retreat Centre - Foto 41
West Lexham Wellness and Retreat Centre - Foto 42
West Lexham Wellness and Retreat Centre - Foto 43
West Lexham Wellness and Retreat Centre - Foto 44
West Lexham Wellness and Retreat Centre - Foto 45
West Lexham Wellness and Retreat Centre - Foto 46
West Lexham Wellness and Retreat Centre - Foto 47
West Lexham Wellness and Retreat Centre - Foto 48
West Lexham Wellness and Retreat Centre - Foto 49
West Lexham Wellness and Retreat Centre - Foto 50
West Lexham Wellness and Retreat Centre - Foto 51
West Lexham Wellness and Retreat Centre - Foto 52
West Lexham Wellness and Retreat Centre - Foto 53
West Lexham Wellness and Retreat Centre - Foto 54
West Lexham Wellness and Retreat Centre - Foto 55
West Lexham Wellness and Retreat Centre - Foto 56
West Lexham Wellness and Retreat Centre - Foto 57
West Lexham Wellness and Retreat Centre - Foto 58
West Lexham Wellness and Retreat Centre - Foto 59
West Lexham Wellness and Retreat Centre - Foto 60
West Lexham Wellness and Retreat Centre - Foto 61
West Lexham Wellness and Retreat Centre - Foto 62
West Lexham Wellness and Retreat Centre - Foto 63
West Lexham Wellness and Retreat Centre - Foto 64
West Lexham Wellness and Retreat Centre - Foto 65
West Lexham Wellness and Retreat Centre - Foto 66
West Lexham Wellness and Retreat Centre - Foto 67
West Lexham Wellness and Retreat Centre - Foto 68
West Lexham Wellness and Retreat Centre - Foto 69
West Lexham Wellness and Retreat Centre - Foto 70
West Lexham Wellness and Retreat Centre - Foto 71
West Lexham Wellness and Retreat Centre - Foto 72
West Lexham Wellness and Retreat Centre - Foto 73
West Lexham Wellness and Retreat Centre - Foto 74
West Lexham Wellness and Retreat Centre - Foto 75
West Lexham Wellness and Retreat Centre - Foto 76
West Lexham Wellness and Retreat Centre - Foto 77
West Lexham Wellness and Retreat Centre - Foto 78
West Lexham Wellness and Retreat Centre - Foto 79
West Lexham Wellness and Retreat Centre - Foto 80

West Lexham Wellness and Retreat Centre

King's Lynn - West Lexham

  • 20 M2
  • 6 personas
  • Cocina pequeña
  • Calefacción
  • Terraza
  • Piscina
  • Parking
  • Jardín
  • Chimenea
  • Toallas
  • Sábanas
9.8Excepcional | 14 reseñas
Cavendish House with Secure, Allocated Parking, 2 mins walk from Windsor Castle - Foto 1
Cavendish House with Secure, Allocated Parking, 2 mins walk from Windsor Castle - Foto 2
Cavendish House with Secure, Allocated Parking, 2 mins walk from Windsor Castle - Foto 3
Cavendish House with Secure, Allocated Parking, 2 mins walk from Windsor Castle - Foto 4
Cavendish House with Secure, Allocated Parking, 2 mins walk from Windsor Castle - Foto 5
Cavendish House with Secure, Allocated Parking, 2 mins walk from Windsor Castle - Foto 6
Cavendish House with Secure, Allocated Parking, 2 mins walk from Windsor Castle - Foto 7
Cavendish House with Secure, Allocated Parking, 2 mins walk from Windsor Castle - Foto 8
Cavendish House with Secure, Allocated Parking, 2 mins walk from Windsor Castle - Foto 9
Cavendish House with Secure, Allocated Parking, 2 mins walk from Windsor Castle - Foto 10
Cavendish House with Secure, Allocated Parking, 2 mins walk from Windsor Castle - Foto 11
Cavendish House with Secure, Allocated Parking, 2 mins walk from Windsor Castle - Foto 12
Cavendish House with Secure, Allocated Parking, 2 mins walk from Windsor Castle - Foto 13
Cavendish House with Secure, Allocated Parking, 2 mins walk from Windsor Castle - Foto 14
Cavendish House with Secure, Allocated Parking, 2 mins walk from Windsor Castle - Foto 15
Cavendish House with Secure, Allocated Parking, 2 mins walk from Windsor Castle - Foto 16
Cavendish House with Secure, Allocated Parking, 2 mins walk from Windsor Castle - Foto 17
Cavendish House with Secure, Allocated Parking, 2 mins walk from Windsor Castle - Foto 18
Cavendish House with Secure, Allocated Parking, 2 mins walk from Windsor Castle - Foto 19
Cavendish House with Secure, Allocated Parking, 2 mins walk from Windsor Castle - Foto 20
Cavendish House with Secure, Allocated Parking, 2 mins walk from Windsor Castle - Foto 21
Cavendish House with Secure, Allocated Parking, 2 mins walk from Windsor Castle - Foto 22
Cavendish House with Secure, Allocated Parking, 2 mins walk from Windsor Castle - Foto 23
Cavendish House with Secure, Allocated Parking, 2 mins walk from Windsor Castle - Foto 24
Cavendish House with Secure, Allocated Parking, 2 mins walk from Windsor Castle - Foto 25
Cavendish House with Secure, Allocated Parking, 2 mins walk from Windsor Castle - Foto 26
Cavendish House with Secure, Allocated Parking, 2 mins walk from Windsor Castle - Foto 27
Cavendish House with Secure, Allocated Parking, 2 mins walk from Windsor Castle - Foto 28
Cavendish House with Secure, Allocated Parking, 2 mins walk from Windsor Castle - Foto 29
Cavendish House with Secure, Allocated Parking, 2 mins walk from Windsor Castle - Foto 30
Cavendish House with Secure, Allocated Parking, 2 mins walk from Windsor Castle - Foto 31
Cavendish House with Secure, Allocated Parking, 2 mins walk from Windsor Castle - Foto 32
Cavendish House with Secure, Allocated Parking, 2 mins walk from Windsor Castle - Foto 33
Cavendish House with Secure, Allocated Parking, 2 mins walk from Windsor Castle - Foto 34
Cavendish House with Secure, Allocated Parking, 2 mins walk from Windsor Castle - Foto 35
Cavendish House with Secure, Allocated Parking, 2 mins walk from Windsor Castle - Foto 36
Cavendish House with Secure, Allocated Parking, 2 mins walk from Windsor Castle - Foto 37
Cavendish House with Secure, Allocated Parking, 2 mins walk from Windsor Castle - Foto 38
Cavendish House with Secure, Allocated Parking, 2 mins walk from Windsor Castle - Foto 39
Cavendish House with Secure, Allocated Parking, 2 mins walk from Windsor Castle - Foto 40
Cavendish House with Secure, Allocated Parking, 2 mins walk from Windsor Castle - Foto 41
Cavendish House with Secure, Allocated Parking, 2 mins walk from Windsor Castle - Foto 42
Cavendish House with Secure, Allocated Parking, 2 mins walk from Windsor Castle - Foto 43
Cavendish House with Secure, Allocated Parking, 2 mins walk from Windsor Castle - Foto 44
Cavendish House with Secure, Allocated Parking, 2 mins walk from Windsor Castle - Foto 45
Cavendish House with Secure, Allocated Parking, 2 mins walk from Windsor Castle - Foto 46
Cavendish House with Secure, Allocated Parking, 2 mins walk from Windsor Castle - Foto 47
Cavendish House with Secure, Allocated Parking, 2 mins walk from Windsor Castle - Foto 48
Cavendish House with Secure, Allocated Parking, 2 mins walk from Windsor Castle - Foto 49
Cavendish House with Secure, Allocated Parking, 2 mins walk from Windsor Castle - Foto 50
Cavendish House with Secure, Allocated Parking, 2 mins walk from Windsor Castle - Foto 51
Cavendish House with Secure, Allocated Parking, 2 mins walk from Windsor Castle - Foto 52
Cavendish House with Secure, Allocated Parking, 2 mins walk from Windsor Castle - Foto 53
Cavendish House with Secure, Allocated Parking, 2 mins walk from Windsor Castle - Foto 54
Cavendish House with Secure, Allocated Parking, 2 mins walk from Windsor Castle - Foto 55
Cavendish House with Secure, Allocated Parking, 2 mins walk from Windsor Castle - Foto 56
Cavendish House with Secure, Allocated Parking, 2 mins walk from Windsor Castle - Foto 57
Cavendish House with Secure, Allocated Parking, 2 mins walk from Windsor Castle - Foto 58
Cavendish House with Secure, Allocated Parking, 2 mins walk from Windsor Castle - Foto 59
Cavendish House with Secure, Allocated Parking, 2 mins walk from Windsor Castle - Foto 60
Cavendish House with Secure, Allocated Parking, 2 mins walk from Windsor Castle - Foto 61
Cavendish House with Secure, Allocated Parking, 2 mins walk from Windsor Castle - Foto 62
Cavendish House with Secure, Allocated Parking, 2 mins walk from Windsor Castle - Foto 63
Cavendish House with Secure, Allocated Parking, 2 mins walk from Windsor Castle - Foto 64
Cavendish House with Secure, Allocated Parking, 2 mins walk from Windsor Castle - Foto 65
Cavendish House with Secure, Allocated Parking, 2 mins walk from Windsor Castle - Foto 66
Cavendish House with Secure, Allocated Parking, 2 mins walk from Windsor Castle - Foto 67
Cavendish House with Secure, Allocated Parking, 2 mins walk from Windsor Castle - Foto 68
Cavendish House with Secure, Allocated Parking, 2 mins walk from Windsor Castle - Foto 69
Cavendish House with Secure, Allocated Parking, 2 mins walk from Windsor Castle - Foto 70
Cavendish House with Secure, Allocated Parking, 2 mins walk from Windsor Castle - Foto 71
Cavendish House with Secure, Allocated Parking, 2 mins walk from Windsor Castle - Foto 72
Cavendish House with Secure, Allocated Parking, 2 mins walk from Windsor Castle - Foto 73
Cavendish House with Secure, Allocated Parking, 2 mins walk from Windsor Castle - Foto 74
Cavendish House with Secure, Allocated Parking, 2 mins walk from Windsor Castle - Foto 75
Cavendish House with Secure, Allocated Parking, 2 mins walk from Windsor Castle - Foto 76
Cavendish House with Secure, Allocated Parking, 2 mins walk from Windsor Castle - Foto 77
Cavendish House with Secure, Allocated Parking, 2 mins walk from Windsor Castle - Foto 78
Cavendish House with Secure, Allocated Parking, 2 mins walk from Windsor Castle - Foto 79
Cavendish House with Secure, Allocated Parking, 2 mins walk from Windsor Castle - Foto 80
Cavendish House with Secure, Allocated Parking, 2 mins walk from Windsor Castle - Foto 81
Cavendish House with Secure, Allocated Parking, 2 mins walk from Windsor Castle - Foto 82
Cavendish House with Secure, Allocated Parking, 2 mins walk from Windsor Castle - Foto 83
Cavendish House with Secure, Allocated Parking, 2 mins walk from Windsor Castle - Foto 84
Cavendish House with Secure, Allocated Parking, 2 mins walk from Windsor Castle - Foto 85
Cavendish House with Secure, Allocated Parking, 2 mins walk from Windsor Castle - Foto 86
Cavendish House with Secure, Allocated Parking, 2 mins walk from Windsor Castle - Foto 87
Cavendish House with Secure, Allocated Parking, 2 mins walk from Windsor Castle - Foto 88
Cavendish House with Secure, Allocated Parking, 2 mins walk from Windsor Castle - Foto 89
Cavendish House with Secure, Allocated Parking, 2 mins walk from Windsor Castle - Foto 90
Cavendish House with Secure, Allocated Parking, 2 mins walk from Windsor Castle - Foto 91
Cavendish House with Secure, Allocated Parking, 2 mins walk from Windsor Castle - Foto 92
Cavendish House with Secure, Allocated Parking, 2 mins walk from Windsor Castle - Foto 93
Cavendish House with Secure, Allocated Parking, 2 mins walk from Windsor Castle - Foto 94

Cavendish House with Secure, Allocated Parking, 2 mins walk from Windsor Castle

Windsor - Windsor

  • 92 M2
  • 2 habitaciones
  • 6 personas
  • Calefacción
  • Terraza
  • Parking
  • Ascensor
  • Balcón
  • Jardín
  • Televisión
  • Lavadora
  • Toallas
  • Sábanas
9.8Excepcional | 78 reseñas
Q Square by Supercity Aparthotels - Foto 1
Q Square by Supercity Aparthotels - Foto 2
Q Square by Supercity Aparthotels - Foto 3
Q Square by Supercity Aparthotels - Foto 4
Q Square by Supercity Aparthotels - Foto 5
Q Square by Supercity Aparthotels - Foto 6
Q Square by Supercity Aparthotels - Foto 7
Q Square by Supercity Aparthotels - Foto 8
Q Square by Supercity Aparthotels - Foto 9
Q Square by Supercity Aparthotels - Foto 10
Q Square by Supercity Aparthotels - Foto 11
Q Square by Supercity Aparthotels - Foto 12
Q Square by Supercity Aparthotels - Foto 13
Q Square by Supercity Aparthotels - Foto 14
Q Square by Supercity Aparthotels - Foto 15
Q Square by Supercity Aparthotels - Foto 16
Q Square by Supercity Aparthotels - Foto 17
Q Square by Supercity Aparthotels - Foto 18
Q Square by Supercity Aparthotels - Foto 19
Q Square by Supercity Aparthotels - Foto 20
Q Square by Supercity Aparthotels - Foto 21
Q Square by Supercity Aparthotels - Foto 22
Q Square by Supercity Aparthotels - Foto 23
Q Square by Supercity Aparthotels - Foto 24
Q Square by Supercity Aparthotels - Foto 25
Q Square by Supercity Aparthotels - Foto 26
Q Square by Supercity Aparthotels - Foto 27
Q Square by Supercity Aparthotels - Foto 28
Q Square by Supercity Aparthotels - Foto 29
Q Square by Supercity Aparthotels - Foto 30
Q Square by Supercity Aparthotels - Foto 31
Q Square by Supercity Aparthotels - Foto 32
Q Square by Supercity Aparthotels - Foto 33
Q Square by Supercity Aparthotels - Foto 34
Q Square by Supercity Aparthotels - Foto 35
Q Square by Supercity Aparthotels - Foto 36
Q Square by Supercity Aparthotels - Foto 37
Q Square by Supercity Aparthotels - Foto 38
Q Square by Supercity Aparthotels - Foto 39
Q Square by Supercity Aparthotels - Foto 40
Q Square by Supercity Aparthotels - Foto 41
Q Square by Supercity Aparthotels - Foto 42
Q Square by Supercity Aparthotels - Foto 43
Q Square by Supercity Aparthotels - Foto 44
Q Square by Supercity Aparthotels - Foto 45
Q Square by Supercity Aparthotels - Foto 46
Q Square by Supercity Aparthotels - Foto 47
Q Square by Supercity Aparthotels - Foto 48
Q Square by Supercity Aparthotels - Foto 49
Q Square by Supercity Aparthotels - Foto 50
Q Square by Supercity Aparthotels - Foto 51
Q Square by Supercity Aparthotels - Foto 52
Q Square by Supercity Aparthotels - Foto 53
Q Square by Supercity Aparthotels - Foto 54
Q Square by Supercity Aparthotels - Foto 55
Q Square by Supercity Aparthotels - Foto 56
Q Square by Supercity Aparthotels - Foto 57
Q Square by Supercity Aparthotels - Foto 58
Q Square by Supercity Aparthotels - Foto 59
Q Square by Supercity Aparthotels - Foto 60
Q Square by Supercity Aparthotels - Foto 61
Q Square by Supercity Aparthotels - Foto 62
Q Square by Supercity Aparthotels - Foto 63
Q Square by Supercity Aparthotels - Foto 64
Q Square by Supercity Aparthotels - Foto 65
Q Square by Supercity Aparthotels - Foto 66
Q Square by Supercity Aparthotels - Foto 67
Q Square by Supercity Aparthotels - Foto 68
Q Square by Supercity Aparthotels - Foto 69
Q Square by Supercity Aparthotels - Foto 70
Q Square by Supercity Aparthotels - Foto 71
Q Square by Supercity Aparthotels - Foto 72
Q Square by Supercity Aparthotels - Foto 73
Q Square by Supercity Aparthotels - Foto 74
Q Square by Supercity Aparthotels - Foto 75
Q Square by Supercity Aparthotels - Foto 76
Q Square by Supercity Aparthotels - Foto 77
Q Square by Supercity Aparthotels - Foto 78
Q Square by Supercity Aparthotels - Foto 79
Q Square by Supercity Aparthotels - Foto 80
Q Square by Supercity Aparthotels - Foto 81
Q Square by Supercity Aparthotels - Foto 82
Q Square by Supercity Aparthotels - Foto 83
Q Square by Supercity Aparthotels - Foto 84
Q Square by Supercity Aparthotels - Foto 85
Q Square by Supercity Aparthotels - Foto 86
Q Square by Supercity Aparthotels - Foto 87
Q Square by Supercity Aparthotels - Foto 88
Q Square by Supercity Aparthotels - Foto 89
Q Square by Supercity Aparthotels - Foto 90
Q Square by Supercity Aparthotels - Foto 91
Q Square by Supercity Aparthotels - Foto 92
Q Square by Supercity Aparthotels - Foto 93
Q Square by Supercity Aparthotels - Foto 94
Q Square by Supercity Aparthotels - Foto 95
Q Square by Supercity Aparthotels - Foto 96
Q Square by Supercity Aparthotels - Foto 97
Q Square by Supercity Aparthotels - Foto 98
Q Square by Supercity Aparthotels - Foto 99
Q Square by Supercity Aparthotels - Foto 100
Q Square by Supercity Aparthotels - Foto 101
Q Square by Supercity Aparthotels - Foto 102
Q Square by Supercity Aparthotels - Foto 103
Q Square by Supercity Aparthotels - Foto 104
Q Square by Supercity Aparthotels - Foto 105
Q Square by Supercity Aparthotels - Foto 106
Q Square by Supercity Aparthotels - Foto 107
Q Square by Supercity Aparthotels - Foto 108
Q Square by Supercity Aparthotels - Foto 109
Q Square by Supercity Aparthotels - Foto 110
Q Square by Supercity Aparthotels - Foto 111
Q Square by Supercity Aparthotels - Foto 112
Q Square by Supercity Aparthotels - Foto 113
Q Square by Supercity Aparthotels - Foto 114
Q Square by Supercity Aparthotels - Foto 115
Q Square by Supercity Aparthotels - Foto 116
Q Square by Supercity Aparthotels - Foto 117
Q Square by Supercity Aparthotels - Foto 118
Q Square by Supercity Aparthotels - Foto 119
Q Square by Supercity Aparthotels - Foto 120
Q Square by Supercity Aparthotels - Foto 121
Q Square by Supercity Aparthotels - Foto 122
Q Square by Supercity Aparthotels - Foto 123
Q Square by Supercity Aparthotels - Foto 124
Q Square by Supercity Aparthotels - Foto 125
Q Square by Supercity Aparthotels - Foto 126
Q Square by Supercity Aparthotels - Foto 127

Q Square by Supercity Aparthotels

Brighton - Brighton

  • 45 M2
  • 1 habitación
  • 4 personas
  • Aire acondicionado
  • Calefacción
  • Terraza
  • Parking
  • Ascensor
  • Balcón
  • Jardín
  • Televisión
  • Lavadora
  • Toallas
  • Sábanas
9.6Excepcional | 381 reseñas
The Osborne Apartments - Foto 1
The Osborne Apartments - Foto 2
The Osborne Apartments - Foto 3
The Osborne Apartments - Foto 4
The Osborne Apartments - Foto 5
The Osborne Apartments - Foto 6
The Osborne Apartments - Foto 7
The Osborne Apartments - Foto 8
The Osborne Apartments - Foto 9
The Osborne Apartments - Foto 10
The Osborne Apartments - Foto 11
The Osborne Apartments - Foto 12
The Osborne Apartments - Foto 13
The Osborne Apartments - Foto 14
The Osborne Apartments - Foto 15
The Osborne Apartments - Foto 16
The Osborne Apartments - Foto 17
The Osborne Apartments - Foto 18
The Osborne Apartments - Foto 19
The Osborne Apartments - Foto 20
The Osborne Apartments - Foto 21
The Osborne Apartments - Foto 22
The Osborne Apartments - Foto 23
The Osborne Apartments - Foto 24
The Osborne Apartments - Foto 25
The Osborne Apartments - Foto 26
The Osborne Apartments - Foto 27
The Osborne Apartments - Foto 28
The Osborne Apartments - Foto 29
The Osborne Apartments - Foto 30
The Osborne Apartments - Foto 31
The Osborne Apartments - Foto 32
The Osborne Apartments - Foto 33
The Osborne Apartments - Foto 34
The Osborne Apartments - Foto 35
The Osborne Apartments - Foto 36
The Osborne Apartments - Foto 37
The Osborne Apartments - Foto 38
The Osborne Apartments - Foto 39
The Osborne Apartments - Foto 40
The Osborne Apartments - Foto 41
The Osborne Apartments - Foto 42
The Osborne Apartments - Foto 43
The Osborne Apartments - Foto 44
The Osborne Apartments - Foto 45
The Osborne Apartments - Foto 46
The Osborne Apartments - Foto 47
The Osborne Apartments - Foto 48
The Osborne Apartments - Foto 49
The Osborne Apartments - Foto 50
The Osborne Apartments - Foto 51
The Osborne Apartments - Foto 52
The Osborne Apartments - Foto 53
The Osborne Apartments - Foto 54
The Osborne Apartments - Foto 55
The Osborne Apartments - Foto 56
The Osborne Apartments - Foto 57
The Osborne Apartments - Foto 58
The Osborne Apartments - Foto 59
The Osborne Apartments - Foto 60
The Osborne Apartments - Foto 61
The Osborne Apartments - Foto 62
The Osborne Apartments - Foto 63
The Osborne Apartments - Foto 64
The Osborne Apartments - Foto 65
The Osborne Apartments - Foto 66
The Osborne Apartments - Foto 67
The Osborne Apartments - Foto 68
The Osborne Apartments - Foto 69
The Osborne Apartments - Foto 70
The Osborne Apartments - Foto 71
The Osborne Apartments - Foto 72
The Osborne Apartments - Foto 73
The Osborne Apartments - Foto 74
The Osborne Apartments - Foto 75
The Osborne Apartments - Foto 76
The Osborne Apartments - Foto 77
The Osborne Apartments - Foto 78
The Osborne Apartments - Foto 79
The Osborne Apartments - Foto 80
The Osborne Apartments - Foto 81
The Osborne Apartments - Foto 82
The Osborne Apartments - Foto 83
The Osborne Apartments - Foto 84
The Osborne Apartments - Foto 85
The Osborne Apartments - Foto 86
The Osborne Apartments - Foto 87
The Osborne Apartments - Foto 88
The Osborne Apartments - Foto 89
The Osborne Apartments - Foto 90
The Osborne Apartments - Foto 91
The Osborne Apartments - Foto 92
The Osborne Apartments - Foto 93
The Osborne Apartments - Foto 94
The Osborne Apartments - Foto 95
The Osborne Apartments - Foto 96
The Osborne Apartments - Foto 97
The Osborne Apartments - Foto 98
The Osborne Apartments - Foto 99
The Osborne Apartments - Foto 100
The Osborne Apartments - Foto 101
The Osborne Apartments - Foto 102
The Osborne Apartments - Foto 103
The Osborne Apartments - Foto 104
The Osborne Apartments - Foto 105
The Osborne Apartments - Foto 106
The Osborne Apartments - Foto 107
The Osborne Apartments - Foto 108
The Osborne Apartments - Foto 109
The Osborne Apartments - Foto 110
The Osborne Apartments - Foto 111
The Osborne Apartments - Foto 112
The Osborne Apartments - Foto 113
The Osborne Apartments - Foto 114
The Osborne Apartments - Foto 115
The Osborne Apartments - Foto 116
The Osborne Apartments - Foto 117
The Osborne Apartments - Foto 118
The Osborne Apartments - Foto 119
The Osborne Apartments - Foto 120
The Osborne Apartments - Foto 121
The Osborne Apartments - Foto 122
The Osborne Apartments - Foto 123
The Osborne Apartments - Foto 124
The Osborne Apartments - Foto 125
The Osborne Apartments - Foto 126
The Osborne Apartments - Foto 127
The Osborne Apartments - Foto 128
The Osborne Apartments - Foto 129
The Osborne Apartments - Foto 130
The Osborne Apartments - Foto 131
The Osborne Apartments - Foto 132
The Osborne Apartments - Foto 133
The Osborne Apartments - Foto 134
The Osborne Apartments - Foto 135
The Osborne Apartments - Foto 136
The Osborne Apartments - Foto 137
The Osborne Apartments - Foto 138
The Osborne Apartments - Foto 139
The Osborne Apartments - Foto 140
The Osborne Apartments - Foto 141
The Osborne Apartments - Foto 142
The Osborne Apartments - Foto 143
The Osborne Apartments - Foto 144
The Osborne Apartments - Foto 145
The Osborne Apartments - Foto 146
The Osborne Apartments - Foto 147
The Osborne Apartments - Foto 148
The Osborne Apartments - Foto 149
The Osborne Apartments - Foto 150
The Osborne Apartments - Foto 151
The Osborne Apartments - Foto 152
The Osborne Apartments - Foto 153
The Osborne Apartments - Foto 154
The Osborne Apartments - Foto 155

The Osborne Apartments

Torquay - Torquay

  • 139 M2
  • 3 habitaciones
  • 8 personas
  • Calefacción
  • Terraza
  • Piscina
  • Parking
  • Ascensor
  • Jardín
  • Televisión
  • Toallas
  • Sábanas
9.4Excepcional | 101 reseñas
Malvern Holiday Garden Flat - Foto 1
Malvern Holiday Garden Flat - Foto 2
Malvern Holiday Garden Flat - Foto 3
Malvern Holiday Garden Flat - Foto 4
Malvern Holiday Garden Flat - Foto 5
Malvern Holiday Garden Flat - Foto 6
Malvern Holiday Garden Flat - Foto 7
Malvern Holiday Garden Flat - Foto 8
Malvern Holiday Garden Flat - Foto 9
Malvern Holiday Garden Flat - Foto 10
Malvern Holiday Garden Flat - Foto 11
Malvern Holiday Garden Flat - Foto 12
Malvern Holiday Garden Flat - Foto 13
Malvern Holiday Garden Flat - Foto 14
Malvern Holiday Garden Flat - Foto 15
Malvern Holiday Garden Flat - Foto 16
Malvern Holiday Garden Flat - Foto 17
Malvern Holiday Garden Flat - Foto 18
Malvern Holiday Garden Flat - Foto 19
Malvern Holiday Garden Flat - Foto 20
Malvern Holiday Garden Flat - Foto 21
Malvern Holiday Garden Flat - Foto 22
Malvern Holiday Garden Flat - Foto 23
Malvern Holiday Garden Flat - Foto 24
Malvern Holiday Garden Flat - Foto 25
Malvern Holiday Garden Flat - Foto 26
Malvern Holiday Garden Flat - Foto 27
Malvern Holiday Garden Flat - Foto 28
Malvern Holiday Garden Flat - Foto 29
Malvern Holiday Garden Flat - Foto 30
Malvern Holiday Garden Flat - Foto 31
Malvern Holiday Garden Flat - Foto 32

Malvern Holiday Garden Flat

Malvern - Malvern

  • 2 personas
  • Calefacción
  • Terraza
  • Parking
  • Jardín
  • Televisión
  • Lavadora
  • Toallas
  • Sábanas
10Magnífico | 19 reseñas
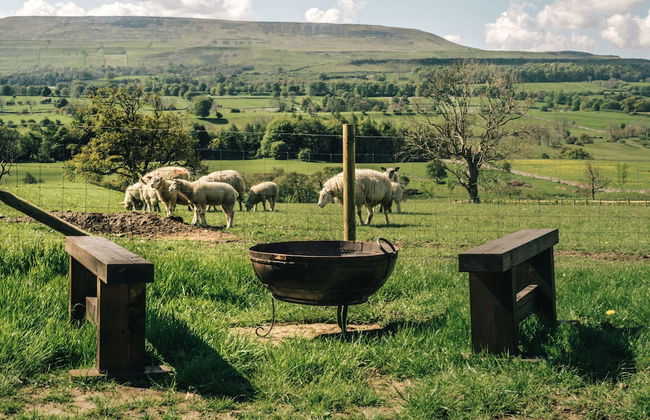
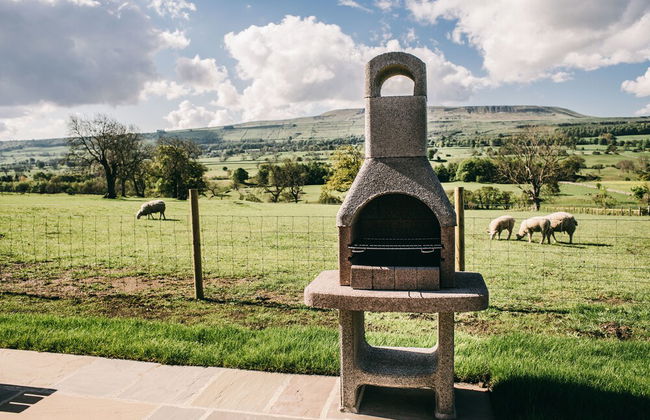
Wensleydale Glamping Pods - Foto 1
Wensleydale Glamping Pods - Foto 2
Wensleydale Glamping Pods - Foto 3
Wensleydale Glamping Pods - Foto 4
Wensleydale Glamping Pods - Foto 5
Wensleydale Glamping Pods - Foto 6
Wensleydale Glamping Pods - Foto 7
Wensleydale Glamping Pods - Foto 8
Wensleydale Glamping Pods - Foto 9
Wensleydale Glamping Pods - Foto 10
Wensleydale Glamping Pods - Foto 11
Wensleydale Glamping Pods - Foto 12
Wensleydale Glamping Pods - Foto 13
Wensleydale Glamping Pods - Foto 14
Wensleydale Glamping Pods - Foto 15
Wensleydale Glamping Pods - Foto 16
Wensleydale Glamping Pods - Foto 17
Wensleydale Glamping Pods - Foto 18
Wensleydale Glamping Pods - Foto 19
Wensleydale Glamping Pods - Foto 20
Wensleydale Glamping Pods - Foto 21
Wensleydale Glamping Pods - Foto 22
Wensleydale Glamping Pods - Foto 23
Wensleydale Glamping Pods - Foto 24
Wensleydale Glamping Pods - Foto 25
Wensleydale Glamping Pods - Foto 26
Wensleydale Glamping Pods - Foto 27
Wensleydale Glamping Pods - Foto 28
Wensleydale Glamping Pods - Foto 29
Wensleydale Glamping Pods - Foto 30
Wensleydale Glamping Pods - Foto 31
Wensleydale Glamping Pods - Foto 32
Wensleydale Glamping Pods - Foto 33
Wensleydale Glamping Pods - Foto 34

Wensleydale Glamping Pods

Leyburn - Redmire

  • 4 personas
  • Cocina pequeña
  • Calefacción
  • Terraza
  • Parking
  • Televisión
  • Barbacoa
  • Toallas
  • Sábanas
10Magnífico | 20 reseñas
New Luxury 1-bed House nr Bicester Village - Foto 1
New Luxury 1-bed House nr Bicester Village - Foto 2
New Luxury 1-bed House nr Bicester Village - Foto 3
New Luxury 1-bed House nr Bicester Village - Foto 4
New Luxury 1-bed House nr Bicester Village - Foto 5
New Luxury 1-bed House nr Bicester Village - Foto 6
New Luxury 1-bed House nr Bicester Village - Foto 7
New Luxury 1-bed House nr Bicester Village - Foto 8
New Luxury 1-bed House nr Bicester Village - Foto 9
New Luxury 1-bed House nr Bicester Village - Foto 10
New Luxury 1-bed House nr Bicester Village - Foto 11
New Luxury 1-bed House nr Bicester Village - Foto 12
New Luxury 1-bed House nr Bicester Village - Foto 13
New Luxury 1-bed House nr Bicester Village - Foto 14
New Luxury 1-bed House nr Bicester Village - Foto 15
New Luxury 1-bed House nr Bicester Village - Foto 16
New Luxury 1-bed House nr Bicester Village - Foto 17
New Luxury 1-bed House nr Bicester Village - Foto 18
New Luxury 1-bed House nr Bicester Village - Foto 19
New Luxury 1-bed House nr Bicester Village - Foto 20
New Luxury 1-bed House nr Bicester Village - Foto 21
New Luxury 1-bed House nr Bicester Village - Foto 22
New Luxury 1-bed House nr Bicester Village - Foto 23
New Luxury 1-bed House nr Bicester Village - Foto 24
New Luxury 1-bed House nr Bicester Village - Foto 25
New Luxury 1-bed House nr Bicester Village - Foto 26
New Luxury 1-bed House nr Bicester Village - Foto 27
New Luxury 1-bed House nr Bicester Village - Foto 28
New Luxury 1-bed House nr Bicester Village - Foto 29
New Luxury 1-bed House nr Bicester Village - Foto 30
New Luxury 1-bed House nr Bicester Village - Foto 31
New Luxury 1-bed House nr Bicester Village - Foto 32
New Luxury 1-bed House nr Bicester Village - Foto 33
New Luxury 1-bed House nr Bicester Village - Foto 34
New Luxury 1-bed House nr Bicester Village - Foto 35
New Luxury 1-bed House nr Bicester Village - Foto 36
New Luxury 1-bed House nr Bicester Village - Foto 37

New Luxury 1-bed House nr Bicester Village

Bicester - Piddington

  • 75 M2
  • 2 personas
  • Calefacción
  • Terraza
  • Parking
  • Jardín
10Magnífico | 22 reseñas
Chester Apartments - Foto 1
Chester Apartments - Foto 2
Chester Apartments - Foto 3
Chester Apartments - Foto 4
Chester Apartments - Foto 5
Chester Apartments - Foto 6
Chester Apartments - Foto 7
Chester Apartments - Foto 8
Chester Apartments - Foto 9
Chester Apartments - Foto 10
Chester Apartments - Foto 11
Chester Apartments - Foto 12
Chester Apartments - Foto 13
Chester Apartments - Foto 14
Chester Apartments - Foto 15
Chester Apartments - Foto 16
Chester Apartments - Foto 17
Chester Apartments - Foto 18
Chester Apartments - Foto 19
Chester Apartments - Foto 20
Chester Apartments - Foto 21
Chester Apartments - Foto 22
Chester Apartments - Foto 23
Chester Apartments - Foto 24
Chester Apartments - Foto 25
Chester Apartments - Foto 26
Chester Apartments - Foto 27
Chester Apartments - Foto 28
Chester Apartments - Foto 29
Chester Apartments - Foto 30
Chester Apartments - Foto 31
Chester Apartments - Foto 32
Chester Apartments - Foto 33
Chester Apartments - Foto 34
Chester Apartments - Foto 35
Chester Apartments - Foto 36
Chester Apartments - Foto 37
Chester Apartments - Foto 38
Chester Apartments - Foto 39
Chester Apartments - Foto 40
Chester Apartments - Foto 41
Chester Apartments - Foto 42
Chester Apartments - Foto 43
Chester Apartments - Foto 44
Chester Apartments - Foto 45
Chester Apartments - Foto 46
Chester Apartments - Foto 47
Chester Apartments - Foto 48
Chester Apartments - Foto 49
Chester Apartments - Foto 50
Chester Apartments - Foto 51
Chester Apartments - Foto 52
Chester Apartments - Foto 53
Chester Apartments - Foto 54
Chester Apartments - Foto 55
Chester Apartments - Foto 56
Chester Apartments - Foto 57
Chester Apartments - Foto 58
Chester Apartments - Foto 59
Chester Apartments - Foto 60
Chester Apartments - Foto 61
Chester Apartments - Foto 62
Chester Apartments - Foto 63
Chester Apartments - Foto 64
Chester Apartments - Foto 65
Chester Apartments - Foto 66
Chester Apartments - Foto 67
Chester Apartments - Foto 68
Chester Apartments - Foto 69
Chester Apartments - Foto 70
Chester Apartments - Foto 71
Chester Apartments - Foto 72
Chester Apartments - Foto 73
Chester Apartments - Foto 74
Chester Apartments - Foto 75
Chester Apartments - Foto 76
Chester Apartments - Foto 77
Chester Apartments - Foto 78
Chester Apartments - Foto 79
Chester Apartments - Foto 80
Chester Apartments - Foto 81
Chester Apartments - Foto 82
Chester Apartments - Foto 83
Chester Apartments - Foto 84
Chester Apartments - Foto 85
Chester Apartments - Foto 86
Chester Apartments - Foto 87
Chester Apartments - Foto 88
Chester Apartments - Foto 89
Chester Apartments - Foto 90
Chester Apartments - Foto 91
Chester Apartments - Foto 92
Chester Apartments - Foto 93
Chester Apartments - Foto 94
Chester Apartments - Foto 95
Chester Apartments - Foto 96
Chester Apartments - Foto 97
Chester Apartments - Foto 98
Chester Apartments - Foto 99
Chester Apartments - Foto 100
Chester Apartments - Foto 101
Chester Apartments - Foto 102
Chester Apartments - Foto 103
Chester Apartments - Foto 104
Chester Apartments - Foto 105
Chester Apartments - Foto 106
Chester Apartments - Foto 107
Chester Apartments - Foto 108
Chester Apartments - Foto 109
Chester Apartments - Foto 110
Chester Apartments - Foto 111
Chester Apartments - Foto 112
Chester Apartments - Foto 113
Chester Apartments - Foto 114
Chester Apartments - Foto 115
Chester Apartments - Foto 116
Chester Apartments - Foto 117
Chester Apartments - Foto 118
Chester Apartments - Foto 119
Chester Apartments - Foto 120
Chester Apartments - Foto 121
Chester Apartments - Foto 122
Chester Apartments - Foto 123
Chester Apartments - Foto 124
Chester Apartments - Foto 125
Chester Apartments - Foto 126
Chester Apartments - Foto 127
Chester Apartments - Foto 128
Chester Apartments - Foto 129
Chester Apartments - Foto 130
Chester Apartments - Foto 131
Chester Apartments - Foto 132
Chester Apartments - Foto 133
Chester Apartments - Foto 134
Chester Apartments - Foto 135
Chester Apartments - Foto 136
Chester Apartments - Foto 137

Chester Apartments

Chester - Chester

  • 120 M2
  • 3 habitaciones
  • 8 personas
  • Calefacción
  • Terraza
  • Parking
  • Balcón
  • Jardín
  • Televisión
  • Lavadora
  • Toallas
  • Sábanas
10Magnífico | 11 reseñas
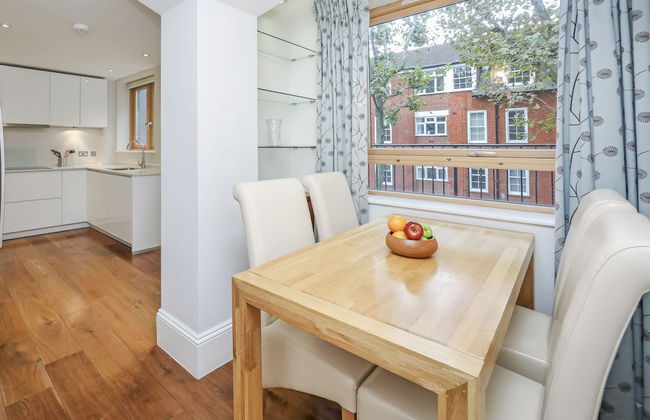
Willow Court Farm Studio South & Petting Farm, 8 mins from Legoland & Windsor, 15 mins from Lapland UK - Foto 1
Willow Court Farm Studio South & Petting Farm, 8 mins from Legoland & Windsor, 15 mins from Lapland UK - Foto 2
Willow Court Farm Studio South & Petting Farm, 8 mins from Legoland & Windsor, 15 mins from Lapland UK - Foto 3
Willow Court Farm Studio South & Petting Farm, 8 mins from Legoland & Windsor, 15 mins from Lapland UK - Foto 4
Willow Court Farm Studio South & Petting Farm, 8 mins from Legoland & Windsor, 15 mins from Lapland UK - Foto 5
Willow Court Farm Studio South & Petting Farm, 8 mins from Legoland & Windsor, 15 mins from Lapland UK - Foto 6
Willow Court Farm Studio South & Petting Farm, 8 mins from Legoland & Windsor, 15 mins from Lapland UK - Foto 7
Willow Court Farm Studio South & Petting Farm, 8 mins from Legoland & Windsor, 15 mins from Lapland UK - Foto 8
Willow Court Farm Studio South & Petting Farm, 8 mins from Legoland & Windsor, 15 mins from Lapland UK - Foto 9
Willow Court Farm Studio South & Petting Farm, 8 mins from Legoland & Windsor, 15 mins from Lapland UK - Foto 10
Willow Court Farm Studio South & Petting Farm, 8 mins from Legoland & Windsor, 15 mins from Lapland UK - Foto 11
Willow Court Farm Studio South & Petting Farm, 8 mins from Legoland & Windsor, 15 mins from Lapland UK - Foto 12
Willow Court Farm Studio South & Petting Farm, 8 mins from Legoland & Windsor, 15 mins from Lapland UK - Foto 13
Willow Court Farm Studio South & Petting Farm, 8 mins from Legoland & Windsor, 15 mins from Lapland UK - Foto 14
Willow Court Farm Studio South & Petting Farm, 8 mins from Legoland & Windsor, 15 mins from Lapland UK - Foto 15
Willow Court Farm Studio South & Petting Farm, 8 mins from Legoland & Windsor, 15 mins from Lapland UK - Foto 16
Willow Court Farm Studio South & Petting Farm, 8 mins from Legoland & Windsor, 15 mins from Lapland UK - Foto 17
Willow Court Farm Studio South & Petting Farm, 8 mins from Legoland & Windsor, 15 mins from Lapland UK - Foto 18
Willow Court Farm Studio South & Petting Farm, 8 mins from Legoland & Windsor, 15 mins from Lapland UK - Foto 19
Willow Court Farm Studio South & Petting Farm, 8 mins from Legoland & Windsor, 15 mins from Lapland UK - Foto 20
Willow Court Farm Studio South & Petting Farm, 8 mins from Legoland & Windsor, 15 mins from Lapland UK - Foto 21
Willow Court Farm Studio South & Petting Farm, 8 mins from Legoland & Windsor, 15 mins from Lapland UK - Foto 22
Willow Court Farm Studio South & Petting Farm, 8 mins from Legoland & Windsor, 15 mins from Lapland UK - Foto 23
Willow Court Farm Studio South & Petting Farm, 8 mins from Legoland & Windsor, 15 mins from Lapland UK - Foto 24
Willow Court Farm Studio South & Petting Farm, 8 mins from Legoland & Windsor, 15 mins from Lapland UK - Foto 25
Willow Court Farm Studio South & Petting Farm, 8 mins from Legoland & Windsor, 15 mins from Lapland UK - Foto 26
Willow Court Farm Studio South & Petting Farm, 8 mins from Legoland & Windsor, 15 mins from Lapland UK - Foto 27
Willow Court Farm Studio South & Petting Farm, 8 mins from Legoland & Windsor, 15 mins from Lapland UK - Foto 28
Willow Court Farm Studio South & Petting Farm, 8 mins from Legoland & Windsor, 15 mins from Lapland UK - Foto 29
Willow Court Farm Studio South & Petting Farm, 8 mins from Legoland & Windsor, 15 mins from Lapland UK - Foto 30
Willow Court Farm Studio South & Petting Farm, 8 mins from Legoland & Windsor, 15 mins from Lapland UK - Foto 31
Willow Court Farm Studio South & Petting Farm, 8 mins from Legoland & Windsor, 15 mins from Lapland UK - Foto 32
Willow Court Farm Studio South & Petting Farm, 8 mins from Legoland & Windsor, 15 mins from Lapland UK - Foto 33
Willow Court Farm Studio South & Petting Farm, 8 mins from Legoland & Windsor, 15 mins from Lapland UK - Foto 34
Willow Court Farm Studio South & Petting Farm, 8 mins from Legoland & Windsor, 15 mins from Lapland UK - Foto 35
Willow Court Farm Studio South & Petting Farm, 8 mins from Legoland & Windsor, 15 mins from Lapland UK - Foto 36
Willow Court Farm Studio South & Petting Farm, 8 mins from Legoland & Windsor, 15 mins from Lapland UK - Foto 37
Willow Court Farm Studio South & Petting Farm, 8 mins from Legoland & Windsor, 15 mins from Lapland UK - Foto 38
Willow Court Farm Studio South & Petting Farm, 8 mins from Legoland & Windsor, 15 mins from Lapland UK - Foto 39
Willow Court Farm Studio South & Petting Farm, 8 mins from Legoland & Windsor, 15 mins from Lapland UK - Foto 40
Willow Court Farm Studio South & Petting Farm, 8 mins from Legoland & Windsor, 15 mins from Lapland UK - Foto 41
Willow Court Farm Studio South & Petting Farm, 8 mins from Legoland & Windsor, 15 mins from Lapland UK - Foto 42
Willow Court Farm Studio South & Petting Farm, 8 mins from Legoland & Windsor, 15 mins from Lapland UK - Foto 43
Willow Court Farm Studio South & Petting Farm, 8 mins from Legoland & Windsor, 15 mins from Lapland UK - Foto 44
Willow Court Farm Studio South & Petting Farm, 8 mins from Legoland & Windsor, 15 mins from Lapland UK - Foto 45
Willow Court Farm Studio South & Petting Farm, 8 mins from Legoland & Windsor, 15 mins from Lapland UK - Foto 46
Willow Court Farm Studio South & Petting Farm, 8 mins from Legoland & Windsor, 15 mins from Lapland UK - Foto 47
Willow Court Farm Studio South & Petting Farm, 8 mins from Legoland & Windsor, 15 mins from Lapland UK - Foto 48
Willow Court Farm Studio South & Petting Farm, 8 mins from Legoland & Windsor, 15 mins from Lapland UK - Foto 49
Willow Court Farm Studio South & Petting Farm, 8 mins from Legoland & Windsor, 15 mins from Lapland UK - Foto 50
Willow Court Farm Studio South & Petting Farm, 8 mins from Legoland & Windsor, 15 mins from Lapland UK - Foto 51
Willow Court Farm Studio South & Petting Farm, 8 mins from Legoland & Windsor, 15 mins from Lapland UK - Foto 52
Willow Court Farm Studio South & Petting Farm, 8 mins from Legoland & Windsor, 15 mins from Lapland UK - Foto 53
Willow Court Farm Studio South & Petting Farm, 8 mins from Legoland & Windsor, 15 mins from Lapland UK - Foto 54
Willow Court Farm Studio South & Petting Farm, 8 mins from Legoland & Windsor, 15 mins from Lapland UK - Foto 55
Willow Court Farm Studio South & Petting Farm, 8 mins from Legoland & Windsor, 15 mins from Lapland UK - Foto 56
Willow Court Farm Studio South & Petting Farm, 8 mins from Legoland & Windsor, 15 mins from Lapland UK - Foto 57
Willow Court Farm Studio South & Petting Farm, 8 mins from Legoland & Windsor, 15 mins from Lapland UK - Foto 58
Willow Court Farm Studio South & Petting Farm, 8 mins from Legoland & Windsor, 15 mins from Lapland UK - Foto 59
Willow Court Farm Studio South & Petting Farm, 8 mins from Legoland & Windsor, 15 mins from Lapland UK - Foto 60
Willow Court Farm Studio South & Petting Farm, 8 mins from Legoland & Windsor, 15 mins from Lapland UK - Foto 61
Willow Court Farm Studio South & Petting Farm, 8 mins from Legoland & Windsor, 15 mins from Lapland UK - Foto 62
Willow Court Farm Studio South & Petting Farm, 8 mins from Legoland & Windsor, 15 mins from Lapland UK - Foto 63
Willow Court Farm Studio South & Petting Farm, 8 mins from Legoland & Windsor, 15 mins from Lapland UK - Foto 64
Willow Court Farm Studio South & Petting Farm, 8 mins from Legoland & Windsor, 15 mins from Lapland UK - Foto 65
Willow Court Farm Studio South & Petting Farm, 8 mins from Legoland & Windsor, 15 mins from Lapland UK - Foto 66
Willow Court Farm Studio South & Petting Farm, 8 mins from Legoland & Windsor, 15 mins from Lapland UK - Foto 67
Willow Court Farm Studio South & Petting Farm, 8 mins from Legoland & Windsor, 15 mins from Lapland UK - Foto 68
Willow Court Farm Studio South & Petting Farm, 8 mins from Legoland & Windsor, 15 mins from Lapland UK - Foto 69
Willow Court Farm Studio South & Petting Farm, 8 mins from Legoland & Windsor, 15 mins from Lapland UK - Foto 70
Willow Court Farm Studio South & Petting Farm, 8 mins from Legoland & Windsor, 15 mins from Lapland UK - Foto 71
Willow Court Farm Studio South & Petting Farm, 8 mins from Legoland & Windsor, 15 mins from Lapland UK - Foto 72
Willow Court Farm Studio South & Petting Farm, 8 mins from Legoland & Windsor, 15 mins from Lapland UK - Foto 73
Willow Court Farm Studio South & Petting Farm, 8 mins from Legoland & Windsor, 15 mins from Lapland UK - Foto 74
Willow Court Farm Studio South & Petting Farm, 8 mins from Legoland & Windsor, 15 mins from Lapland UK - Foto 75
Willow Court Farm Studio South & Petting Farm, 8 mins from Legoland & Windsor, 15 mins from Lapland UK - Foto 76
Willow Court Farm Studio South & Petting Farm, 8 mins from Legoland & Windsor, 15 mins from Lapland UK - Foto 77
Willow Court Farm Studio South & Petting Farm, 8 mins from Legoland & Windsor, 15 mins from Lapland UK - Foto 78
Willow Court Farm Studio South & Petting Farm, 8 mins from Legoland & Windsor, 15 mins from Lapland UK - Foto 79
Willow Court Farm Studio South & Petting Farm, 8 mins from Legoland & Windsor, 15 mins from Lapland UK - Foto 80
Willow Court Farm Studio South & Petting Farm, 8 mins from Legoland & Windsor, 15 mins from Lapland UK - Foto 81
Willow Court Farm Studio South & Petting Farm, 8 mins from Legoland & Windsor, 15 mins from Lapland UK - Foto 82
Willow Court Farm Studio South & Petting Farm, 8 mins from Legoland & Windsor, 15 mins from Lapland UK - Foto 83
Willow Court Farm Studio South & Petting Farm, 8 mins from Legoland & Windsor, 15 mins from Lapland UK - Foto 84
Willow Court Farm Studio South & Petting Farm, 8 mins from Legoland & Windsor, 15 mins from Lapland UK - Foto 85
Willow Court Farm Studio South & Petting Farm, 8 mins from Legoland & Windsor, 15 mins from Lapland UK - Foto 86
Willow Court Farm Studio South & Petting Farm, 8 mins from Legoland & Windsor, 15 mins from Lapland UK - Foto 87
Willow Court Farm Studio South & Petting Farm, 8 mins from Legoland & Windsor, 15 mins from Lapland UK - Foto 88
Willow Court Farm Studio South & Petting Farm, 8 mins from Legoland & Windsor, 15 mins from Lapland UK - Foto 89
Willow Court Farm Studio South & Petting Farm, 8 mins from Legoland & Windsor, 15 mins from Lapland UK - Foto 90
Willow Court Farm Studio South & Petting Farm, 8 mins from Legoland & Windsor, 15 mins from Lapland UK - Foto 91
Willow Court Farm Studio South & Petting Farm, 8 mins from Legoland & Windsor, 15 mins from Lapland UK - Foto 92
Willow Court Farm Studio South & Petting Farm, 8 mins from Legoland & Windsor, 15 mins from Lapland UK - Foto 93
Willow Court Farm Studio South & Petting Farm, 8 mins from Legoland & Windsor, 15 mins from Lapland UK - Foto 94
Willow Court Farm Studio South & Petting Farm, 8 mins from Legoland & Windsor, 15 mins from Lapland UK - Foto 95
Willow Court Farm Studio South & Petting Farm, 8 mins from Legoland & Windsor, 15 mins from Lapland UK - Foto 96
Willow Court Farm Studio South & Petting Farm, 8 mins from Legoland & Windsor, 15 mins from Lapland UK - Foto 97
Willow Court Farm Studio South & Petting Farm, 8 mins from Legoland & Windsor, 15 mins from Lapland UK - Foto 98
Willow Court Farm Studio South & Petting Farm, 8 mins from Legoland & Windsor, 15 mins from Lapland UK - Foto 99
Willow Court Farm Studio South & Petting Farm, 8 mins from Legoland & Windsor, 15 mins from Lapland UK - Foto 100
Willow Court Farm Studio South & Petting Farm, 8 mins from Legoland & Windsor, 15 mins from Lapland UK - Foto 101
Willow Court Farm Studio South & Petting Farm, 8 mins from Legoland & Windsor, 15 mins from Lapland UK - Foto 102
Willow Court Farm Studio South & Petting Farm, 8 mins from Legoland & Windsor, 15 mins from Lapland UK - Foto 103
Willow Court Farm Studio South & Petting Farm, 8 mins from Legoland & Windsor, 15 mins from Lapland UK - Foto 104
Willow Court Farm Studio South & Petting Farm, 8 mins from Legoland & Windsor, 15 mins from Lapland UK - Foto 105
Willow Court Farm Studio South & Petting Farm, 8 mins from Legoland & Windsor, 15 mins from Lapland UK - Foto 106
Willow Court Farm Studio South & Petting Farm, 8 mins from Legoland & Windsor, 15 mins from Lapland UK - Foto 107
Willow Court Farm Studio South & Petting Farm, 8 mins from Legoland & Windsor, 15 mins from Lapland UK - Foto 108
Willow Court Farm Studio South & Petting Farm, 8 mins from Legoland & Windsor, 15 mins from Lapland UK - Foto 109
Willow Court Farm Studio South & Petting Farm, 8 mins from Legoland & Windsor, 15 mins from Lapland UK - Foto 110
Willow Court Farm Studio South & Petting Farm, 8 mins from Legoland & Windsor, 15 mins from Lapland UK - Foto 111
Willow Court Farm Studio South & Petting Farm, 8 mins from Legoland & Windsor, 15 mins from Lapland UK - Foto 112
Willow Court Farm Studio South & Petting Farm, 8 mins from Legoland & Windsor, 15 mins from Lapland UK - Foto 113
Willow Court Farm Studio South & Petting Farm, 8 mins from Legoland & Windsor, 15 mins from Lapland UK - Foto 114
Willow Court Farm Studio South & Petting Farm, 8 mins from Legoland & Windsor, 15 mins from Lapland UK - Foto 115
Willow Court Farm Studio South & Petting Farm, 8 mins from Legoland & Windsor, 15 mins from Lapland UK - Foto 116
Willow Court Farm Studio South & Petting Farm, 8 mins from Legoland & Windsor, 15 mins from Lapland UK - Foto 117
Willow Court Farm Studio South & Petting Farm, 8 mins from Legoland & Windsor, 15 mins from Lapland UK - Foto 118
Willow Court Farm Studio South & Petting Farm, 8 mins from Legoland & Windsor, 15 mins from Lapland UK - Foto 119
Willow Court Farm Studio South & Petting Farm, 8 mins from Legoland & Windsor, 15 mins from Lapland UK - Foto 120
Willow Court Farm Studio South & Petting Farm, 8 mins from Legoland & Windsor, 15 mins from Lapland UK - Foto 121
Willow Court Farm Studio South & Petting Farm, 8 mins from Legoland & Windsor, 15 mins from Lapland UK - Foto 122
Willow Court Farm Studio South & Petting Farm, 8 mins from Legoland & Windsor, 15 mins from Lapland UK - Foto 123
Willow Court Farm Studio South & Petting Farm, 8 mins from Legoland & Windsor, 15 mins from Lapland UK - Foto 124
Willow Court Farm Studio South & Petting Farm, 8 mins from Legoland & Windsor, 15 mins from Lapland UK - Foto 125
Willow Court Farm Studio South & Petting Farm, 8 mins from Legoland & Windsor, 15 mins from Lapland UK - Foto 126
Willow Court Farm Studio South & Petting Farm, 8 mins from Legoland & Windsor, 15 mins from Lapland UK - Foto 127
Willow Court Farm Studio South & Petting Farm, 8 mins from Legoland & Windsor, 15 mins from Lapland UK - Foto 128
Willow Court Farm Studio South & Petting Farm, 8 mins from Legoland & Windsor, 15 mins from Lapland UK - Foto 129
Willow Court Farm Studio South & Petting Farm, 8 mins from Legoland & Windsor, 15 mins from Lapland UK - Foto 130
Willow Court Farm Studio South & Petting Farm, 8 mins from Legoland & Windsor, 15 mins from Lapland UK - Foto 131
Willow Court Farm Studio South & Petting Farm, 8 mins from Legoland & Windsor, 15 mins from Lapland UK - Foto 132
Willow Court Farm Studio South & Petting Farm, 8 mins from Legoland & Windsor, 15 mins from Lapland UK - Foto 133
Willow Court Farm Studio South & Petting Farm, 8 mins from Legoland & Windsor, 15 mins from Lapland UK - Foto 134
Willow Court Farm Studio South & Petting Farm, 8 mins from Legoland & Windsor, 15 mins from Lapland UK - Foto 135

Willow Court Farm Studio South & Petting Farm, 8 mins from Legoland & Windsor, 15 mins from Lapland UK

Windsor - Oakley

  • 46 M2
  • 1 habitación
  • 5 personas
  • Cocina pequeña
  • Calefacción
  • Terraza
  • Parking
  • Jardín
  • Televisión
  • Barbacoa
  • Toallas
  • Sábanas
10Magnífico | 213 reseñas
Hayeswood Lodge Luxury Accommodation - Foto 1
Hayeswood Lodge Luxury Accommodation - Foto 2
Hayeswood Lodge Luxury Accommodation - Foto 3
Hayeswood Lodge Luxury Accommodation - Foto 4
Hayeswood Lodge Luxury Accommodation - Foto 5
Hayeswood Lodge Luxury Accommodation - Foto 6
Hayeswood Lodge Luxury Accommodation - Foto 7
Hayeswood Lodge Luxury Accommodation - Foto 8
Hayeswood Lodge Luxury Accommodation - Foto 9
Hayeswood Lodge Luxury Accommodation - Foto 10
Hayeswood Lodge Luxury Accommodation - Foto 11
Hayeswood Lodge Luxury Accommodation - Foto 12
Hayeswood Lodge Luxury Accommodation - Foto 13
Hayeswood Lodge Luxury Accommodation - Foto 14
Hayeswood Lodge Luxury Accommodation - Foto 15
Hayeswood Lodge Luxury Accommodation - Foto 16
Hayeswood Lodge Luxury Accommodation - Foto 17
Hayeswood Lodge Luxury Accommodation - Foto 18
Hayeswood Lodge Luxury Accommodation - Foto 19
Hayeswood Lodge Luxury Accommodation - Foto 20

Hayeswood Lodge Luxury Accommodation

Ilkeston - Stanley Common

  • 2 personas
  • Cocina pequeña
  • Calefacción
  • Terraza
  • Parking
  • Jardín
  • Televisión
  • Toallas
  • Sábanas
10Magnífico | 35 reseñas
Starry Meadow & Rescued Animal Experiences - Foto 1
Starry Meadow & Rescued Animal Experiences - Foto 2
Starry Meadow & Rescued Animal Experiences - Foto 3
Starry Meadow & Rescued Animal Experiences - Foto 4
Starry Meadow & Rescued Animal Experiences - Foto 5
Starry Meadow & Rescued Animal Experiences - Foto 6
Starry Meadow & Rescued Animal Experiences - Foto 7
Starry Meadow & Rescued Animal Experiences - Foto 8
Starry Meadow & Rescued Animal Experiences - Foto 9
Starry Meadow & Rescued Animal Experiences - Foto 10
Starry Meadow & Rescued Animal Experiences - Foto 11
Starry Meadow & Rescued Animal Experiences - Foto 12
Starry Meadow & Rescued Animal Experiences - Foto 13
Starry Meadow & Rescued Animal Experiences - Foto 14
Starry Meadow & Rescued Animal Experiences - Foto 15
Starry Meadow & Rescued Animal Experiences - Foto 16
Starry Meadow & Rescued Animal Experiences - Foto 17
Starry Meadow & Rescued Animal Experiences - Foto 18
Starry Meadow & Rescued Animal Experiences - Foto 19
Starry Meadow & Rescued Animal Experiences - Foto 20
Starry Meadow & Rescued Animal Experiences - Foto 21
Starry Meadow & Rescued Animal Experiences - Foto 22
Starry Meadow & Rescued Animal Experiences - Foto 23
Starry Meadow & Rescued Animal Experiences - Foto 24
Starry Meadow & Rescued Animal Experiences - Foto 25
Starry Meadow & Rescued Animal Experiences - Foto 26
Starry Meadow & Rescued Animal Experiences - Foto 27
Starry Meadow & Rescued Animal Experiences - Foto 28
Starry Meadow & Rescued Animal Experiences - Foto 29
Starry Meadow & Rescued Animal Experiences - Foto 30
Starry Meadow & Rescued Animal Experiences - Foto 31
Starry Meadow & Rescued Animal Experiences - Foto 32
Starry Meadow & Rescued Animal Experiences - Foto 33
Starry Meadow & Rescued Animal Experiences - Foto 34
Starry Meadow & Rescued Animal Experiences - Foto 35
Starry Meadow & Rescued Animal Experiences - Foto 36
Starry Meadow & Rescued Animal Experiences - Foto 37
Starry Meadow & Rescued Animal Experiences - Foto 38
Starry Meadow & Rescued Animal Experiences - Foto 39
Starry Meadow & Rescued Animal Experiences - Foto 40
Starry Meadow & Rescued Animal Experiences - Foto 41
Starry Meadow & Rescued Animal Experiences - Foto 42
Starry Meadow & Rescued Animal Experiences - Foto 43
Starry Meadow & Rescued Animal Experiences - Foto 44
Starry Meadow & Rescued Animal Experiences - Foto 45
Starry Meadow & Rescued Animal Experiences - Foto 46
Starry Meadow & Rescued Animal Experiences - Foto 47
Starry Meadow & Rescued Animal Experiences - Foto 48
Starry Meadow & Rescued Animal Experiences - Foto 49
Starry Meadow & Rescued Animal Experiences - Foto 50
Starry Meadow & Rescued Animal Experiences - Foto 51
Starry Meadow & Rescued Animal Experiences - Foto 52
Starry Meadow & Rescued Animal Experiences - Foto 53
Starry Meadow & Rescued Animal Experiences - Foto 54
Starry Meadow & Rescued Animal Experiences - Foto 55
Starry Meadow & Rescued Animal Experiences - Foto 56
Starry Meadow & Rescued Animal Experiences - Foto 57
Starry Meadow & Rescued Animal Experiences - Foto 58
Starry Meadow & Rescued Animal Experiences - Foto 59
Starry Meadow & Rescued Animal Experiences - Foto 60
Starry Meadow & Rescued Animal Experiences - Foto 61
Starry Meadow & Rescued Animal Experiences - Foto 62
Starry Meadow & Rescued Animal Experiences - Foto 63
Starry Meadow & Rescued Animal Experiences - Foto 64
Starry Meadow & Rescued Animal Experiences - Foto 65
Starry Meadow & Rescued Animal Experiences - Foto 66
Starry Meadow & Rescued Animal Experiences - Foto 67
Starry Meadow & Rescued Animal Experiences - Foto 68
Starry Meadow & Rescued Animal Experiences - Foto 69
Starry Meadow & Rescued Animal Experiences - Foto 70
Starry Meadow & Rescued Animal Experiences - Foto 71
Starry Meadow & Rescued Animal Experiences - Foto 72
Starry Meadow & Rescued Animal Experiences - Foto 73
Starry Meadow & Rescued Animal Experiences - Foto 74
Starry Meadow & Rescued Animal Experiences - Foto 75
Starry Meadow & Rescued Animal Experiences - Foto 76
Starry Meadow & Rescued Animal Experiences - Foto 77
Starry Meadow & Rescued Animal Experiences - Foto 78
Starry Meadow & Rescued Animal Experiences - Foto 79
Starry Meadow & Rescued Animal Experiences - Foto 80
Starry Meadow & Rescued Animal Experiences - Foto 81
Starry Meadow & Rescued Animal Experiences - Foto 82
Starry Meadow & Rescued Animal Experiences - Foto 83
Starry Meadow & Rescued Animal Experiences - Foto 84
Starry Meadow & Rescued Animal Experiences - Foto 85
Starry Meadow & Rescued Animal Experiences - Foto 86
Starry Meadow & Rescued Animal Experiences - Foto 87
Starry Meadow & Rescued Animal Experiences - Foto 88
Starry Meadow & Rescued Animal Experiences - Foto 89
Starry Meadow & Rescued Animal Experiences - Foto 90
Starry Meadow & Rescued Animal Experiences - Foto 91
Starry Meadow & Rescued Animal Experiences - Foto 92
Starry Meadow & Rescued Animal Experiences - Foto 93
Starry Meadow & Rescued Animal Experiences - Foto 94
Starry Meadow & Rescued Animal Experiences - Foto 95
Starry Meadow & Rescued Animal Experiences - Foto 96
Starry Meadow & Rescued Animal Experiences - Foto 97
Starry Meadow & Rescued Animal Experiences - Foto 98
Starry Meadow & Rescued Animal Experiences - Foto 99
Starry Meadow & Rescued Animal Experiences - Foto 100
Starry Meadow & Rescued Animal Experiences - Foto 101
Starry Meadow & Rescued Animal Experiences - Foto 102
Starry Meadow & Rescued Animal Experiences - Foto 103
Starry Meadow & Rescued Animal Experiences - Foto 104
Starry Meadow & Rescued Animal Experiences - Foto 105
Starry Meadow & Rescued Animal Experiences - Foto 106
Starry Meadow & Rescued Animal Experiences - Foto 107
Starry Meadow & Rescued Animal Experiences - Foto 108
Starry Meadow & Rescued Animal Experiences - Foto 109
Starry Meadow & Rescued Animal Experiences - Foto 110
Starry Meadow & Rescued Animal Experiences - Foto 111
Starry Meadow & Rescued Animal Experiences - Foto 112
Starry Meadow & Rescued Animal Experiences - Foto 113
Starry Meadow & Rescued Animal Experiences - Foto 114
Starry Meadow & Rescued Animal Experiences - Foto 115
Starry Meadow & Rescued Animal Experiences - Foto 116
Starry Meadow & Rescued Animal Experiences - Foto 117
Starry Meadow & Rescued Animal Experiences - Foto 118
Starry Meadow & Rescued Animal Experiences - Foto 119
Starry Meadow & Rescued Animal Experiences - Foto 120
Starry Meadow & Rescued Animal Experiences - Foto 121
Starry Meadow & Rescued Animal Experiences - Foto 122
Starry Meadow & Rescued Animal Experiences - Foto 123

Starry Meadow & Rescued Animal Experiences

Great Yarmouth - Catfield - A 19.5 km del centro

  • 20 M2
  • 2 personas
  • Calefacción
  • Terraza
  • Parking
  • Televisión
  • Toallas
  • Sábanas
10Magnífico | 16 reseñas
Truly Kentish Holiday Lets - Foto 1
Truly Kentish Holiday Lets - Foto 2
Truly Kentish Holiday Lets - Foto 3
Truly Kentish Holiday Lets - Foto 4
Truly Kentish Holiday Lets - Foto 5
Truly Kentish Holiday Lets - Foto 6
Truly Kentish Holiday Lets - Foto 7
Truly Kentish Holiday Lets - Foto 8
Truly Kentish Holiday Lets - Foto 9
Truly Kentish Holiday Lets - Foto 10
Truly Kentish Holiday Lets - Foto 11
Truly Kentish Holiday Lets - Foto 12
Truly Kentish Holiday Lets - Foto 13
Truly Kentish Holiday Lets - Foto 14
Truly Kentish Holiday Lets - Foto 15
Truly Kentish Holiday Lets - Foto 16
Truly Kentish Holiday Lets - Foto 17
Truly Kentish Holiday Lets - Foto 18
Truly Kentish Holiday Lets - Foto 19
Truly Kentish Holiday Lets - Foto 20
Truly Kentish Holiday Lets - Foto 21
Truly Kentish Holiday Lets - Foto 22
Truly Kentish Holiday Lets - Foto 23
Truly Kentish Holiday Lets - Foto 24
Truly Kentish Holiday Lets - Foto 25
Truly Kentish Holiday Lets - Foto 26
Truly Kentish Holiday Lets - Foto 27
Truly Kentish Holiday Lets - Foto 28
Truly Kentish Holiday Lets - Foto 29
Truly Kentish Holiday Lets - Foto 30
Truly Kentish Holiday Lets - Foto 31
Truly Kentish Holiday Lets - Foto 32
Truly Kentish Holiday Lets - Foto 33
Truly Kentish Holiday Lets - Foto 34
Truly Kentish Holiday Lets - Foto 35
Truly Kentish Holiday Lets - Foto 36
Truly Kentish Holiday Lets - Foto 37
Truly Kentish Holiday Lets - Foto 38
Truly Kentish Holiday Lets - Foto 39
Truly Kentish Holiday Lets - Foto 40
Truly Kentish Holiday Lets - Foto 41
Truly Kentish Holiday Lets - Foto 42
Truly Kentish Holiday Lets - Foto 43
Truly Kentish Holiday Lets - Foto 44
Truly Kentish Holiday Lets - Foto 45
Truly Kentish Holiday Lets - Foto 46
Truly Kentish Holiday Lets - Foto 47
Truly Kentish Holiday Lets - Foto 48
Truly Kentish Holiday Lets - Foto 49
Truly Kentish Holiday Lets - Foto 50
Truly Kentish Holiday Lets - Foto 51
Truly Kentish Holiday Lets - Foto 52
Truly Kentish Holiday Lets - Foto 53
Truly Kentish Holiday Lets - Foto 54
Truly Kentish Holiday Lets - Foto 55
Truly Kentish Holiday Lets - Foto 56
Truly Kentish Holiday Lets - Foto 57
Truly Kentish Holiday Lets - Foto 58
Truly Kentish Holiday Lets - Foto 59
Truly Kentish Holiday Lets - Foto 60
Truly Kentish Holiday Lets - Foto 61
Truly Kentish Holiday Lets - Foto 62
Truly Kentish Holiday Lets - Foto 63
Truly Kentish Holiday Lets - Foto 64
Truly Kentish Holiday Lets - Foto 65
Truly Kentish Holiday Lets - Foto 66
Truly Kentish Holiday Lets - Foto 67
Truly Kentish Holiday Lets - Foto 68
Truly Kentish Holiday Lets - Foto 69
Truly Kentish Holiday Lets - Foto 70
Truly Kentish Holiday Lets - Foto 71
Truly Kentish Holiday Lets - Foto 72
Truly Kentish Holiday Lets - Foto 73
Truly Kentish Holiday Lets - Foto 74
Truly Kentish Holiday Lets - Foto 75
Truly Kentish Holiday Lets - Foto 76
Truly Kentish Holiday Lets - Foto 77
Truly Kentish Holiday Lets - Foto 78
Truly Kentish Holiday Lets - Foto 79
Truly Kentish Holiday Lets - Foto 80
Truly Kentish Holiday Lets - Foto 81
Truly Kentish Holiday Lets - Foto 82
Truly Kentish Holiday Lets - Foto 83
Truly Kentish Holiday Lets - Foto 84
Truly Kentish Holiday Lets - Foto 85
Truly Kentish Holiday Lets - Foto 86
Truly Kentish Holiday Lets - Foto 87
Truly Kentish Holiday Lets - Foto 88

Truly Kentish Holiday Lets

Sittingbourne - Sittingbourne

  • 30 M2
  • 4 personas
  • Calefacción
  • Terraza
  • Parking
  • Jardín
  • Televisión
  • Barbacoa
  • Toallas
  • Sábanas
10Magnífico | 10 reseñas
Yew Tree House - Foto 1
Yew Tree House - Foto 2
Yew Tree House - Foto 3
Yew Tree House - Foto 4
Yew Tree House - Foto 5
Yew Tree House - Foto 6
Yew Tree House - Foto 7
Yew Tree House - Foto 8
Yew Tree House - Foto 9
Yew Tree House - Foto 10
Yew Tree House - Foto 11
Yew Tree House - Foto 12
Yew Tree House - Foto 13
Yew Tree House - Foto 14
Yew Tree House - Foto 15
Yew Tree House - Foto 16
Yew Tree House - Foto 17
Yew Tree House - Foto 18
Yew Tree House - Foto 19
Yew Tree House - Foto 20
Yew Tree House - Foto 21
Yew Tree House - Foto 22
Yew Tree House - Foto 23
Yew Tree House - Foto 24
Yew Tree House - Foto 25
Yew Tree House - Foto 26
Yew Tree House - Foto 27
Yew Tree House - Foto 28
Yew Tree House - Foto 29
Yew Tree House - Foto 30
Yew Tree House - Foto 31
Yew Tree House - Foto 32
Yew Tree House - Foto 33
Yew Tree House - Foto 34
Yew Tree House - Foto 35
Yew Tree House - Foto 36
Yew Tree House - Foto 37
Yew Tree House - Foto 38
Yew Tree House - Foto 39
Yew Tree House - Foto 40
Yew Tree House - Foto 41
Yew Tree House - Foto 42
Yew Tree House - Foto 43
Yew Tree House - Foto 44
Yew Tree House - Foto 45
Yew Tree House - Foto 46
Yew Tree House - Foto 47
Yew Tree House - Foto 48
Yew Tree House - Foto 49
Yew Tree House - Foto 50
Yew Tree House - Foto 51
Yew Tree House - Foto 52
Yew Tree House - Foto 53
Yew Tree House - Foto 54
Yew Tree House - Foto 55
Yew Tree House - Foto 56
Yew Tree House - Foto 57
Yew Tree House - Foto 58
Yew Tree House - Foto 59
Yew Tree House - Foto 60
Yew Tree House - Foto 61
Yew Tree House - Foto 62
Yew Tree House - Foto 63
Yew Tree House - Foto 64
Yew Tree House - Foto 65
Yew Tree House - Foto 66
Yew Tree House - Foto 67
Yew Tree House - Foto 68
Yew Tree House - Foto 69
Yew Tree House - Foto 70
Yew Tree House - Foto 71
Yew Tree House - Foto 72
Yew Tree House - Foto 73
Yew Tree House - Foto 74
Yew Tree House - Foto 75
Yew Tree House - Foto 76
Yew Tree House - Foto 77
Yew Tree House - Foto 78
Yew Tree House - Foto 79
Yew Tree House - Foto 80
Yew Tree House - Foto 81
Yew Tree House - Foto 82
Yew Tree House - Foto 83
Yew Tree House - Foto 84
Yew Tree House - Foto 85
Yew Tree House - Foto 86
Yew Tree House - Foto 87
Yew Tree House - Foto 88
Yew Tree House - Foto 89
Yew Tree House - Foto 90
Yew Tree House - Foto 91
Yew Tree House - Foto 92
Yew Tree House - Foto 93
Yew Tree House - Foto 94
Yew Tree House - Foto 95
Yew Tree House - Foto 96
Yew Tree House - Foto 97
Yew Tree House - Foto 98
Yew Tree House - Foto 99
Yew Tree House - Foto 100
Yew Tree House - Foto 101
Yew Tree House - Foto 102
Yew Tree House - Foto 103
Yew Tree House - Foto 104
Yew Tree House - Foto 105
Yew Tree House - Foto 106
Yew Tree House - Foto 107
Yew Tree House - Foto 108
Yew Tree House - Foto 109
Yew Tree House - Foto 110
Yew Tree House - Foto 111
Yew Tree House - Foto 112
Yew Tree House - Foto 113
Yew Tree House - Foto 114
Yew Tree House - Foto 115
Yew Tree House - Foto 116
Yew Tree House - Foto 117

Yew Tree House

Woodstock - Woodstock

  • 58 M2
  • 2 personas
  • Calefacción
  • Terraza
  • Parking
  • Balcón
  • Jardín
  • Televisión
  • Toallas
  • Sábanas
10Magnífico | 31 reseñas
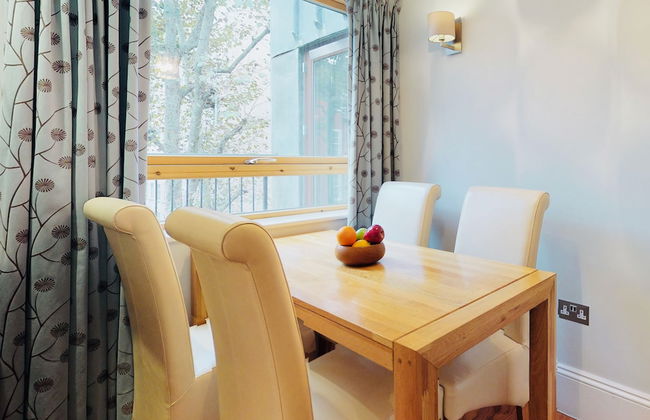
Ceilidh Cottage - Foto 1
Ceilidh Cottage - Foto 2
Ceilidh Cottage - Foto 3
Ceilidh Cottage - Foto 4
Ceilidh Cottage - Foto 5
Ceilidh Cottage - Foto 6
Ceilidh Cottage - Foto 7
Ceilidh Cottage - Foto 8
Ceilidh Cottage - Foto 9
Ceilidh Cottage - Foto 10
Ceilidh Cottage - Foto 11
Ceilidh Cottage - Foto 12
Ceilidh Cottage - Foto 13
Ceilidh Cottage - Foto 14
Ceilidh Cottage - Foto 15
Ceilidh Cottage - Foto 16
Ceilidh Cottage - Foto 17
Ceilidh Cottage - Foto 18
Ceilidh Cottage - Foto 19
Ceilidh Cottage - Foto 20
Ceilidh Cottage - Foto 21
Ceilidh Cottage - Foto 22
Ceilidh Cottage - Foto 23
Ceilidh Cottage - Foto 24
Ceilidh Cottage - Foto 25
Ceilidh Cottage - Foto 26
Ceilidh Cottage - Foto 27
Ceilidh Cottage - Foto 28
Ceilidh Cottage - Foto 29
Ceilidh Cottage - Foto 30
Ceilidh Cottage - Foto 31
Ceilidh Cottage - Foto 32
Ceilidh Cottage - Foto 33
Ceilidh Cottage - Foto 34
Ceilidh Cottage - Foto 35
Ceilidh Cottage - Foto 36
Ceilidh Cottage - Foto 37
Ceilidh Cottage - Foto 38
Ceilidh Cottage - Foto 39
Ceilidh Cottage - Foto 40
Ceilidh Cottage - Foto 41
Ceilidh Cottage - Foto 42
Ceilidh Cottage - Foto 43
Ceilidh Cottage - Foto 44
Ceilidh Cottage - Foto 45
Ceilidh Cottage - Foto 46
Ceilidh Cottage - Foto 47
Ceilidh Cottage - Foto 48
Ceilidh Cottage - Foto 49
Ceilidh Cottage - Foto 50
Ceilidh Cottage - Foto 51
Ceilidh Cottage - Foto 52
Ceilidh Cottage - Foto 53
Ceilidh Cottage - Foto 54
Ceilidh Cottage - Foto 55
Ceilidh Cottage - Foto 56
Ceilidh Cottage - Foto 57
Ceilidh Cottage - Foto 58
Ceilidh Cottage - Foto 59
Ceilidh Cottage - Foto 60
Ceilidh Cottage - Foto 61
Ceilidh Cottage - Foto 62
Ceilidh Cottage - Foto 63
Ceilidh Cottage - Foto 64
Ceilidh Cottage - Foto 65
Ceilidh Cottage - Foto 66
Ceilidh Cottage - Foto 67
Ceilidh Cottage - Foto 68
Ceilidh Cottage - Foto 69
Ceilidh Cottage - Foto 70
Ceilidh Cottage - Foto 71
Ceilidh Cottage - Foto 72
Ceilidh Cottage - Foto 73
Ceilidh Cottage - Foto 74

Ceilidh Cottage

York - Alne - A 17.3 km del centro

  • 75 M2
  • 2 habitaciones
  • 4 personas
  • Calefacción
  • Terraza
  • Parking
  • Jardín
  • Televisión
  • Lavadora
  • Chimenea
  • Barbacoa
  • Toallas
  • Sábanas
10Magnífico | 14 reseñas
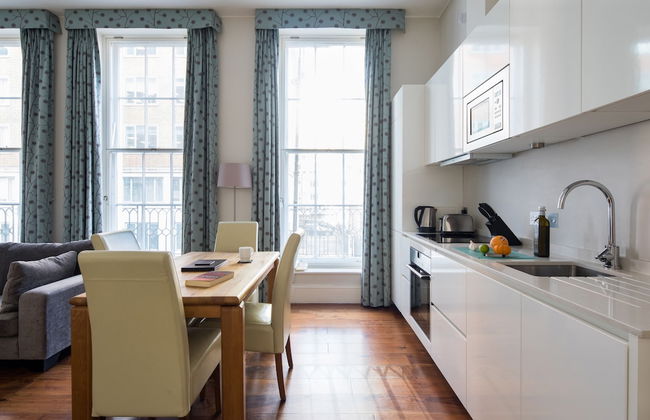
Tresowes Green Cottage - Foto 1
Tresowes Green Cottage - Foto 2
Tresowes Green Cottage - Foto 3
Tresowes Green Cottage - Foto 4
Tresowes Green Cottage - Foto 5
Tresowes Green Cottage - Foto 6
Tresowes Green Cottage - Foto 7
Tresowes Green Cottage - Foto 8
Tresowes Green Cottage - Foto 9
Tresowes Green Cottage - Foto 10
Tresowes Green Cottage - Foto 11
Tresowes Green Cottage - Foto 12
Tresowes Green Cottage - Foto 13
Tresowes Green Cottage - Foto 14
Tresowes Green Cottage - Foto 15
Tresowes Green Cottage - Foto 16
Tresowes Green Cottage - Foto 17
Tresowes Green Cottage - Foto 18
Tresowes Green Cottage - Foto 19
Tresowes Green Cottage - Foto 20
Tresowes Green Cottage - Foto 21
Tresowes Green Cottage - Foto 22
Tresowes Green Cottage - Foto 23
Tresowes Green Cottage - Foto 24
Tresowes Green Cottage - Foto 25
Tresowes Green Cottage - Foto 26
Tresowes Green Cottage - Foto 27
Tresowes Green Cottage - Foto 28
Tresowes Green Cottage - Foto 29
Tresowes Green Cottage - Foto 30
Tresowes Green Cottage - Foto 31
Tresowes Green Cottage - Foto 32
Tresowes Green Cottage - Foto 33
Tresowes Green Cottage - Foto 34
Tresowes Green Cottage - Foto 35
Tresowes Green Cottage - Foto 36
Tresowes Green Cottage - Foto 37
Tresowes Green Cottage - Foto 38
Tresowes Green Cottage - Foto 39
Tresowes Green Cottage - Foto 40
Tresowes Green Cottage - Foto 41
Tresowes Green Cottage - Foto 42
Tresowes Green Cottage - Foto 43
Tresowes Green Cottage - Foto 44
Tresowes Green Cottage - Foto 45
Tresowes Green Cottage - Foto 46
Tresowes Green Cottage - Foto 47
Tresowes Green Cottage - Foto 48
Tresowes Green Cottage - Foto 49
Tresowes Green Cottage - Foto 50
Tresowes Green Cottage - Foto 51
Tresowes Green Cottage - Foto 52
Tresowes Green Cottage - Foto 53
Tresowes Green Cottage - Foto 54
Tresowes Green Cottage - Foto 55
Tresowes Green Cottage - Foto 56
Tresowes Green Cottage - Foto 57
Tresowes Green Cottage - Foto 58
Tresowes Green Cottage - Foto 59
Tresowes Green Cottage - Foto 60
Tresowes Green Cottage - Foto 61
Tresowes Green Cottage - Foto 62
Tresowes Green Cottage - Foto 63
Tresowes Green Cottage - Foto 64
Tresowes Green Cottage - Foto 65
Tresowes Green Cottage - Foto 66
Tresowes Green Cottage - Foto 67
Tresowes Green Cottage - Foto 68
Tresowes Green Cottage - Foto 69
Tresowes Green Cottage - Foto 70
Tresowes Green Cottage - Foto 71
Tresowes Green Cottage - Foto 72
Tresowes Green Cottage - Foto 73
Tresowes Green Cottage - Foto 74
Tresowes Green Cottage - Foto 75
Tresowes Green Cottage - Foto 76
Tresowes Green Cottage - Foto 77
Tresowes Green Cottage - Foto 78
Tresowes Green Cottage - Foto 79
Tresowes Green Cottage - Foto 80
Tresowes Green Cottage - Foto 81
Tresowes Green Cottage - Foto 82
Tresowes Green Cottage - Foto 83
Tresowes Green Cottage - Foto 84
Tresowes Green Cottage - Foto 85
Tresowes Green Cottage - Foto 86
Tresowes Green Cottage - Foto 87
Tresowes Green Cottage - Foto 88
Tresowes Green Cottage - Foto 89
Tresowes Green Cottage - Foto 90
Tresowes Green Cottage - Foto 91
Tresowes Green Cottage - Foto 92
Tresowes Green Cottage - Foto 93
Tresowes Green Cottage - Foto 94
Tresowes Green Cottage - Foto 95
Tresowes Green Cottage - Foto 96
Tresowes Green Cottage - Foto 97

Tresowes Green Cottage

Helston - Ashton

  • 80 M2
  • 2 habitaciones
  • 4 personas
  • Calefacción
  • Terraza
  • Parking
  • Jardín
  • Televisión
  • Lavadora
  • Chimenea
  • Barbacoa
  • Toallas
  • Sábanas
10Magnífico | 12 reseñas
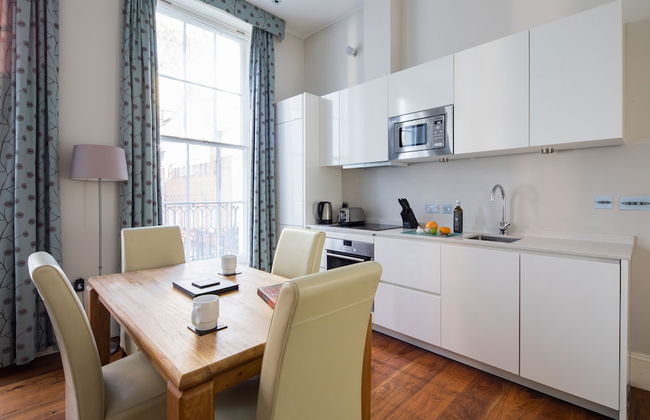
Marshlands Apartment - Foto 1
Marshlands Apartment - Foto 2
Marshlands Apartment - Foto 3
Marshlands Apartment - Foto 4
Marshlands Apartment - Foto 5
Marshlands Apartment - Foto 6
Marshlands Apartment - Foto 7
Marshlands Apartment - Foto 8
Marshlands Apartment - Foto 9
Marshlands Apartment - Foto 10
Marshlands Apartment - Foto 11
Marshlands Apartment - Foto 12
Marshlands Apartment - Foto 13
Marshlands Apartment - Foto 14
Marshlands Apartment - Foto 15
Marshlands Apartment - Foto 16
Marshlands Apartment - Foto 17
Marshlands Apartment - Foto 18
Marshlands Apartment - Foto 19
Marshlands Apartment - Foto 20
Marshlands Apartment - Foto 21
Marshlands Apartment - Foto 22
Marshlands Apartment - Foto 23
Marshlands Apartment - Foto 24
Marshlands Apartment - Foto 25
Marshlands Apartment - Foto 26
Marshlands Apartment - Foto 27
Marshlands Apartment - Foto 28
Marshlands Apartment - Foto 29
Marshlands Apartment - Foto 30
Marshlands Apartment - Foto 31
Marshlands Apartment - Foto 32
Marshlands Apartment - Foto 33
Marshlands Apartment - Foto 34
Marshlands Apartment - Foto 35
Marshlands Apartment - Foto 36

Marshlands Apartment

Lewes - Lewes - A 1.1 km del centro

  • 50 M2
  • 1 habitación
  • 2 personas
  • Calefacción
  • Terraza
  • Parking
  • Jardín
  • Televisión
  • Lavadora
  • Toallas
  • Sábanas
10Magnífico | 11 reseñas
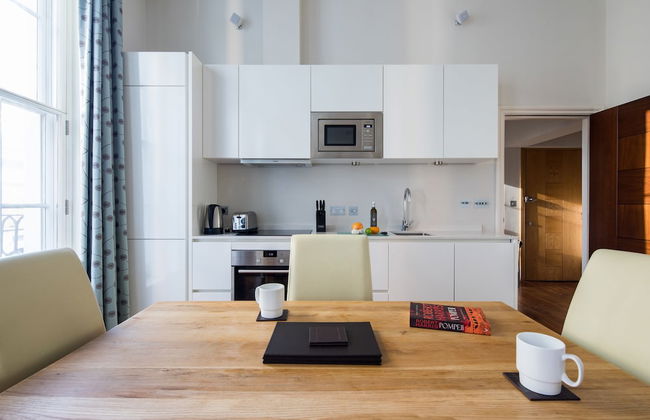
Destinos relacionados