
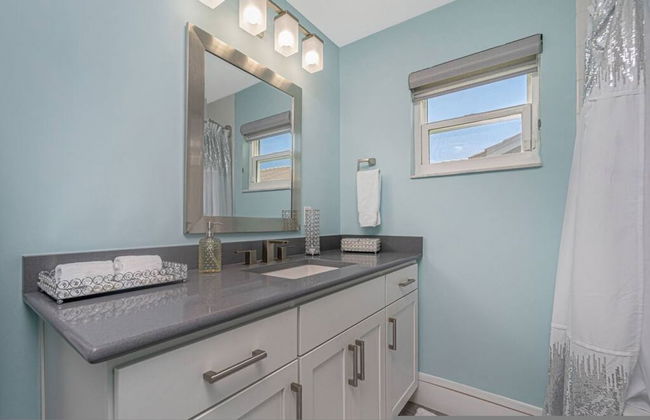
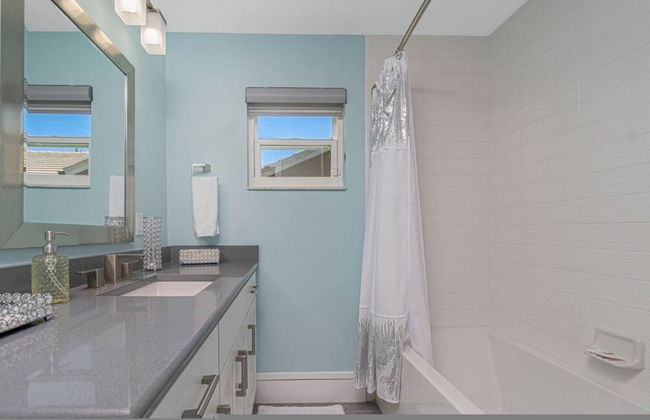
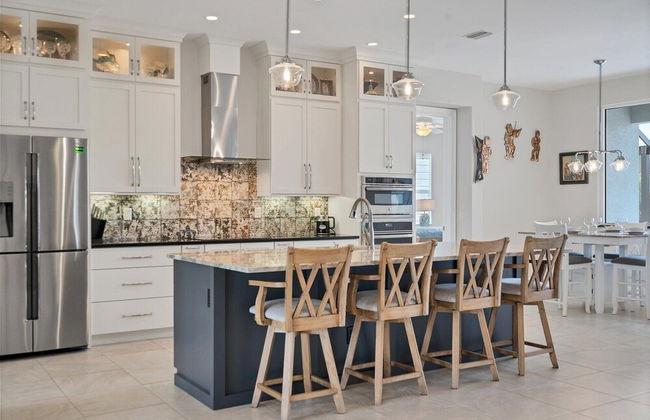
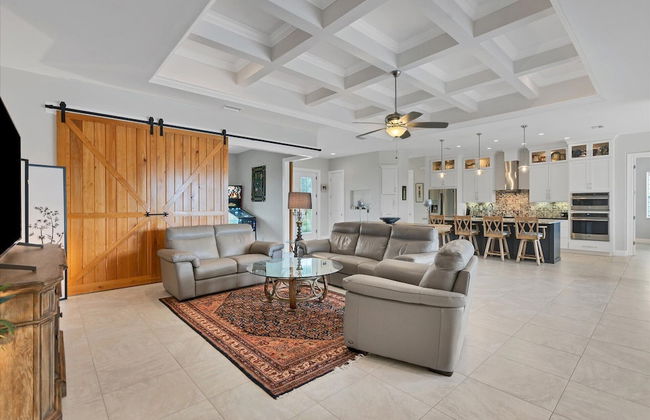
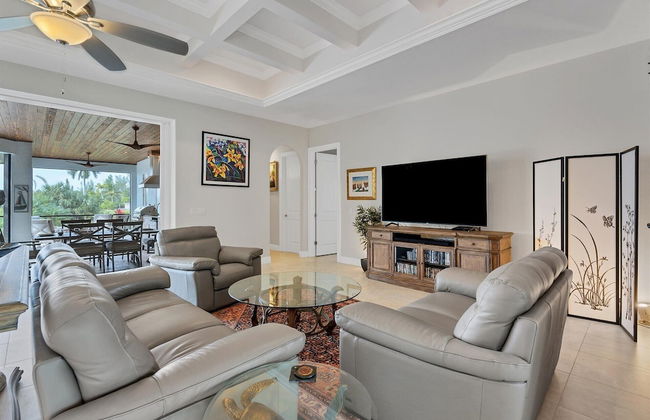
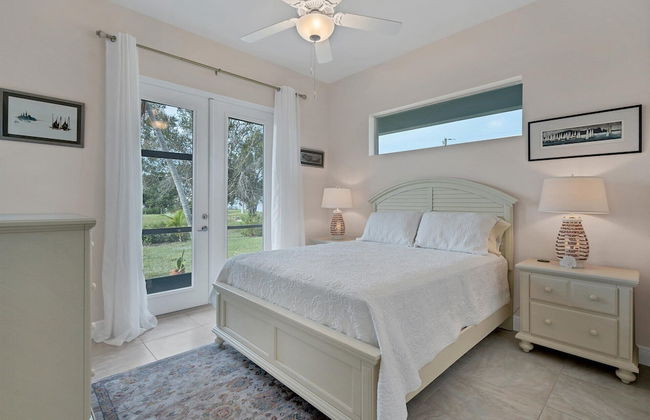
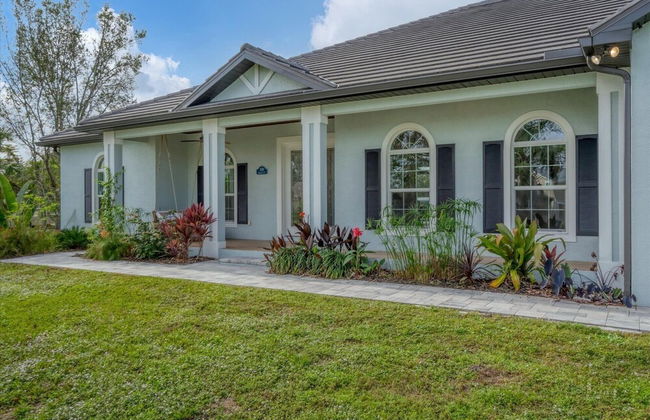
125 Apartamentos en Charlotte


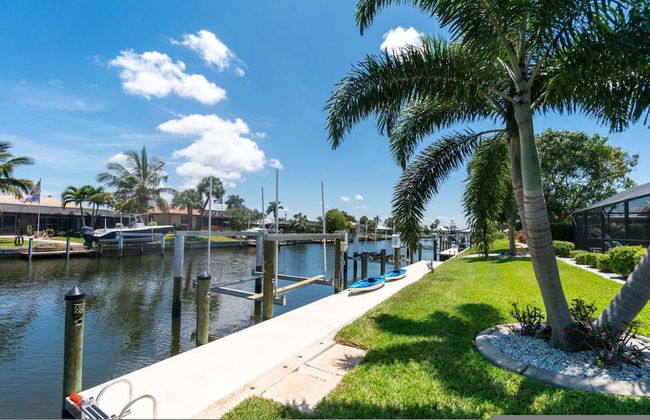
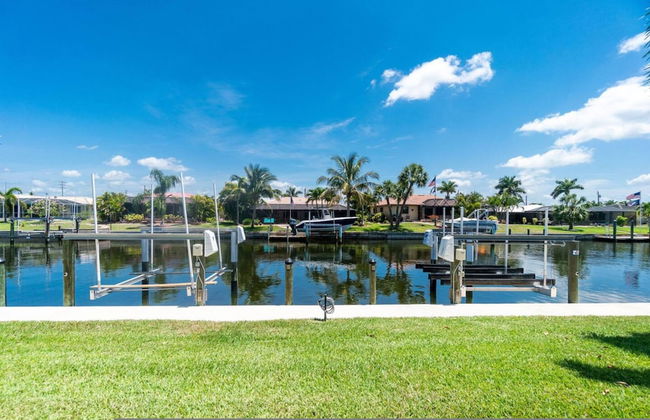
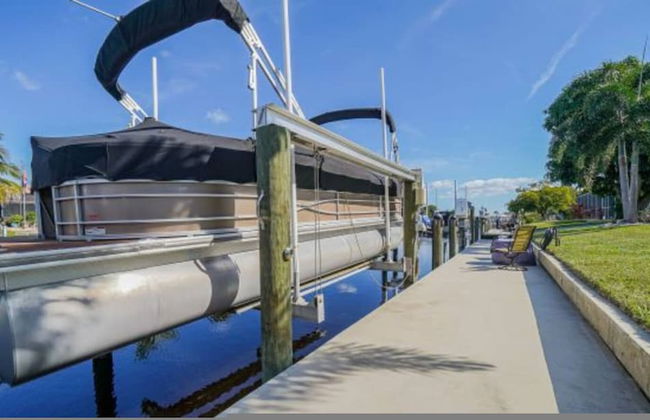
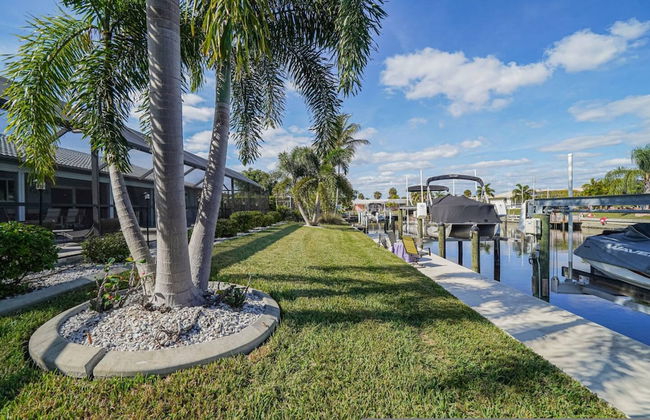
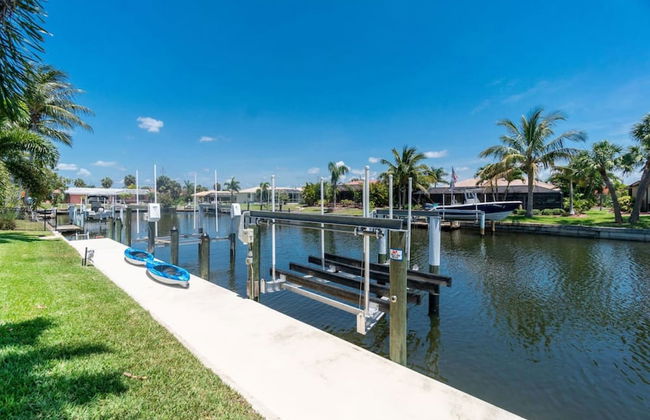
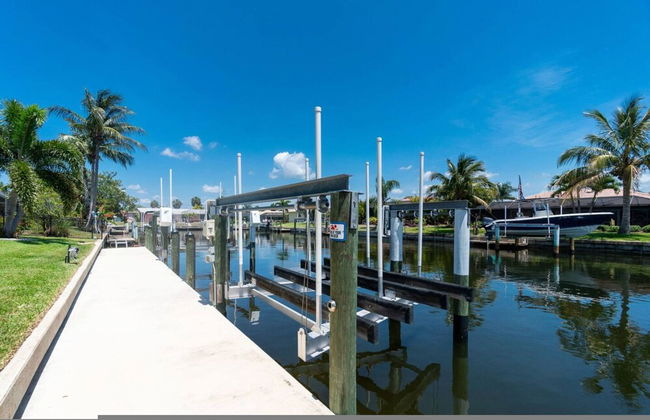
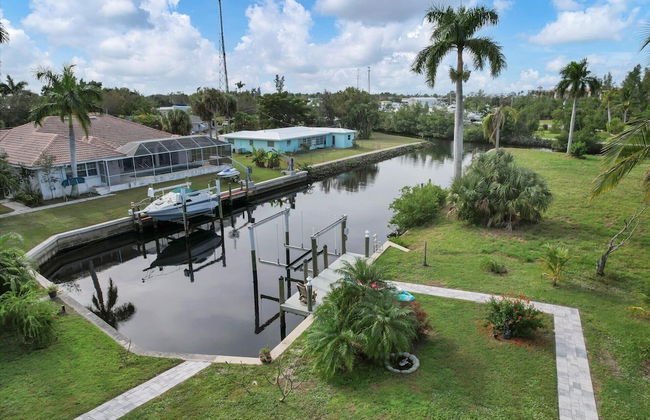
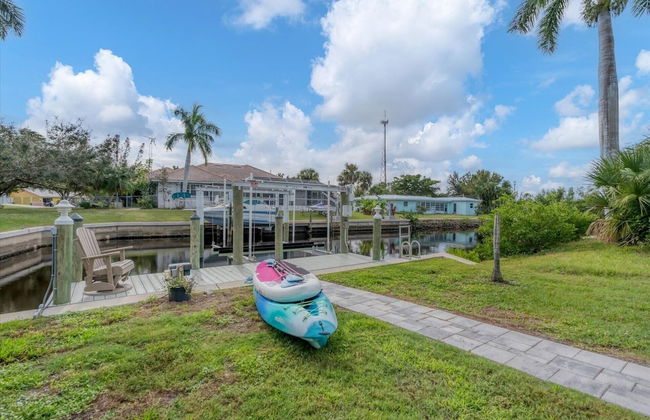
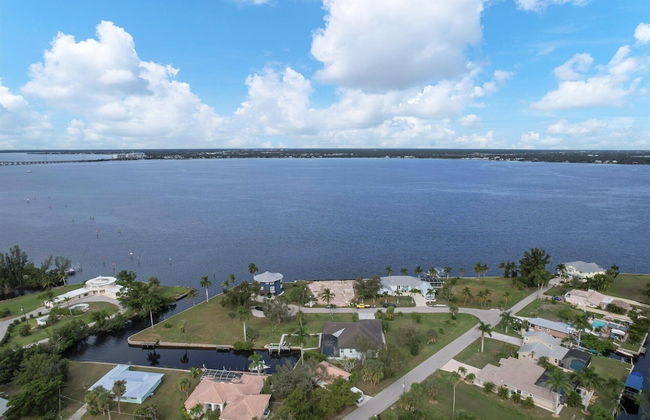
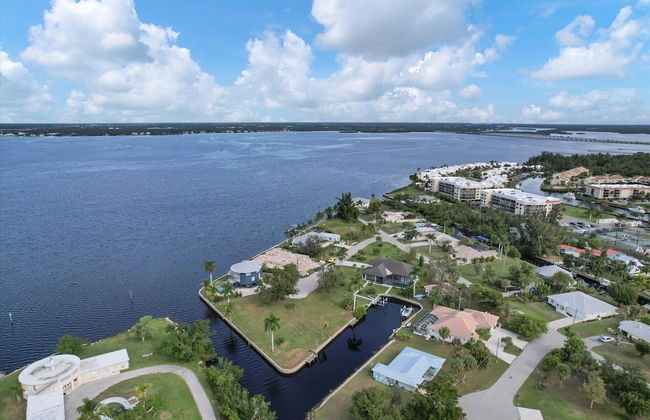
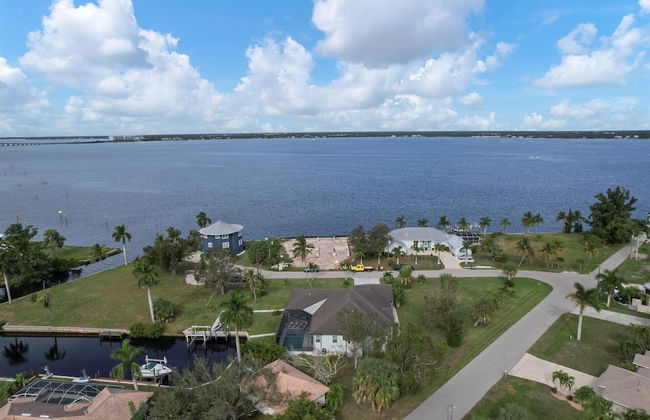
Chadwick Cove Resort & Marina
Englewood
- 130 M2
- 10 personas
- Aire acondicionado
- Calefacción
- Parking
- Balcón
- Televisión
- Chimenea
- Barbacoa
- Toallas
- Sábanas
5 reseñas

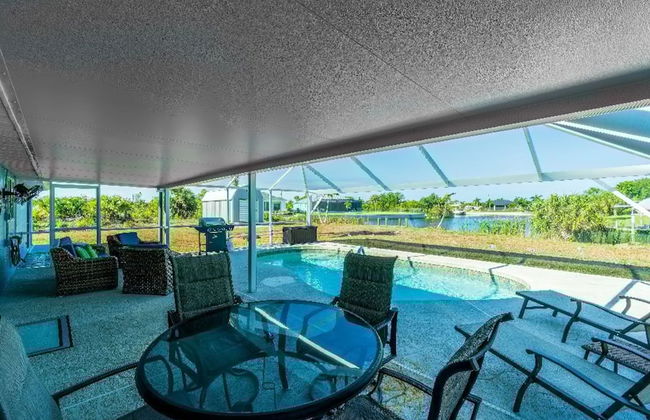


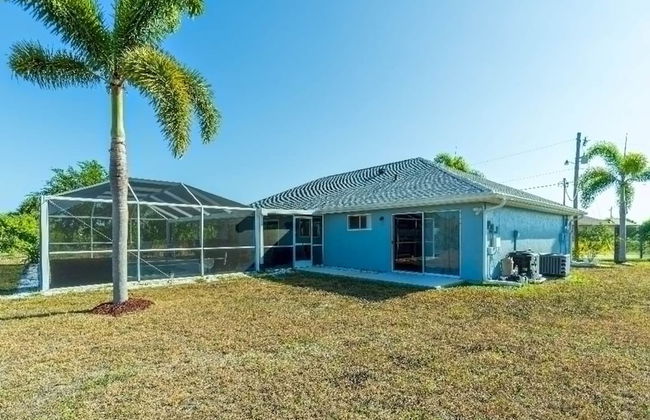


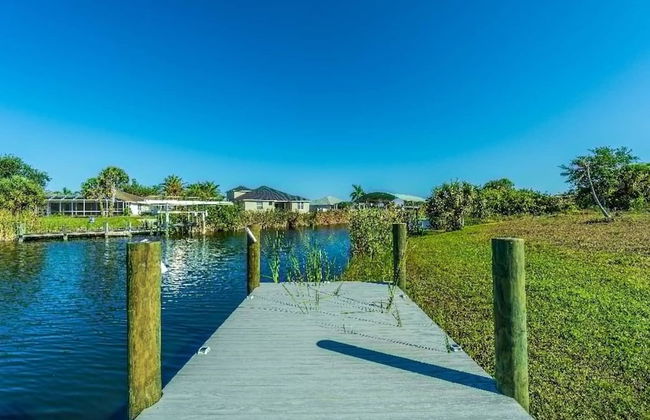
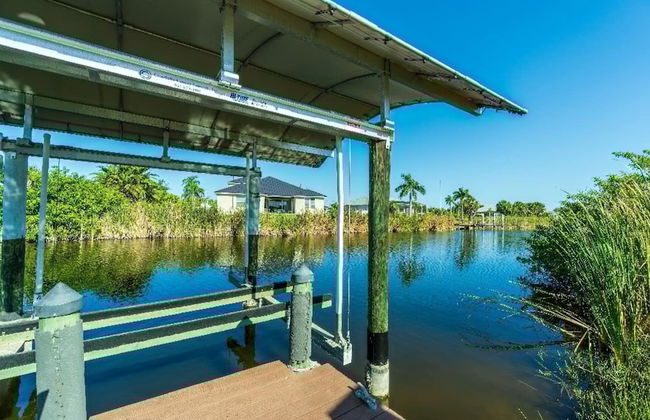


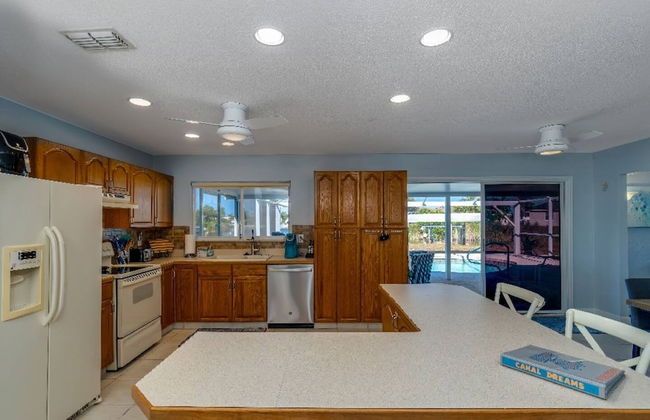
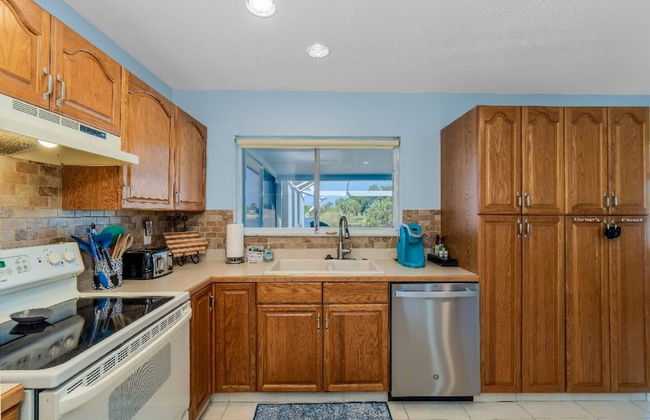


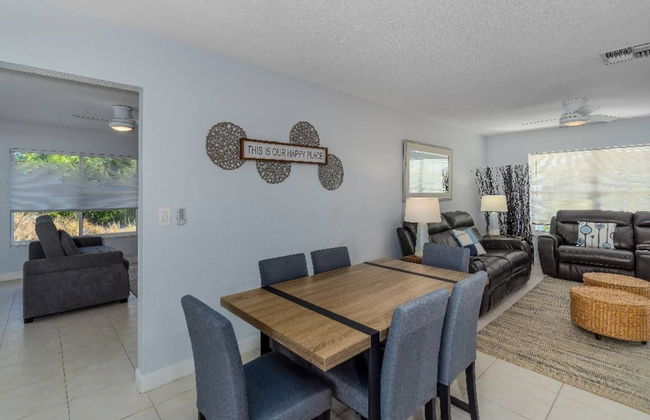
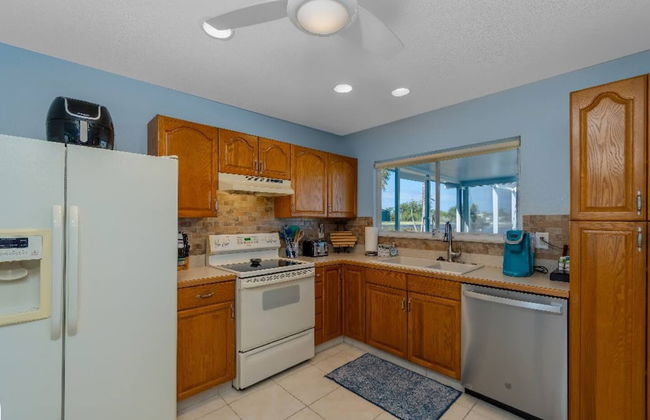


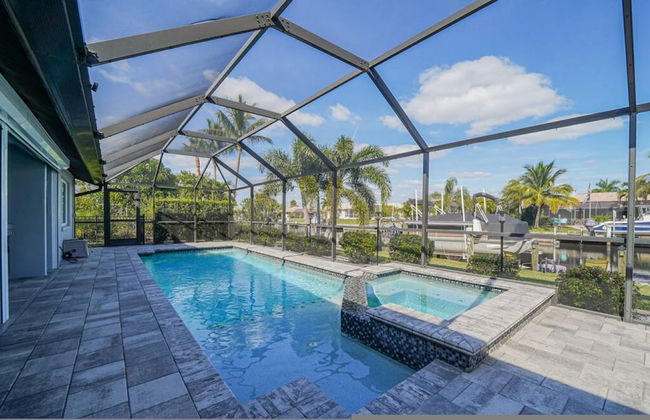
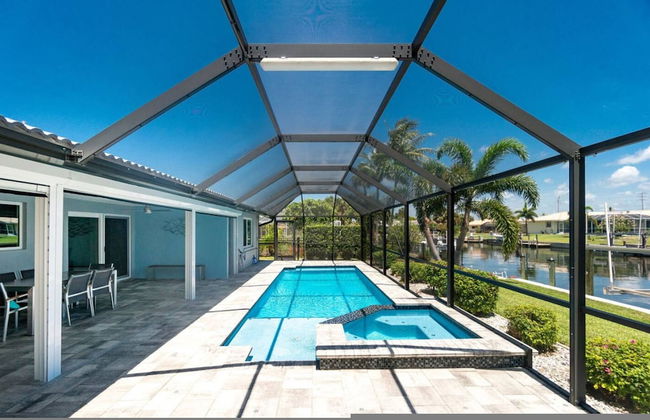
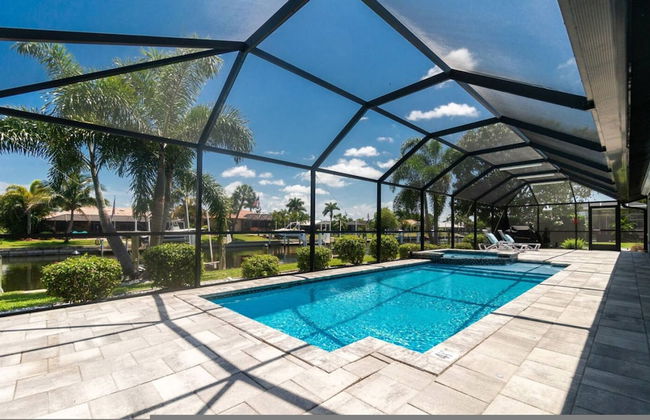
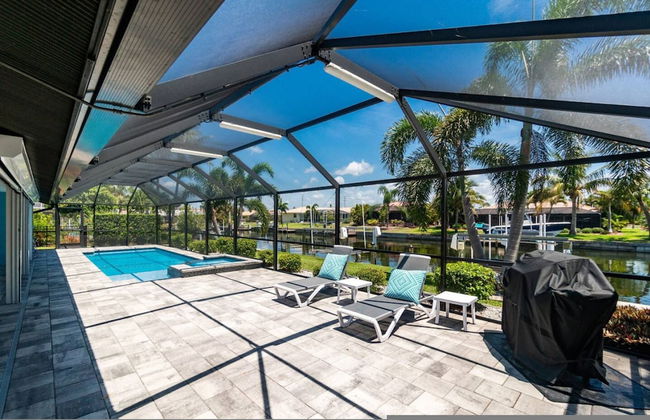
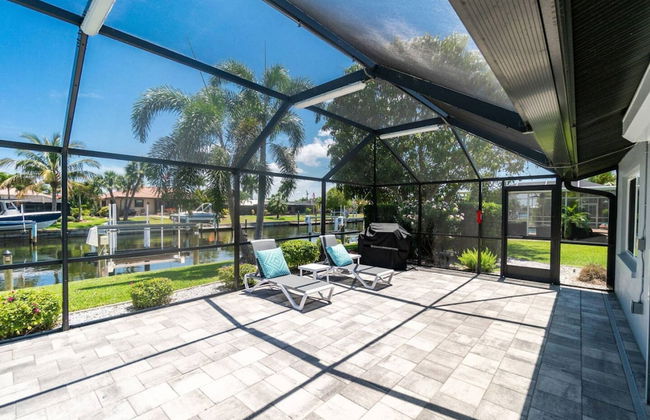
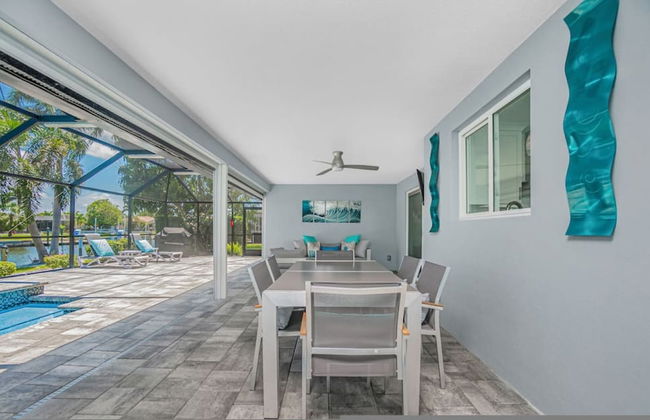
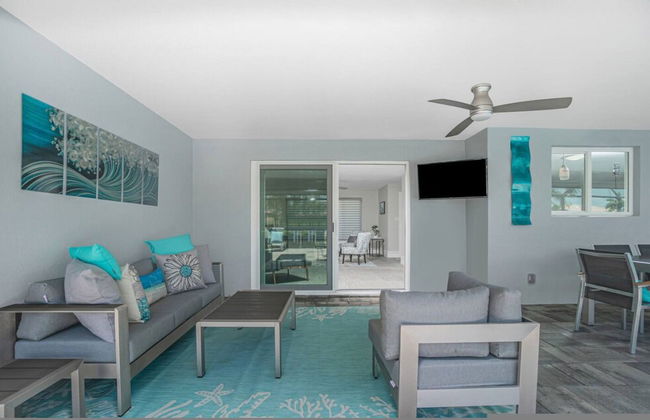
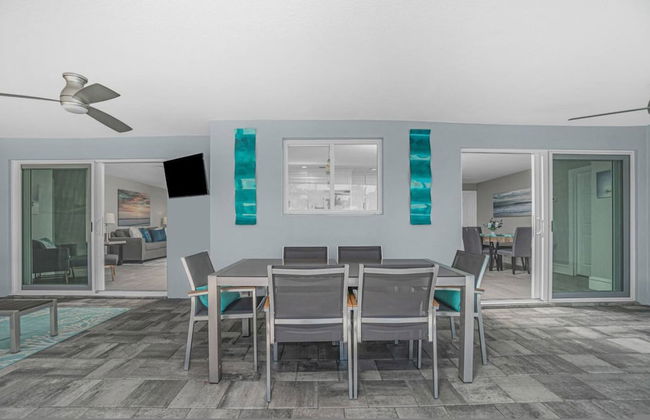
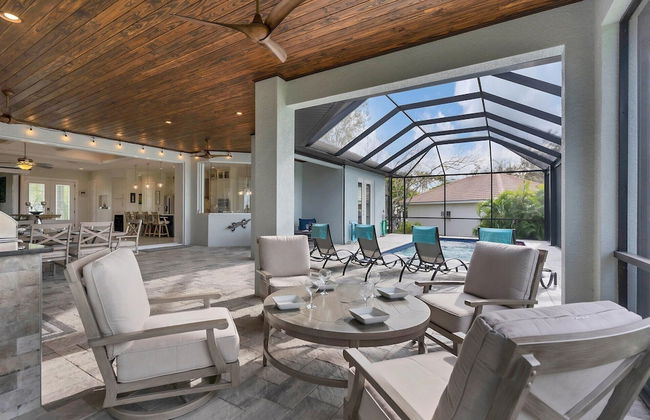
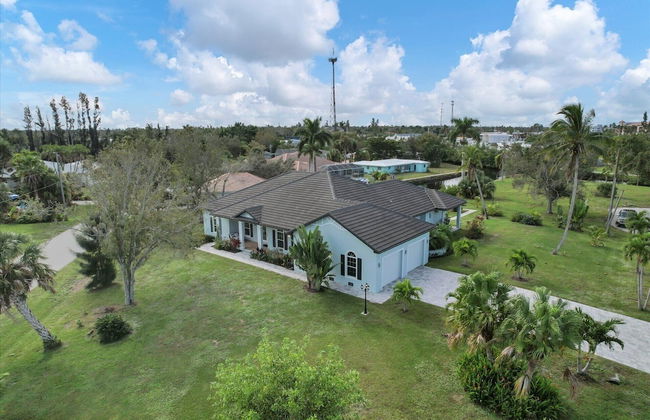
Canal Dreams 3 BR 2 BA Pool Home on the Canal
Port Charlotte
- 139 M2
- 6 personas
- Aire acondicionado
- Calefacción
- Piscina
- Balcón
- Jardín
- Televisión
- Lavadora
- Barbacoa
- Toallas
- Sábanas
1 reseña


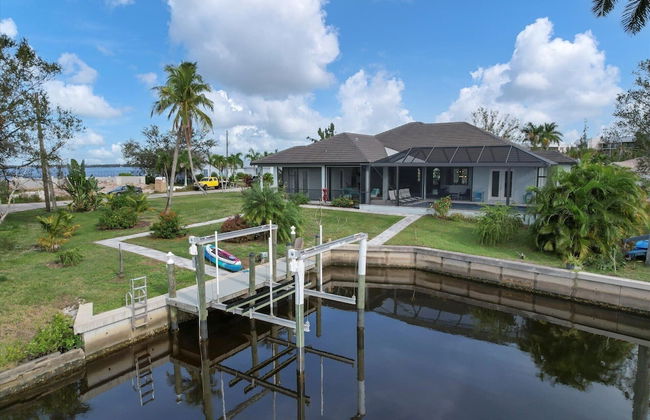
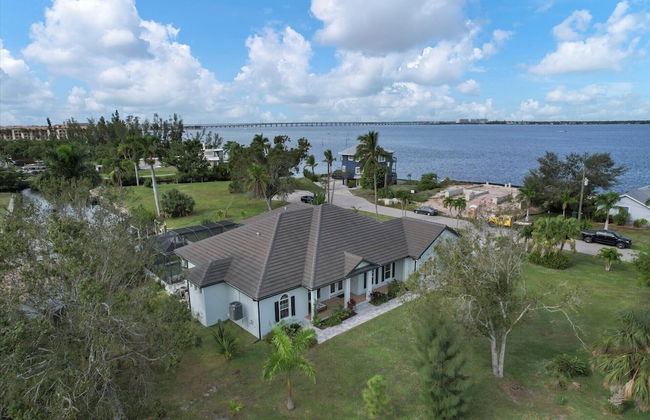
974 Rotonda Circle
Rotonda West
- 201 M2
- 8 personas
- Aire acondicionado
- Calefacción
- Piscina
- Parking
- Balcón
- Televisión
- Lavadora
- Barbacoa
- Toallas
- Sábanas
1 reseña


15826 Aqua Circle
Port Charlotte
- 148 M2
- 6 personas
- Aire acondicionado
- Calefacción
- Terraza
- Piscina
- Parking
- Balcón
- Televisión
- Lavadora
- Toallas
- Sábanas


8138 Arlewood Circle
Port Charlotte
- 186 M2
- 7 personas
- Aire acondicionado
- Calefacción
- Terraza
- Piscina
- Parking
- Televisión
- Lavadora
- Barbacoa
- Toallas
- Sábanas


1140 la Palma Court
Punta - A 3.1 km del centro
- 205 M2
- 6 personas
- Aire acondicionado
- Calefacción
- Terraza
- Piscina
- Parking
- Balcón
- Televisión
- Lavadora
- Toallas
- Sábanas


293 Mendoza Street
Punta - A 9.8 km del centro
- 158 M2
- 6 personas
- Calefacción
- Terraza
- Piscina
- Parking
- Televisión
- Lavadora
- Barbacoa
- Toallas
- Sábanas


The Lazy Tortuga in Port Charlotte
Port Charlotte
- 222 M2
- 8 personas
- Aire acondicionado
- Calefacción
- Piscina
- Balcón
- Televisión
- Lavadora
- Barbacoa
- Toallas
- Sábanas


14141 Heritage Landing Blvd #931
Punta - A 12.1 km del centro
- 131 M2
- 6 personas
- Piscina
- Parking
- Ascensor
- Televisión
- Lavadora
- Toallas
- Sábanas


V Tranquility - Waterfront Villa Free Heated Pool Beach Fishing Gear Kayaks Bikes Dock
Punta - A 2.1 km del centro
- 180 M2
- 9 personas
- Aire acondicionado
- Calefacción
- Piscina
- Parking
- Jardín
- Televisión
- Lavadora
- Barbacoa
- Toallas
- Sábanas


V Tropical-waterfront-free Heated Pool- Beach and Fishing Gear Bikes Kayaks
Punta - A 1.5 km del centro
- 182 M2
- 8 personas
- Aire acondicionado
- Calefacción
- Piscina
- Parking
- Jardín
- Televisión
- Lavadora
- Chimenea
- Toallas
- Sábanas


Sunny Breezes Villa in Port Charlotte
Port Charlotte
- 185 M2
- 6 personas
- Aire acondicionado
- Calefacción
- Piscina
- Televisión
- Lavadora
- Barbacoa
- Toallas
- Sábanas


V Hibiscus Free Heated Pool Dock Bikes Kayaks Fishing Gear-walk to Fishermen s Village
Punta - A 960 m del centro
- 233 M2
- 10 personas
- Aire acondicionado
- Calefacción
- Piscina
- Parking
- Jardín
- Televisión
- Lavadora
- Barbacoa
- Toallas
- Sábanas


Gogo House in Port Charlotte
Port Charlotte
- 148 M2
- 6 personas
- Aire acondicionado
- Calefacción
- Piscina
- Balcón
- Televisión
- Lavadora
- Barbacoa
- Toallas
- Sábanas


15736 Lakeland Circle
Port Charlotte
- 177 M2
- 6 personas
- Aire acondicionado
- Calefacción
- Piscina
- Parking
- Balcón
- Televisión
- Lavadora
- Barbacoa
- Toallas
- Sábanas


917 Conecta Drive
Punta - A 1.8 km del centro
- 146 M2
- 6 personas
- Aire acondicionado
- Calefacción
- Piscina
- Parking
- Balcón
- Televisión
- Lavadora
- Barbacoa
- Toallas
- Sábanas


Bubbles UP BAY
Punta - A 760 m del centro
- 171 M2
- 6 personas
- Aire acondicionado
- Calefacción
- Piscina
- Parking
- Balcón
- Televisión
- Lavadora
- Barbacoa
- Toallas
- Sábanas


14422 Maysville Circle
Port Charlotte
- 203 M2
- 6 personas
- Aire acondicionado
- Calefacción
- Piscina
- Parking
- Balcón
- Televisión
- Lavadora
- Toallas
- Sábanas