
719 Apartamentos en Charlotte


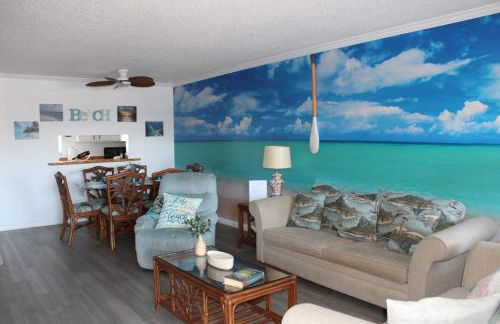
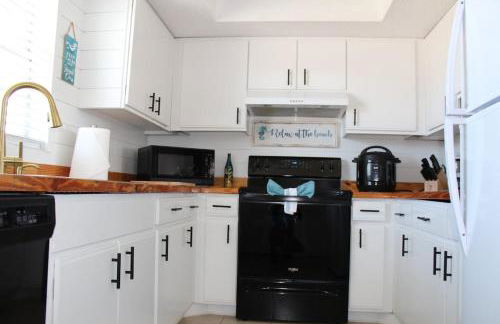
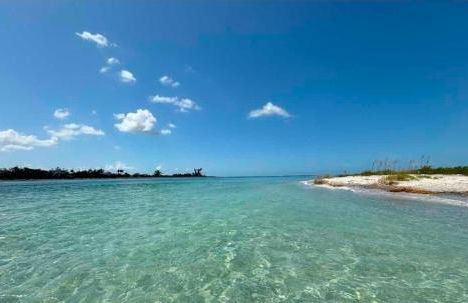
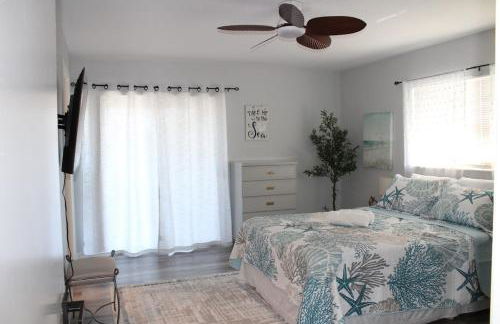
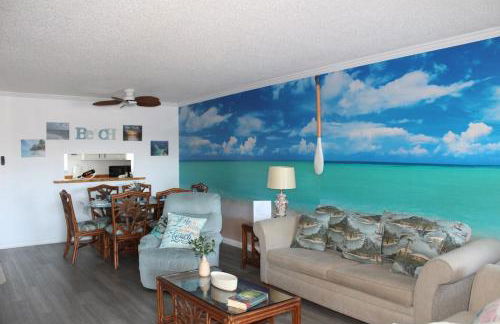
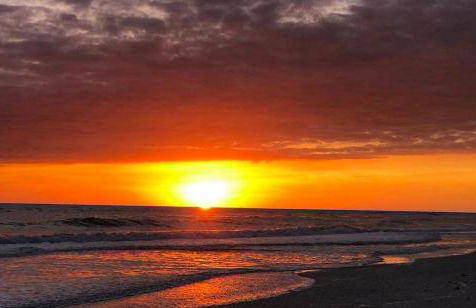
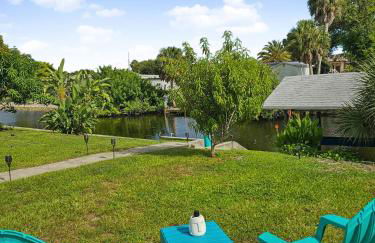
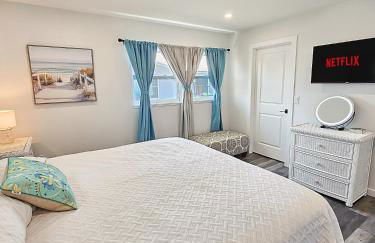
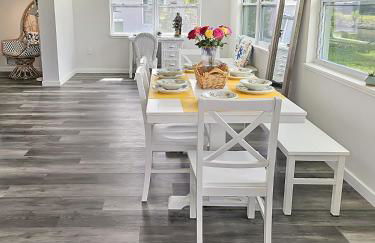
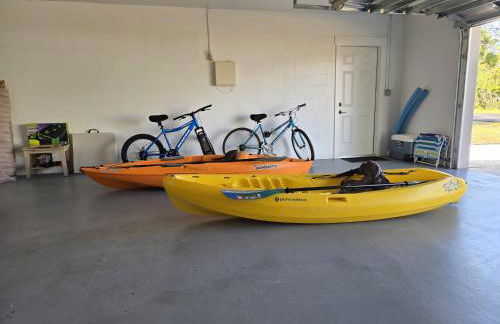
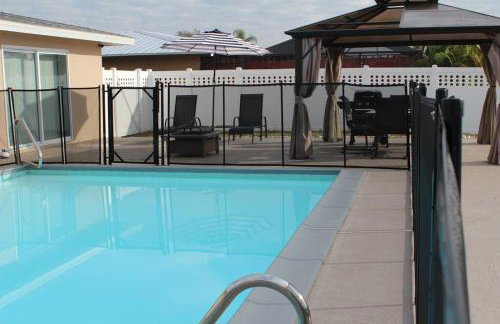
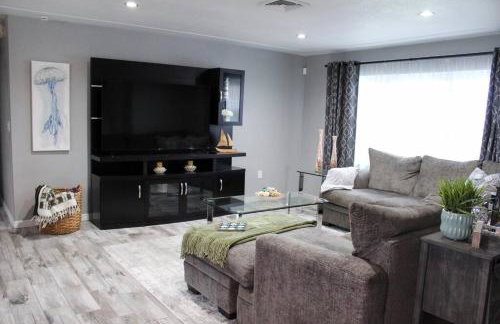
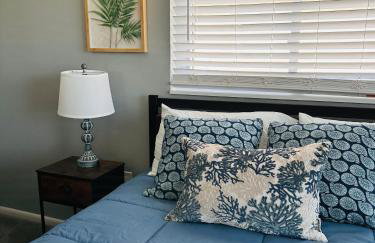
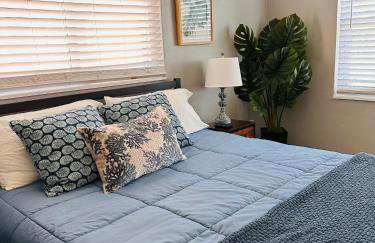
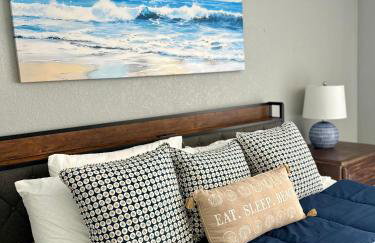
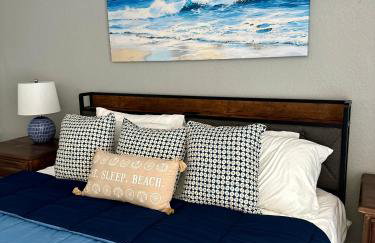
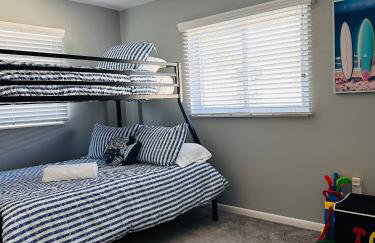
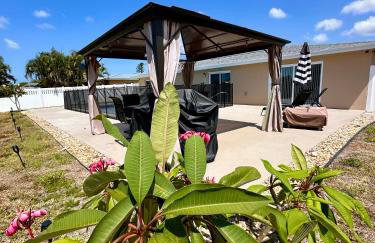
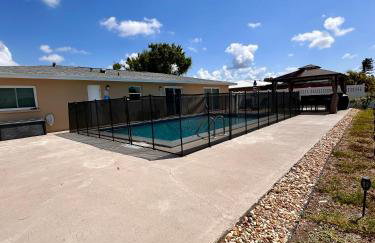
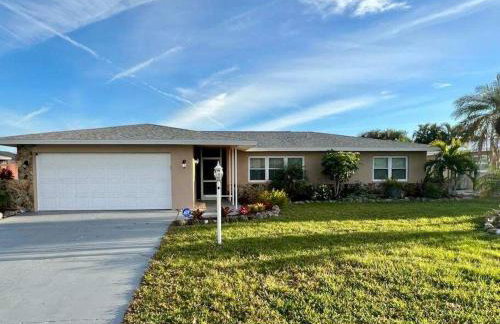
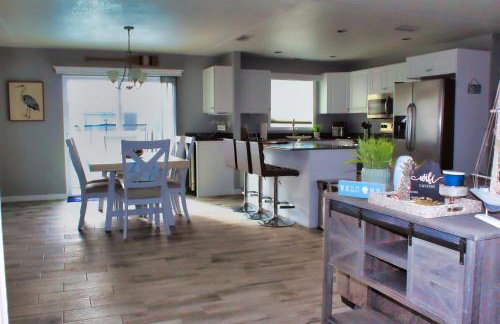
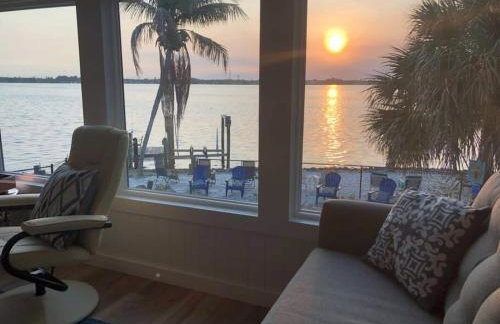
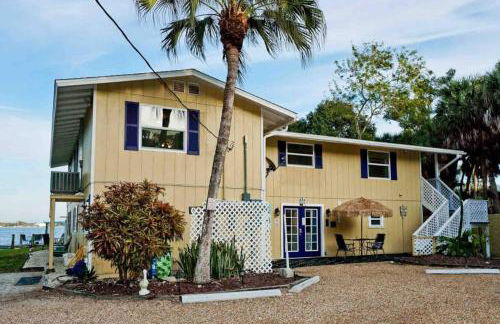
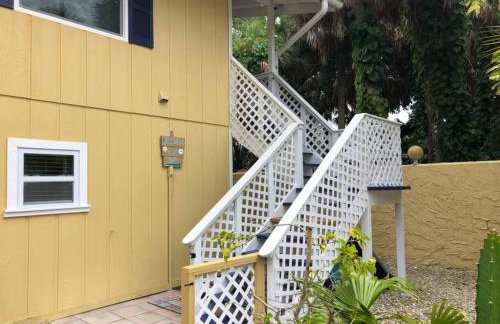
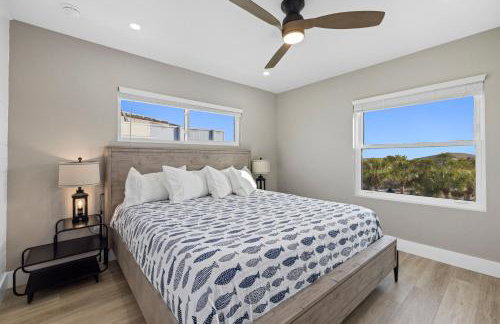
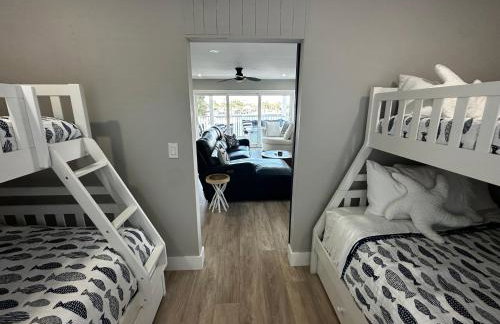
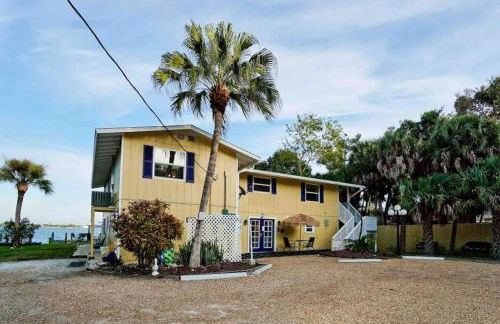
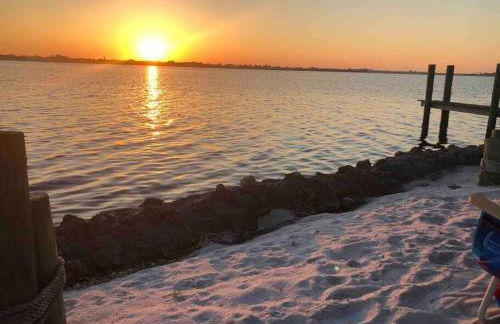
Fun in the Sun! Brand New Home!
Port Charlotte
- 177 M2
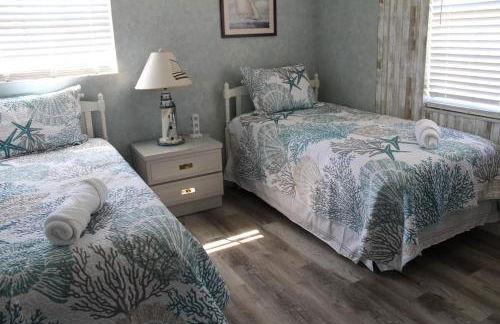
- 3 habitaciones
- 8 personas
- Aire acondicionado
- Calefacción
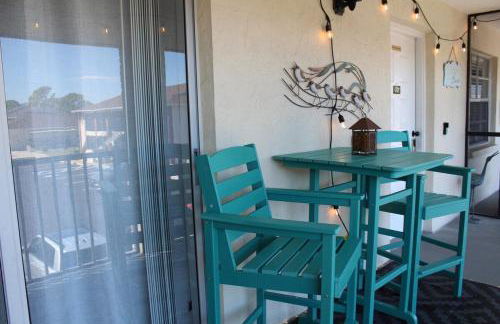
- Terraza
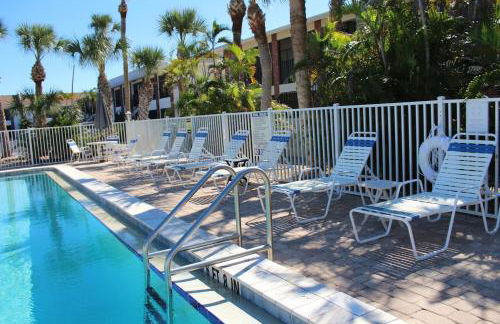
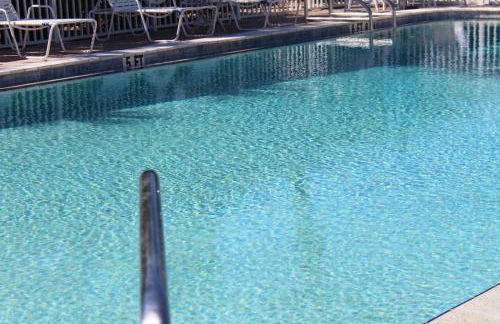
- Piscina
- Parking
- Jardín
- Barbacoa
15 reseñas


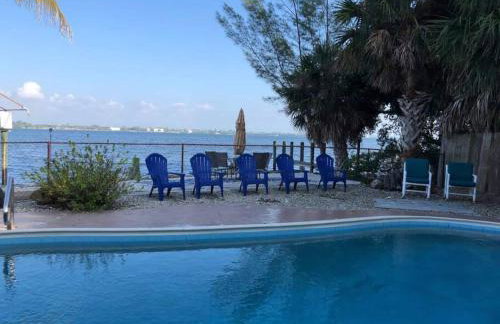
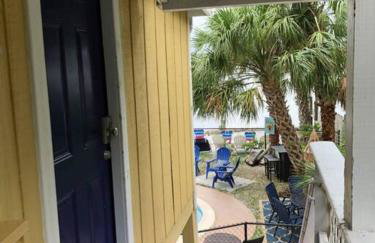
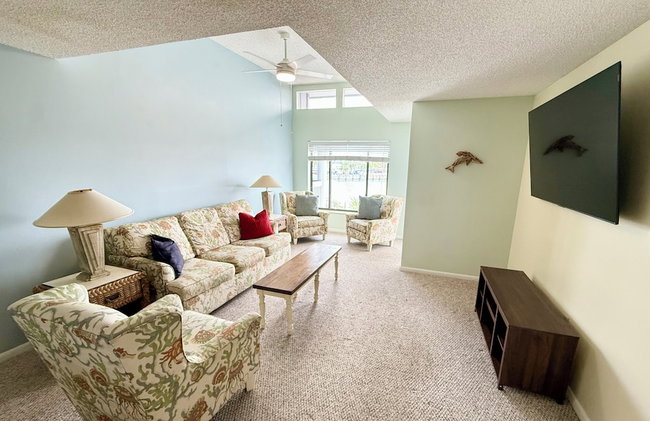
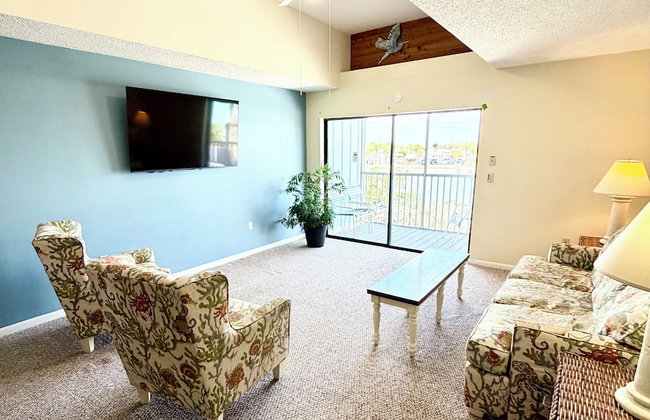
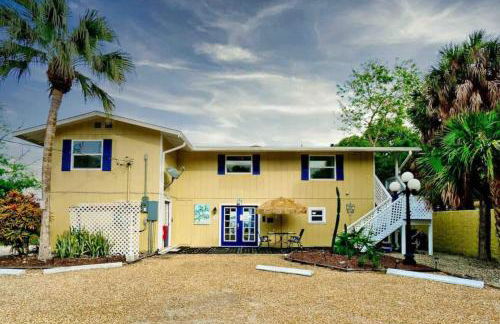
Blue Paradise
Englewood
- 6 M2
- 2 habitaciones
- 4 personas
- Aire acondicionado
- Terraza
- Piscina
- Parking
- Jardín
- Barbacoa
11 reseñas


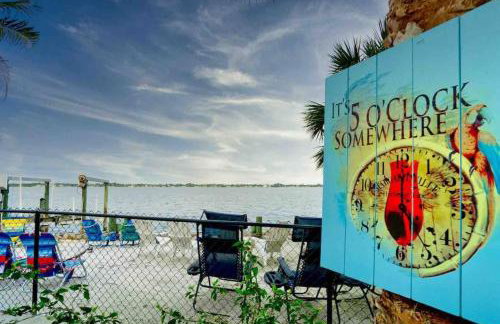
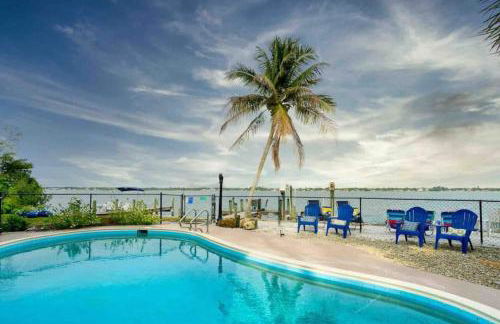
Lake Marlin Villa
Port Charlotte
- 116 M2
- 2 habitaciones
- 5 personas
- Aire acondicionado
- Calefacción
- Parking
- Jardín
- Barbacoa
80 reseñas
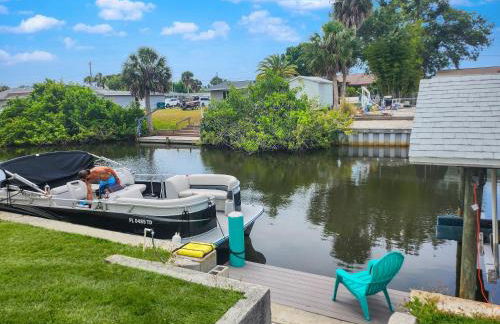


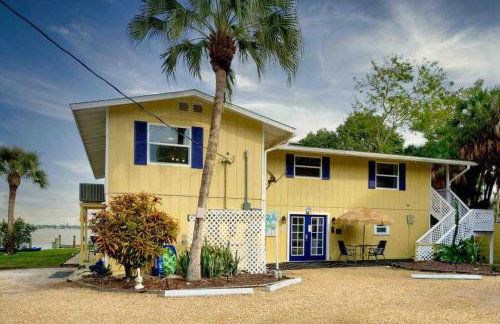
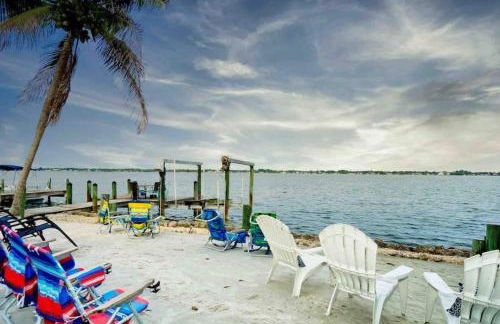
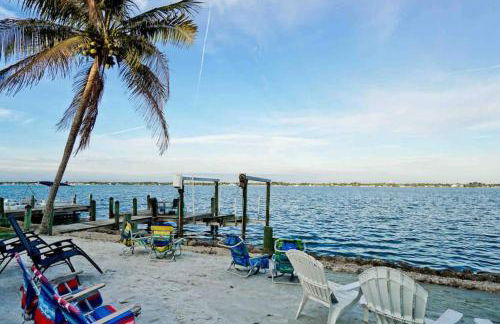
Dockside Delight Waterfront Gulf Access 4 mins to Beach
Englewood
- 139 M2
- 2 habitaciones
- 4 personas
- Aire acondicionado
- Calefacción
- Parking
- Jardín
- Barbacoa
11 reseñas


Rotonda Pool Oasis Near Beaches - Sleeps 9
Rotonda West
- 135 M2
- 3 habitaciones
- 9 personas
- Aire acondicionado
- Calefacción
- Terraza
- Piscina
- Parking
- Jardín
- Barbacoa
14 reseñas


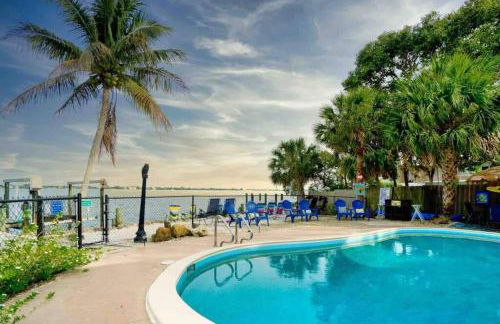
Heated Saltwater Pool Home Minutes to Beach
Englewood
- 196 M2
- 3 habitaciones
- 8 personas
- Aire acondicionado
- Calefacción
- Piscina
- Parking
- Jardín
- Barbacoa
13 reseñas


Addy by the Lake
Port Charlotte
- 89 M2
- 2 habitaciones
- 4 personas
- Aire acondicionado
- Calefacción
- Terraza
- Piscina
- Parking
- Jardín
10 reseñas


Cozy 3BR Gulf Coast house with heated pool
Englewood
- 186 M2
- 3 habitaciones
- 6 personas
- Aire acondicionado
- Terraza
- Piscina
- Parking
- Jardín
- Barbacoa
14 reseñas


Waterfront Mermaid's Retreat Splashes Charm!
Englewood
- 51 M2
- 1 habitación
- 5 personas
- Aire acondicionado
- Calefacción
- Piscina
- Parking
- Barbacoa
23 reseñas


Beautiful Spacious Home! Close to Beaches - HEATED Private Pool
Englewood
- 188 M2
- 3 habitaciones
- 8 personas
- Aire acondicionado
- Calefacción
- Piscina
- Parking
- Jardín
- Barbacoa
30 reseñas


Pet friendly, Heated Pool, close to many beaches, monthly New Vacation Villa
Englewood
- 131 M2
- 3 habitaciones
- 6 personas
- Aire acondicionado
- Calefacción
- Terraza
- Piscina
- Parking
- Jardín
- Barbacoa
8 reseñas


Lake Marlin Villa 2
Port Charlotte
- 116 M2
- 2 habitaciones
- 5 personas
- Aire acondicionado
- Calefacción
- Parking
- Jardín
- Barbacoa
17 reseñas


Nice and Comfortable...
Rotonda West
- 92 M2
- 2 habitaciones
- 4 personas
- Aire acondicionado
- Terraza
- Parking
- Jardín
- Barbacoa
12 reseñas


Punta Gorda Oasis w/ Saltwater Pool + Gas Grill!
Punta - A 7.3 km del centro
- 129 M2
- 3 habitaciones
- 6 personas
- Calefacción
- Terraza
- Piscina
- Parking
8 reseñas


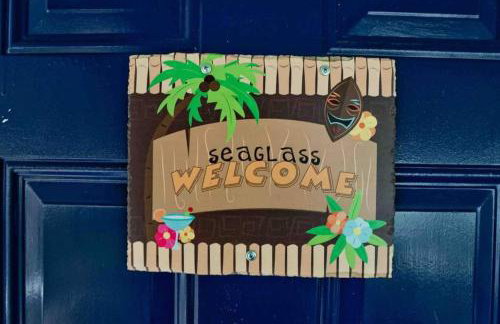


"Seaglass" Dazzles with Exceptional Bay Views!
Englewood
- 54 M2
- 2 habitaciones
- 6 personas
- Aire acondicionado
- Calefacción
- Piscina
- Parking
- Barbacoa
12 reseñas


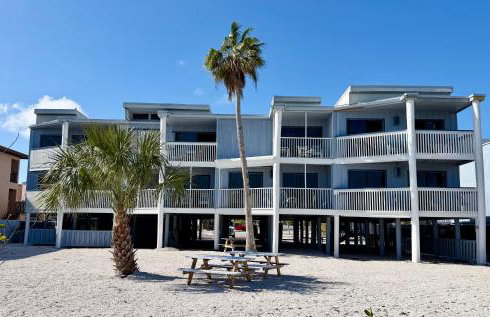


Chadwick Cove Resort & Marina
Englewood
- 130 M2
- 3 habitaciones
- 10 personas
- Aire acondicionado
- Calefacción
- Terraza
- Parking
- Balcón
- Jardín
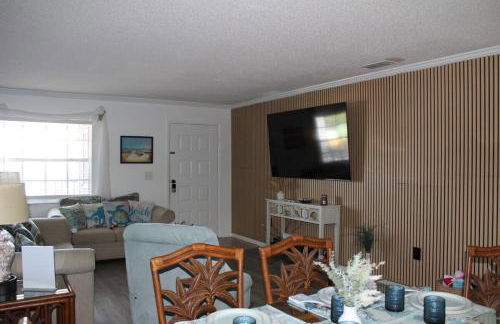
- Televisión
- Chimenea
- Barbacoa
- Toallas
- Sábanas
20 reseñas


Sunset Inn
Punta - A 3.1 km del centro
- 30 M2
- 1 habitación
- 2 personas
- Aire acondicionado
- Calefacción
- Parking
116 reseñas


Peachland getaway with pool and tiki bar
Port Charlotte
- 218 M2
- 3 habitaciones
- 6 personas
- Aire acondicionado
- Calefacción
- Terraza
- Piscina
- Parking
- Jardín
- Barbacoa
22 reseñas


Punta Gorda Home, Sleeps 10
Punta - A 7.5 km del centro
- 12 M2
- 3 habitaciones
- 10 personas
- Aire acondicionado
- Calefacción
- Piscina
- Parking
- Jardín
- Barbacoa
6 reseñas


Waterfront "Paradise Bay" wows Guests! Pool & Bay
Englewood
- 42 M2
- 6 personas
- Aire acondicionado
- Calefacción
- Piscina
- Parking
- Barbacoa
26 reseñas