
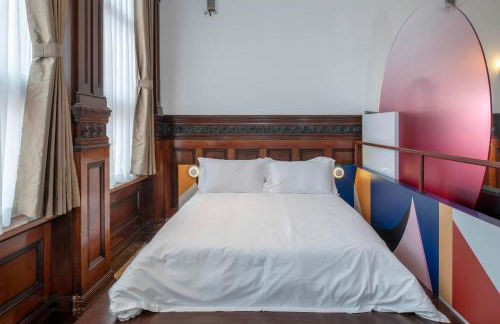
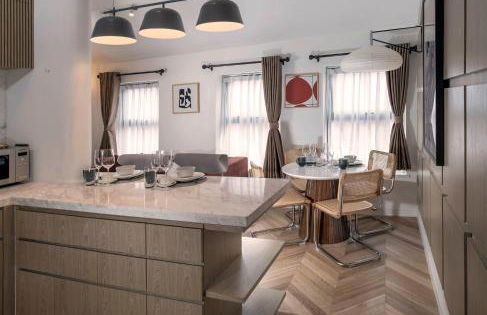
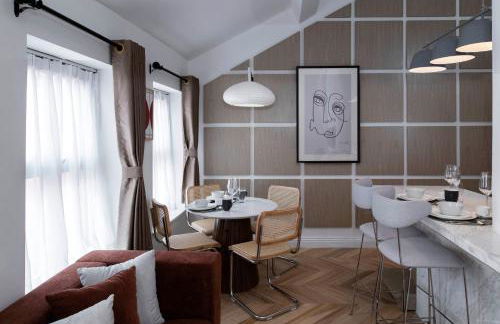
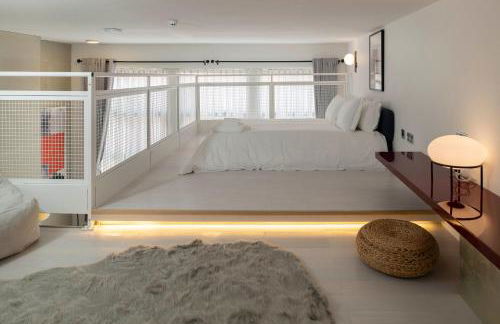
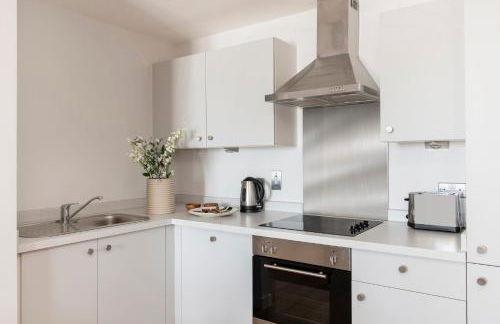
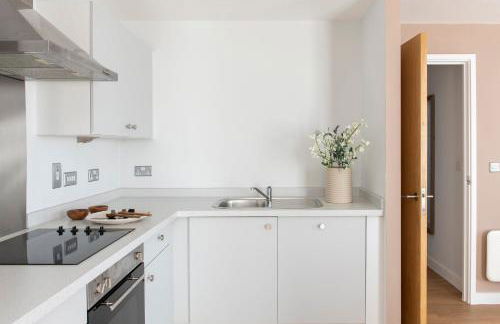
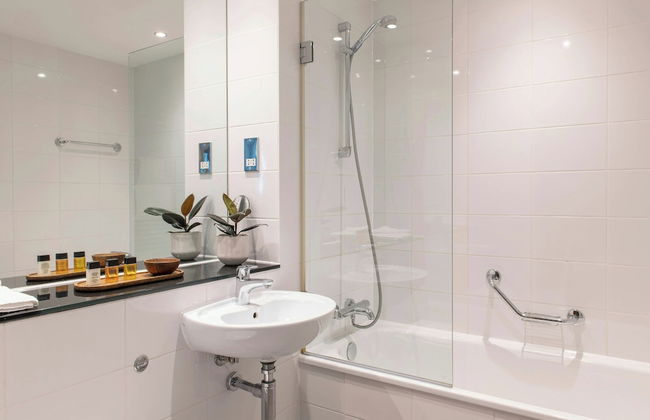
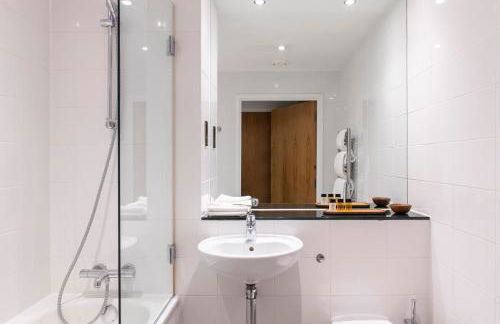
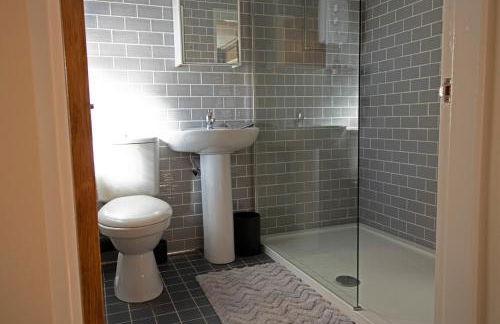
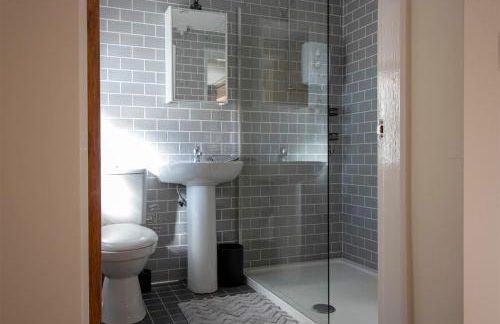
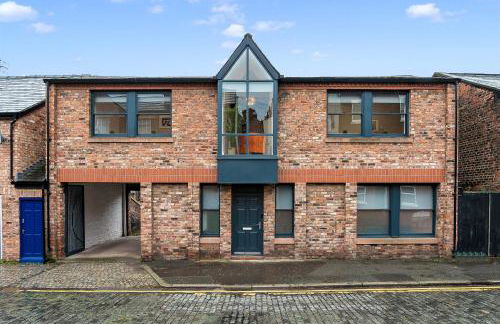
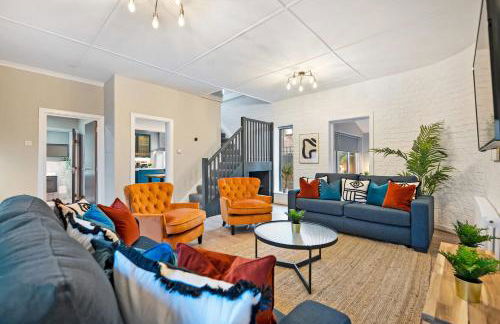
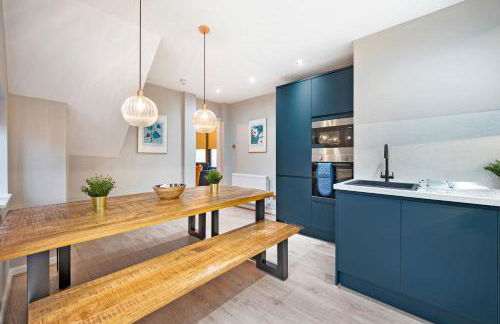
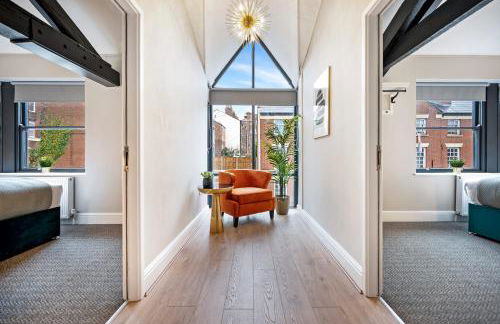
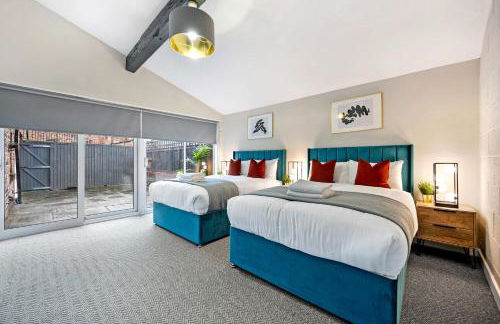
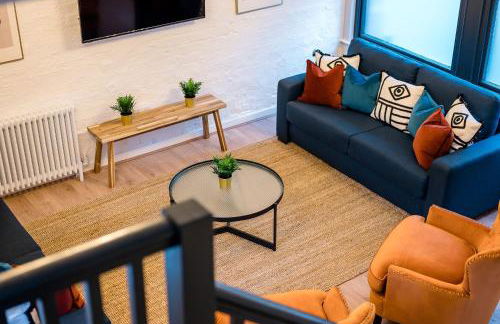
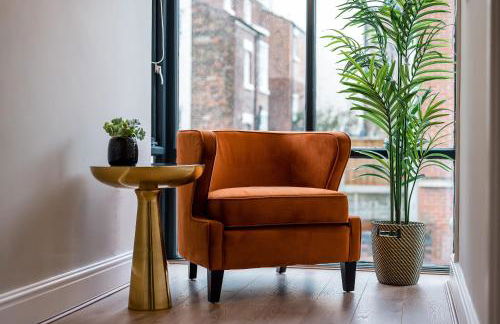
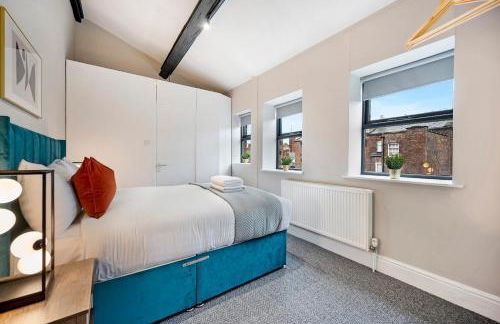
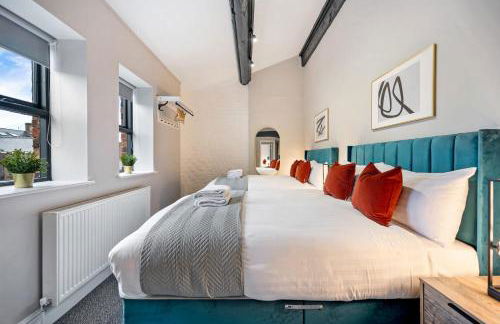
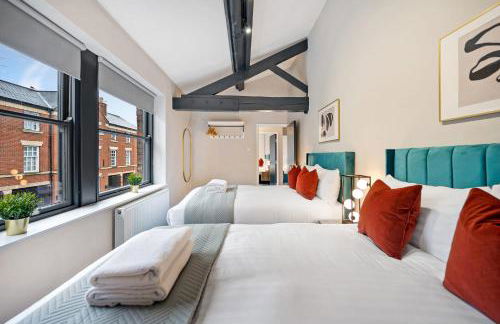
1945 Apartamentos en Merseyside


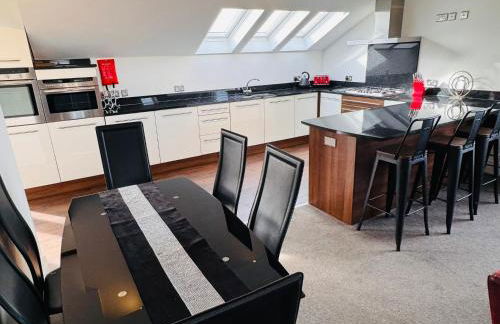


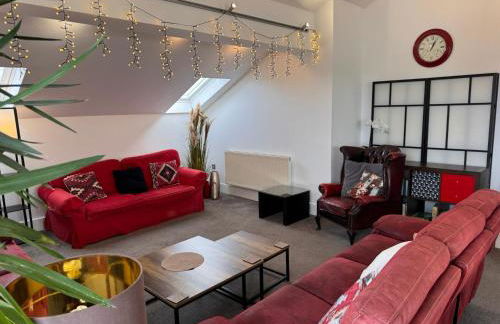


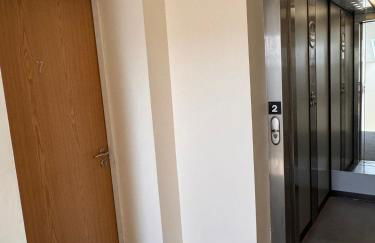

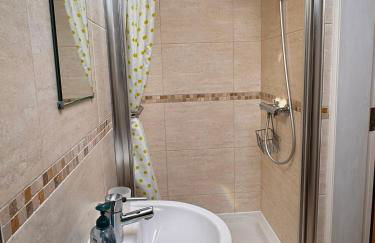


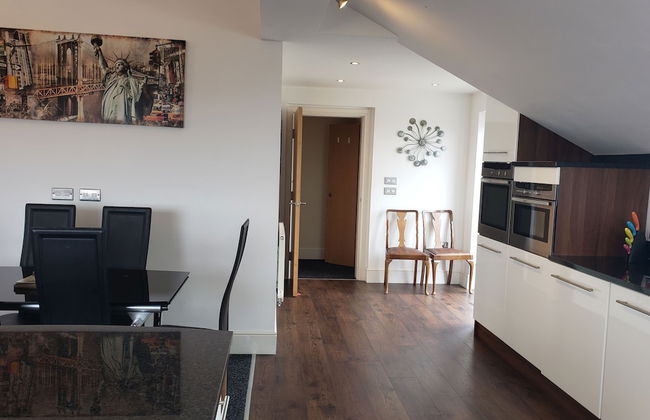
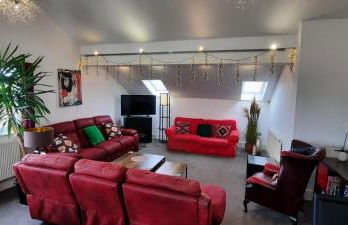


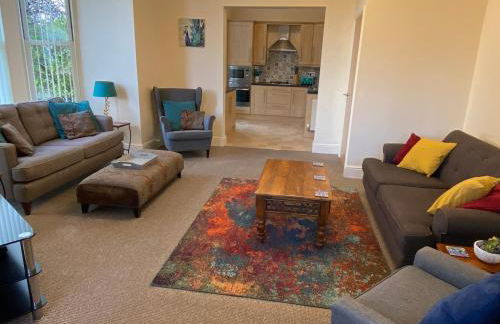

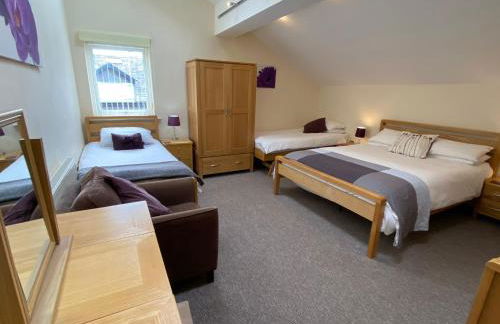
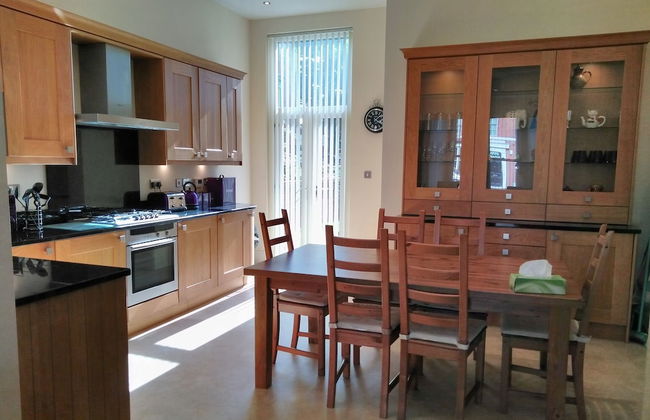
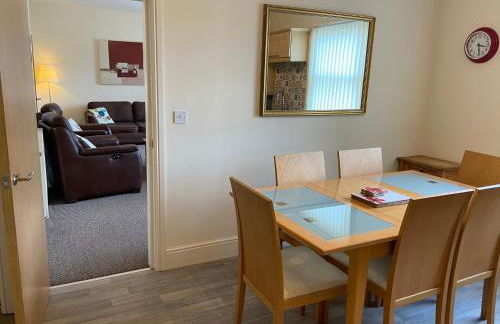
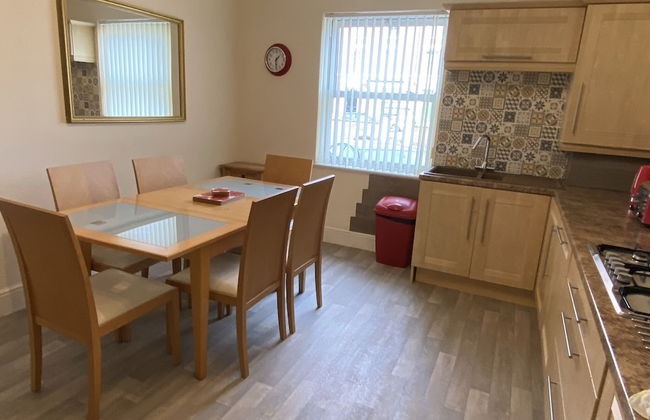
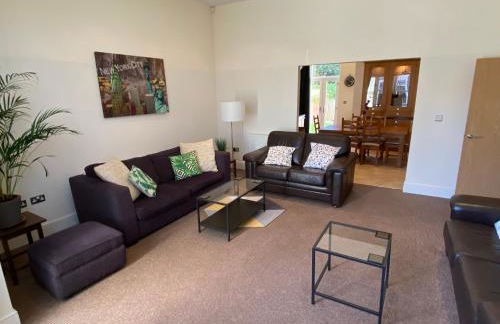

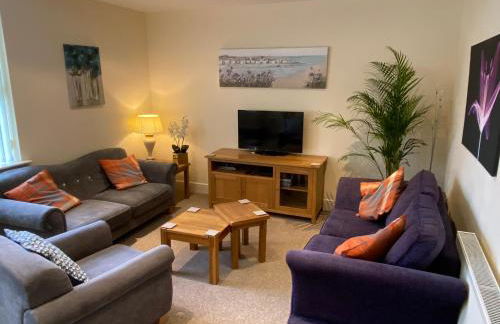
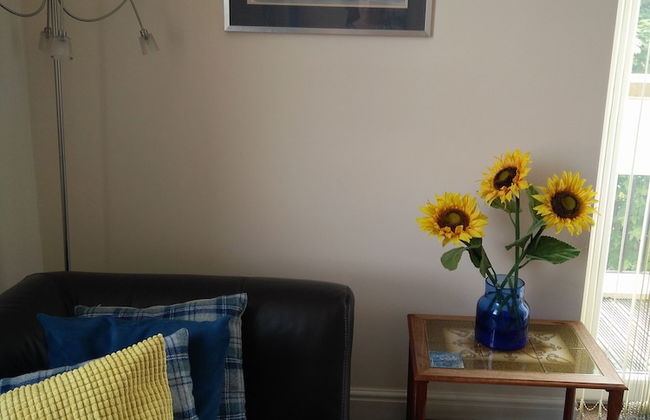


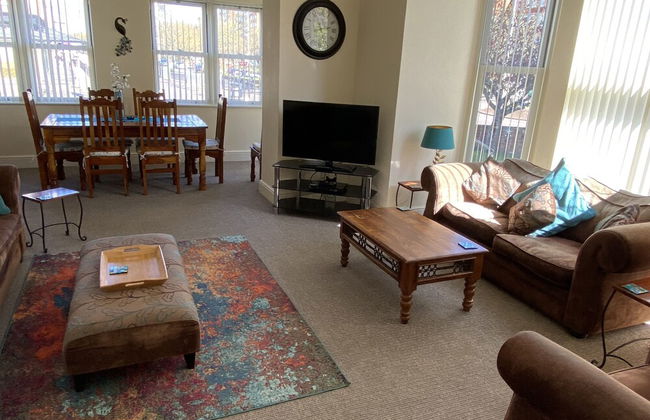

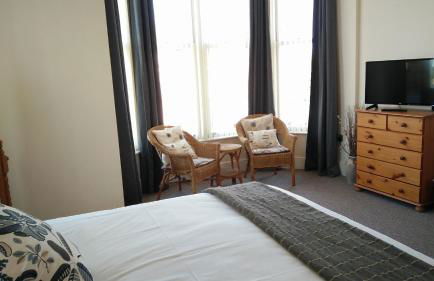

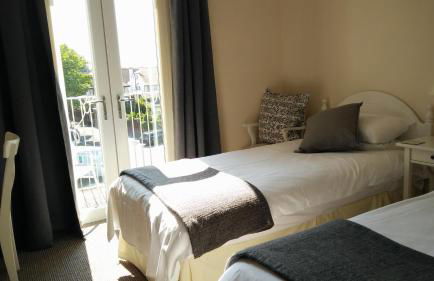


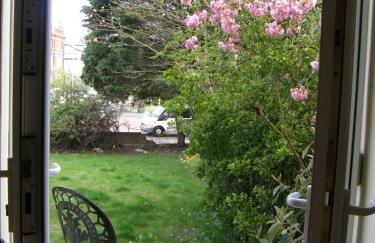
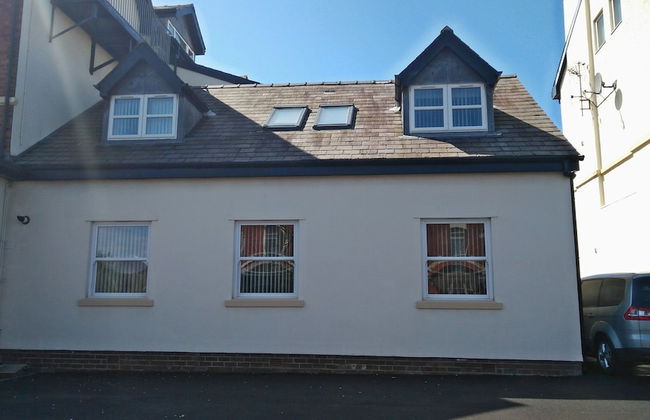


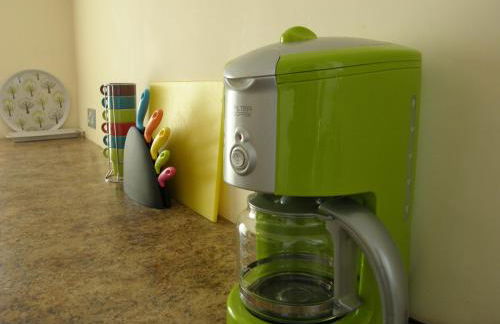
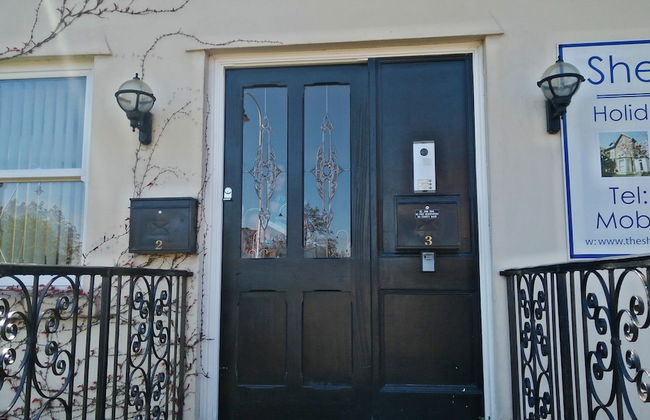


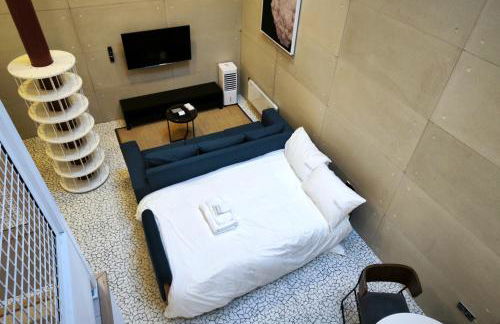
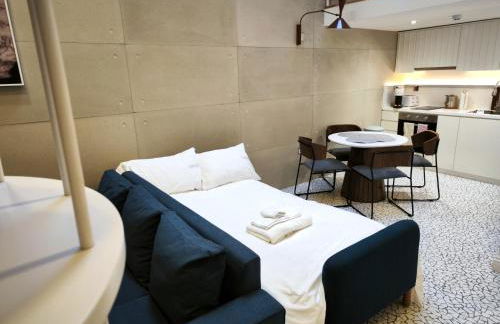
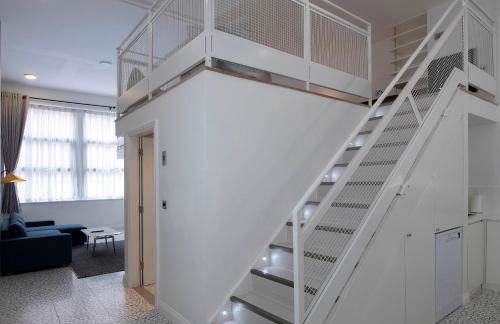
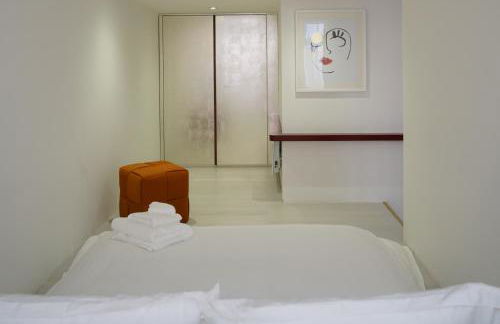
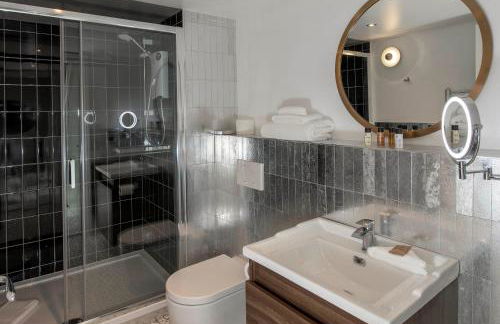
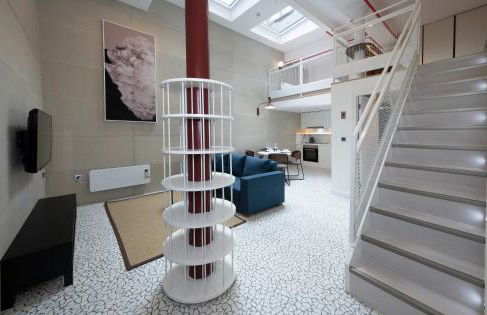
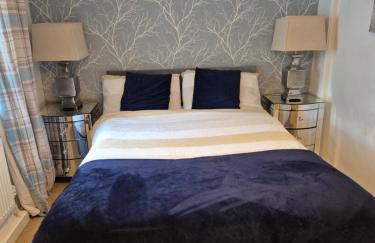
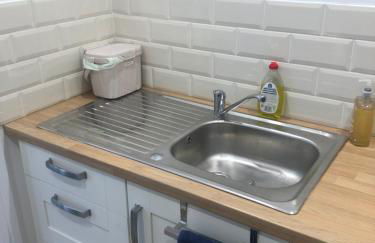
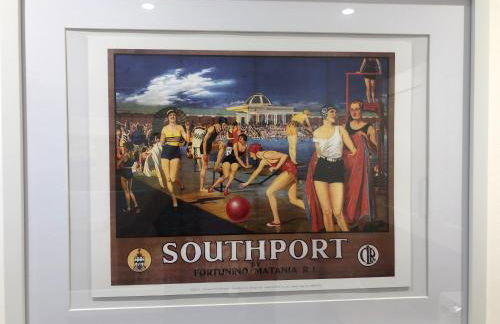
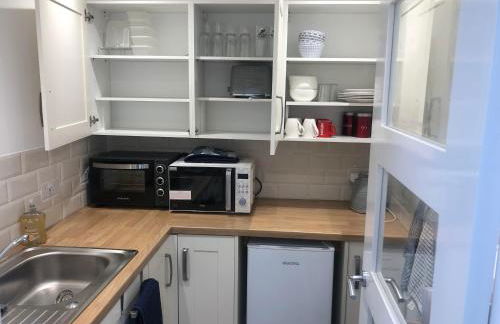
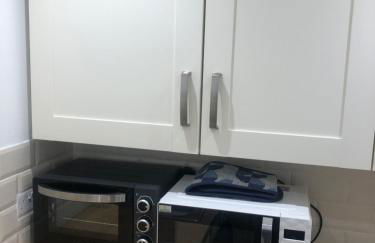
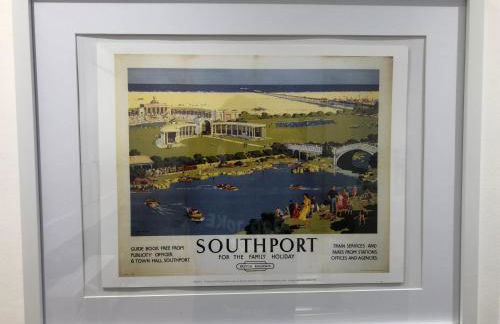
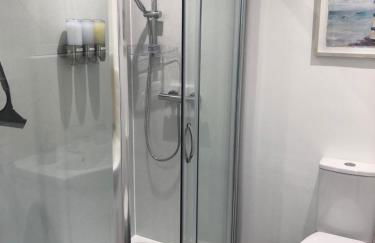
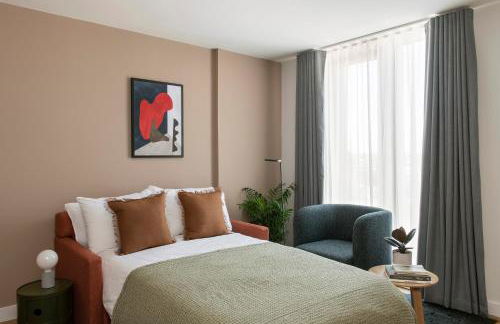
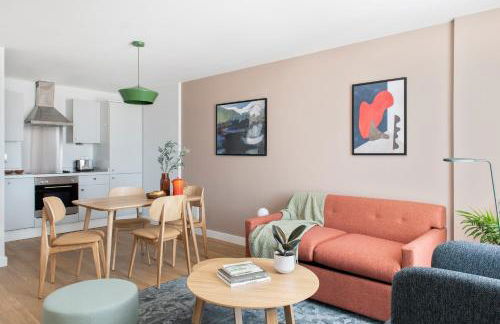
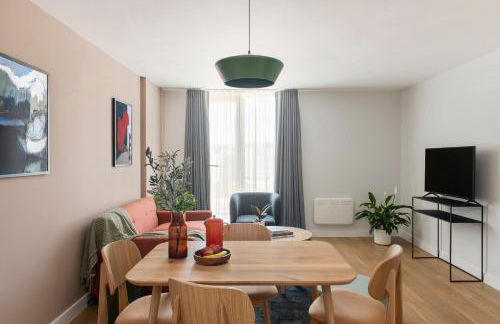
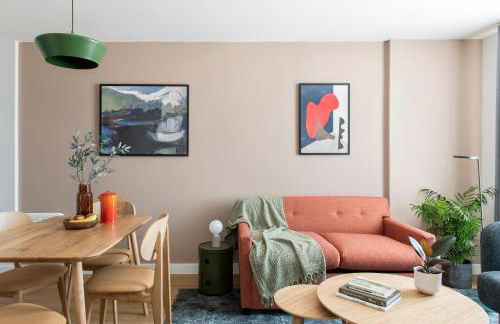
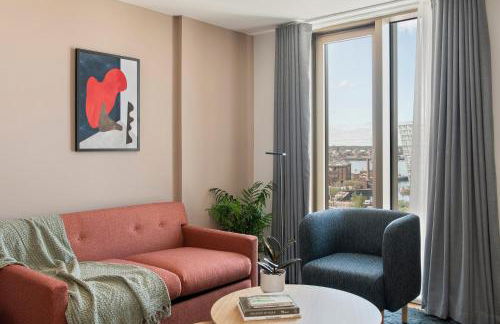
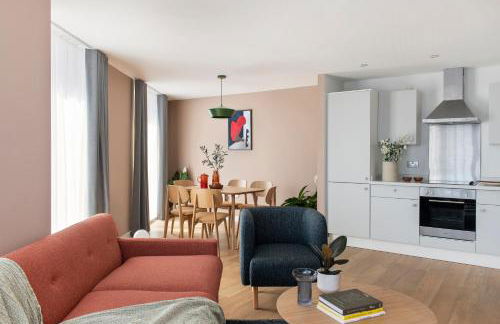
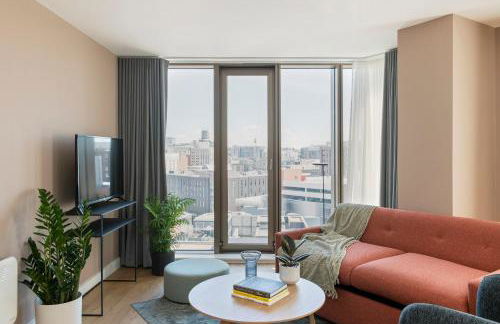
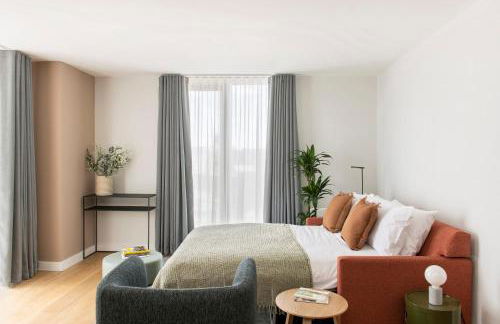
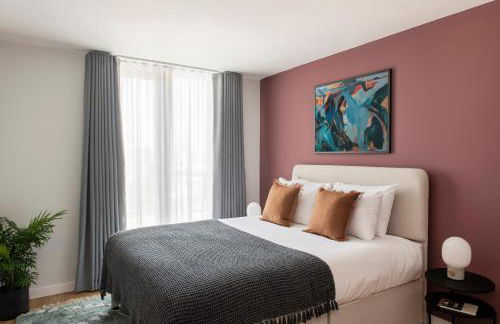
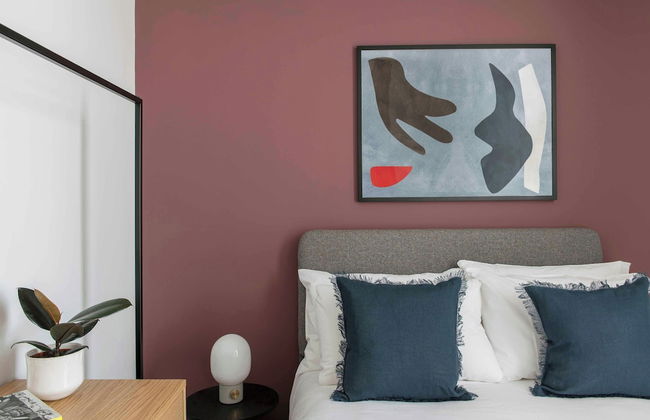
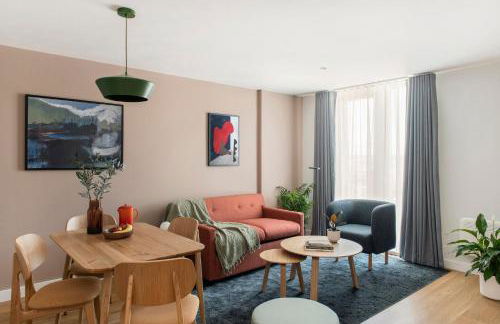
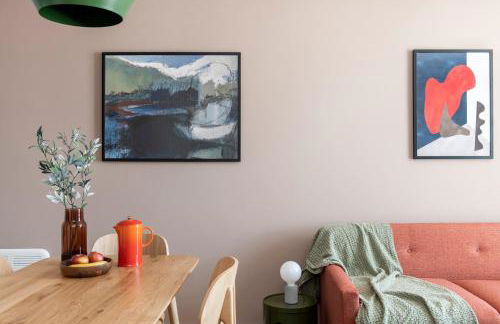
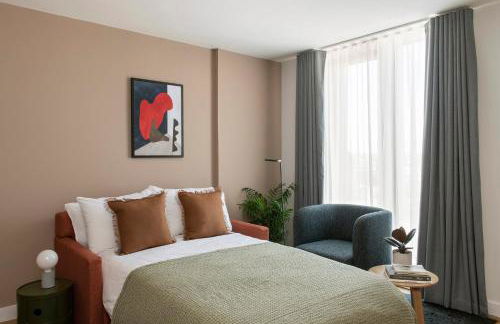
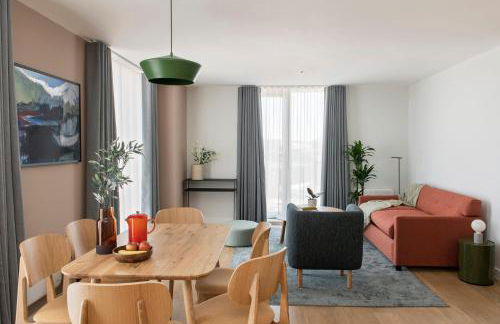
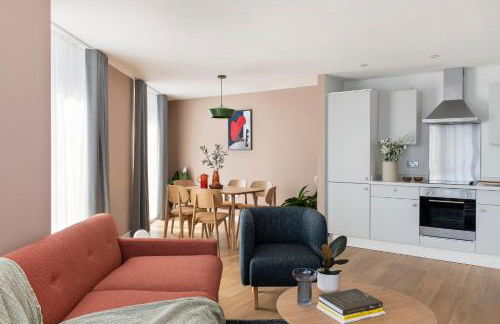
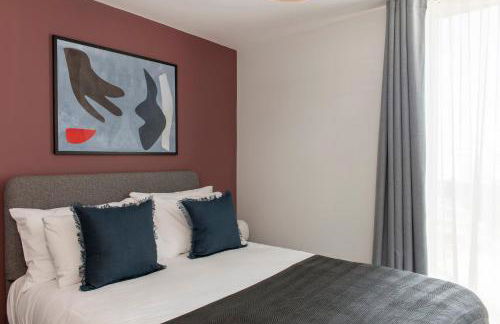
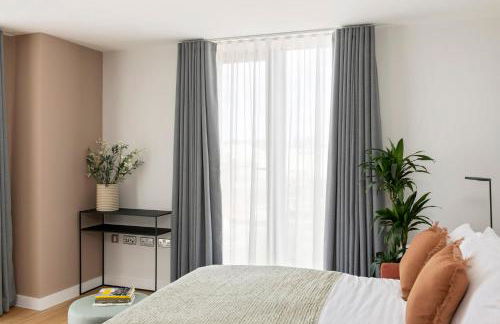
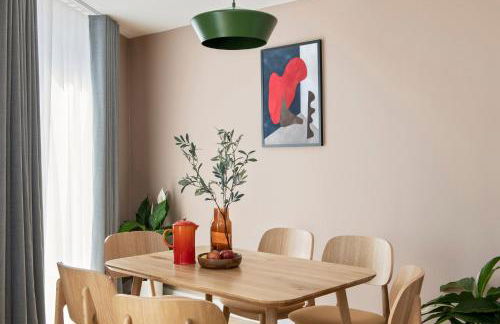
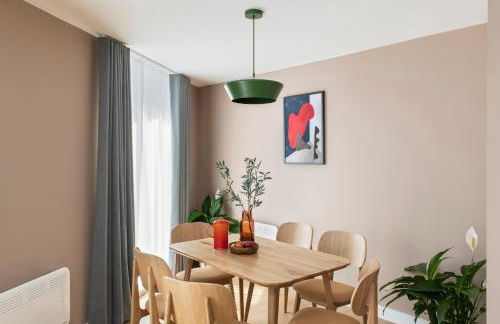
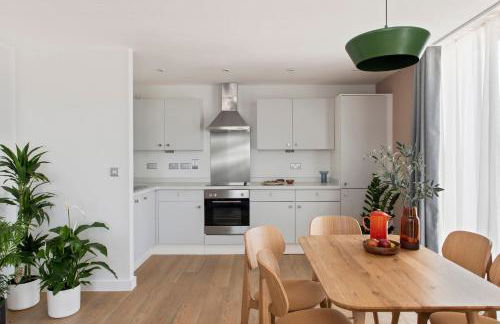
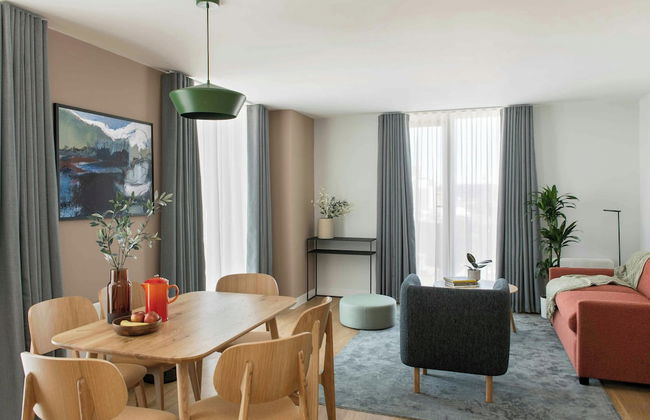
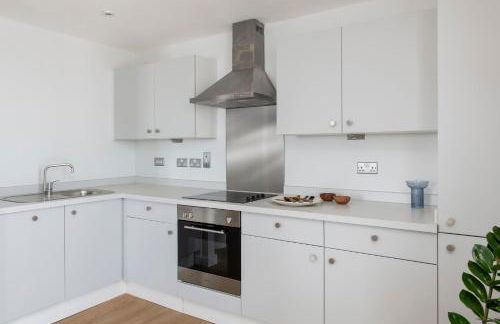
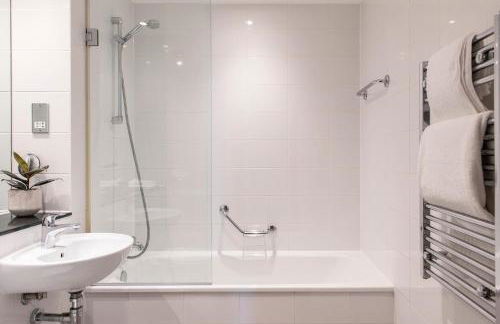
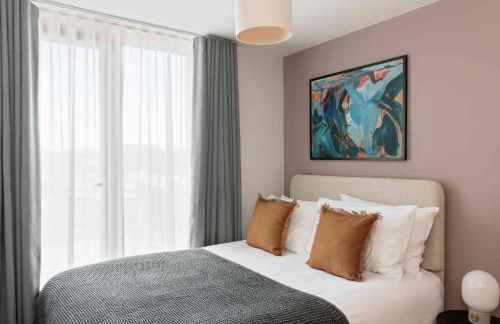
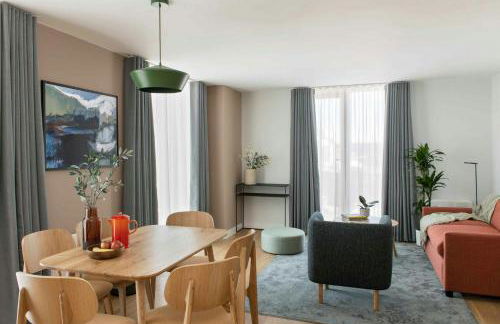
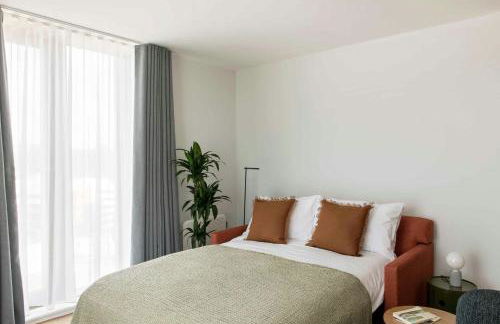
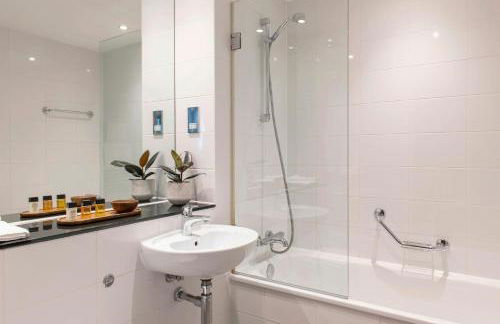
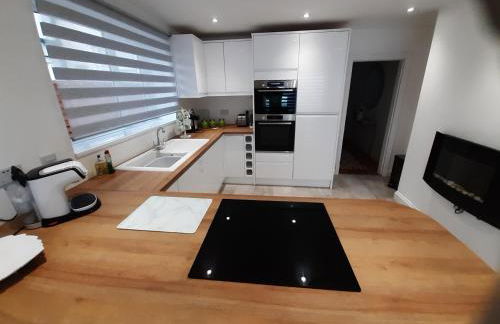
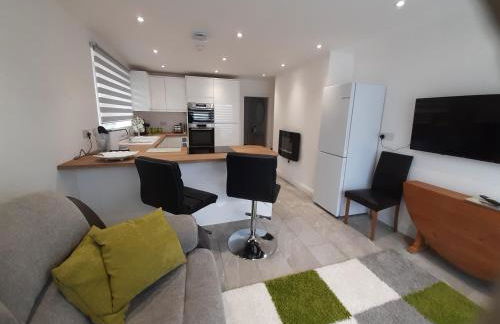
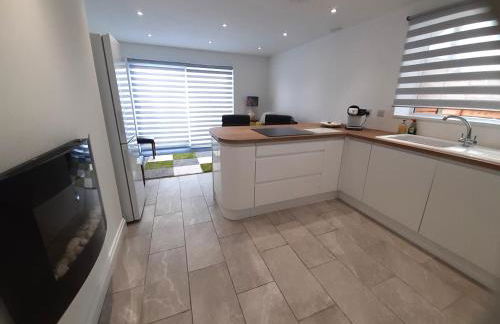
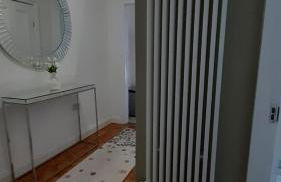
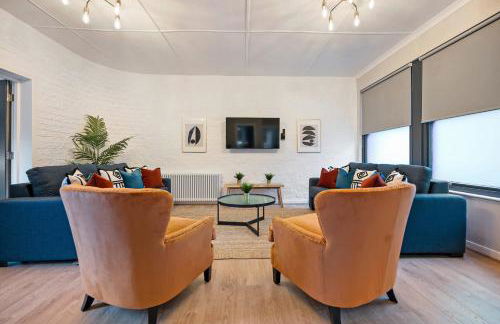
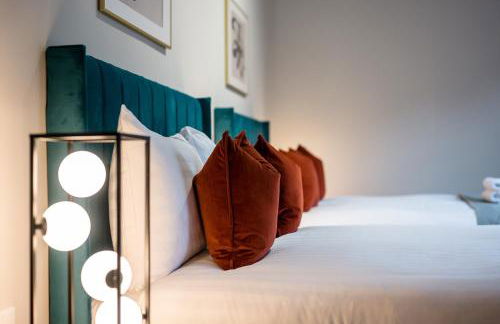
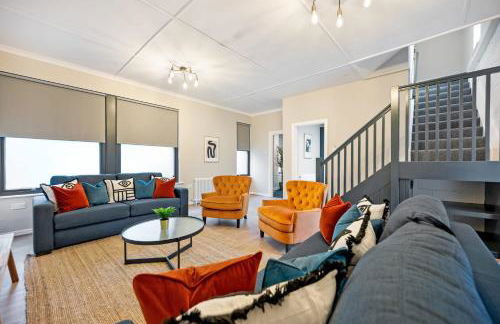
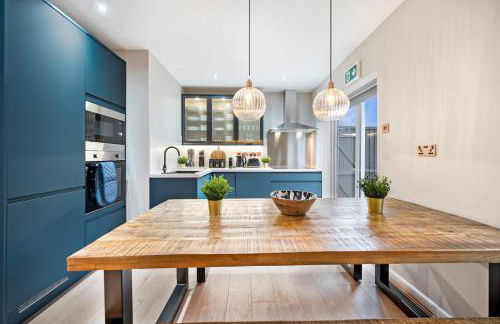
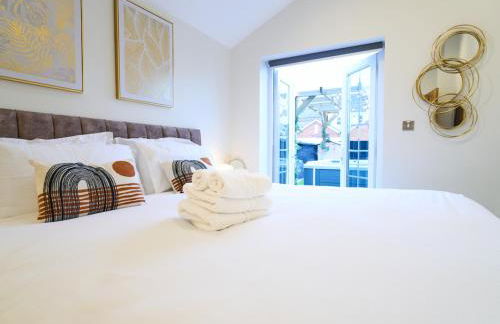
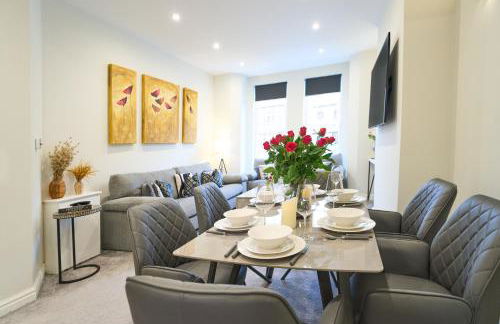
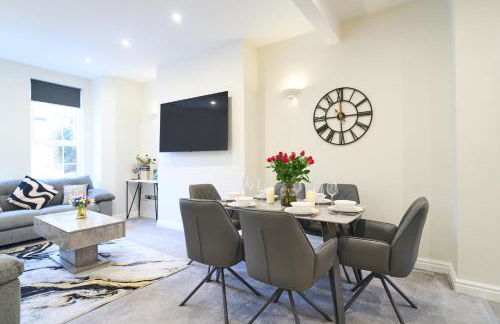
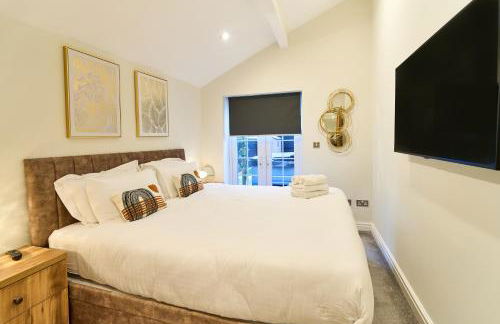
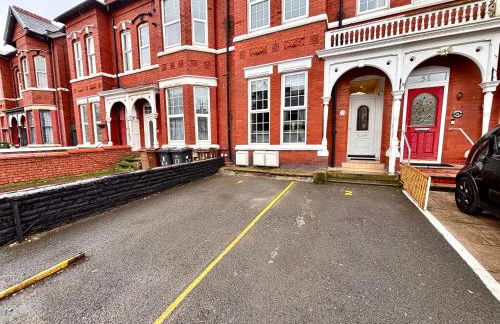
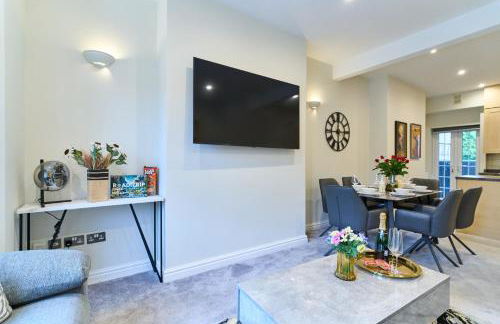
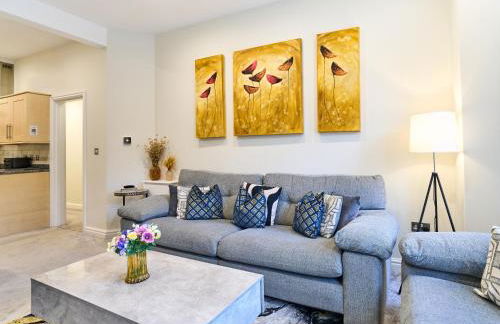
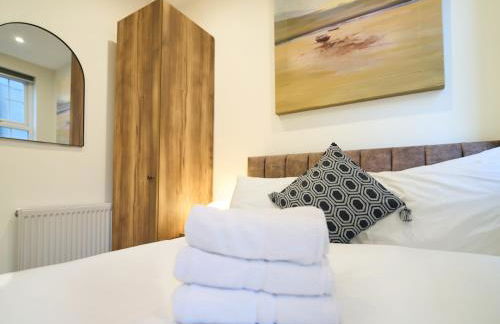
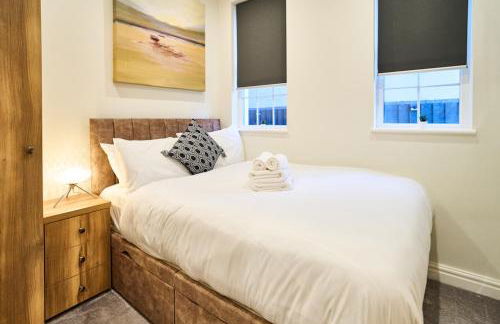
The Shelbourne Apartments
Southport - Southport
- 125 M2
- 2 habitaciones
- 10 personas
- Calefacción
- Terraza
- Parking
- Ascensor
- Balcón
- Jardín
- Televisión
- Lavadora
- Toallas
- Sábanas
75 reseñas


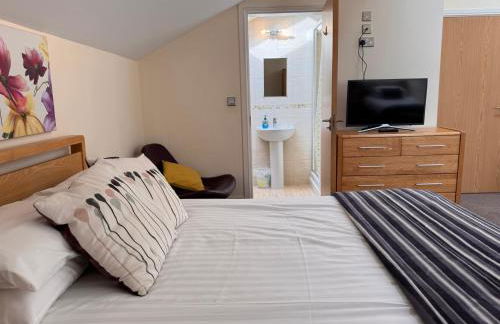
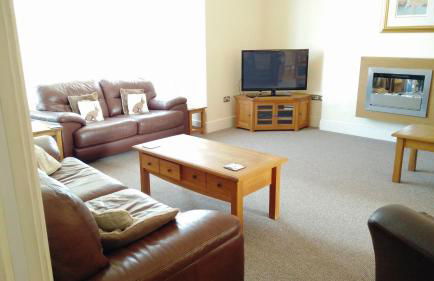
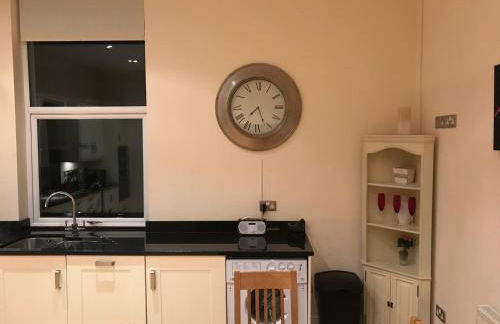
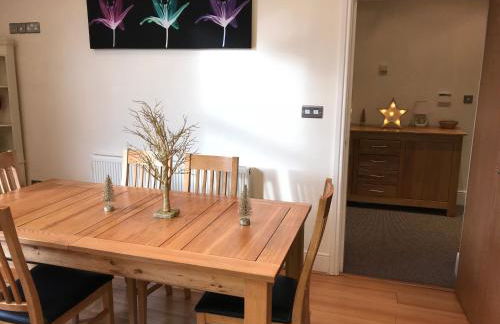
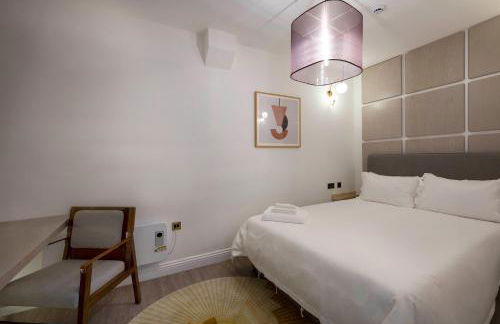
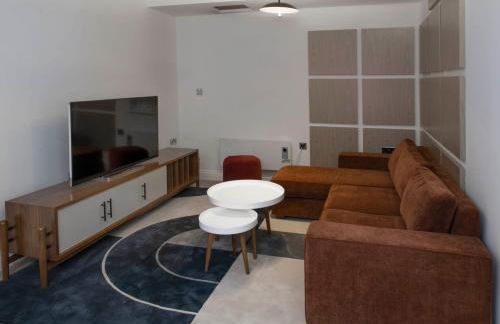
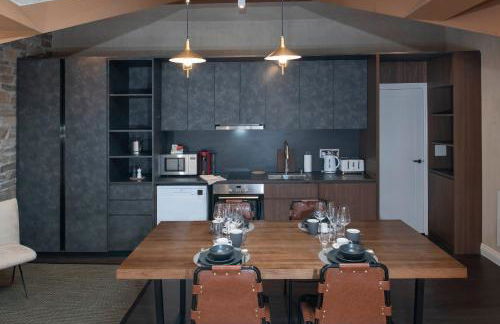
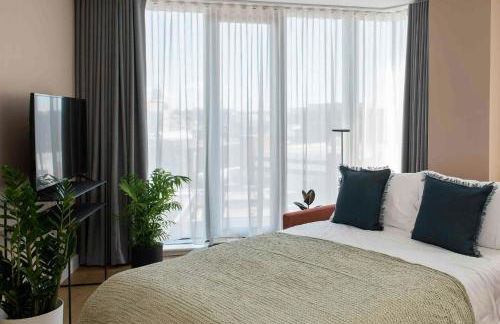
Mossley Hill Retreat
Liverpool - Mossley Hill - A 4.6 km del centro
- 4 personas
- Calefacción
- Terraza
- Parking
- Balcón
- Jardín
- Televisión
- Lavadora
- Toallas
- Sábanas
12 reseñas


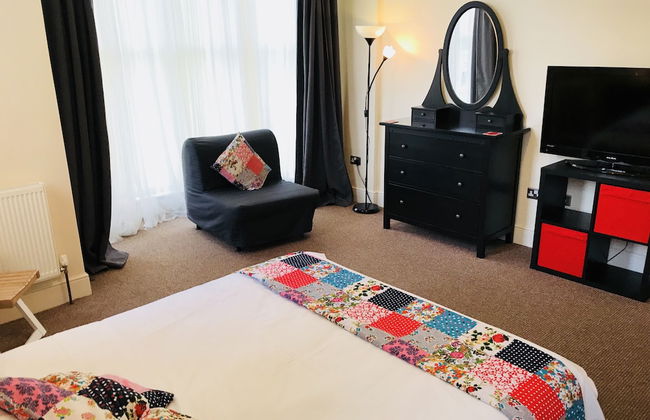
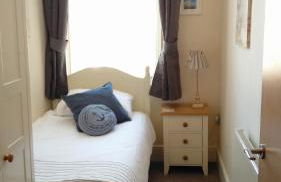
Pembroke Studios
Liverpool - University District - En el centro
- 25 M2
- 2 personas
- Calefacción
- Ascensor
- Televisión
- Toallas
- Sábanas
548 reseñas

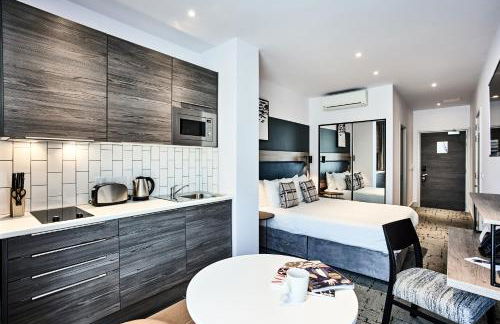

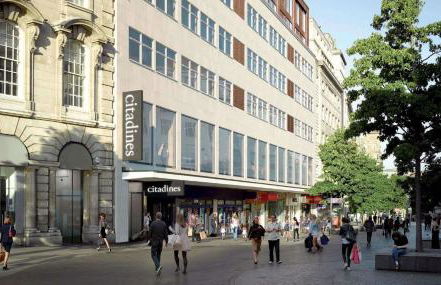


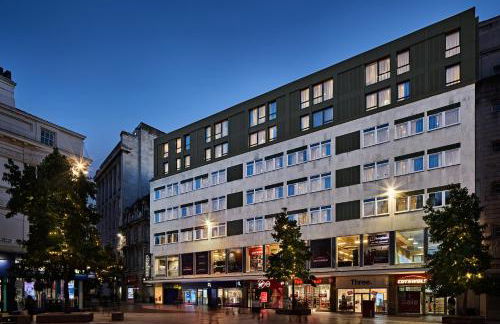

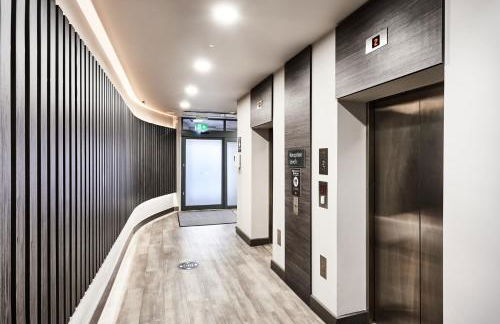


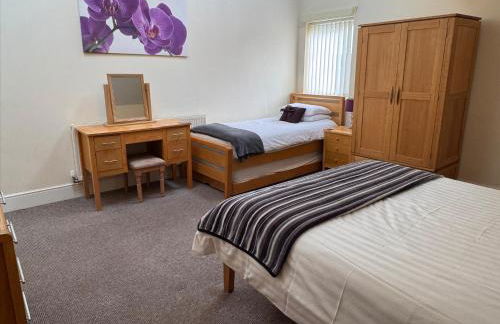
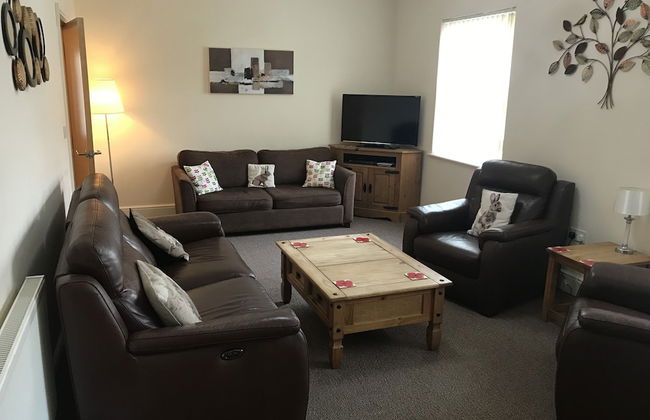
Citadines City Centre Liverpool
Liverpool - Liverpool - En el centro
- 77 M2
- 2 habitaciones
- 6 personas
- Aire acondicionado
- Calefacción
- Parking
- Ascensor
- Televisión
- Toallas
- Sábanas
949 reseñas

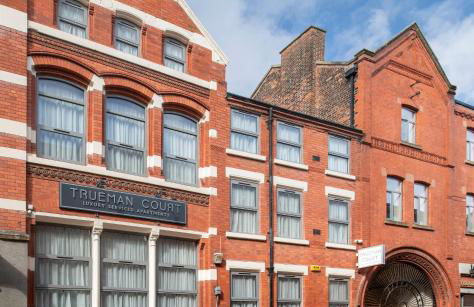


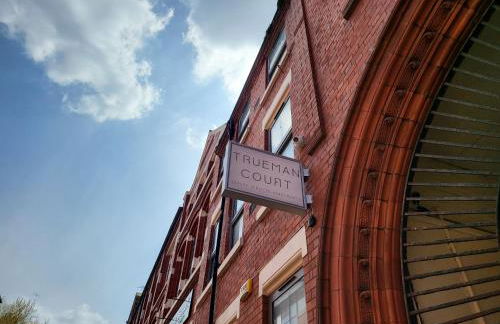


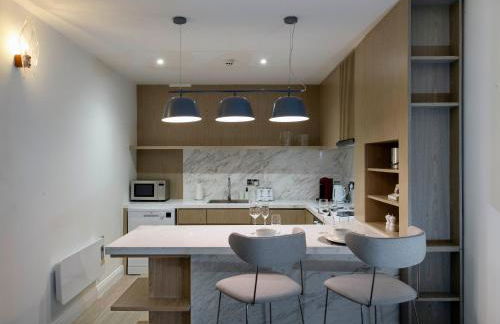


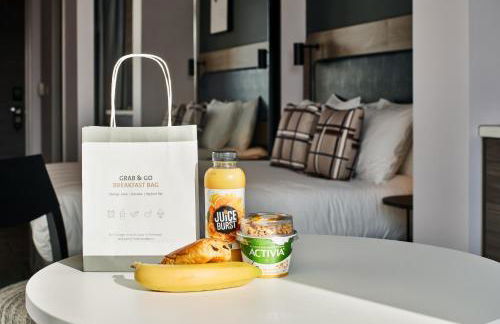
Trueman Court Luxury Serviced Apartments
Liverpool - Marybone - En el centro
- 37 M2
- 4 personas
- Calefacción
- Parking
- Televisión
- Toallas
- Sábanas
40 reseñas


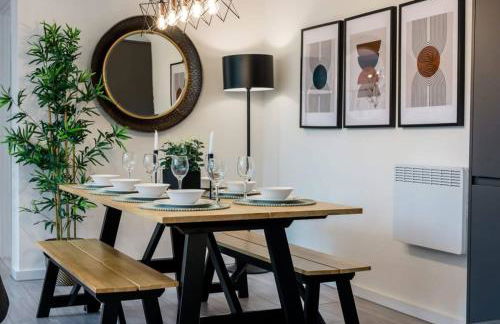

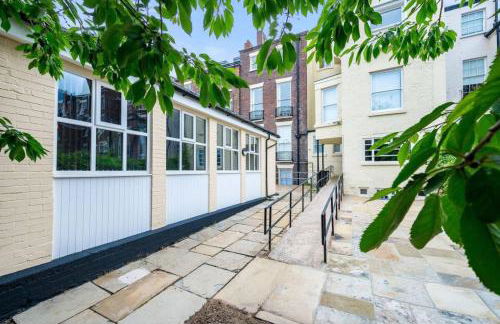

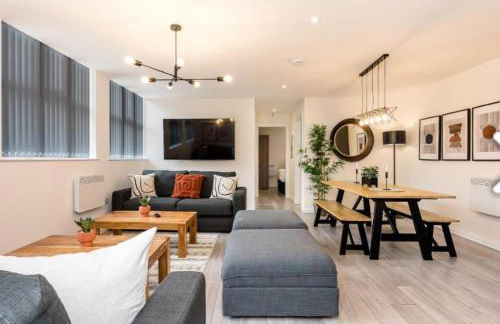

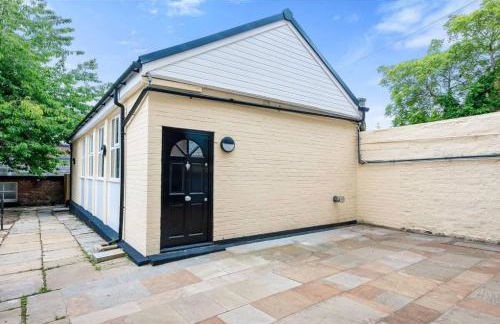


The Coach House by Elite
Liverpool - Chinatown - A 670 m del centro
- 100 M2
- 2 habitaciones
- 10 personas
- Calefacción
- Terraza
- Televisión
- Lavadora
- Toallas
- Sábanas
15 reseñas


2 bed GF Docklands Apartment - Free Parking for 1 car
Liverpool - Kings - A 970 m del centro
- 67 M2
- 2 habitaciones
- 5 personas
- Calefacción
- Parking
- Ascensor
- Televisión
- Lavadora
- Toallas
- Sábanas
18 reseñas

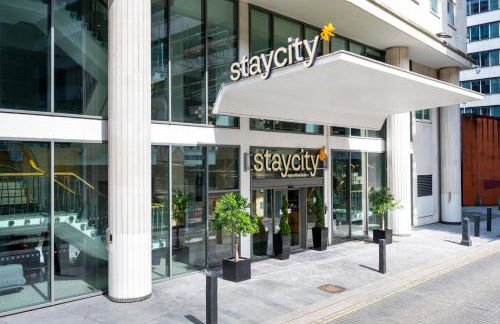

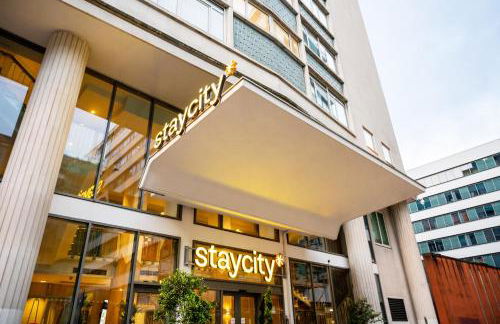


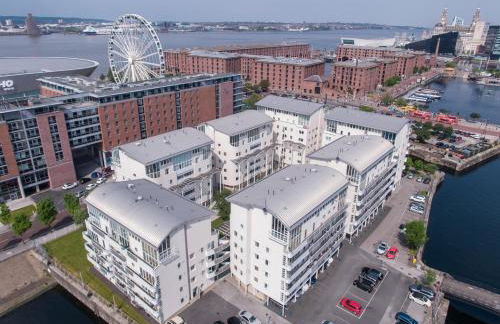
Staycity Aparthotels, Liverpool, Waterfront
Liverpool - Commercial District - A 550 m del centro
- 50 M2
- 2 habitaciones
- 6 personas
- Cocina pequeña
- Aire acondicionado
- Calefacción
- Parking
- Ascensor
- Televisión
- Toallas
- Sábanas
1384 reseñas
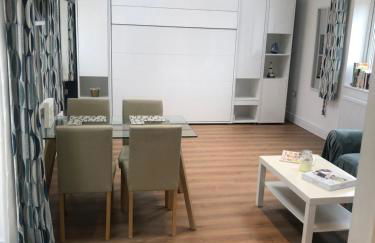

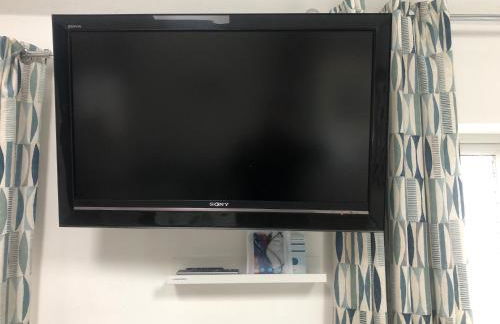

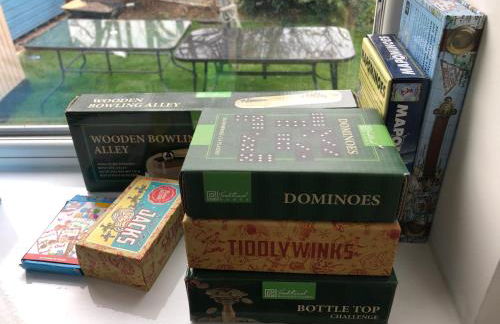

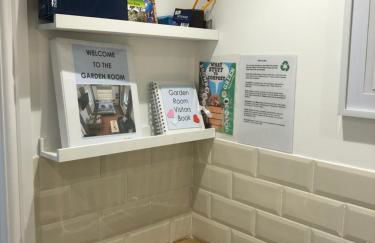


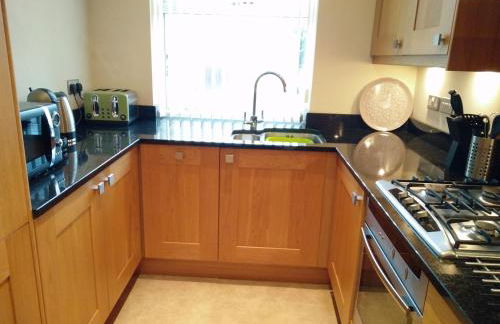
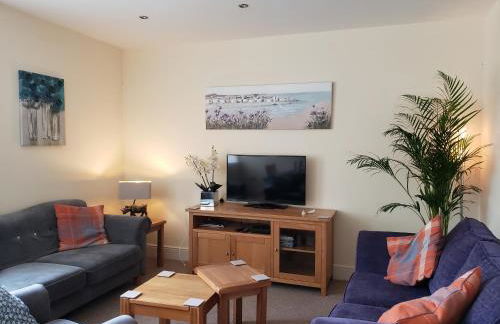
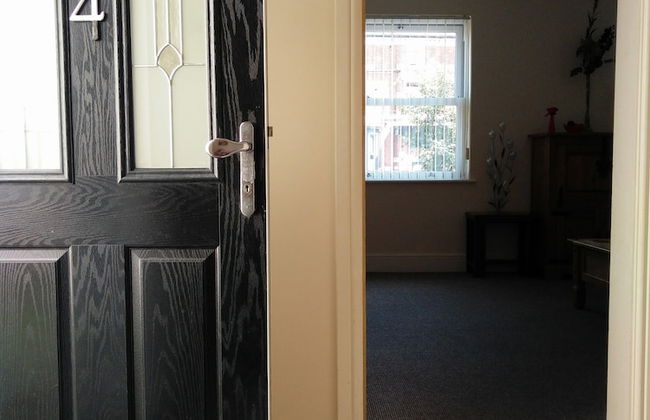
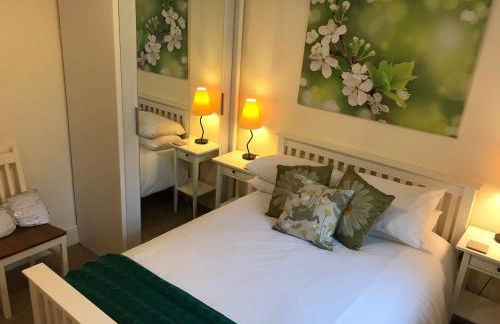
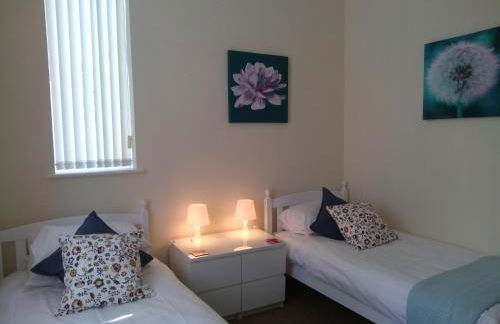
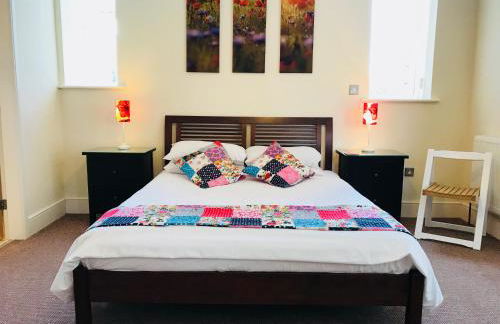
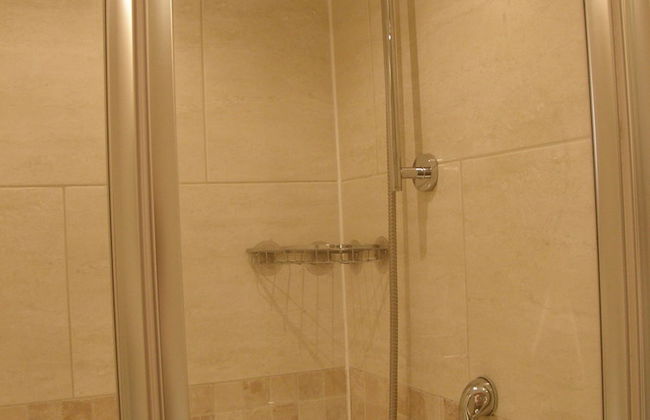
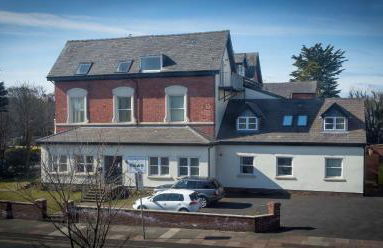
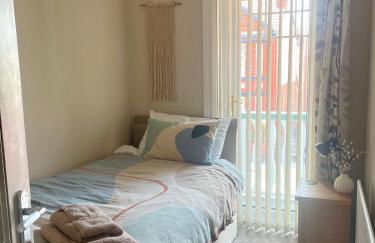
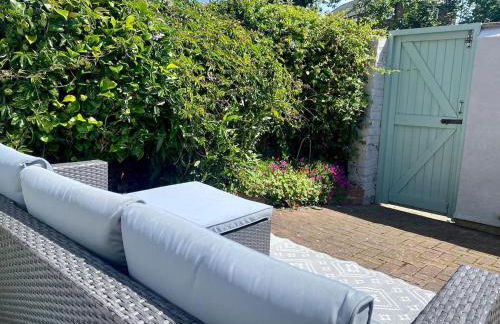
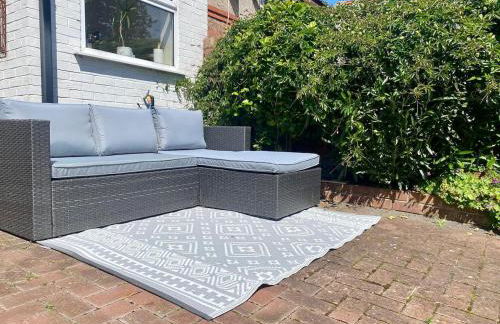
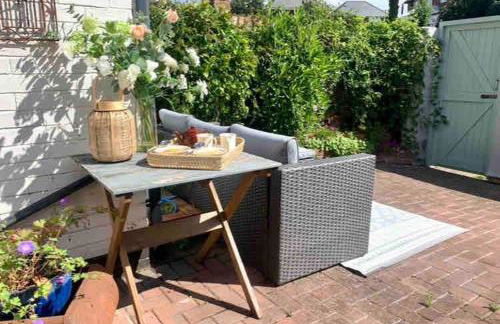
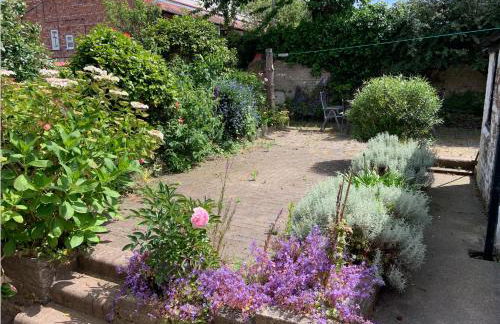
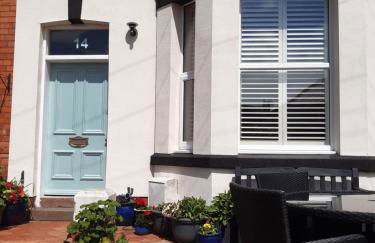
A secluded Garden Room in sunny Southport
Southport - Southport
- 38 M2
- 2 habitaciones
- 4 personas
- Calefacción
- Terraza
- Parking
- Jardín
11 reseñas


Cove Paradise Street
Liverpool - Liverpool - A 370 m del centro
- 70 M2
- 3 habitaciones
- 6 personas
- Calefacción
- Terraza
- Parking
- Ascensor
- Televisión
- Lavadora
- Toallas
- Sábanas
596 reseñas


2026 Traveller award winner Just bring clothes
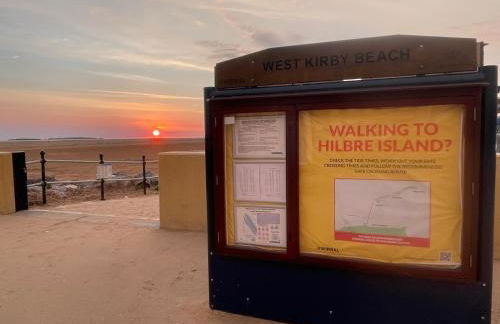
Wirral - West Kirby - A 4.2 km del centro
- 130 M2
- 3 habitaciones
- 5 personas
- Aire acondicionado
- Calefacción
- Parking
- Jardín
41 reseñas


The Penthouse Collection by EPIC
Liverpool - Commercial District - A 500 m del centro
- 199 M2
- 13 personas
- Calefacción
- Terraza
- Televisión
- Toallas
- Sábanas
48 reseñas


Cavern Quarter Apts - 31 North John St
Liverpool - Cavern Quarter - A 280 m del centro
- 74 M2
- 4 personas
- Calefacción
- Parking
- Ascensor
- Televisión
- Lavadora
- Toallas
- Sábanas
434 reseñas


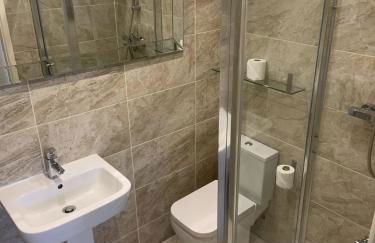


Entire Seaside Home, Sleeps 8, All En-suite Rooms
Wallasey - Wallasey
- 4 habitaciones
- 8 personas
- Calefacción
- Jardín
- Televisión
- Lavadora
- Toallas
- Sábanas
21 reseñas


Aparthotel Adagio Liverpool City Centre
Liverpool - City Central - En el centro
- 40 M2
- 1 habitación
- 4 personas
- Aire acondicionado
- Calefacción
- Ascensor
- Televisión
- Toallas
- Sábanas
1241 reseñas


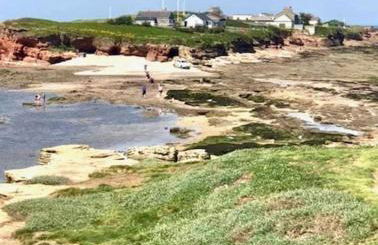
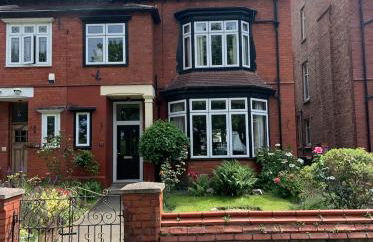
Victorian seaside apartment
Wirral - West Kirby - A 4.4 km del centro
- 95 M2
- 2 personas
- Calefacción
- Terraza
- Jardín
19 reseñas


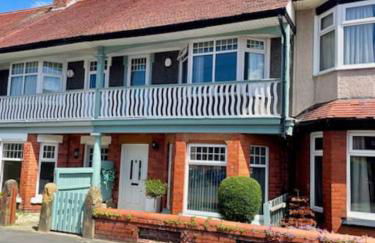
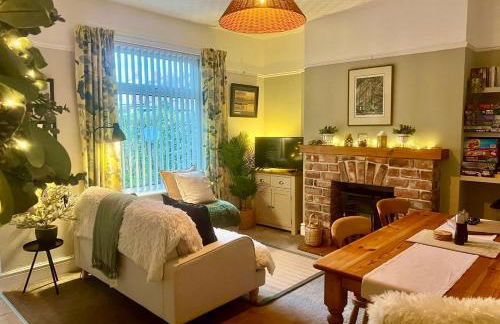
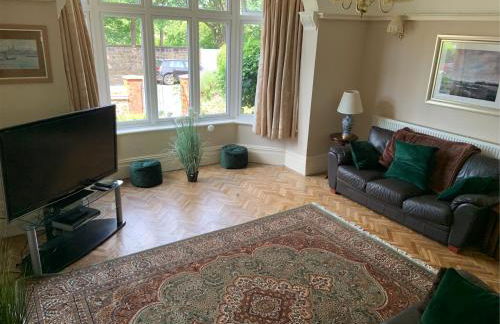
West Mead Cottage
Wirral - Wirral - A 7.2 km del centro
- 34 M2
- 2 personas
- Calefacción
- Parking
- Televisión
- Lavadora
- Sábanas
8 reseñas


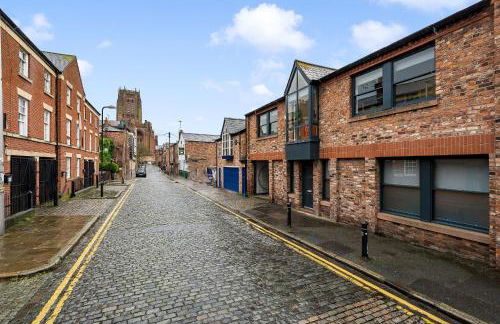

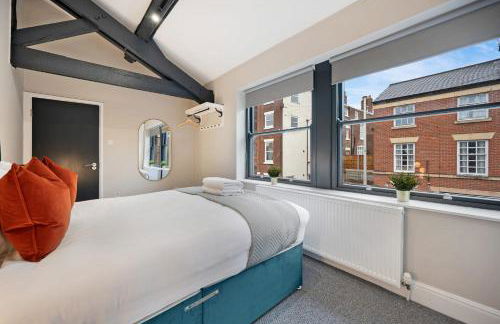

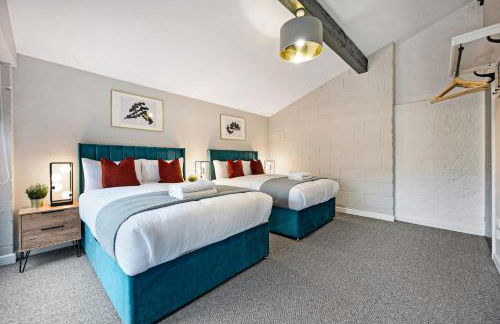

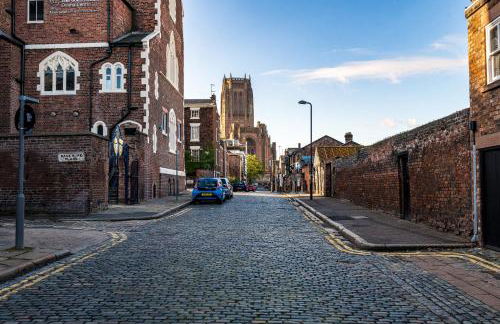


Host Apartments The Coachouse at Pilgrim St
Liverpool - Hope - A 610 m del centro
- 140 M2
- 5 habitaciones
- 16 personas
- Calefacción
- Parking
- Televisión
- Toallas
- Sábanas
47 reseñas

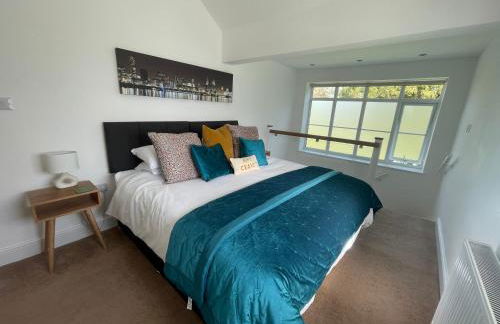

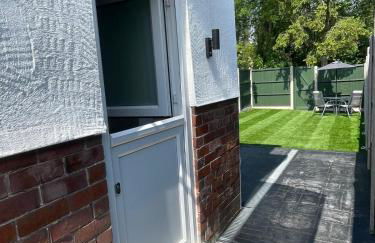
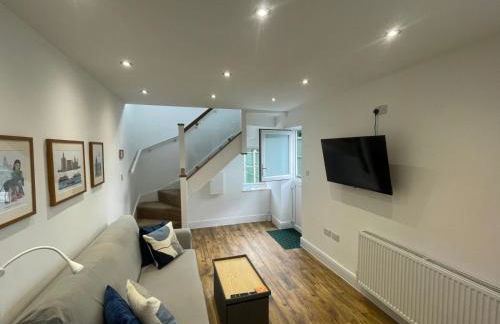


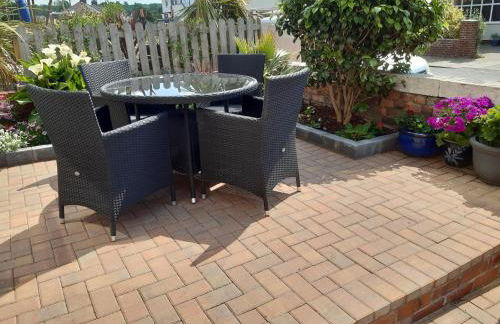
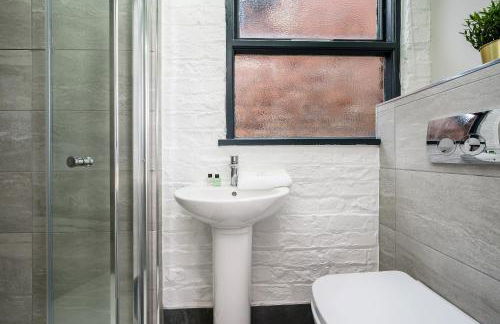
The Upton Coach House
Wirral - Wirral - A 790 m del centro
- 38 M2
- 1 habitación
- 4 personas
- Calefacción
- Terraza
- Parking
- Jardín
37 reseñas
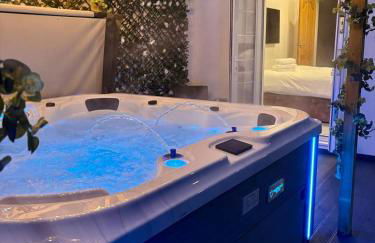
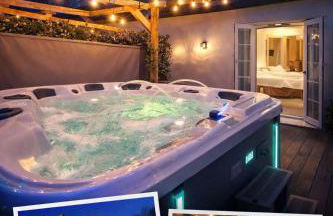
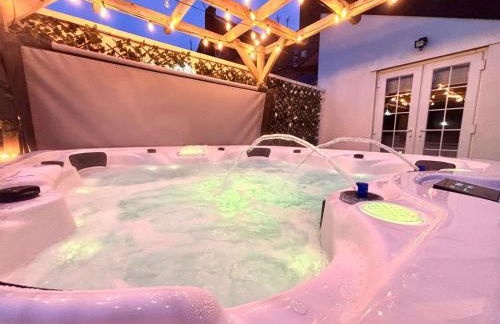
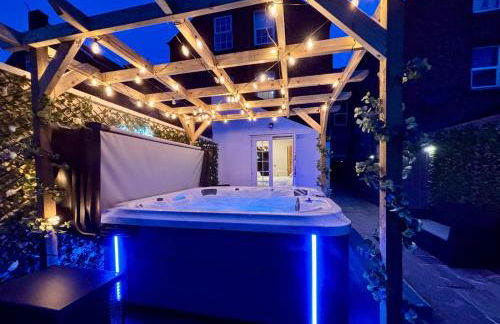
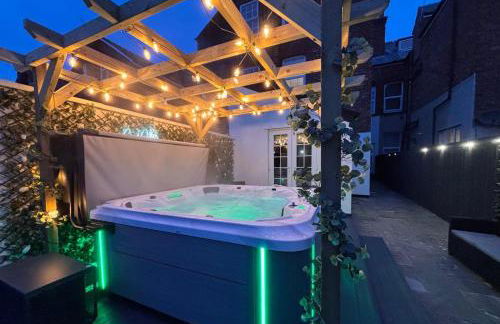


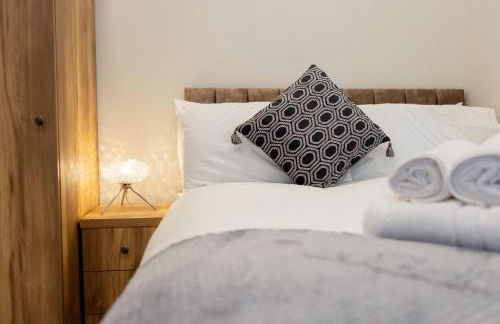


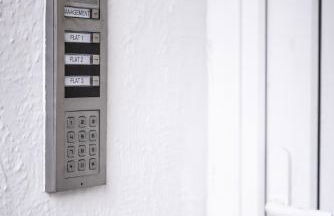

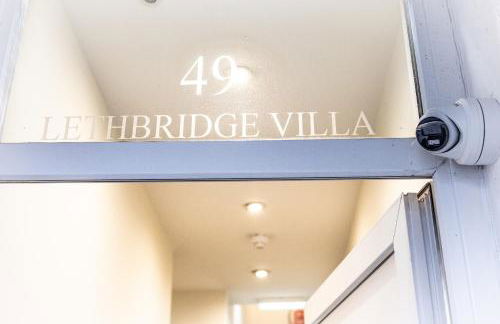

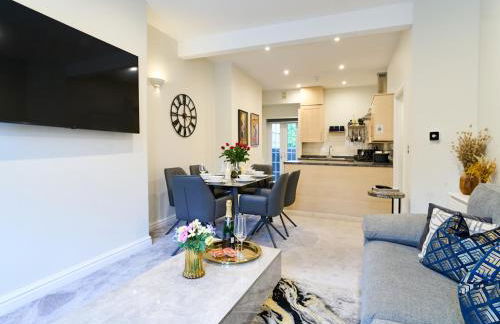
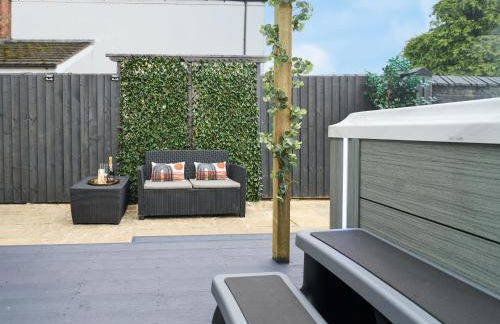
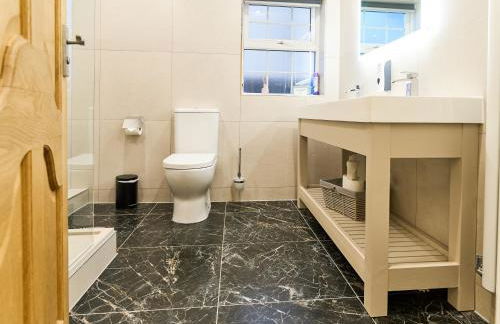


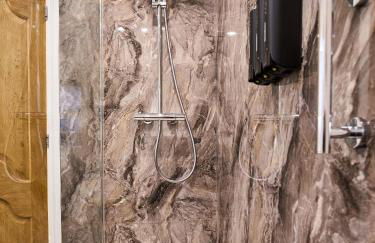
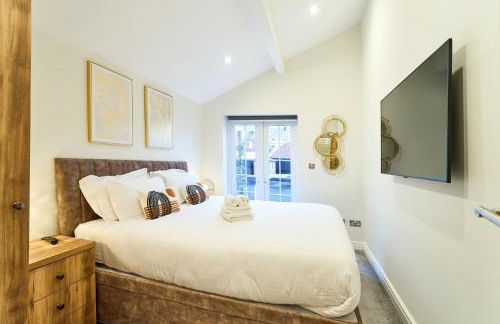
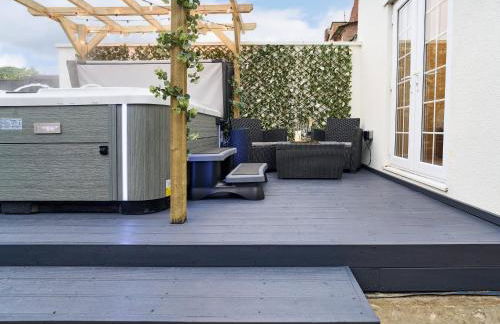

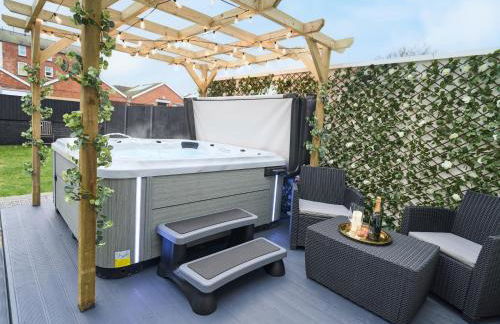


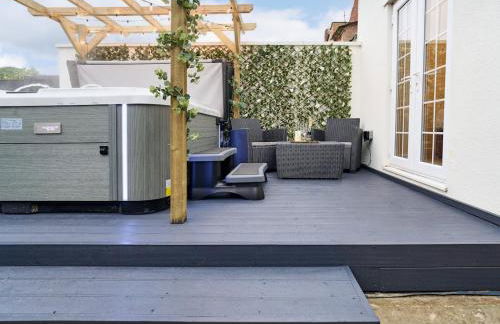


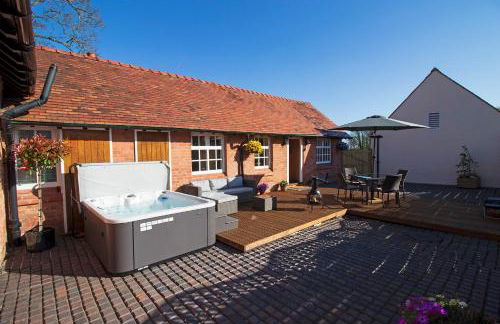
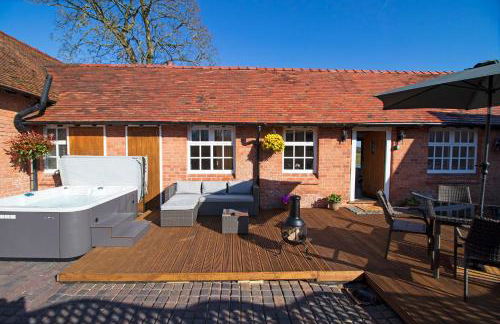
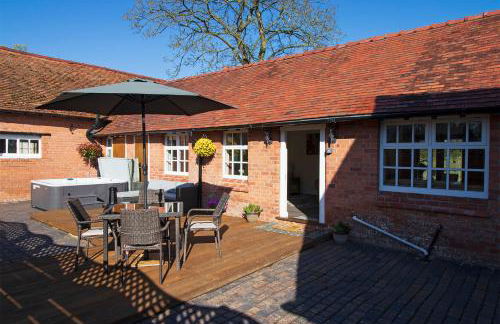
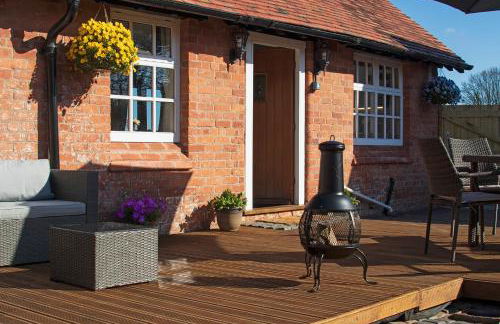
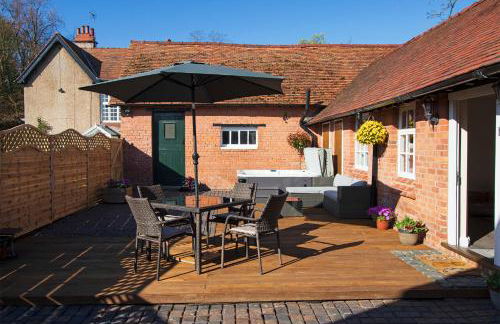
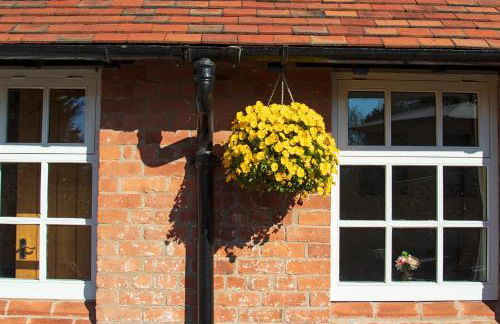
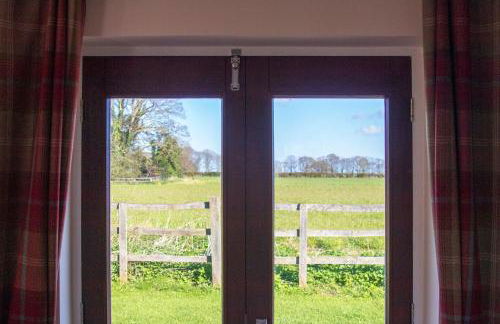
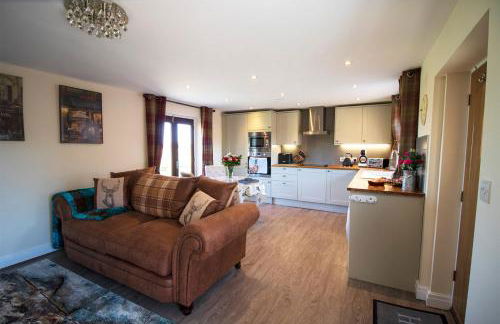
Lethbridge Villa 49 3-bedroom Apartment with private HOT TUB,Fibre WiFi, free parking, sleeps 6
Southport - Southport
- 132 M2
- 3 habitaciones
- 6 personas
- Calefacción
- Terraza
- Parking
- Jardín
34 reseñas