
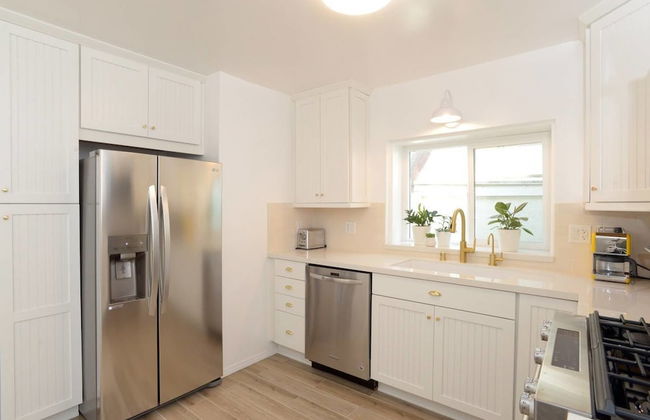
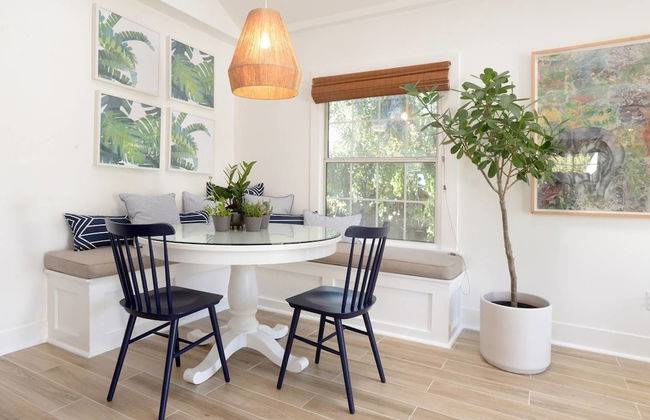
3 Apartamentos en Santa Monica
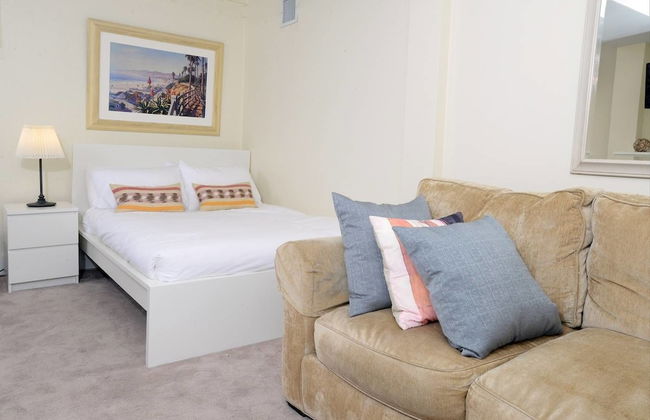


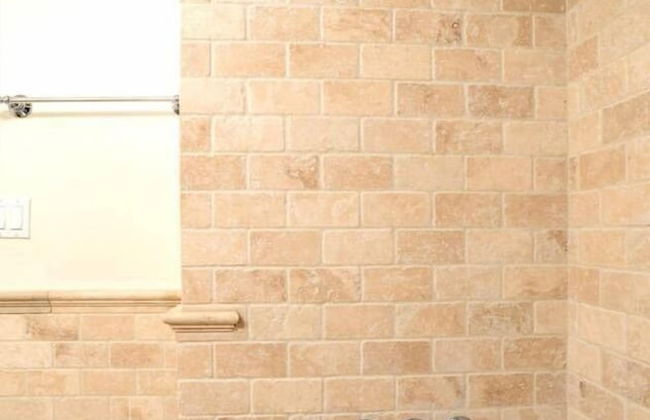
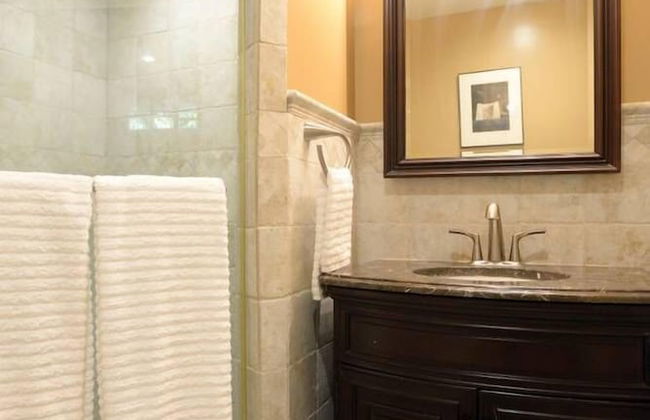

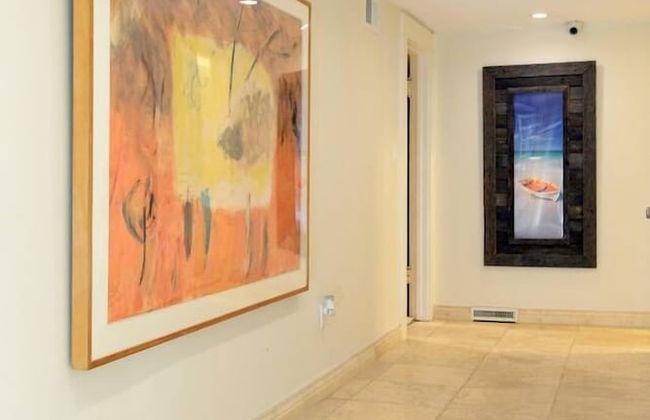
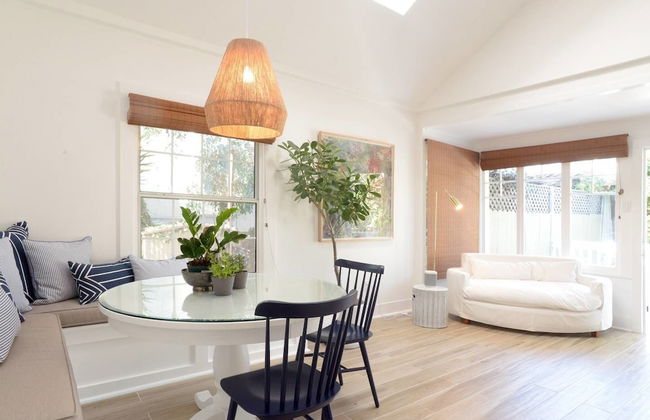
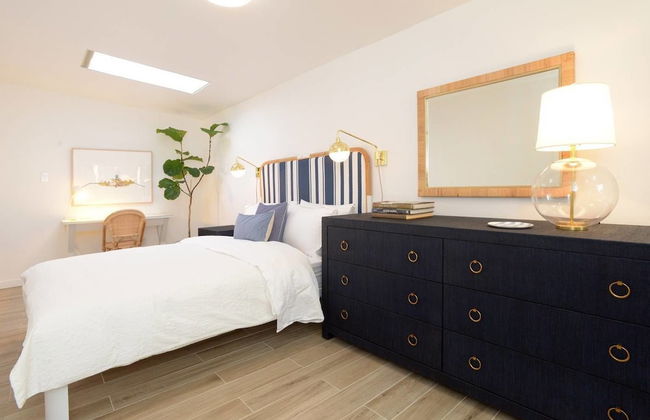
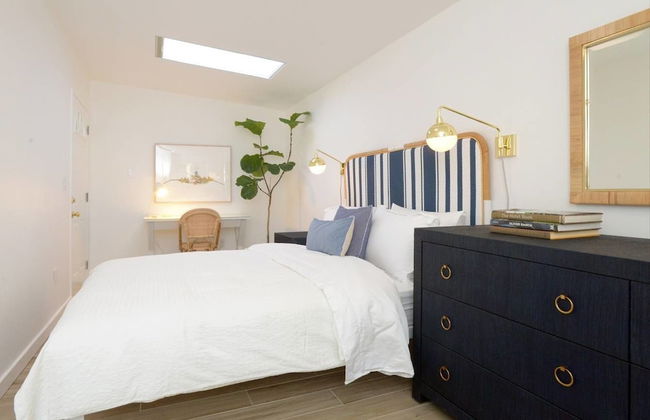
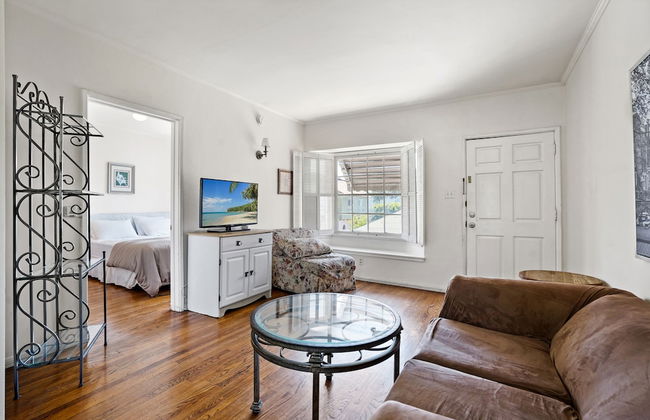
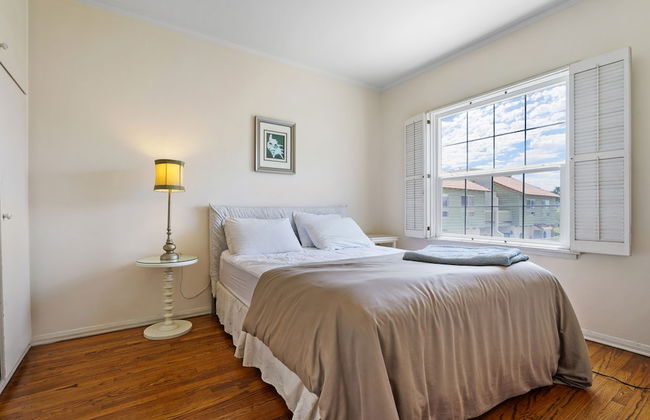
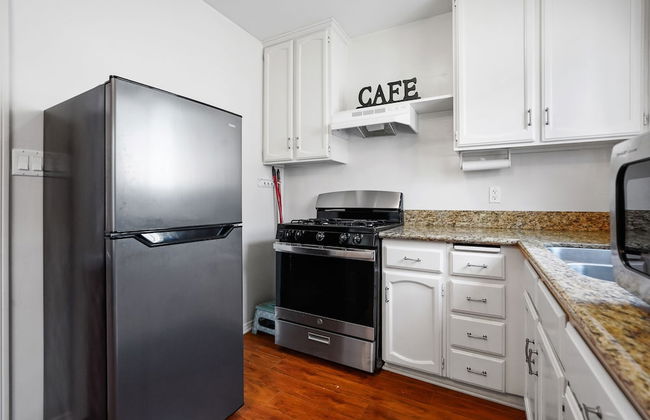
LUX Suites in the Heart of Santa Monica
Santa Monica - City of Santa Monica - A 1.5 km del centro
- 5 personas
- Aire acondicionado
- Calefacción
- Televisión
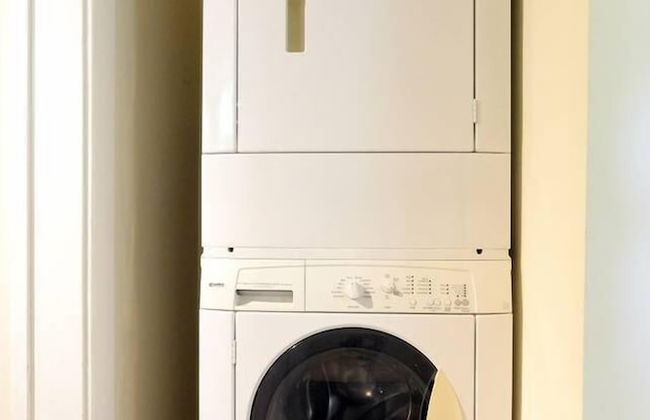
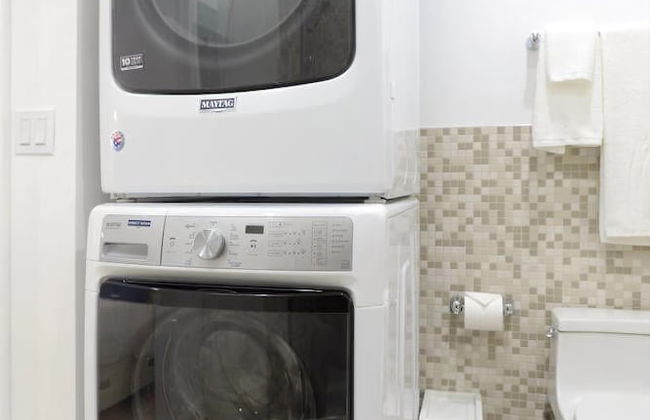
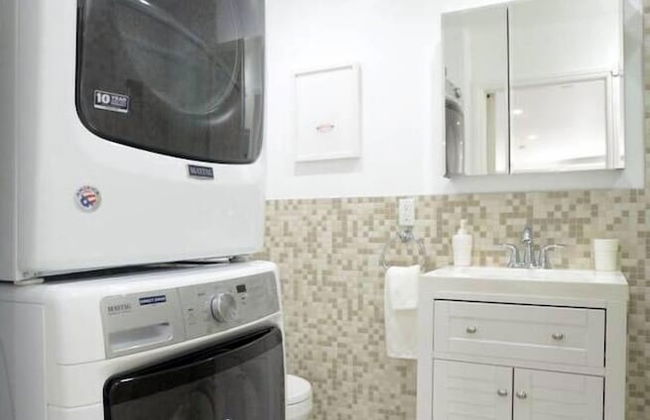
- Lavadora
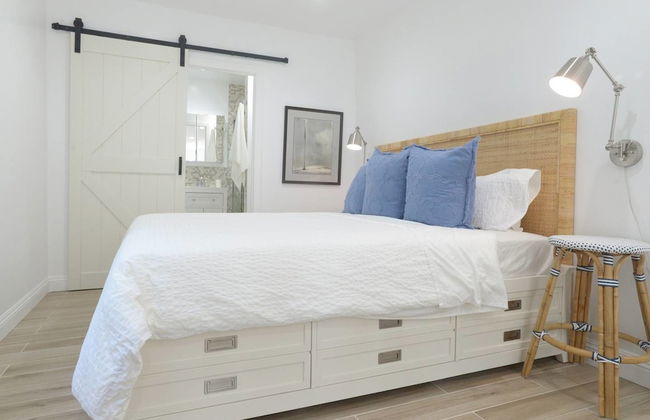
- Sábanas
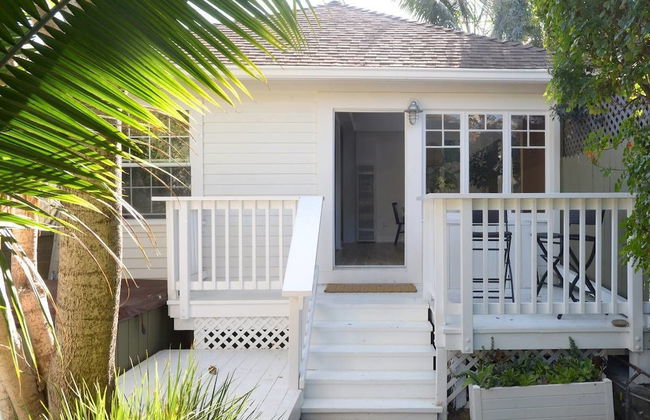


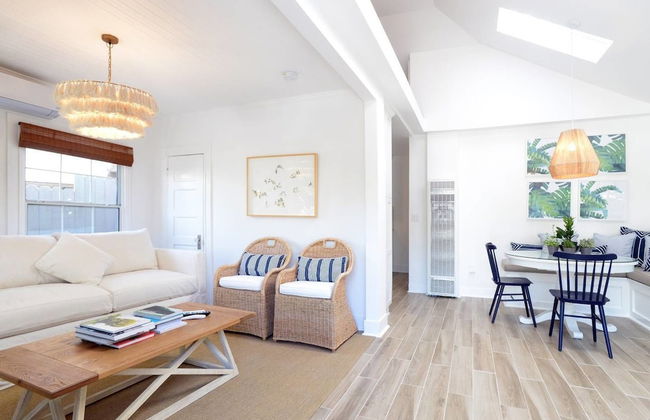


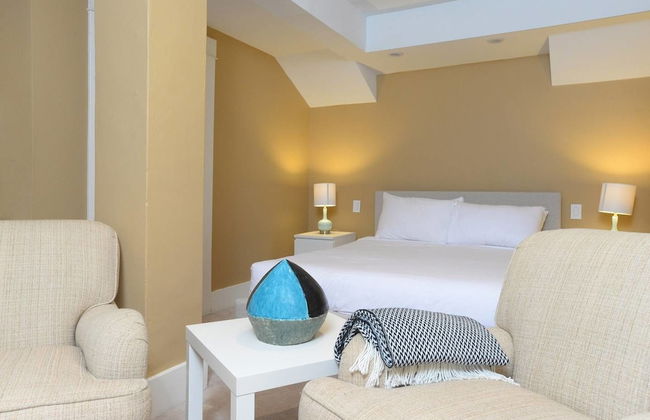
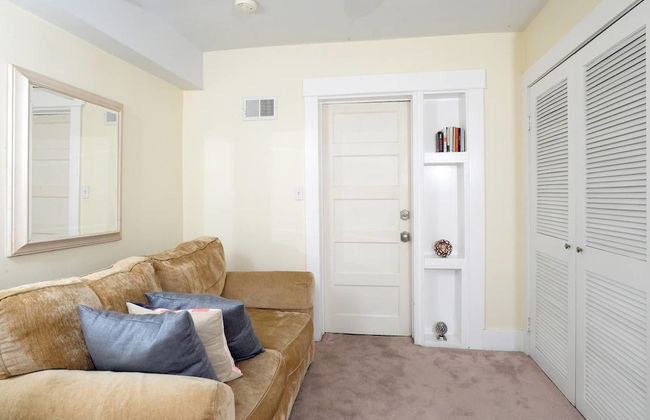
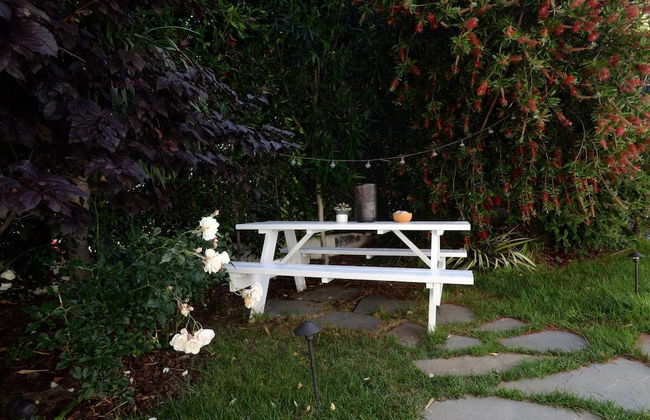
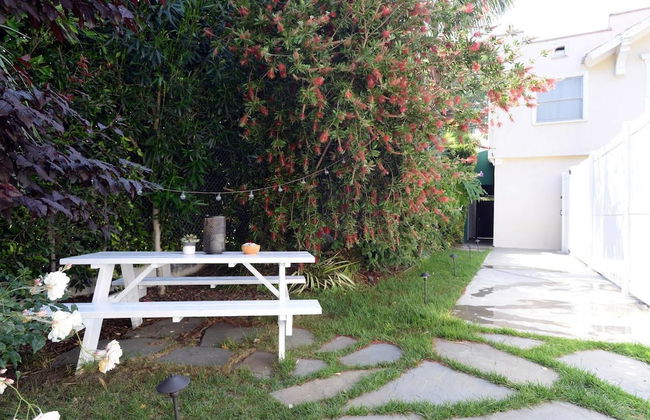
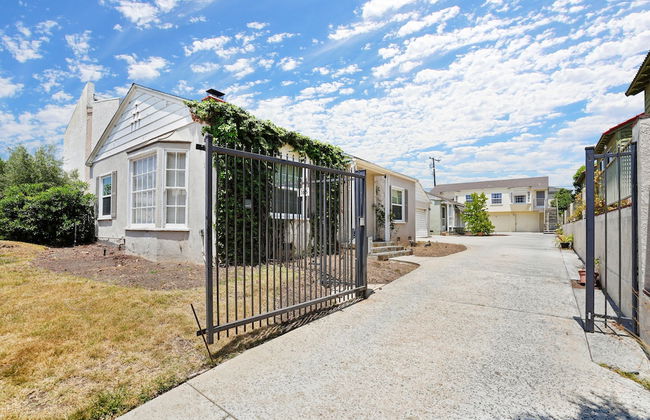
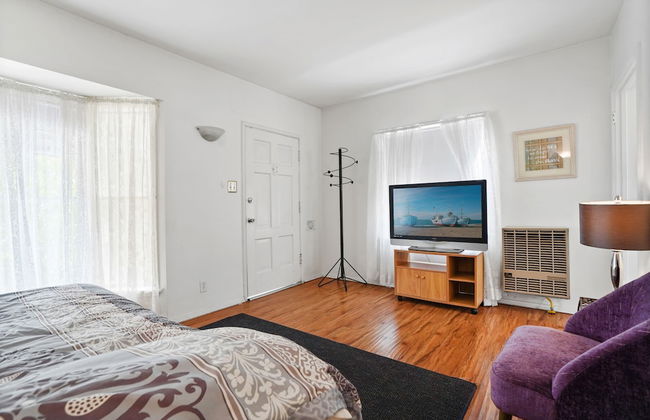
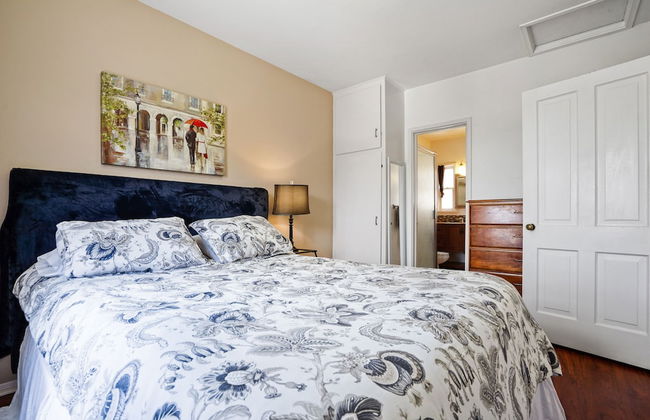
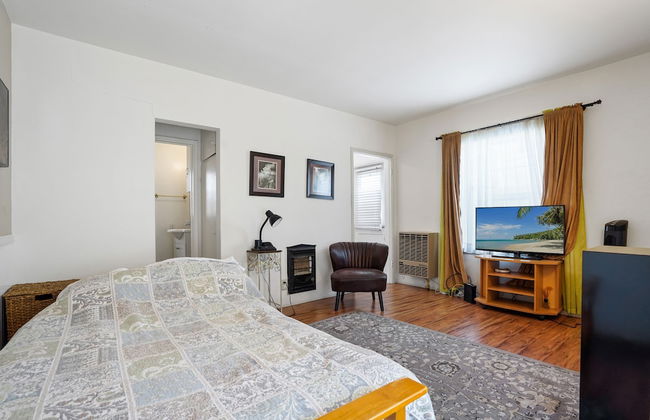
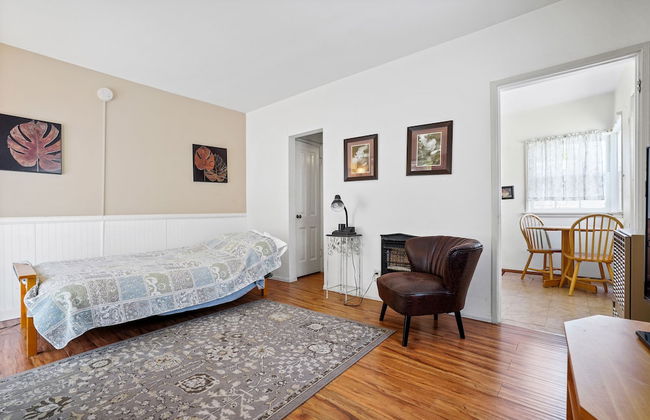
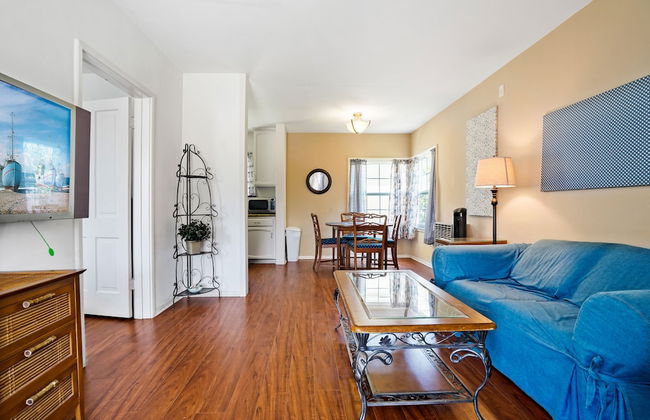
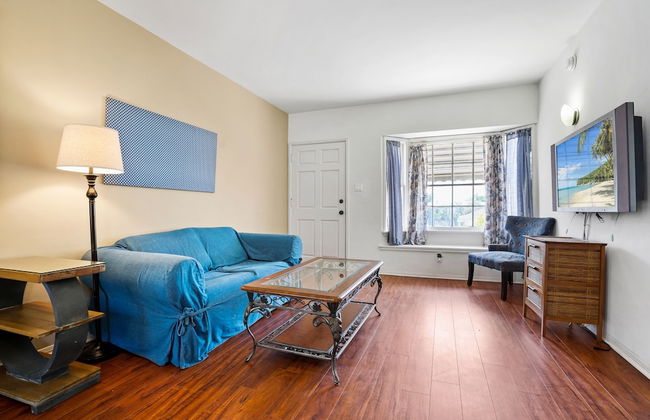
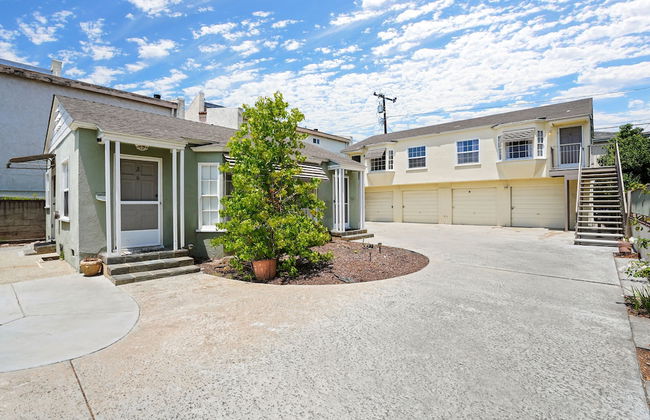
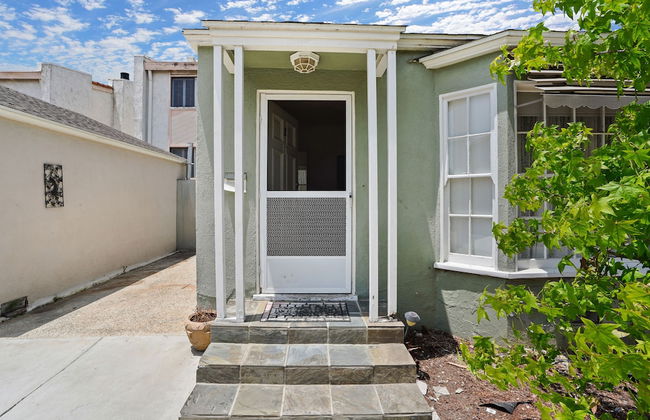
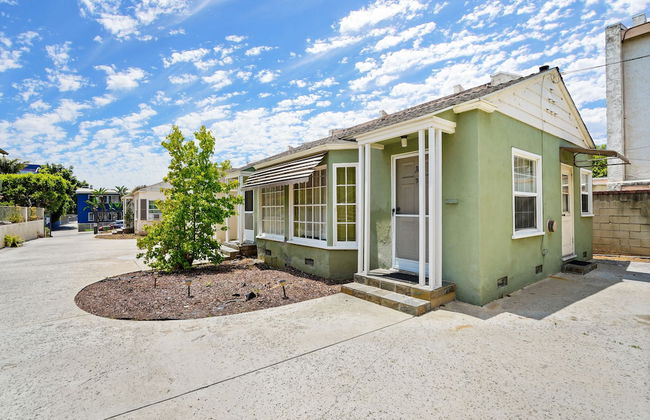
Charming 2br/2ba Cottage - Close to the Beach
Santa Monica - City of Santa Monica - A 570 m del centro
- 5 personas
- Aire acondicionado
- Calefacción
- Parking
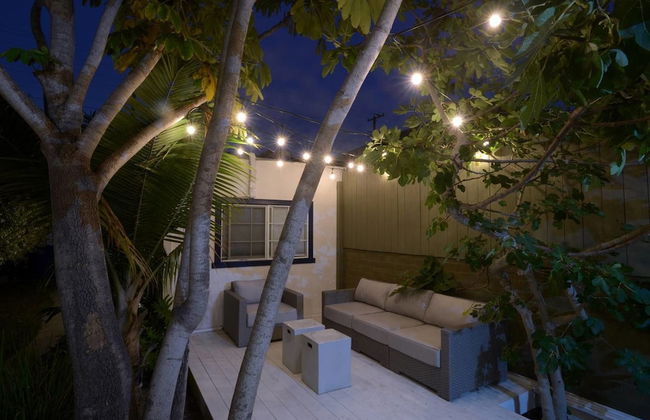
- Jardín
- Televisión
- Lavadora
- Sábanas

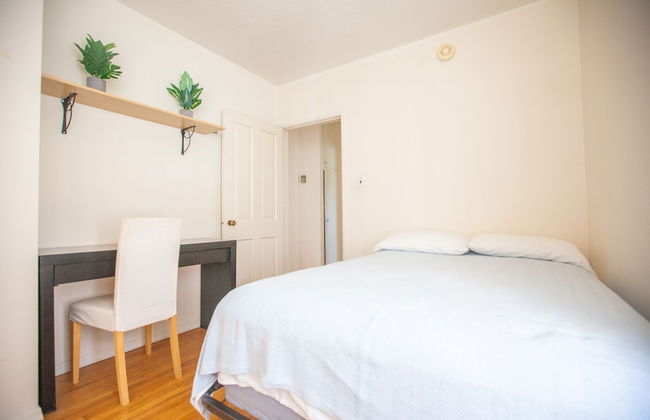


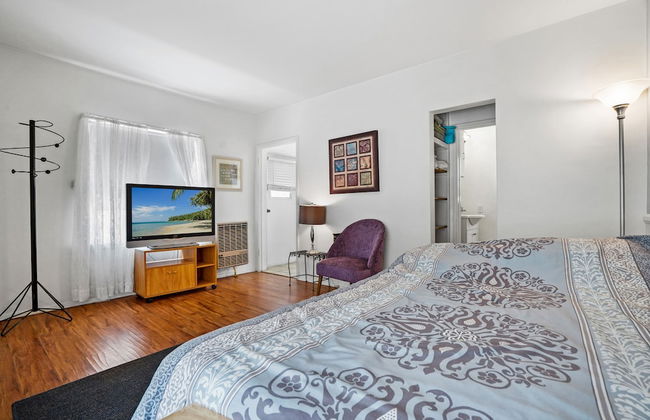

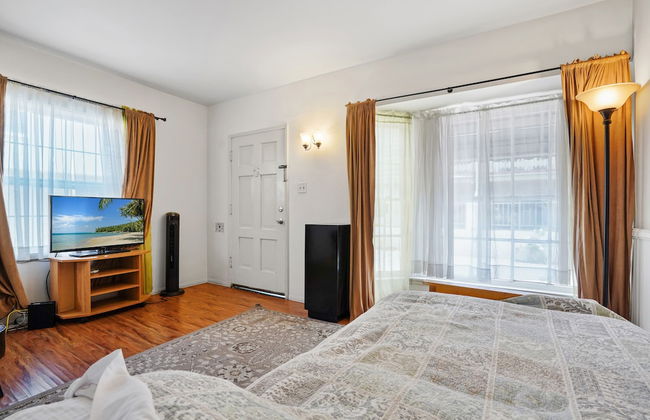
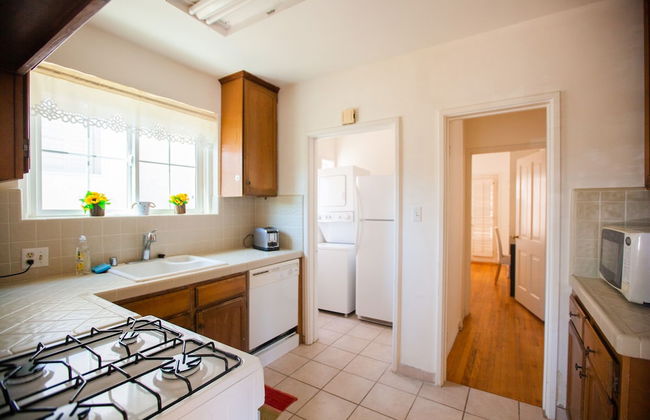
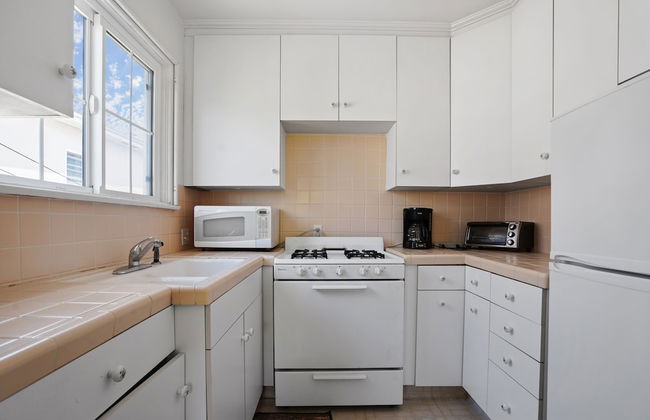


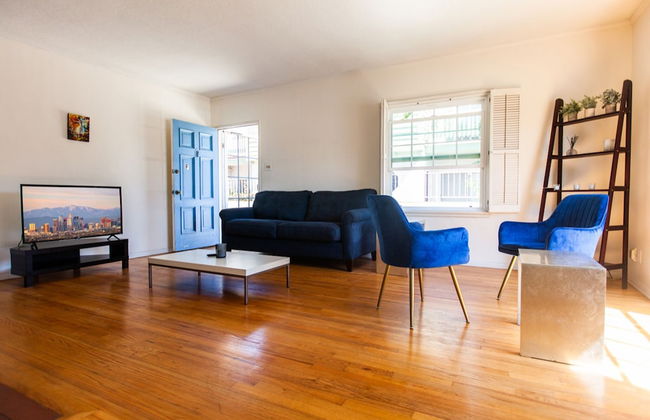


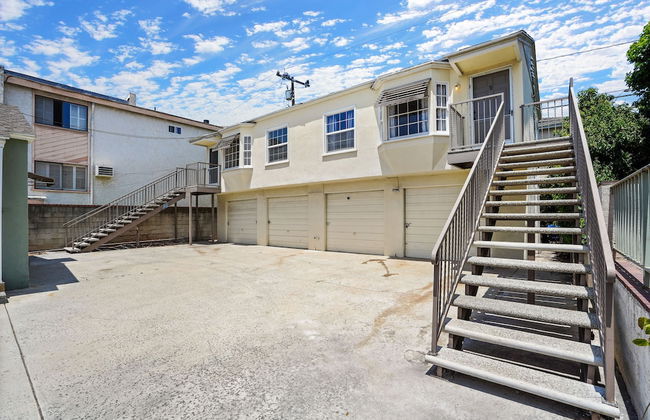

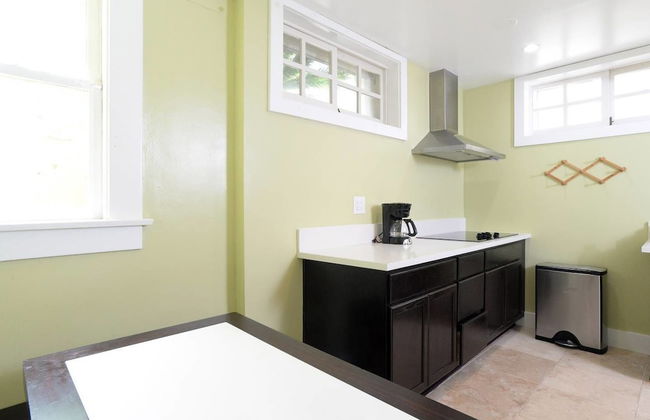
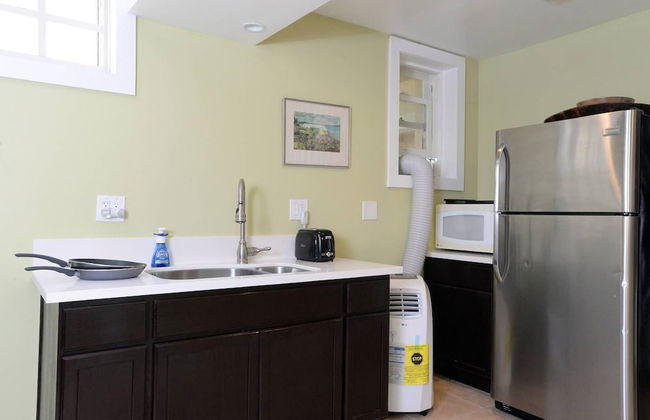
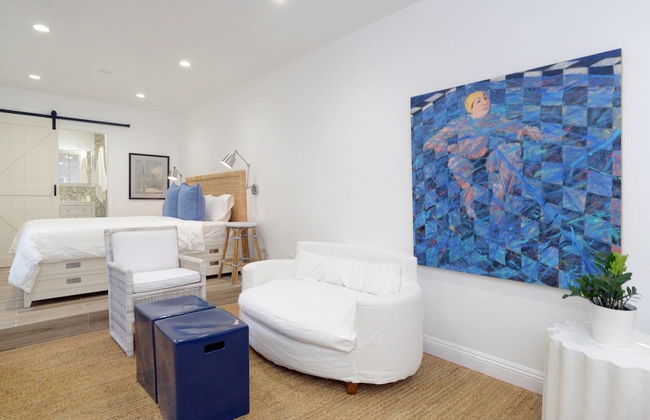
Stanford 13 LLC
Santa Monica - City of Santa Monica - A 3 km del centro
- 93 M2
- 4 personas
- Parking
- Televisión
- Chimenea
- Toallas
- Sábanas