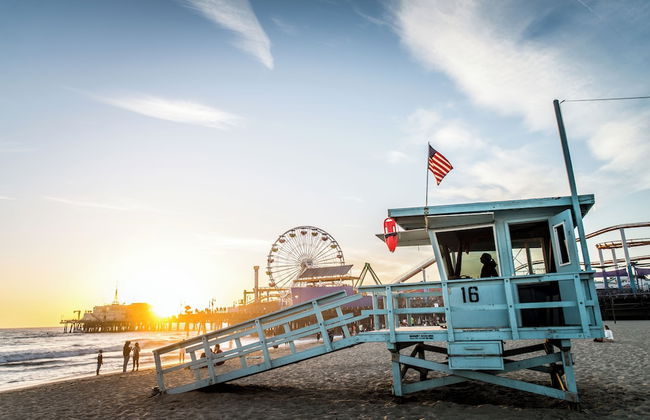
2587 Apartamentos en Los Ángeles
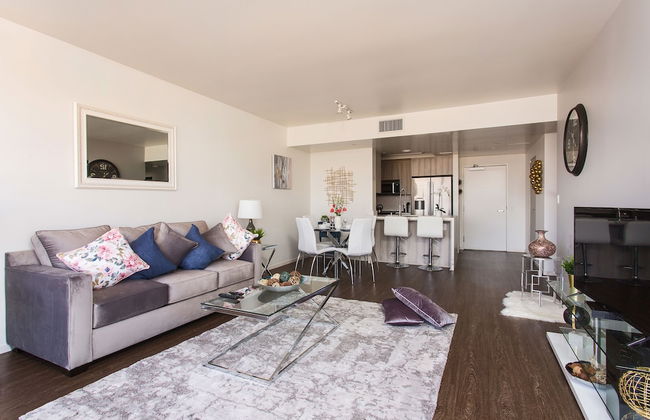
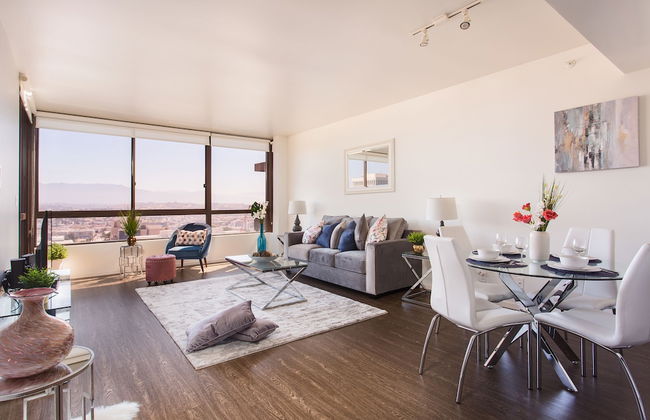
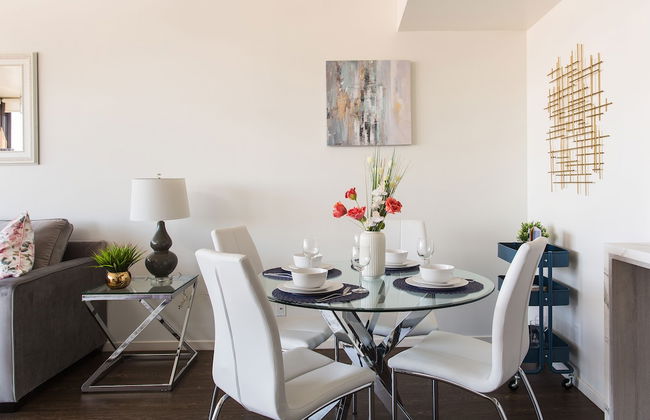
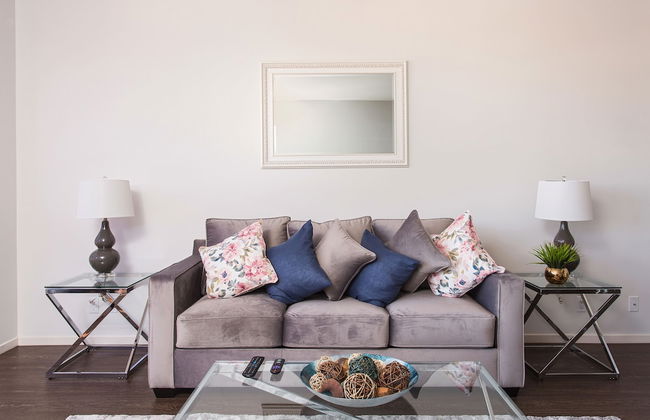
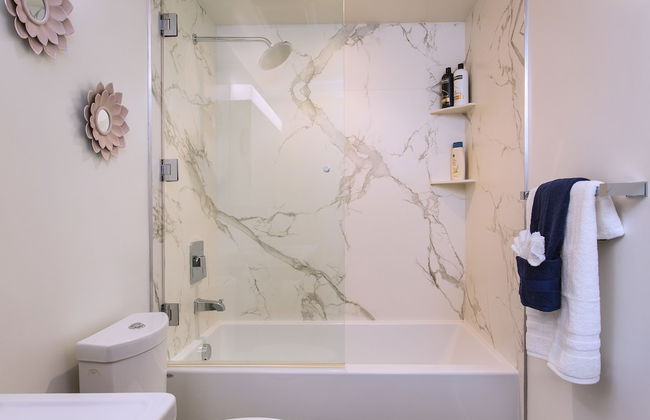
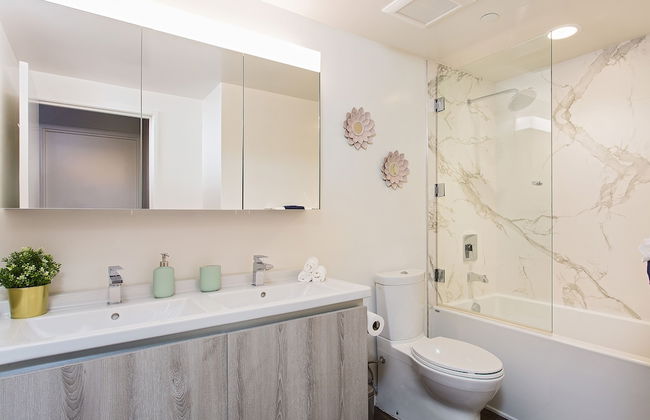
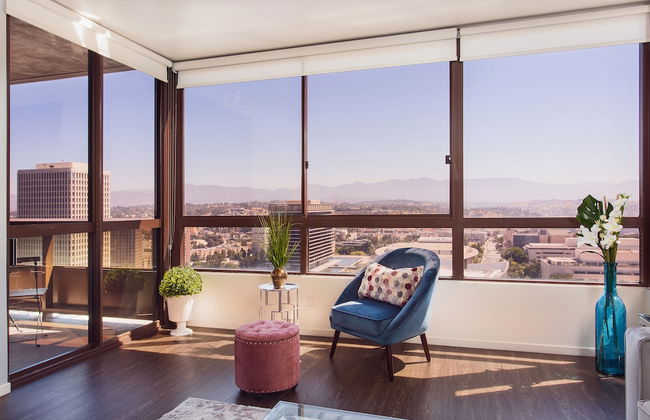
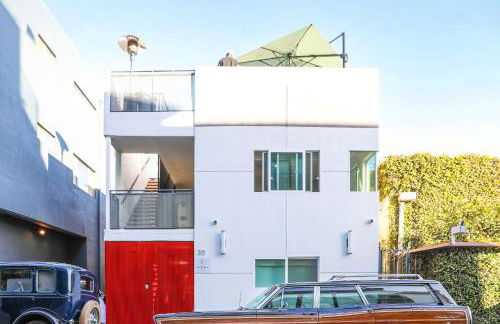
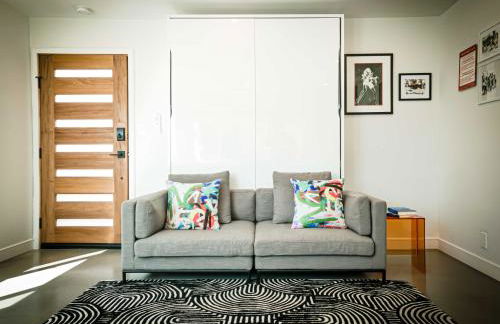
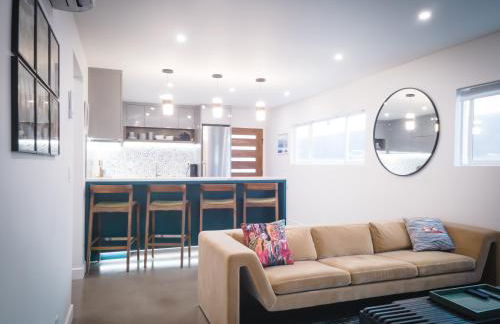
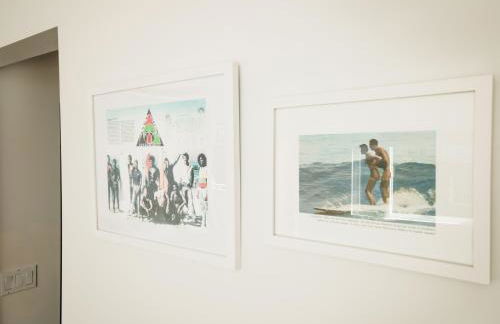
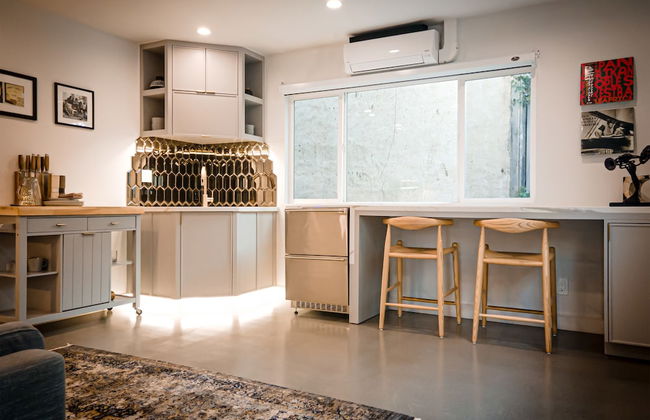
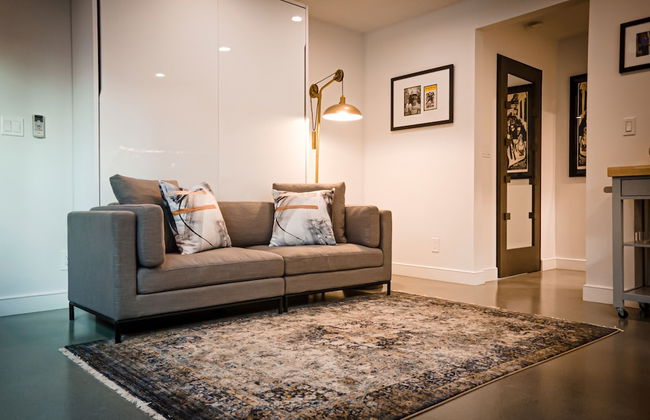
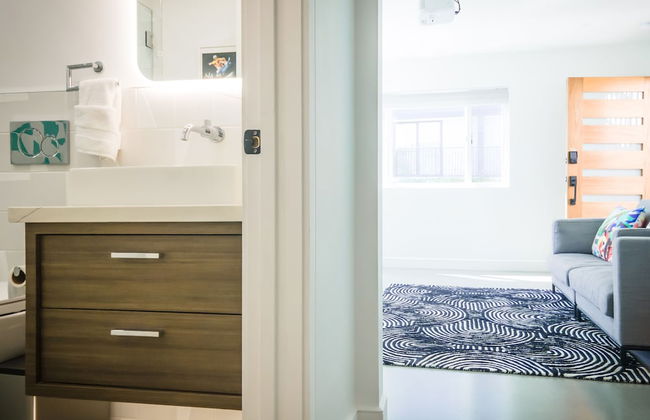
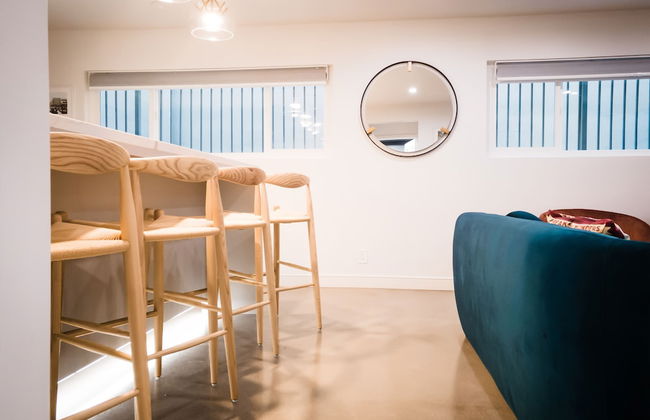
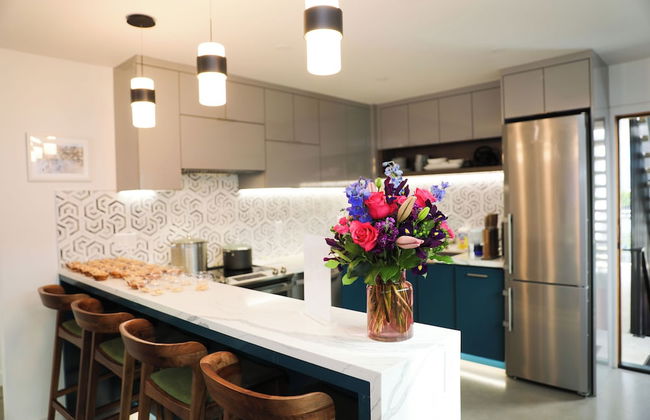
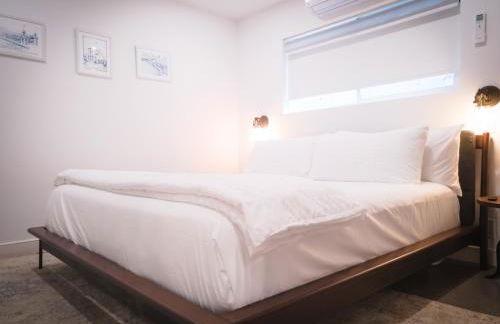
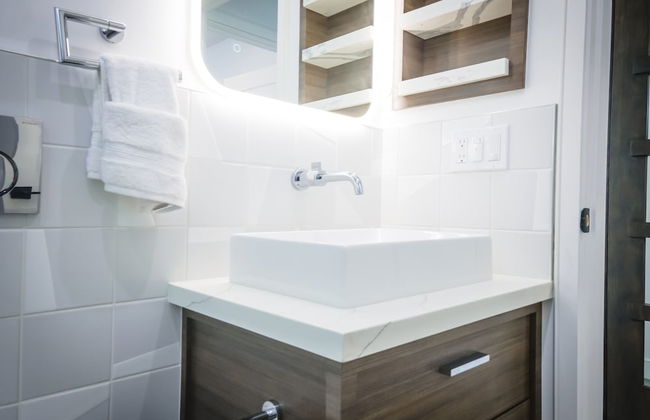
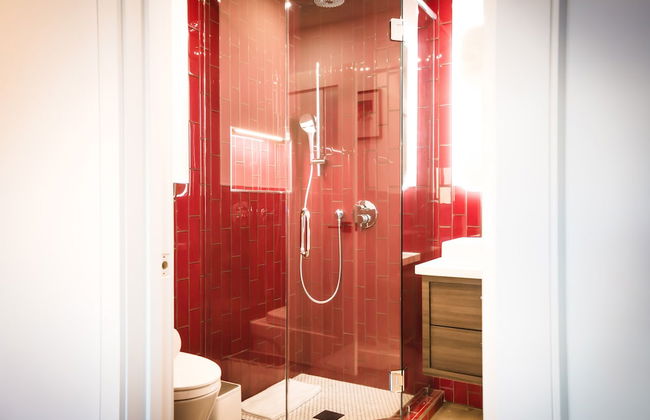
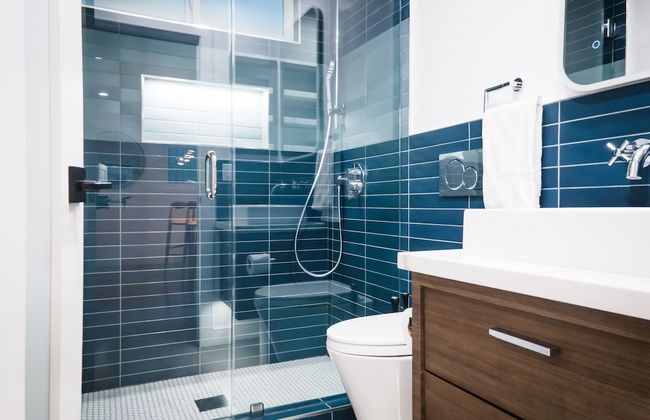
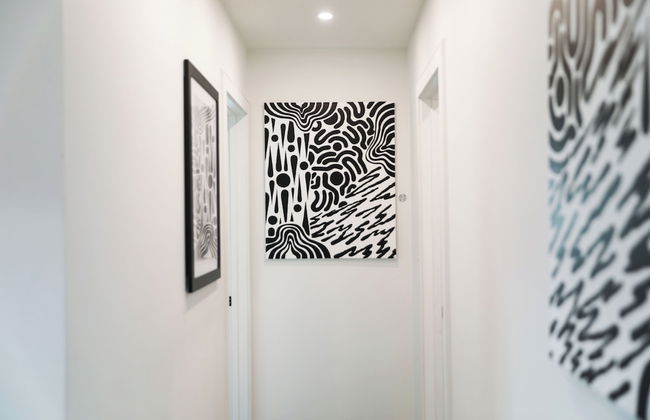
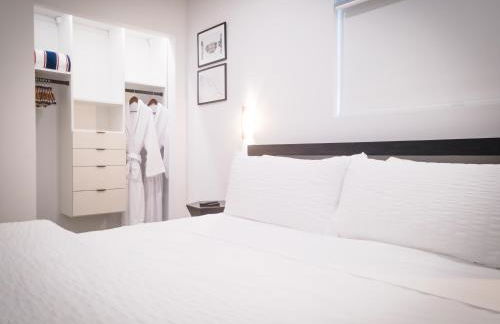
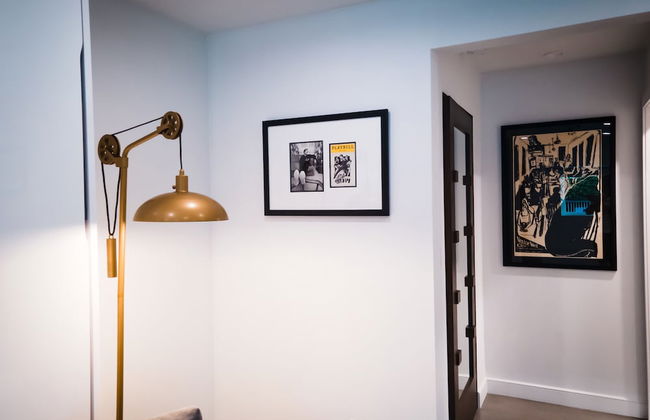
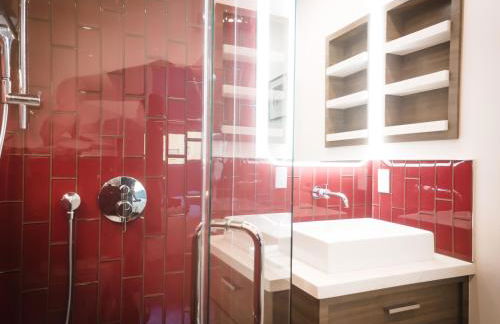
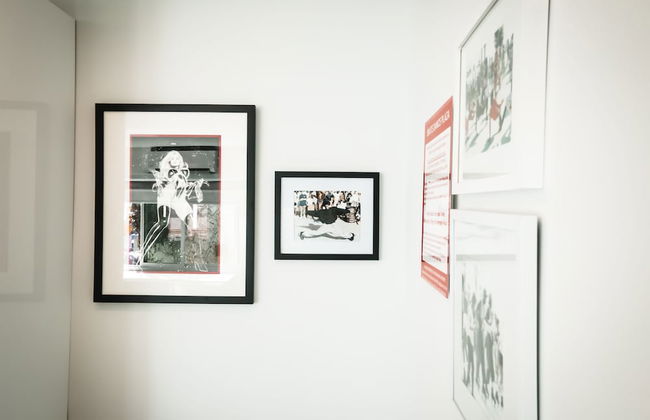
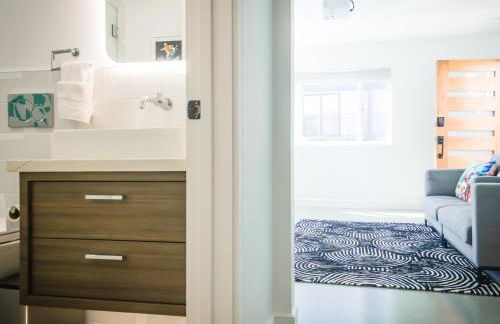
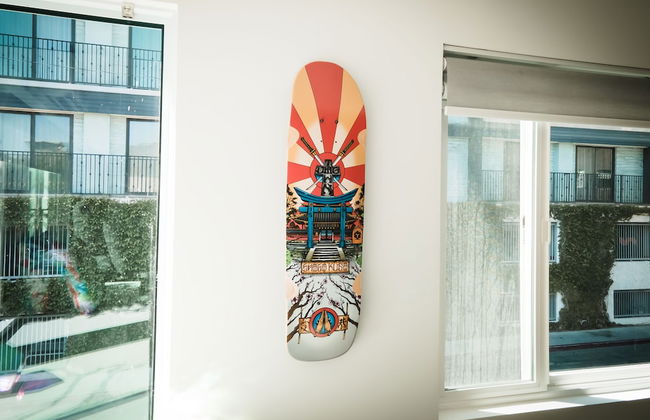
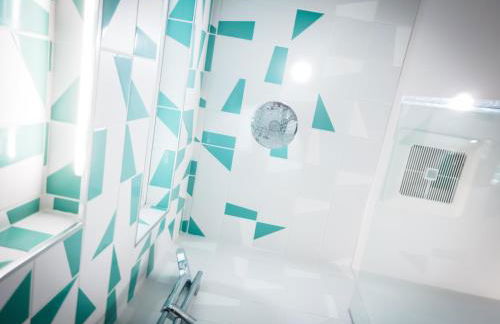
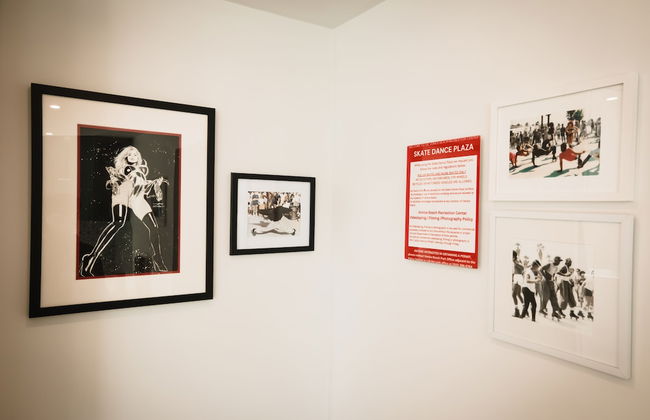
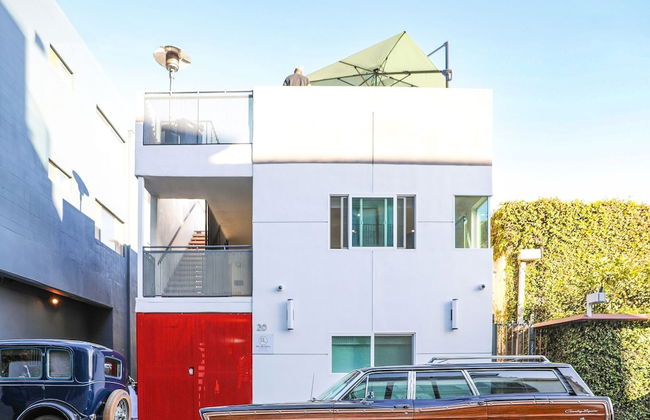
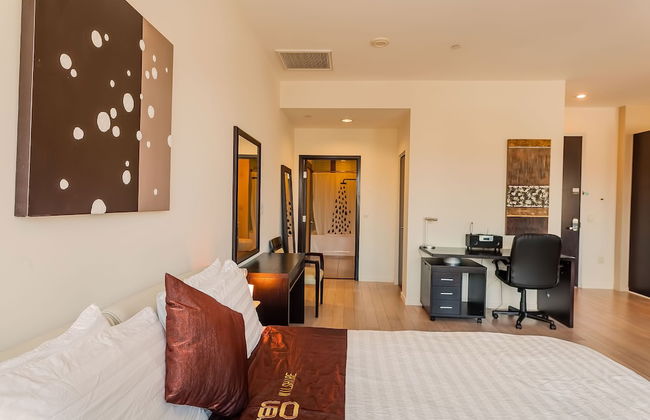
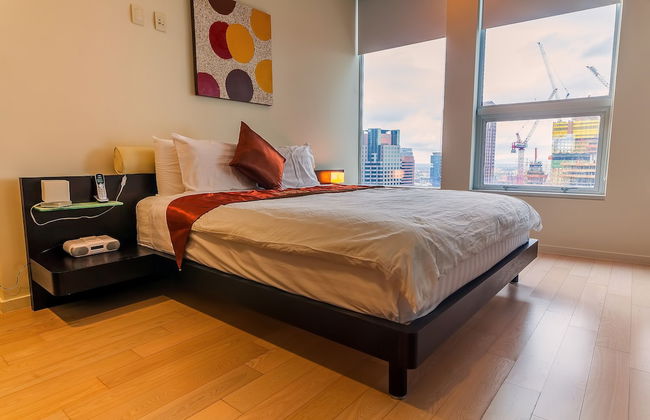
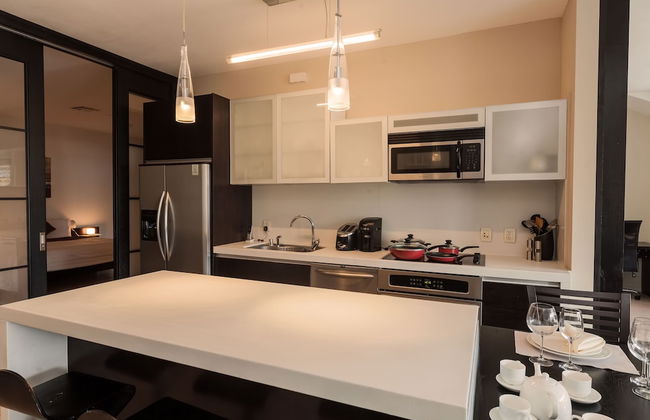
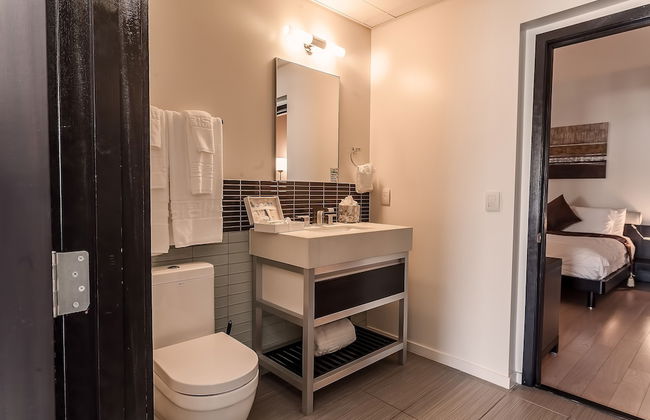
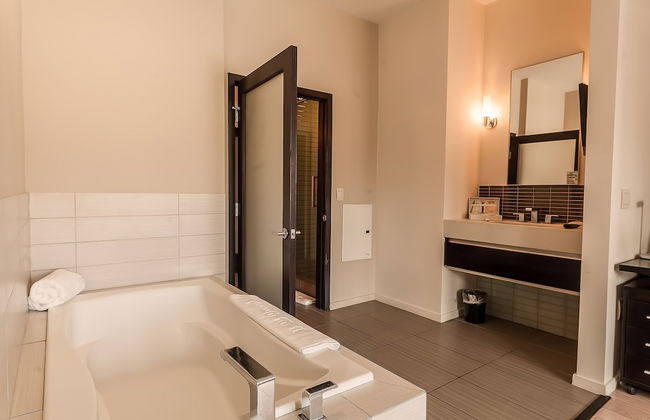
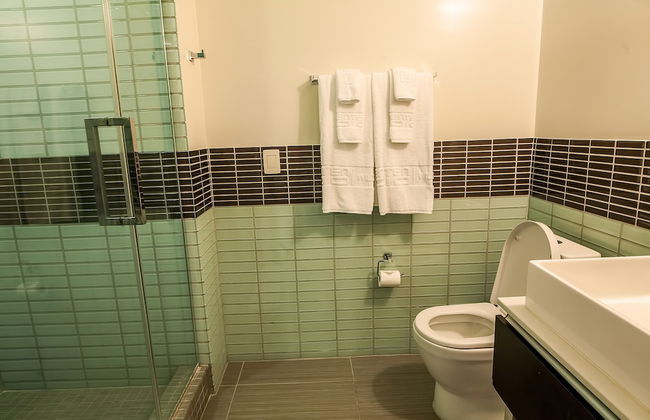
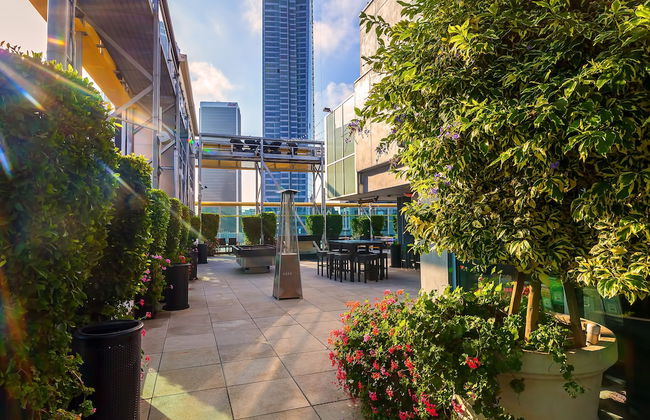
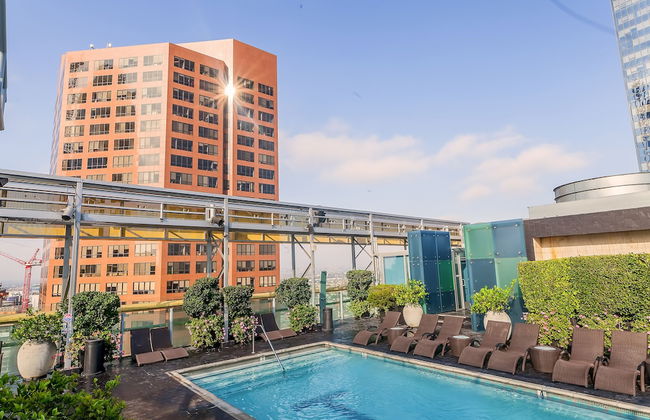
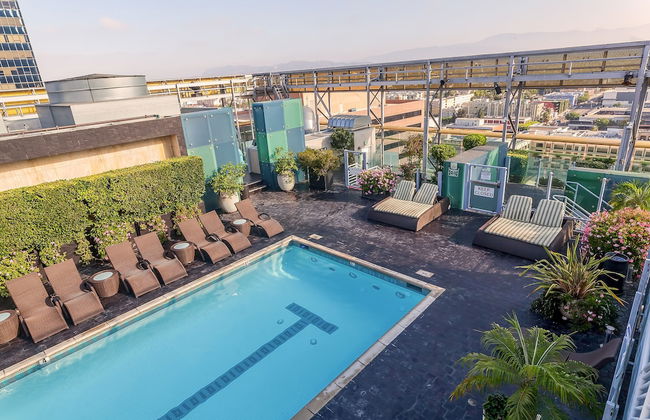
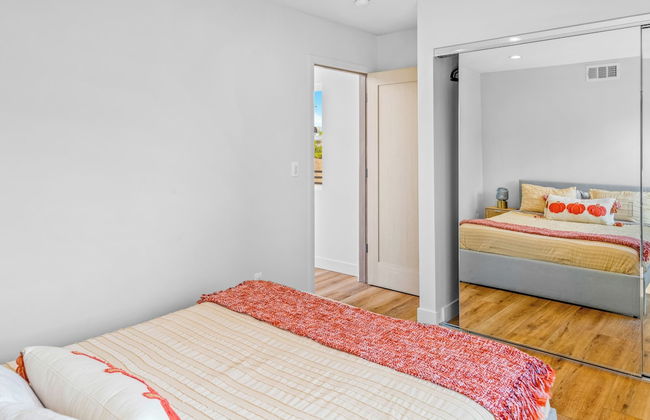
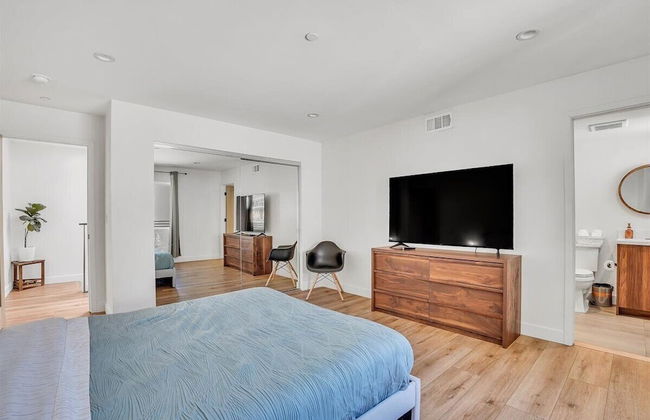
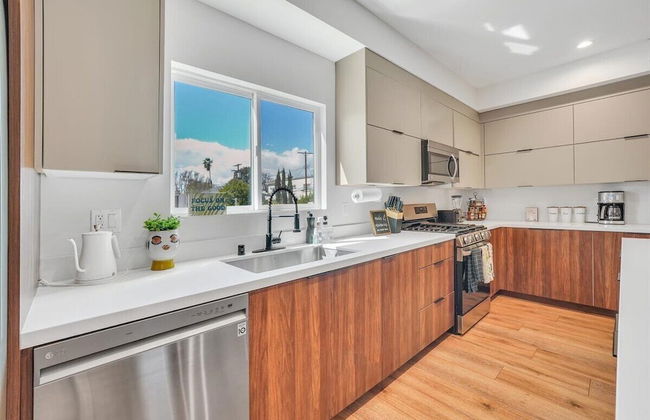
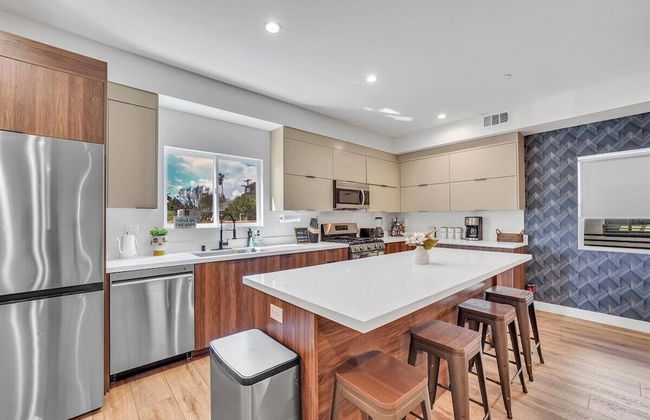
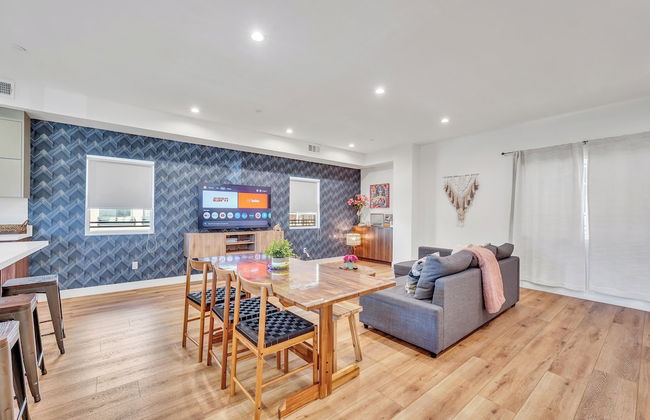
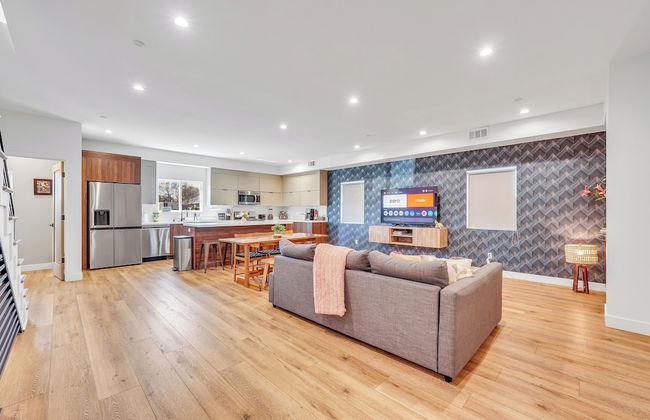
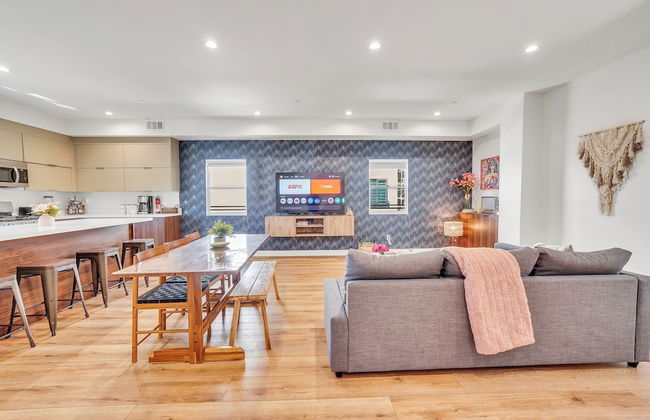
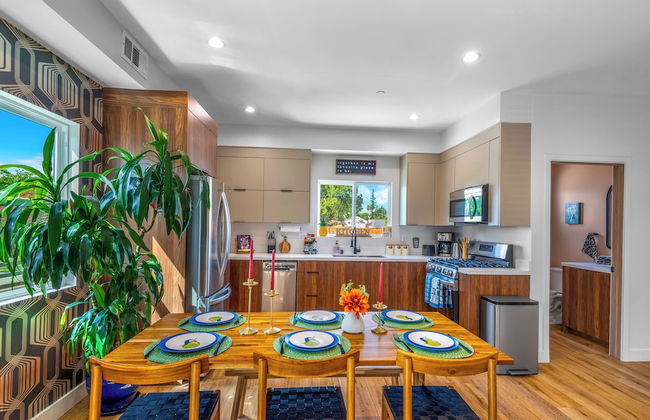
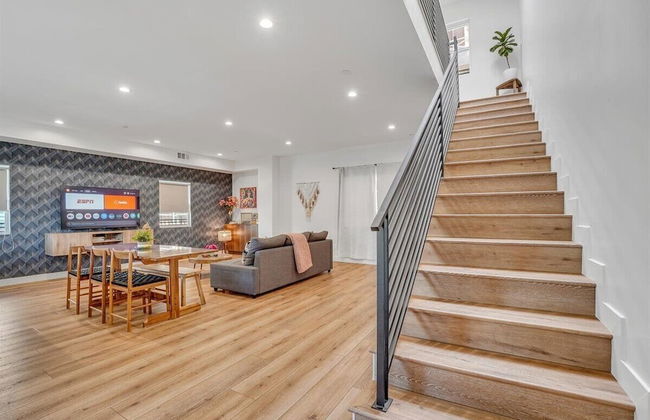
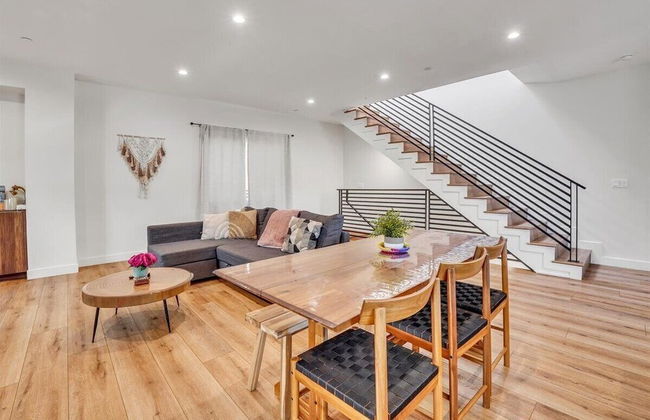
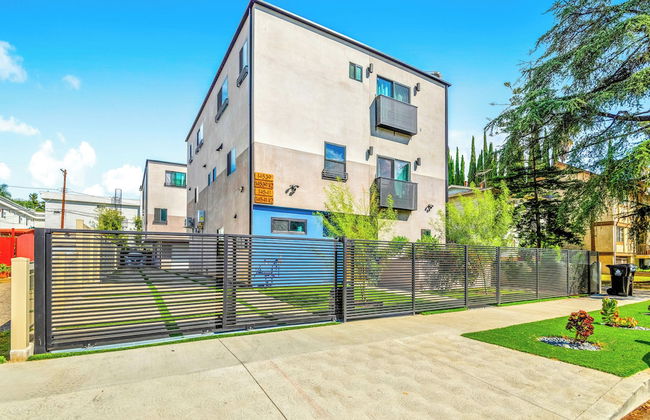
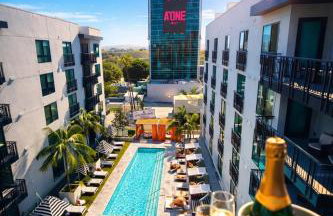
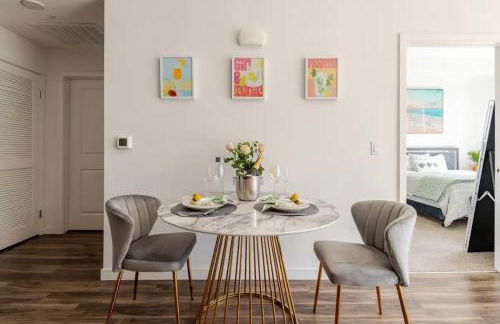
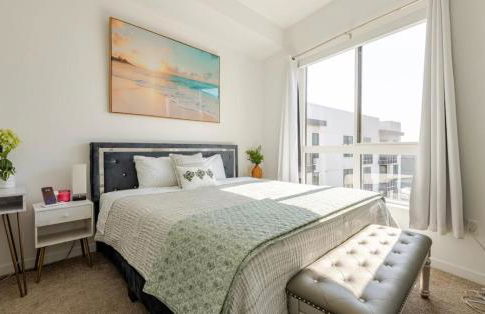
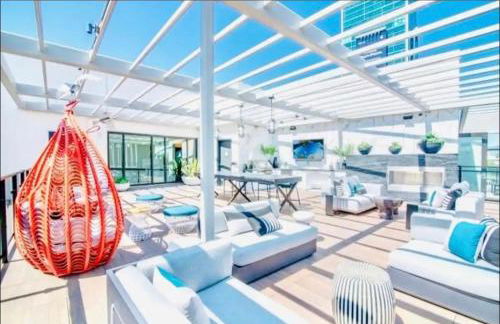
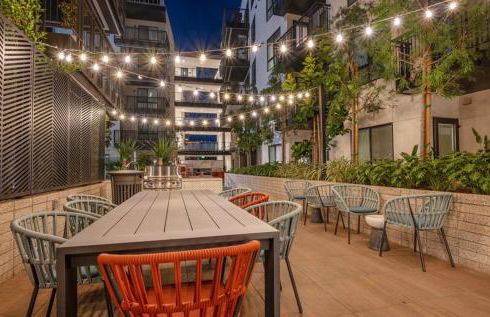
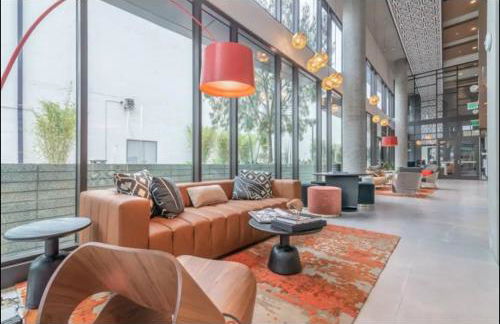
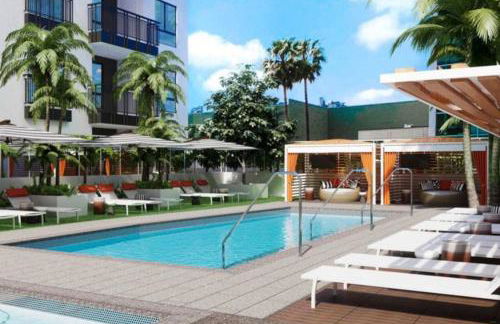
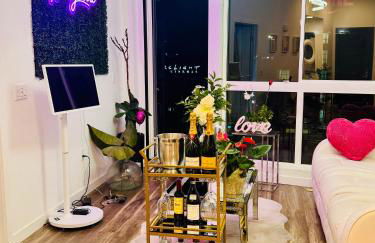
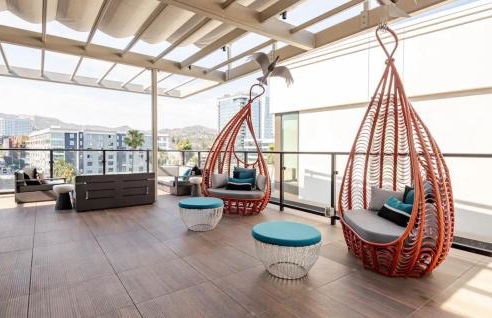
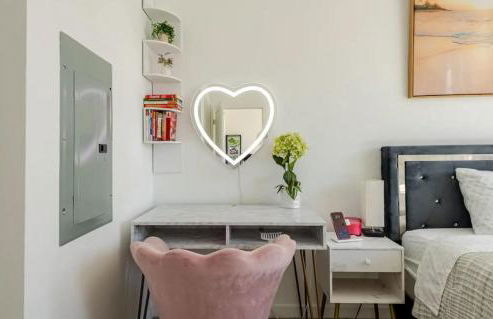
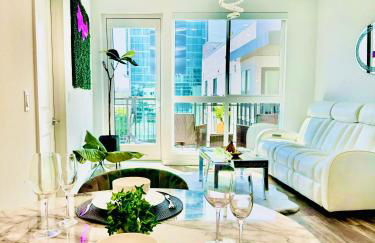
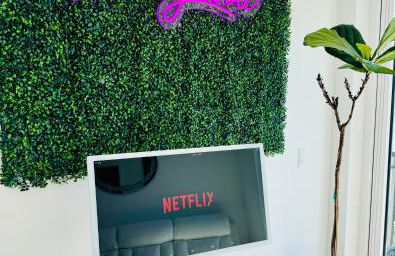
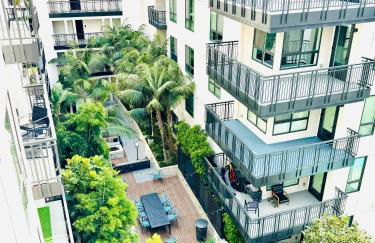
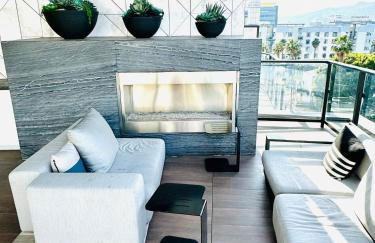
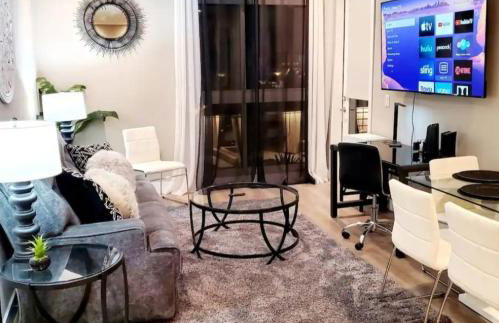
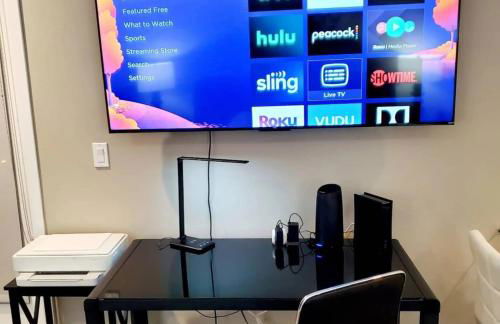
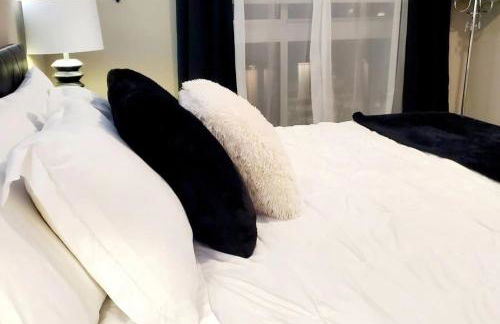
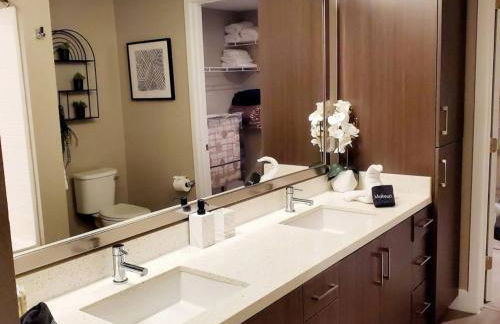
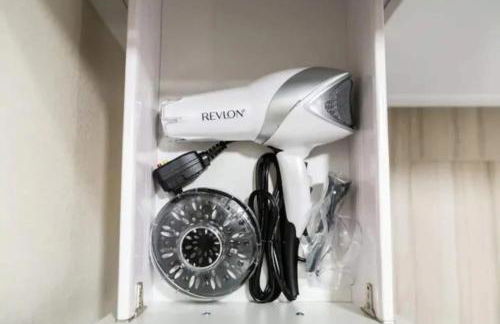
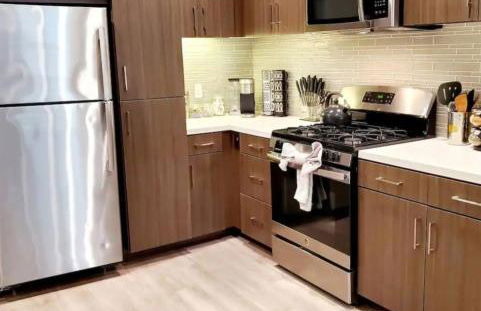
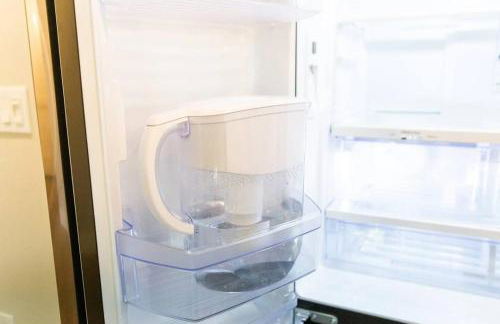
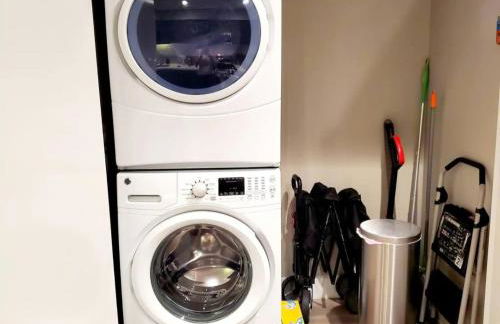
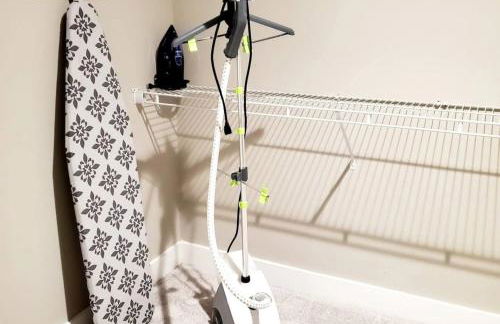
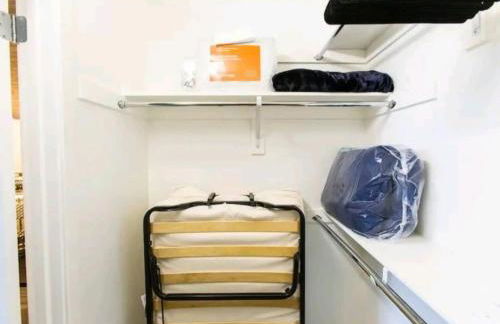
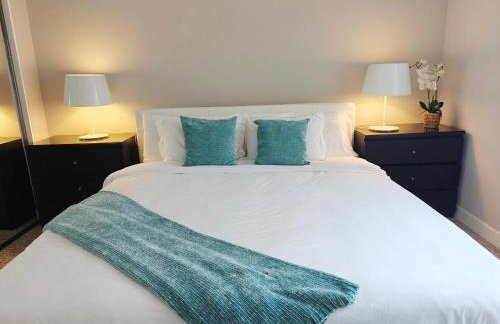
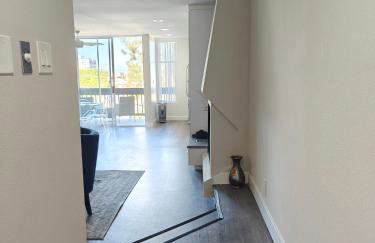
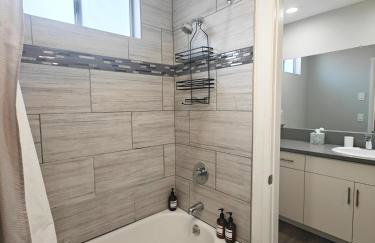
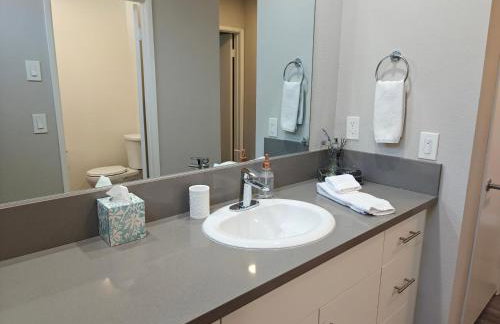
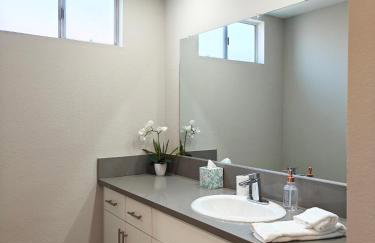
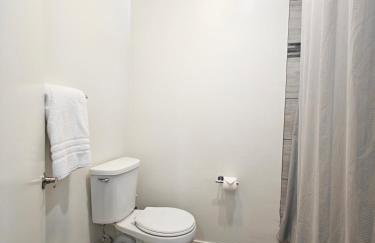
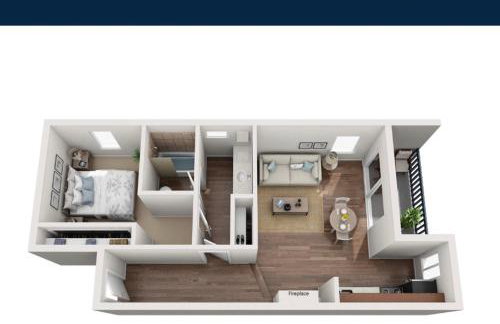
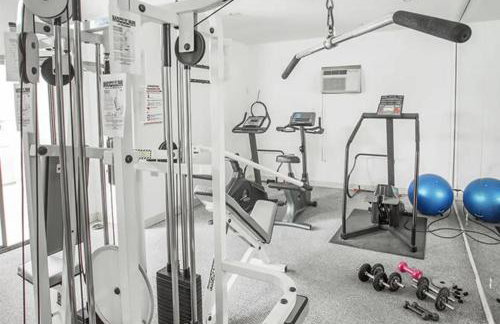
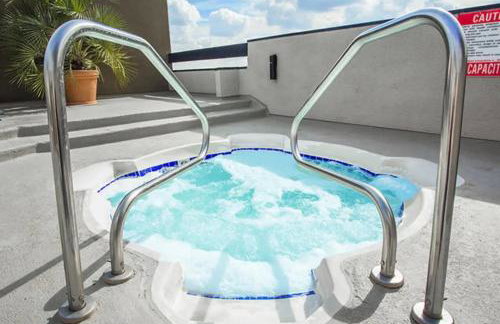
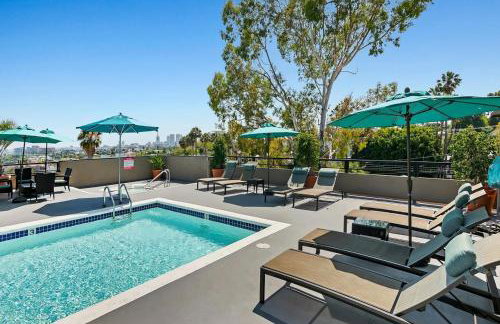
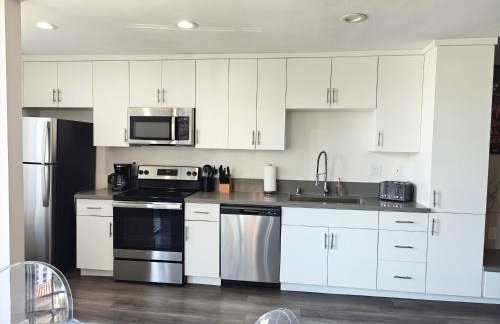
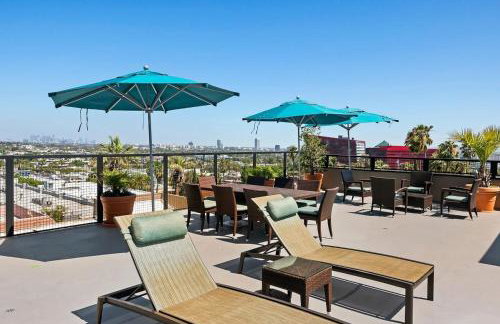
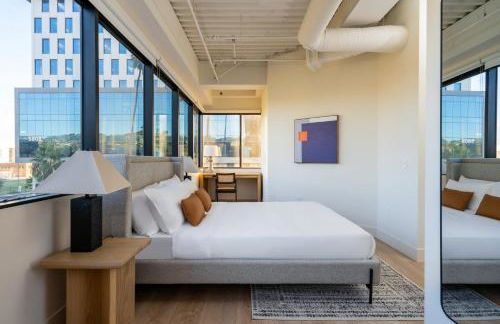
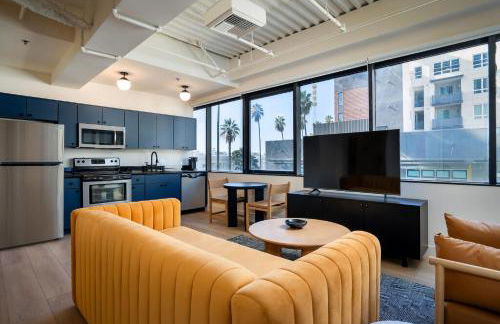
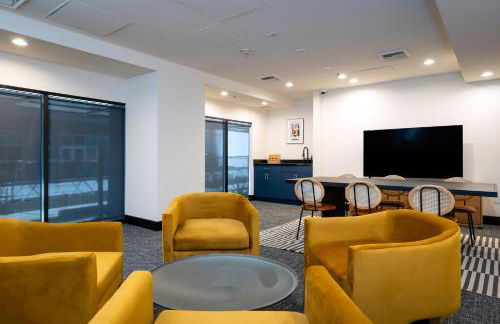
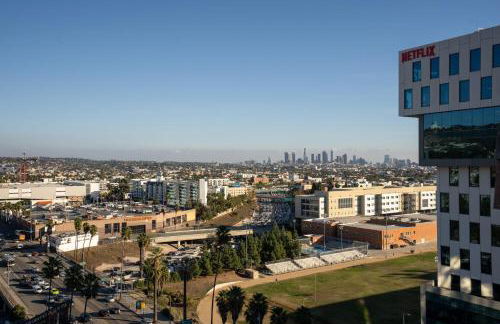
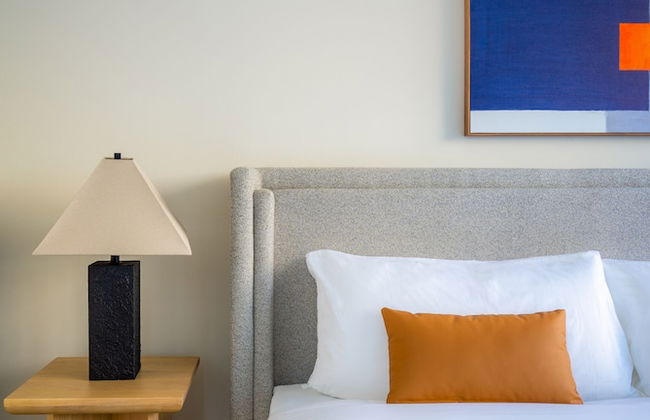
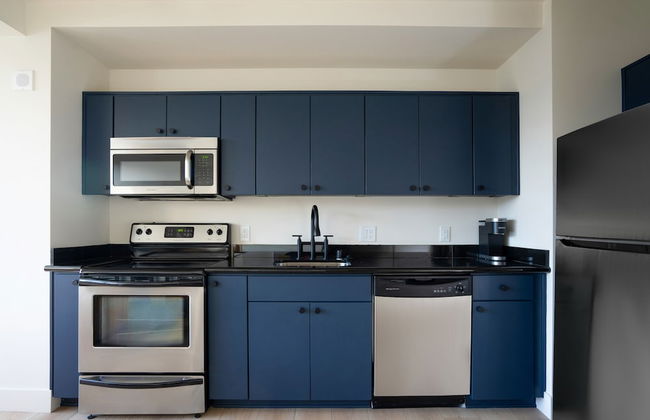
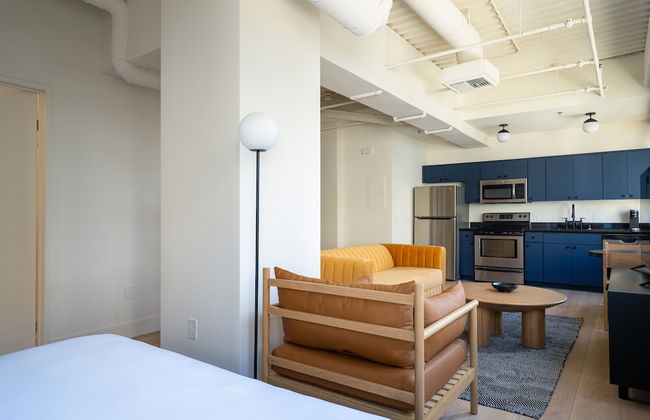
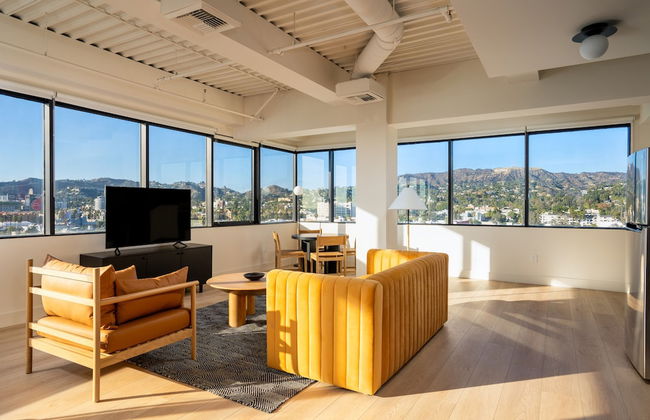
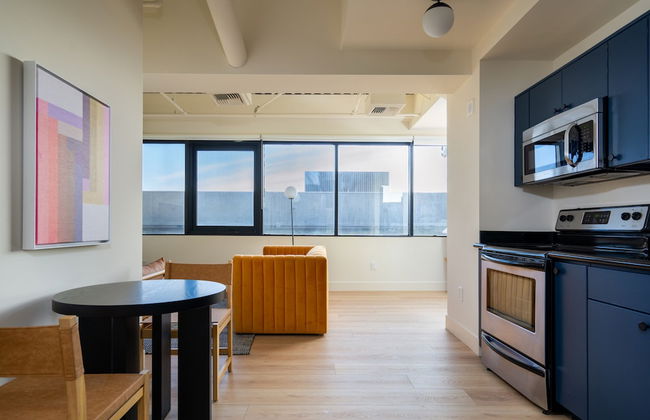
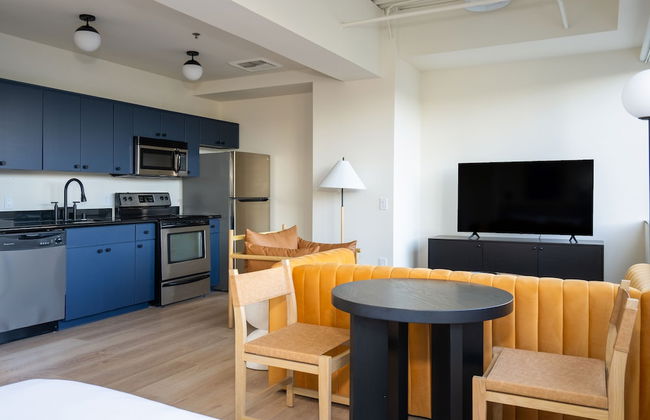
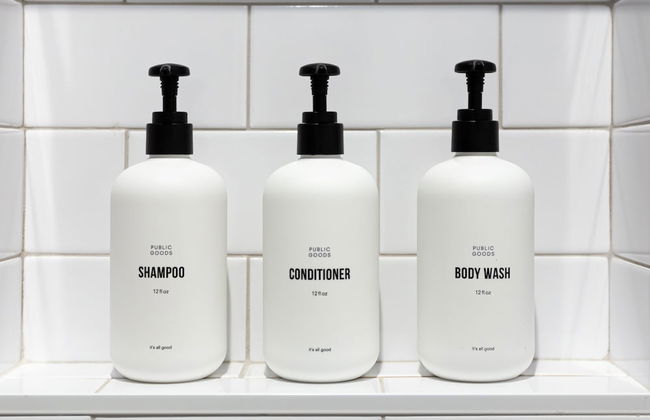
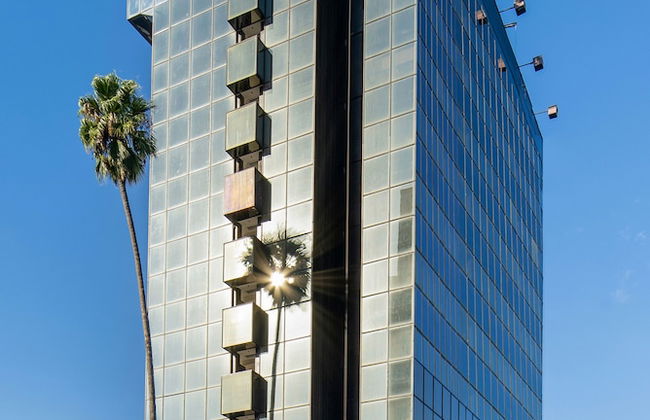
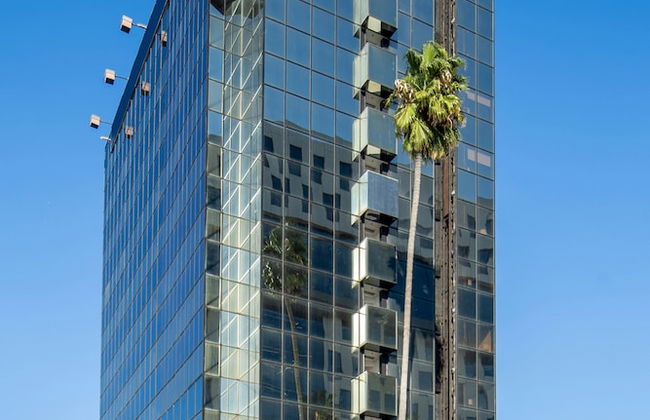
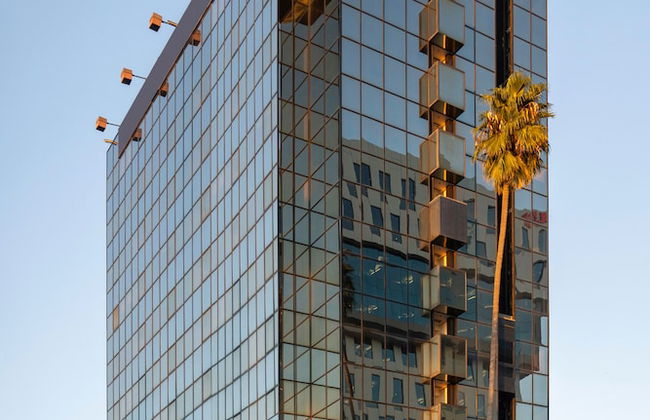
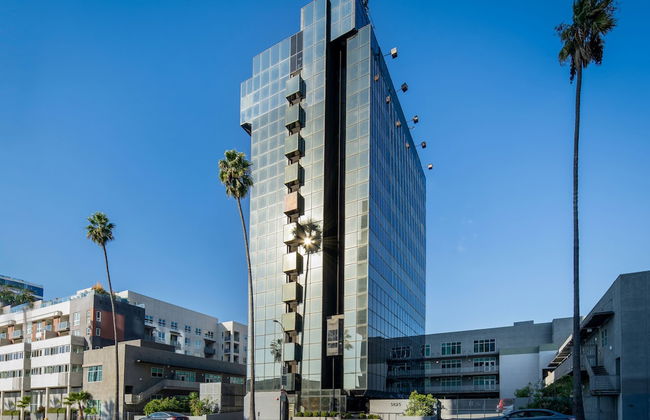
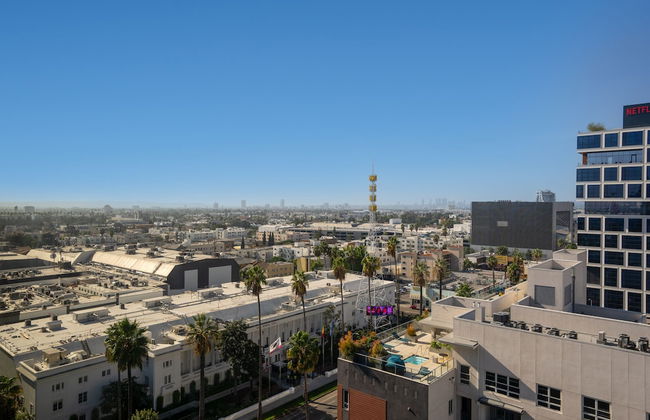
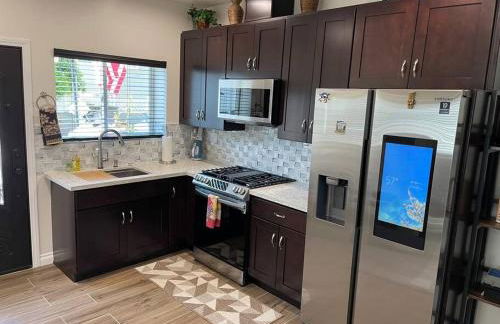
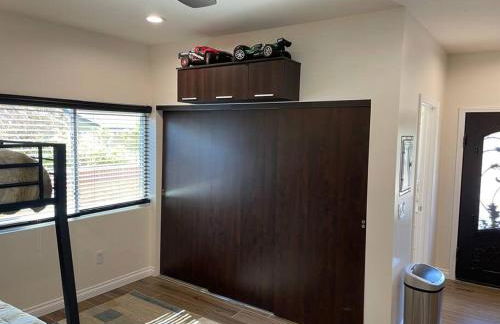
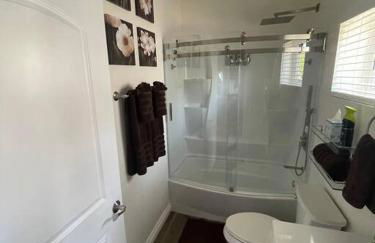
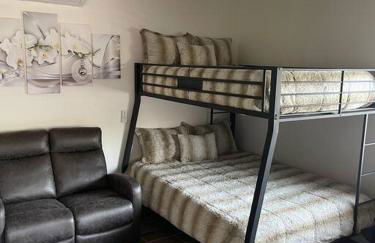
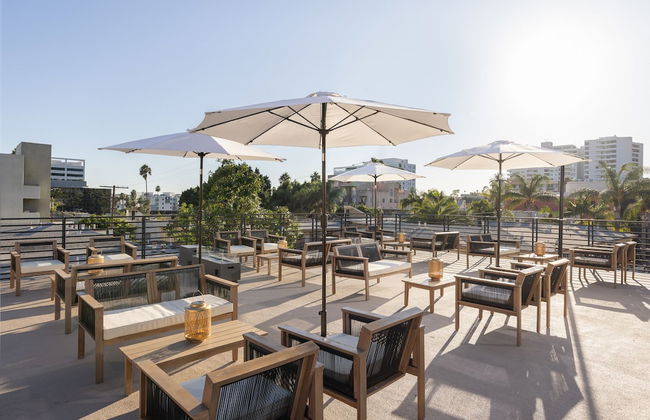
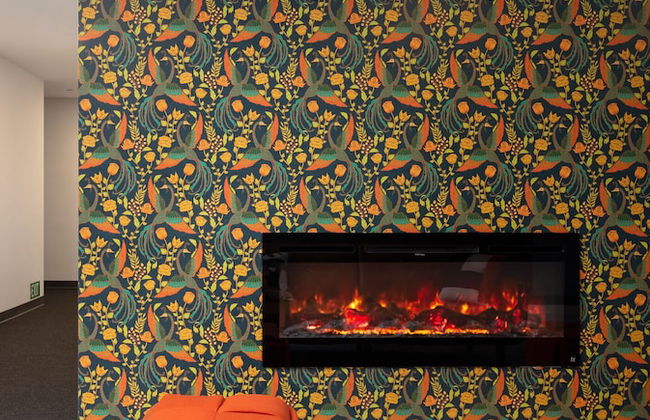
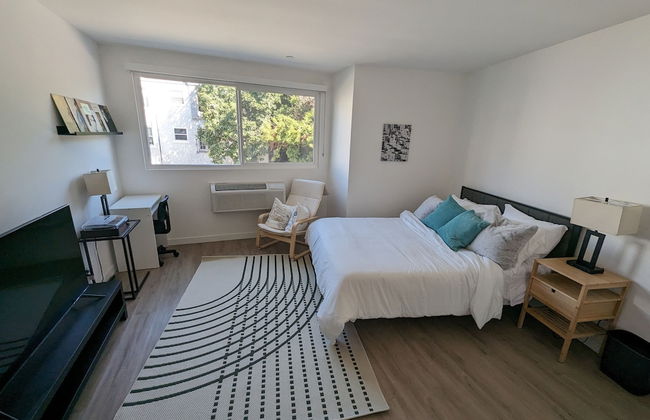
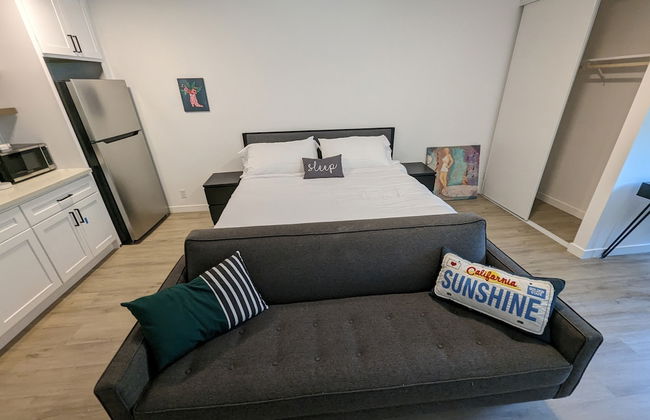
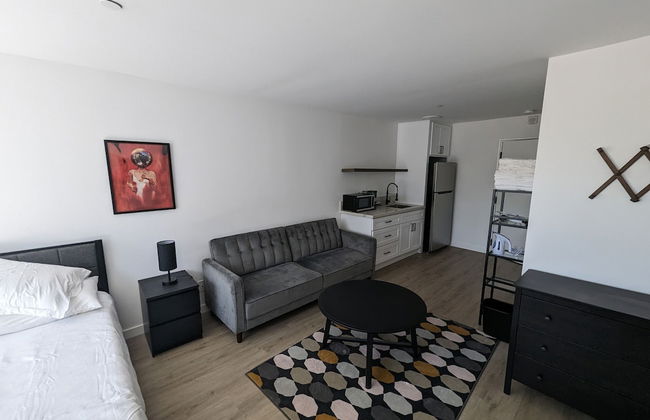
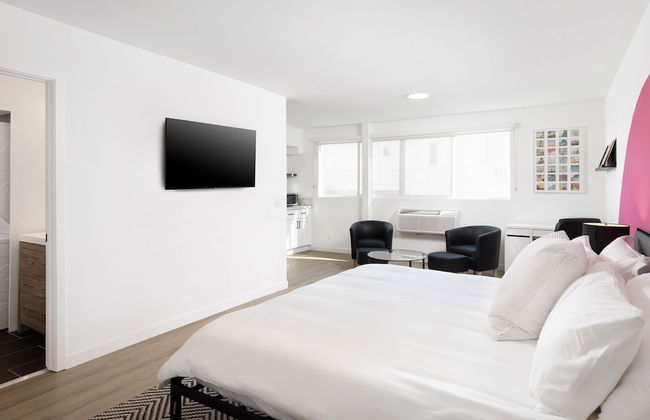
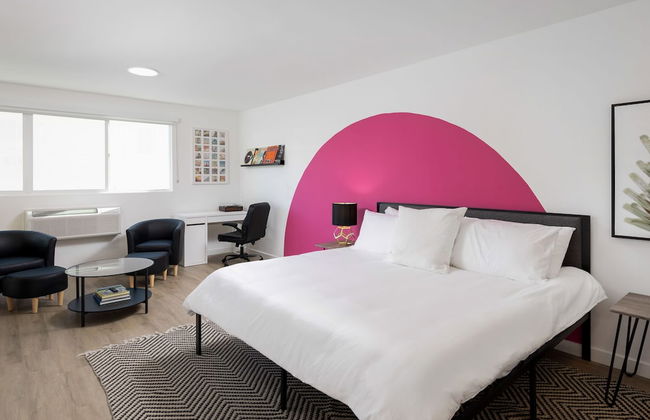
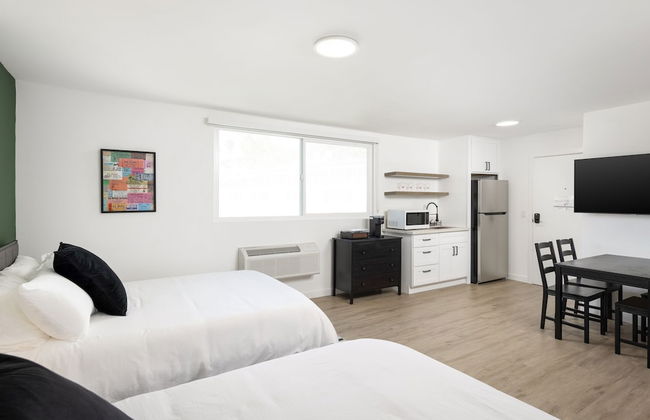
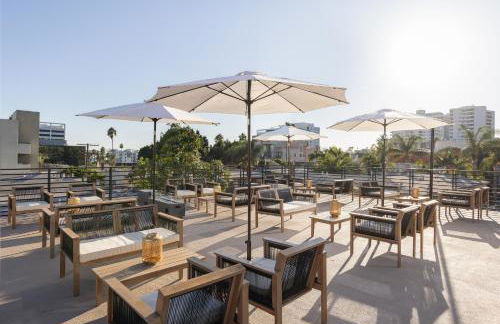
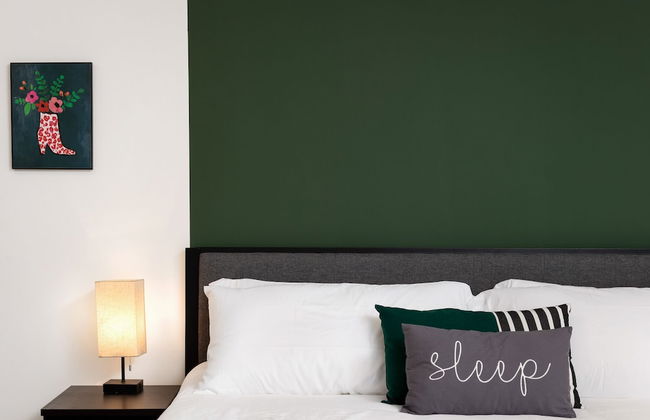
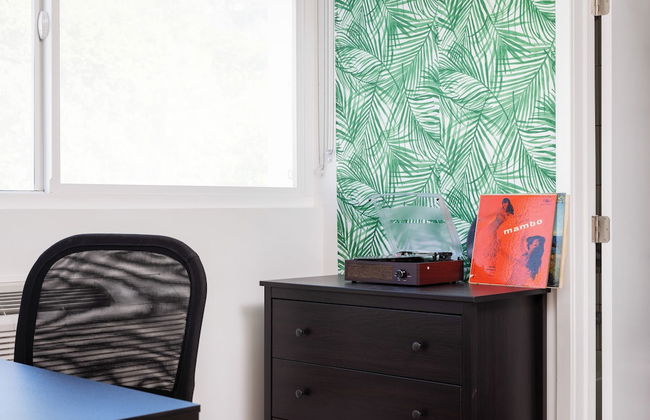
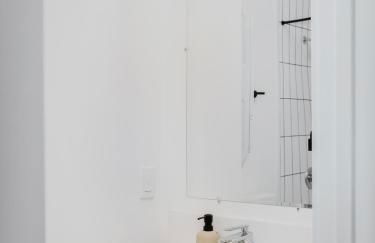
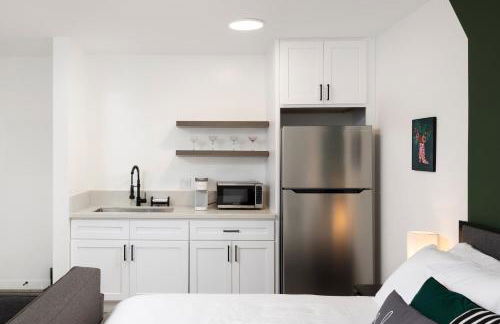
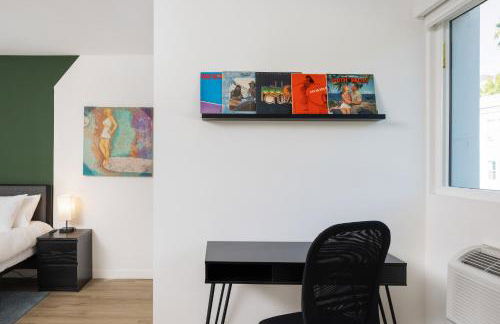
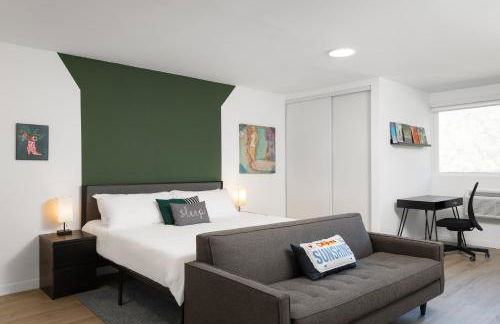
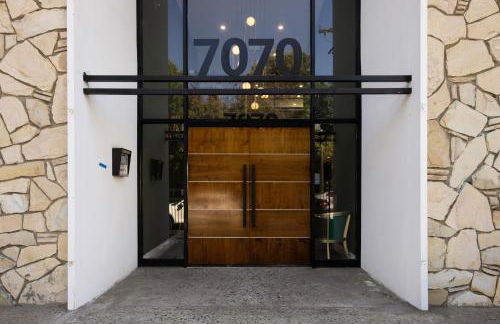
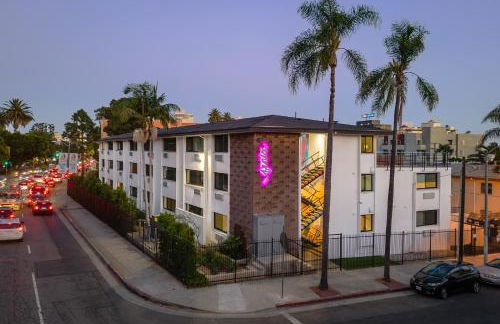
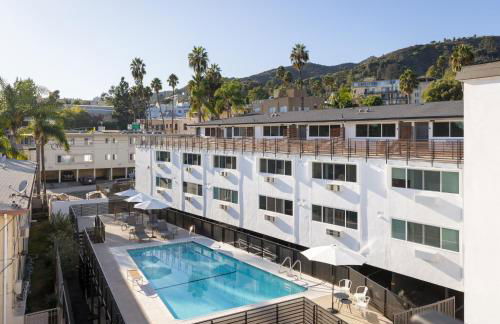
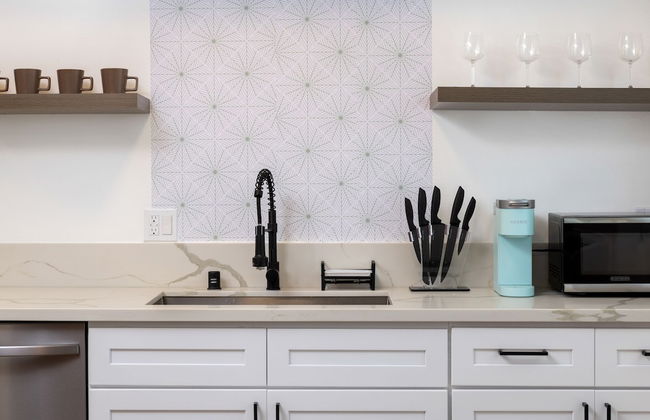
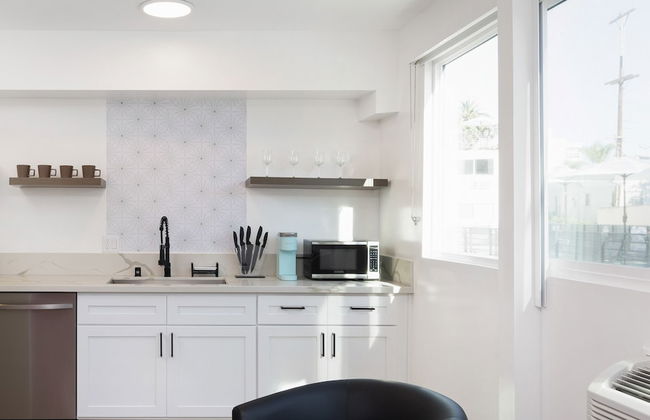
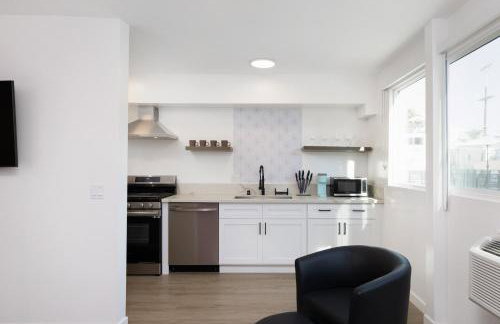
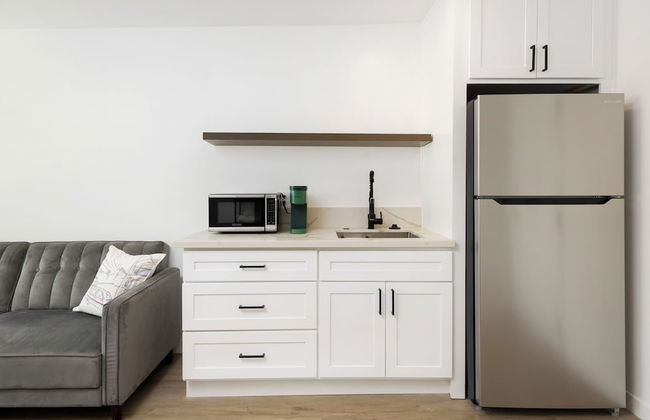
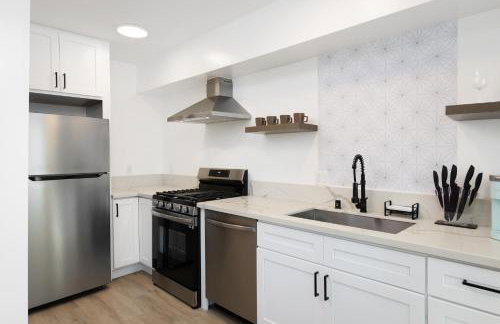
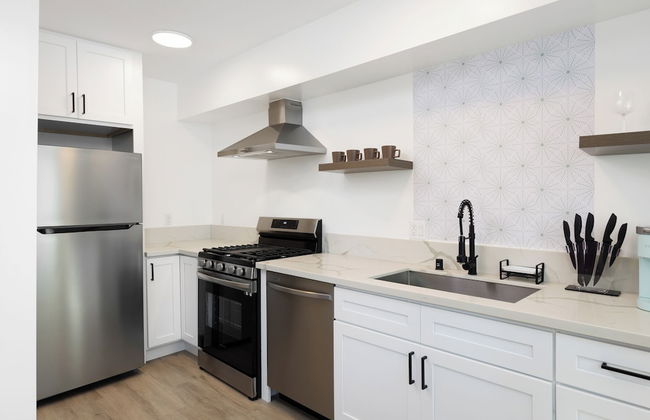
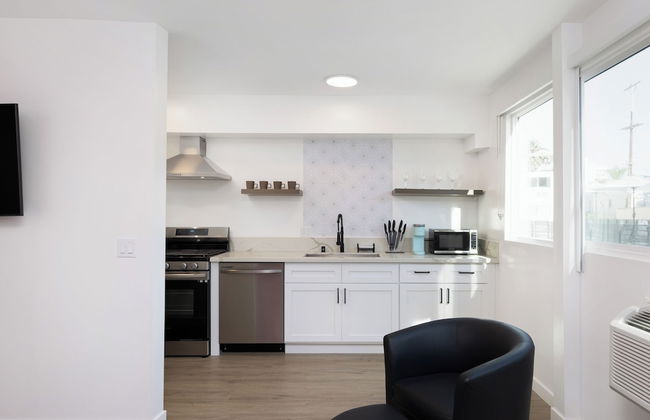
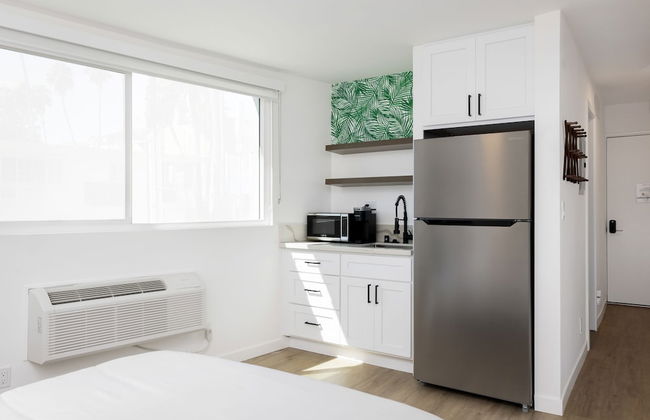
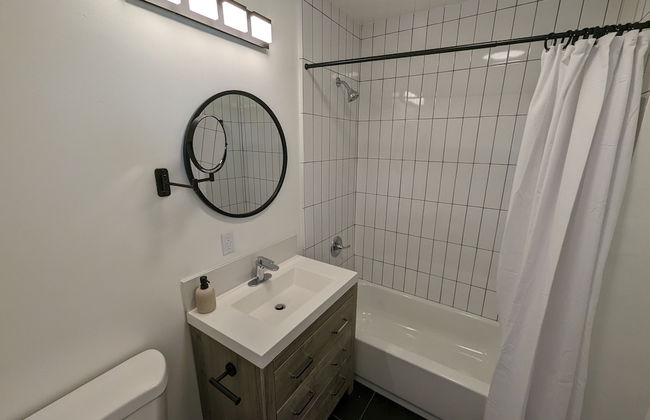
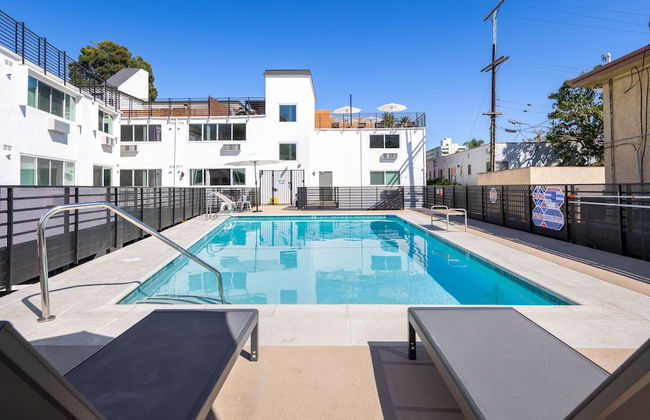
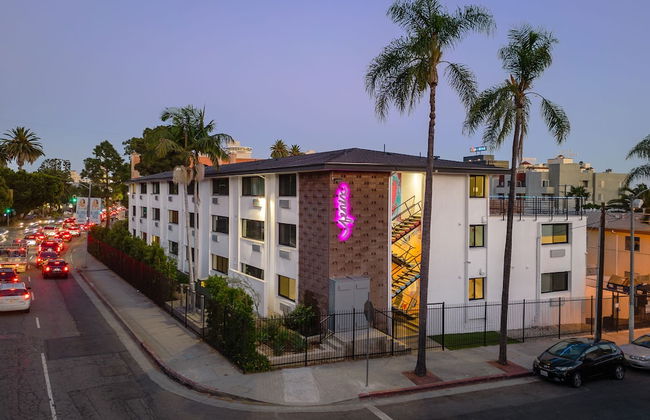
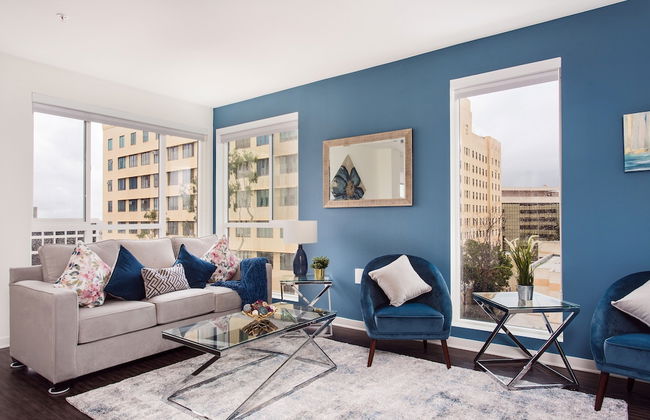
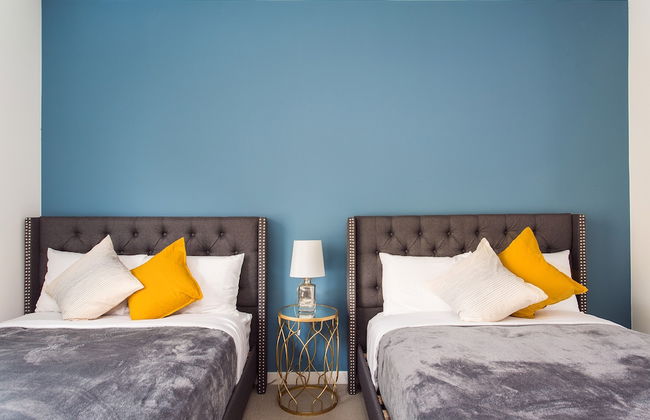
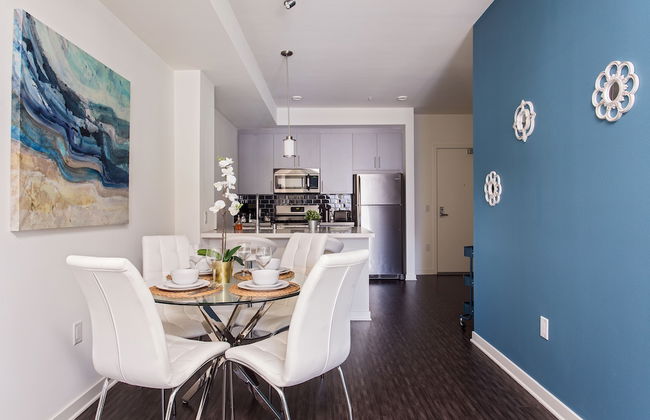
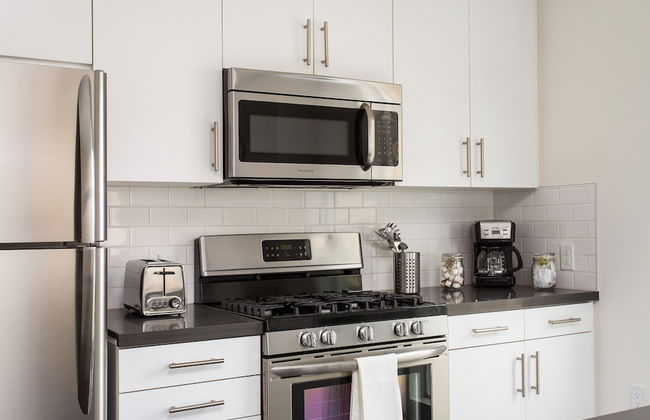
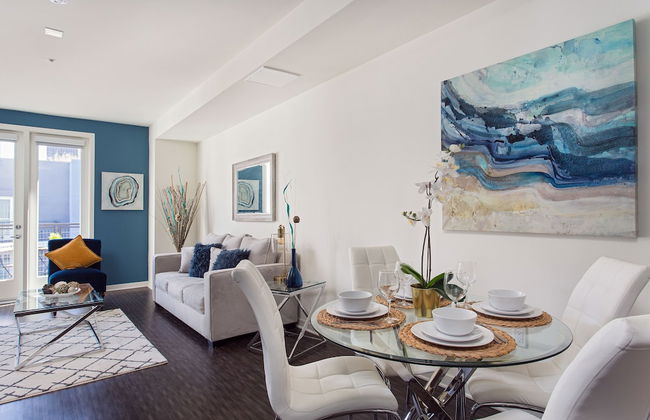
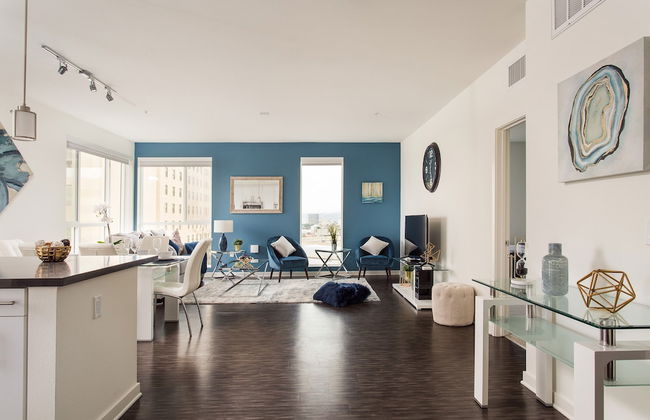
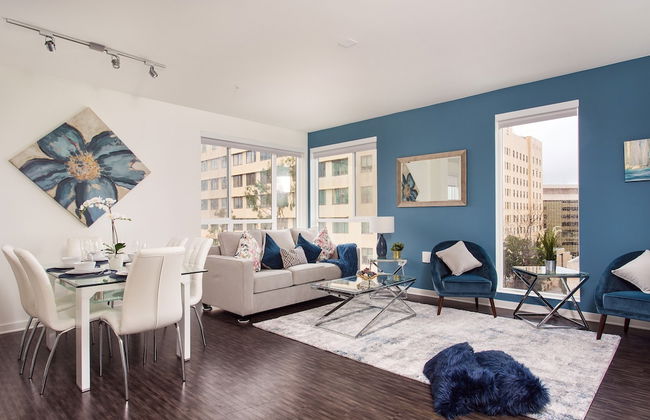
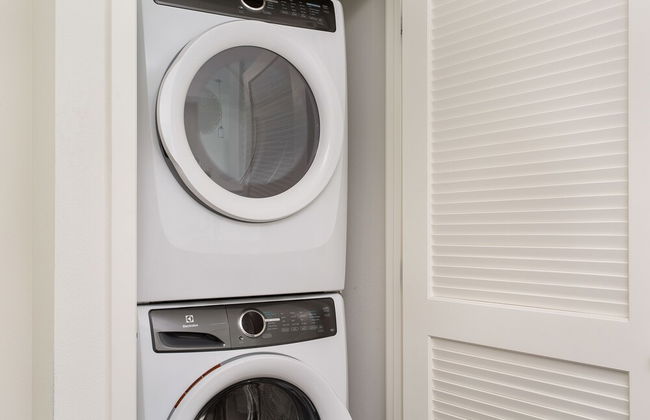
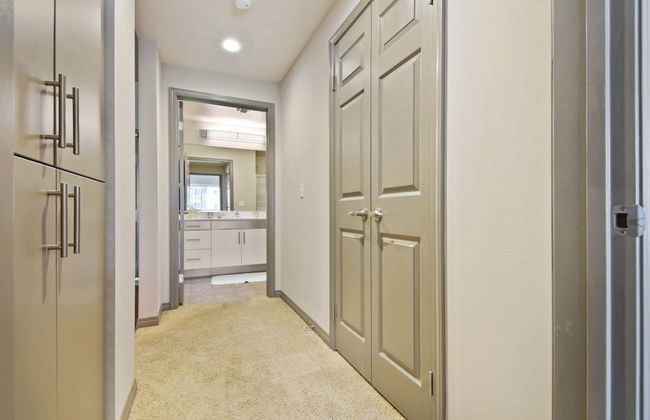
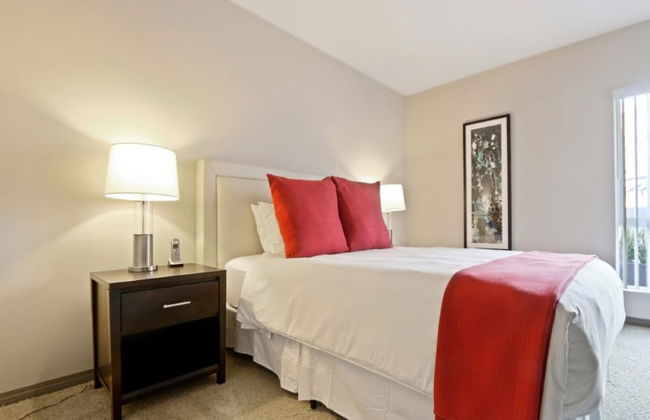
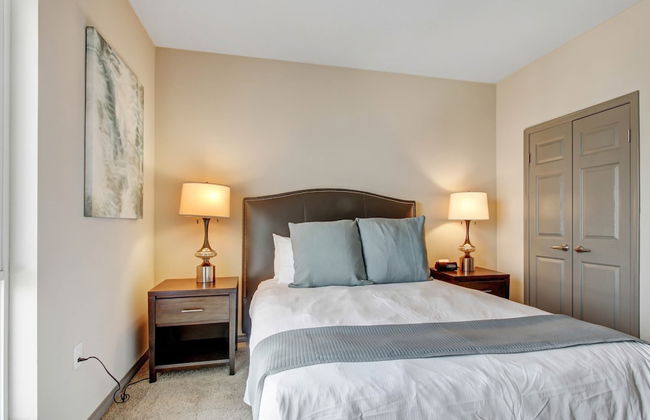
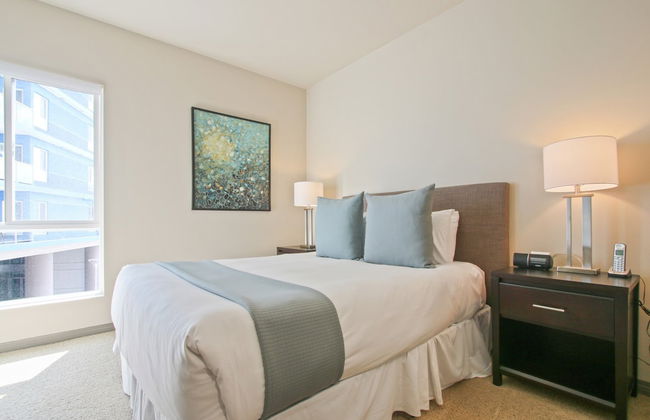
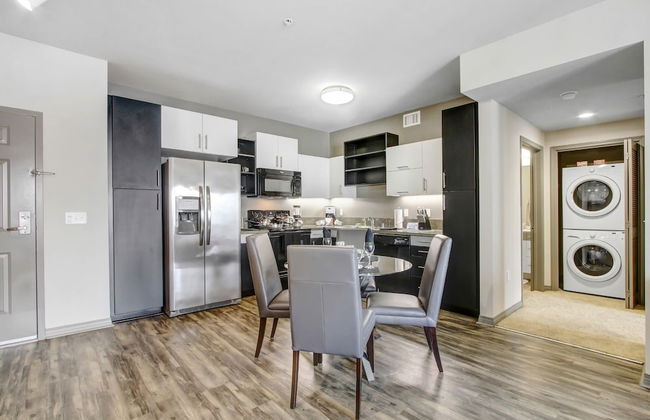
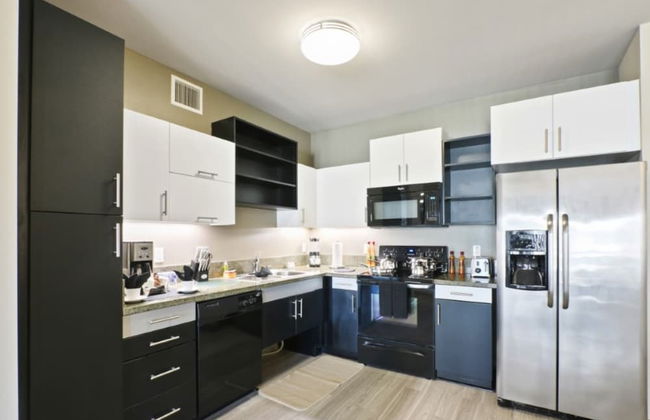
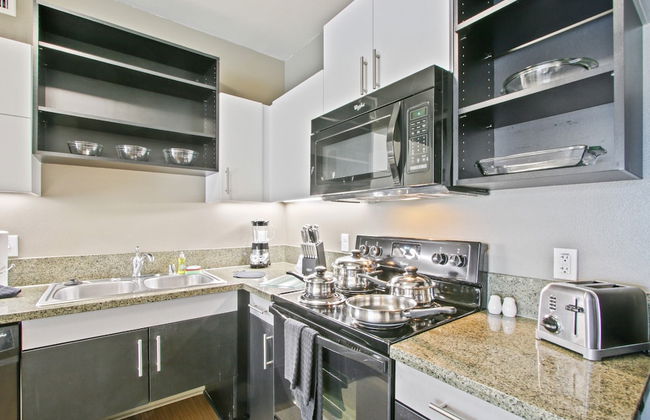
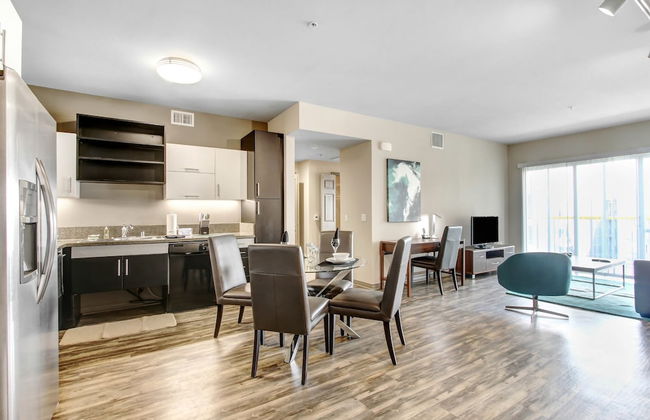
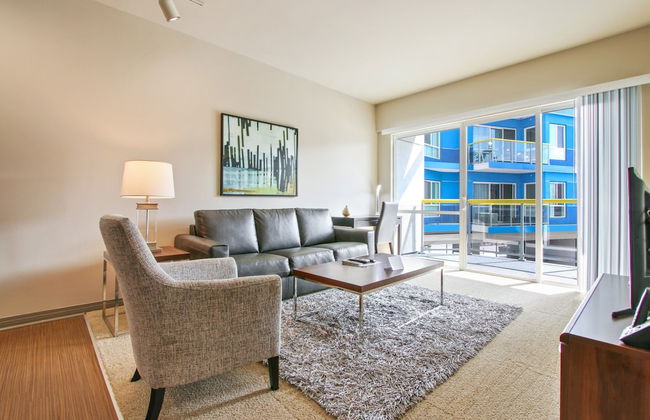
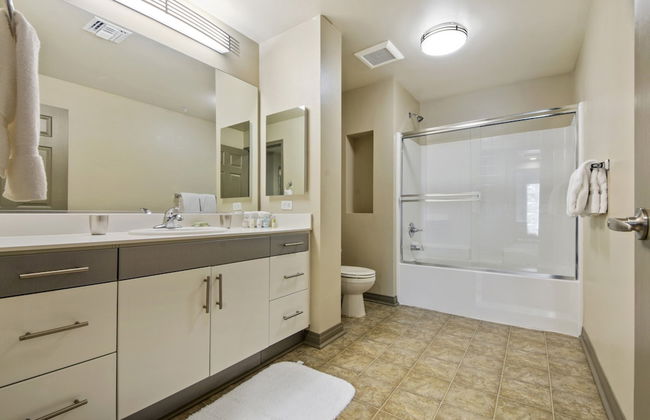
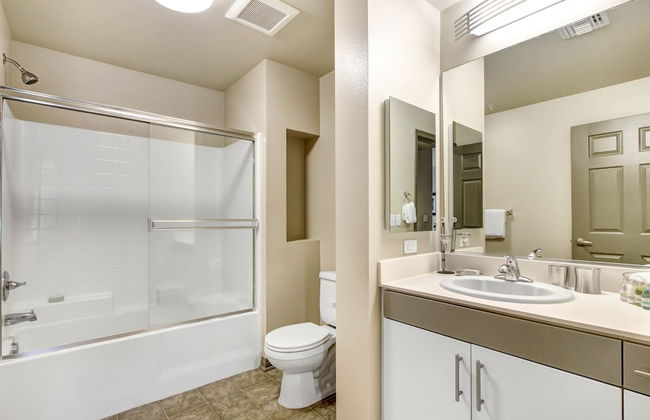
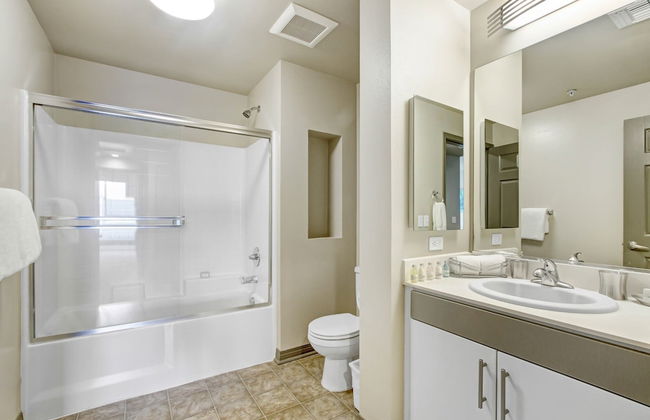
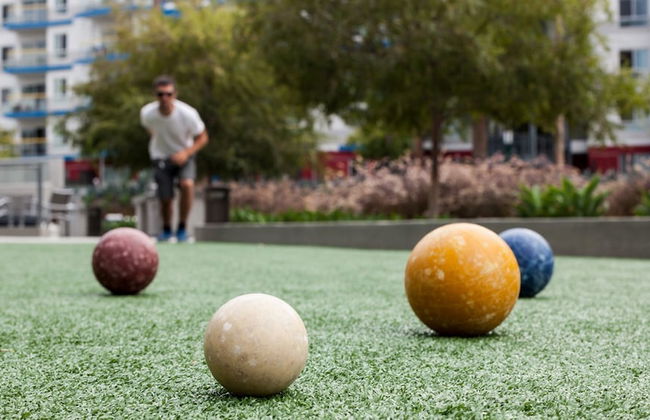
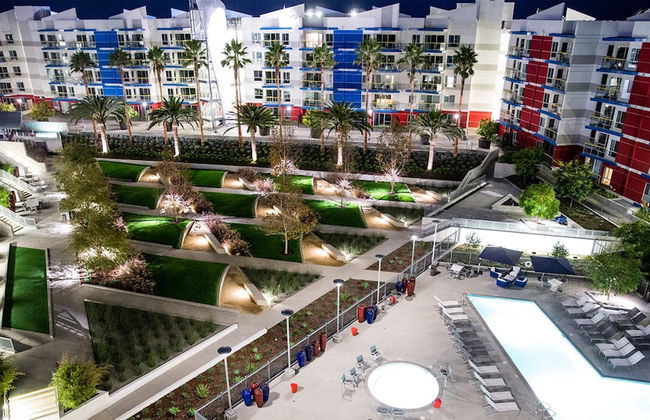
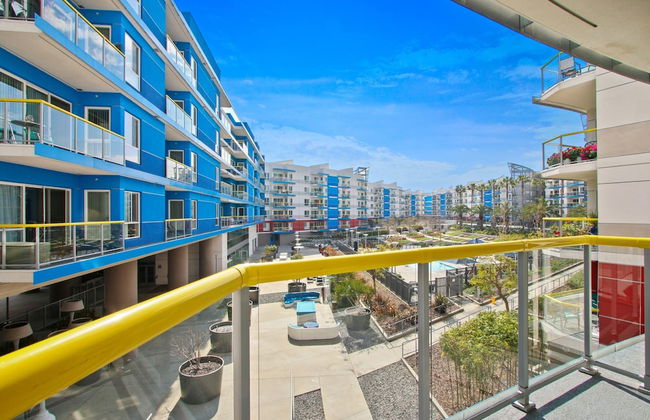
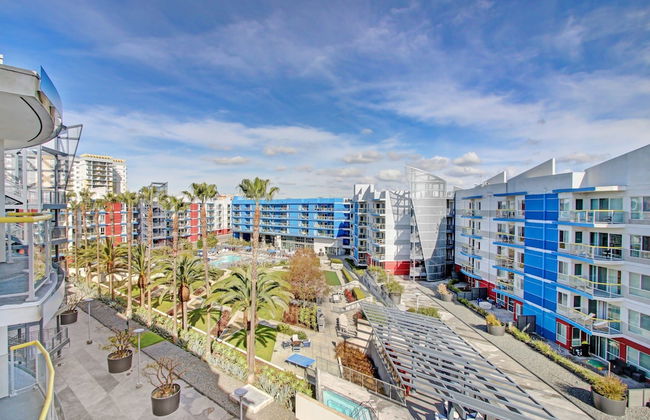
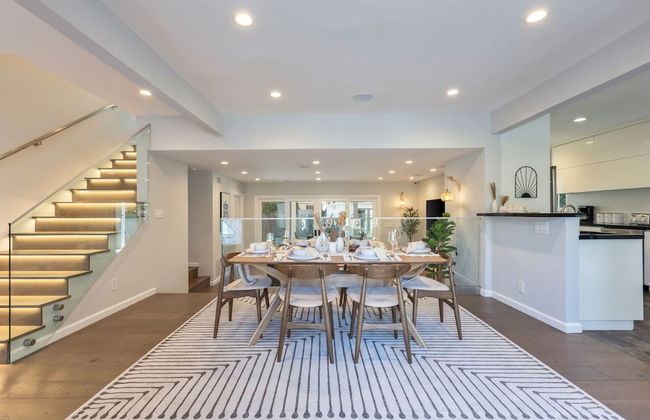
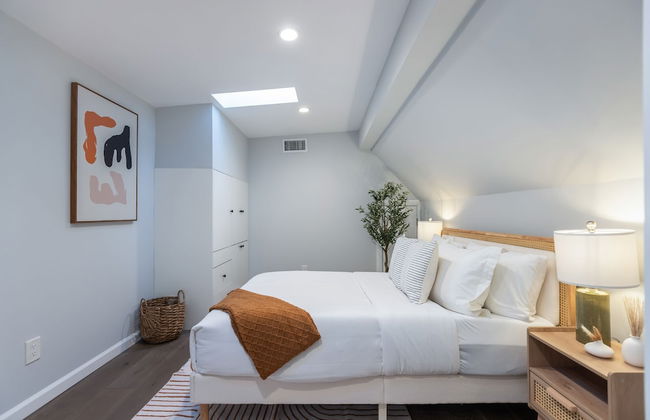
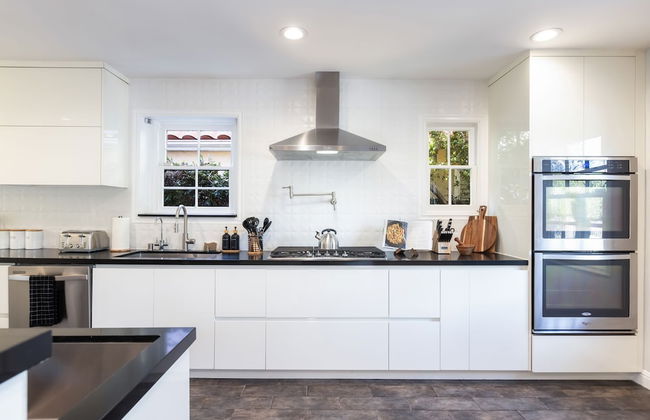
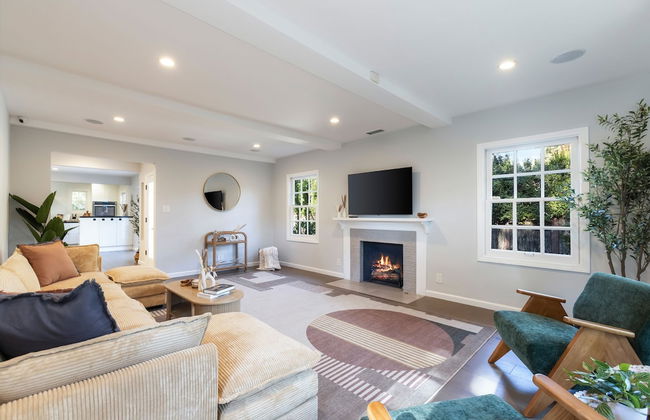
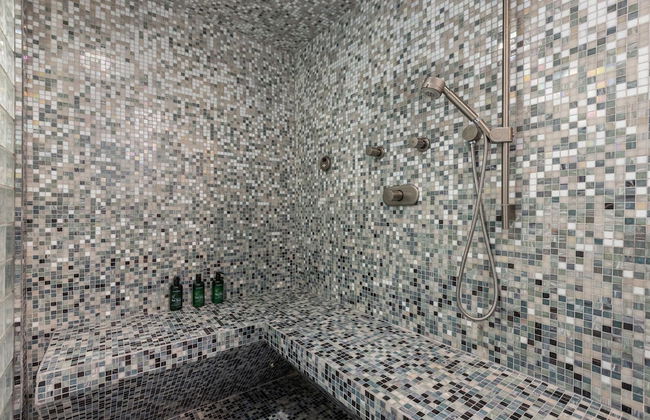
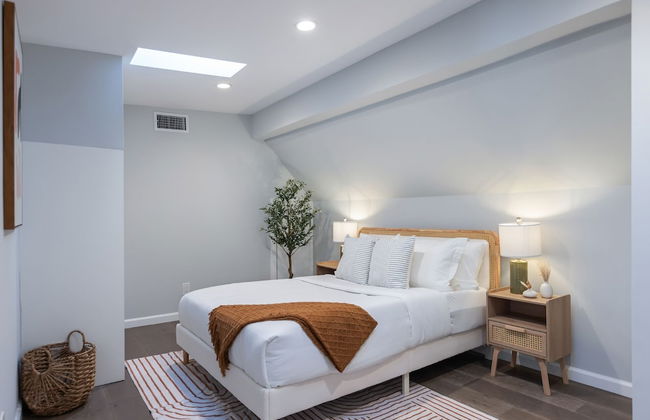
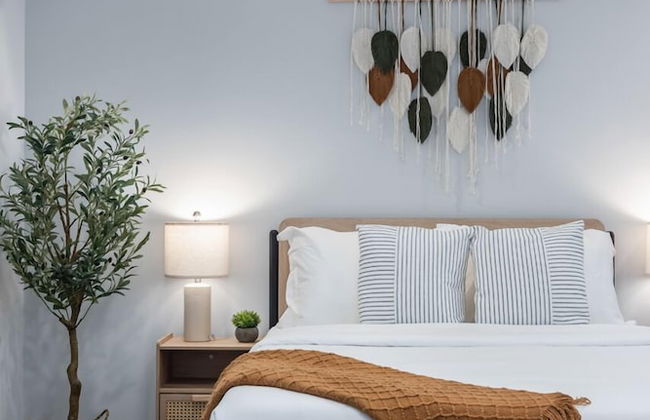
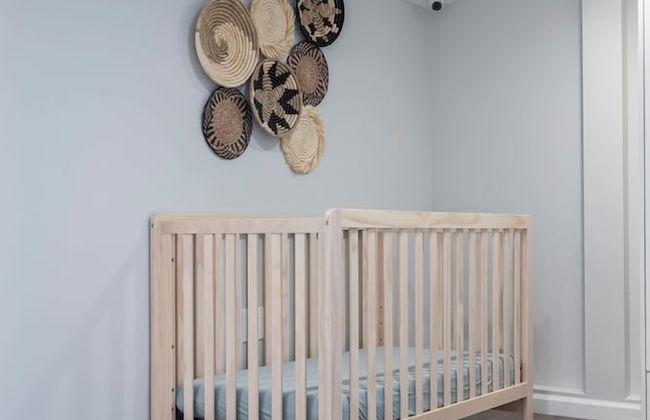
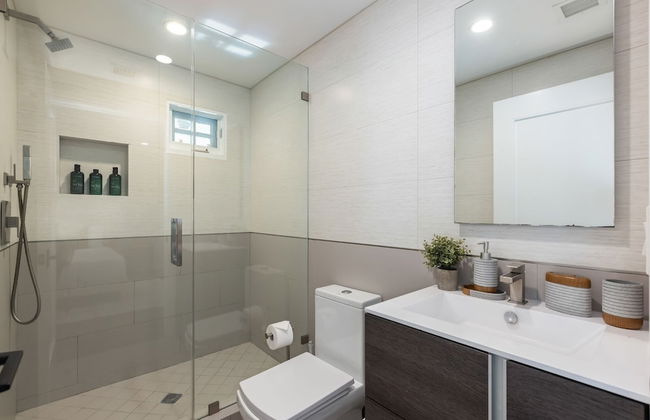
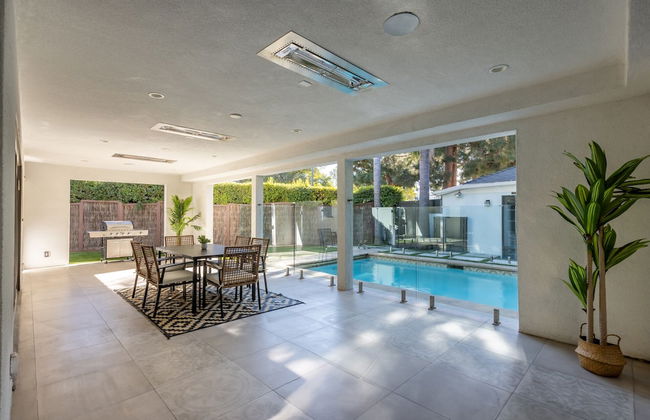
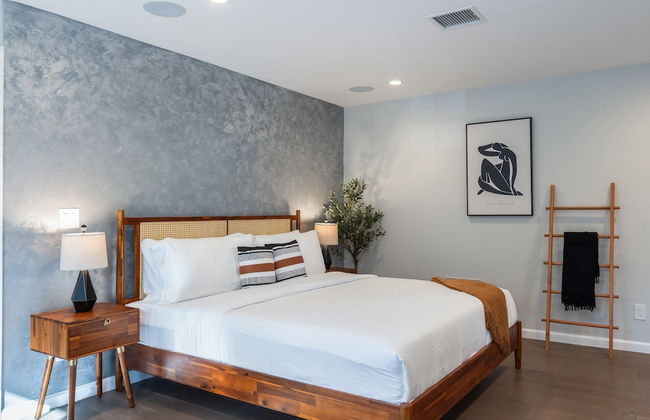
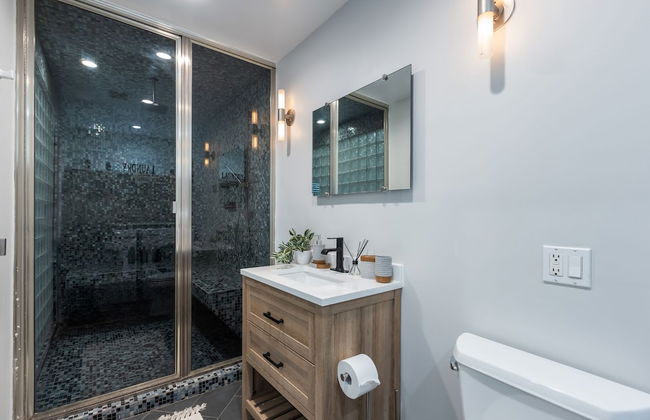
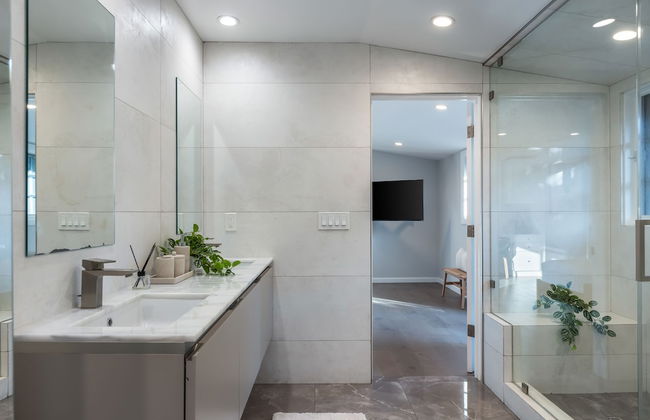
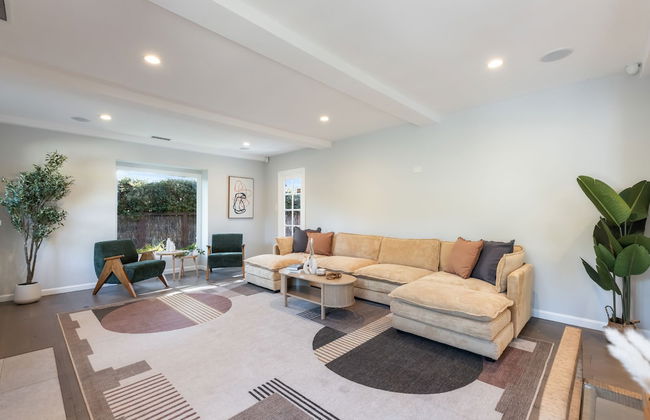
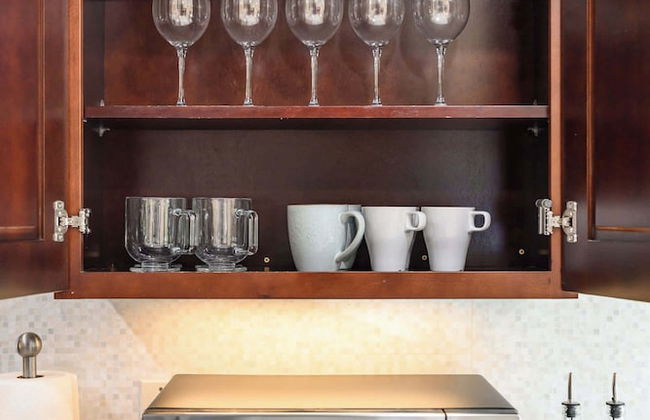
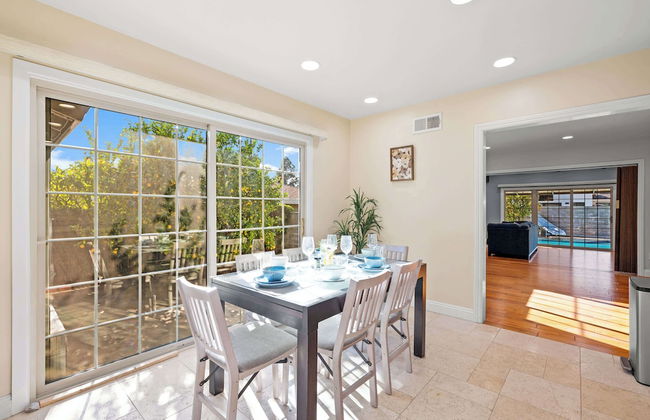
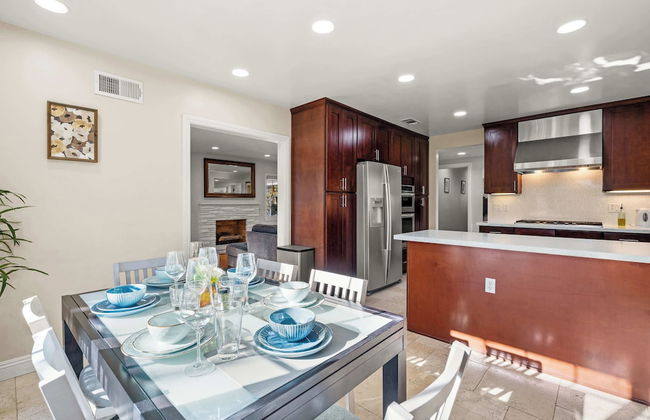
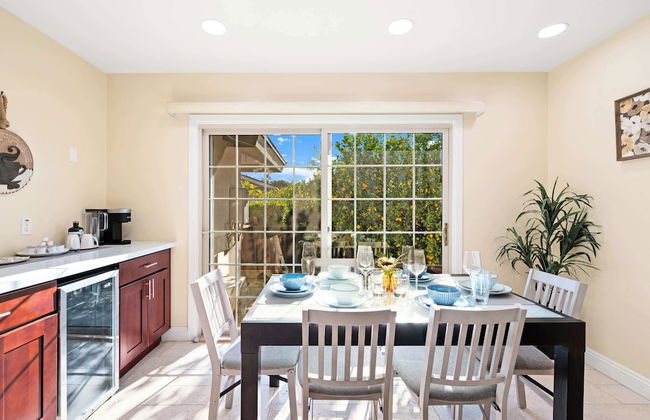
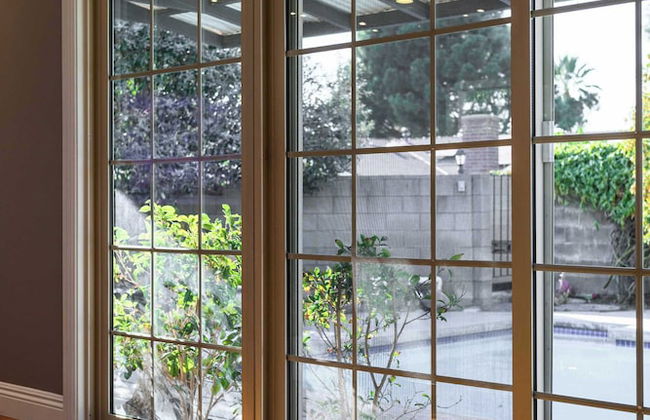
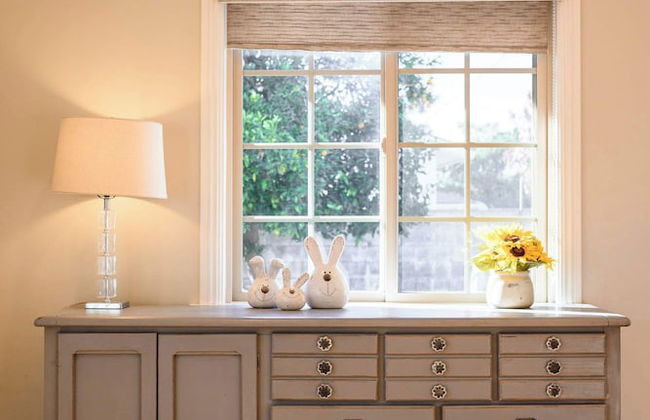
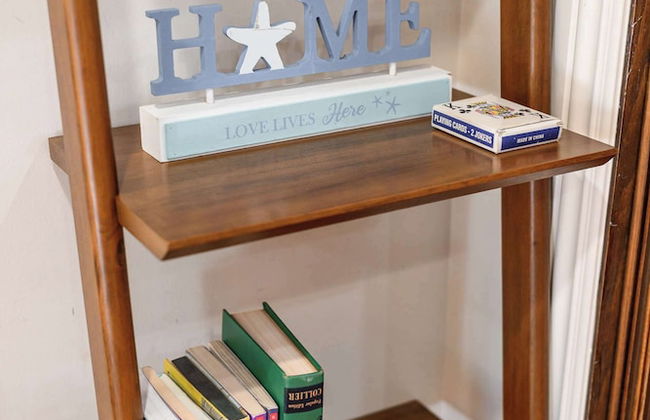
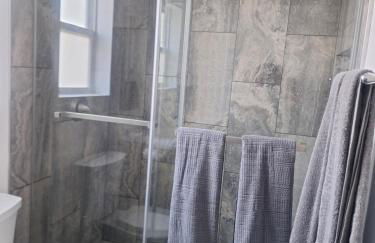
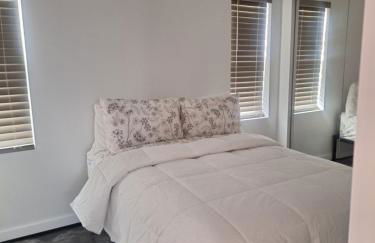
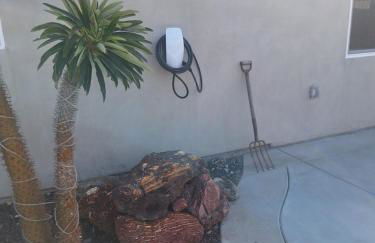
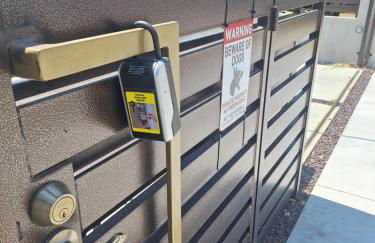
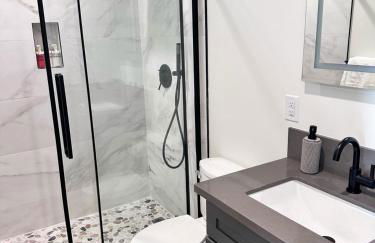
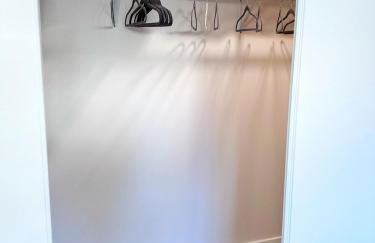
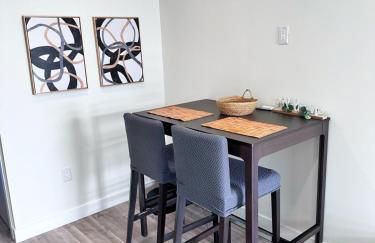
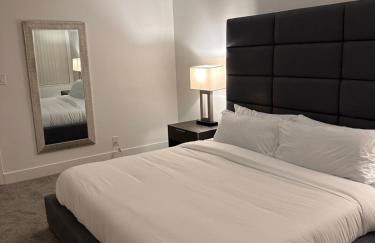
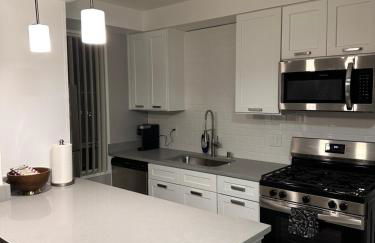
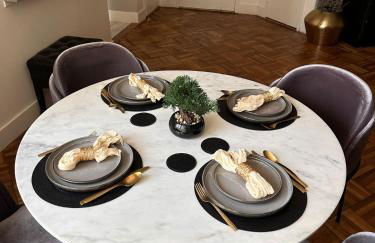
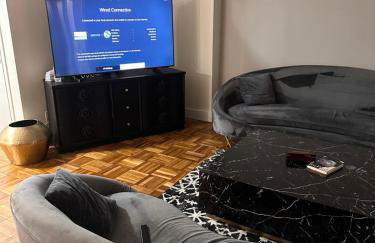
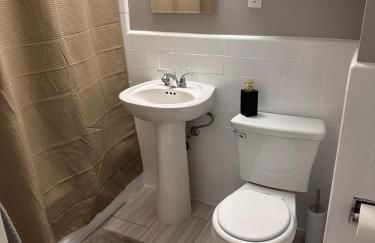
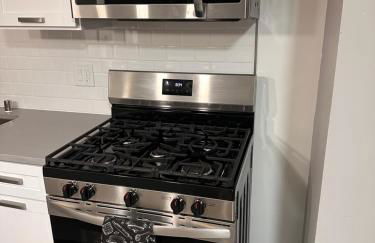
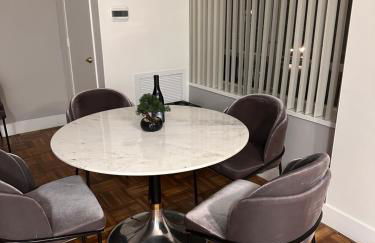
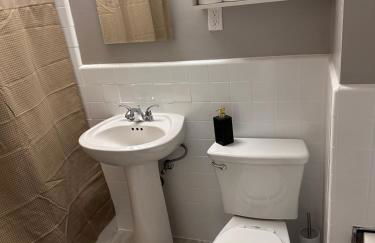
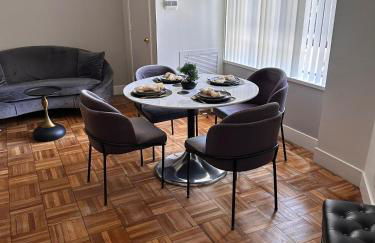
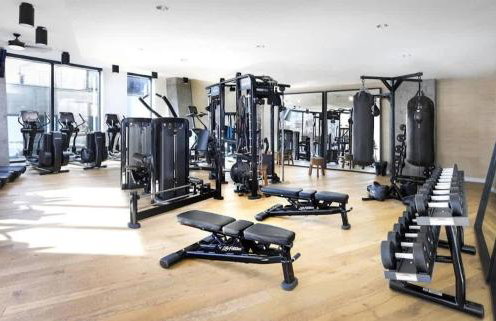
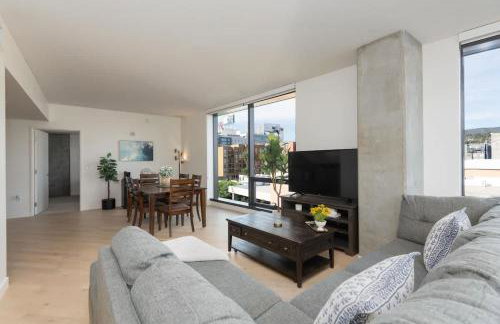
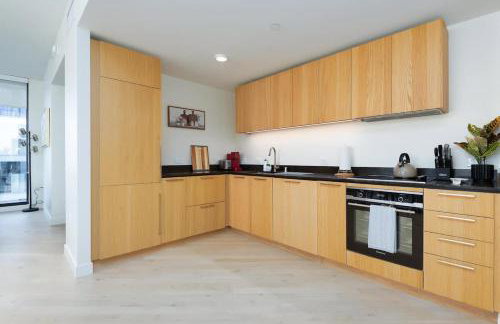
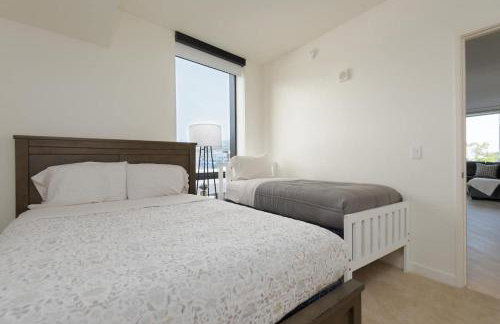
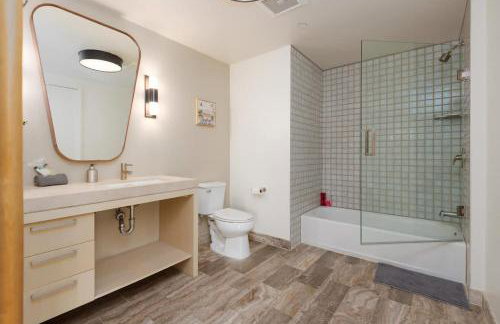
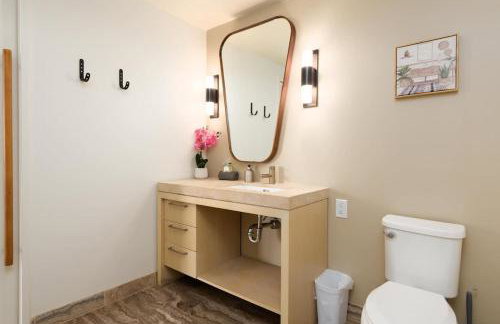
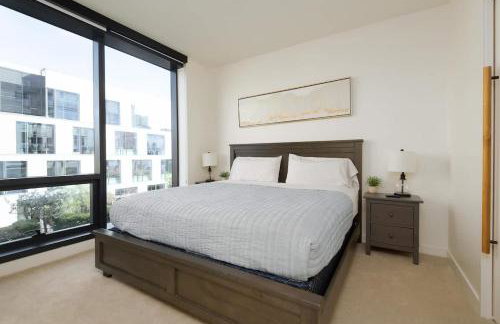
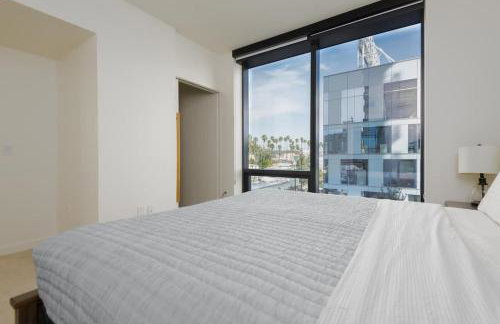
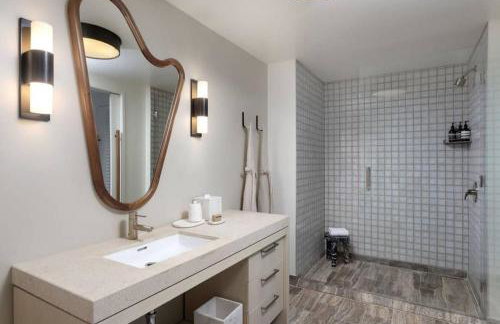
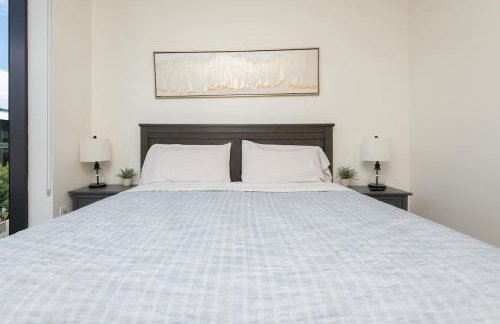
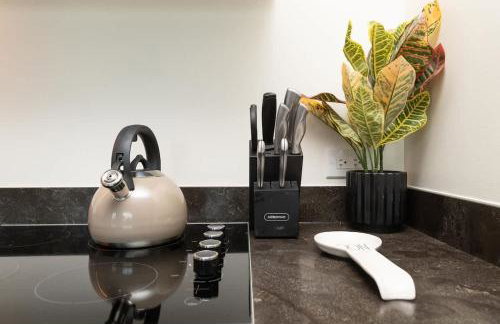
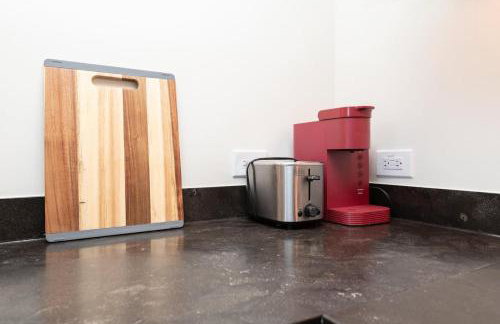
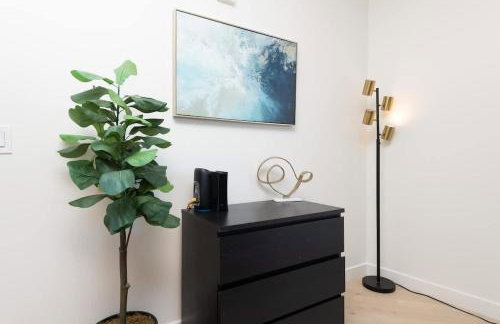
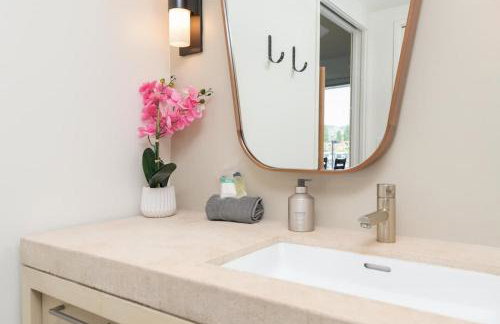
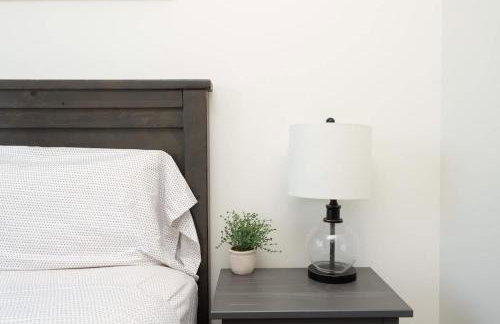
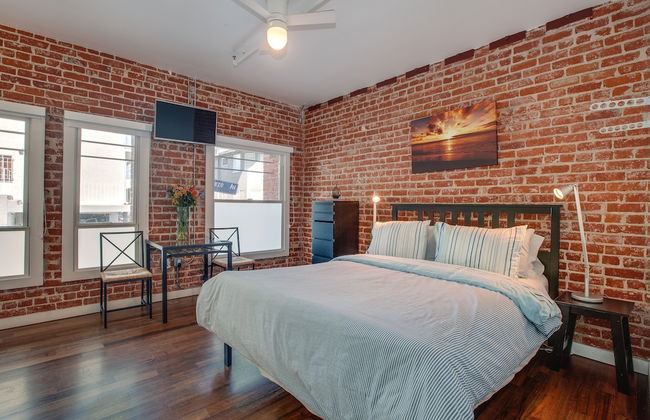
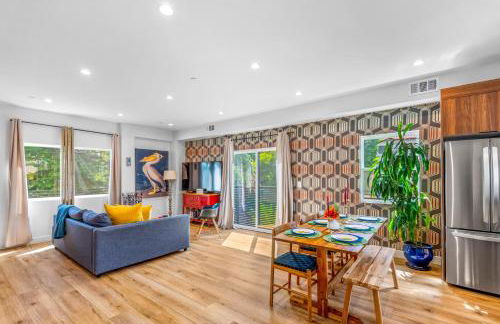
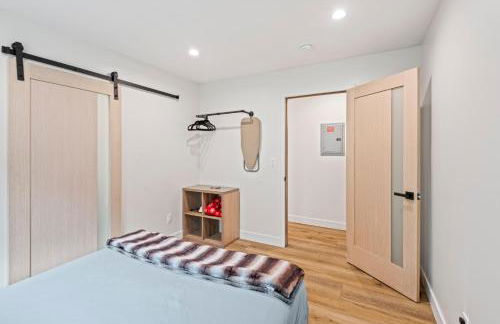
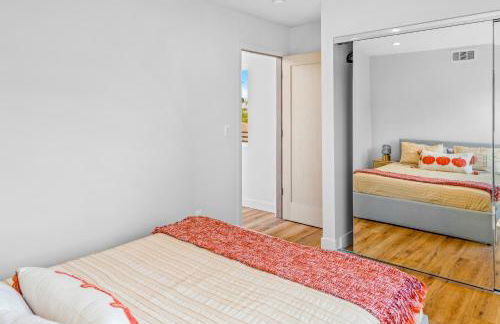
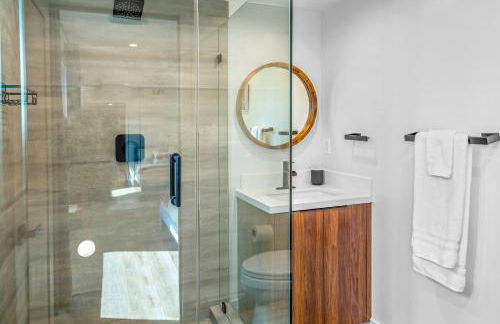
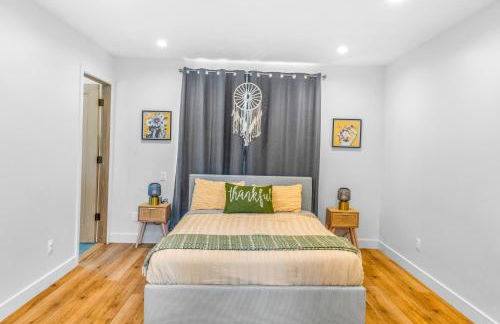
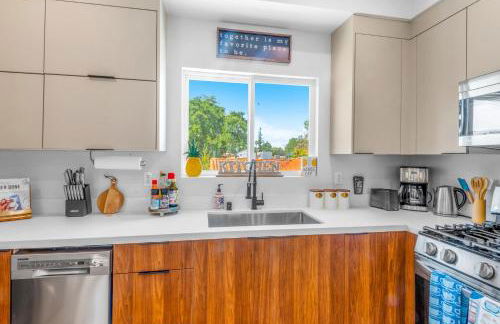
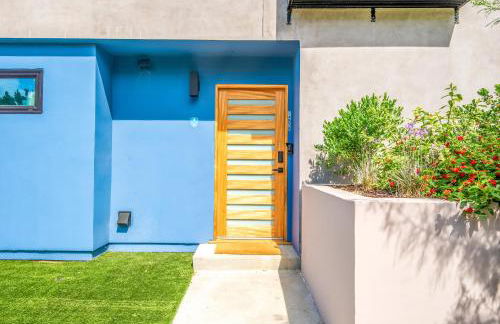
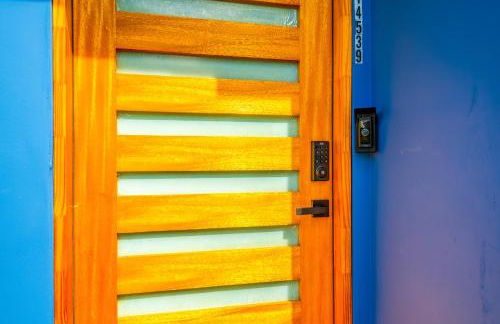
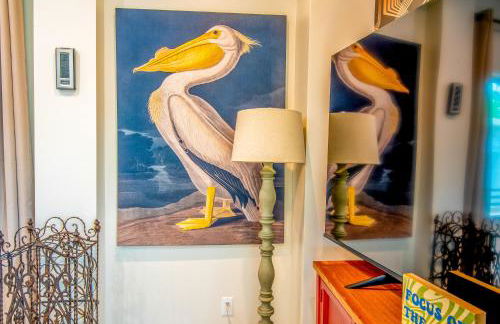
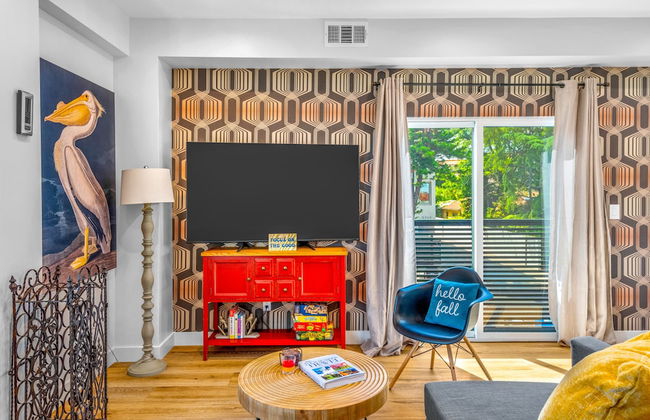
New Urban Downtown LA Luxury Apartment - Foto 1
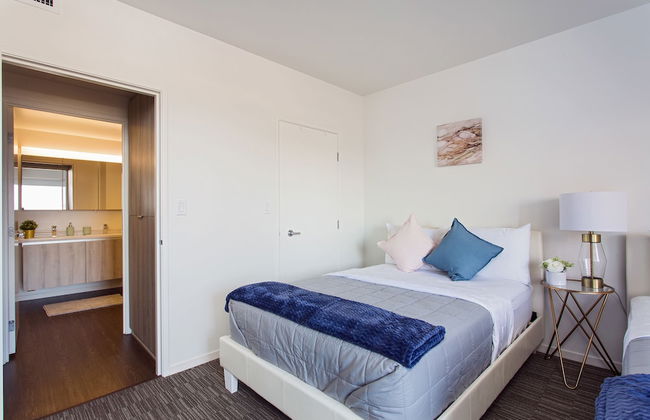
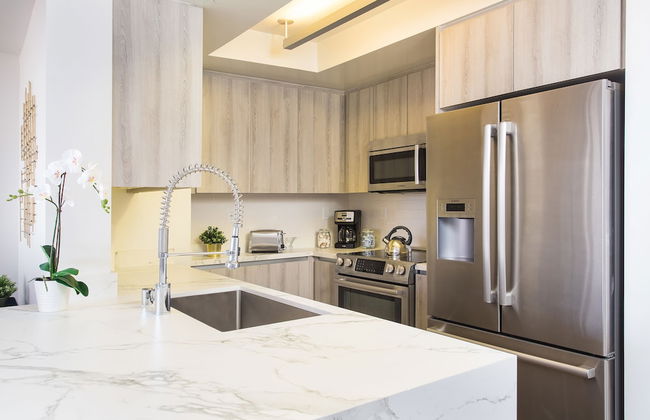
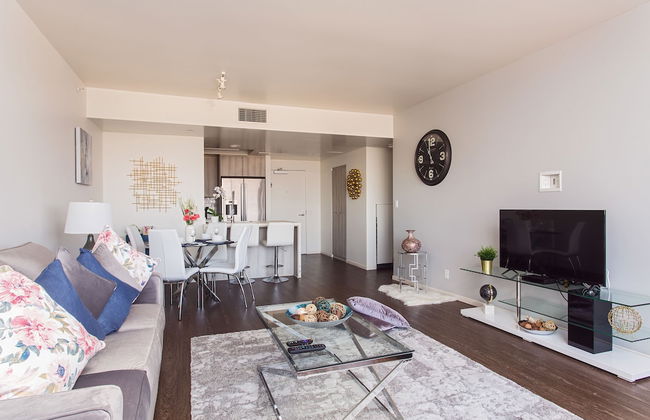
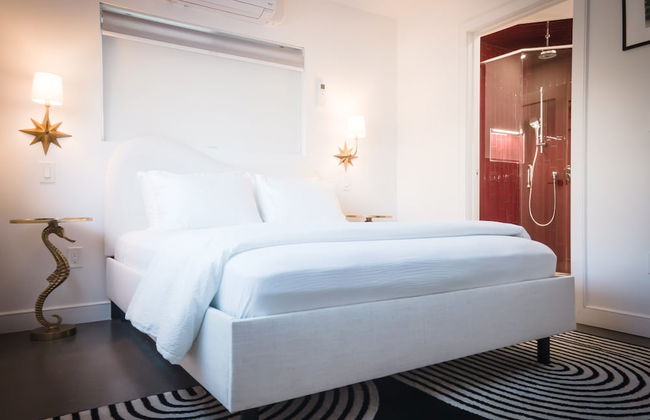
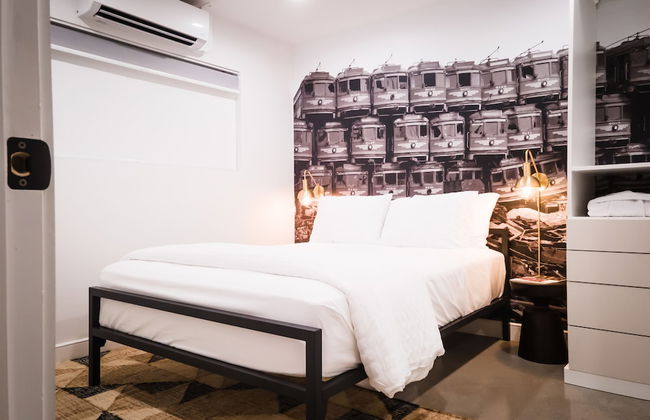
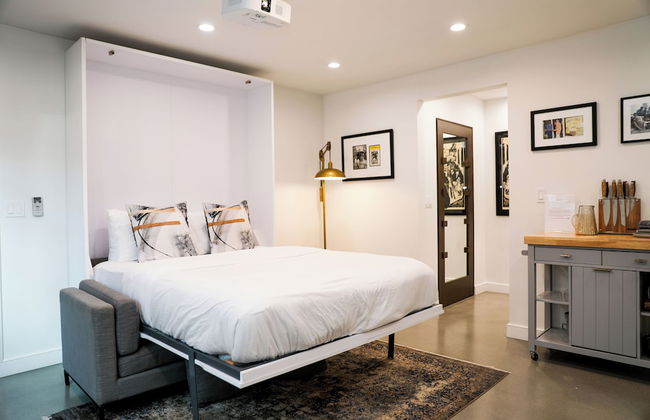
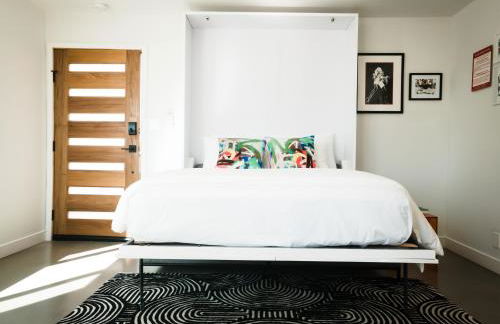
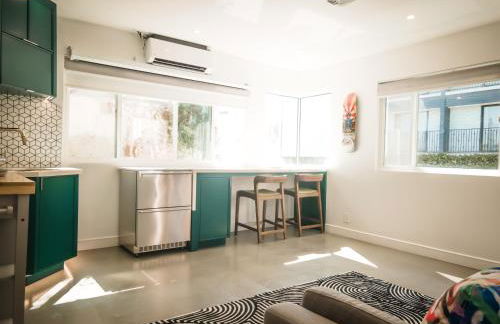
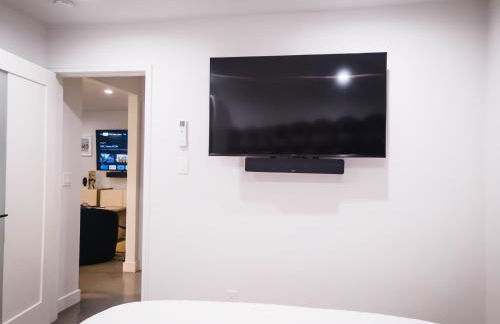
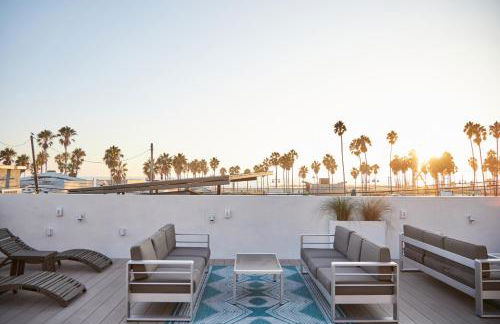
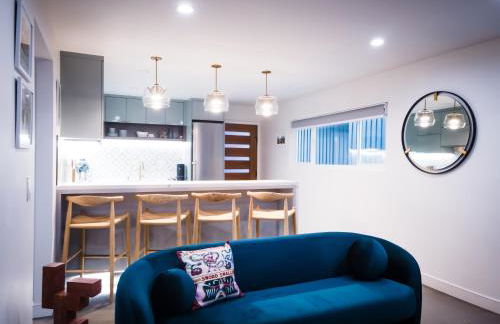
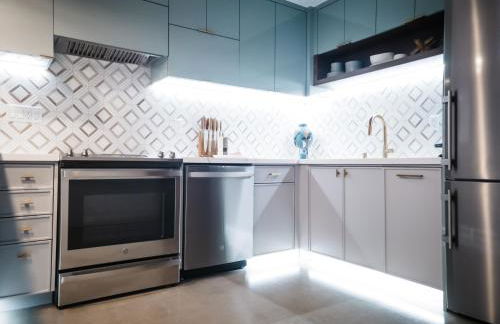
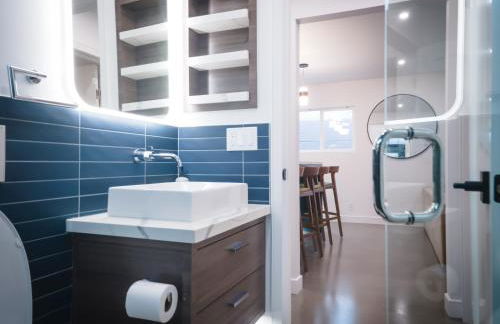
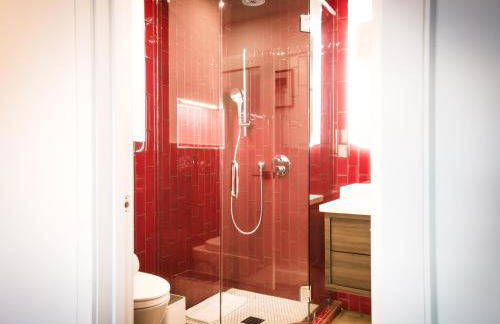
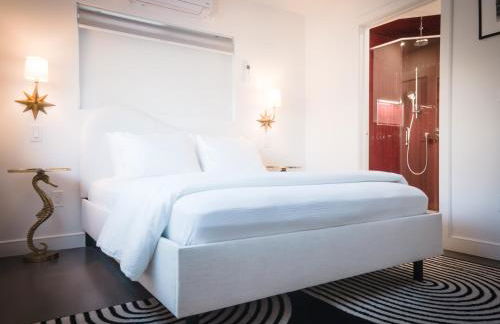
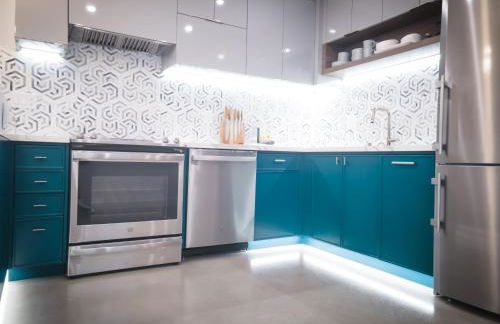
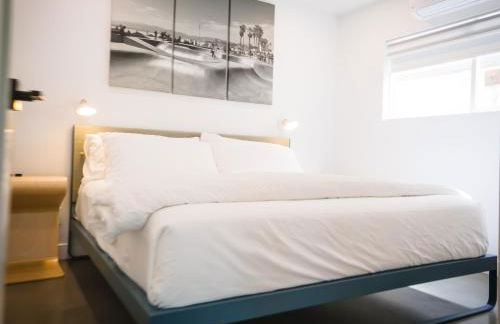
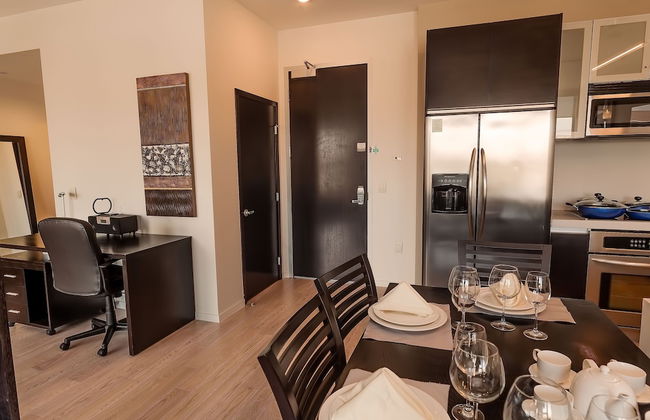
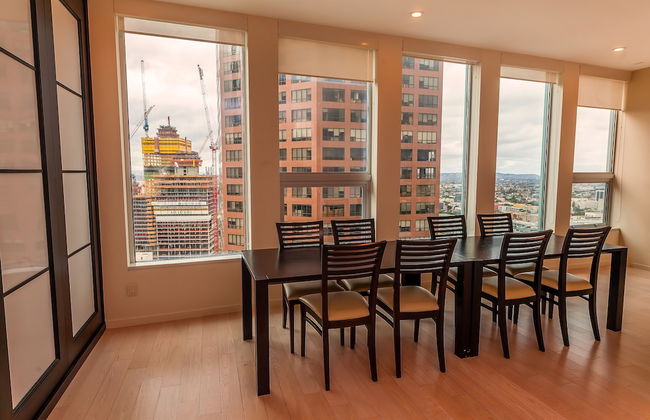
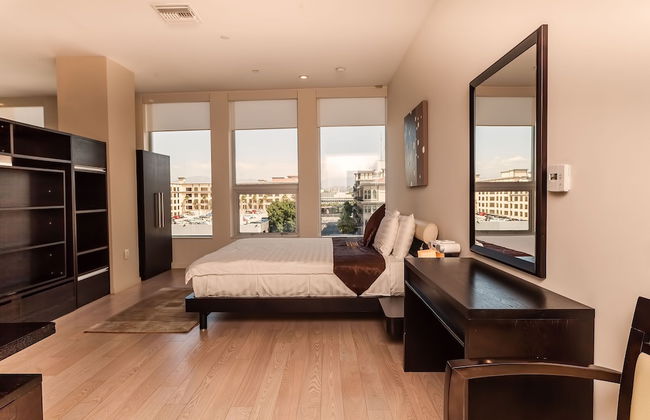
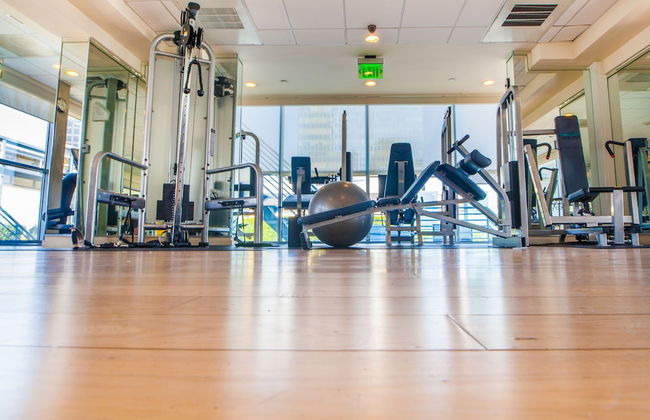
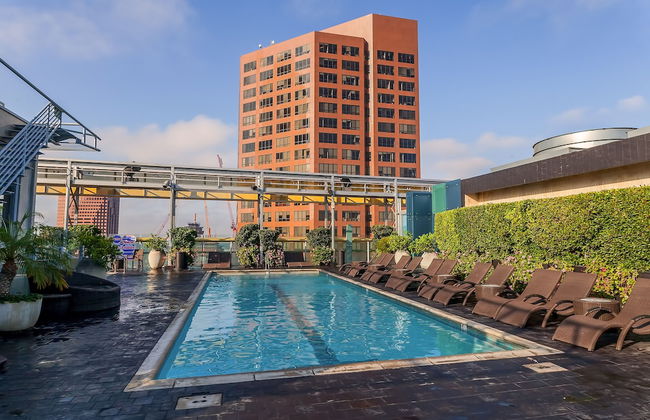
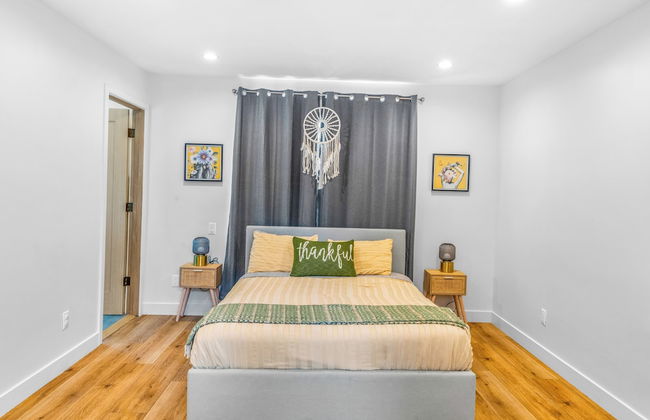
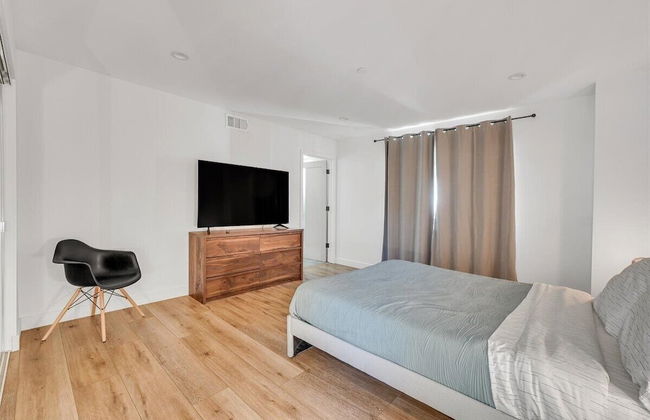
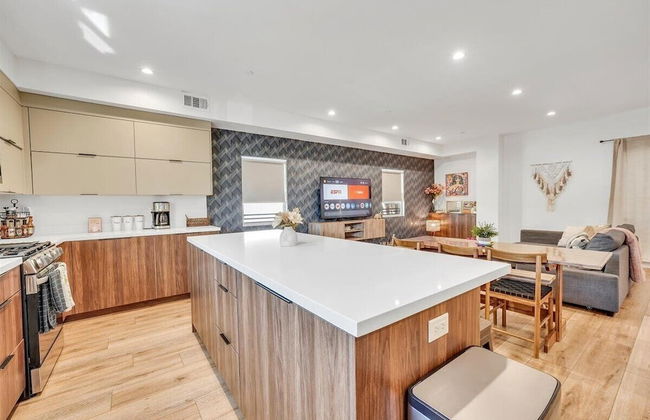
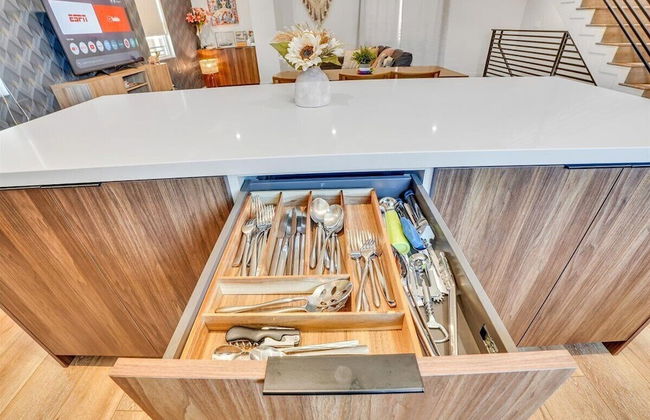
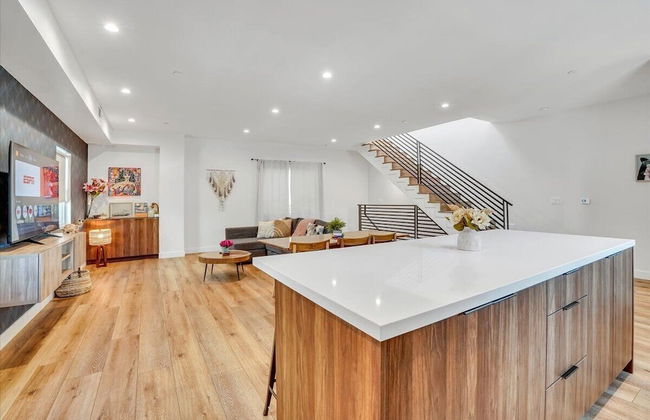
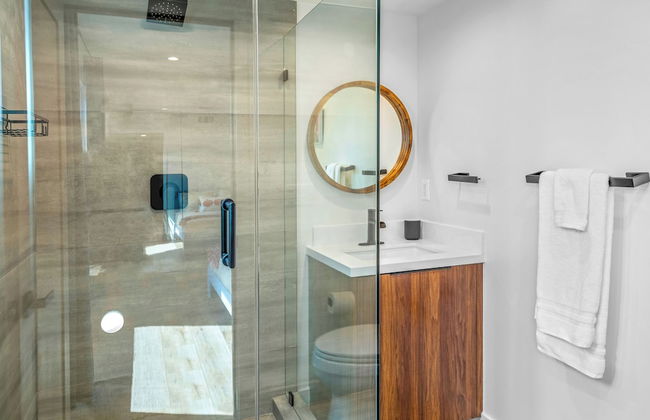
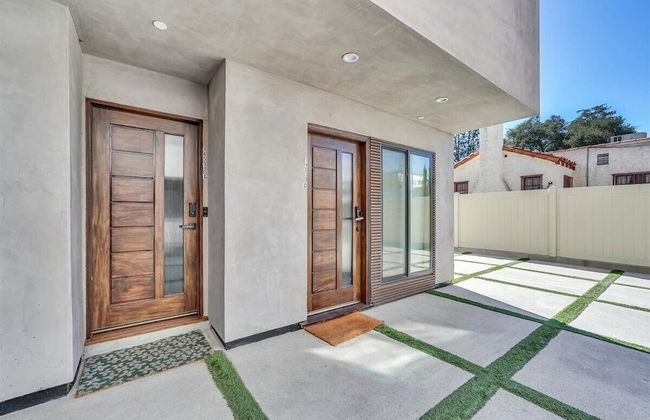
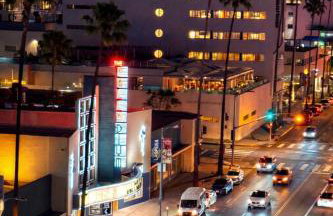
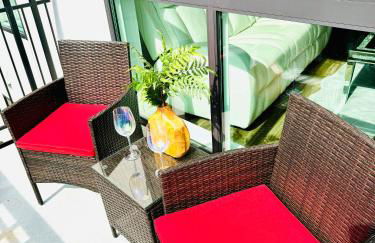
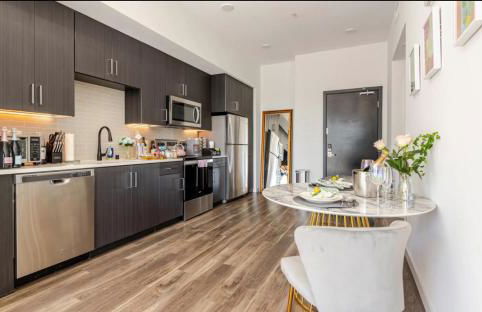
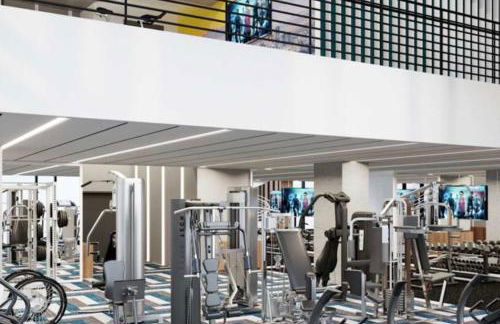
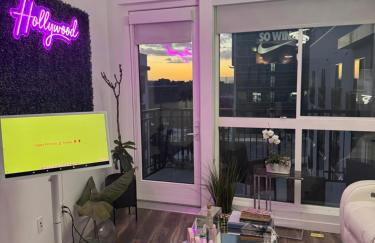
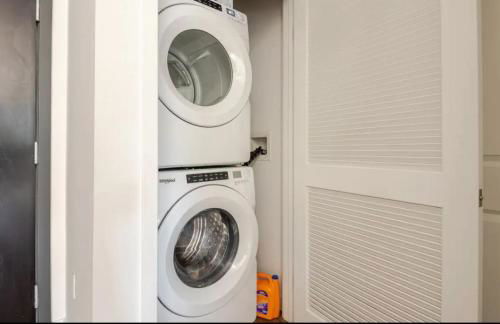
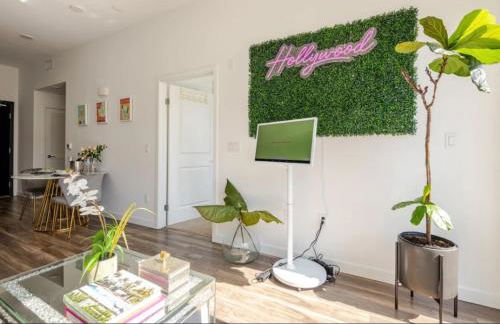
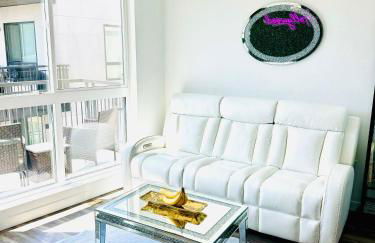
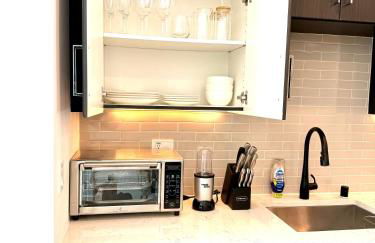
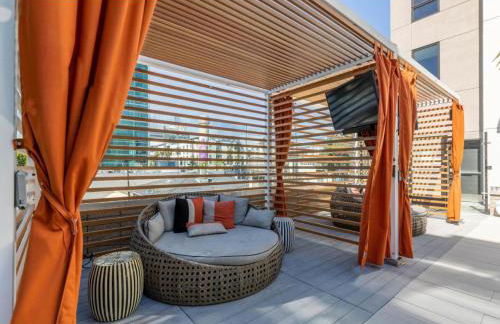
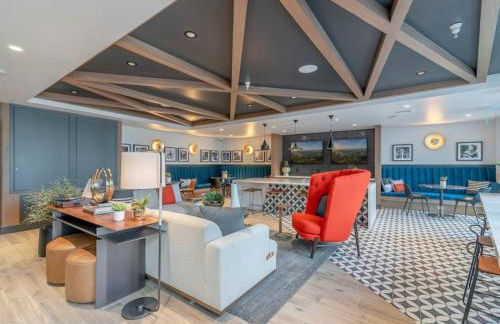
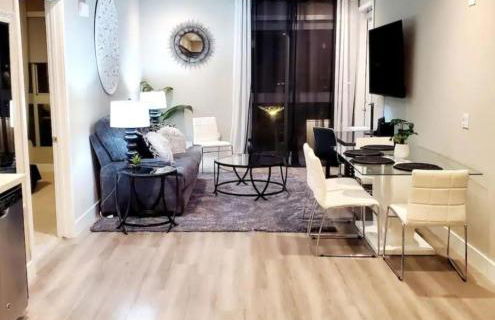
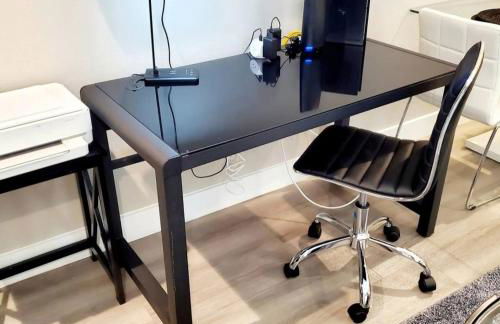
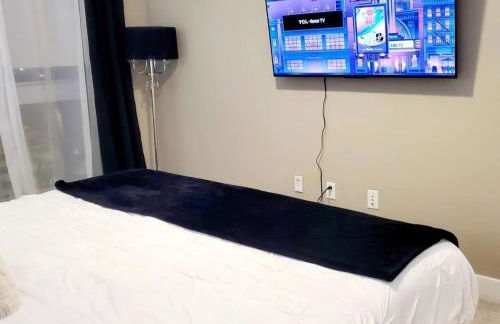
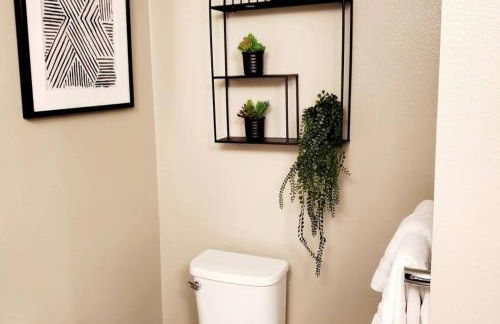
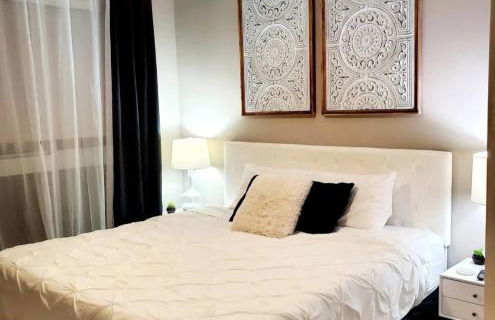
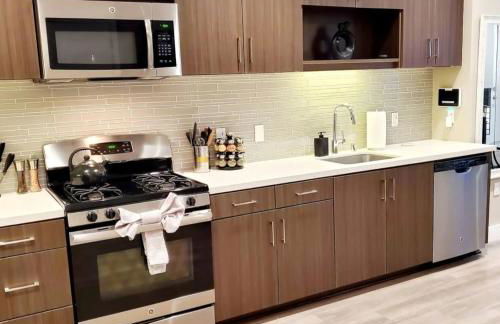
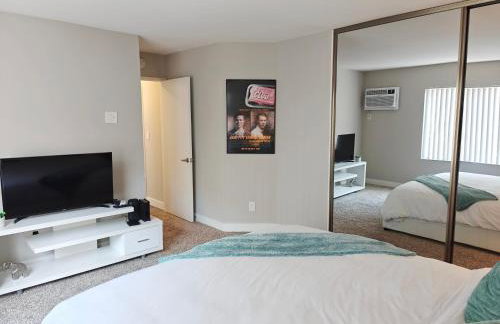
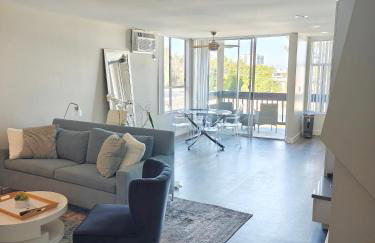
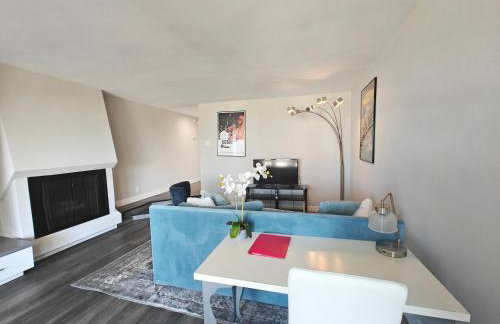
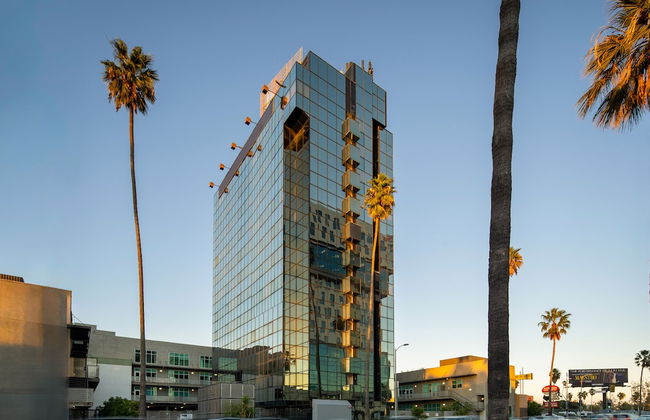
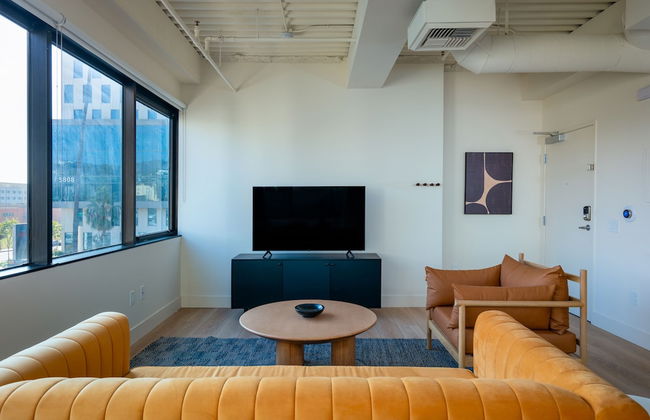
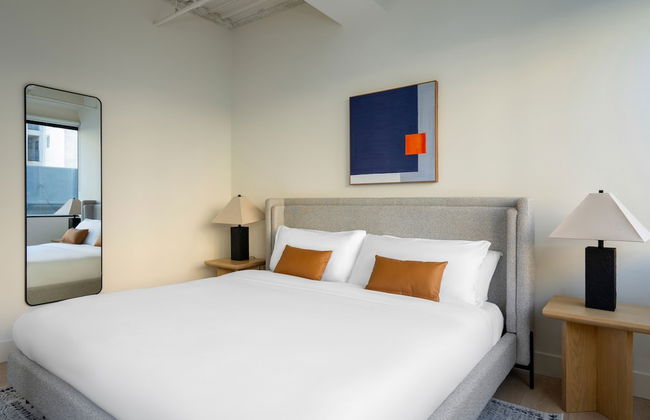
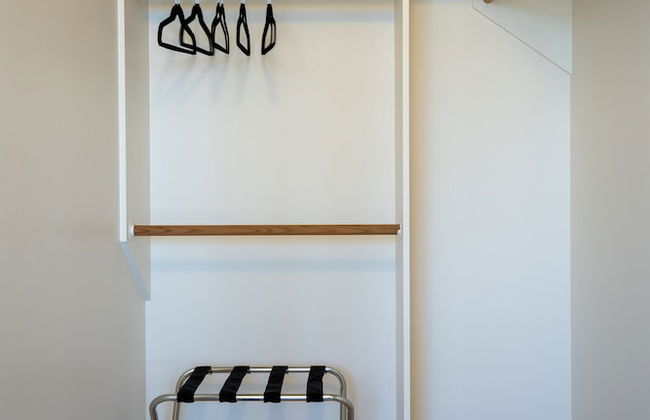
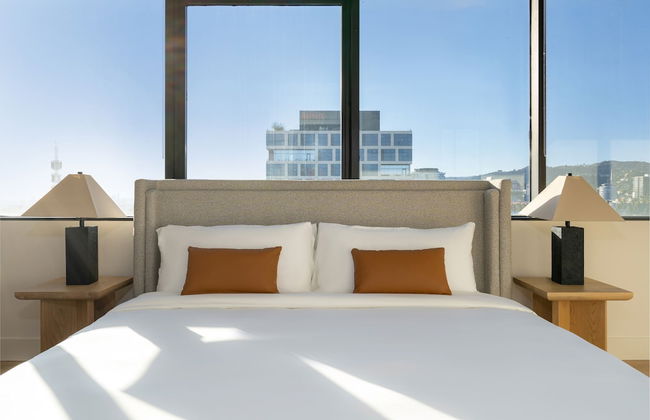
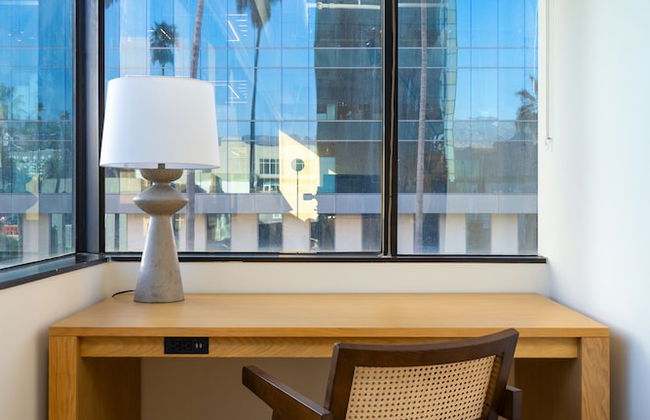
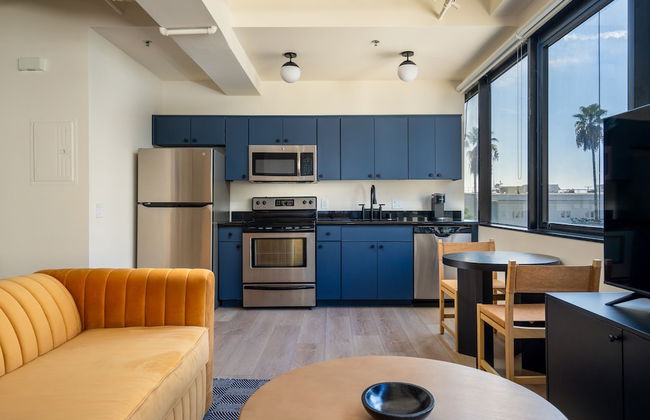
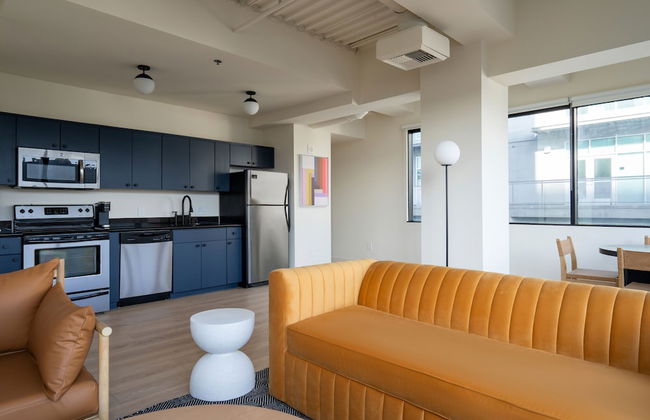
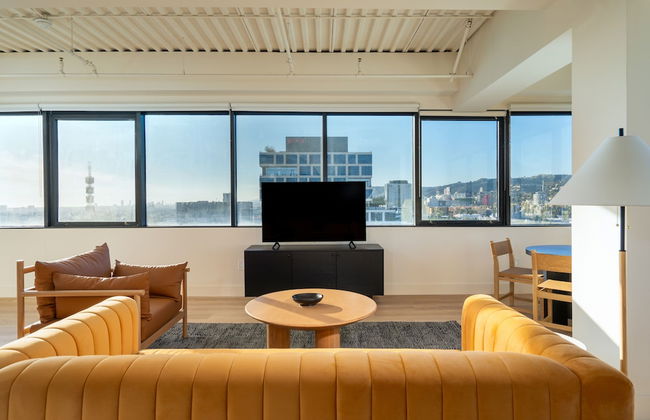
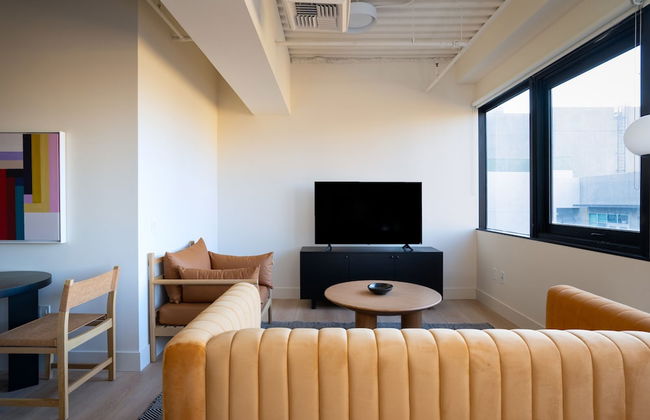
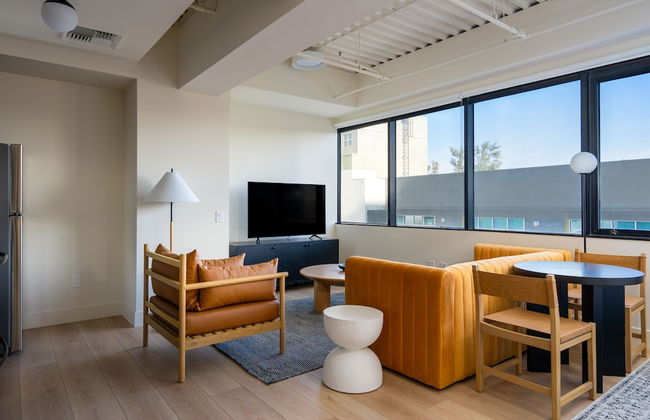
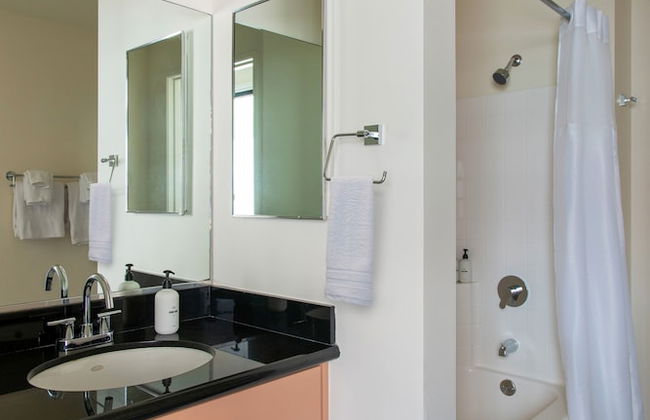
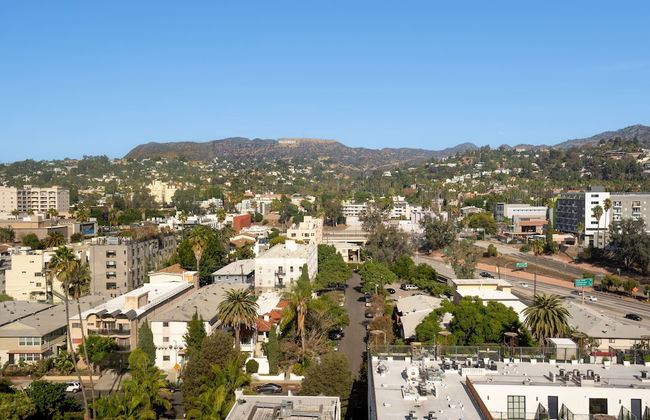
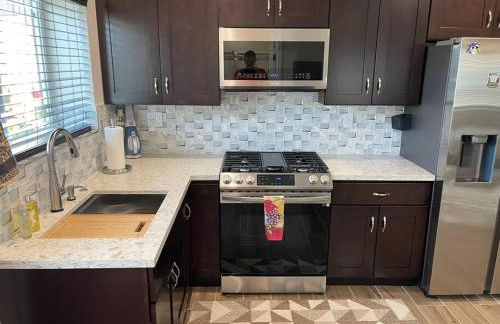
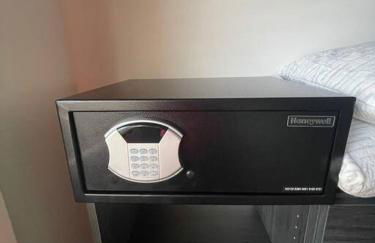
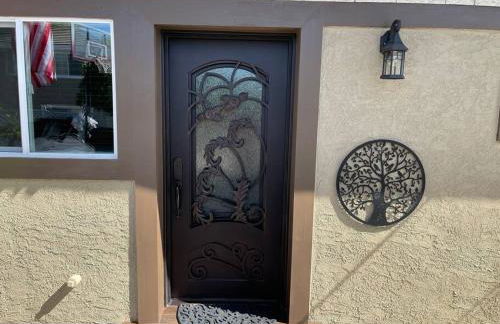
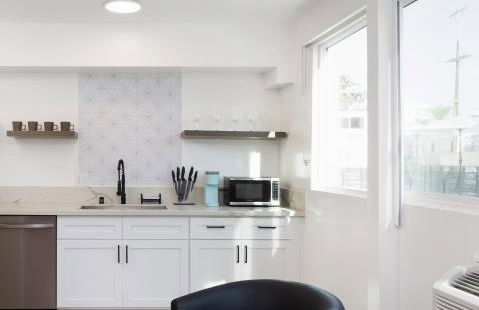
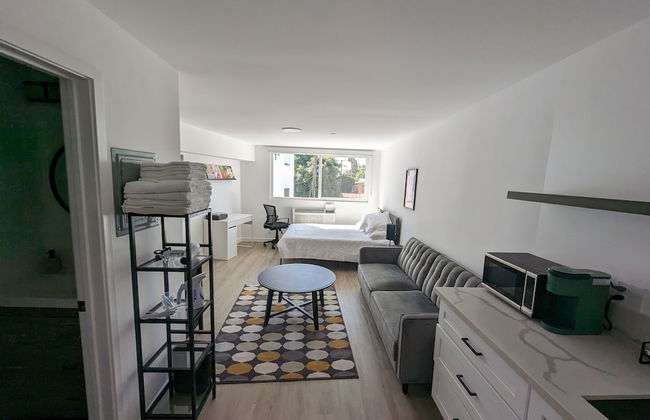
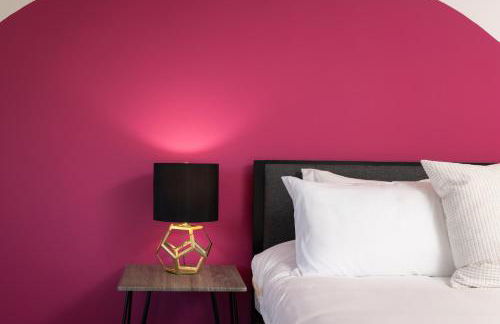
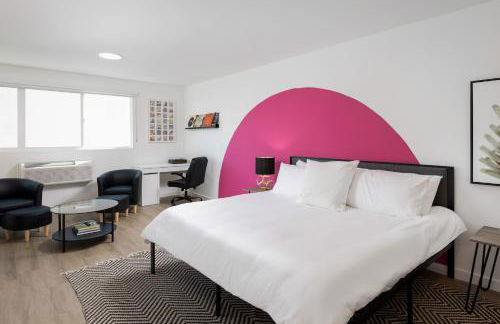
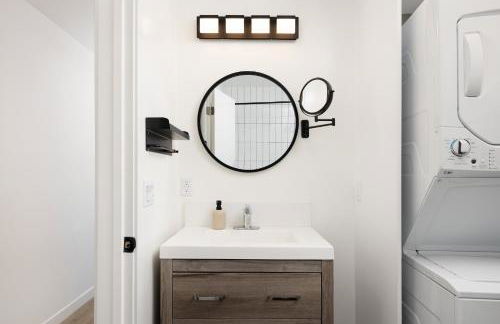
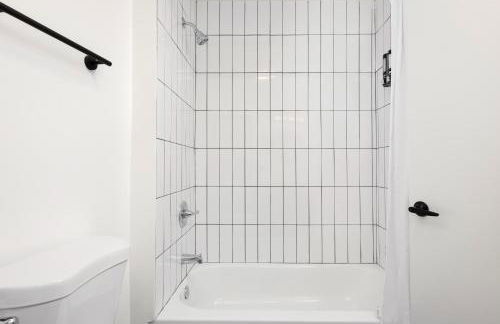
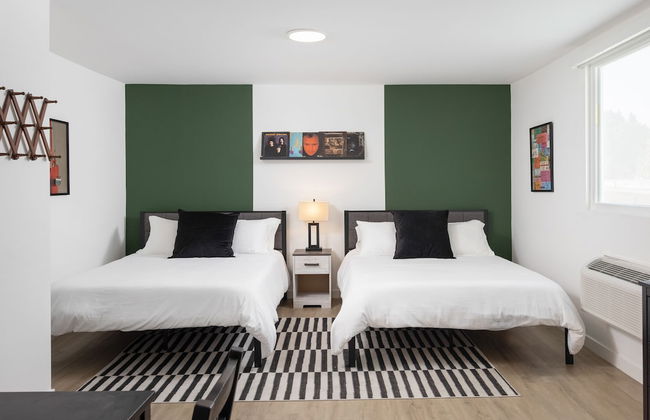
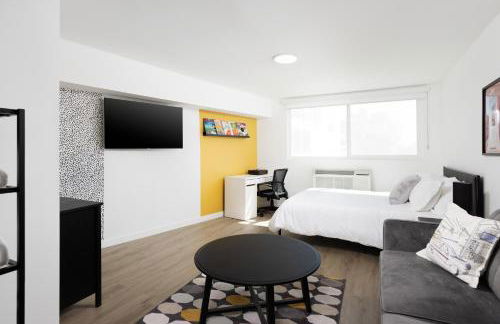
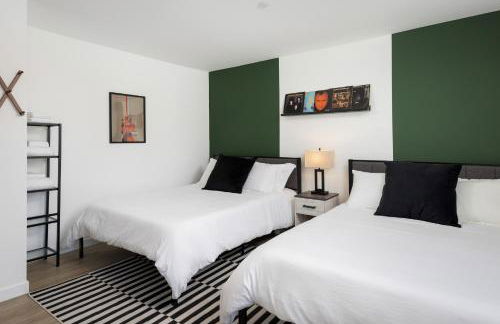
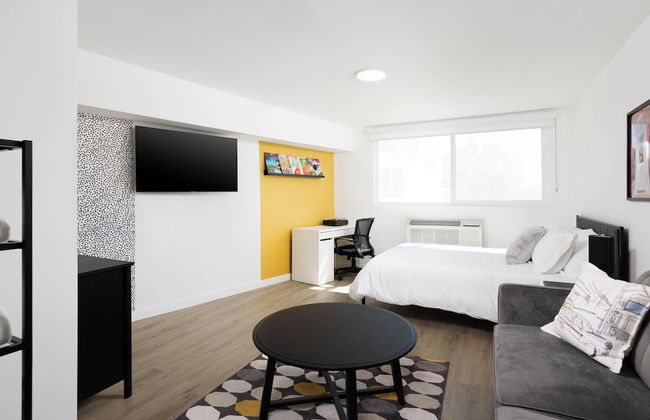
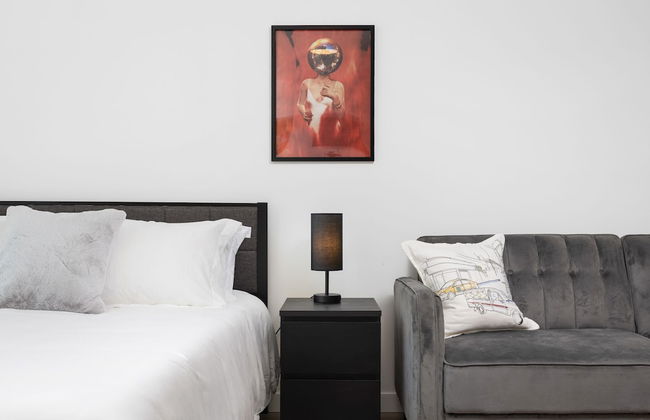
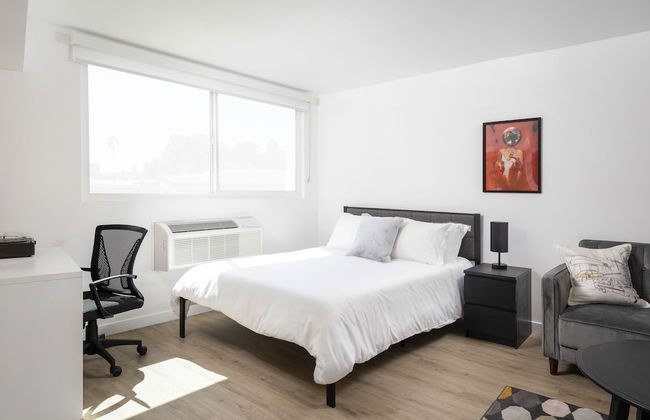
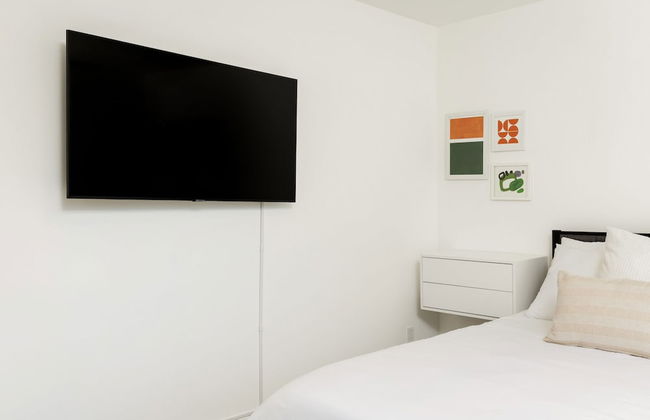
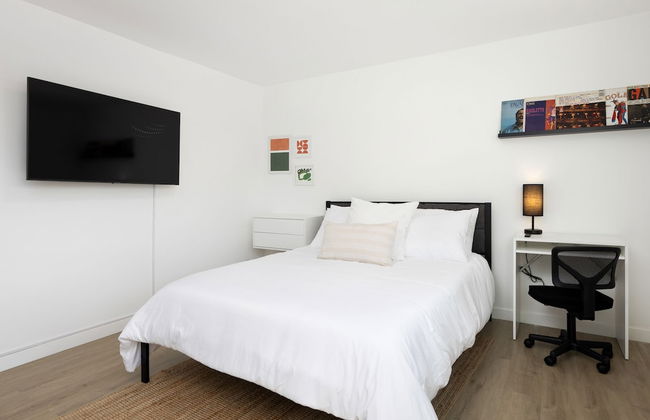
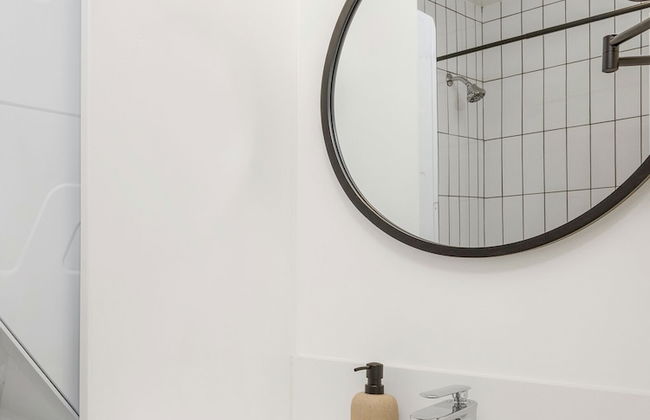
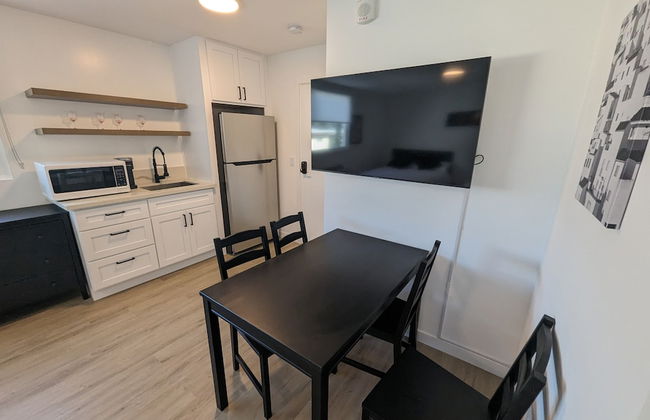
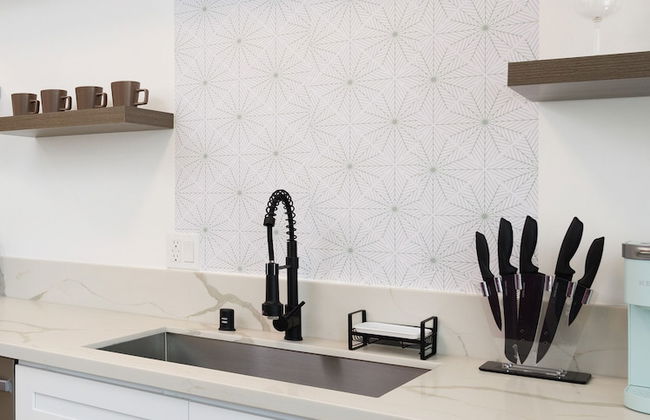
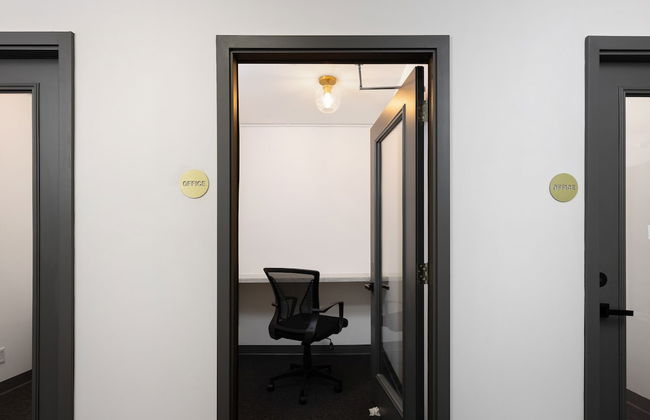
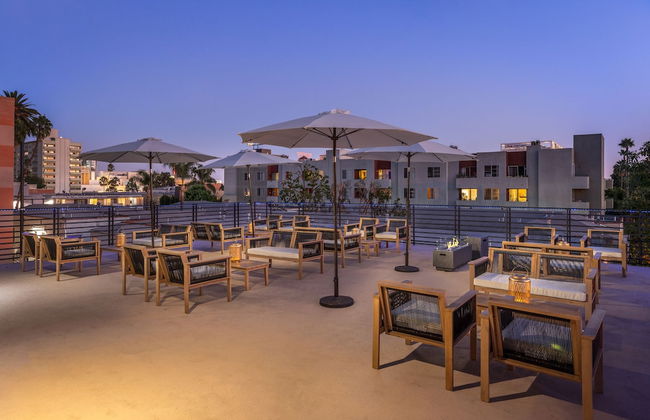
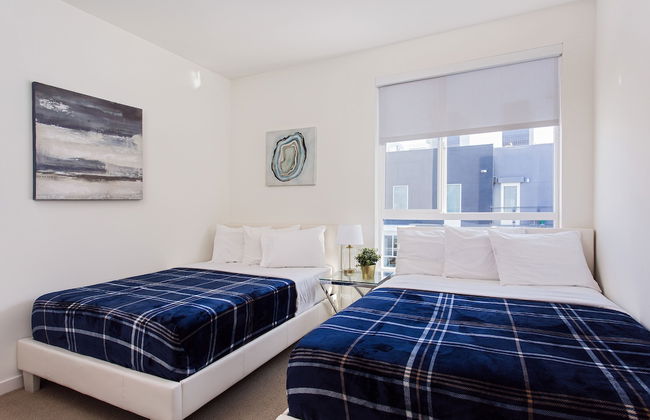
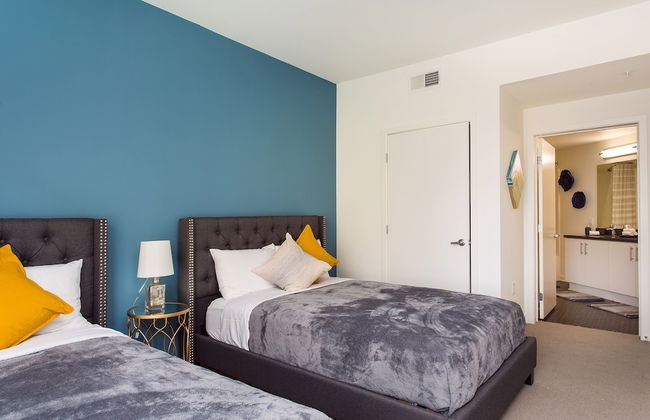
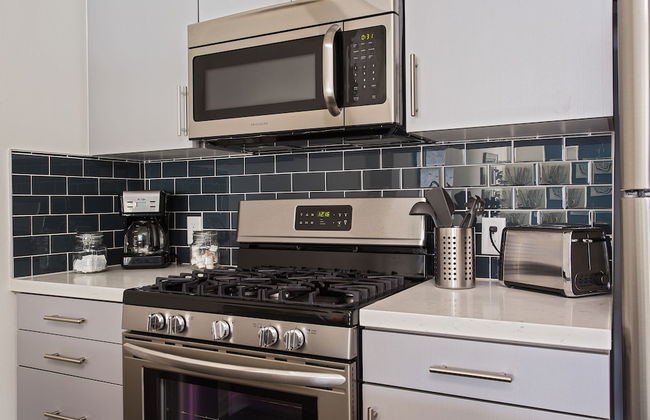
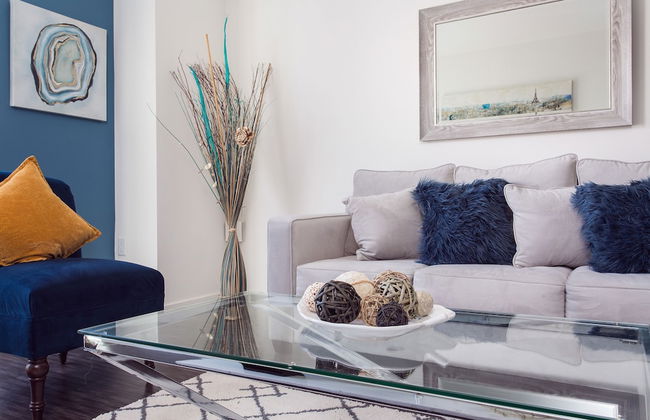
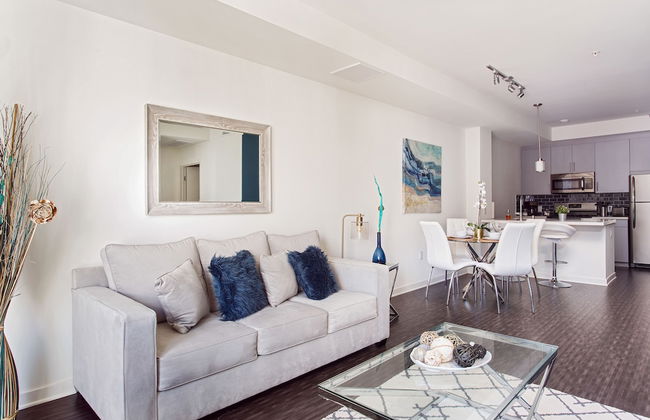
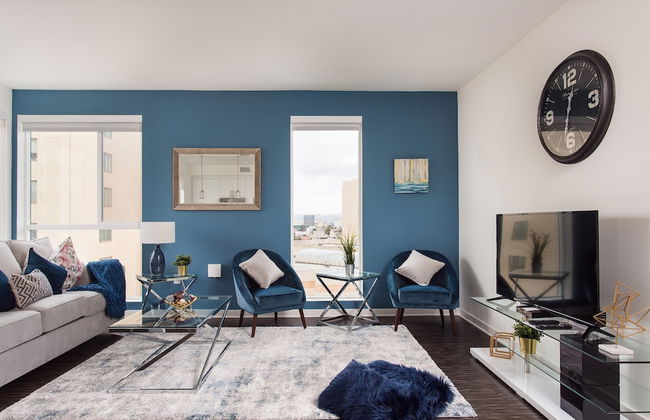
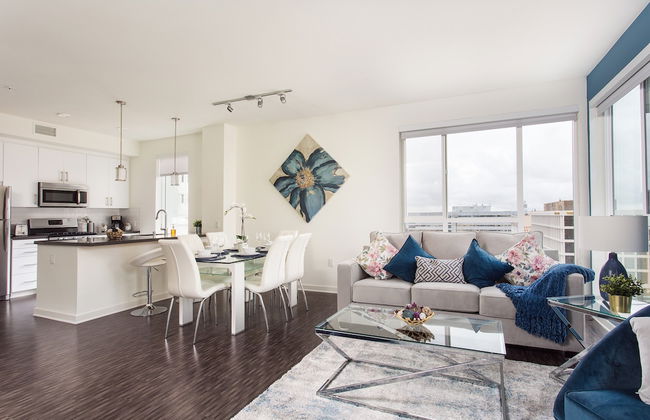
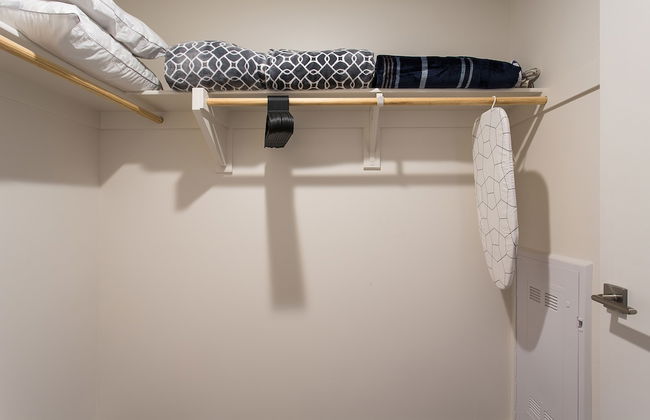
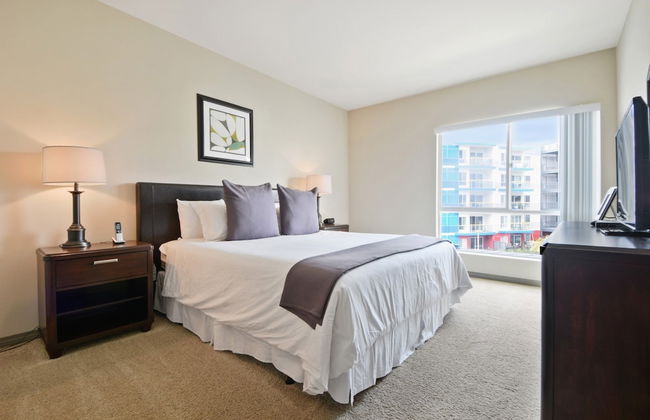
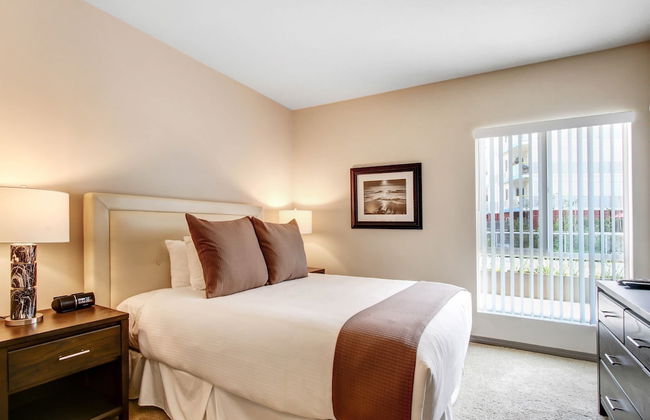
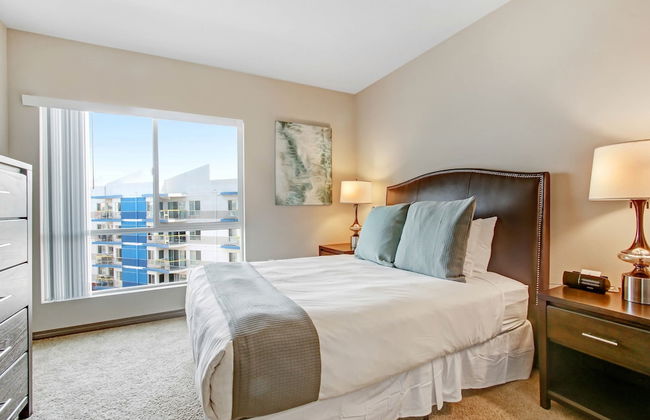
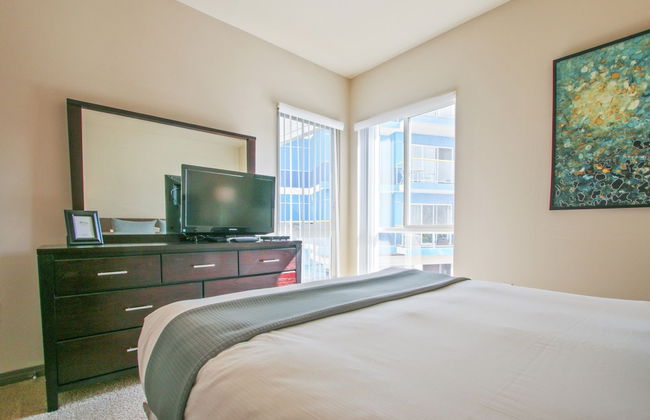
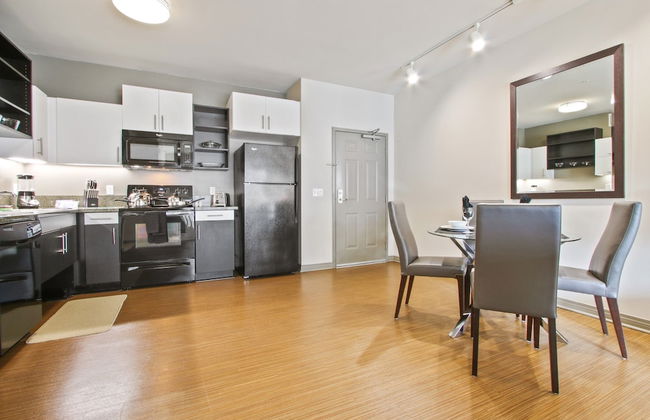
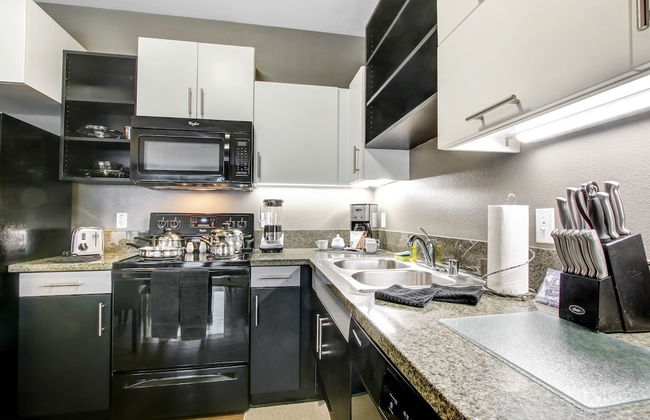
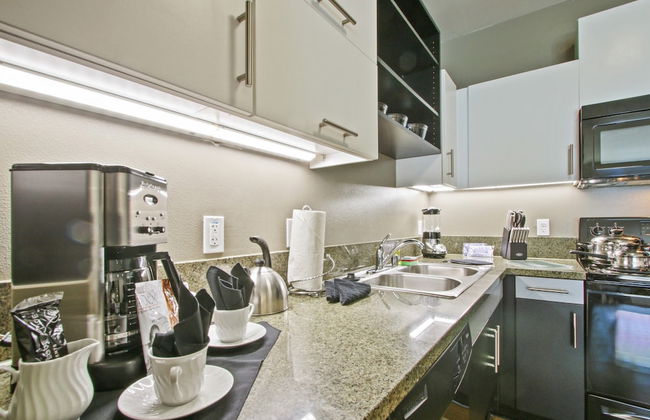
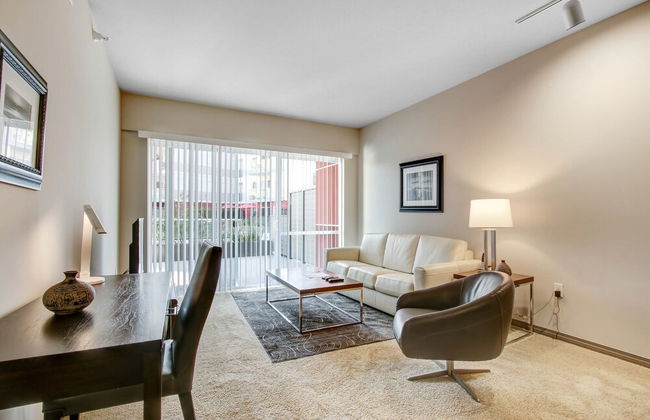
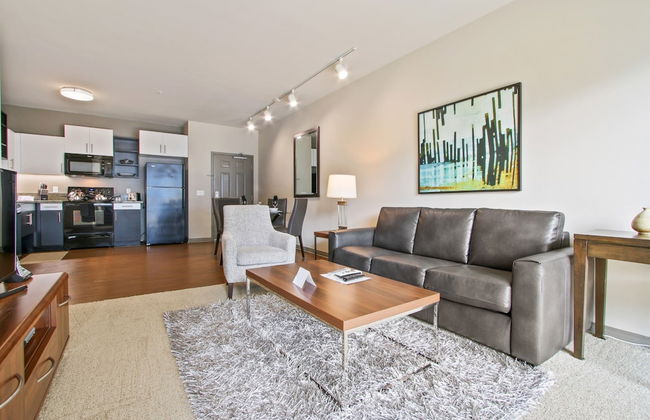
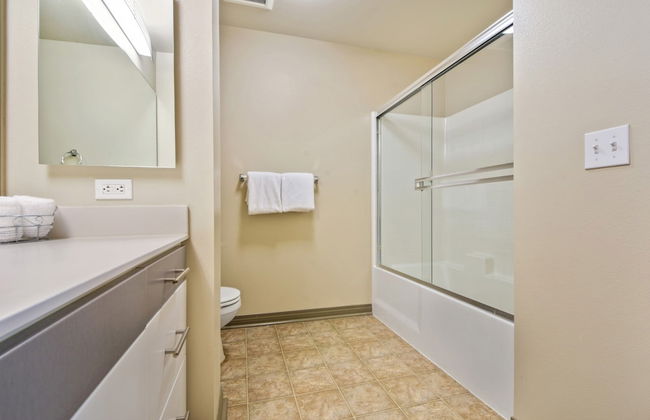
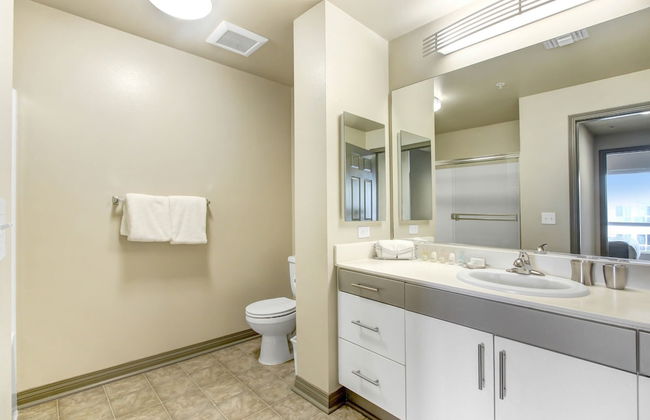
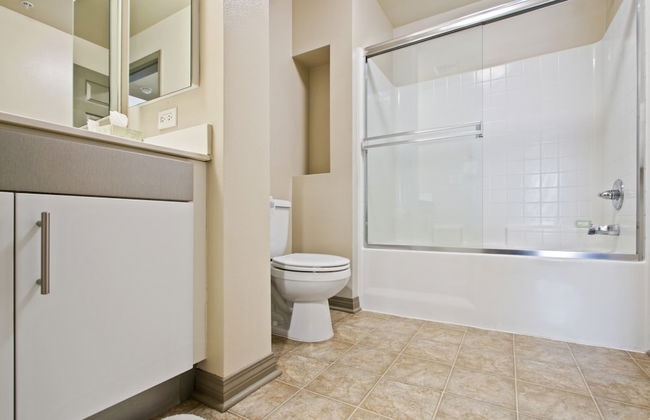
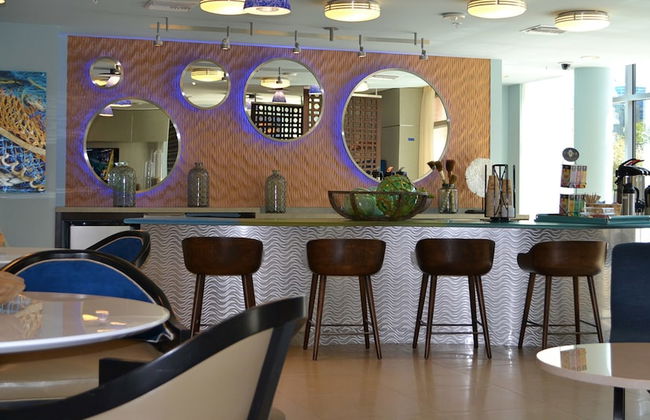
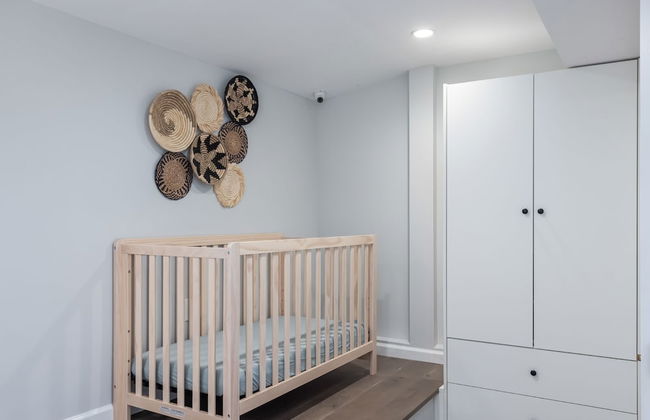
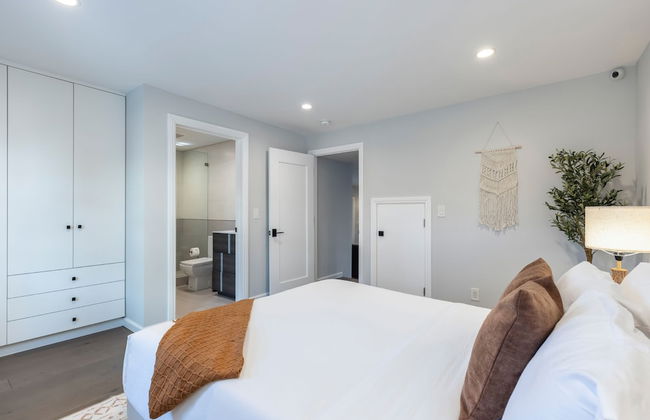
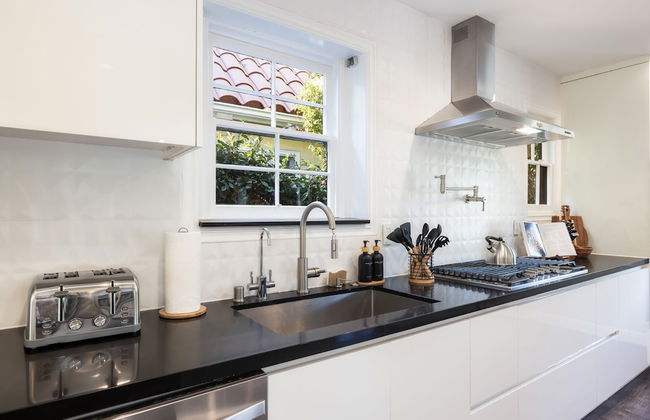
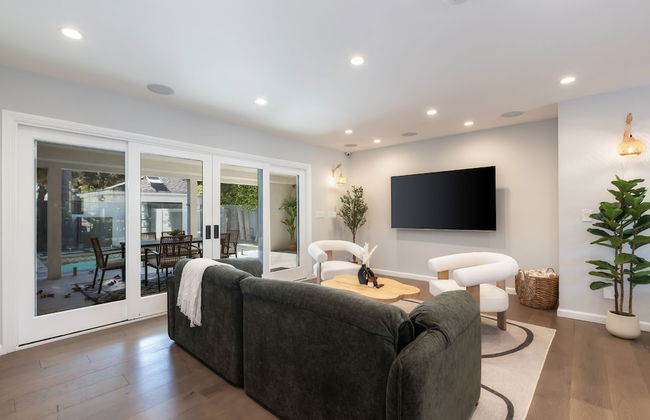
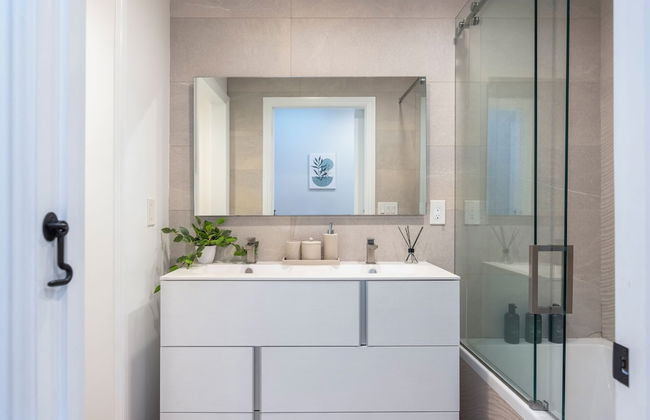
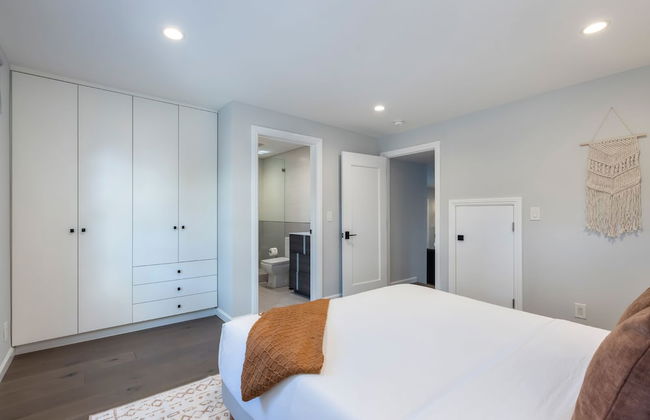
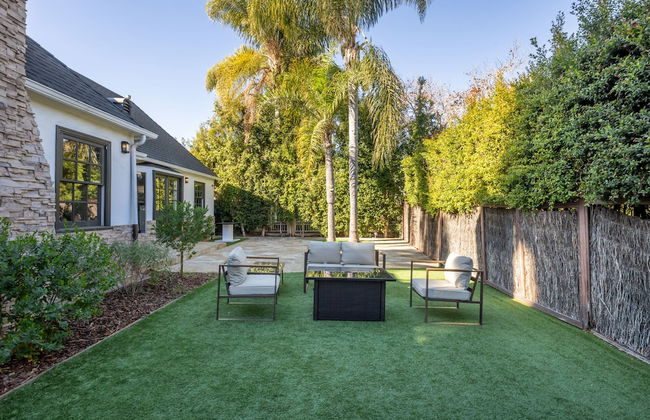
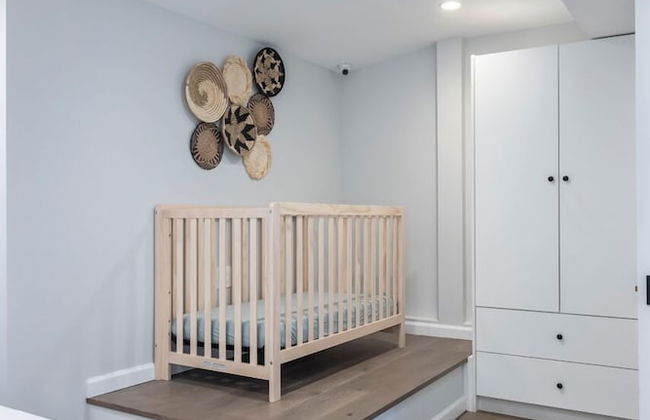
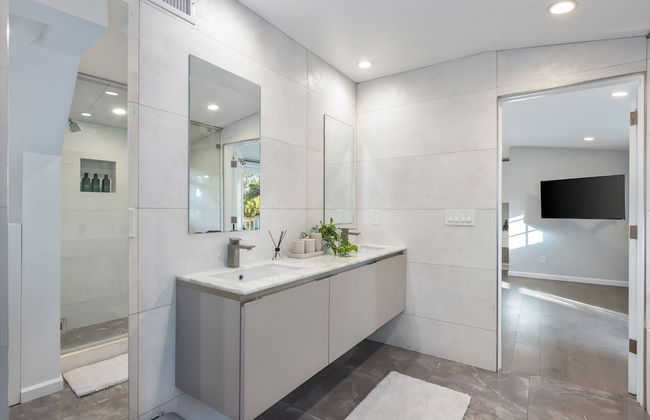
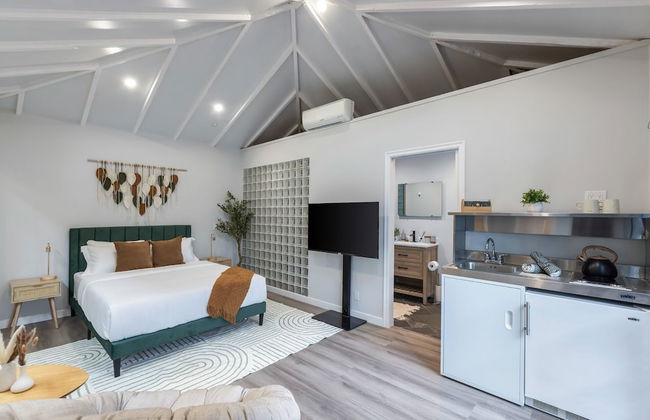
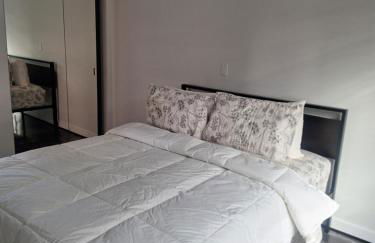
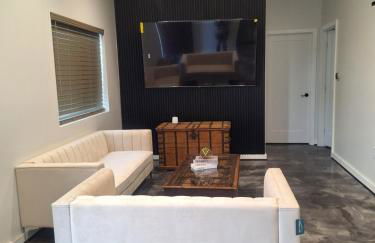
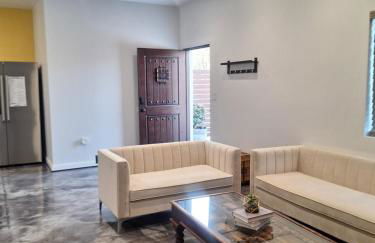
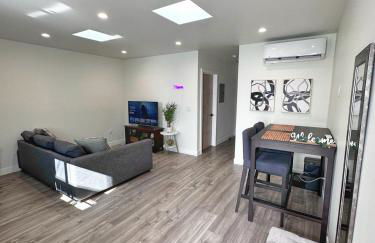
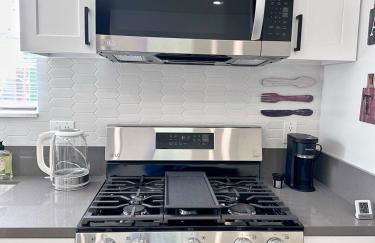
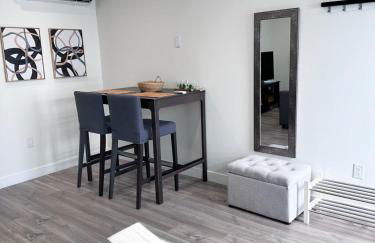
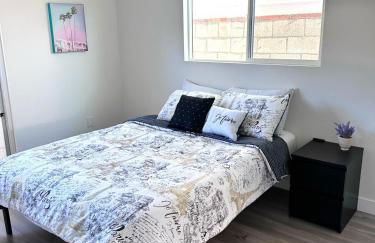
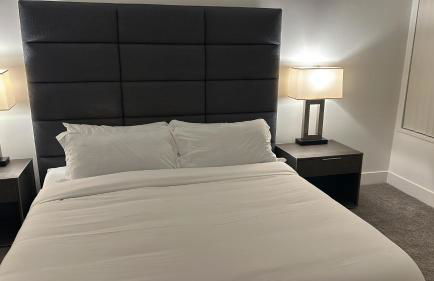
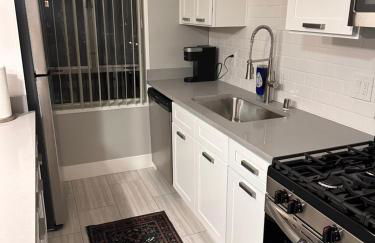
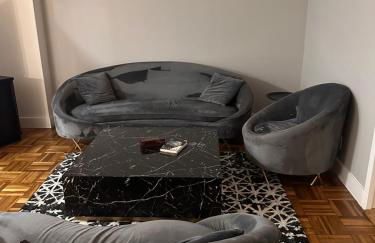
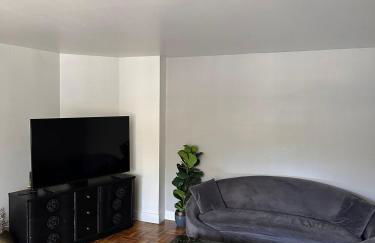
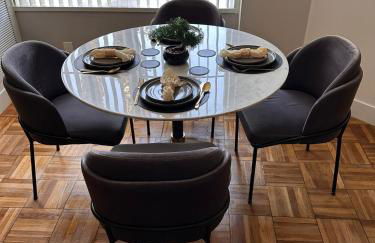
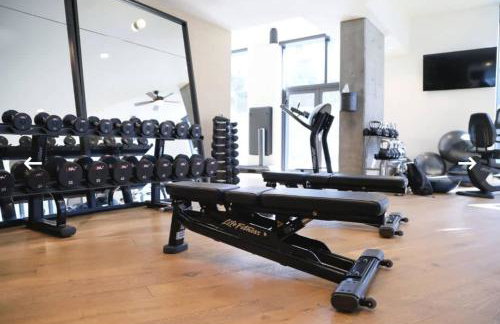
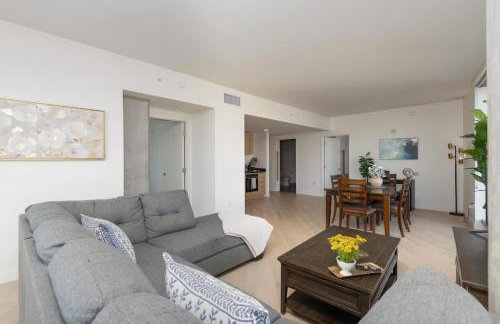
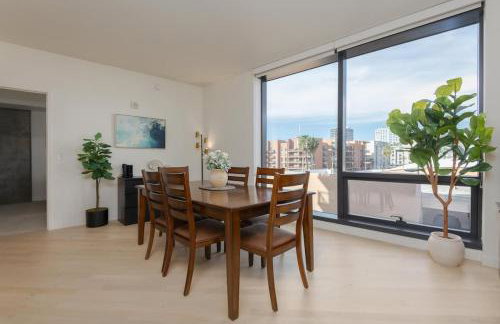
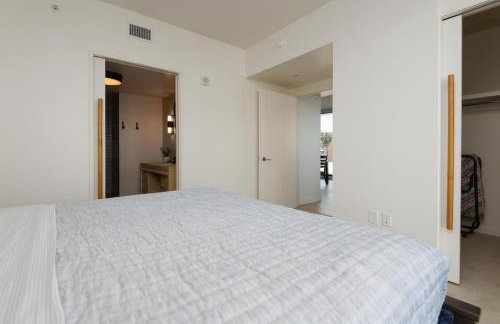
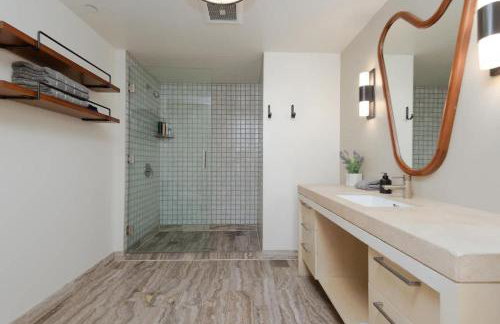
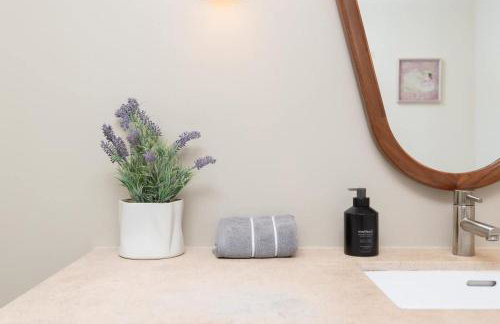
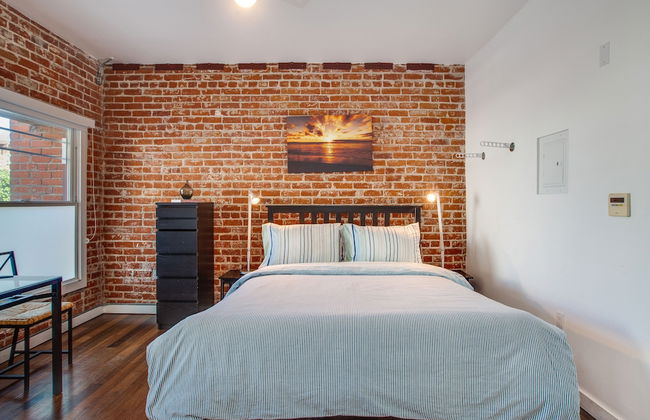
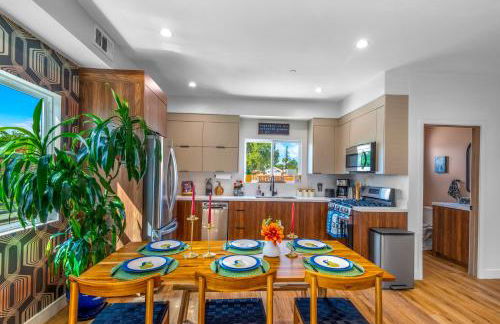
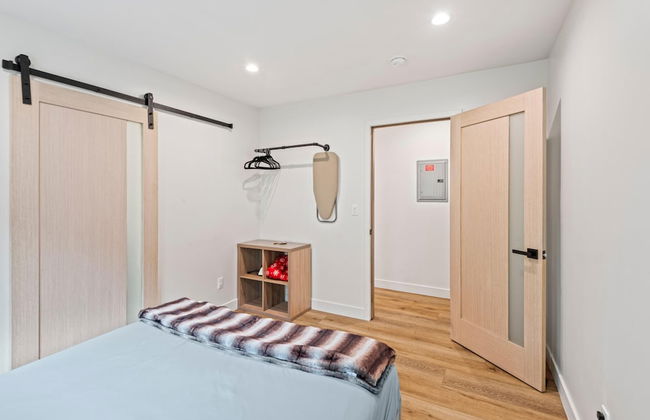
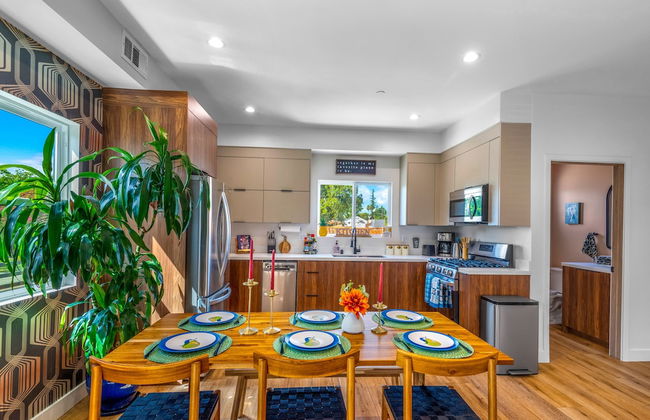
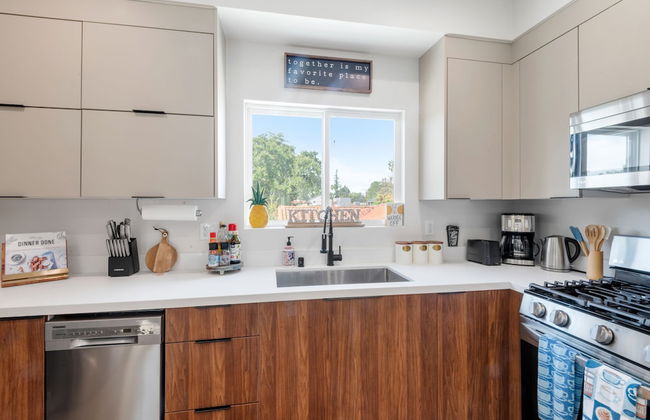
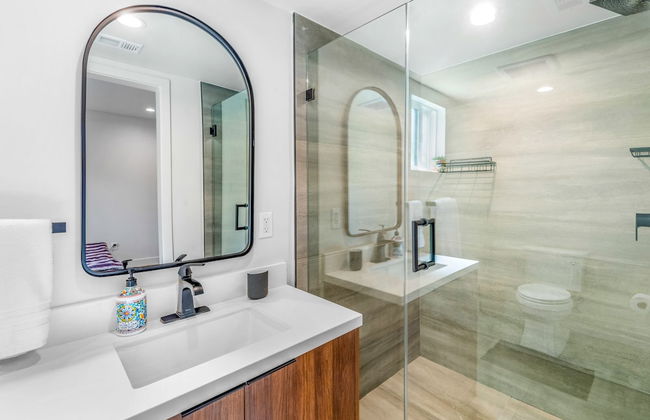
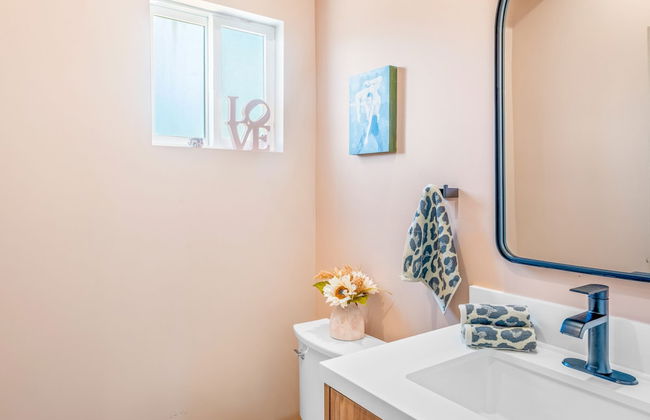
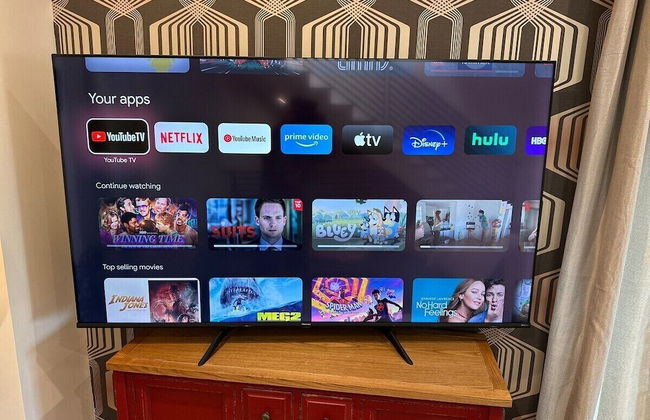
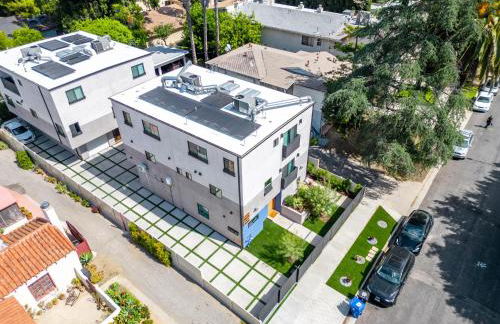
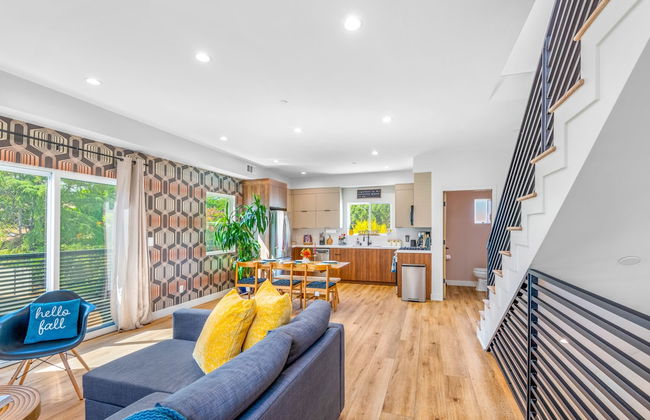
New Urban Downtown LA Luxury Apartment - Foto 2
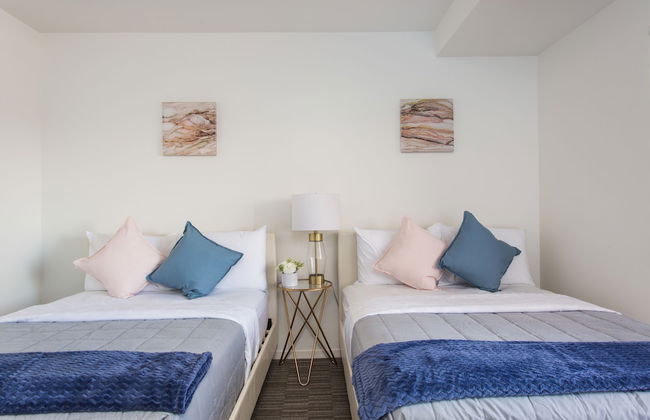
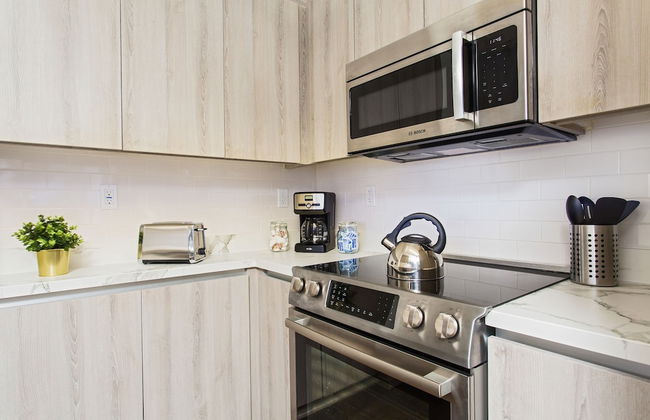
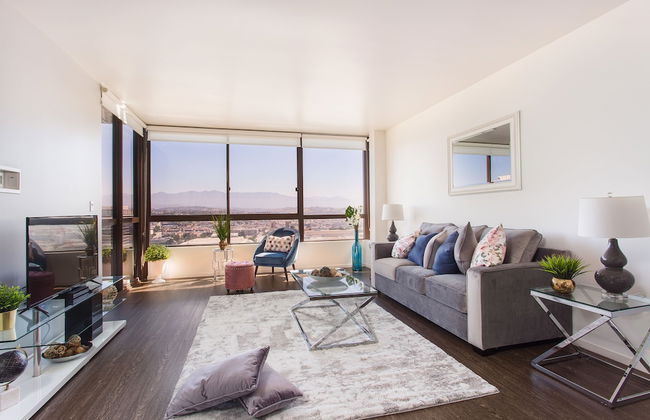
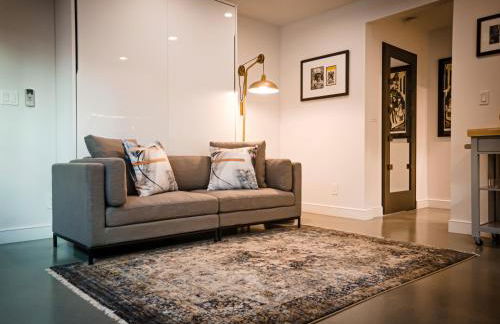
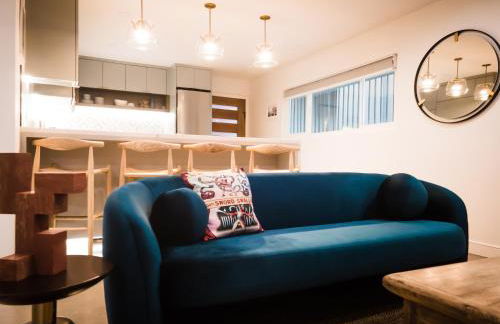
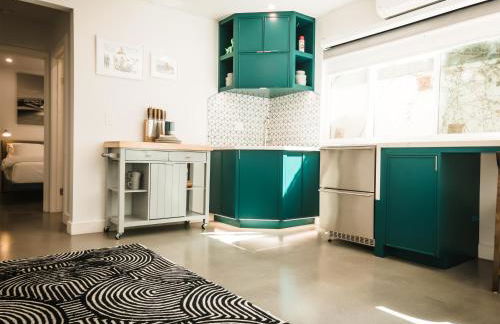
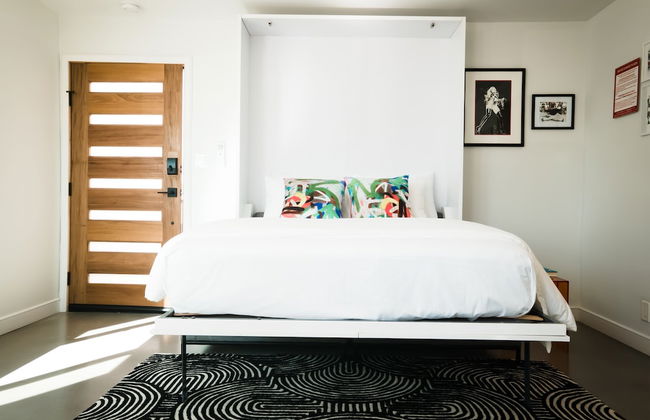
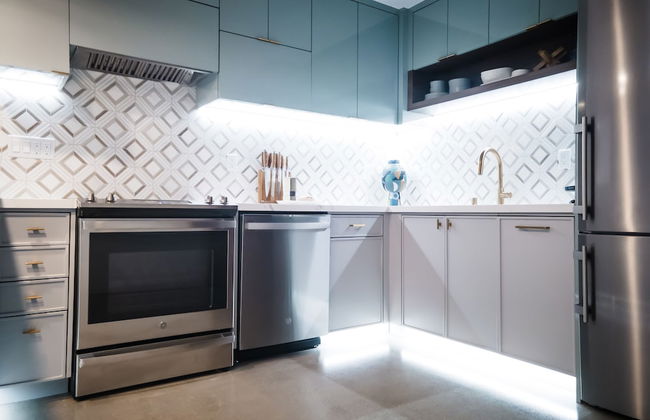
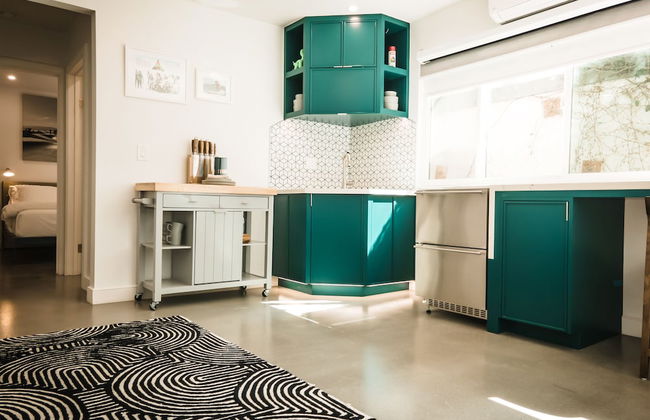
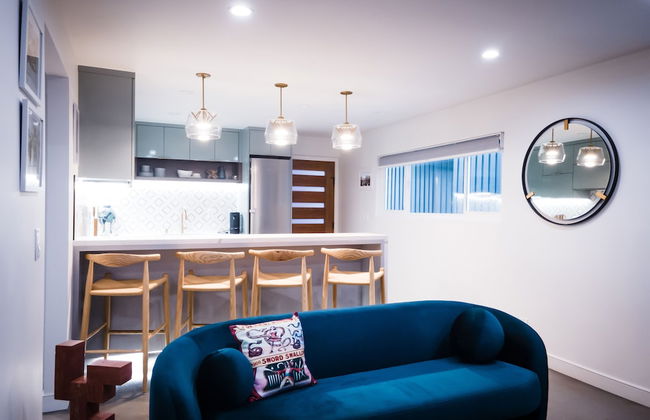
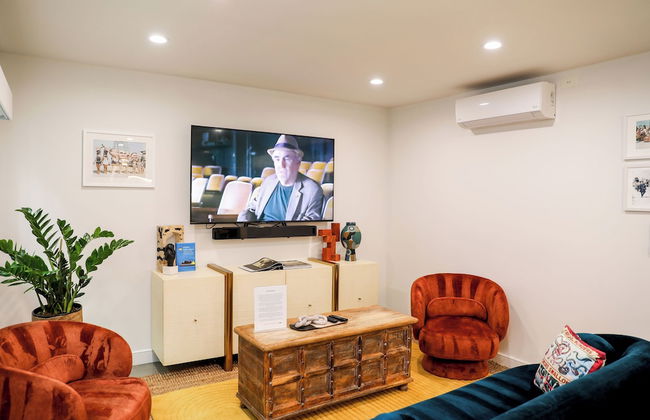
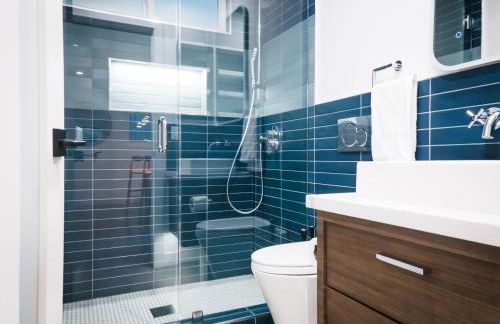
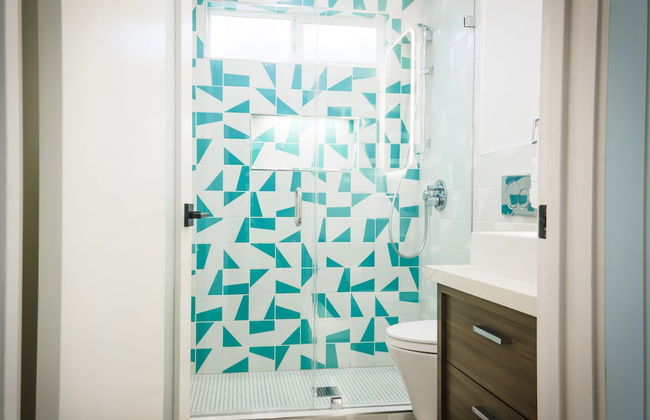
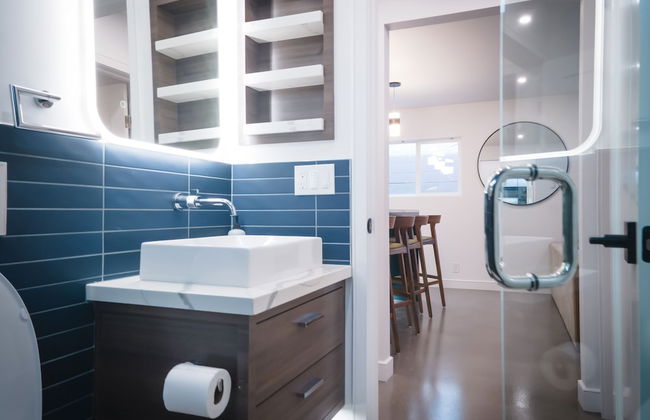
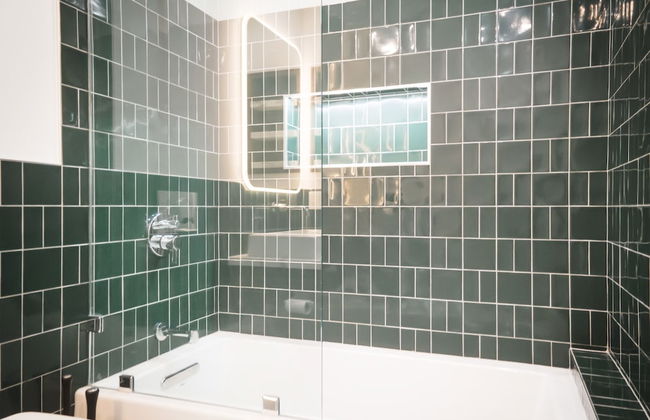
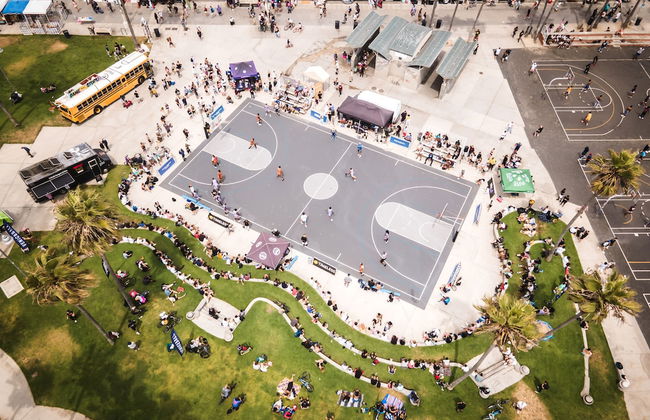
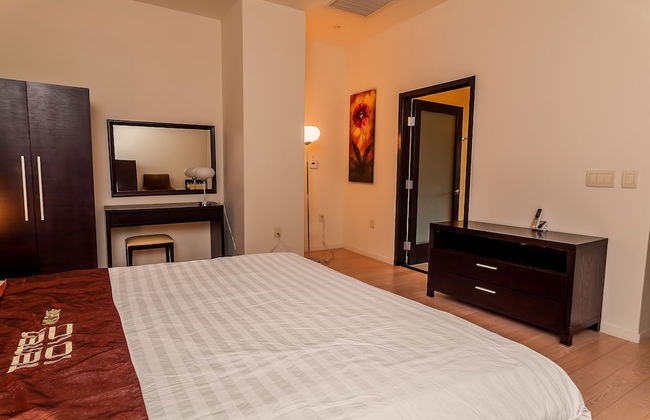
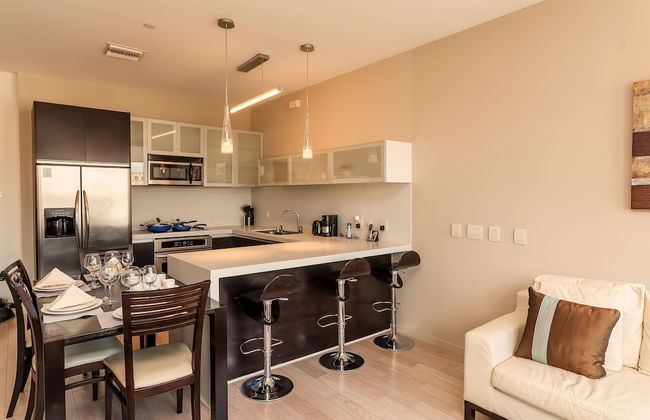
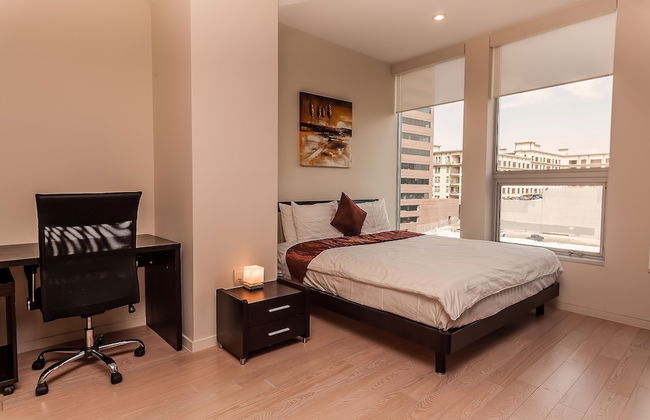
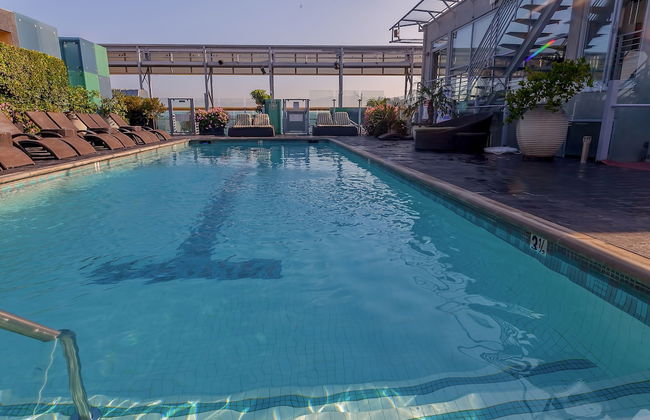
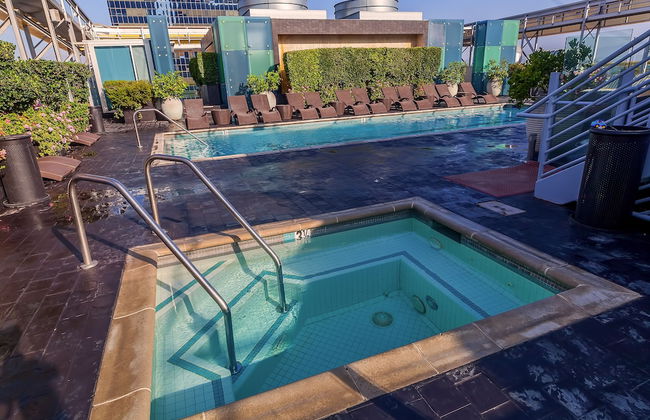
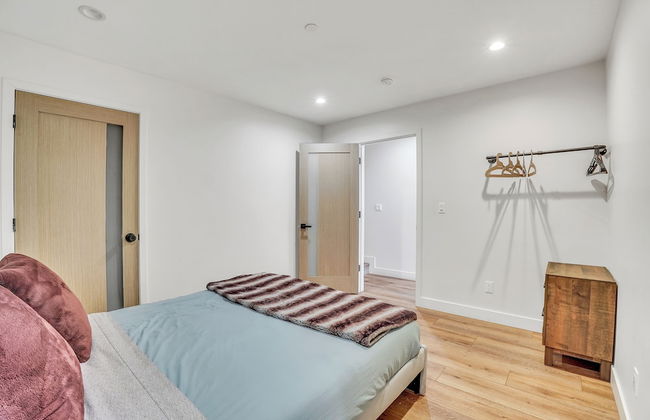
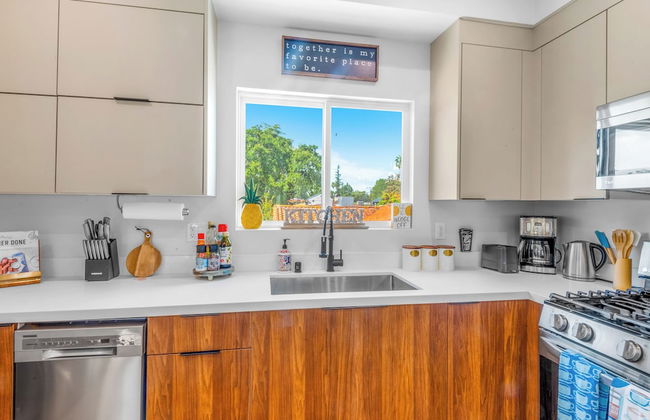
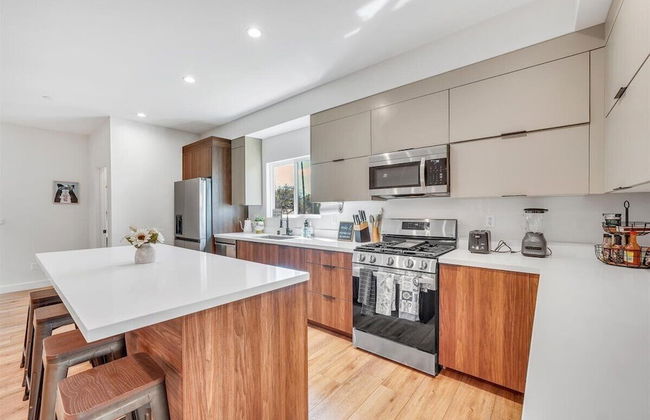
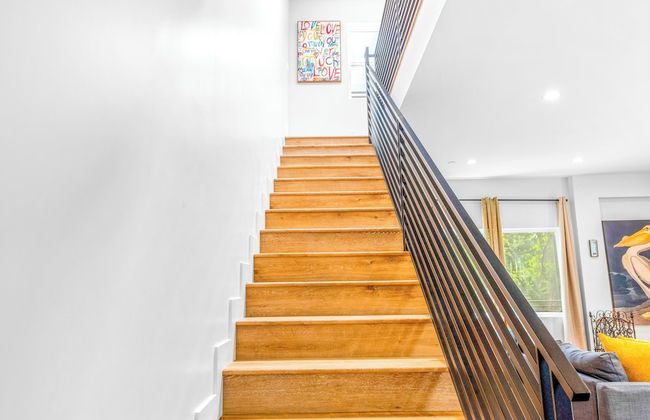
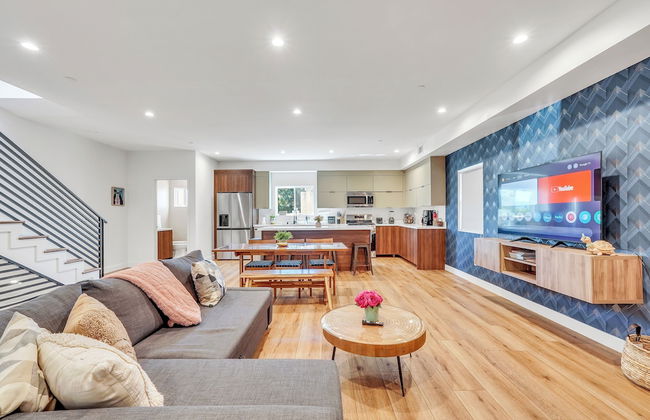
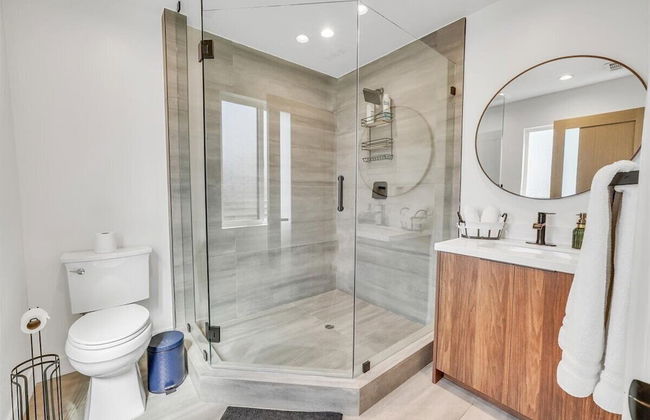
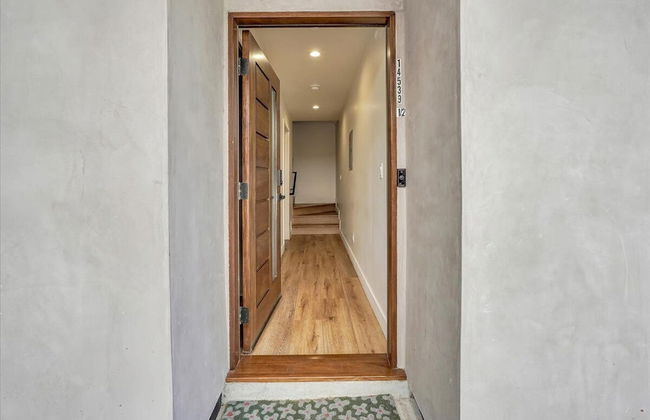
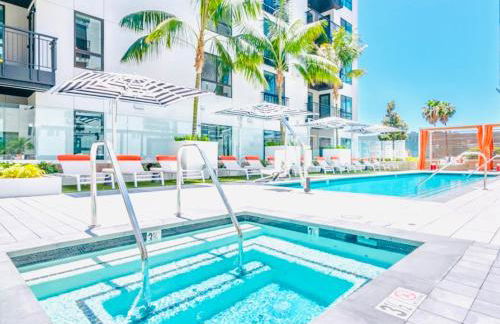
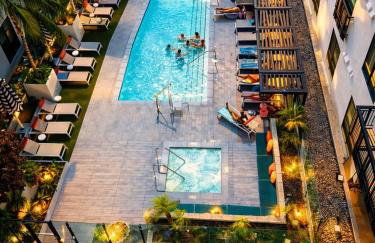
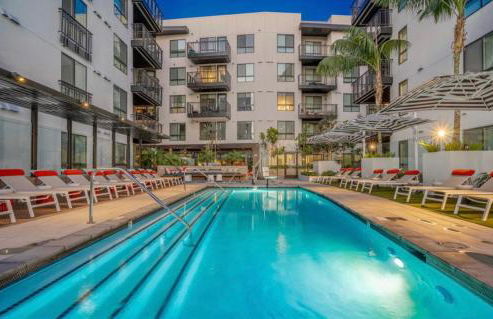
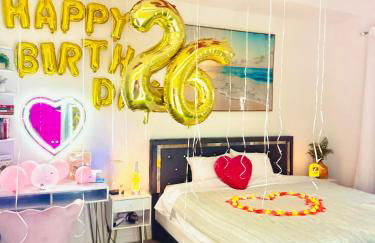
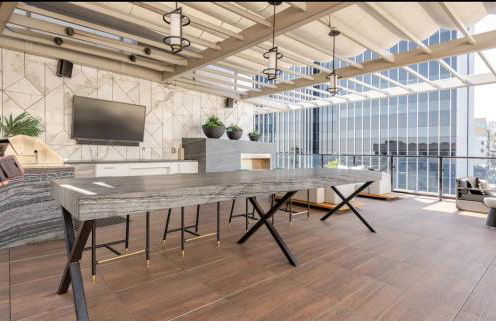
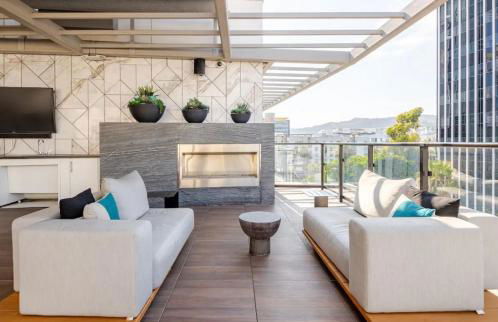
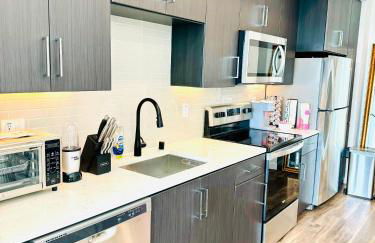
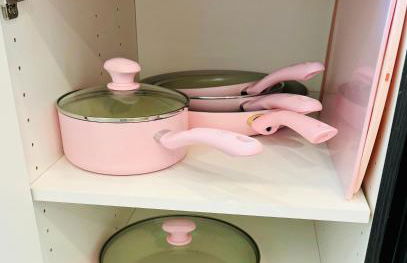
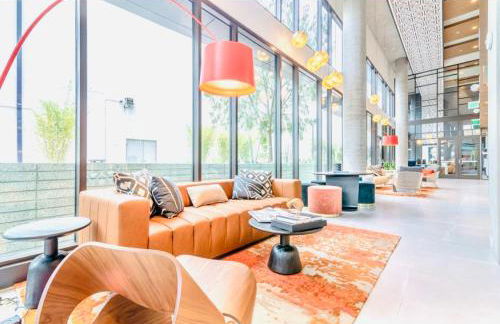
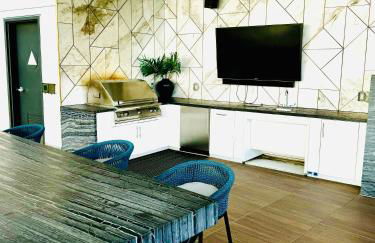
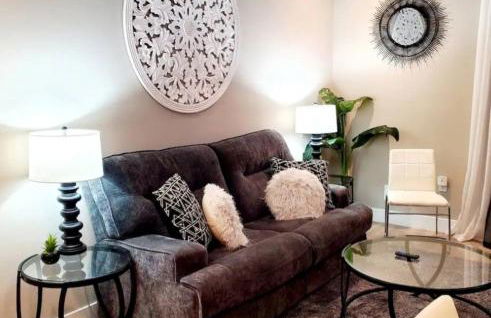
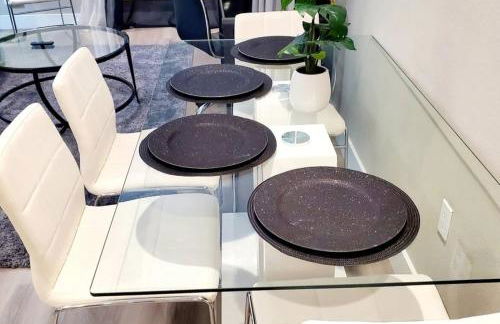
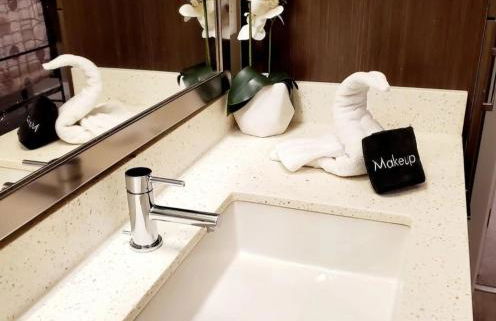
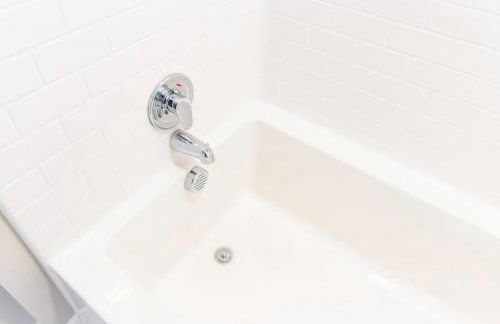
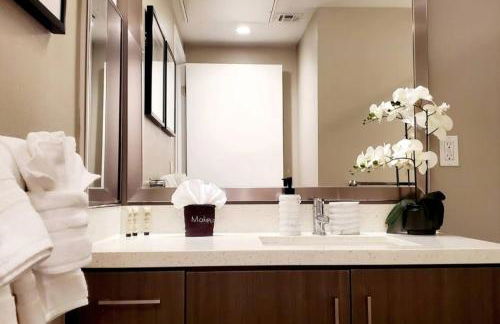
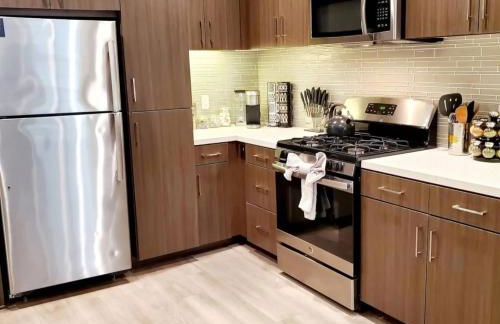
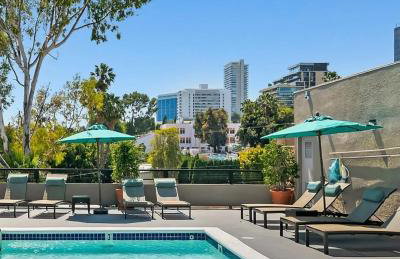
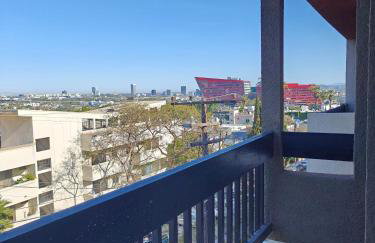
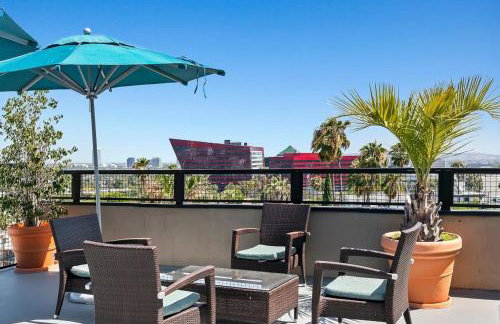
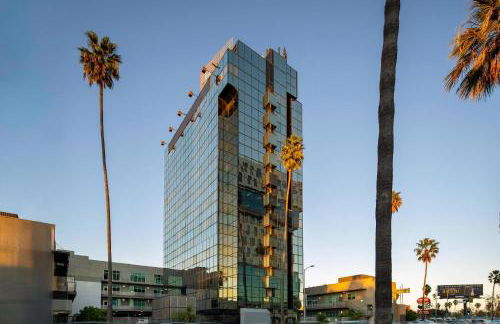
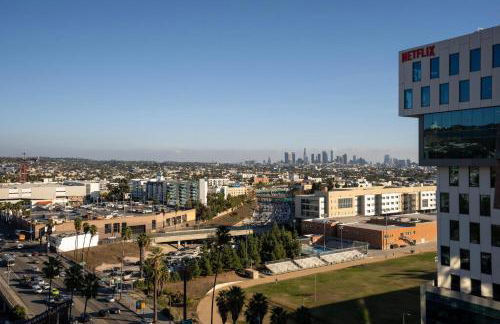
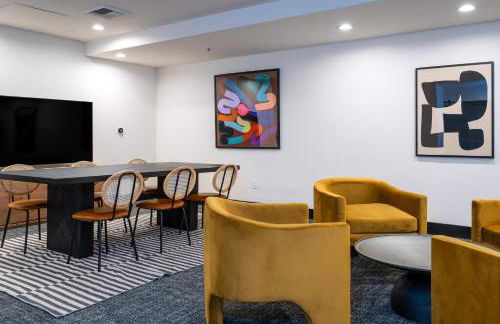
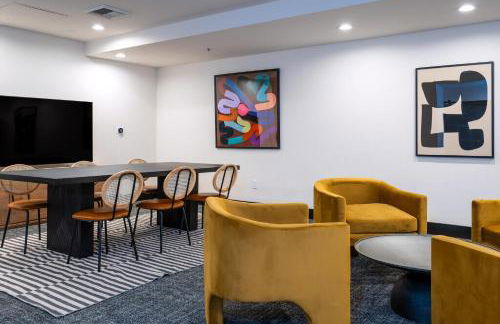
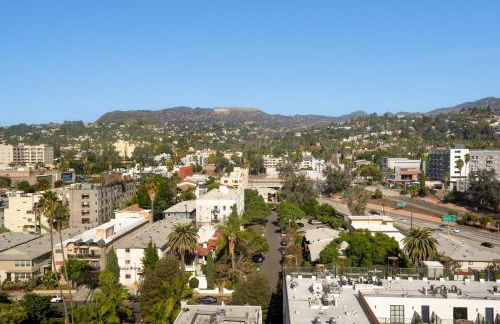
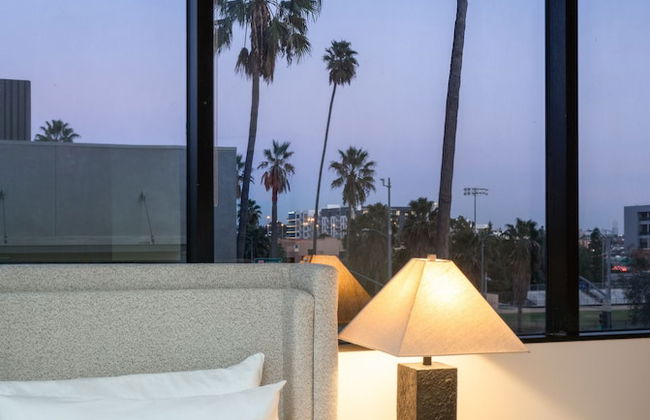
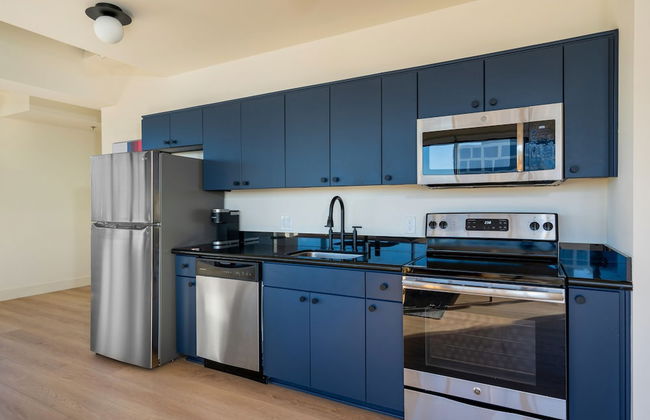
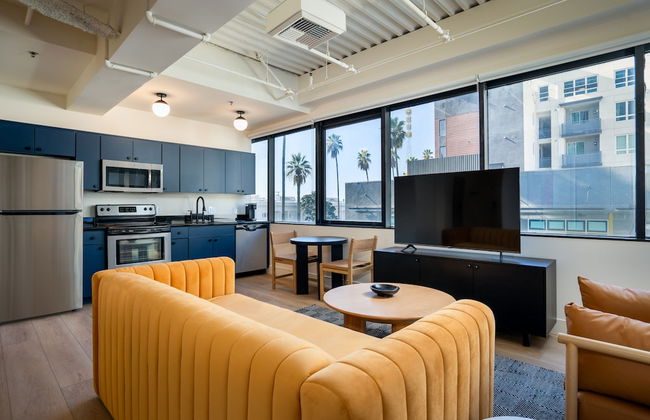
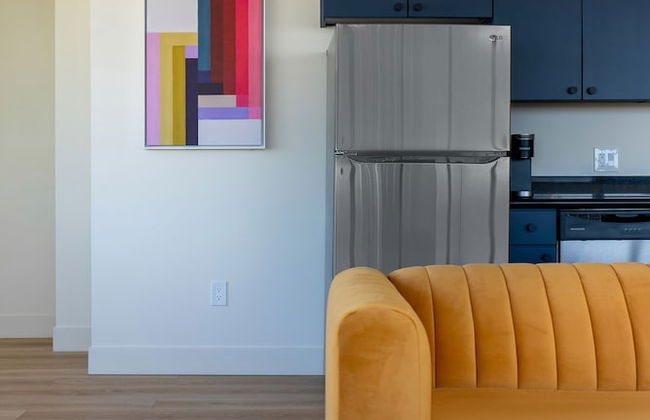
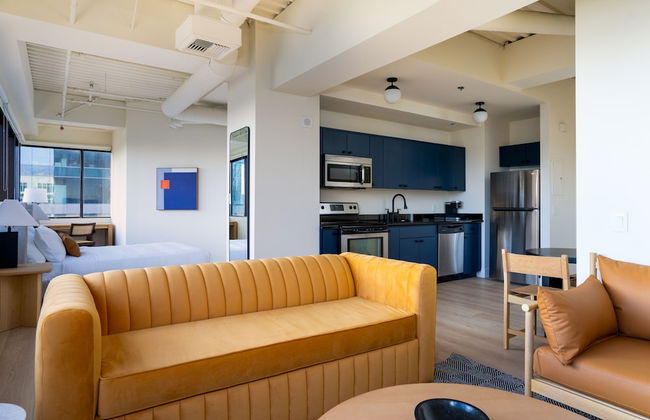
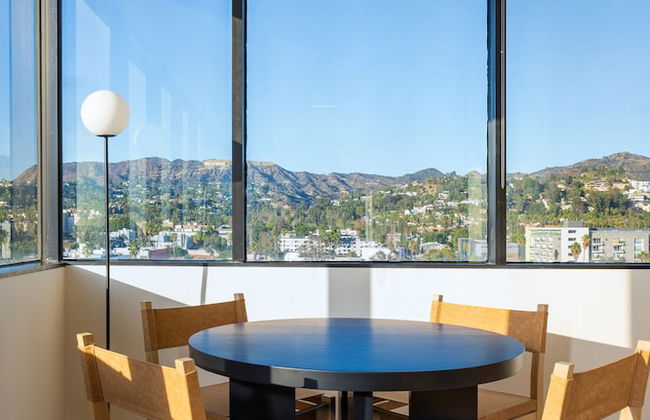
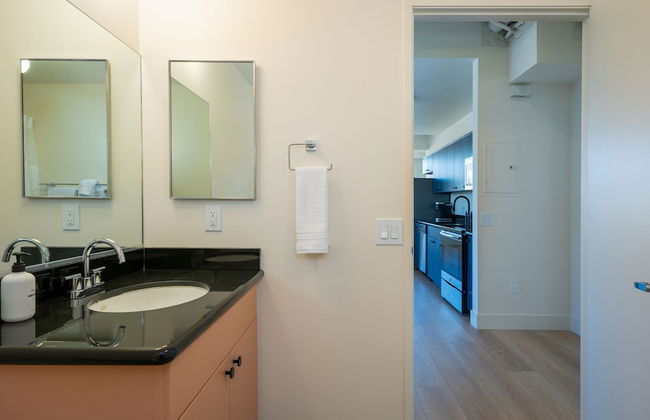
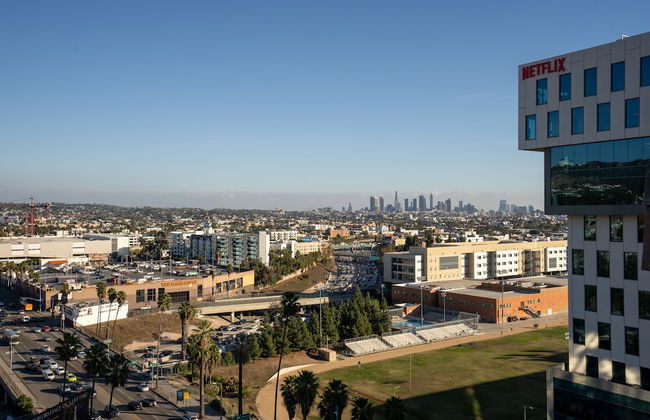
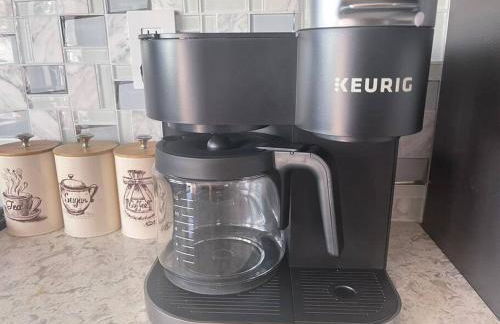
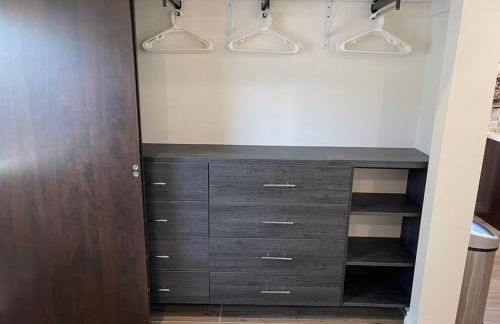
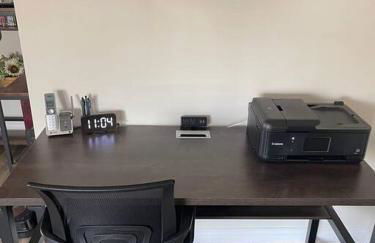
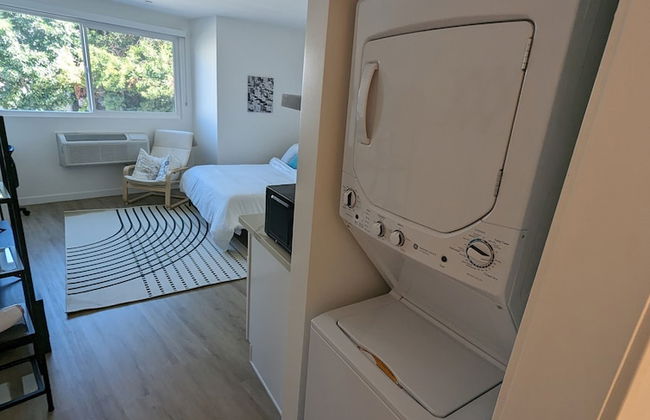
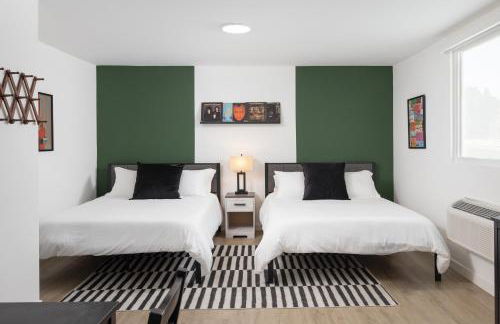
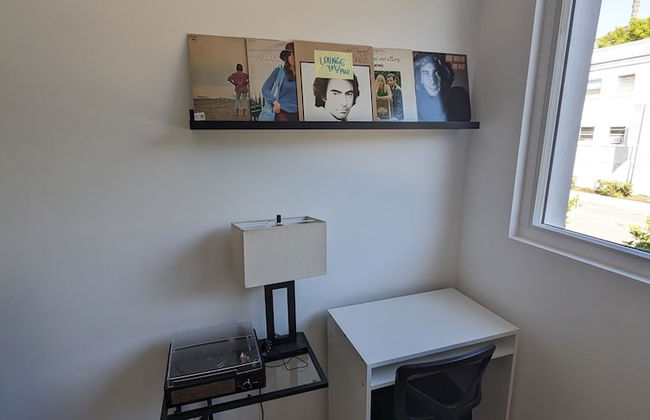
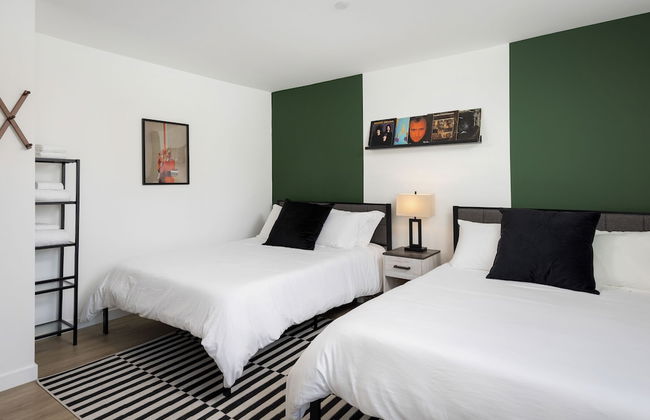
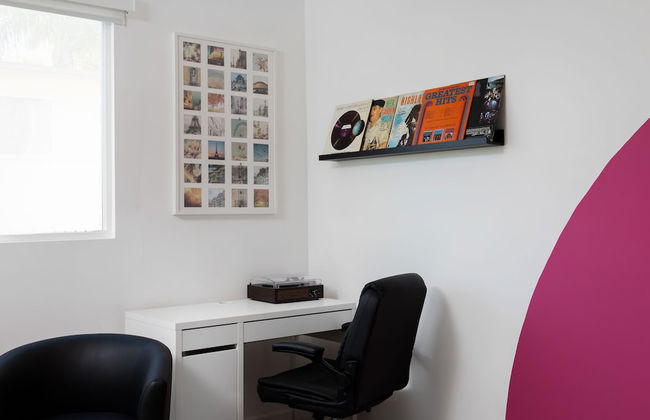
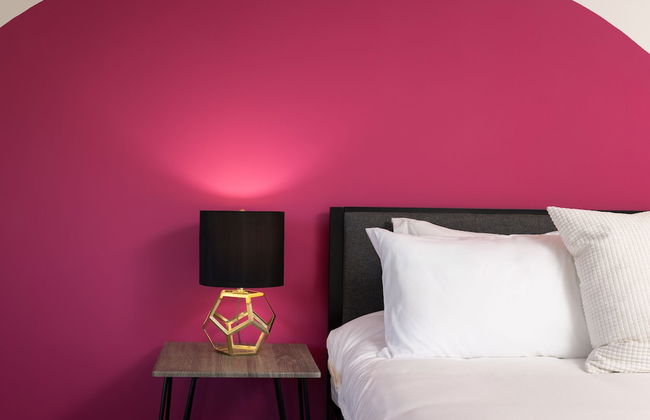
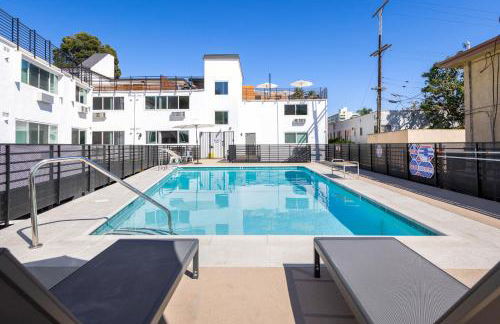
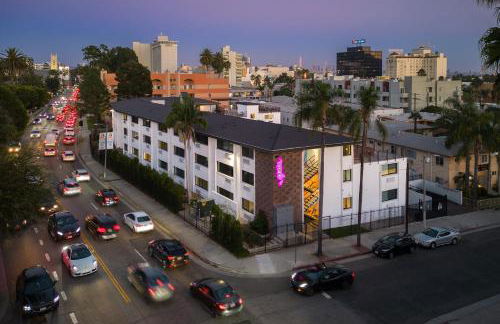
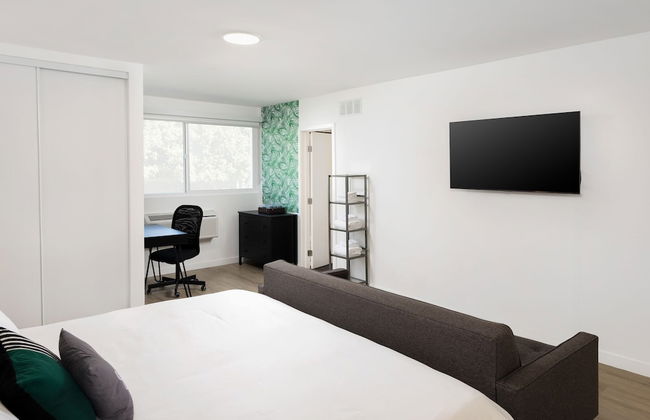
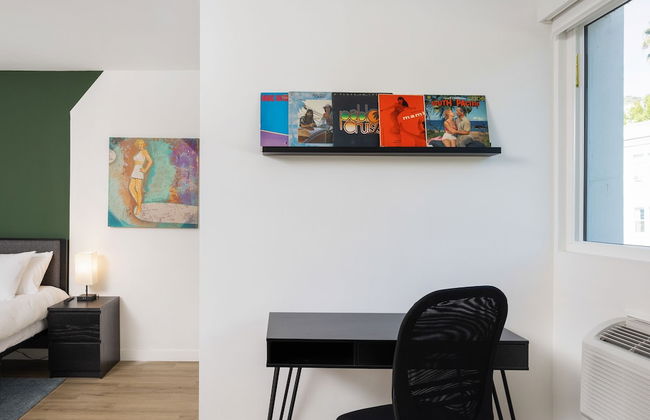
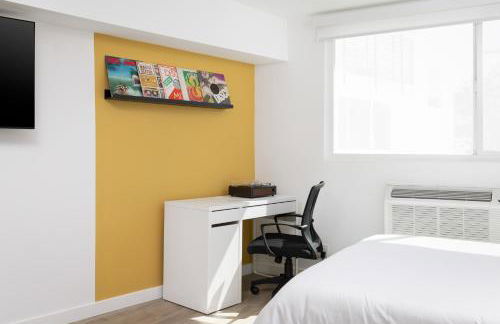
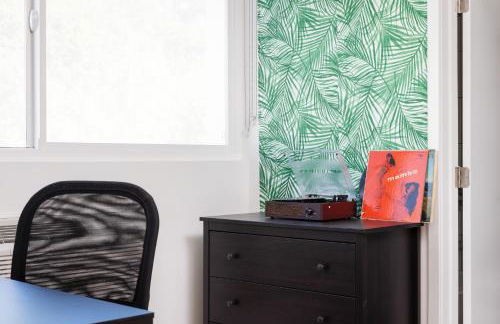
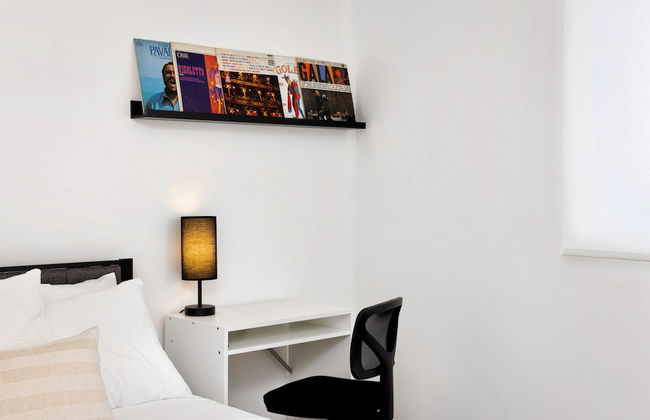
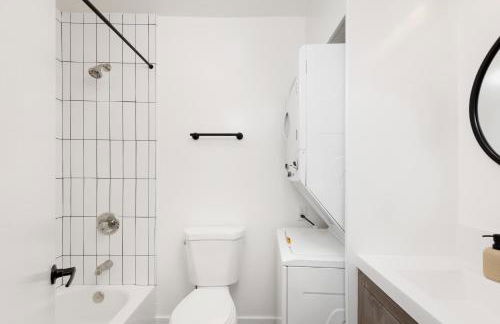
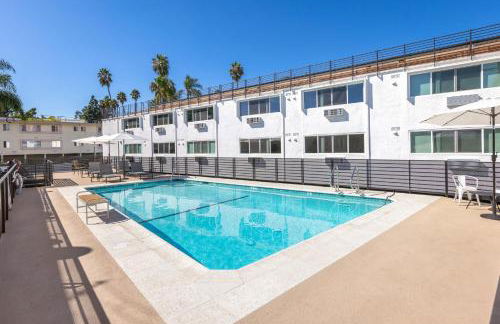
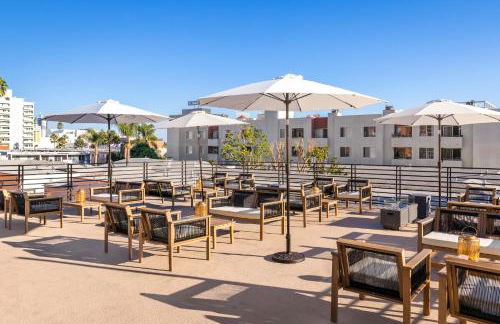
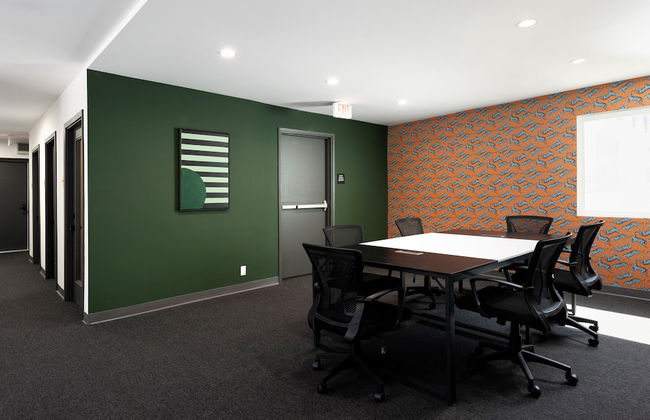
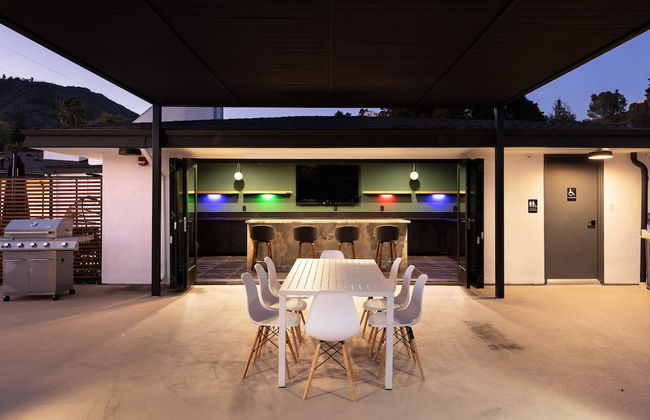
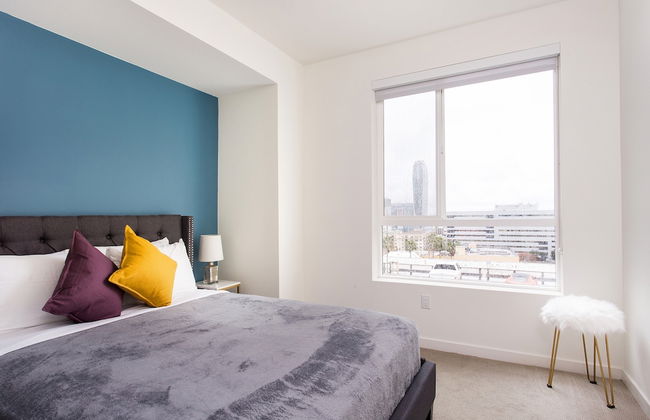
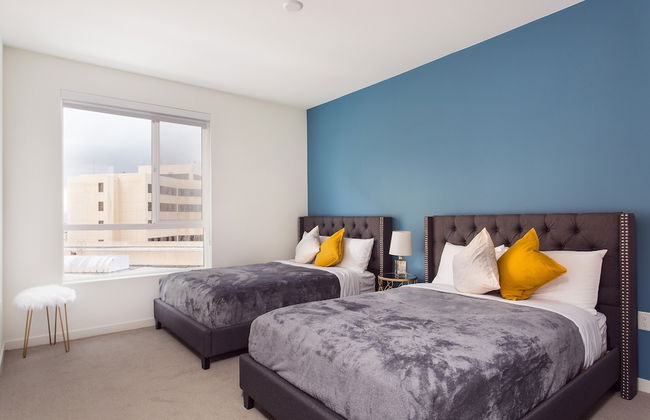
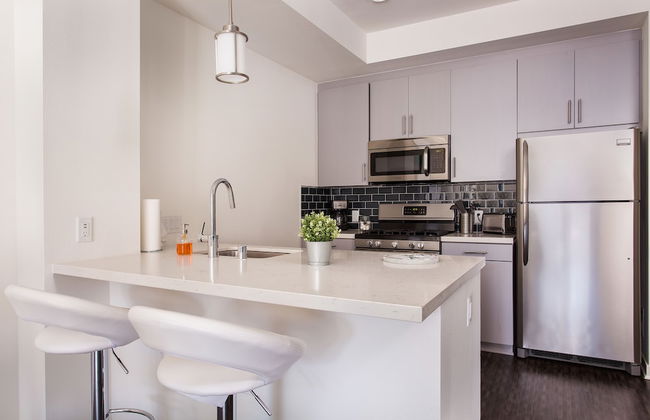
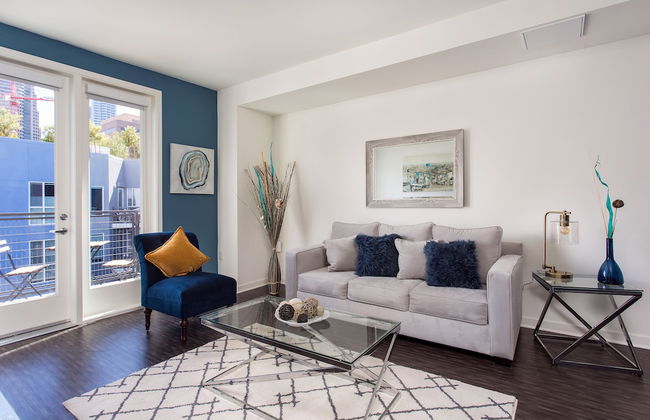
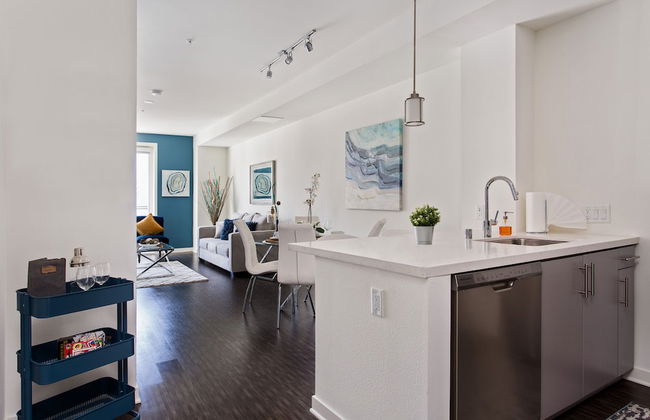
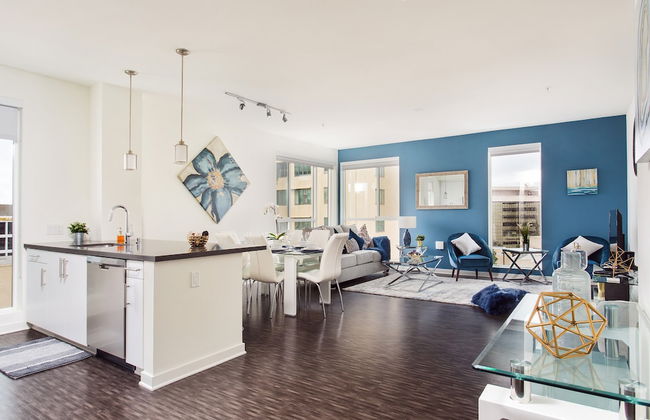
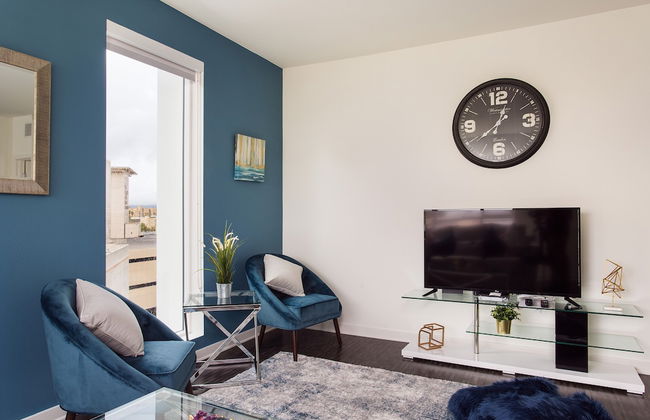
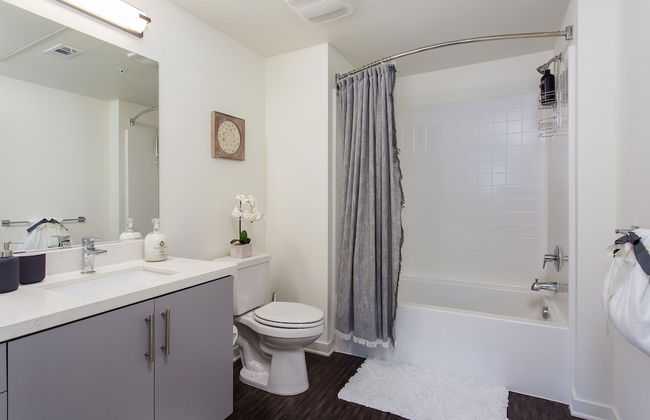
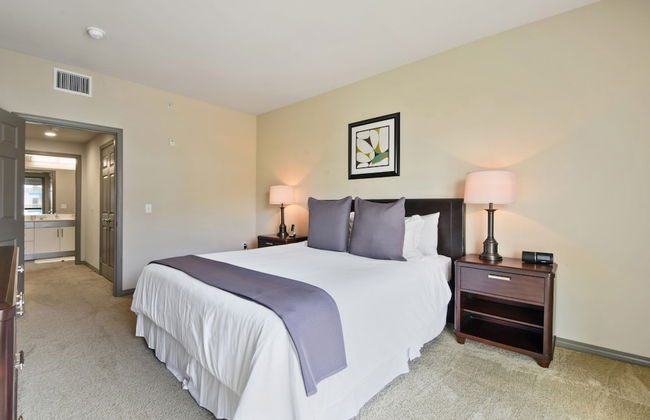
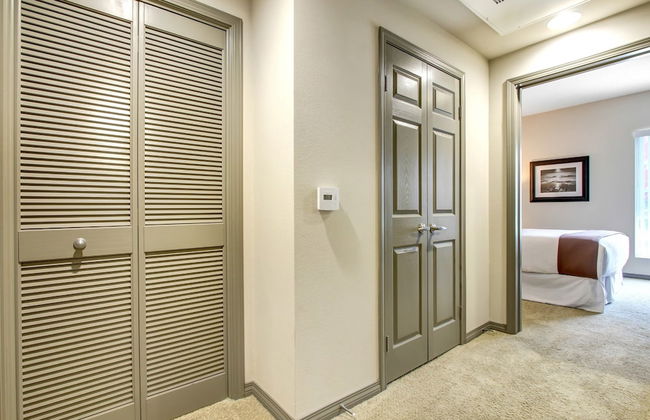
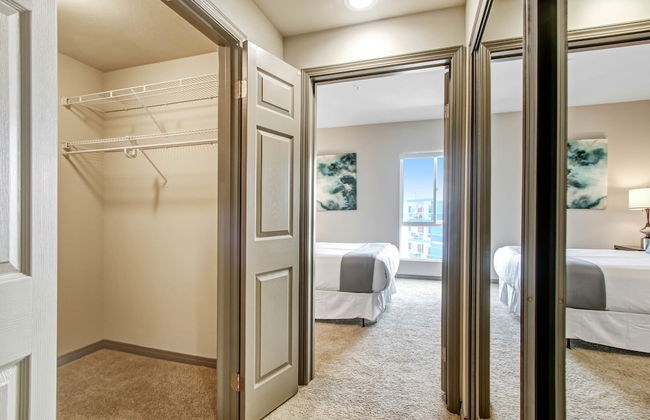
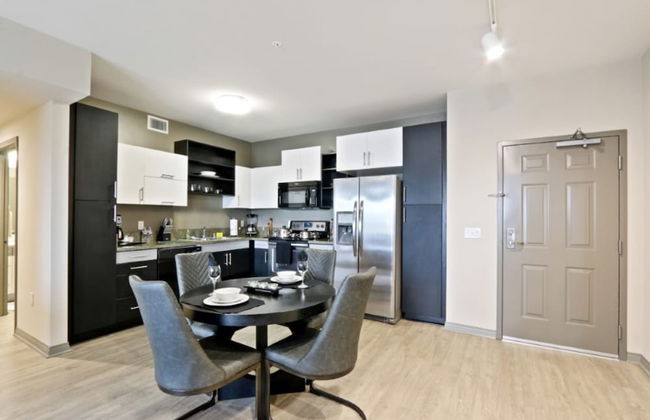
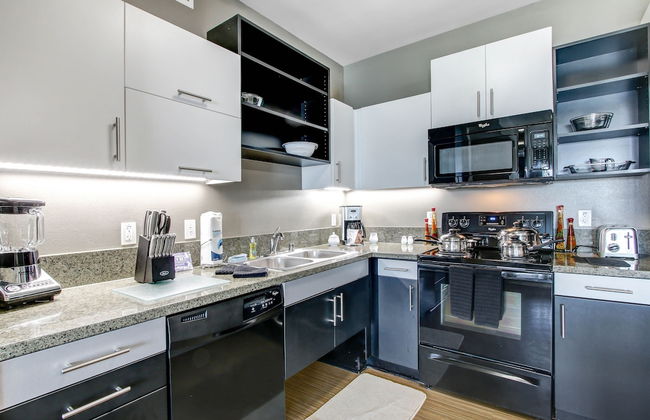
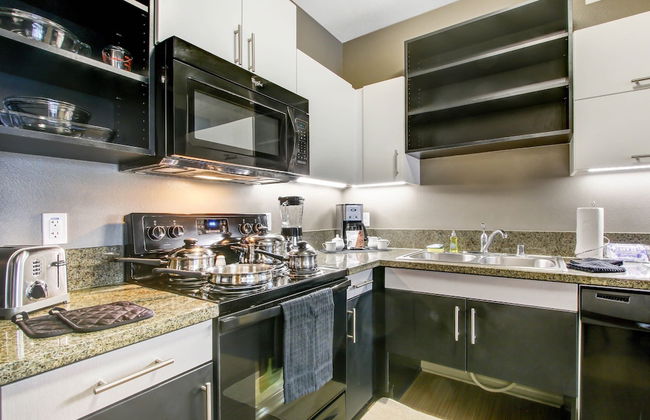
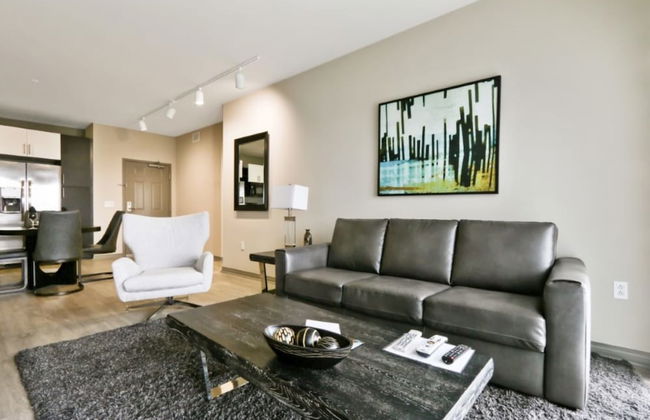
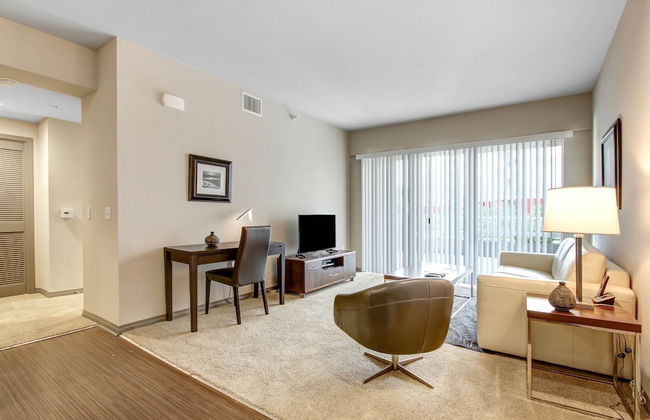
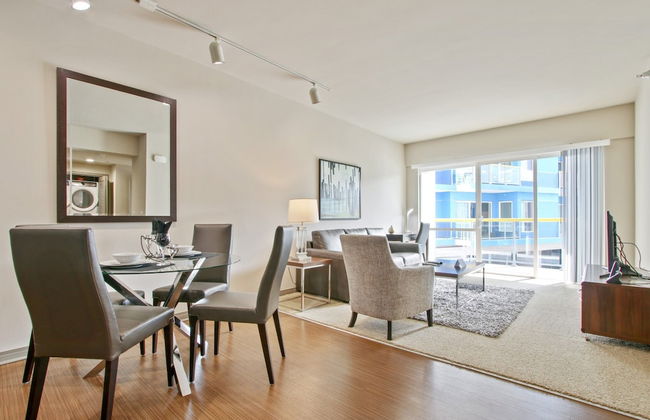
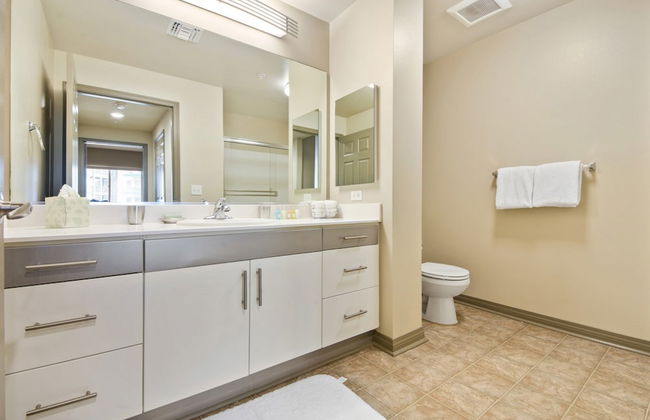
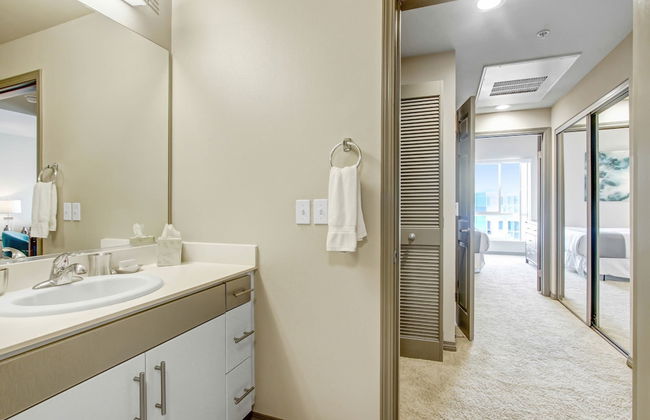
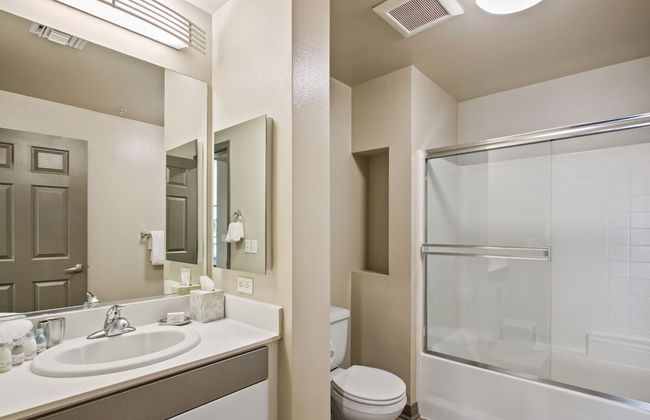
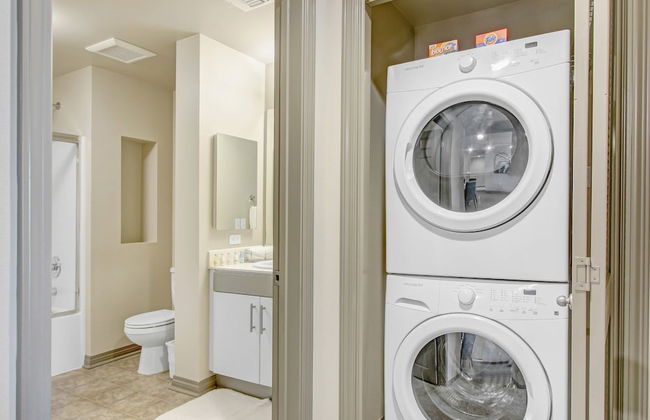
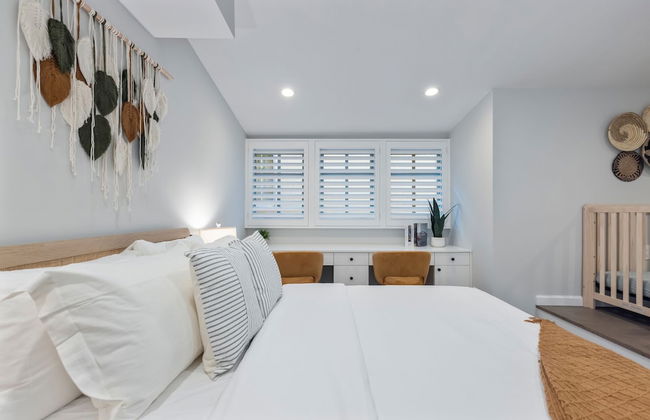
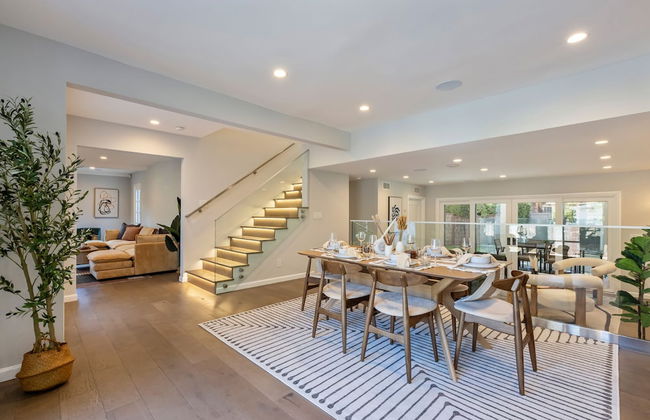
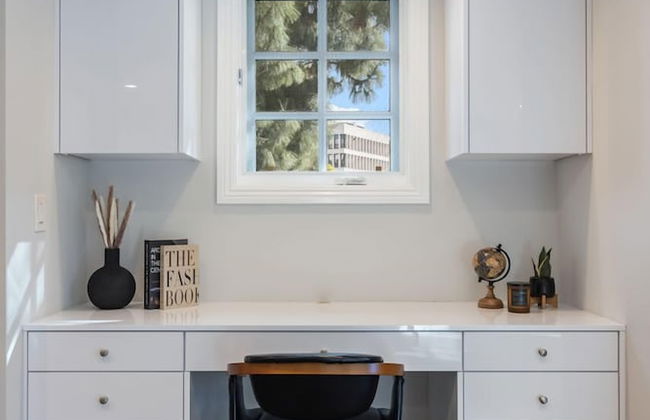
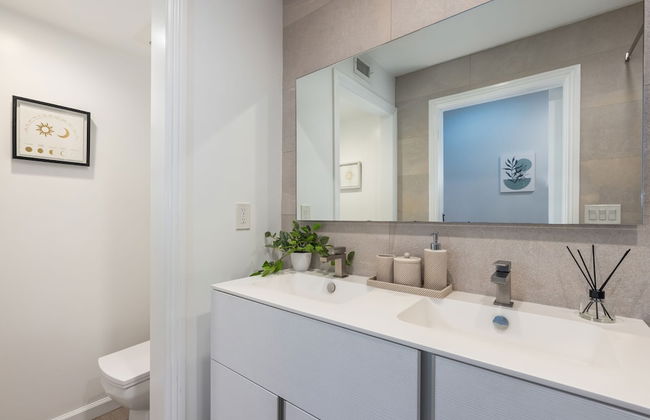
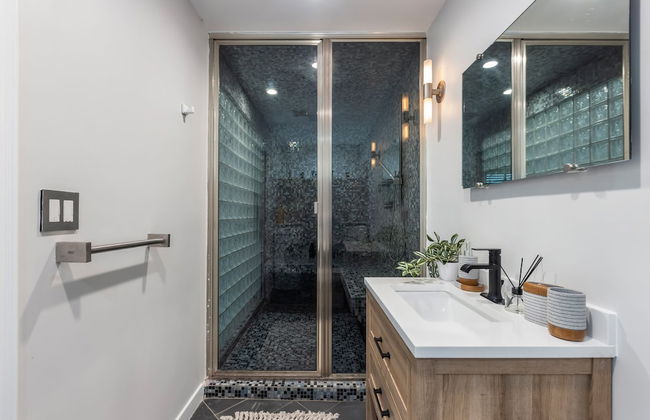
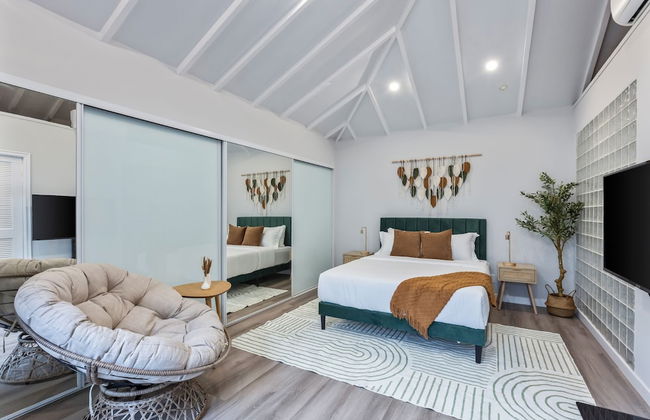
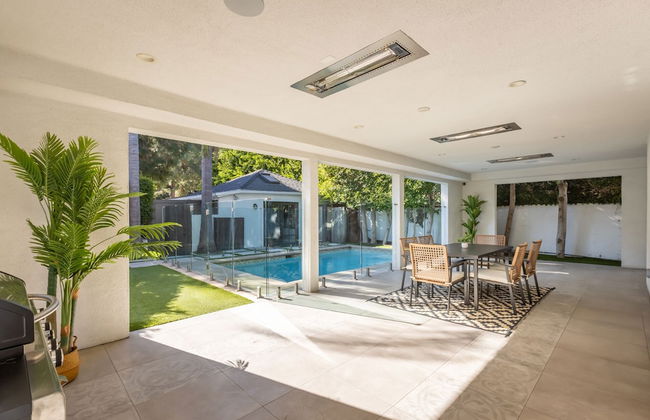
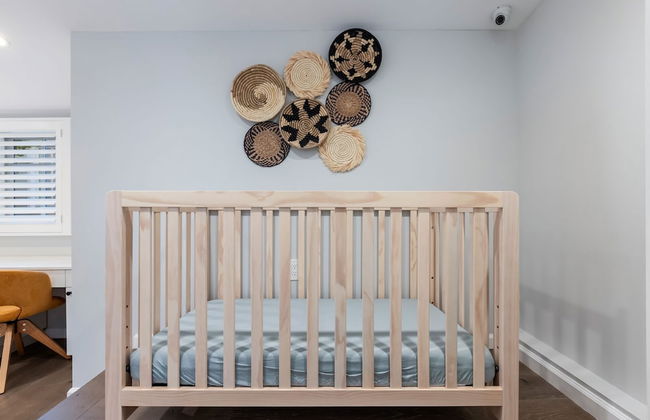
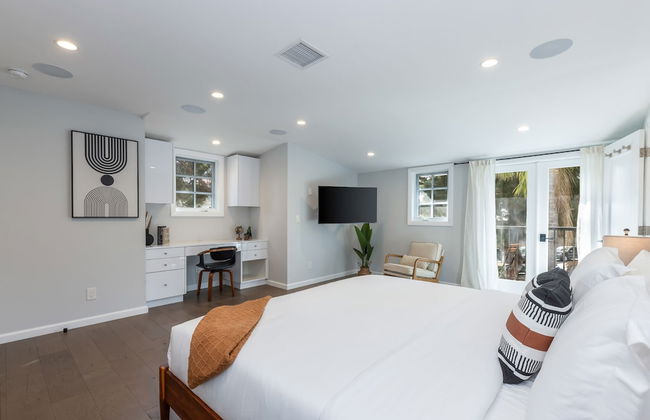
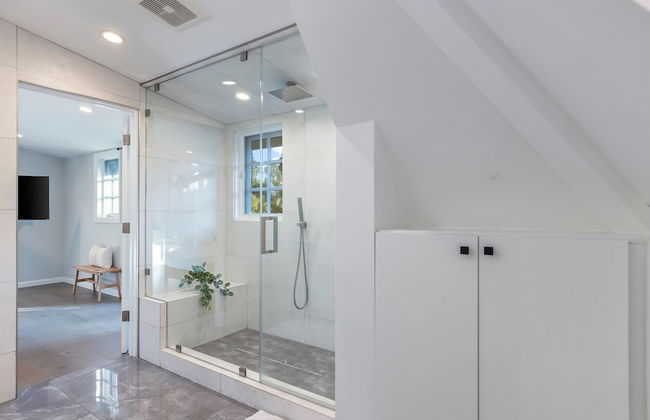
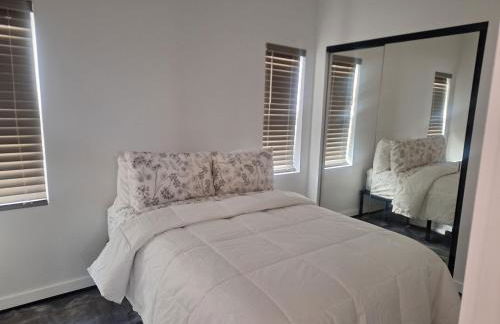
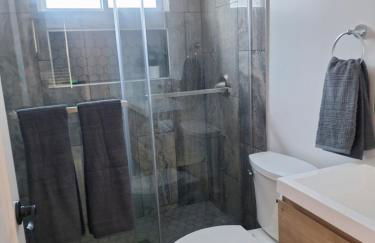
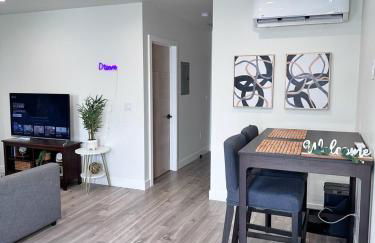
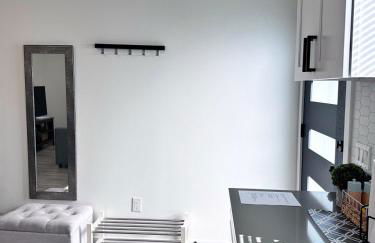
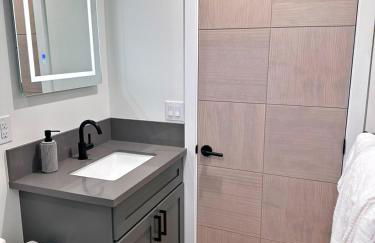
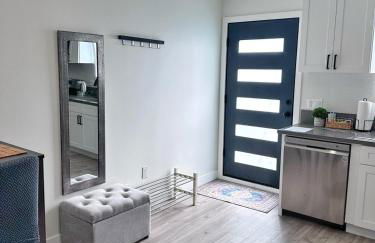
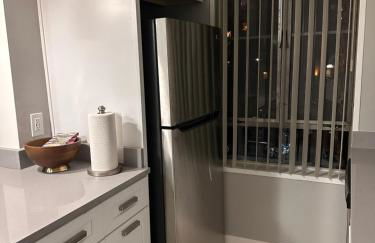
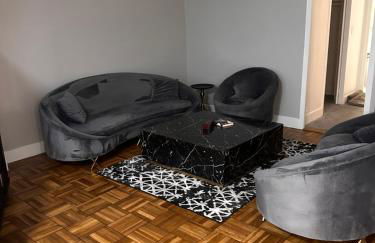
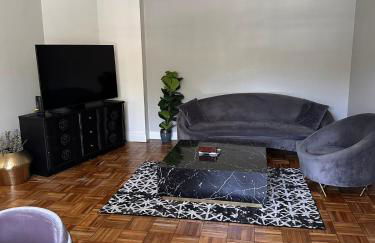
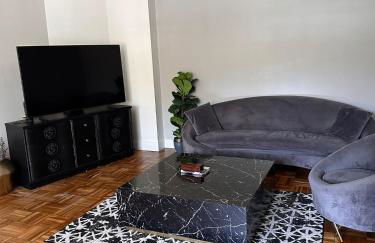
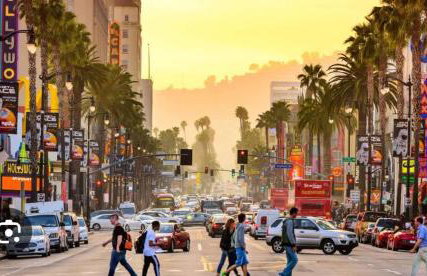
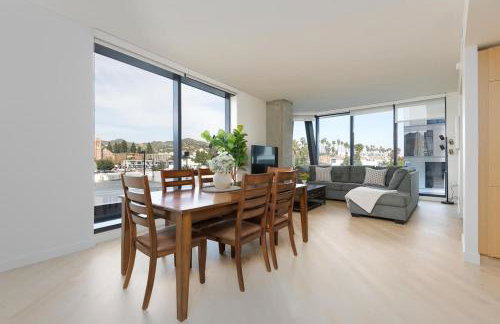
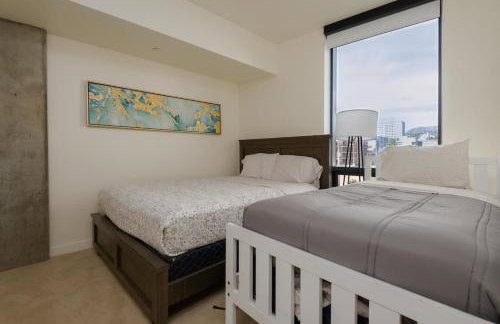
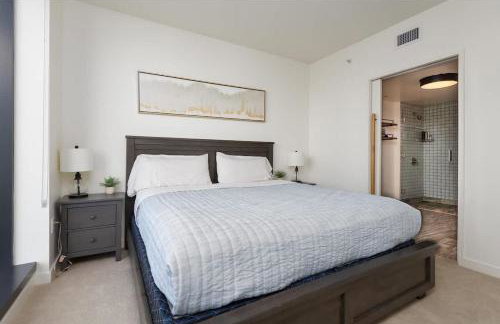
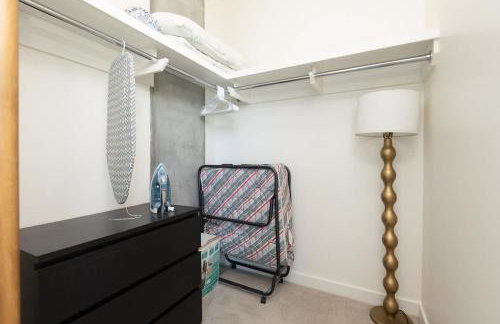
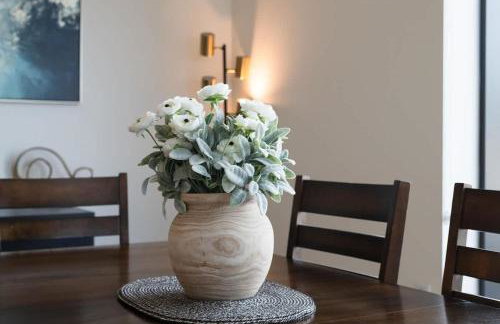
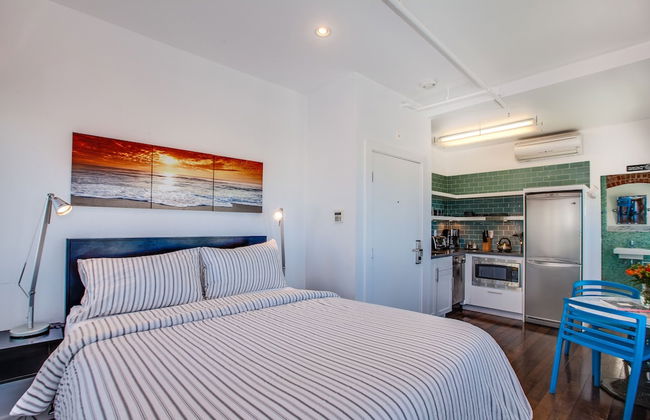
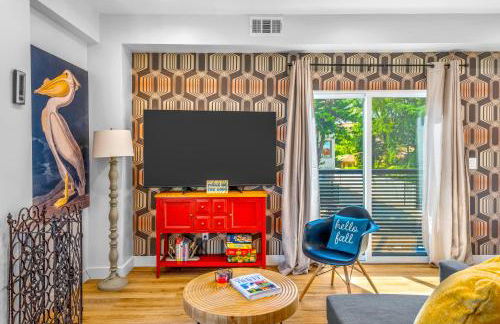
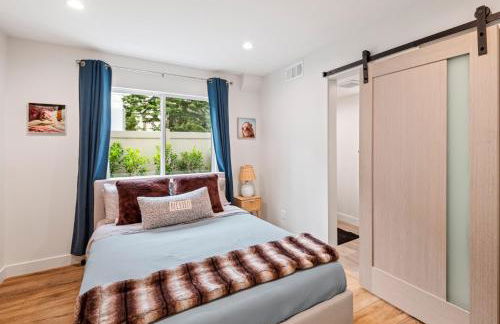
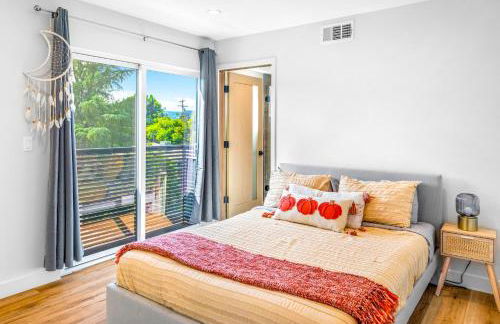
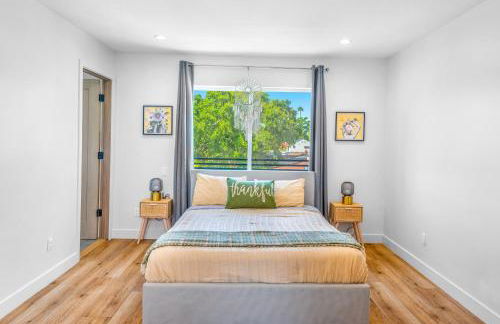
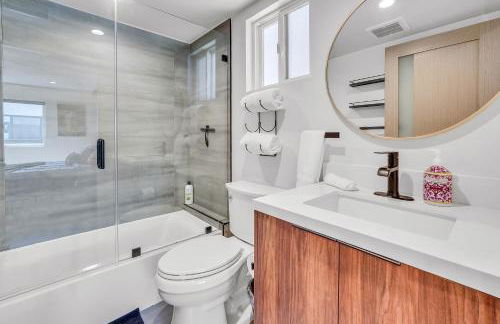
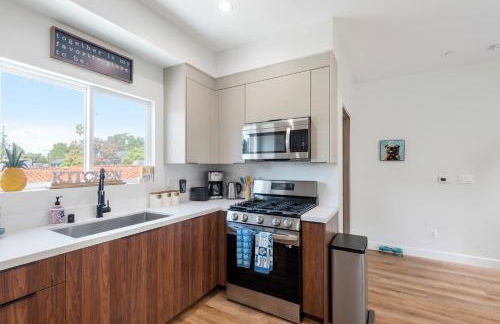
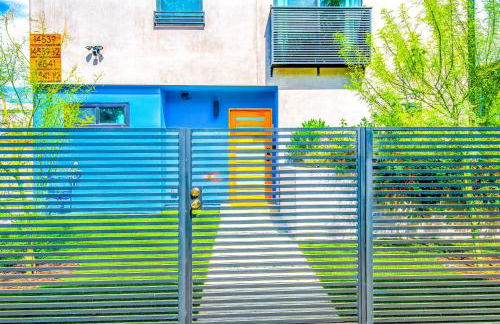
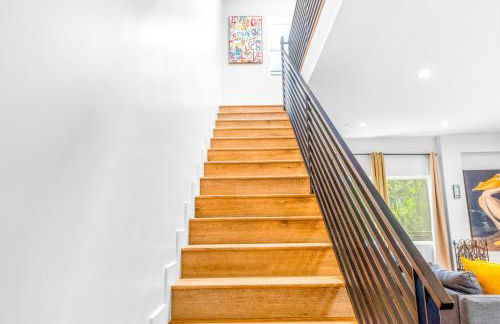
New Urban Downtown LA Luxury Apartment - Foto 3
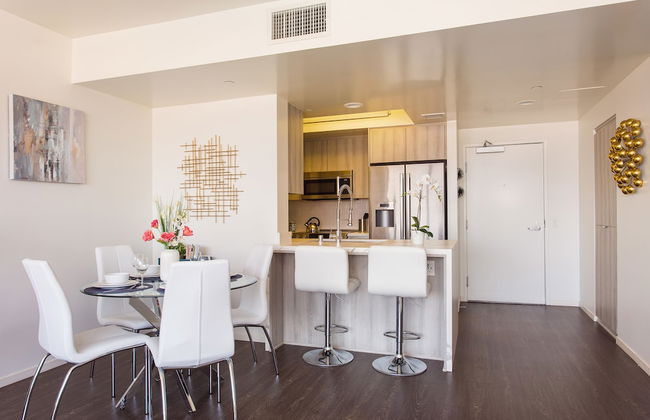
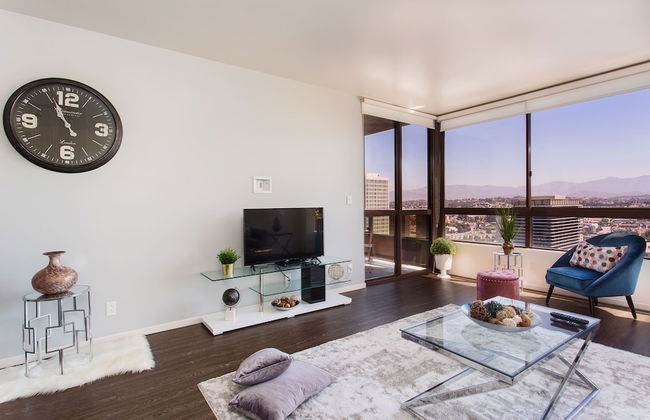
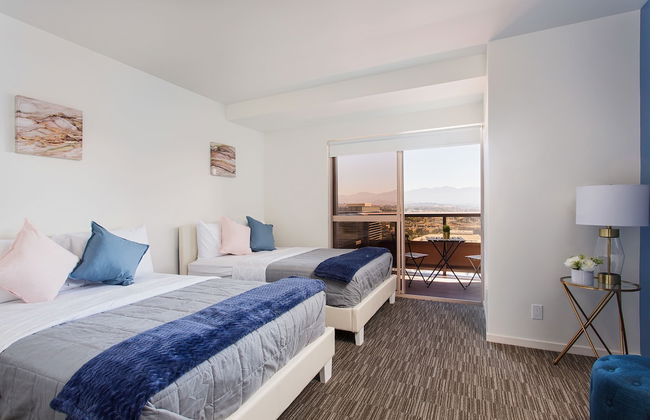
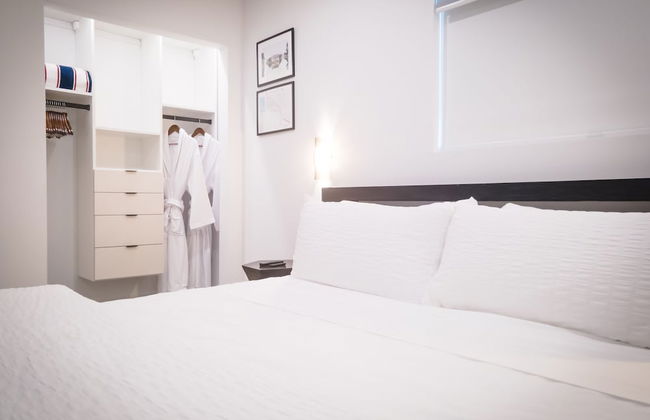
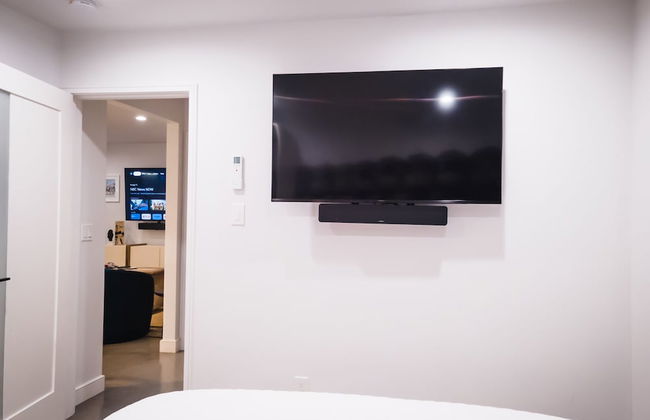
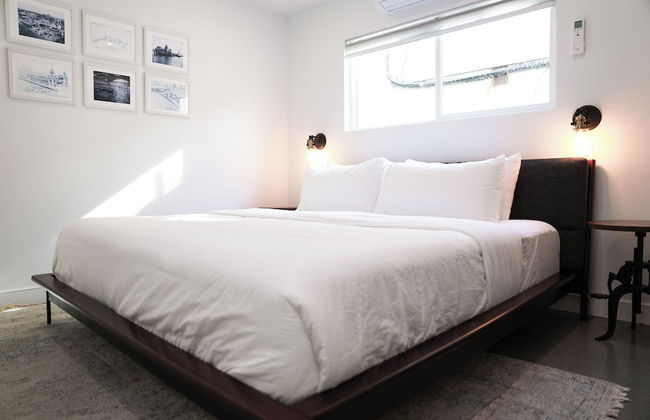
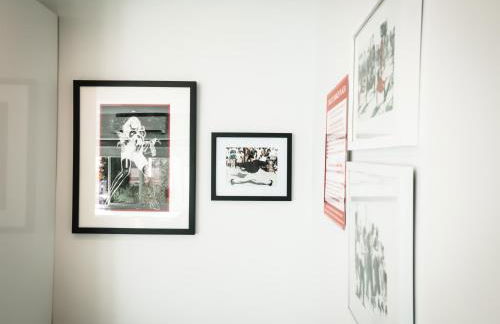
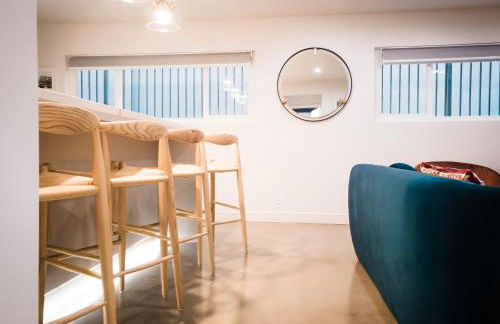
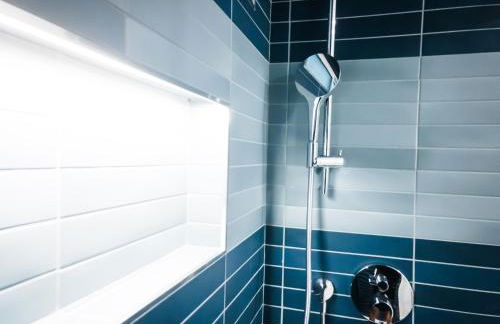
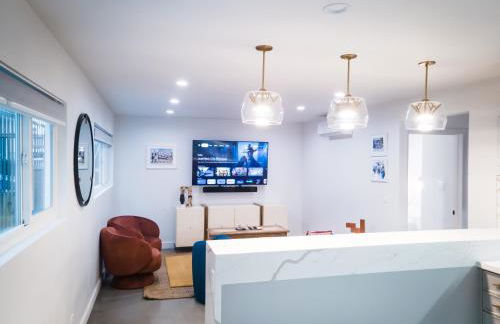
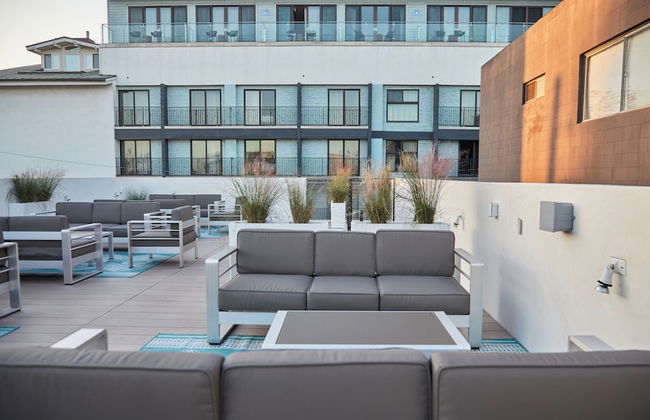
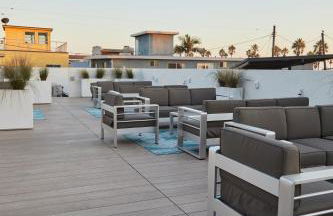
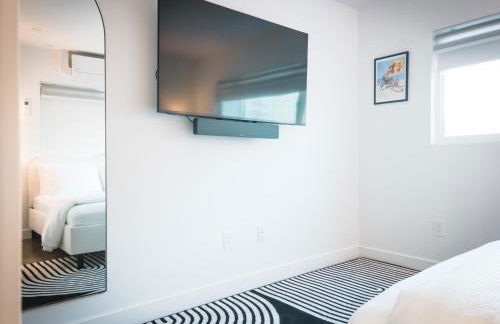
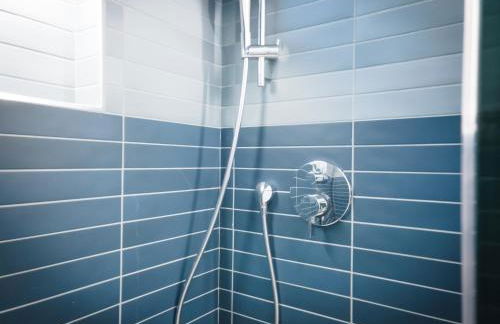
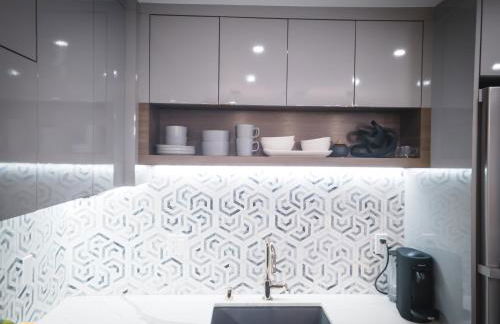
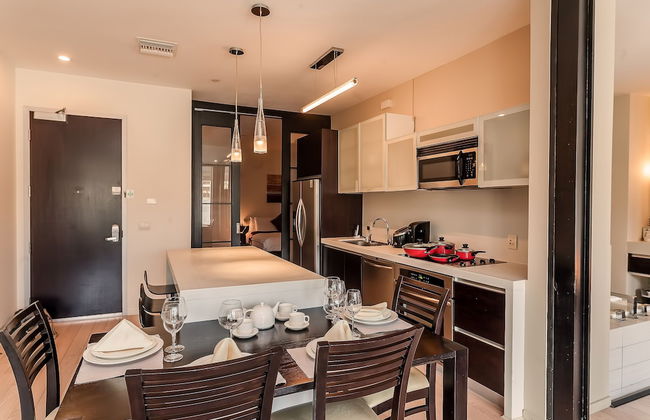
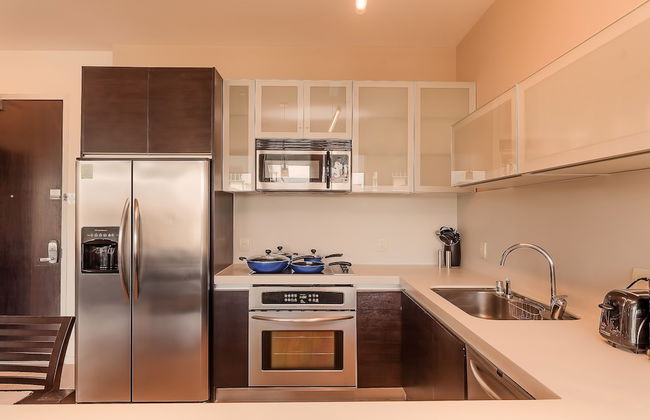
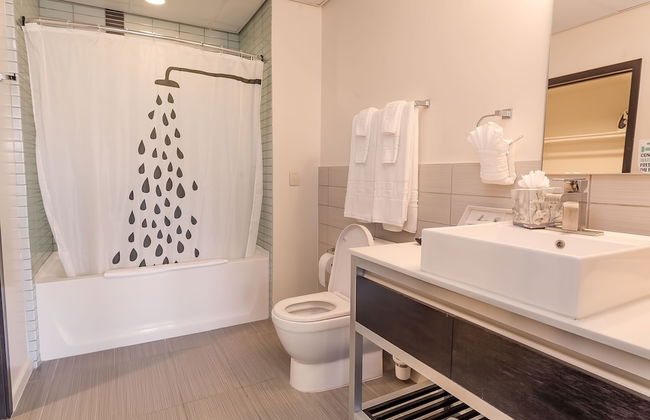
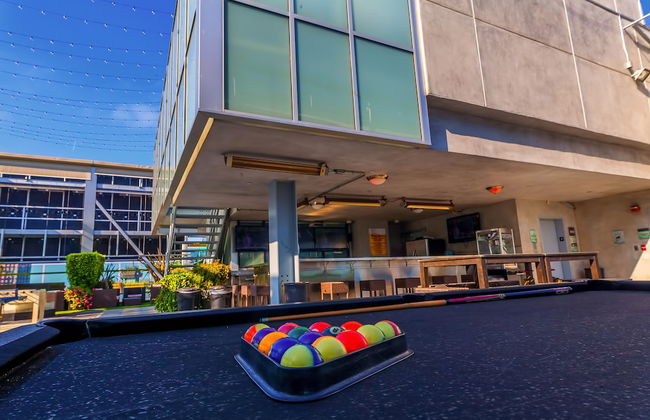
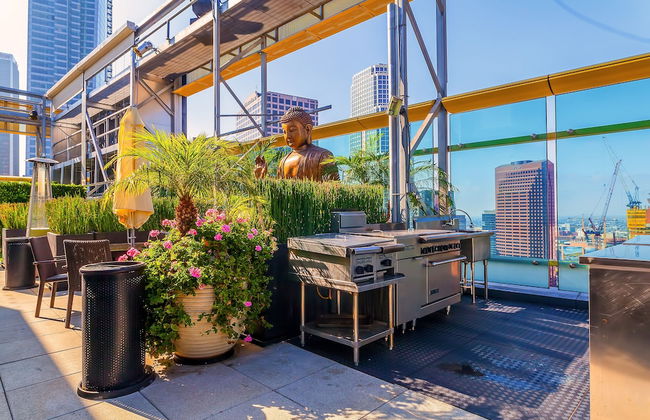
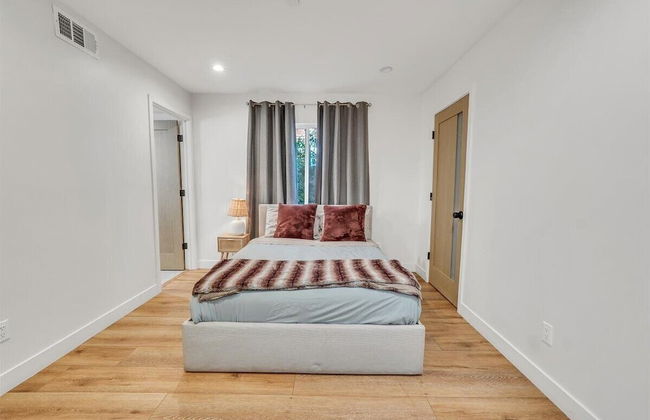
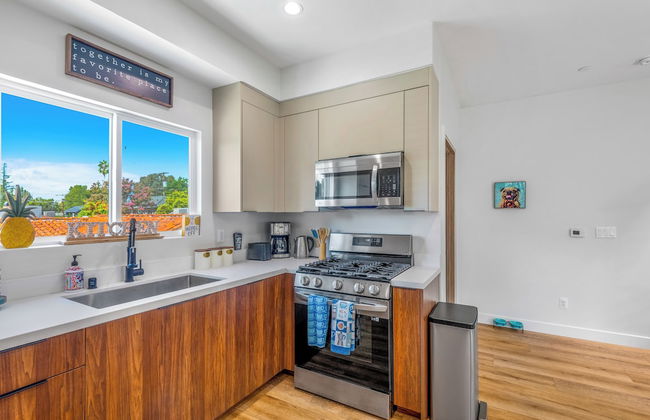
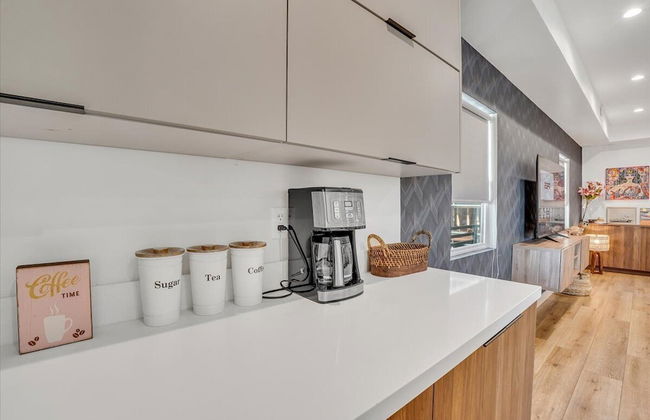
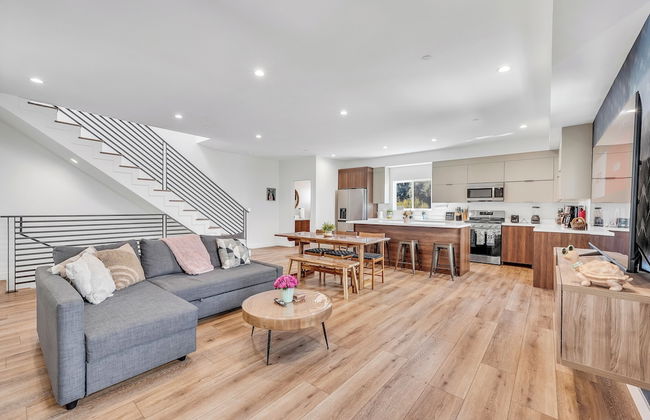
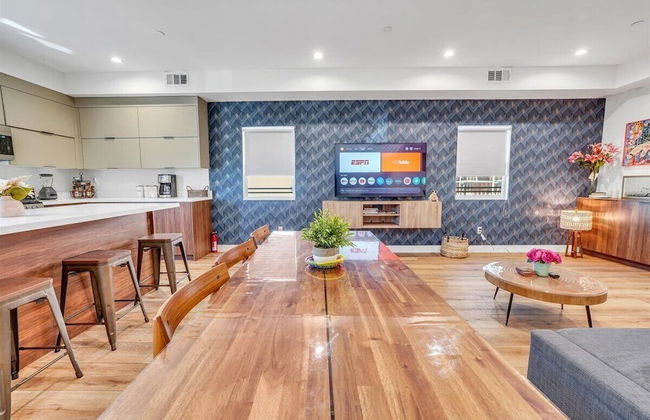
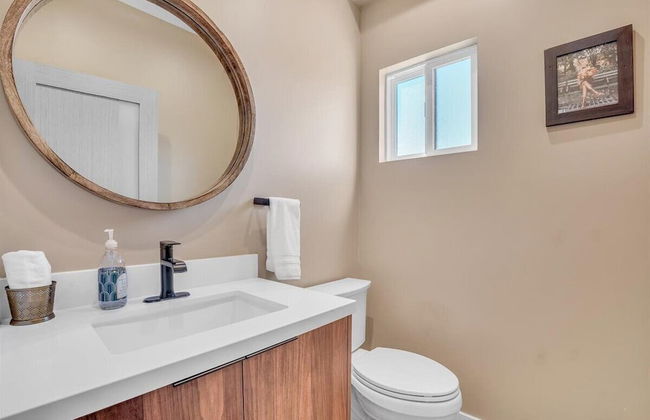
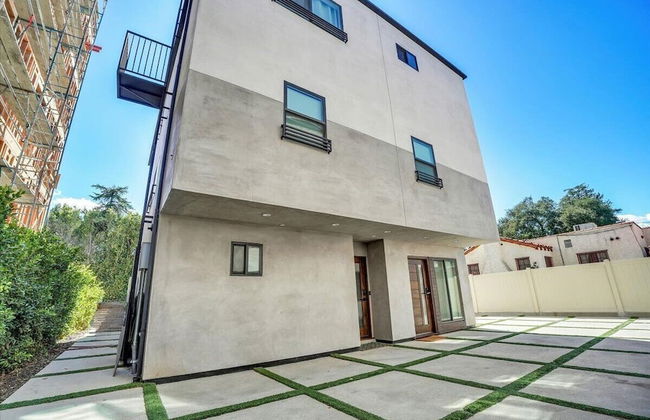
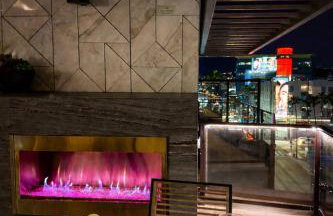
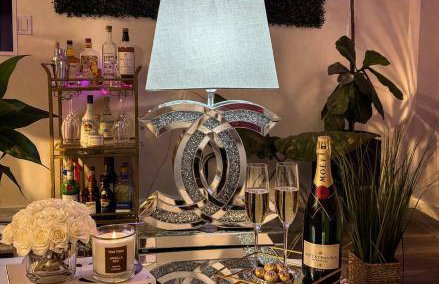
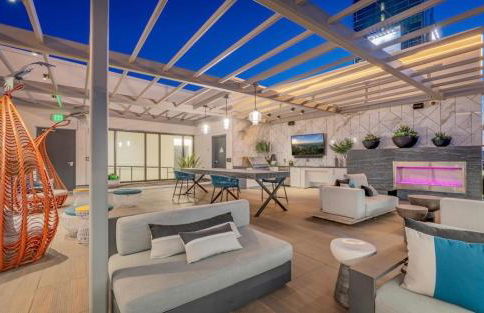
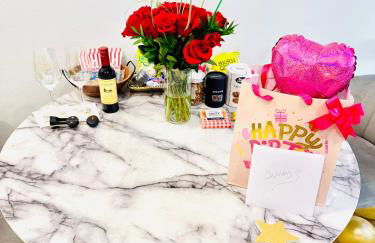
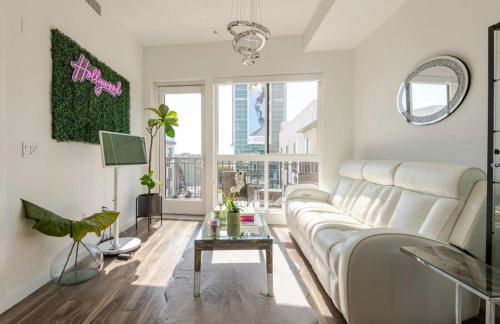
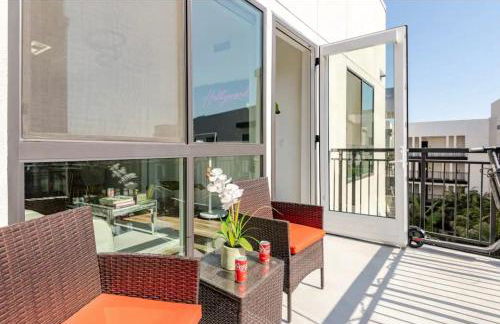
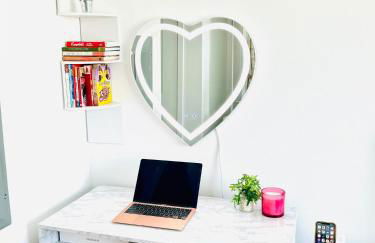
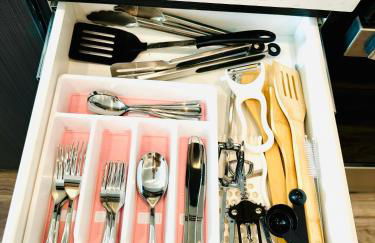
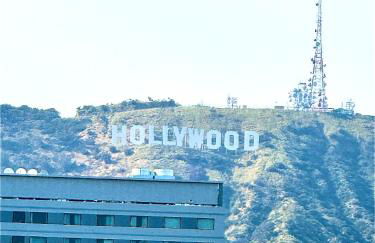
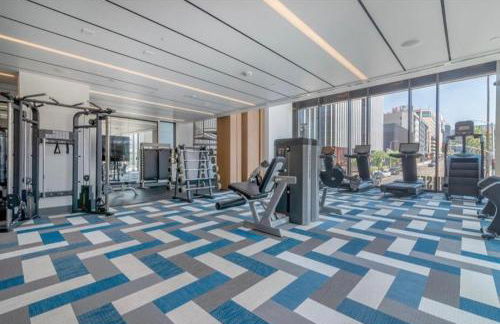
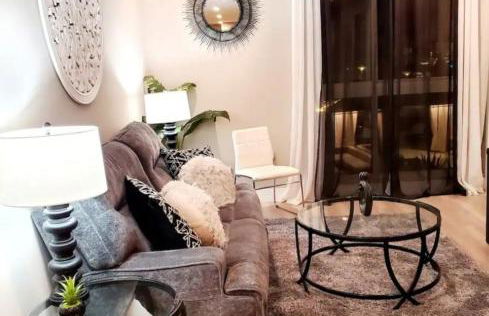
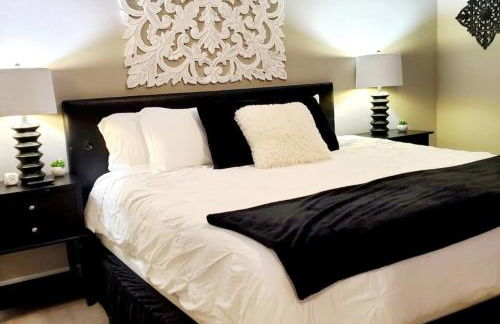
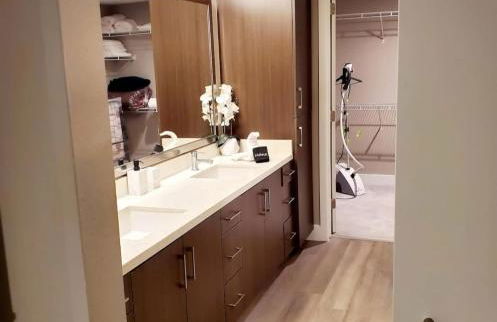
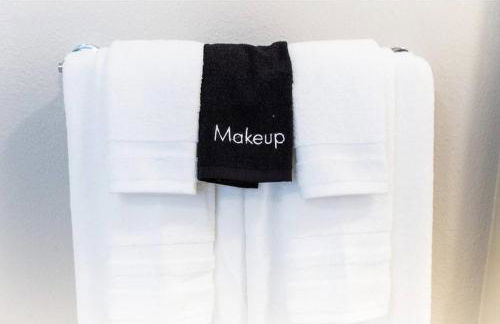
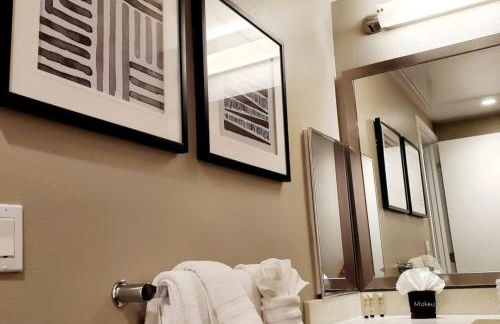
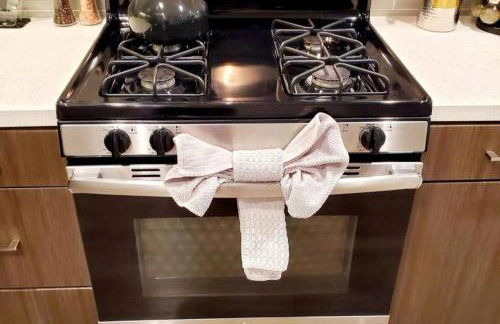
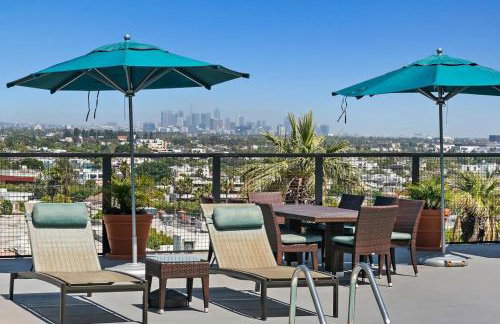
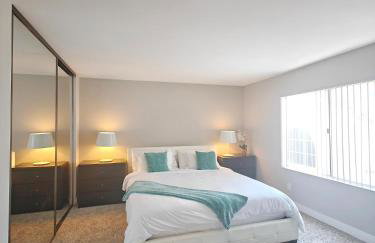
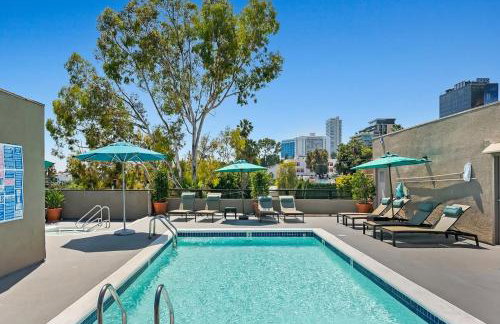
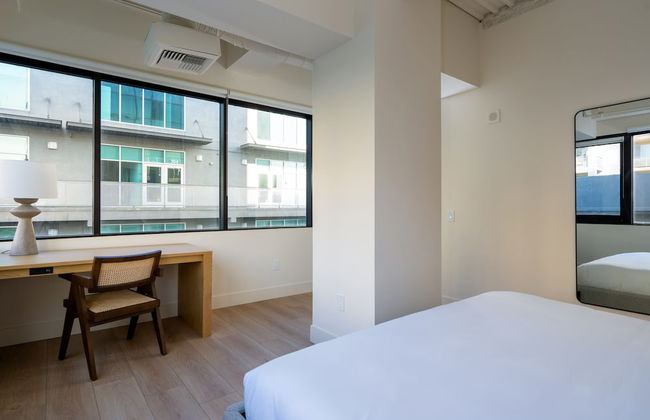
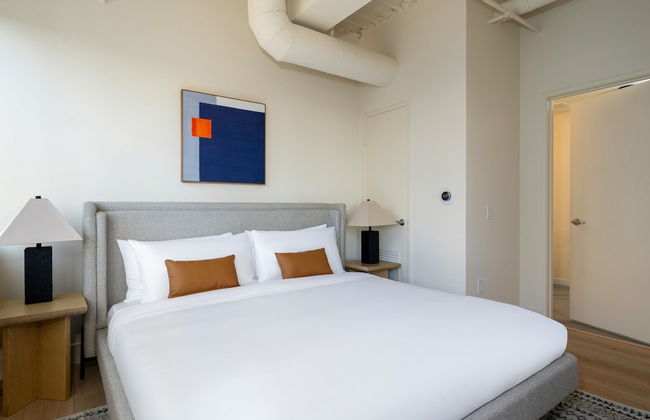
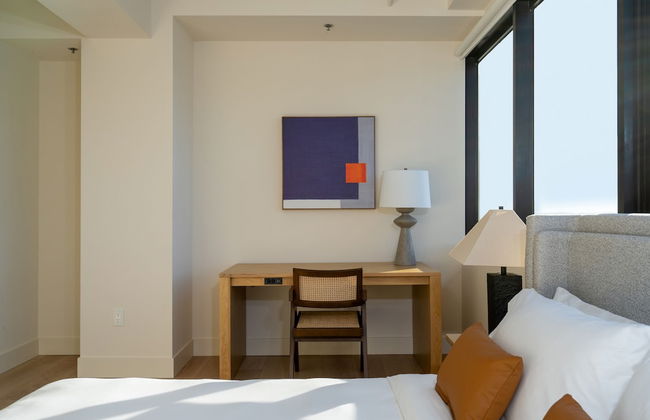
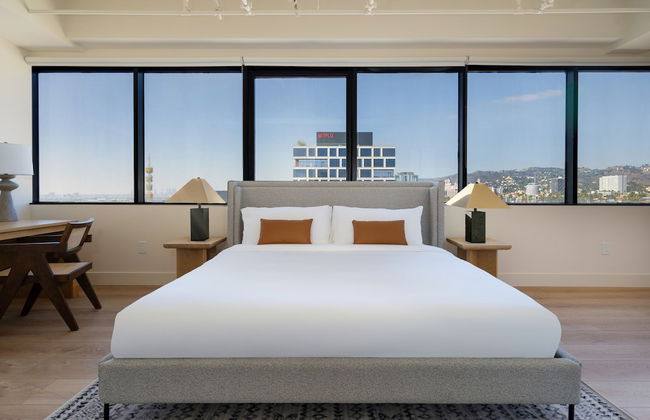
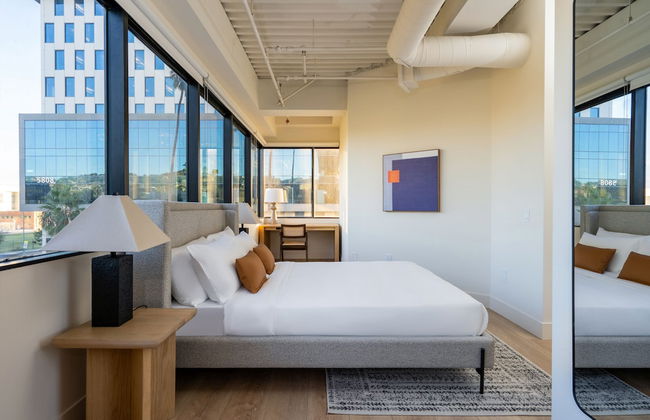
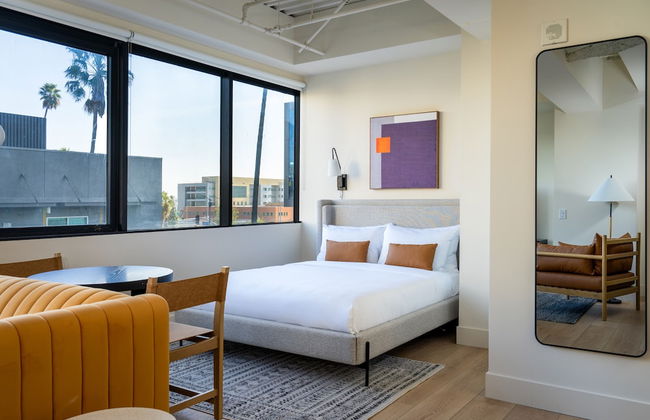
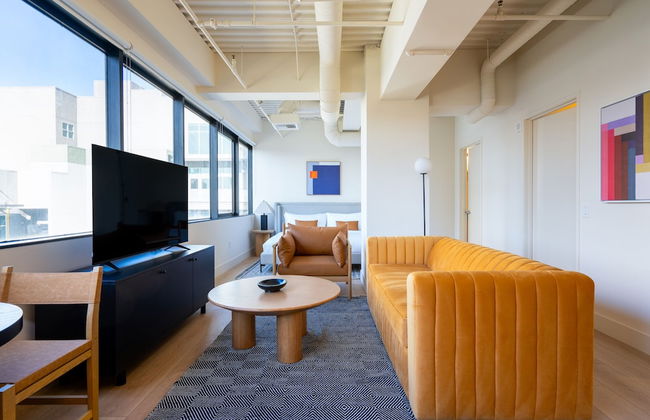
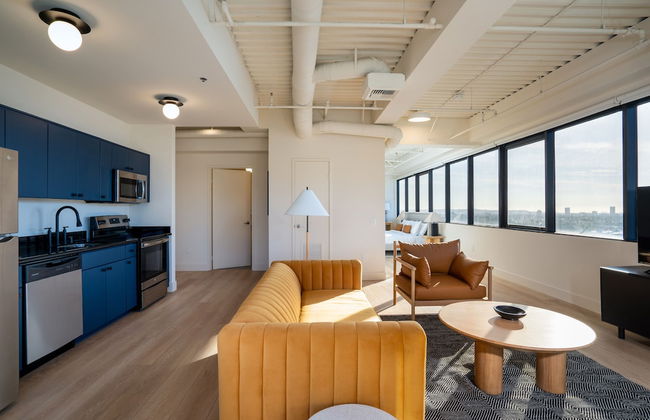
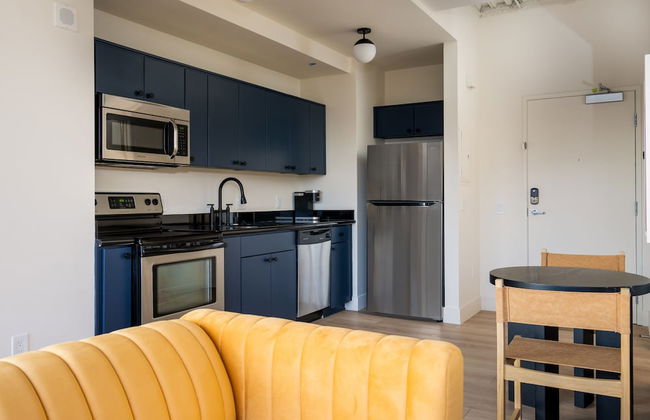
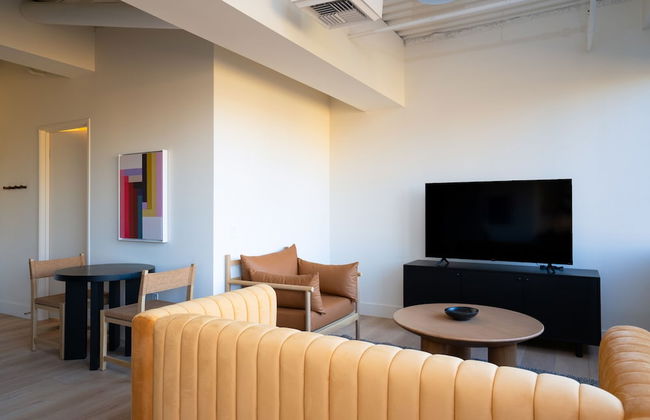
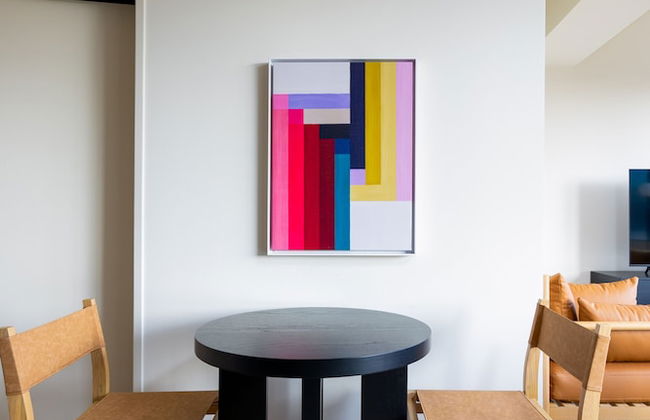
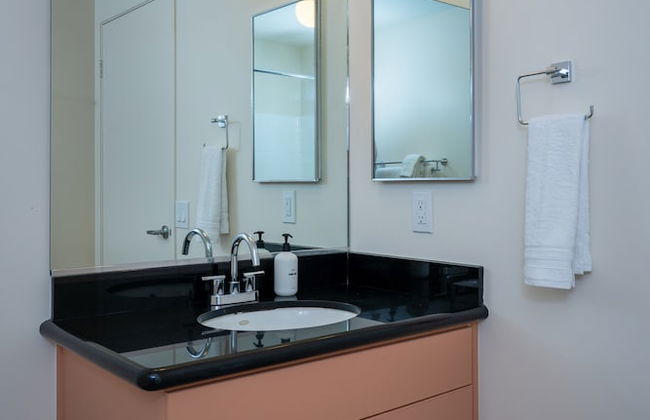
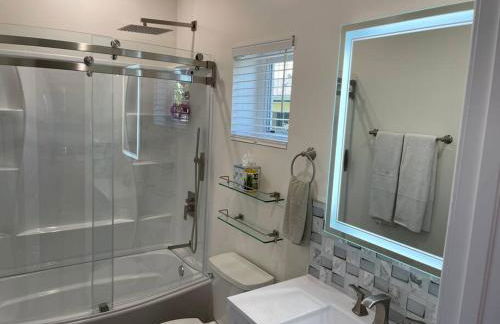
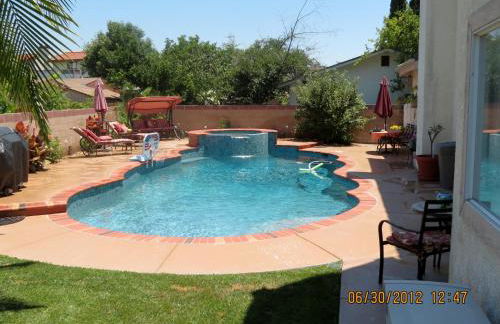
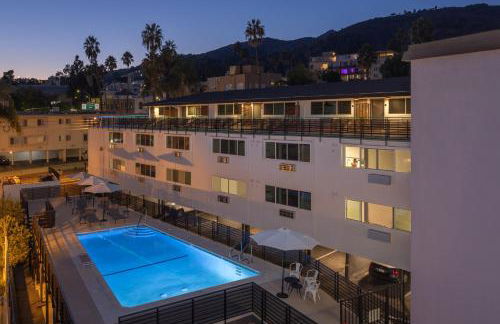
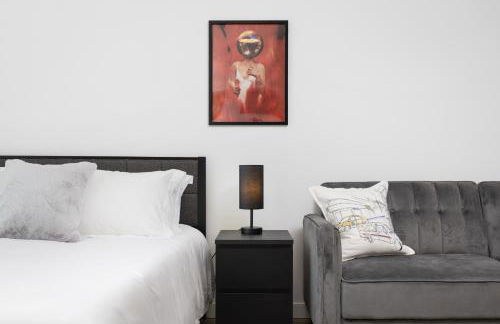
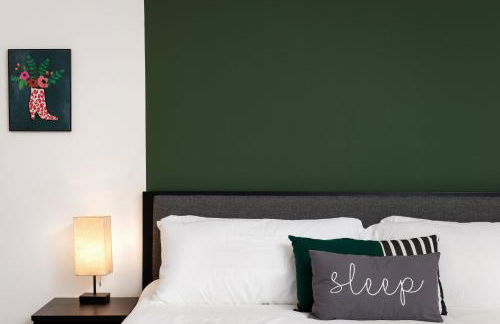
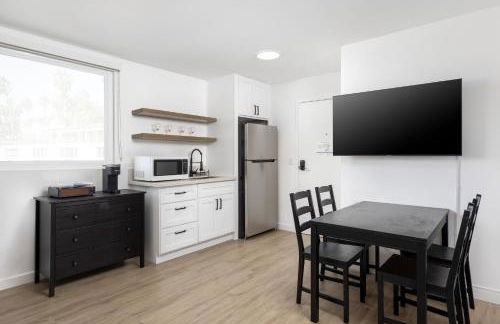
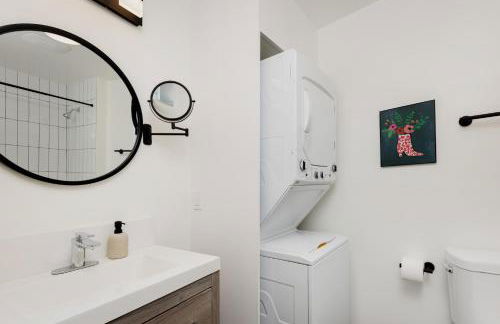
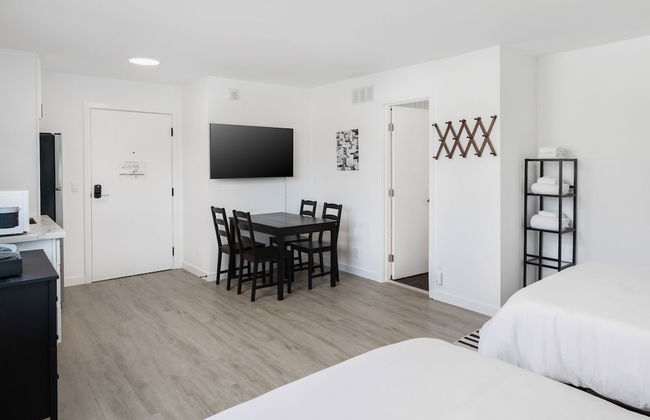
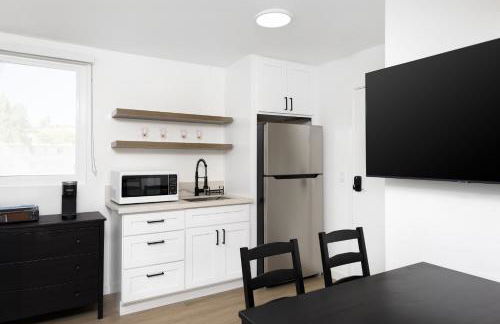
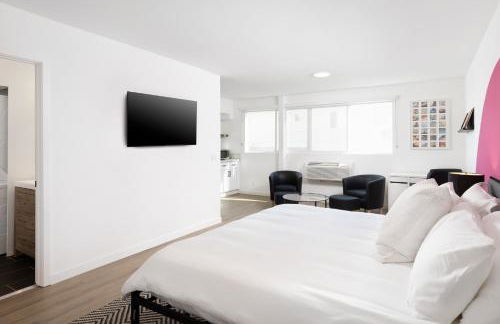
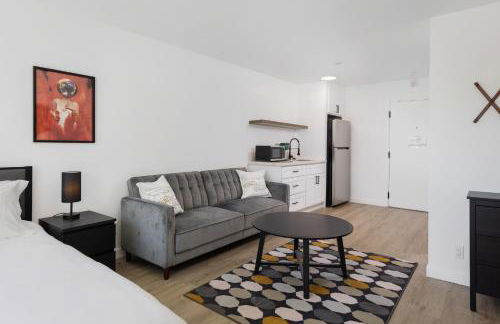
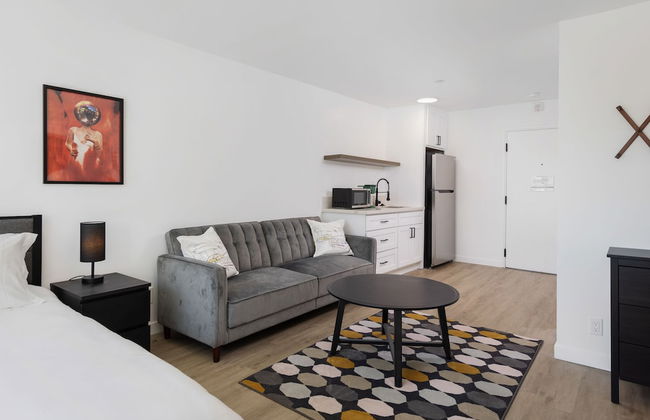
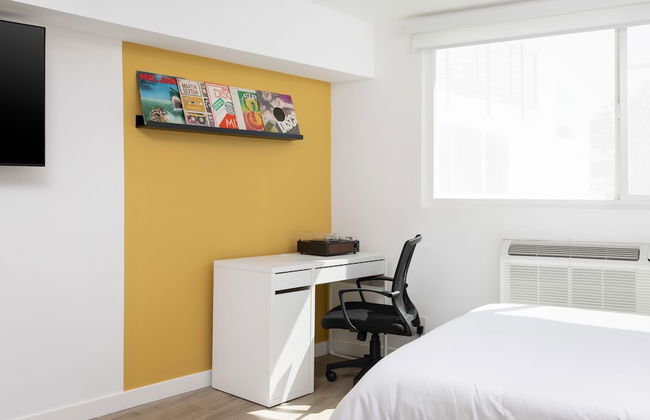
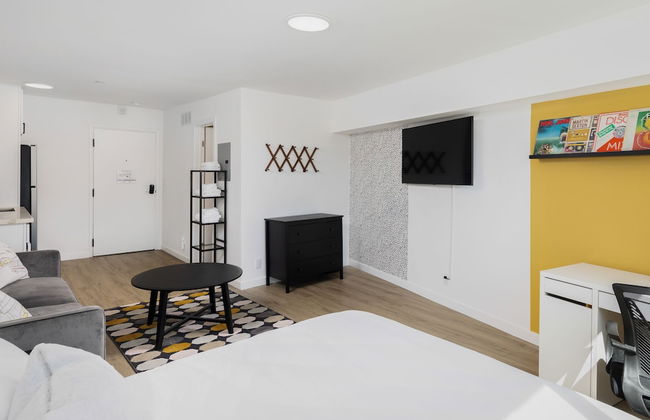
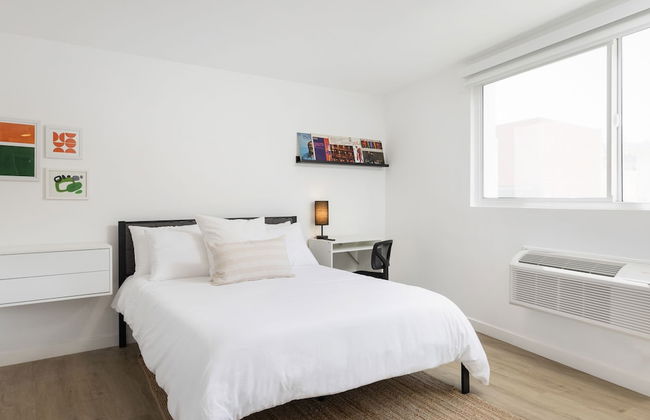
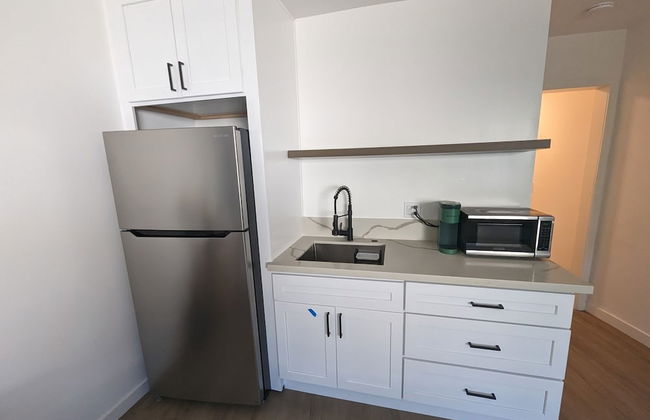
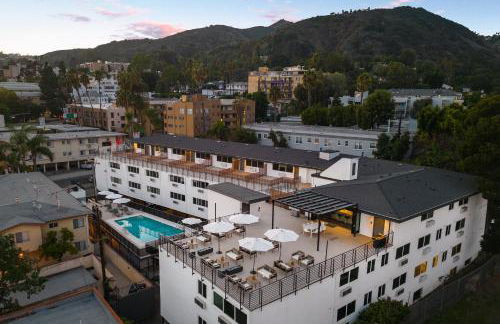
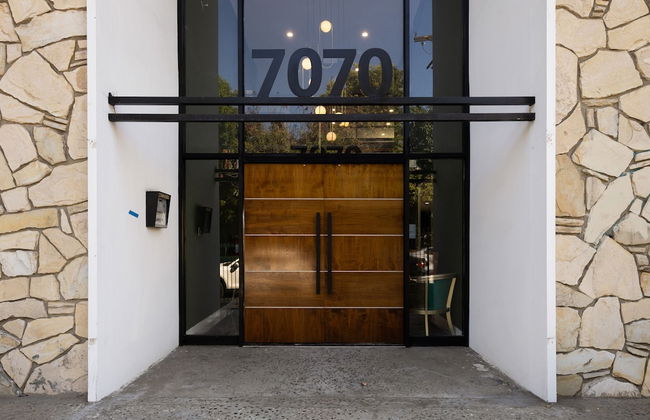
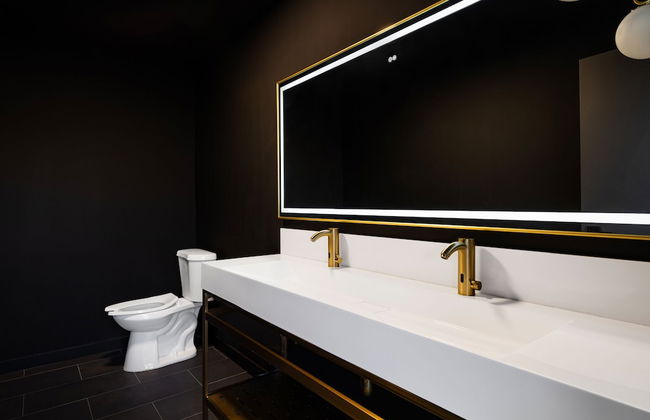
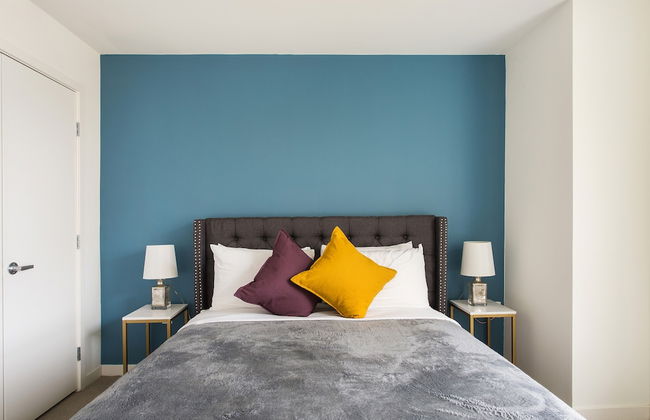
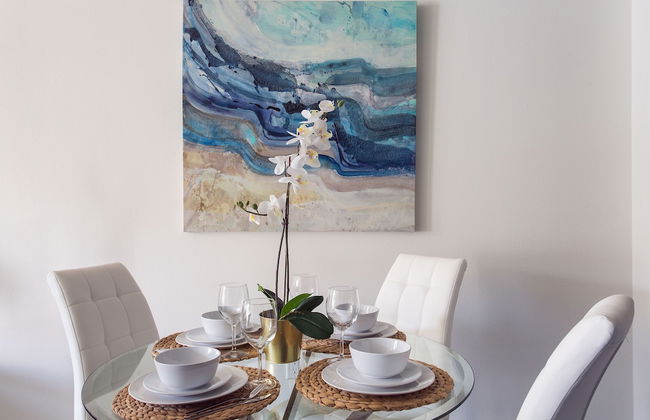
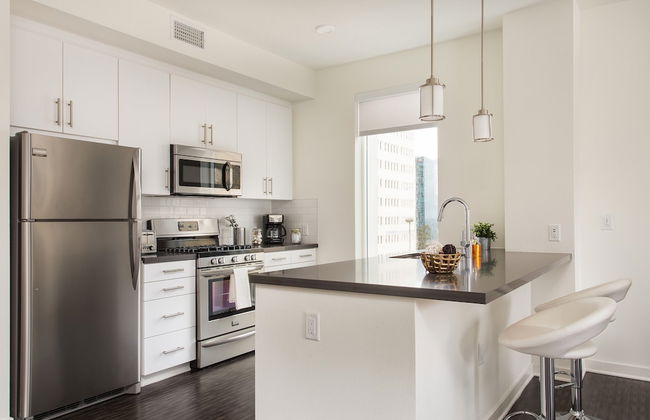
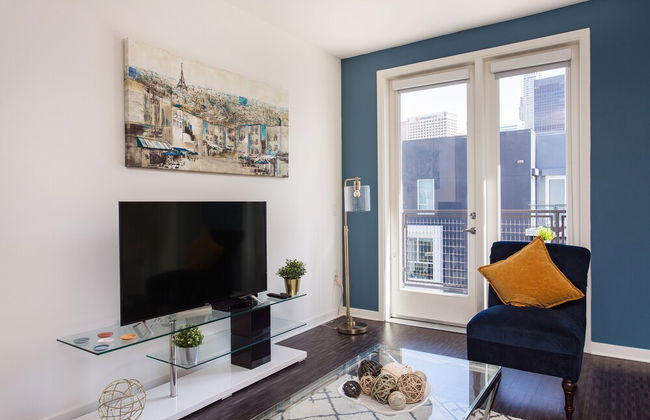
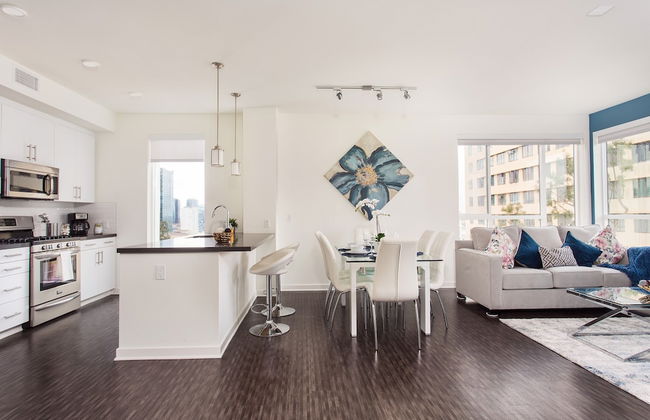
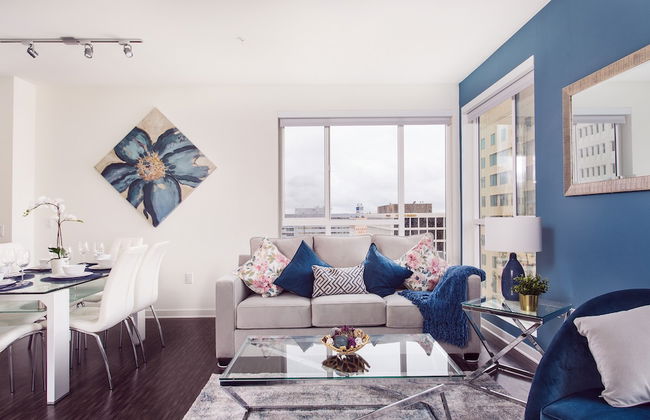
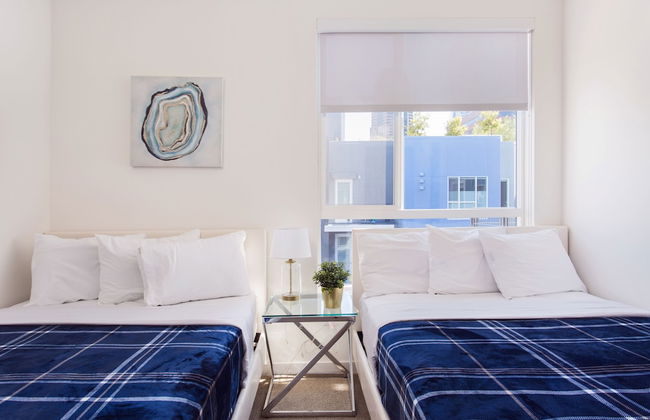
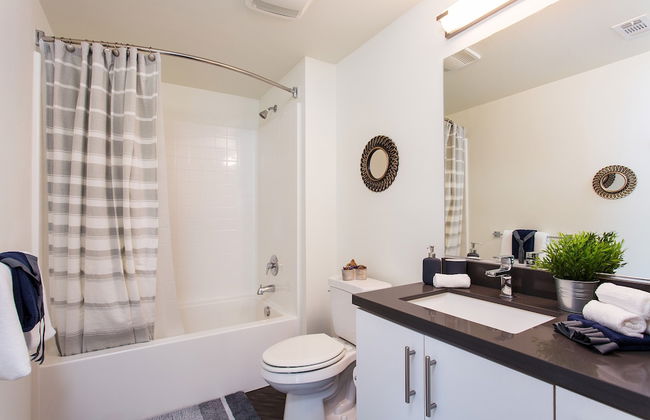
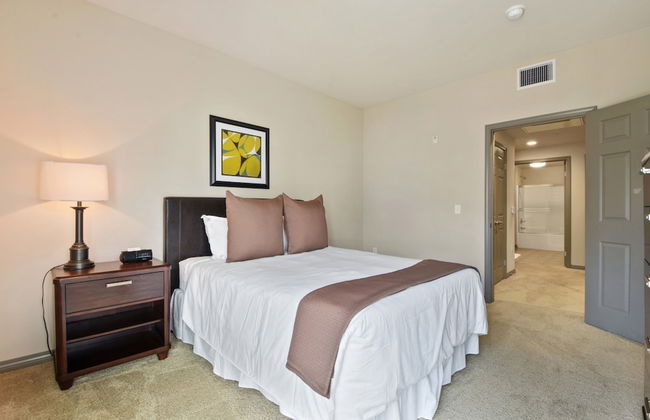
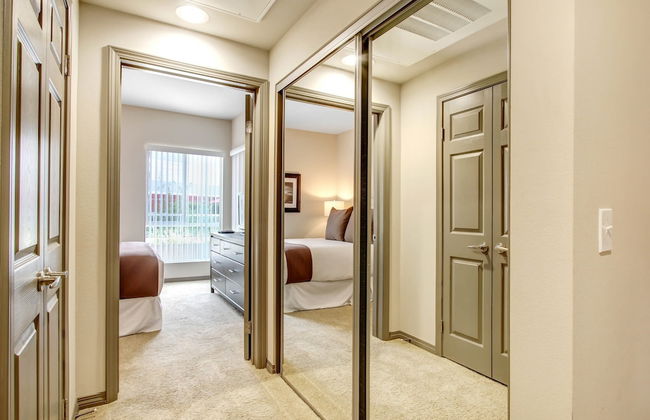
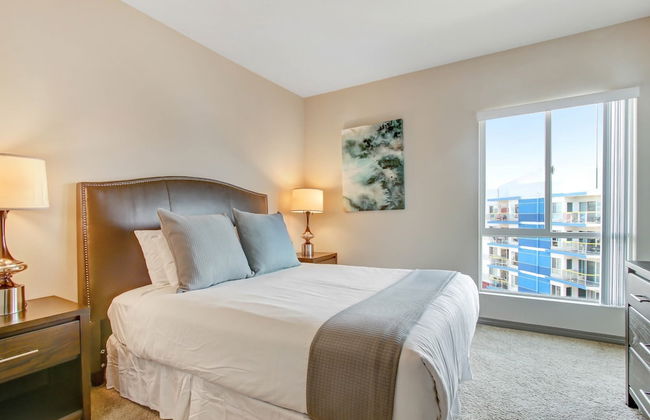
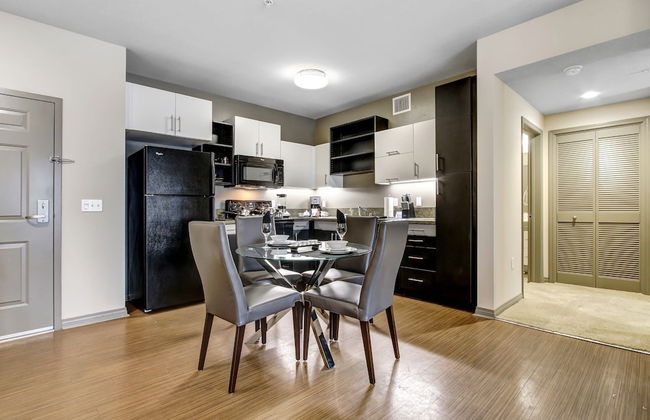
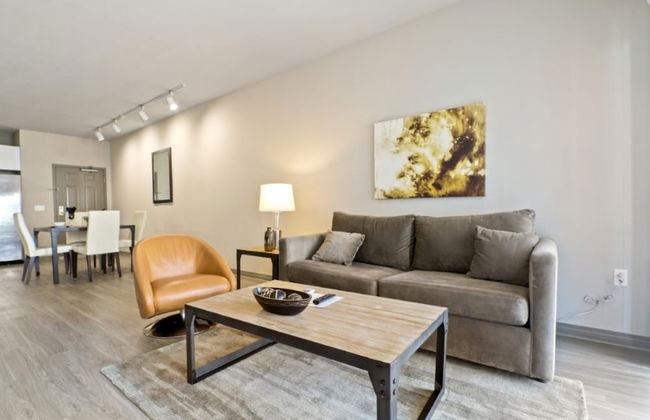
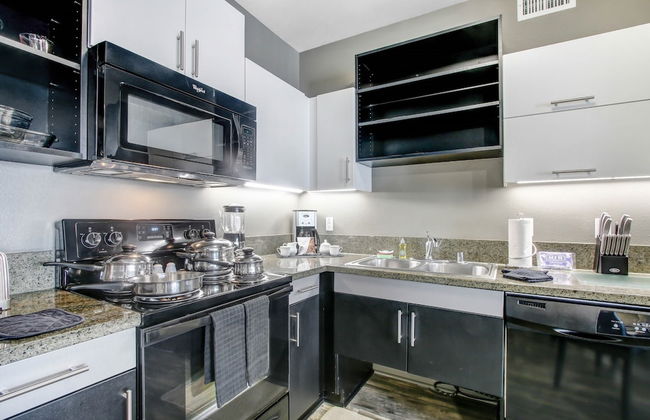
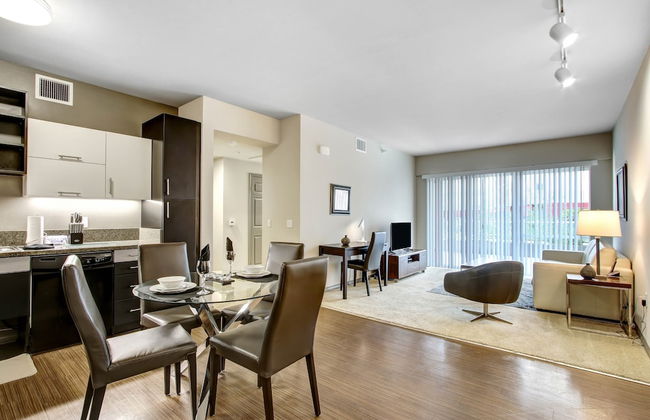
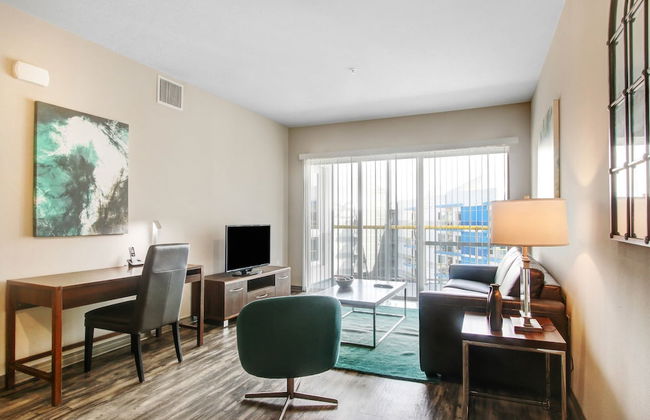
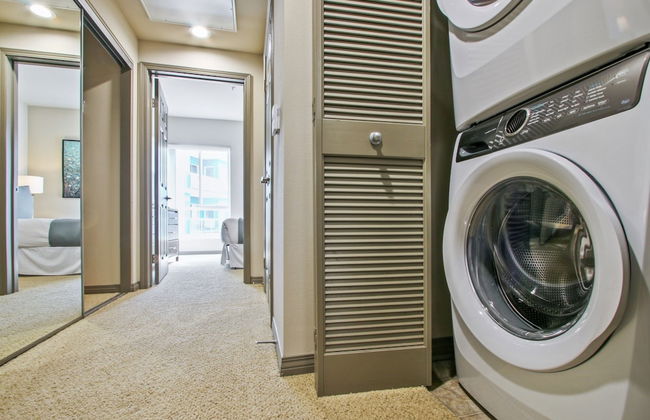
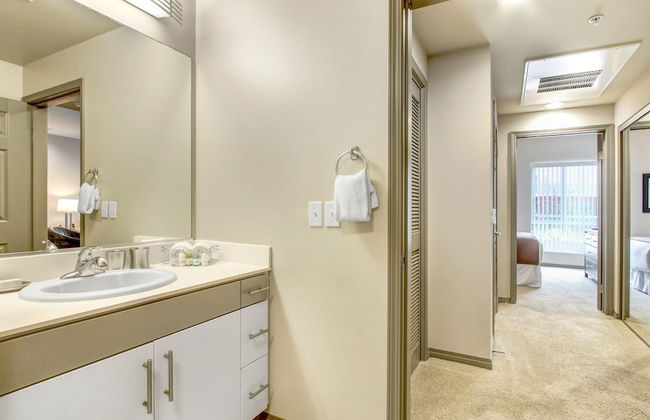
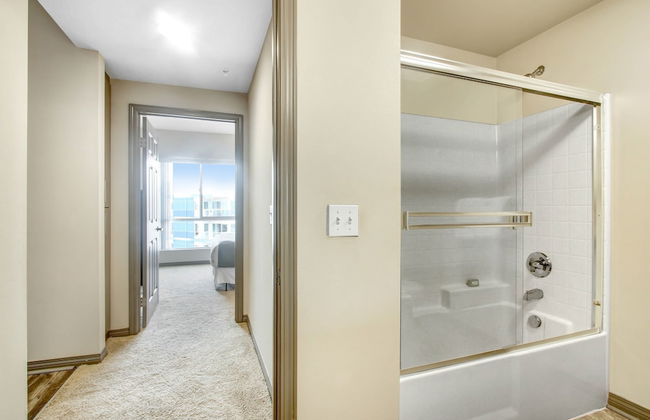
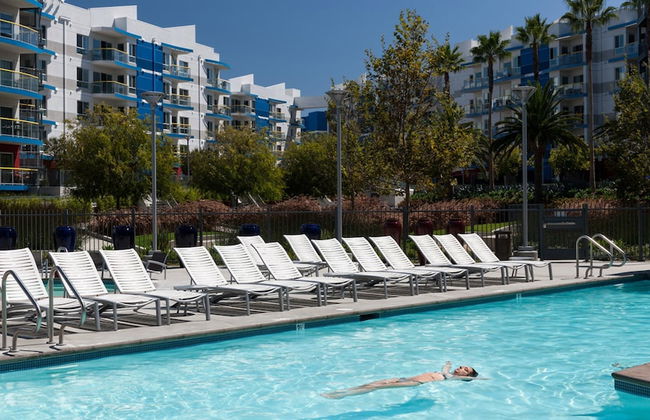
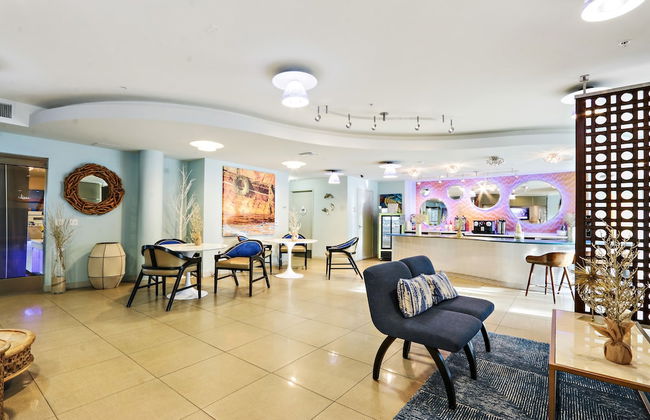
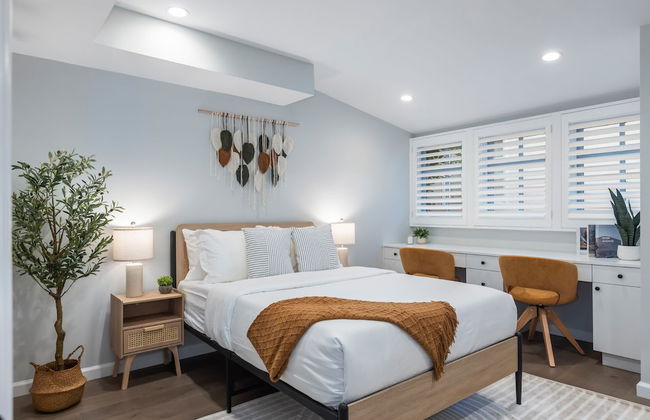
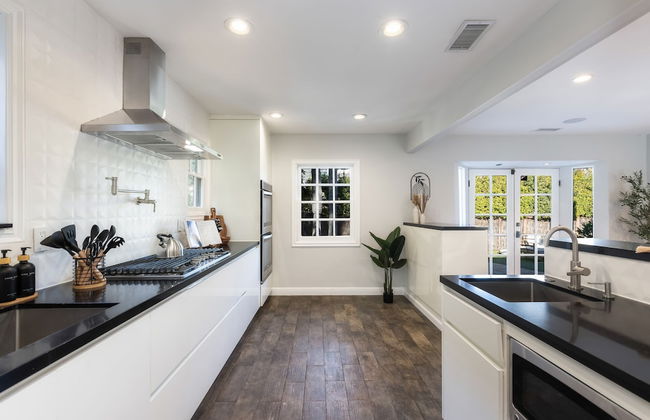
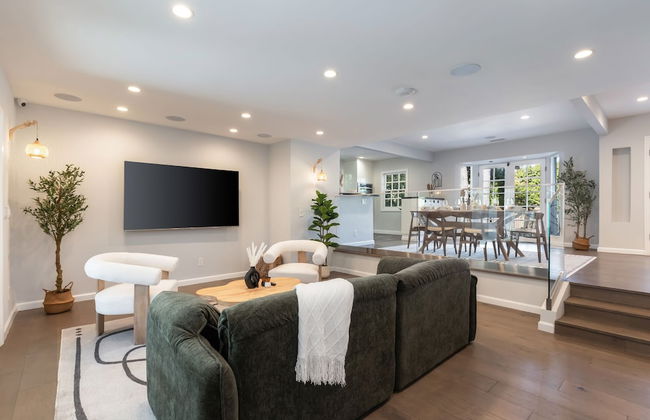
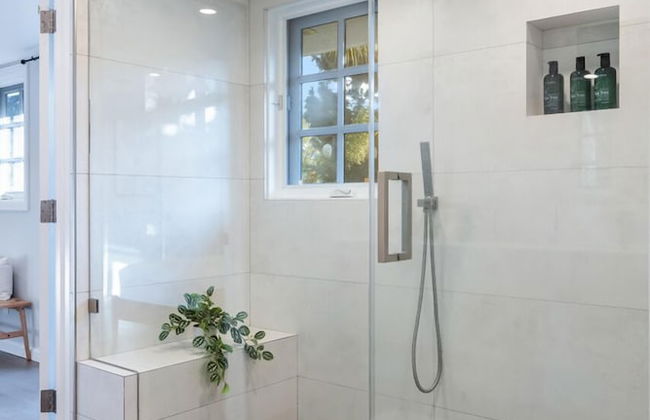
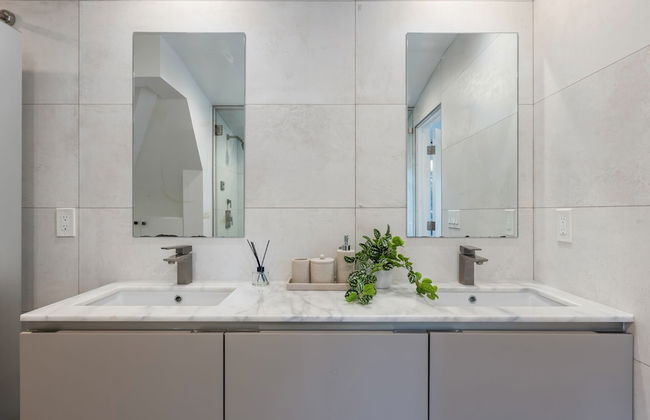
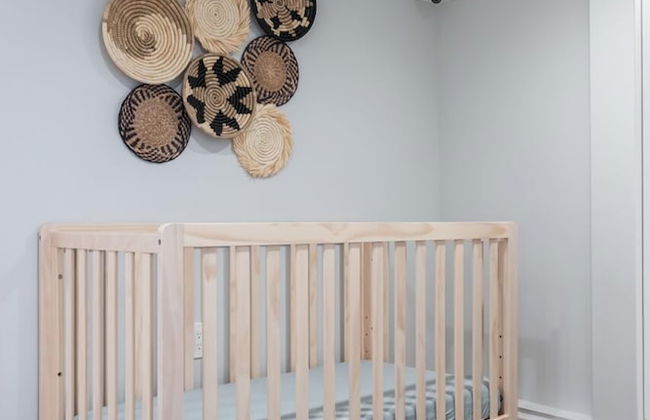
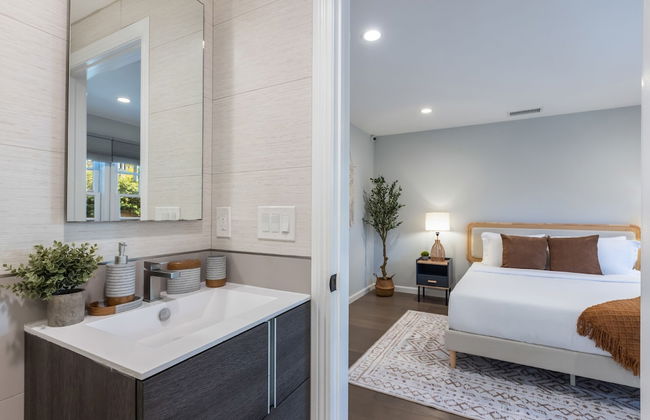
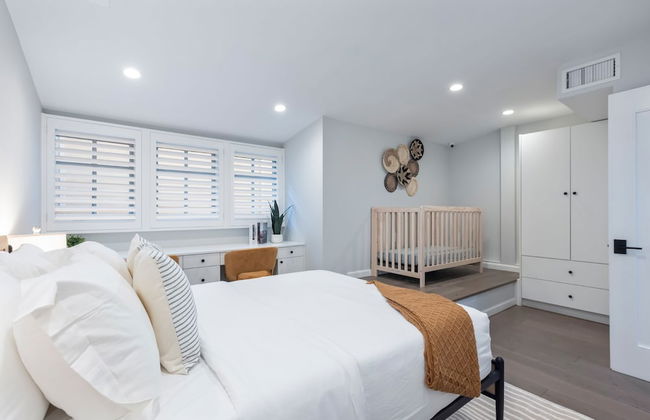
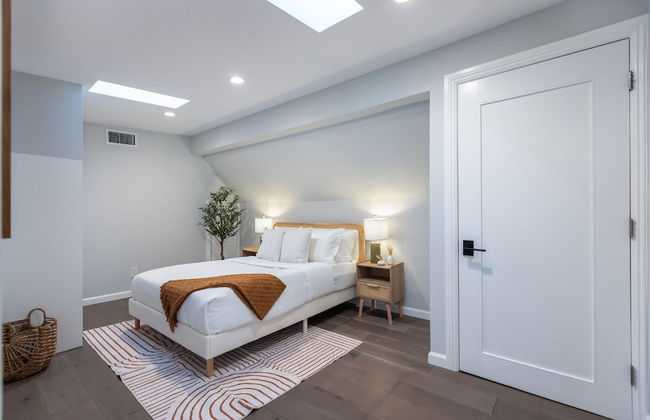
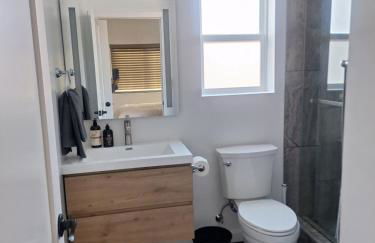
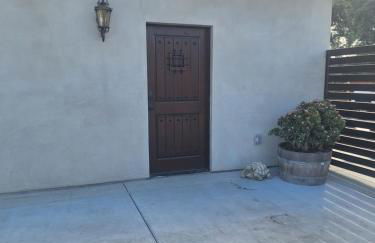
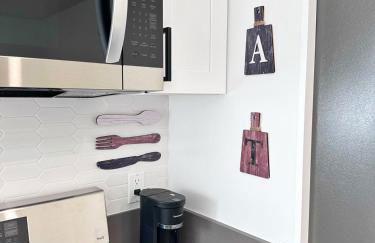
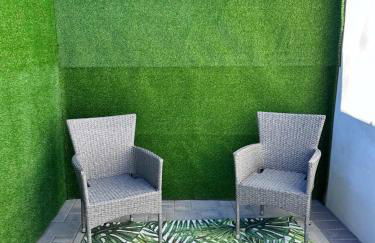
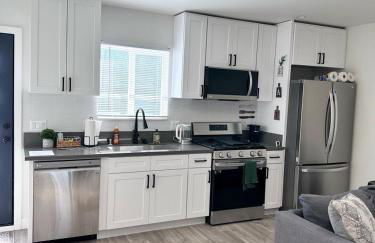
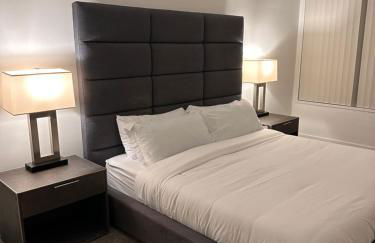
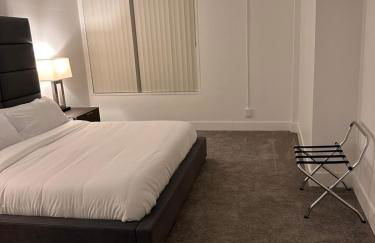
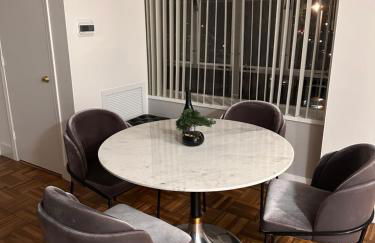
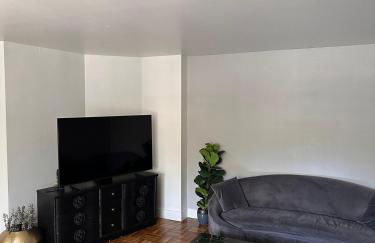
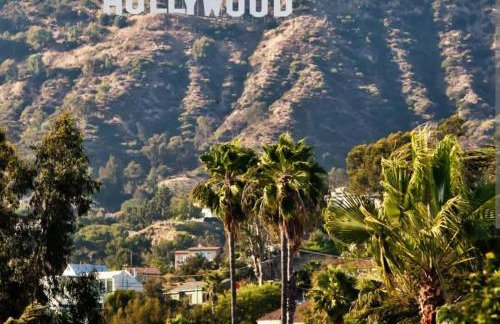
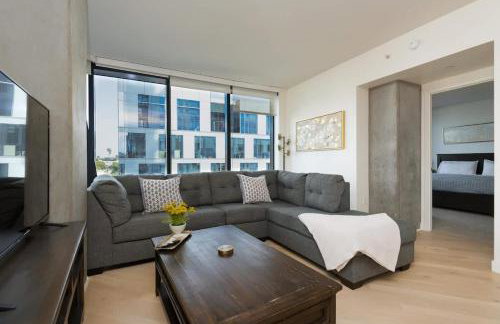
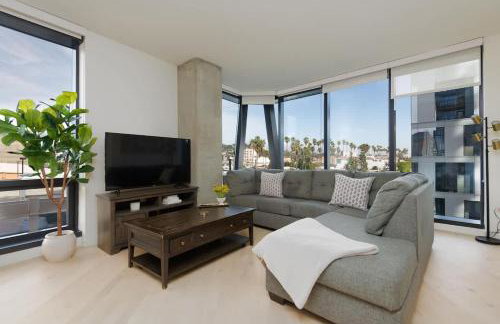
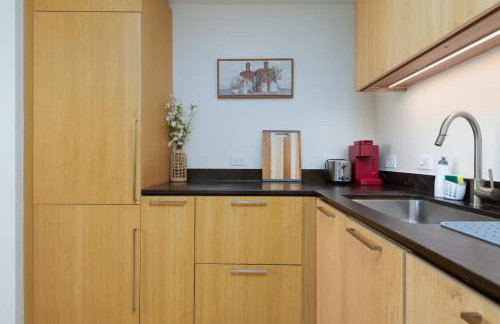
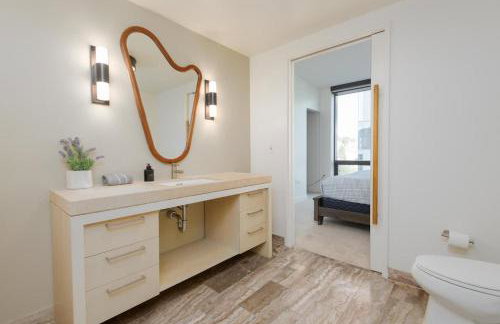
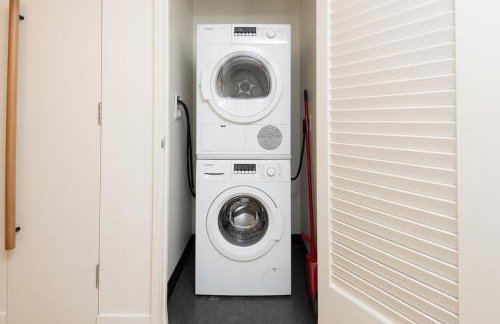
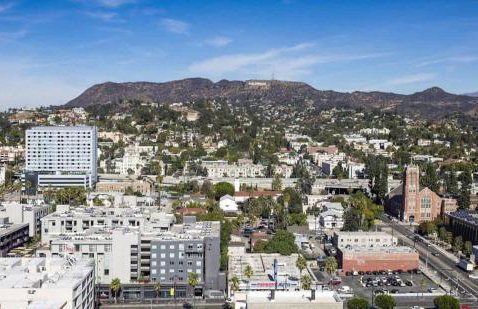
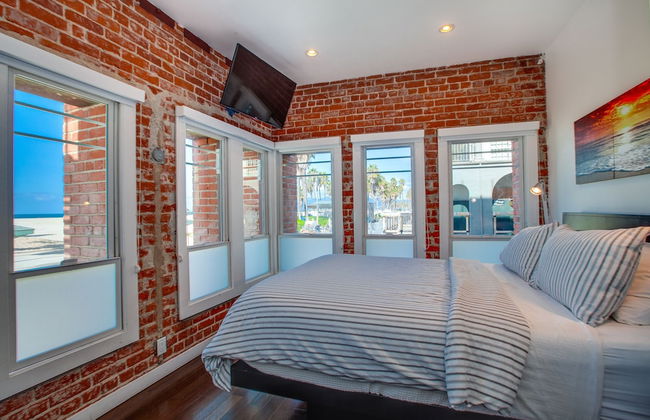
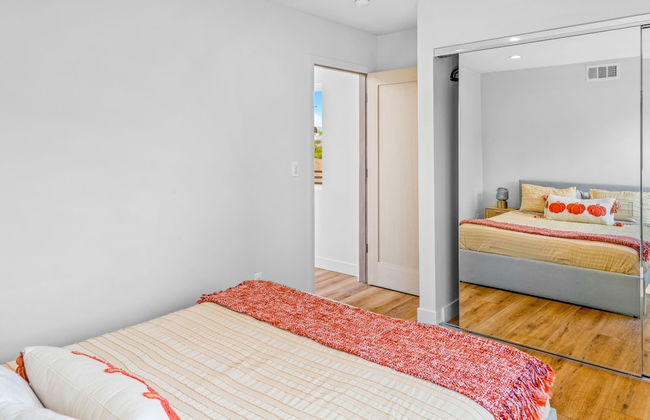
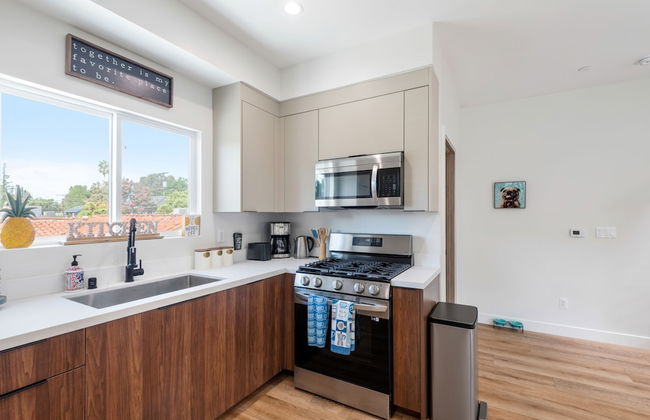
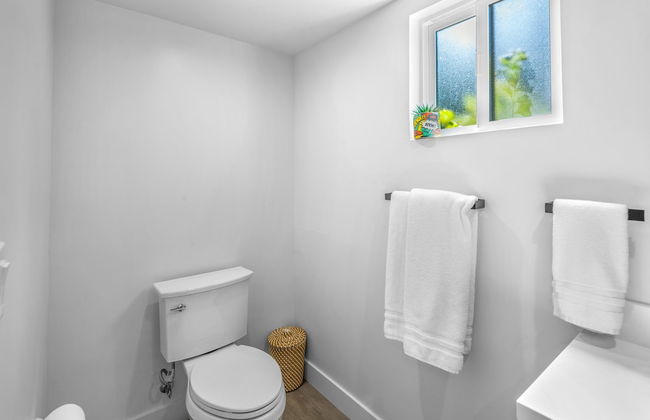
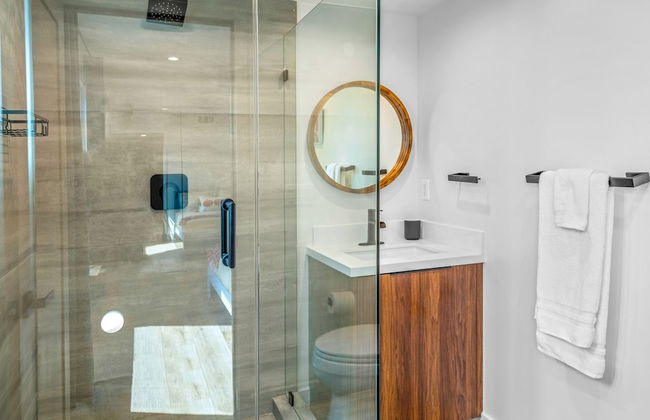
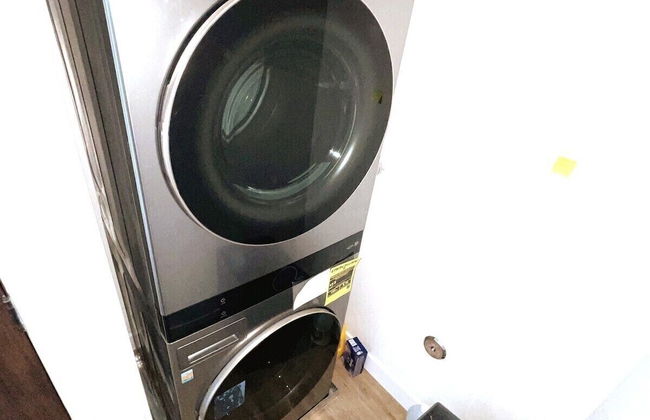
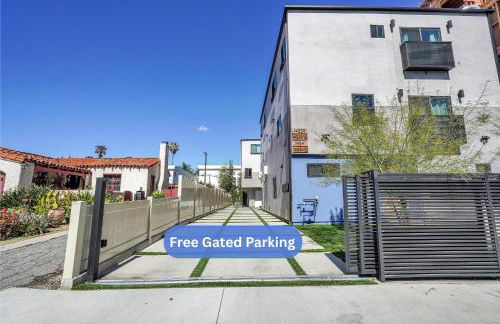
New Urban Downtown LA Luxury Apartment - Foto 4
New Urban Downtown LA Luxury Apartment - Foto 5
New Urban Downtown LA Luxury Apartment - Foto 6
New Urban Downtown LA Luxury Apartment - Foto 7
New Urban Downtown LA Luxury Apartment - Foto 8
New Urban Downtown LA Luxury Apartment - Foto 9
New Urban Downtown LA Luxury Apartment - Foto 10
New Urban Downtown LA Luxury Apartment - Foto 11
New Urban Downtown LA Luxury Apartment - Foto 12
New Urban Downtown LA Luxury Apartment - Foto 13
New Urban Downtown LA Luxury Apartment - Foto 14
New Urban Downtown LA Luxury Apartment - Foto 15
New Urban Downtown LA Luxury Apartment - Foto 16
New Urban Downtown LA Luxury Apartment - Foto 17
New Urban Downtown LA Luxury Apartment - Foto 18
New Urban Downtown LA Luxury Apartment - Foto 19
New Urban Downtown LA Luxury Apartment - Foto 20
New Urban Downtown LA Luxury Apartment - Foto 21

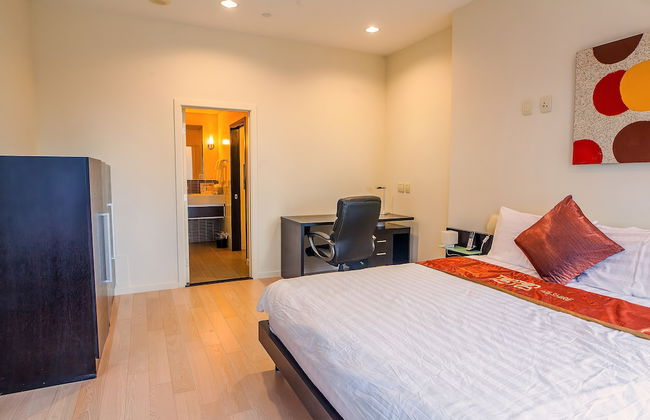
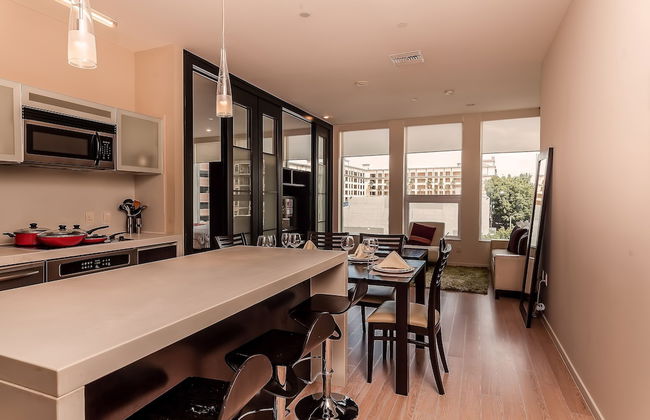
New Urban Downtown LA Luxury Apartment

Los Ángeles - Echo Park - A 860 m del centro

  • 80 M2
  • 6 personas
  • Aire acondicionado
  • Calefacción
  • Terraza
  • Piscina
  • Parking
  • Ascensor
  • Balcón
  • Televisión
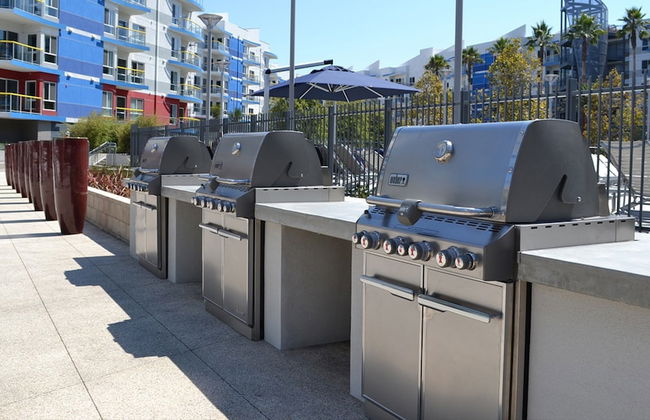
  • Barbacoa
  • Toallas
  • Sábanas
9.4Excepcional | 13 reseñas
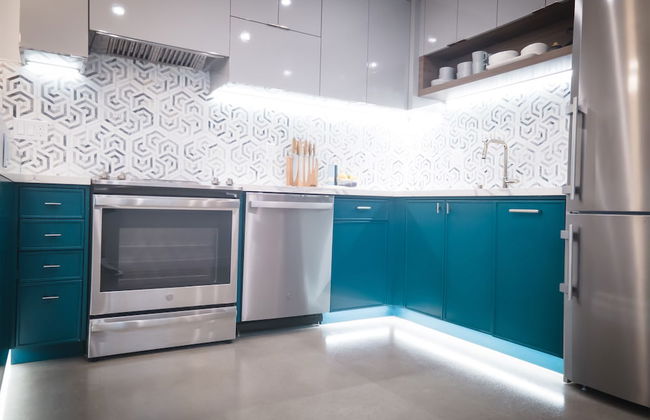
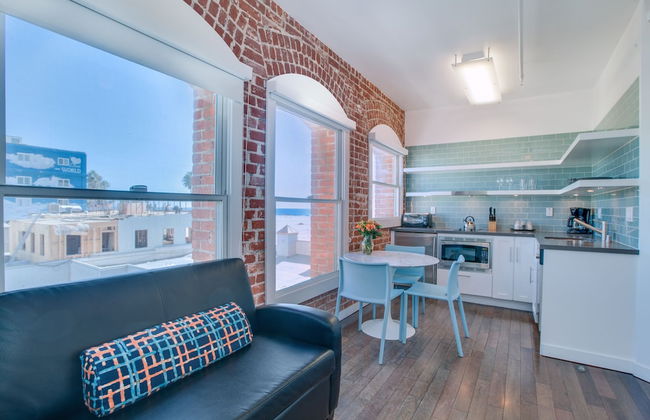
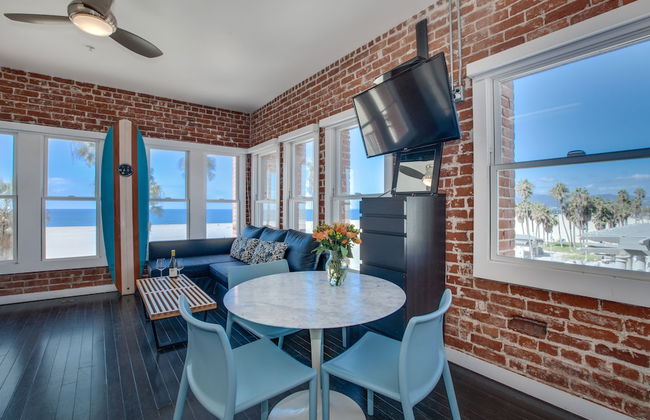
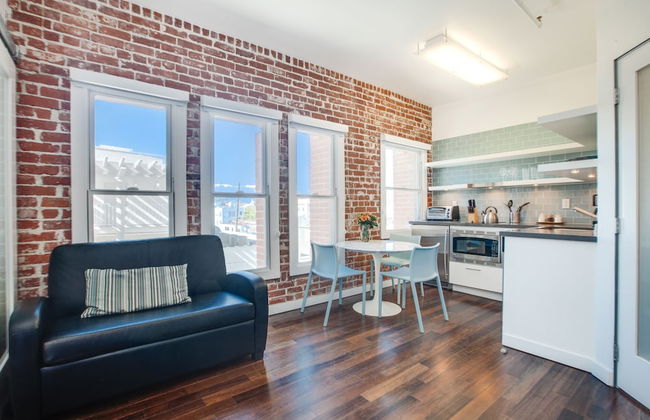
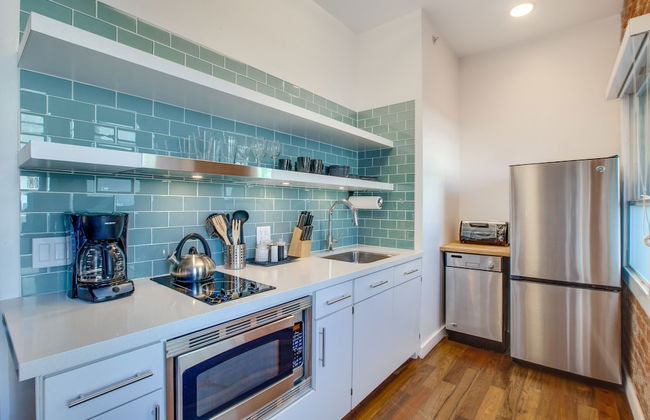
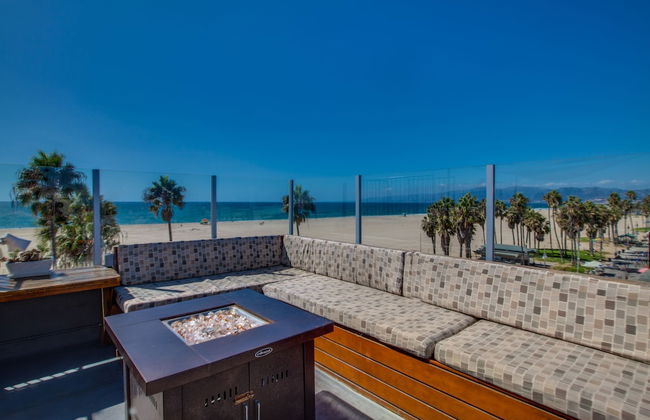
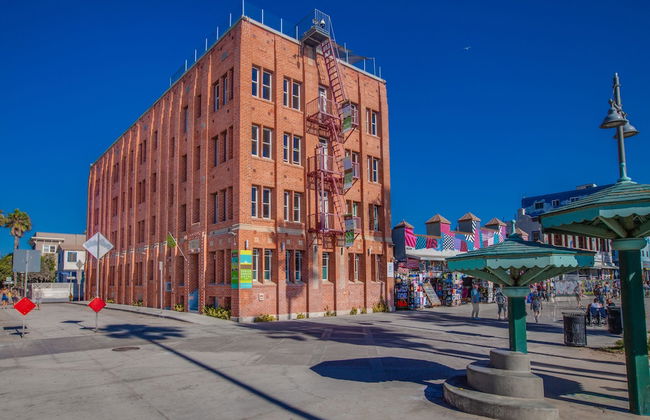
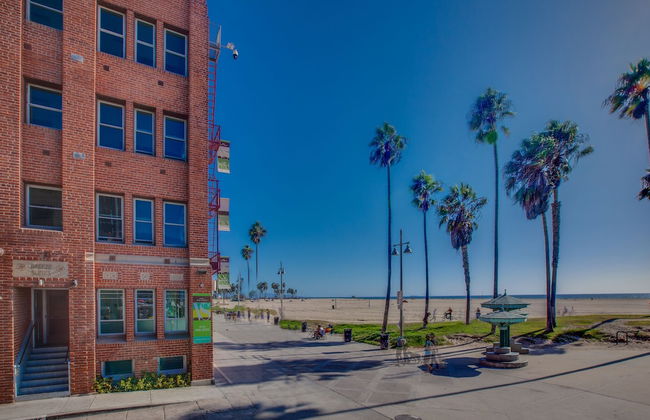
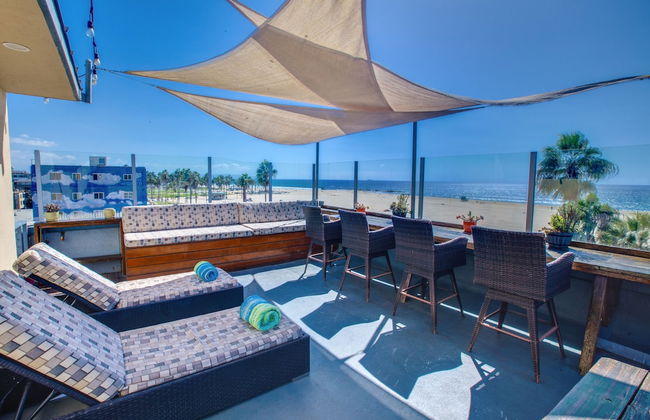
The Redline Venice - Foto 1
The Redline Venice - Foto 2
The Redline Venice - Foto 3
The Redline Venice - Foto 4
The Redline Venice - Foto 5
The Redline Venice - Foto 6
The Redline Venice - Foto 7
The Redline Venice - Foto 8
The Redline Venice - Foto 9
The Redline Venice - Foto 10
The Redline Venice - Foto 11
The Redline Venice - Foto 12
The Redline Venice - Foto 13
The Redline Venice - Foto 14
The Redline Venice - Foto 15
The Redline Venice - Foto 16
The Redline Venice - Foto 17
The Redline Venice - Foto 18
The Redline Venice - Foto 19
The Redline Venice - Foto 20
The Redline Venice - Foto 21
The Redline Venice - Foto 22
The Redline Venice - Foto 23
The Redline Venice - Foto 24
The Redline Venice - Foto 25
The Redline Venice - Foto 26
The Redline Venice - Foto 27
The Redline Venice - Foto 28
The Redline Venice - Foto 29
The Redline Venice - Foto 30
The Redline Venice - Foto 31
The Redline Venice - Foto 32
The Redline Venice - Foto 33
The Redline Venice - Foto 34
The Redline Venice - Foto 35
The Redline Venice - Foto 36
The Redline Venice - Foto 37
The Redline Venice - Foto 38
The Redline Venice - Foto 39
The Redline Venice - Foto 40
The Redline Venice - Foto 41
The Redline Venice - Foto 42
The Redline Venice - Foto 43
The Redline Venice - Foto 44
The Redline Venice - Foto 45
The Redline Venice - Foto 46
The Redline Venice - Foto 47
The Redline Venice - Foto 48
The Redline Venice - Foto 49
The Redline Venice - Foto 50
The Redline Venice - Foto 51
The Redline Venice - Foto 52
The Redline Venice - Foto 53
The Redline Venice - Foto 54
The Redline Venice - Foto 55
The Redline Venice - Foto 56
The Redline Venice - Foto 57
The Redline Venice - Foto 58
The Redline Venice - Foto 59
The Redline Venice - Foto 60
The Redline Venice - Foto 61
The Redline Venice - Foto 62
The Redline Venice - Foto 63
The Redline Venice - Foto 64
The Redline Venice - Foto 65
The Redline Venice - Foto 66
The Redline Venice - Foto 67
The Redline Venice - Foto 68
The Redline Venice - Foto 69
The Redline Venice - Foto 70
The Redline Venice - Foto 71
The Redline Venice - Foto 72
The Redline Venice - Foto 73
The Redline Venice - Foto 74
The Redline Venice - Foto 75
The Redline Venice - Foto 76
The Redline Venice - Foto 77
The Redline Venice - Foto 78
The Redline Venice - Foto 79
The Redline Venice - Foto 80
The Redline Venice - Foto 81
The Redline Venice - Foto 82
The Redline Venice - Foto 83
The Redline Venice - Foto 84
The Redline Venice - Foto 85
The Redline Venice - Foto 86
The Redline Venice - Foto 87
The Redline Venice - Foto 88
The Redline Venice - Foto 89
The Redline Venice - Foto 90
The Redline Venice - Foto 91
The Redline Venice - Foto 92
The Redline Venice - Foto 93
The Redline Venice - Foto 94
The Redline Venice - Foto 95
The Redline Venice - Foto 96
The Redline Venice - Foto 97
The Redline Venice - Foto 98
The Redline Venice - Foto 99
The Redline Venice - Foto 100
The Redline Venice - Foto 101
The Redline Venice - Foto 102
The Redline Venice - Foto 103
The Redline Venice - Foto 104
The Redline Venice - Foto 105
The Redline Venice - Foto 106
The Redline Venice - Foto 107
The Redline Venice - Foto 108

The Redline Venice

Venice - Venice - En el centro

  • 98 M2
  • 3 habitaciones
  • 6 personas
  • Aire acondicionado
  • Calefacción
  • Terraza
  • Parking
  • Jardín
  • Televisión
  • Toallas
  • Sábanas
9.8Excepcional | 21 reseñas
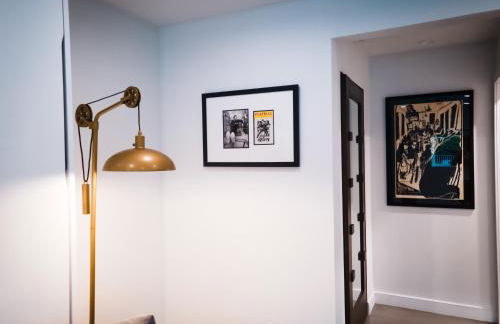
TENTEN Wilshire - Official - Foto 1
TENTEN Wilshire - Official - Foto 2
TENTEN Wilshire - Official - Foto 3
TENTEN Wilshire - Official - Foto 4
TENTEN Wilshire - Official - Foto 5
TENTEN Wilshire - Official - Foto 6
TENTEN Wilshire - Official - Foto 7
TENTEN Wilshire - Official - Foto 8
TENTEN Wilshire - Official - Foto 9
TENTEN Wilshire - Official - Foto 10
TENTEN Wilshire - Official - Foto 11
TENTEN Wilshire - Official - Foto 12
TENTEN Wilshire - Official - Foto 13
TENTEN Wilshire - Official - Foto 14
TENTEN Wilshire - Official - Foto 15
TENTEN Wilshire - Official - Foto 16
TENTEN Wilshire - Official - Foto 17
TENTEN Wilshire - Official - Foto 18
TENTEN Wilshire - Official - Foto 19
TENTEN Wilshire - Official - Foto 20
TENTEN Wilshire - Official - Foto 21
TENTEN Wilshire - Official - Foto 22
TENTEN Wilshire - Official - Foto 23
TENTEN Wilshire - Official - Foto 24
TENTEN Wilshire - Official - Foto 25
TENTEN Wilshire - Official - Foto 26
TENTEN Wilshire - Official - Foto 27
TENTEN Wilshire - Official - Foto 28
TENTEN Wilshire - Official - Foto 29
TENTEN Wilshire - Official - Foto 30
TENTEN Wilshire - Official - Foto 31
TENTEN Wilshire - Official - Foto 32

TENTEN Wilshire - Official

Los Ángeles - Downtown Los Angeles - A 1.1 km del centro

  • 4 personas
  • Aire acondicionado
  • Calefacción
  • Terraza
  • Piscina
  • Parking
  • Ascensor
  • Jardín
  • Lavadora
  • Chimenea
  • Barbacoa
  • Toallas
  • Sábanas
9Excepcional | 51 reseñas
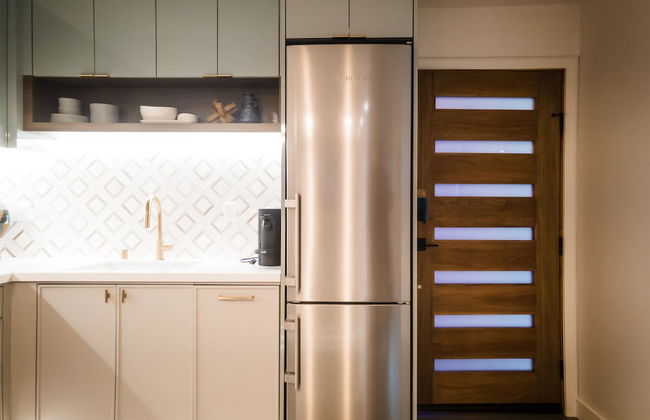
Luxurious Townhome - Foto 1
Luxurious Townhome - Foto 2
Luxurious Townhome - Foto 3
Luxurious Townhome - Foto 4
Luxurious Townhome - Foto 5
Luxurious Townhome - Foto 6
Luxurious Townhome - Foto 7
Luxurious Townhome - Foto 8
Luxurious Townhome - Foto 9
Luxurious Townhome - Foto 10
Luxurious Townhome - Foto 11
Luxurious Townhome - Foto 12
Luxurious Townhome - Foto 13
Luxurious Townhome - Foto 14
Luxurious Townhome - Foto 15
Luxurious Townhome - Foto 16
Luxurious Townhome - Foto 17
Luxurious Townhome - Foto 18
Luxurious Townhome - Foto 19
Luxurious Townhome - Foto 20
Luxurious Townhome - Foto 21
Luxurious Townhome - Foto 22
Luxurious Townhome - Foto 23
Luxurious Townhome - Foto 24
Luxurious Townhome - Foto 25
Luxurious Townhome - Foto 26
Luxurious Townhome - Foto 27
Luxurious Townhome - Foto 28
Luxurious Townhome - Foto 29
Luxurious Townhome - Foto 30
Luxurious Townhome - Foto 31
Luxurious Townhome - Foto 32
Luxurious Townhome - Foto 33
Luxurious Townhome - Foto 34
Luxurious Townhome - Foto 35
Luxurious Townhome - Foto 36
Luxurious Townhome - Foto 37
Luxurious Townhome - Foto 38
Luxurious Townhome - Foto 39
Luxurious Townhome - Foto 40
Luxurious Townhome - Foto 41
Luxurious Townhome - Foto 42
Luxurious Townhome - Foto 43
Luxurious Townhome - Foto 44
Luxurious Townhome - Foto 45
Luxurious Townhome - Foto 46
Luxurious Townhome - Foto 47
Luxurious Townhome - Foto 48
Luxurious Townhome - Foto 49
Luxurious Townhome - Foto 50
Luxurious Townhome - Foto 51
Luxurious Townhome - Foto 52

Luxurious Townhome

Van Nuys - Sherman Oaks - A 1.5 km del centro

  • 149 M2
  • 8 personas
  • Aire acondicionado
  • Calefacción
  • Parking
  • Televisión
  • Lavadora
  • Toallas
  • Sábanas
10Magnífico | 31 reseñas
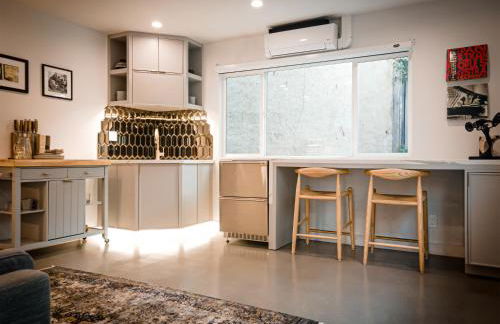
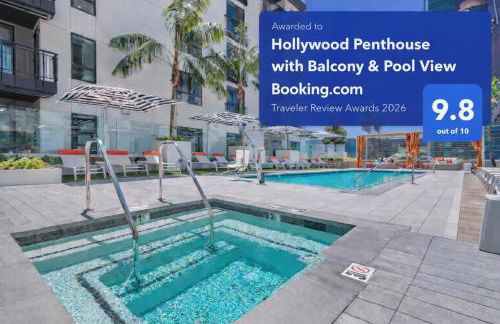
Hollywood Penthouse with Balcony Pool and Hollywood sign View with Free parking - Foto 1
Hollywood Penthouse with Balcony Pool and Hollywood sign View with Free parking - Foto 2
Hollywood Penthouse with Balcony Pool and Hollywood sign View with Free parking - Foto 3
Hollywood Penthouse with Balcony Pool and Hollywood sign View with Free parking - Foto 4
Hollywood Penthouse with Balcony Pool and Hollywood sign View with Free parking - Foto 5
Hollywood Penthouse with Balcony Pool and Hollywood sign View with Free parking - Foto 6
Hollywood Penthouse with Balcony Pool and Hollywood sign View with Free parking - Foto 7
Hollywood Penthouse with Balcony Pool and Hollywood sign View with Free parking - Foto 8
Hollywood Penthouse with Balcony Pool and Hollywood sign View with Free parking - Foto 9
Hollywood Penthouse with Balcony Pool and Hollywood sign View with Free parking - Foto 10
Hollywood Penthouse with Balcony Pool and Hollywood sign View with Free parking - Foto 11
Hollywood Penthouse with Balcony Pool and Hollywood sign View with Free parking - Foto 12
Hollywood Penthouse with Balcony Pool and Hollywood sign View with Free parking - Foto 13
Hollywood Penthouse with Balcony Pool and Hollywood sign View with Free parking - Foto 14
Hollywood Penthouse with Balcony Pool and Hollywood sign View with Free parking - Foto 15
Hollywood Penthouse with Balcony Pool and Hollywood sign View with Free parking - Foto 16
Hollywood Penthouse with Balcony Pool and Hollywood sign View with Free parking - Foto 17
Hollywood Penthouse with Balcony Pool and Hollywood sign View with Free parking - Foto 18
Hollywood Penthouse with Balcony Pool and Hollywood sign View with Free parking - Foto 19
Hollywood Penthouse with Balcony Pool and Hollywood sign View with Free parking - Foto 20
Hollywood Penthouse with Balcony Pool and Hollywood sign View with Free parking - Foto 21
Hollywood Penthouse with Balcony Pool and Hollywood sign View with Free parking - Foto 22
Hollywood Penthouse with Balcony Pool and Hollywood sign View with Free parking - Foto 23
Hollywood Penthouse with Balcony Pool and Hollywood sign View with Free parking - Foto 24
Hollywood Penthouse with Balcony Pool and Hollywood sign View with Free parking - Foto 25
Hollywood Penthouse with Balcony Pool and Hollywood sign View with Free parking - Foto 26
Hollywood Penthouse with Balcony Pool and Hollywood sign View with Free parking - Foto 27
Hollywood Penthouse with Balcony Pool and Hollywood sign View with Free parking - Foto 28
Hollywood Penthouse with Balcony Pool and Hollywood sign View with Free parking - Foto 29
Hollywood Penthouse with Balcony Pool and Hollywood sign View with Free parking - Foto 30
Hollywood Penthouse with Balcony Pool and Hollywood sign View with Free parking - Foto 31
Hollywood Penthouse with Balcony Pool and Hollywood sign View with Free parking - Foto 32
Hollywood Penthouse with Balcony Pool and Hollywood sign View with Free parking - Foto 33
Hollywood Penthouse with Balcony Pool and Hollywood sign View with Free parking - Foto 34
Hollywood Penthouse with Balcony Pool and Hollywood sign View with Free parking - Foto 35
Hollywood Penthouse with Balcony Pool and Hollywood sign View with Free parking - Foto 36
Hollywood Penthouse with Balcony Pool and Hollywood sign View with Free parking - Foto 37
Hollywood Penthouse with Balcony Pool and Hollywood sign View with Free parking - Foto 38
Hollywood Penthouse with Balcony Pool and Hollywood sign View with Free parking - Foto 39
Hollywood Penthouse with Balcony Pool and Hollywood sign View with Free parking - Foto 40
Hollywood Penthouse with Balcony Pool and Hollywood sign View with Free parking - Foto 41
Hollywood Penthouse with Balcony Pool and Hollywood sign View with Free parking - Foto 42
Hollywood Penthouse with Balcony Pool and Hollywood sign View with Free parking - Foto 43
Hollywood Penthouse with Balcony Pool and Hollywood sign View with Free parking - Foto 44
Hollywood Penthouse with Balcony Pool and Hollywood sign View with Free parking - Foto 45
Hollywood Penthouse with Balcony Pool and Hollywood sign View with Free parking - Foto 46
Hollywood Penthouse with Balcony Pool and Hollywood sign View with Free parking - Foto 47
Hollywood Penthouse with Balcony Pool and Hollywood sign View with Free parking - Foto 48
Hollywood Penthouse with Balcony Pool and Hollywood sign View with Free parking - Foto 49
Hollywood Penthouse with Balcony Pool and Hollywood sign View with Free parking - Foto 50
Hollywood Penthouse with Balcony Pool and Hollywood sign View with Free parking - Foto 51
Hollywood Penthouse with Balcony Pool and Hollywood sign View with Free parking - Foto 52
Hollywood Penthouse with Balcony Pool and Hollywood sign View with Free parking - Foto 53
Hollywood Penthouse with Balcony Pool and Hollywood sign View with Free parking - Foto 54
Hollywood Penthouse with Balcony Pool and Hollywood sign View with Free parking - Foto 55
Hollywood Penthouse with Balcony Pool and Hollywood sign View with Free parking - Foto 56
Hollywood Penthouse with Balcony Pool and Hollywood sign View with Free parking - Foto 57
Hollywood Penthouse with Balcony Pool and Hollywood sign View with Free parking - Foto 58
Hollywood Penthouse with Balcony Pool and Hollywood sign View with Free parking - Foto 59
Hollywood Penthouse with Balcony Pool and Hollywood sign View with Free parking - Foto 60
Hollywood Penthouse with Balcony Pool and Hollywood sign View with Free parking - Foto 61
Hollywood Penthouse with Balcony Pool and Hollywood sign View with Free parking - Foto 62
Hollywood Penthouse with Balcony Pool and Hollywood sign View with Free parking - Foto 63
Hollywood Penthouse with Balcony Pool and Hollywood sign View with Free parking - Foto 64
Hollywood Penthouse with Balcony Pool and Hollywood sign View with Free parking - Foto 65
Hollywood Penthouse with Balcony Pool and Hollywood sign View with Free parking - Foto 66
Hollywood Penthouse with Balcony Pool and Hollywood sign View with Free parking - Foto 67
Hollywood Penthouse with Balcony Pool and Hollywood sign View with Free parking - Foto 68
Hollywood Penthouse with Balcony Pool and Hollywood sign View with Free parking - Foto 69
Hollywood Penthouse with Balcony Pool and Hollywood sign View with Free parking - Foto 70
Hollywood Penthouse with Balcony Pool and Hollywood sign View with Free parking - Foto 71
Hollywood Penthouse with Balcony Pool and Hollywood sign View with Free parking - Foto 72
Hollywood Penthouse with Balcony Pool and Hollywood sign View with Free parking - Foto 73
Hollywood Penthouse with Balcony Pool and Hollywood sign View with Free parking - Foto 74

Hollywood Penthouse with Balcony Pool and Hollywood sign View with Free parking

Los Ángeles - Hollywood - A 8.3 km del centro

  • 65 M2
  • 1 habitación
  • 3 personas
  • Aire acondicionado
  • Calefacción
  • Terraza
  • Piscina
  • Parking
  • Ascensor
  • Jardín
9.8Excepcional | 14 reseñas
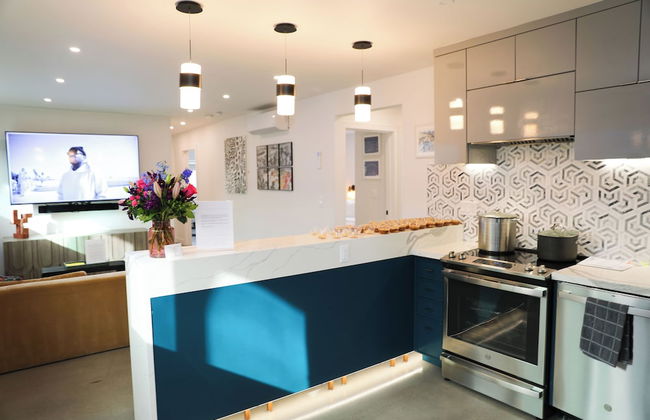
Spacious 2 bed 2 bath, Pool, Hottub, Wifi, 24 hr Fitness, Parking - Foto 1
Spacious 2 bed 2 bath, Pool, Hottub, Wifi, 24 hr Fitness, Parking - Foto 2
Spacious 2 bed 2 bath, Pool, Hottub, Wifi, 24 hr Fitness, Parking - Foto 3
Spacious 2 bed 2 bath, Pool, Hottub, Wifi, 24 hr Fitness, Parking - Foto 4
Spacious 2 bed 2 bath, Pool, Hottub, Wifi, 24 hr Fitness, Parking - Foto 5
Spacious 2 bed 2 bath, Pool, Hottub, Wifi, 24 hr Fitness, Parking - Foto 6
Spacious 2 bed 2 bath, Pool, Hottub, Wifi, 24 hr Fitness, Parking - Foto 7
Spacious 2 bed 2 bath, Pool, Hottub, Wifi, 24 hr Fitness, Parking - Foto 8
Spacious 2 bed 2 bath, Pool, Hottub, Wifi, 24 hr Fitness, Parking - Foto 9
Spacious 2 bed 2 bath, Pool, Hottub, Wifi, 24 hr Fitness, Parking - Foto 10
Spacious 2 bed 2 bath, Pool, Hottub, Wifi, 24 hr Fitness, Parking - Foto 11
Spacious 2 bed 2 bath, Pool, Hottub, Wifi, 24 hr Fitness, Parking - Foto 12
Spacious 2 bed 2 bath, Pool, Hottub, Wifi, 24 hr Fitness, Parking - Foto 13
Spacious 2 bed 2 bath, Pool, Hottub, Wifi, 24 hr Fitness, Parking - Foto 14
Spacious 2 bed 2 bath, Pool, Hottub, Wifi, 24 hr Fitness, Parking - Foto 15
Spacious 2 bed 2 bath, Pool, Hottub, Wifi, 24 hr Fitness, Parking - Foto 16
Spacious 2 bed 2 bath, Pool, Hottub, Wifi, 24 hr Fitness, Parking - Foto 17
Spacious 2 bed 2 bath, Pool, Hottub, Wifi, 24 hr Fitness, Parking - Foto 18
Spacious 2 bed 2 bath, Pool, Hottub, Wifi, 24 hr Fitness, Parking - Foto 19
Spacious 2 bed 2 bath, Pool, Hottub, Wifi, 24 hr Fitness, Parking - Foto 20
Spacious 2 bed 2 bath, Pool, Hottub, Wifi, 24 hr Fitness, Parking - Foto 21
Spacious 2 bed 2 bath, Pool, Hottub, Wifi, 24 hr Fitness, Parking - Foto 22
Spacious 2 bed 2 bath, Pool, Hottub, Wifi, 24 hr Fitness, Parking - Foto 23
Spacious 2 bed 2 bath, Pool, Hottub, Wifi, 24 hr Fitness, Parking - Foto 24
Spacious 2 bed 2 bath, Pool, Hottub, Wifi, 24 hr Fitness, Parking - Foto 25
Spacious 2 bed 2 bath, Pool, Hottub, Wifi, 24 hr Fitness, Parking - Foto 26
Spacious 2 bed 2 bath, Pool, Hottub, Wifi, 24 hr Fitness, Parking - Foto 27
Spacious 2 bed 2 bath, Pool, Hottub, Wifi, 24 hr Fitness, Parking - Foto 28
Spacious 2 bed 2 bath, Pool, Hottub, Wifi, 24 hr Fitness, Parking - Foto 29
Spacious 2 bed 2 bath, Pool, Hottub, Wifi, 24 hr Fitness, Parking - Foto 30
Spacious 2 bed 2 bath, Pool, Hottub, Wifi, 24 hr Fitness, Parking - Foto 31
Spacious 2 bed 2 bath, Pool, Hottub, Wifi, 24 hr Fitness, Parking - Foto 32
Spacious 2 bed 2 bath, Pool, Hottub, Wifi, 24 hr Fitness, Parking - Foto 33
Spacious 2 bed 2 bath, Pool, Hottub, Wifi, 24 hr Fitness, Parking - Foto 34
Spacious 2 bed 2 bath, Pool, Hottub, Wifi, 24 hr Fitness, Parking - Foto 35
Spacious 2 bed 2 bath, Pool, Hottub, Wifi, 24 hr Fitness, Parking - Foto 36
Spacious 2 bed 2 bath, Pool, Hottub, Wifi, 24 hr Fitness, Parking - Foto 37
Spacious 2 bed 2 bath, Pool, Hottub, Wifi, 24 hr Fitness, Parking - Foto 38
Spacious 2 bed 2 bath, Pool, Hottub, Wifi, 24 hr Fitness, Parking - Foto 39
Spacious 2 bed 2 bath, Pool, Hottub, Wifi, 24 hr Fitness, Parking - Foto 40
Spacious 2 bed 2 bath, Pool, Hottub, Wifi, 24 hr Fitness, Parking - Foto 41
Spacious 2 bed 2 bath, Pool, Hottub, Wifi, 24 hr Fitness, Parking - Foto 42
Spacious 2 bed 2 bath, Pool, Hottub, Wifi, 24 hr Fitness, Parking - Foto 43
Spacious 2 bed 2 bath, Pool, Hottub, Wifi, 24 hr Fitness, Parking - Foto 44
Spacious 2 bed 2 bath, Pool, Hottub, Wifi, 24 hr Fitness, Parking - Foto 45
Spacious 2 bed 2 bath, Pool, Hottub, Wifi, 24 hr Fitness, Parking - Foto 46
Spacious 2 bed 2 bath, Pool, Hottub, Wifi, 24 hr Fitness, Parking - Foto 47

Spacious 2 bed 2 bath, Pool, Hottub, Wifi, 24 hr Fitness, Parking

West Hollywood

  • 102 M2
  • 2 habitaciones
  • 6 personas
  • Aire acondicionado
  • Calefacción
  • Terraza
  • Piscina
  • Parking
  • Ascensor
  • Jardín
9.6Excepcional | 16 reseñas
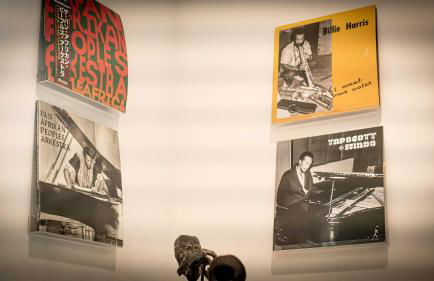
Skyline Escape 1-Bedroom with Balcony and Roof-Top Pool - Foto 1
Skyline Escape 1-Bedroom with Balcony and Roof-Top Pool - Foto 2
Skyline Escape 1-Bedroom with Balcony and Roof-Top Pool - Foto 3
Skyline Escape 1-Bedroom with Balcony and Roof-Top Pool - Foto 4
Skyline Escape 1-Bedroom with Balcony and Roof-Top Pool - Foto 5
Skyline Escape 1-Bedroom with Balcony and Roof-Top Pool - Foto 6
Skyline Escape 1-Bedroom with Balcony and Roof-Top Pool - Foto 7
Skyline Escape 1-Bedroom with Balcony and Roof-Top Pool - Foto 8
Skyline Escape 1-Bedroom with Balcony and Roof-Top Pool - Foto 9
Skyline Escape 1-Bedroom with Balcony and Roof-Top Pool - Foto 10
Skyline Escape 1-Bedroom with Balcony and Roof-Top Pool - Foto 11
Skyline Escape 1-Bedroom with Balcony and Roof-Top Pool - Foto 12
Skyline Escape 1-Bedroom with Balcony and Roof-Top Pool - Foto 13
Skyline Escape 1-Bedroom with Balcony and Roof-Top Pool - Foto 14
Skyline Escape 1-Bedroom with Balcony and Roof-Top Pool - Foto 15
Skyline Escape 1-Bedroom with Balcony and Roof-Top Pool - Foto 16
Skyline Escape 1-Bedroom with Balcony and Roof-Top Pool - Foto 17
Skyline Escape 1-Bedroom with Balcony and Roof-Top Pool - Foto 18
Skyline Escape 1-Bedroom with Balcony and Roof-Top Pool - Foto 19
Skyline Escape 1-Bedroom with Balcony and Roof-Top Pool - Foto 20
Skyline Escape 1-Bedroom with Balcony and Roof-Top Pool - Foto 21
Skyline Escape 1-Bedroom with Balcony and Roof-Top Pool - Foto 22
Skyline Escape 1-Bedroom with Balcony and Roof-Top Pool - Foto 23
Skyline Escape 1-Bedroom with Balcony and Roof-Top Pool - Foto 24

Skyline Escape 1-Bedroom with Balcony and Roof-Top Pool

West Hollywood

  • 74 M2
  • 1 habitación
  • 3 personas
  • Aire acondicionado
  • Calefacción
  • Terraza
  • Piscina
  • Parking
  • Ascensor
  • Jardín
9.5Excepcional | 11 reseñas
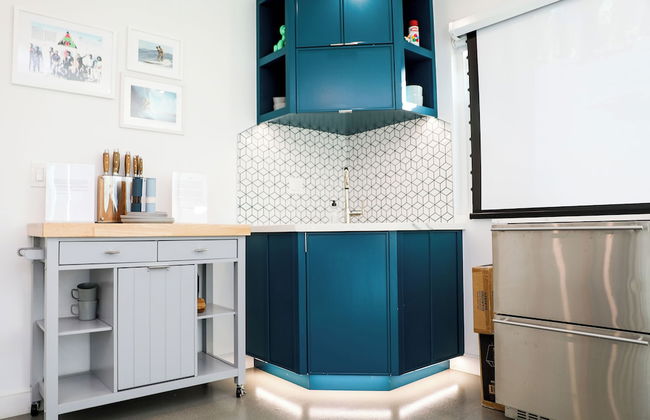
Kasa Sunset Los Angeles - Foto 1
Kasa Sunset Los Angeles - Foto 2
Kasa Sunset Los Angeles - Foto 3
Kasa Sunset Los Angeles - Foto 4
Kasa Sunset Los Angeles - Foto 5
Kasa Sunset Los Angeles - Foto 6
Kasa Sunset Los Angeles - Foto 7
Kasa Sunset Los Angeles - Foto 8
Kasa Sunset Los Angeles - Foto 9
Kasa Sunset Los Angeles - Foto 10
Kasa Sunset Los Angeles - Foto 11
Kasa Sunset Los Angeles - Foto 12
Kasa Sunset Los Angeles - Foto 13
Kasa Sunset Los Angeles - Foto 14
Kasa Sunset Los Angeles - Foto 15
Kasa Sunset Los Angeles - Foto 16
Kasa Sunset Los Angeles - Foto 17
Kasa Sunset Los Angeles - Foto 18
Kasa Sunset Los Angeles - Foto 19
Kasa Sunset Los Angeles - Foto 20
Kasa Sunset Los Angeles - Foto 21
Kasa Sunset Los Angeles - Foto 22
Kasa Sunset Los Angeles - Foto 23
Kasa Sunset Los Angeles - Foto 24
Kasa Sunset Los Angeles - Foto 25
Kasa Sunset Los Angeles - Foto 26
Kasa Sunset Los Angeles - Foto 27
Kasa Sunset Los Angeles - Foto 28
Kasa Sunset Los Angeles - Foto 29
Kasa Sunset Los Angeles - Foto 30
Kasa Sunset Los Angeles - Foto 31
Kasa Sunset Los Angeles - Foto 32
Kasa Sunset Los Angeles - Foto 33
Kasa Sunset Los Angeles - Foto 34
Kasa Sunset Los Angeles - Foto 35
Kasa Sunset Los Angeles - Foto 36
Kasa Sunset Los Angeles - Foto 37
Kasa Sunset Los Angeles - Foto 38
Kasa Sunset Los Angeles - Foto 39
Kasa Sunset Los Angeles - Foto 40
Kasa Sunset Los Angeles - Foto 41
Kasa Sunset Los Angeles - Foto 42
Kasa Sunset Los Angeles - Foto 43
Kasa Sunset Los Angeles - Foto 44
Kasa Sunset Los Angeles - Foto 45
Kasa Sunset Los Angeles - Foto 46
Kasa Sunset Los Angeles - Foto 47
Kasa Sunset Los Angeles - Foto 48
Kasa Sunset Los Angeles - Foto 49
Kasa Sunset Los Angeles - Foto 50
Kasa Sunset Los Angeles - Foto 51
Kasa Sunset Los Angeles - Foto 52
Kasa Sunset Los Angeles - Foto 53
Kasa Sunset Los Angeles - Foto 54
Kasa Sunset Los Angeles - Foto 55
Kasa Sunset Los Angeles - Foto 56
Kasa Sunset Los Angeles - Foto 57
Kasa Sunset Los Angeles - Foto 58
Kasa Sunset Los Angeles - Foto 59

Kasa Sunset Los Angeles

Los Ángeles - Hollywood - A 7.7 km del centro

  • 49 M2
  • 4 personas
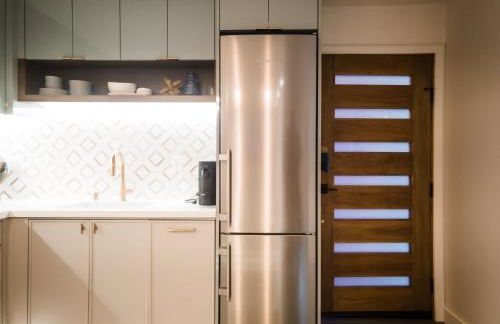
  • Aire acondicionado
  • Calefacción
  • Parking
  • Ascensor
  • Televisión
  • Sábanas
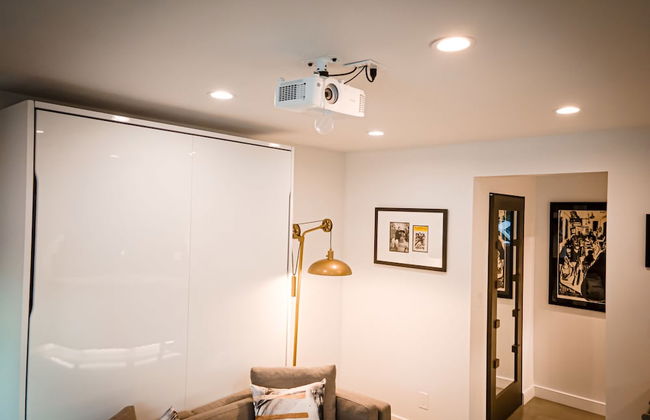
9.2Excepcional | 362 reseñas
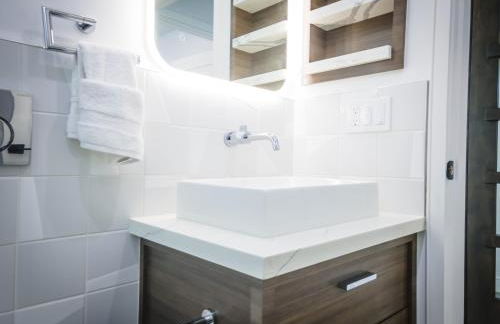
Elegant private studio with private entrance and pool access - Foto 1
Elegant private studio with private entrance and pool access - Foto 2
Elegant private studio with private entrance and pool access - Foto 3
Elegant private studio with private entrance and pool access - Foto 4
Elegant private studio with private entrance and pool access - Foto 5
Elegant private studio with private entrance and pool access - Foto 6
Elegant private studio with private entrance and pool access - Foto 7
Elegant private studio with private entrance and pool access - Foto 8
Elegant private studio with private entrance and pool access - Foto 9
Elegant private studio with private entrance and pool access - Foto 10
Elegant private studio with private entrance and pool access - Foto 11
Elegant private studio with private entrance and pool access - Foto 12
Elegant private studio with private entrance and pool access - Foto 13
Elegant private studio with private entrance and pool access - Foto 14
Elegant private studio with private entrance and pool access - Foto 15
Elegant private studio with private entrance and pool access - Foto 16
Elegant private studio with private entrance and pool access - Foto 17
Elegant private studio with private entrance and pool access - Foto 18
Elegant private studio with private entrance and pool access - Foto 19
Elegant private studio with private entrance and pool access - Foto 20
Elegant private studio with private entrance and pool access - Foto 21

Elegant private studio with private entrance and pool access

San Gabriel - East San Gabriel

  • 38 M2
  • 3 personas
  • Aire acondicionado
  • Calefacción
  • Piscina
  • Jardín
  • Barbacoa
9.9Excepcional | 17 reseñas
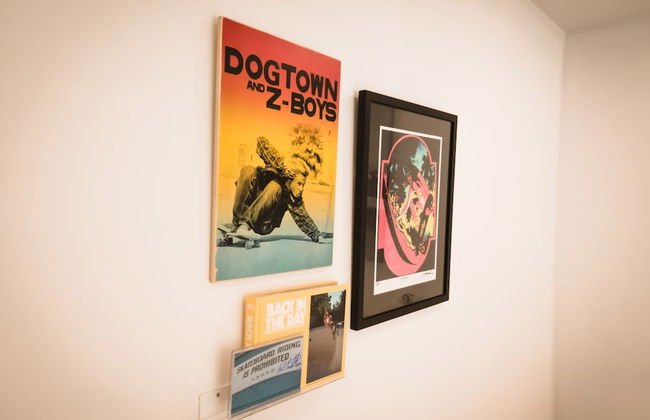
Fenix Hotel Hollywood - Foto 1
Fenix Hotel Hollywood - Foto 2
Fenix Hotel Hollywood - Foto 3
Fenix Hotel Hollywood - Foto 4
Fenix Hotel Hollywood - Foto 5
Fenix Hotel Hollywood - Foto 6
Fenix Hotel Hollywood - Foto 7
Fenix Hotel Hollywood - Foto 8
Fenix Hotel Hollywood - Foto 9
Fenix Hotel Hollywood - Foto 10
Fenix Hotel Hollywood - Foto 11
Fenix Hotel Hollywood - Foto 12
Fenix Hotel Hollywood - Foto 13
Fenix Hotel Hollywood - Foto 14
Fenix Hotel Hollywood - Foto 15
Fenix Hotel Hollywood - Foto 16
Fenix Hotel Hollywood - Foto 17
Fenix Hotel Hollywood - Foto 18
Fenix Hotel Hollywood - Foto 19
Fenix Hotel Hollywood - Foto 20
Fenix Hotel Hollywood - Foto 21
Fenix Hotel Hollywood - Foto 22
Fenix Hotel Hollywood - Foto 23
Fenix Hotel Hollywood - Foto 24
Fenix Hotel Hollywood - Foto 25
Fenix Hotel Hollywood - Foto 26
Fenix Hotel Hollywood - Foto 27
Fenix Hotel Hollywood - Foto 28
Fenix Hotel Hollywood - Foto 29
Fenix Hotel Hollywood - Foto 30
Fenix Hotel Hollywood - Foto 31
Fenix Hotel Hollywood - Foto 32
Fenix Hotel Hollywood - Foto 33
Fenix Hotel Hollywood - Foto 34
Fenix Hotel Hollywood - Foto 35
Fenix Hotel Hollywood - Foto 36
Fenix Hotel Hollywood - Foto 37
Fenix Hotel Hollywood - Foto 38
Fenix Hotel Hollywood - Foto 39
Fenix Hotel Hollywood - Foto 40
Fenix Hotel Hollywood - Foto 41
Fenix Hotel Hollywood - Foto 42
Fenix Hotel Hollywood - Foto 43
Fenix Hotel Hollywood - Foto 44
Fenix Hotel Hollywood - Foto 45
Fenix Hotel Hollywood - Foto 46
Fenix Hotel Hollywood - Foto 47
Fenix Hotel Hollywood - Foto 48
Fenix Hotel Hollywood - Foto 49
Fenix Hotel Hollywood - Foto 50
Fenix Hotel Hollywood - Foto 51
Fenix Hotel Hollywood - Foto 52
Fenix Hotel Hollywood - Foto 53
Fenix Hotel Hollywood - Foto 54
Fenix Hotel Hollywood - Foto 55
Fenix Hotel Hollywood - Foto 56
Fenix Hotel Hollywood - Foto 57
Fenix Hotel Hollywood - Foto 58
Fenix Hotel Hollywood - Foto 59
Fenix Hotel Hollywood - Foto 60
Fenix Hotel Hollywood - Foto 61
Fenix Hotel Hollywood - Foto 62
Fenix Hotel Hollywood - Foto 63
Fenix Hotel Hollywood - Foto 64
Fenix Hotel Hollywood - Foto 65
Fenix Hotel Hollywood - Foto 66
Fenix Hotel Hollywood - Foto 67
Fenix Hotel Hollywood - Foto 68
Fenix Hotel Hollywood - Foto 69
Fenix Hotel Hollywood - Foto 70
Fenix Hotel Hollywood - Foto 71
Fenix Hotel Hollywood - Foto 72
Fenix Hotel Hollywood - Foto 73
Fenix Hotel Hollywood - Foto 74
Fenix Hotel Hollywood - Foto 75
Fenix Hotel Hollywood - Foto 76
Fenix Hotel Hollywood - Foto 77
Fenix Hotel Hollywood - Foto 78
Fenix Hotel Hollywood - Foto 79
Fenix Hotel Hollywood - Foto 80
Fenix Hotel Hollywood - Foto 81
Fenix Hotel Hollywood - Foto 82
Fenix Hotel Hollywood - Foto 83
Fenix Hotel Hollywood - Foto 84
Fenix Hotel Hollywood - Foto 85
Fenix Hotel Hollywood - Foto 86
Fenix Hotel Hollywood - Foto 87
Fenix Hotel Hollywood - Foto 88
Fenix Hotel Hollywood - Foto 89
Fenix Hotel Hollywood - Foto 90
Fenix Hotel Hollywood - Foto 91
Fenix Hotel Hollywood - Foto 92
Fenix Hotel Hollywood - Foto 93
Fenix Hotel Hollywood - Foto 94
Fenix Hotel Hollywood - Foto 95
Fenix Hotel Hollywood - Foto 96
Fenix Hotel Hollywood - Foto 97
Fenix Hotel Hollywood - Foto 98
Fenix Hotel Hollywood - Foto 99
Fenix Hotel Hollywood - Foto 100
Fenix Hotel Hollywood - Foto 101
Fenix Hotel Hollywood - Foto 102
Fenix Hotel Hollywood - Foto 103
Fenix Hotel Hollywood - Foto 104
Fenix Hotel Hollywood - Foto 105
Fenix Hotel Hollywood - Foto 106
Fenix Hotel Hollywood - Foto 107
Fenix Hotel Hollywood - Foto 108
Fenix Hotel Hollywood - Foto 109
Fenix Hotel Hollywood - Foto 110
Fenix Hotel Hollywood - Foto 111
Fenix Hotel Hollywood - Foto 112
Fenix Hotel Hollywood - Foto 113
Fenix Hotel Hollywood - Foto 114

Fenix Hotel Hollywood

Los Ángeles - Hollywood - A 10.2 km del centro

  • 32 M2
  • 4 personas
  • Aire acondicionado
  • Calefacción
  • Terraza
  • Piscina
  • Parking
  • Ascensor
  • Jardín
  • Televisión
  • Lavadora
  • Chimenea
  • Barbacoa
  • Toallas
  • Sábanas
8.3Muy bueno | 645 reseñas
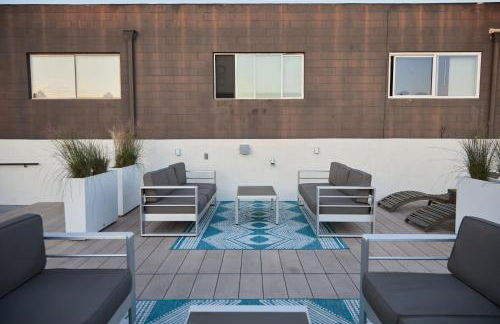
New Downtown LA Luxury Jr. Penthouse - Foto 1
New Downtown LA Luxury Jr. Penthouse - Foto 2
New Downtown LA Luxury Jr. Penthouse - Foto 3
New Downtown LA Luxury Jr. Penthouse - Foto 4
New Downtown LA Luxury Jr. Penthouse - Foto 5
New Downtown LA Luxury Jr. Penthouse - Foto 6
New Downtown LA Luxury Jr. Penthouse - Foto 7
New Downtown LA Luxury Jr. Penthouse - Foto 8
New Downtown LA Luxury Jr. Penthouse - Foto 9
New Downtown LA Luxury Jr. Penthouse - Foto 10
New Downtown LA Luxury Jr. Penthouse - Foto 11
New Downtown LA Luxury Jr. Penthouse - Foto 12
New Downtown LA Luxury Jr. Penthouse - Foto 13
New Downtown LA Luxury Jr. Penthouse - Foto 14
New Downtown LA Luxury Jr. Penthouse - Foto 15
New Downtown LA Luxury Jr. Penthouse - Foto 16
New Downtown LA Luxury Jr. Penthouse - Foto 17
New Downtown LA Luxury Jr. Penthouse - Foto 18
New Downtown LA Luxury Jr. Penthouse - Foto 19
New Downtown LA Luxury Jr. Penthouse - Foto 20
New Downtown LA Luxury Jr. Penthouse - Foto 21
New Downtown LA Luxury Jr. Penthouse - Foto 22
New Downtown LA Luxury Jr. Penthouse - Foto 23
New Downtown LA Luxury Jr. Penthouse - Foto 24
New Downtown LA Luxury Jr. Penthouse - Foto 25
New Downtown LA Luxury Jr. Penthouse - Foto 26
New Downtown LA Luxury Jr. Penthouse - Foto 27
New Downtown LA Luxury Jr. Penthouse - Foto 28
New Downtown LA Luxury Jr. Penthouse - Foto 29
New Downtown LA Luxury Jr. Penthouse - Foto 30
New Downtown LA Luxury Jr. Penthouse - Foto 31
New Downtown LA Luxury Jr. Penthouse - Foto 32
New Downtown LA Luxury Jr. Penthouse - Foto 33
New Downtown LA Luxury Jr. Penthouse - Foto 34
New Downtown LA Luxury Jr. Penthouse - Foto 35
New Downtown LA Luxury Jr. Penthouse - Foto 36
New Downtown LA Luxury Jr. Penthouse - Foto 37
New Downtown LA Luxury Jr. Penthouse - Foto 38
New Downtown LA Luxury Jr. Penthouse - Foto 39
New Downtown LA Luxury Jr. Penthouse - Foto 40

New Downtown LA Luxury Jr. Penthouse

Los Ángeles - Westlake - A 1.1 km del centro

  • 102 M2
  • 8 personas
  • Aire acondicionado
  • Calefacción
  • Terraza
  • Piscina
  • Parking
  • Ascensor
  • Jardín
  • Televisión
  • Lavadora
  • Barbacoa
  • Toallas
  • Sábanas
8.2Muy bueno | 16 reseñas
Global Luxury Suites at Marina Del Rey - Foto 1
Global Luxury Suites at Marina Del Rey - Foto 2
Global Luxury Suites at Marina Del Rey - Foto 3
Global Luxury Suites at Marina Del Rey - Foto 4
Global Luxury Suites at Marina Del Rey - Foto 5
Global Luxury Suites at Marina Del Rey - Foto 6
Global Luxury Suites at Marina Del Rey - Foto 7
Global Luxury Suites at Marina Del Rey - Foto 8
Global Luxury Suites at Marina Del Rey - Foto 9
Global Luxury Suites at Marina Del Rey - Foto 10
Global Luxury Suites at Marina Del Rey - Foto 11
Global Luxury Suites at Marina Del Rey - Foto 12
Global Luxury Suites at Marina Del Rey - Foto 13
Global Luxury Suites at Marina Del Rey - Foto 14
Global Luxury Suites at Marina Del Rey - Foto 15
Global Luxury Suites at Marina Del Rey - Foto 16
Global Luxury Suites at Marina Del Rey - Foto 17
Global Luxury Suites at Marina Del Rey - Foto 18
Global Luxury Suites at Marina Del Rey - Foto 19
Global Luxury Suites at Marina Del Rey - Foto 20
Global Luxury Suites at Marina Del Rey - Foto 21
Global Luxury Suites at Marina Del Rey - Foto 22
Global Luxury Suites at Marina Del Rey - Foto 23
Global Luxury Suites at Marina Del Rey - Foto 24
Global Luxury Suites at Marina Del Rey - Foto 25
Global Luxury Suites at Marina Del Rey - Foto 26
Global Luxury Suites at Marina Del Rey - Foto 27
Global Luxury Suites at Marina Del Rey - Foto 28
Global Luxury Suites at Marina Del Rey - Foto 29
Global Luxury Suites at Marina Del Rey - Foto 30
Global Luxury Suites at Marina Del Rey - Foto 31
Global Luxury Suites at Marina Del Rey - Foto 32
Global Luxury Suites at Marina Del Rey - Foto 33
Global Luxury Suites at Marina Del Rey - Foto 34
Global Luxury Suites at Marina Del Rey - Foto 35
Global Luxury Suites at Marina Del Rey - Foto 36
Global Luxury Suites at Marina Del Rey - Foto 37
Global Luxury Suites at Marina Del Rey - Foto 38
Global Luxury Suites at Marina Del Rey - Foto 39
Global Luxury Suites at Marina Del Rey - Foto 40
Global Luxury Suites at Marina Del Rey - Foto 41
Global Luxury Suites at Marina Del Rey - Foto 42
Global Luxury Suites at Marina Del Rey - Foto 43
Global Luxury Suites at Marina Del Rey - Foto 44
Global Luxury Suites at Marina Del Rey - Foto 45
Global Luxury Suites at Marina Del Rey - Foto 46
Global Luxury Suites at Marina Del Rey - Foto 47
Global Luxury Suites at Marina Del Rey - Foto 48
Global Luxury Suites at Marina Del Rey - Foto 49
Global Luxury Suites at Marina Del Rey - Foto 50
Global Luxury Suites at Marina Del Rey - Foto 51
Global Luxury Suites at Marina Del Rey - Foto 52
Global Luxury Suites at Marina Del Rey - Foto 53
Global Luxury Suites at Marina Del Rey - Foto 54
Global Luxury Suites at Marina Del Rey - Foto 55
Global Luxury Suites at Marina Del Rey - Foto 56
Global Luxury Suites at Marina Del Rey - Foto 57
Global Luxury Suites at Marina Del Rey - Foto 58
Global Luxury Suites at Marina Del Rey - Foto 59
Global Luxury Suites at Marina Del Rey - Foto 60
Global Luxury Suites at Marina Del Rey - Foto 61
Global Luxury Suites at Marina Del Rey - Foto 62
Global Luxury Suites at Marina Del Rey - Foto 63
Global Luxury Suites at Marina Del Rey - Foto 64
Global Luxury Suites at Marina Del Rey - Foto 65
Global Luxury Suites at Marina Del Rey - Foto 66
Global Luxury Suites at Marina Del Rey - Foto 67
Global Luxury Suites at Marina Del Rey - Foto 68
Global Luxury Suites at Marina Del Rey - Foto 69
Global Luxury Suites at Marina Del Rey - Foto 70

Global Luxury Suites at Marina Del Rey

Marina - Marina

  • 100 M2
  • 5 personas
  • Aire acondicionado
  • Calefacción
  • Terraza
  • Piscina
  • Parking
  • Ascensor
  • Jardín
  • Televisión
  • Lavadora
  • Barbacoa
  • Toallas
8.2Muy bueno | 87 reseñas
Casa Estrella by Oraklus - Foto 1
Casa Estrella by Oraklus - Foto 2
Casa Estrella by Oraklus - Foto 3
Casa Estrella by Oraklus - Foto 4
Casa Estrella by Oraklus - Foto 5
Casa Estrella by Oraklus - Foto 6
Casa Estrella by Oraklus - Foto 7
Casa Estrella by Oraklus - Foto 8
Casa Estrella by Oraklus - Foto 9
Casa Estrella by Oraklus - Foto 10
Casa Estrella by Oraklus - Foto 11
Casa Estrella by Oraklus - Foto 12
Casa Estrella by Oraklus - Foto 13
Casa Estrella by Oraklus - Foto 14
Casa Estrella by Oraklus - Foto 15
Casa Estrella by Oraklus - Foto 16
Casa Estrella by Oraklus - Foto 17
Casa Estrella by Oraklus - Foto 18
Casa Estrella by Oraklus - Foto 19
Casa Estrella by Oraklus - Foto 20
Casa Estrella by Oraklus - Foto 21
Casa Estrella by Oraklus - Foto 22
Casa Estrella by Oraklus - Foto 23
Casa Estrella by Oraklus - Foto 24
Casa Estrella by Oraklus - Foto 25
Casa Estrella by Oraklus - Foto 26
Casa Estrella by Oraklus - Foto 27
Casa Estrella by Oraklus - Foto 28
Casa Estrella by Oraklus - Foto 29
Casa Estrella by Oraklus - Foto 30
Casa Estrella by Oraklus - Foto 31
Casa Estrella by Oraklus - Foto 32
Casa Estrella by Oraklus - Foto 33
Casa Estrella by Oraklus - Foto 34
Casa Estrella by Oraklus - Foto 35
Casa Estrella by Oraklus - Foto 36
Casa Estrella by Oraklus - Foto 37
Casa Estrella by Oraklus - Foto 38
Casa Estrella by Oraklus - Foto 39
Casa Estrella by Oraklus - Foto 40
Casa Estrella by Oraklus - Foto 41
Casa Estrella by Oraklus - Foto 42
Casa Estrella by Oraklus - Foto 43
Casa Estrella by Oraklus - Foto 44
Casa Estrella by Oraklus - Foto 45
Casa Estrella by Oraklus - Foto 46
Casa Estrella by Oraklus - Foto 47
Casa Estrella by Oraklus - Foto 48
Casa Estrella by Oraklus - Foto 49
Casa Estrella by Oraklus - Foto 50
Casa Estrella by Oraklus - Foto 51
Casa Estrella by Oraklus - Foto 52
Casa Estrella by Oraklus - Foto 53
Casa Estrella by Oraklus - Foto 54
Casa Estrella by Oraklus - Foto 55
Casa Estrella by Oraklus - Foto 56
Casa Estrella by Oraklus - Foto 57
Casa Estrella by Oraklus - Foto 58
Casa Estrella by Oraklus - Foto 59
Casa Estrella by Oraklus - Foto 60
Casa Estrella by Oraklus - Foto 61
Casa Estrella by Oraklus - Foto 62
Casa Estrella by Oraklus - Foto 63
Casa Estrella by Oraklus - Foto 64
Casa Estrella by Oraklus - Foto 65
Casa Estrella by Oraklus - Foto 66
Casa Estrella by Oraklus - Foto 67
Casa Estrella by Oraklus - Foto 68
Casa Estrella by Oraklus - Foto 69
Casa Estrella by Oraklus - Foto 70
Casa Estrella by Oraklus - Foto 71
Casa Estrella by Oraklus - Foto 72
Casa Estrella by Oraklus - Foto 73
Casa Estrella by Oraklus - Foto 74
Casa Estrella by Oraklus - Foto 75
Casa Estrella by Oraklus - Foto 76
Casa Estrella by Oraklus - Foto 77
Casa Estrella by Oraklus - Foto 78
Casa Estrella by Oraklus - Foto 79
Casa Estrella by Oraklus - Foto 80

Casa Estrella by Oraklus

Los Ángeles - Carthay - A 10.9 km del centro

  • 10 personas
  • Aire acondicionado
  • Calefacción
  • Terraza
  • Piscina
  • Parking
  • Balcón
  • Jardín
  • Televisión
  • Barbacoa
  • Toallas
  • Sábanas
10Magnífico | 4 reseñas
Luxury Estate With Sparkling Pool & Elegant Amenities - Foto 1
Luxury Estate With Sparkling Pool & Elegant Amenities - Foto 2
Luxury Estate With Sparkling Pool & Elegant Amenities - Foto 3
Luxury Estate With Sparkling Pool & Elegant Amenities - Foto 4
Luxury Estate With Sparkling Pool & Elegant Amenities - Foto 5
Luxury Estate With Sparkling Pool & Elegant Amenities - Foto 6
Luxury Estate With Sparkling Pool & Elegant Amenities - Foto 7
Luxury Estate With Sparkling Pool & Elegant Amenities - Foto 8
Luxury Estate With Sparkling Pool & Elegant Amenities - Foto 9
Luxury Estate With Sparkling Pool & Elegant Amenities - Foto 10
Luxury Estate With Sparkling Pool & Elegant Amenities - Foto 11
Luxury Estate With Sparkling Pool & Elegant Amenities - Foto 12
Luxury Estate With Sparkling Pool & Elegant Amenities - Foto 13
Luxury Estate With Sparkling Pool & Elegant Amenities - Foto 14
Luxury Estate With Sparkling Pool & Elegant Amenities - Foto 15
Luxury Estate With Sparkling Pool & Elegant Amenities - Foto 16
Luxury Estate With Sparkling Pool & Elegant Amenities - Foto 17
Luxury Estate With Sparkling Pool & Elegant Amenities - Foto 18
Luxury Estate With Sparkling Pool & Elegant Amenities - Foto 19
Luxury Estate With Sparkling Pool & Elegant Amenities - Foto 20
Luxury Estate With Sparkling Pool & Elegant Amenities - Foto 21
Luxury Estate With Sparkling Pool & Elegant Amenities - Foto 22
Luxury Estate With Sparkling Pool & Elegant Amenities - Foto 23
Luxury Estate With Sparkling Pool & Elegant Amenities - Foto 24
Luxury Estate With Sparkling Pool & Elegant Amenities - Foto 25
Luxury Estate With Sparkling Pool & Elegant Amenities - Foto 26
Luxury Estate With Sparkling Pool & Elegant Amenities - Foto 27
Luxury Estate With Sparkling Pool & Elegant Amenities - Foto 28
Luxury Estate With Sparkling Pool & Elegant Amenities - Foto 29
Luxury Estate With Sparkling Pool & Elegant Amenities - Foto 30
Luxury Estate With Sparkling Pool & Elegant Amenities - Foto 31
Luxury Estate With Sparkling Pool & Elegant Amenities - Foto 32
Luxury Estate With Sparkling Pool & Elegant Amenities - Foto 33
Luxury Estate With Sparkling Pool & Elegant Amenities - Foto 34
Luxury Estate With Sparkling Pool & Elegant Amenities - Foto 35
Luxury Estate With Sparkling Pool & Elegant Amenities - Foto 36
Luxury Estate With Sparkling Pool & Elegant Amenities - Foto 37
Luxury Estate With Sparkling Pool & Elegant Amenities - Foto 38
Luxury Estate With Sparkling Pool & Elegant Amenities - Foto 39
Luxury Estate With Sparkling Pool & Elegant Amenities - Foto 40
Luxury Estate With Sparkling Pool & Elegant Amenities - Foto 41
Luxury Estate With Sparkling Pool & Elegant Amenities - Foto 42
Luxury Estate With Sparkling Pool & Elegant Amenities - Foto 43
Luxury Estate With Sparkling Pool & Elegant Amenities - Foto 44
Luxury Estate With Sparkling Pool & Elegant Amenities - Foto 45
Luxury Estate With Sparkling Pool & Elegant Amenities - Foto 46
Luxury Estate With Sparkling Pool & Elegant Amenities - Foto 47
Luxury Estate With Sparkling Pool & Elegant Amenities - Foto 48
Luxury Estate With Sparkling Pool & Elegant Amenities - Foto 49
Luxury Estate With Sparkling Pool & Elegant Amenities - Foto 50
Luxury Estate With Sparkling Pool & Elegant Amenities - Foto 51
Luxury Estate With Sparkling Pool & Elegant Amenities - Foto 52
Luxury Estate With Sparkling Pool & Elegant Amenities - Foto 53
Luxury Estate With Sparkling Pool & Elegant Amenities - Foto 54
Luxury Estate With Sparkling Pool & Elegant Amenities - Foto 55
Luxury Estate With Sparkling Pool & Elegant Amenities - Foto 56
Luxury Estate With Sparkling Pool & Elegant Amenities - Foto 57
Luxury Estate With Sparkling Pool & Elegant Amenities - Foto 58
Luxury Estate With Sparkling Pool & Elegant Amenities - Foto 59
Luxury Estate With Sparkling Pool & Elegant Amenities - Foto 60
Luxury Estate With Sparkling Pool & Elegant Amenities - Foto 61
Luxury Estate With Sparkling Pool & Elegant Amenities - Foto 62
Luxury Estate With Sparkling Pool & Elegant Amenities - Foto 63
Luxury Estate With Sparkling Pool & Elegant Amenities - Foto 64
Luxury Estate With Sparkling Pool & Elegant Amenities - Foto 65
Luxury Estate With Sparkling Pool & Elegant Amenities - Foto 66
Luxury Estate With Sparkling Pool & Elegant Amenities - Foto 67
Luxury Estate With Sparkling Pool & Elegant Amenities - Foto 68
Luxury Estate With Sparkling Pool & Elegant Amenities - Foto 69
Luxury Estate With Sparkling Pool & Elegant Amenities - Foto 70
Luxury Estate With Sparkling Pool & Elegant Amenities - Foto 71
Luxury Estate With Sparkling Pool & Elegant Amenities - Foto 72
Luxury Estate With Sparkling Pool & Elegant Amenities - Foto 73
Luxury Estate With Sparkling Pool & Elegant Amenities - Foto 74
Luxury Estate With Sparkling Pool & Elegant Amenities - Foto 75
Luxury Estate With Sparkling Pool & Elegant Amenities - Foto 76
Luxury Estate With Sparkling Pool & Elegant Amenities - Foto 77
Luxury Estate With Sparkling Pool & Elegant Amenities - Foto 78
Luxury Estate With Sparkling Pool & Elegant Amenities - Foto 79
Luxury Estate With Sparkling Pool & Elegant Amenities - Foto 80

Luxury Estate With Sparkling Pool & Elegant Amenities

Glendora - A 1.7 km del centro

  • 215 M2
  • 8 personas
  • Aire acondicionado
  • Calefacción
  • Terraza
  • Piscina
  • Parking
  • Televisión
  • Lavadora
  • Toallas
  • Sábanas
10Magnífico | 2 reseñas
Azusa - Foto 1
Azusa - Foto 2
Azusa - Foto 3
Azusa - Foto 4
Azusa - Foto 5
Azusa - Foto 6
Azusa - Foto 7
Azusa - Foto 8
Azusa - Foto 9
Azusa - Foto 10
Azusa - Foto 11
Azusa - Foto 12
Azusa - Foto 13
Azusa - Foto 14
Azusa - Foto 15
Azusa - Foto 16
Azusa - Foto 17
Azusa - Foto 18

Azusa

Azusa - A 670 m del centro

  • 167 M2
  • 2 habitaciones
  • 5 personas
  • Aire acondicionado
  • Terraza
  • Parking
  • Jardín
  • Barbacoa
9.8Excepcional | 11 reseñas
New built house in Los Angeles! - Foto 1
New built house in Los Angeles! - Foto 2
New built house in Los Angeles! - Foto 3
New built house in Los Angeles! - Foto 4
New built house in Los Angeles! - Foto 5
New built house in Los Angeles! - Foto 6
New built house in Los Angeles! - Foto 7
New built house in Los Angeles! - Foto 8
New built house in Los Angeles! - Foto 9
New built house in Los Angeles! - Foto 10
New built house in Los Angeles! - Foto 11
New built house in Los Angeles! - Foto 12
New built house in Los Angeles! - Foto 13
New built house in Los Angeles! - Foto 14
New built house in Los Angeles! - Foto 15

New built house in Los Angeles!

Van Nuys - Lake Balboa - A 5.9 km del centro

  • 64 M2
  • 1 habitación
  • 4 personas
  • Aire acondicionado
  • Terraza
  • Parking
9.8Excepcional | 20 reseñas
Warm and Welcoming - Foto 1
Warm and Welcoming - Foto 2
Warm and Welcoming - Foto 3
Warm and Welcoming - Foto 4
Warm and Welcoming - Foto 5
Warm and Welcoming - Foto 6
Warm and Welcoming - Foto 7
Warm and Welcoming - Foto 8
Warm and Welcoming - Foto 9
Warm and Welcoming - Foto 10
Warm and Welcoming - Foto 11
Warm and Welcoming - Foto 12
Warm and Welcoming - Foto 13
Warm and Welcoming - Foto 14
Warm and Welcoming - Foto 15
Warm and Welcoming - Foto 16
Warm and Welcoming - Foto 17
Warm and Welcoming - Foto 18
Warm and Welcoming - Foto 19
Warm and Welcoming - Foto 20
Warm and Welcoming - Foto 21
Warm and Welcoming - Foto 22
Warm and Welcoming - Foto 23
Warm and Welcoming - Foto 24

Warm and Welcoming

Los Ángeles - Mid-Wilshire - A 9.4 km del centro

  • 80 M2
  • 1 habitación
  • 4 personas
  • Aire acondicionado
  • Calefacción
  • Parking
  • Ascensor
  • Jardín
9.6Excepcional | 32 reseñas
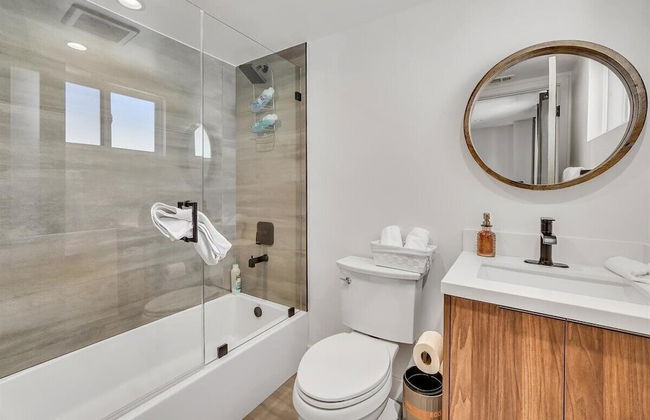
2Bed Apt View of Hollywood Sign & Rooftop Pool - Foto 1
2Bed Apt View of Hollywood Sign & Rooftop Pool - Foto 2
2Bed Apt View of Hollywood Sign & Rooftop Pool - Foto 3
2Bed Apt View of Hollywood Sign & Rooftop Pool - Foto 4
2Bed Apt View of Hollywood Sign & Rooftop Pool - Foto 5
2Bed Apt View of Hollywood Sign & Rooftop Pool - Foto 6
2Bed Apt View of Hollywood Sign & Rooftop Pool - Foto 7
2Bed Apt View of Hollywood Sign & Rooftop Pool - Foto 8
2Bed Apt View of Hollywood Sign & Rooftop Pool - Foto 9
2Bed Apt View of Hollywood Sign & Rooftop Pool - Foto 10
2Bed Apt View of Hollywood Sign & Rooftop Pool - Foto 11
2Bed Apt View of Hollywood Sign & Rooftop Pool - Foto 12
2Bed Apt View of Hollywood Sign & Rooftop Pool - Foto 13
2Bed Apt View of Hollywood Sign & Rooftop Pool - Foto 14
2Bed Apt View of Hollywood Sign & Rooftop Pool - Foto 15
2Bed Apt View of Hollywood Sign & Rooftop Pool - Foto 16
2Bed Apt View of Hollywood Sign & Rooftop Pool - Foto 17
2Bed Apt View of Hollywood Sign & Rooftop Pool - Foto 18
2Bed Apt View of Hollywood Sign & Rooftop Pool - Foto 19
2Bed Apt View of Hollywood Sign & Rooftop Pool - Foto 20
2Bed Apt View of Hollywood Sign & Rooftop Pool - Foto 21
2Bed Apt View of Hollywood Sign & Rooftop Pool - Foto 22
2Bed Apt View of Hollywood Sign & Rooftop Pool - Foto 23
2Bed Apt View of Hollywood Sign & Rooftop Pool - Foto 24
2Bed Apt View of Hollywood Sign & Rooftop Pool - Foto 25
2Bed Apt View of Hollywood Sign & Rooftop Pool - Foto 26
2Bed Apt View of Hollywood Sign & Rooftop Pool - Foto 27
2Bed Apt View of Hollywood Sign & Rooftop Pool - Foto 28
2Bed Apt View of Hollywood Sign & Rooftop Pool - Foto 29
2Bed Apt View of Hollywood Sign & Rooftop Pool - Foto 30
2Bed Apt View of Hollywood Sign & Rooftop Pool - Foto 31
2Bed Apt View of Hollywood Sign & Rooftop Pool - Foto 32
2Bed Apt View of Hollywood Sign & Rooftop Pool - Foto 33
2Bed Apt View of Hollywood Sign & Rooftop Pool - Foto 34
2Bed Apt View of Hollywood Sign & Rooftop Pool - Foto 35
2Bed Apt View of Hollywood Sign & Rooftop Pool - Foto 36
2Bed Apt View of Hollywood Sign & Rooftop Pool - Foto 37
2Bed Apt View of Hollywood Sign & Rooftop Pool - Foto 38
2Bed Apt View of Hollywood Sign & Rooftop Pool - Foto 39
2Bed Apt View of Hollywood Sign & Rooftop Pool - Foto 40
2Bed Apt View of Hollywood Sign & Rooftop Pool - Foto 41
2Bed Apt View of Hollywood Sign & Rooftop Pool - Foto 42

2Bed Apt View of Hollywood Sign & Rooftop Pool

Los Ángeles - Hollywood - A 8.2 km del centro

  • 93 M2
  • 2 habitaciones
  • 7 personas
  • Aire acondicionado
  • Calefacción
  • Piscina
  • Parking
  • Ascensor
10Magnífico | 9 reseñas
Venice Breeze Suites - Foto 1
Venice Breeze Suites - Foto 2
Venice Breeze Suites - Foto 3
Venice Breeze Suites - Foto 4
Venice Breeze Suites - Foto 5
Venice Breeze Suites - Foto 6
Venice Breeze Suites - Foto 7
Venice Breeze Suites - Foto 8
Venice Breeze Suites - Foto 9
Venice Breeze Suites - Foto 10
Venice Breeze Suites - Foto 11
Venice Breeze Suites - Foto 12
Venice Breeze Suites - Foto 13
Venice Breeze Suites - Foto 14
Venice Breeze Suites - Foto 15
Venice Breeze Suites - Foto 16
Venice Breeze Suites - Foto 17
Venice Breeze Suites - Foto 18
Venice Breeze Suites - Foto 19
Venice Breeze Suites - Foto 20
Venice Breeze Suites - Foto 21
Venice Breeze Suites - Foto 22
Venice Breeze Suites - Foto 23
Venice Breeze Suites - Foto 24
Venice Breeze Suites - Foto 25
Venice Breeze Suites - Foto 26
Venice Breeze Suites - Foto 27
Venice Breeze Suites - Foto 28
Venice Breeze Suites - Foto 29
Venice Breeze Suites - Foto 30
Venice Breeze Suites - Foto 31
Venice Breeze Suites - Foto 32
Venice Breeze Suites - Foto 33
Venice Breeze Suites - Foto 34
Venice Breeze Suites - Foto 35
Venice Breeze Suites - Foto 36
Venice Breeze Suites - Foto 37
Venice Breeze Suites - Foto 38
Venice Breeze Suites - Foto 39
Venice Breeze Suites - Foto 40
Venice Breeze Suites - Foto 41
Venice Breeze Suites - Foto 42

Venice Breeze Suites

Venice - Venice - En el centro

  • 4 personas
  • Cocina pequeña
  • Aire acondicionado
  • Calefacción
  • Terraza
  • Ascensor
  • Televisión
  • Toallas
  • Sábanas
8.4Muy bueno | 1836 reseñas
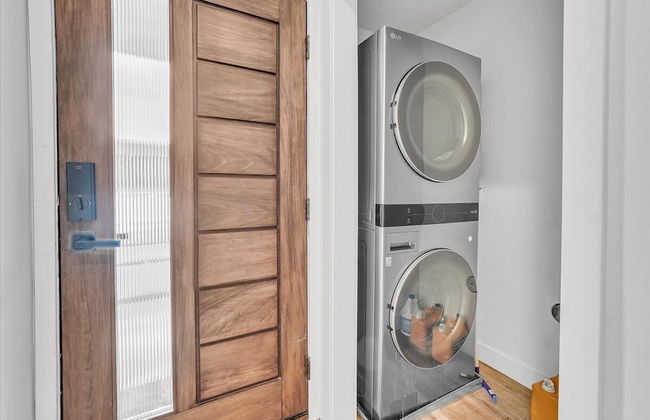
Stylish Sherman Oaks Townhouse 3bed + 3.5bath All Master Suites - Foto 1
Stylish Sherman Oaks Townhouse 3bed + 3.5bath All Master Suites - Foto 2
Stylish Sherman Oaks Townhouse 3bed + 3.5bath All Master Suites - Foto 3
Stylish Sherman Oaks Townhouse 3bed + 3.5bath All Master Suites - Foto 4
Stylish Sherman Oaks Townhouse 3bed + 3.5bath All Master Suites - Foto 5
Stylish Sherman Oaks Townhouse 3bed + 3.5bath All Master Suites - Foto 6
Stylish Sherman Oaks Townhouse 3bed + 3.5bath All Master Suites - Foto 7
Stylish Sherman Oaks Townhouse 3bed + 3.5bath All Master Suites - Foto 8
Stylish Sherman Oaks Townhouse 3bed + 3.5bath All Master Suites - Foto 9
Stylish Sherman Oaks Townhouse 3bed + 3.5bath All Master Suites - Foto 10
Stylish Sherman Oaks Townhouse 3bed + 3.5bath All Master Suites - Foto 11
Stylish Sherman Oaks Townhouse 3bed + 3.5bath All Master Suites - Foto 12
Stylish Sherman Oaks Townhouse 3bed + 3.5bath All Master Suites - Foto 13
Stylish Sherman Oaks Townhouse 3bed + 3.5bath All Master Suites - Foto 14
Stylish Sherman Oaks Townhouse 3bed + 3.5bath All Master Suites - Foto 15
Stylish Sherman Oaks Townhouse 3bed + 3.5bath All Master Suites - Foto 16
Stylish Sherman Oaks Townhouse 3bed + 3.5bath All Master Suites - Foto 17
Stylish Sherman Oaks Townhouse 3bed + 3.5bath All Master Suites - Foto 18
Stylish Sherman Oaks Townhouse 3bed + 3.5bath All Master Suites - Foto 19
Stylish Sherman Oaks Townhouse 3bed + 3.5bath All Master Suites - Foto 20
Stylish Sherman Oaks Townhouse 3bed + 3.5bath All Master Suites - Foto 21
Stylish Sherman Oaks Townhouse 3bed + 3.5bath All Master Suites - Foto 22
Stylish Sherman Oaks Townhouse 3bed + 3.5bath All Master Suites - Foto 23
Stylish Sherman Oaks Townhouse 3bed + 3.5bath All Master Suites - Foto 24
Stylish Sherman Oaks Townhouse 3bed + 3.5bath All Master Suites - Foto 25
Stylish Sherman Oaks Townhouse 3bed + 3.5bath All Master Suites - Foto 26
Stylish Sherman Oaks Townhouse 3bed + 3.5bath All Master Suites - Foto 27
Stylish Sherman Oaks Townhouse 3bed + 3.5bath All Master Suites - Foto 28
Stylish Sherman Oaks Townhouse 3bed + 3.5bath All Master Suites - Foto 29
Stylish Sherman Oaks Townhouse 3bed + 3.5bath All Master Suites - Foto 30
Stylish Sherman Oaks Townhouse 3bed + 3.5bath All Master Suites - Foto 31
Stylish Sherman Oaks Townhouse 3bed + 3.5bath All Master Suites - Foto 32
Stylish Sherman Oaks Townhouse 3bed + 3.5bath All Master Suites - Foto 33
Stylish Sherman Oaks Townhouse 3bed + 3.5bath All Master Suites - Foto 34
Stylish Sherman Oaks Townhouse 3bed + 3.5bath All Master Suites - Foto 35
Stylish Sherman Oaks Townhouse 3bed + 3.5bath All Master Suites - Foto 36
Stylish Sherman Oaks Townhouse 3bed + 3.5bath All Master Suites - Foto 37
Stylish Sherman Oaks Townhouse 3bed + 3.5bath All Master Suites - Foto 38
Stylish Sherman Oaks Townhouse 3bed + 3.5bath All Master Suites - Foto 39
Stylish Sherman Oaks Townhouse 3bed + 3.5bath All Master Suites - Foto 40
Stylish Sherman Oaks Townhouse 3bed + 3.5bath All Master Suites - Foto 41
Stylish Sherman Oaks Townhouse 3bed + 3.5bath All Master Suites - Foto 42
Stylish Sherman Oaks Townhouse 3bed + 3.5bath All Master Suites - Foto 43
Stylish Sherman Oaks Townhouse 3bed + 3.5bath All Master Suites - Foto 44
Stylish Sherman Oaks Townhouse 3bed + 3.5bath All Master Suites - Foto 45
Stylish Sherman Oaks Townhouse 3bed + 3.5bath All Master Suites - Foto 46
Stylish Sherman Oaks Townhouse 3bed + 3.5bath All Master Suites - Foto 47
Stylish Sherman Oaks Townhouse 3bed + 3.5bath All Master Suites - Foto 48
Stylish Sherman Oaks Townhouse 3bed + 3.5bath All Master Suites - Foto 49
Stylish Sherman Oaks Townhouse 3bed + 3.5bath All Master Suites - Foto 50
Stylish Sherman Oaks Townhouse 3bed + 3.5bath All Master Suites - Foto 51
Stylish Sherman Oaks Townhouse 3bed + 3.5bath All Master Suites - Foto 52
Stylish Sherman Oaks Townhouse 3bed + 3.5bath All Master Suites - Foto 53
Stylish Sherman Oaks Townhouse 3bed + 3.5bath All Master Suites - Foto 54
Stylish Sherman Oaks Townhouse 3bed + 3.5bath All Master Suites - Foto 55
Stylish Sherman Oaks Townhouse 3bed + 3.5bath All Master Suites - Foto 56
Stylish Sherman Oaks Townhouse 3bed + 3.5bath All Master Suites - Foto 57
Stylish Sherman Oaks Townhouse 3bed + 3.5bath All Master Suites - Foto 58
Stylish Sherman Oaks Townhouse 3bed + 3.5bath All Master Suites - Foto 59
Stylish Sherman Oaks Townhouse 3bed + 3.5bath All Master Suites - Foto 60
Stylish Sherman Oaks Townhouse 3bed + 3.5bath All Master Suites - Foto 61
Stylish Sherman Oaks Townhouse 3bed + 3.5bath All Master Suites - Foto 62
Stylish Sherman Oaks Townhouse 3bed + 3.5bath All Master Suites - Foto 63
Stylish Sherman Oaks Townhouse 3bed + 3.5bath All Master Suites - Foto 64
Stylish Sherman Oaks Townhouse 3bed + 3.5bath All Master Suites - Foto 65
Stylish Sherman Oaks Townhouse 3bed + 3.5bath All Master Suites - Foto 66
Stylish Sherman Oaks Townhouse 3bed + 3.5bath All Master Suites - Foto 67
Stylish Sherman Oaks Townhouse 3bed + 3.5bath All Master Suites - Foto 68
Stylish Sherman Oaks Townhouse 3bed + 3.5bath All Master Suites - Foto 69
Stylish Sherman Oaks Townhouse 3bed + 3.5bath All Master Suites - Foto 70
Stylish Sherman Oaks Townhouse 3bed + 3.5bath All Master Suites - Foto 71
Stylish Sherman Oaks Townhouse 3bed + 3.5bath All Master Suites - Foto 72
Stylish Sherman Oaks Townhouse 3bed + 3.5bath All Master Suites - Foto 73
Stylish Sherman Oaks Townhouse 3bed + 3.5bath All Master Suites - Foto 74
Stylish Sherman Oaks Townhouse 3bed + 3.5bath All Master Suites - Foto 75
Stylish Sherman Oaks Townhouse 3bed + 3.5bath All Master Suites - Foto 76
Stylish Sherman Oaks Townhouse 3bed + 3.5bath All Master Suites - Foto 77
Stylish Sherman Oaks Townhouse 3bed + 3.5bath All Master Suites - Foto 78
Stylish Sherman Oaks Townhouse 3bed + 3.5bath All Master Suites - Foto 79
Stylish Sherman Oaks Townhouse 3bed + 3.5bath All Master Suites - Foto 80
Stylish Sherman Oaks Townhouse 3bed + 3.5bath All Master Suites - Foto 81
Stylish Sherman Oaks Townhouse 3bed + 3.5bath All Master Suites - Foto 82
Stylish Sherman Oaks Townhouse 3bed + 3.5bath All Master Suites - Foto 83
Stylish Sherman Oaks Townhouse 3bed + 3.5bath All Master Suites - Foto 84
Stylish Sherman Oaks Townhouse 3bed + 3.5bath All Master Suites - Foto 85
Stylish Sherman Oaks Townhouse 3bed + 3.5bath All Master Suites - Foto 86
Stylish Sherman Oaks Townhouse 3bed + 3.5bath All Master Suites - Foto 87
Stylish Sherman Oaks Townhouse 3bed + 3.5bath All Master Suites - Foto 88
Stylish Sherman Oaks Townhouse 3bed + 3.5bath All Master Suites - Foto 89
Stylish Sherman Oaks Townhouse 3bed + 3.5bath All Master Suites - Foto 90
Stylish Sherman Oaks Townhouse 3bed + 3.5bath All Master Suites - Foto 91
Stylish Sherman Oaks Townhouse 3bed + 3.5bath All Master Suites - Foto 92
Stylish Sherman Oaks Townhouse 3bed + 3.5bath All Master Suites - Foto 93
Stylish Sherman Oaks Townhouse 3bed + 3.5bath All Master Suites - Foto 94
Stylish Sherman Oaks Townhouse 3bed + 3.5bath All Master Suites - Foto 95
Stylish Sherman Oaks Townhouse 3bed + 3.5bath All Master Suites - Foto 96
Stylish Sherman Oaks Townhouse 3bed + 3.5bath All Master Suites - Foto 97
Stylish Sherman Oaks Townhouse 3bed + 3.5bath All Master Suites - Foto 98
Stylish Sherman Oaks Townhouse 3bed + 3.5bath All Master Suites - Foto 99
Stylish Sherman Oaks Townhouse 3bed + 3.5bath All Master Suites - Foto 100
Stylish Sherman Oaks Townhouse 3bed + 3.5bath All Master Suites - Foto 101
Stylish Sherman Oaks Townhouse 3bed + 3.5bath All Master Suites - Foto 102

Stylish Sherman Oaks Townhouse 3bed + 3.5bath All Master Suites

Van Nuys - Sherman Oaks - A 1.5 km del centro

  • 149 M2
  • 3 habitaciones
  • 8 personas
  • Aire acondicionado
  • Calefacción
  • Parking
  • Televisión
  • Lavadora
  • Toallas
  • Sábanas
9.8Excepcional | 6 reseñas
Destinos relacionados