15 Apartamentos en Staveley

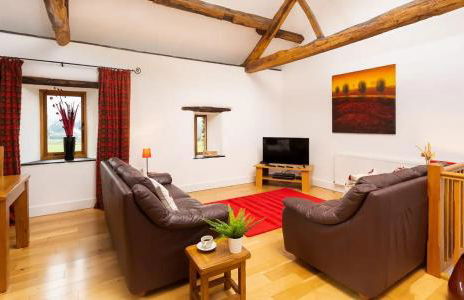


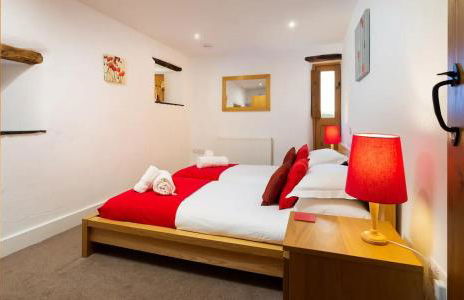
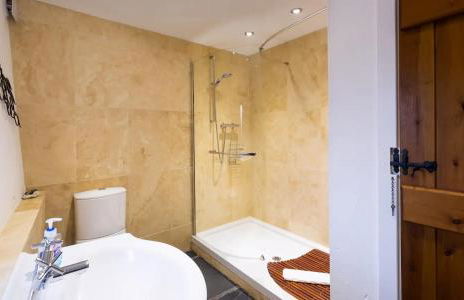
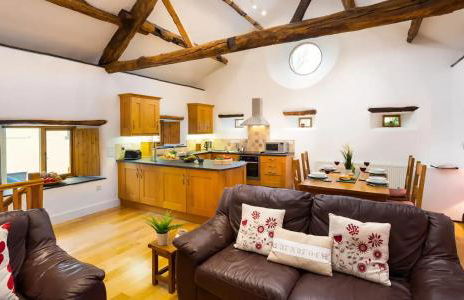


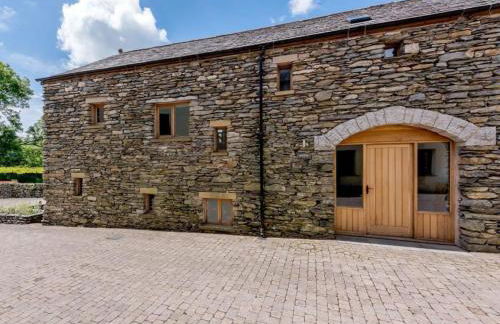

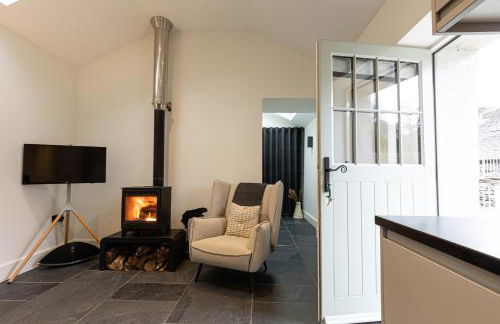


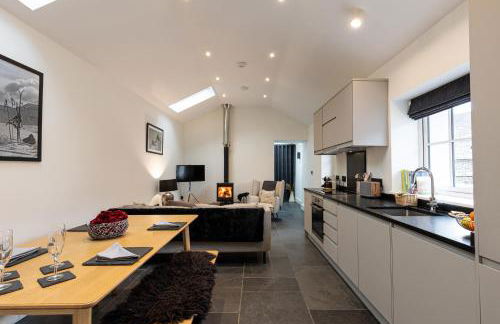

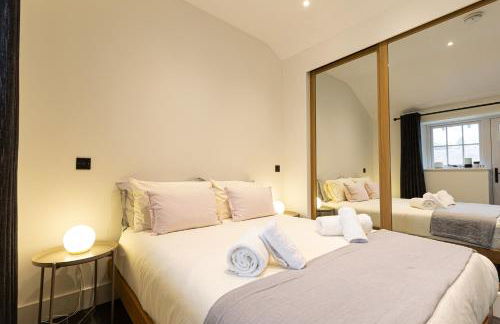


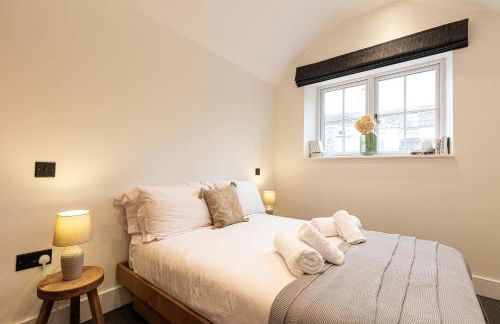

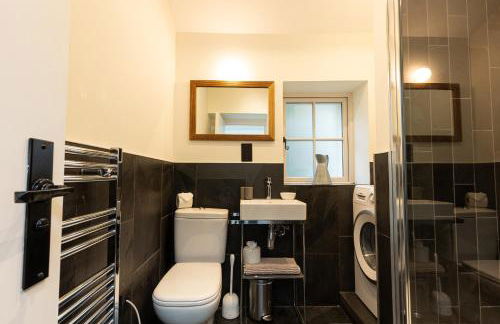
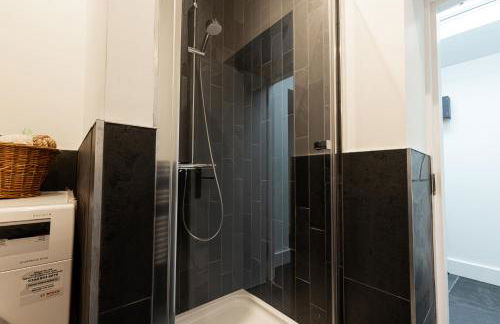


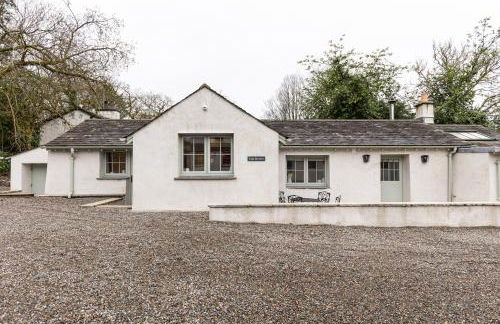


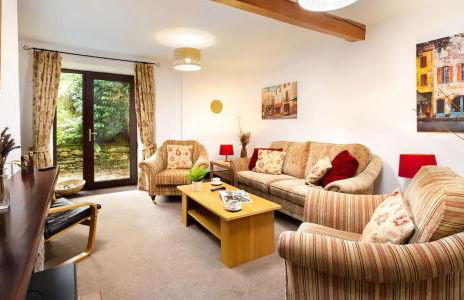


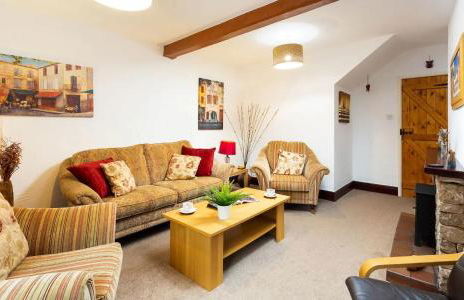


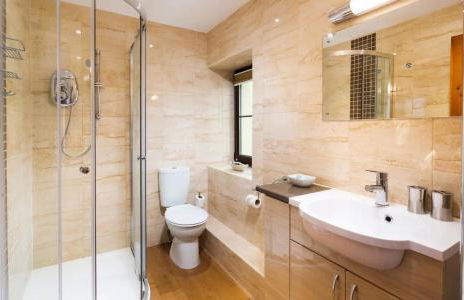

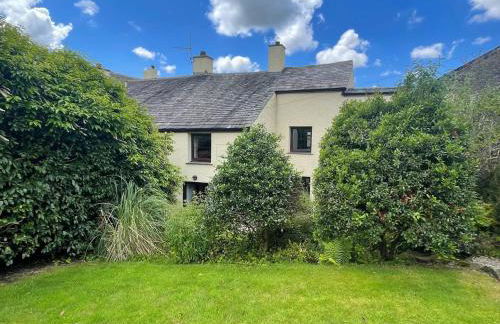
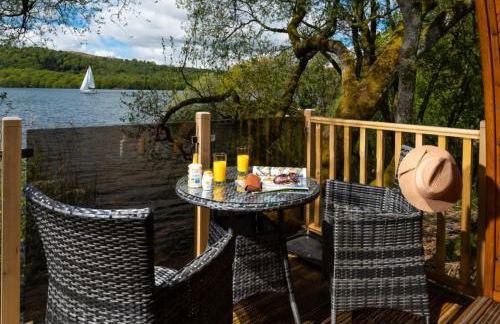
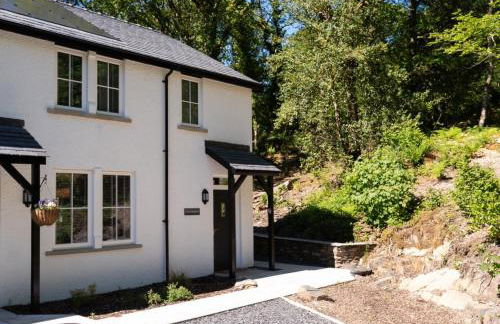
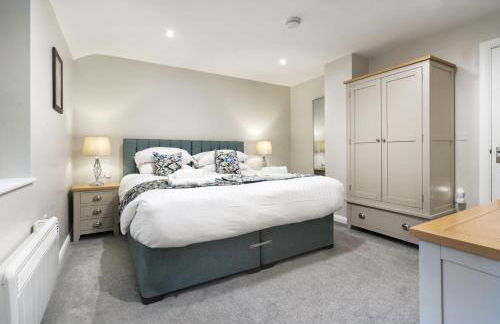
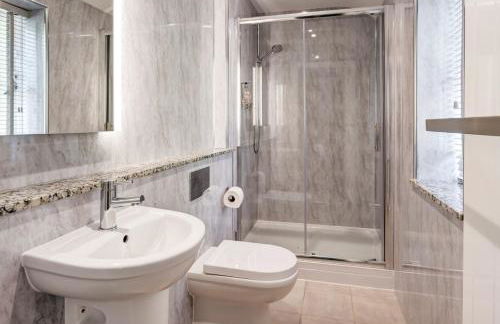
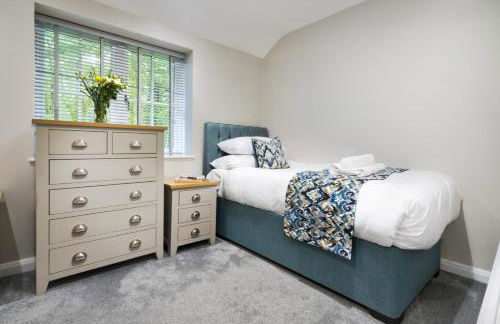
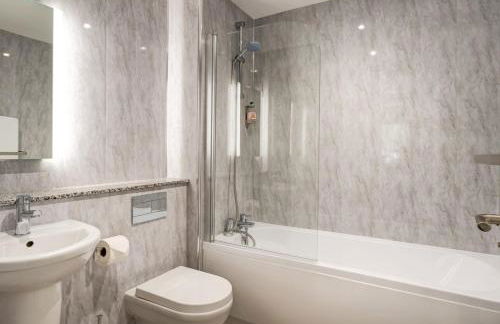
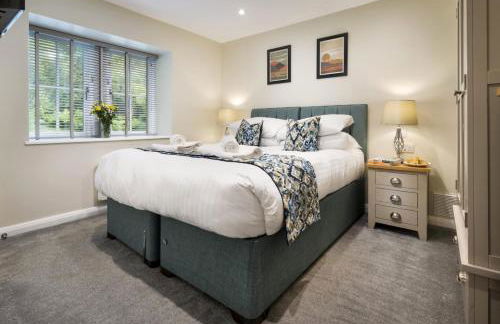
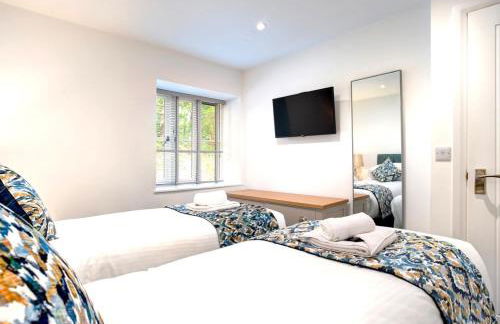
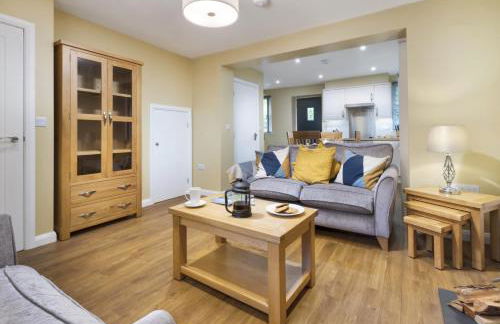
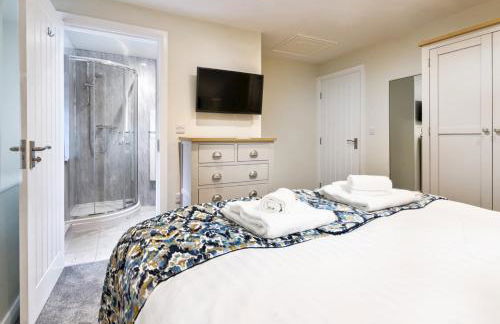
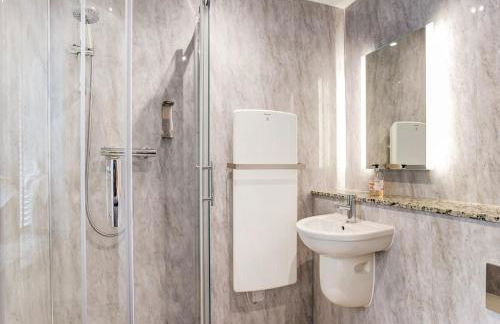
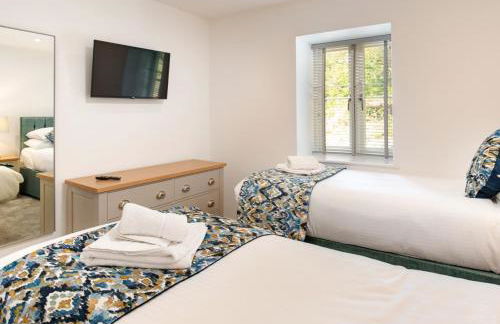
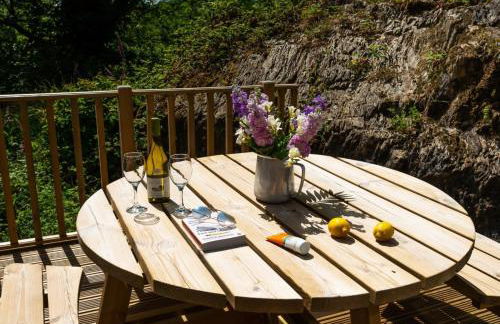
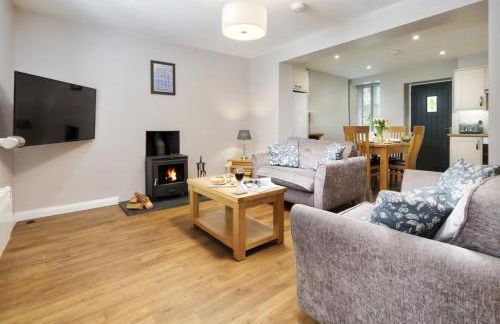
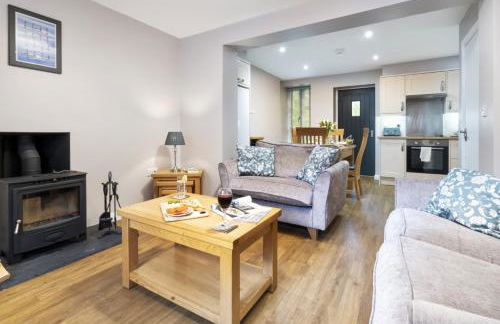
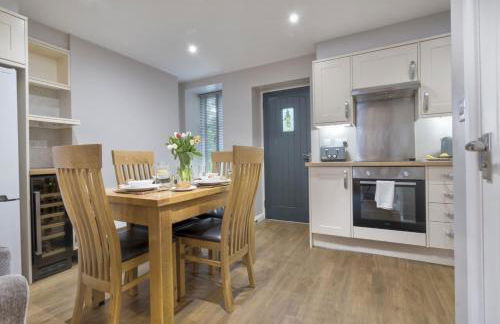
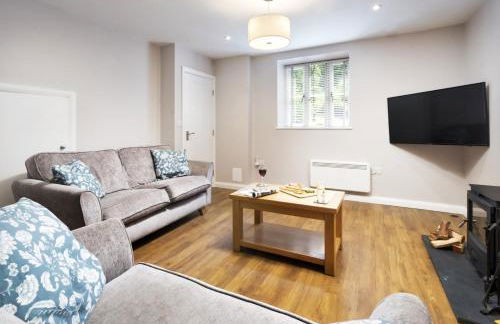
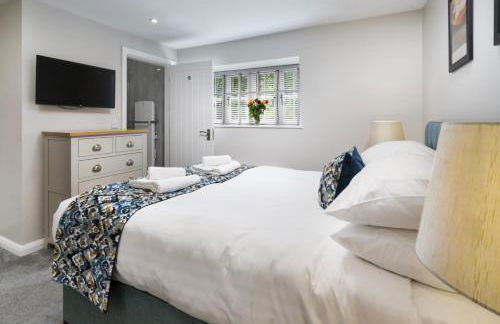
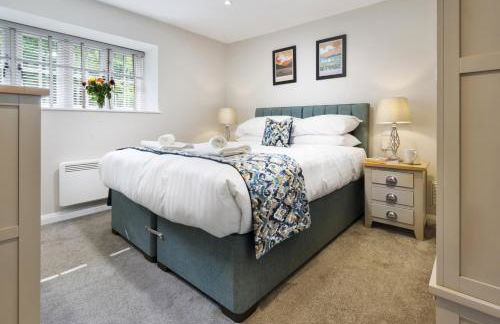
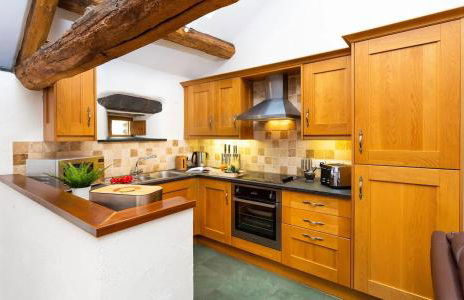
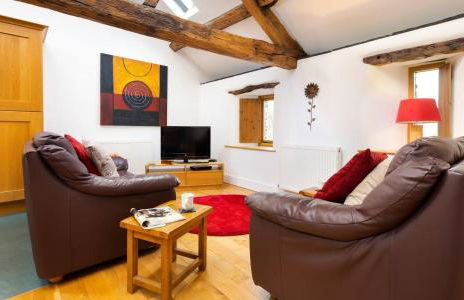
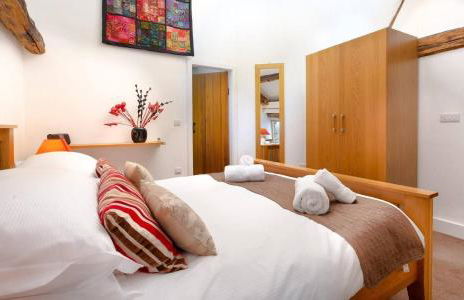
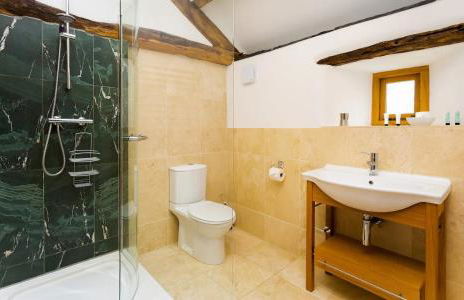
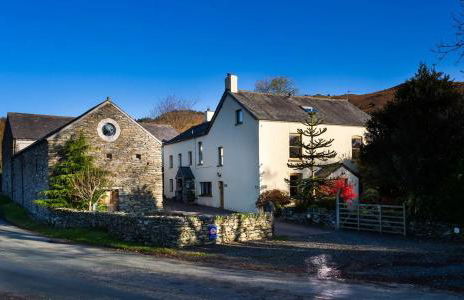
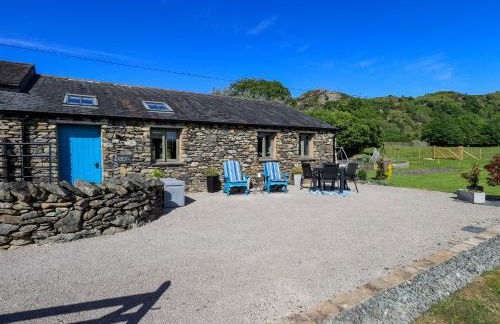
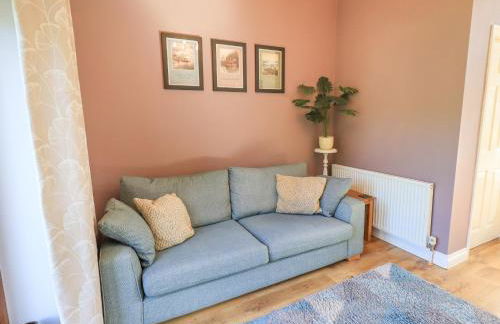
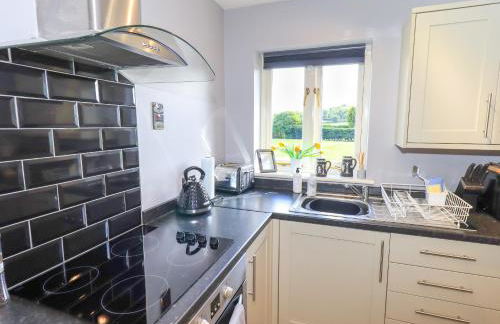
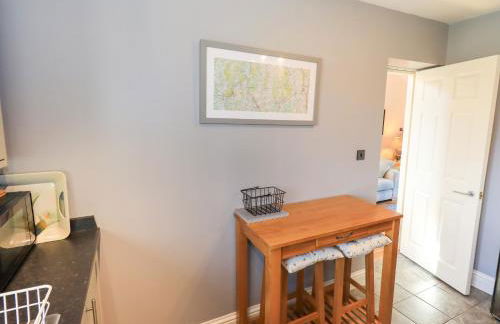
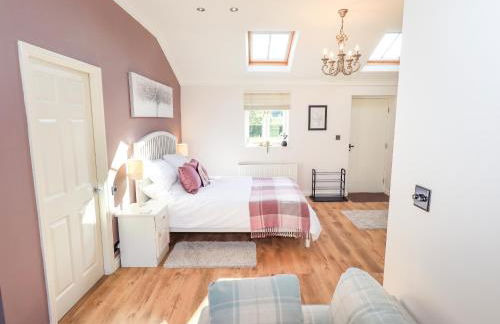
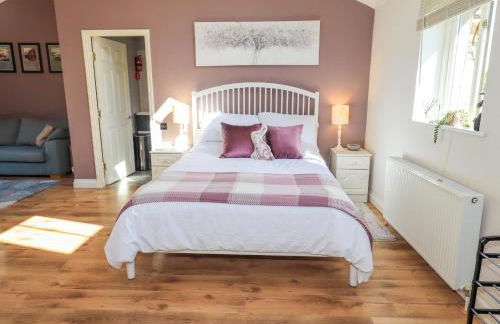
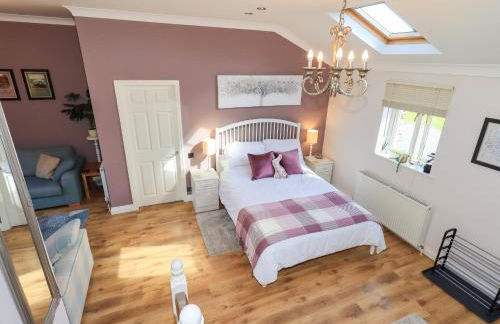
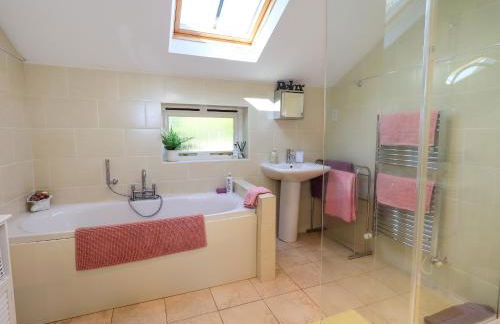
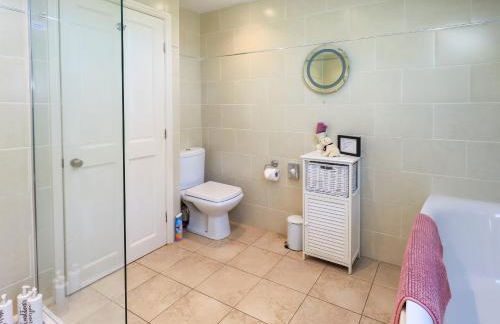
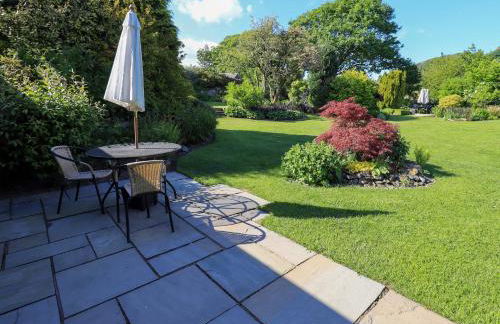
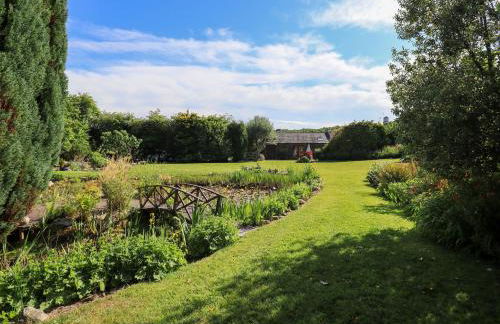
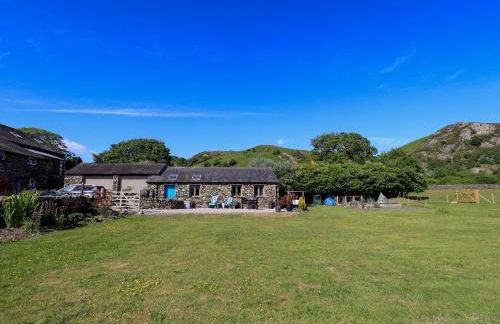
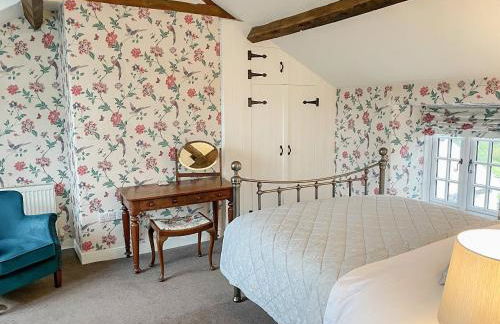
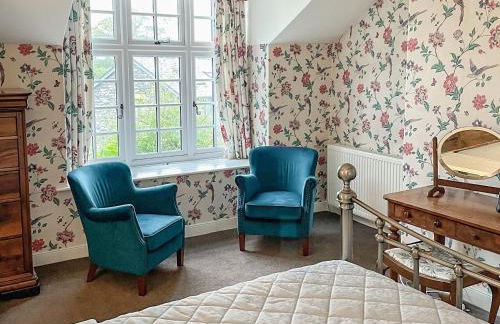
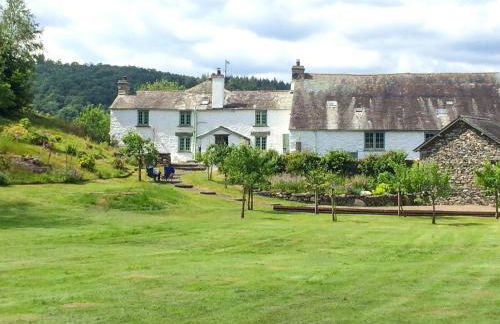
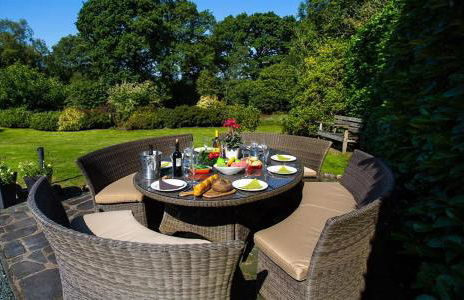
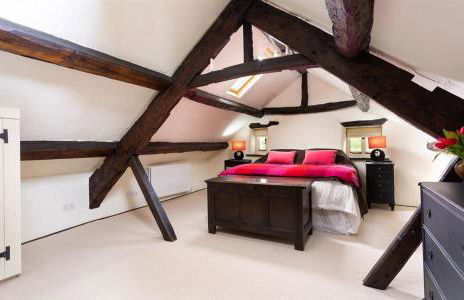
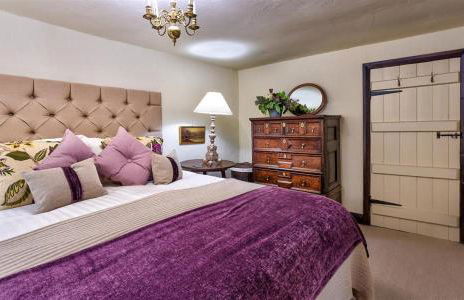
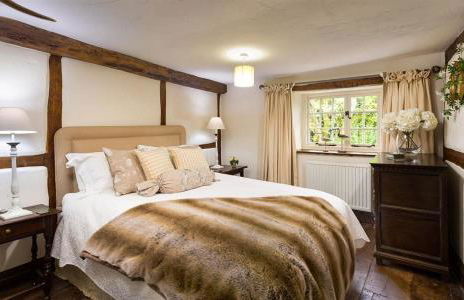
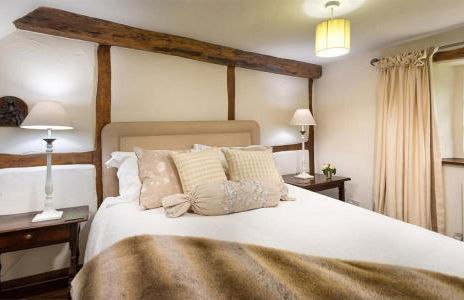
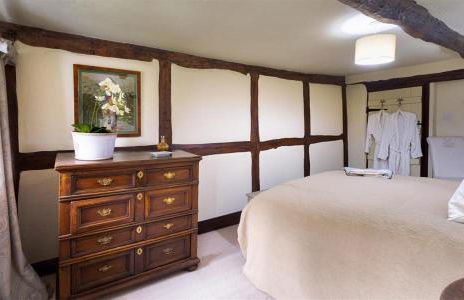
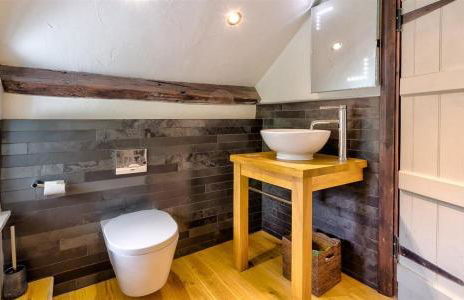
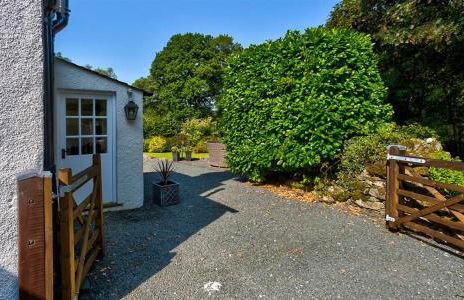
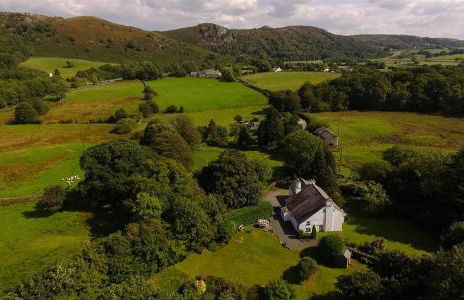
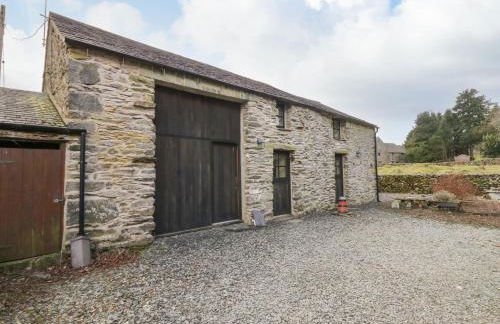
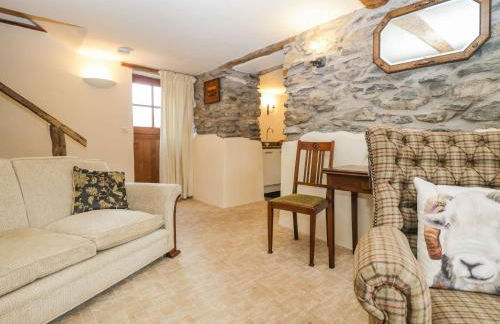
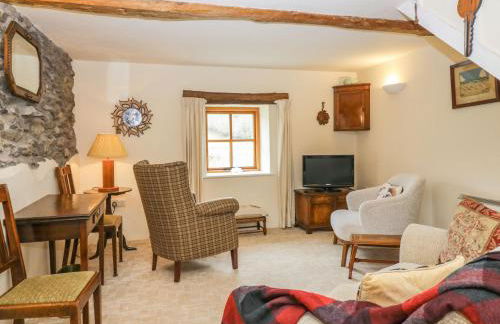
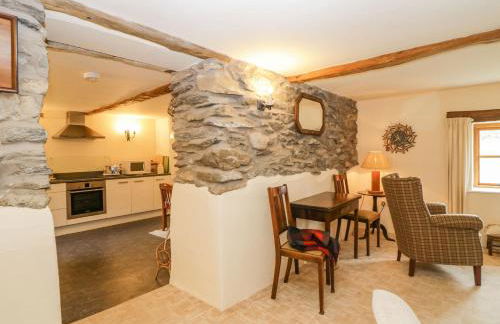
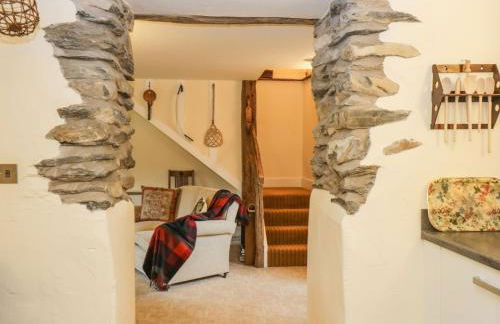
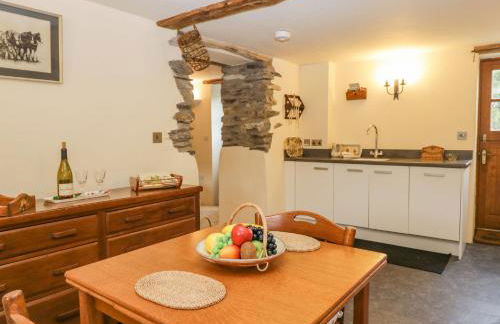
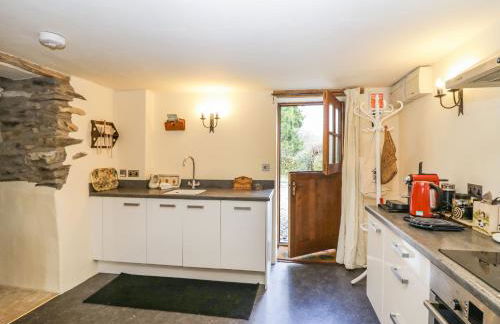
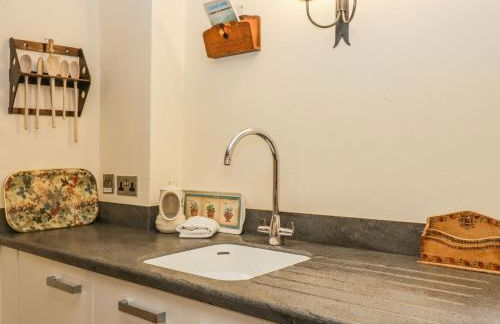
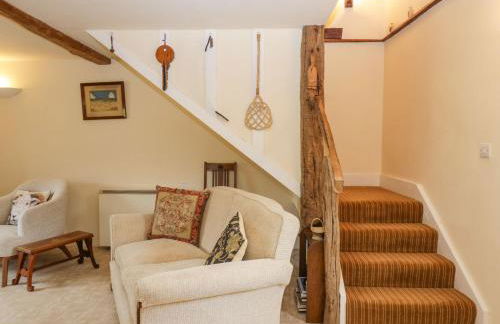
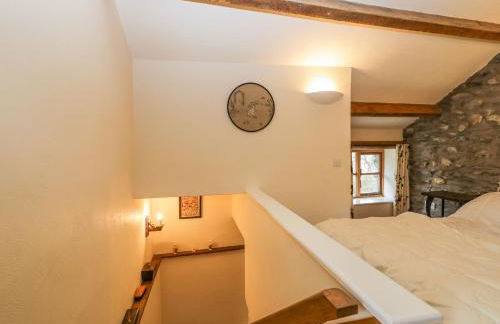
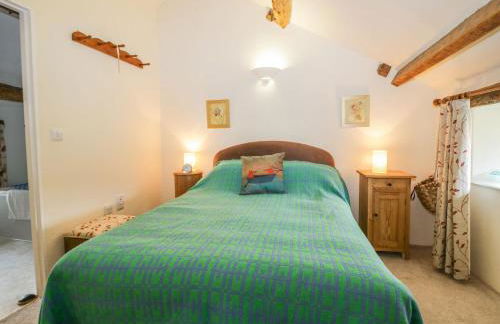
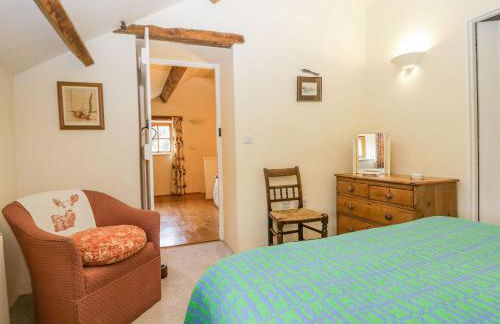
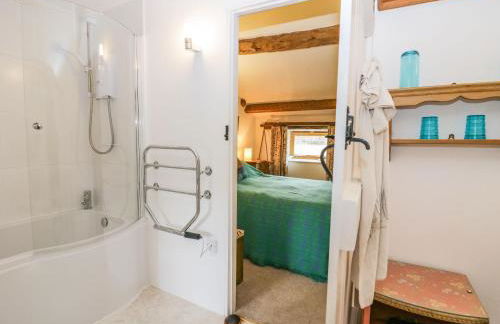
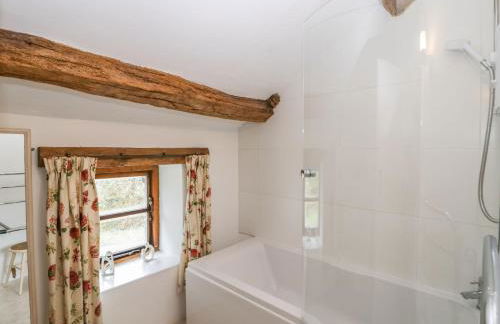
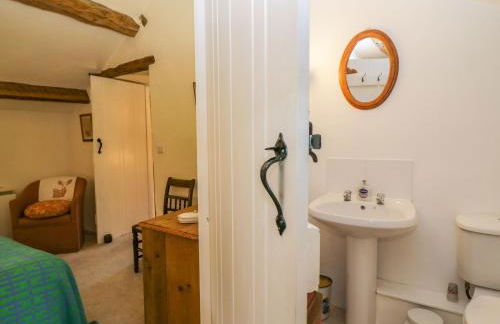
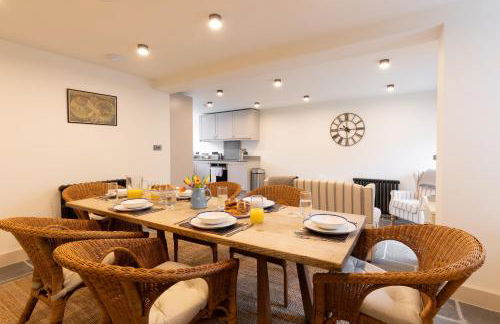
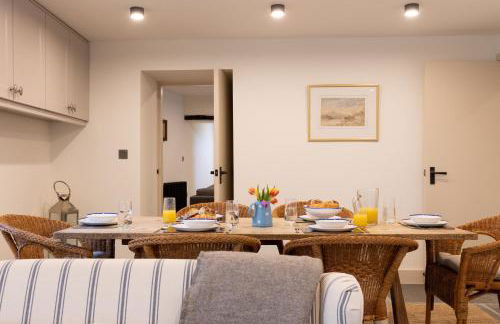
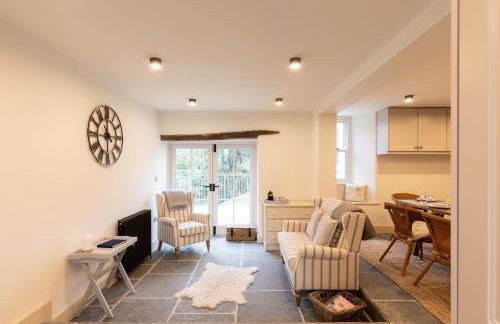
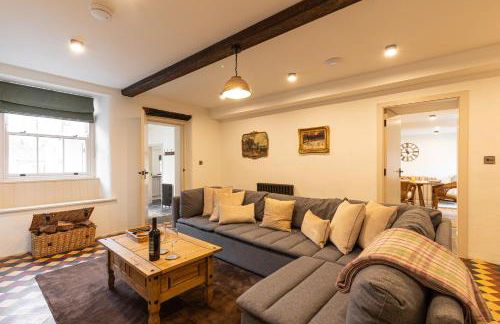
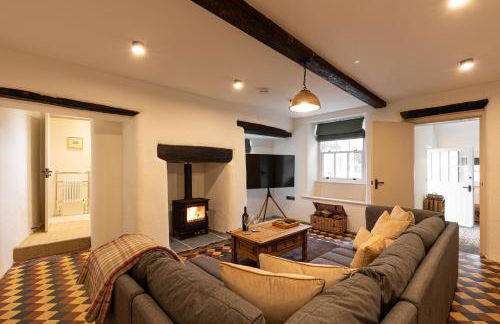
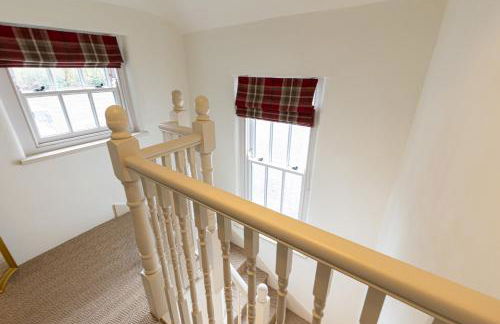
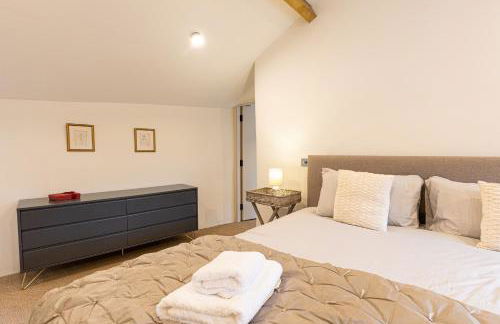
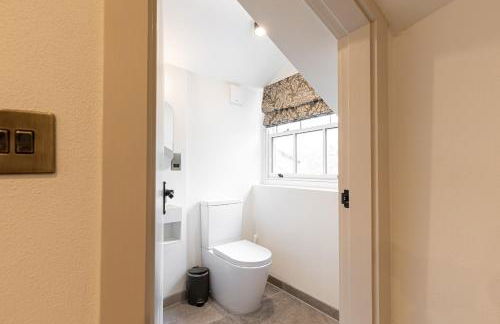
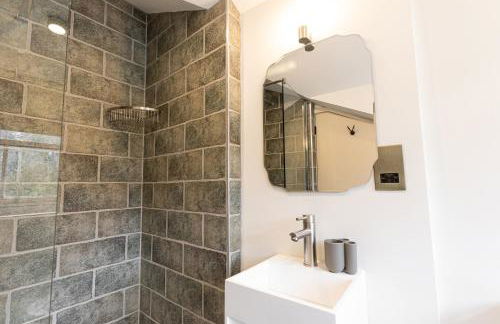
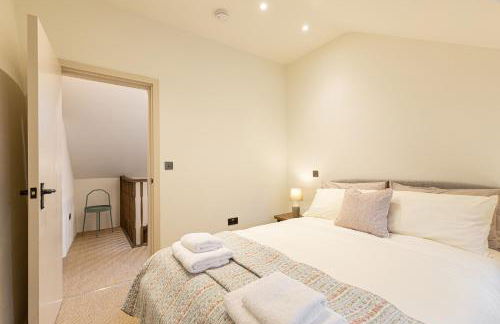
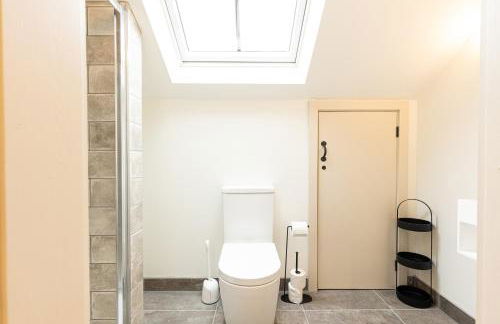
Old Barn Cottage
Ulverston - Staveley
- 105 M2
- 2 habitaciones
- 5 personas
- Calefacción
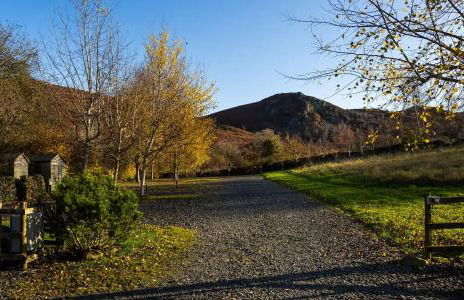
- Parking
- Jardín
33 reseñas


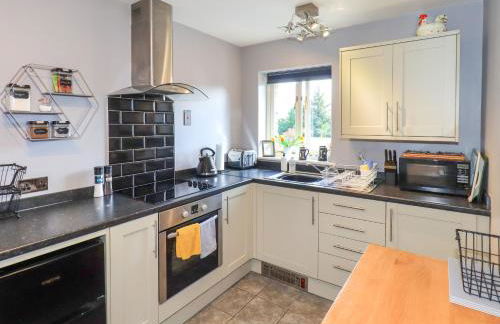
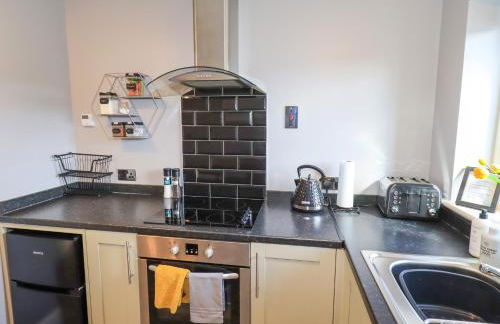


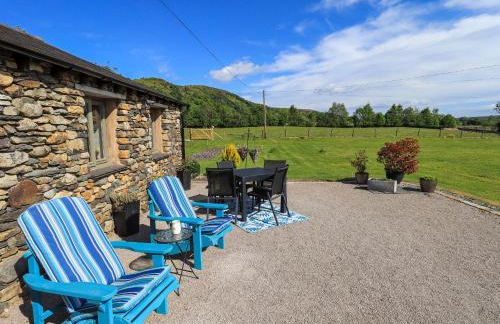


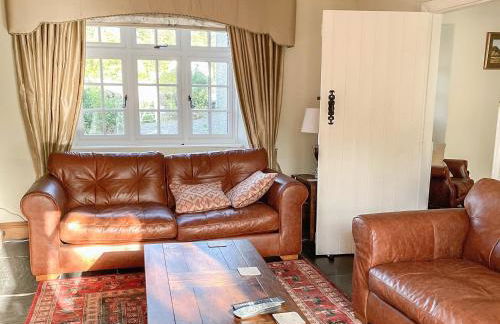


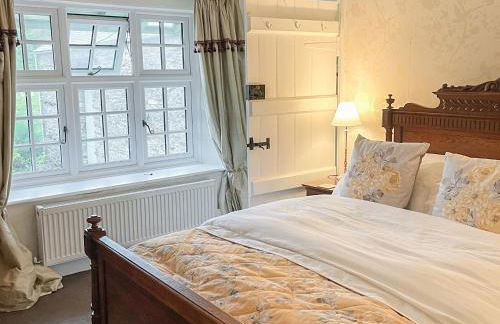


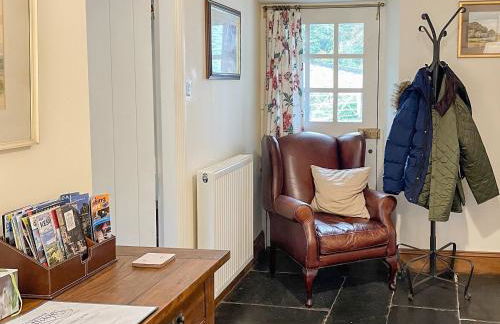


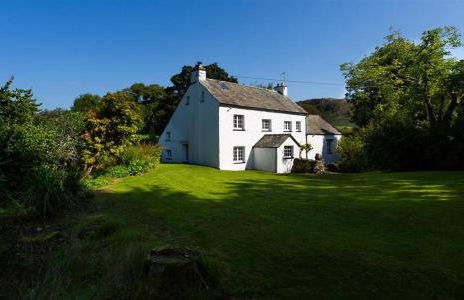


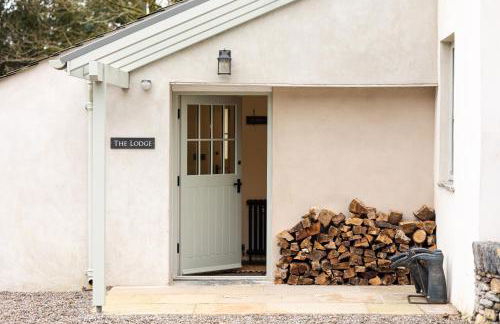


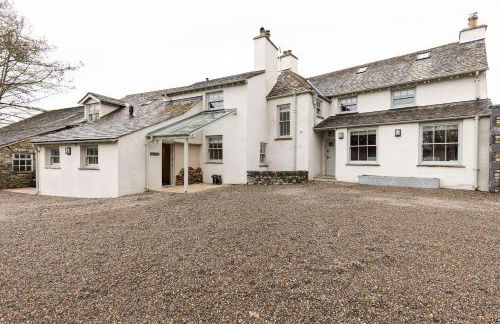


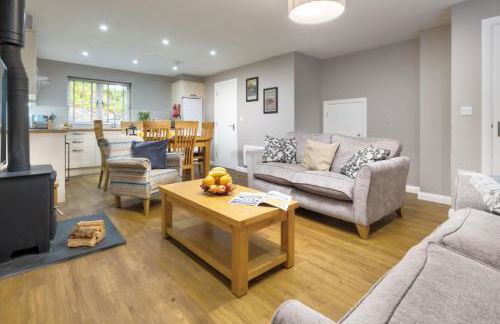
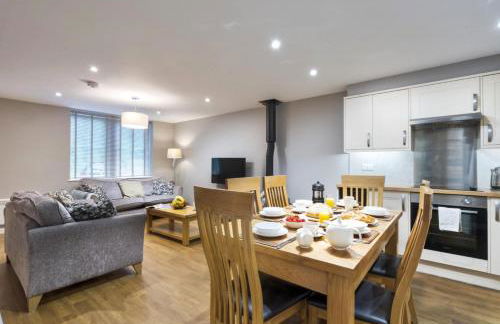
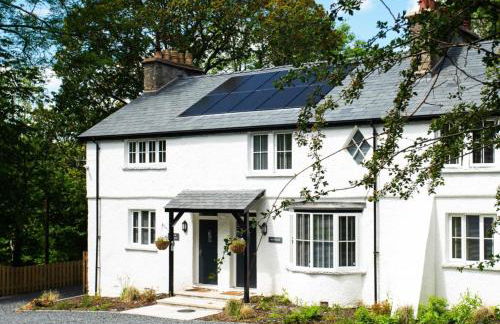
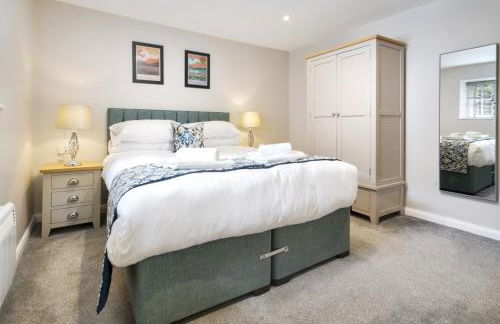
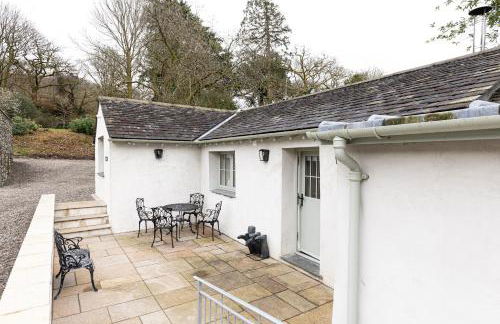
Host Stay Prospect Cottage
Ulverston - Staveley
- 6 personas
- Calefacción
- Parking
- Jardín
- Televisión
- Lavadora
- Chimenea
- Toallas
- Sábanas
1 reseña