
32 Apartamentos en Umberleigh
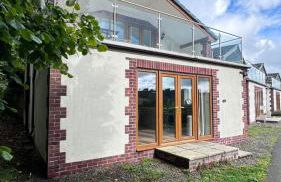
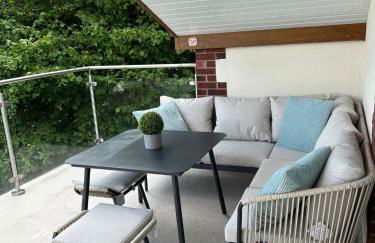
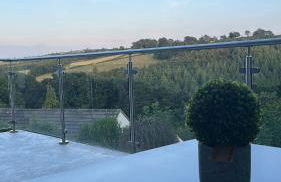
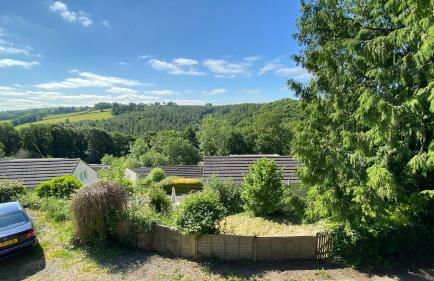


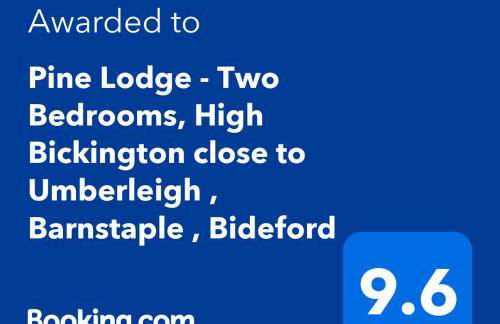
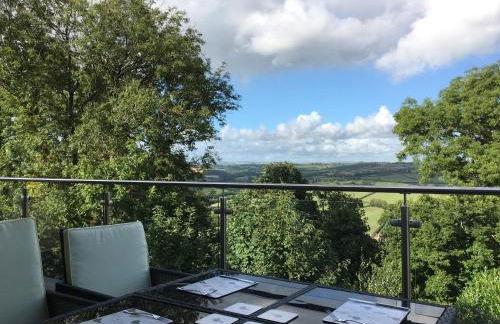
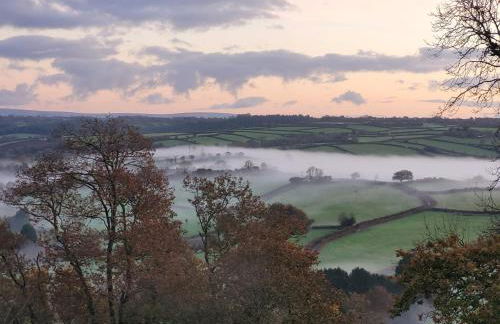
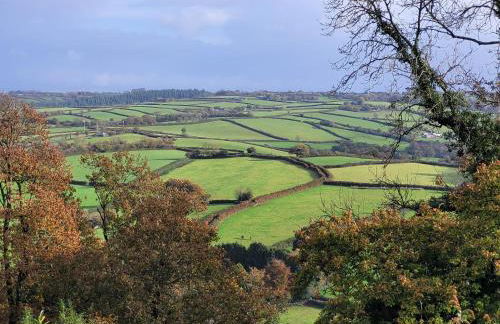
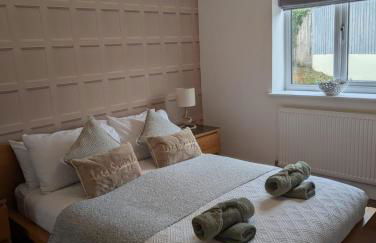
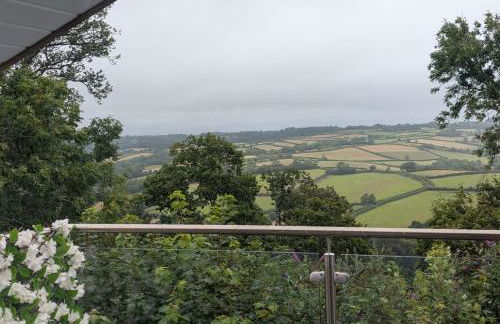
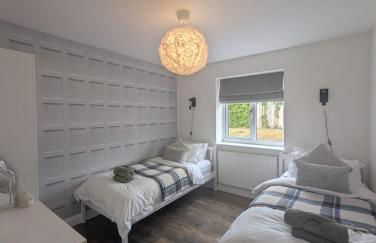
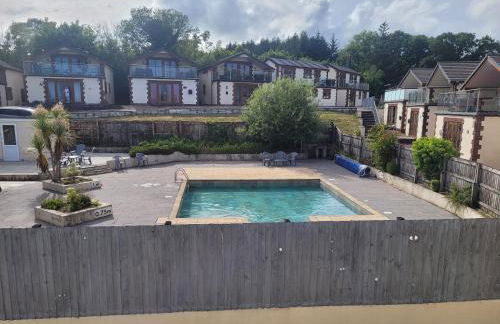
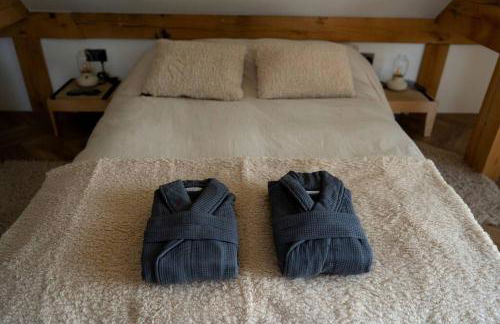
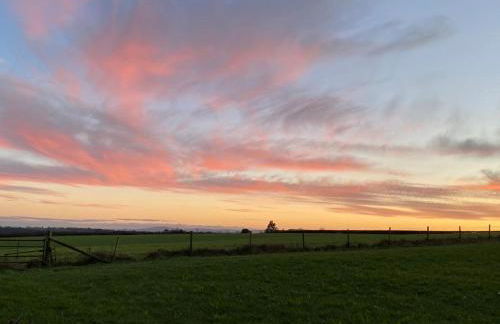
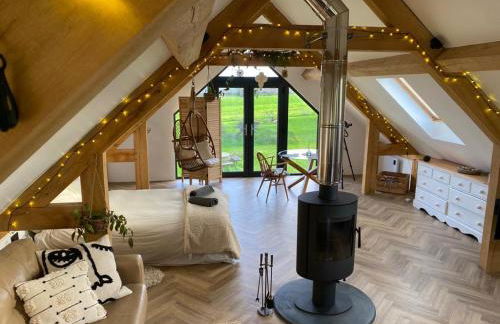
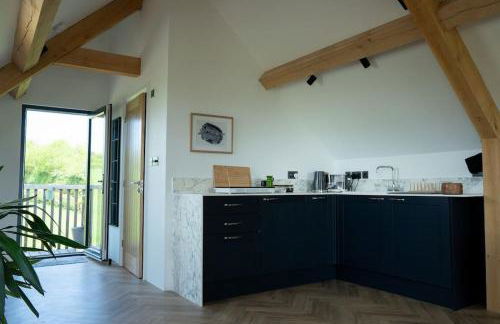
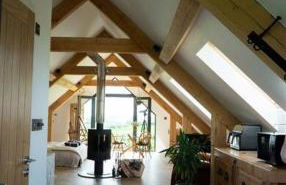
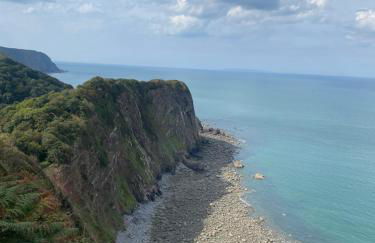
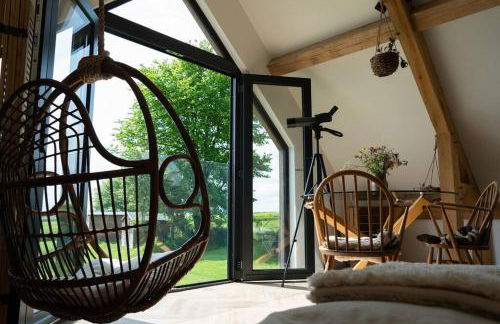
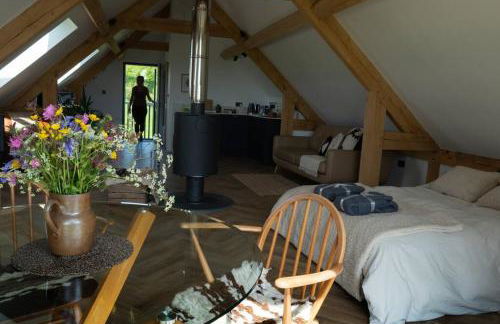
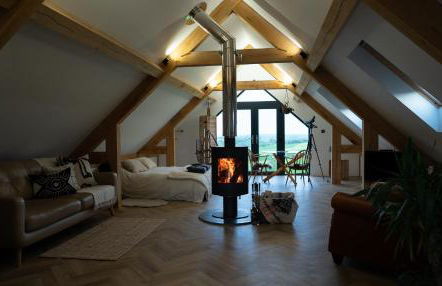
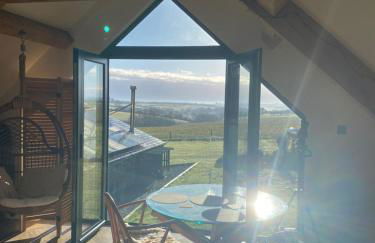
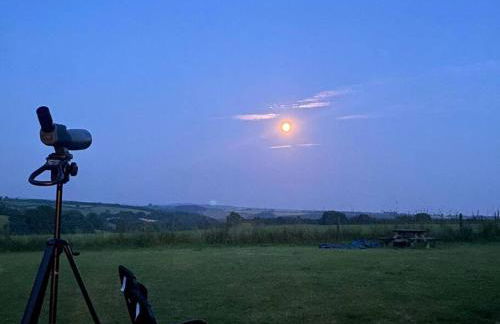
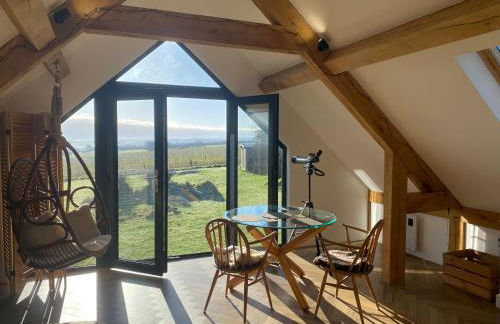
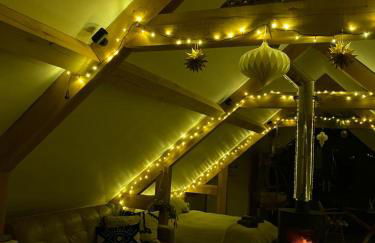
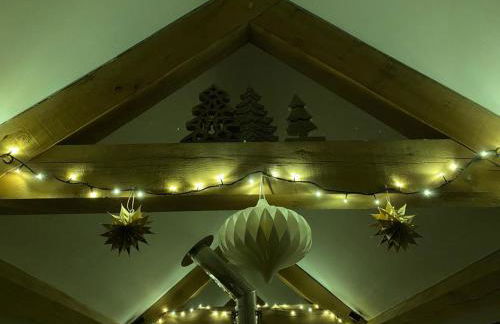
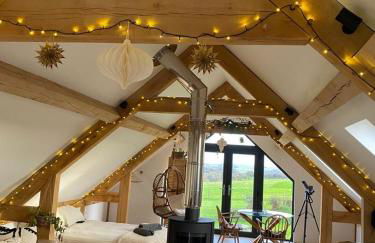
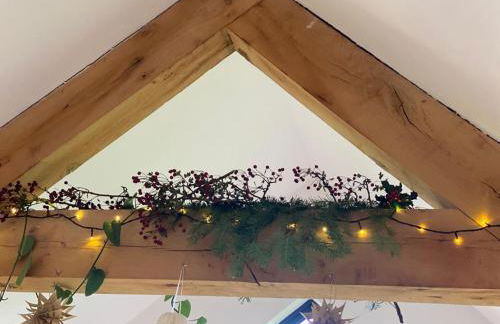
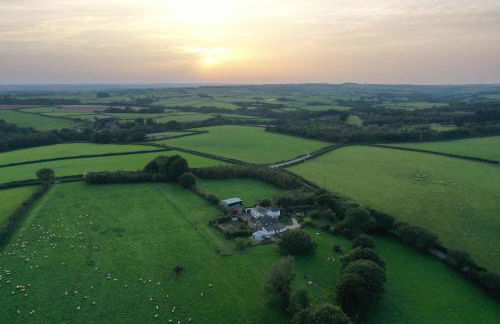
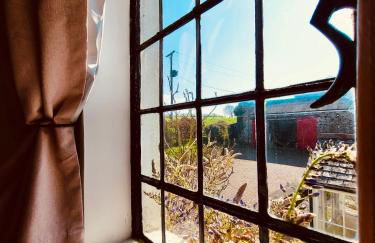
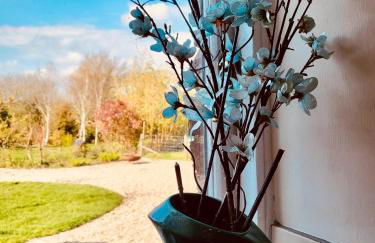
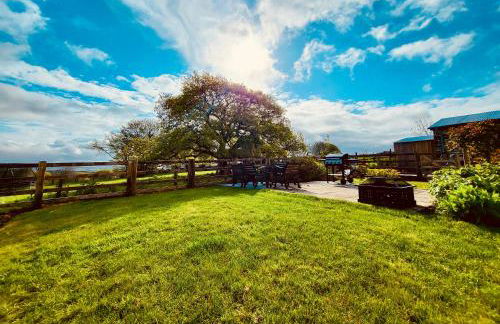
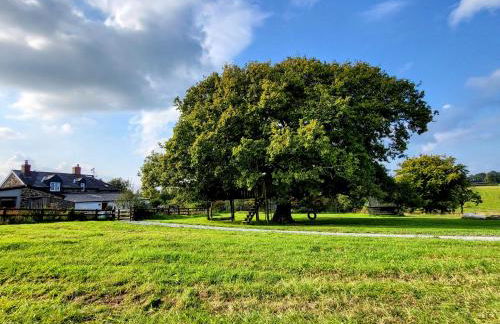
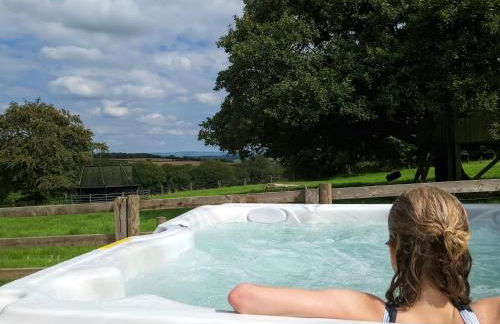
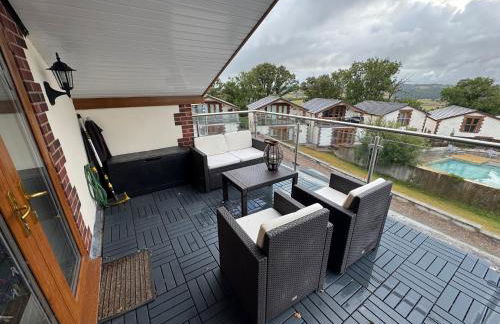
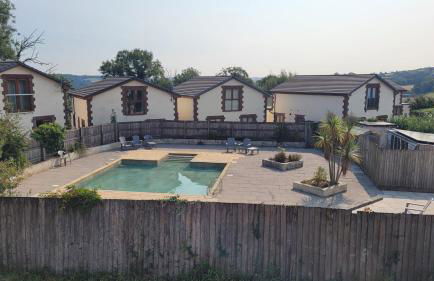
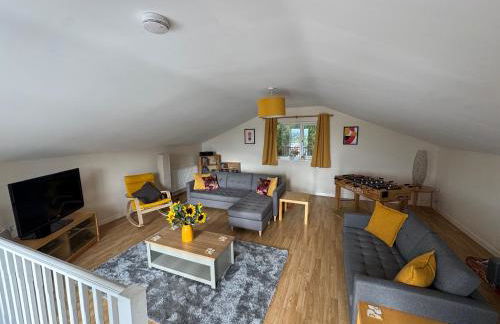
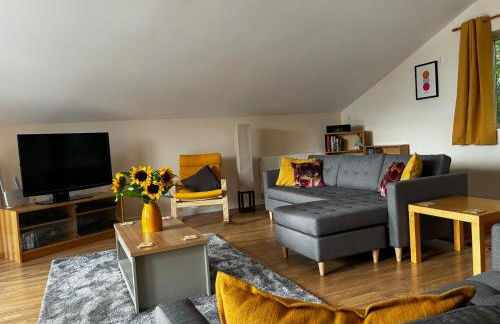
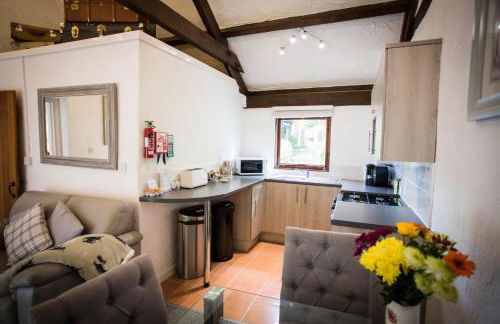
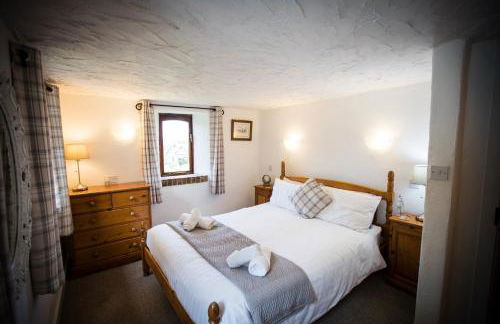
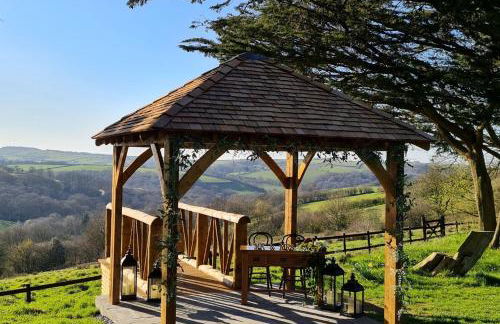
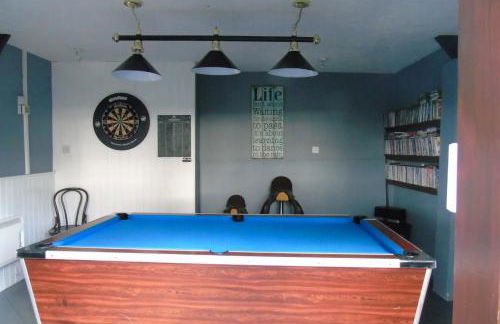
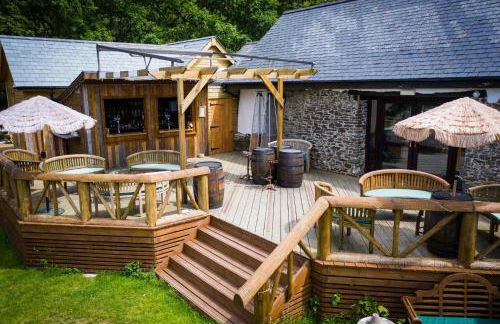
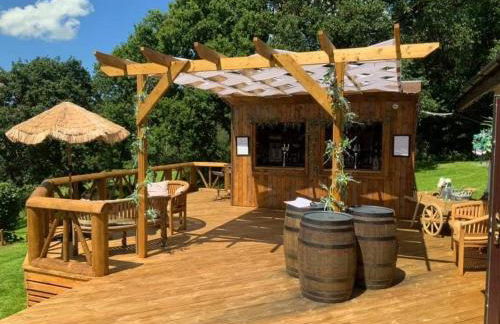
Tranquil North Devon Lodge - 2BR, Countryside Views & Pool, High Bickington close to Umberleigh, Barnstaple, Bideford & Westward Ho
Umberleigh - Umberleigh
- 92 M2
- 2 habitaciones
- 4 personas
- Terraza
- Piscina
- Parking
- Jardín
23 reseñas
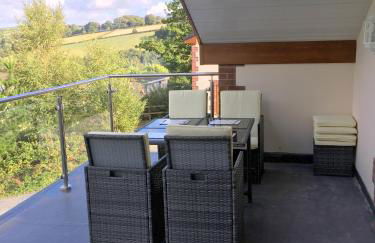
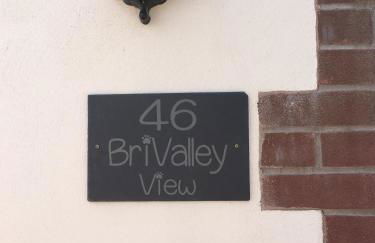

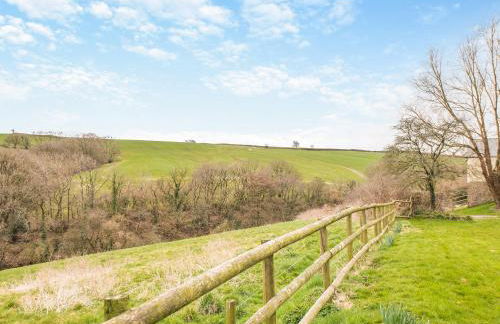
BriValley View
Umberleigh - Umberleigh
- 121 M2
- 2 habitaciones
- 5 personas
- Calefacción
- Terraza
- Parking
- Jardín
23 reseñas


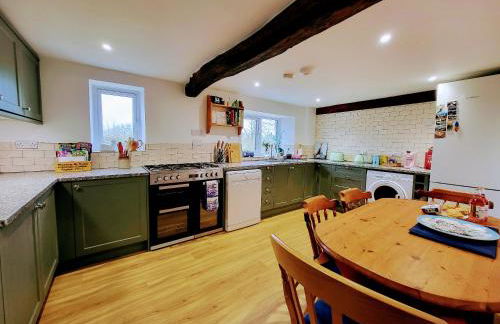

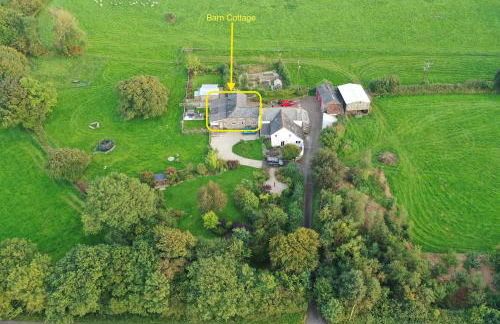


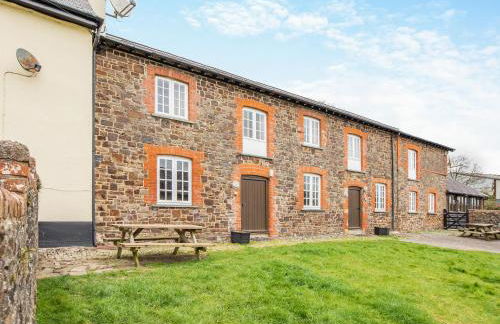
Barn End Cottage
Umberleigh - Umberleigh
- 125 M2
- 4 habitaciones
- 7 personas
- Calefacción
- Terraza
- Parking
- Jardín
- Barbacoa
8 reseñas

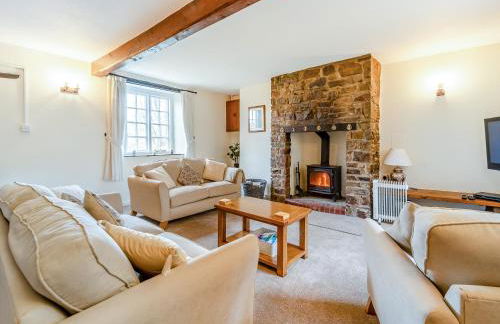
Grace Cottage
Umberleigh - Umberleigh
- 2 habitaciones
- 7 personas
- Calefacción
- Parking
- Jardín
- Barbacoa
6 reseñas
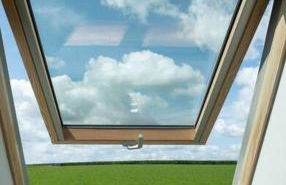
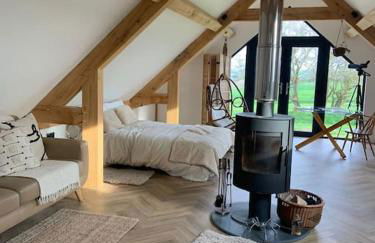
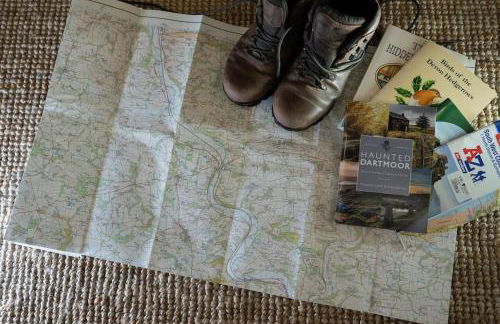
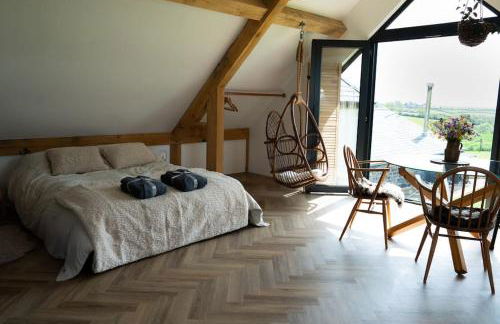
Between the Moors Hideaway
Umberleigh - Umberleigh
- 16 M2
- 2 habitaciones
- 4 personas
- Calefacción
- Terraza
- Parking
2 reseñas
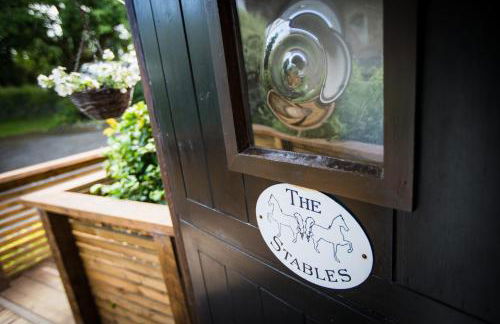
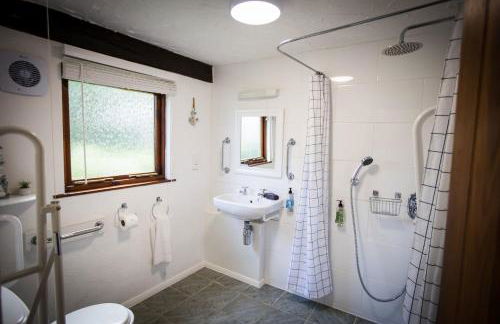
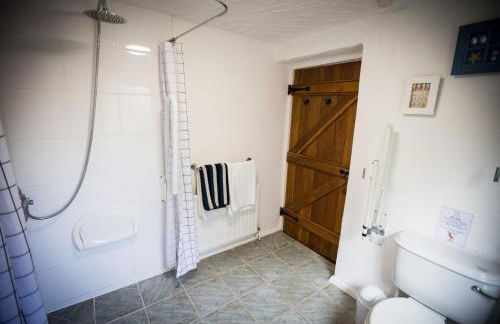
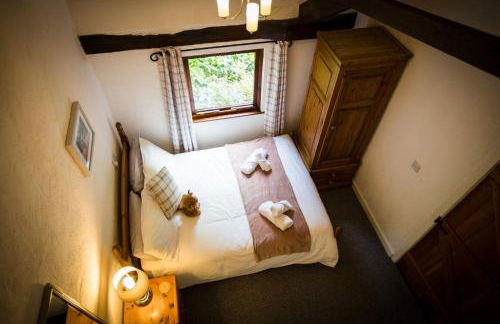
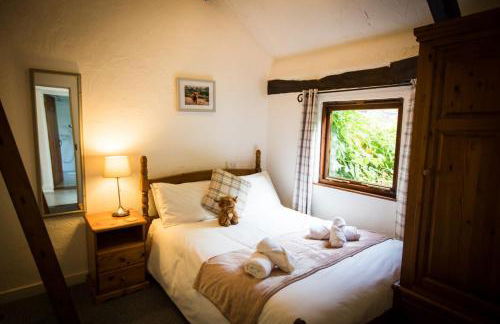
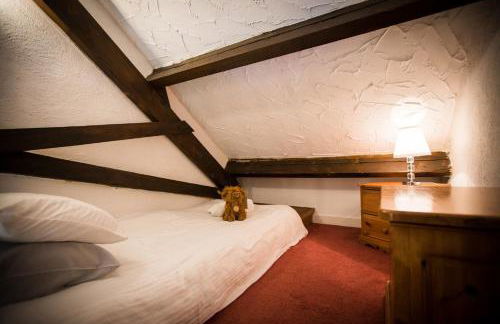
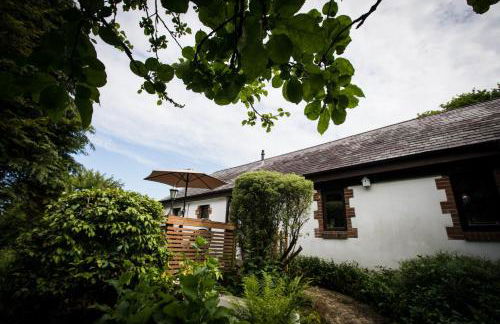
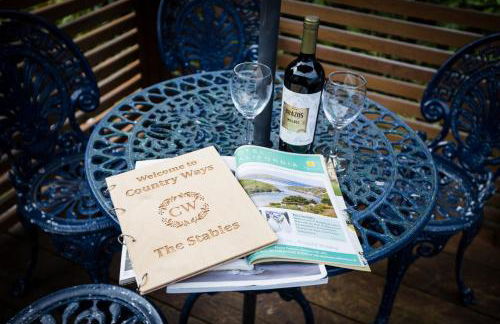
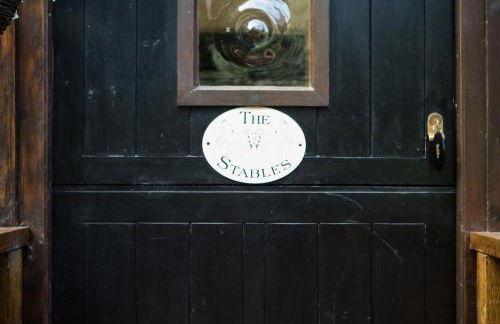
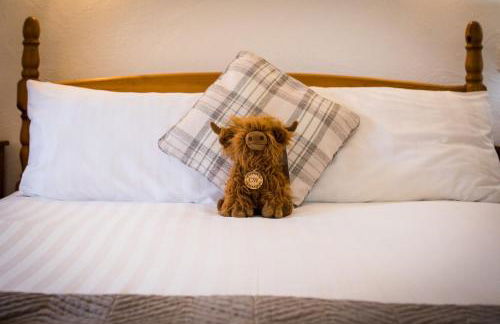

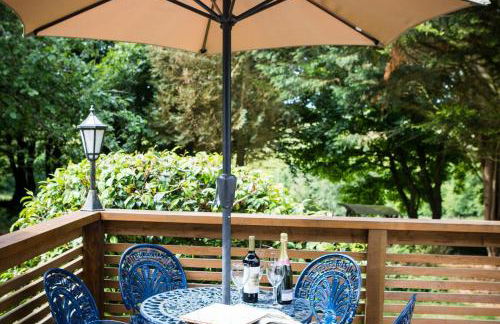
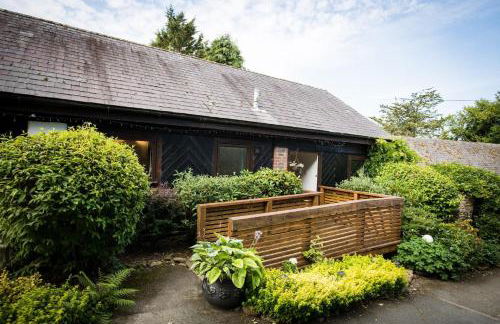


The Stables at Country Ways
Umberleigh - Umberleigh
- 10 M2
- 2 habitaciones
- 5 personas
- Parking
- Jardín
2 reseñas


Granary Cottage - E5634
Umberleigh - Umberleigh
- 3 habitaciones
- 6 personas
- Calefacción
- Parking
- Jardín
- Barbacoa
2 reseñas


3 Bed in Burrington oc-northc
Umberleigh - Umberleigh
- 3 habitaciones
- 6 personas
- Calefacción
- Parking
- Jardín
3 reseñas


2 Bed in Kings Nympton oc-87985
Umberleigh - Umberleigh
- 45 M2
- 2 habitaciones
- 4 personas
- Calefacción
- Parking
- Jardín
3 reseñas


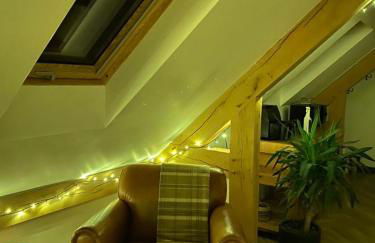
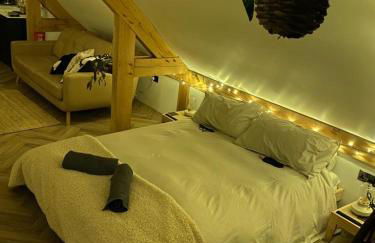
Windermere Lodge in North Devon
Umberleigh - Umberleigh
- 40 M2
- 2 habitaciones
- 4 personas
- Calefacción
- Parking
- Jardín
- Barbacoa
1 reseña


2 Bed in Umberleigh oc-86611
Umberleigh - Umberleigh
- 45 M2
- 2 habitaciones
- 4 personas
- Calefacción
- Jardín
1 reseña


3 Bed in Umberleigh oc-09092
Umberleigh - Umberleigh
- 3 habitaciones
- 6 personas
- Calefacción
- Parking
- Jardín
1 reseña


Cider Cottage - E5576
Umberleigh - Umberleigh
- 3 habitaciones
- 6 personas
- Calefacción
- Parking
- Jardín
- Barbacoa
1 reseña


Finest Retreats - Forest Park Lodge
Umberleigh - Umberleigh
- 95 M2
- 2 habitaciones
- 4 personas
- Calefacción
- Terraza
- Parking
- Jardín
3 reseñas


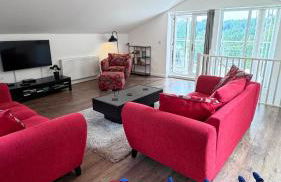
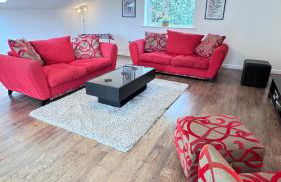
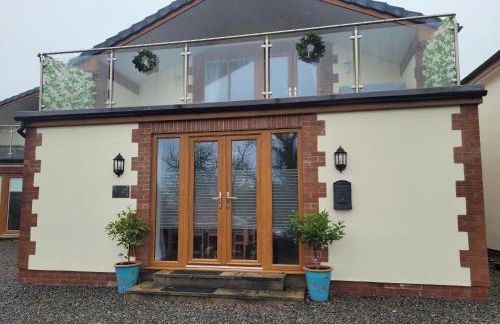
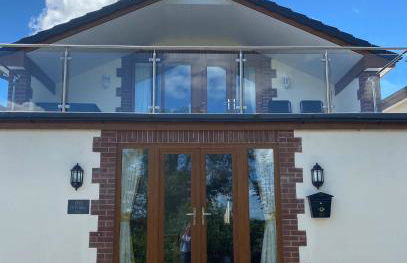
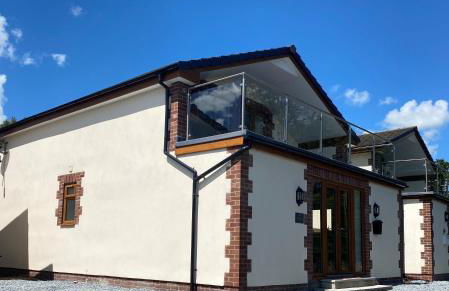
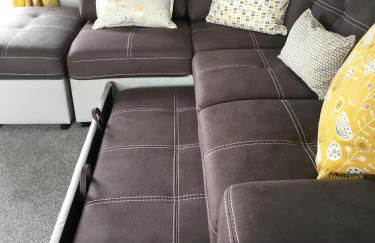
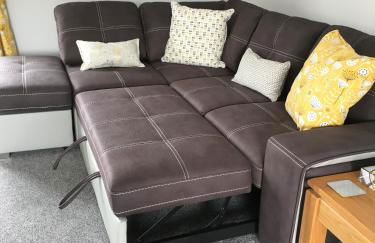
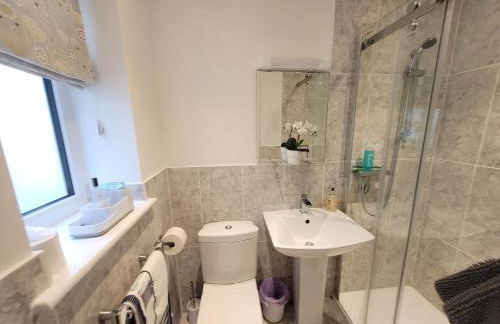
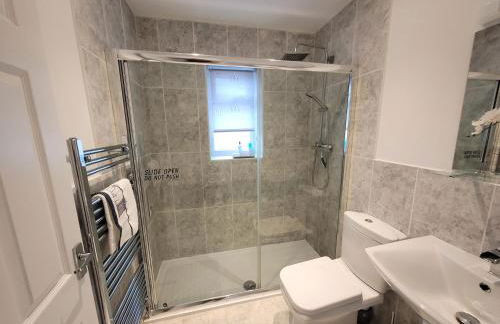
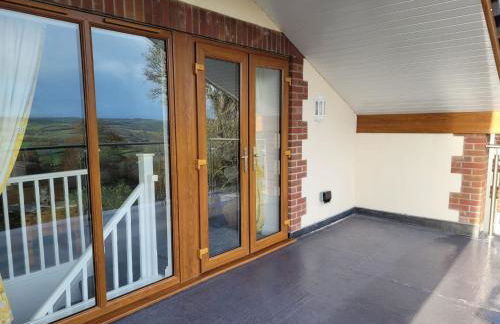
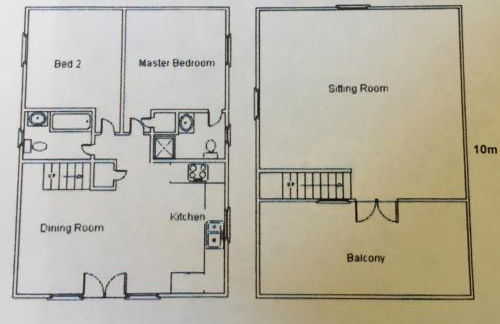
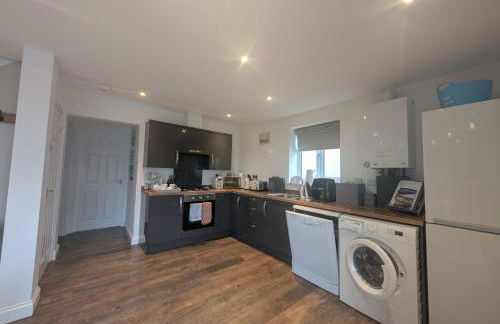
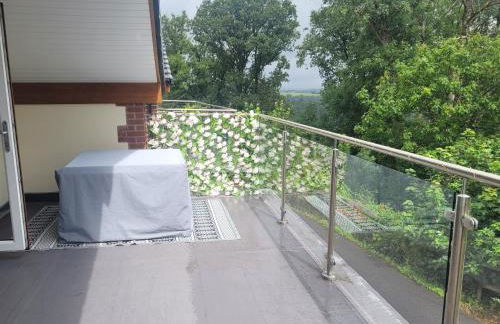
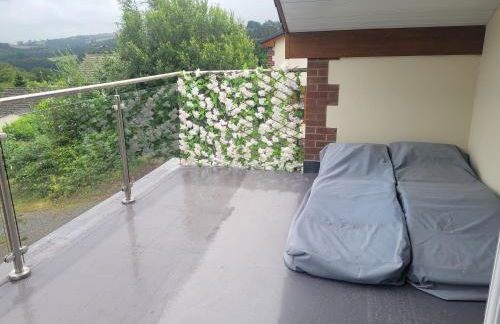
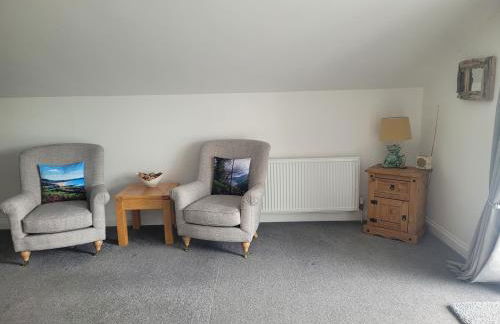
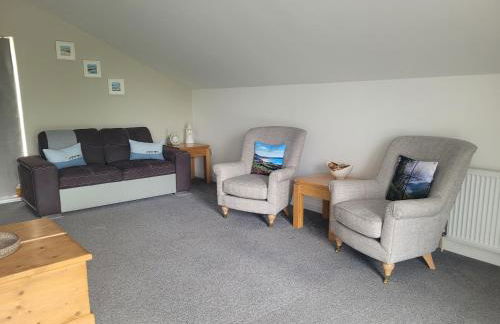
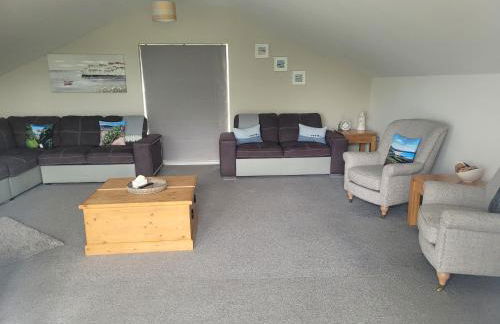
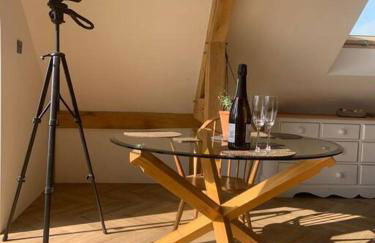
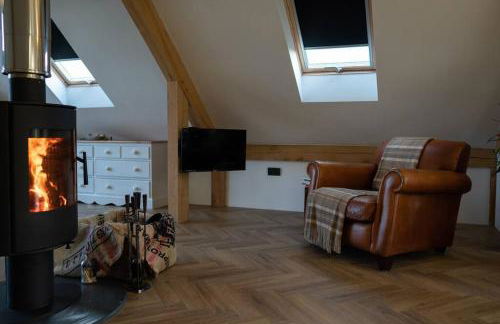
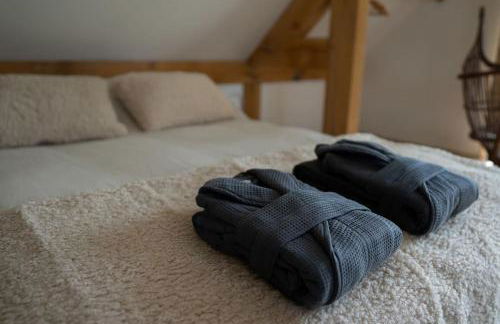
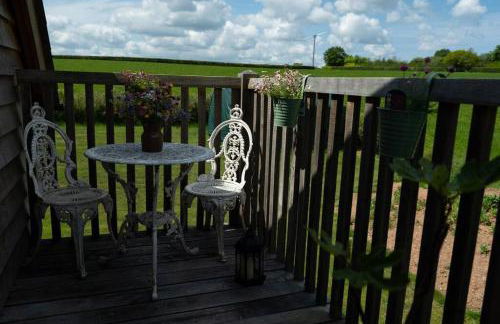
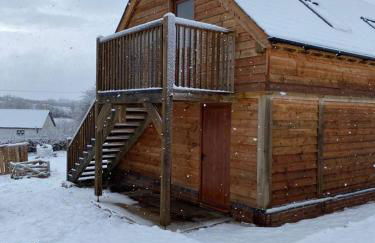
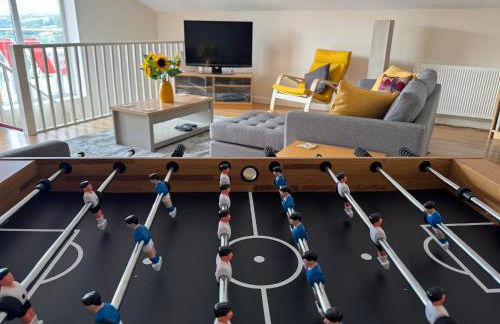
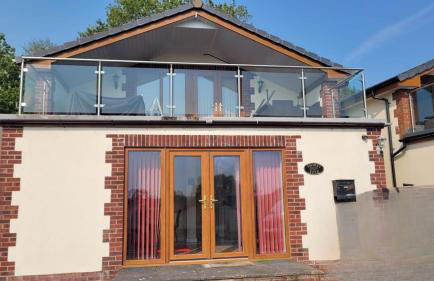
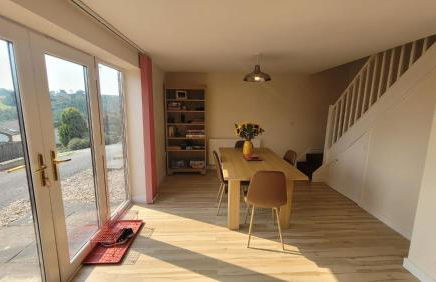
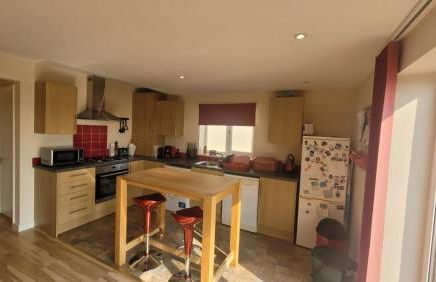
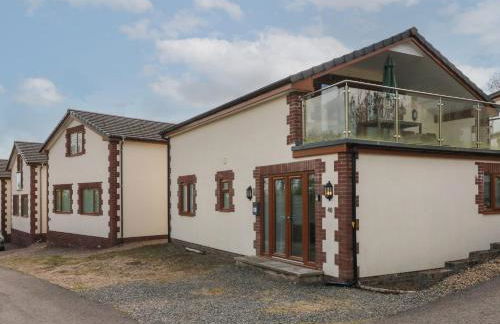
High Bickington Forest View 2 Bedrooms
Umberleigh - Umberleigh
- 4 personas
- Calefacción
- Parking
- Balcón
- Televisión
- Toallas
- Sábanas


2 Bed in Umberleigh 88605
Umberleigh - Umberleigh
- 45 M2
- 2 habitaciones
- 4 personas
- Calefacción
- Parking
- Jardín