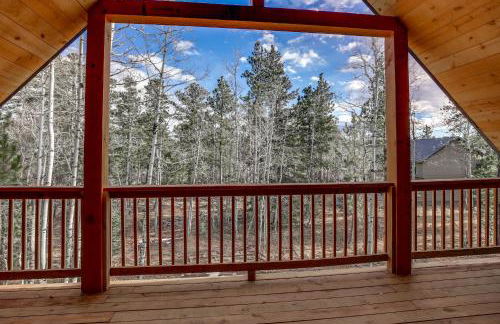
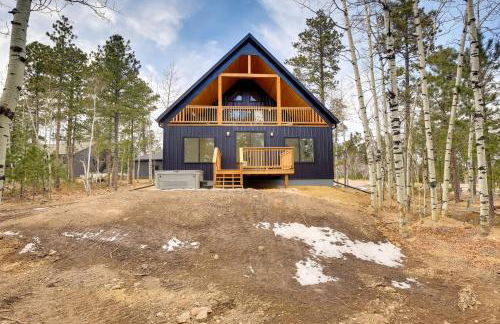
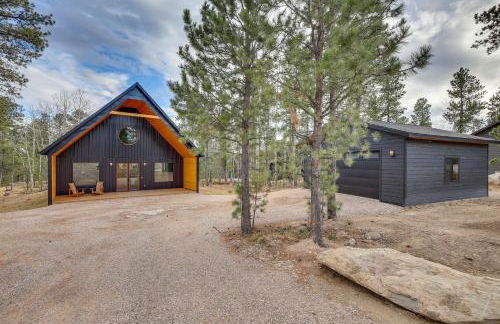
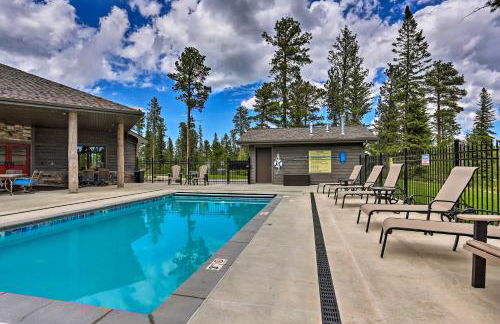
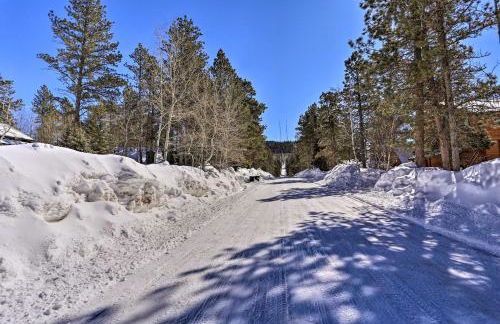
145 Apartamentos cerca de Deer Mountain
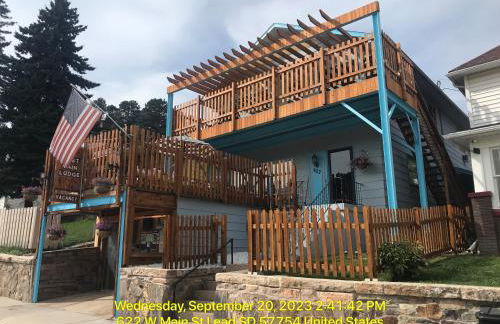
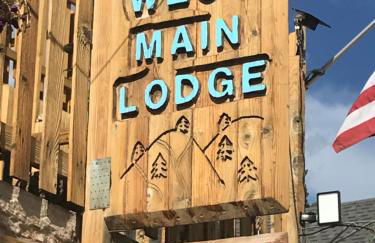
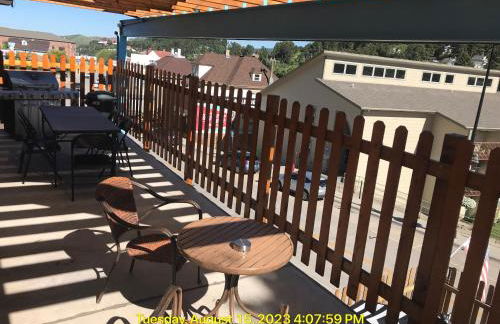
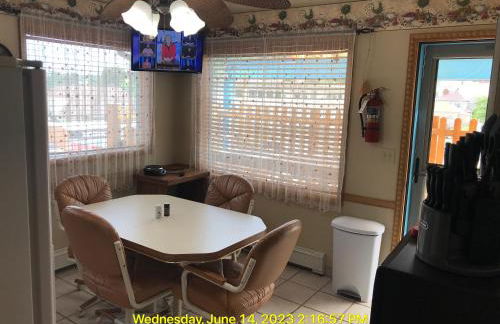
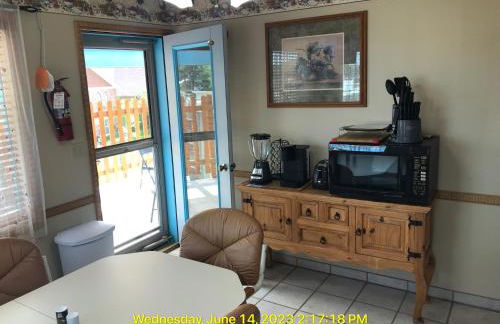
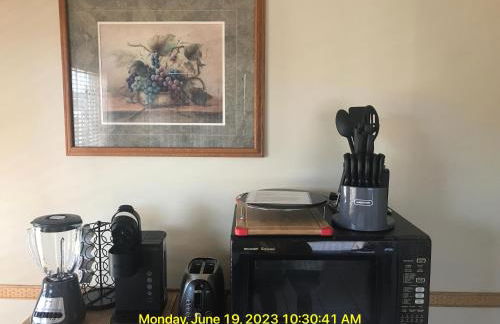
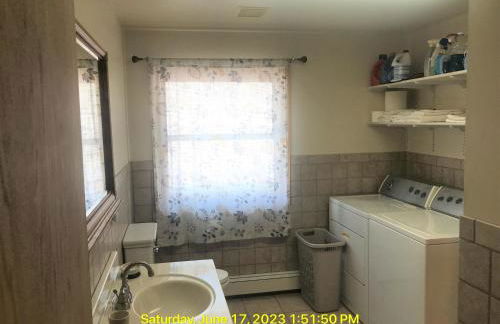
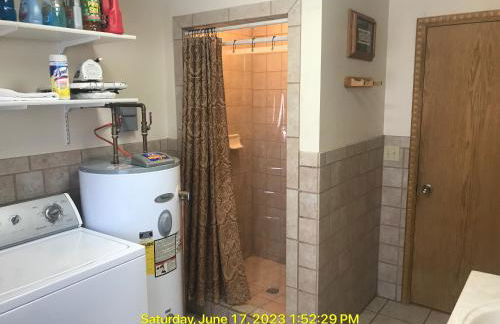
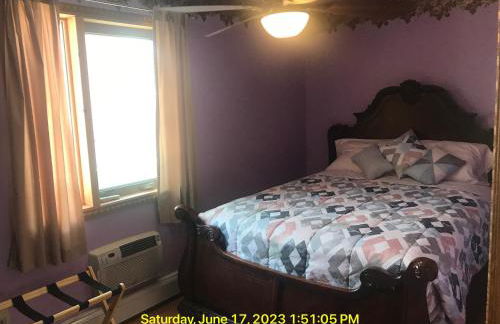
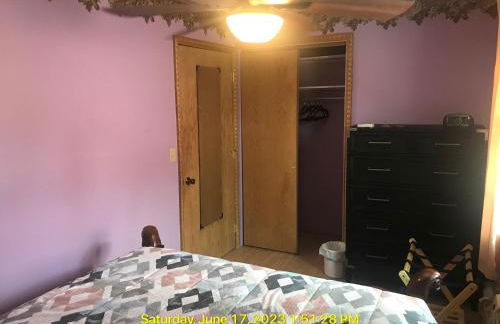
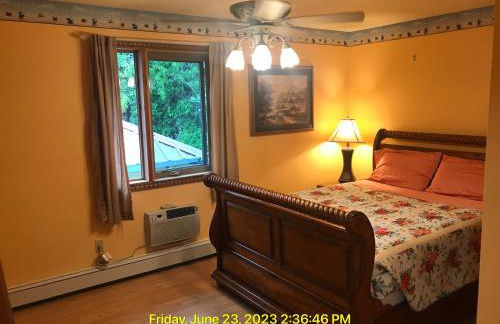
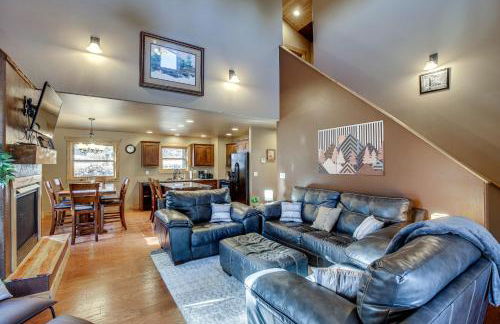
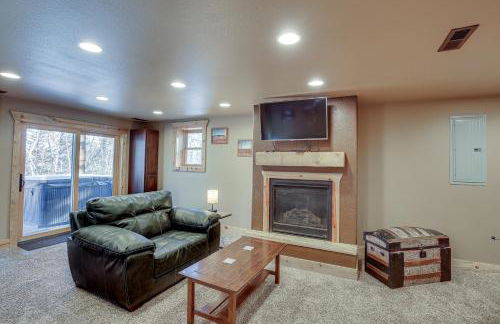
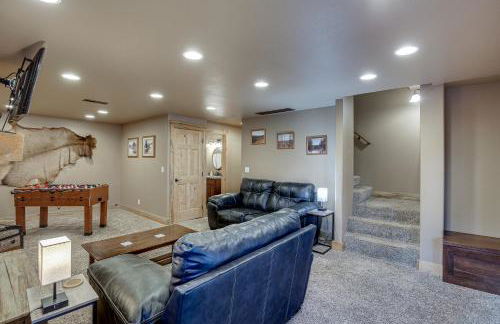
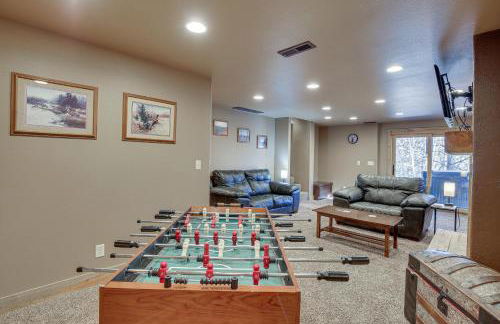
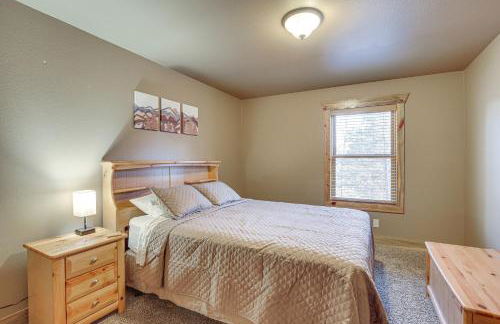
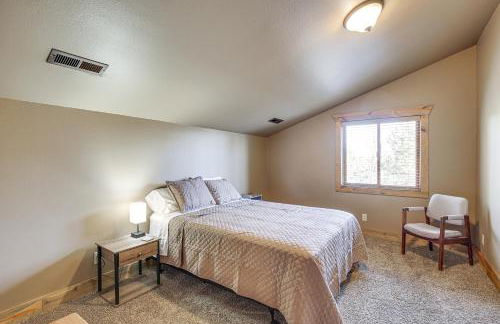
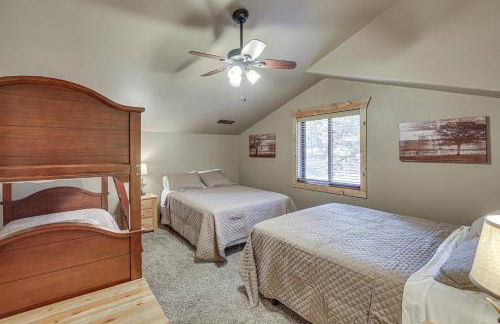
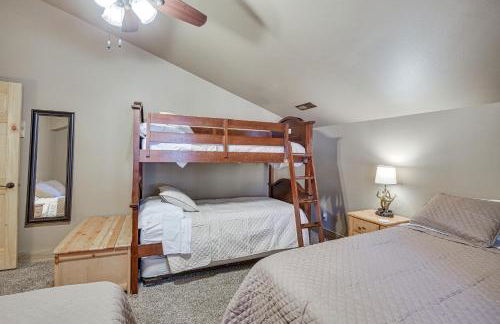
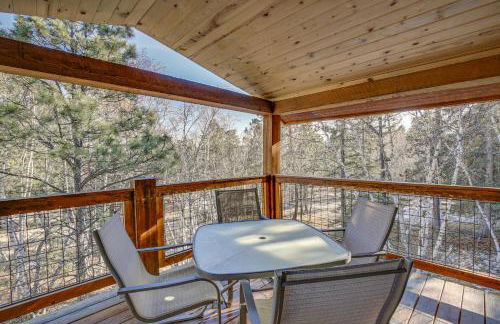
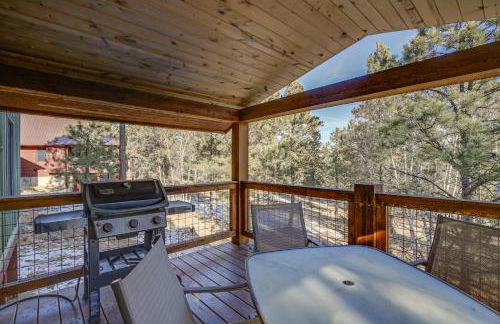
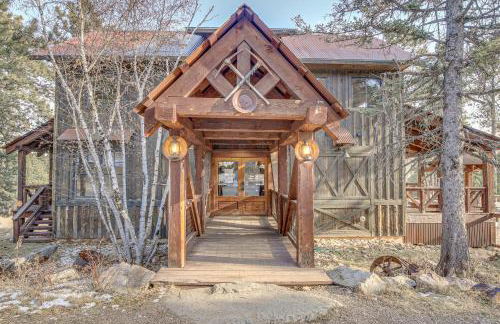
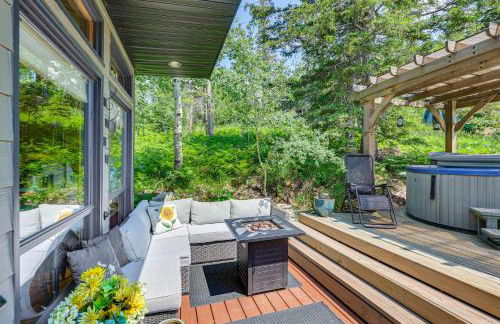
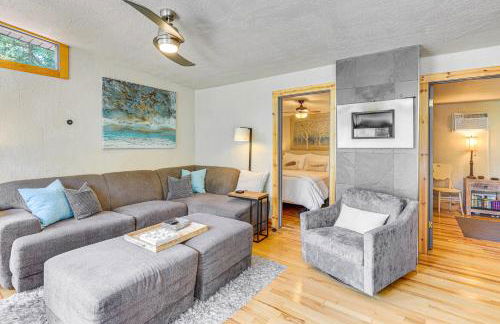
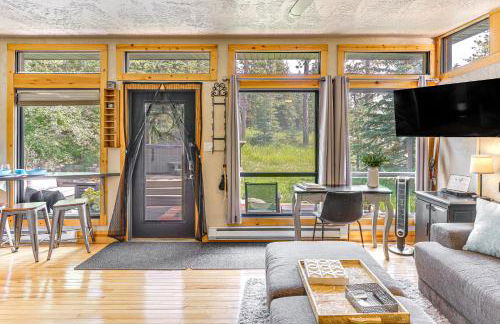
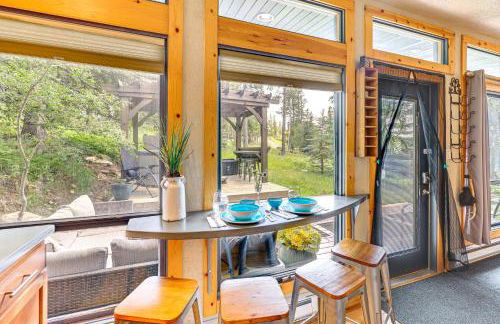
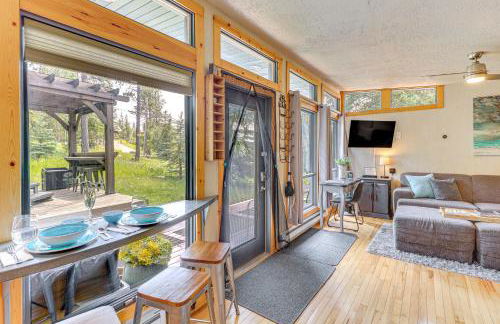
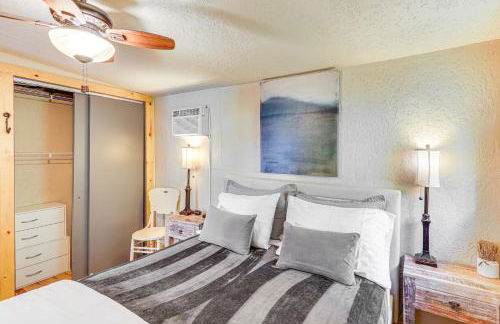
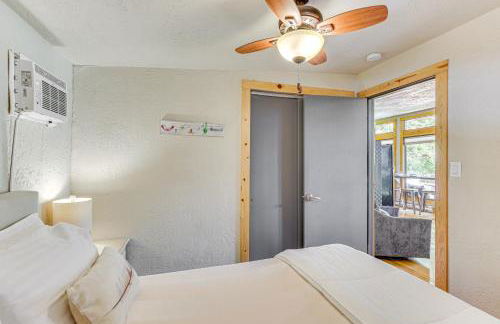
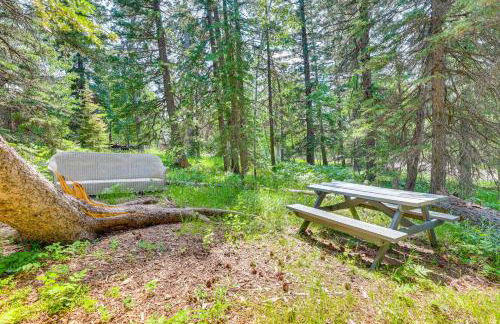
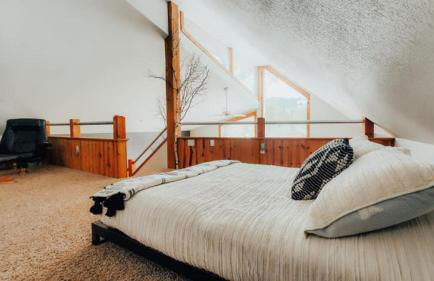
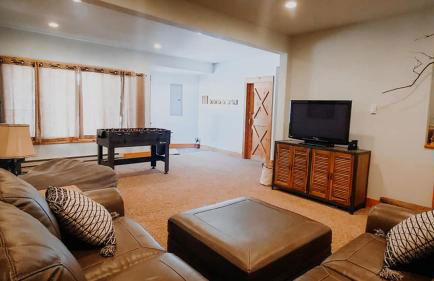
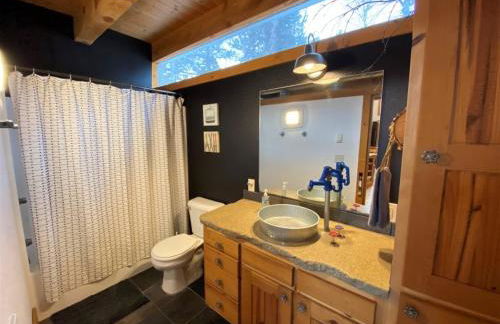
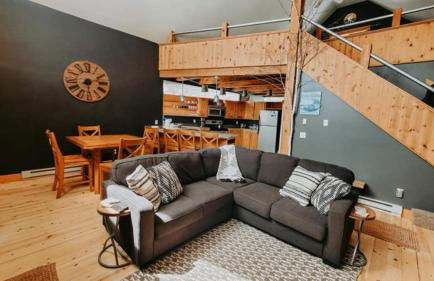
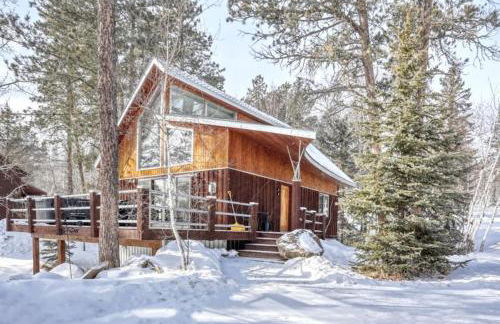
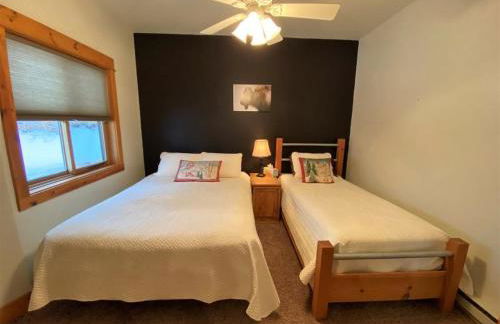
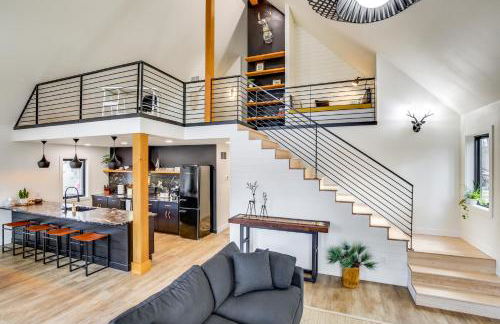
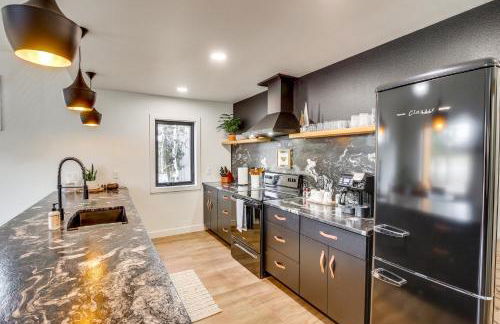
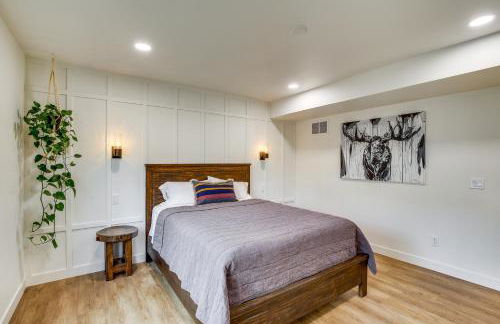
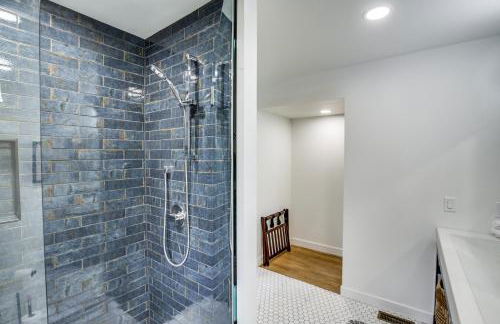
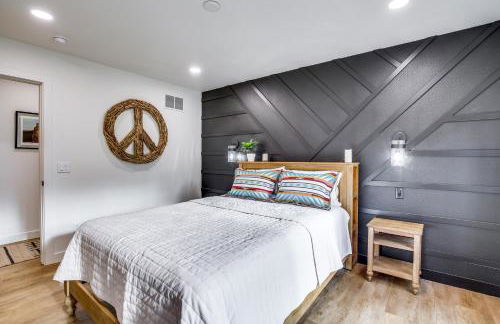
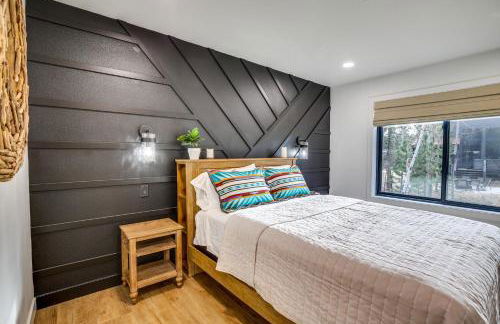
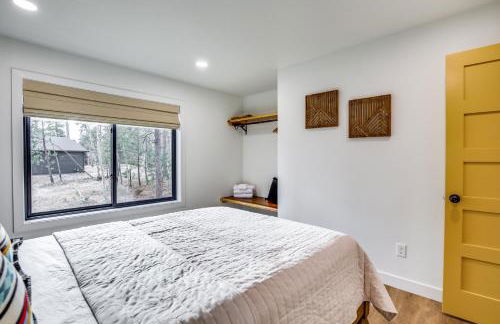
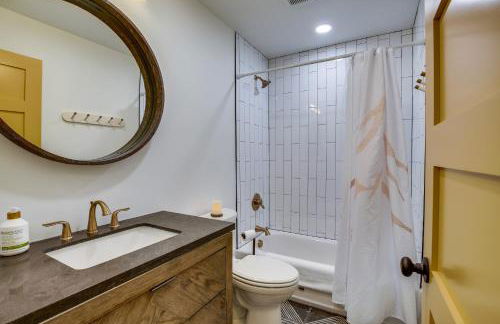
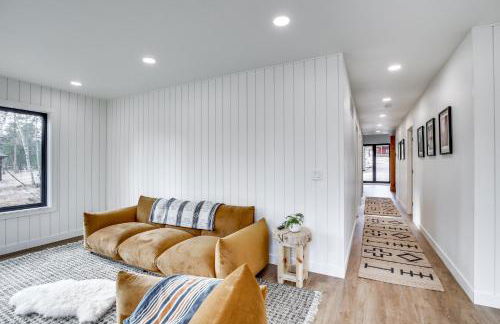
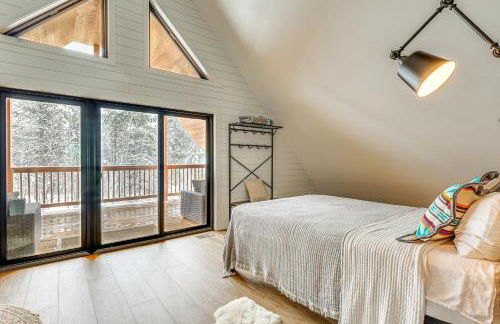
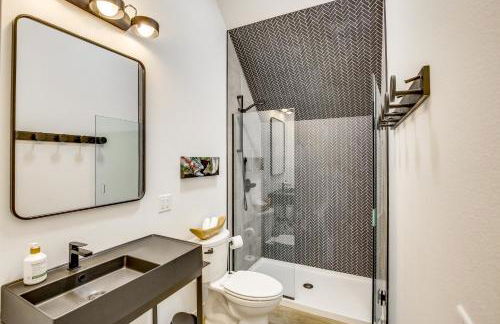
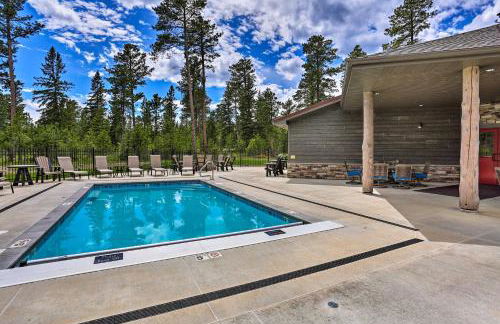
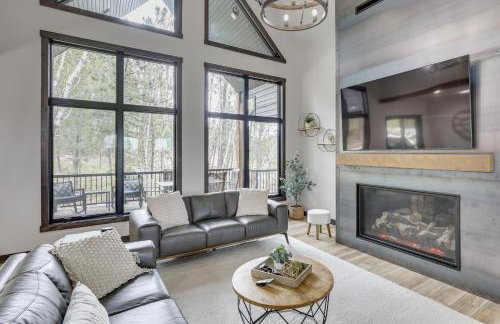
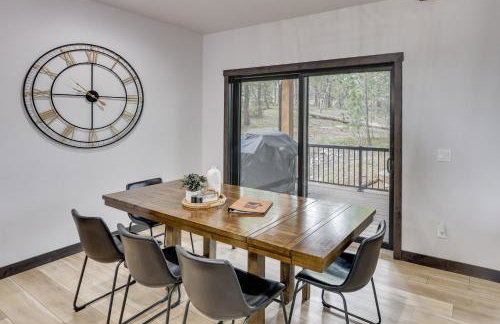
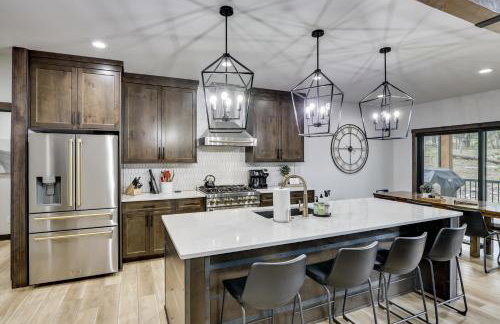
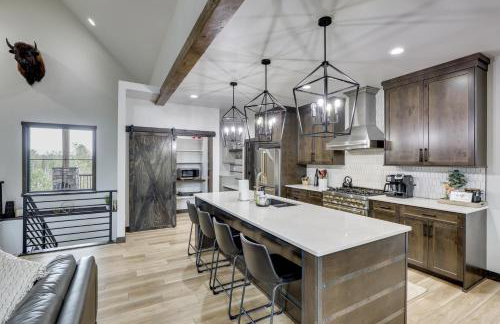
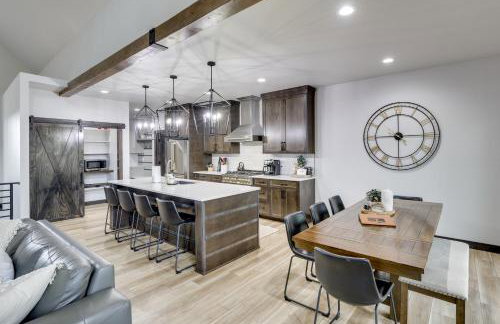
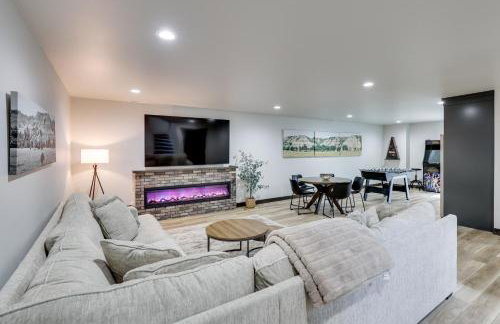
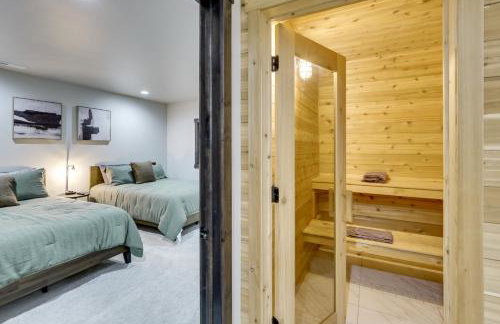
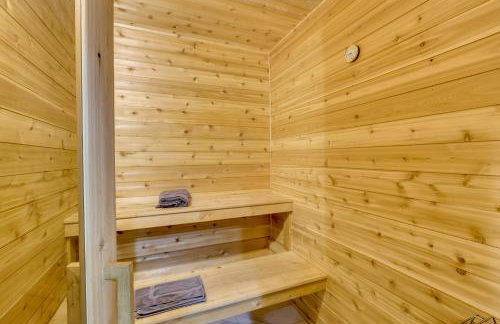
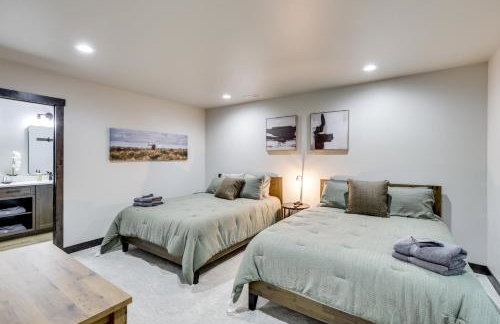
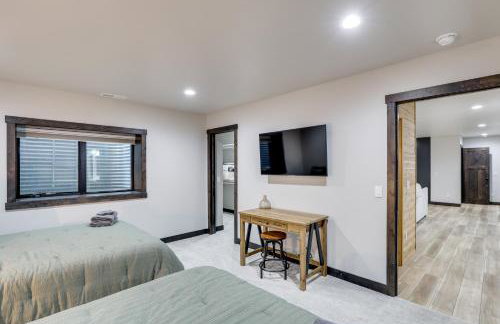
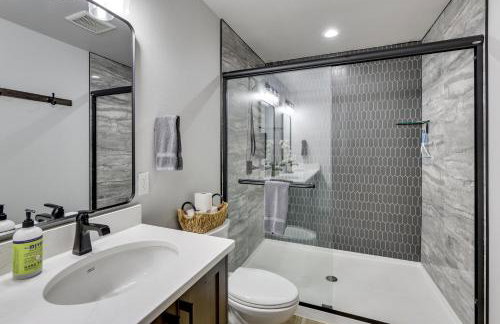
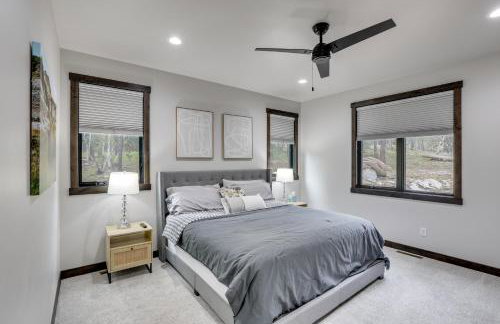
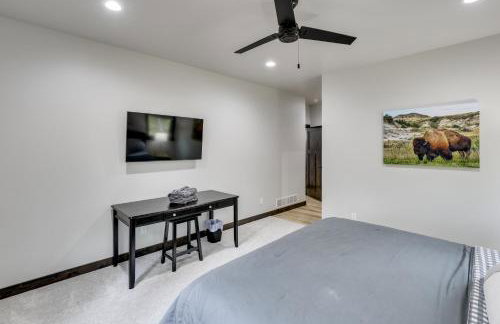
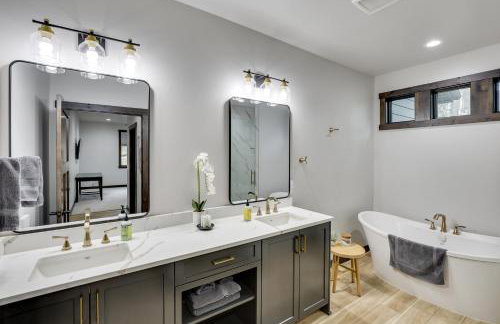
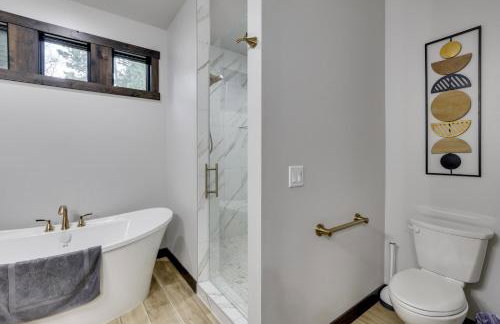
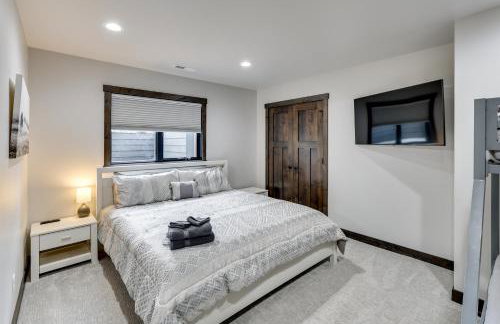
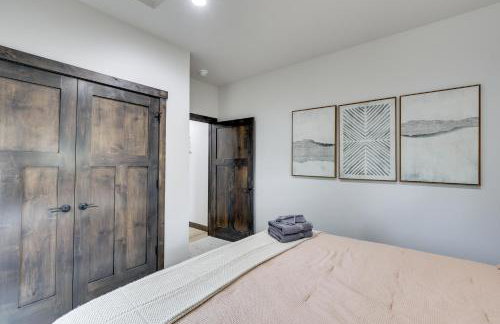
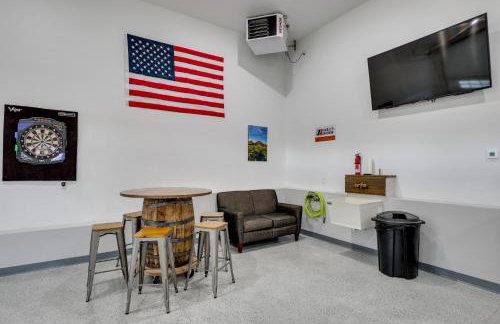
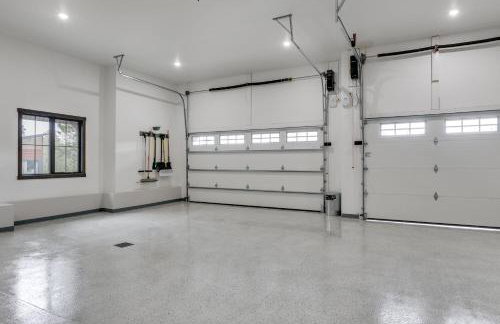
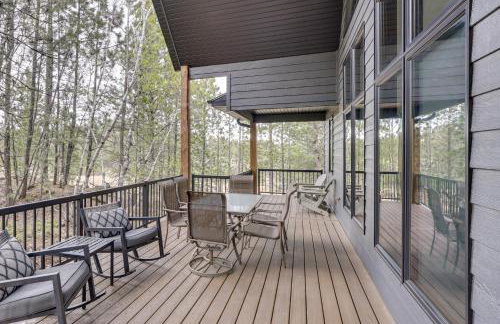
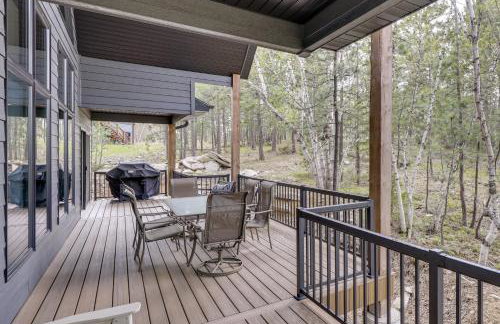
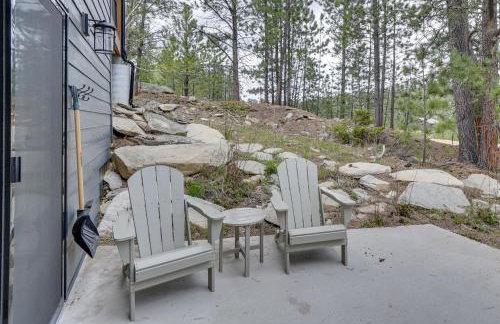
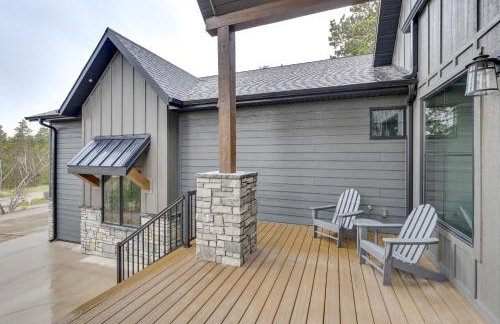
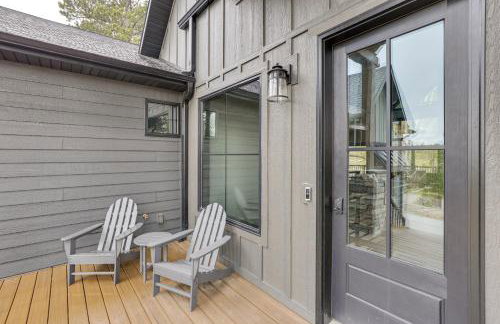
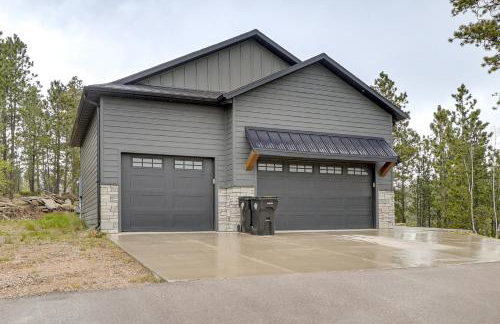
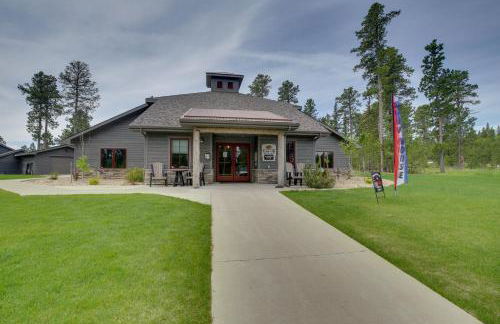
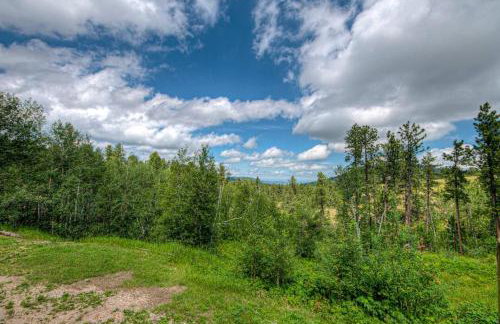
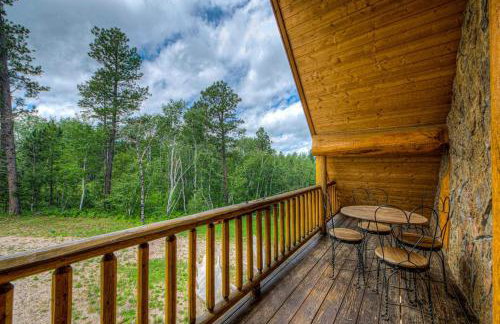
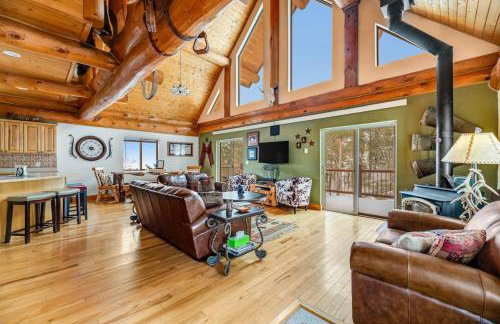
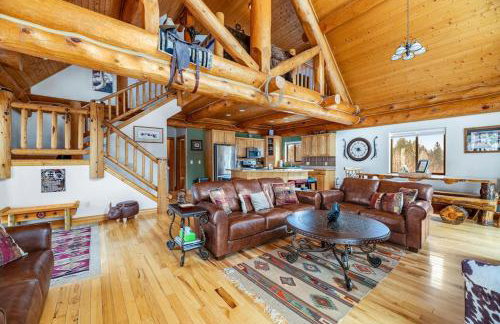
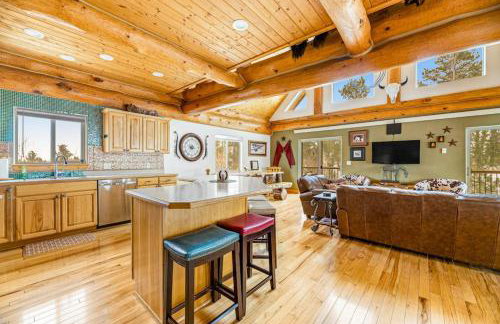
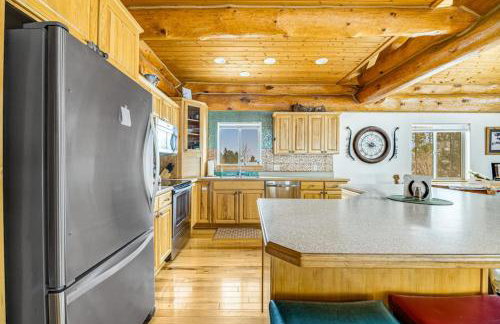
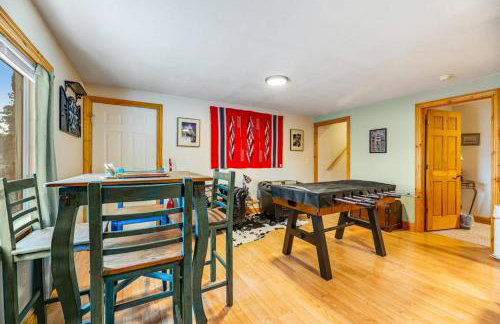
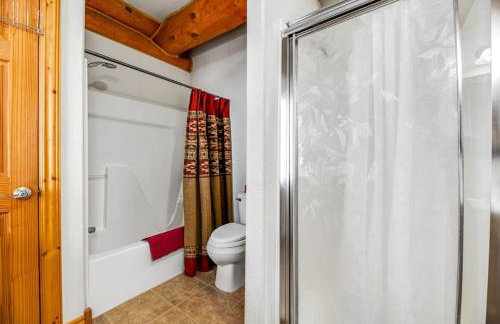
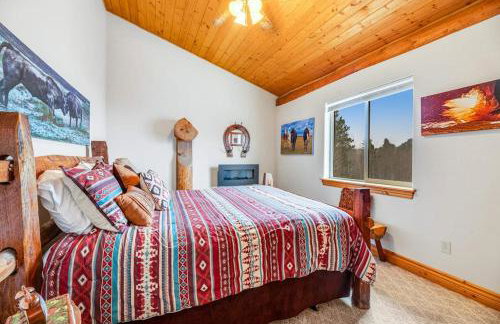
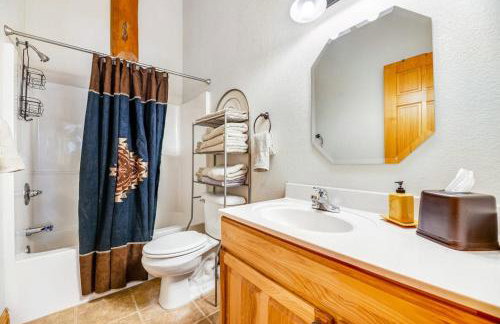
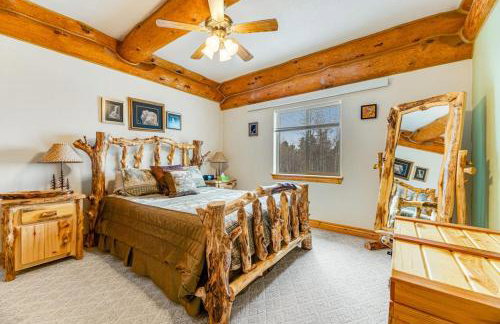
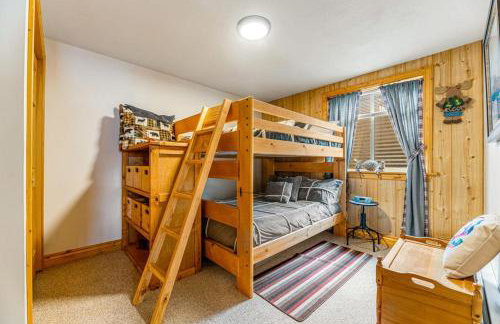
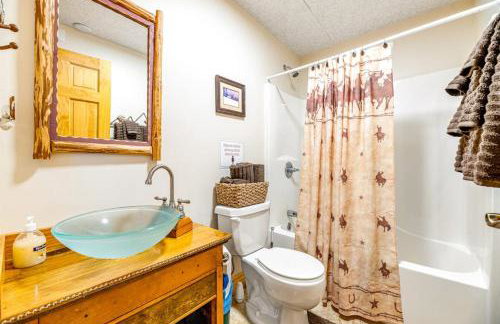
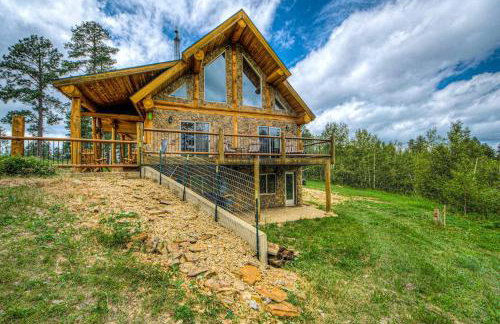
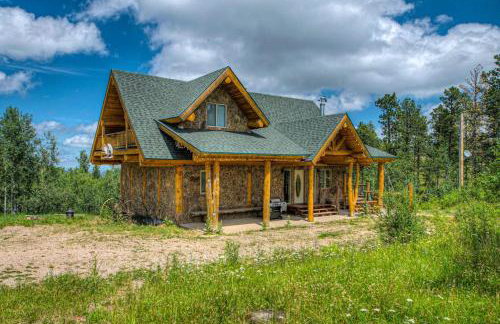
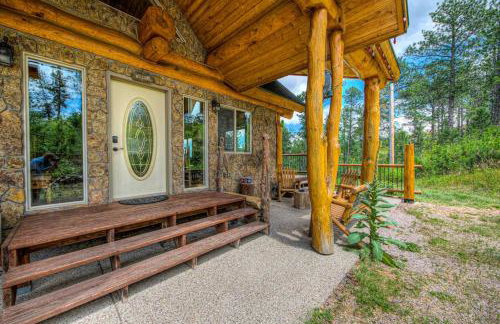
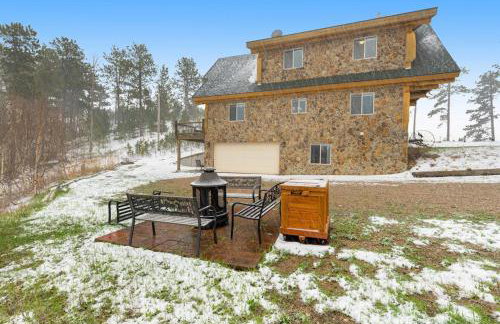
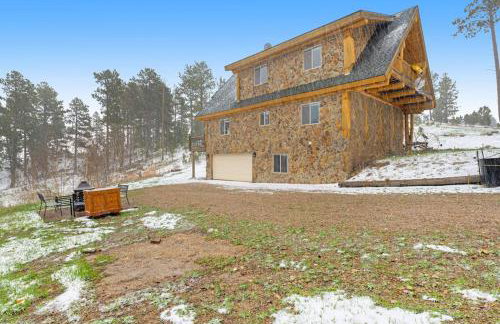
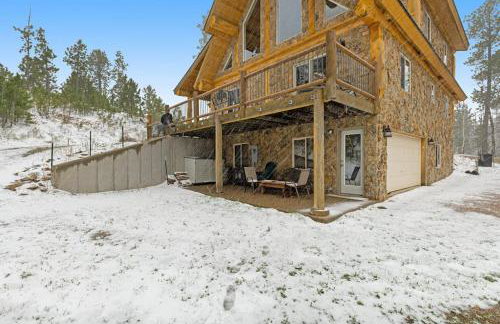
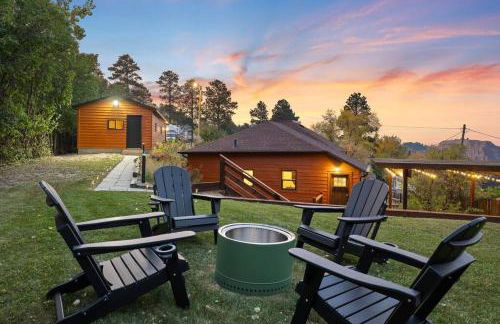
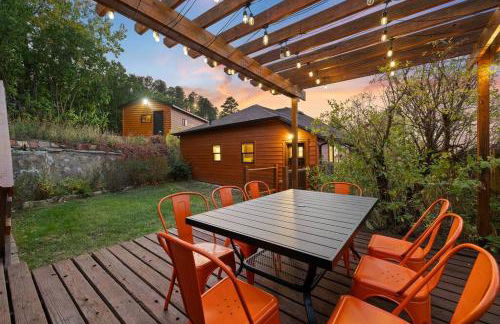
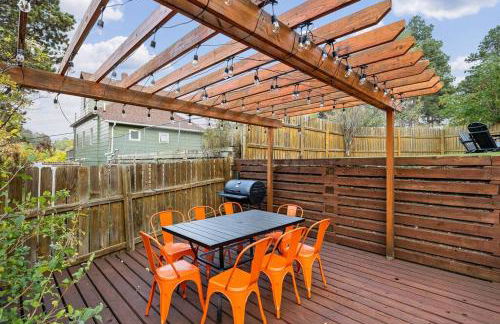
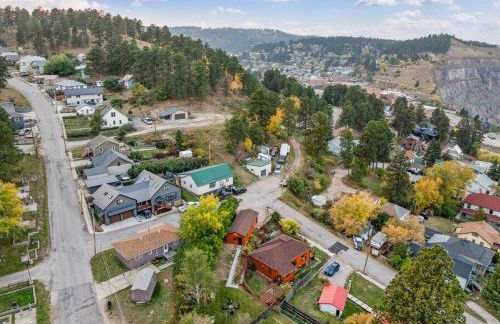
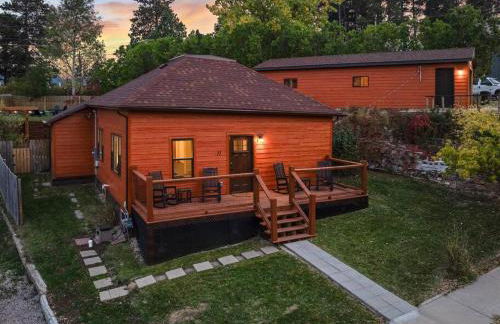
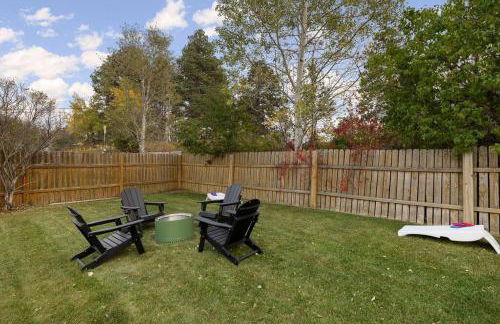
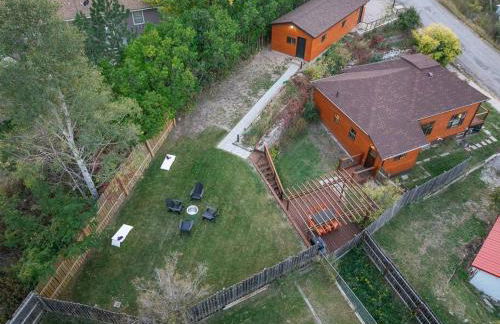
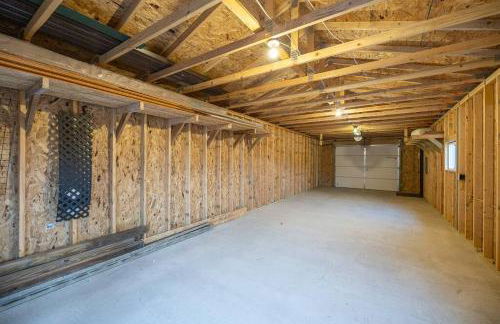
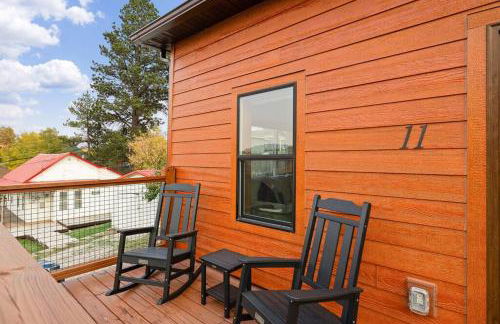
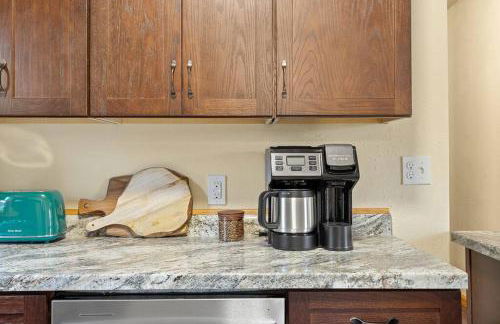
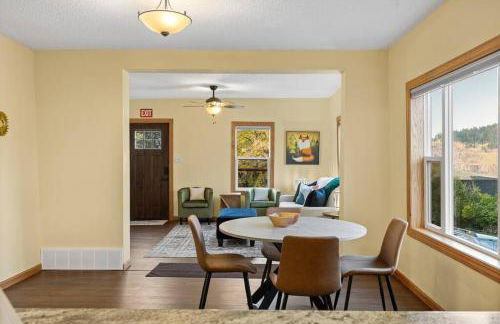
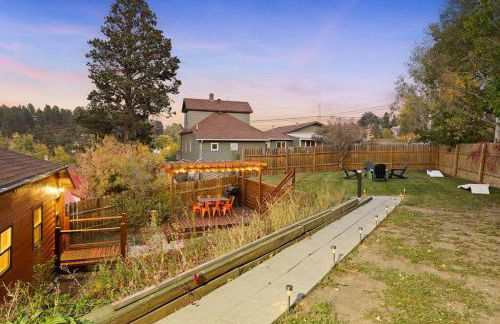
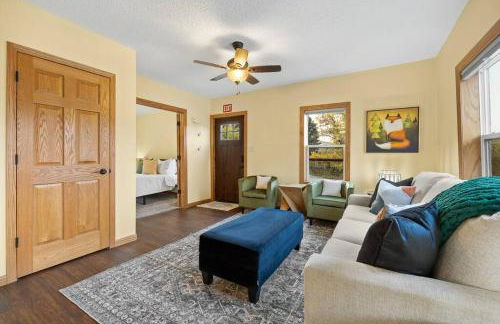
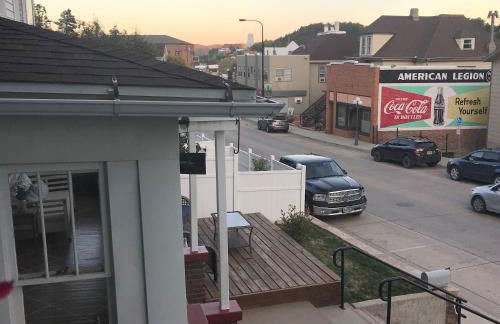
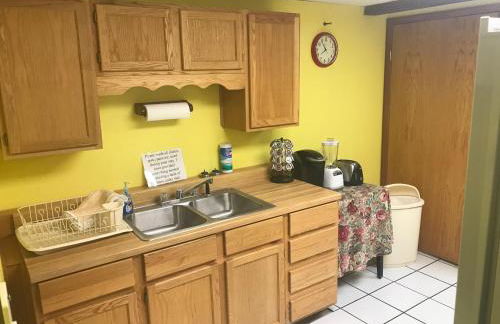
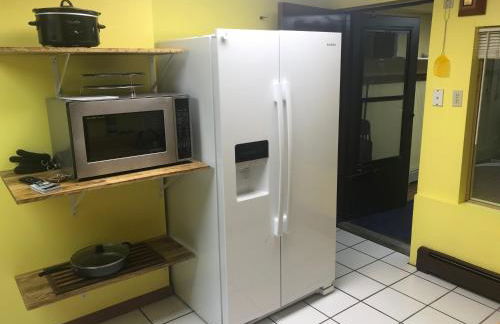
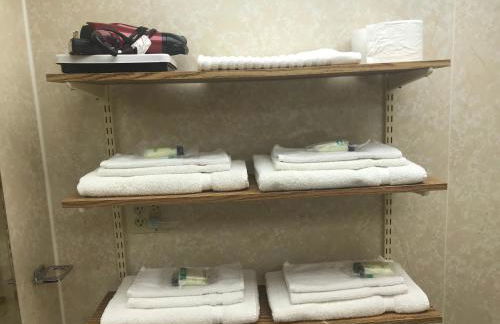
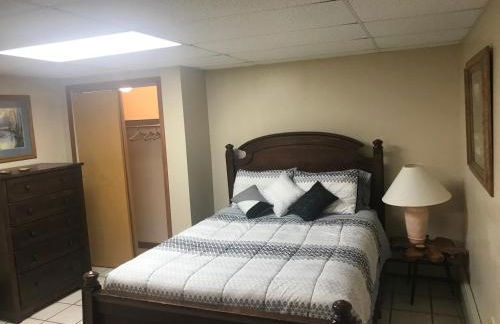
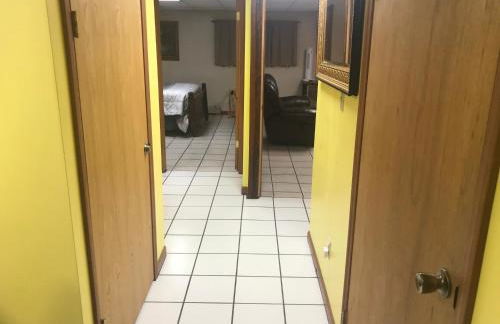
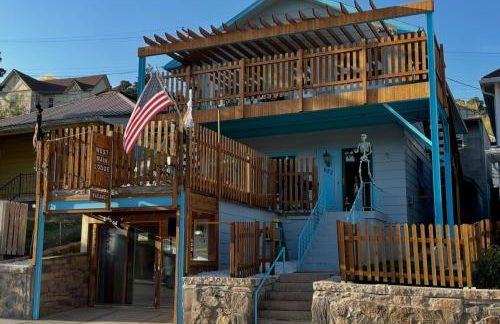
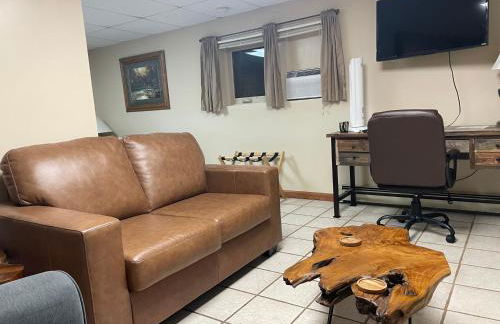
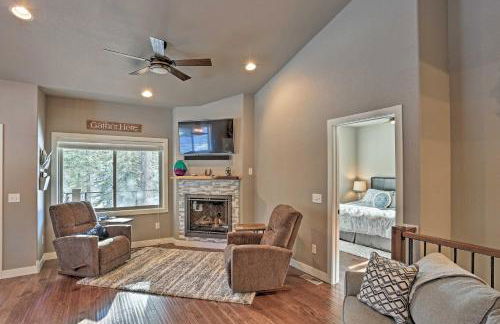
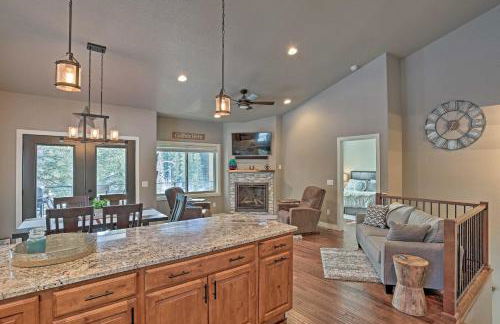
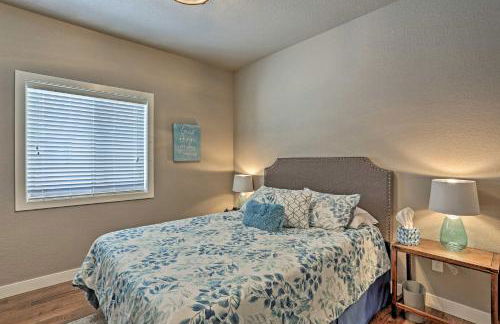
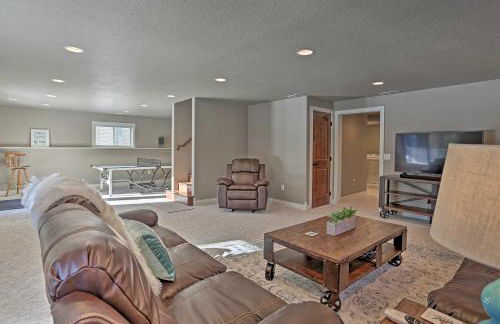
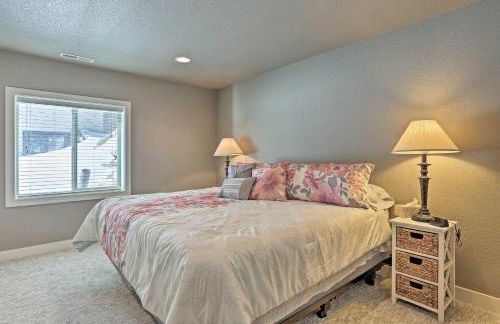
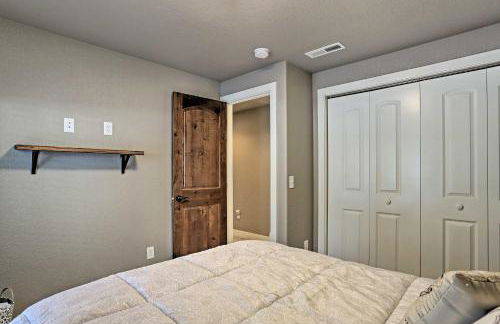
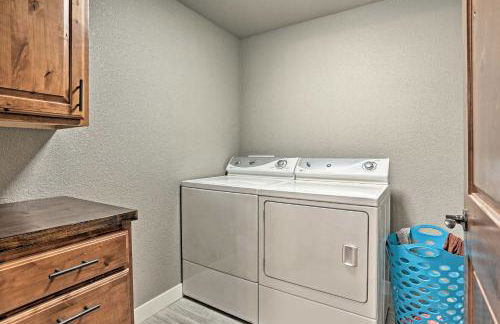
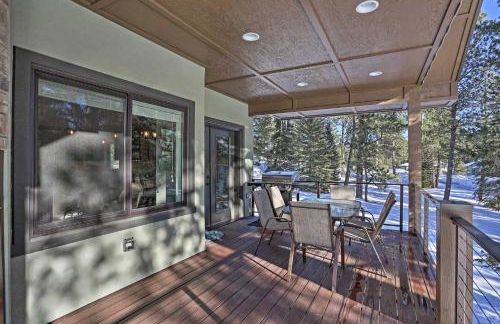
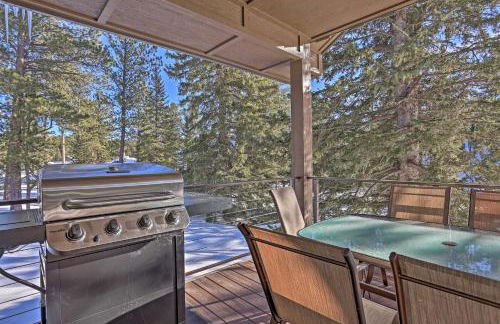
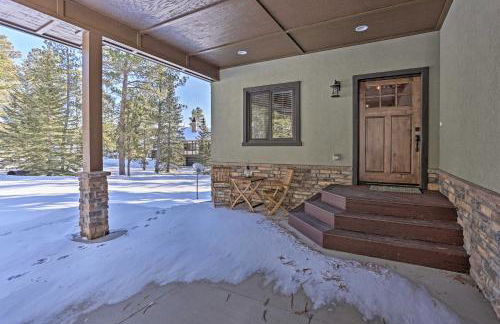
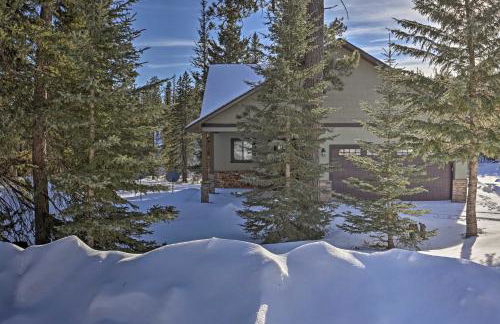
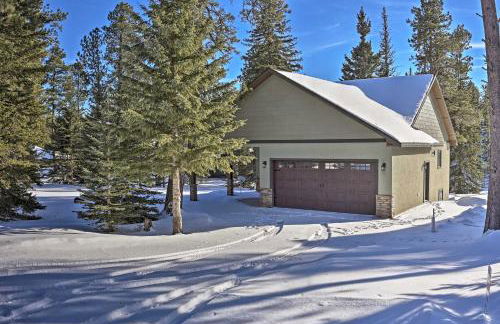
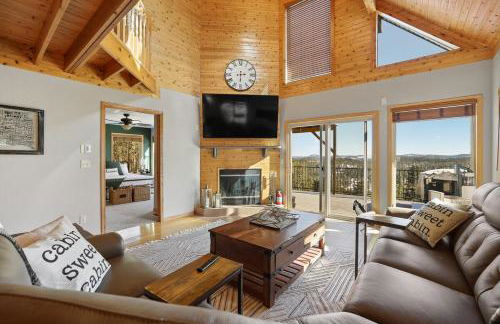
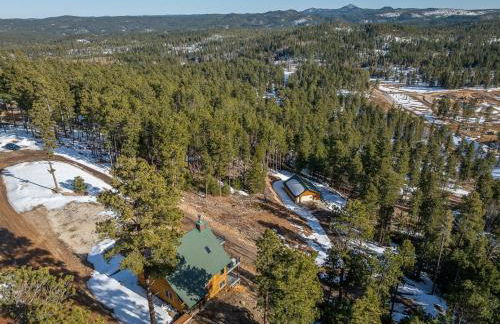
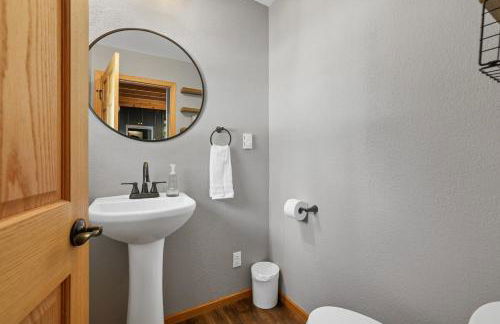
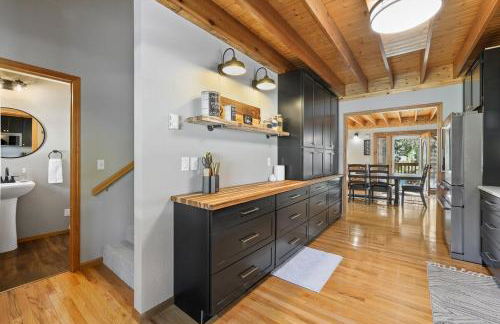
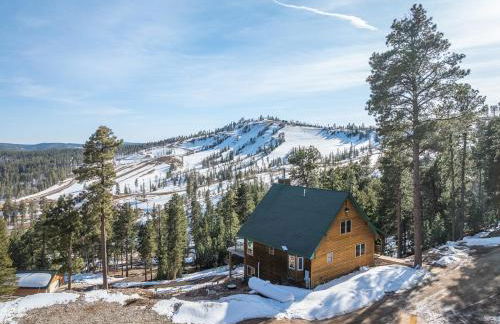
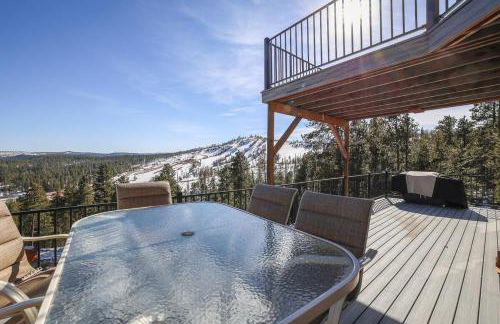
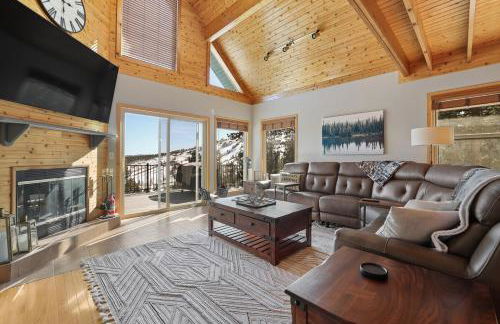
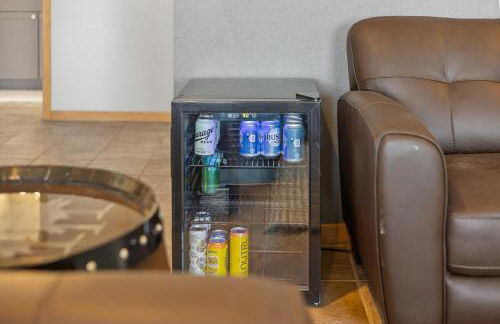
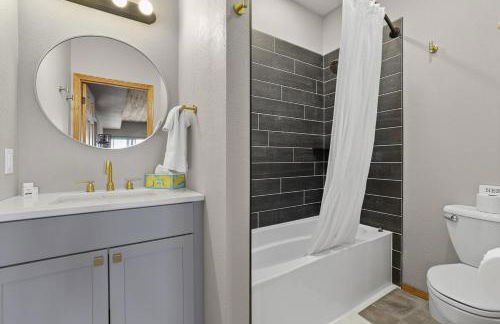
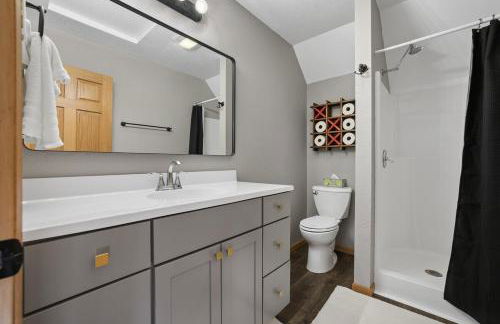
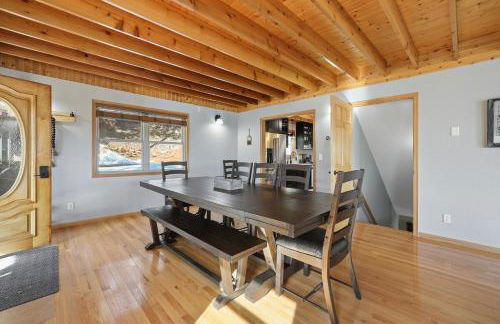
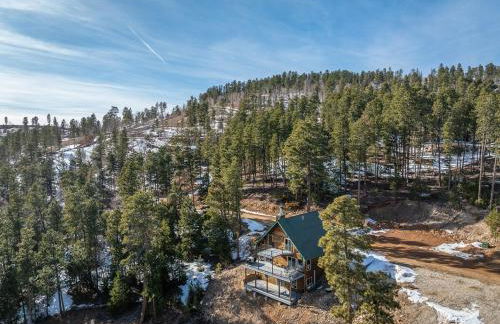
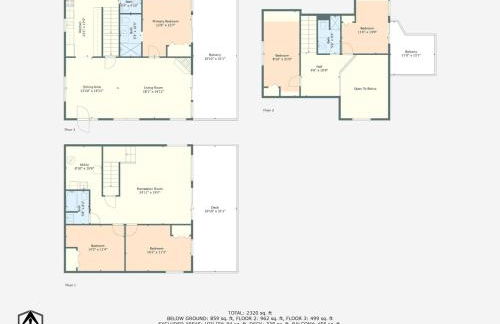
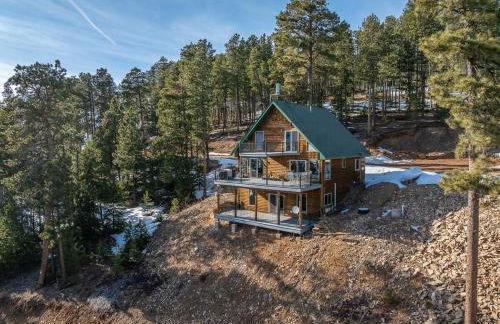
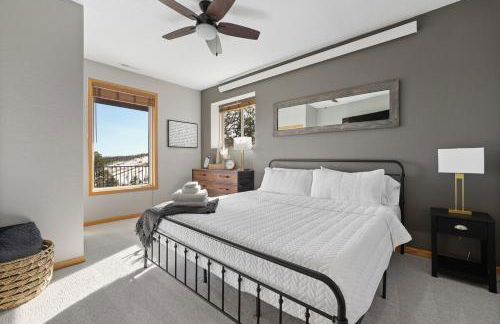
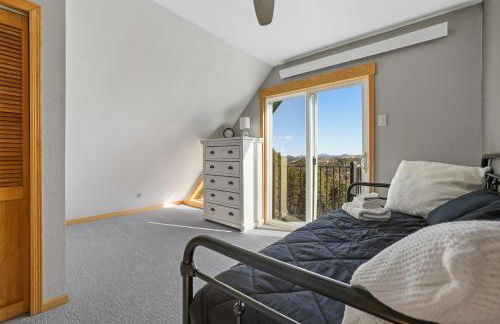
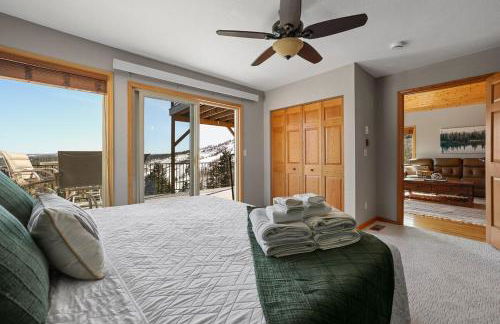
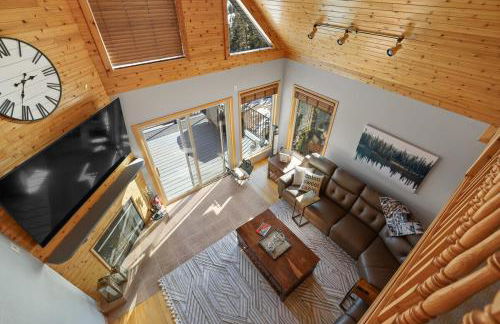
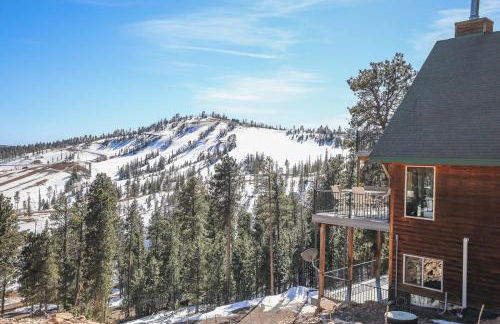
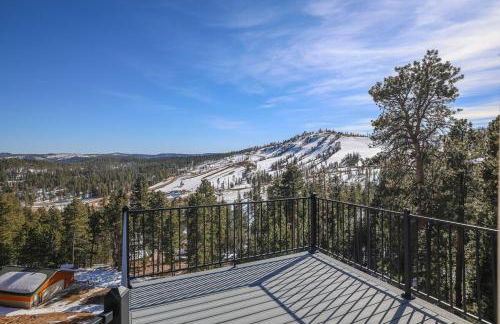
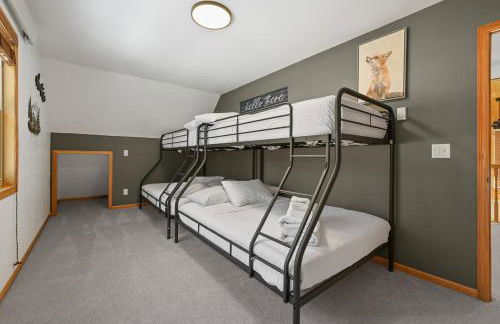
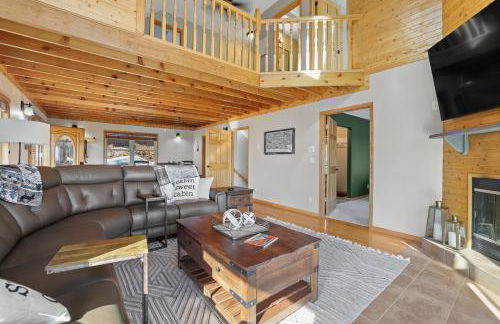
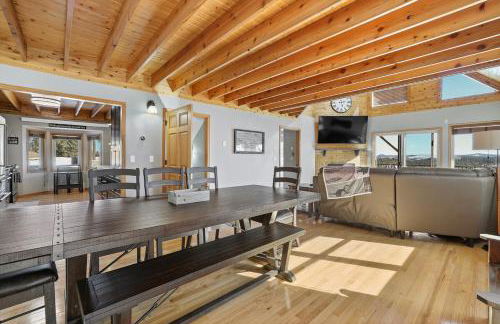
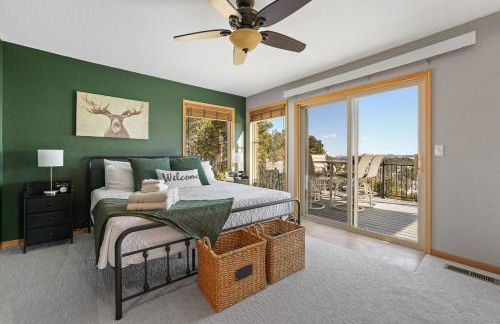
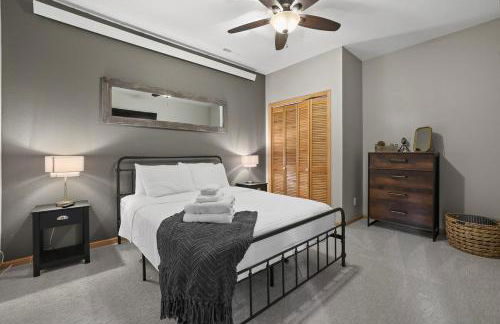
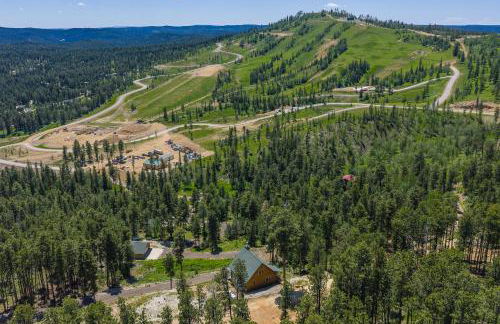
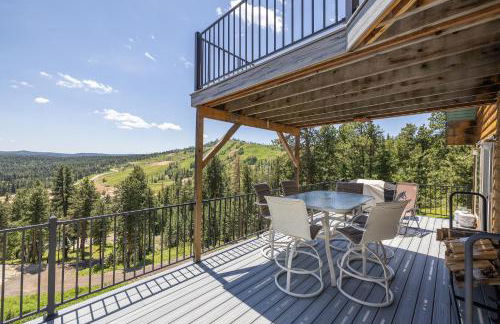
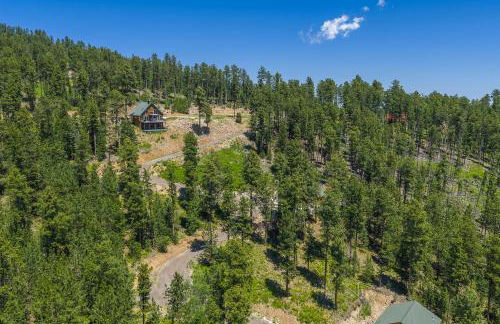
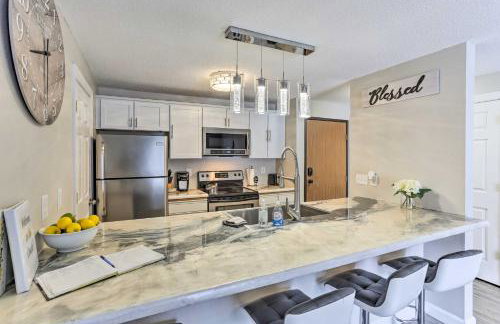
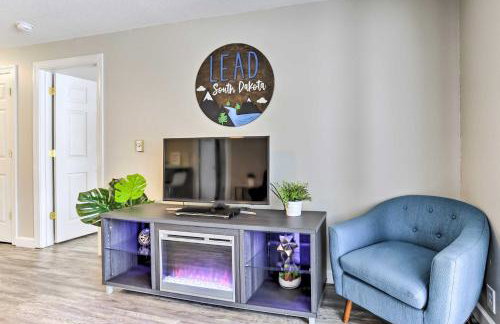
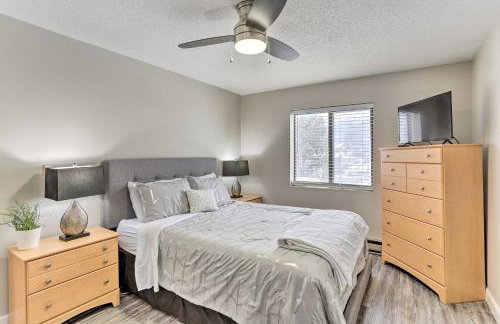
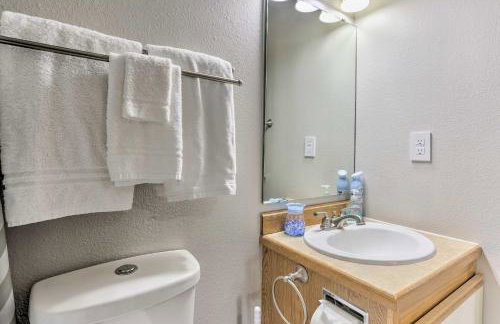
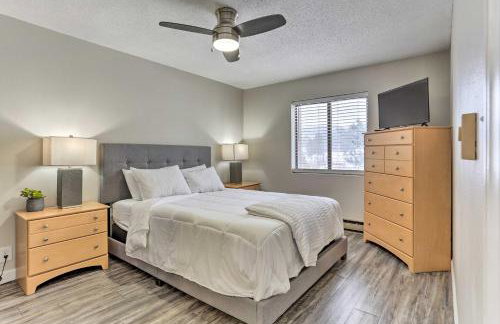
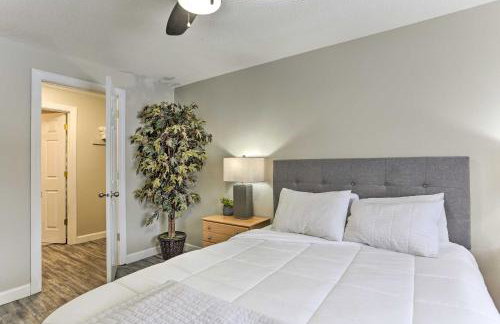
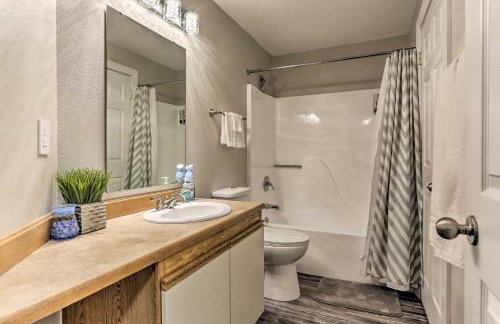
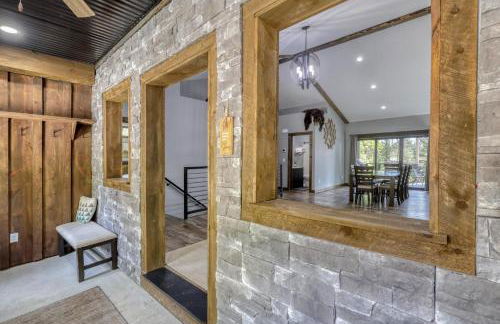
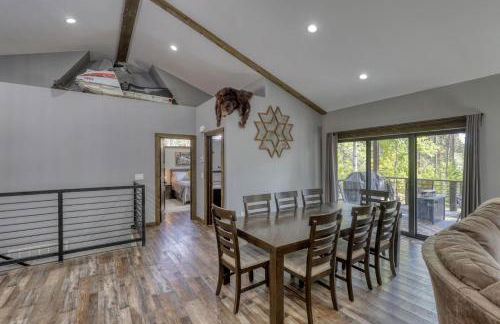
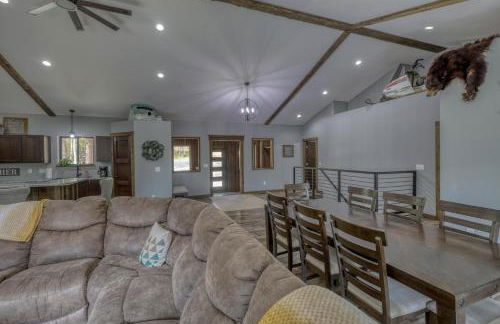
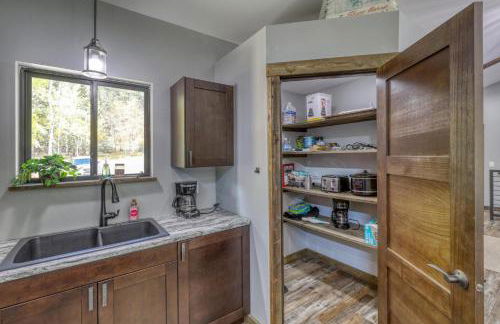
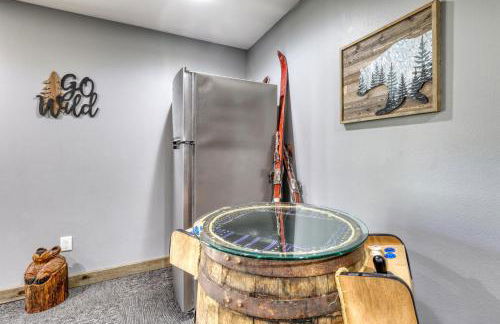
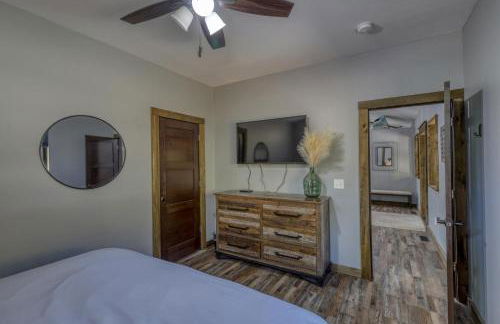
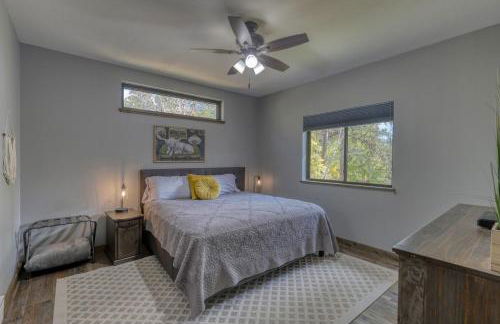
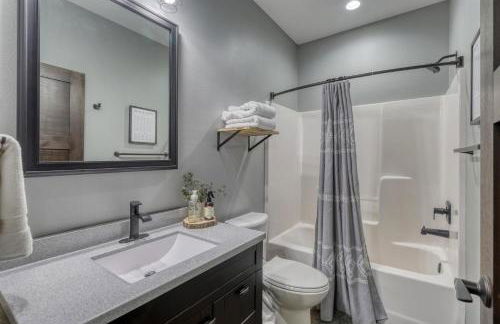
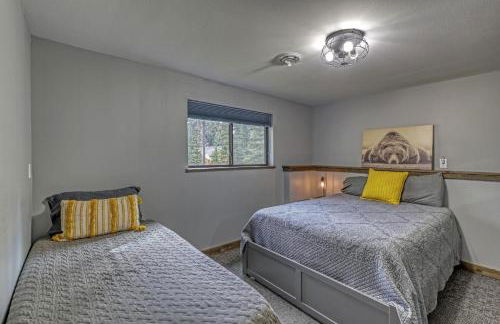
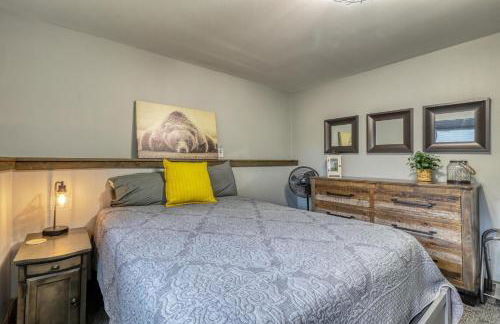
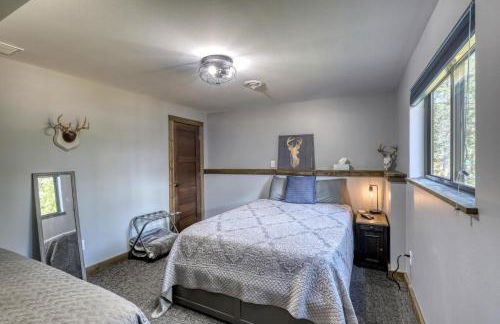
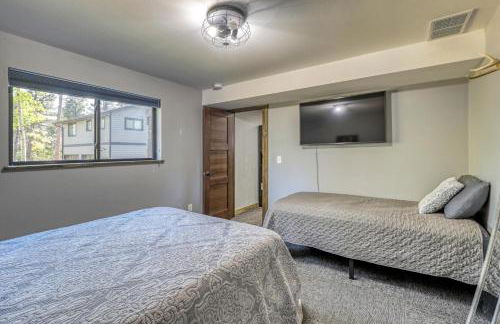
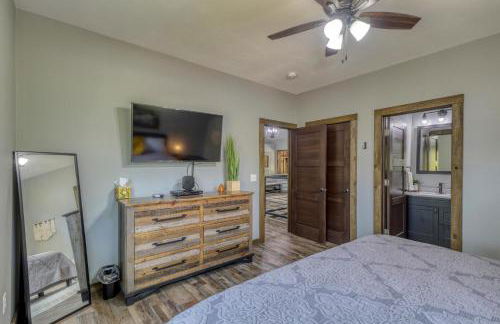
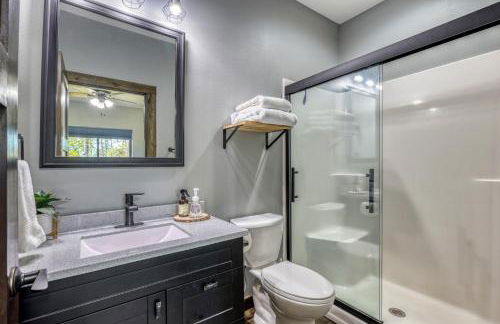
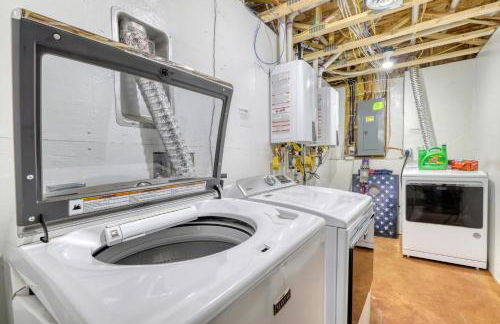
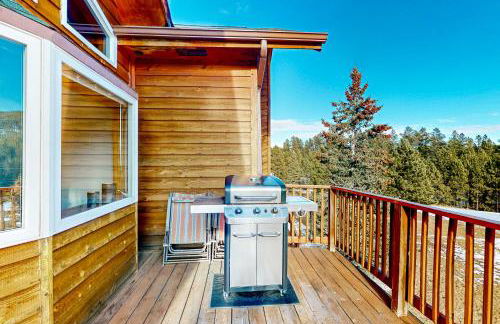
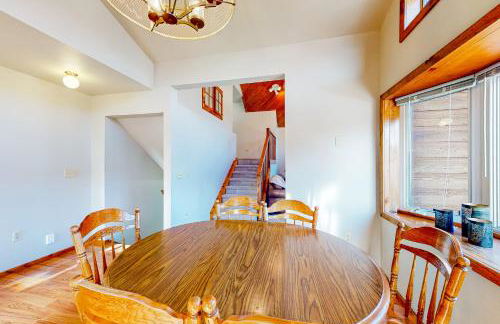
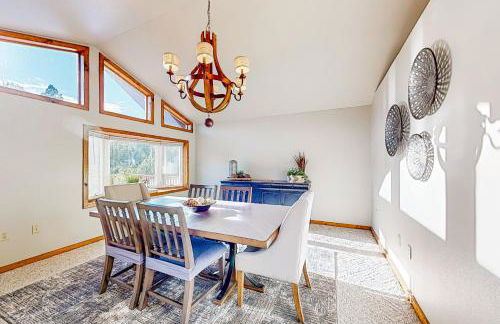
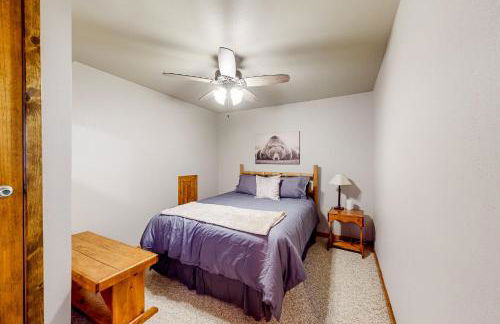
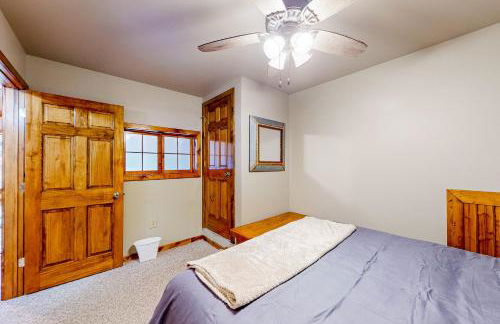
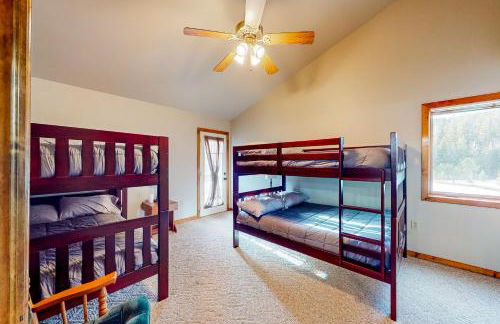
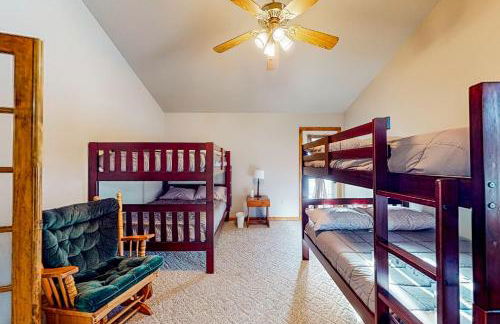
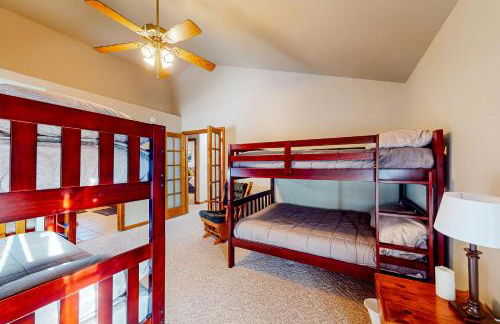
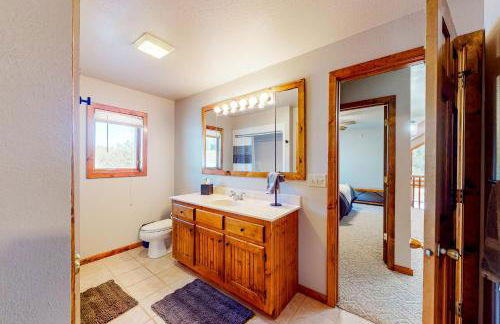
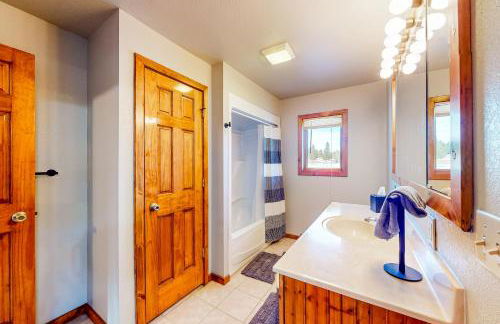
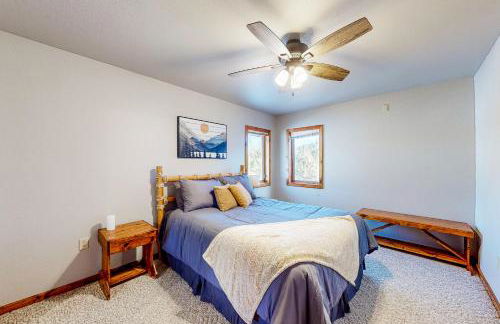
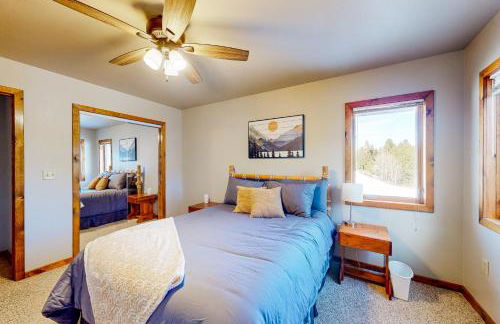
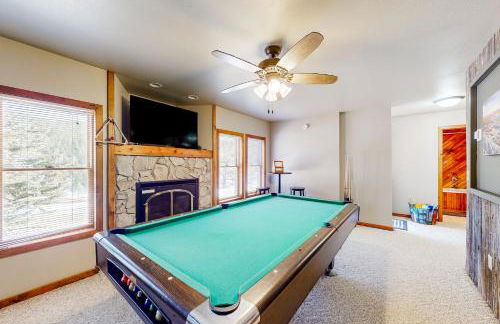
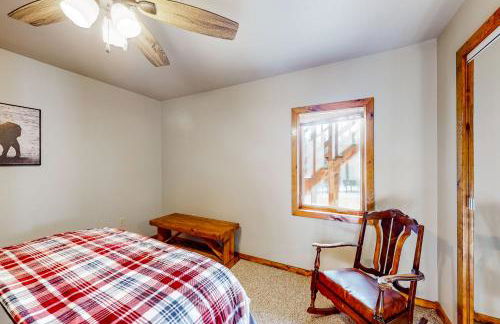
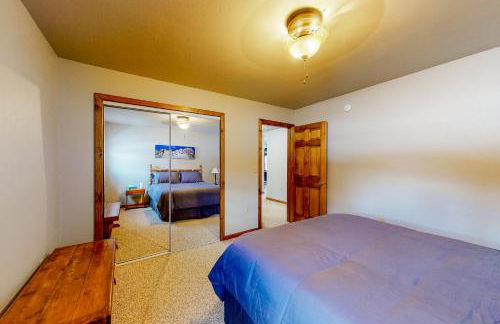
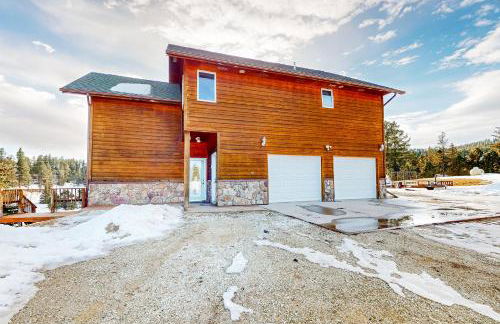
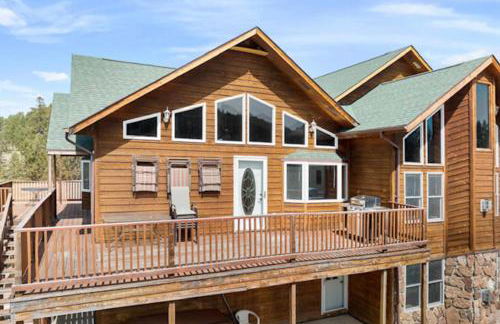
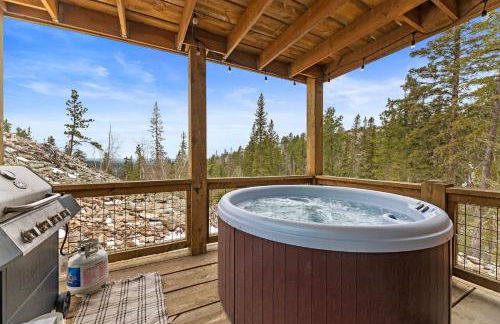
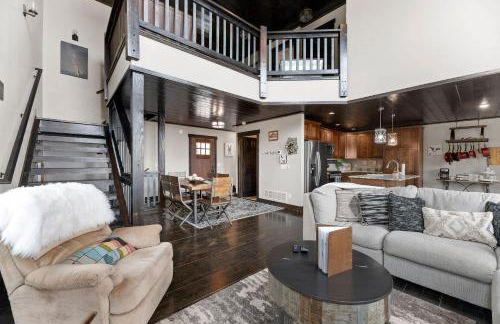
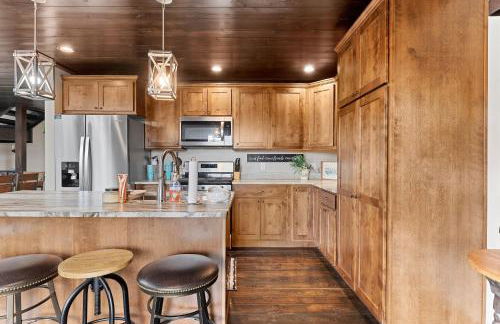
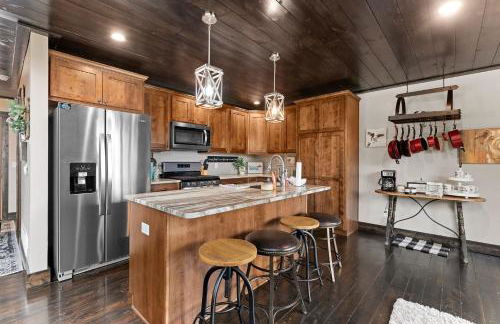
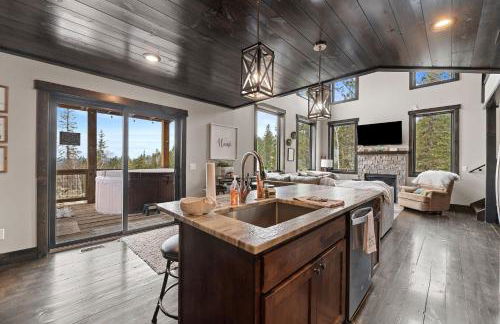
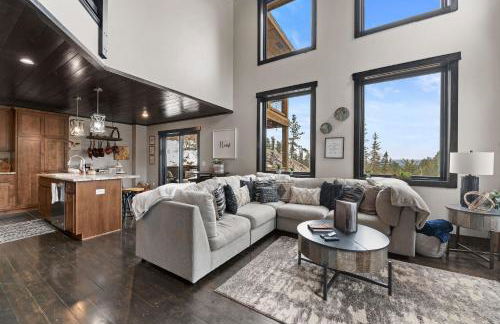
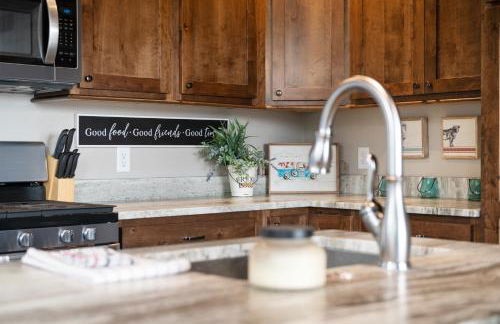
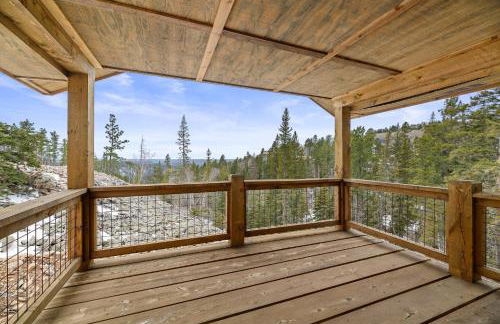
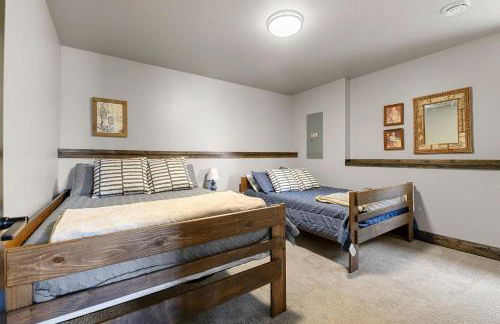
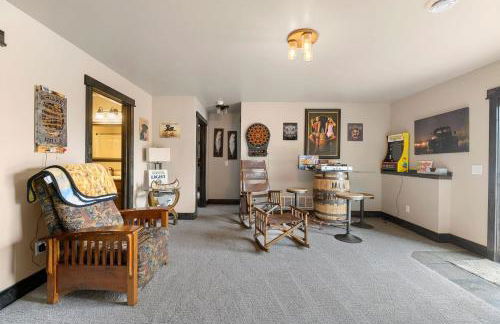
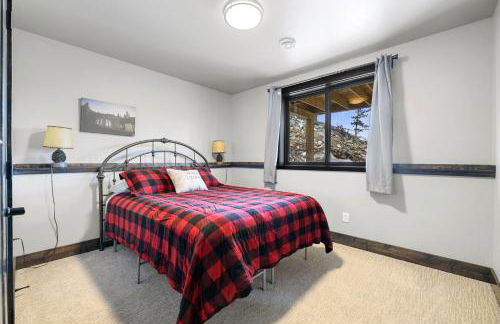
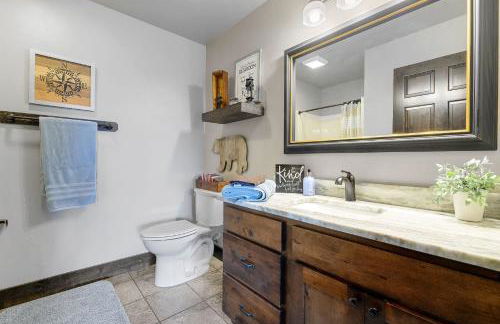
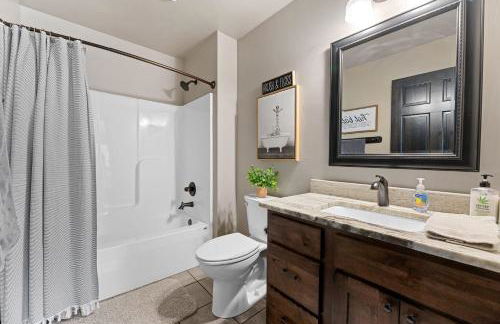
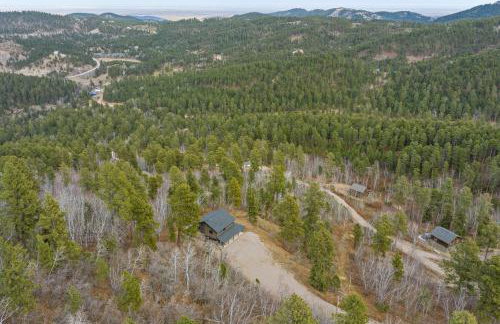
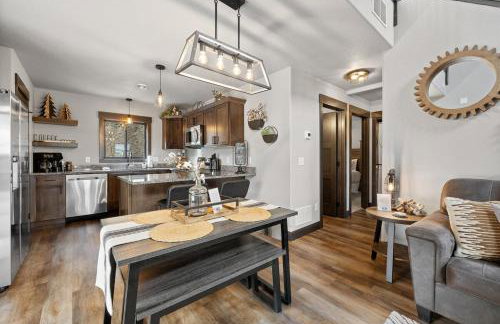
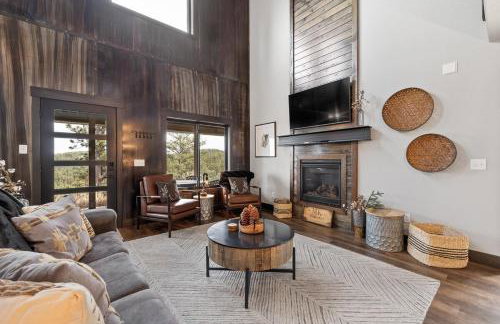
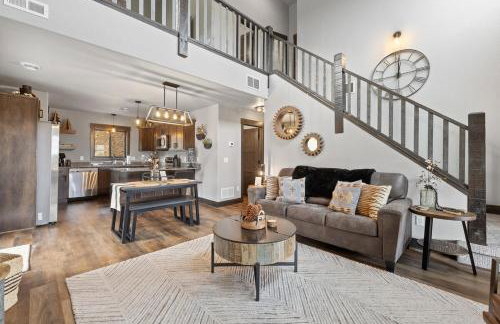
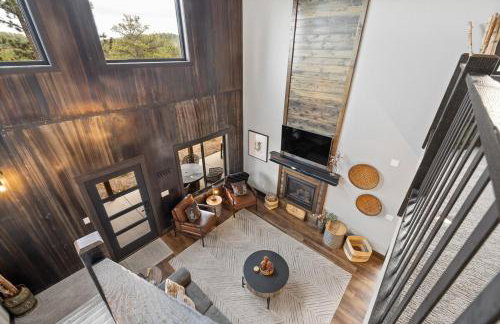
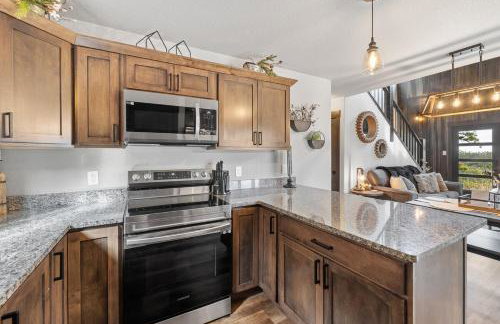
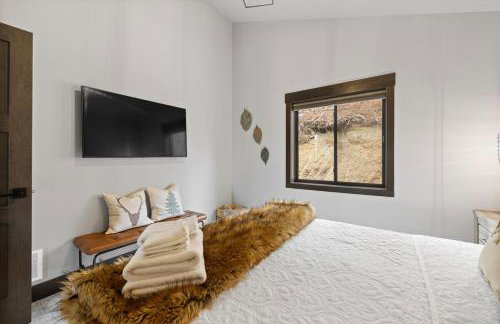
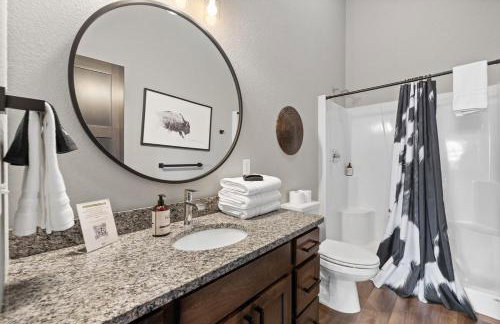
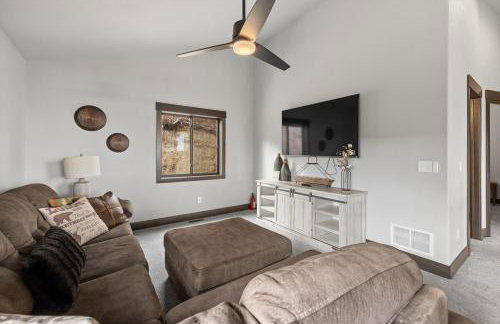
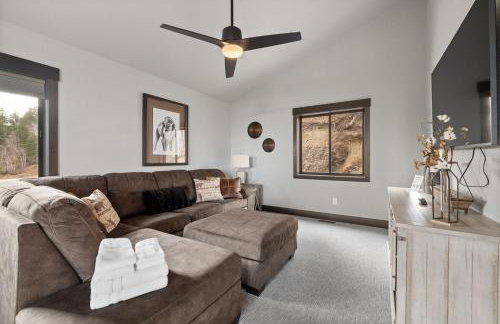
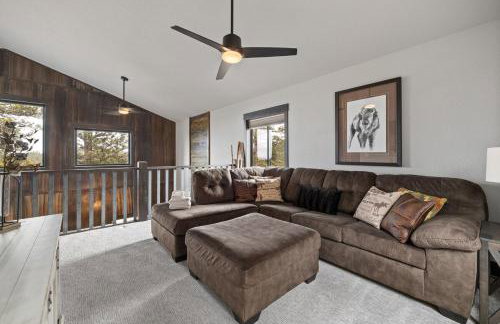
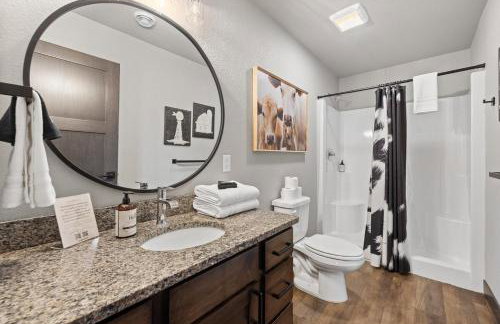
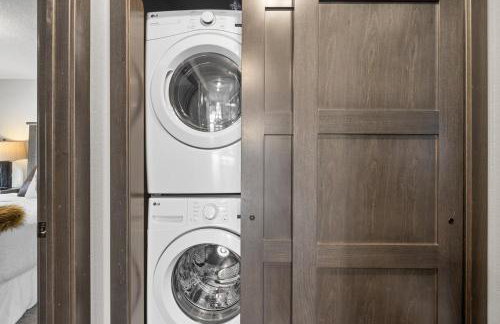
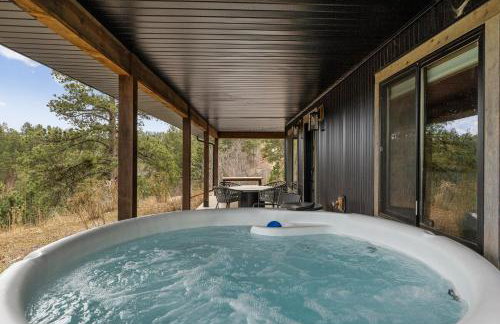
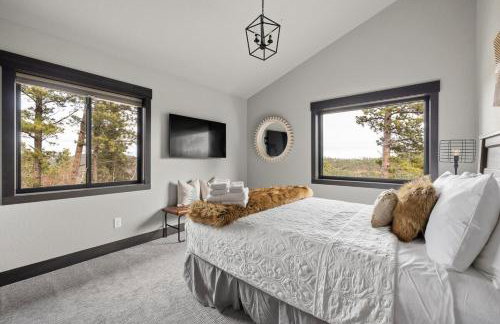
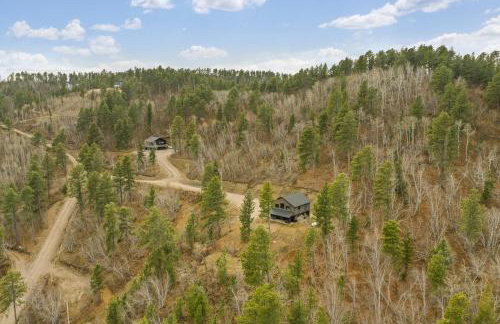
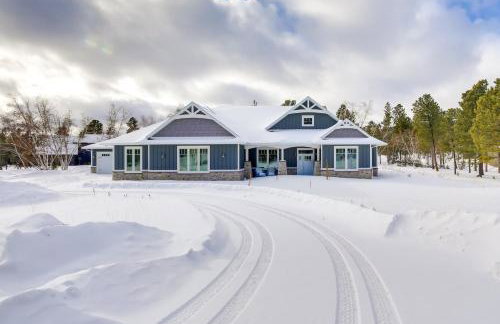
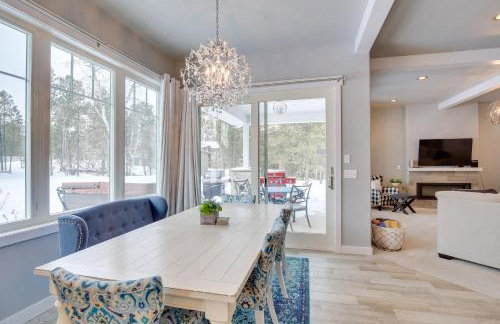
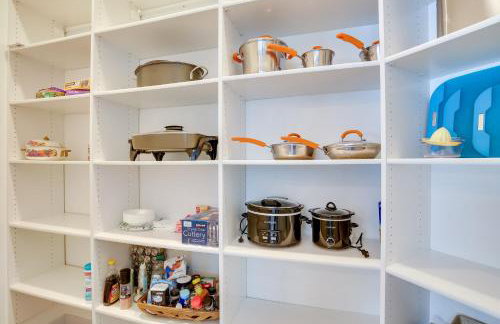
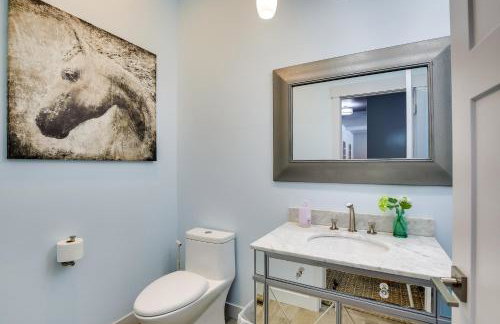
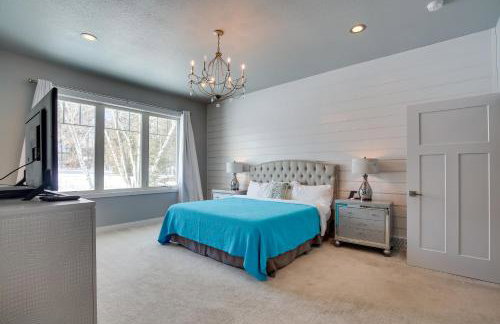
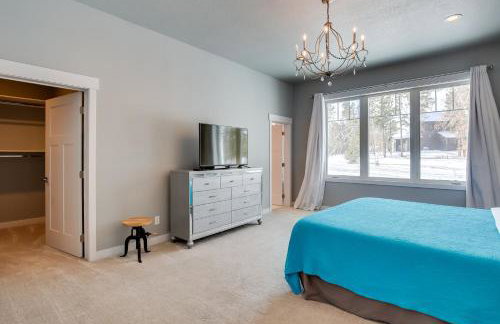
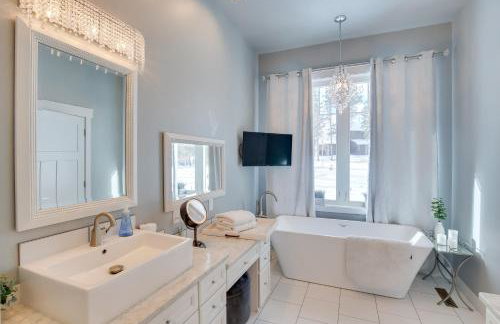
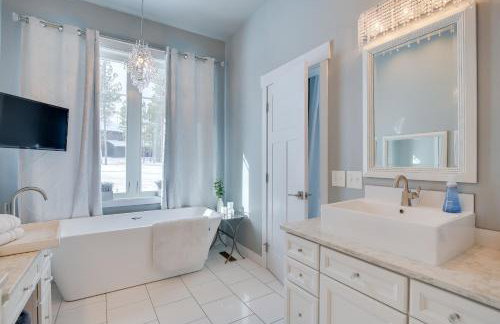
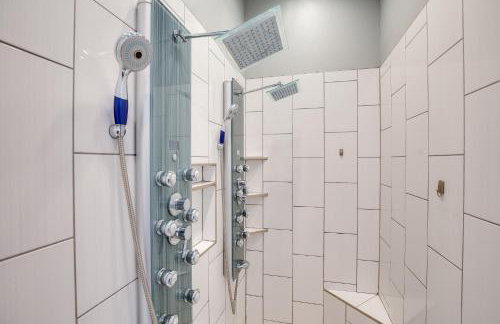
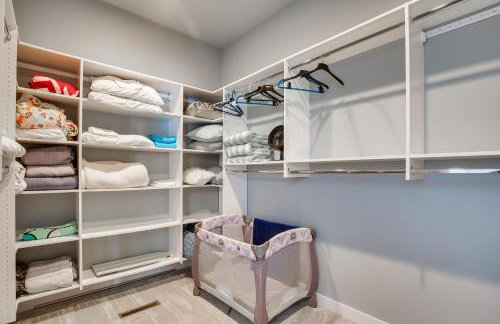
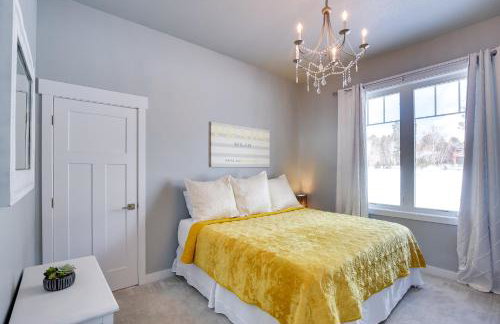
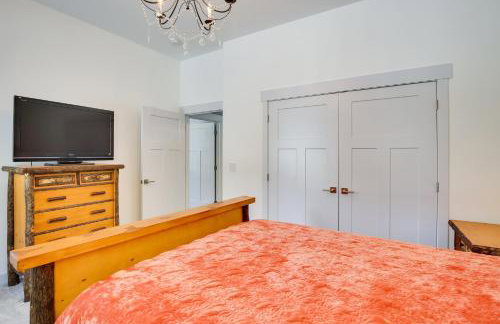
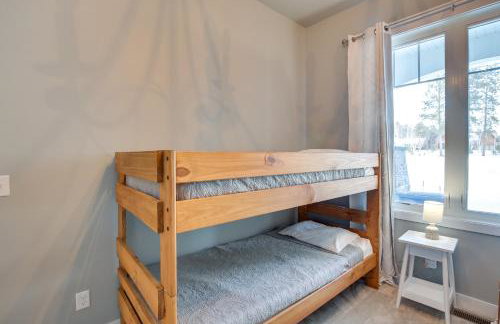
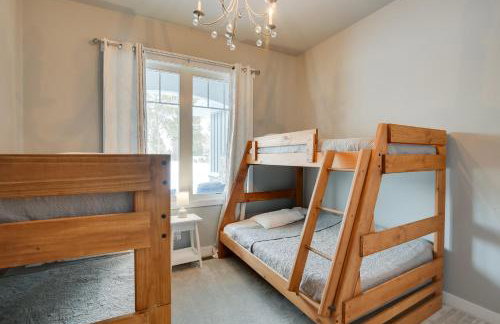
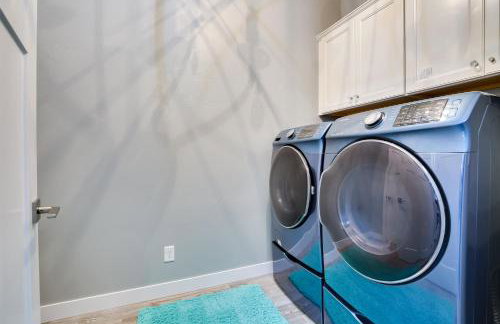
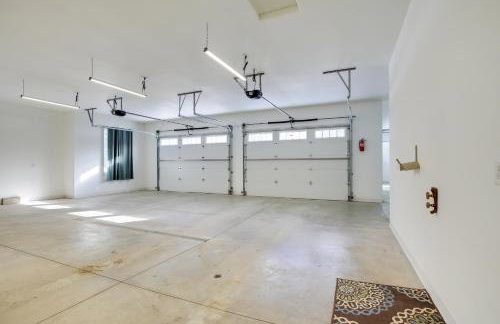
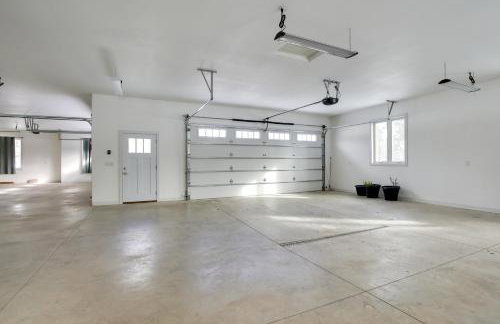
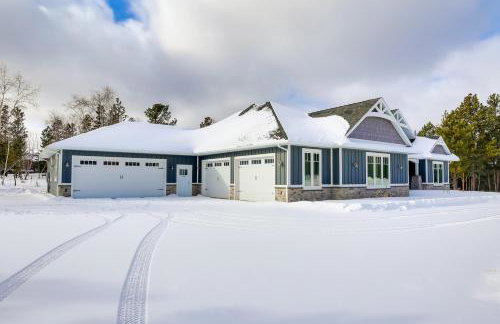
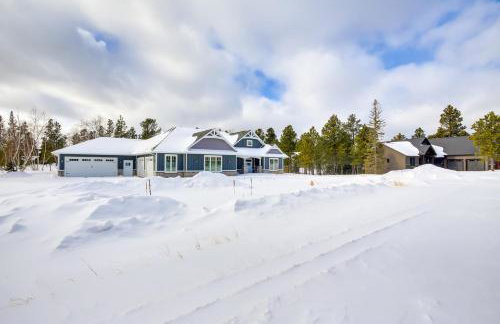
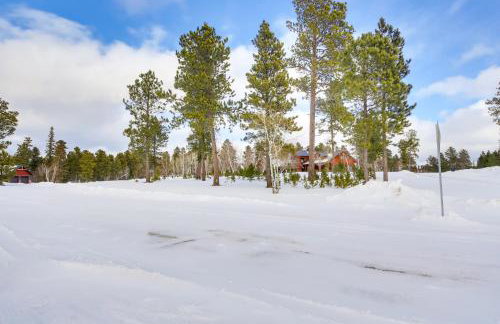
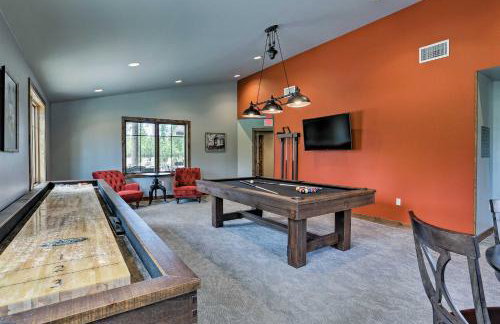
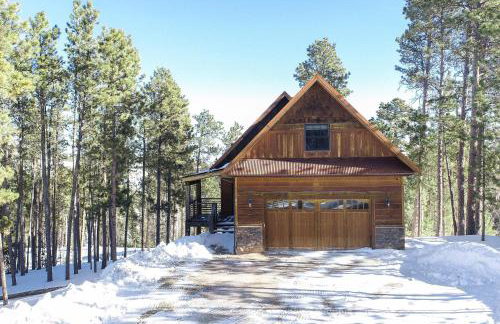
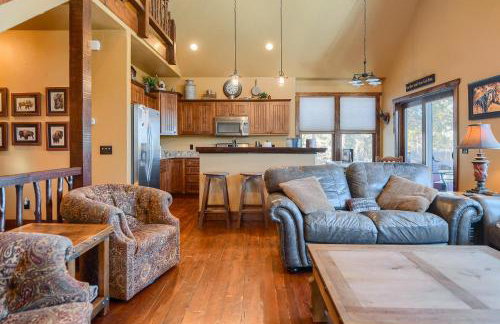
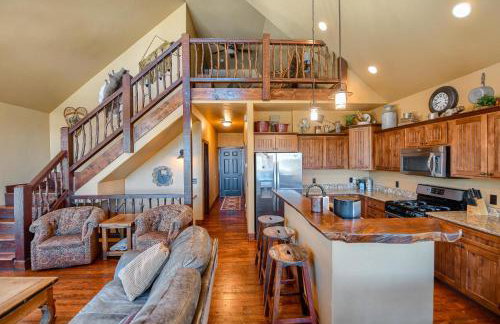
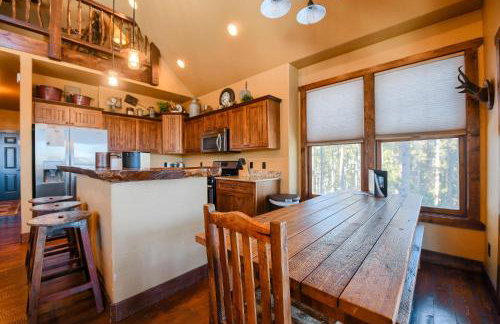
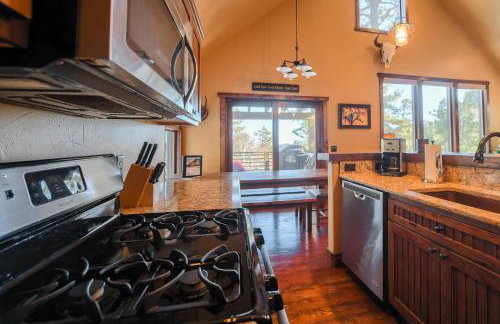
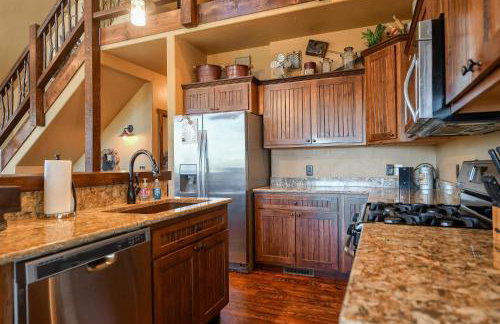
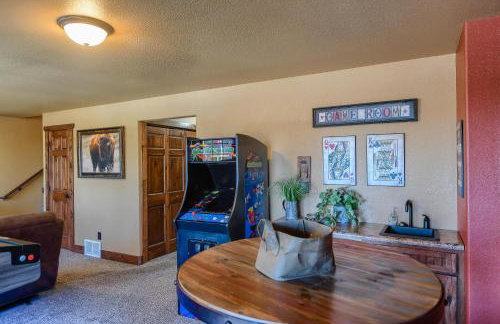
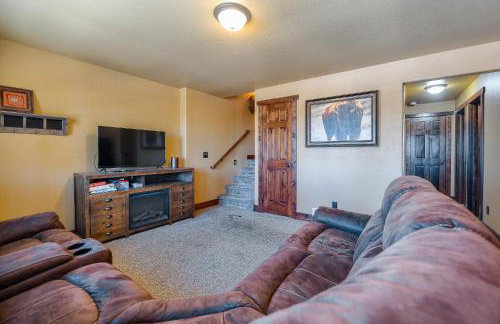
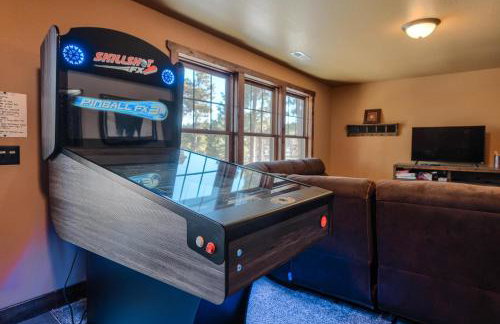
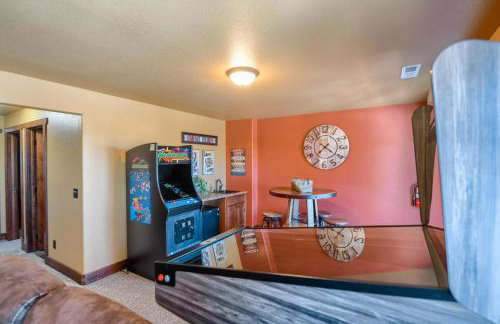
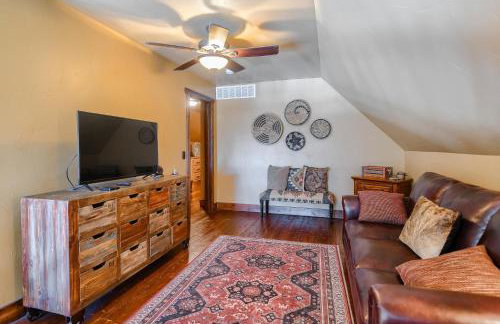
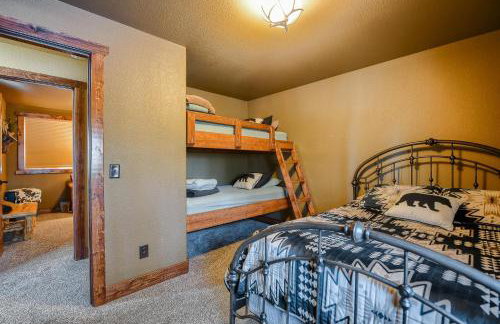
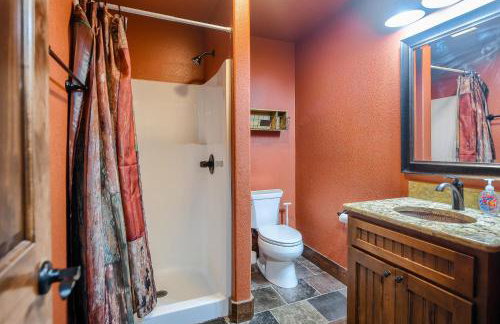
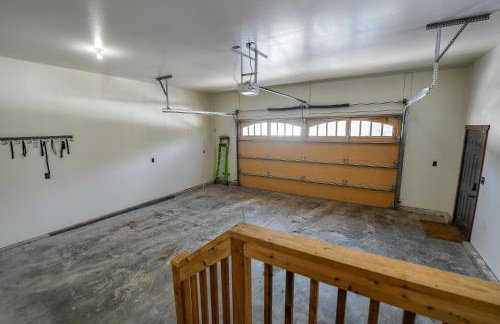
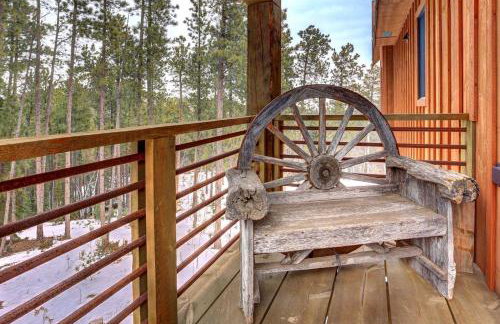
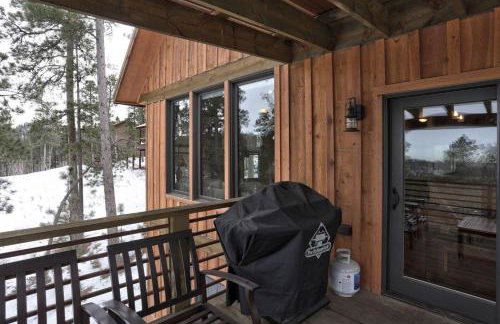
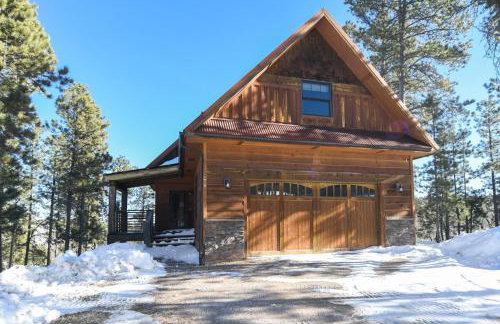
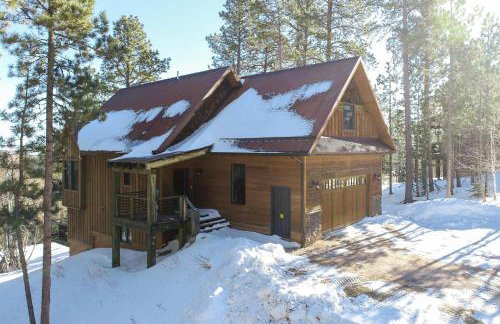
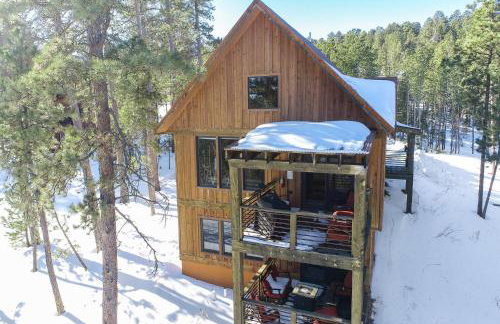
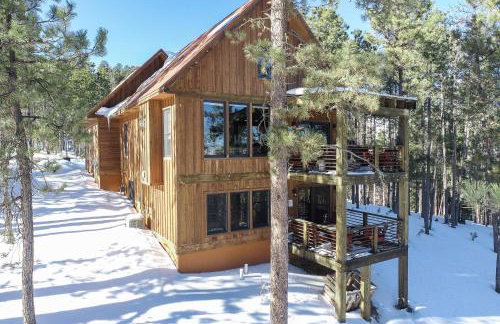
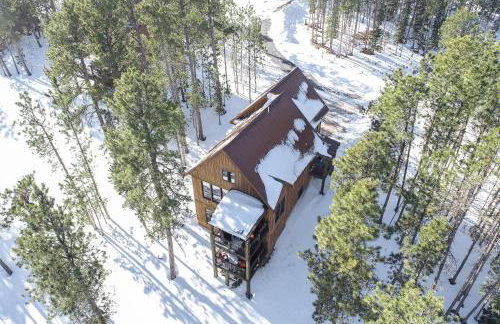
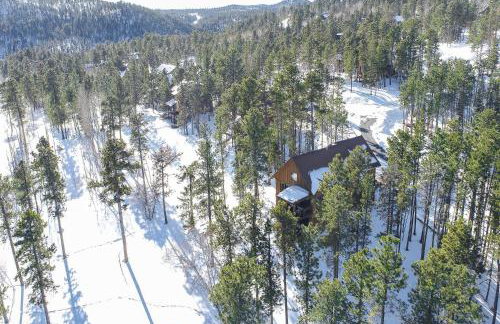
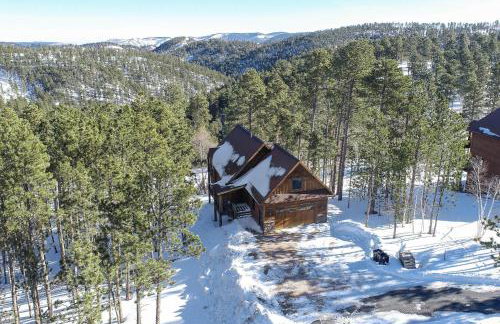
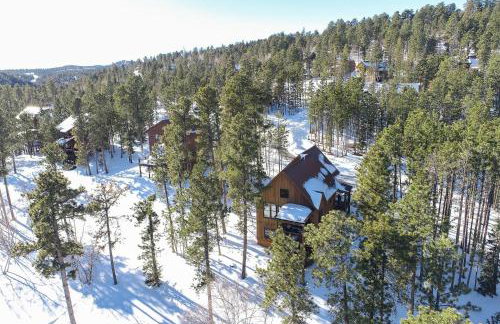
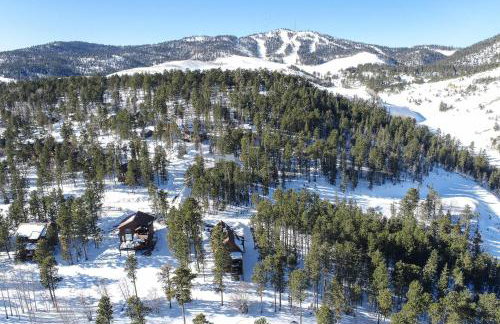
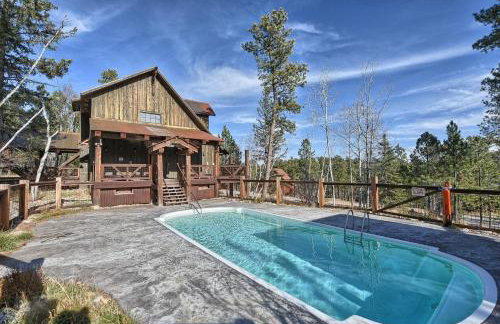
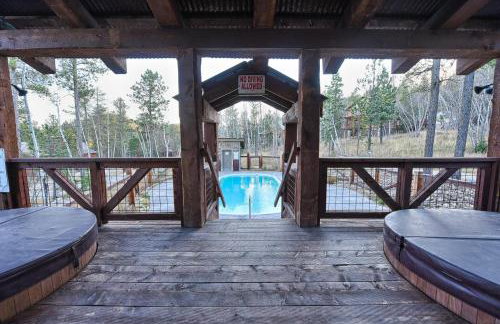
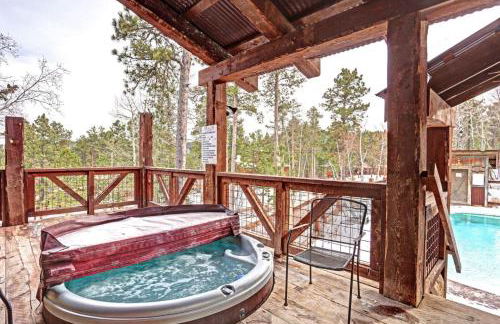
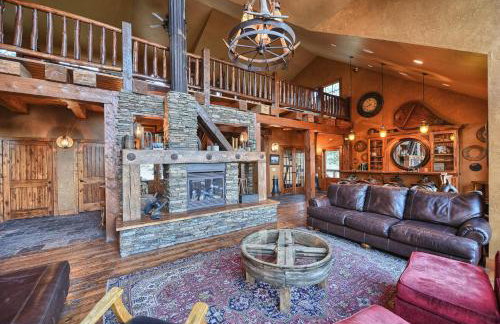
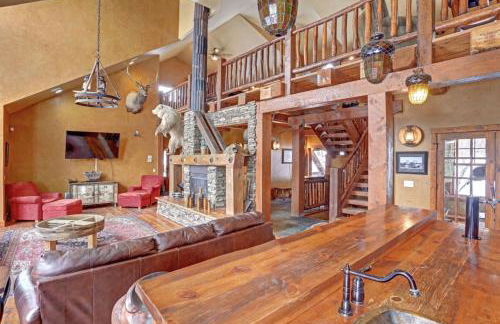
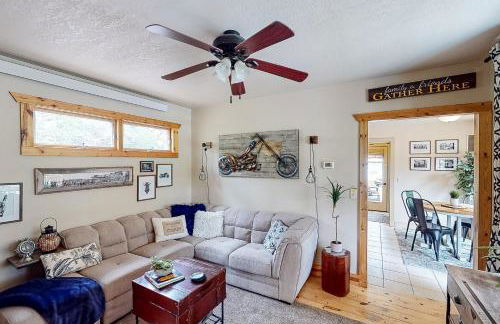
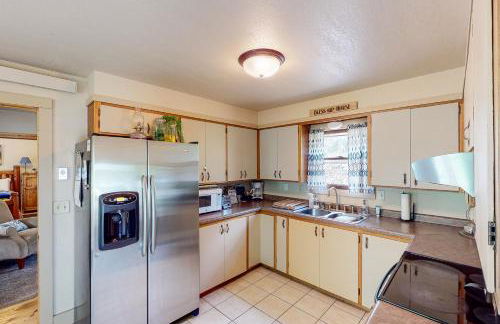
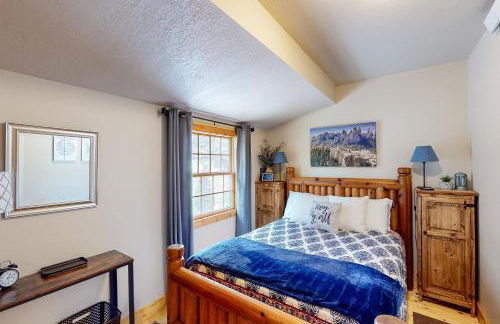
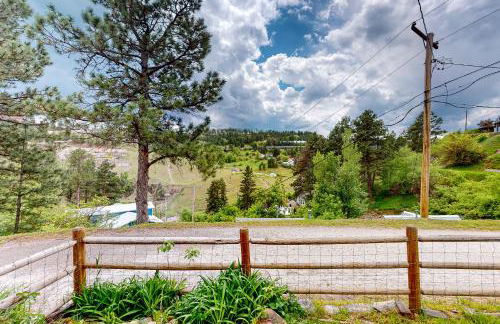
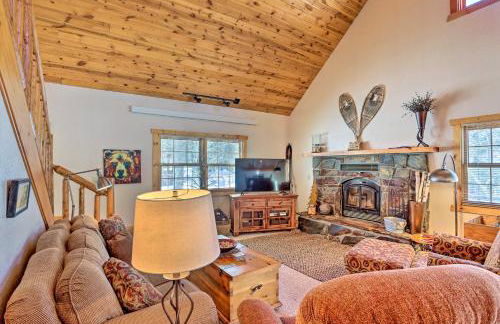
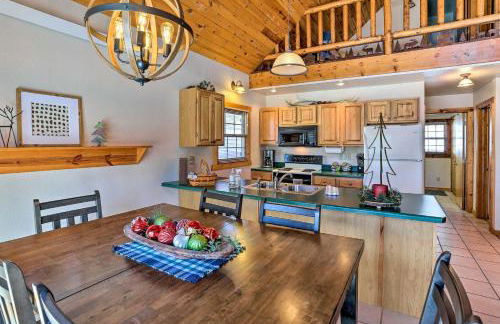
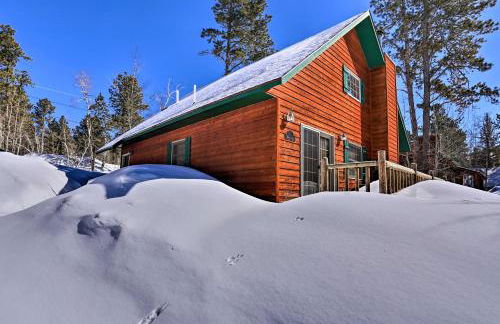
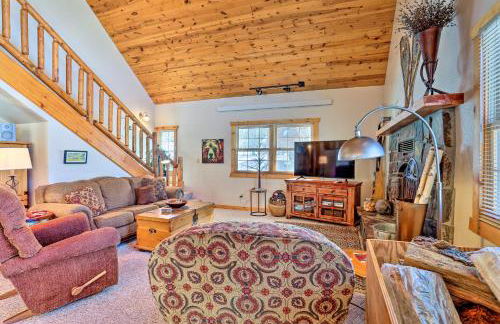
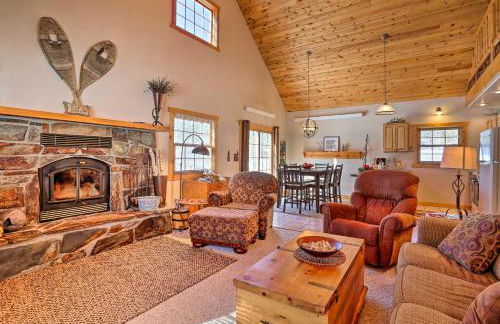
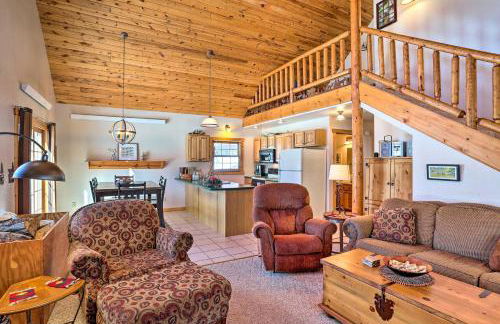
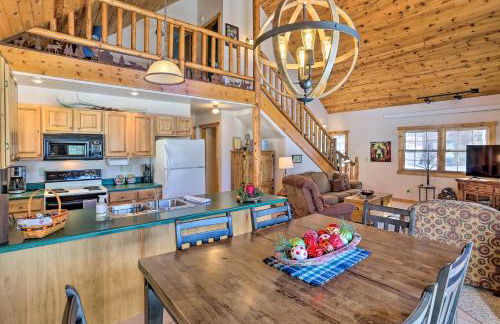
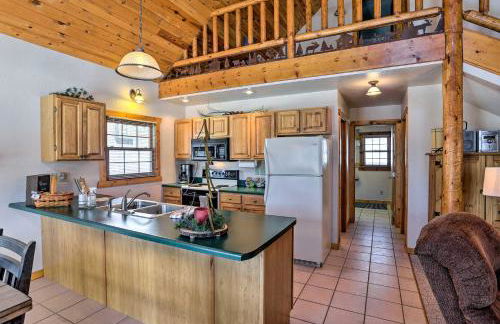
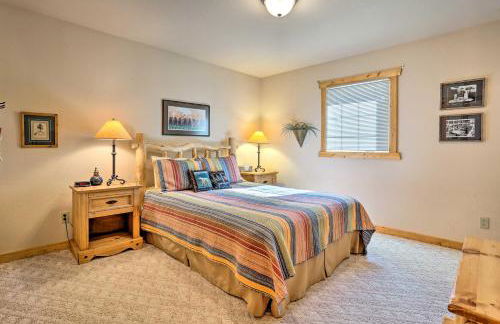
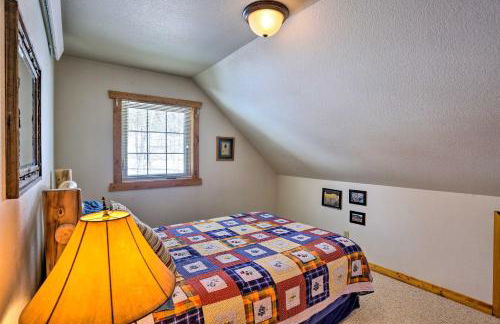
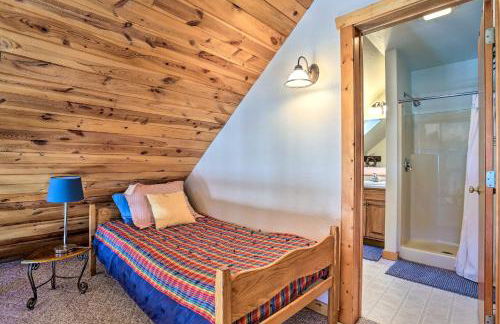
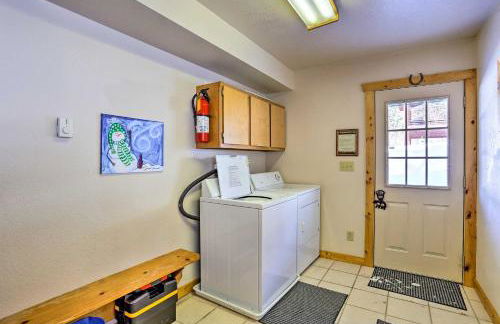
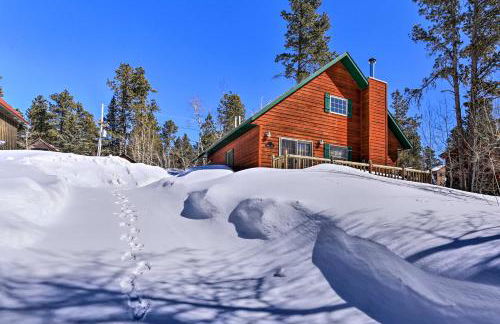
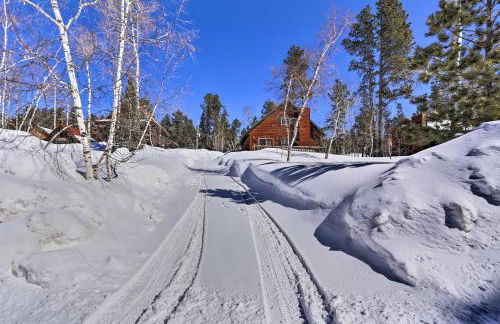
West Main Lodge, 3 bedroom - Foto 1
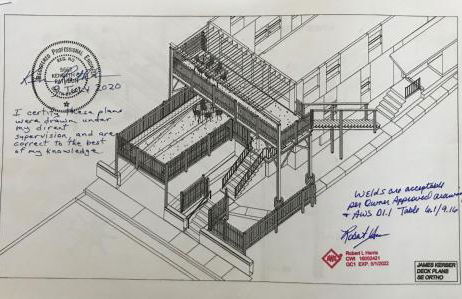
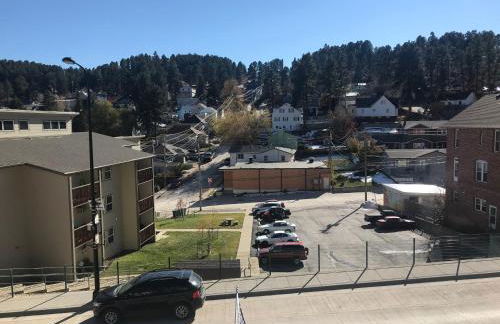
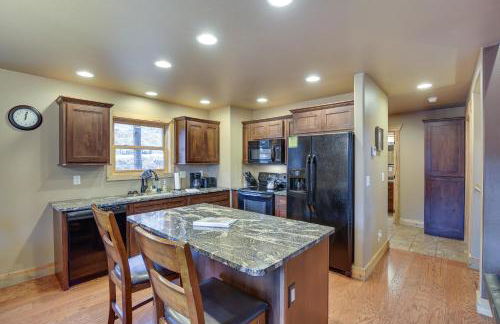
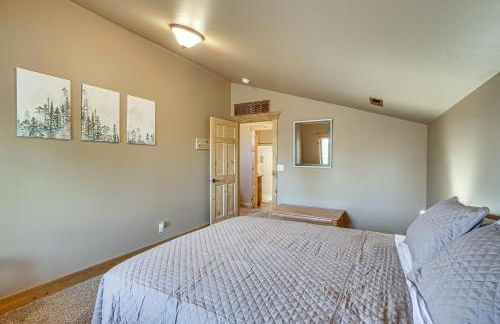
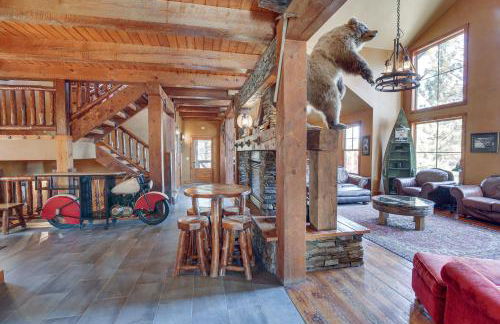
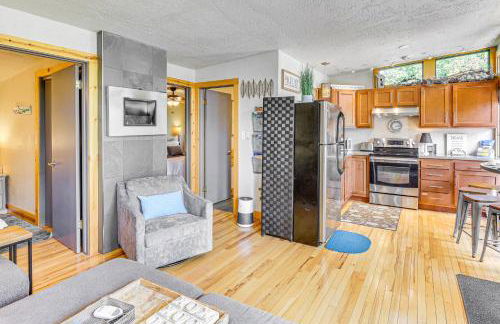
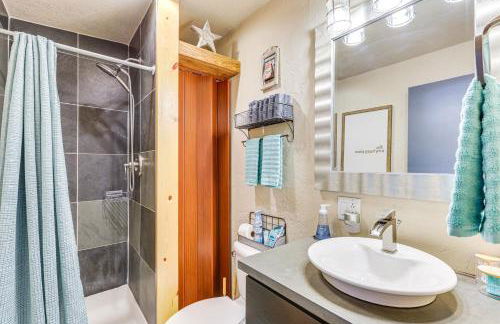
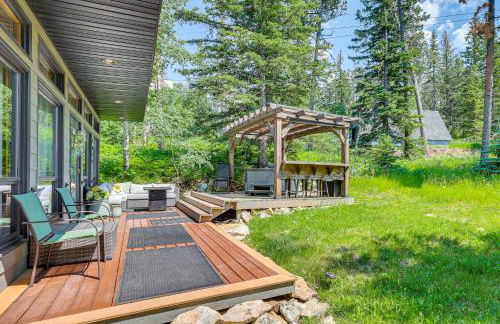
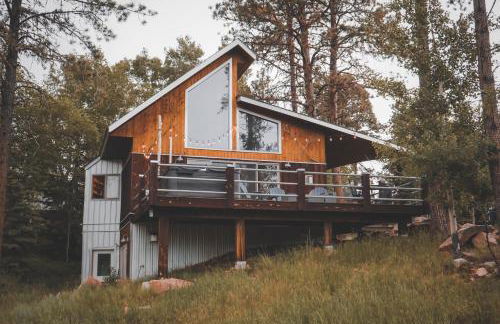
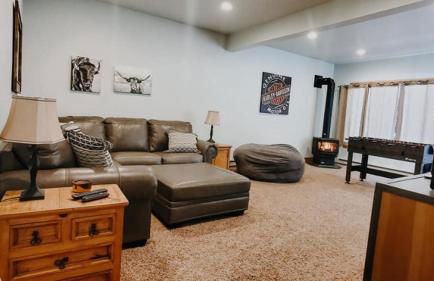
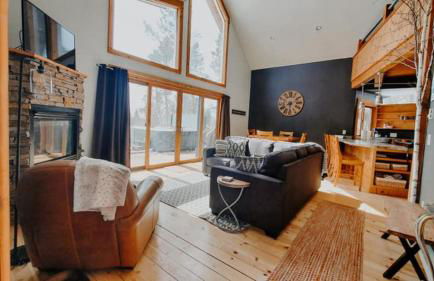
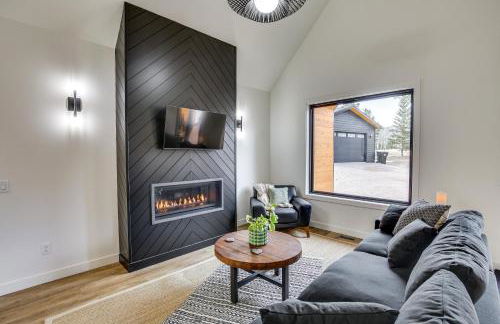
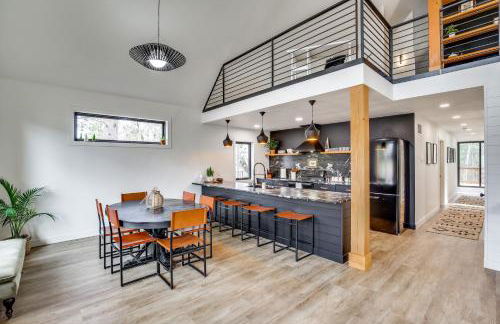
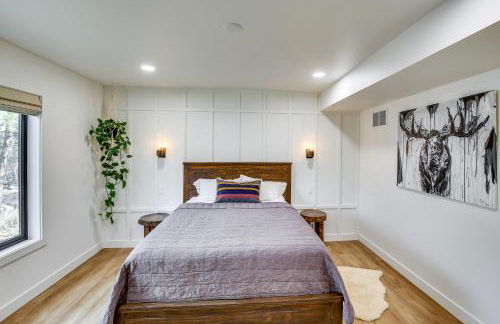
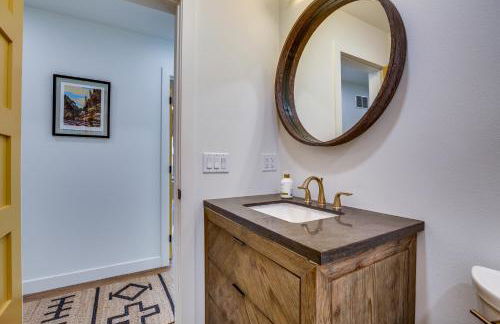
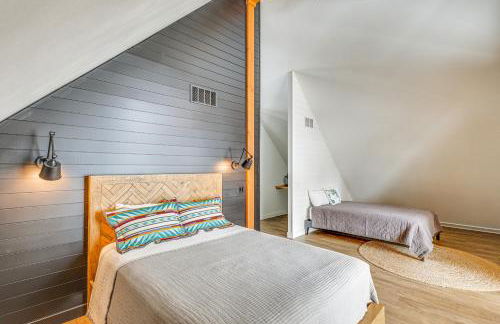
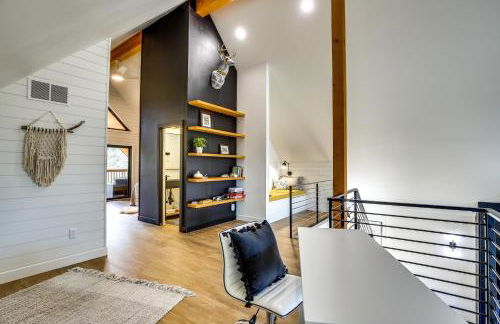
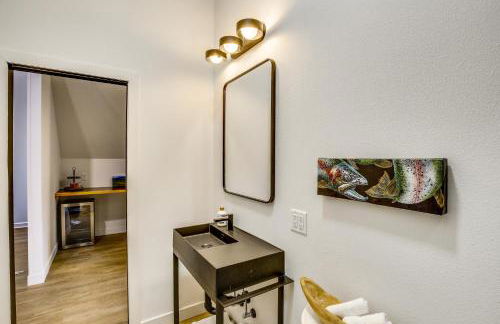
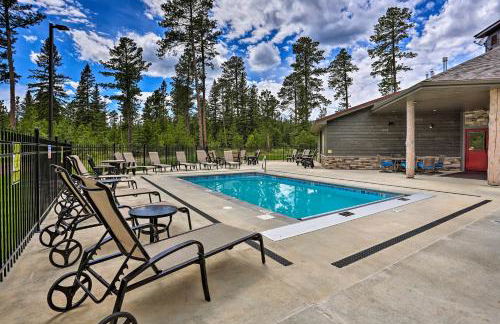
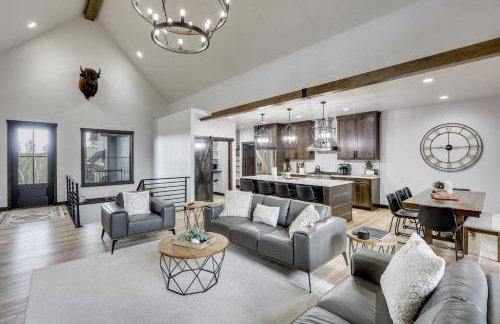
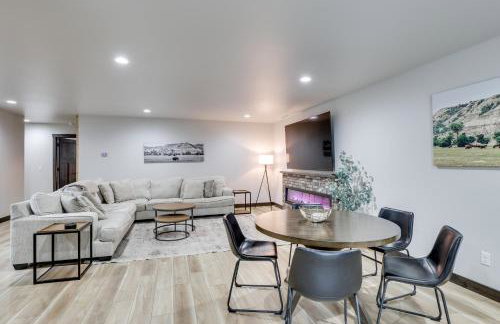
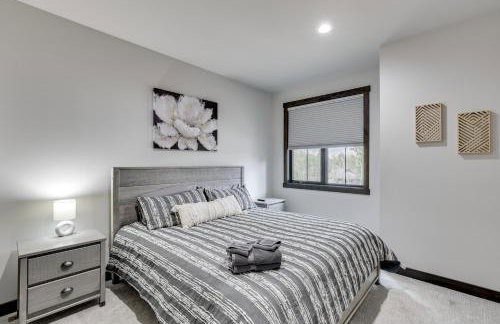
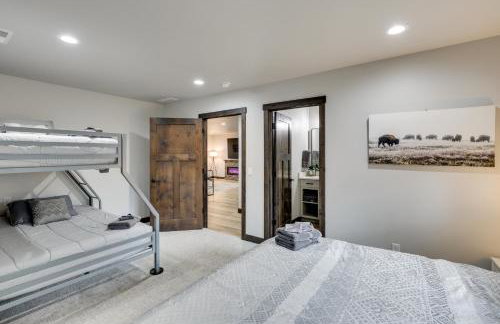
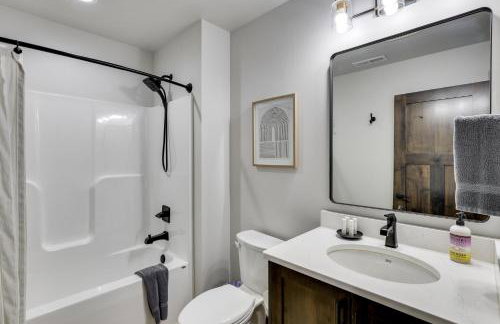
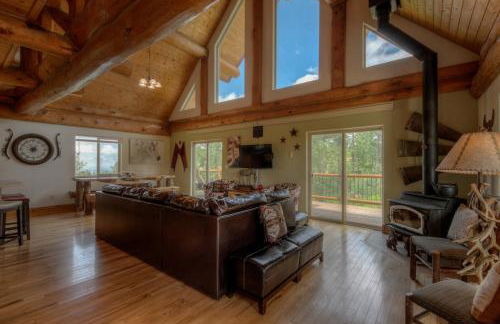
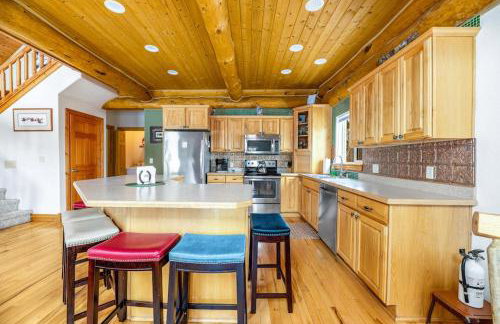
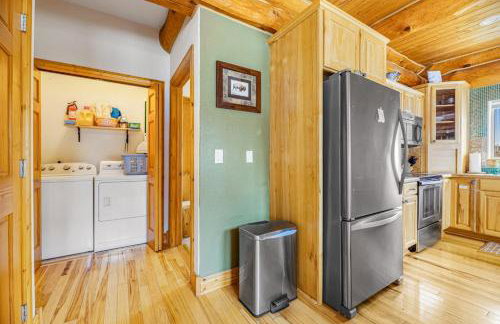
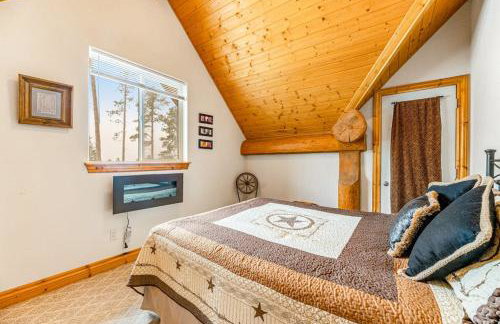
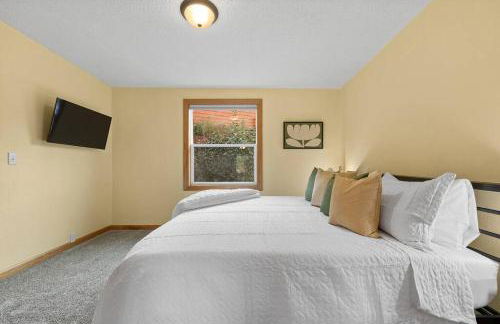
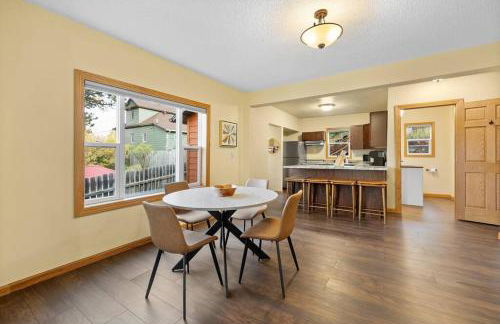
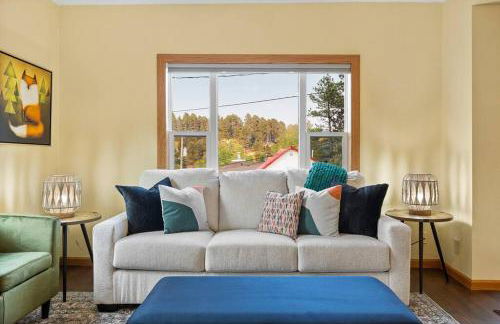
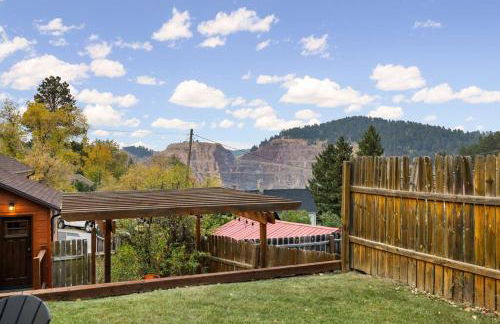
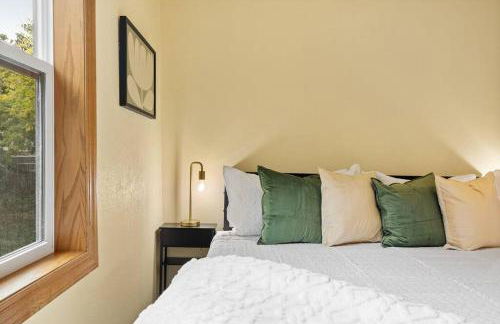
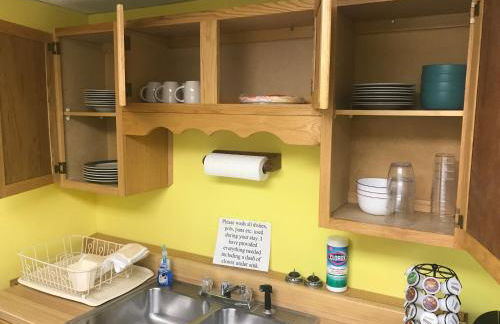
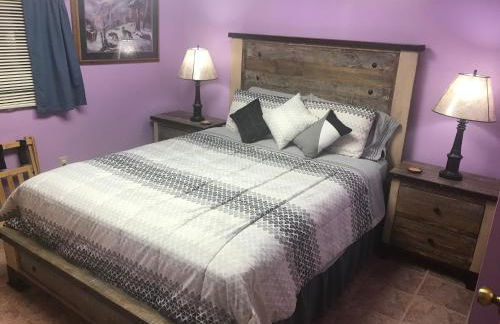
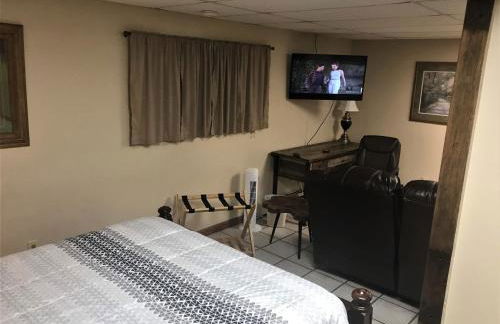
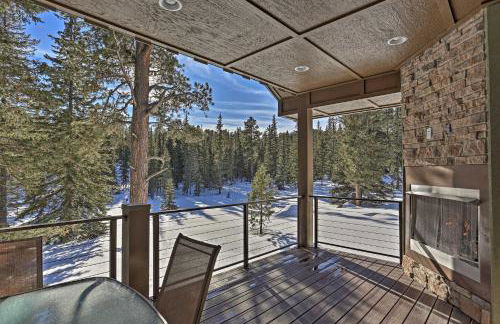
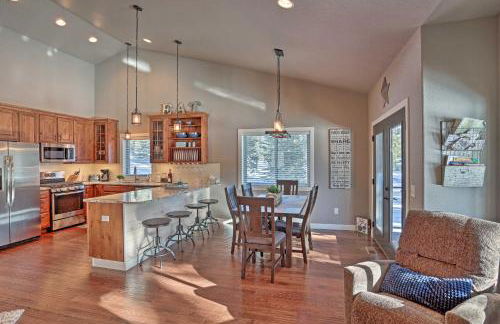
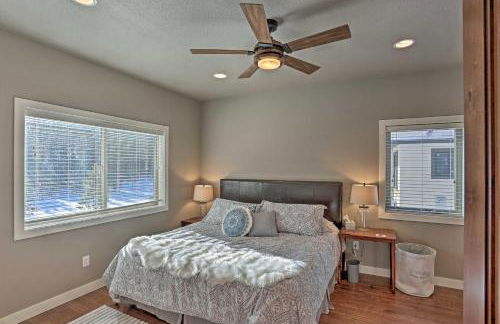
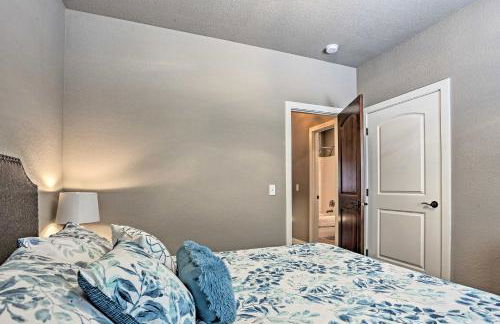
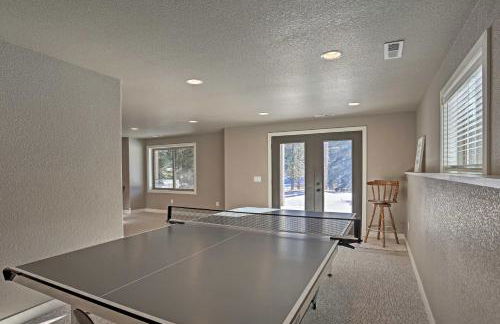
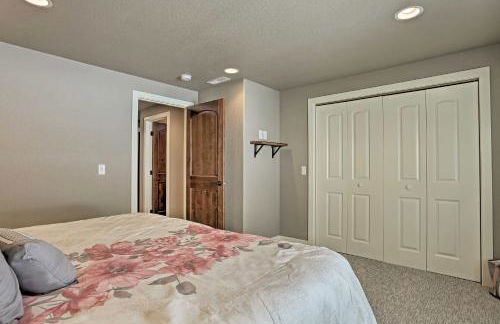
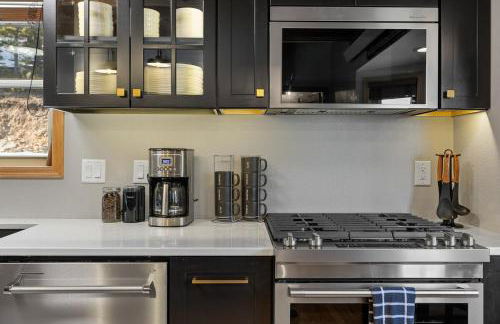
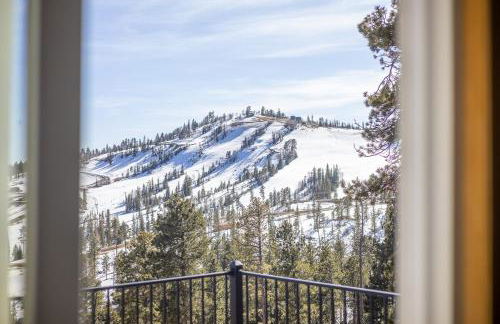
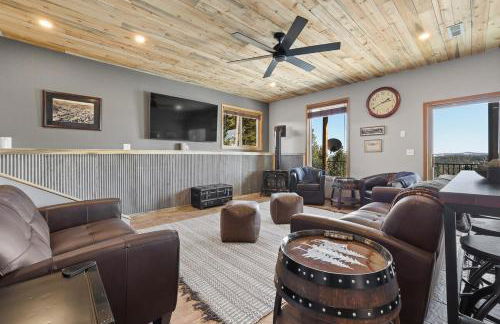
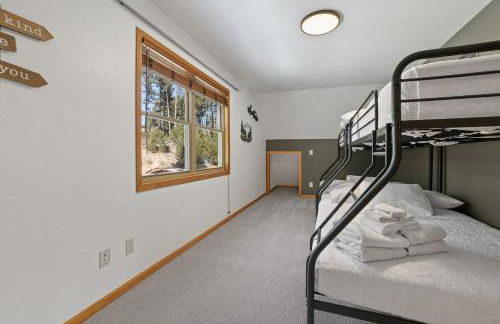
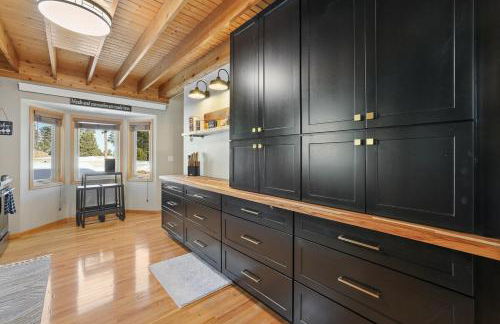
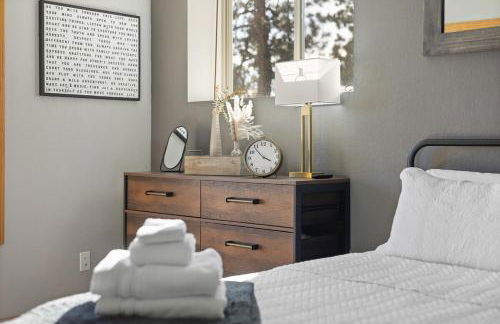
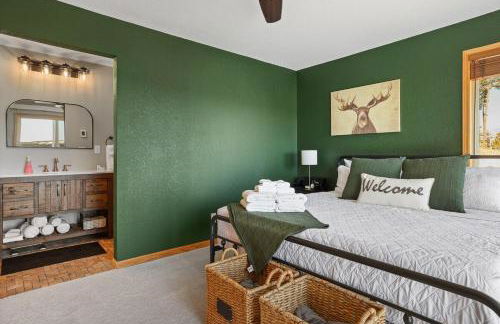
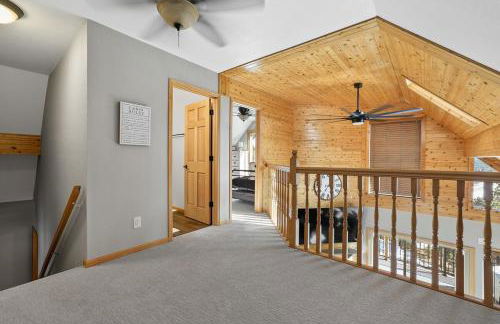
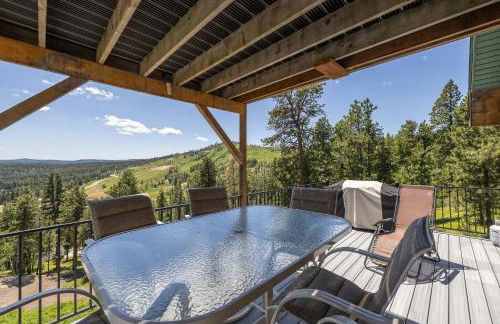
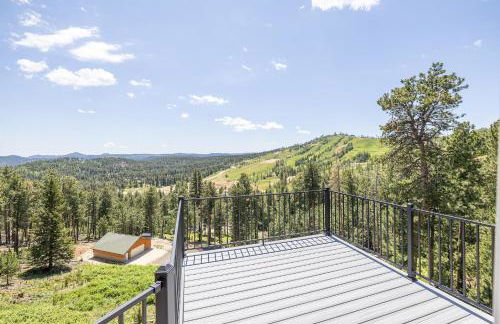
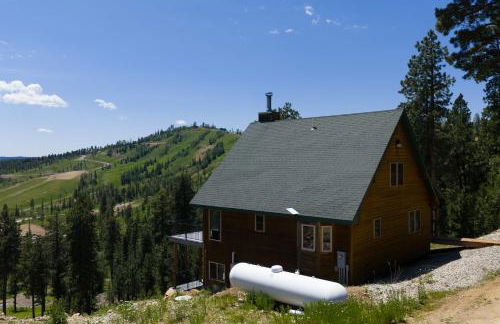
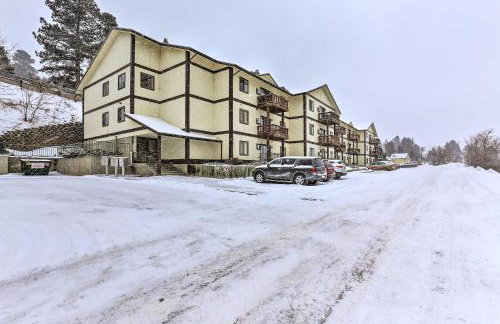
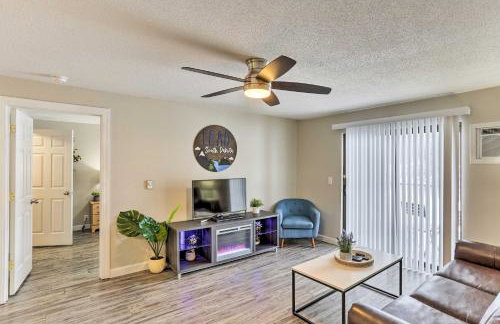
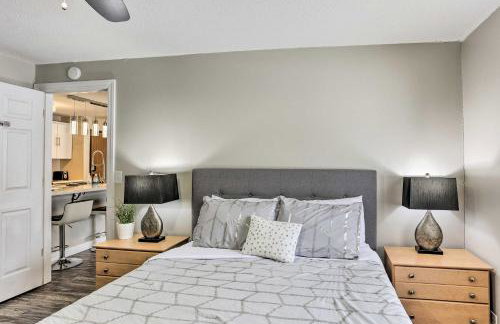
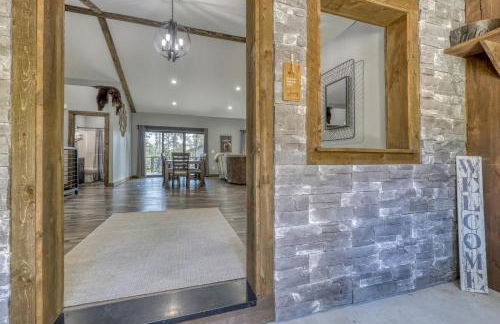
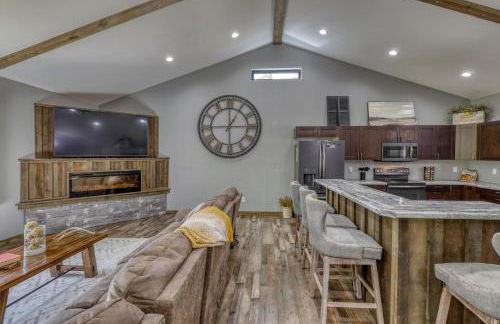
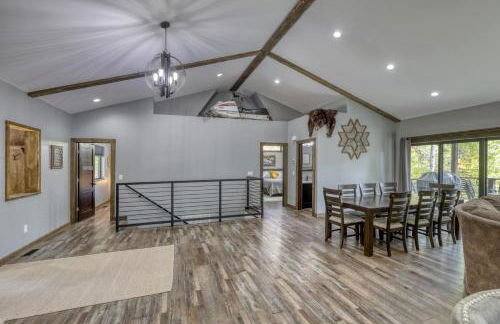
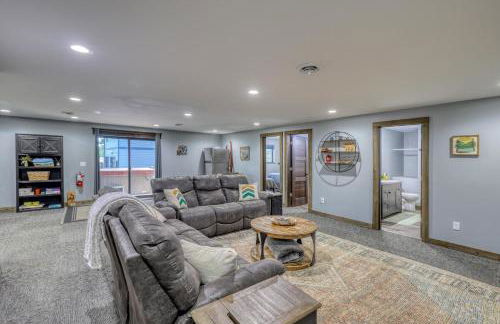
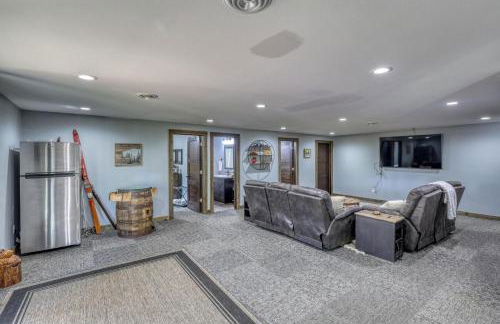
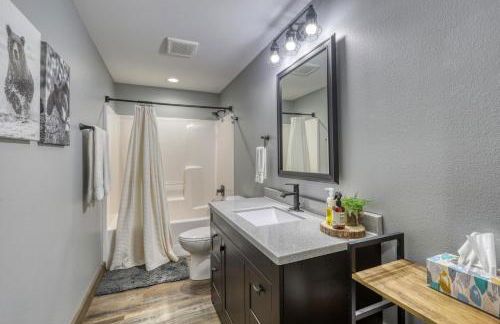
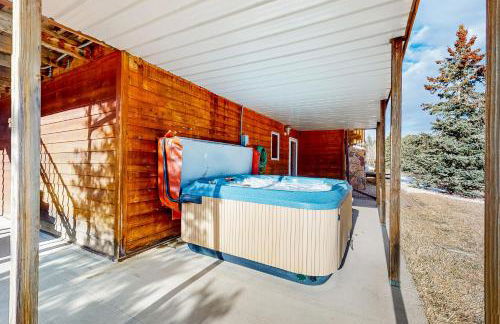
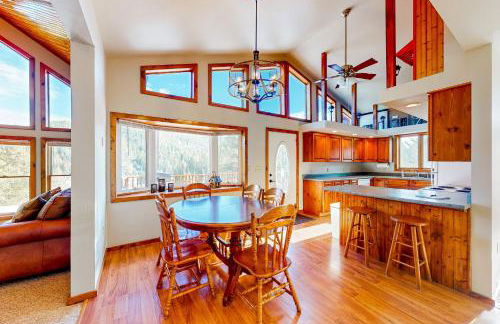
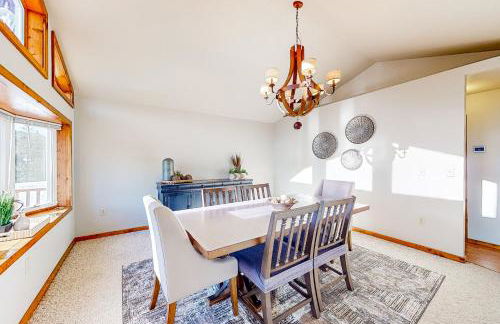
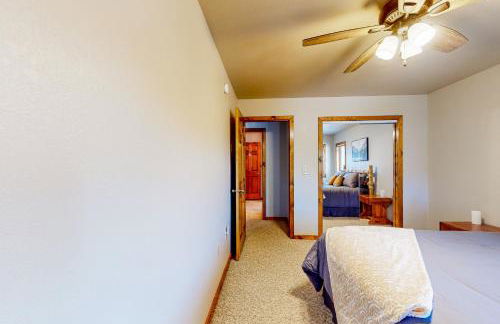
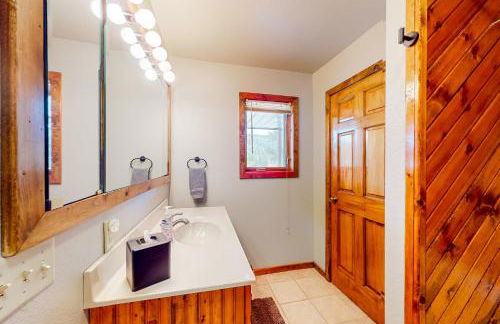
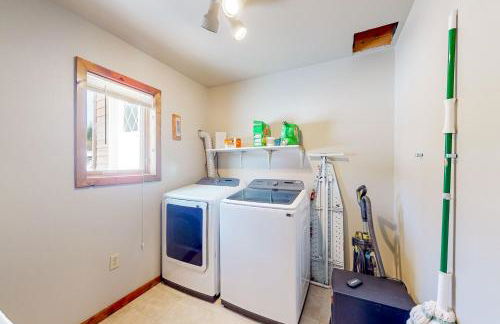
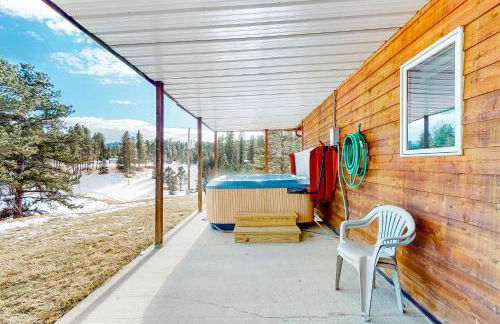
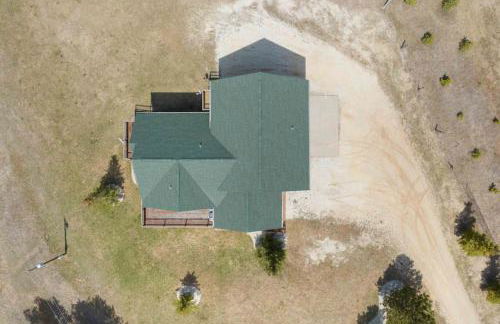
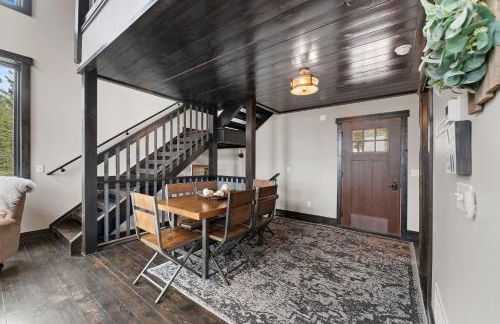
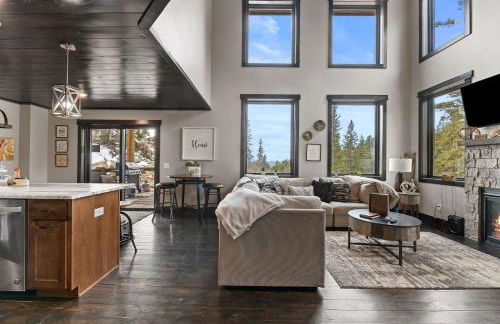
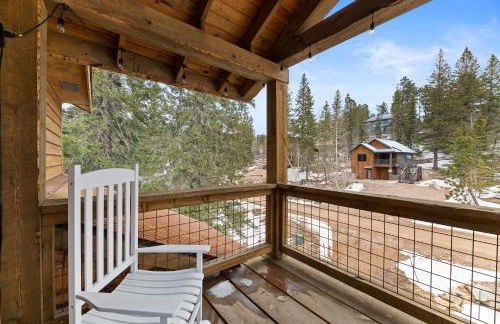
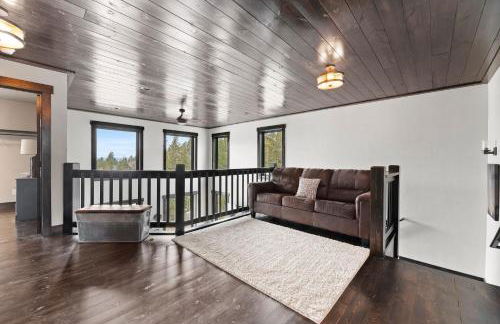
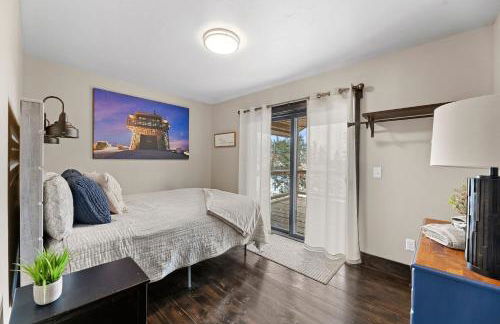
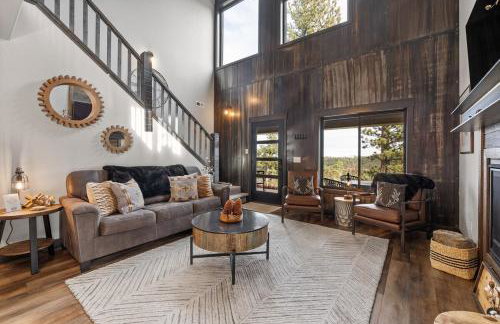
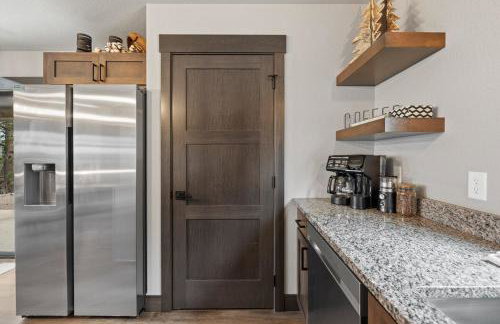
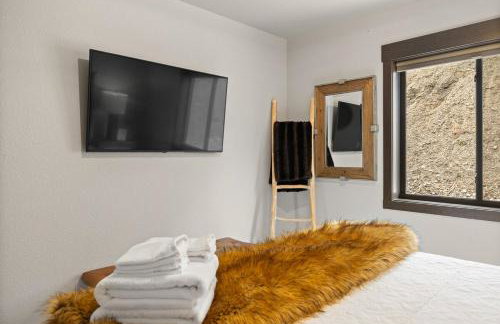
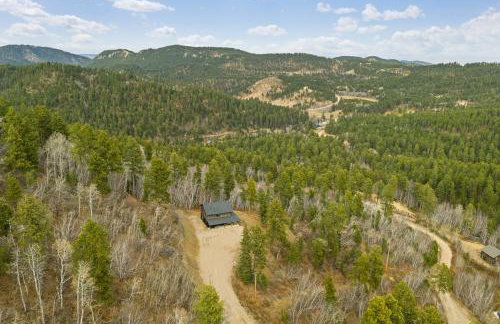
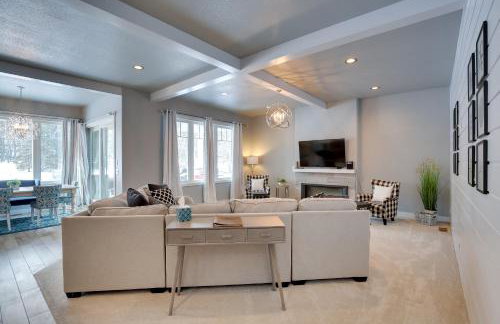
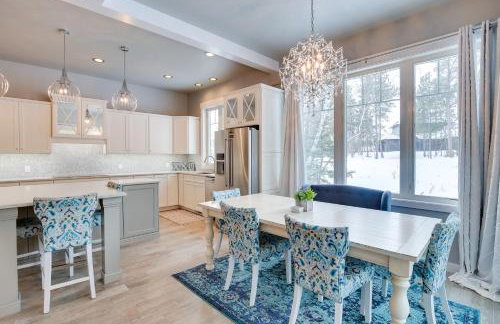
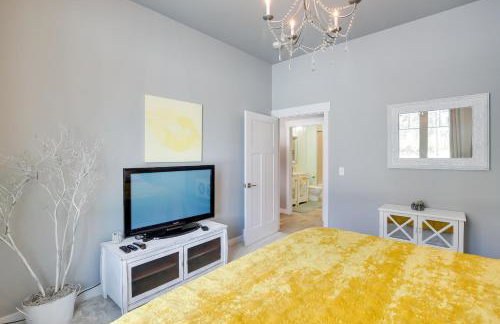
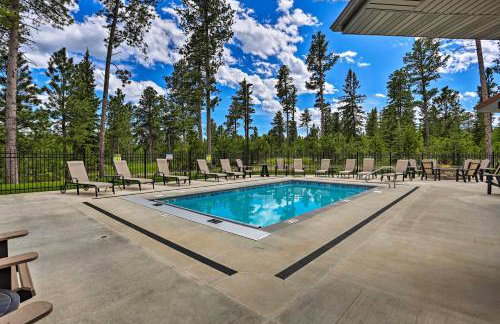
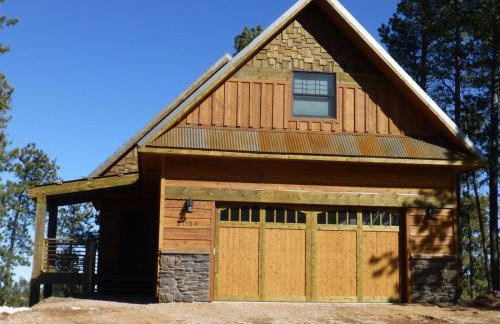
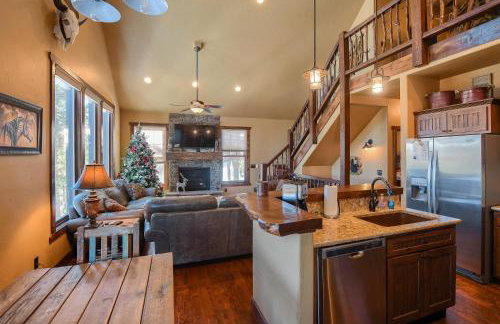
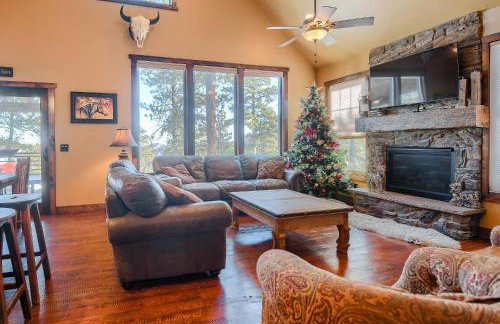
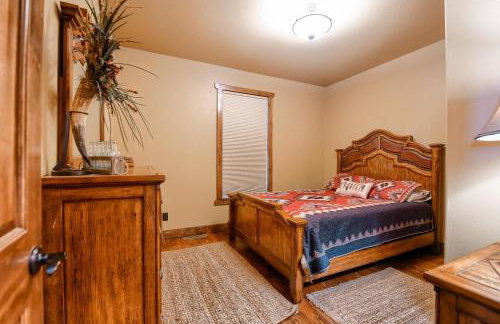
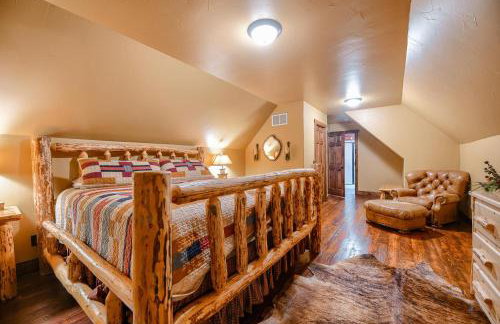
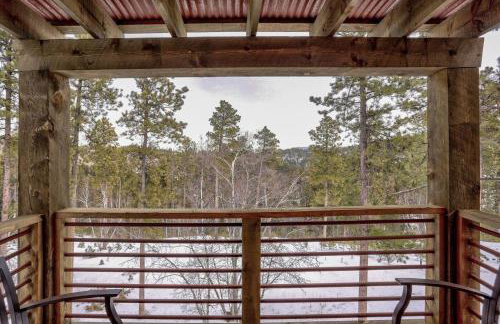
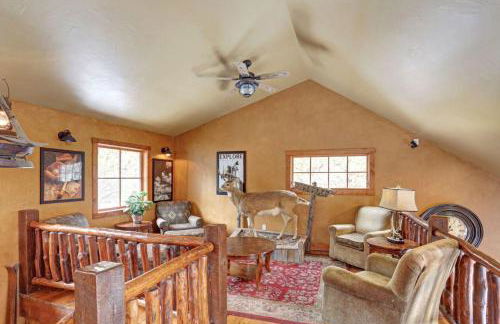
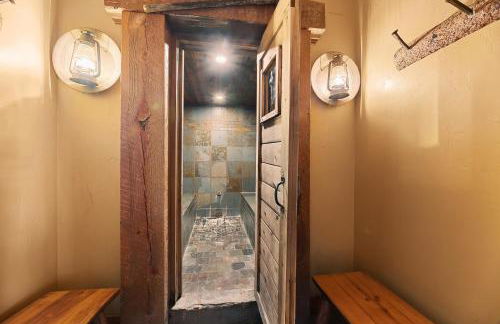
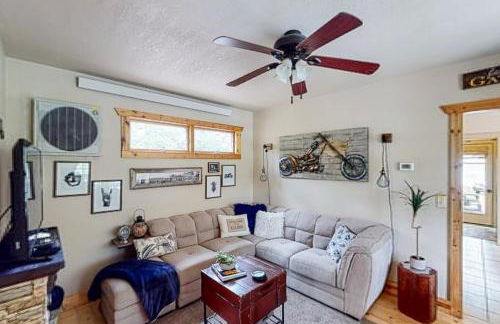
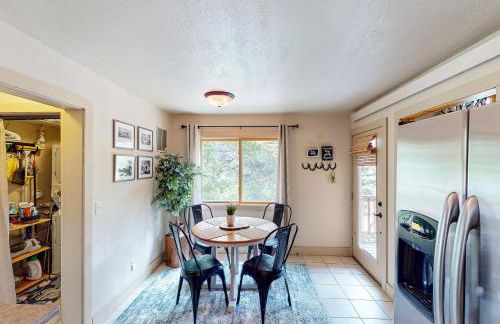
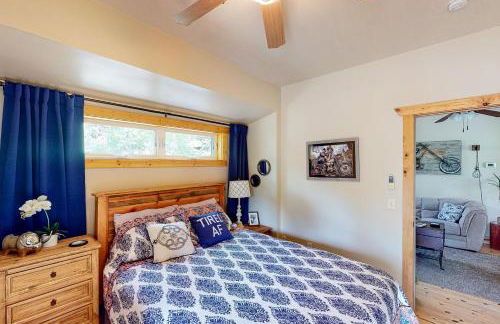
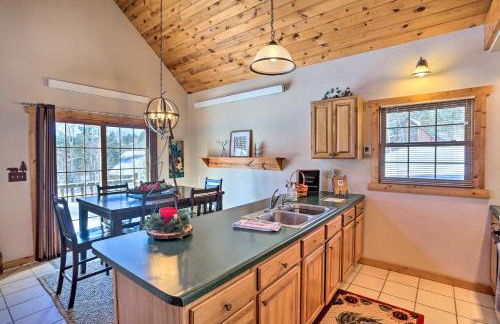
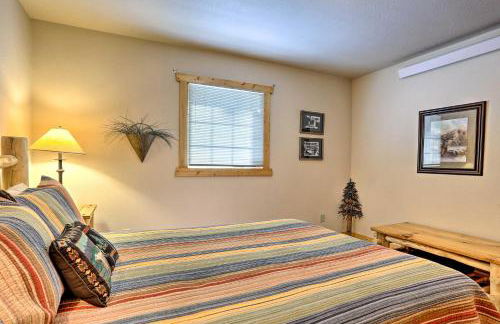
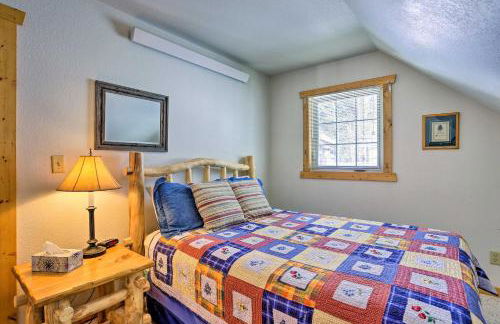
West Main Lodge, 3 bedroom - Foto 2
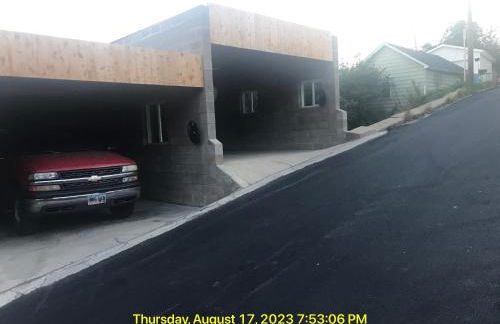
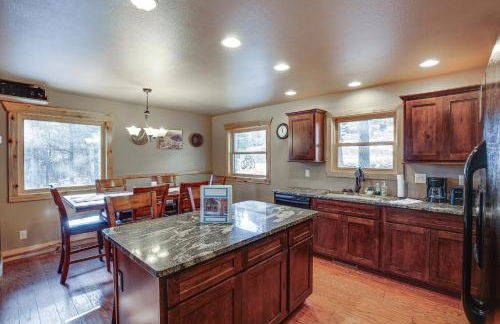
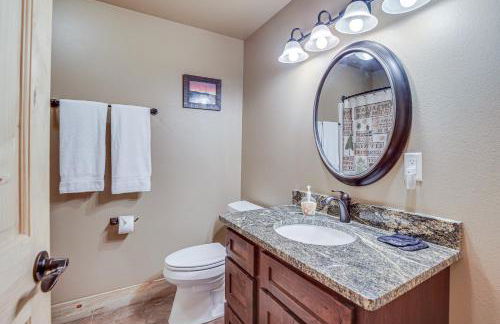
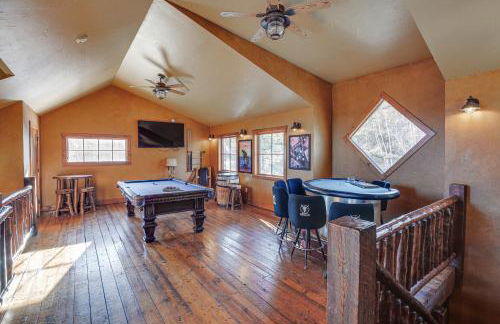
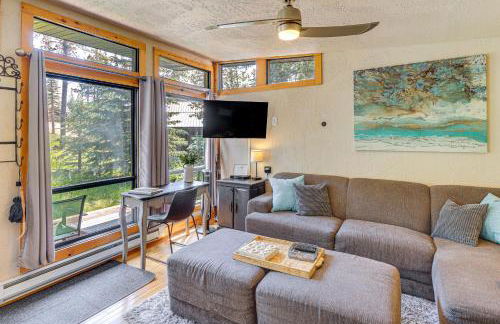
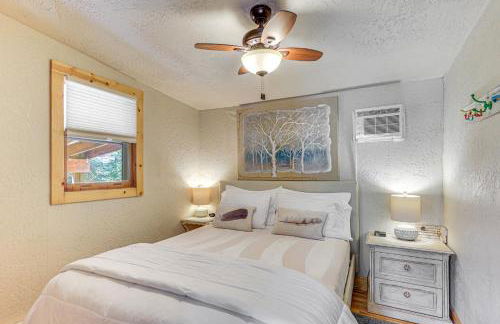
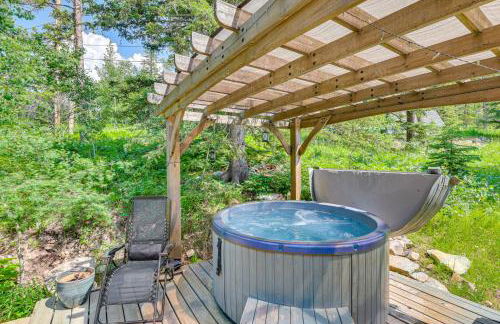
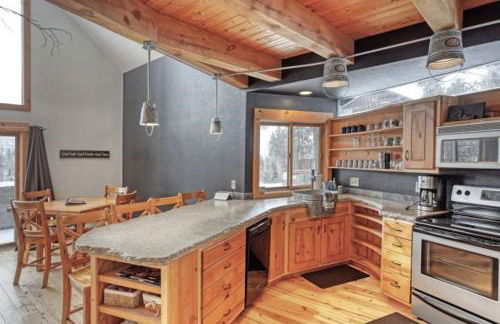
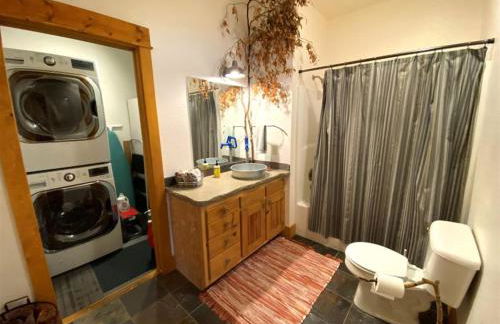
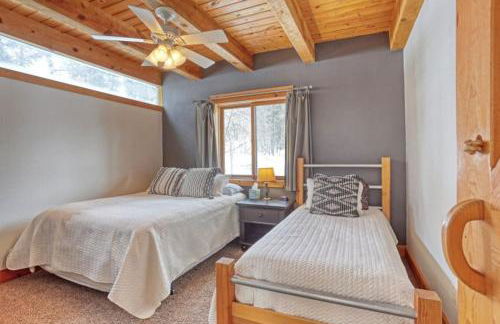
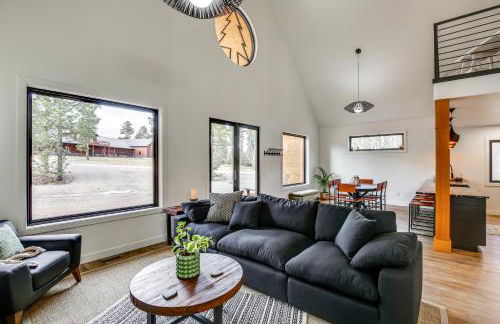
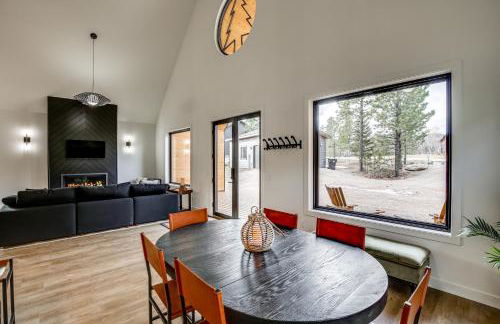
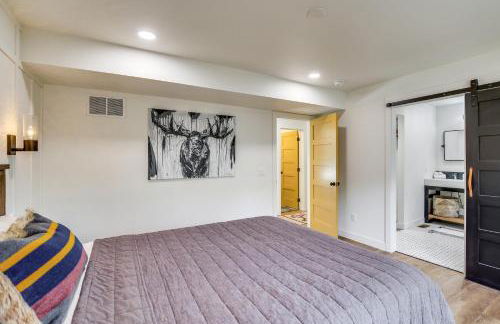
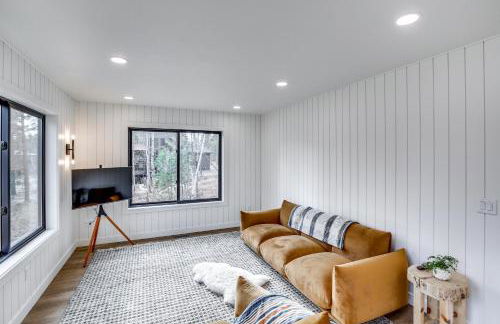
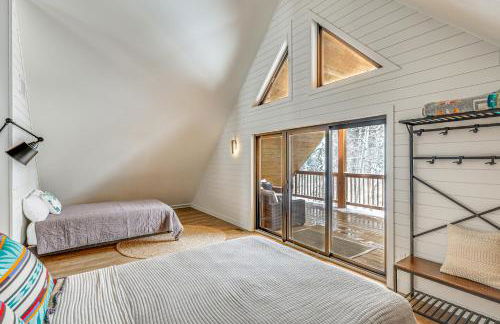
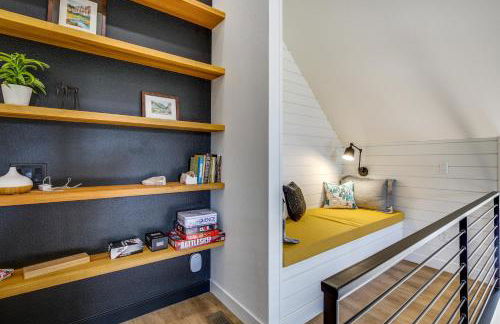
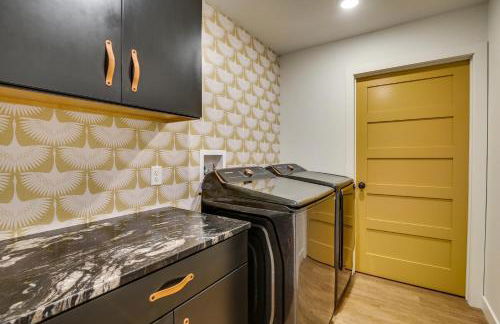
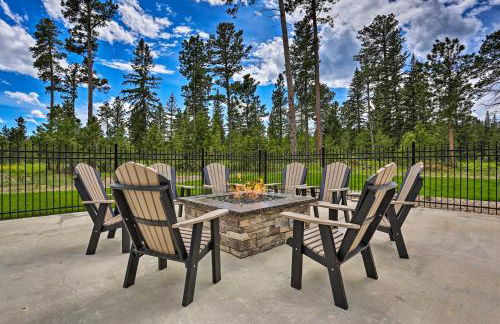
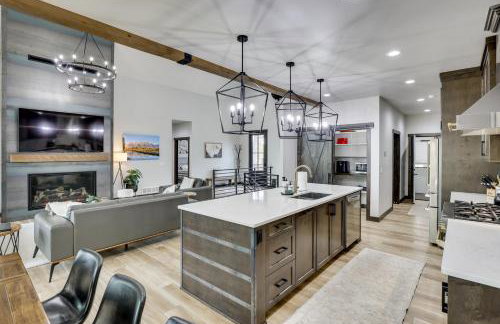
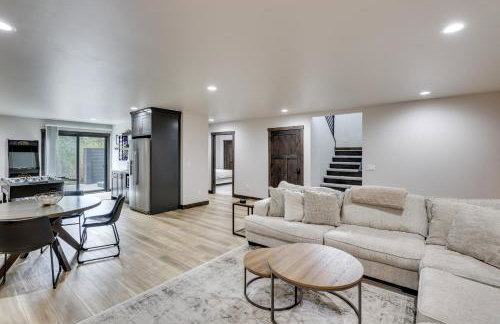
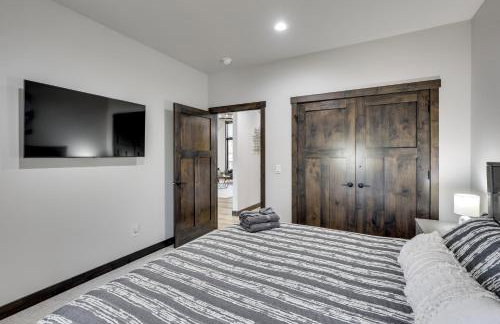
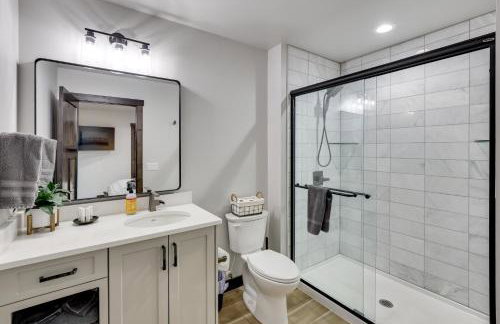
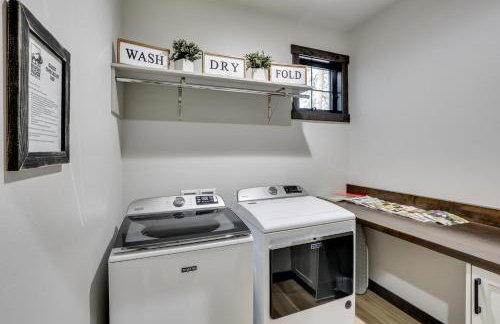
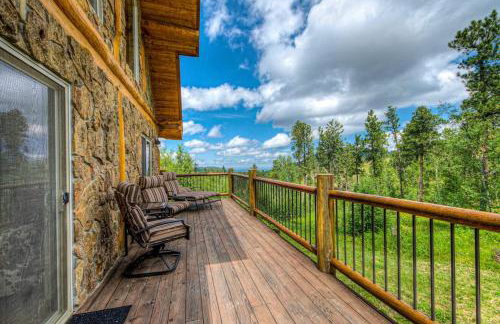
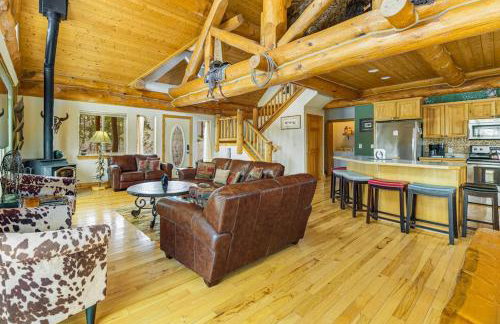
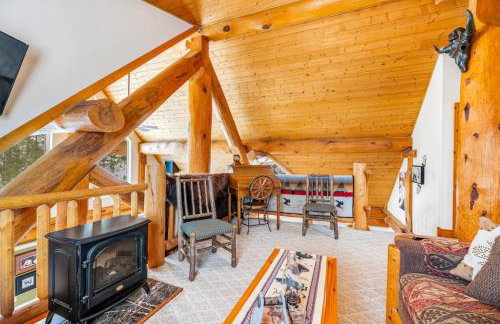
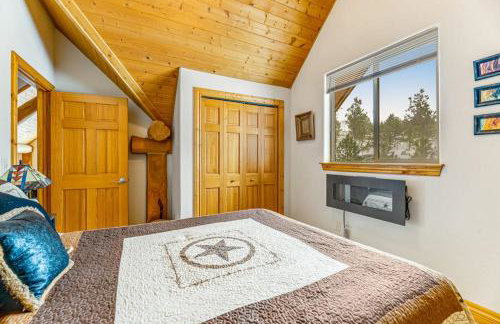
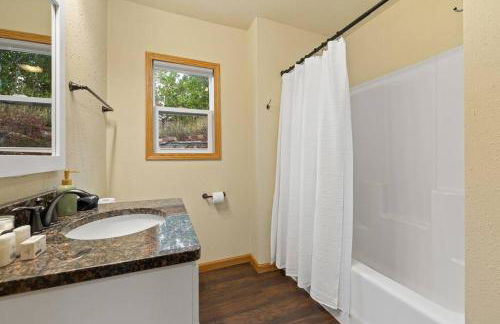
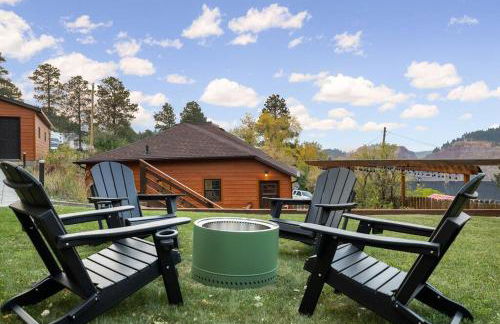
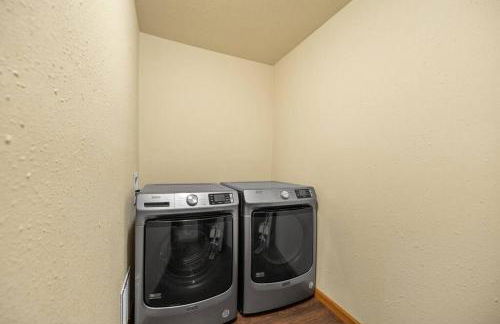
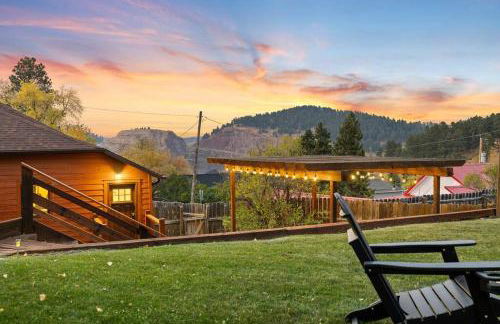
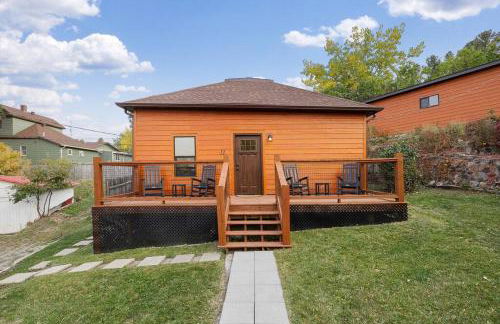
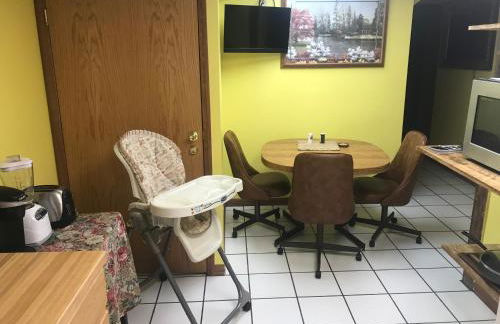
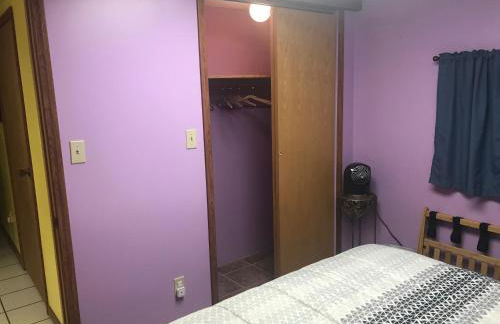
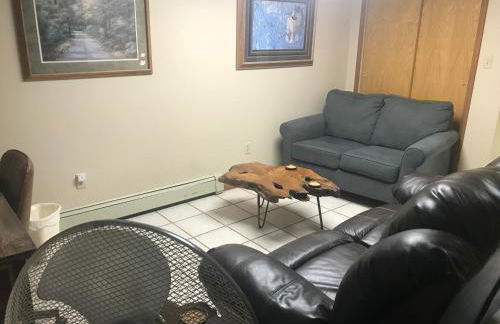
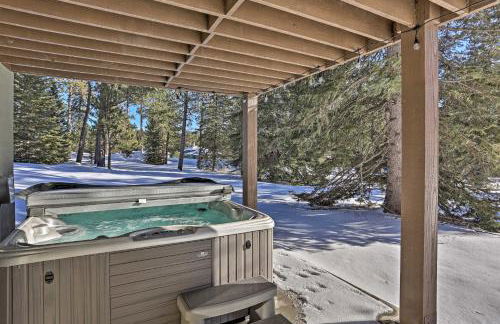
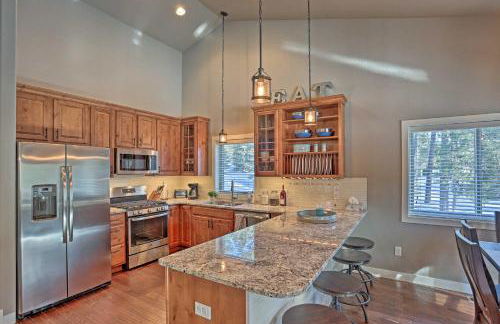
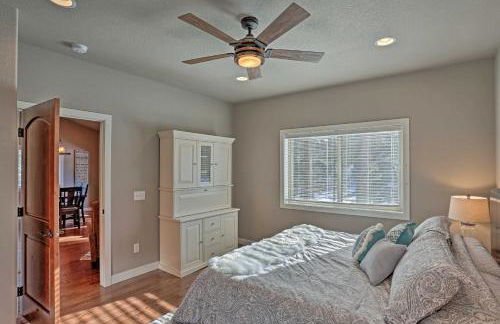
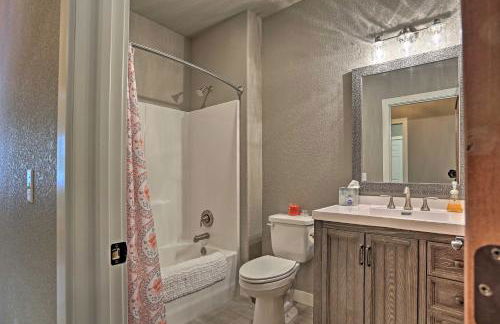
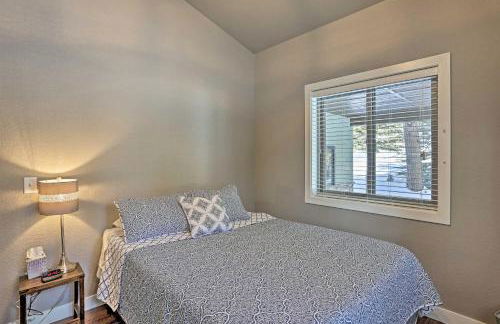
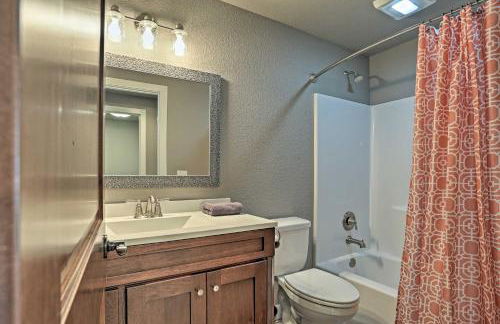
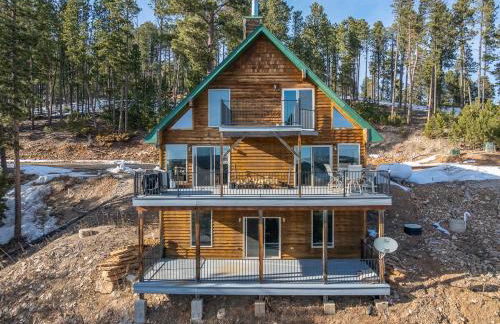
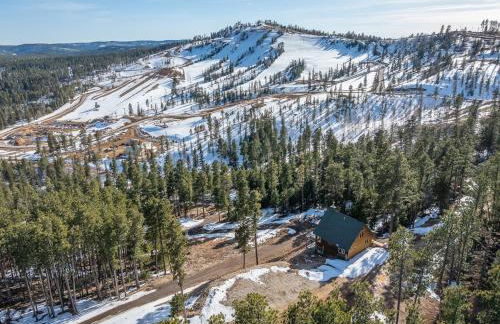
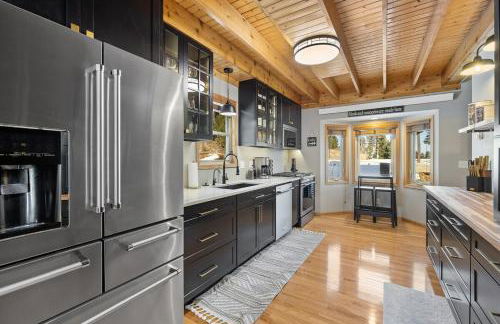
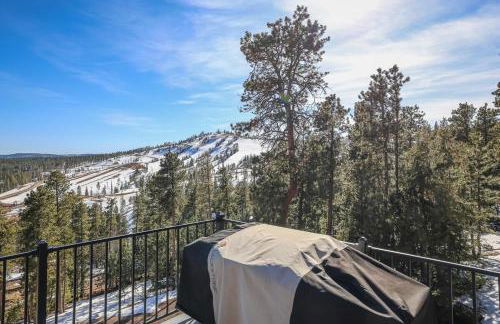
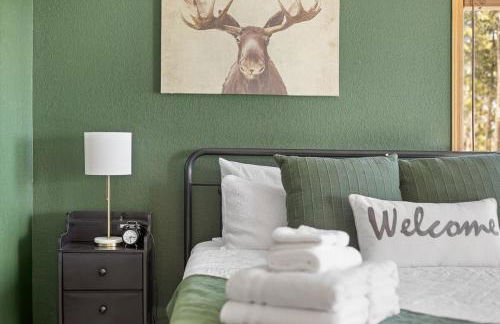
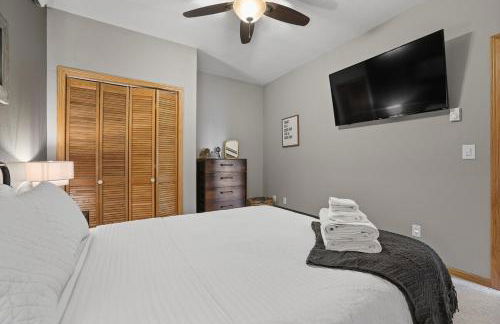
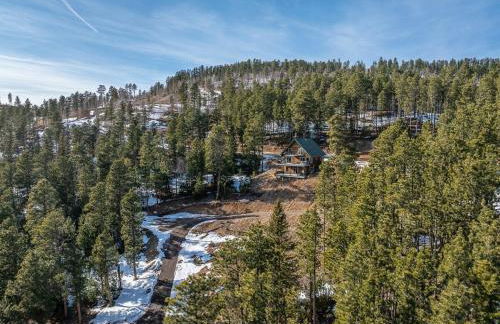
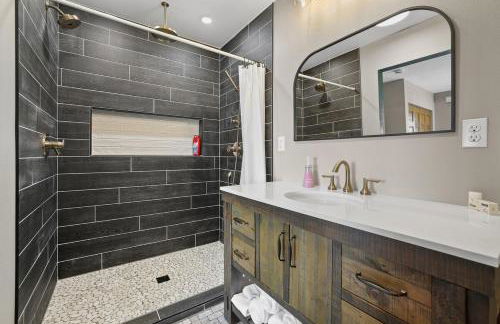
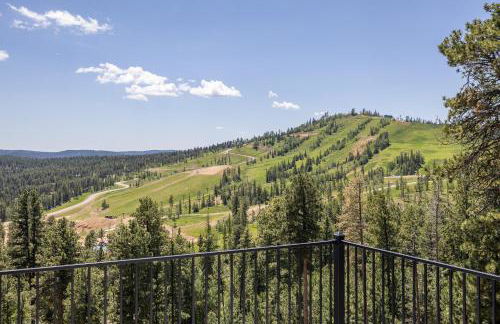
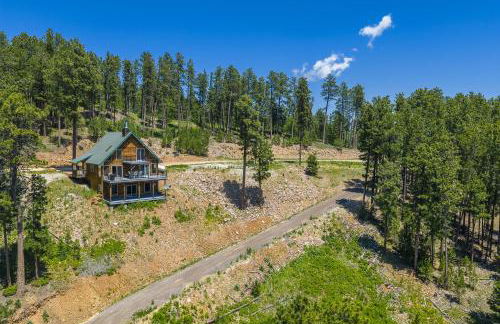
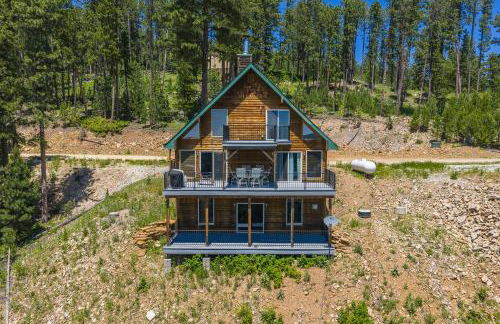
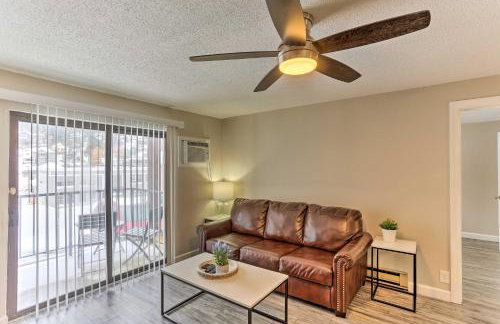
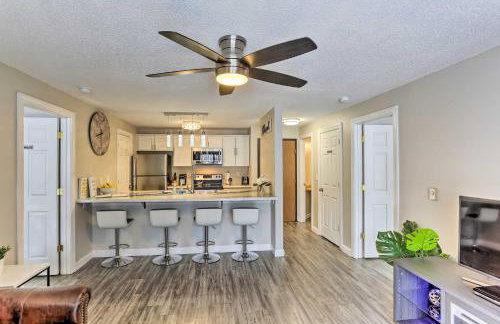
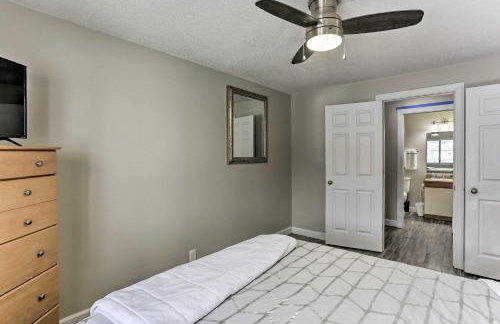
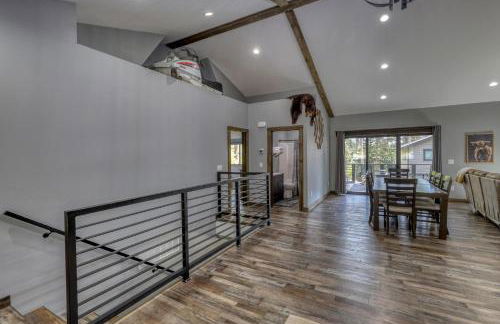
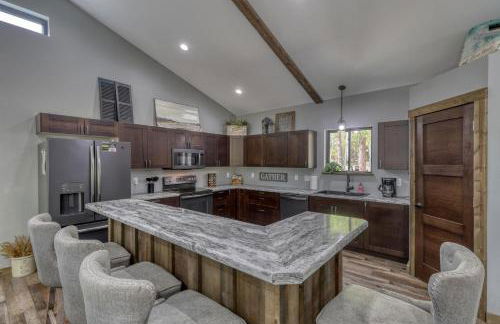
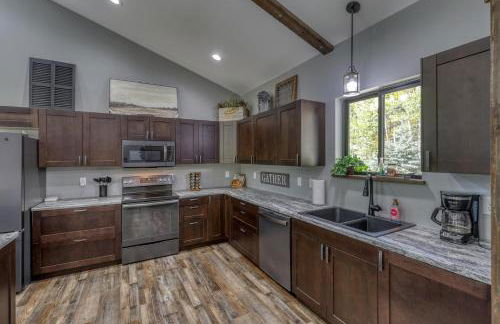
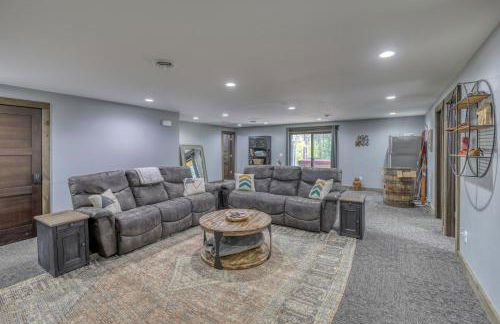
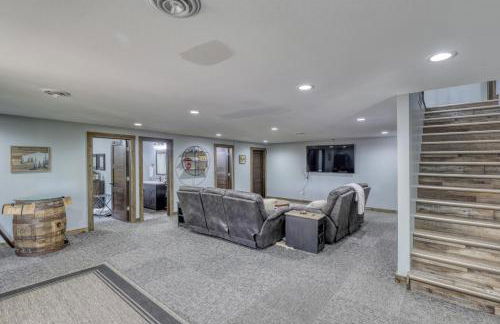
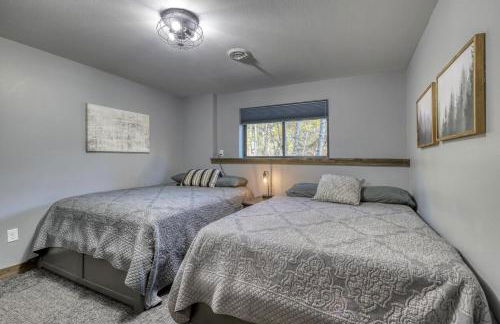
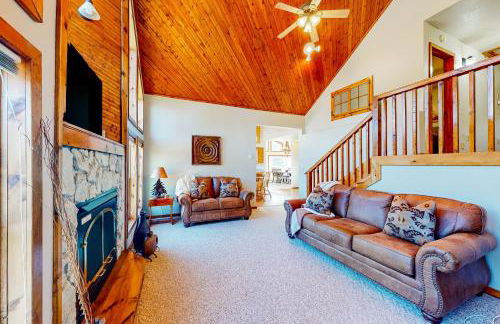
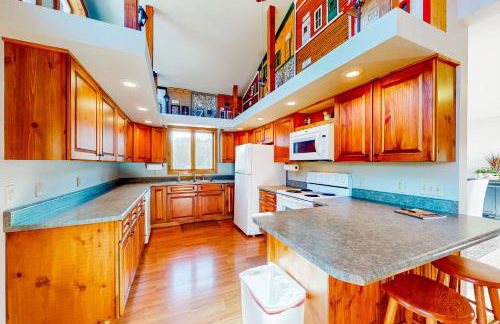
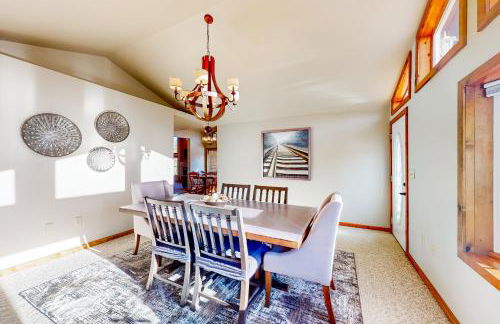
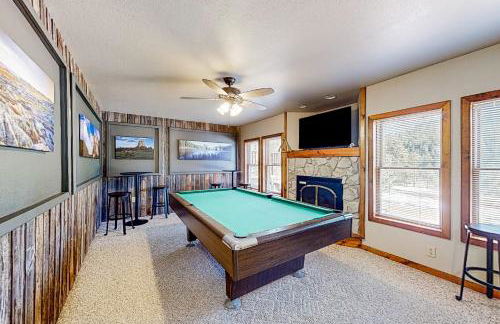
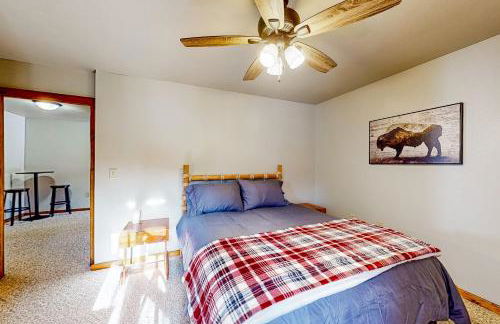
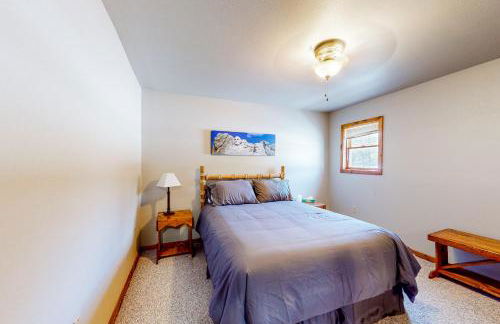
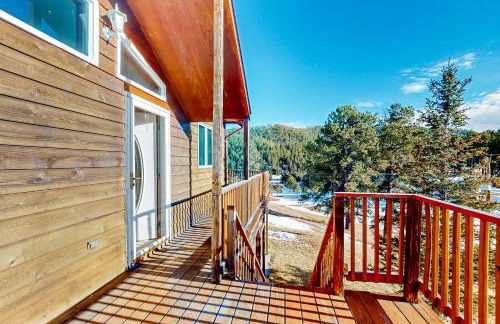
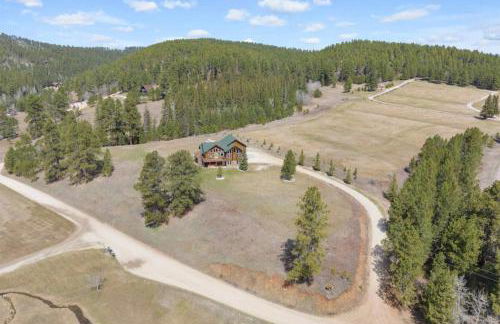
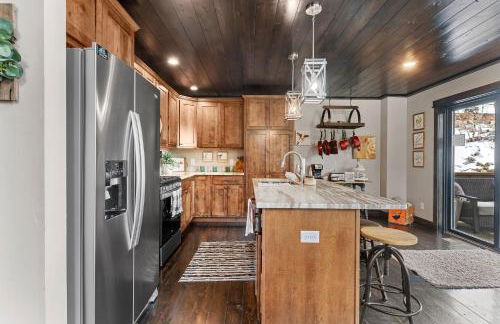
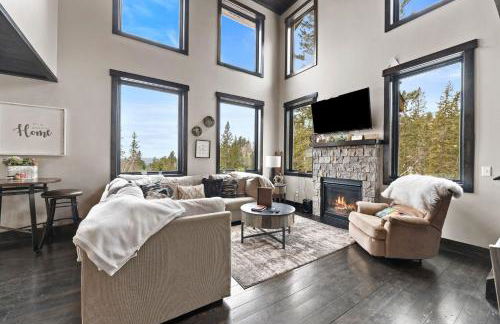
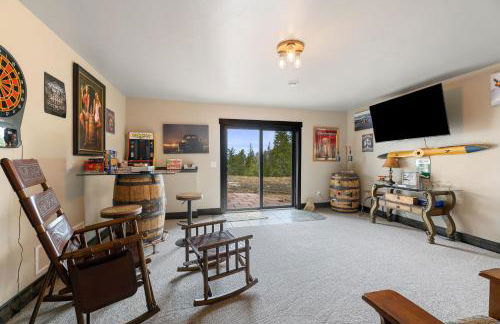
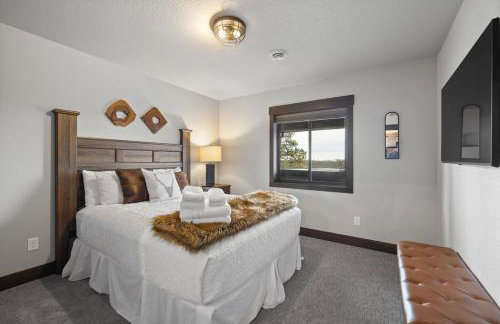
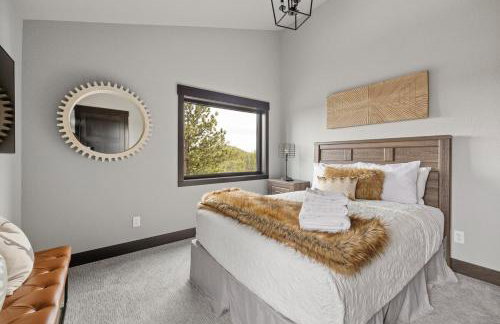
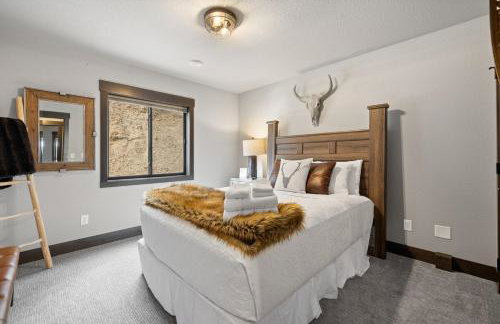
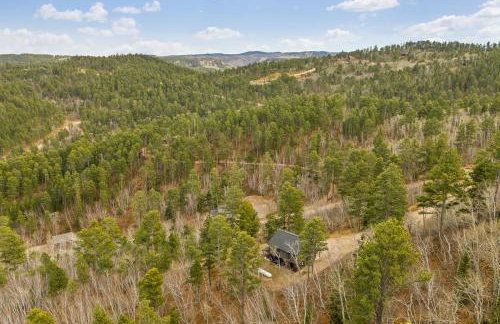
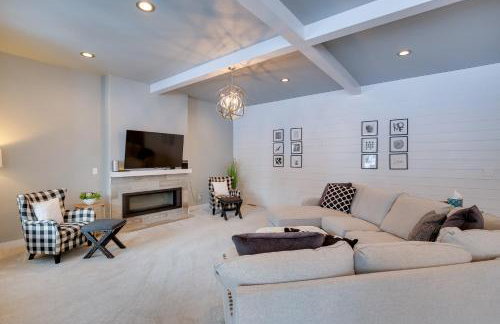
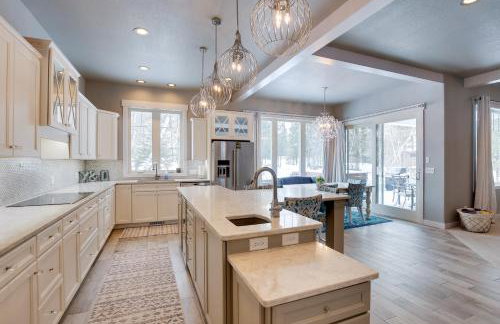
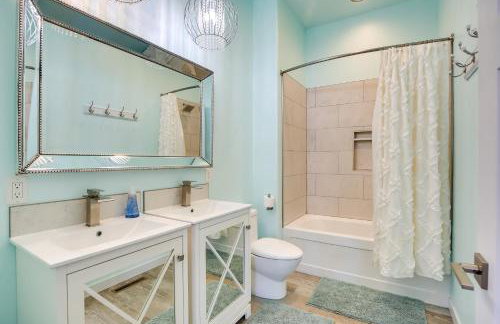
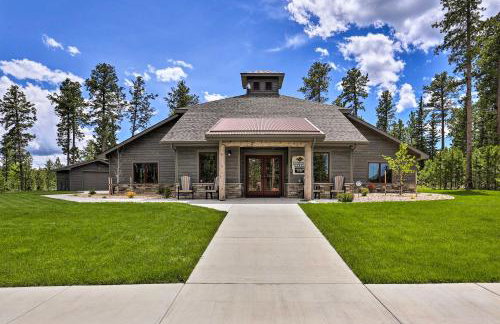
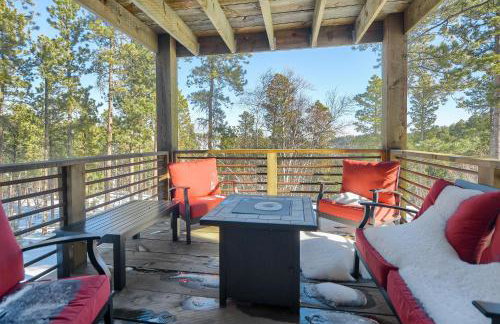
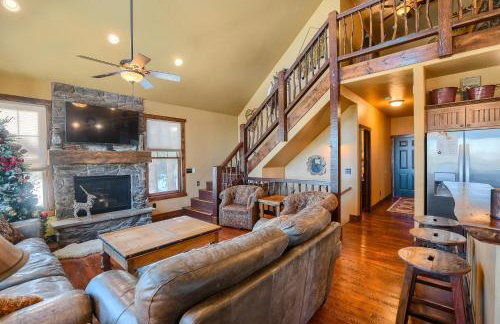
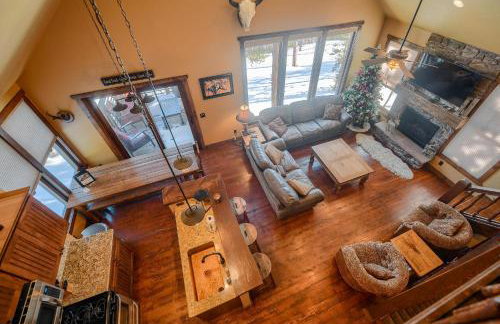
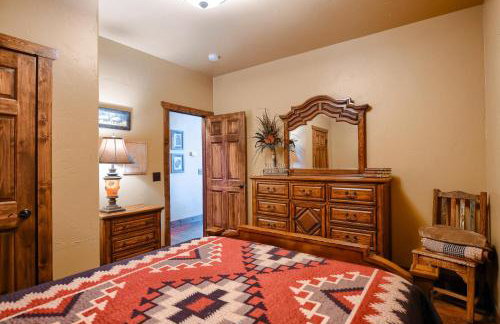
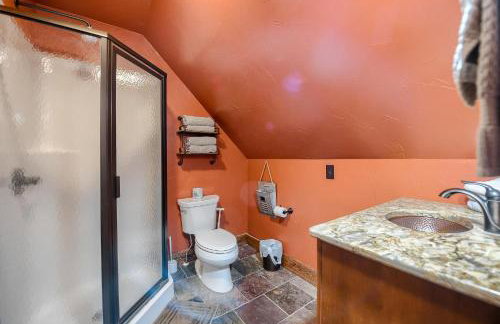
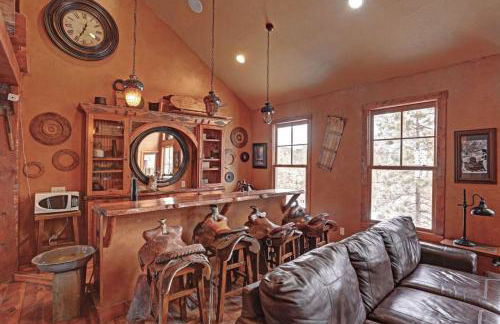
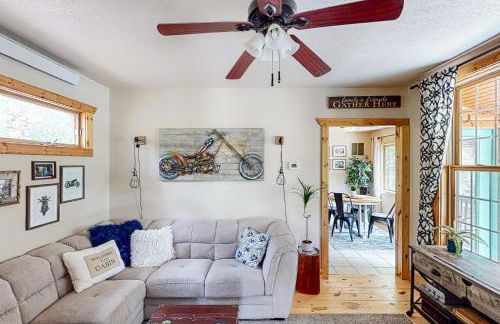
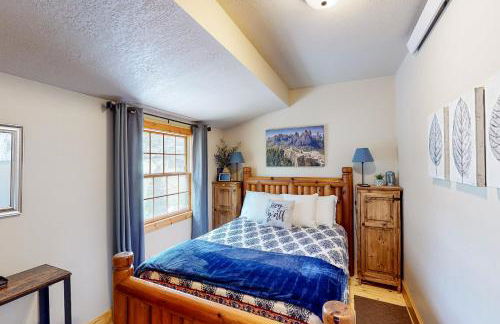
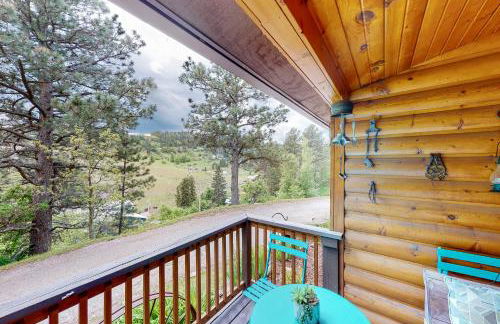
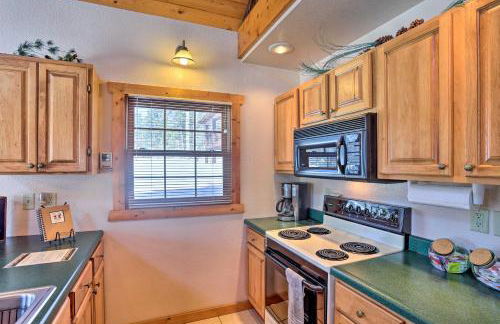
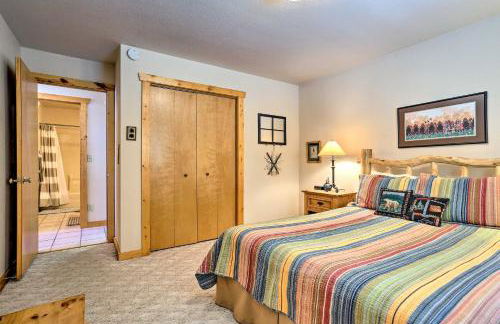
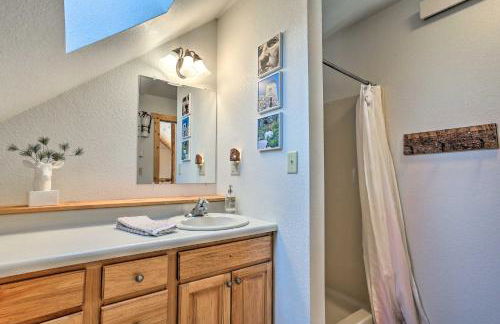
West Main Lodge, 3 bedroom - Foto 3
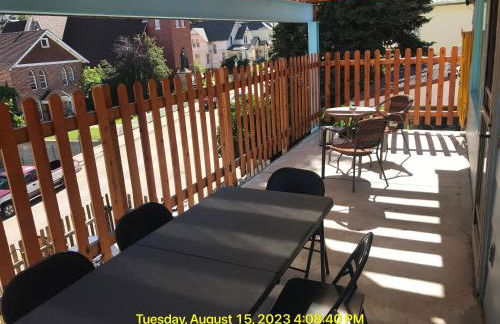
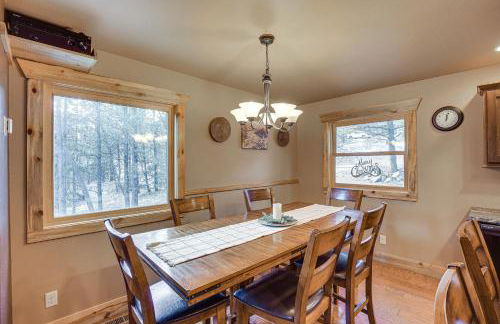
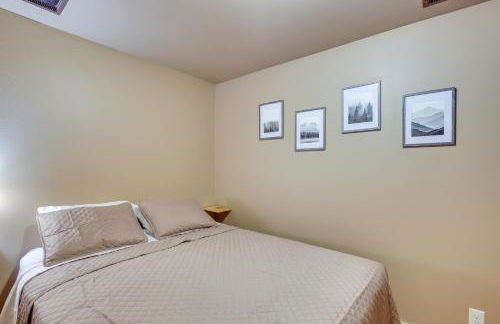
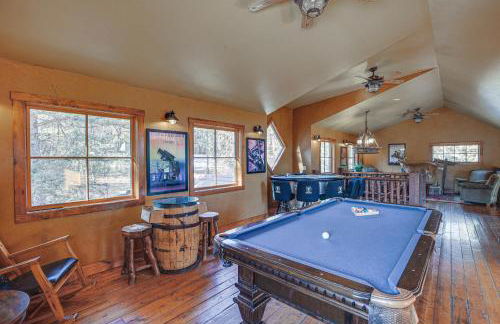
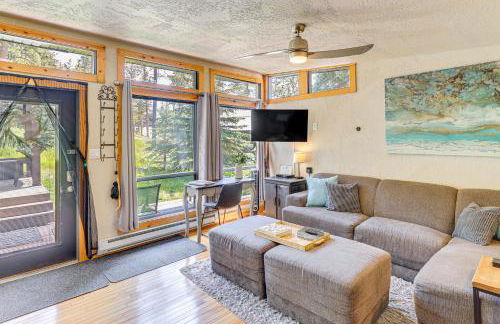
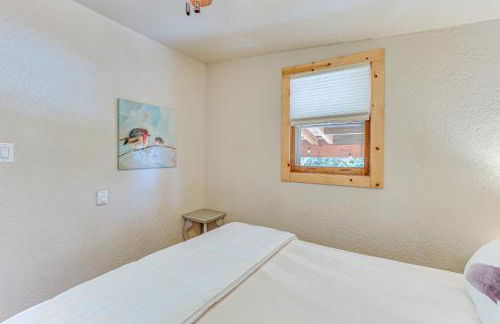
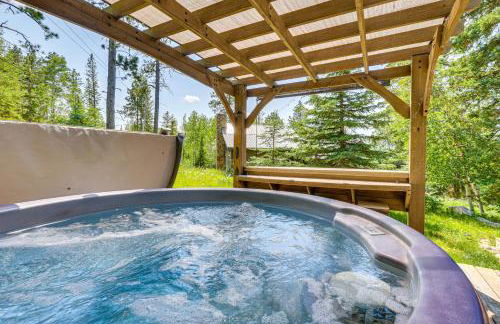
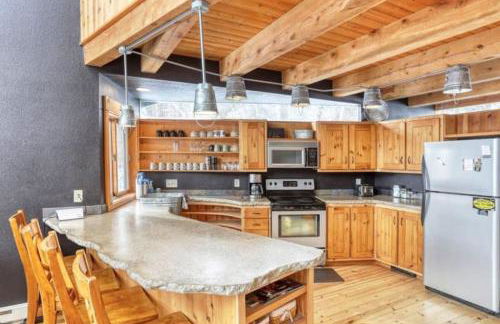
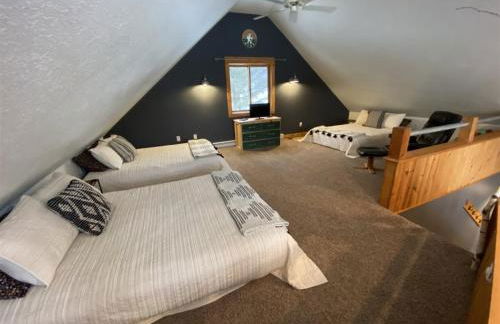
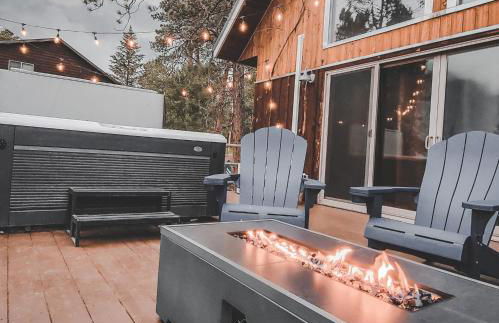
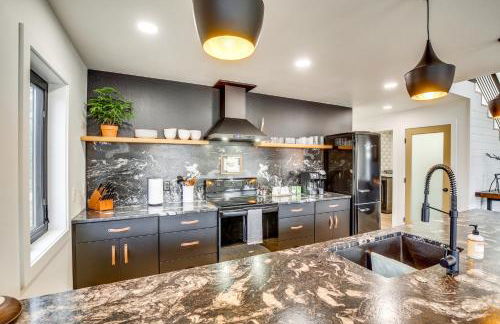
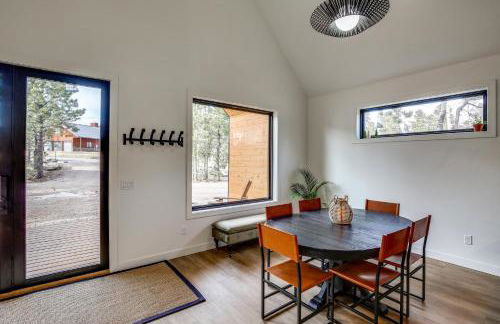
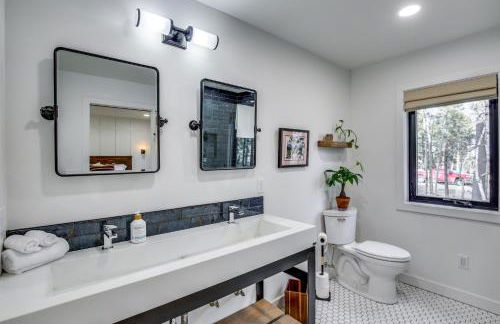
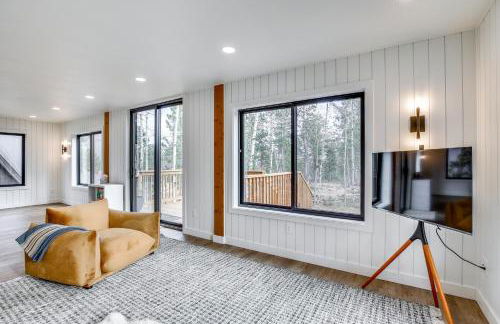
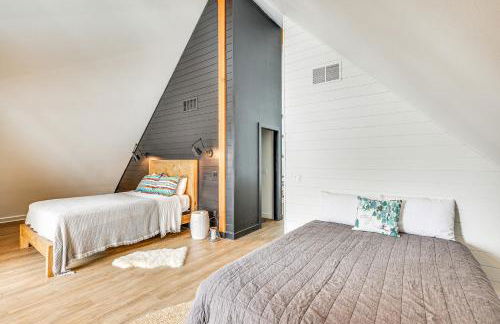
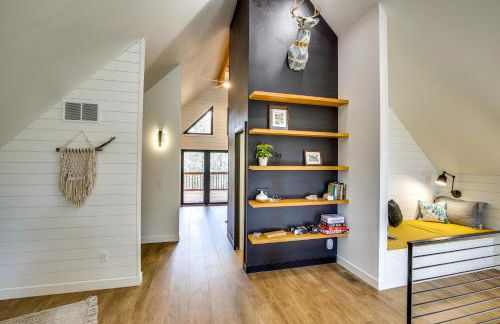
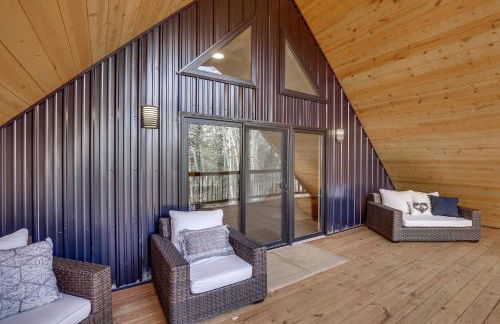
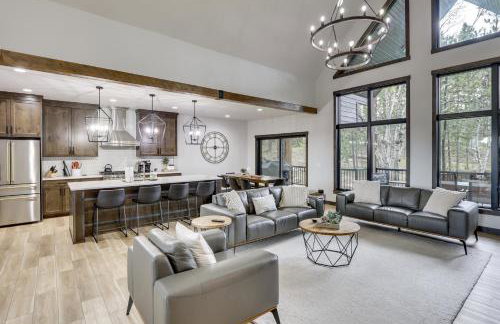
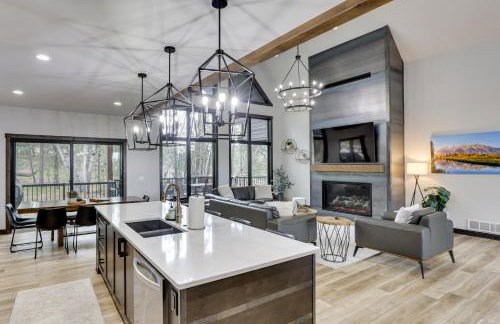
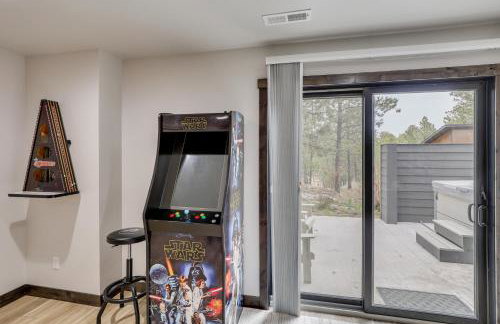
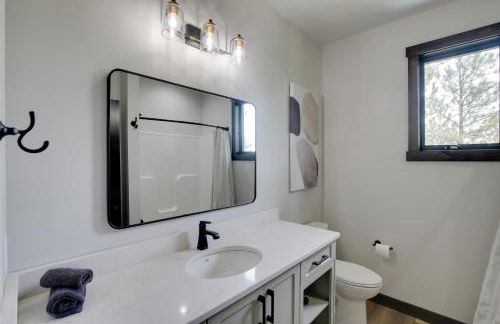
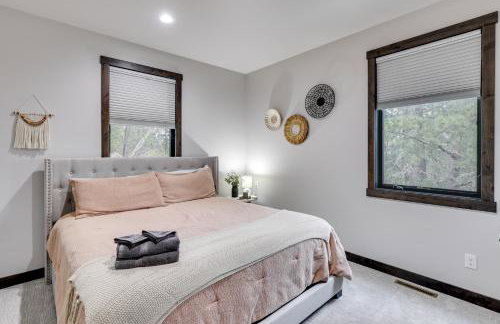
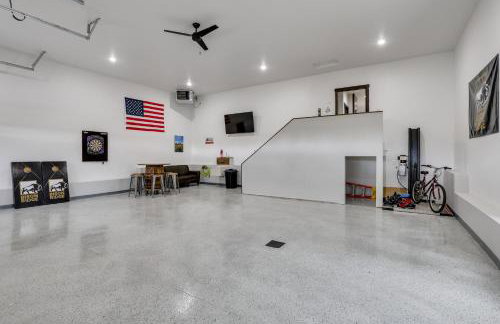
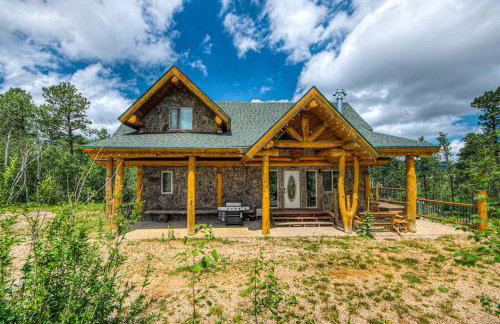
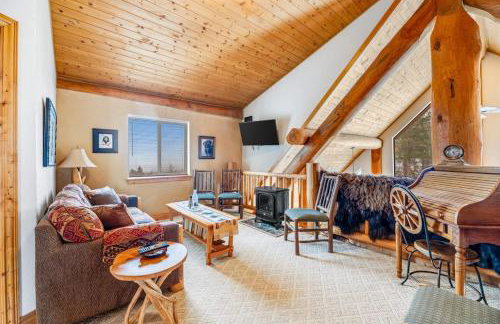
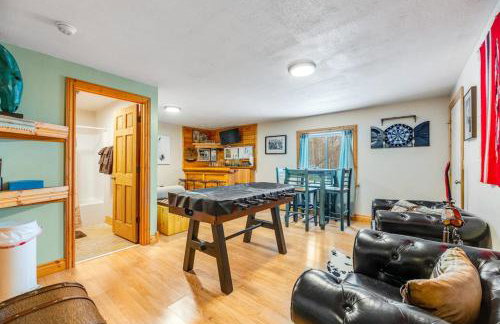
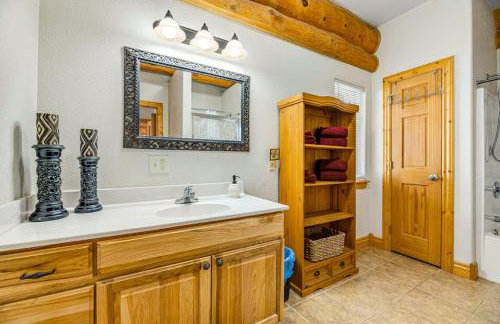
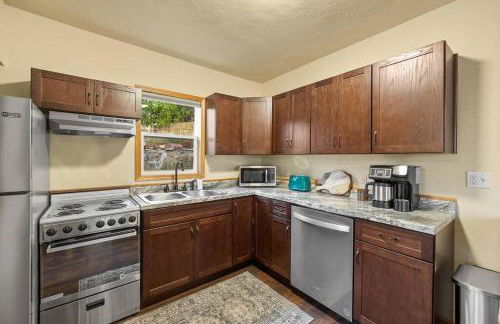
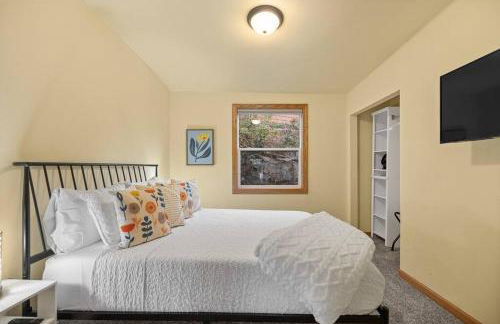
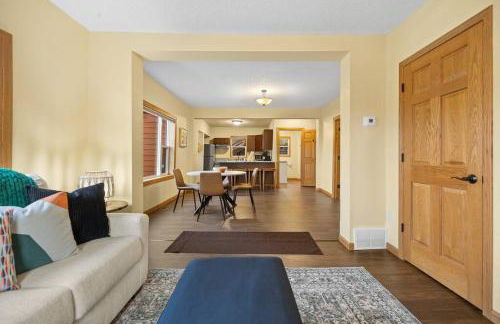
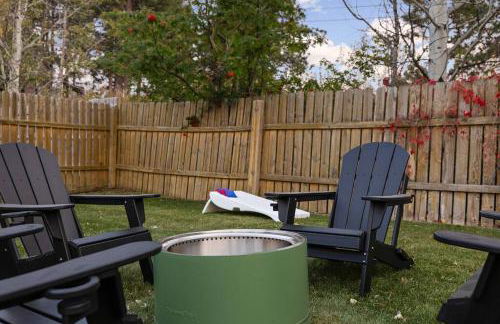
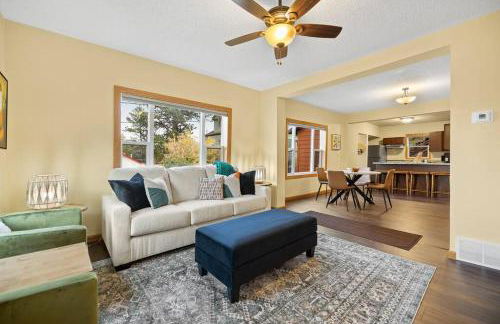
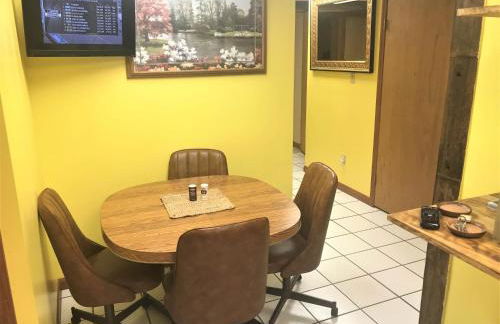
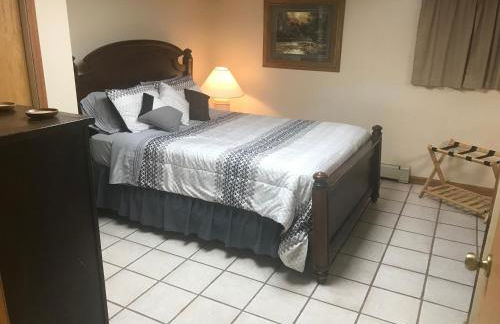
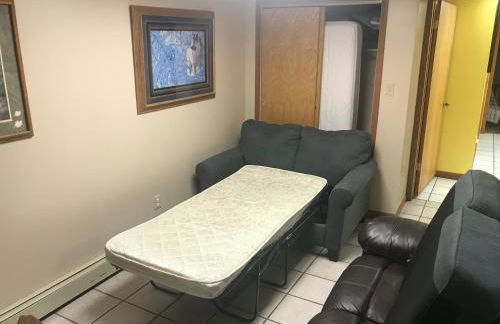
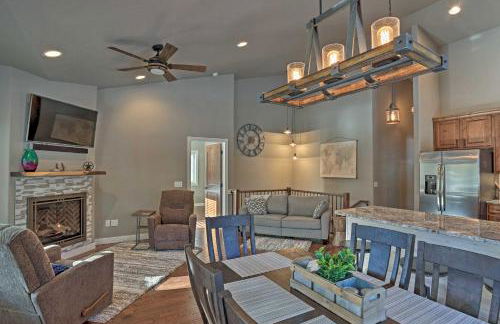
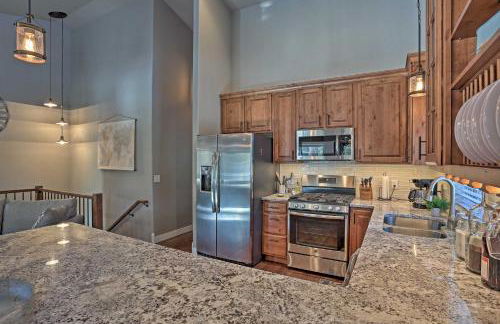
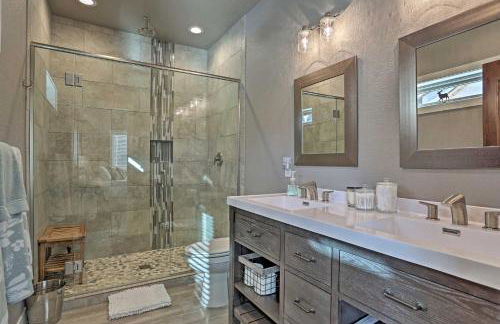
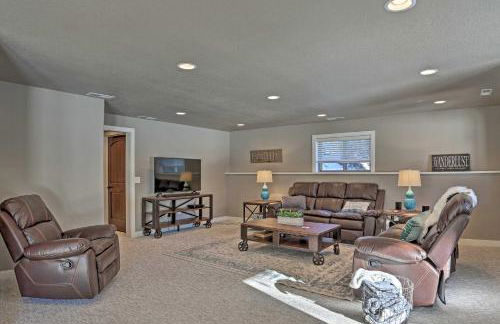
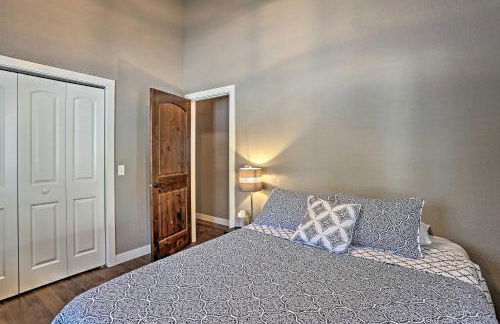
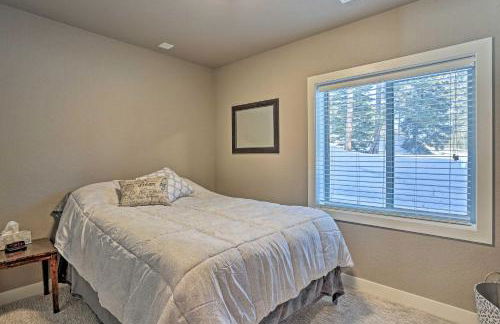
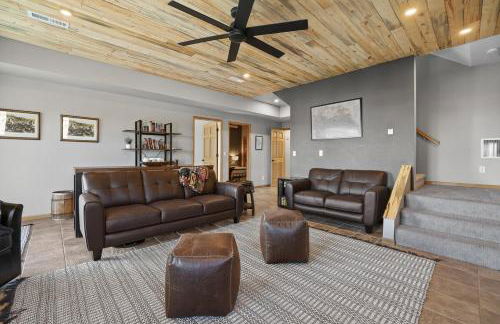
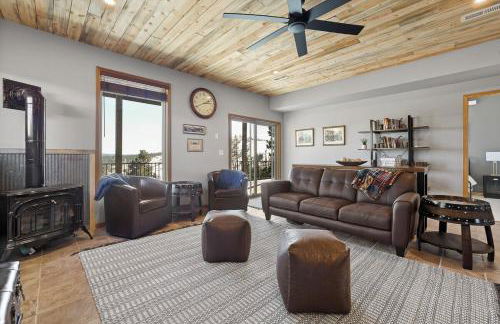
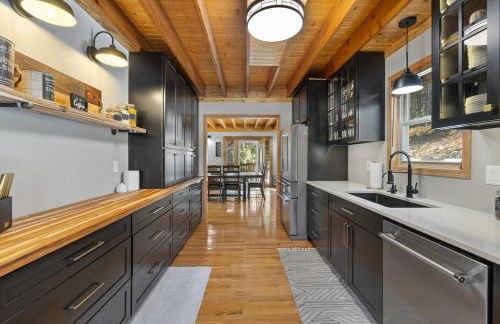
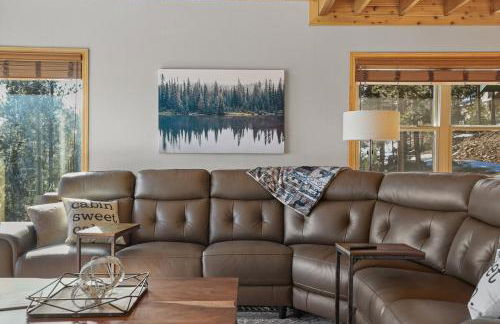
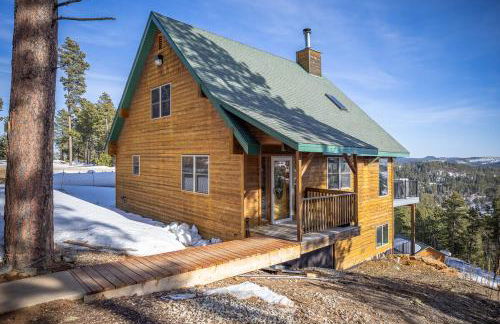
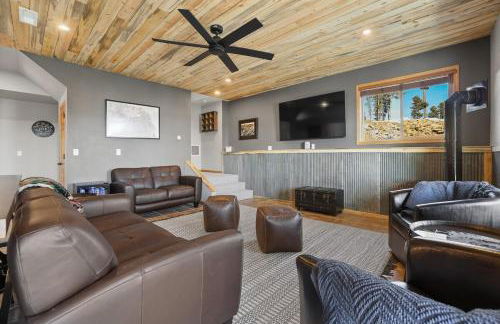
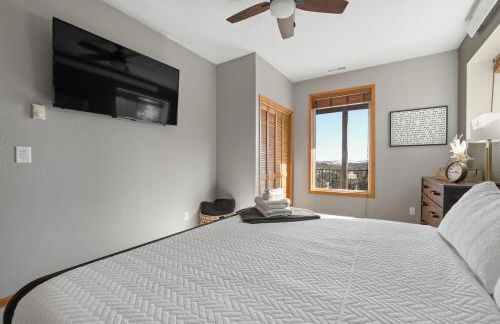
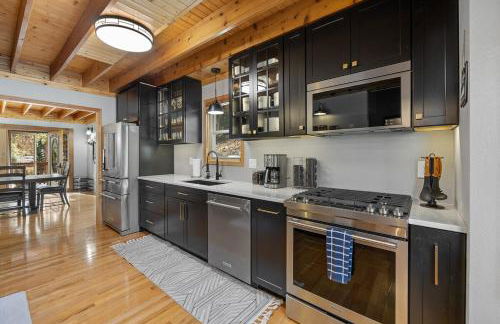
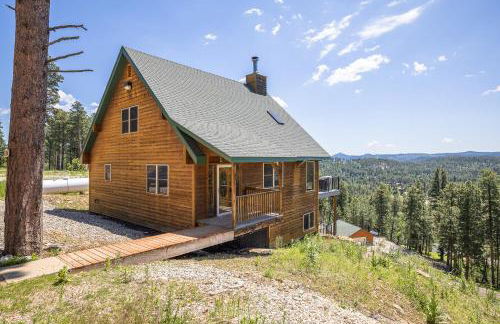
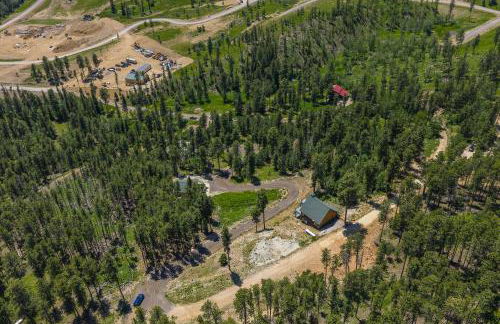
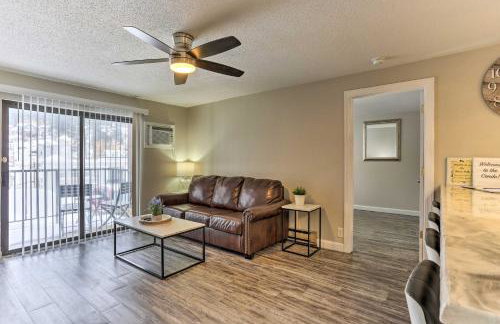
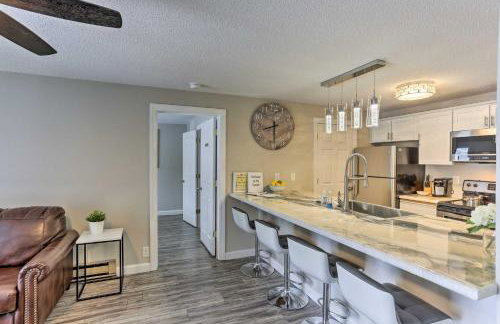
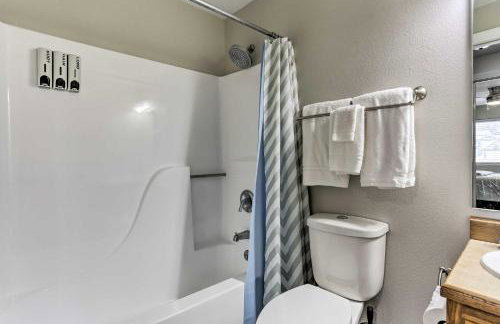
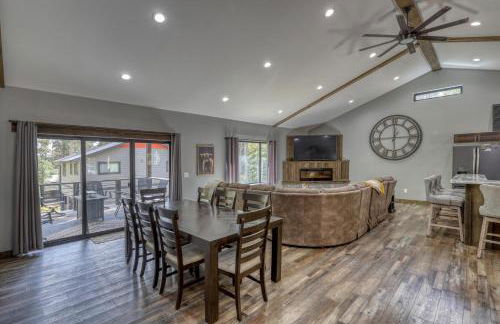
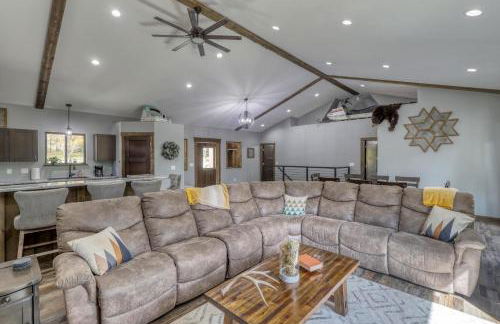
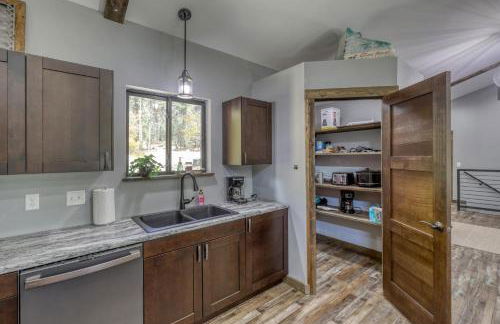
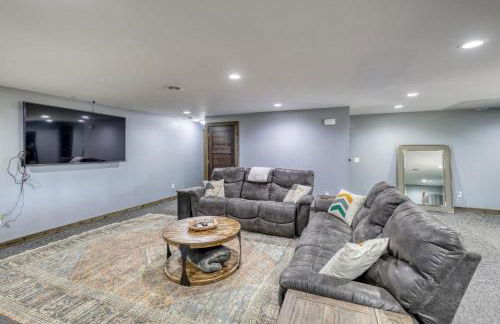
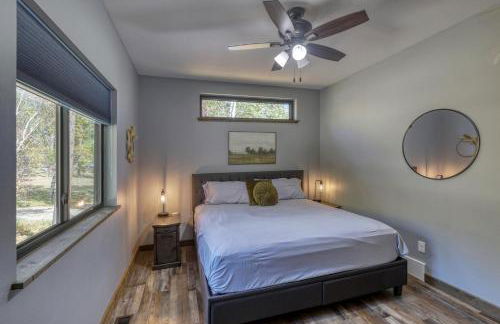
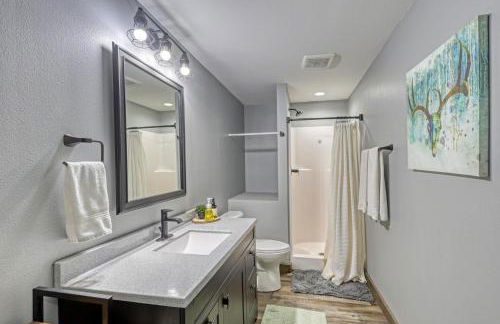
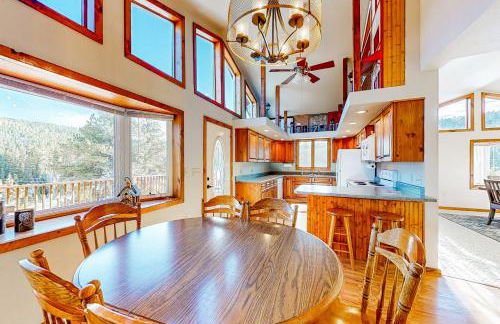
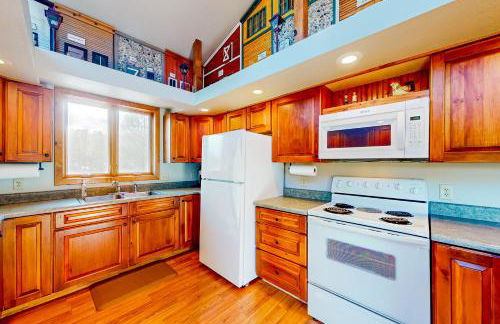
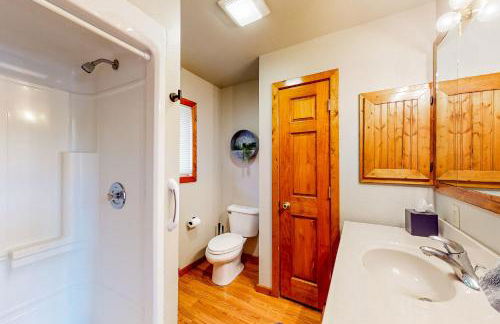
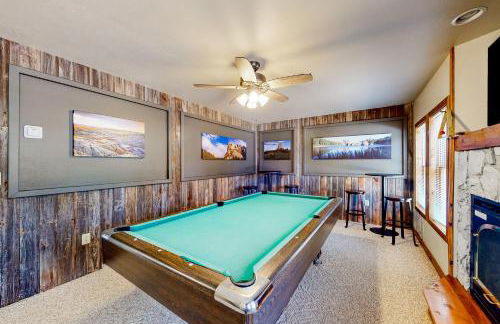
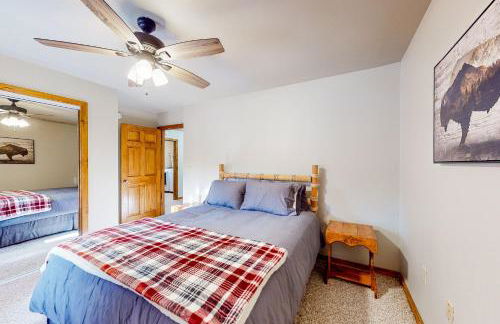
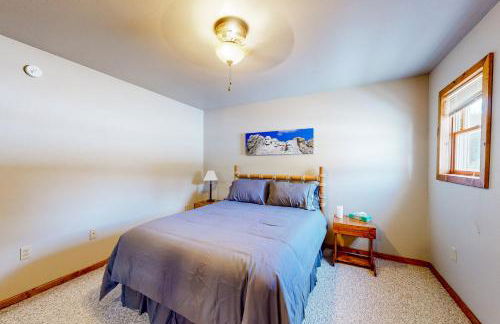
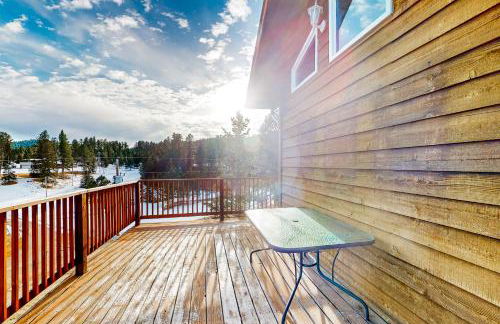
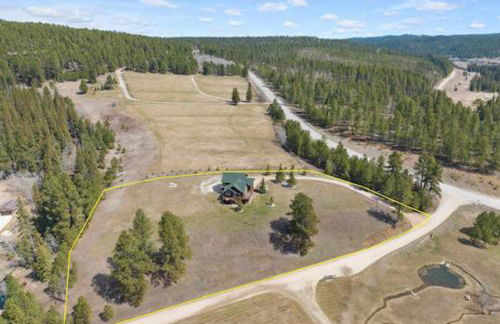
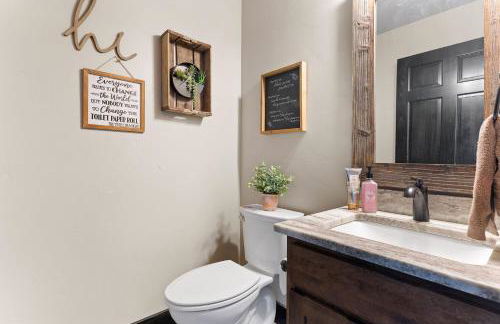
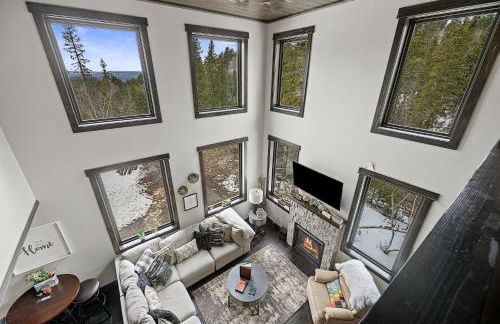
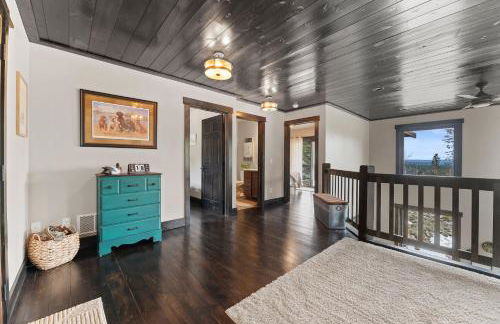
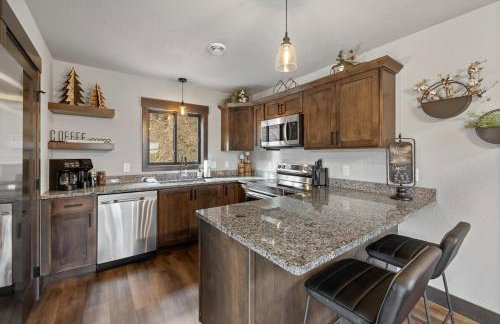
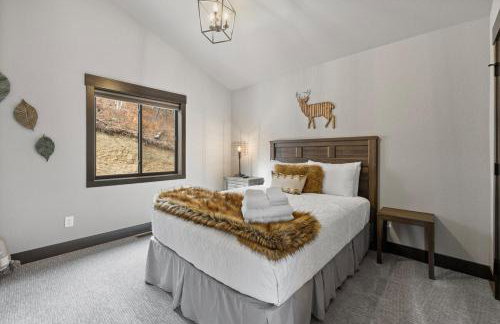
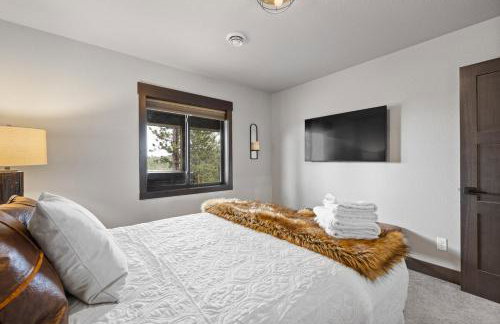
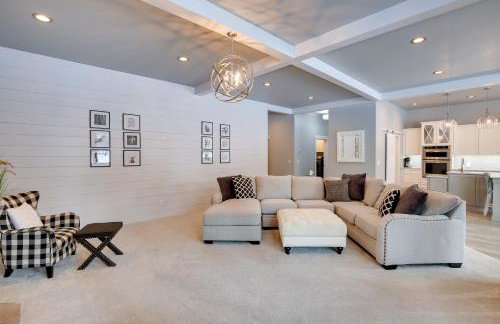
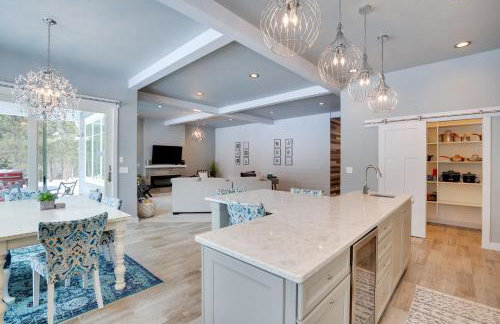
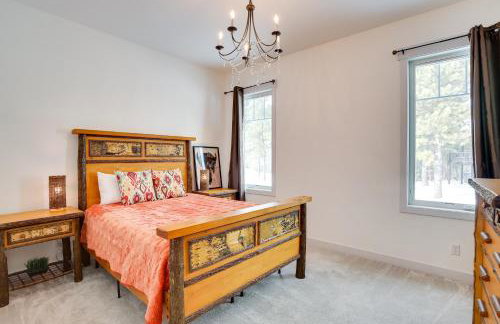
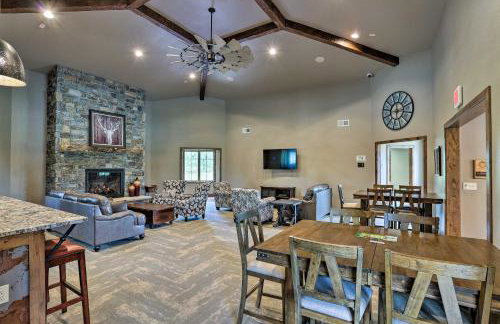
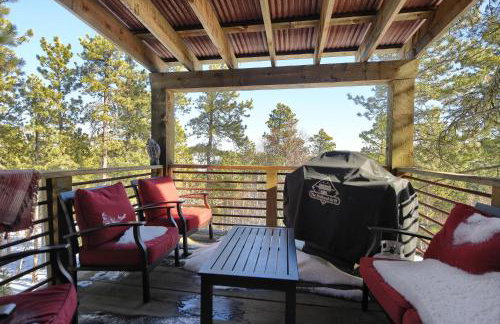
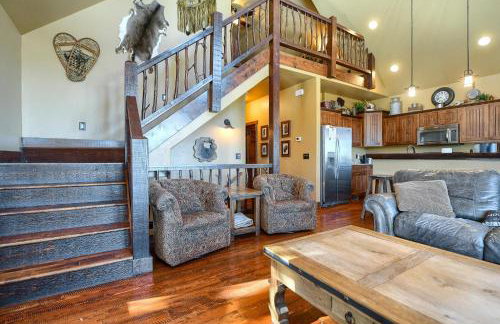
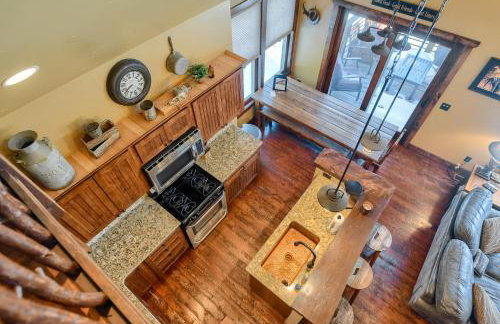
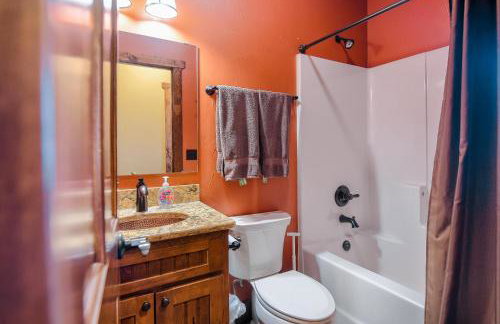
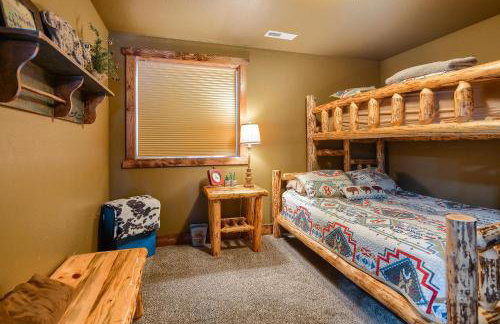
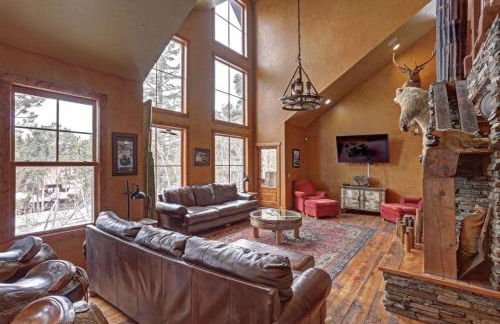
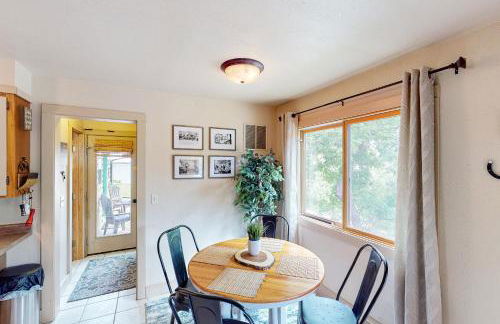
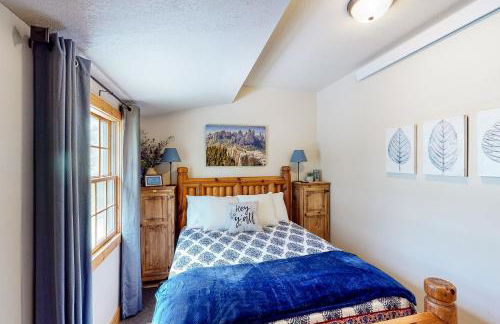
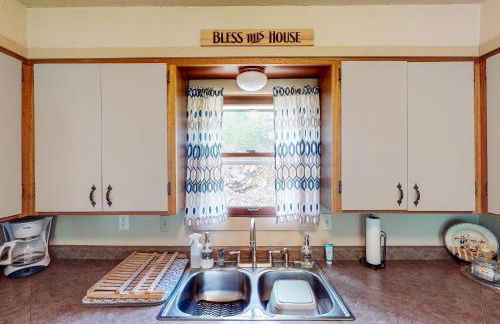
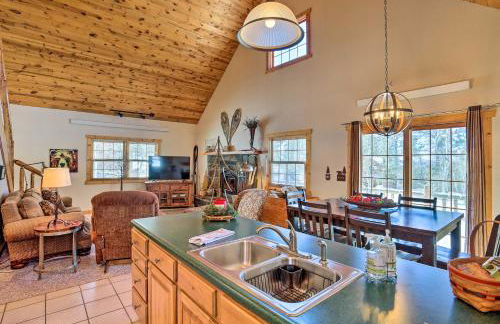
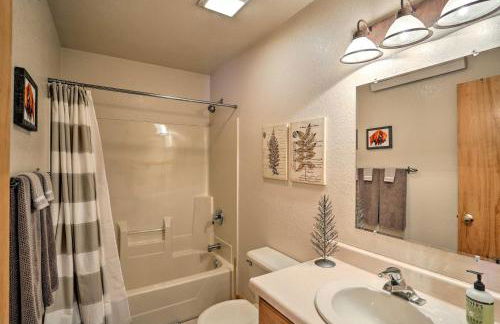
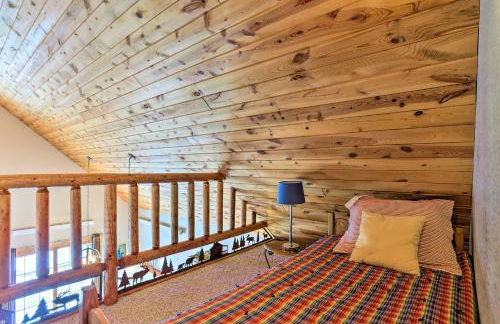
West Main Lodge, 3 bedroom - Foto 4
West Main Lodge, 3 bedroom - Foto 5
West Main Lodge, 3 bedroom - Foto 6
West Main Lodge, 3 bedroom - Foto 7
West Main Lodge, 3 bedroom - Foto 8
West Main Lodge, 3 bedroom - Foto 9
West Main Lodge, 3 bedroom - Foto 10
West Main Lodge, 3 bedroom - Foto 11
West Main Lodge, 3 bedroom - Foto 12
West Main Lodge, 3 bedroom - Foto 13
West Main Lodge, 3 bedroom - Foto 14
West Main Lodge, 3 bedroom - Foto 15
West Main Lodge, 3 bedroom - Foto 16
West Main Lodge, 3 bedroom - Foto 17
West Main Lodge, 3 bedroom - Foto 18
West Main Lodge, 3 bedroom - Foto 19
West Main Lodge, 3 bedroom - Foto 20
West Main Lodge, 3 bedroom - Foto 21
West Main Lodge, 3 bedroom - Foto 22
West Main Lodge, 3 bedroom - Foto 23
West Main Lodge, 3 bedroom - Foto 24
West Main Lodge, 3 bedroom - Foto 25
West Main Lodge, 3 bedroom - Foto 26
West Main Lodge, 3 bedroom - Foto 27
West Main Lodge, 3 bedroom - Foto 28
West Main Lodge, 3 bedroom - Foto 29
West Main Lodge, 3 bedroom - Foto 30
West Main Lodge, 3 bedroom - Foto 31
West Main Lodge, 3 bedroom - Foto 32
West Main Lodge, 3 bedroom - Foto 33
West Main Lodge, 3 bedroom - Foto 34
West Main Lodge, 3 bedroom - Foto 35
West Main Lodge, 3 bedroom - Foto 36

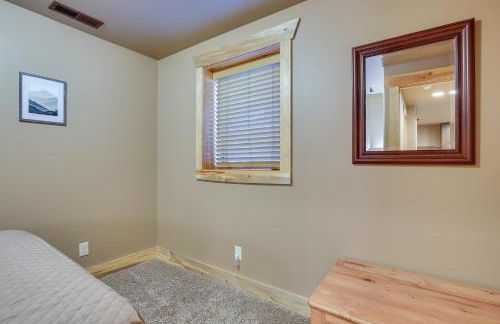
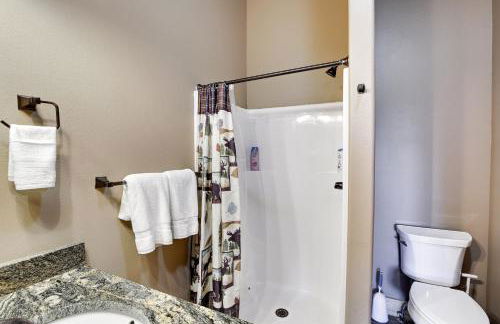
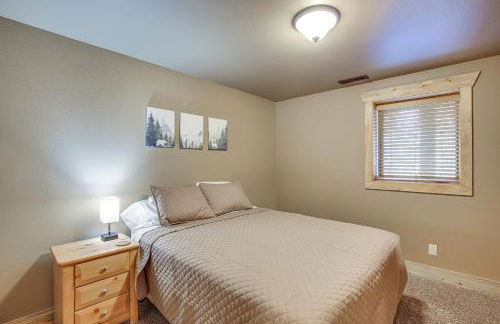
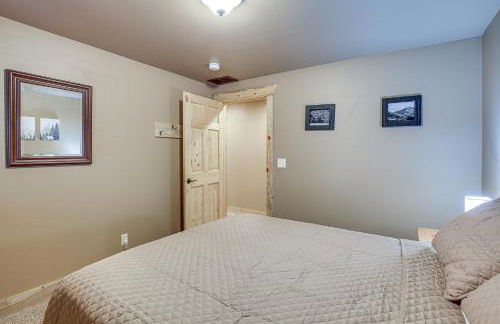
West Main Lodge, 3 bedroom

Lead - A 5.8 km de Terry Peak

  • 102 M2
  • 3 habitaciones
  • 7 personas
  • Aire acondicionado
  • Calefacción
  • Terraza
  • Parking
  • Jardín
  • Barbacoa
9.6Excepcional | 7 reseñas
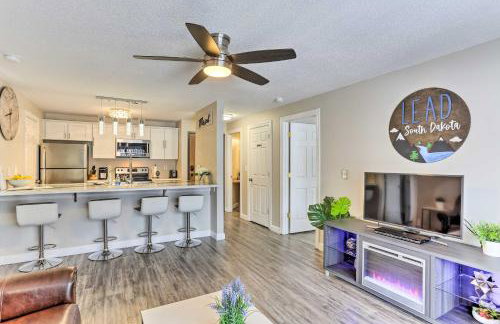
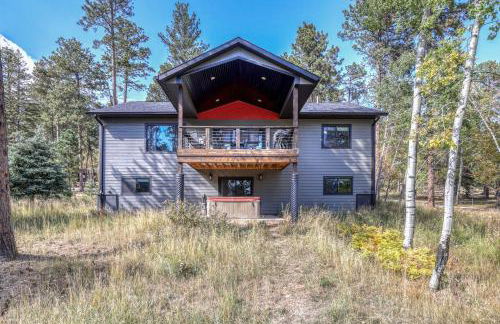
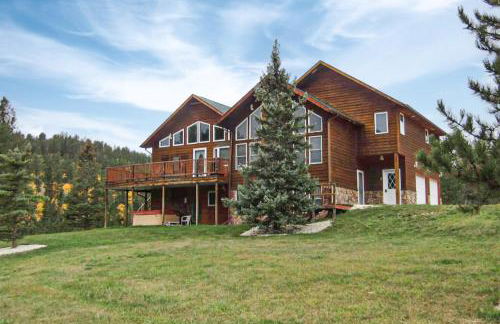
Ride to Sturgis! Lead Home w/ Pool Access - Foto 1
Ride to Sturgis! Lead Home w/ Pool Access - Foto 2
Ride to Sturgis! Lead Home w/ Pool Access - Foto 3
Ride to Sturgis! Lead Home w/ Pool Access - Foto 4
Ride to Sturgis! Lead Home w/ Pool Access - Foto 5
Ride to Sturgis! Lead Home w/ Pool Access - Foto 6
Ride to Sturgis! Lead Home w/ Pool Access - Foto 7
Ride to Sturgis! Lead Home w/ Pool Access - Foto 8
Ride to Sturgis! Lead Home w/ Pool Access - Foto 9
Ride to Sturgis! Lead Home w/ Pool Access - Foto 10
Ride to Sturgis! Lead Home w/ Pool Access - Foto 11
Ride to Sturgis! Lead Home w/ Pool Access - Foto 12
Ride to Sturgis! Lead Home w/ Pool Access - Foto 13
Ride to Sturgis! Lead Home w/ Pool Access - Foto 14
Ride to Sturgis! Lead Home w/ Pool Access - Foto 15
Ride to Sturgis! Lead Home w/ Pool Access - Foto 16
Ride to Sturgis! Lead Home w/ Pool Access - Foto 17
Ride to Sturgis! Lead Home w/ Pool Access - Foto 18
Ride to Sturgis! Lead Home w/ Pool Access - Foto 19
Ride to Sturgis! Lead Home w/ Pool Access - Foto 20
Ride to Sturgis! Lead Home w/ Pool Access - Foto 21
Ride to Sturgis! Lead Home w/ Pool Access - Foto 22
Ride to Sturgis! Lead Home w/ Pool Access - Foto 23
Ride to Sturgis! Lead Home w/ Pool Access - Foto 24
Ride to Sturgis! Lead Home w/ Pool Access - Foto 25
Ride to Sturgis! Lead Home w/ Pool Access - Foto 26
Ride to Sturgis! Lead Home w/ Pool Access - Foto 27
Ride to Sturgis! Lead Home w/ Pool Access - Foto 28
Ride to Sturgis! Lead Home w/ Pool Access - Foto 29
Ride to Sturgis! Lead Home w/ Pool Access - Foto 30
Ride to Sturgis! Lead Home w/ Pool Access - Foto 31
Ride to Sturgis! Lead Home w/ Pool Access - Foto 32
Ride to Sturgis! Lead Home w/ Pool Access - Foto 33
Ride to Sturgis! Lead Home w/ Pool Access - Foto 34
Ride to Sturgis! Lead Home w/ Pool Access - Foto 35
Ride to Sturgis! Lead Home w/ Pool Access - Foto 36
Ride to Sturgis! Lead Home w/ Pool Access - Foto 37
Ride to Sturgis! Lead Home w/ Pool Access - Foto 38
Ride to Sturgis! Lead Home w/ Pool Access - Foto 39

Ride to Sturgis! Lead Home w/ Pool Access

Lead - A 3 km de Terry Peak

  • 204 M2
  • 6 habitaciones
  • 15 personas
  • Calefacción
  • Terraza
  • Piscina
  • Parking
10Magnífico | 3 reseñas
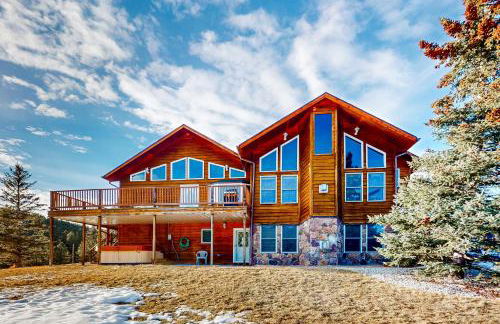
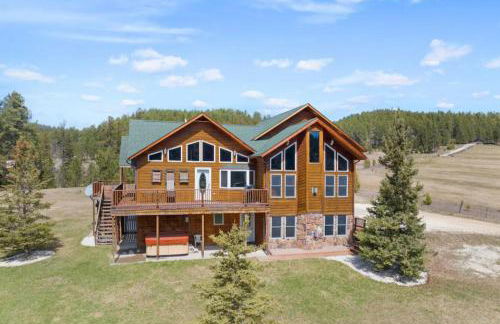
Scenic Lead Cabin: Steps to Terry Peak Ski Area! - Foto 1
Scenic Lead Cabin: Steps to Terry Peak Ski Area! - Foto 2
Scenic Lead Cabin: Steps to Terry Peak Ski Area! - Foto 3
Scenic Lead Cabin: Steps to Terry Peak Ski Area! - Foto 4
Scenic Lead Cabin: Steps to Terry Peak Ski Area! - Foto 5
Scenic Lead Cabin: Steps to Terry Peak Ski Area! - Foto 6
Scenic Lead Cabin: Steps to Terry Peak Ski Area! - Foto 7
Scenic Lead Cabin: Steps to Terry Peak Ski Area! - Foto 8
Scenic Lead Cabin: Steps to Terry Peak Ski Area! - Foto 9
Scenic Lead Cabin: Steps to Terry Peak Ski Area! - Foto 10
Scenic Lead Cabin: Steps to Terry Peak Ski Area! - Foto 11
Scenic Lead Cabin: Steps to Terry Peak Ski Area! - Foto 12
Scenic Lead Cabin: Steps to Terry Peak Ski Area! - Foto 13
Scenic Lead Cabin: Steps to Terry Peak Ski Area! - Foto 14
Scenic Lead Cabin: Steps to Terry Peak Ski Area! - Foto 15
Scenic Lead Cabin: Steps to Terry Peak Ski Area! - Foto 16
Scenic Lead Cabin: Steps to Terry Peak Ski Area! - Foto 17
Scenic Lead Cabin: Steps to Terry Peak Ski Area! - Foto 18
Scenic Lead Cabin: Steps to Terry Peak Ski Area! - Foto 19
Scenic Lead Cabin: Steps to Terry Peak Ski Area! - Foto 20
Scenic Lead Cabin: Steps to Terry Peak Ski Area! - Foto 21
Scenic Lead Cabin: Steps to Terry Peak Ski Area! - Foto 22
Scenic Lead Cabin: Steps to Terry Peak Ski Area! - Foto 23
Scenic Lead Cabin: Steps to Terry Peak Ski Area! - Foto 24
Scenic Lead Cabin: Steps to Terry Peak Ski Area! - Foto 25
Scenic Lead Cabin: Steps to Terry Peak Ski Area! - Foto 26
Scenic Lead Cabin: Steps to Terry Peak Ski Area! - Foto 27
Scenic Lead Cabin: Steps to Terry Peak Ski Area! - Foto 28
Scenic Lead Cabin: Steps to Terry Peak Ski Area! - Foto 29

Scenic Lead Cabin: Steps to Terry Peak Ski Area!

Lead - A 3.3 km de Deer Mountain
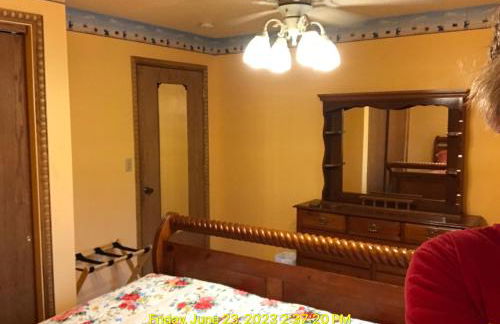
  • 56 M2
  • 2 habitaciones
  • 5 personas
  • Calefacción
  • Parking
9.8Excepcional | 6 reseñas
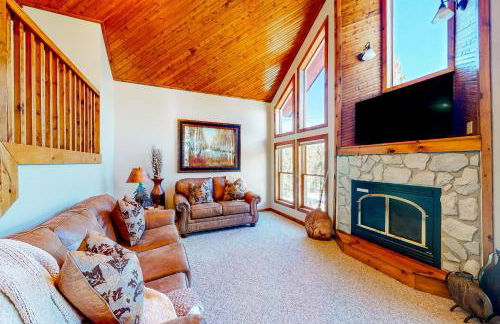
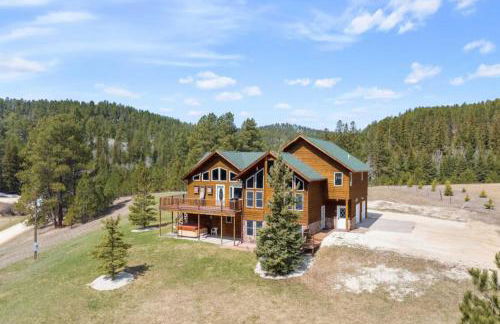
Divided Sky - Foto 1
Divided Sky - Foto 2
Divided Sky - Foto 3
Divided Sky - Foto 4
Divided Sky - Foto 5
Divided Sky - Foto 6
Divided Sky - Foto 7
Divided Sky - Foto 8
Divided Sky - Foto 9
Divided Sky - Foto 10
Divided Sky - Foto 11
Divided Sky - Foto 12
Divided Sky - Foto 13
Divided Sky - Foto 14
Divided Sky - Foto 15
Divided Sky - Foto 16
Divided Sky - Foto 17

Divided Sky

Lead - A 4 km de Deer Mountain
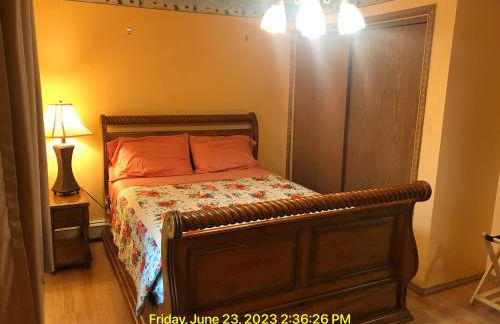
  • 181 M2
  • 3 habitaciones
  • 12 personas
  • Aire acondicionado
  • Parking
9.6Excepcional | 6 reseñas
Hot Tub & ATV Trails: Cabin in Powder House Pass! - Foto 1
Hot Tub & ATV Trails: Cabin in Powder House Pass! - Foto 2
Hot Tub & ATV Trails: Cabin in Powder House Pass! - Foto 3
Hot Tub & ATV Trails: Cabin in Powder House Pass! - Foto 4
Hot Tub & ATV Trails: Cabin in Powder House Pass! - Foto 5
Hot Tub & ATV Trails: Cabin in Powder House Pass! - Foto 6
Hot Tub & ATV Trails: Cabin in Powder House Pass! - Foto 7
Hot Tub & ATV Trails: Cabin in Powder House Pass! - Foto 8
Hot Tub & ATV Trails: Cabin in Powder House Pass! - Foto 9
Hot Tub & ATV Trails: Cabin in Powder House Pass! - Foto 10
Hot Tub & ATV Trails: Cabin in Powder House Pass! - Foto 11
Hot Tub & ATV Trails: Cabin in Powder House Pass! - Foto 12
Hot Tub & ATV Trails: Cabin in Powder House Pass! - Foto 13
Hot Tub & ATV Trails: Cabin in Powder House Pass! - Foto 14
Hot Tub & ATV Trails: Cabin in Powder House Pass! - Foto 15
Hot Tub & ATV Trails: Cabin in Powder House Pass! - Foto 16
Hot Tub & ATV Trails: Cabin in Powder House Pass! - Foto 17
Hot Tub & ATV Trails: Cabin in Powder House Pass! - Foto 18
Hot Tub & ATV Trails: Cabin in Powder House Pass! - Foto 19
Hot Tub & ATV Trails: Cabin in Powder House Pass! - Foto 20
Hot Tub & ATV Trails: Cabin in Powder House Pass! - Foto 21
Hot Tub & ATV Trails: Cabin in Powder House Pass! - Foto 22
Hot Tub & ATV Trails: Cabin in Powder House Pass! - Foto 23
Hot Tub & ATV Trails: Cabin in Powder House Pass! - Foto 24
Hot Tub & ATV Trails: Cabin in Powder House Pass! - Foto 25
Hot Tub & ATV Trails: Cabin in Powder House Pass! - Foto 26
Hot Tub & ATV Trails: Cabin in Powder House Pass! - Foto 27
Hot Tub & ATV Trails: Cabin in Powder House Pass! - Foto 28
Hot Tub & ATV Trails: Cabin in Powder House Pass! - Foto 29
Hot Tub & ATV Trails: Cabin in Powder House Pass! - Foto 30
Hot Tub & ATV Trails: Cabin in Powder House Pass! - Foto 31
Hot Tub & ATV Trails: Cabin in Powder House Pass! - Foto 32
Hot Tub & ATV Trails: Cabin in Powder House Pass! - Foto 33
Hot Tub & ATV Trails: Cabin in Powder House Pass! - Foto 34
Hot Tub & ATV Trails: Cabin in Powder House Pass! - Foto 35
Hot Tub & ATV Trails: Cabin in Powder House Pass! - Foto 36
Hot Tub & ATV Trails: Cabin in Powder House Pass! - Foto 37
Hot Tub & ATV Trails: Cabin in Powder House Pass! - Foto 38
Hot Tub & ATV Trails: Cabin in Powder House Pass! - Foto 39
Hot Tub & ATV Trails: Cabin in Powder House Pass! - Foto 40
Hot Tub & ATV Trails: Cabin in Powder House Pass! - Foto 41

Hot Tub & ATV Trails: Cabin in Powder House Pass!

Lead - A 1.8 km de Terry Peak

  • 186 M2
  • 3 habitaciones
  • 8 personas
  • Calefacción
  • Piscina
  • Parking
10Magnífico | 2 reseñas
Hot Tub & Sauna: Luxe Retreat for Sturgis Rally - Foto 1
Hot Tub & Sauna: Luxe Retreat for Sturgis Rally - Foto 2
Hot Tub & Sauna: Luxe Retreat for Sturgis Rally - Foto 3
Hot Tub & Sauna: Luxe Retreat for Sturgis Rally - Foto 4
Hot Tub & Sauna: Luxe Retreat for Sturgis Rally - Foto 5
Hot Tub & Sauna: Luxe Retreat for Sturgis Rally - Foto 6
Hot Tub & Sauna: Luxe Retreat for Sturgis Rally - Foto 7
Hot Tub & Sauna: Luxe Retreat for Sturgis Rally - Foto 8
Hot Tub & Sauna: Luxe Retreat for Sturgis Rally - Foto 9
Hot Tub & Sauna: Luxe Retreat for Sturgis Rally - Foto 10
Hot Tub & Sauna: Luxe Retreat for Sturgis Rally - Foto 11
Hot Tub & Sauna: Luxe Retreat for Sturgis Rally - Foto 12
Hot Tub & Sauna: Luxe Retreat for Sturgis Rally - Foto 13
Hot Tub & Sauna: Luxe Retreat for Sturgis Rally - Foto 14
Hot Tub & Sauna: Luxe Retreat for Sturgis Rally - Foto 15
Hot Tub & Sauna: Luxe Retreat for Sturgis Rally - Foto 16
Hot Tub & Sauna: Luxe Retreat for Sturgis Rally - Foto 17
Hot Tub & Sauna: Luxe Retreat for Sturgis Rally - Foto 18
Hot Tub & Sauna: Luxe Retreat for Sturgis Rally - Foto 19
Hot Tub & Sauna: Luxe Retreat for Sturgis Rally - Foto 20
Hot Tub & Sauna: Luxe Retreat for Sturgis Rally - Foto 21
Hot Tub & Sauna: Luxe Retreat for Sturgis Rally - Foto 22
Hot Tub & Sauna: Luxe Retreat for Sturgis Rally - Foto 23
Hot Tub & Sauna: Luxe Retreat for Sturgis Rally - Foto 24
Hot Tub & Sauna: Luxe Retreat for Sturgis Rally - Foto 25
Hot Tub & Sauna: Luxe Retreat for Sturgis Rally - Foto 26
Hot Tub & Sauna: Luxe Retreat for Sturgis Rally - Foto 27
Hot Tub & Sauna: Luxe Retreat for Sturgis Rally - Foto 28
Hot Tub & Sauna: Luxe Retreat for Sturgis Rally - Foto 29
Hot Tub & Sauna: Luxe Retreat for Sturgis Rally - Foto 30
Hot Tub & Sauna: Luxe Retreat for Sturgis Rally - Foto 31
Hot Tub & Sauna: Luxe Retreat for Sturgis Rally - Foto 32
Hot Tub & Sauna: Luxe Retreat for Sturgis Rally - Foto 33
Hot Tub & Sauna: Luxe Retreat for Sturgis Rally - Foto 34
Hot Tub & Sauna: Luxe Retreat for Sturgis Rally - Foto 35
Hot Tub & Sauna: Luxe Retreat for Sturgis Rally - Foto 36
Hot Tub & Sauna: Luxe Retreat for Sturgis Rally - Foto 37
Hot Tub & Sauna: Luxe Retreat for Sturgis Rally - Foto 38
Hot Tub & Sauna: Luxe Retreat for Sturgis Rally - Foto 39
Hot Tub & Sauna: Luxe Retreat for Sturgis Rally - Foto 40
Hot Tub & Sauna: Luxe Retreat for Sturgis Rally - Foto 41
Hot Tub & Sauna: Luxe Retreat for Sturgis Rally - Foto 42
Hot Tub & Sauna: Luxe Retreat for Sturgis Rally - Foto 43
Hot Tub & Sauna: Luxe Retreat for Sturgis Rally - Foto 44
Hot Tub & Sauna: Luxe Retreat for Sturgis Rally - Foto 45
Hot Tub & Sauna: Luxe Retreat for Sturgis Rally - Foto 46
Hot Tub & Sauna: Luxe Retreat for Sturgis Rally - Foto 47
Hot Tub & Sauna: Luxe Retreat for Sturgis Rally - Foto 48
Hot Tub & Sauna: Luxe Retreat for Sturgis Rally - Foto 49
Hot Tub & Sauna: Luxe Retreat for Sturgis Rally - Foto 50

Hot Tub & Sauna: Luxe Retreat for Sturgis Rally

Lead - A 2 km de Terry Peak

  • 362 M2
  • 5 habitaciones
  • 15 personas
  • Calefacción
  • Piscina
  • Parking
10Magnífico | 2 reseñas
Tetro Rock Retreat - Foto 1
Tetro Rock Retreat - Foto 2
Tetro Rock Retreat - Foto 3
Tetro Rock Retreat - Foto 4
Tetro Rock Retreat - Foto 5
Tetro Rock Retreat - Foto 6
Tetro Rock Retreat - Foto 7
Tetro Rock Retreat - Foto 8
Tetro Rock Retreat - Foto 9
Tetro Rock Retreat - Foto 10
Tetro Rock Retreat - Foto 11
Tetro Rock Retreat - Foto 12
Tetro Rock Retreat - Foto 13
Tetro Rock Retreat - Foto 14
Tetro Rock Retreat - Foto 15
Tetro Rock Retreat - Foto 16
Tetro Rock Retreat - Foto 17
Tetro Rock Retreat - Foto 18
Tetro Rock Retreat - Foto 19
Tetro Rock Retreat - Foto 20
Tetro Rock Retreat - Foto 21
Tetro Rock Retreat - Foto 22
Tetro Rock Retreat - Foto 23
Tetro Rock Retreat - Foto 24
Tetro Rock Retreat - Foto 25
Tetro Rock Retreat - Foto 26
Tetro Rock Retreat - Foto 27
Tetro Rock Retreat - Foto 28
Tetro Rock Retreat - Foto 29
Tetro Rock Retreat - Foto 30
Tetro Rock Retreat - Foto 31
Tetro Rock Retreat - Foto 32
Tetro Rock Retreat - Foto 33
Tetro Rock Retreat - Foto 34
Tetro Rock Retreat - Foto 35
Tetro Rock Retreat - Foto 36
Tetro Rock Retreat - Foto 37
Tetro Rock Retreat - Foto 38
Tetro Rock Retreat - Foto 39

Tetro Rock Retreat

Lead - A 9.2 km de Terry Peak

  • 260 M2
  • 4 habitaciones
  • 12 personas
  • Jardín
  • Barbacoa
9.2Excepcional | 10 reseñas
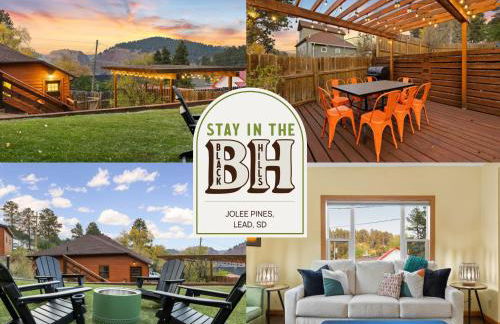
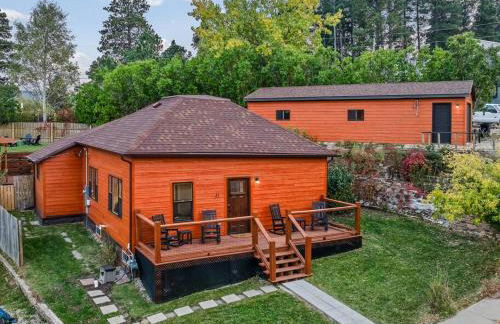
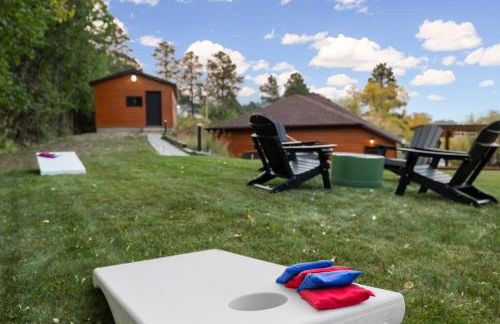
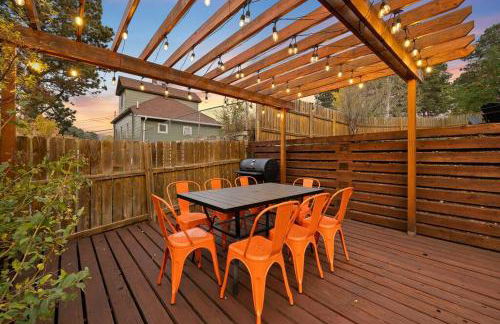
JoLee Pines, Close to Attractions, Great View - Foto 1
JoLee Pines, Close to Attractions, Great View - Foto 2
JoLee Pines, Close to Attractions, Great View - Foto 3
JoLee Pines, Close to Attractions, Great View - Foto 4
JoLee Pines, Close to Attractions, Great View - Foto 5
JoLee Pines, Close to Attractions, Great View - Foto 6
JoLee Pines, Close to Attractions, Great View - Foto 7
JoLee Pines, Close to Attractions, Great View - Foto 8
JoLee Pines, Close to Attractions, Great View - Foto 9
JoLee Pines, Close to Attractions, Great View - Foto 10
JoLee Pines, Close to Attractions, Great View - Foto 11
JoLee Pines, Close to Attractions, Great View - Foto 12
JoLee Pines, Close to Attractions, Great View - Foto 13
JoLee Pines, Close to Attractions, Great View - Foto 14
JoLee Pines, Close to Attractions, Great View - Foto 15
JoLee Pines, Close to Attractions, Great View - Foto 16
JoLee Pines, Close to Attractions, Great View - Foto 17
JoLee Pines, Close to Attractions, Great View - Foto 18
JoLee Pines, Close to Attractions, Great View - Foto 19
JoLee Pines, Close to Attractions, Great View - Foto 20
JoLee Pines, Close to Attractions, Great View - Foto 21
JoLee Pines, Close to Attractions, Great View - Foto 22
JoLee Pines, Close to Attractions, Great View - Foto 23
JoLee Pines, Close to Attractions, Great View - Foto 24
JoLee Pines, Close to Attractions, Great View - Foto 25
JoLee Pines, Close to Attractions, Great View - Foto 26
JoLee Pines, Close to Attractions, Great View - Foto 27
JoLee Pines, Close to Attractions, Great View - Foto 28
JoLee Pines, Close to Attractions, Great View - Foto 29
JoLee Pines, Close to Attractions, Great View - Foto 30
JoLee Pines, Close to Attractions, Great View - Foto 31
JoLee Pines, Close to Attractions, Great View - Foto 32
JoLee Pines, Close to Attractions, Great View - Foto 33
JoLee Pines, Close to Attractions, Great View - Foto 34

JoLee Pines, Close to Attractions, Great View

Lead - A 5.4 km de Terry Peak

  • 125 M2
  • 1 habitación
  • 6 personas
  • Terraza
  • Parking
  • Jardín
  • Barbacoa
10Magnífico | 3 reseñas
West Main Lodge, 2 Bedrooom - Foto 1
West Main Lodge, 2 Bedrooom - Foto 2
West Main Lodge, 2 Bedrooom - Foto 3
West Main Lodge, 2 Bedrooom - Foto 4
West Main Lodge, 2 Bedrooom - Foto 5
West Main Lodge, 2 Bedrooom - Foto 6
West Main Lodge, 2 Bedrooom - Foto 7
West Main Lodge, 2 Bedrooom - Foto 8
West Main Lodge, 2 Bedrooom - Foto 9
West Main Lodge, 2 Bedrooom - Foto 10
West Main Lodge, 2 Bedrooom - Foto 11
West Main Lodge, 2 Bedrooom - Foto 12
West Main Lodge, 2 Bedrooom - Foto 13
West Main Lodge, 2 Bedrooom - Foto 14
West Main Lodge, 2 Bedrooom - Foto 15
West Main Lodge, 2 Bedrooom - Foto 16
West Main Lodge, 2 Bedrooom - Foto 17
West Main Lodge, 2 Bedrooom - Foto 18
West Main Lodge, 2 Bedrooom - Foto 19
West Main Lodge, 2 Bedrooom - Foto 20
West Main Lodge, 2 Bedrooom - Foto 21
West Main Lodge, 2 Bedrooom - Foto 22
West Main Lodge, 2 Bedrooom - Foto 23
West Main Lodge, 2 Bedrooom - Foto 24
West Main Lodge, 2 Bedrooom - Foto 25
West Main Lodge, 2 Bedrooom - Foto 26
West Main Lodge, 2 Bedrooom - Foto 27
West Main Lodge, 2 Bedrooom - Foto 28
West Main Lodge, 2 Bedrooom - Foto 29
West Main Lodge, 2 Bedrooom - Foto 30
West Main Lodge, 2 Bedrooom - Foto 31
West Main Lodge, 2 Bedrooom - Foto 32
West Main Lodge, 2 Bedrooom - Foto 33
West Main Lodge, 2 Bedrooom - Foto 34
West Main Lodge, 2 Bedrooom - Foto 35

West Main Lodge, 2 Bedrooom

Lead - A 5.8 km de Terry Peak

  • 102 M2
  • 2 habitaciones
  • 5 personas
  • Aire acondicionado
  • Calefacción
  • Terraza
  • Parking
  • Jardín
  • Barbacoa
9.6Excepcional | 5 reseñas
Lead Family Home w/ Hot Tub, 2 Mi to Deer Mountain - Foto 1
Lead Family Home w/ Hot Tub, 2 Mi to Deer Mountain - Foto 2
Lead Family Home w/ Hot Tub, 2 Mi to Deer Mountain - Foto 3
Lead Family Home w/ Hot Tub, 2 Mi to Deer Mountain - Foto 4
Lead Family Home w/ Hot Tub, 2 Mi to Deer Mountain - Foto 5
Lead Family Home w/ Hot Tub, 2 Mi to Deer Mountain - Foto 6
Lead Family Home w/ Hot Tub, 2 Mi to Deer Mountain - Foto 7
Lead Family Home w/ Hot Tub, 2 Mi to Deer Mountain - Foto 8
Lead Family Home w/ Hot Tub, 2 Mi to Deer Mountain - Foto 9
Lead Family Home w/ Hot Tub, 2 Mi to Deer Mountain - Foto 10
Lead Family Home w/ Hot Tub, 2 Mi to Deer Mountain - Foto 11
Lead Family Home w/ Hot Tub, 2 Mi to Deer Mountain - Foto 12
Lead Family Home w/ Hot Tub, 2 Mi to Deer Mountain - Foto 13
Lead Family Home w/ Hot Tub, 2 Mi to Deer Mountain - Foto 14
Lead Family Home w/ Hot Tub, 2 Mi to Deer Mountain - Foto 15
Lead Family Home w/ Hot Tub, 2 Mi to Deer Mountain - Foto 16
Lead Family Home w/ Hot Tub, 2 Mi to Deer Mountain - Foto 17
Lead Family Home w/ Hot Tub, 2 Mi to Deer Mountain - Foto 18
Lead Family Home w/ Hot Tub, 2 Mi to Deer Mountain - Foto 19
Lead Family Home w/ Hot Tub, 2 Mi to Deer Mountain - Foto 20
Lead Family Home w/ Hot Tub, 2 Mi to Deer Mountain - Foto 21
Lead Family Home w/ Hot Tub, 2 Mi to Deer Mountain - Foto 22
Lead Family Home w/ Hot Tub, 2 Mi to Deer Mountain - Foto 23
Lead Family Home w/ Hot Tub, 2 Mi to Deer Mountain - Foto 24
Lead Family Home w/ Hot Tub, 2 Mi to Deer Mountain - Foto 25
Lead Family Home w/ Hot Tub, 2 Mi to Deer Mountain - Foto 26
Lead Family Home w/ Hot Tub, 2 Mi to Deer Mountain - Foto 27
Lead Family Home w/ Hot Tub, 2 Mi to Deer Mountain - Foto 28
Lead Family Home w/ Hot Tub, 2 Mi to Deer Mountain - Foto 29
Lead Family Home w/ Hot Tub, 2 Mi to Deer Mountain - Foto 30

Lead Family Home w/ Hot Tub, 2 Mi to Deer Mountain

Lead - A 1.5 km de Deer Mountain
  • 245 M2
  • 5 habitaciones
  • 10 personas
  • Calefacción
  • Terraza
  • Parking
9.7Excepcional | 3 reseñas
Whiskey Ridge - Foto 1
Whiskey Ridge - Foto 2
Whiskey Ridge - Foto 3
Whiskey Ridge - Foto 4
Whiskey Ridge - Foto 5
Whiskey Ridge - Foto 6
Whiskey Ridge - Foto 7
Whiskey Ridge - Foto 8
Whiskey Ridge - Foto 9
Whiskey Ridge - Foto 10
Whiskey Ridge - Foto 11
Whiskey Ridge - Foto 12
Whiskey Ridge - Foto 13
Whiskey Ridge - Foto 14
Whiskey Ridge - Foto 15
Whiskey Ridge - Foto 16
Whiskey Ridge - Foto 17
Whiskey Ridge - Foto 18
Whiskey Ridge - Foto 19
Whiskey Ridge - Foto 20
Whiskey Ridge - Foto 21
Whiskey Ridge - Foto 22
Whiskey Ridge - Foto 23
Whiskey Ridge - Foto 24
Whiskey Ridge - Foto 25
Whiskey Ridge - Foto 26
Whiskey Ridge - Foto 27
Whiskey Ridge - Foto 28
Whiskey Ridge - Foto 29
Whiskey Ridge - Foto 30
Whiskey Ridge - Foto 31
Whiskey Ridge - Foto 32
Whiskey Ridge - Foto 33
Whiskey Ridge - Foto 34
Whiskey Ridge - Foto 35
Whiskey Ridge - Foto 36
Whiskey Ridge - Foto 37
Whiskey Ridge - Foto 38
Whiskey Ridge - Foto 39
Whiskey Ridge - Foto 40
Whiskey Ridge - Foto 41
Whiskey Ridge - Foto 42
Whiskey Ridge - Foto 43
Whiskey Ridge - Foto 44
Whiskey Ridge - Foto 45
Whiskey Ridge - Foto 46
Whiskey Ridge - Foto 47
Whiskey Ridge - Foto 48
Whiskey Ridge - Foto 49
Whiskey Ridge - Foto 50
Whiskey Ridge - Foto 51
Whiskey Ridge - Foto 52
Whiskey Ridge - Foto 53
Whiskey Ridge - Foto 54
Whiskey Ridge - Foto 55
Whiskey Ridge - Foto 56
Whiskey Ridge - Foto 57
Whiskey Ridge - Foto 58
Whiskey Ridge - Foto 59
Whiskey Ridge - Foto 60

Whiskey Ridge

Lead - A 6.1 km de Terry Peak

  • 239 M2
  • 16 personas
  • Aire acondicionado
  • Parking
  • Jardín
  • Barbacoa
10Magnífico | 2 reseñas
Lead Condo w/ Patio: 14 Mi to Sturgis Rally - Foto 1
Lead Condo w/ Patio: 14 Mi to Sturgis Rally - Foto 2
Lead Condo w/ Patio: 14 Mi to Sturgis Rally - Foto 3
Lead Condo w/ Patio: 14 Mi to Sturgis Rally - Foto 4
Lead Condo w/ Patio: 14 Mi to Sturgis Rally - Foto 5
Lead Condo w/ Patio: 14 Mi to Sturgis Rally - Foto 6
Lead Condo w/ Patio: 14 Mi to Sturgis Rally - Foto 7
Lead Condo w/ Patio: 14 Mi to Sturgis Rally - Foto 8
Lead Condo w/ Patio: 14 Mi to Sturgis Rally - Foto 9
Lead Condo w/ Patio: 14 Mi to Sturgis Rally - Foto 10
Lead Condo w/ Patio: 14 Mi to Sturgis Rally - Foto 11
Lead Condo w/ Patio: 14 Mi to Sturgis Rally - Foto 12
Lead Condo w/ Patio: 14 Mi to Sturgis Rally - Foto 13
Lead Condo w/ Patio: 14 Mi to Sturgis Rally - Foto 14
Lead Condo w/ Patio: 14 Mi to Sturgis Rally - Foto 15
Lead Condo w/ Patio: 14 Mi to Sturgis Rally - Foto 16
Lead Condo w/ Patio: 14 Mi to Sturgis Rally - Foto 17
Lead Condo w/ Patio: 14 Mi to Sturgis Rally - Foto 18
Lead Condo w/ Patio: 14 Mi to Sturgis Rally - Foto 19
Lead Condo w/ Patio: 14 Mi to Sturgis Rally - Foto 20
Lead Condo w/ Patio: 14 Mi to Sturgis Rally - Foto 21
Lead Condo w/ Patio: 14 Mi to Sturgis Rally - Foto 22
Lead Condo w/ Patio: 14 Mi to Sturgis Rally - Foto 23
Lead Condo w/ Patio: 14 Mi to Sturgis Rally - Foto 24
Lead Condo w/ Patio: 14 Mi to Sturgis Rally - Foto 25
Lead Condo w/ Patio: 14 Mi to Sturgis Rally - Foto 26
Lead Condo w/ Patio: 14 Mi to Sturgis Rally - Foto 27
Lead Condo w/ Patio: 14 Mi to Sturgis Rally - Foto 28

Lead Condo w/ Patio: 14 Mi to Sturgis Rally

Lead - A 5.7 km de Terry Peak

  • 92 M2
  • 2 habitaciones
  • 6 personas
  • Calefacción
  • Terraza
  • Parking
8.8Muy bueno | 9 reseñas
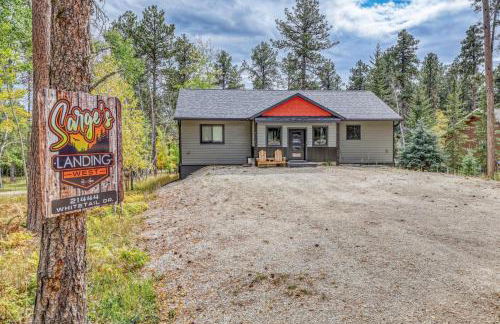
Sarge`s Landing West - Foto 1
Sarge`s Landing West - Foto 2
Sarge`s Landing West - Foto 3
Sarge`s Landing West - Foto 4
Sarge`s Landing West - Foto 5
Sarge`s Landing West - Foto 6
Sarge`s Landing West - Foto 7
Sarge`s Landing West - Foto 8
Sarge`s Landing West - Foto 9
Sarge`s Landing West - Foto 10
Sarge`s Landing West - Foto 11
Sarge`s Landing West - Foto 12
Sarge`s Landing West - Foto 13
Sarge`s Landing West - Foto 14
Sarge`s Landing West - Foto 15
Sarge`s Landing West - Foto 16
Sarge`s Landing West - Foto 17
Sarge`s Landing West - Foto 18
Sarge`s Landing West - Foto 19
Sarge`s Landing West - Foto 20
Sarge`s Landing West - Foto 21
Sarge`s Landing West - Foto 22
Sarge`s Landing West - Foto 23
Sarge`s Landing West - Foto 24
Sarge`s Landing West - Foto 25
Sarge`s Landing West - Foto 26
Sarge`s Landing West - Foto 27
Sarge`s Landing West - Foto 28
Sarge`s Landing West - Foto 29
Sarge`s Landing West - Foto 30
Sarge`s Landing West - Foto 31
Sarge`s Landing West - Foto 32
Sarge`s Landing West - Foto 33
Sarge`s Landing West - Foto 34
Sarge`s Landing West - Foto 35
Sarge`s Landing West - Foto 36
Sarge`s Landing West - Foto 37
Sarge`s Landing West - Foto 38
Sarge`s Landing West - Foto 39

Sarge`s Landing West

Lead - A 790 m de Terry Peak

  • 279 M2
  • 5 habitaciones
  • 15 personas
  • Barbacoa
10Magnífico | 2 reseñas
Hilltop Getaway - Foto 1
Hilltop Getaway - Foto 2
Hilltop Getaway - Foto 3
Hilltop Getaway - Foto 4
Hilltop Getaway - Foto 5
Hilltop Getaway - Foto 6
Hilltop Getaway - Foto 7
Hilltop Getaway - Foto 8
Hilltop Getaway - Foto 9
Hilltop Getaway - Foto 10
Hilltop Getaway - Foto 11
Hilltop Getaway - Foto 12
Hilltop Getaway - Foto 13
Hilltop Getaway - Foto 14
Hilltop Getaway - Foto 15
Hilltop Getaway - Foto 16
Hilltop Getaway - Foto 17
Hilltop Getaway - Foto 18
Hilltop Getaway - Foto 19
Hilltop Getaway - Foto 20
Hilltop Getaway - Foto 21
Hilltop Getaway - Foto 22
Hilltop Getaway - Foto 23
Hilltop Getaway - Foto 24
Hilltop Getaway - Foto 25
Hilltop Getaway - Foto 26
Hilltop Getaway - Foto 27
Hilltop Getaway - Foto 28
Hilltop Getaway - Foto 29
Hilltop Getaway - Foto 30
Hilltop Getaway - Foto 31
Hilltop Getaway - Foto 32
Hilltop Getaway - Foto 33
Hilltop Getaway - Foto 34
Hilltop Getaway - Foto 35
Hilltop Getaway - Foto 36
Hilltop Getaway - Foto 37
Hilltop Getaway - Foto 38
Hilltop Getaway - Foto 39
Hilltop Getaway - Foto 40
Hilltop Getaway - Foto 41
Hilltop Getaway - Foto 42
Hilltop Getaway - Foto 43
Hilltop Getaway - Foto 44
Hilltop Getaway - Foto 45
Hilltop Getaway - Foto 46
Hilltop Getaway - Foto 47
Hilltop Getaway - Foto 48

Hilltop Getaway

Lead - A 3.1 km de Terry Peak

  • 293 M2
  • 5 habitaciones
  • 16 personas
  • Aire acondicionado
  • Calefacción
  • Barbacoa
10Magnífico | 2 reseñas
Whiskey Hills At Terry Peak - Foto 1
Whiskey Hills At Terry Peak - Foto 2
Whiskey Hills At Terry Peak - Foto 3
Whiskey Hills At Terry Peak - Foto 4
Whiskey Hills At Terry Peak - Foto 5
Whiskey Hills At Terry Peak - Foto 6
Whiskey Hills At Terry Peak - Foto 7
Whiskey Hills At Terry Peak - Foto 8
Whiskey Hills At Terry Peak - Foto 9
Whiskey Hills At Terry Peak - Foto 10
Whiskey Hills At Terry Peak - Foto 11
Whiskey Hills At Terry Peak - Foto 12
Whiskey Hills At Terry Peak - Foto 13
Whiskey Hills At Terry Peak - Foto 14
Whiskey Hills At Terry Peak - Foto 15
Whiskey Hills At Terry Peak - Foto 16
Whiskey Hills At Terry Peak - Foto 17
Whiskey Hills At Terry Peak - Foto 18
Whiskey Hills At Terry Peak - Foto 19
Whiskey Hills At Terry Peak - Foto 20
Whiskey Hills At Terry Peak - Foto 21
Whiskey Hills At Terry Peak - Foto 22
Whiskey Hills At Terry Peak - Foto 23
Whiskey Hills At Terry Peak - Foto 24
Whiskey Hills At Terry Peak - Foto 25
Whiskey Hills At Terry Peak - Foto 26
Whiskey Hills At Terry Peak - Foto 27
Whiskey Hills At Terry Peak - Foto 28
Whiskey Hills At Terry Peak - Foto 29
Whiskey Hills At Terry Peak - Foto 30
Whiskey Hills At Terry Peak - Foto 31
Whiskey Hills At Terry Peak - Foto 32
Whiskey Hills At Terry Peak - Foto 33
Whiskey Hills At Terry Peak - Foto 34
Whiskey Hills At Terry Peak - Foto 35
Whiskey Hills At Terry Peak - Foto 36
Whiskey Hills At Terry Peak - Foto 37

Whiskey Hills At Terry Peak

Lead - A 4 km de Deer Mountain

  • 6 M2
  • 4 habitaciones
  • 12 personas
  • Aire acondicionado
  • Parking
9.7Excepcional | 3 reseñas
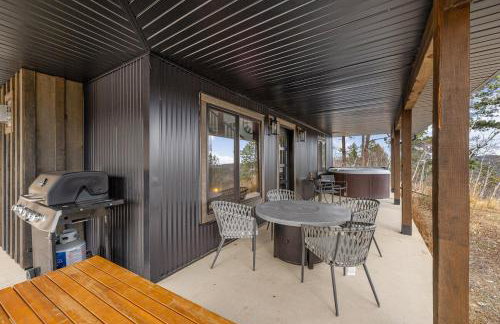
MK Hideaway - Foto 1
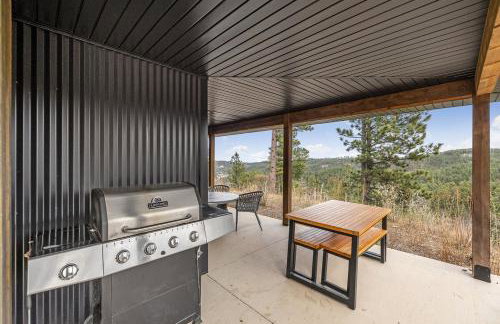
MK Hideaway - Foto 2
MK Hideaway - Foto 3
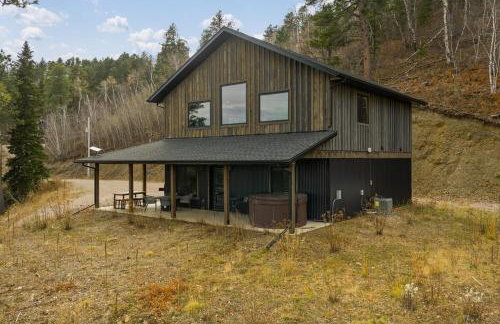
MK Hideaway - Foto 4
MK Hideaway - Foto 5
MK Hideaway - Foto 6
MK Hideaway - Foto 7
MK Hideaway - Foto 8
MK Hideaway - Foto 9
MK Hideaway - Foto 10
MK Hideaway - Foto 11
MK Hideaway - Foto 12
MK Hideaway - Foto 13
MK Hideaway - Foto 14
MK Hideaway - Foto 15
MK Hideaway - Foto 16
MK Hideaway - Foto 17
MK Hideaway - Foto 18
MK Hideaway - Foto 19
MK Hideaway - Foto 20
MK Hideaway - Foto 21
MK Hideaway - Foto 22
MK Hideaway - Foto 23
MK Hideaway - Foto 24
MK Hideaway - Foto 25
MK Hideaway - Foto 26
MK Hideaway - Foto 27
MK Hideaway - Foto 28
MK Hideaway - Foto 29
MK Hideaway - Foto 30
MK Hideaway - Foto 31
MK Hideaway - Foto 32
MK Hideaway - Foto 33
MK Hideaway - Foto 34
MK Hideaway - Foto 35

MK Hideaway

Lead - A 8.4 km de Terry Peak

  • 144 M2
  • 4 habitaciones
  • 10 personas
  • Aire acondicionado
  • Parking
  • Jardín
9.7Excepcional | 3 reseñas
Ride to Sturgis! Modern Group Lodge w/ Hot Tub - Foto 1
Ride to Sturgis! Modern Group Lodge w/ Hot Tub - Foto 2
Ride to Sturgis! Modern Group Lodge w/ Hot Tub - Foto 3
Ride to Sturgis! Modern Group Lodge w/ Hot Tub - Foto 4
Ride to Sturgis! Modern Group Lodge w/ Hot Tub - Foto 5
Ride to Sturgis! Modern Group Lodge w/ Hot Tub - Foto 6
Ride to Sturgis! Modern Group Lodge w/ Hot Tub - Foto 7
Ride to Sturgis! Modern Group Lodge w/ Hot Tub - Foto 8
Ride to Sturgis! Modern Group Lodge w/ Hot Tub - Foto 9
Ride to Sturgis! Modern Group Lodge w/ Hot Tub - Foto 10
Ride to Sturgis! Modern Group Lodge w/ Hot Tub - Foto 11
Ride to Sturgis! Modern Group Lodge w/ Hot Tub - Foto 12
Ride to Sturgis! Modern Group Lodge w/ Hot Tub - Foto 13
Ride to Sturgis! Modern Group Lodge w/ Hot Tub - Foto 14
Ride to Sturgis! Modern Group Lodge w/ Hot Tub - Foto 15
Ride to Sturgis! Modern Group Lodge w/ Hot Tub - Foto 16
Ride to Sturgis! Modern Group Lodge w/ Hot Tub - Foto 17
Ride to Sturgis! Modern Group Lodge w/ Hot Tub - Foto 18
Ride to Sturgis! Modern Group Lodge w/ Hot Tub - Foto 19
Ride to Sturgis! Modern Group Lodge w/ Hot Tub - Foto 20
Ride to Sturgis! Modern Group Lodge w/ Hot Tub - Foto 21
Ride to Sturgis! Modern Group Lodge w/ Hot Tub - Foto 22
Ride to Sturgis! Modern Group Lodge w/ Hot Tub - Foto 23
Ride to Sturgis! Modern Group Lodge w/ Hot Tub - Foto 24
Ride to Sturgis! Modern Group Lodge w/ Hot Tub - Foto 25
Ride to Sturgis! Modern Group Lodge w/ Hot Tub - Foto 26
Ride to Sturgis! Modern Group Lodge w/ Hot Tub - Foto 27
Ride to Sturgis! Modern Group Lodge w/ Hot Tub - Foto 28
Ride to Sturgis! Modern Group Lodge w/ Hot Tub - Foto 29
Ride to Sturgis! Modern Group Lodge w/ Hot Tub - Foto 30
Ride to Sturgis! Modern Group Lodge w/ Hot Tub - Foto 31
Ride to Sturgis! Modern Group Lodge w/ Hot Tub - Foto 32
Ride to Sturgis! Modern Group Lodge w/ Hot Tub - Foto 33
Ride to Sturgis! Modern Group Lodge w/ Hot Tub - Foto 34
Ride to Sturgis! Modern Group Lodge w/ Hot Tub - Foto 35
Ride to Sturgis! Modern Group Lodge w/ Hot Tub - Foto 36
Ride to Sturgis! Modern Group Lodge w/ Hot Tub - Foto 37
Ride to Sturgis! Modern Group Lodge w/ Hot Tub - Foto 38

Ride to Sturgis! Modern Group Lodge w/ Hot Tub

Lead - A 1.7 km de Terry Peak

  • 251 M2
  • 4 habitaciones
  • 8 personas
  • Calefacción
  • Terraza
  • Piscina
  • Parking
9Excepcional | 2 reseñas
Foote Creek Lodge - Foto 1
Foote Creek Lodge - Foto 2
Foote Creek Lodge - Foto 3
Foote Creek Lodge - Foto 4
Foote Creek Lodge - Foto 5
Foote Creek Lodge - Foto 6
Foote Creek Lodge - Foto 7
Foote Creek Lodge - Foto 8
Foote Creek Lodge - Foto 9
Foote Creek Lodge - Foto 10
Foote Creek Lodge - Foto 11
Foote Creek Lodge - Foto 12
Foote Creek Lodge - Foto 13
Foote Creek Lodge - Foto 14
Foote Creek Lodge - Foto 15
Foote Creek Lodge - Foto 16
Foote Creek Lodge - Foto 17
Foote Creek Lodge - Foto 18
Foote Creek Lodge - Foto 19
Foote Creek Lodge - Foto 20
Foote Creek Lodge - Foto 21
Foote Creek Lodge - Foto 22
Foote Creek Lodge - Foto 23
Foote Creek Lodge - Foto 24
Foote Creek Lodge - Foto 25
Foote Creek Lodge - Foto 26
Foote Creek Lodge - Foto 27
Foote Creek Lodge - Foto 28
Foote Creek Lodge - Foto 29
Foote Creek Lodge - Foto 30
Foote Creek Lodge - Foto 31
Foote Creek Lodge - Foto 32
Foote Creek Lodge - Foto 33
Foote Creek Lodge - Foto 34
Foote Creek Lodge - Foto 35
Foote Creek Lodge - Foto 36
Foote Creek Lodge - Foto 37
Foote Creek Lodge - Foto 38
Foote Creek Lodge - Foto 39
Foote Creek Lodge - Foto 40
Foote Creek Lodge - Foto 41
Foote Creek Lodge - Foto 42
Foote Creek Lodge - Foto 43
Foote Creek Lodge - Foto 44
Foote Creek Lodge - Foto 45
Foote Creek Lodge - Foto 46
Foote Creek Lodge - Foto 47
Foote Creek Lodge - Foto 48
Foote Creek Lodge - Foto 49
Foote Creek Lodge - Foto 50
Foote Creek Lodge - Foto 51
Foote Creek Lodge - Foto 52
Foote Creek Lodge - Foto 53
Foote Creek Lodge - Foto 54
Foote Creek Lodge - Foto 55
Foote Creek Lodge - Foto 56
Foote Creek Lodge - Foto 57

Foote Creek Lodge

Lead - A 3.1 km de Terry Peak

  • 223 M2
  • 4 habitaciones
  • 10 personas
  • Piscina
  • Barbacoa
9.5Excepcional | 4 reseñas
Mountain View Escape - Foto 1
Mountain View Escape - Foto 2
Mountain View Escape - Foto 3
Mountain View Escape - Foto 4
Mountain View Escape - Foto 5
Mountain View Escape - Foto 6
Mountain View Escape - Foto 7
Mountain View Escape - Foto 8
Mountain View Escape - Foto 9
Mountain View Escape - Foto 10
Mountain View Escape - Foto 11
Mountain View Escape - Foto 12
Mountain View Escape - Foto 13
Mountain View Escape - Foto 14
Mountain View Escape - Foto 15
Mountain View Escape - Foto 16
Mountain View Escape - Foto 17
Mountain View Escape - Foto 18
Mountain View Escape - Foto 19
Mountain View Escape - Foto 20
Mountain View Escape - Foto 21

Mountain View Escape

Lead - A 7.1 km de Terry Peak

  • 64 M2
  • 2 habitaciones
  • 6 personas
  • Calefacción
  • Barbacoa
10Magnífico | 3 reseñas
Black Hills Cabin ~ 2 Mi to Terry Peak! - Foto 1
Black Hills Cabin ~ 2 Mi to Terry Peak! - Foto 2
Black Hills Cabin ~ 2 Mi to Terry Peak! - Foto 3
Black Hills Cabin ~ 2 Mi to Terry Peak! - Foto 4
Black Hills Cabin ~ 2 Mi to Terry Peak! - Foto 5
Black Hills Cabin ~ 2 Mi to Terry Peak! - Foto 6
Black Hills Cabin ~ 2 Mi to Terry Peak! - Foto 7
Black Hills Cabin ~ 2 Mi to Terry Peak! - Foto 8
Black Hills Cabin ~ 2 Mi to Terry Peak! - Foto 9
Black Hills Cabin ~ 2 Mi to Terry Peak! - Foto 10
Black Hills Cabin ~ 2 Mi to Terry Peak! - Foto 11
Black Hills Cabin ~ 2 Mi to Terry Peak! - Foto 12
Black Hills Cabin ~ 2 Mi to Terry Peak! - Foto 13
Black Hills Cabin ~ 2 Mi to Terry Peak! - Foto 14
Black Hills Cabin ~ 2 Mi to Terry Peak! - Foto 15
Black Hills Cabin ~ 2 Mi to Terry Peak! - Foto 16
Black Hills Cabin ~ 2 Mi to Terry Peak! - Foto 17
Black Hills Cabin ~ 2 Mi to Terry Peak! - Foto 18
Black Hills Cabin ~ 2 Mi to Terry Peak! - Foto 19
Black Hills Cabin ~ 2 Mi to Terry Peak! - Foto 20
Black Hills Cabin ~ 2 Mi to Terry Peak! - Foto 21
Black Hills Cabin ~ 2 Mi to Terry Peak! - Foto 22
Black Hills Cabin ~ 2 Mi to Terry Peak! - Foto 23
Black Hills Cabin ~ 2 Mi to Terry Peak! - Foto 24

Black Hills Cabin ~ 2 Mi to Terry Peak!

Lead - A 3.9 km de Deer Mountain
  • 93 M2
  • 2 habitaciones
  • 7 personas
  • Parking
9.4Excepcional | 6 reseñas