


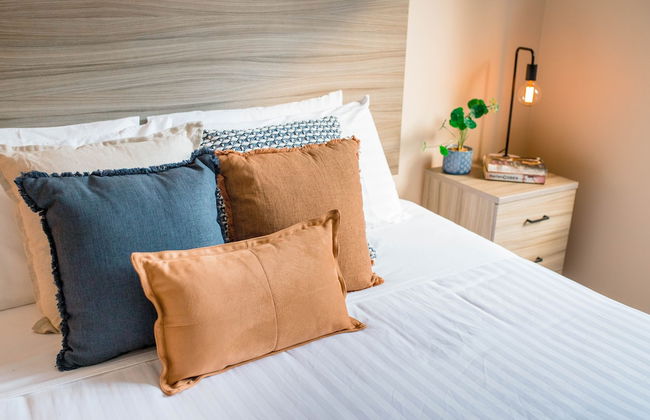
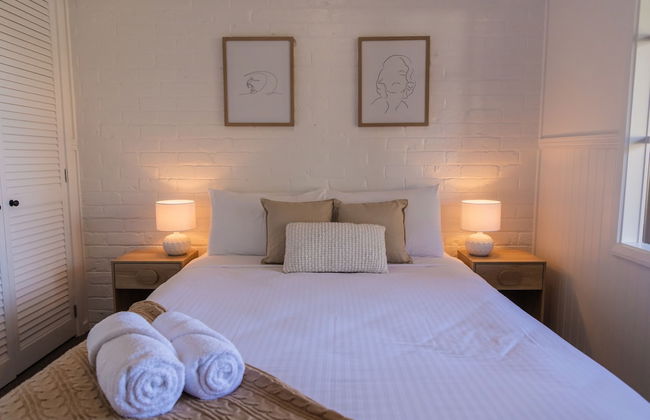
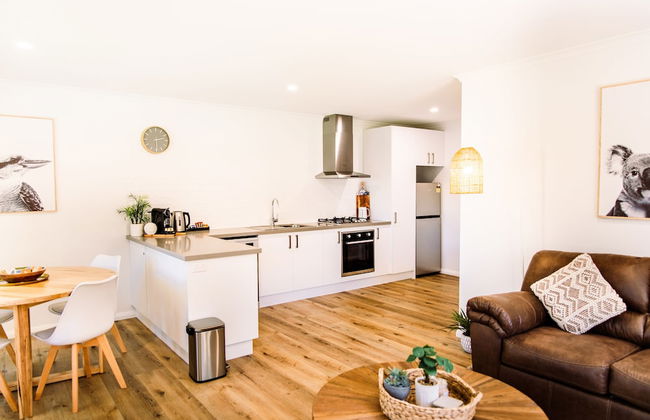
Trinity Collective
Cairns - Trinity Park - A 14.6 km del centro
- 122 M2
- 6 personas
- Cocina pequeña
- Aire acondicionado
- Calefacción
- Terraza
- Piscina
- Parking
- Ascensor
- Balcón
- Jardín
- Televisión
- Lavadora
- Barbacoa
- Toallas
- Sábanas


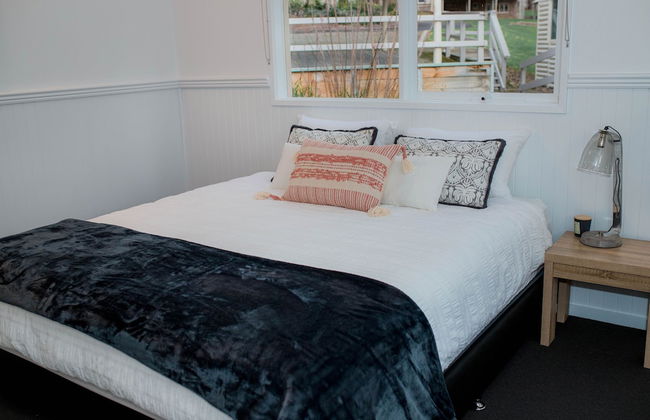
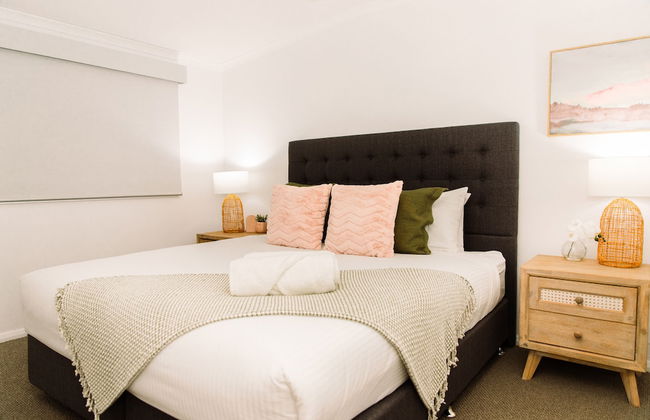
Serenity Villas Rarotonga
Avarua - Cerca de Oudna Terminal (geolocation.placetype.port)
- 156 M2
- 4 personas
- Aire acondicionado
- Calefacción
- Terraza
- Piscina
- Parking
- Jardín
- Televisión
- Barbacoa
- Toallas
- Sábanas


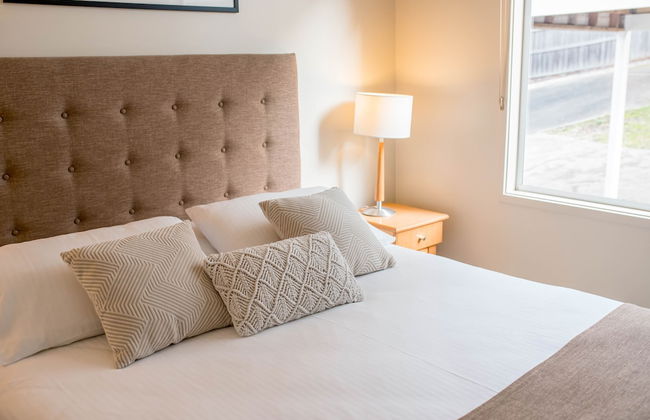
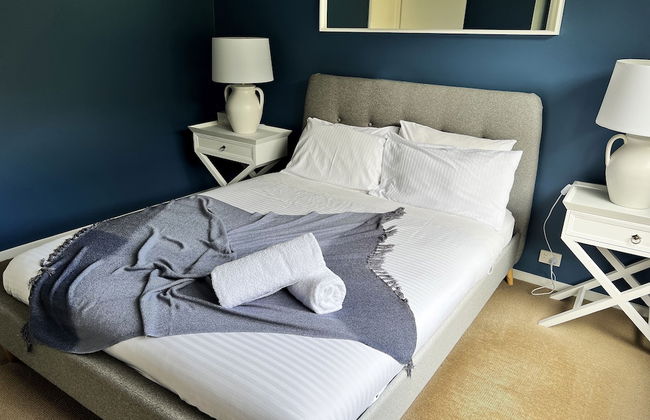
Orewa Beachcomber
Orewa - Orewa - A 250 m del centro
- 88 M2
- 6 personas
- Aire acondicionado
- Calefacción
- Terraza
- Parking
- Jardín
- Televisión
- Lavadora
- Toallas
- Sábanas


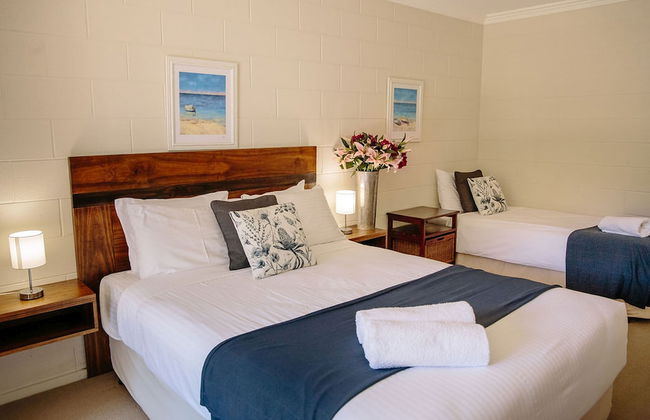


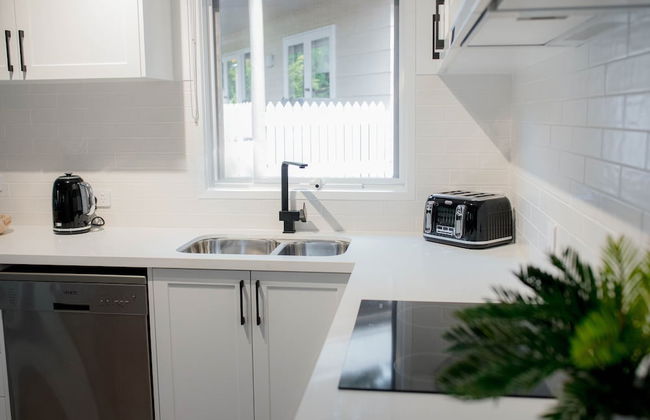


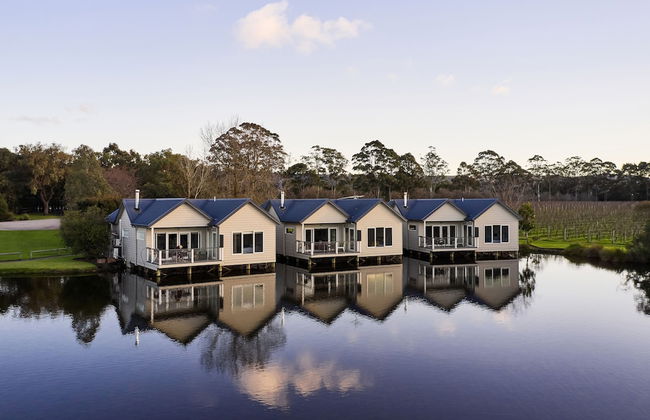
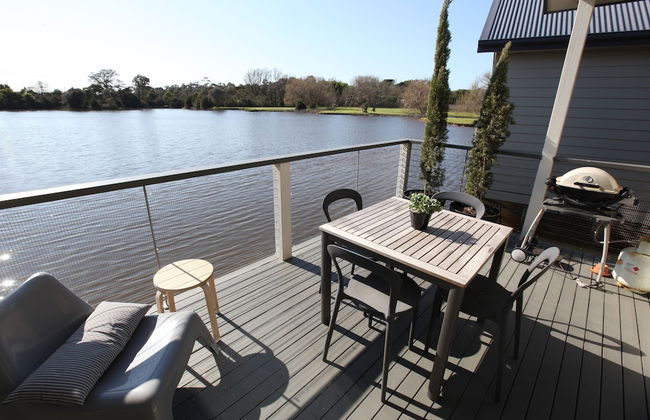
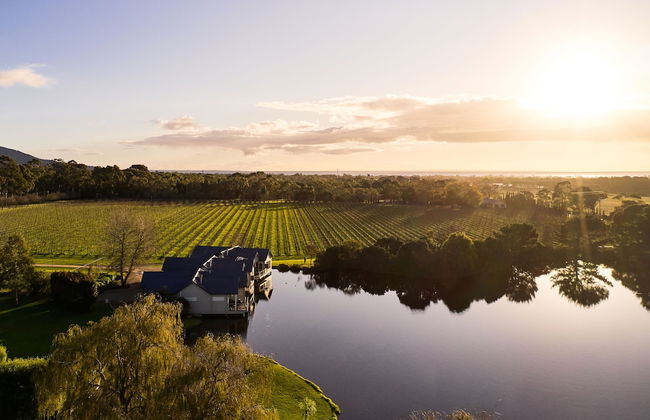
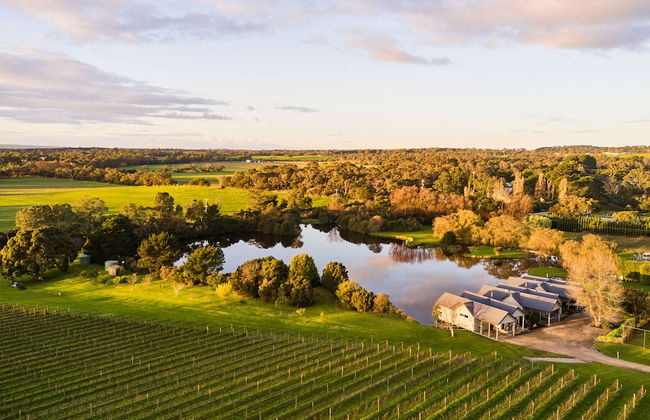
McMillans of Metung Coastal Resort
Metung - Metung - A 610 m del centro
- 139 M2
- 10 personas
- Aire acondicionado
- Calefacción
- Terraza
- Piscina
- Parking
- Jardín
- Televisión
- Lavadora
- Barbacoa
- Toallas
- Sábanas


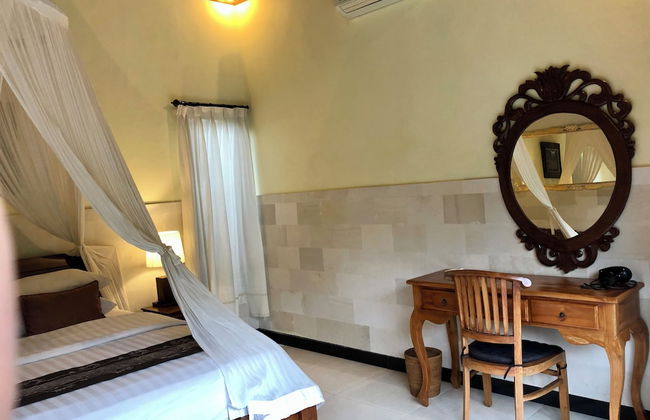


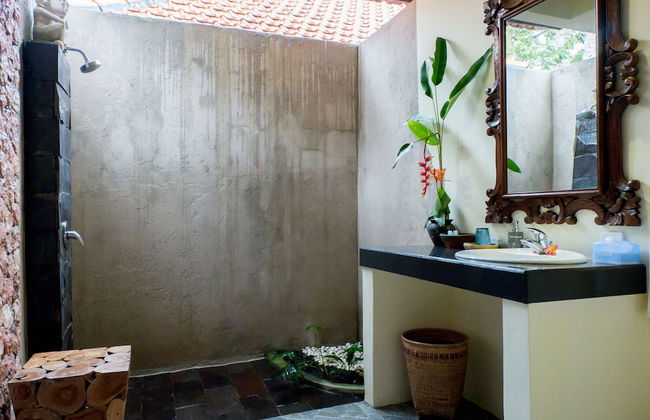


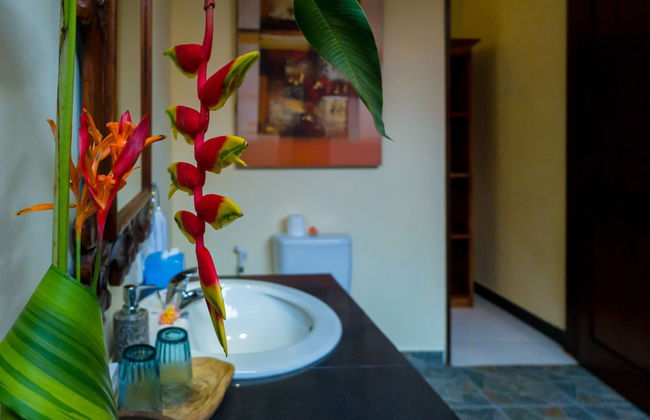

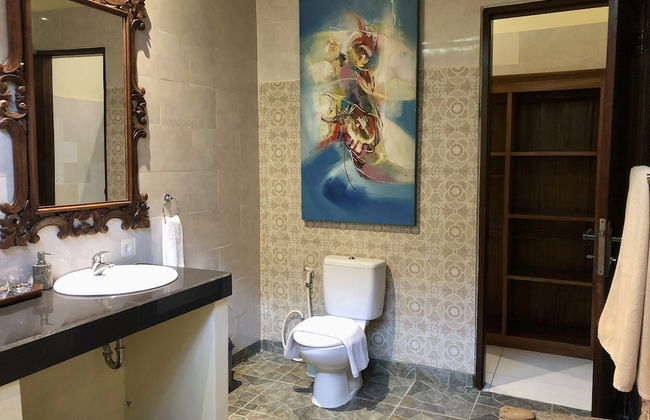


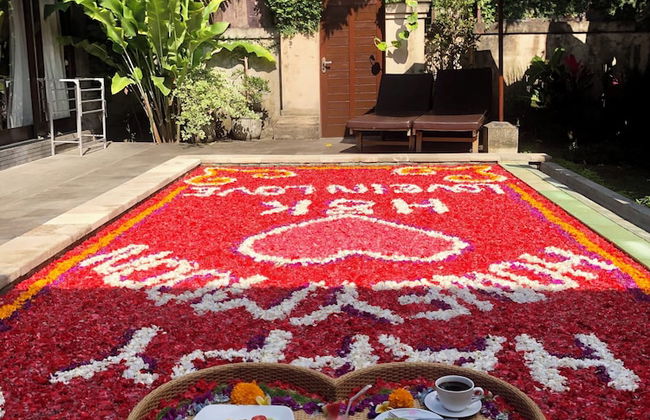

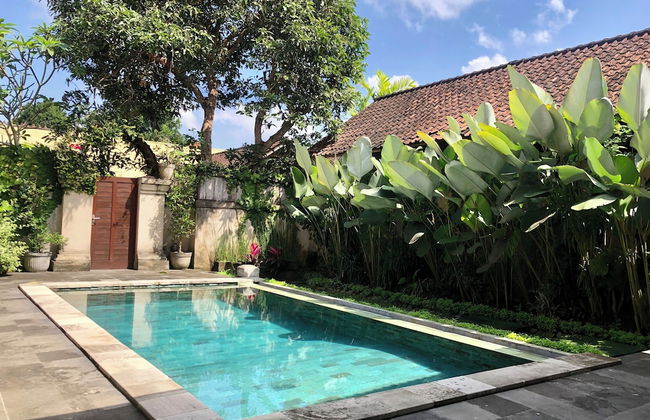


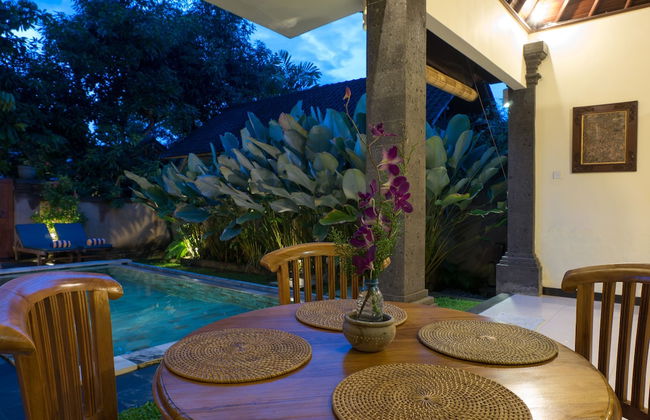

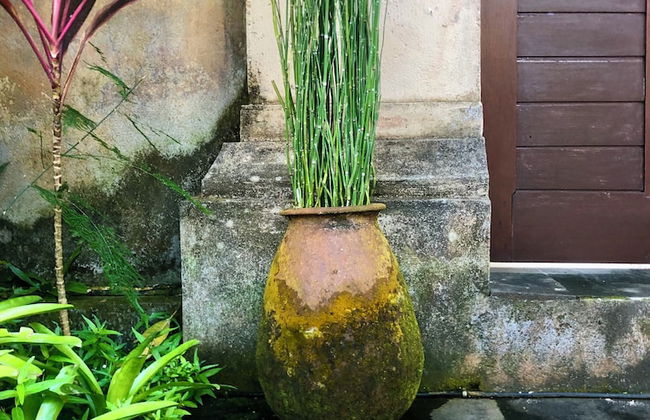


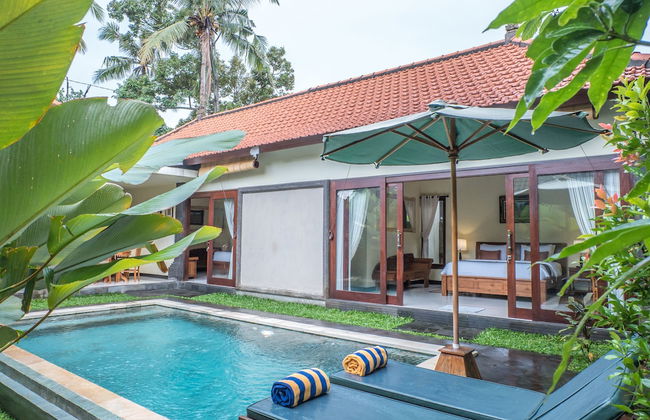


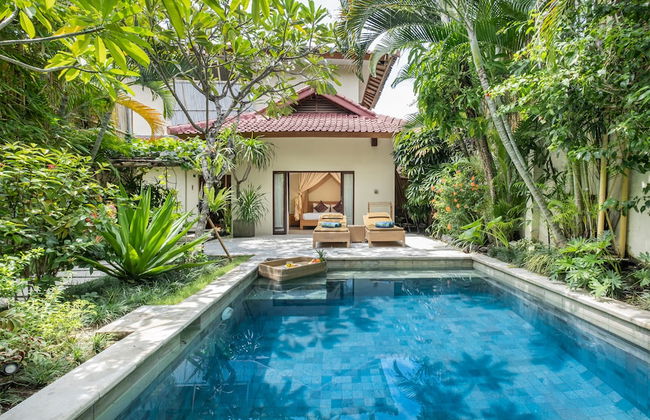
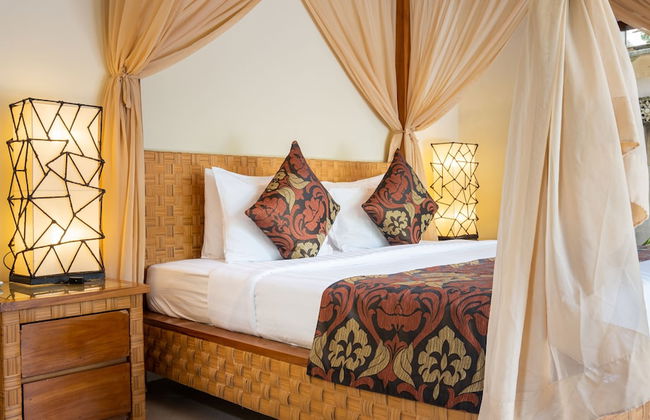
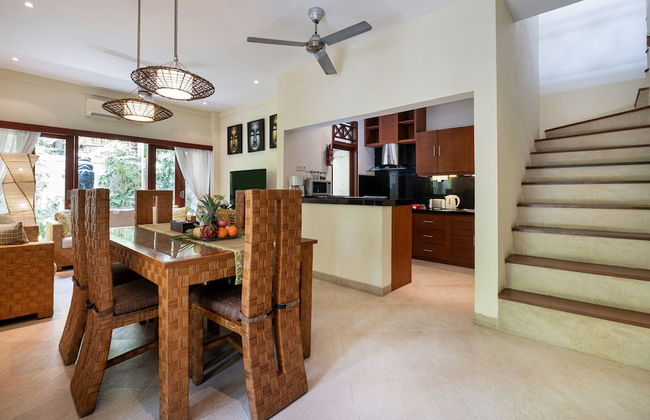
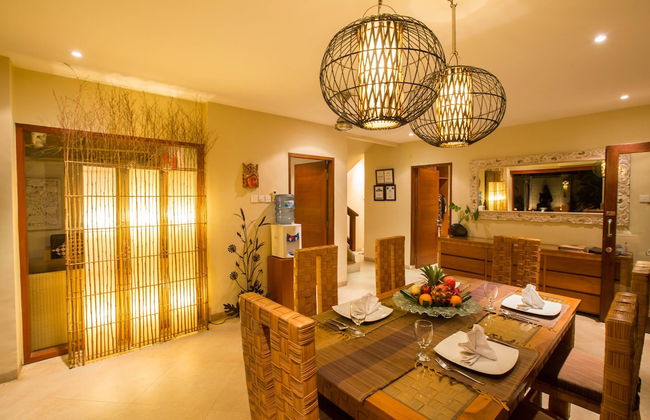
Dana's Place Private Villa
Gianyar - Ubud - A 8.9 km del centro
- 20 M2
- 4 personas
- Cocina pequeña
- Aire acondicionado
- Terraza
- Piscina
- Parking
- Ascensor
- Balcón
- Jardín
- Televisión
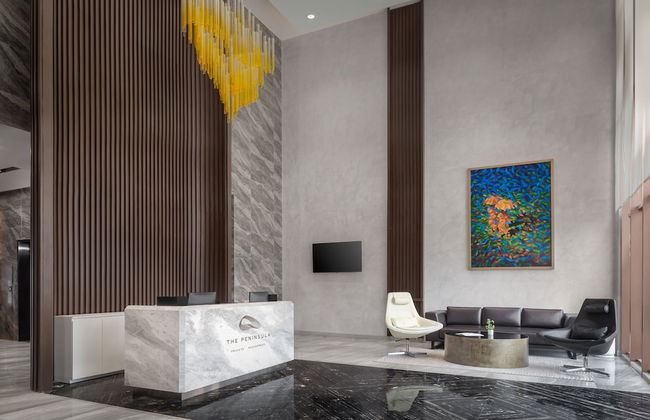
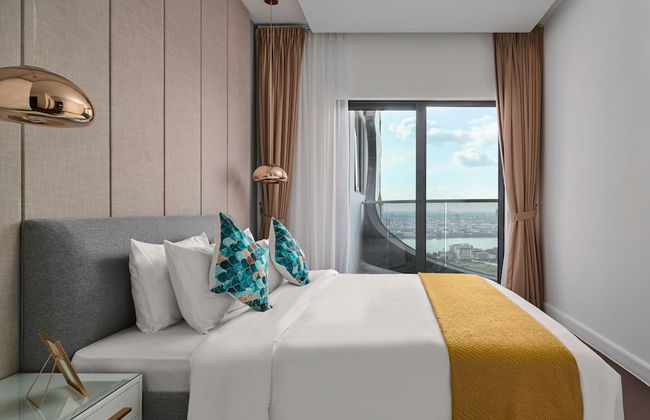

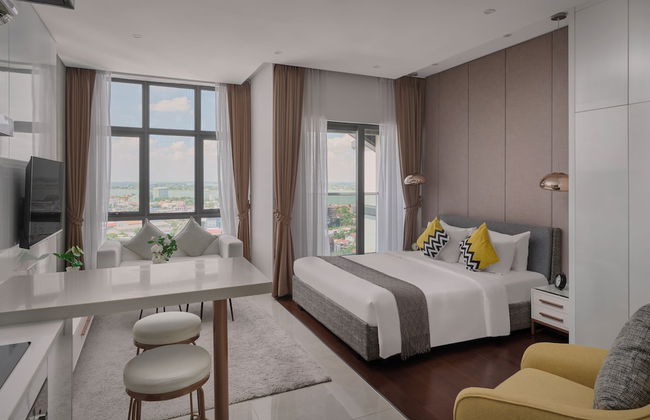
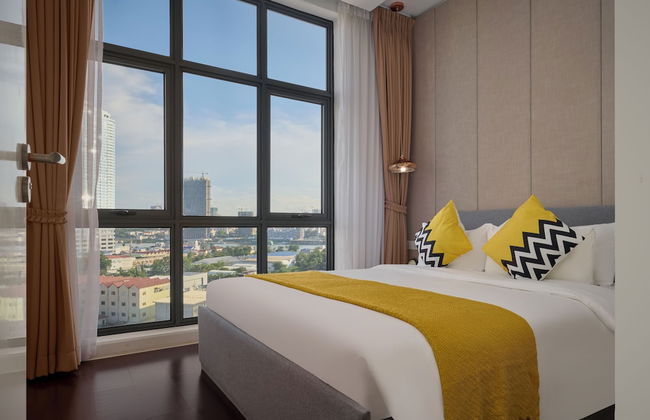


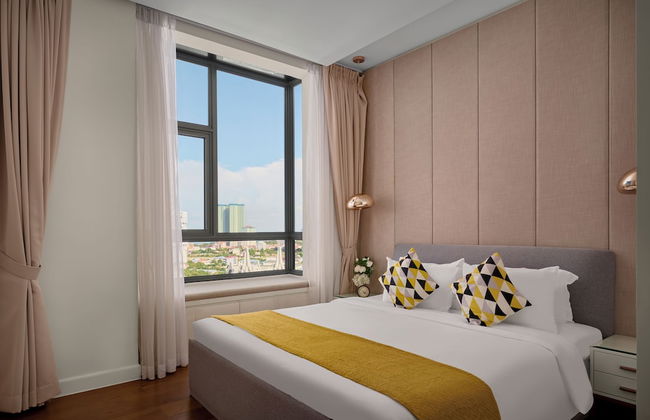


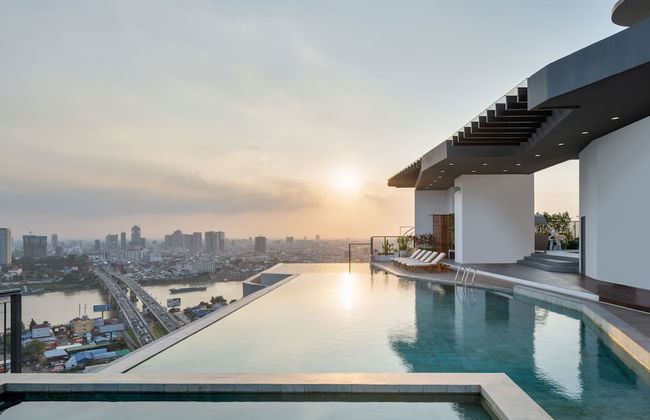
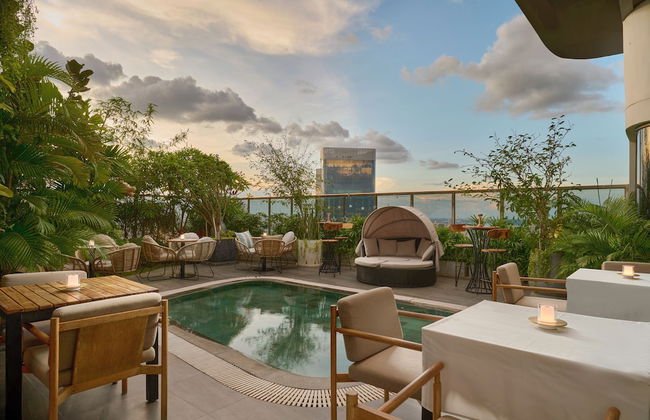
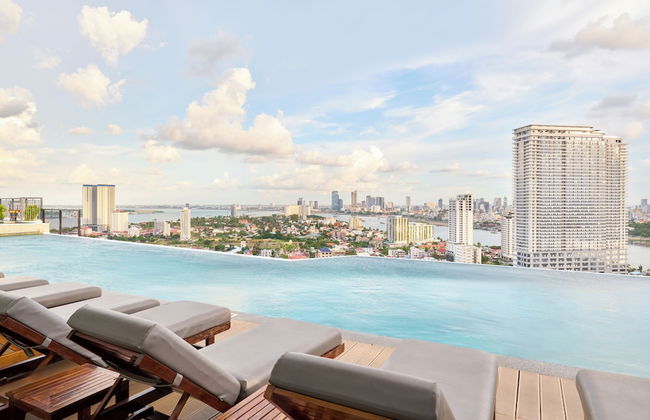
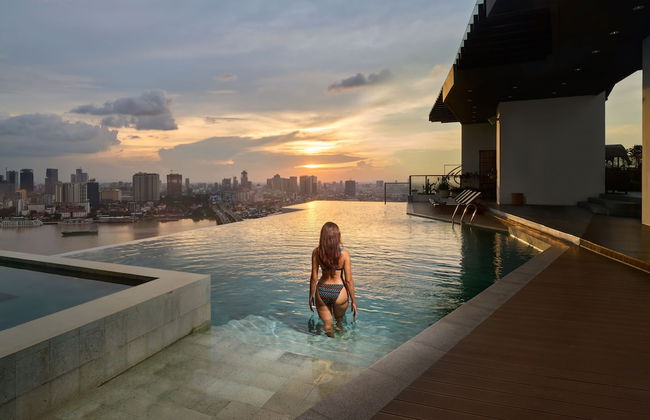
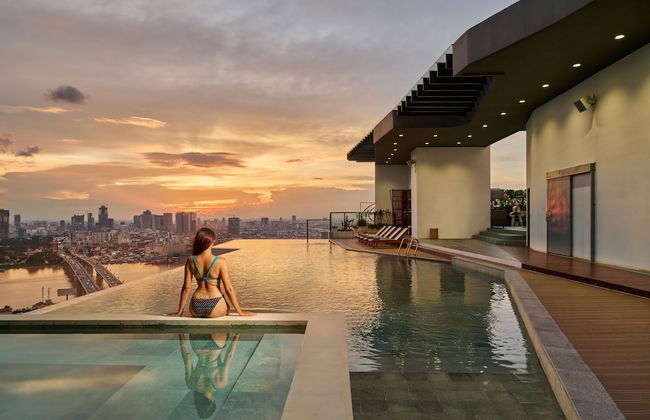
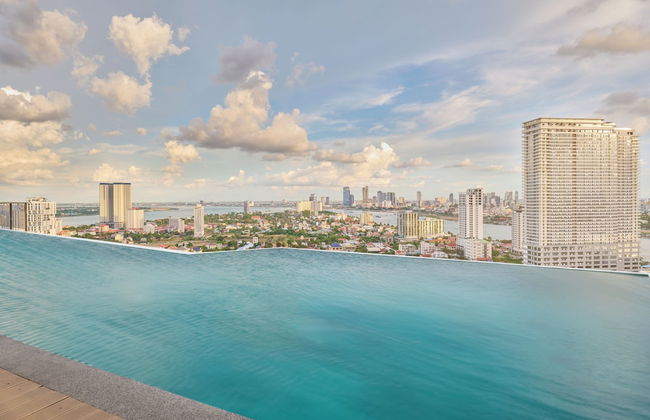


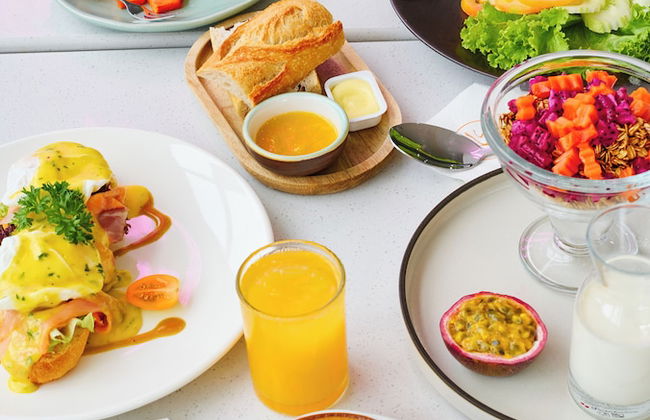


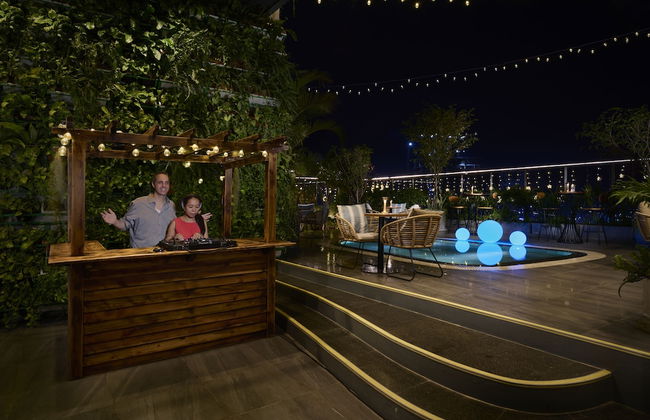
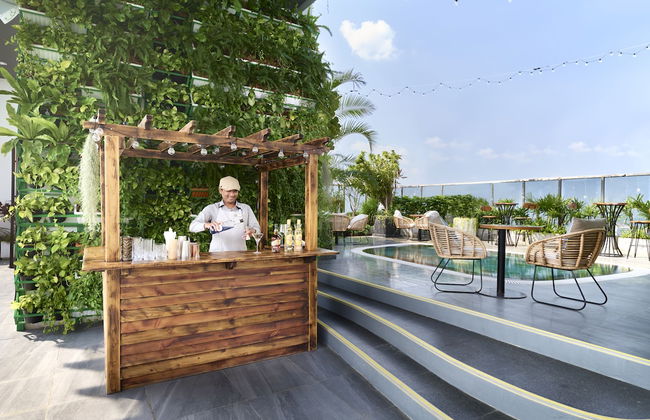
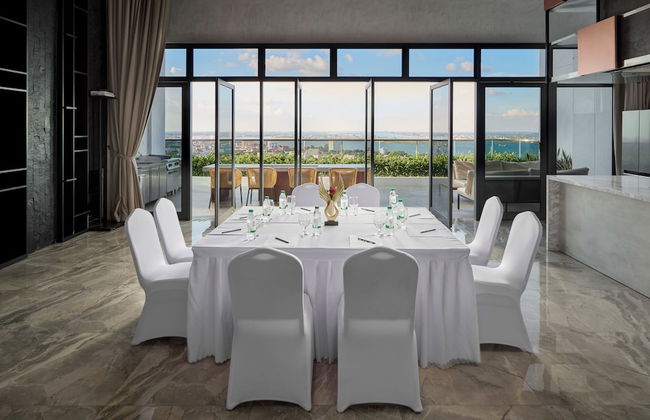

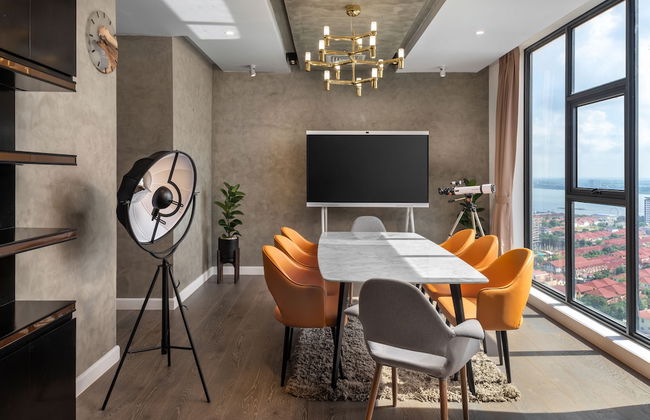
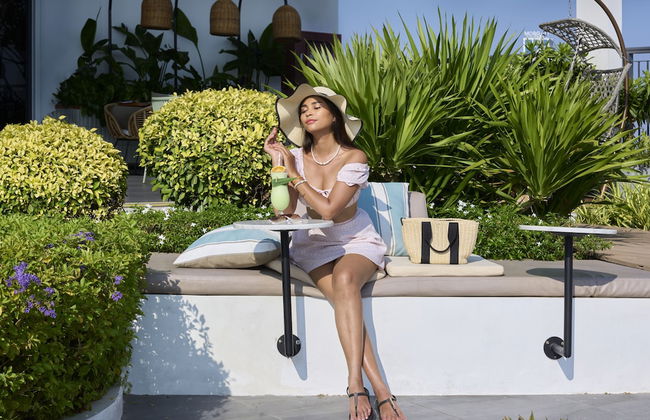
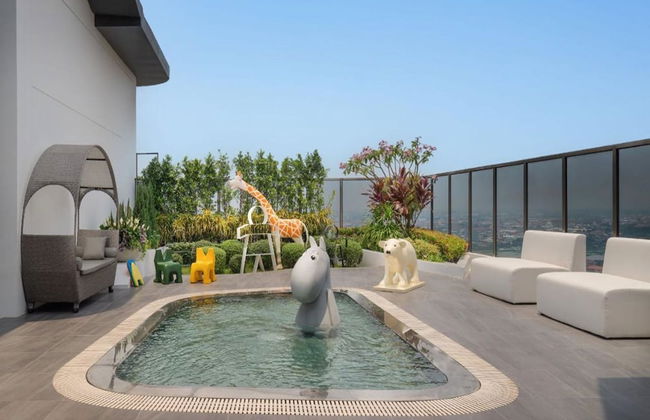
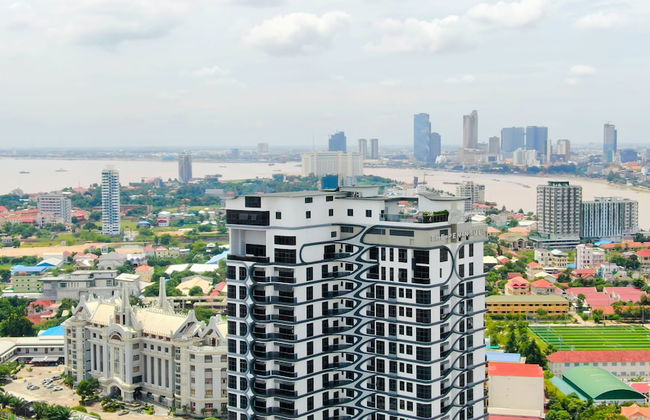
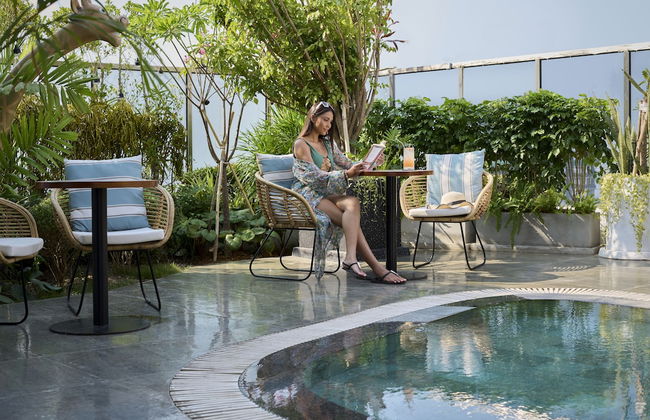

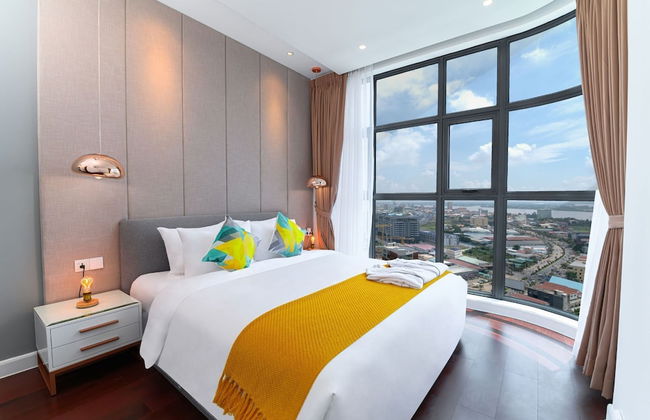


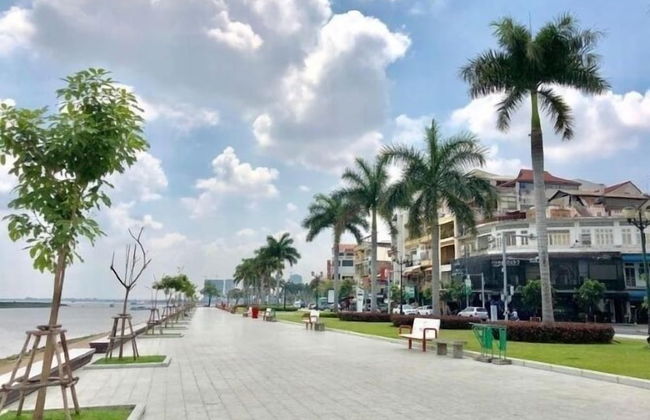
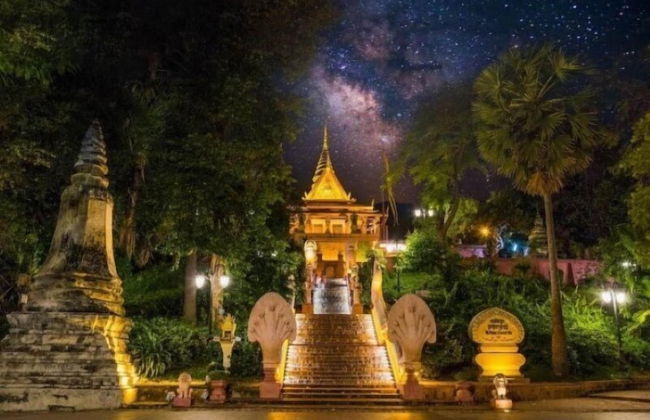
THE PENINSULA PHNOM PENH
Phnom Penh - Chraoy Chongvar - A 6.5 km del centro
- 92 M2
- 9 personas
- Cocina pequeña
- Aire acondicionado
- Terraza
- Piscina
- Parking
- Ascensor
- Jardín
- Televisión
- Lavadora
- Toallas
- Sábanas


Beaches on Lammermoor Apartments
Yeppoon - Lammermoor - A 3.6 km del centro
- 6 personas
- Aire acondicionado
- Calefacción
- Terraza
- Piscina
- Parking
- Ascensor
- Balcón
- Jardín
- Televisión
- Lavadora
- Barbacoa
- Toallas
- Sábanas


Rocky Hills Retreat
Rocky Hills - Rocky Hills
- 15 M2
- 2 personas
- Calefacción
- Terraza
- Balcón
- Jardín
- Televisión
- Chimenea
- Barbacoa
- Toallas


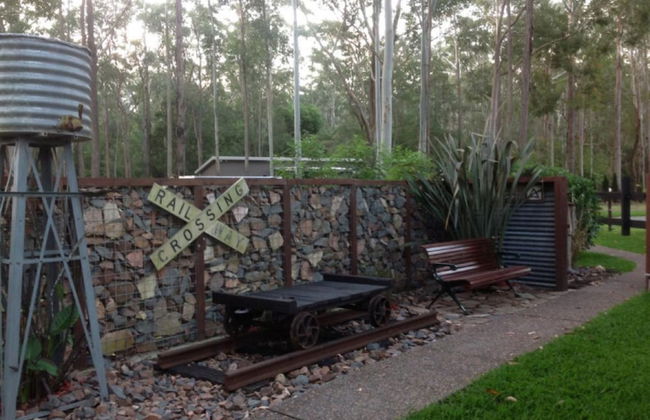
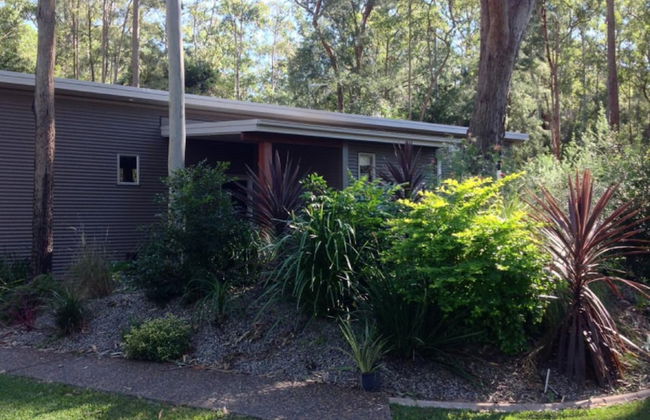


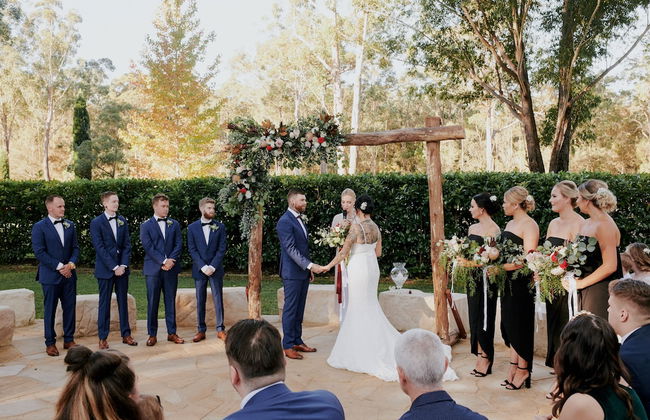


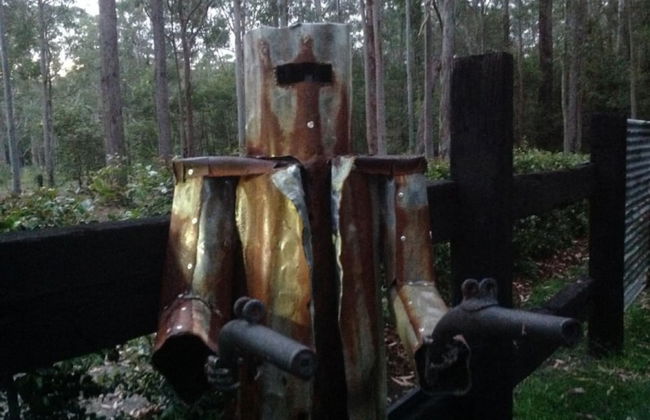
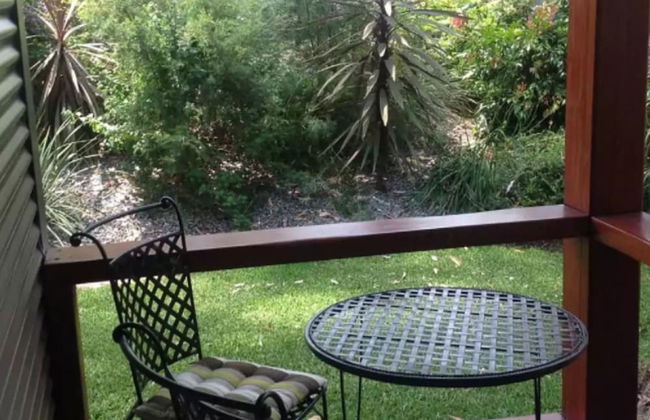


Mistinthegumtrees Eco Luxury Cabins
Cooranbong - Cooranbong - A 4.2 km del centro
- 100 M2
- 11 personas
- Aire acondicionado
- Calefacción
- Terraza
- Piscina
- Parking
- Jardín
- Televisión
- Lavadora
- Barbacoa
- Toallas
- Sábanas


Quincy House Singapore
Singapur - Queenstown - A 6.4 km del centro
- 67 M2
- 4 personas
- Cocina pequeña
- Aire acondicionado
- Piscina
- Ascensor
- Televisión
- Lavadora
- Barbacoa
- Toallas
- Sábanas


The Kasih Villas & Spa
Badung - Kuta - A 12.4 km del centro
- 450 M2
- 6 personas
- Cocina pequeña
- Aire acondicionado
- Calefacción
- Terraza
- Piscina
- Parking
- Jardín
- Televisión
- Toallas
- Sábanas


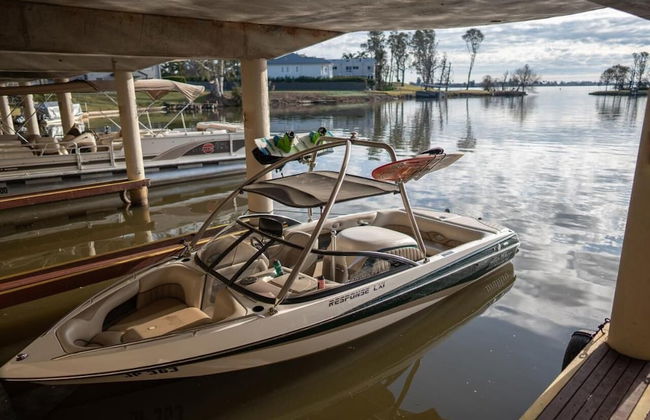
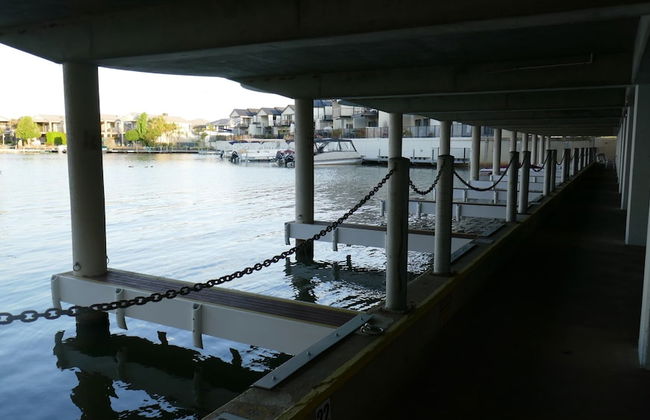
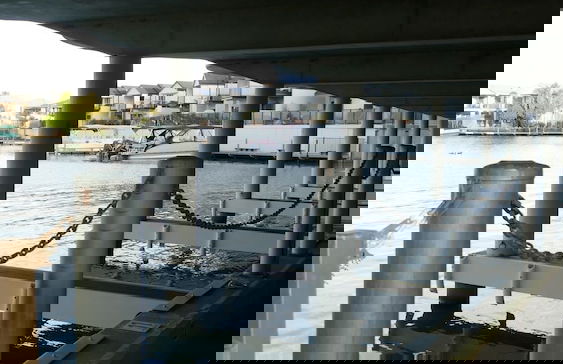


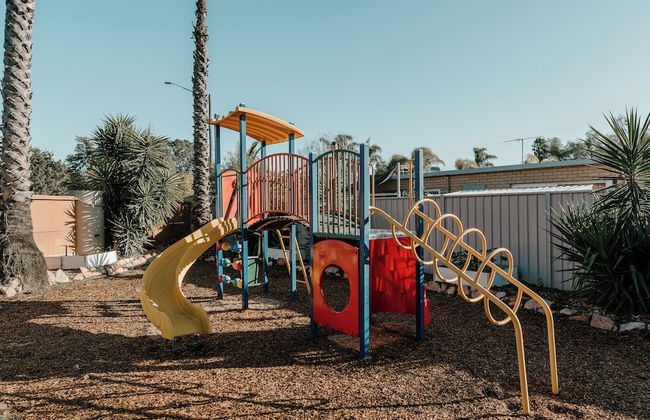
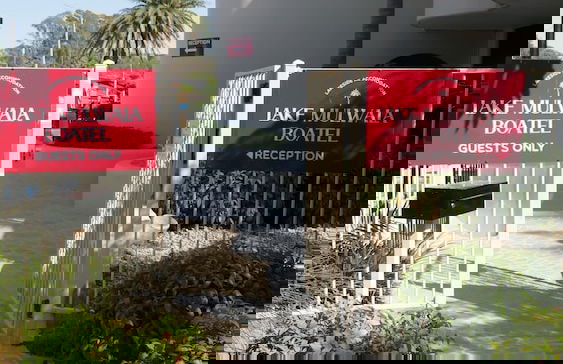
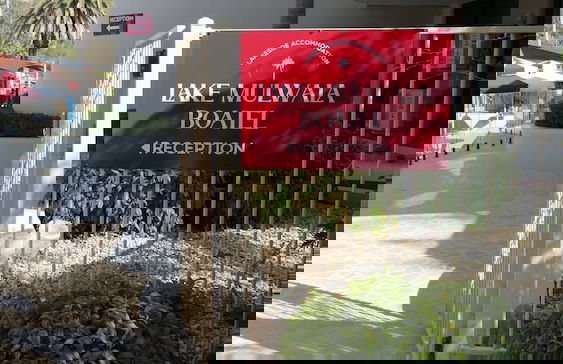
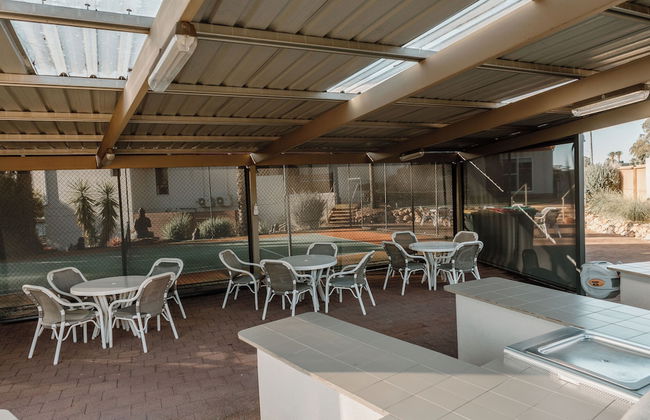


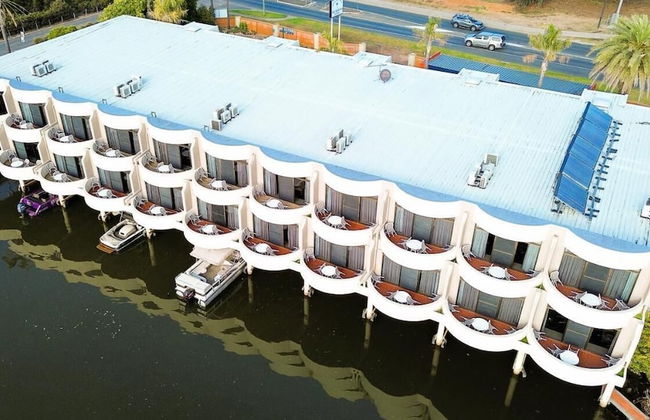


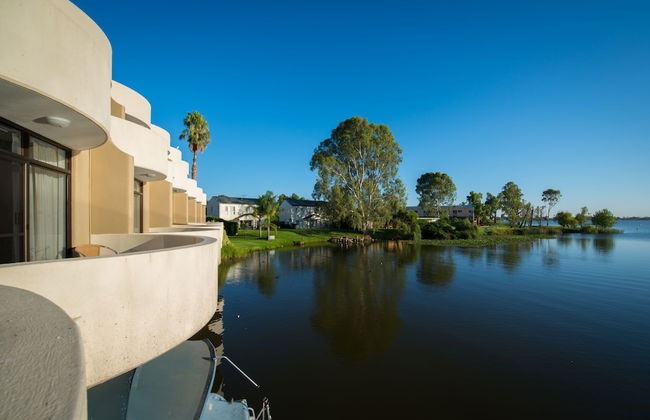

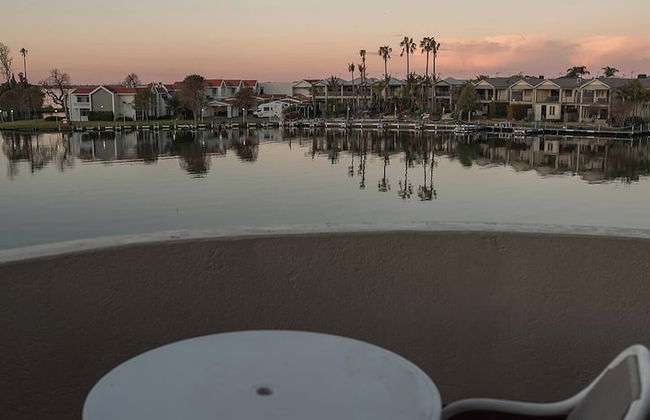
Lake Mulwala Boatel
Mulwala - Mulwala - A 1.2 km del centro
- 6 personas
- Aire acondicionado
- Calefacción
- Terraza
- Piscina
- Parking
- Balcón
- Jardín
- Televisión
- Lavadora
- Barbacoa
- Toallas
- Sábanas


The Mirage Alexandra Headland
Sunshine Coast - Alexandra Headland - A 3.7 km del centro
- 170 M2
- 7 personas
- Aire acondicionado
- Calefacción
- Terraza
- Piscina
- Parking
- Ascensor
- Balcón
- Jardín
- Televisión
- Lavadora
- Barbacoa
- Toallas
- Sábanas


Rarotonga Daydreamer Escape
Avarua - Cerca de Oudna Terminal (geolocation.placetype.port)
- 60 M2
- 5 personas
- Cocina pequeña
- Terraza
- Piscina
- Parking
- Jardín
- Televisión
- Lavadora
- Barbacoa
- Toallas
- Sábanas
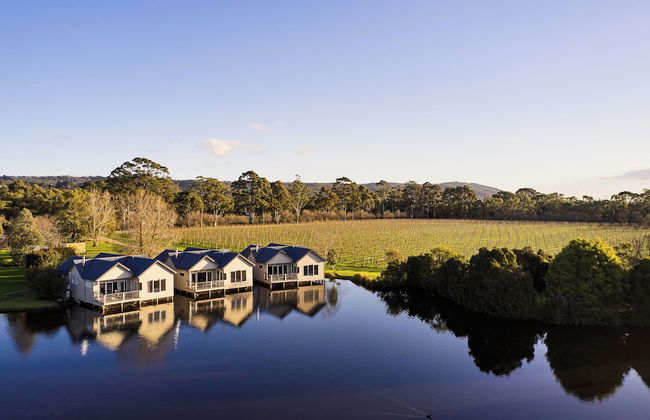


Crittenden Lakeside Villas
Dromana - Dromana - A 4.2 km del centro
- 120 M2
- 4 personas
- Aire acondicionado
- Calefacción
- Terraza
- Parking
- Balcón
- Jardín
- Televisión
- Lavadora
- Chimenea
- Barbacoa
- Toallas
- Sábanas


Ambong Pool Villas
Langkawi - Langkawi
- 380 M2
- 8 personas
- Aire acondicionado
- Terraza
- Piscina
- Parking
- Balcón
- Jardín
- Televisión
- Lavadora
- Toallas
- Sábanas


Berry Amour Romantic Villas
Badung - Kuta Utara - A 10 km del centro
- 176 M2
- 2 personas
- Cocina pequeña
- Aire acondicionado
- Terraza
- Piscina
- Parking
- Balcón
- Jardín
- Televisión
- Barbacoa
- Toallas
- Sábanas


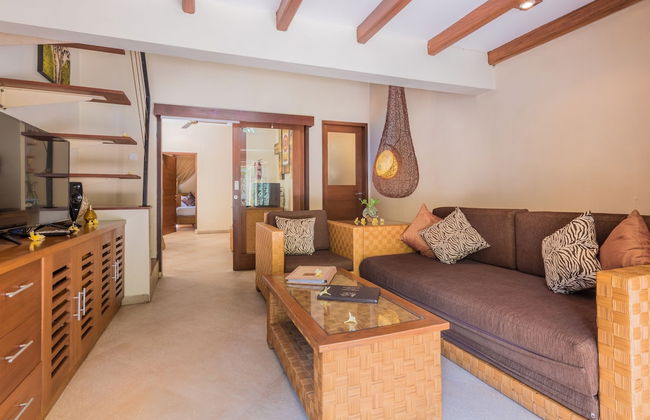


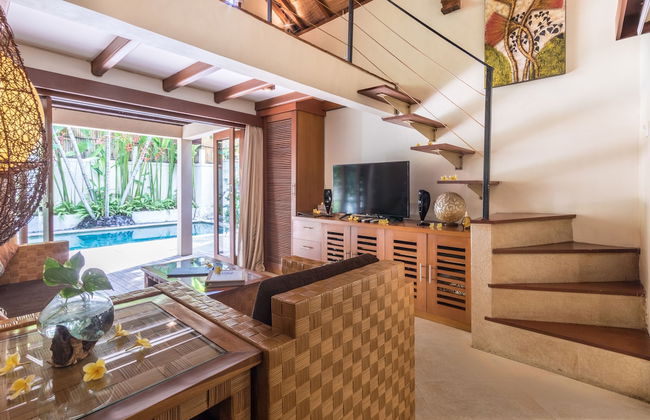


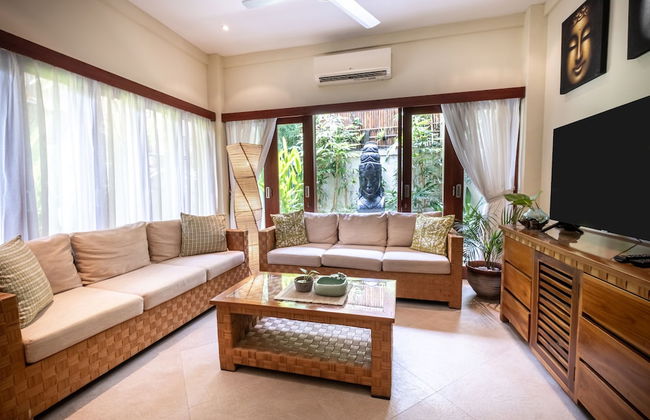


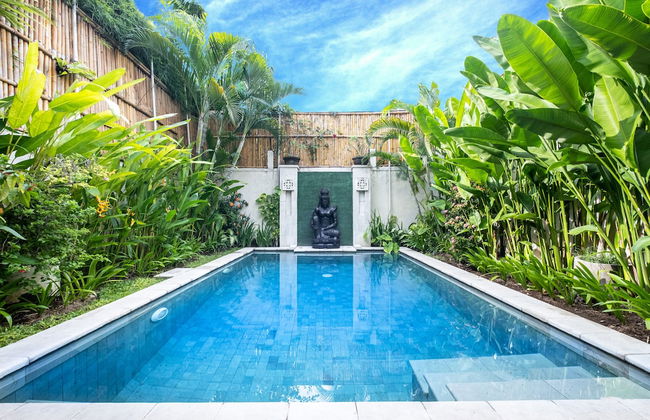


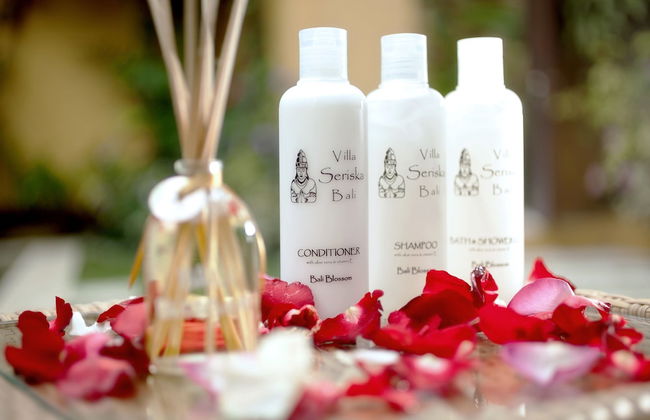


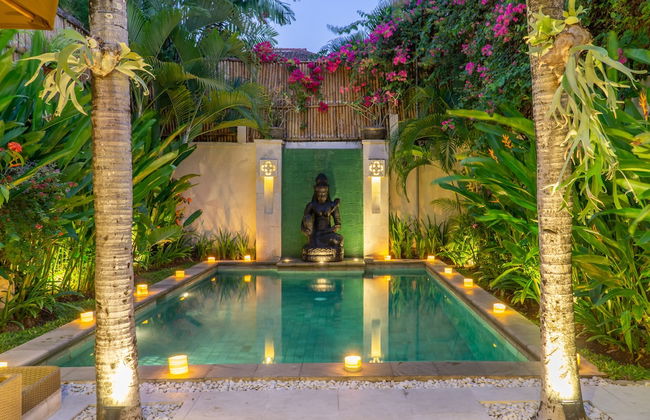


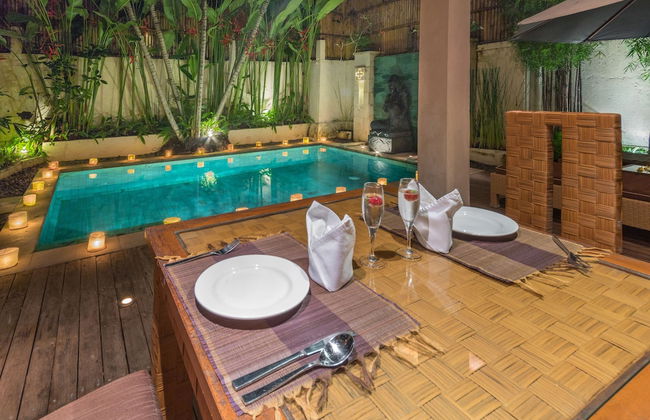

Villa Seriska Seminyak Bali
Badung - Kuta - A 11.8 km del centro
- 350 M2
- 8 personas
- Aire acondicionado
- Terraza
- Piscina
- Parking
- Balcón
- Jardín
- Televisión
- Barbacoa
- Toallas
- Sábanas


Kantary Hotel & Serviced Apartments Amata, Bangpakong
Chon Buri - Khlong Tamru - A 8.1 km del centro
- 42 M2
- 3 personas
- Cocina pequeña
- Aire acondicionado
- Terraza
- Piscina
- Parking
- Ascensor
- Balcón
- Jardín
- Televisión
- Toallas


Davao Boutique Condos - Near Abreeza
Davao - Barangay 34-D Pob. - En el centro
- 2 personas
- Cocina pequeña
- Aire acondicionado
- Terraza
- Piscina
- Parking
- Ascensor
- Jardín
- Televisión
- Toallas
- Sábanas