
45 Apartamentos cerca de Stazione Como Nord Lago


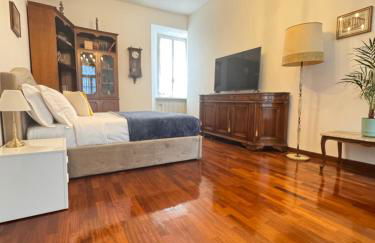


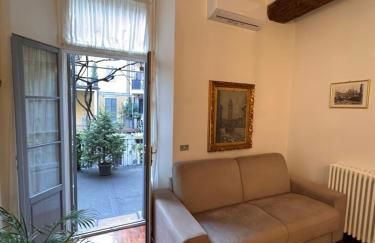
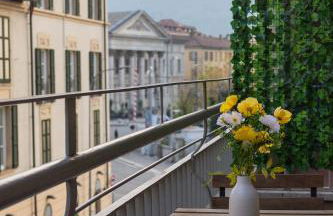
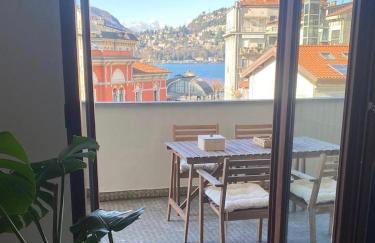
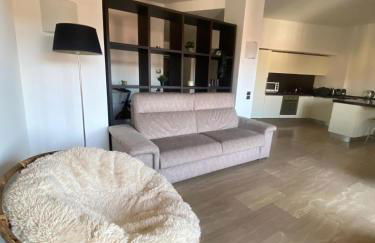
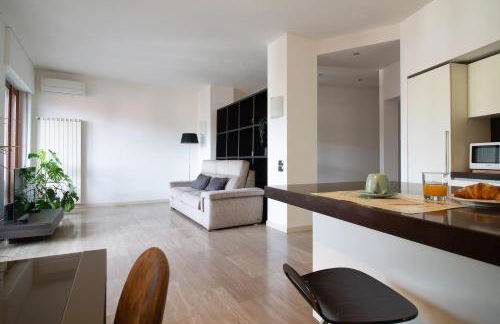
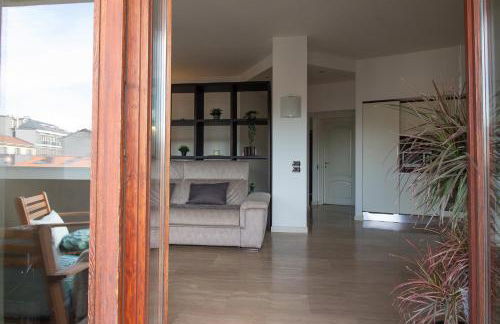
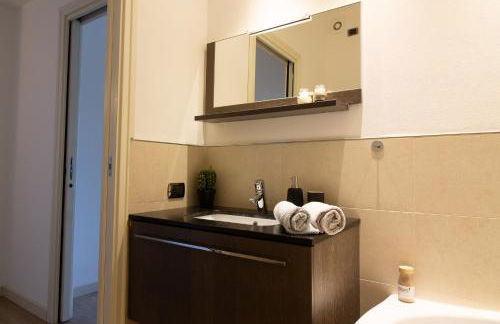
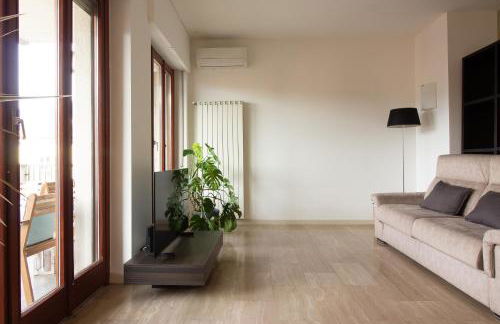
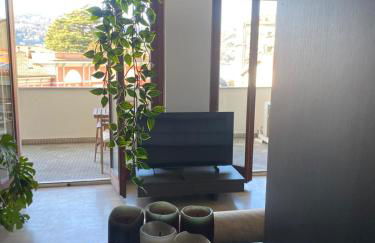
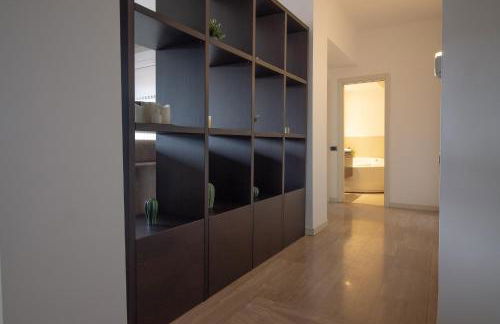
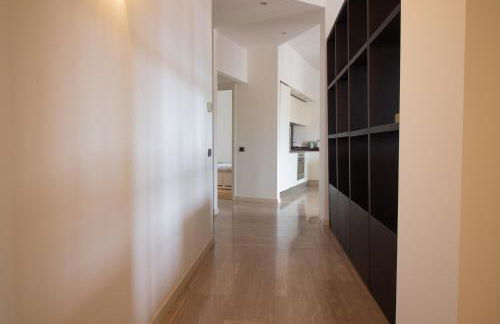
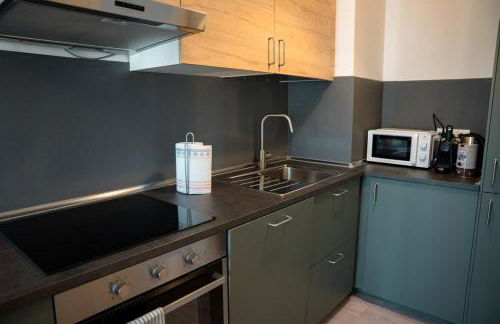
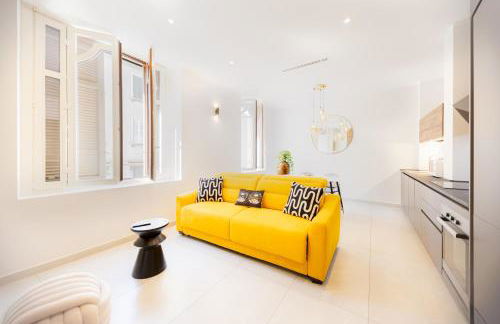
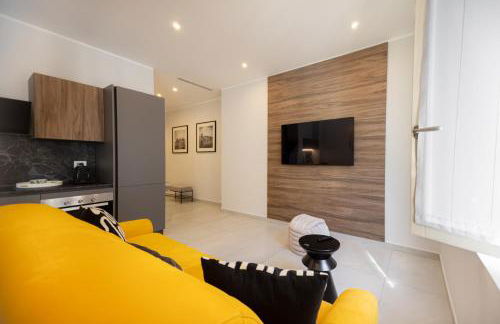
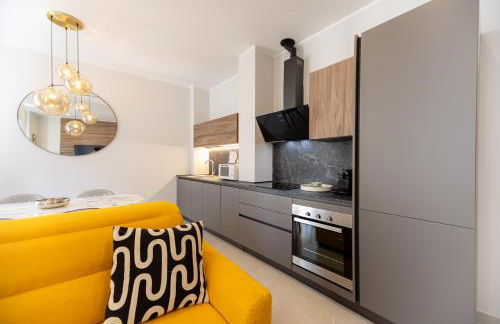
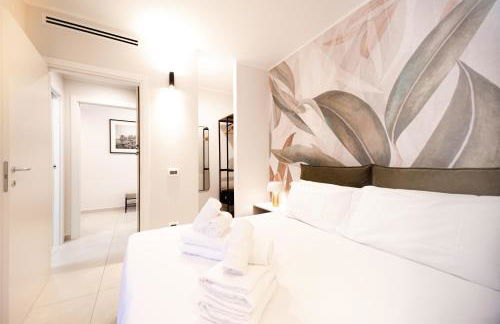
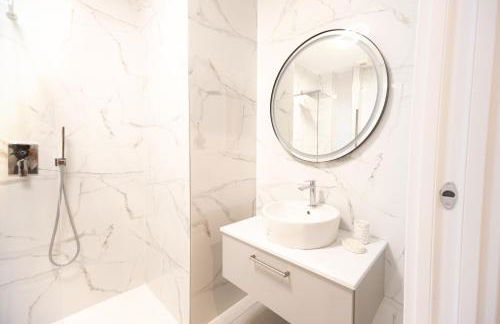
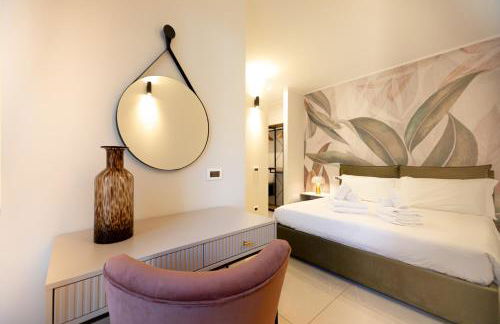
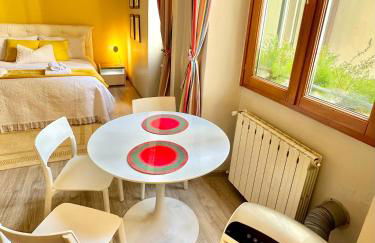
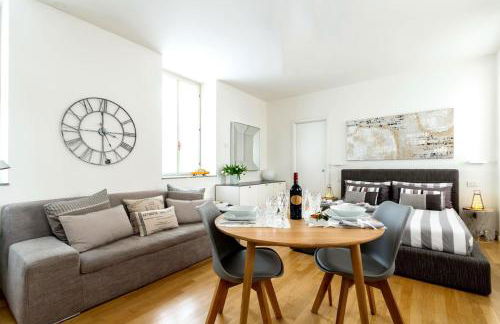
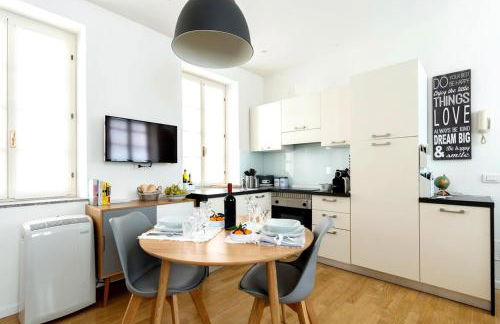
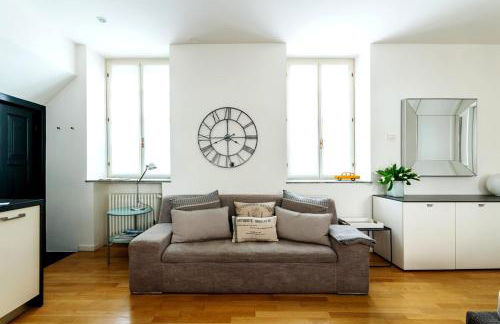
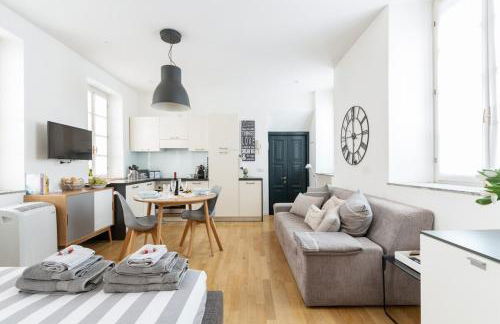
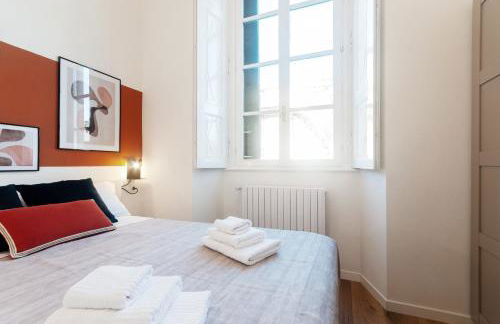
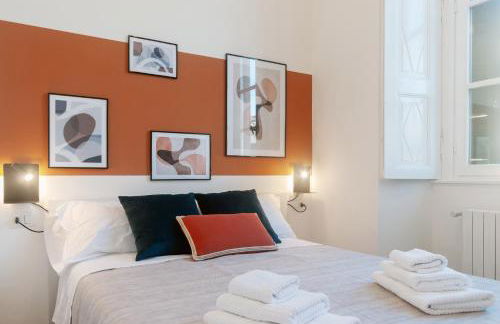
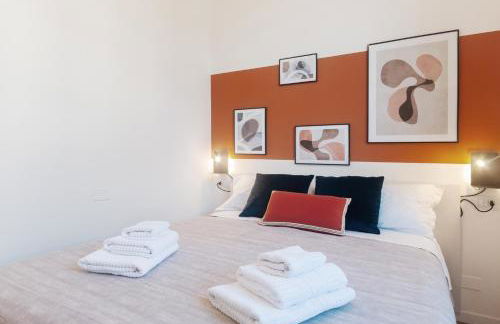
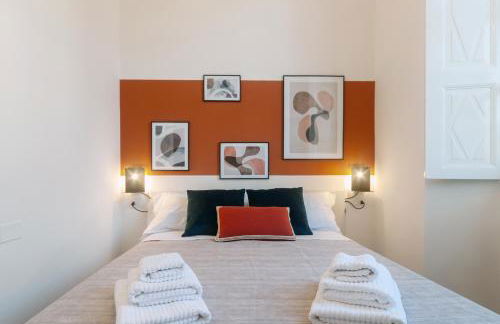
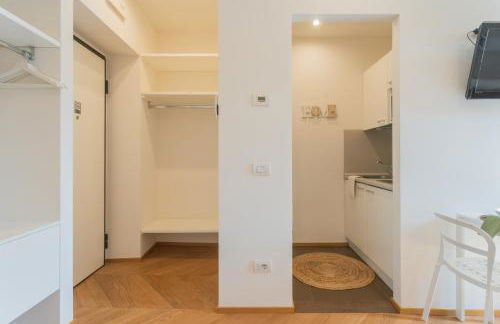
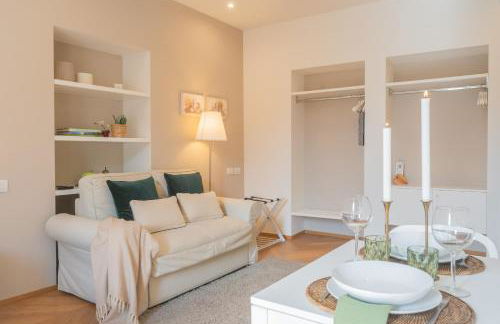
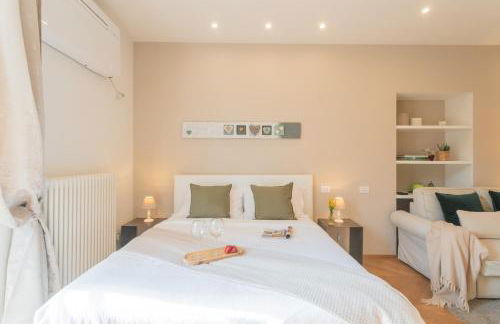
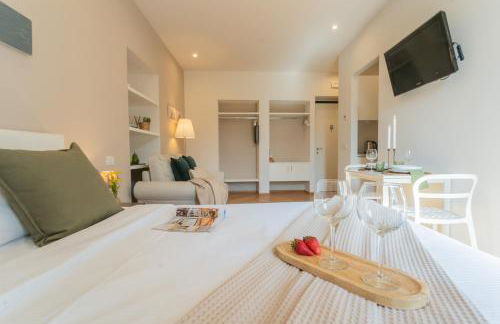
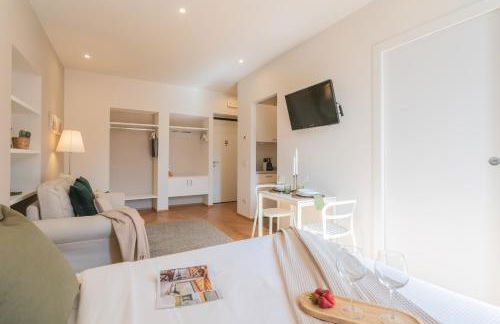
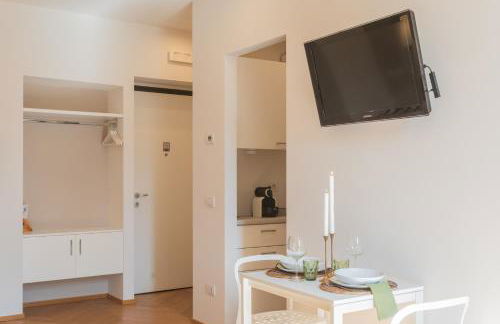
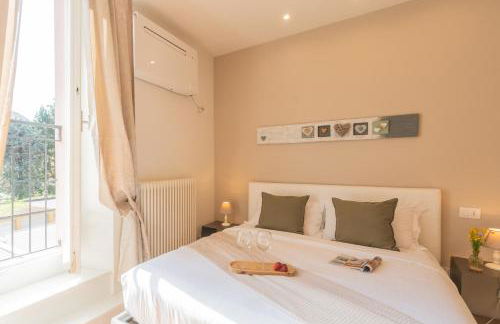
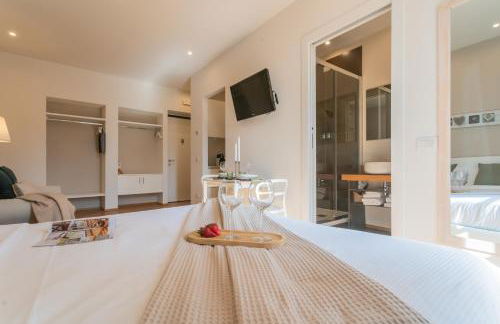
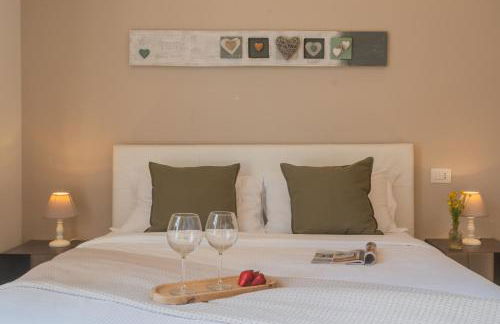
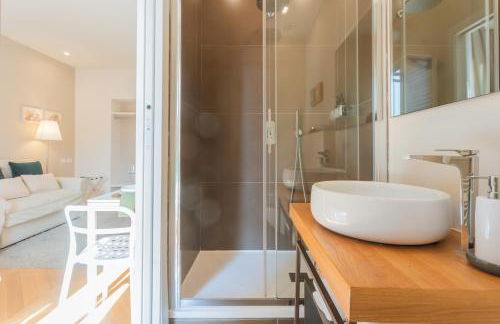
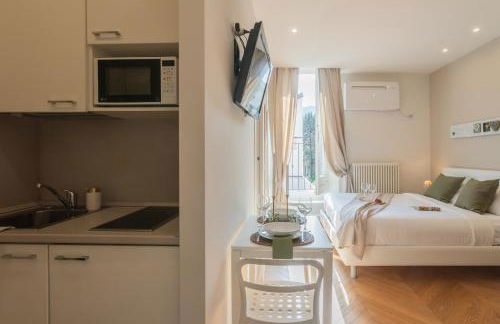
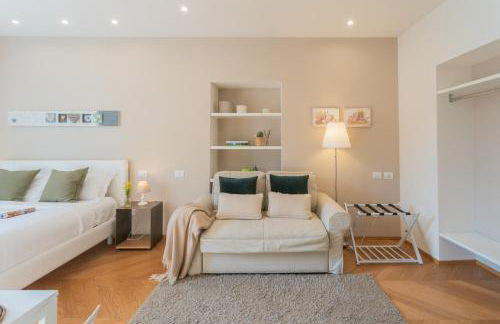
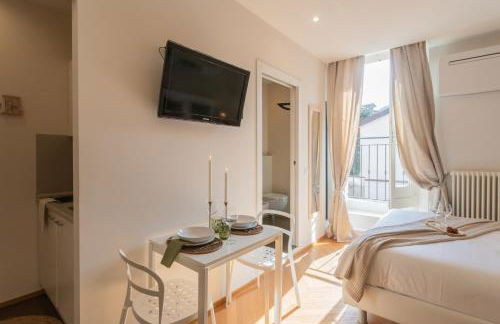
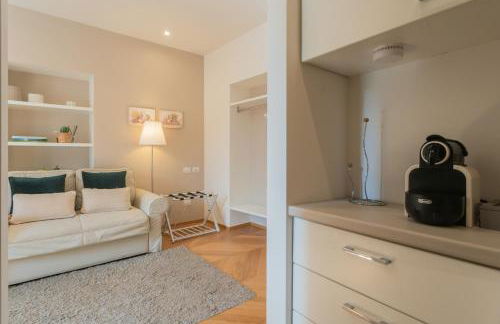
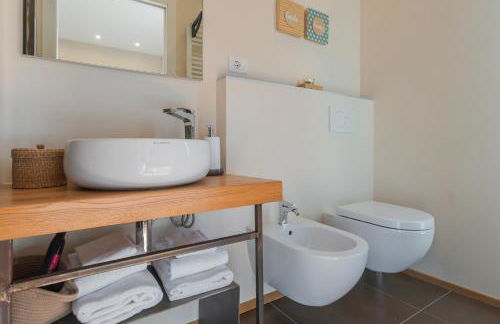
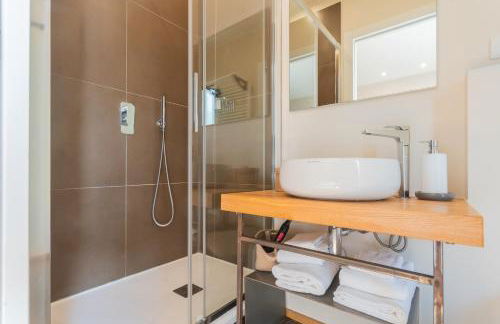
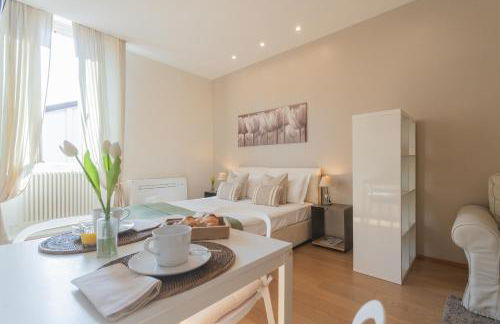
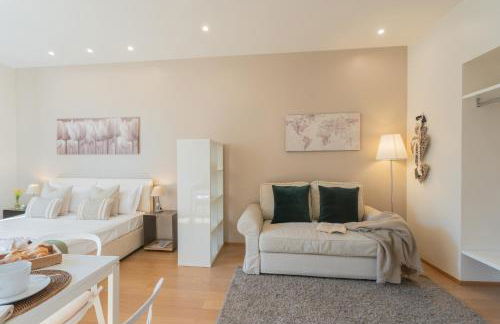
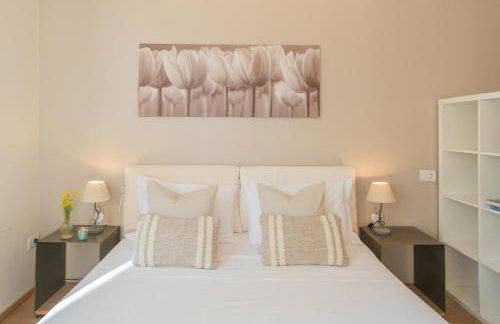
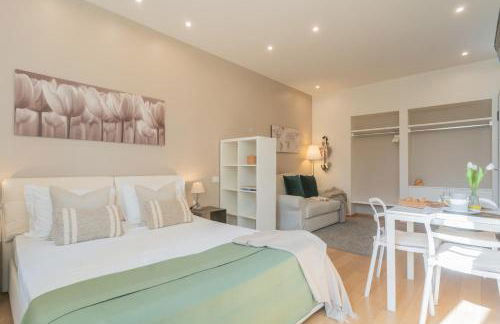
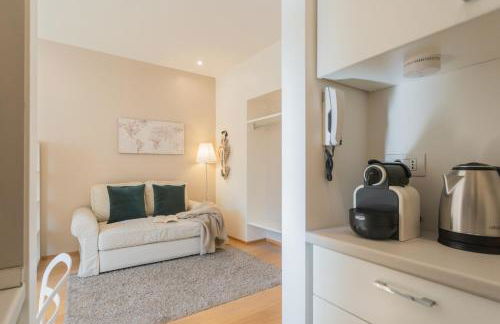
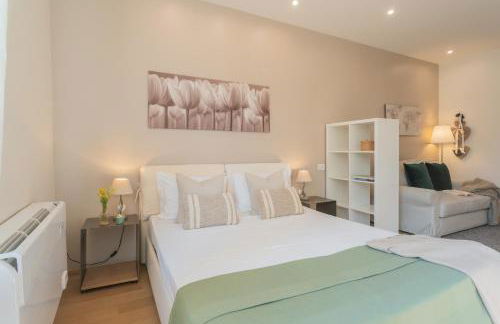
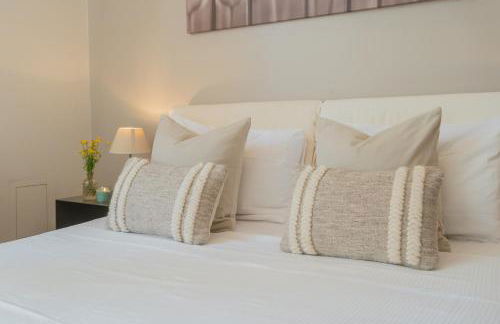
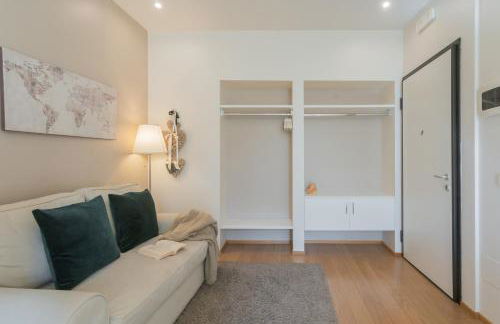
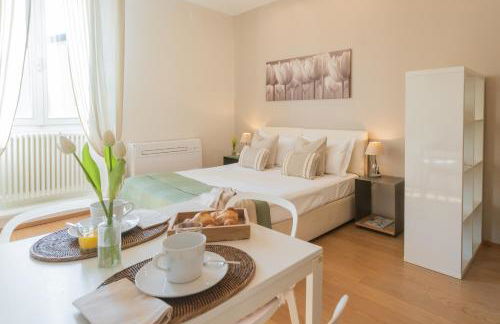
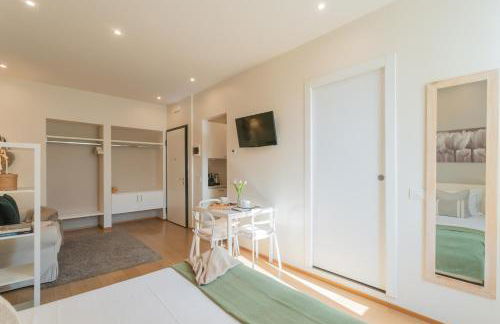
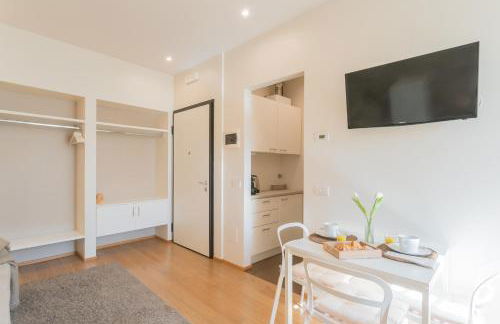
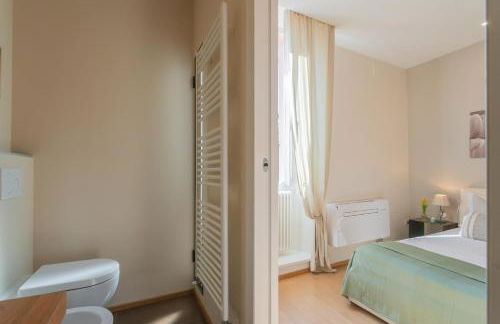
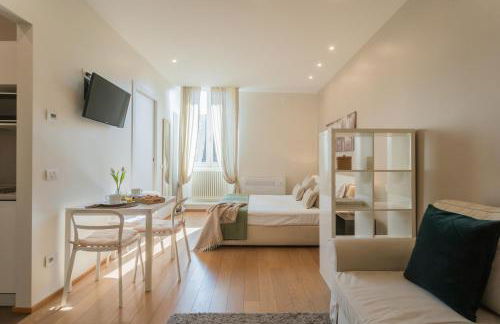
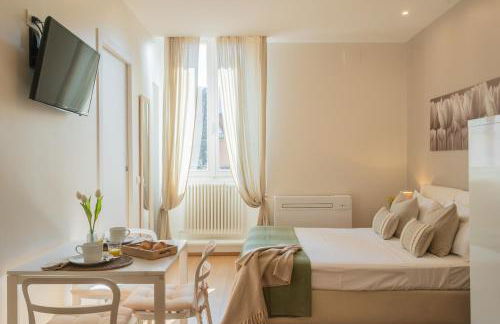
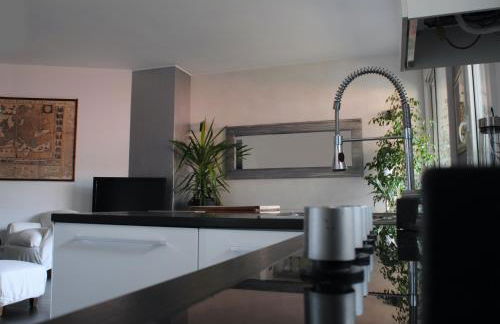
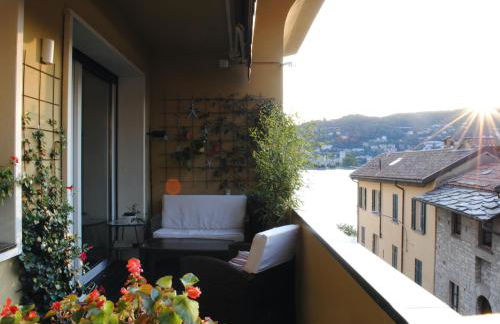
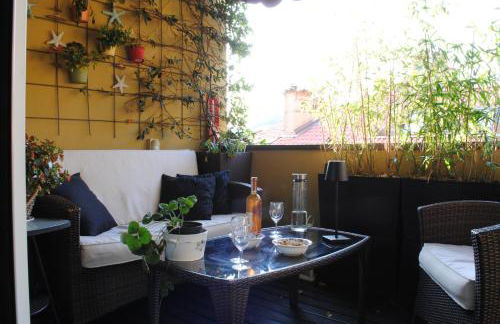
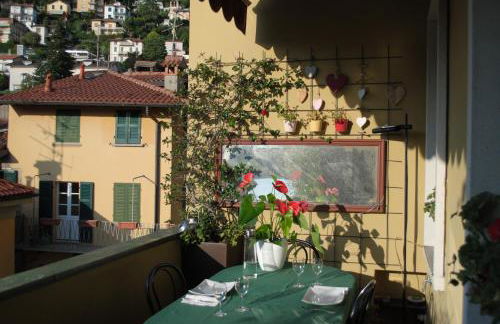
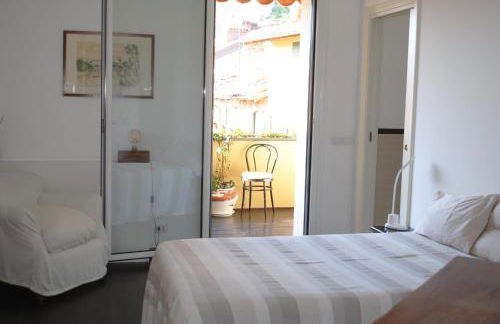
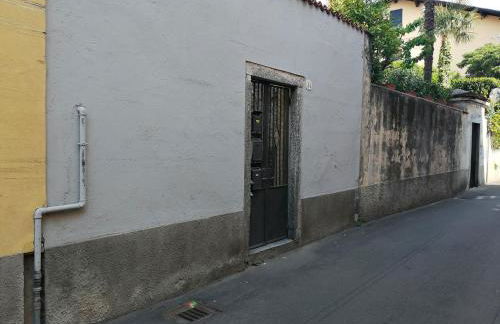
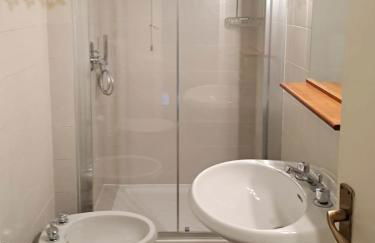
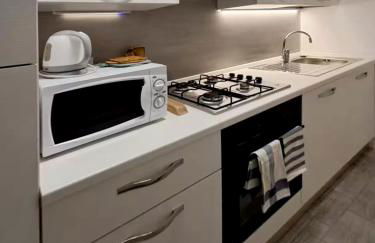
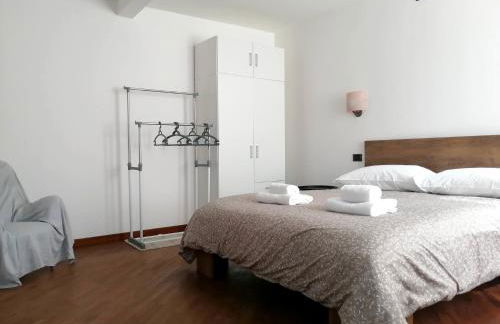
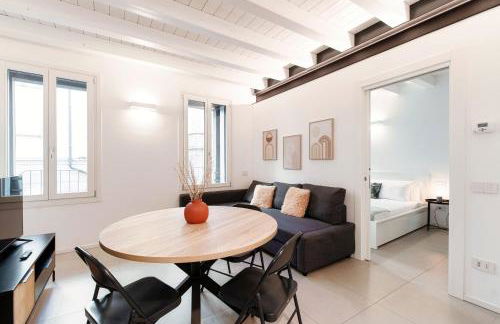
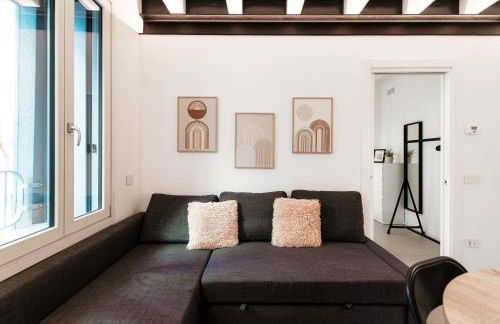
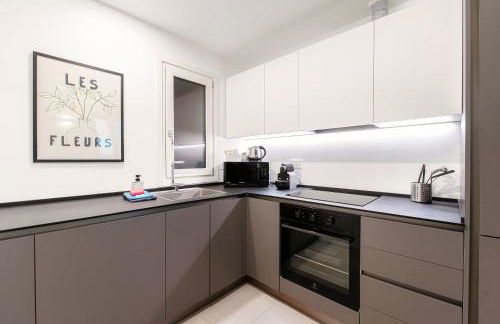
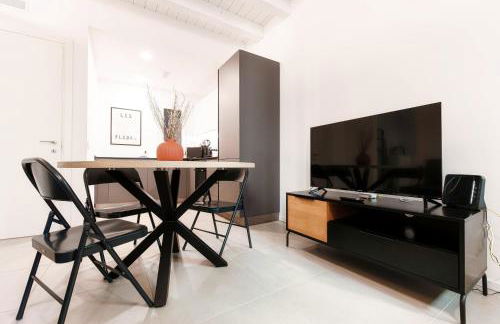
APARTMENT & PARKING & TERRACE Sweet home 21
Como - En el centro
- 55 M2
- 1 habitación
- Aire acondicionado
- Calefacción
- Terraza
- Parking
84 reseñas
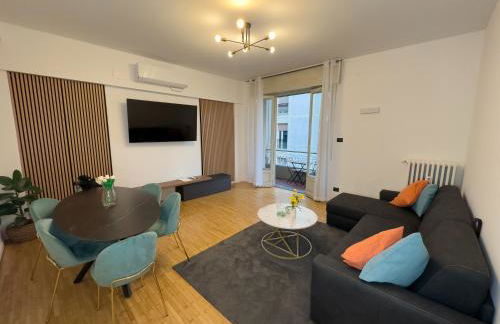

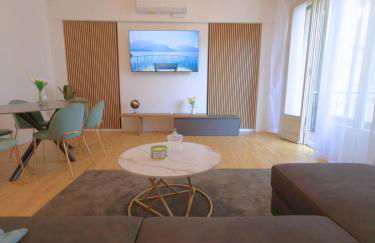


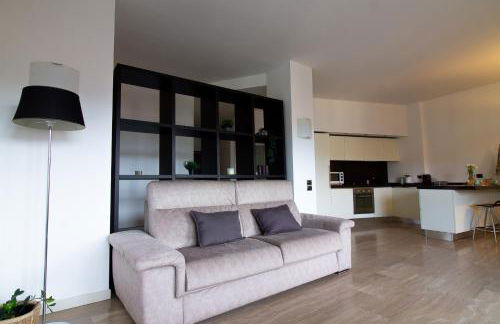
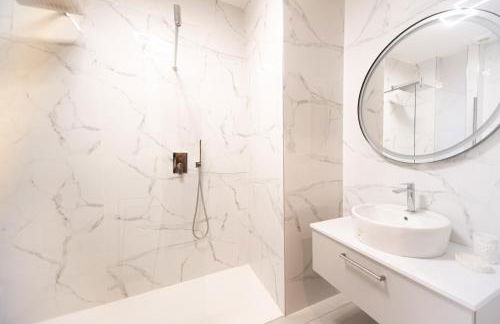
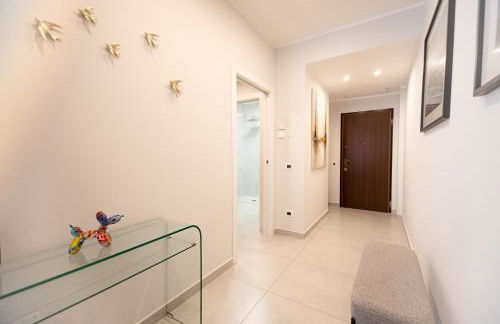
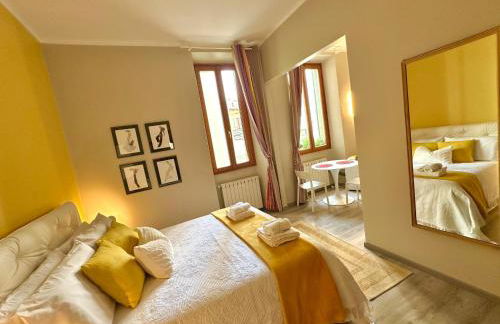
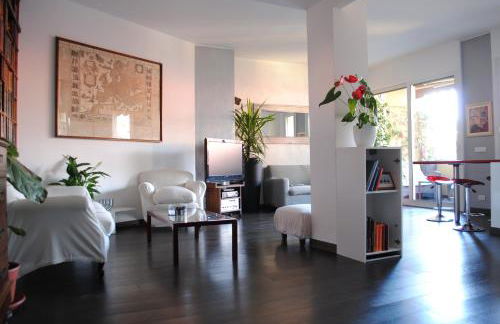
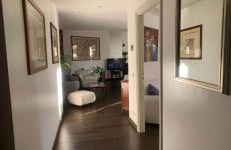
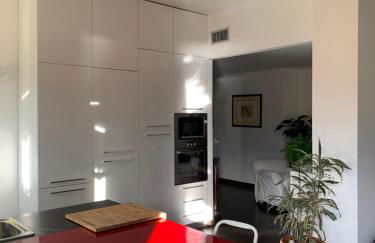
Como Lake, Dolce Vita - 2 Suites & Vista Duomo
Como - En el centro
- 105 M2
- 2 habitaciones
- 6 personas
- Aire acondicionado
- Calefacción
- Terraza
- Parking
- Ascensor
- Jardín
24 reseñas
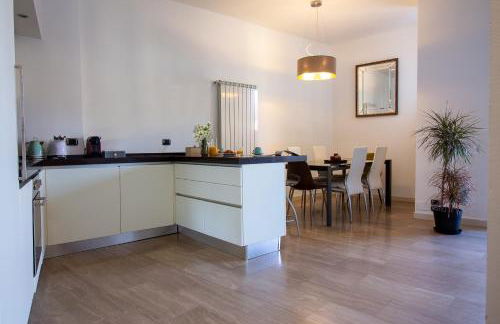


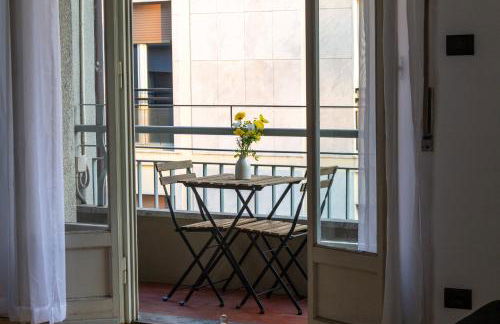
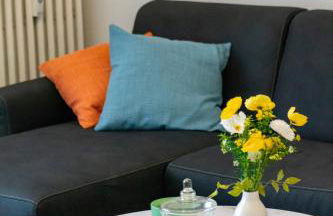
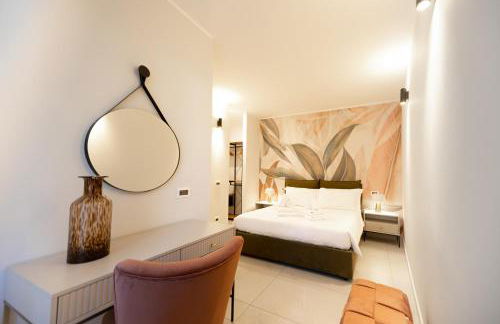
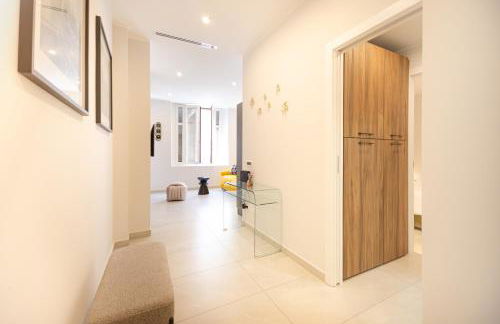
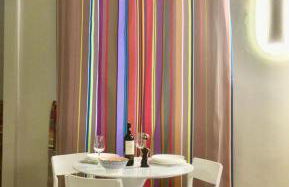
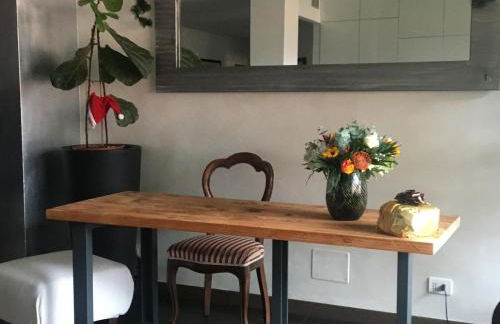
Sium's Suite Apartment 2
Como - En el centro
- 105 M2
- 2 habitaciones
- 6 personas
- Aire acondicionado
- Calefacción
- Terraza
- Parking
- Ascensor
28 reseñas


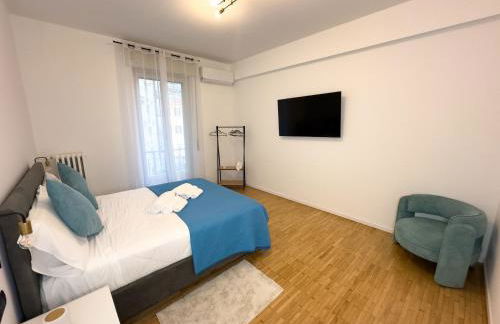
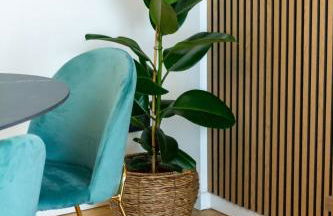
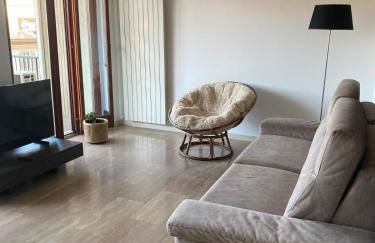
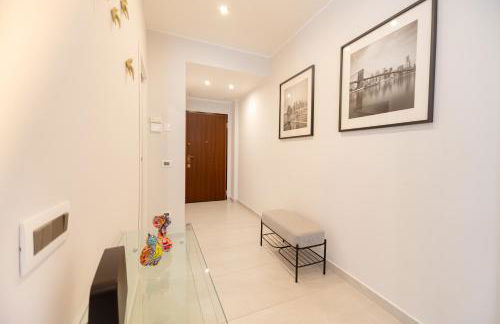
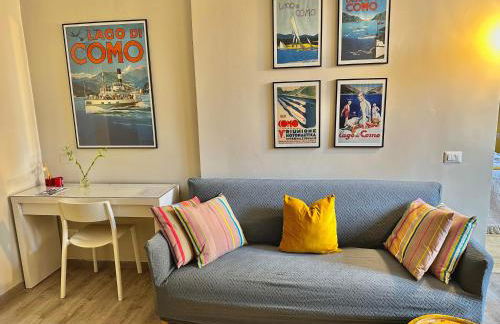
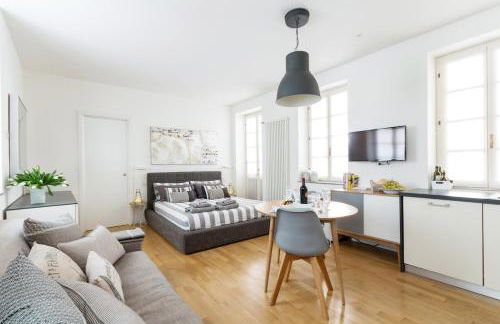
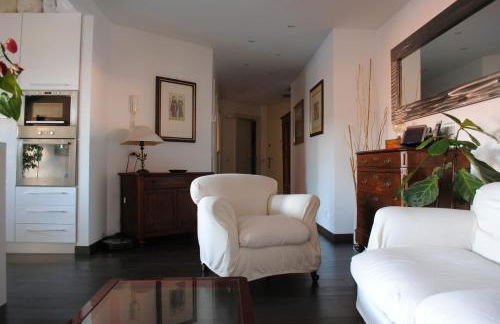
Manzoni house next como lake station
Como - En el centro
- 70 M2
- 1 habitación
- 4 personas
- Aire acondicionado
- Calefacción
- Terraza
- Ascensor
52 reseñas
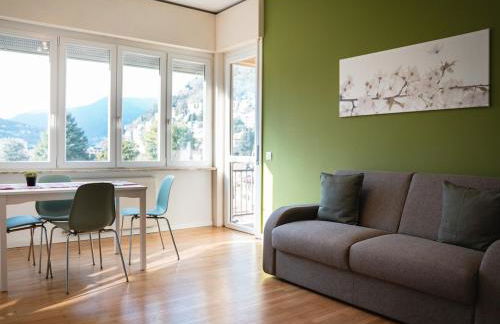
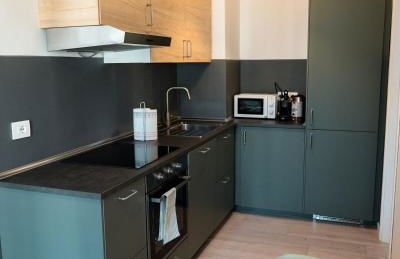
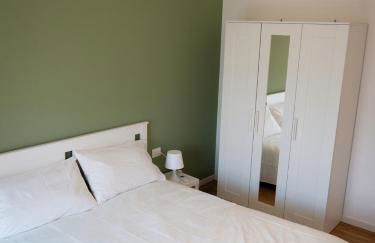

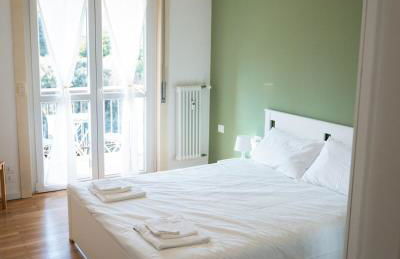
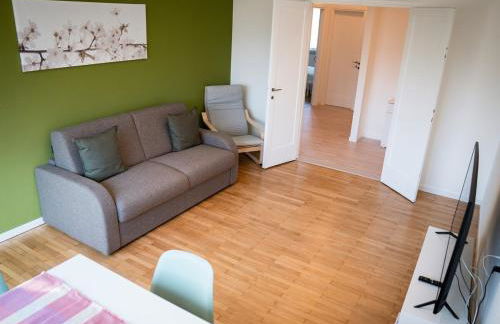
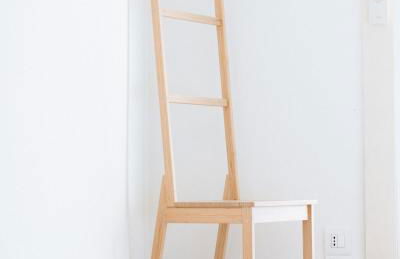

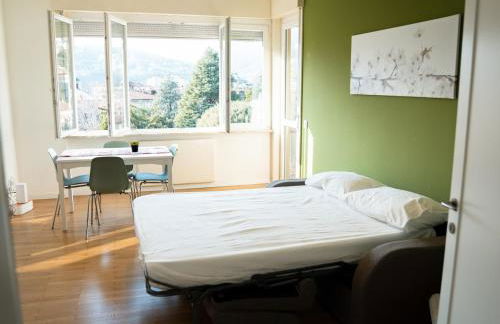
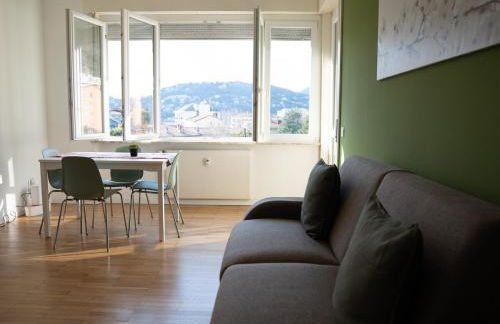

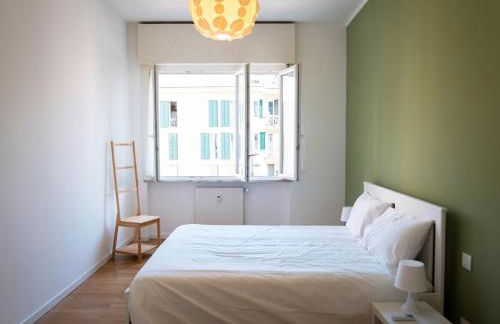
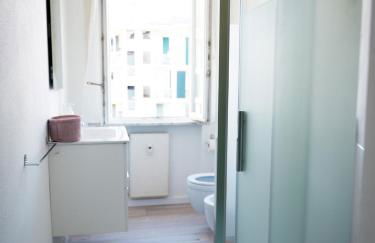
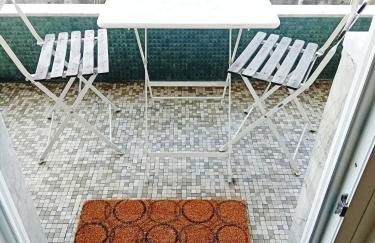
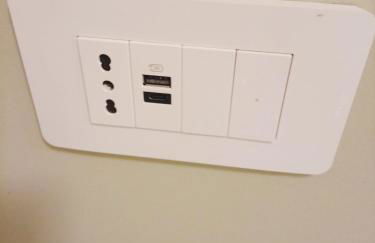
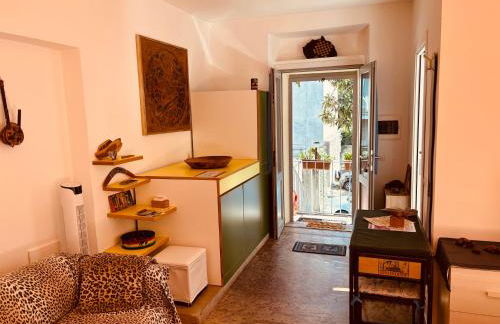
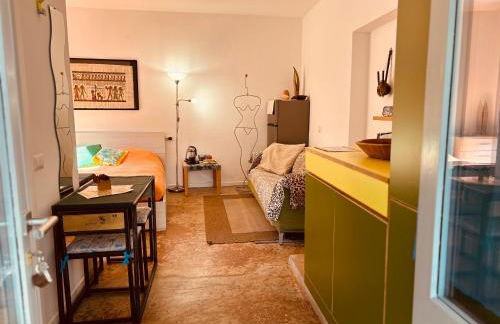
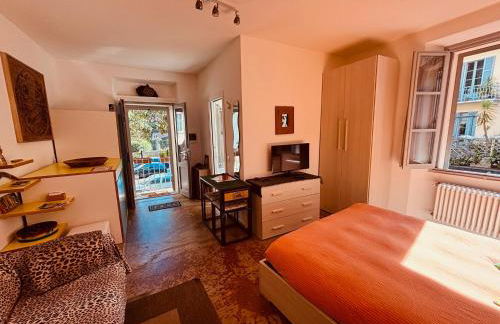
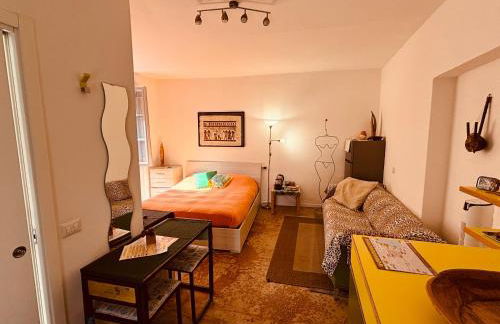
Appartamento Lago Verde
Como - En el centro
- 90 M2
- 2 habitaciones
- 6 personas
- Aire acondicionado
- Terraza
19 reseñas
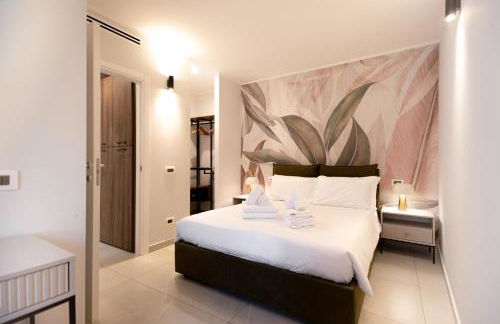


Home Manu Luxury Como Lake
Como - En el centro
- 65 M2
- 1 habitación
- 4 personas
- Aire acondicionado
- Calefacción
- Ascensor
17 reseñas


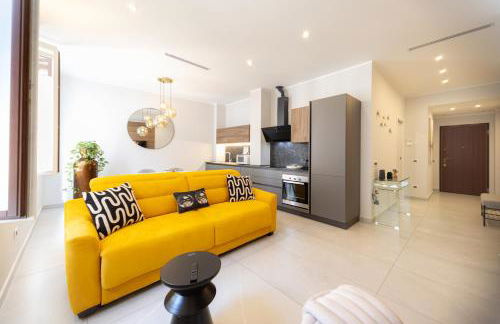
Casa Vitoria - Como Center Apartment
Como - En el centro
- 40 M2
- 1 habitación
- 3 personas
- Aire acondicionado
51 reseñas


COSY and CHIC to the LAKE
Como - En el centro
- 45 M2
- 2 personas
- Aire acondicionado
- Parking
- Ascensor
19 reseñas


Como Lake, Center & Lakefront
Como - En el centro
- 70 M2
- 2 habitaciones
- 6 personas
- Aire acondicionado
- Calefacción
- Terraza
- Ascensor
2 reseñas


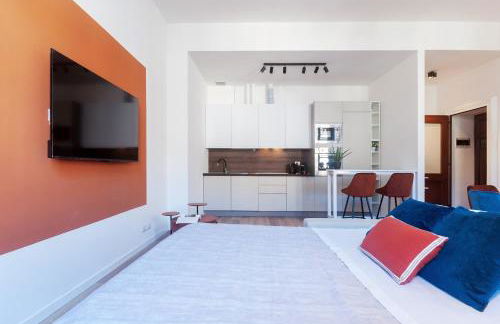
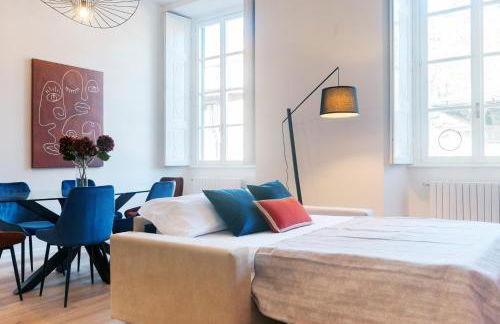

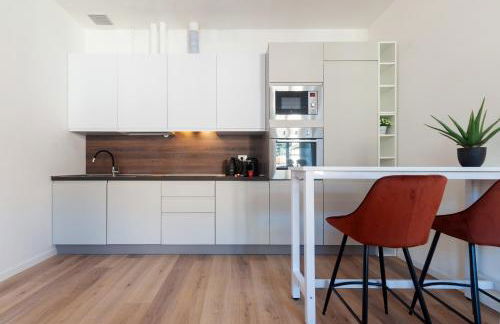
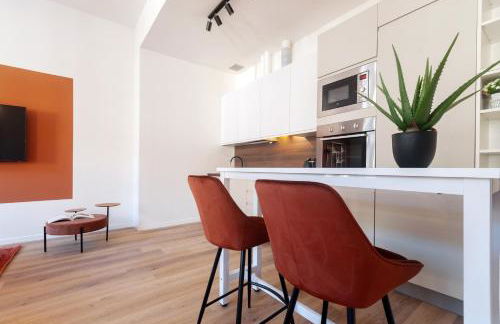


Vittani Palace - The Red Apartment
Como - En el centro
- 80 M2
- 1 habitación
- 6 personas
- Aire acondicionado
- Calefacción
- Ascensor
40 reseñas


Moms Lakehouse
Como - A 210 m del centro
- 120 M2
- 2 habitaciones
- Aire acondicionado
- Terraza
- Parking
5 reseñas


Magnolia House Como by Rent All Como
Como - En el centro
- 80 M2
- 2 habitaciones
- 4 personas
- Aire acondicionado
- Calefacción
- Ascensor
6 reseñas


Palazzo Odescalchi by Wonderful Italy
Como - En el centro
- 192 M2
- 3 habitaciones
- 8 personas
- Calefacción
- Ascensor
85 reseñas


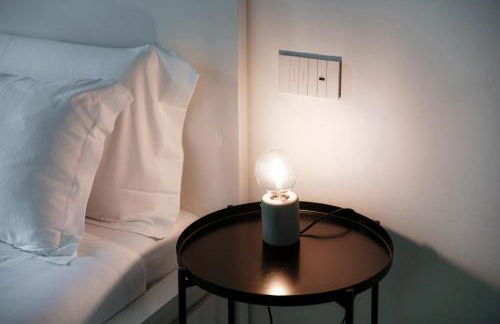

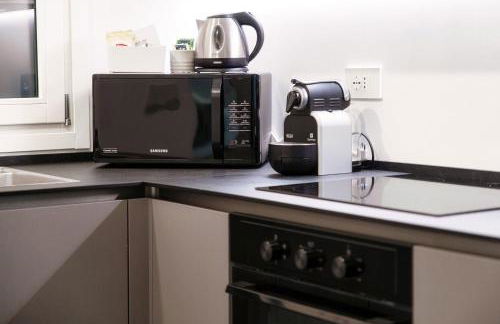
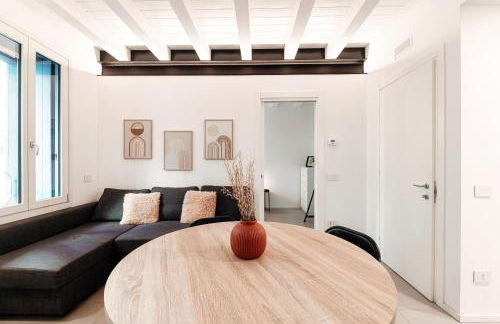

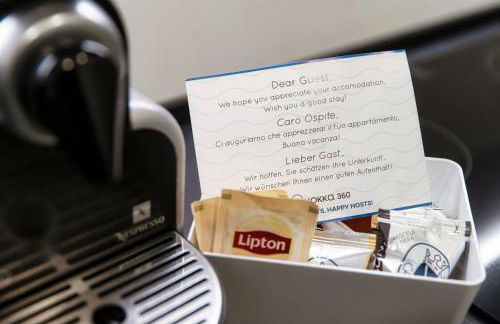


Como Lago Apartment by Quokka 360 - Close to the Lake and Train Station
Como - En el centro
- 50 M2
- 1 habitación
- 3 personas
- Calefacción
- Ascensor
15 reseñas