
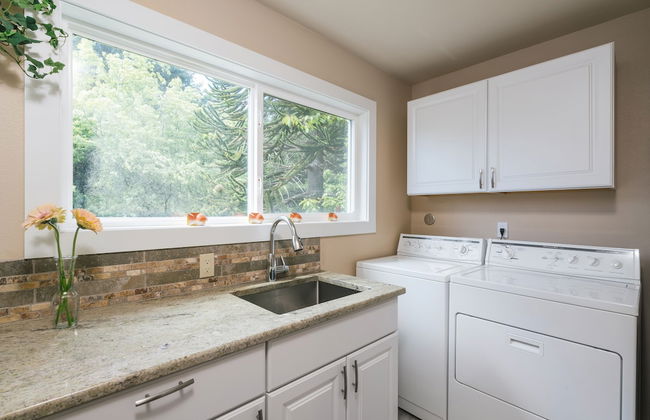
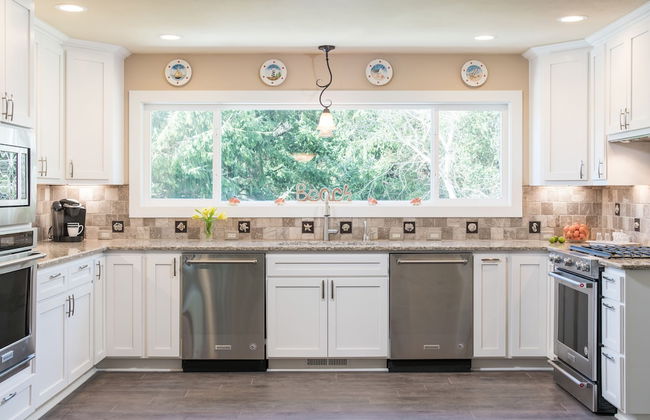
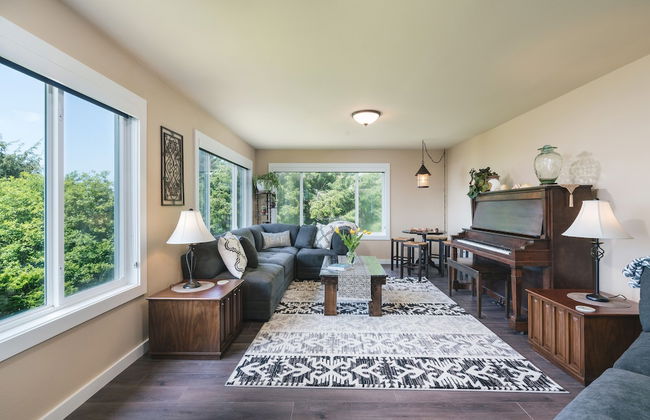
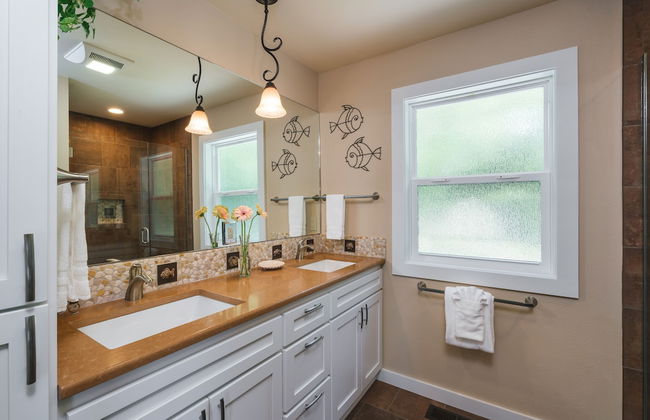
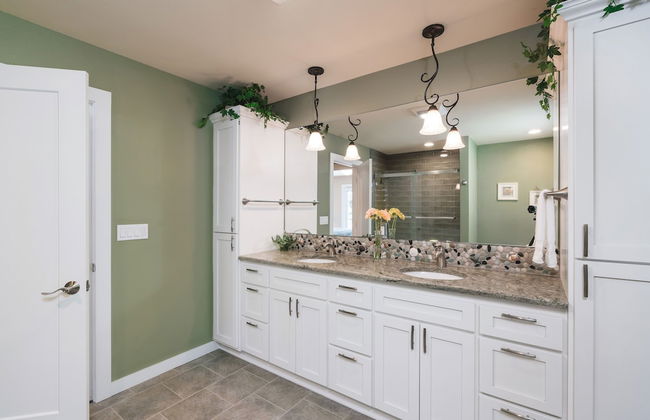
25 Apartamentos en Clatsop


Resort at Seaside
Seaside
- 98 M2
- 8 personas
- Calefacción
- Terraza
- Piscina
- Parking
- Ascensor
- Balcón
- Jardín
- Televisión
- Lavadora
- Chimenea
- Barbacoa
- Toallas
- Sábanas
95 reseñas


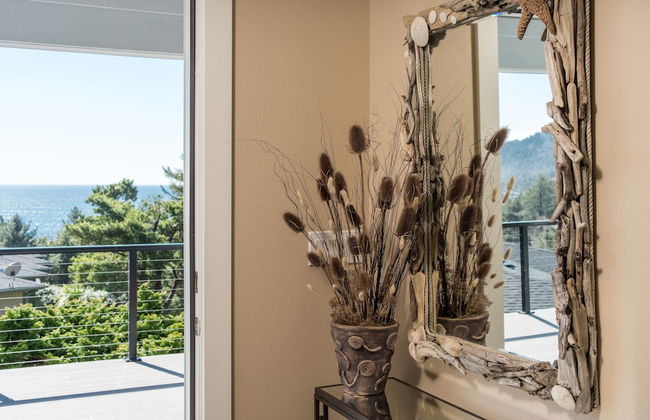
Lolis Place by Avantstay Walk to the Beach + Private Hot Tub
Arch Cape
- 151 M2
- 8 personas
- Calefacción
- Terraza
- Parking
- Televisión
- Lavadora
- Chimenea
- Barbacoa
- Toallas
- Sábanas
1 reseña


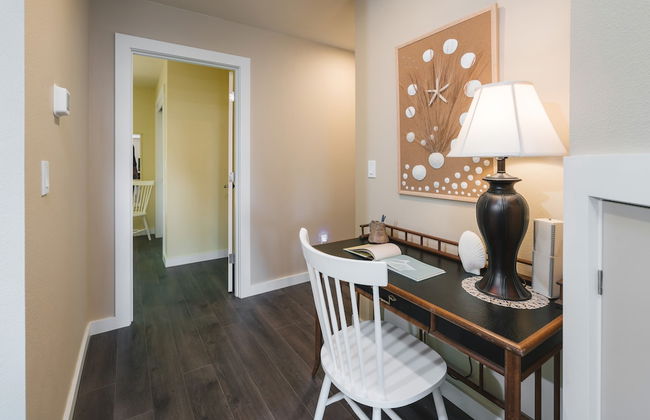
The Tides by the Sea
Seaside
- 8 personas
- Calefacción
- Terraza
- Piscina
- Parking
- Jardín
- Televisión
- Chimenea
- Barbacoa
- Toallas
- Sábanas
1 reseña


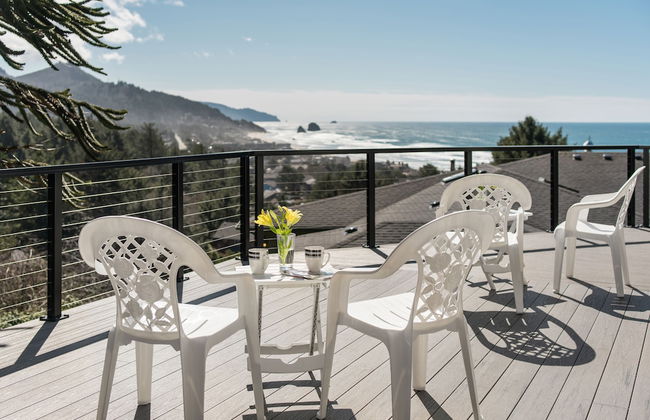
Half Block to Beach w/ Oceanview, Patio + Balcony The Shore Pine by Avantstay
Arch Cape
- 167 M2
- 6 personas
- Aire acondicionado
- Calefacción
- Terraza
- Parking
- Lavadora
- Chimenea
- Barbacoa
- Toallas
- Sábanas
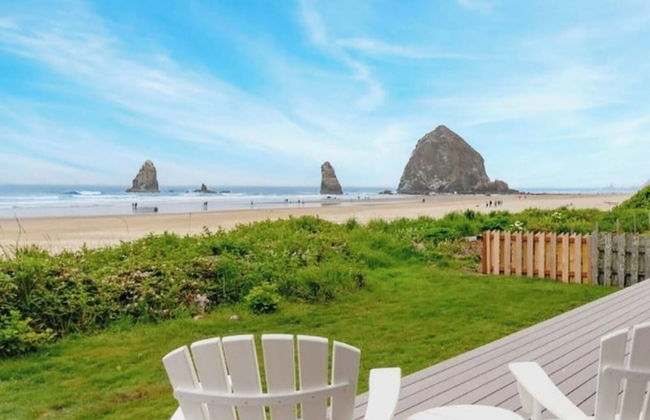


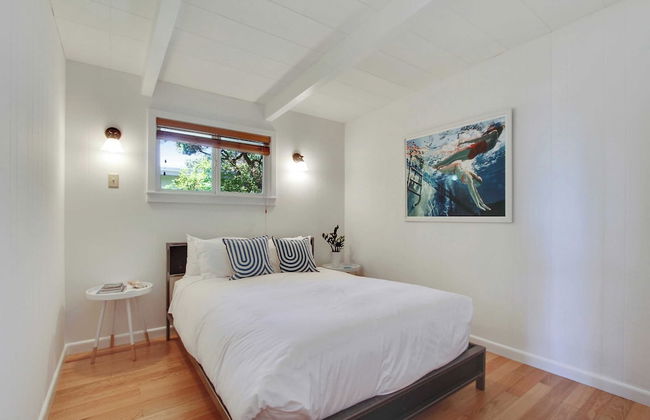
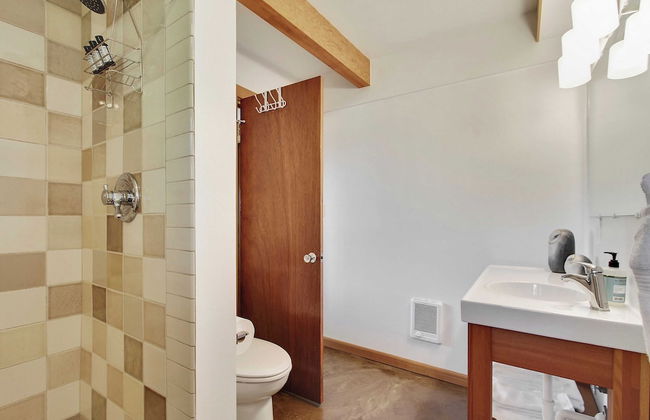
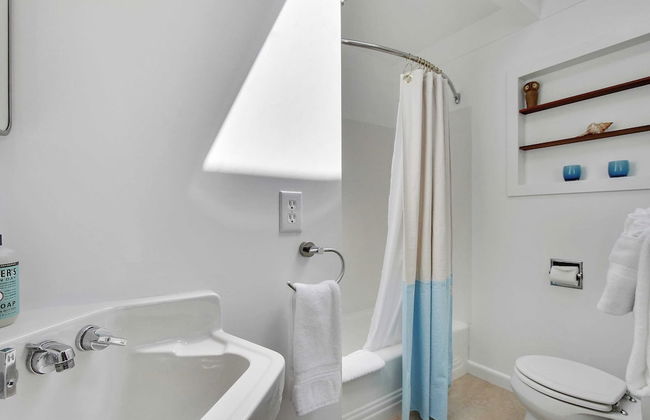
Oceanfront w/ Direct Beach Access Game Room Views Driftaway by Avantstay
Cannon Beach
- 114 M2
- 8 personas
- Aire acondicionado
- Calefacción
- Terraza
- Televisión
- Lavadora
- Chimenea
- Barbacoa
- Sábanas


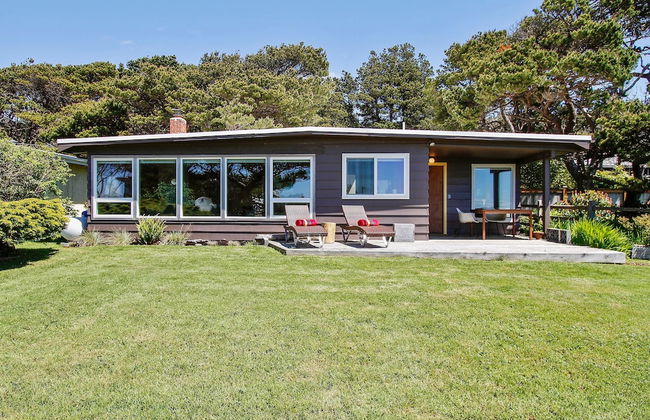
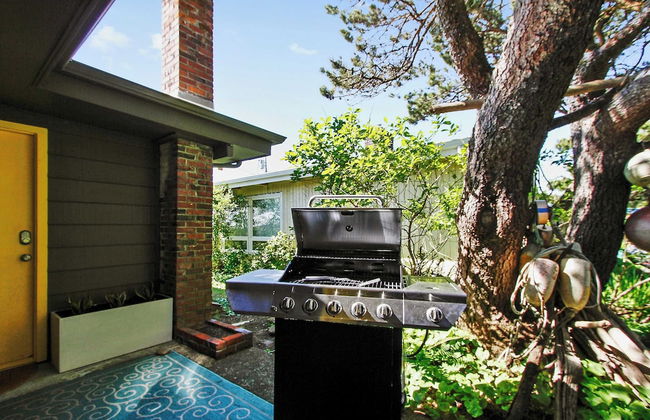
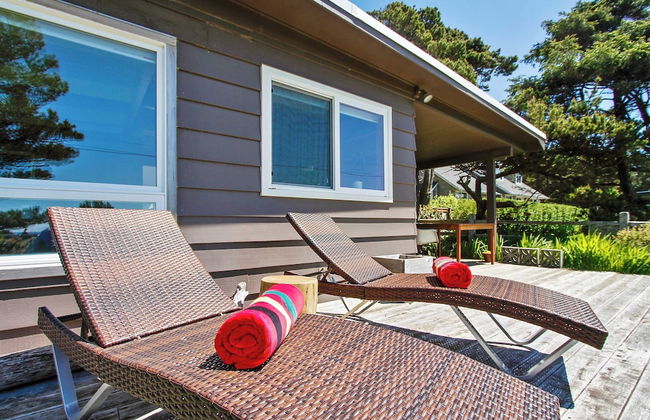
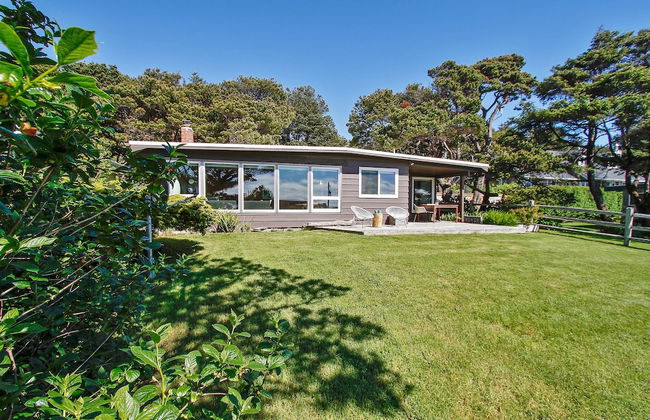
Modern Love by Avantstay Serene Home in Arch Cape w/ Large Yard in Great Location
Arch Cape
- 91 M2
- 4 personas
- Calefacción
- Terraza
- Parking
- Televisión
- Lavadora
- Chimenea
- Barbacoa
- Toallas
- Sábanas


Arch Cape Escape by Avantstay Sensational Clift Top Home w/ Pacific Ocean Views
Arch Cape
- 139 M2
- 8 personas
- Calefacción
- Terraza
- Parking
- Televisión
- Lavadora
- Chimenea
- Toallas
- Sábanas


Rancho del Mar by Avantstay One Block From Beach
Arch Cape
- 194 M2
- 11 personas
- Calefacción
- Terraza
- Parking
- Televisión
- Lavadora
- Chimenea
- Barbacoa
- Toallas
- Sábanas


The Castle Rock Estate by Avantstay Steps From Arch Cape Beach w/ Hot Tub & Sauna
Arch Cape
- 293 M2
- 10 personas
- Calefacción
- Terraza
- Parking
- Televisión
- Lavadora
- Chimenea
- Barbacoa
- Sábanas


The Pilot House by Avantstay Stunning Home Right On Arch Cape Beach!
Arch Cape
- 147 M2
- 6 personas
- Calefacción
- Terraza
- Parking
- Televisión
- Lavadora
- Chimenea
- Barbacoa
- Toallas
- Sábanas


Royal Canoe by Avantstay Walk to the Shore + Private Yard
Arch Cape
- 120 M2
- 8 personas
- Calefacción
- Terraza
- Parking
- Balcón
- Lavadora
- Chimenea
- Barbacoa
- Toallas
- Sábanas


Cove Keep by Avantstay Stunning Ocean Views Designed for Groups
Arch Cape
- 185 M2
- 8 personas
- Calefacción
- Terraza
- Parking
- Balcón
- Lavadora
- Toallas
- Sábanas


Rustic Arch Cape Getaway w/ Vibrant Interior Walk to the Beach Cape Wonder
Arch Cape
- 222 M2
- 8 personas
- Aire acondicionado
- Calefacción
- Parking
- Balcón
- Televisión
- Lavadora
- Barbacoa
- Sábanas


Chapman Cove by Avantstay Gorgeous Beach Bungalow w/ Sauna
Cannon Beach
- 162 M2
- 9 personas
- Aire acondicionado
- Calefacción
- Parking
- Balcón
- Lavadora
- Chimenea
- Barbacoa
- Toallas
- Sábanas


Sunset Cove by Avantstay Beachfront w/ Balcony!
Tolovana Pk
- 98 M2
- 6 personas
- Calefacción
- Parking
- Balcón
- Televisión
- Lavadora
- Barbacoa
- Toallas
- Sábanas


Beach Pines Bungalow by Avantstay Classic Cottage Steps to the Beach w/ Private Yard
Arch Cape
- 104 M2
- 8 personas
- Aire acondicionado
- Parking
- Televisión
- Lavadora
- Chimenea
- Barbacoa
- Toallas
- Sábanas


Blue Starfish by Avantstay Ocean Views & Direct Cannon Beach Access
Cannon Beach
- 111 M2
- 6 personas
- Calefacción
- Parking
- Balcón
- Televisión
- Lavadora
- Chimenea
- Toallas
- Sábanas


Anchor's Retreat by Avantstay Gorgeous Clift Top Views w/ Incredible Patio
Cannon Beach
- 10 personas
- Parking
- Televisión
- Lavadora
- Barbacoa
- Toallas
- Sábanas