


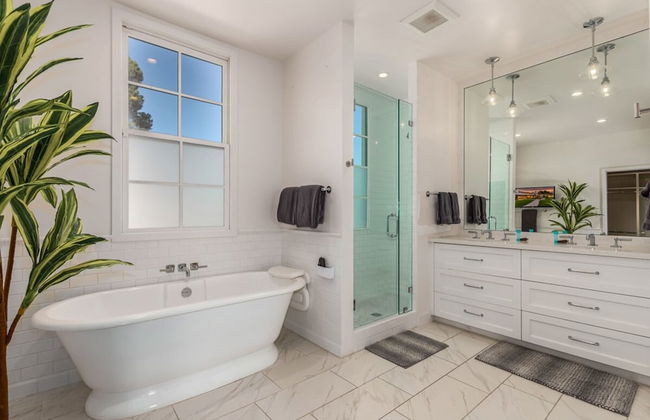
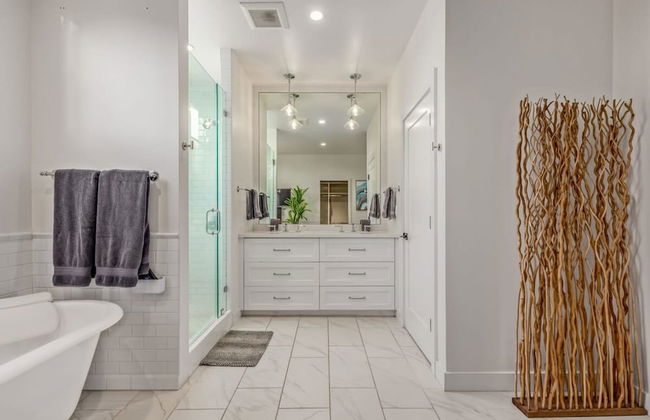
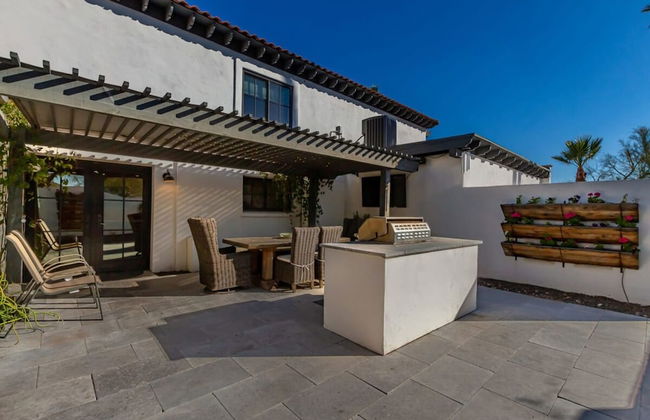
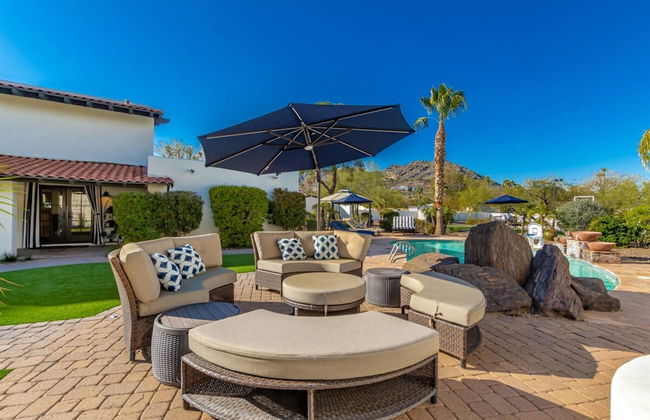
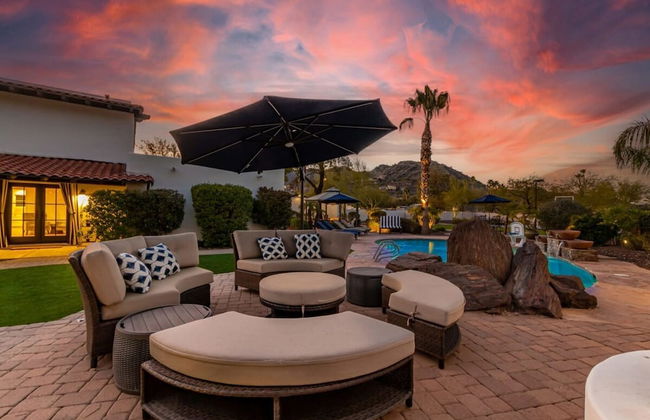
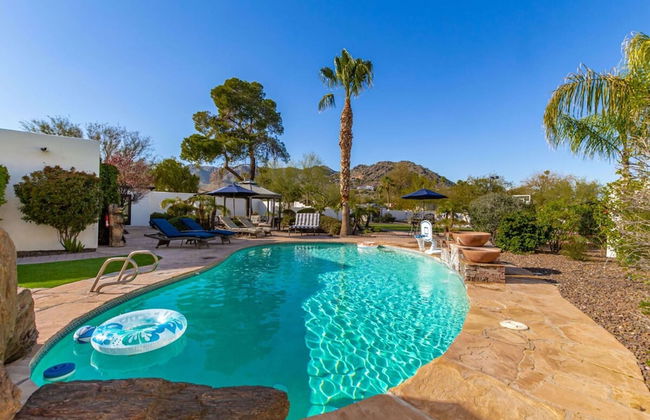
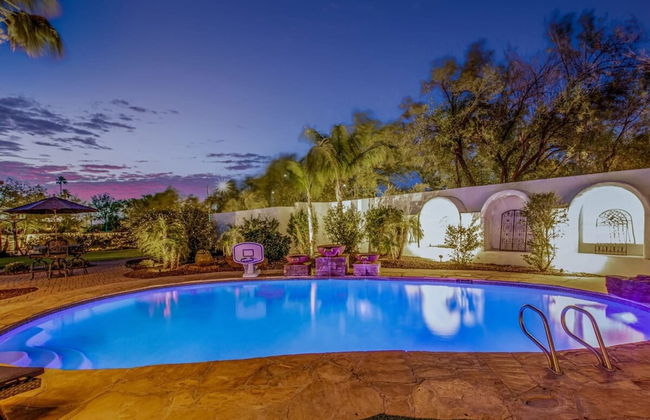
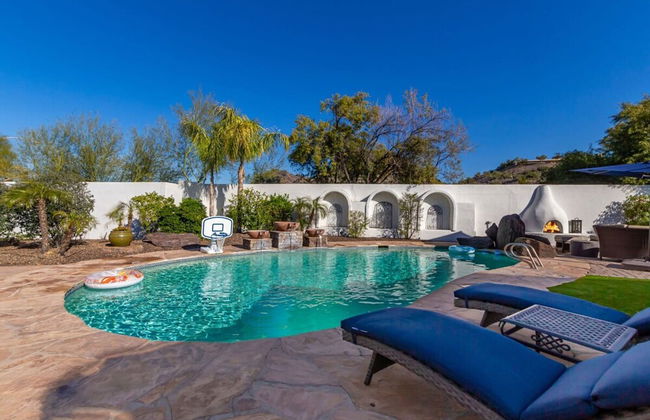
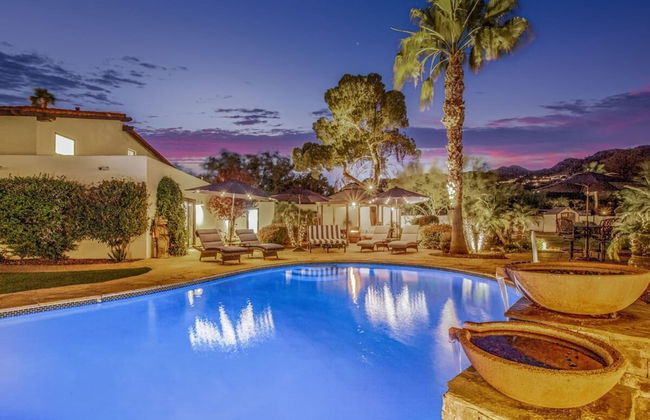
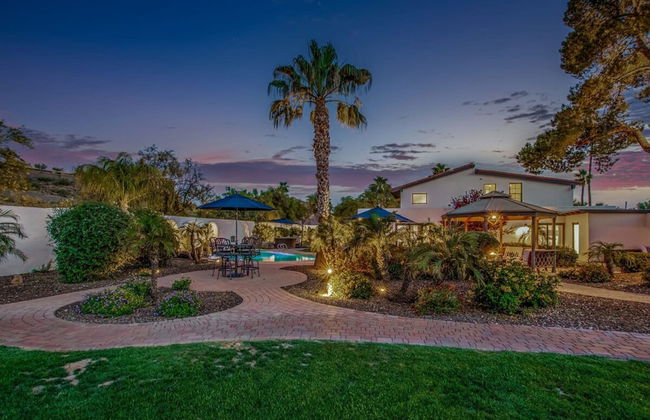
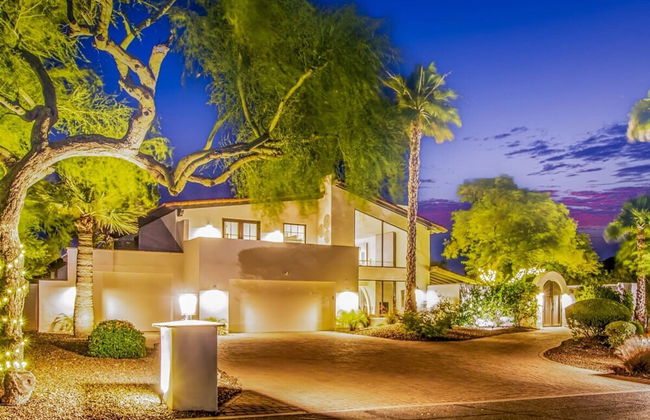
The Estate at Gold Dust
Paradise - Paradise Village North II - A 4.7 km del centro
- 465 M2
- 6 habitaciones
- 16 personas
- Aire acondicionado
- Piscina
- Parking


Saguaro & Sage
Paradise - Paradise Valley Pueblos - A 1.8 km del centro
- 21 M2
- 3 habitaciones
- 8 personas
- Aire acondicionado
- Calefacción
- Piscina
- Parking
- Barbacoa


Scottsdale 1 bd 1 ba furnished apt 2 beds
Paradise - Paradise Village North II - A 4.6 km del centro
- 51 M2
- 9 personas
- Aire acondicionado
- Calefacción
- Piscina
- Parking
- Ascensor
- Jardín
- Televisión
- Chimenea
- Barbacoa
- Toallas
- Sábanas


Diamondback by AvantStay Luxury Retreat Pool
Paradise - A 3.1 km del centro
- 498 M2
- 5 habitaciones
- 12 personas
- Aire acondicionado
- Calefacción
- Piscina
- Parking
- Barbacoa


Metro Scottsdale Apartments 1 bd
Paradise - Paradise Village North II - A 4.6 km del centro
- 46 M2
- 4 personas
- Aire acondicionado
- Calefacción
- Piscina
- Parking
- Ascensor


Metro Scottsdale Promo 1 bd 1
Paradise - Paradise Village North II - A 4.6 km del centro
- 56 M2
- 4 personas
- Aire acondicionado
- Calefacción
- Piscina
- Parking
- Ascensor


Luxury Paradise Valley Condo, Complete Remodel!
Paradise - Paradise Village North II - A 4.7 km del centro
- 84 M2
- 2 habitaciones
- 4 personas
- Aire acondicionado
- Calefacción
- Piscina
- Parking
- Televisión
- Lavadora
- Barbacoa
- Sábanas
Metro Scottsdale Apartments 1 bd 1 ba PREMIUM
Paradise - Paradise Village North II - A 4.6 km del centro
- 46 M2
- 4 personas
- Aire acondicionado
- Calefacción
- Piscina
- Parking
- Ascensor


2 Mi to Old Town! Desert Oasis with Pool Access
Paradise - Paradise Valley Pueblos - A 690 m del centro
- 98 M2
- 2 habitaciones
- 4 personas
- Calefacción
- Piscina
- Parking


Scottsdale 2 bd 2 ba furnished apt King beds
Paradise - Paradise Village North II - A 4.6 km del centro
- 79 M2
- 6 personas
- Aire acondicionado
- Calefacción
- Piscina
- Parking
- Ascensor


McCormick Ranch Golf Villa
Paradise - Paradise Valley Pueblos - A 1.8 km del centro
- 218 M2
- 4 habitaciones
- 8 personas
- Aire acondicionado
- Calefacción
- Terraza
- Parking
- Jardín
- Barbacoa


Scottsdale 2 bd 2 ba furnished apt 4 full beds
Paradise - Paradise Village North II - A 4.6 km del centro
- 79 M2
- 7 personas
- Aire acondicionado
- Calefacción
- Piscina
- Parking
- Ascensor


Endless Views
Paradise - A 3.2 km del centro
- 499 M2
- 5 habitaciones
- 10 personas
- Aire acondicionado
- Calefacción
- Jardín


Scottsdale upgraded 1 bd 1 ba 2 Queen Beds
Paradise - Paradise Village North II - A 4.6 km del centro
- 51 M2
- 6 personas
- Aire acondicionado
- Calefacción
- Piscina
- Parking
- Ascensor


Spacious 2 Bedroom, 2 Bath, Pool, Free Parking, Gym
Paradise - South Scottsdale - A 1.9 km del centro
- 75 M2
- 2 habitaciones
- 4 personas
- Aire acondicionado
- Calefacción
- Piscina
- Parking
- Jardín


Scottsdale 1bd King Renovated
Paradise - Paradise Village North II - A 4.6 km del centro
- 46 M2
- 1 habitación
- 4 personas
- Aire acondicionado
- Calefacción
- Piscina
- Parking
- Ascensor


Opal by Avantstay Central Scottsdale Luxe Home
Paradise - Paradise Valley Pueblos - A 2 km del centro
- 10 personas
- Aire acondicionado
- Calefacción
- Terraza
- Piscina
- Parking
- Televisión
- Lavadora
- Chimenea


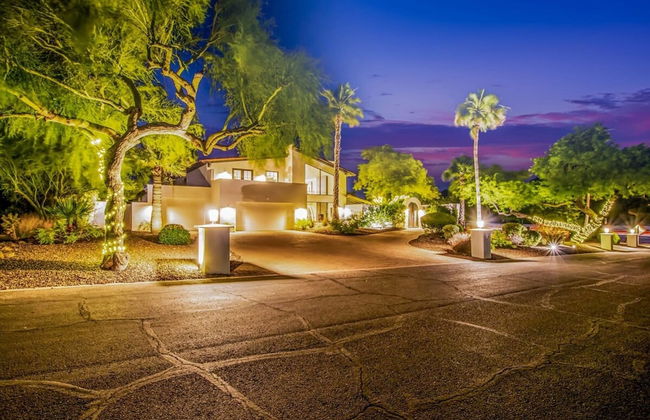
Camelback Mountain Villa Luxury in Paradise Valley
Paradise - En el centro
- 676 M2
- 6 habitaciones
- 16 personas
- Aire acondicionado
- Calefacción
- Piscina
- Parking
- Balcón
- Jardín
- Televisión
- Lavadora
- Chimenea
- Barbacoa
- Toallas
- Sábanas


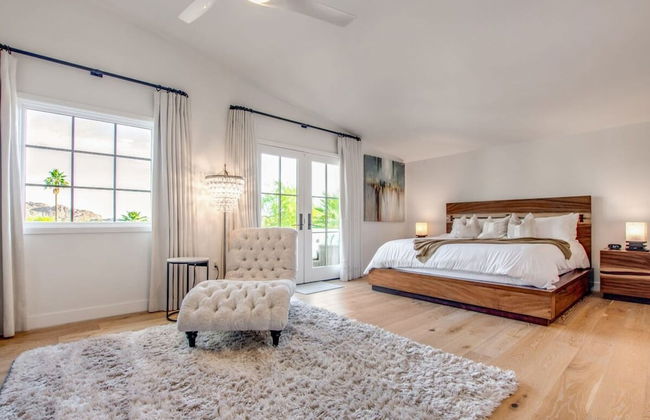
Julep by Avantstay Stylish 9 BR Estate w/ Mid-century Modern Decor
Paradise - A 4 km del centro
- 777 M2
- 9 habitaciones
- 25 personas
- Aire acondicionado
- Calefacción
- Piscina
- Parking
- Televisión
- Lavadora
- Chimenea
- Barbacoa
- Toallas
- Sábanas
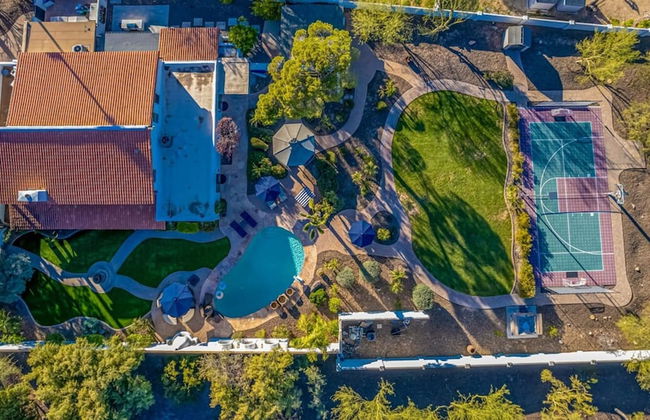


3M Paradise Valley Estate Heated Pool Tennis Spa
Paradise - A 3.2 km del centro
- 14 personas
- Aire acondicionado
- Calefacción
- Parking
- Balcón
- Jardín
- Televisión
- Lavadora
- Chimenea
- Barbacoa
- Toallas
- Sábanas