


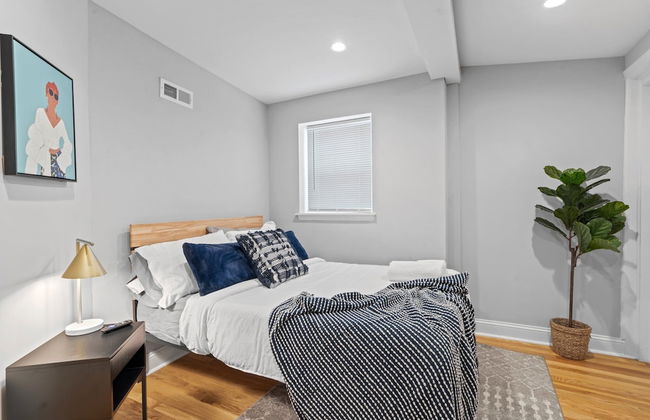
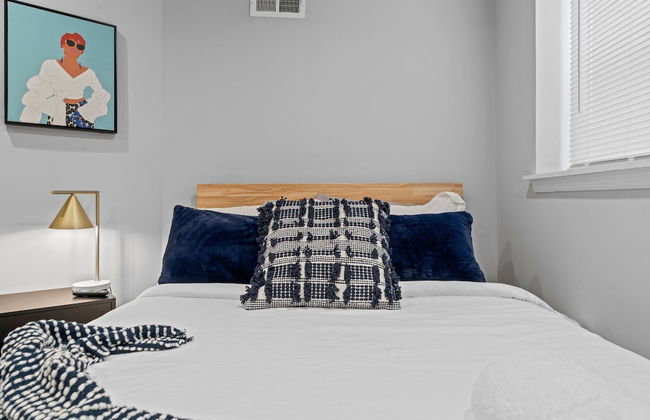
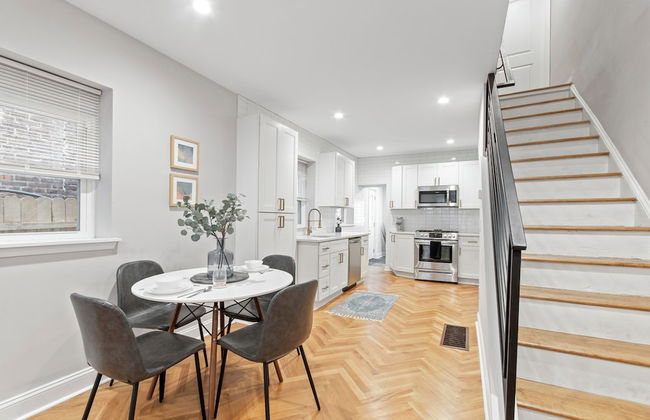
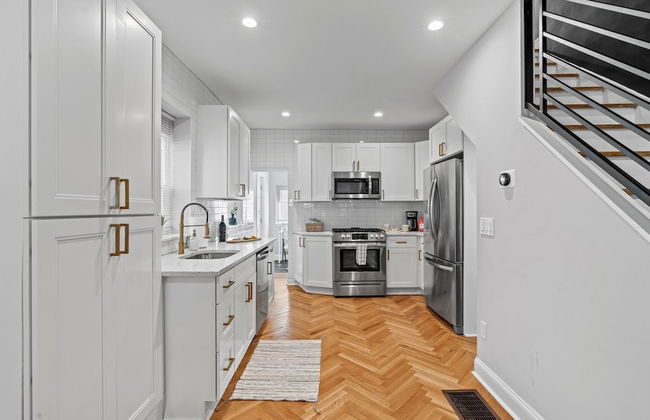
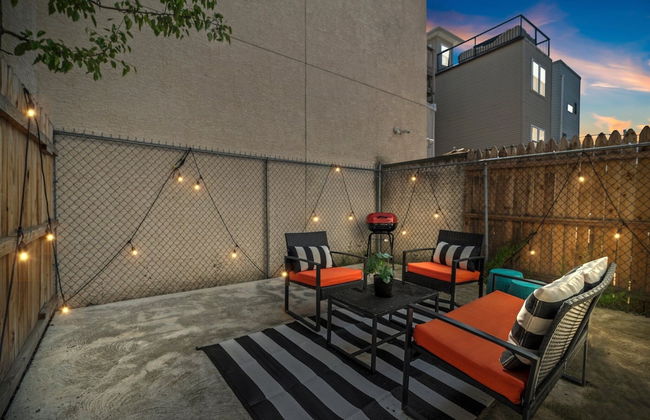
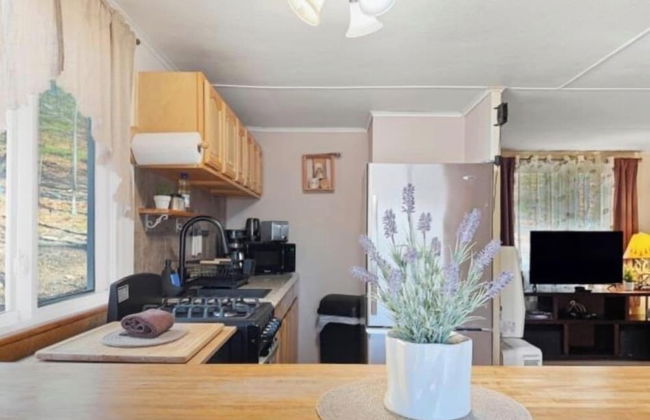
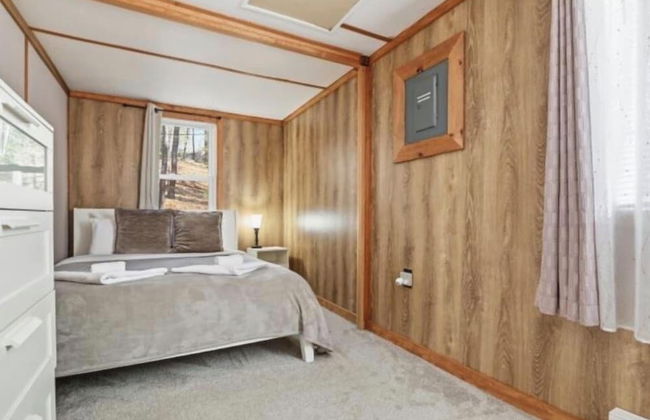
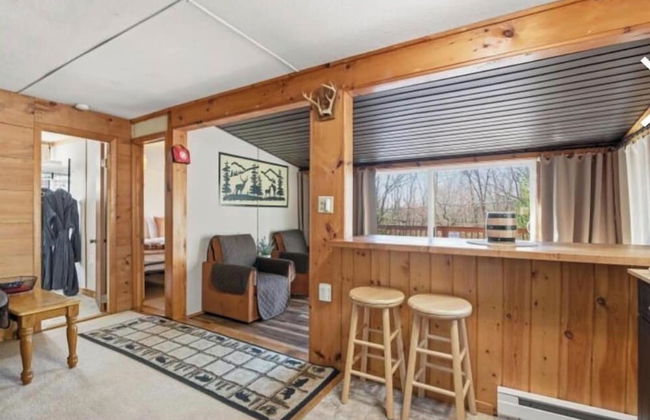
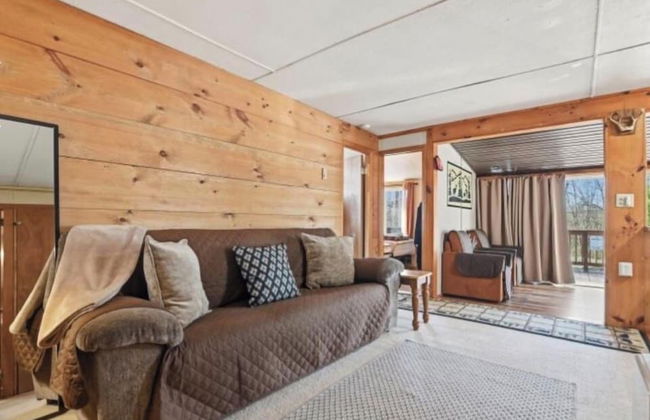
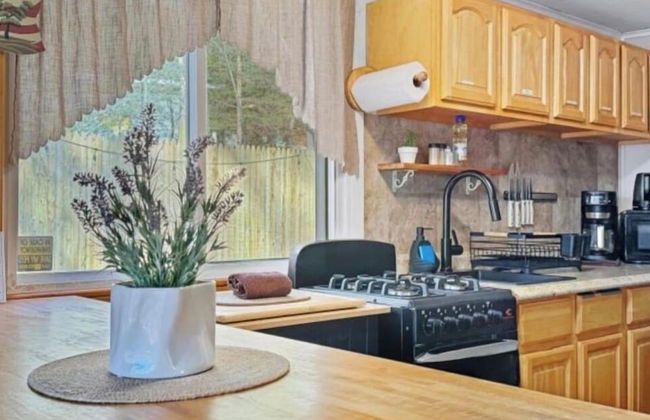
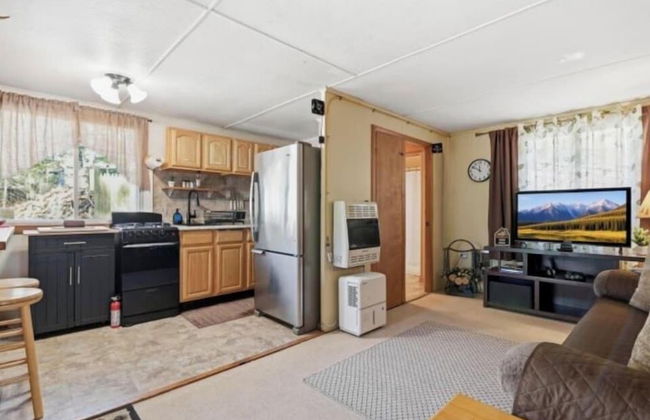
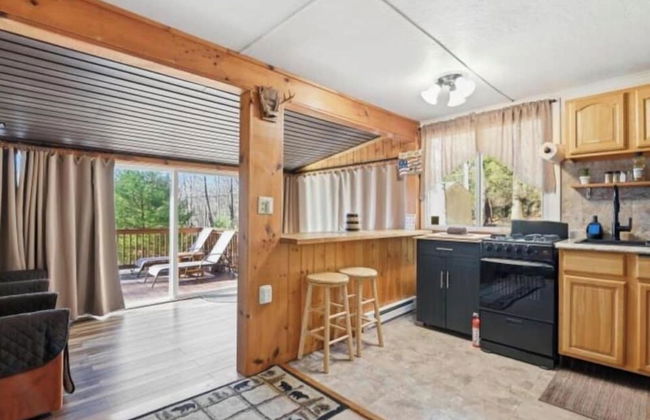
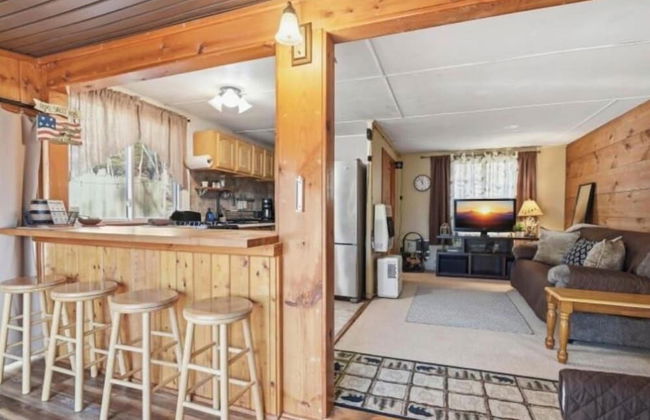
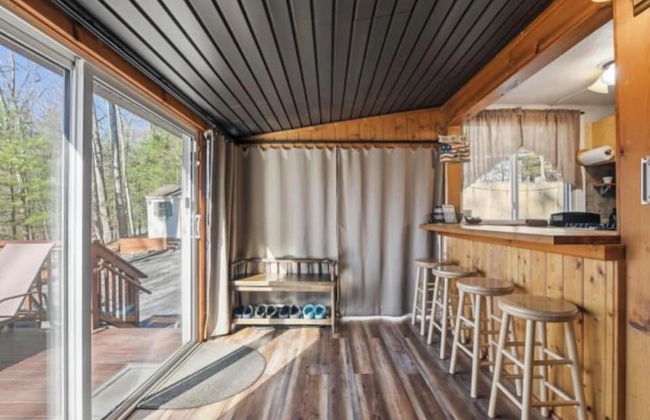
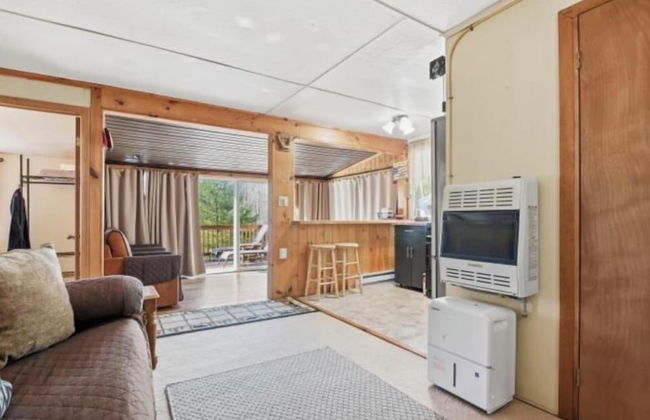
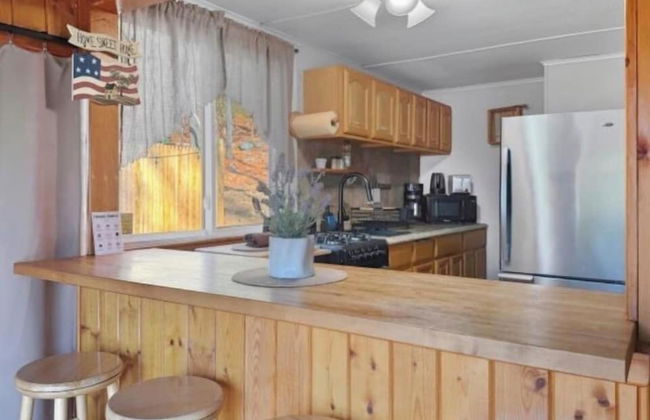
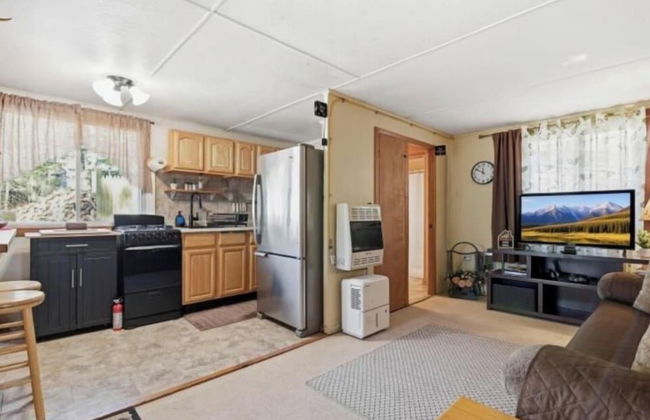
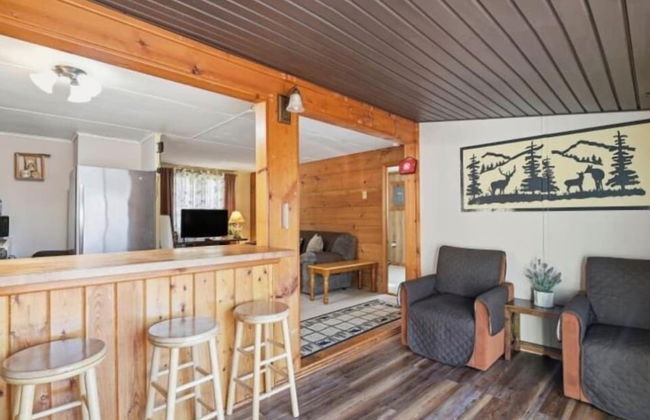
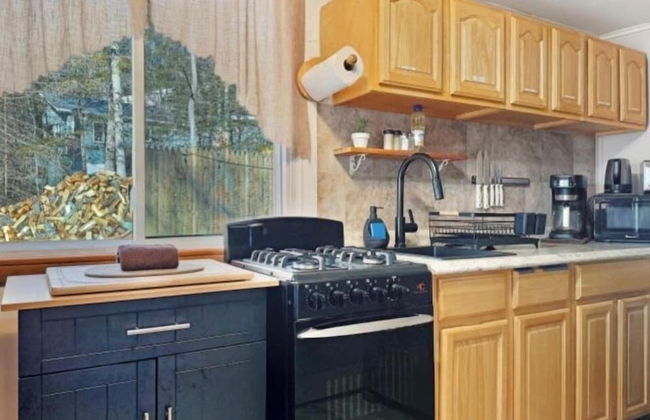
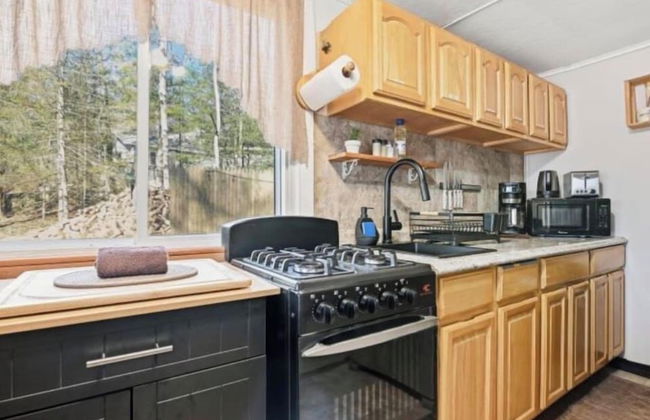
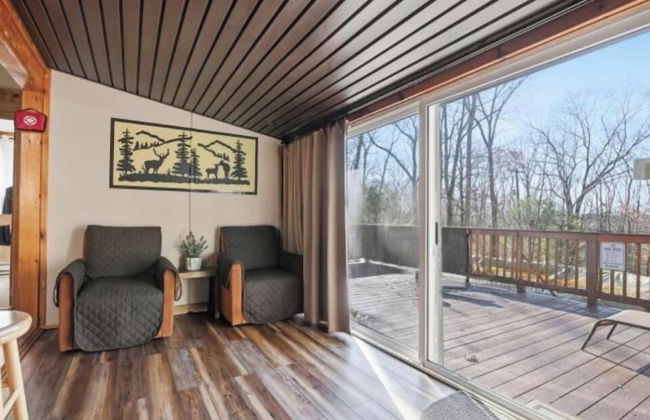
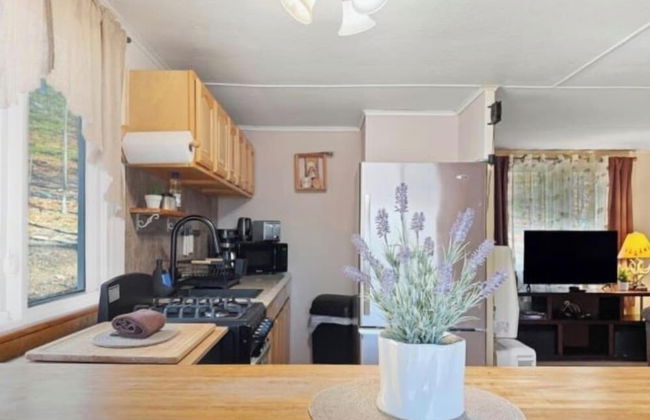
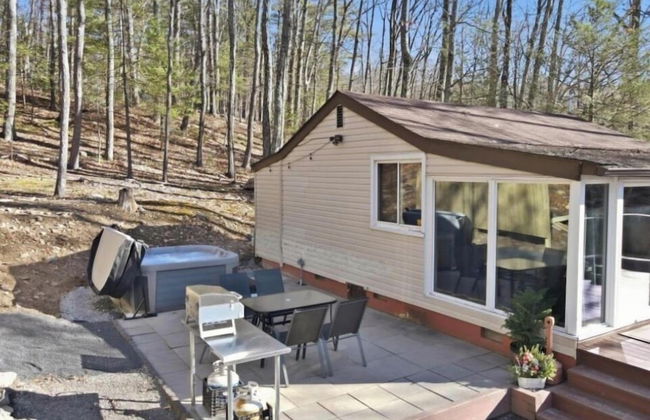
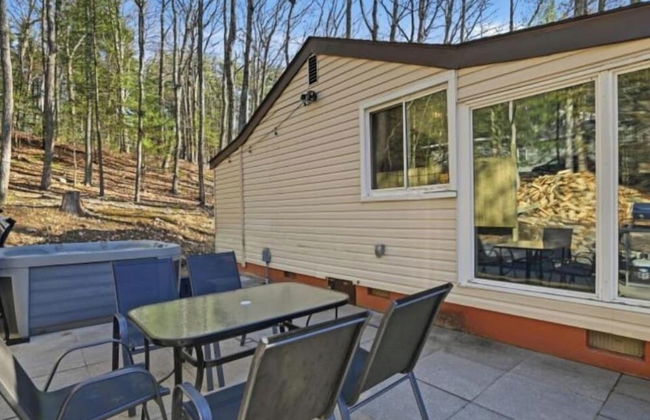
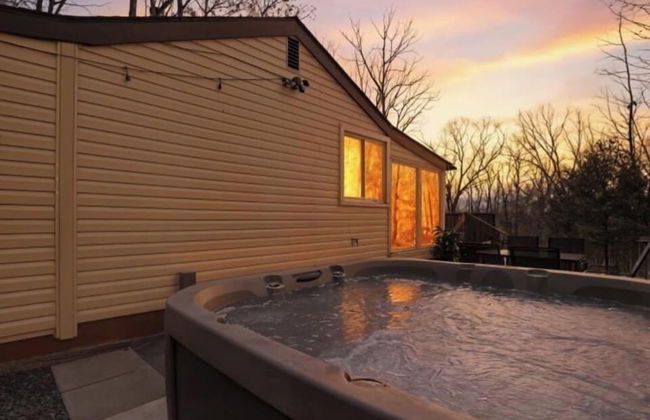
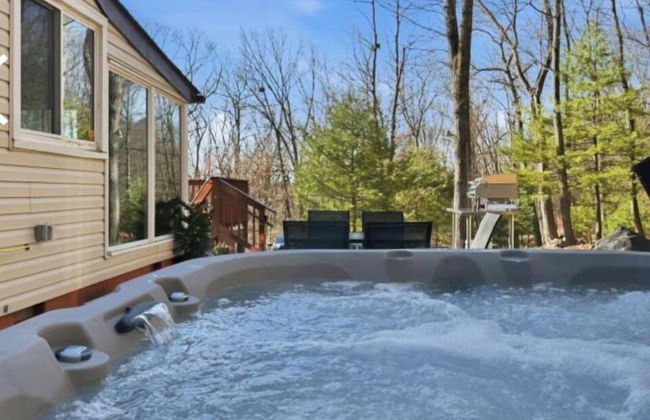
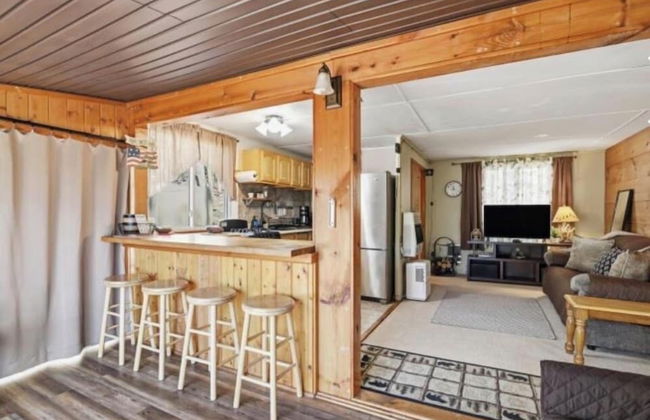
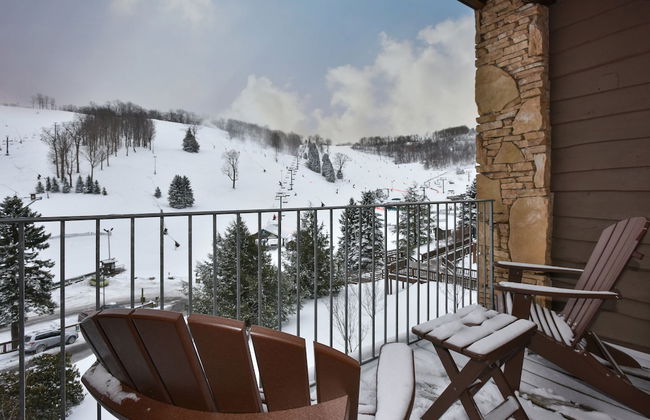
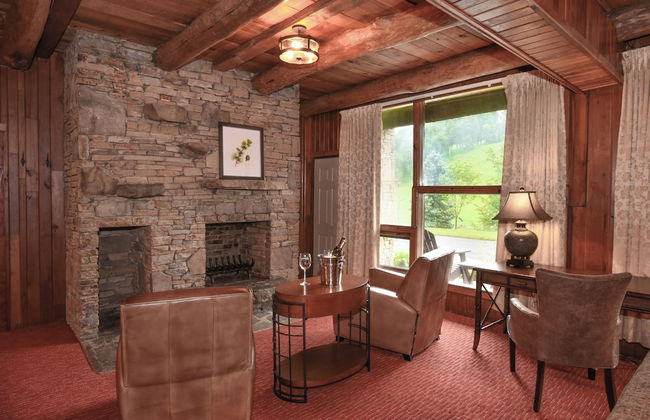
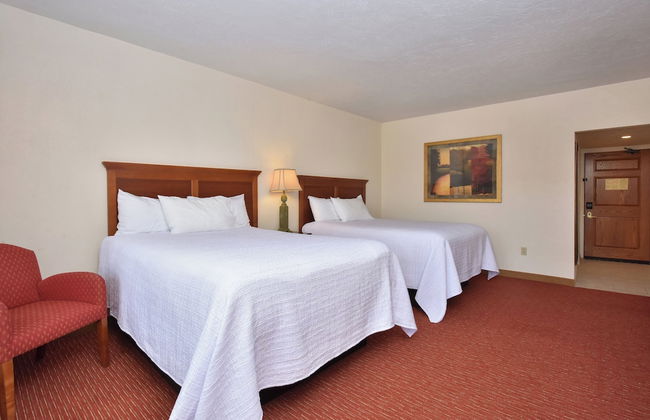
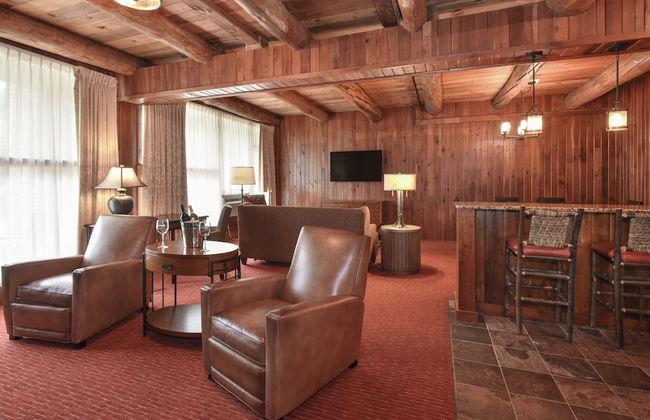
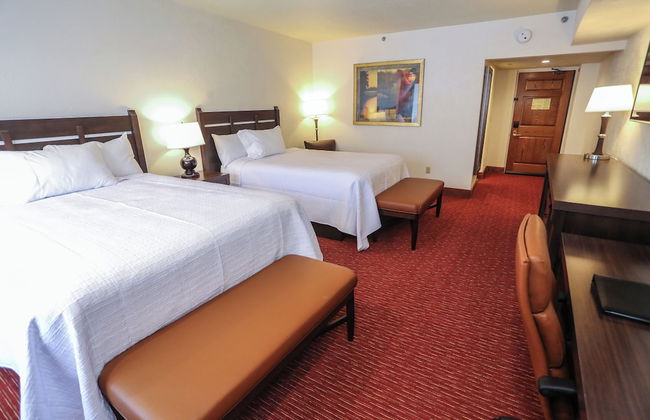
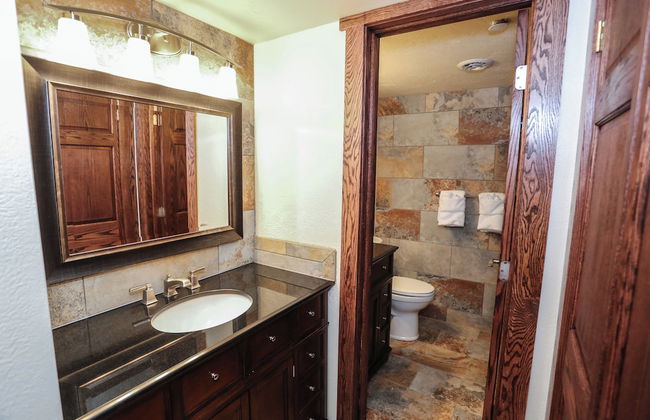
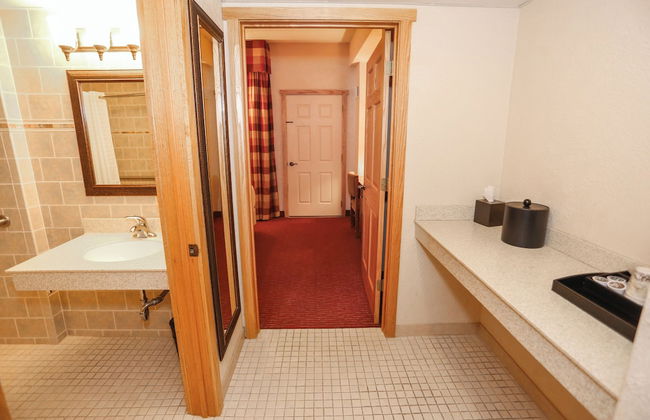
Cozy Pocono Mountain Escape
Lake Harmony - A 8.1 km de Jack Frost & Big Boulder
- 93 M2
- 6 personas
- Aire acondicionado
- Calefacción
- Piscina
- Parking
- Balcón
- Televisión
- Lavadora
- Chimenea
- Barbacoa
- Toallas
- Sábanas


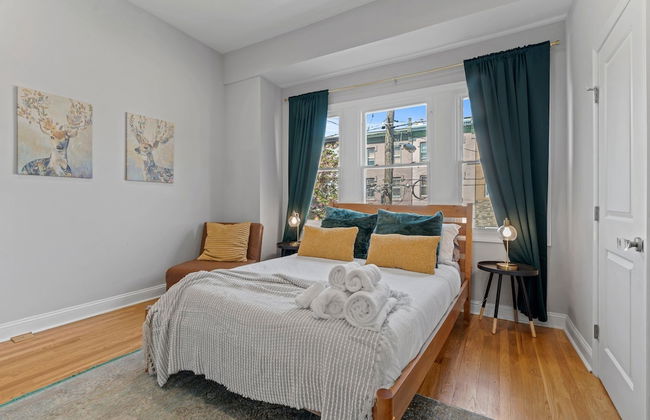


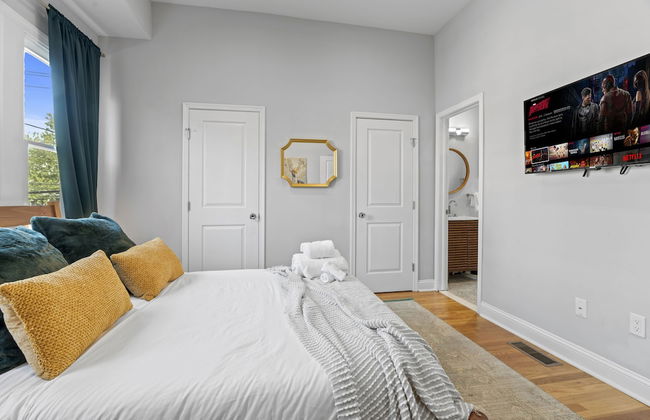


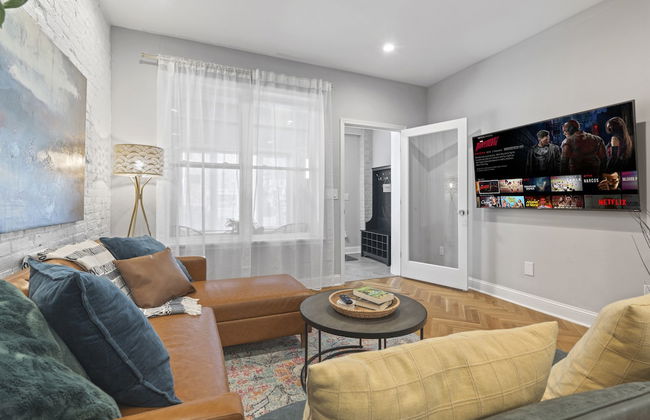
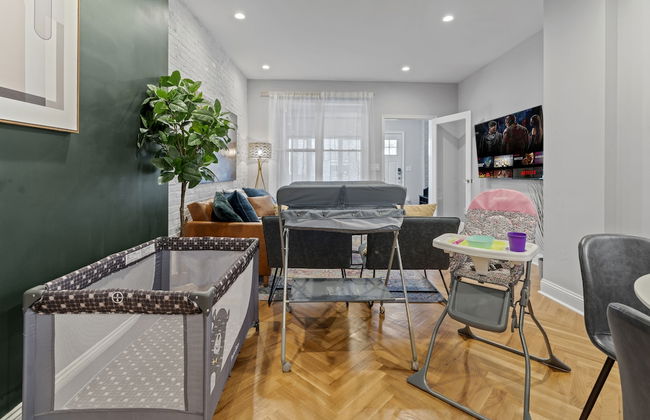


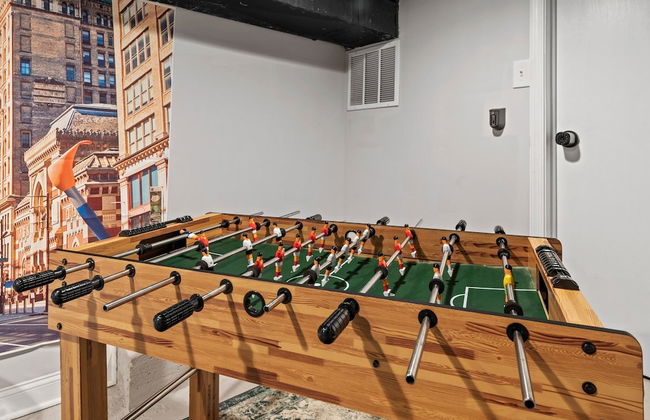
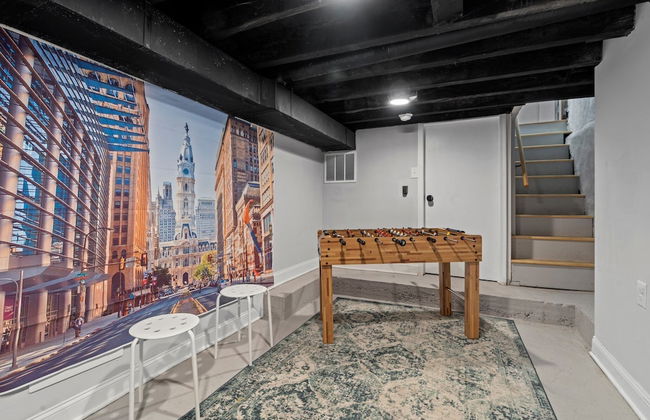


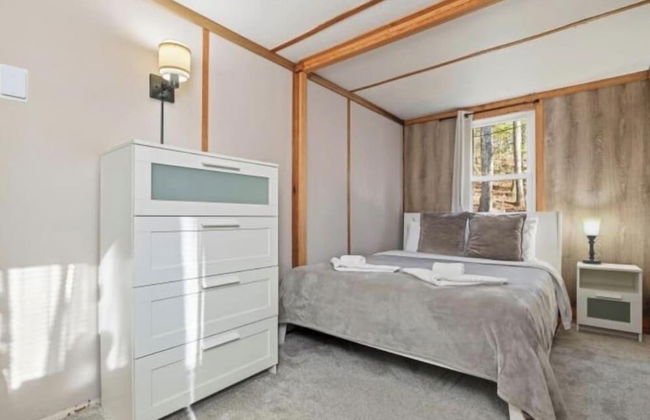
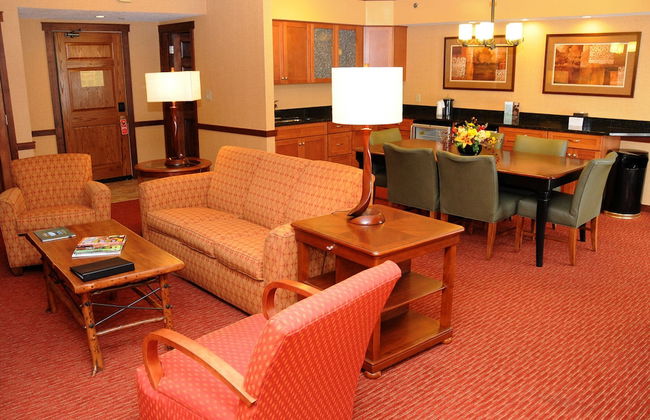
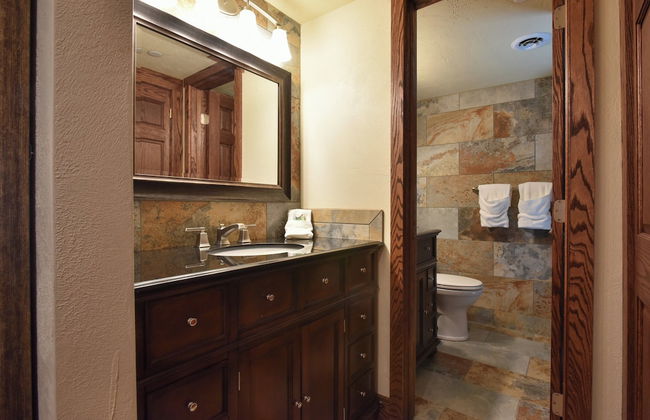
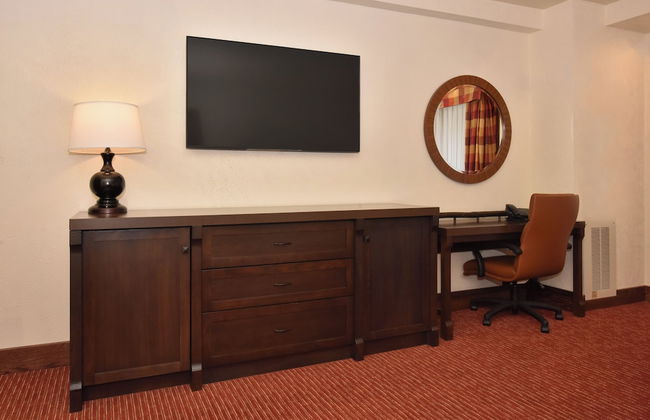
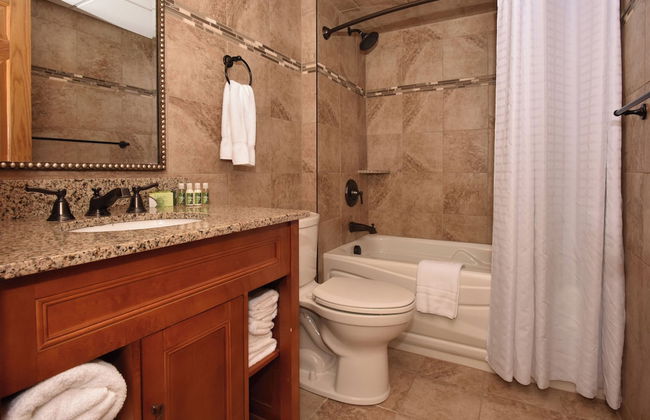
Modern & Comfy - 5* - Location Game Room
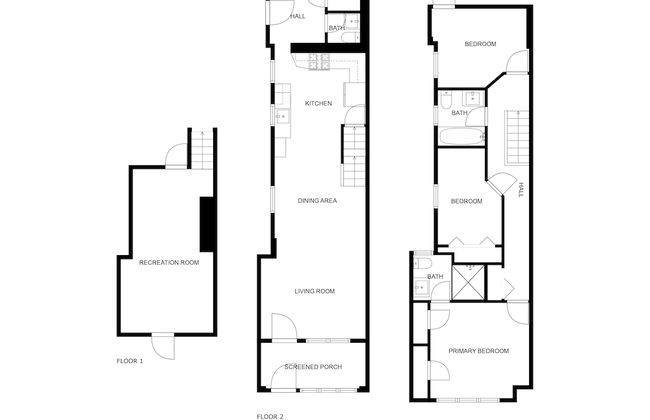
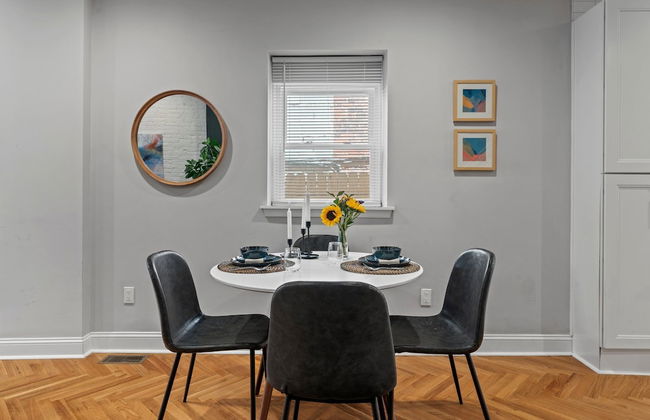
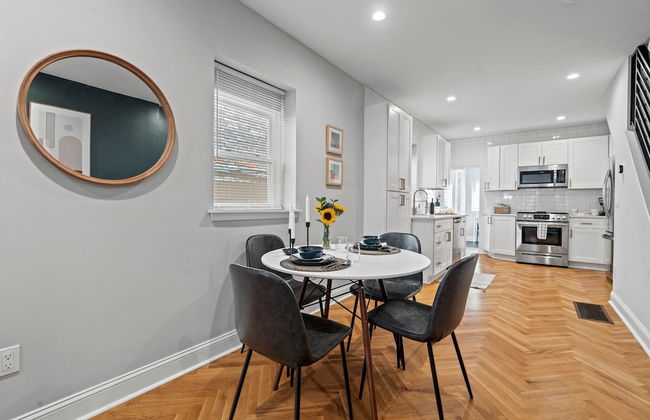
Filadelfia - Art Museum - A 1.6 km del centro
- 130 M2
- 6 personas
- Aire acondicionado
- Calefacción
- Terraza
- Televisión
- Lavadora
- Barbacoa
- Toallas
- Sábanas


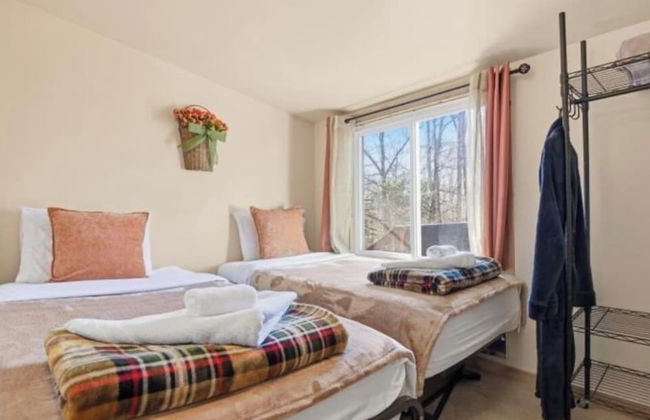


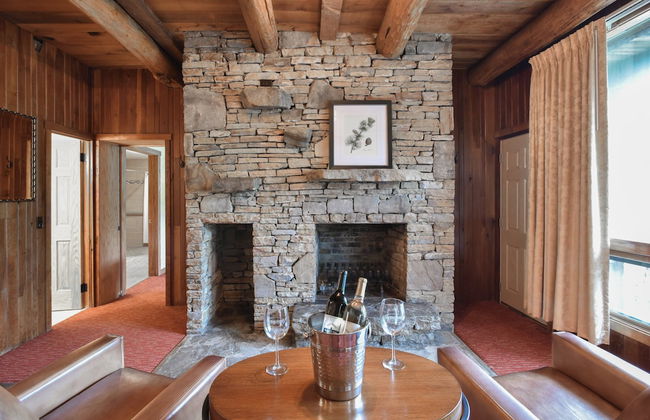
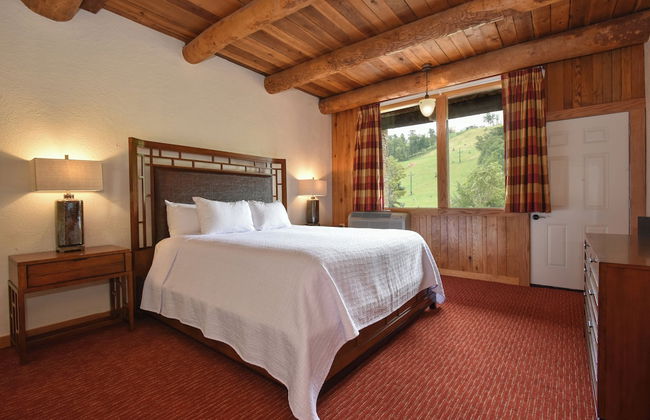
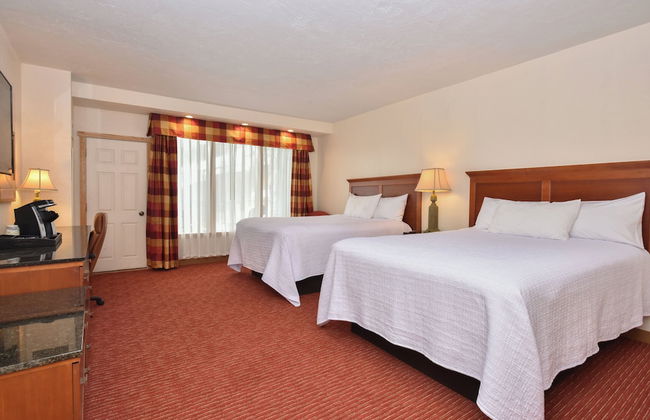
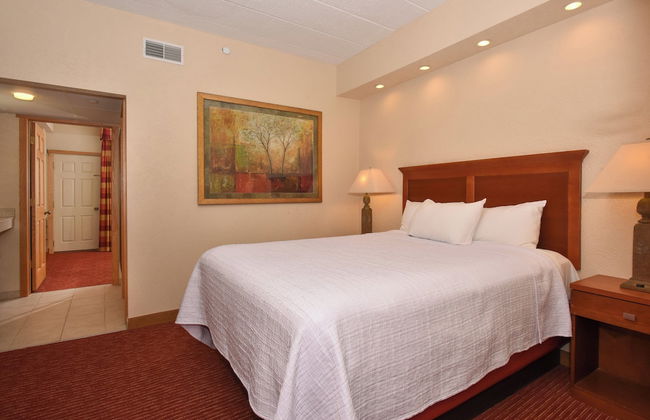
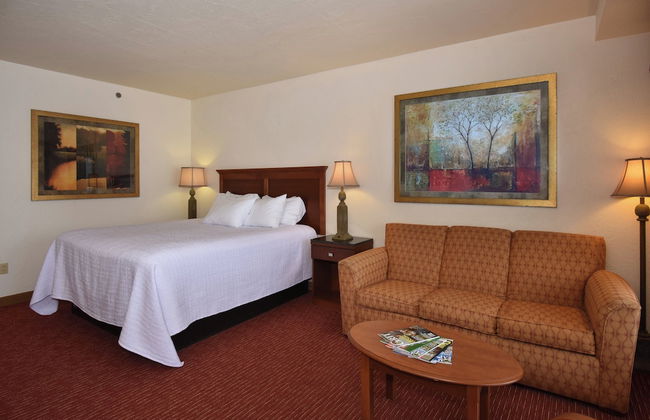
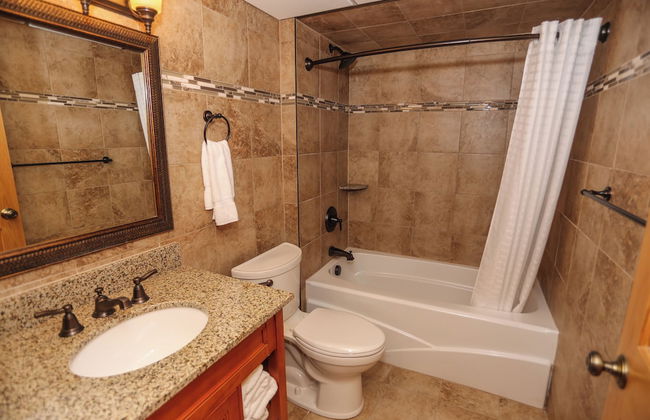
Pocono private retreat
East Stroudsburg - A 1.1 km de Shawnee Mountain Ski Area
- 56 M2
- 4 personas
- Aire acondicionado
- Calefacción
- Terraza
- Piscina
- Parking
- Jardín
- Televisión
- Chimenea
- Barbacoa
- Toallas
- Sábanas


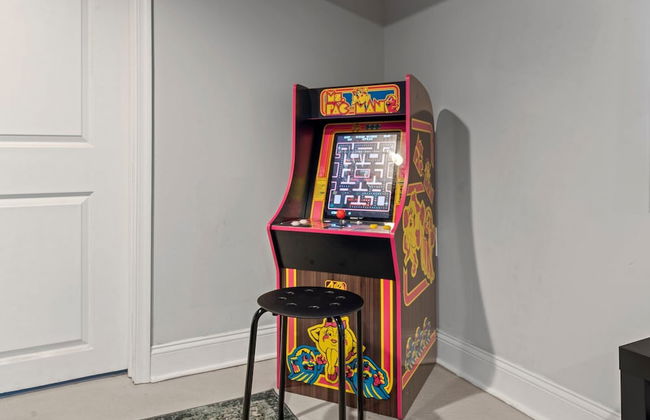
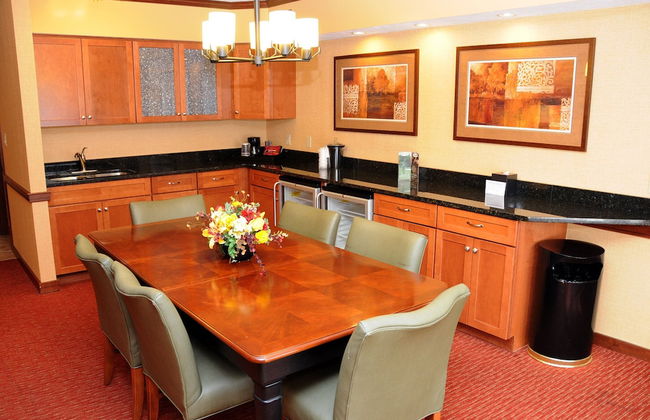
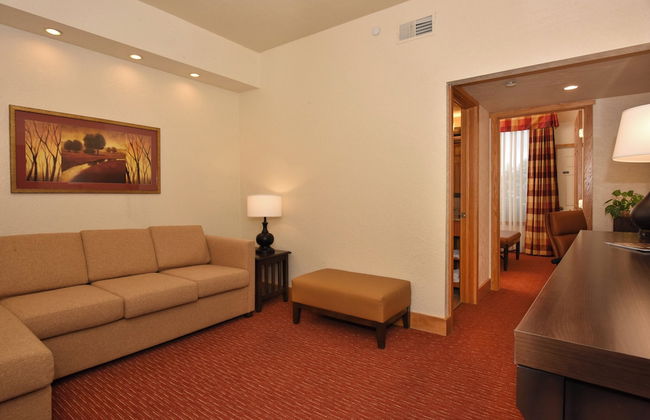
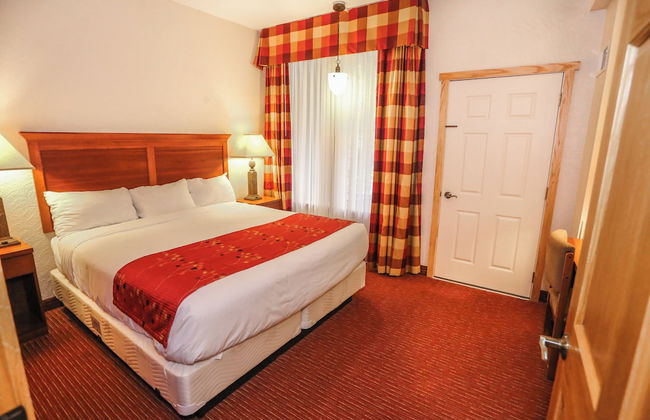
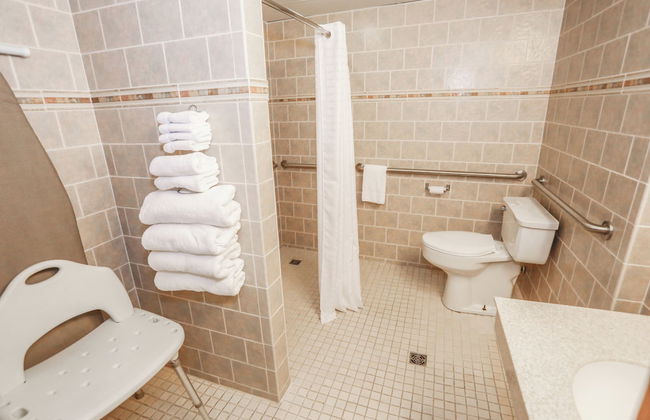
Trendy & Cozy Fishtown Game Room
Filadelfia - Fishtown - A 2.4 km del centro
- 5 personas
- Aire acondicionado
- Calefacción
- Televisión
- Lavadora
- Toallas
- Sábanas


424-Apt. 403
Pittsburgh - North Oakland - A 3.6 km del centro
- 4 personas
- Aire acondicionado
- Parking
- Ascensor
- Lavadora


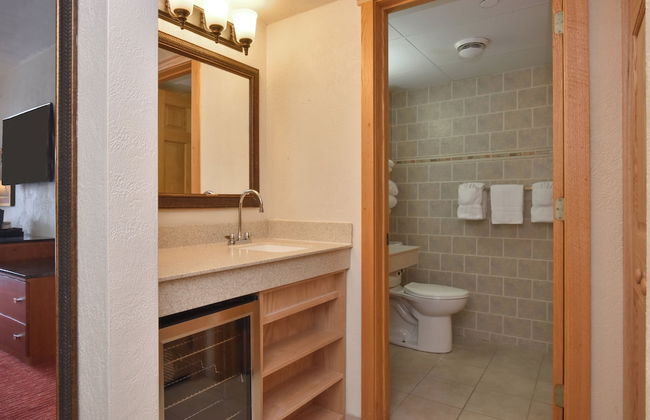
Rail Park Studio at Kestrel Hotel
Filadelfia - North Philadelphia East - A 250 m del centro
- 51 M2
- 3 personas
- Aire acondicionado
- Calefacción
- Parking
- Ascensor
- Lavadora
- Toallas
- Sábanas


424-Apt. 405
Pittsburgh - North Oakland - A 3.6 km del centro
- 4 personas
- Aire acondicionado
- Calefacción
- Parking
- Ascensor
- Televisión
- Lavadora
- Toallas


The Civic in Fairmount
Filadelfia - Art Museum - A 1.7 km del centro
- 11 personas
- Aire acondicionado
- Calefacción
- Terraza
- Ascensor
- Balcón
- Televisión
- Lavadora
- Toallas
- Sábanas


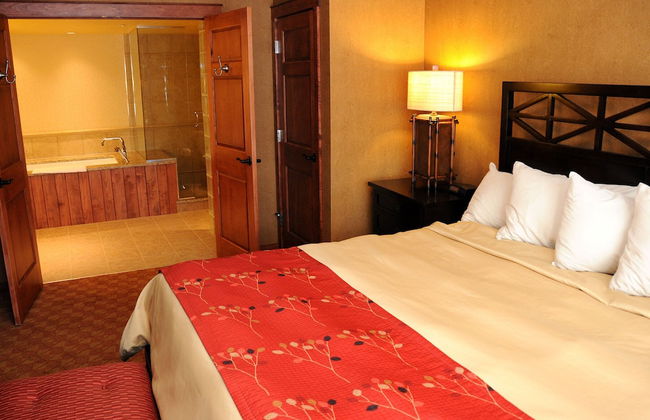
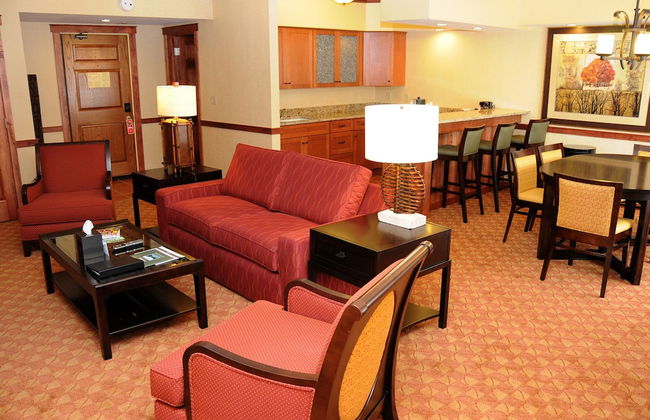
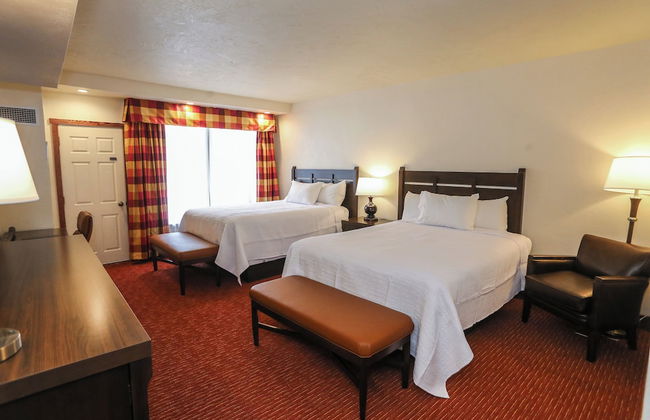
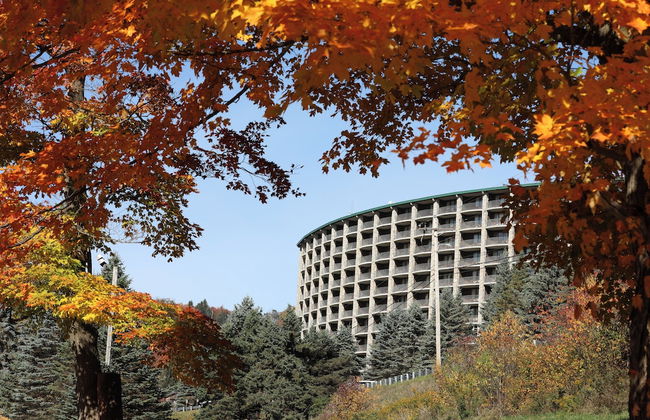
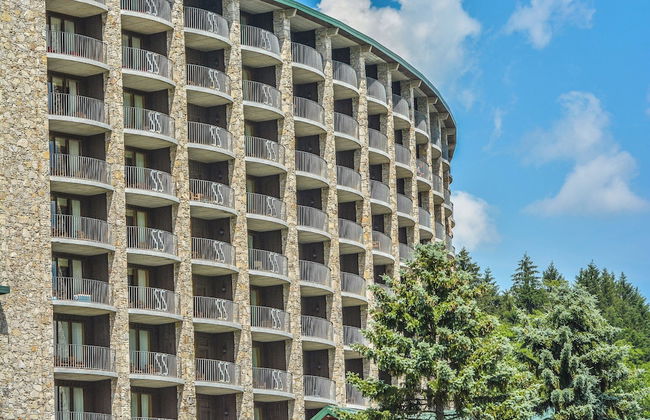
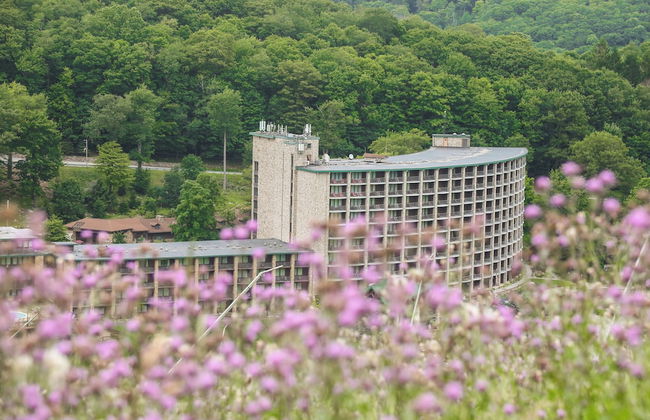
The Suites at Hershey
Hershey
- 111 M2
- 8 personas
- Aire acondicionado
- Calefacción
- Piscina
- Parking
- Ascensor
- Televisión
- Lavadora
- Barbacoa
- Toallas
- Sábanas


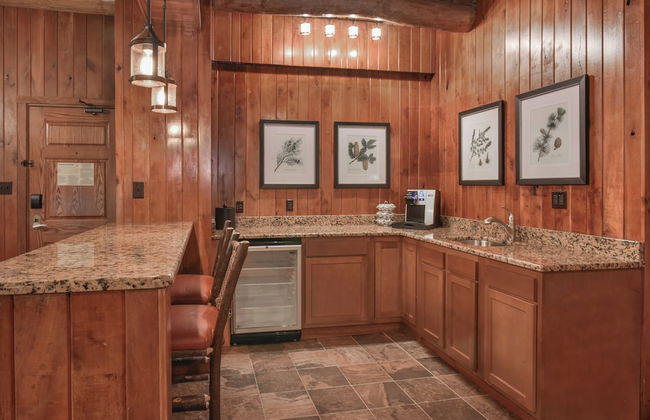
The Rex Hotel
Greentown
- 57 M2
- 6 personas
- Cocina pequeña
- Aire acondicionado
- Calefacción
- Parking
- Televisión
- Chimenea
- Toallas
- Sábanas


424 Gold Way-Apt. 302
Pittsburgh - North Oakland - A 3.6 km del centro
- 6 personas
- Parking
- Ascensor
- Televisión
- Lavadora


Chestnuthill Countryside Manor
Effort
- 2 personas
- Aire acondicionado
- Calefacción
- Piscina
- Parking
- Chimenea
- Toallas
- Sábanas


Countryside Cottages
Bartonsville
- 8 personas
- Calefacción
- Piscina
- Parking
- Televisión
- Chimenea
- Toallas


One Sky Loft
Filadelfia - Center City East - A 330 m del centro
- 4 personas
- Aire acondicionado
- Calefacción
- Ascensor
- Televisión
- Lavadora
- Toallas
- Sábanas


StayCozy at The Frankford
Filadelfia - Northern Liberties - A 2.8 km del centro
- 67 M2
- 2 habitaciones
- 6 personas
- Aire acondicionado
- Calefacción
- Ascensor
- Balcón
- Televisión
- Lavadora
- Toallas
- Sábanas


Sosuite at The Loxley - Old City
Filadelfia - Old City - A 940 m del centro
- 56 M2
- 4 personas
- Aire acondicionado
- Calefacción
- Ascensor
- Balcón
- Televisión
- Lavadora
- Toallas
- Sábanas


Storehouse Lofts
Filadelfia - North Philadelphia West - A 3 km del centro
- 55 M2
- 4 personas
- Aire acondicionado
- Calefacción
- Parking
- Ascensor
- Televisión
- Lavadora
- Toallas
- Sábanas


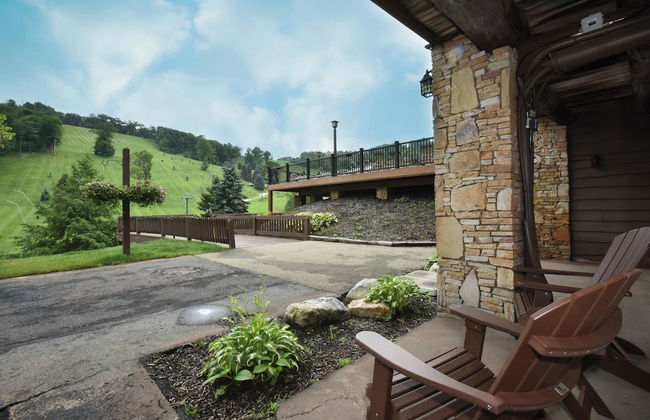
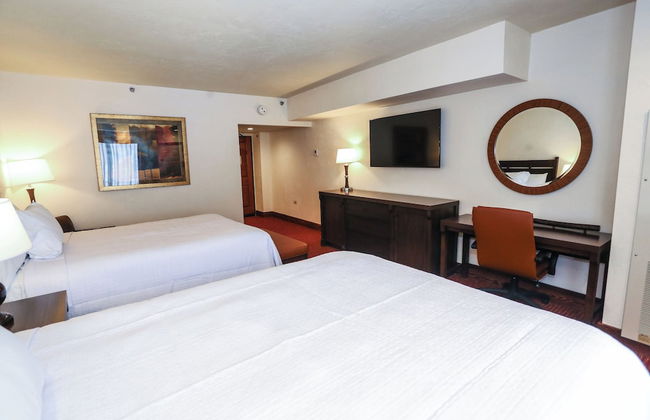
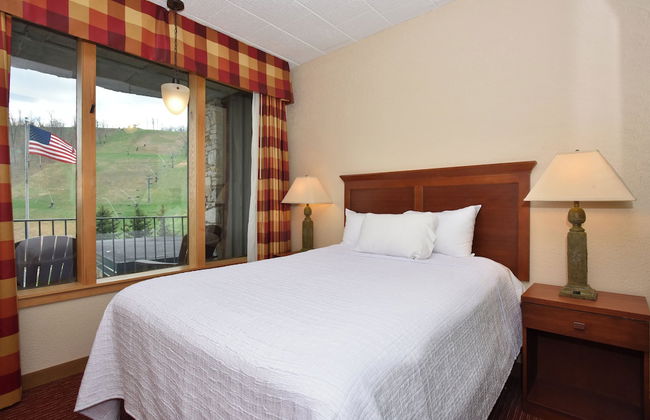
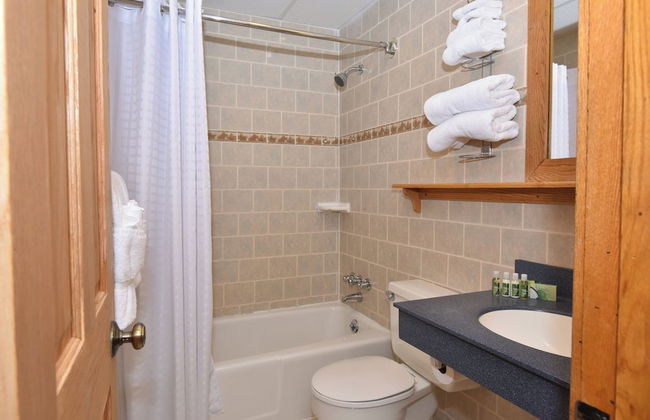

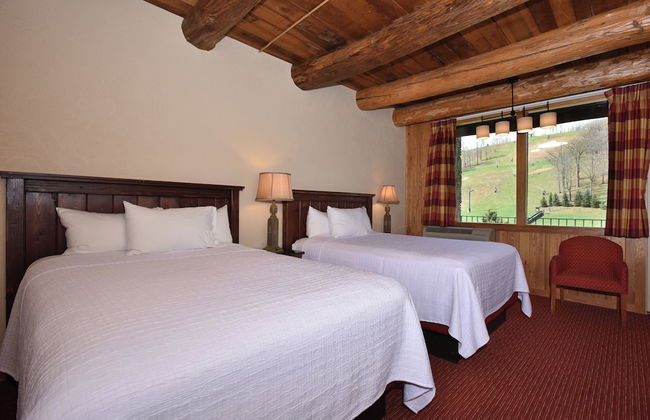


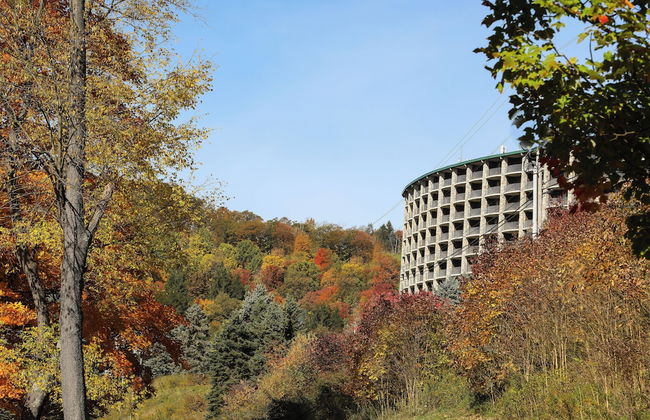
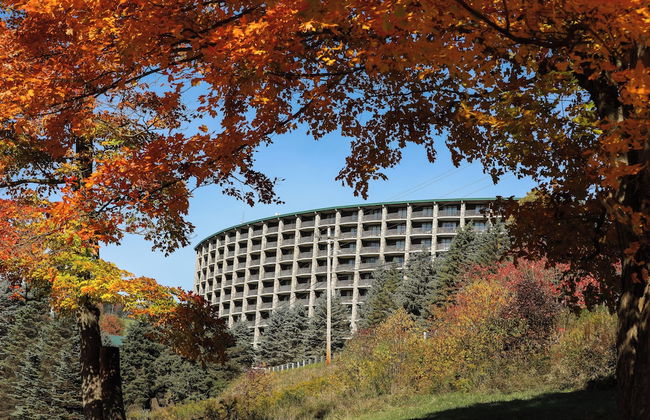


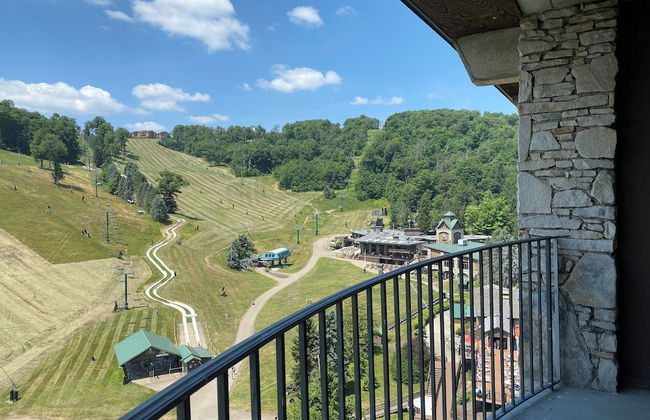


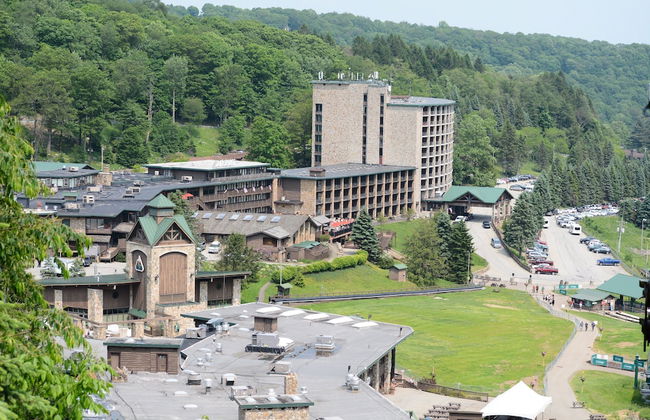
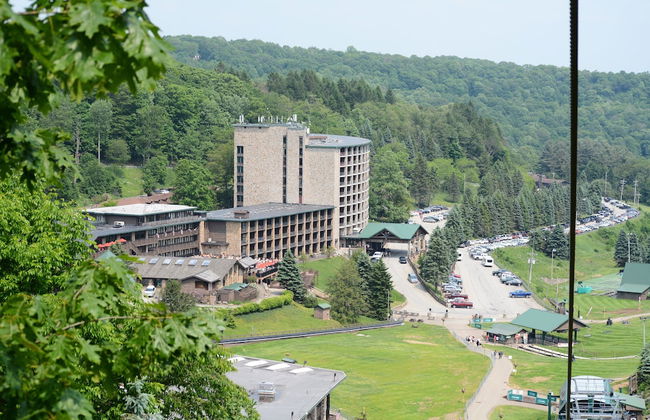
Slopeside Hotel, A Vail Resorts Property
Champion - A 510 m de Seven Springs
- 8 personas
- Cocina pequeña
- Calefacción
- Piscina
- Parking
- Ascensor
- Televisión
- Chimenea
- Toallas
- Sábanas


Melwood Suites Unit 107 Studio
Pittsburgh - North Oakland - A 3.7 km del centro
- 4 personas
- Cocina pequeña
- Parking
- Toallas