
56 Apartamentos en Portland

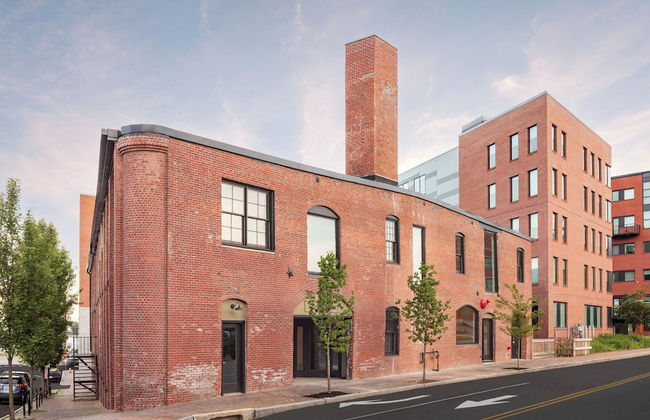

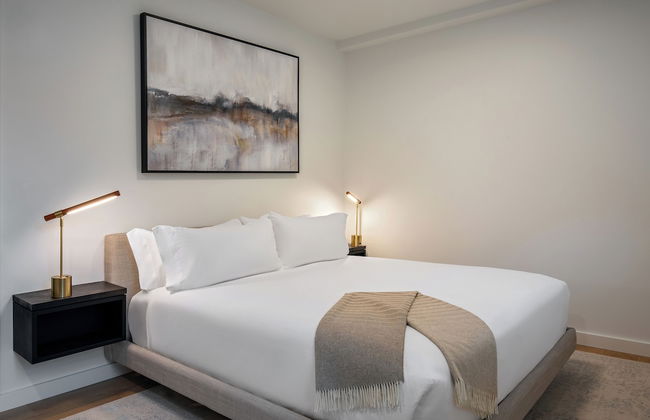

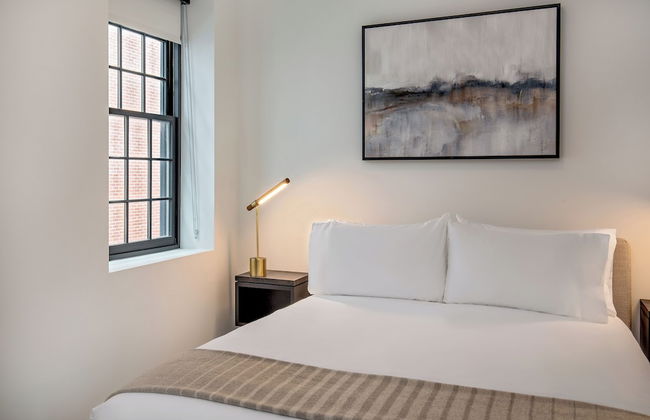

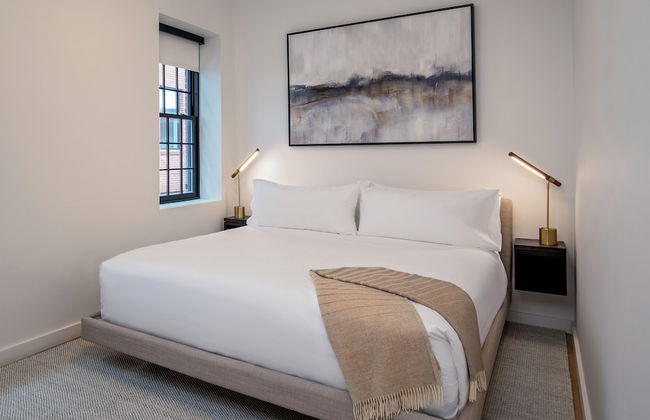

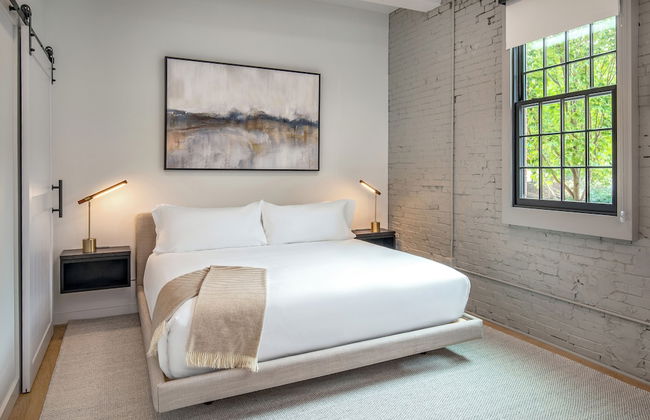

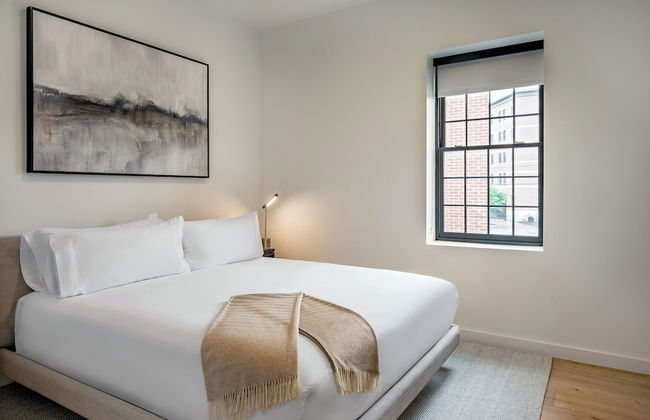

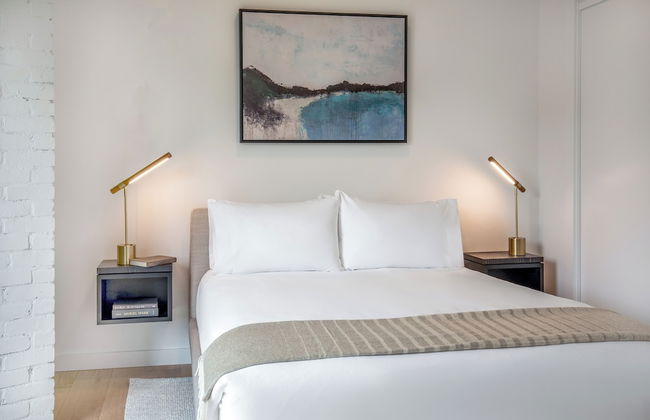

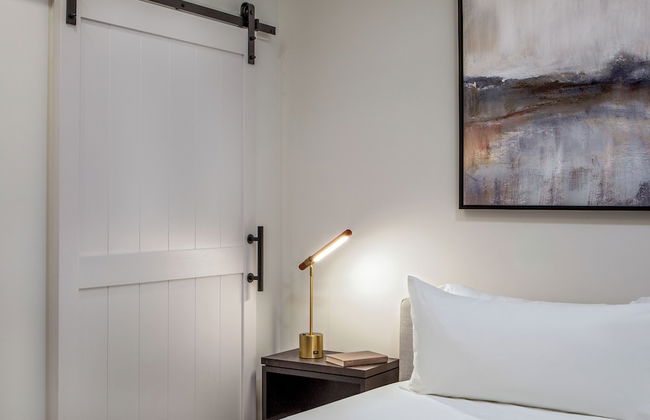

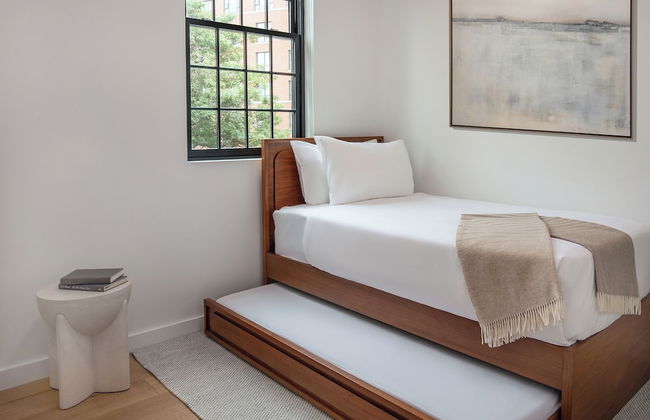

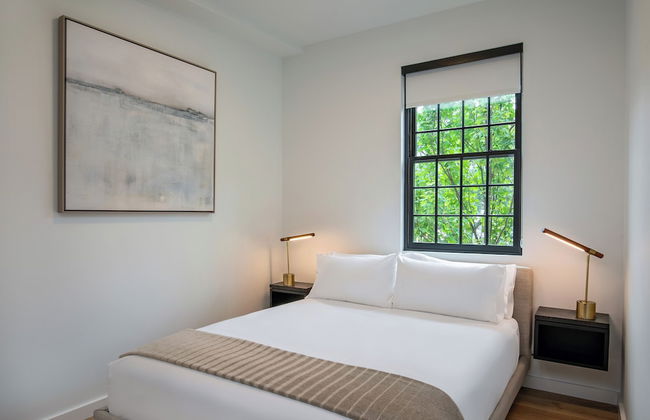

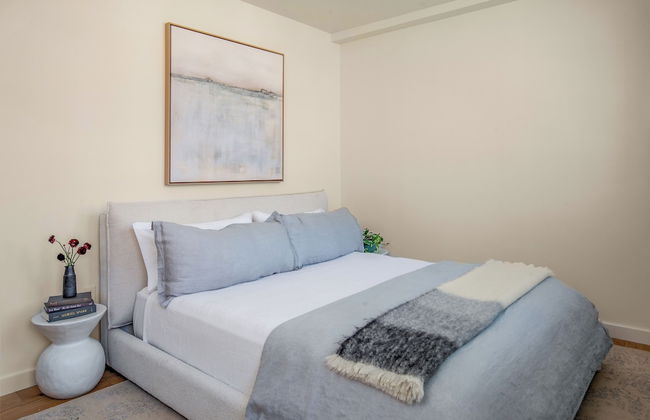

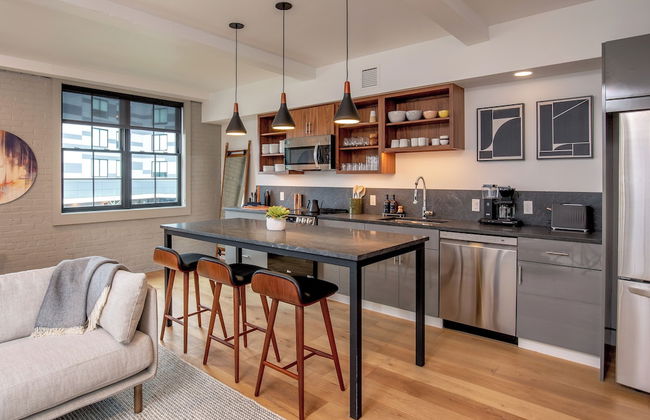

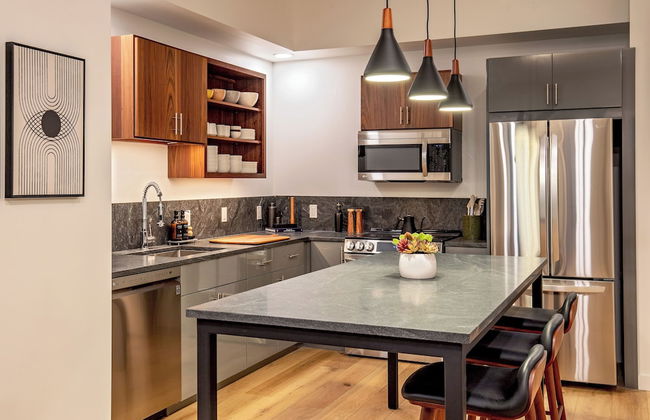

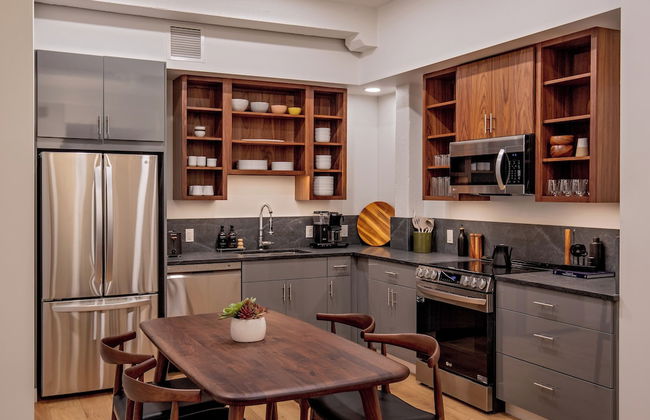

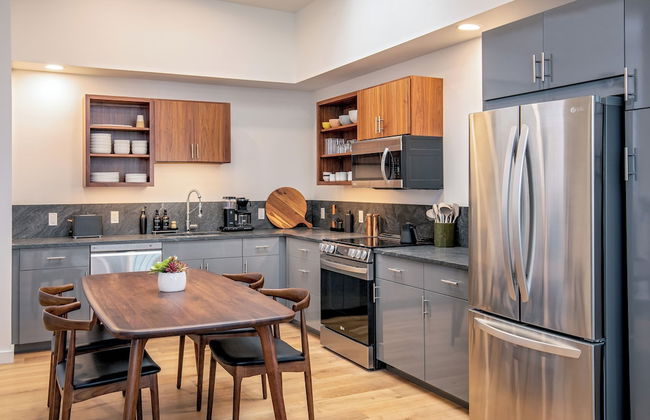

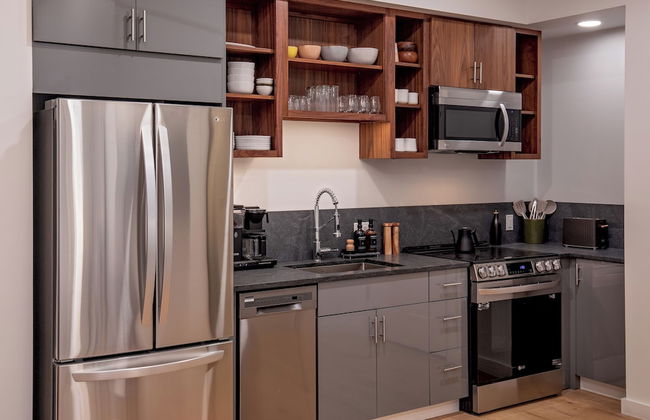

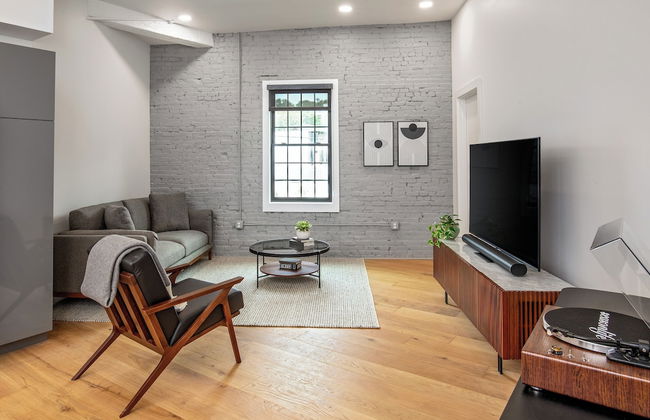


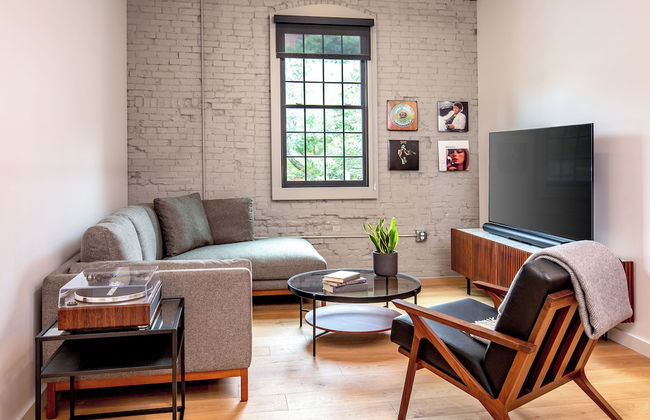

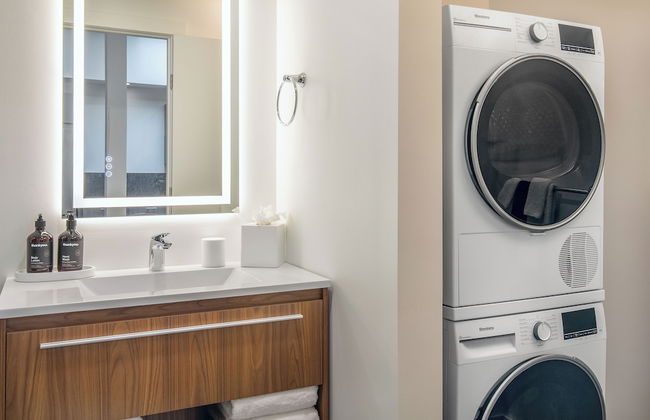


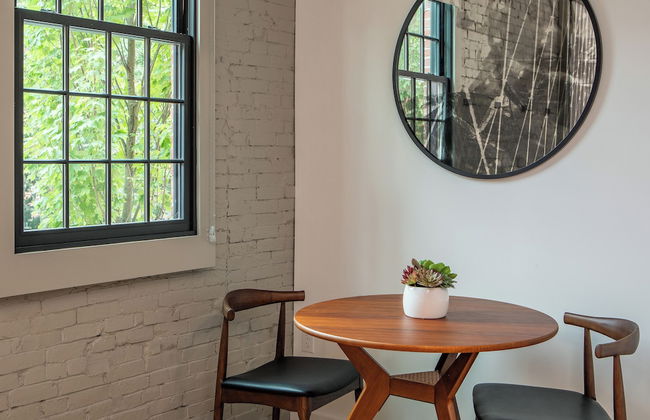


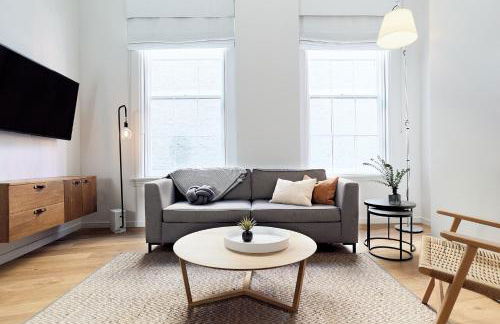
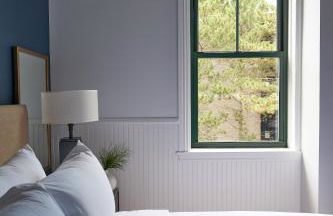
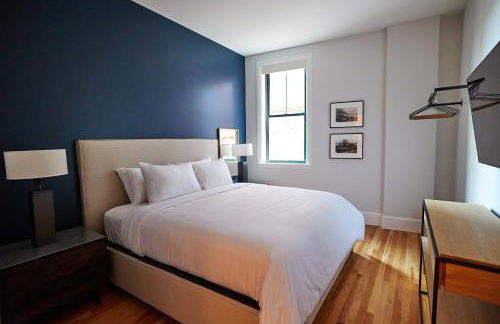
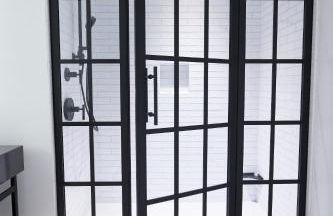
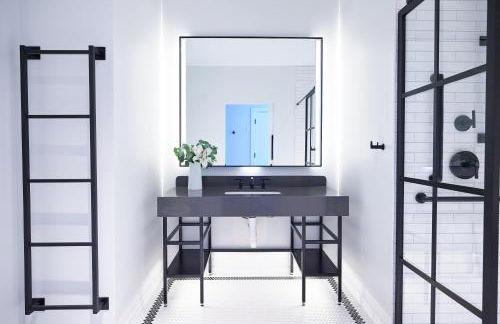
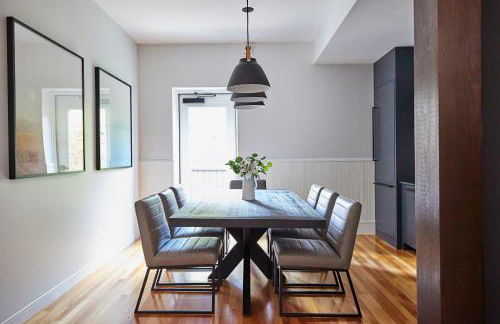
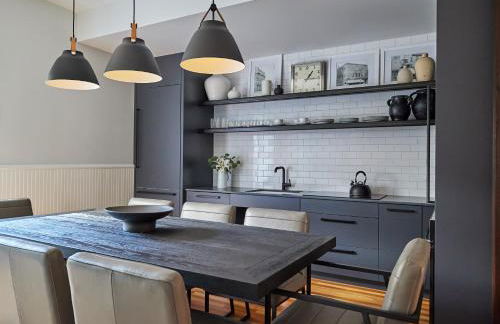
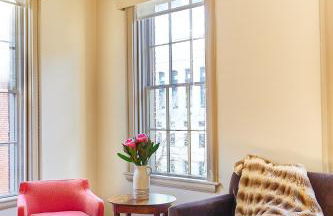
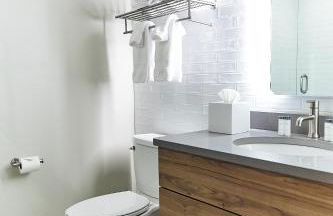
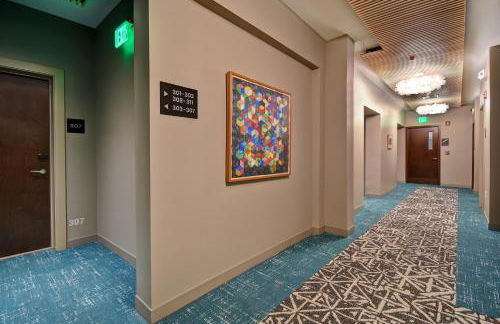
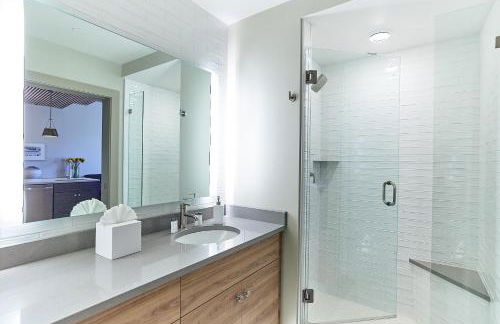
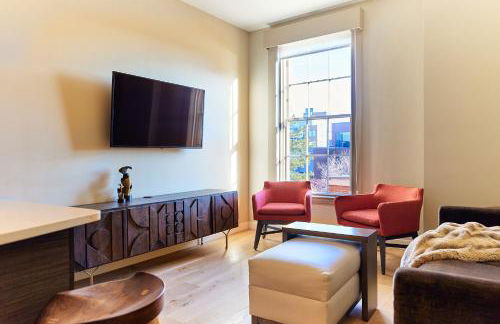
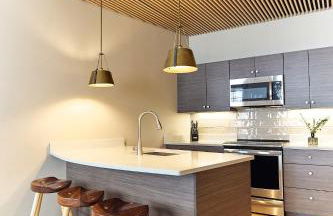
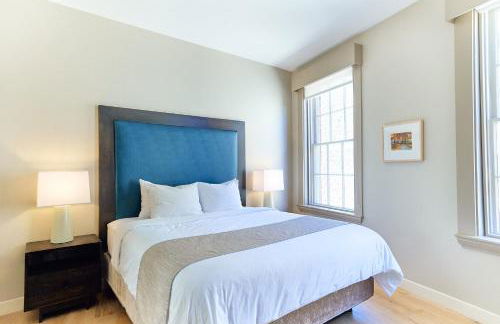
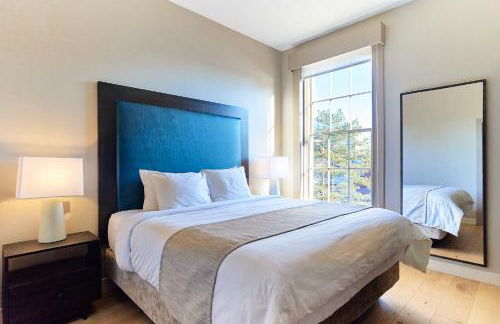
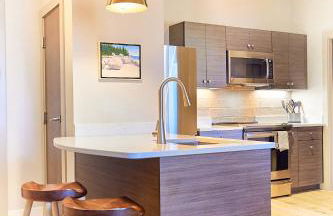
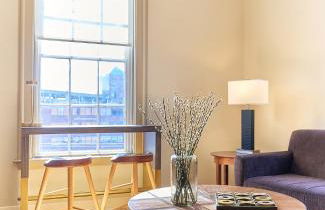
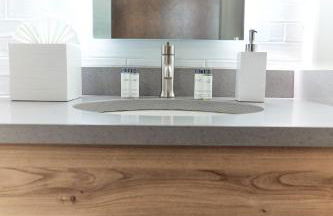
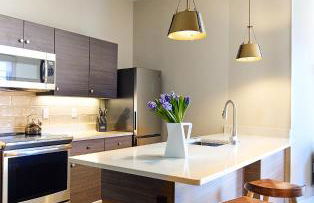
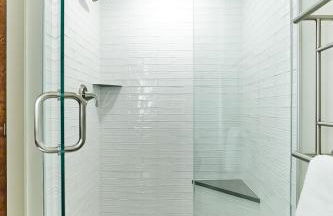
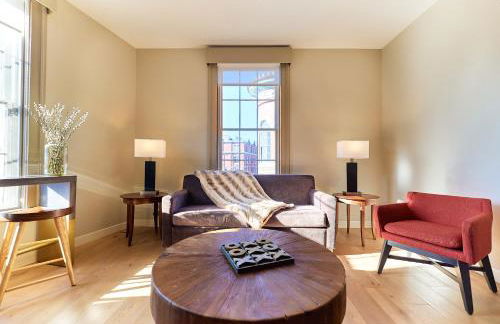
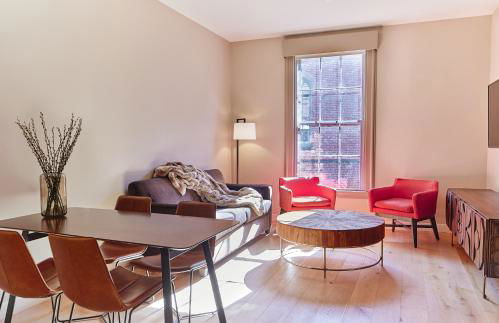
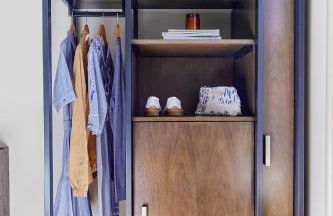
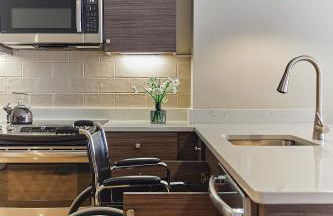
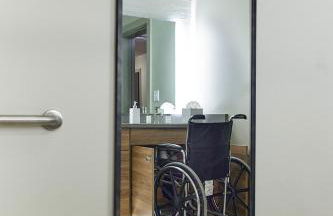
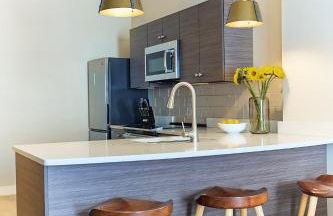
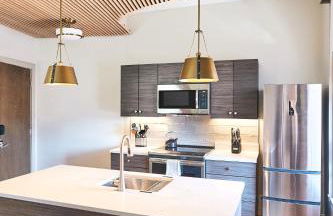
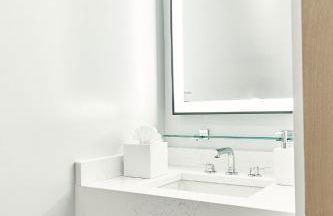
The Weldon Hotel
Portland - West End - A 230 m del centro
- 93 M2
- 5 personas
- Aire acondicionado
- Calefacción
- Parking
- Ascensor
- Televisión
- Lavadora
- Toallas
- Sábanas
56 reseñas


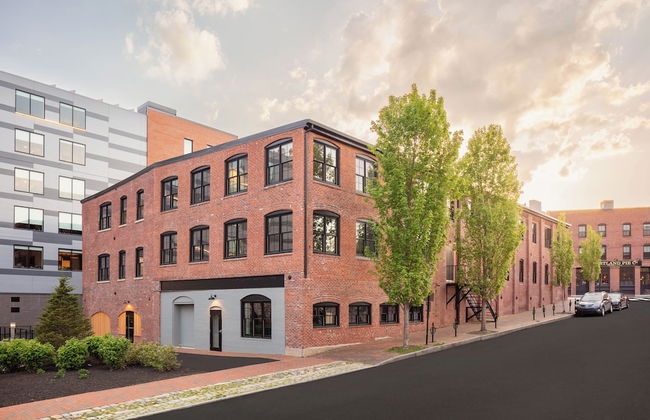
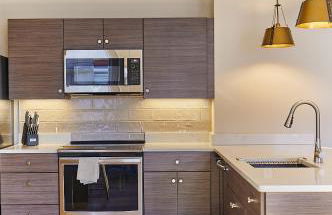
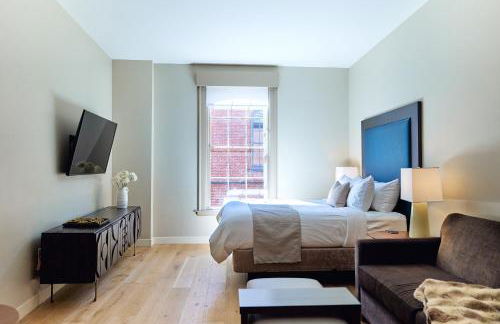
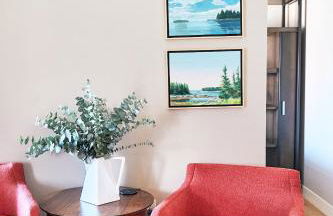
Island View House BnB Self Check-In
Portland - East End - A 610 m del centro
- 66 M2
- 3 habitaciones
- 6 personas
- Aire acondicionado
- Parking
154 reseñas


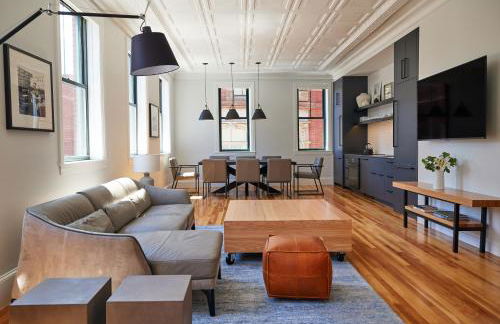
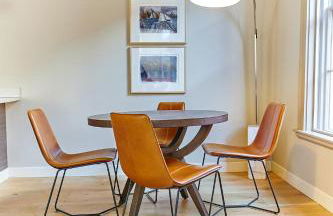
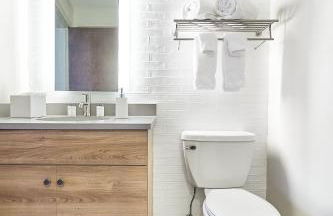
The Brew House - 2nd Floor Private Apartment
Portland - East End - A 610 m del centro
- 84 M2
- 2 personas
- Aire acondicionado
- Calefacción
- Parking
- Jardín
65 reseñas

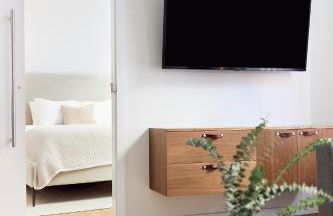


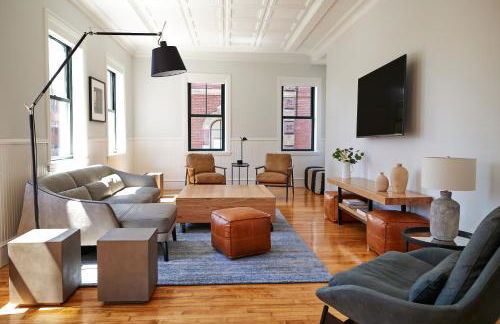


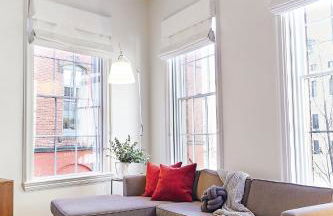


The Docent's Collection
Portland - Old Port - En el centro
- 232 M2
- 3 habitaciones
- 7 personas
- Aire acondicionado
- Parking
- Ascensor
106 reseñas

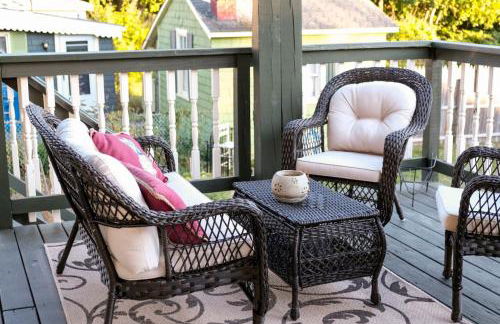


Top Deck Portland Property with Views
Portland - East Deering - A 2.1 km del centro
- 168 M2
- 3 habitaciones
- 12 personas
- Aire acondicionado
- Calefacción
- Terraza
- Parking
- Jardín
3 reseñas


East end. Walk to food, beer and downtown fun.
Portland - East End - A 300 m del centro
- 102 M2
- 2 habitaciones
- 4 personas
- Aire acondicionado
62 reseñas


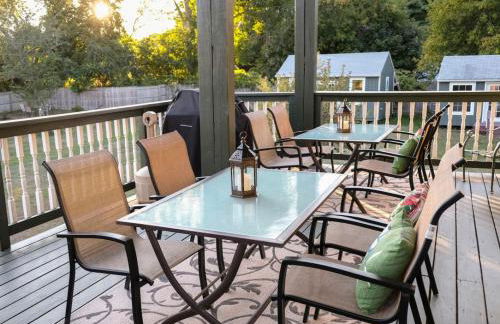
Peaceful Oasis on Munjoy Hill 2nd flr 3BR parking
Portland - East End - A 470 m del centro
- 146 M2
- 3 habitaciones
- 7 personas
- Aire acondicionado
- Calefacción
- Terraza
- Parking
- Jardín
4 reseñas


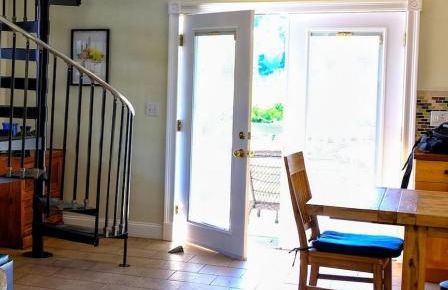
Good Vibes Portland Home - 4 Wonderful Seasons
Portland - North Deering - A 3.9 km del centro
- 134 M2
- 3 habitaciones
- 8 personas
- Aire acondicionado
- Calefacción
- Piscina
- Parking
- Jardín
- Barbacoa
7 reseñas


Spacious 2BR Old Port Loft, Steps from Waterfront
Portland - Old Port - En el centro
- 79 M2
- 2 habitaciones
- 4 personas
- Aire acondicionado
10 reseñas


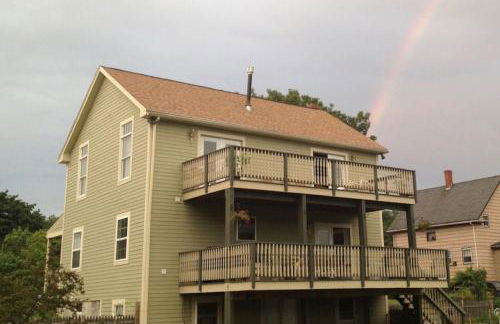
The Highland House
Portland - Highlands - A 2 km del centro
- 153 M2
- 3 habitaciones
- 7 personas
- Aire acondicionado
- Terraza
- Parking
- Jardín
4 reseñas


The Heart of the West End #3
Portland - West End - A 910 m del centro
- 84 M2
- 2 habitaciones
- 4 personas
- Calefacción
5 reseñas


Private Entrance Residential Portland
Portland - Deering - A 3.1 km del centro
- 46 M2
- 2 personas
- Aire acondicionado
- Parking
3 reseñas


Oakdale Area Nice Location
Portland - Highlands - A 1.9 km del centro
- 93 M2
- 2 habitaciones
- 4 personas
- Parking
3 reseñas


Cumberland Casa - A
Portland - Parkside - A 360 m del centro
- 102 M2
- 2 habitaciones
- 6 personas
- Aire acondicionado
- Calefacción
14 reseñas


Haven on the Hill
Portland - East End - A 490 m del centro
- 102 M2
- 2 habitaciones
- 4 personas
- Aire acondicionado
- Calefacción
5 reseñas


The Heart of the West End #4
Portland - West End - A 910 m del centro
- 84 M2
- 2 habitaciones
- 4 personas
- Calefacción
3 reseñas