

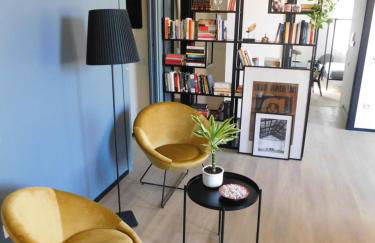


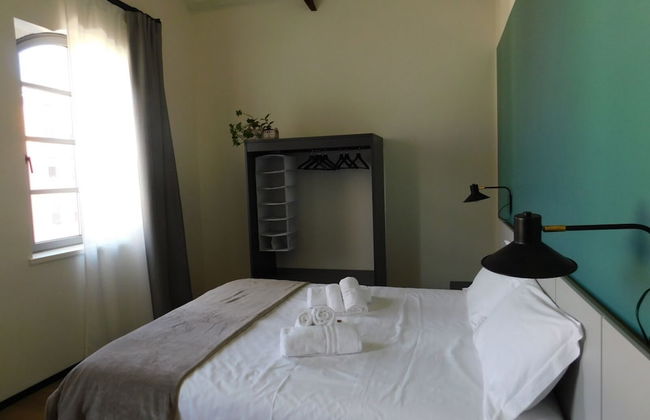


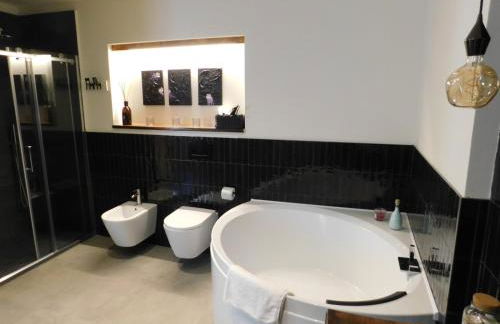

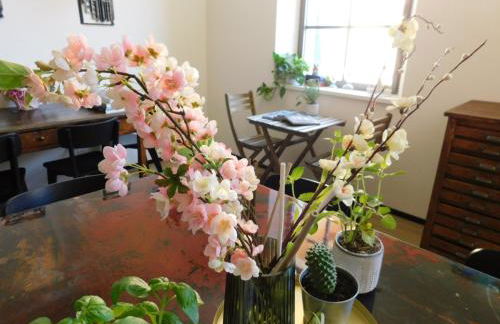


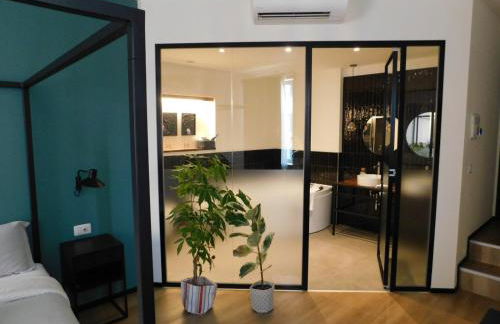


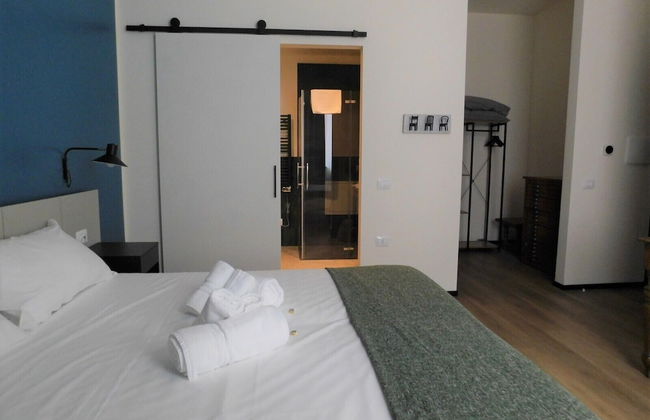


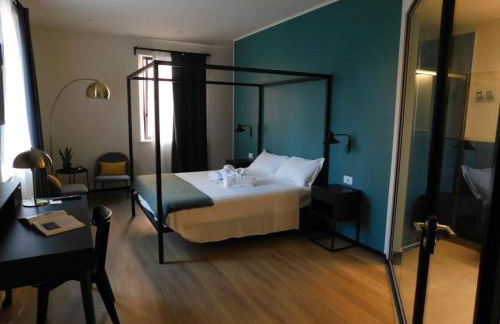


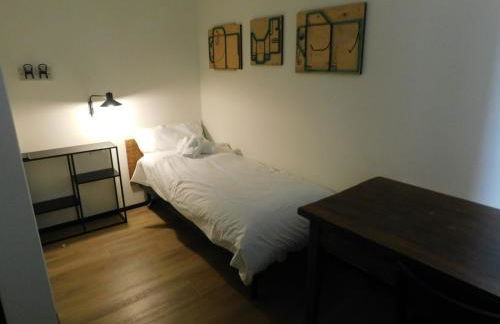


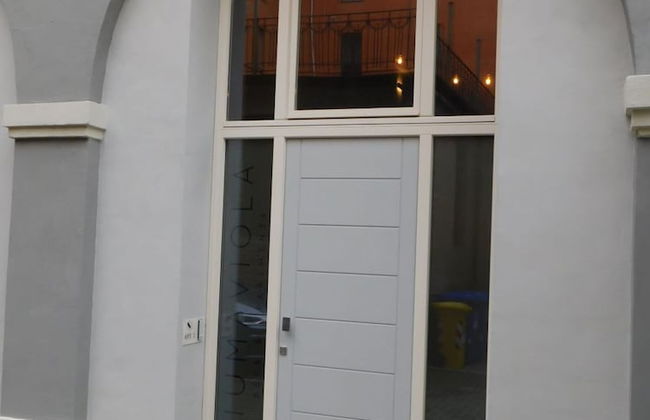
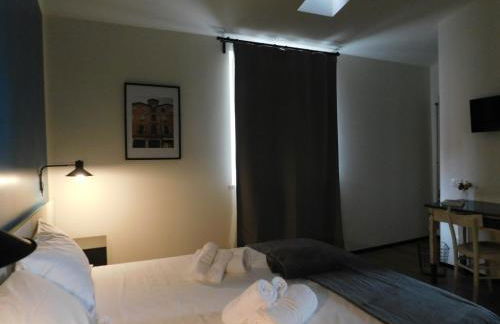


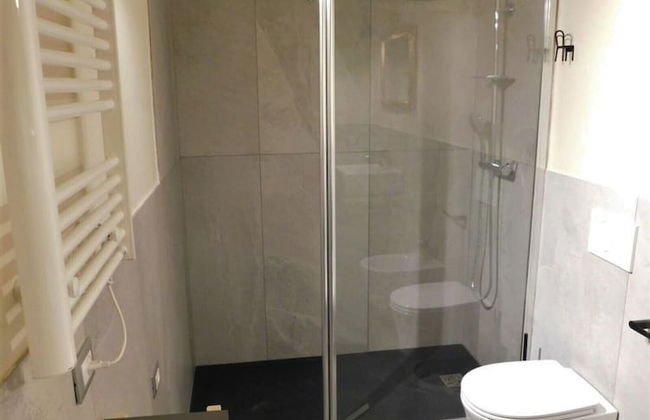
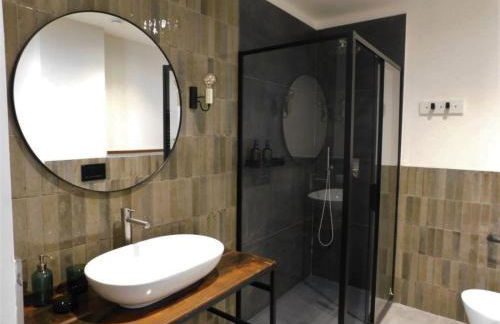

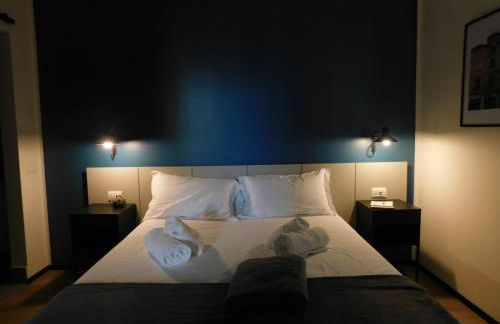


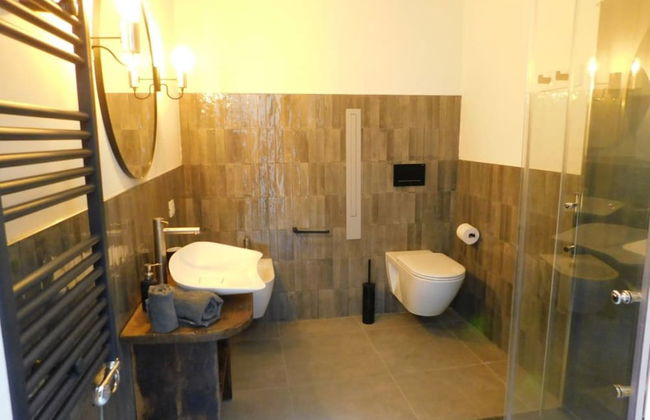


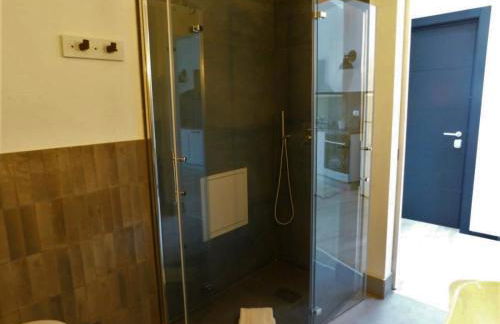


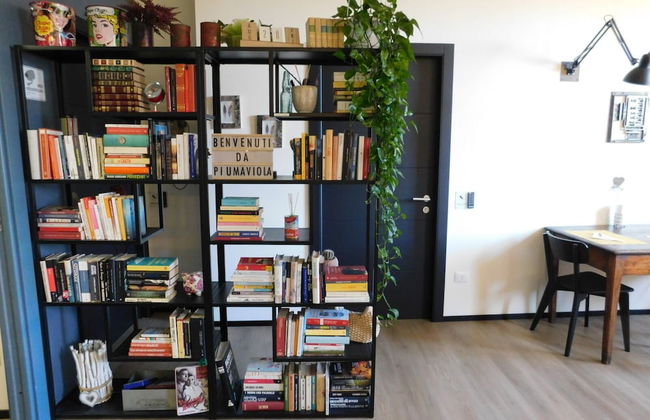

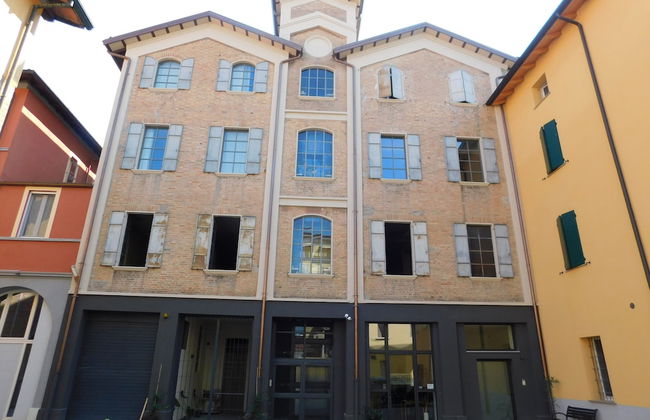


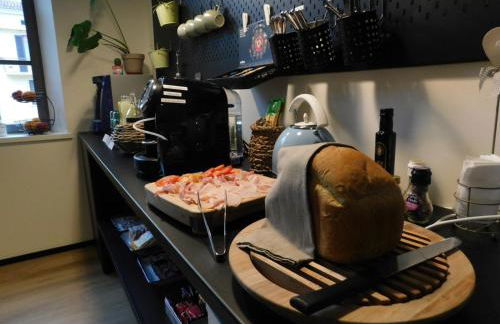


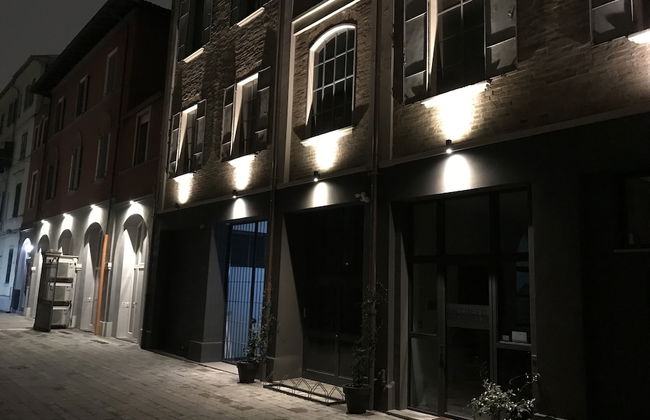
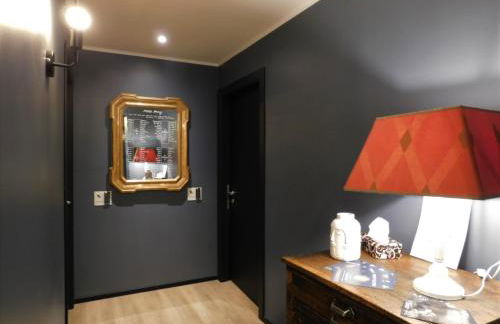
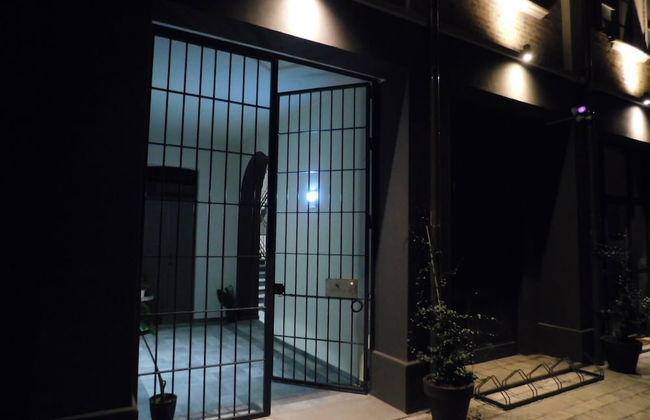

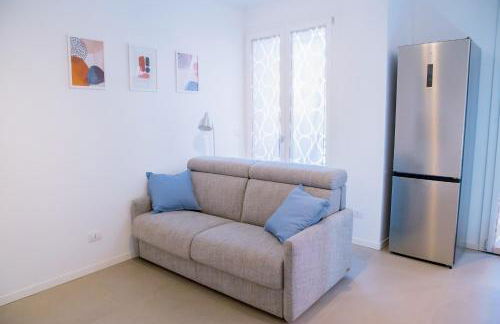
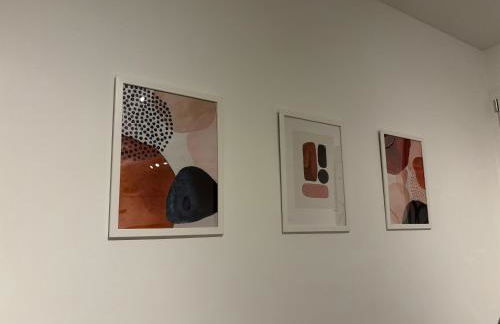
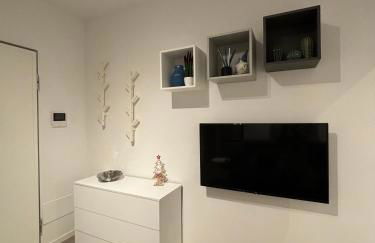
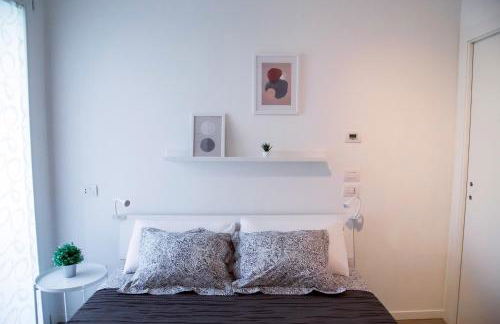
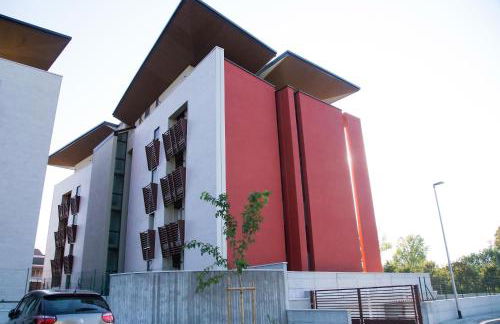
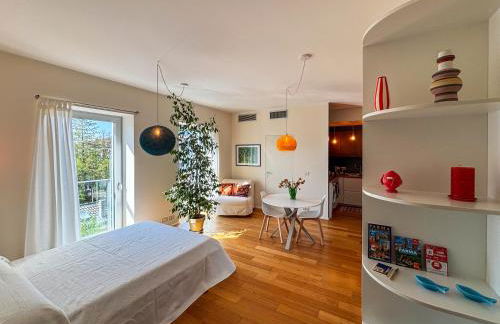
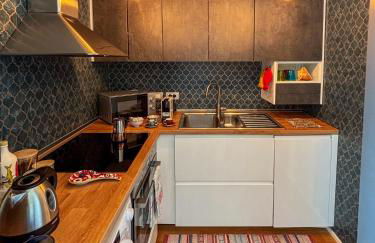
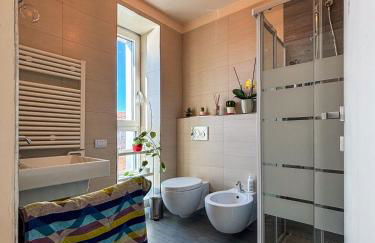
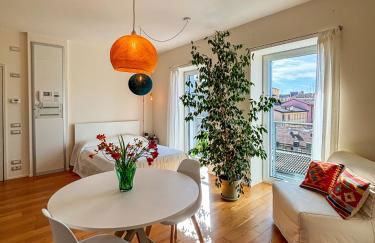
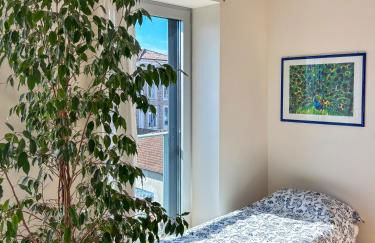
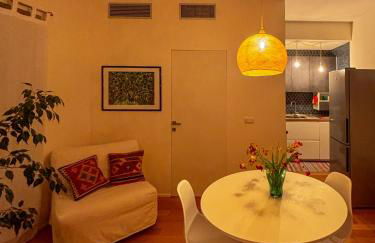
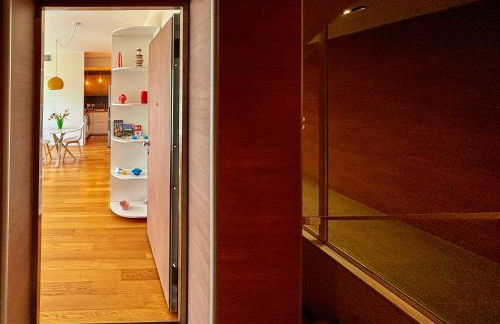
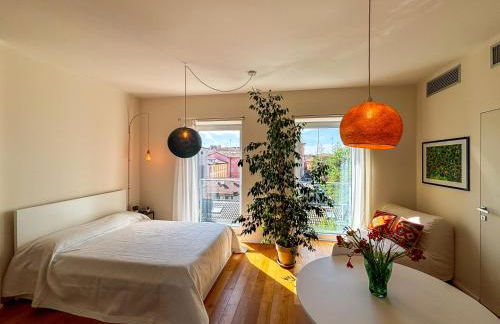
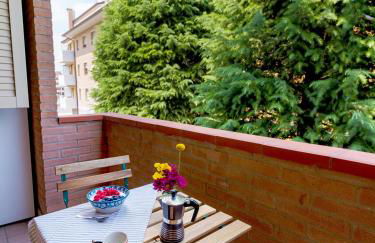
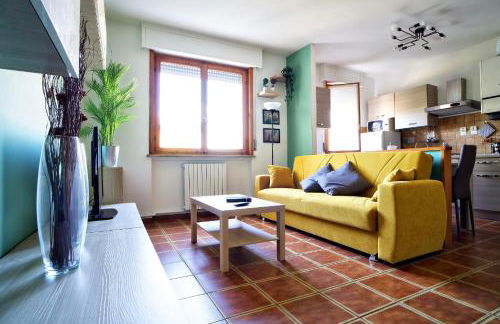
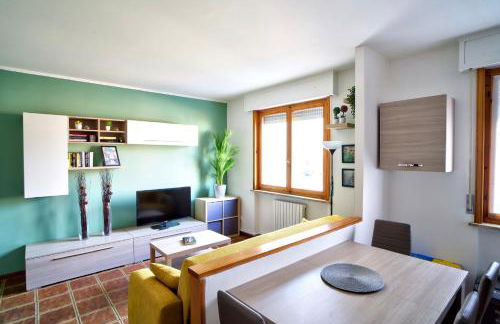
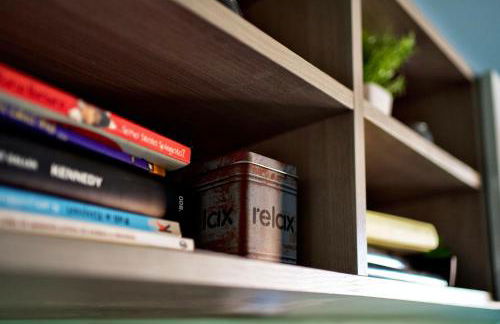
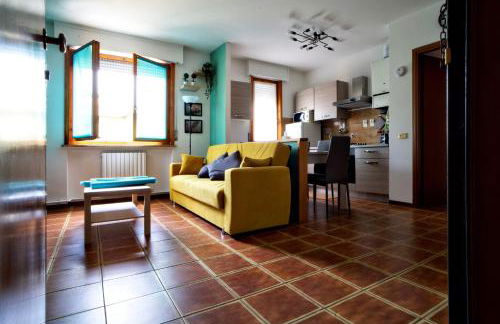
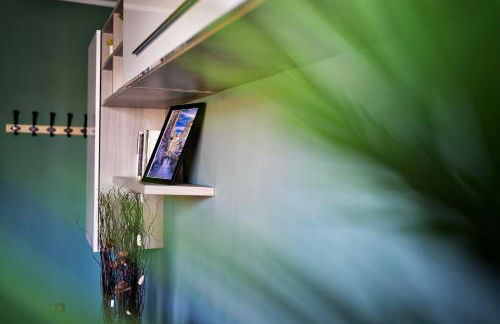
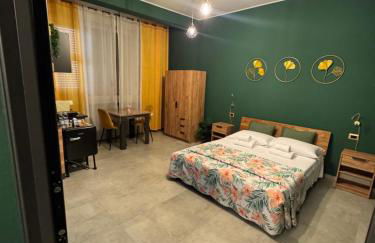
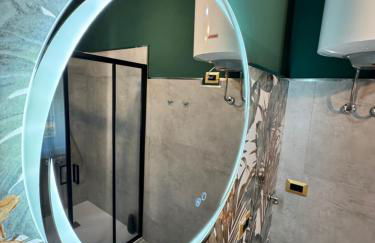
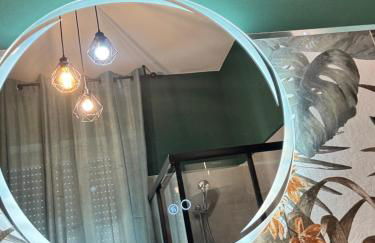
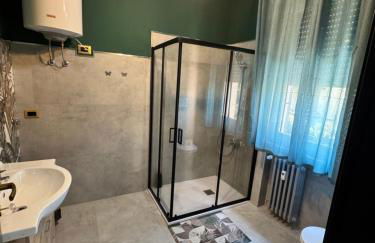
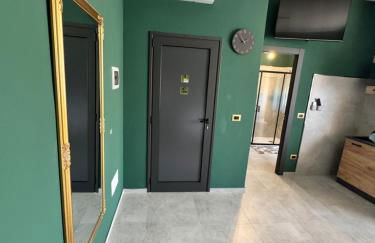
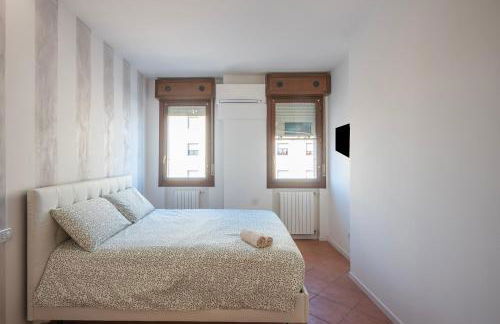
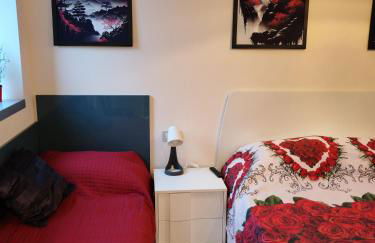
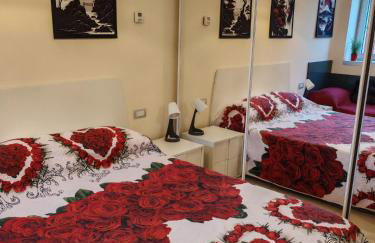
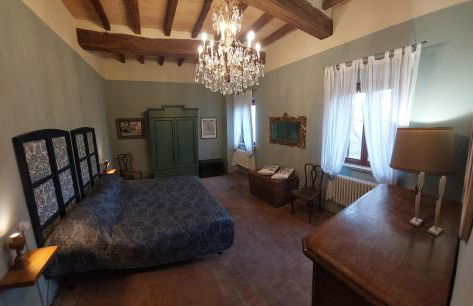
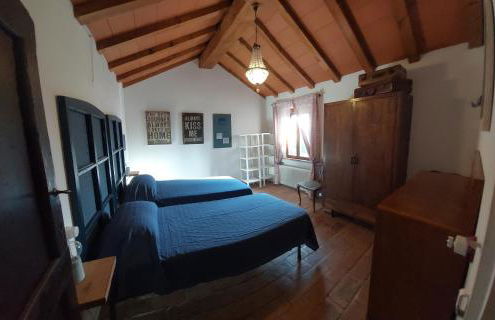
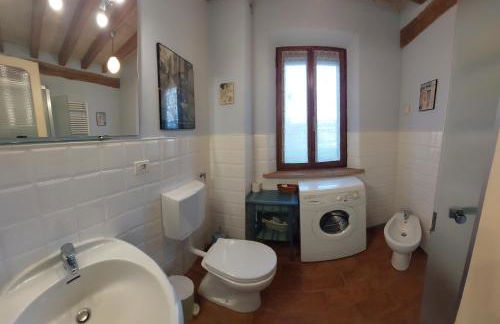
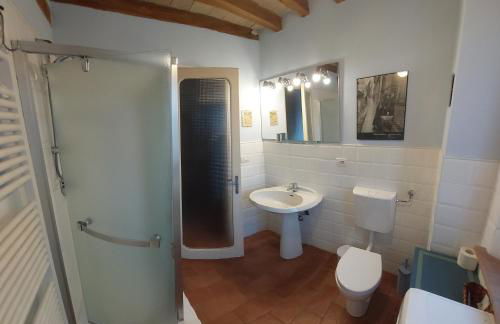
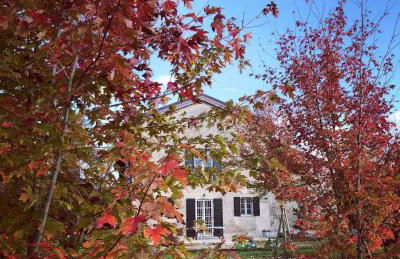
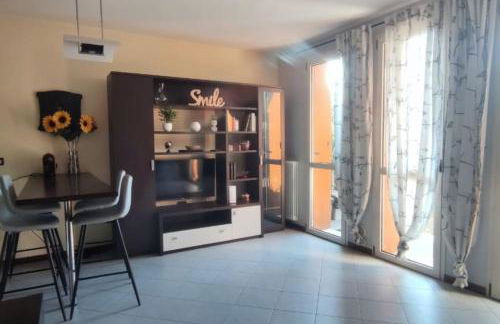
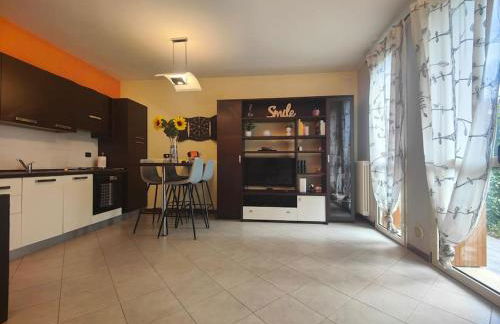
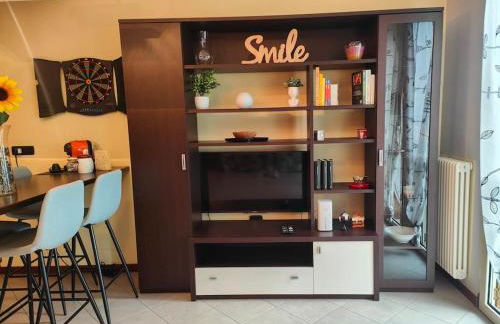
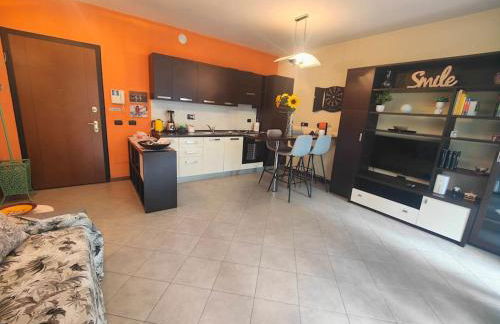
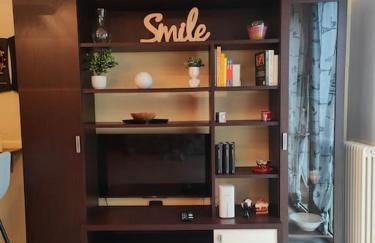
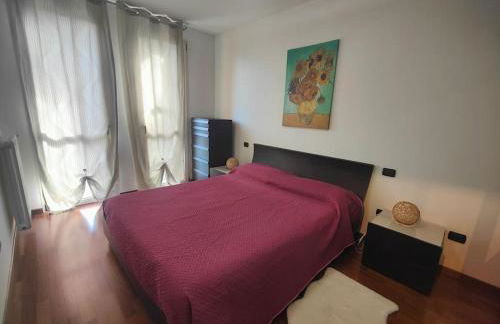
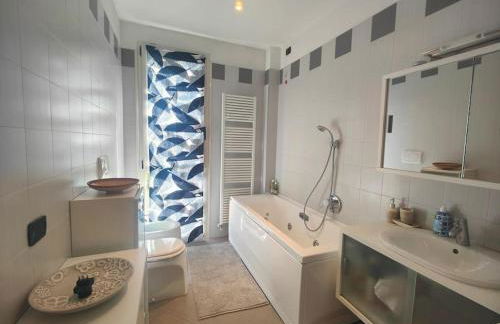
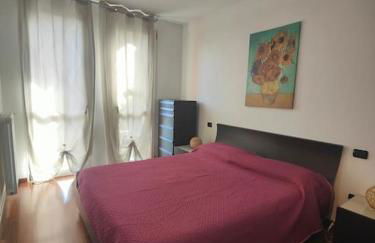
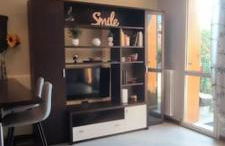
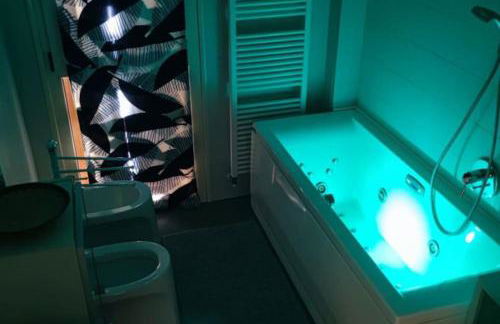
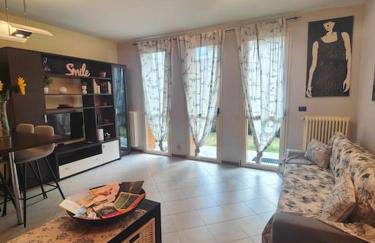
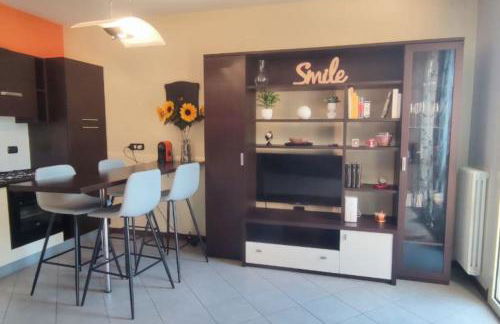
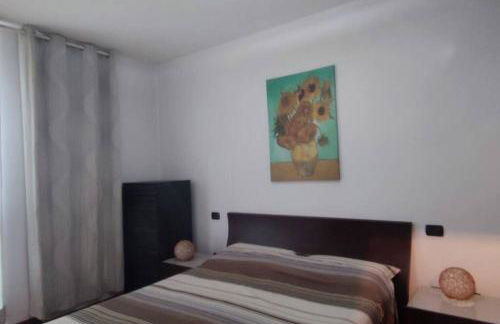
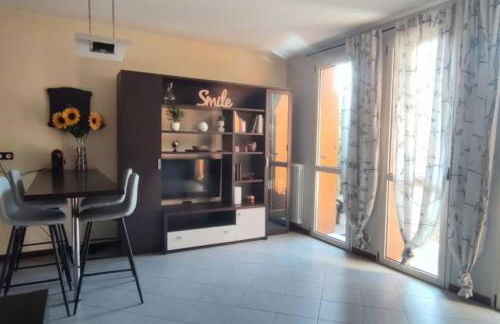
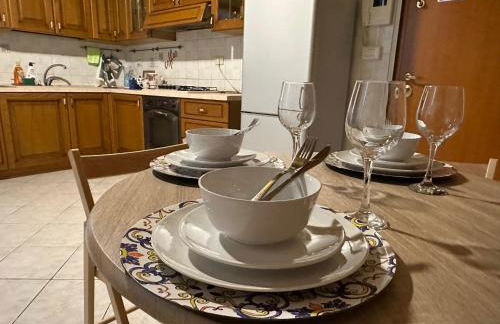
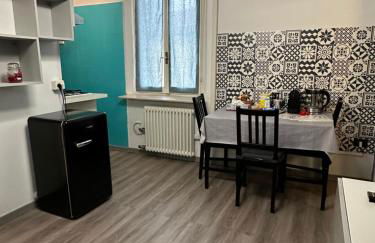
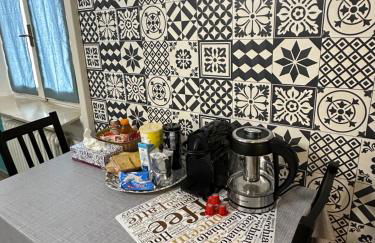
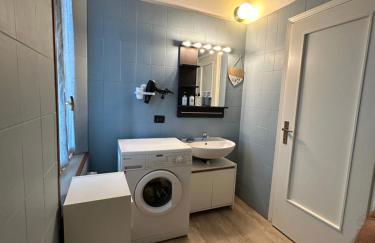
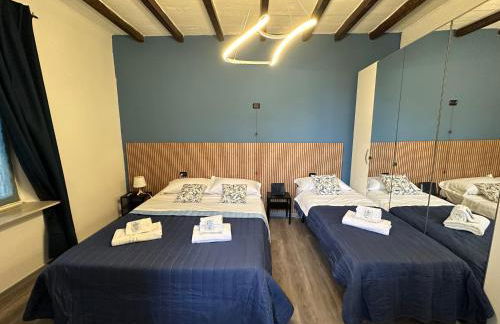
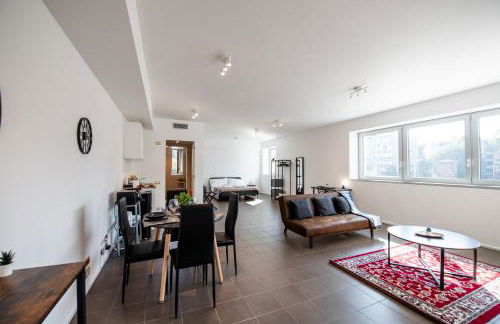
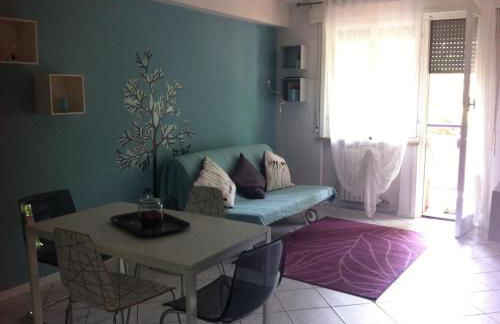
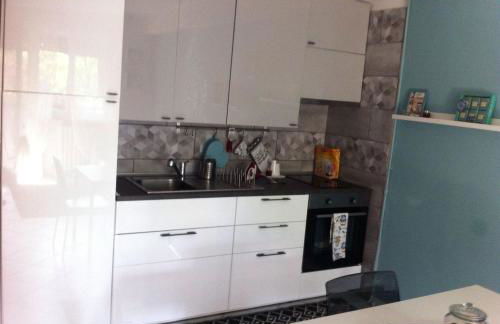
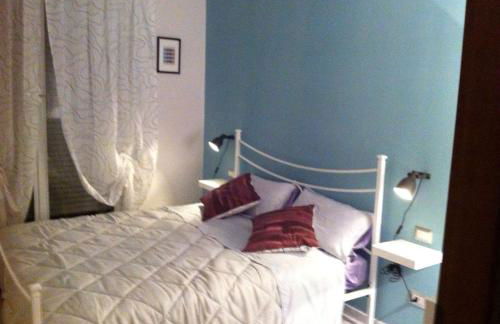
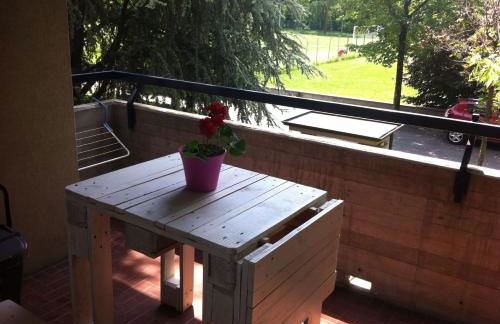
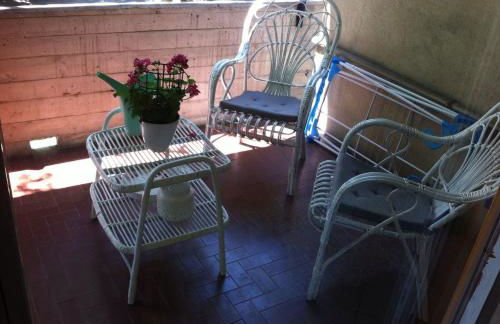
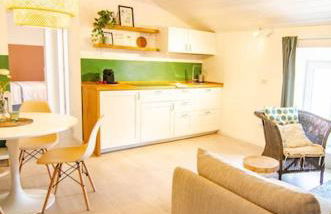
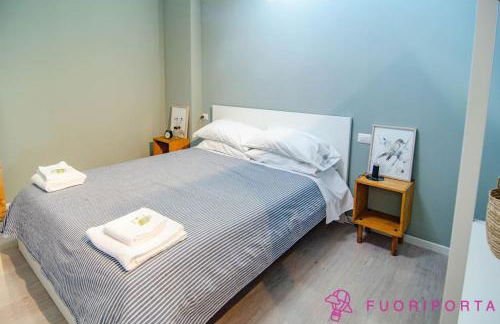
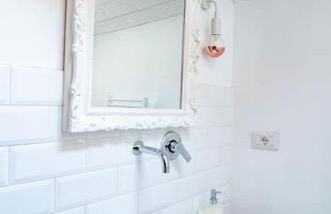
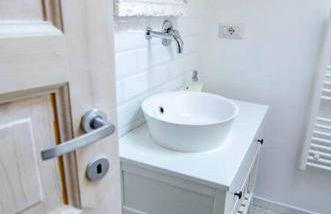
Piumaviola Beds & Apartments
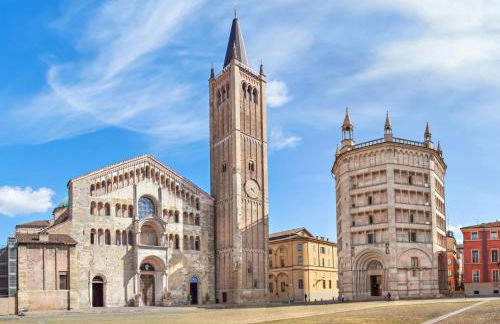
Parma - San Leonardo - A 1.1 km del centro
- 59 M2
- 1 habitación
- 4 personas
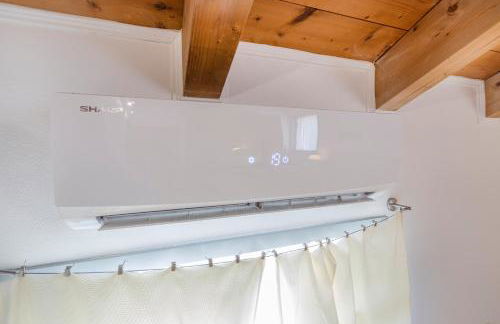
- Aire acondicionado
- Calefacción
- Parking
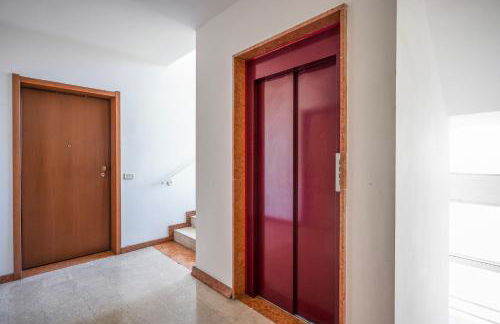
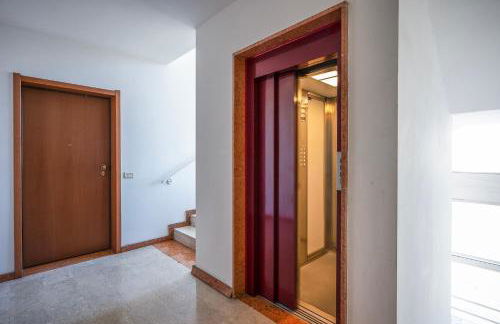
- Ascensor
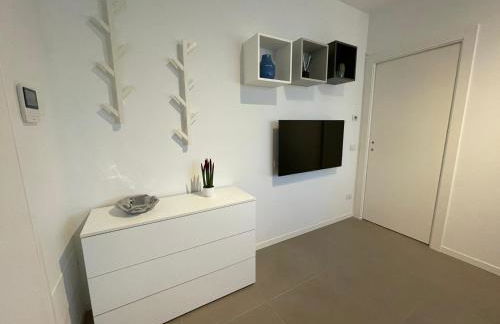
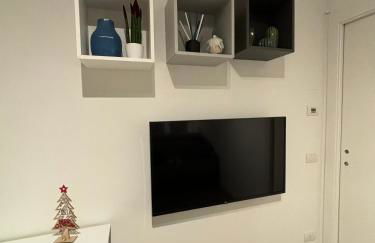
- Televisión
- Toallas
- Sábanas


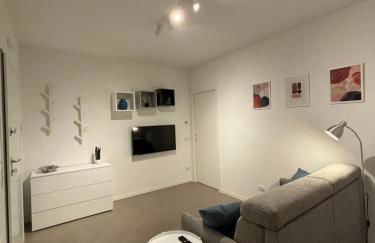


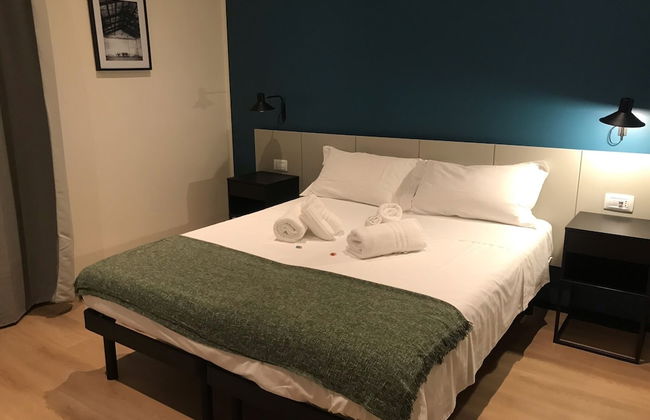
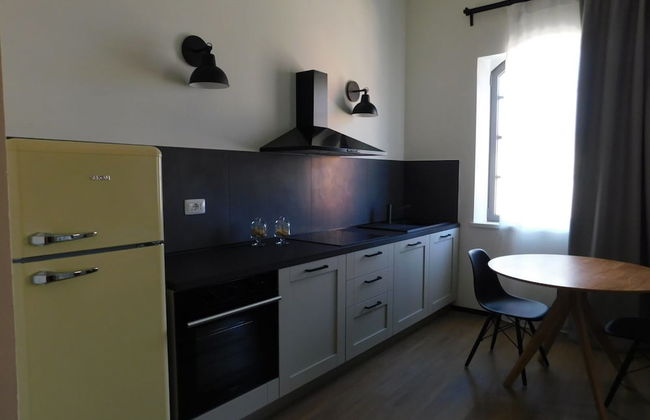
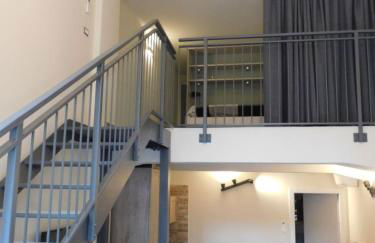
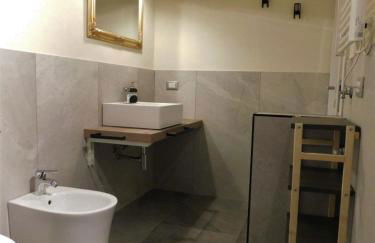
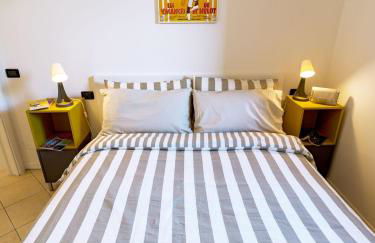
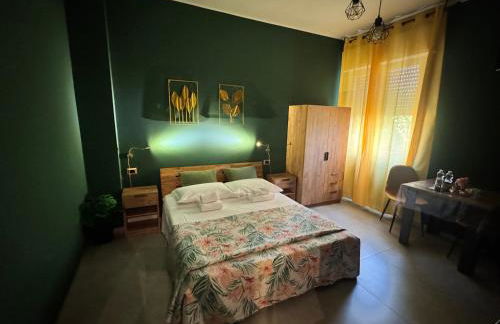
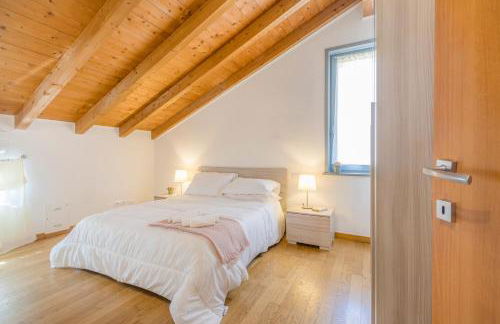
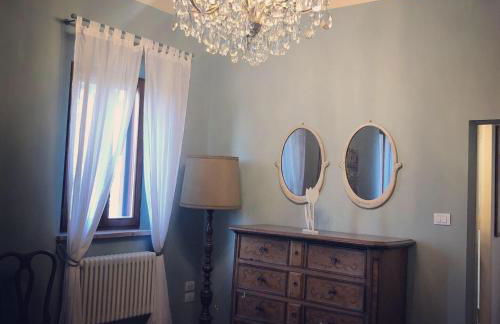
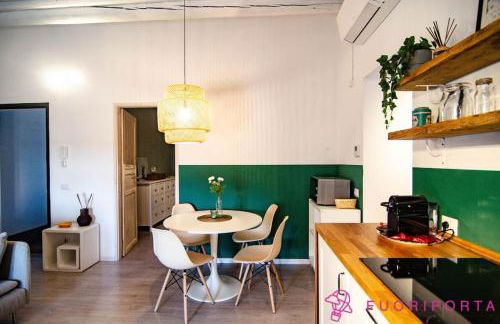
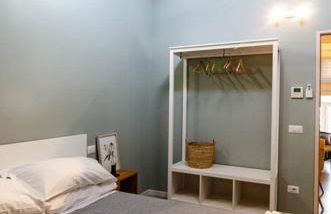
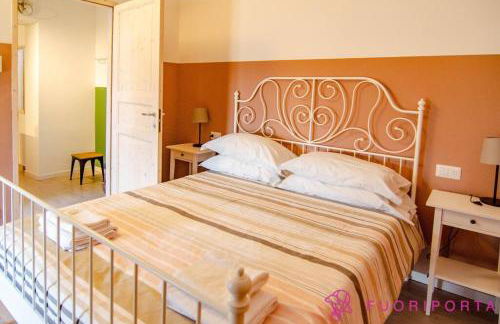
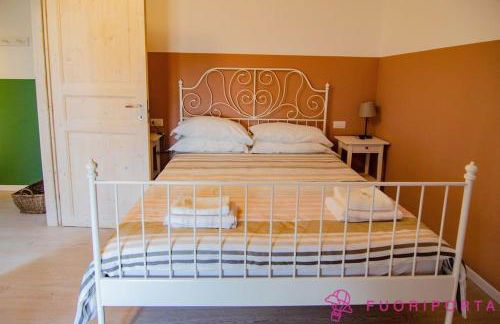
SUITE NAVIGLIO 26
Parma - San Leonardo - A 1.3 km del centro
- 50 M2
- 1 habitación
- 4 personas
- Aire acondicionado
- Calefacción
- Parking
- Ascensor


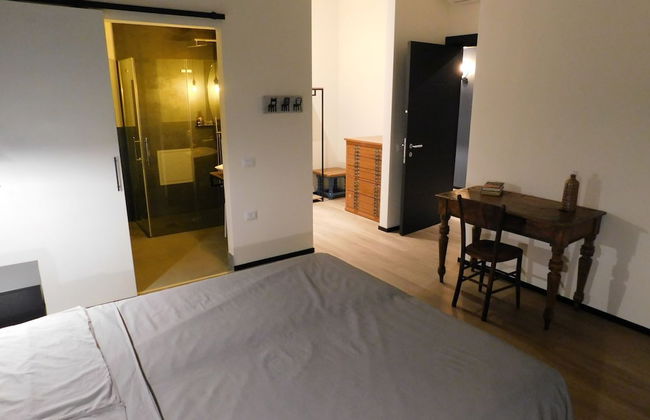
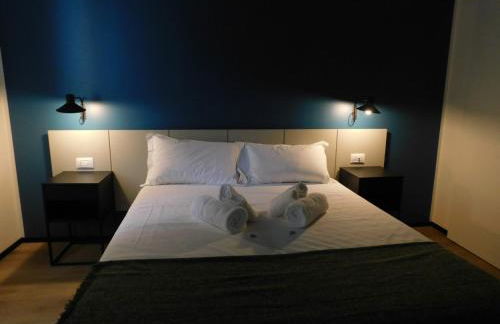
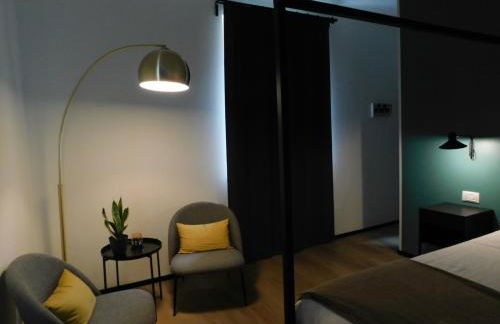
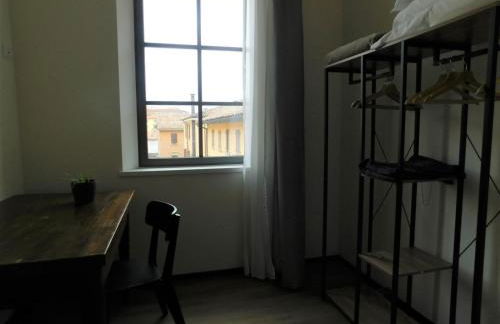
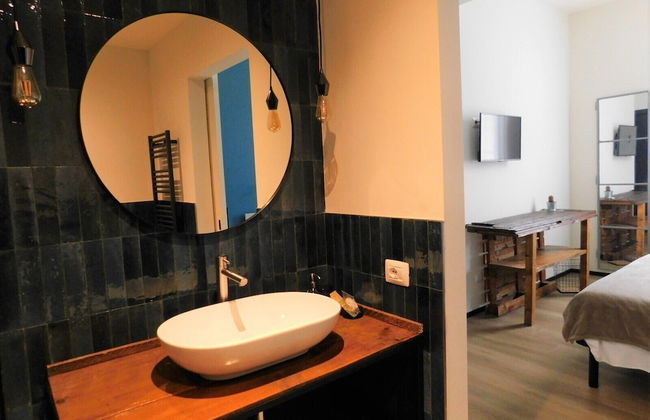
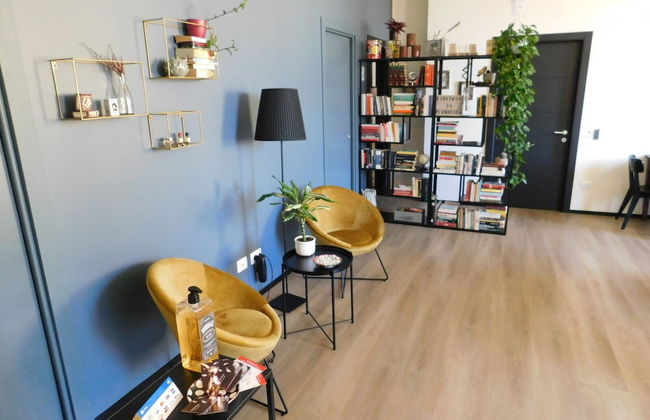
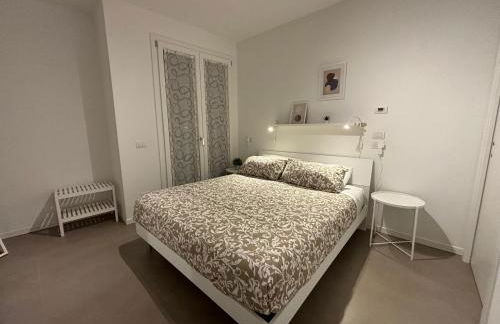
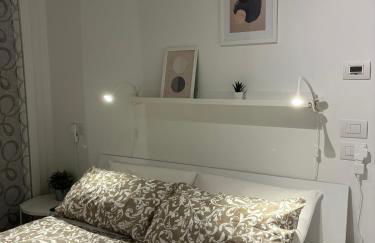
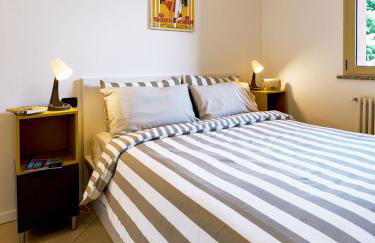
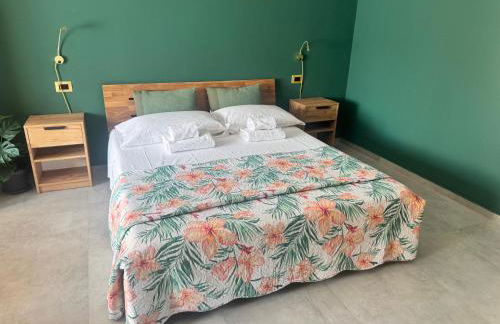
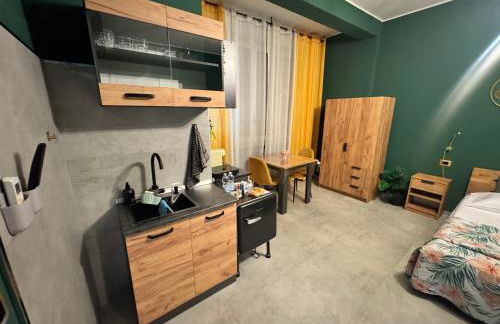
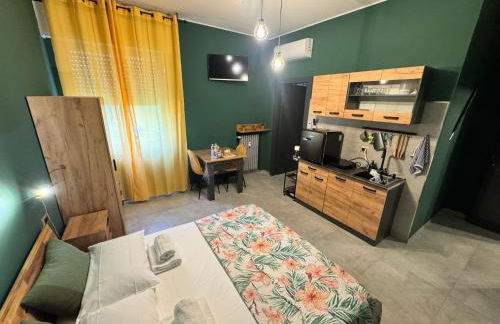
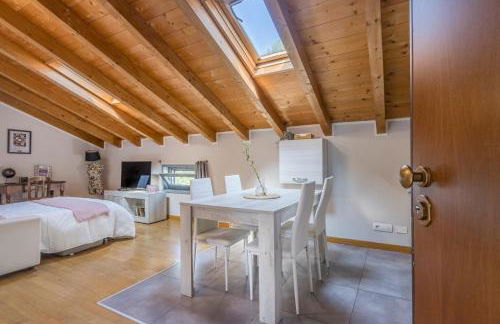
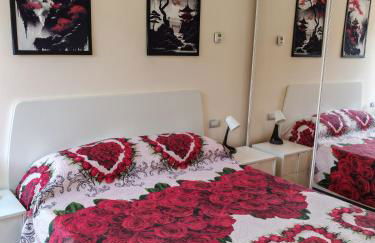
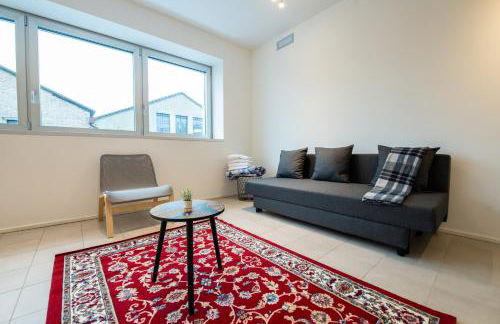
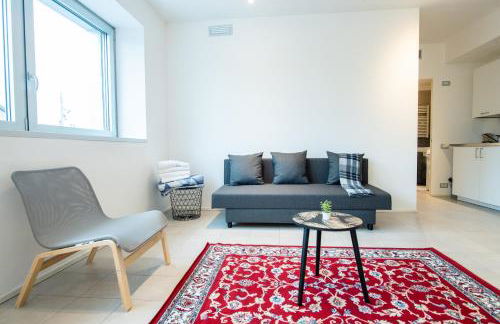
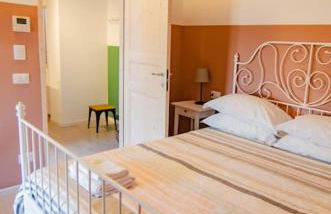
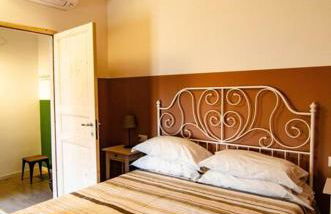
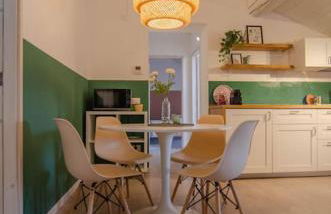
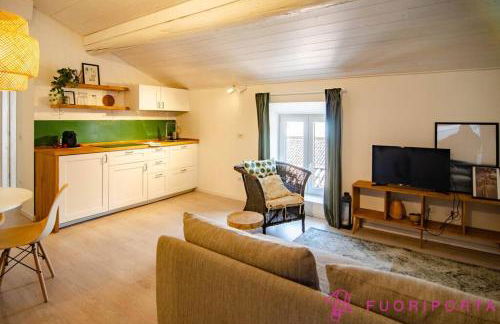
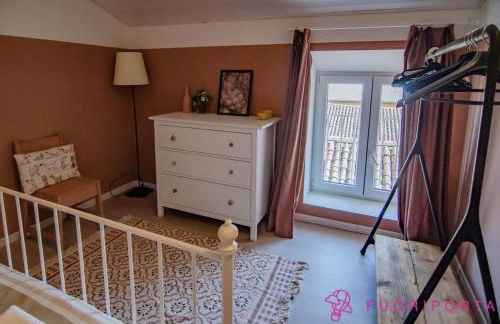
SUITE VOLVER - Exclusive Design Apartment
Parma - San Leonardo - A 1 km del centro
- 45 M2
- 1 habitación
- 3 personas
- Aire acondicionado
- Calefacción
- Ascensor


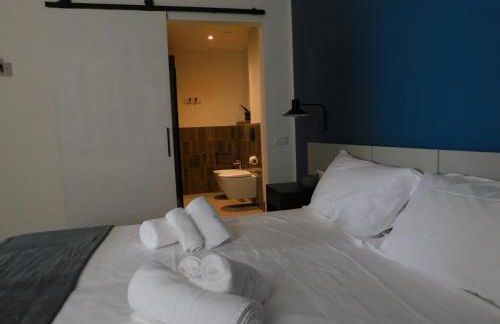
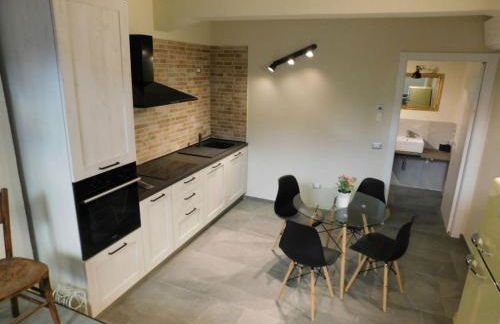
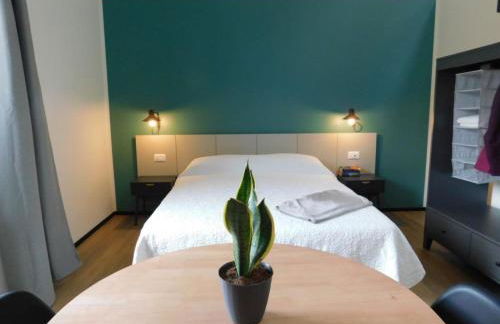
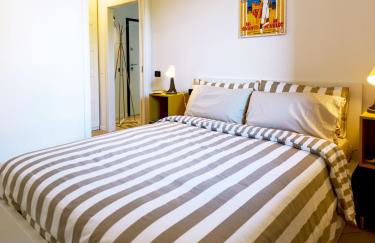
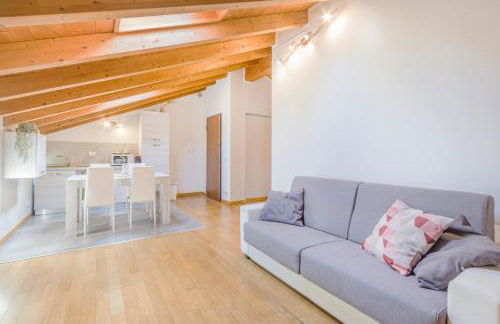
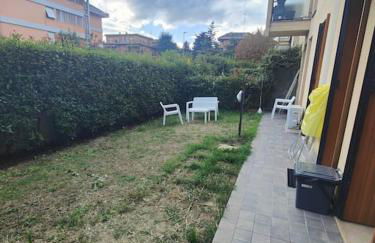
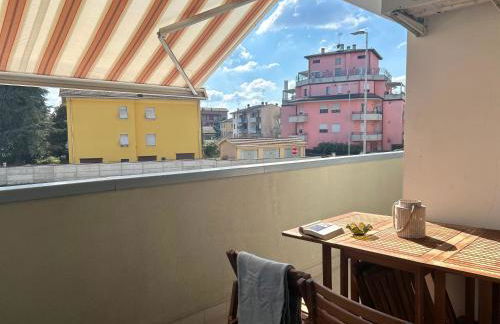
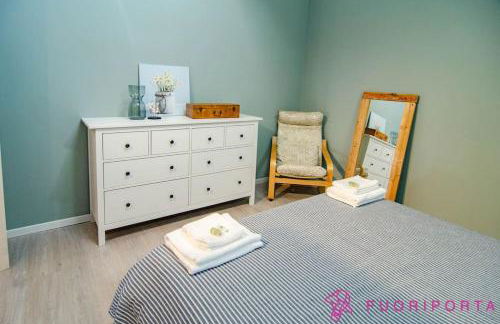
Appartamento con terrazzo
Parma - San Leonardo - A 530 m del centro
- 70 M2
- 2 personas
- Aire acondicionado
- Calefacción
- Terraza
- Parking
- Ascensor


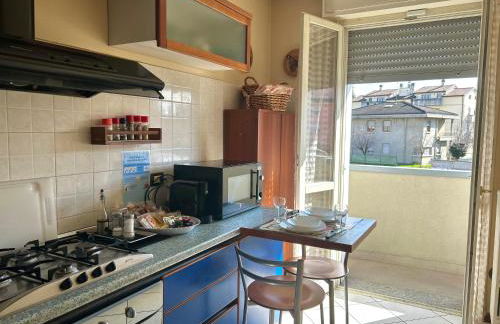
Burò il Viaggiatore
Parma - San Leonardo - A 350 m del centro
- 50 M2
- 2 personas
- Aire acondicionado
- Calefacción
- Parking
- Ascensor


Sc Sweet House Parma
Parma - San Leonardo - A 1000 m del centro
- 55 M2
- 1 habitación
- 4 personas
- Calefacción
- Parking
- Ascensor


Casa Zoe Apartment Free parking,self check in & free wi fi
Parma - San Leonardo - A 420 m del centro
- 69 M2
- 1 habitación
- 3 personas
- Aire acondicionado
- Calefacción
- Parking
- Ascensor


Royal Bergamo
Parma - San Leonardo - A 830 m del centro
- 33 M2
- 3 personas
- Aire acondicionado
- Calefacción
- Parking
- Ascensor


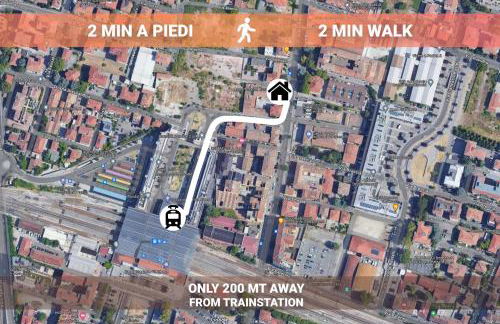
Stazione a 200m - Centro - Easy Parma Stay
Parma - San Leonardo - A 1.2 km del centro
- 45 M2
- 1 habitación
- 4 personas
- Aire acondicionado
- Calefacción
- Parking


Bologna41
Parma - San Leonardo - A 1 km del centro
- 42 M2
- 2 personas
- Aire acondicionado
- Calefacción
- Parking
- Ascensor


Casa Bibi Parma
Parma - San Leonardo - A 1 km del centro
- 42 M2
- 1 habitación
- 4 personas
- Calefacción
- Parking
- Ascensor


Stazione 200m - Wifi - Aria condizionata - Smart TV
Parma - San Leonardo - A 1.2 km del centro
- 40 M2
- 1 habitación
- 5 personas
- Aire acondicionado


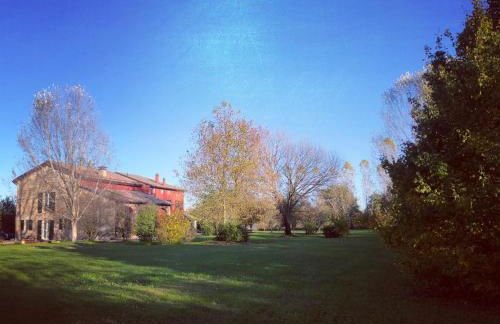
Romantic apartment garden parking in Parma city Villa Podere Merlo
Parma - San Leonardo - A 1.9 km del centro
- 60 M2
- 2 habitaciones
- 4 personas
- Calefacción
- Terraza
- Parking
- Jardín


GLAMOUR HOUSE, Comoda a tutti i servizi
Parma - San Leonardo - A 1.3 km del centro
- 55 M2
- 1 habitación
- 4 personas
- Aire acondicionado
- Terraza
- Parking
- Jardín


AOSTA 3
Parma - San Leonardo - A 1.3 km del centro
- 50 M2
- 1 habitación
- 3 personas
- Aire acondicionado
- Parking
- Jardín


Loft Smart Parma l Wi-Fi Fibra, Indipendente, Perfetto per Business e Coppie
Parma - San Leonardo - A 1.1 km del centro
- 70 M2
- 1 habitación
- 2 personas
- Aire acondicionado
- Calefacción
- Ascensor


Appartamento al Parco CIR03407AT00243
Parma - San Leonardo - A 420 m del centro
- 60 M2
- 1 habitación
- 4 personas
- Aire acondicionado
- Calefacción
- Terraza
- Parking
- Ascensor


Testi experience
Parma - San Leonardo - A 530 m del centro
- 62 M2
- 2 personas
- Aire acondicionado
- Terraza
- Parking


Corte 1 con parcheggio gratuito
Parma - San Leonardo - A 1.2 km del centro
- 2 habitaciones
- 4 personas
- Aire acondicionado
- Parking


Forum Guest House FREE Private Parking
Parma - San Leonardo - A 840 m del centro
- 25 M2
- 3 personas
- Aire acondicionado
- Calefacción
- Terraza
- Parking