
112 Apartamentos en Shaver


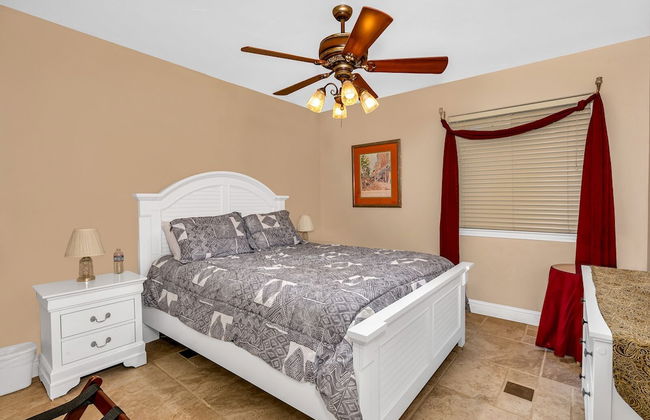
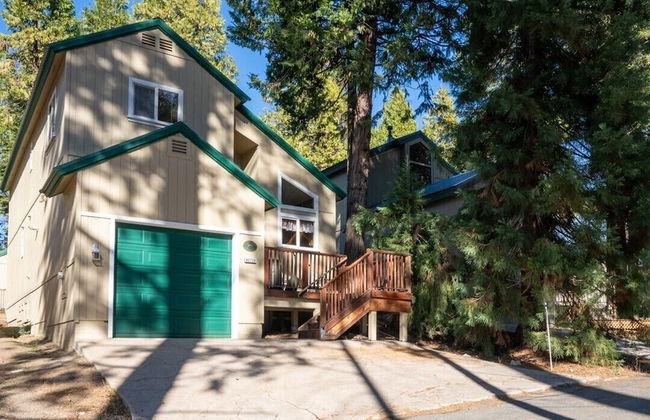
3 Mi to Shaver Lake Cozy Bears Hideaway Cabin!
Shaver
- 123 M2
- 3 habitaciones
- 8 personas
- Calefacción
- Parking
10 reseñas


Rustic Knotty Pine - Minutes to the Water!
Shaver
- 138 M2
- 1 habitación
- 7 personas
- Calefacción
- Parking
- Jardín
2 reseñas


The Elderberry Retreat - It's a Dream Location!
Shaver
- 134 M2
- 3 habitaciones
- 8 personas
- Aire acondicionado
- Calefacción
- Parking
- Barbacoa
3 reseñas


Bear Meadow Cabin at Shaver Lake
Shaver
- 121 M2
- 3 habitaciones
- 8 personas
- Calefacción
- Parking
- Jardín
4 reseñas


Granite View Lodge - Minutes From Water
Shaver
- 238 M2
- 4 habitaciones
- 13 personas
- Calefacción
- Parking
3 reseñas


A Tuscan Adventure in California! 3 BDR Sleeps 8
Shaver
- 135 M2
- 3 habitaciones
- 8 personas
- Calefacción
- Parking
- Jardín
- Barbacoa
3 reseñas


Fox Den- Pet Friendly Suite in Shaver Lake
Shaver
- 51 M2
- 1 habitación
- 2 personas
- Aire acondicionado
- Calefacción
- Parking
- Barbacoa
16 reseñas


Buckeye Bear's Den-AC-Walking Distance to town
Shaver
- 174 M2
- 4 habitaciones
- 14 personas
- Aire acondicionado
- Calefacción
- Parking
- Barbacoa
4 reseñas


Piece of Paradise Dream Deck AC
Shaver
- 153 M2
- 3 habitaciones
- 8 personas
- Aire acondicionado
- Calefacción
- Parking
- Barbacoa
3 reseñas


Creekside Cabin - Pup-Friendly with AC
Shaver
- 187 M2
- 4 habitaciones
- 8 personas
- Aire acondicionado
- Calefacción
- Parking
- Barbacoa
2 reseñas


The Cedar House Prime Spot Kayaks & Cool AC
Shaver
- 91 M2
- 2 habitaciones
- 6 personas
- Aire acondicionado
- Calefacción
- Parking
- Barbacoa
2 reseñas


Lux Western Cabin Pool Table Ping Pong Vibes
Shaver
- 222 M2
- 3 habitaciones
- 8 personas
- Calefacción
- Parking
- Barbacoa
3 reseñas


Shaver Lake, 4 BDR HOT TUB Misty Mountain Retreat
Shaver
- 214 M2
- 1 habitación
- 12 personas
- Calefacción
- Parking
- Jardín
- Barbacoa
2 reseñas


Toste Cabin- Spacious 3BR Cabin in East Village!
Shaver
- 149 M2
- 8 personas
- Calefacción
- Parking
- Barbacoa
2 reseñas


Sierra Pines Villa Deck Jetted Tub Game Rm
Shaver
- 251 M2
- 5 habitaciones
- 13 personas
- Calefacción
- Parking
- Barbacoa
3 reseñas


Little Cozy Cabin
Shaver
- 111 M2
- 3 habitaciones
- 8 personas
- Aire acondicionado
- Calefacción
- Jardín
- Barbacoa
2 reseñas


Dogwood Peak Mid-Century A-Frame with AC Style
Shaver
- 89 M2
- 2 habitaciones
- 5 personas
- Aire acondicionado
- Calefacción
- Parking
- Barbacoa
5 reseñas