
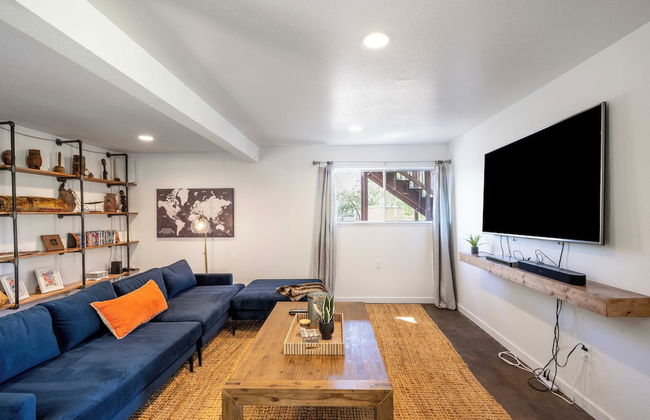
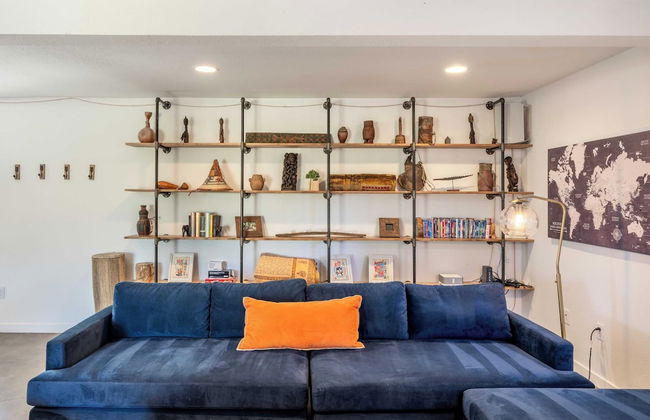
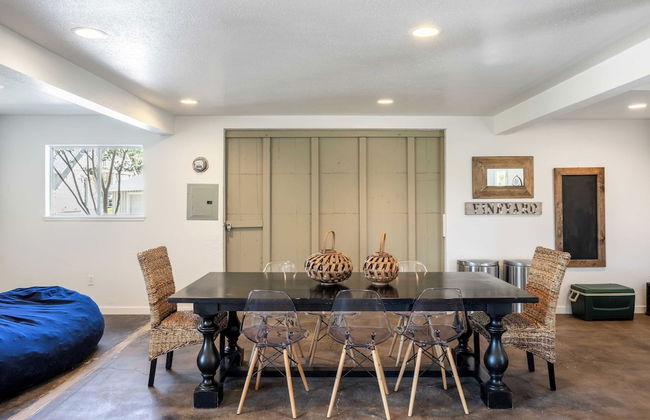
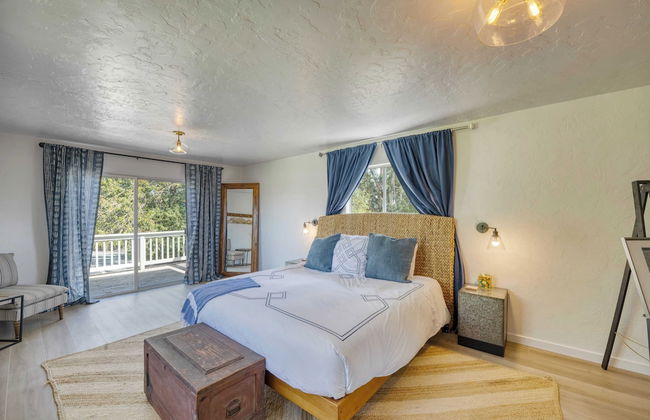
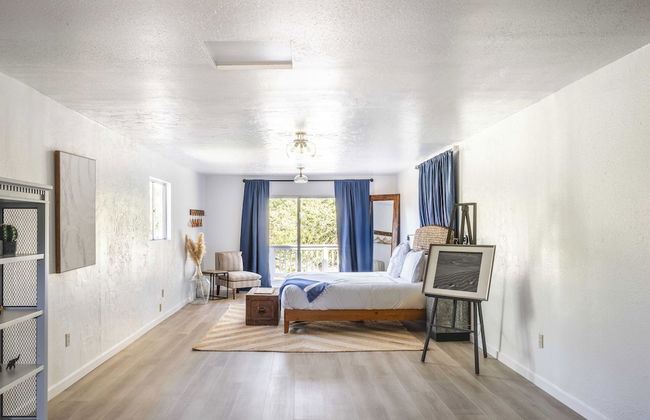
67 Apartamentos en Sonoma


Cottages at Little Saint
Healdsburg
- 93 M2
- 4 personas
- Aire acondicionado
- Calefacción
- Terraza
- Piscina
- Parking
- Balcón
- Jardín
- Televisión
- Chimenea
- Toallas
- Sábanas
68 reseñas


León by Avantstay Private Breathtaking Character Cottage w/ Pool & Hot Tub
Santa Rosa - A 3.1 km del centro
- 206 M2
- 8 personas
- Calefacción
- Piscina
- Parking
- Televisión
- Lavadora
- Barbacoa
- Toallas
- Sábanas
1 reseña


Syrah by Avantstay Hilltop Haven in Sonoma Private Pool + Patio
Sonoma
- 327 M2
- 10 personas
- Aire acondicionado
- Calefacción
- Terraza
- Piscina
- Parking
- Televisión
- Lavadora
- Chimenea
- Barbacoa
- Toallas
- Sábanas
1 reseña


Mataro by Avantstay Large & Elegant Home in Santa Rosa w/ Hot Tub & Games
Santa Rosa - A 3.5 km del centro
- 231 M2
- 8 personas
- Aire acondicionado
- Calefacción
- Terraza
- Parking
- Balcón
- Televisión
- Lavadora
- Chimenea
- Barbacoa
- Toallas
- Sábanas
1 reseña


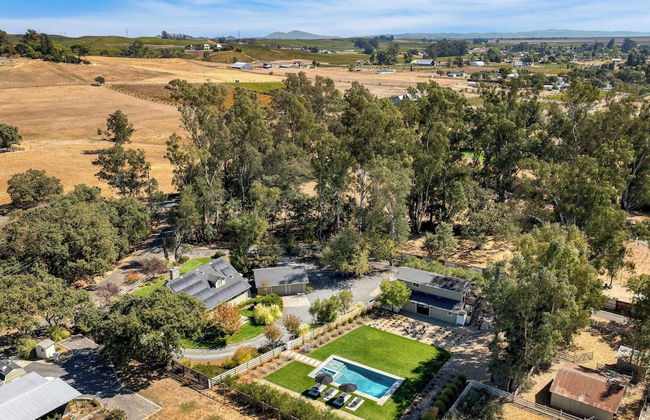


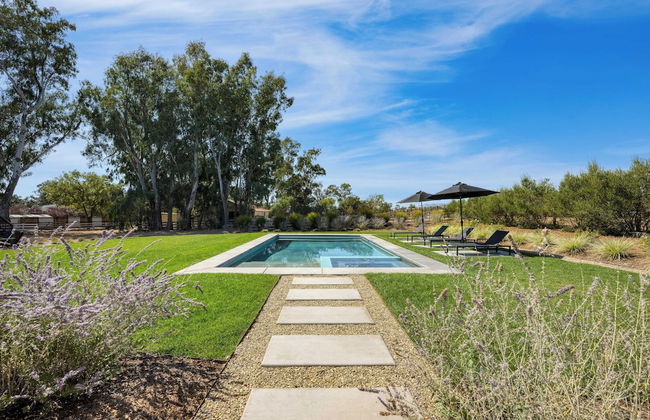


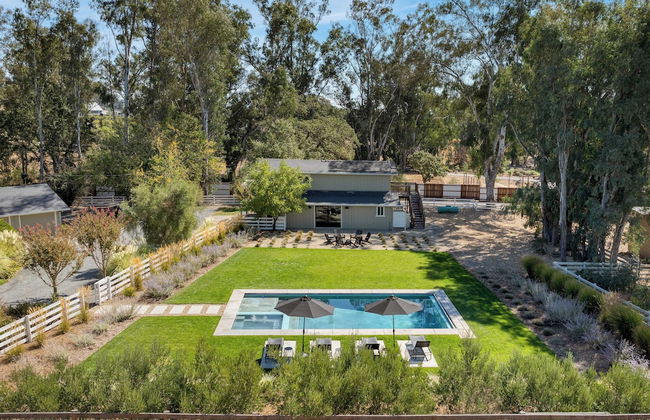


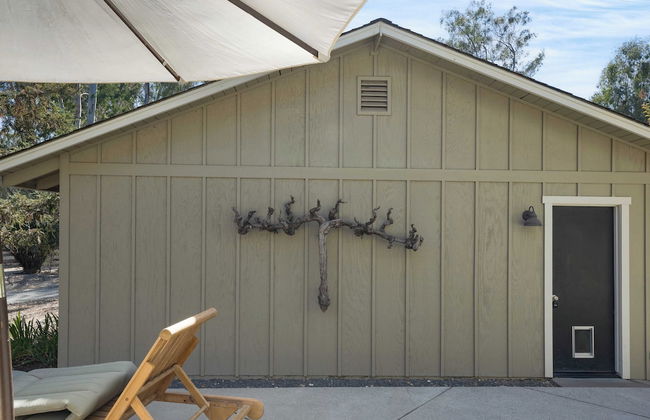

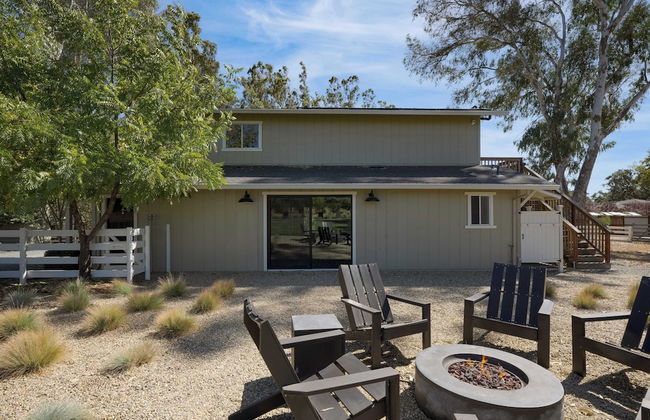


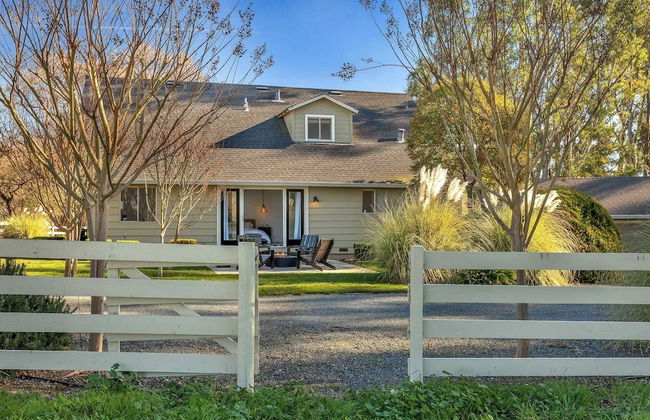


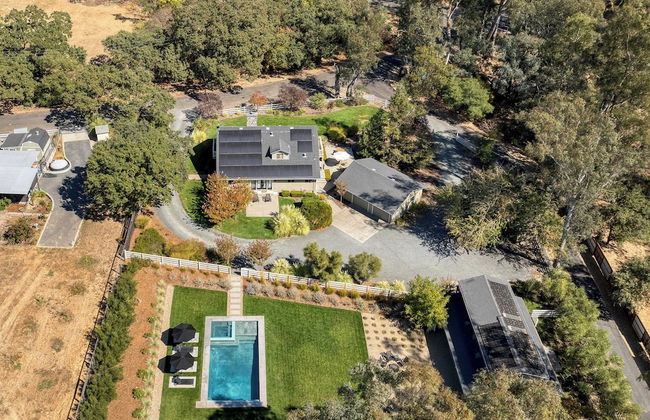

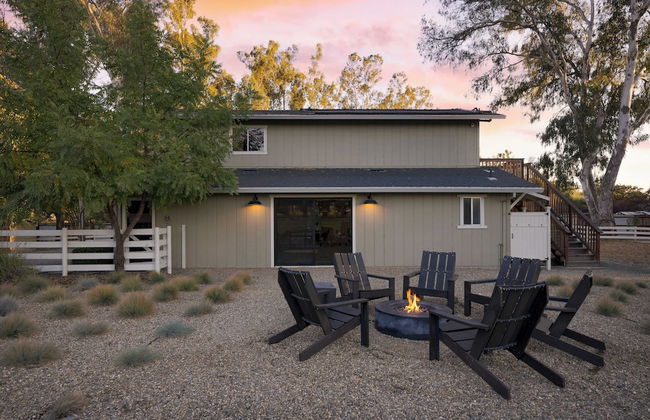


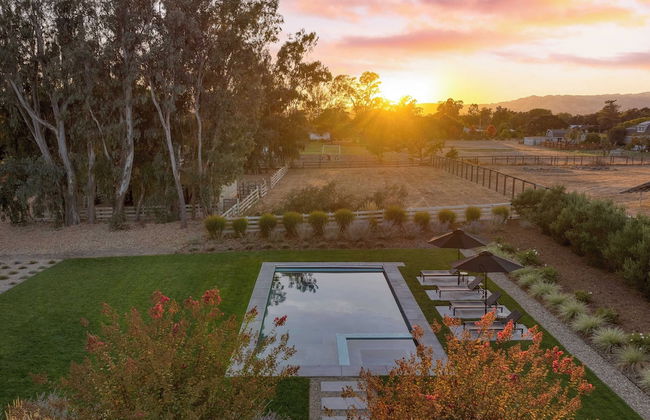

Wine Country Estate by Avantstay Pool, Spa, Barn
Sonoma
- 241 M2
- 8 personas
- Aire acondicionado
- Calefacción
- Terraza
- Piscina
- Parking
- Lavadora
- Chimenea
- Barbacoa
- Toallas
- Sábanas


Chianti by Avantstay Stunning Secluded Ranch w/ Pickleball Court & Barn
Cloverdale
- 420 M2
- 8 personas
- Aire acondicionado
- Calefacción
- Terraza
- Piscina
- Parking
- Televisión
- Lavadora
- Chimenea
- Barbacoa
- Sábanas


Gable by Avantstay Beautiful 3.5 Acre Oasis w/ Gorgeous Views, Pool & Hot Tub
Santa Rosa - A 12.4 km del centro
- 268 M2
- 10 personas
- Aire acondicionado
- Calefacción
- Terraza
- Piscina
- Parking
- Televisión
- Lavadora
- Chimenea
- Barbacoa
- Toallas
- Sábanas