
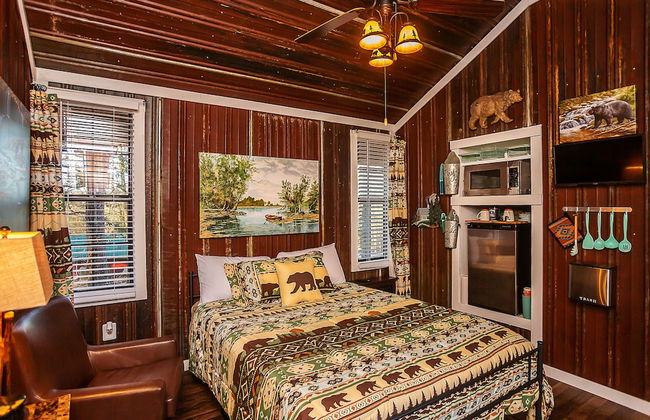
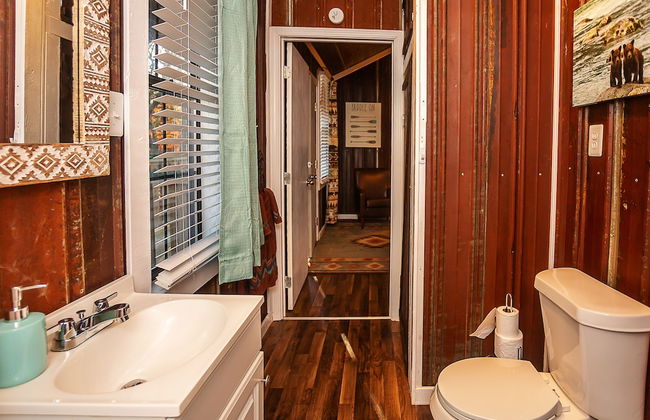
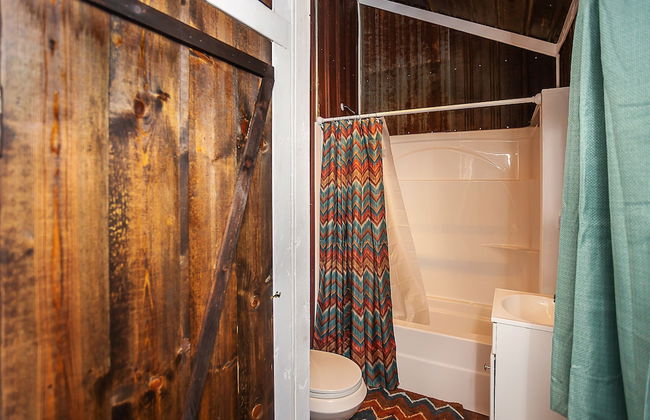
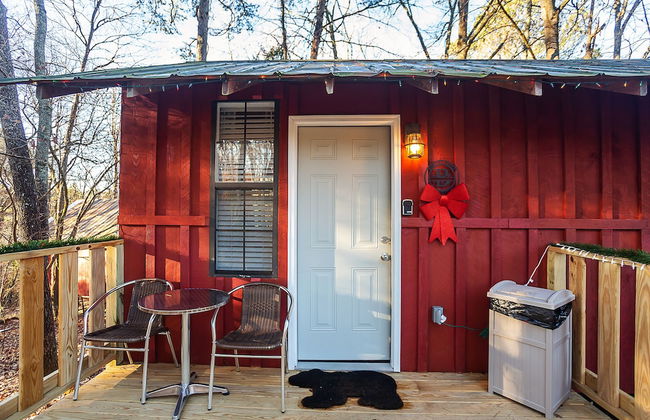
7621 Apartamentos en Tennessee


Memoir Wedgewood Houston
Nashville - South Nashville - A 2.2 km del centro
- 46 M2
- 2 personas
- Aire acondicionado
- Calefacción
- Piscina
- Parking
- Ascensor
- Televisión
- Lavadora
- Chimenea
- Barbacoa
- Toallas
- Sábanas
30 reseñas


Placemakr Premier SoBro
Nashville - Sobro - A 500 m del centro
- 166 M2
- 6 personas
- Aire acondicionado
- Calefacción
- Terraza
- Piscina
- Parking
- Ascensor
- Balcón
- Televisión
- Lavadora
- Chimenea
- Barbacoa
- Toallas
- Sábanas
2593 reseñas


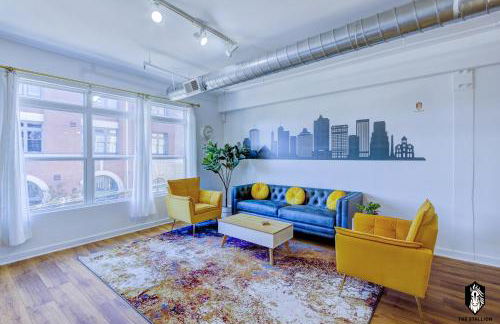

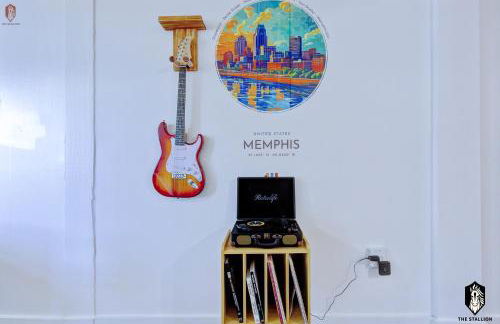


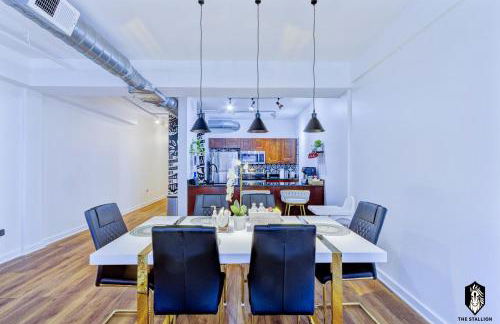

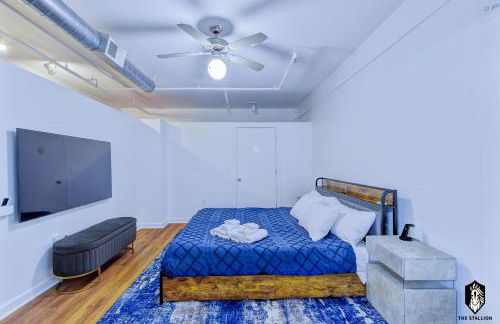

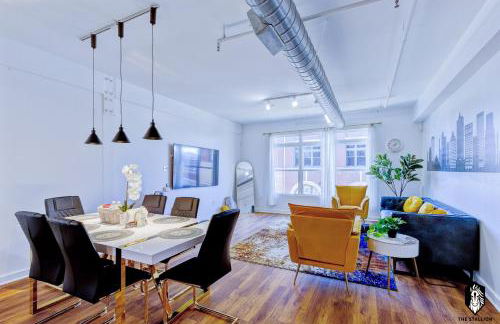


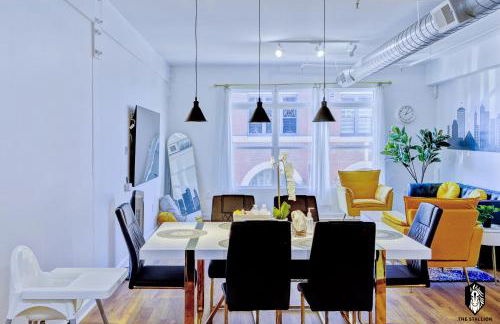

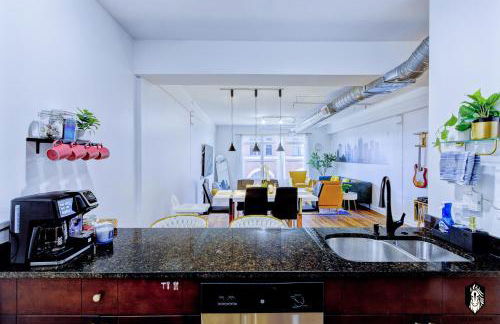

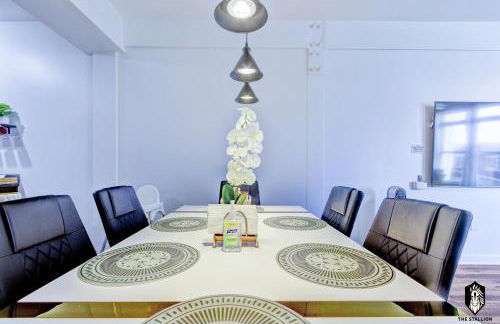


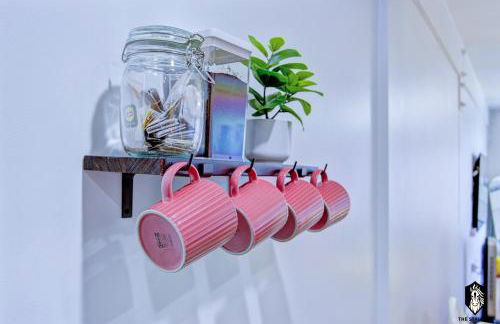

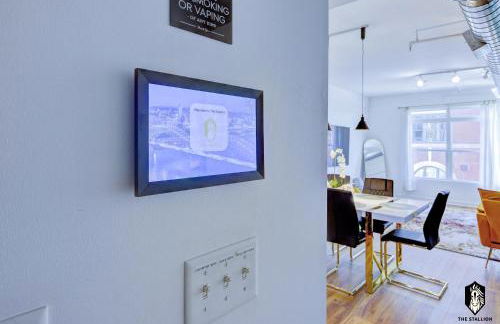


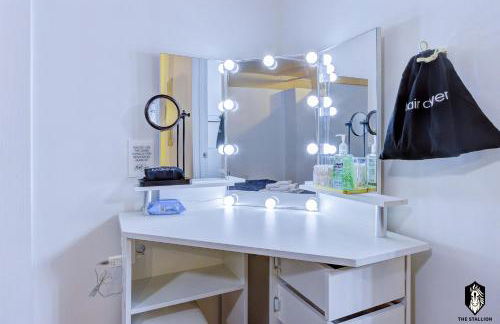

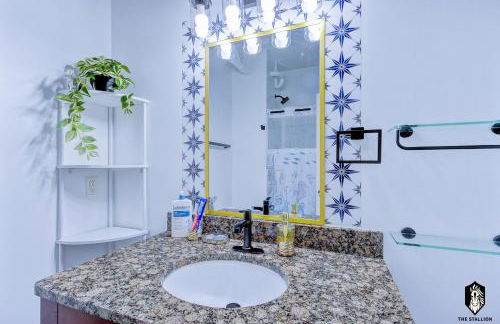

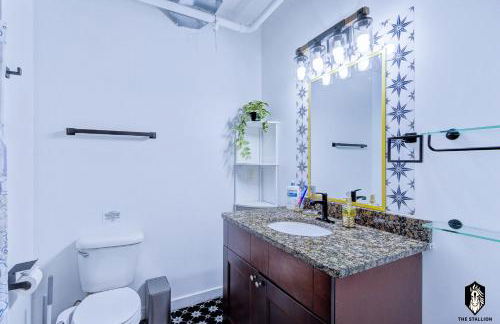


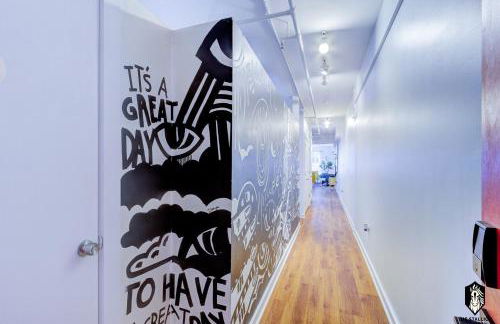

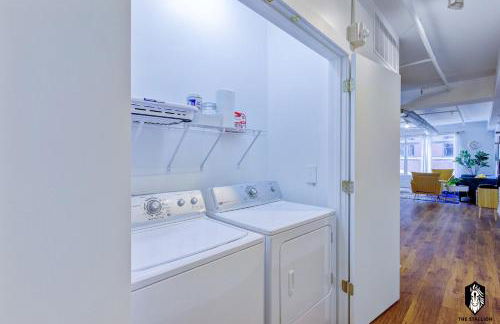

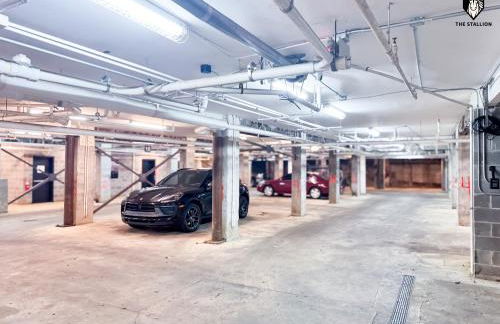


The Stallion #208 - Walk to Attractions - Modern Luxe Loft in Memphis Downtown with free covered gated parking
Memphis - Southside - A 1.4 km del centro
- 130 M2
- 1 habitación
- 6 personas
- Aire acondicionado
- Calefacción
- Parking
- Ascensor
- Televisión
- Lavadora
- Toallas
- Sábanas
30 reseñas


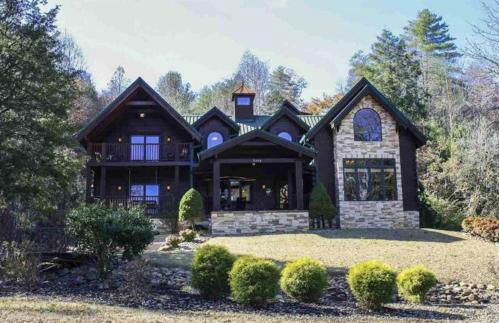
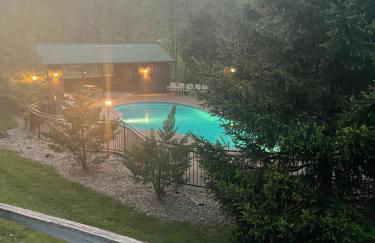
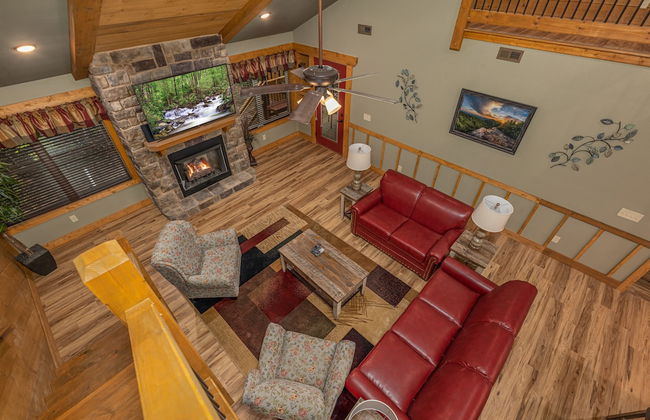
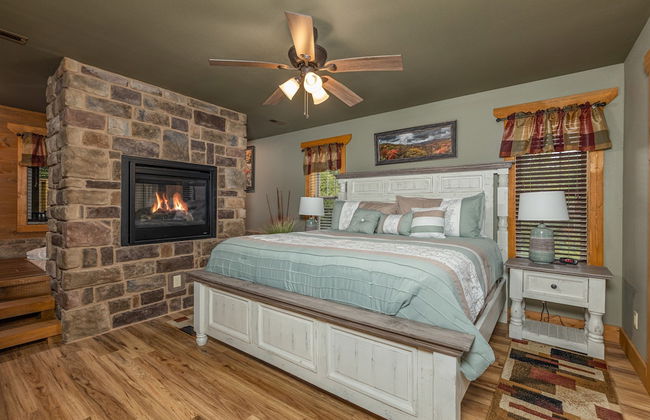
Winter Special, Pool, Sauna, View, HotTub, Game
Sevierville - A 6.7 km del centro
- 223 M2
- 3 habitaciones
- 14 personas
- Aire acondicionado
- Calefacción
- Terraza
- Piscina
- Parking
- Jardín
- Televisión
- Lavadora
- Barbacoa
- Toallas
- Sábanas
16 reseñas


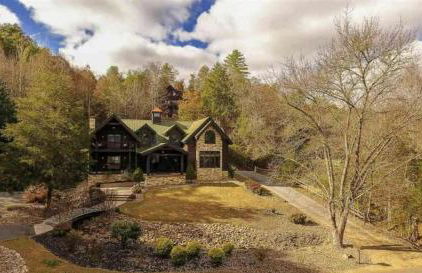

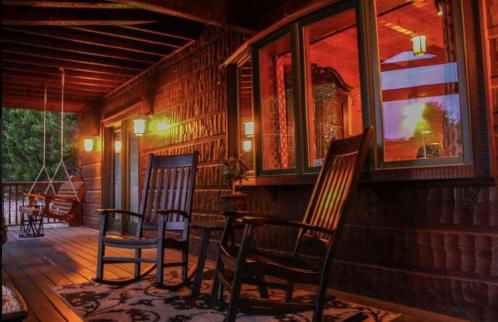
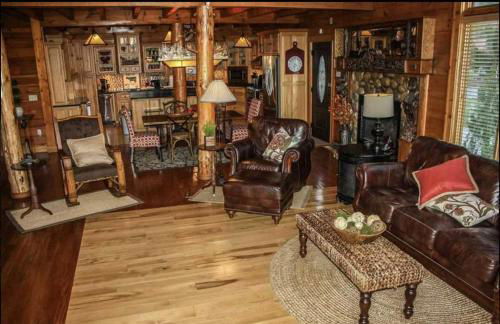

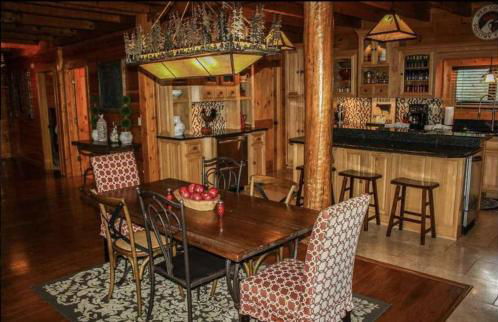


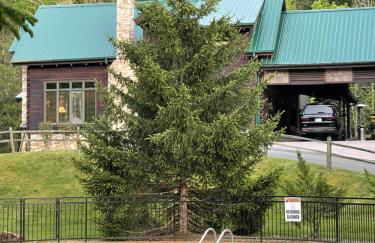
A River Runs Through It
Sevierville - A 13.5 km del centro
- 431 M2
- 7 habitaciones
- 17 personas
- Aire acondicionado
- Calefacción
- Terraza
- Piscina
- Parking
- Jardín
- Barbacoa
11 reseñas


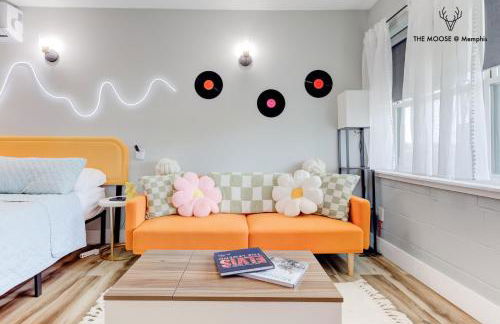


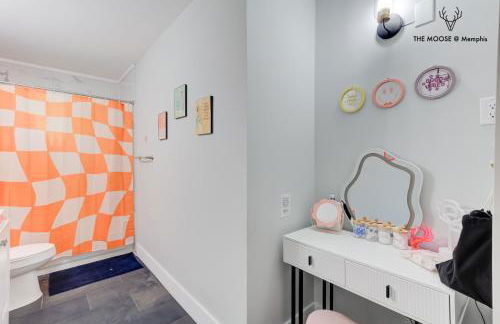


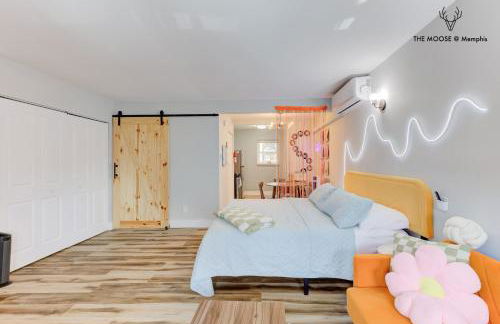


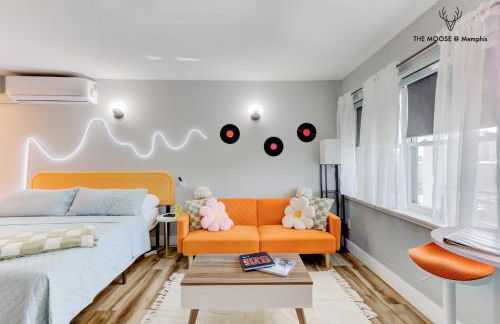

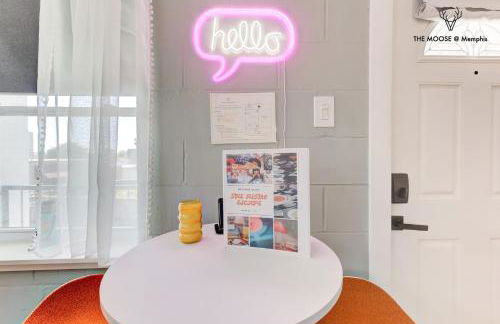

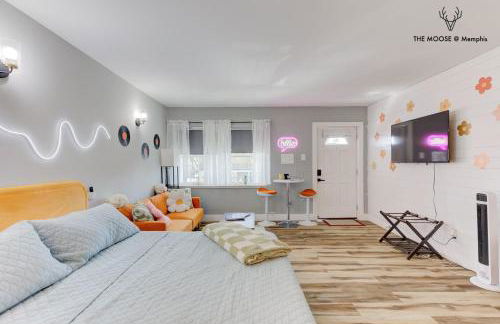

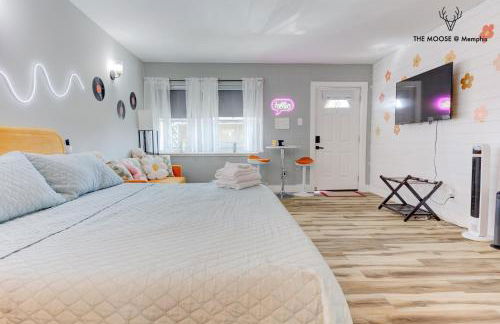

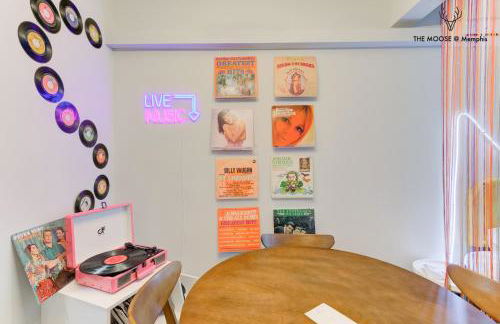

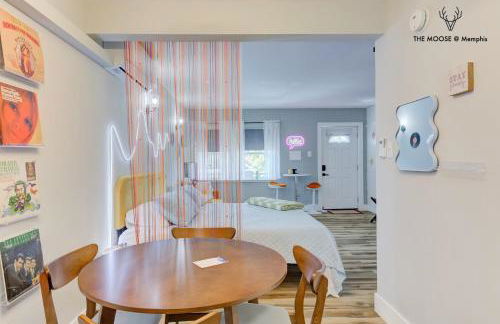

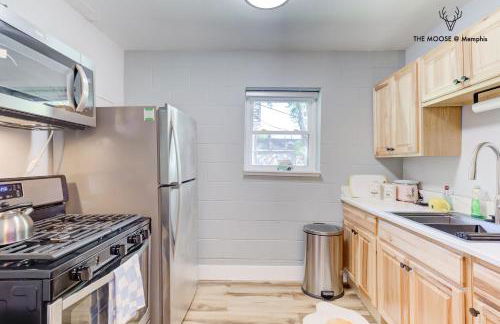


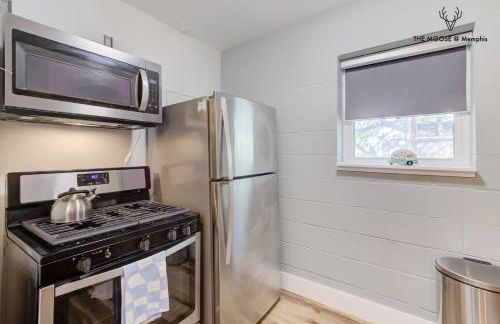

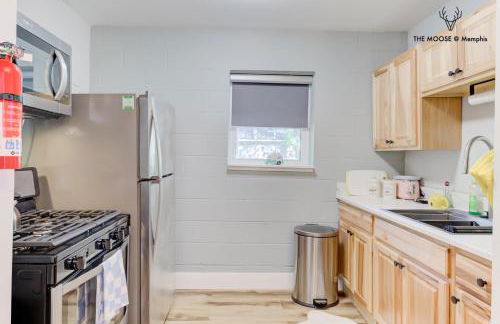


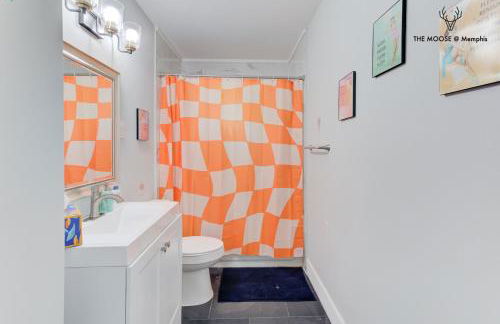

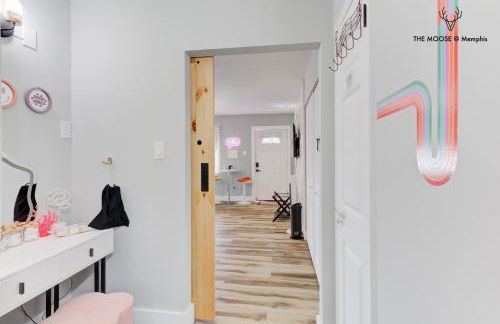

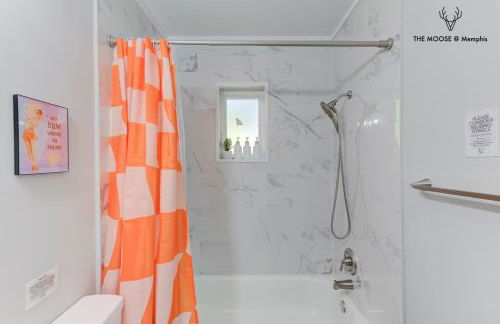

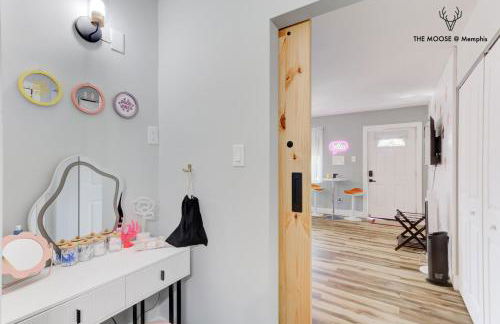

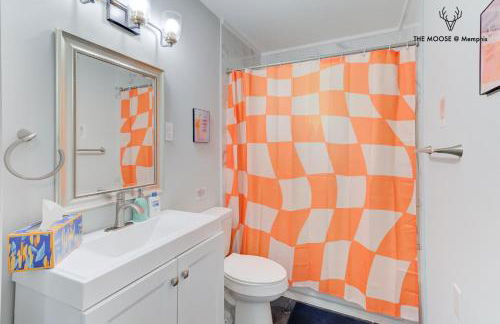

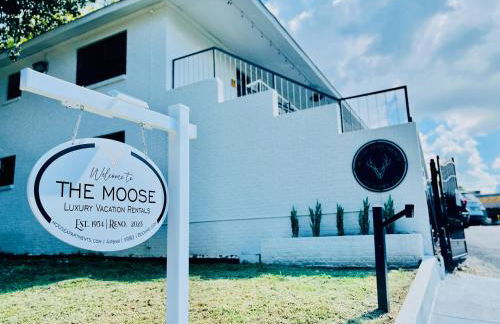


The Moose #10 - Stylish Loft with King Bed, Free Parking & Wi-Fi
Memphis - Downtown Core - A 670 m del centro
- 56 M2
- 1 habitación
- 3 personas
- Aire acondicionado
- Calefacción
- Parking
- Jardín
- Televisión
- Lavadora
- Barbacoa
- Toallas
- Sábanas
132 reseñas


The Nashville Reserve
Nashville - Downtown Nashville - A 330 m del centro
- 93 M2
- 6 personas
- Aire acondicionado
- Calefacción
- Parking
- Ascensor
- Televisión
- Lavadora
- Toallas
- Sábanas
1892 reseñas


Pine Needles 6 - One Bedroom Chalet
Pigeon Forge - A 1.8 km del centro
- 65 M2
- 4 personas
- Aire acondicionado
- Calefacción
- Piscina
- Parking
- Balcón
- Televisión
- Lavadora
- Chimenea
- Barbacoa
- Toallas
- Sábanas
10 reseñas


Cedar Lodge by Jackson Mountain Rentals
Pigeon Forge - A 1 km del centro
- 158 M2
- 2 habitaciones
- 8 personas
- Cocina pequeña
- Aire acondicionado
- Calefacción
- Piscina
- Parking
- Ascensor
- Balcón
- Televisión
- Lavadora
- Chimenea
- Barbacoa
- Toallas
- Sábanas
55 reseñas


Laurel Point Resort
Gatlinburg - A 1.5 km del centro
- 99 M2
- 4 personas
- Aire acondicionado
- Terraza
- Piscina
- Parking
- Ascensor
- Balcón
- Televisión
- Chimenea
- Barbacoa
- Toallas
- Sábanas
313 reseñas


Tennessee Dream
Gatlinburg - En el centro
- 215 M2
- 11 personas
- Aire acondicionado
- Calefacción
- Parking
- Balcón
- Televisión
- Lavadora
- Barbacoa
- Toallas
15 reseñas


Fireflies and Moonshine
Gatlinburg - A 5.6 km del centro
- 167 M2
- 10 personas
- Aire acondicionado
- Calefacción
- Parking
- Televisión
- Lavadora
- Chimenea
- Barbacoa
- Toallas
- Sábanas
18 reseñas


Overlooking Adventure by Jackson Mountain Rentals
Gatlinburg - A 1.5 km del centro
- 191 M2
- 12 personas
- Aire acondicionado
- Calefacción
- Ascensor
- Televisión
- Lavadora
- Chimenea
- Toallas
- Sábanas
6 reseñas


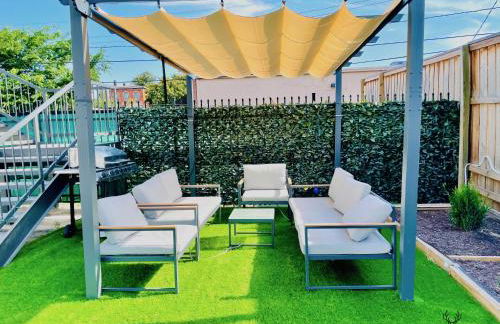
The Grove by AvantStay – Stylish Group Stay with Private Bathrooms
Nashville - Midtown - A 2.3 km del centro
- 206 M2
- 10 personas
- Aire acondicionado
- Terraza
- Parking
- Balcón
- Televisión
- Lavadora
- Toallas
- Sábanas
24 reseñas


Yeti Cabin
Benton
- 24 M2
- 2 personas
- Aire acondicionado
- Calefacción
- Terraza
- Parking
- Televisión
- Chimenea
- Barbacoa
- Toallas
- Sábanas
16 reseñas


Blue Mist View by Jackson Mountain Rentals
Gatlinburg - A 3.9 km del centro
- 76 M2
- 2 habitaciones
- 6 personas
- Aire acondicionado
- Calefacción
- Piscina
- Parking
- Televisión
- Lavadora
- Chimenea
- Toallas
- Sábanas
10 reseñas


Studio 154 Luxury Hotel
Nashville - Downtown Nashville - En el centro
- 163 M2
- 12 personas
- Cocina pequeña
- Aire acondicionado
- Calefacción
- Terraza
- Balcón
- Televisión
- Lavadora
- Toallas
- Sábanas
342 reseñas


Dolly's Yacht Club - Cozy Retreat Near Broadway
Nashville - Jones/Buena Vista - A 2.1 km del centro
- 56 M2
- 1 habitación
- 4 personas
- Aire acondicionado
- Calefacción
- Parking
- Ascensor
14 reseñas