
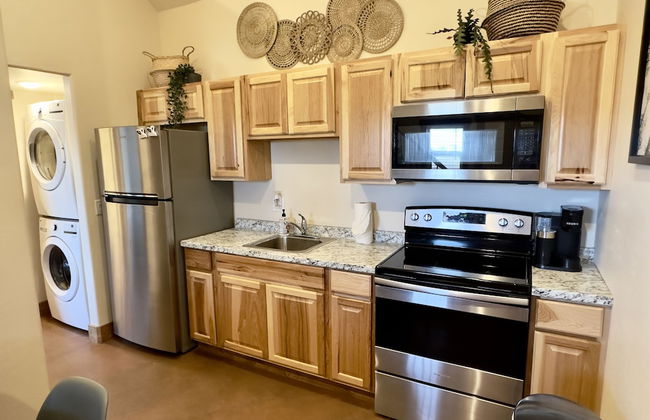
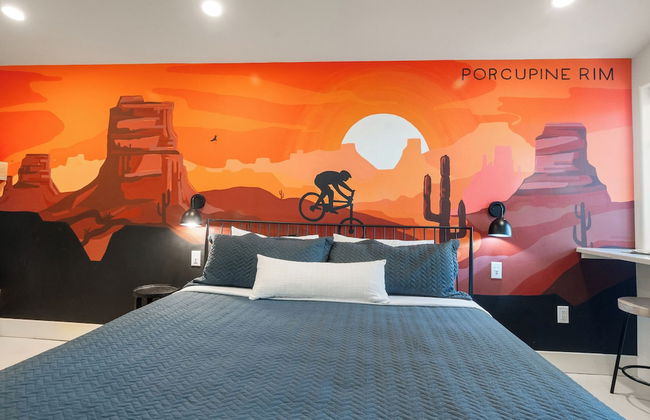
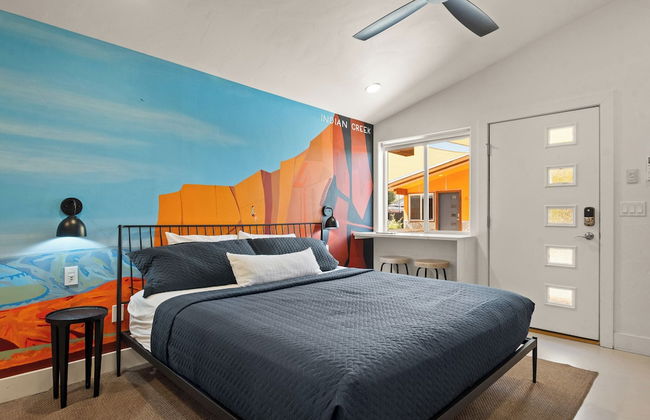
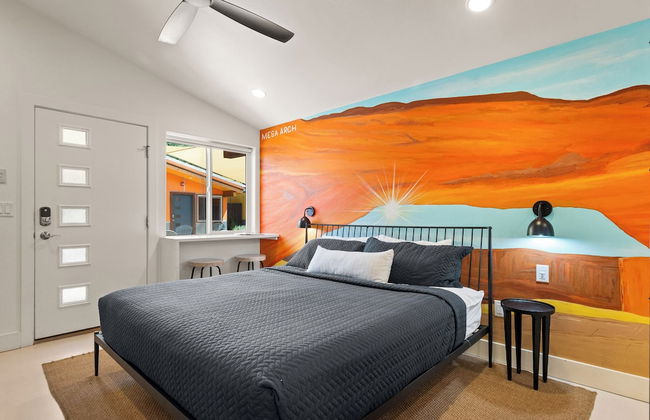
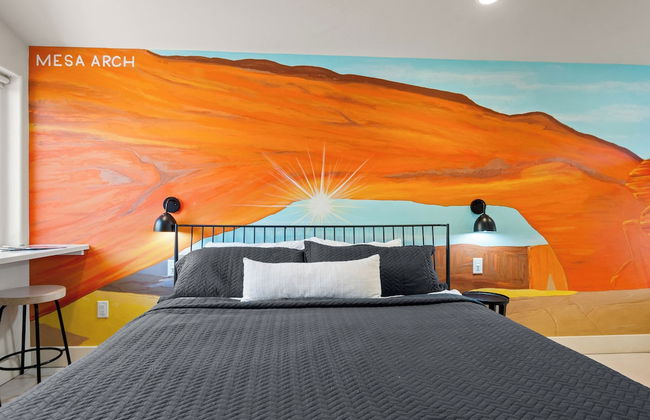
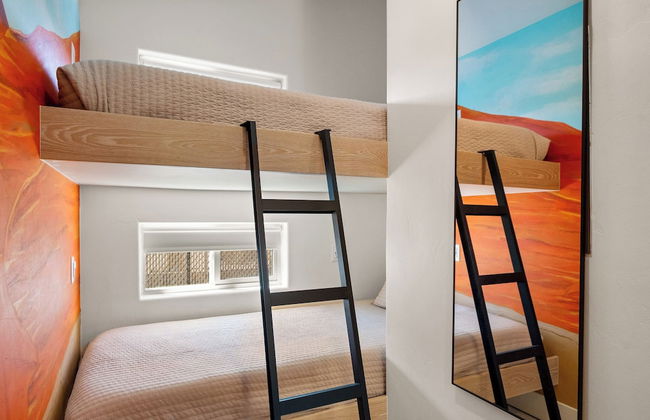
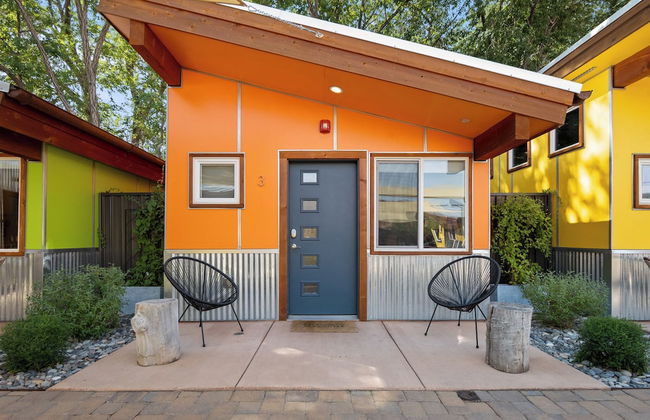
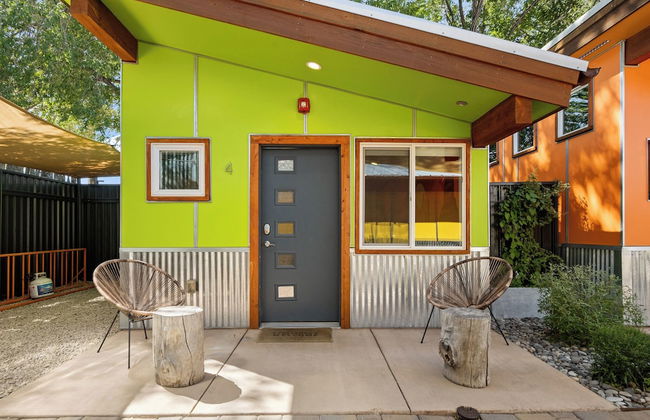
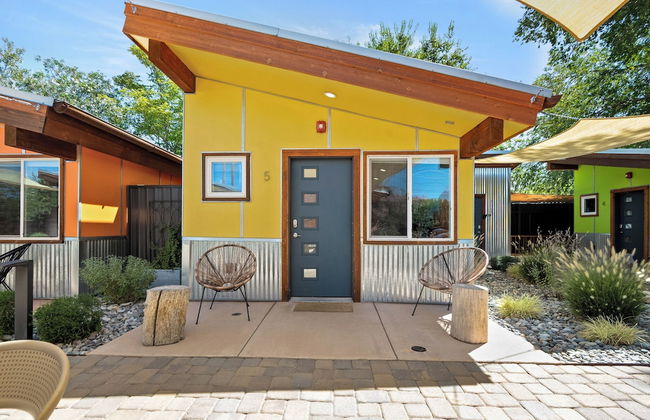
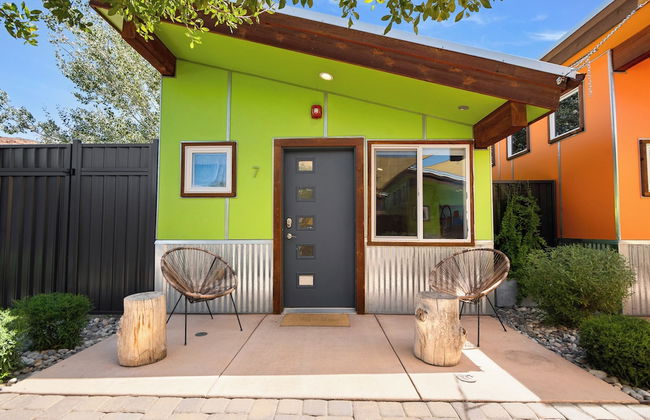
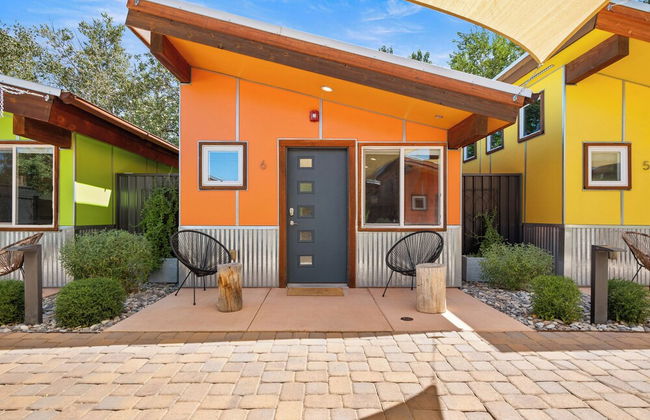
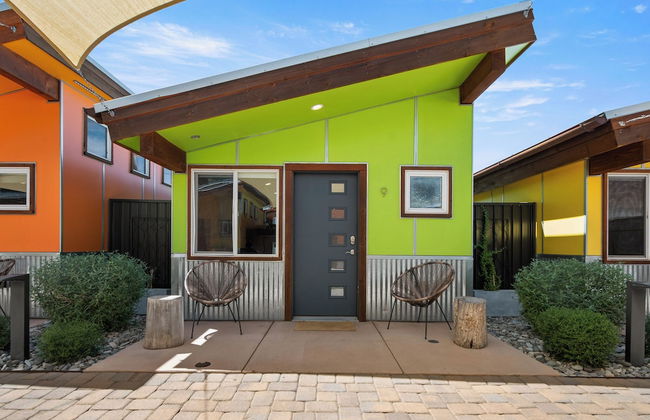
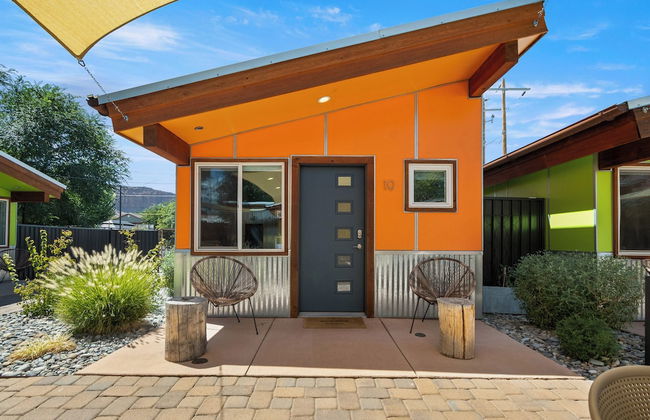
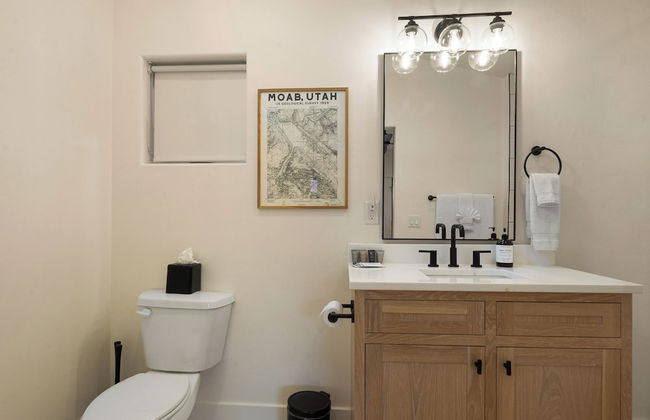
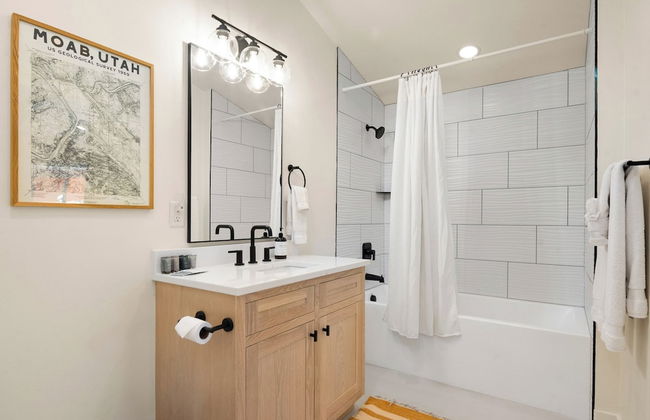
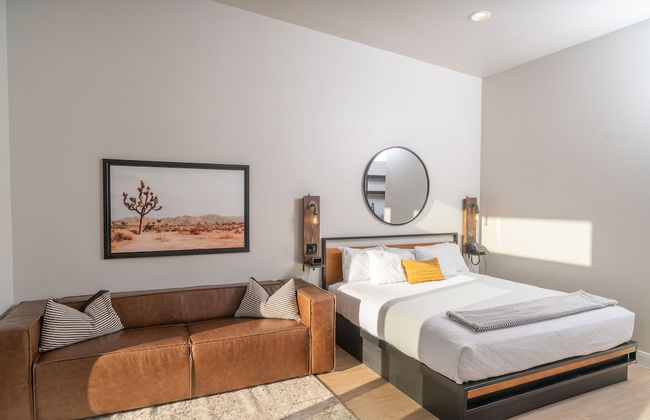
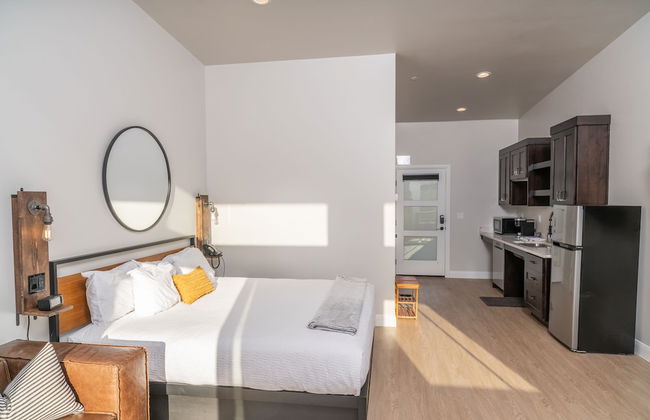
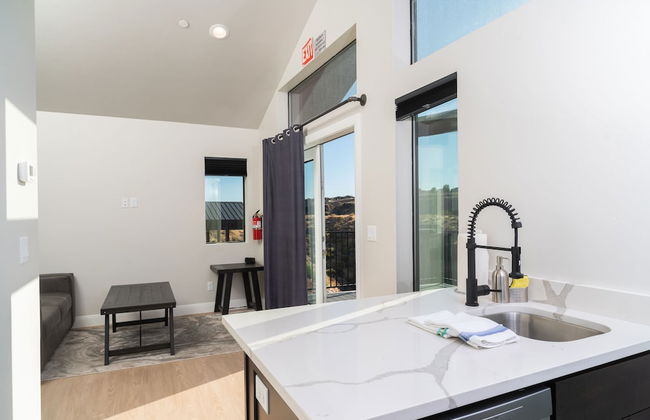
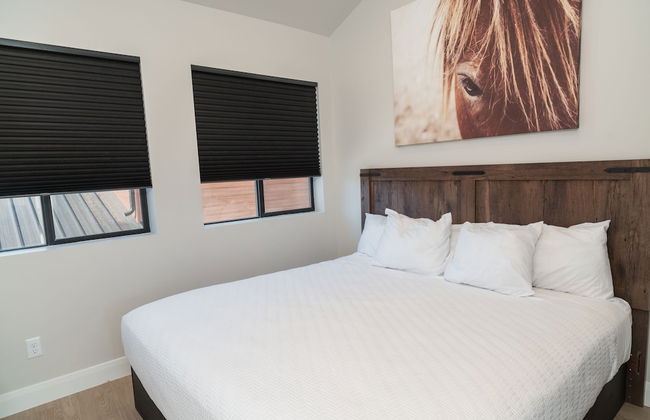
5483 Apartamentos en Utah


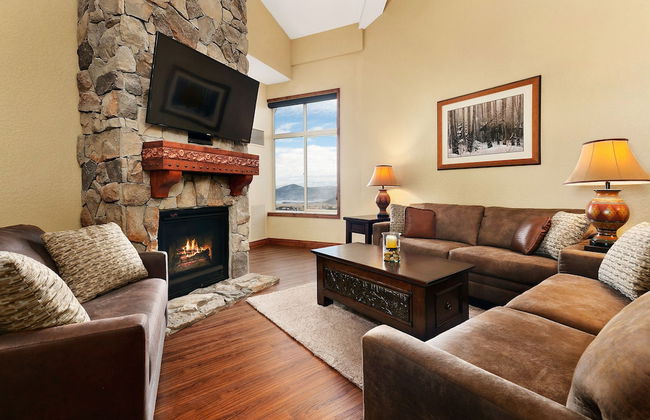
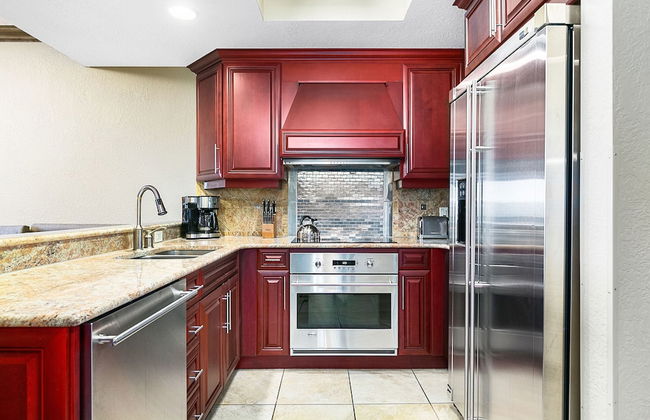
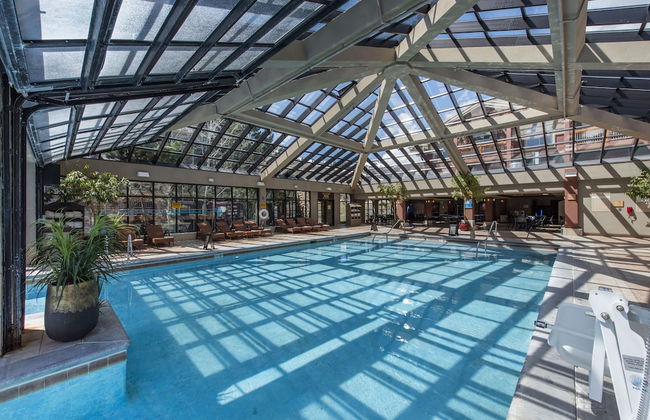
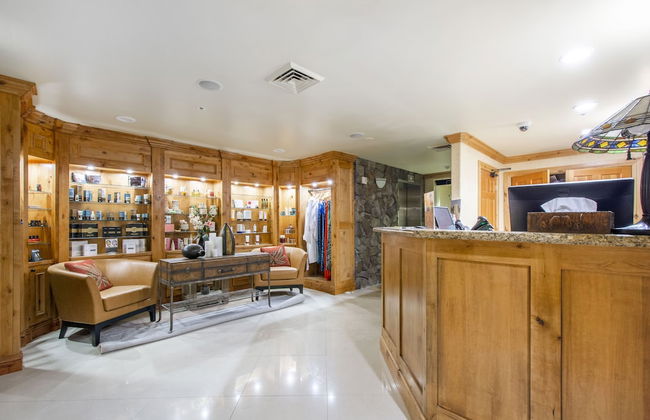
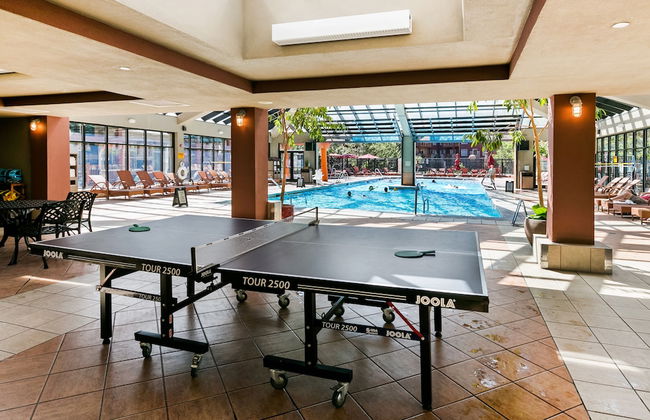
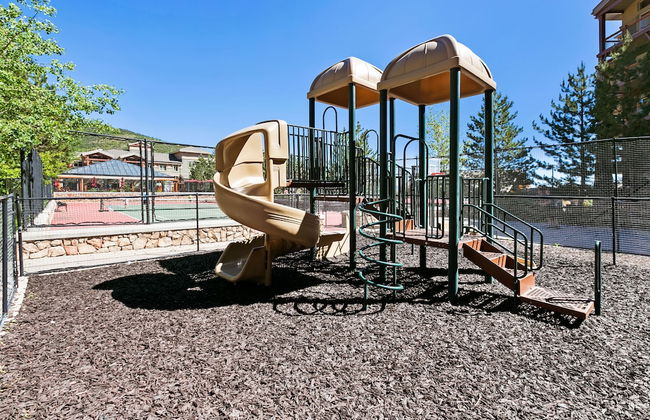
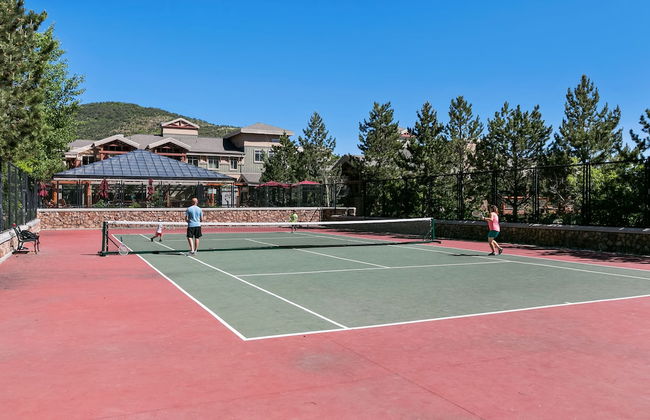
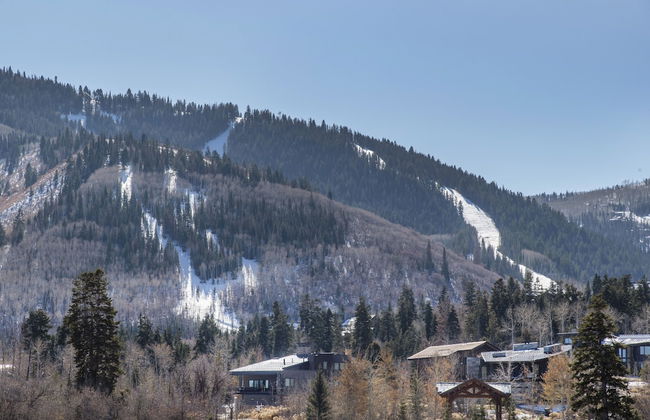
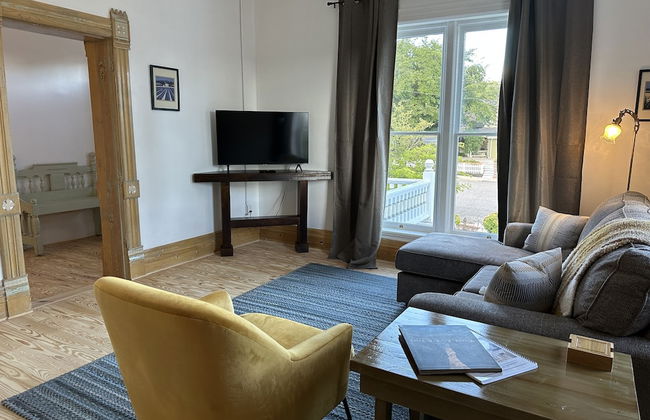
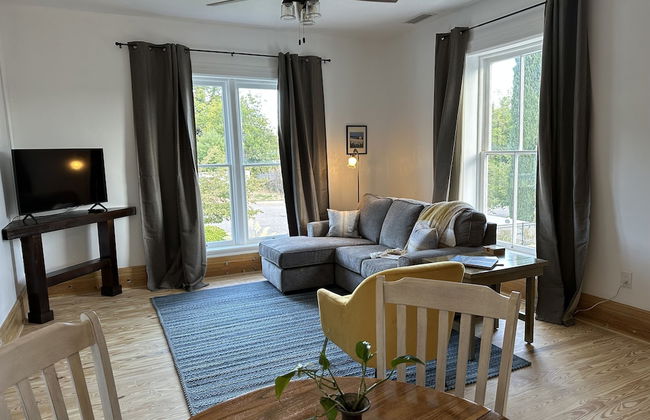
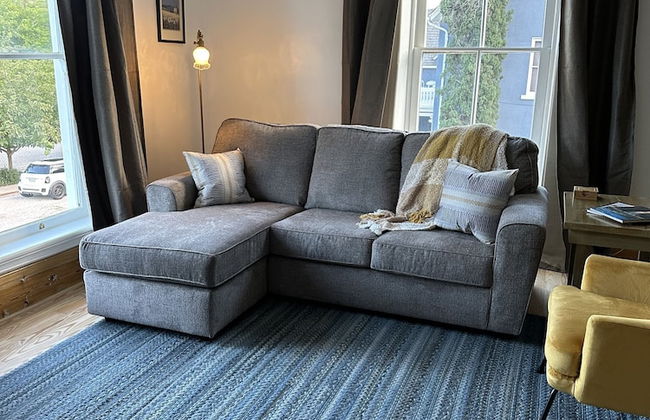
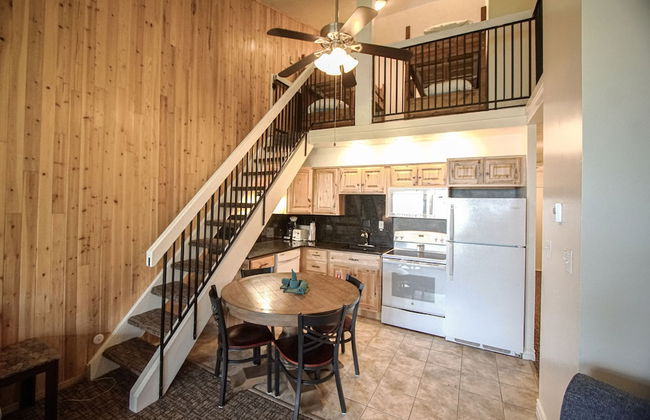
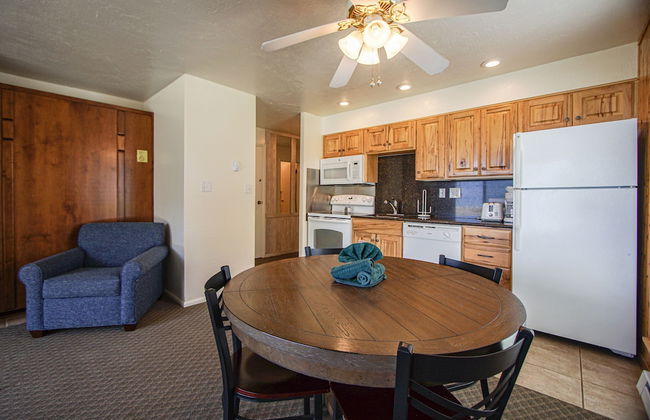
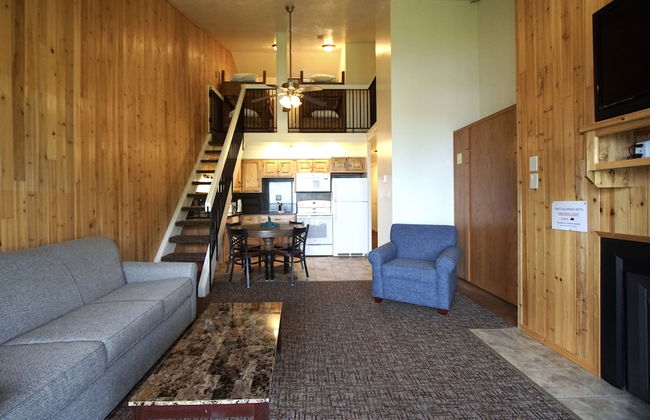
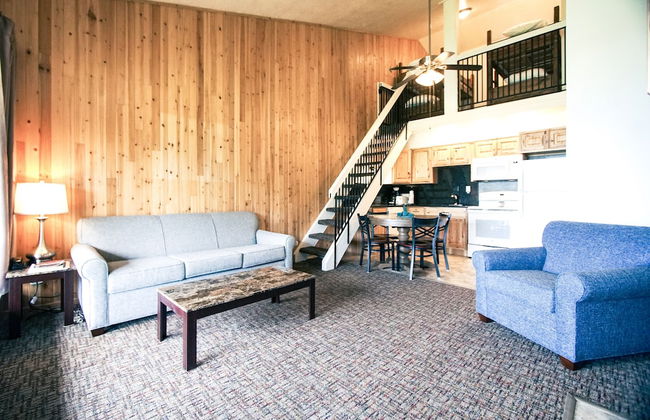
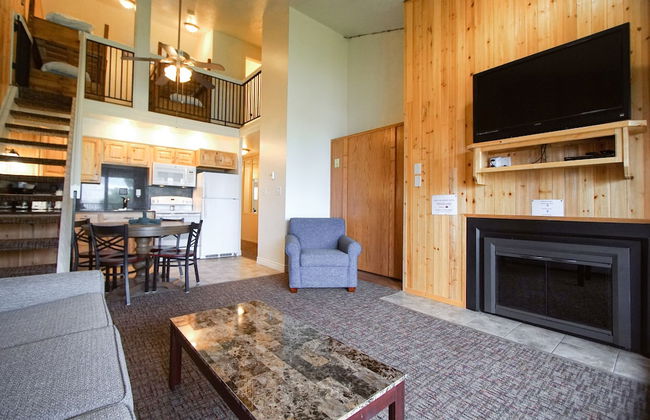
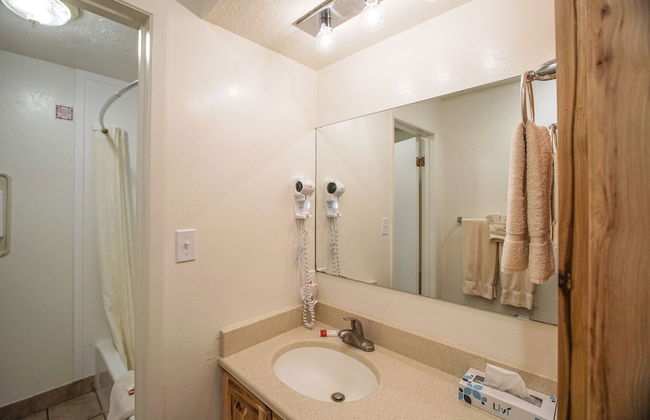
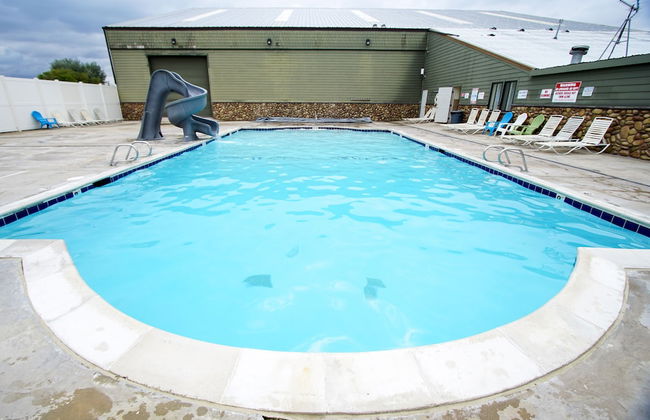
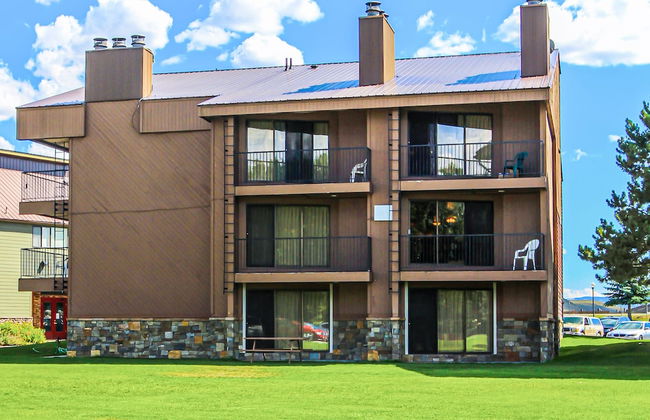
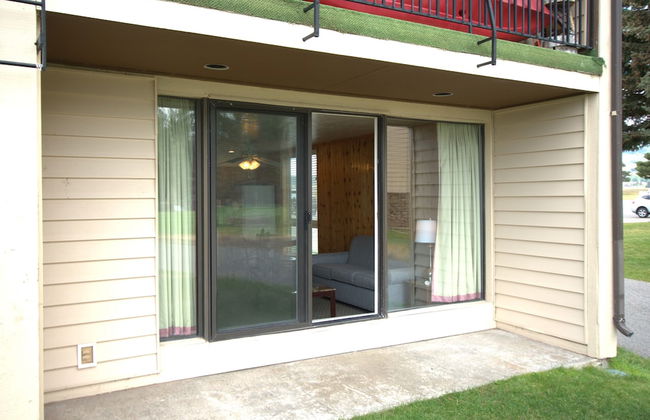
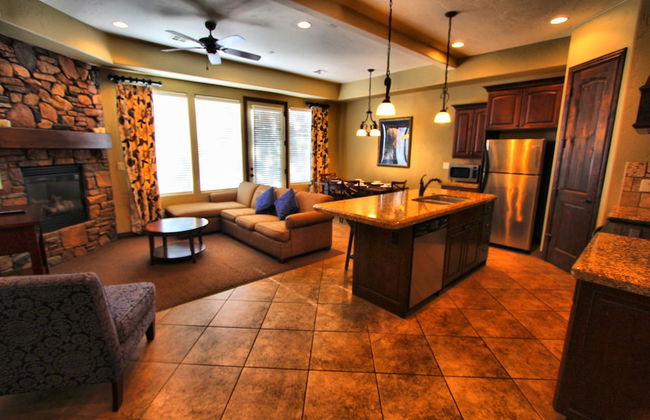
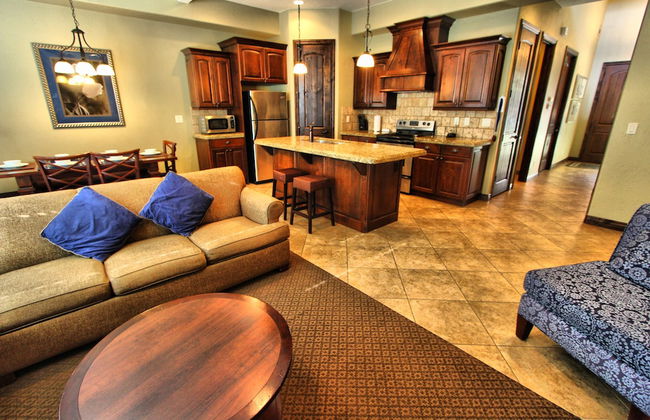
Lift by All Seasons Resort Lodging
Pk City - A 6.4 km del centro
- 8 personas
- Aire acondicionado
- Calefacción
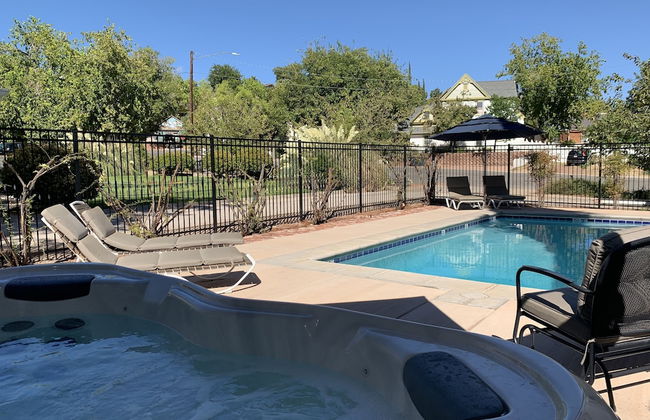
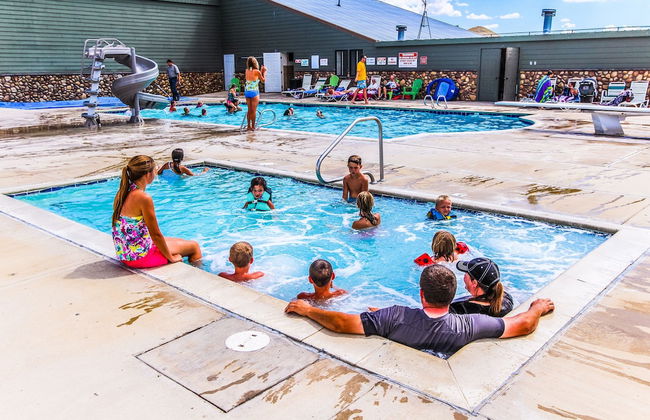
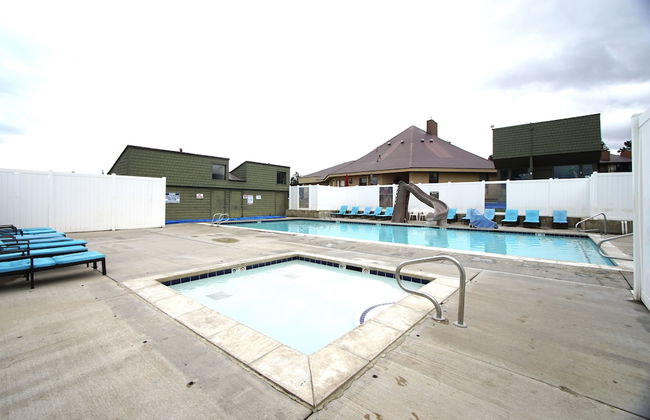
- Piscina
- Parking
- Ascensor
- Balcón
- Televisión
- Lavadora
- Chimenea
- Barbacoa
- Toallas
- Sábanas
12 reseñas


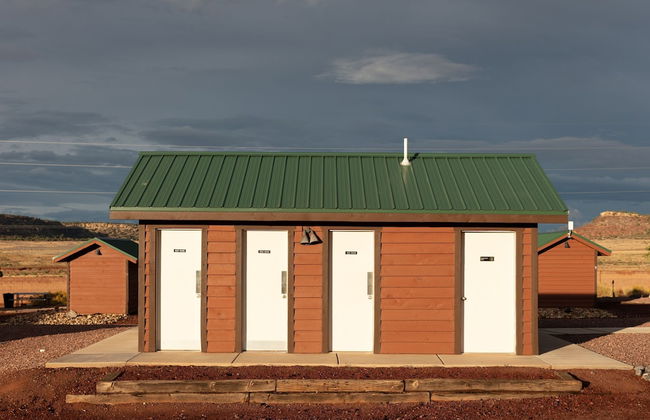
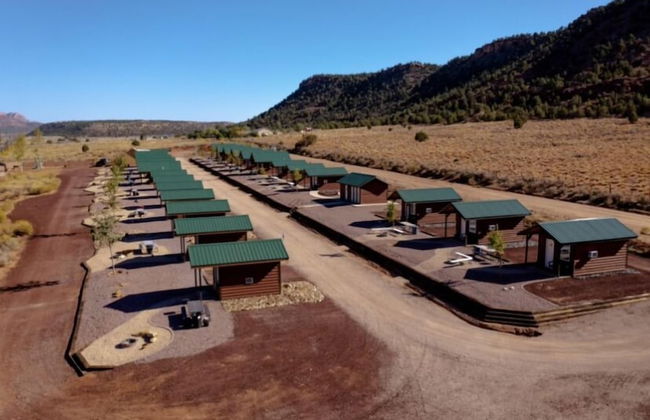
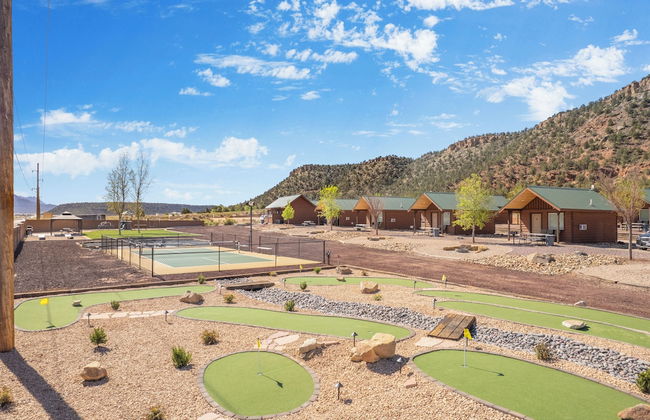
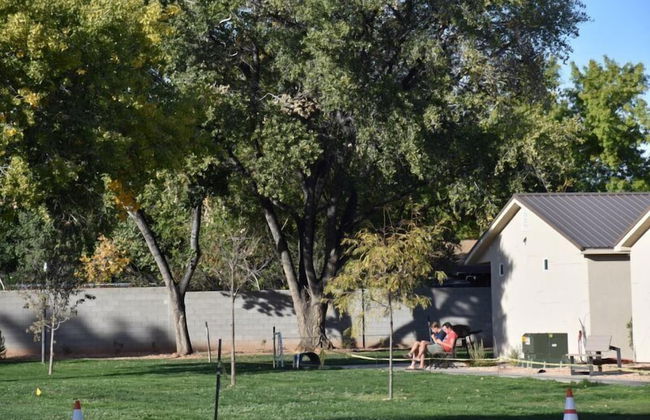
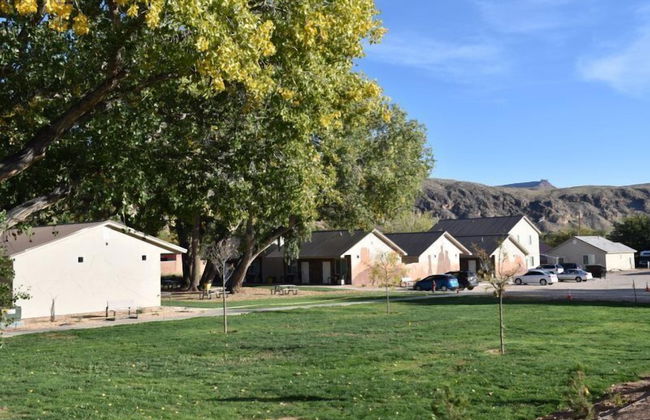
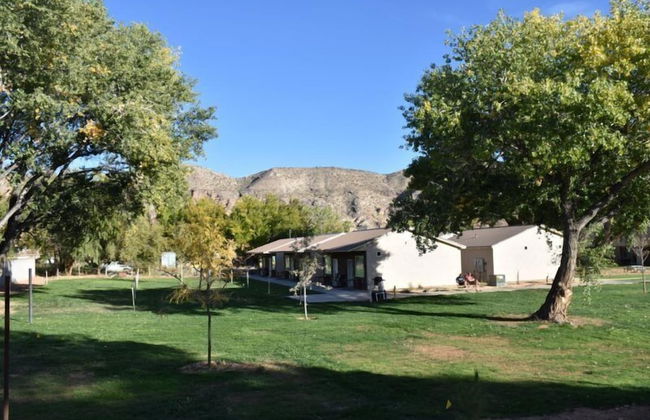
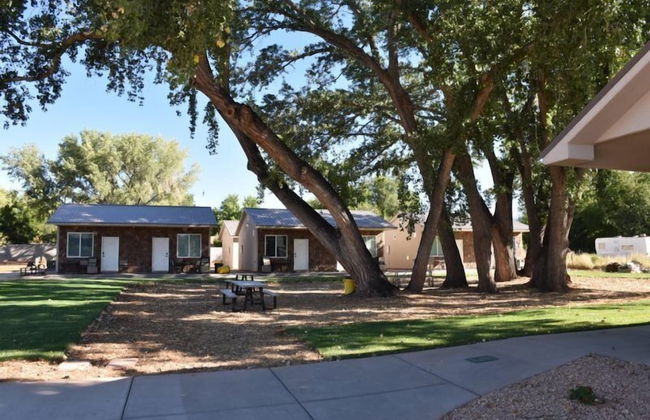
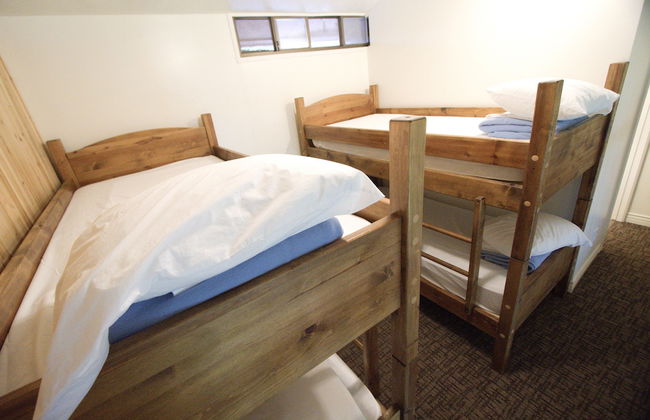
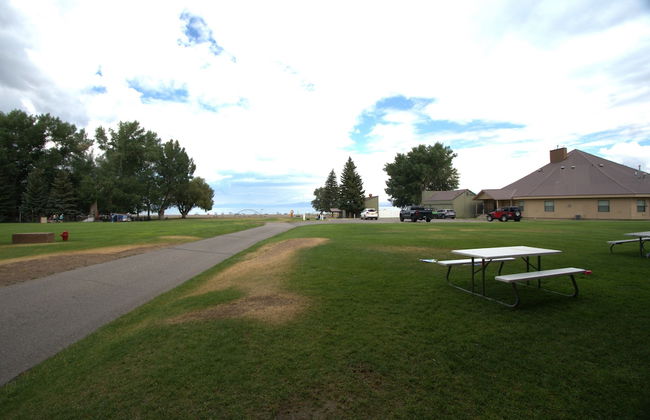
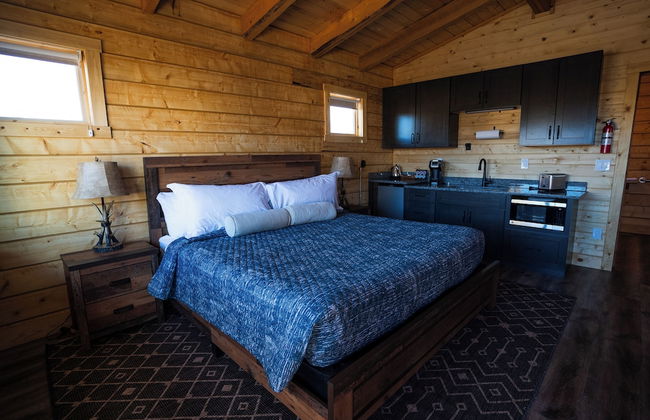
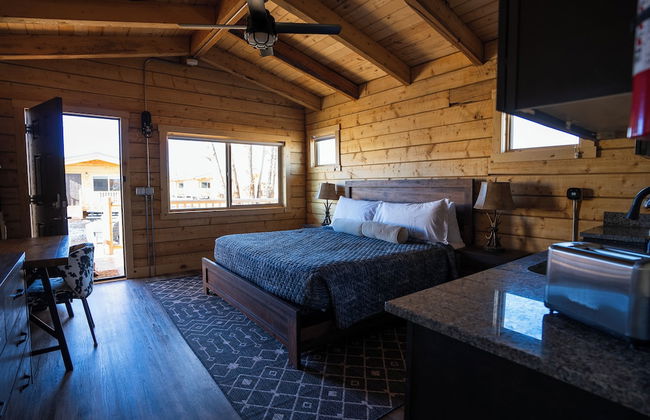
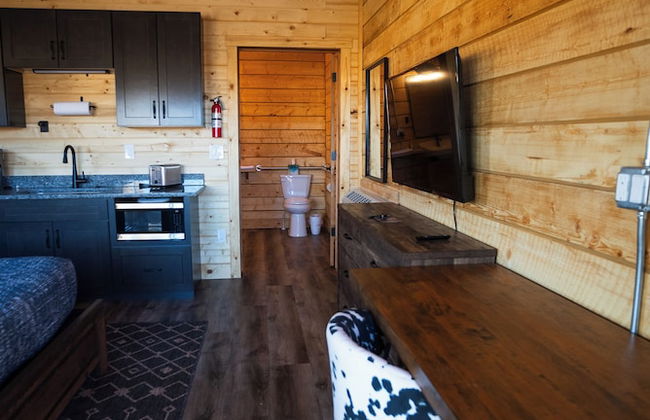
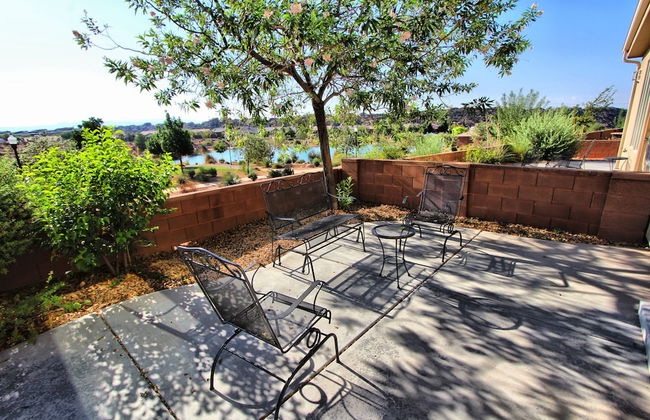
Castle Gate RV Park
Helper
- 6 personas
- Cocina pequeña
- Aire acondicionado
- Calefacción
- Terraza
- Piscina
- Parking
- Televisión
- Chimenea
- Barbacoa
- Toallas
- Sábanas
72 reseñas


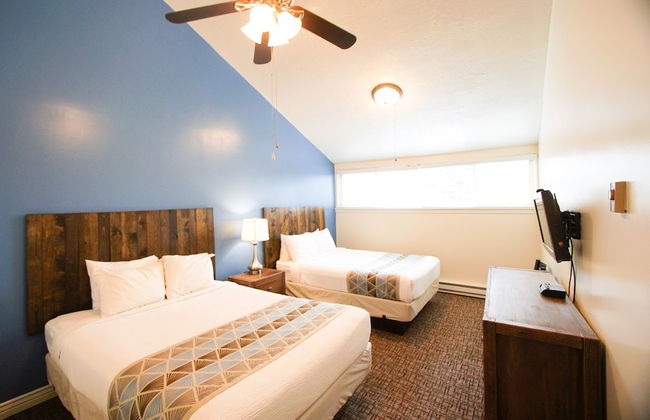
Cougar Ridge Resort
Torrey
- 12 personas
- Aire acondicionado
- Calefacción
- Piscina
- Parking
- Balcón
- Jardín
- Televisión
- Chimenea
- Barbacoa
- Toallas
- Sábanas
128 reseñas


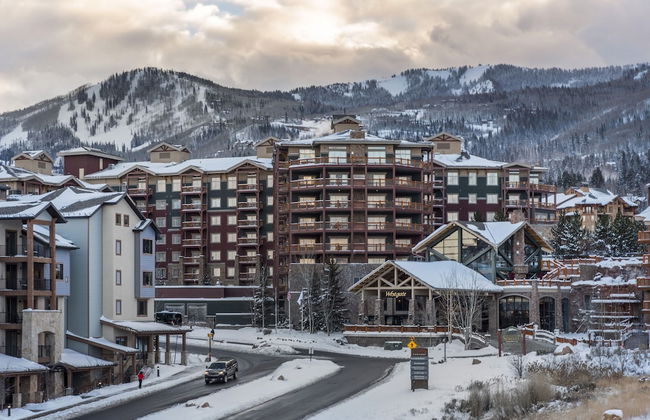
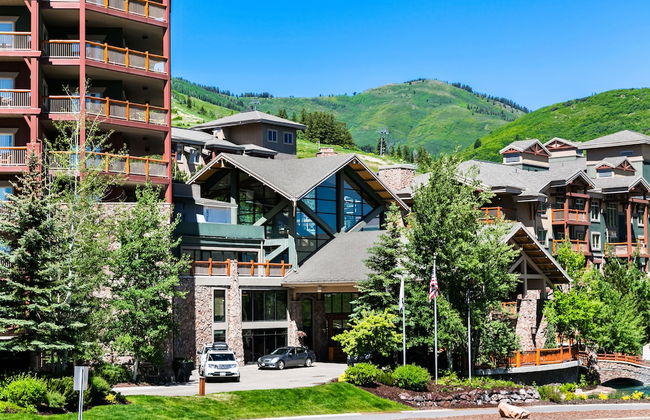
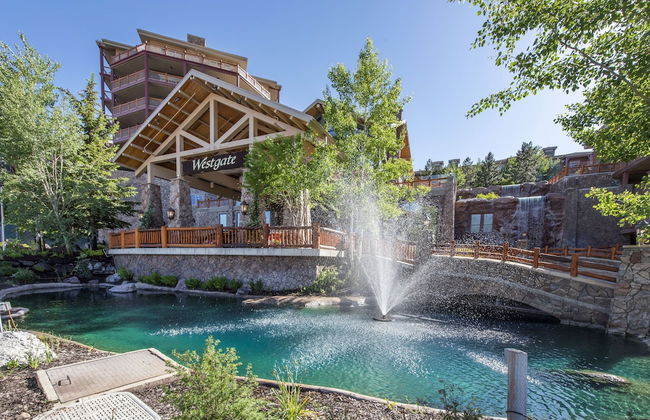
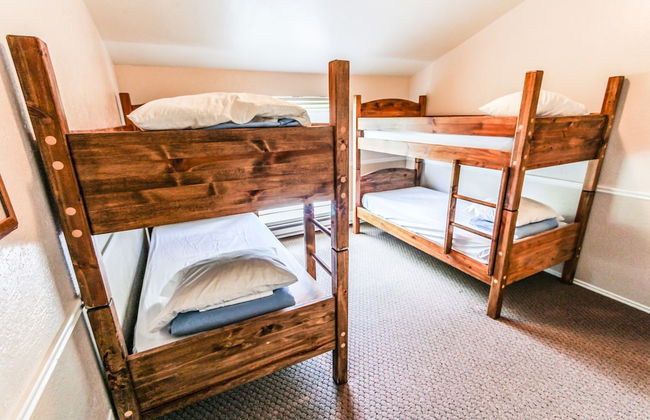
White Pines 1-BD Penthouse at Westgate - Tycoon
Pk City - A 6.3 km del centro
- 72 M2
- 7 personas
- Aire acondicionado
- Calefacción
- Piscina
- Parking
- Ascensor
- Televisión
- Lavadora
- Sábanas
12 reseñas


Gooseberry Lodges
Hurricane - A 13.9 km del centro
- 58 M2
- 8 personas
- Cocina pequeña
- Aire acondicionado
- Calefacción
- Terraza
- Parking
- Chimenea
- Barbacoa
- Toallas
- Sábanas
952 reseñas
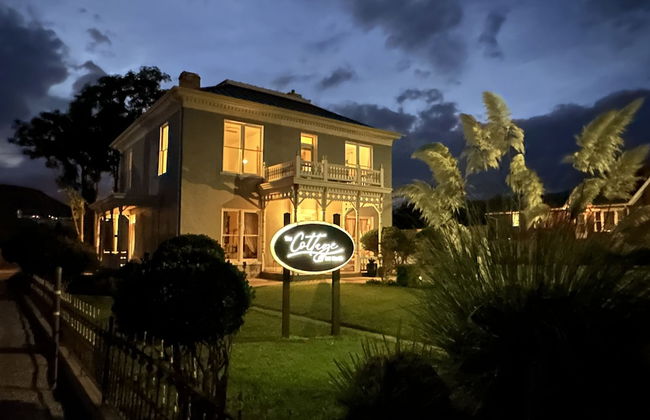


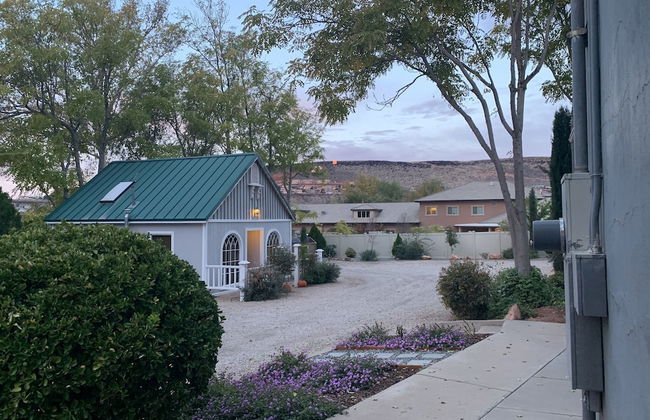
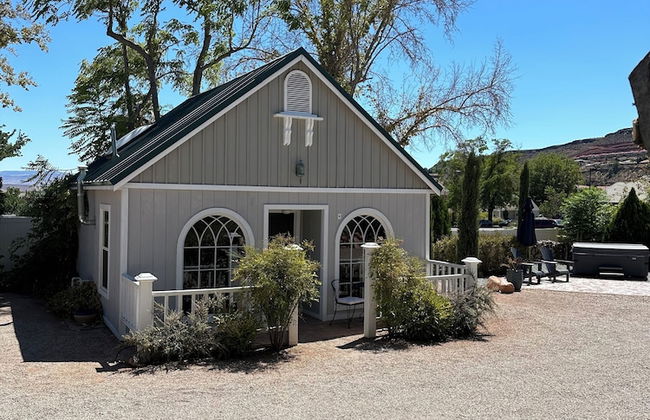
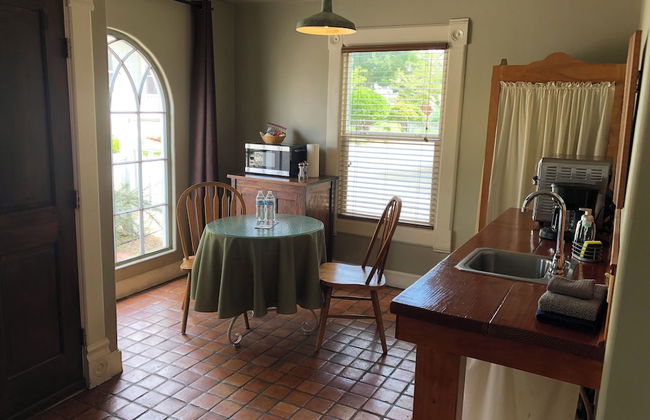
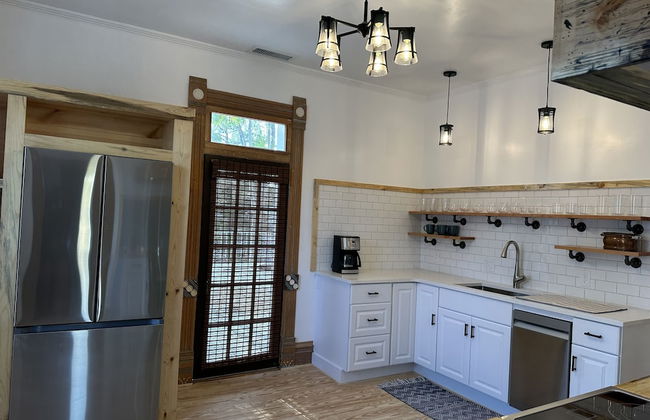


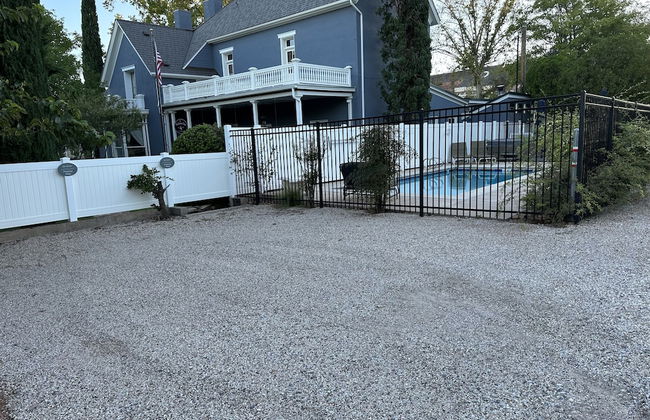
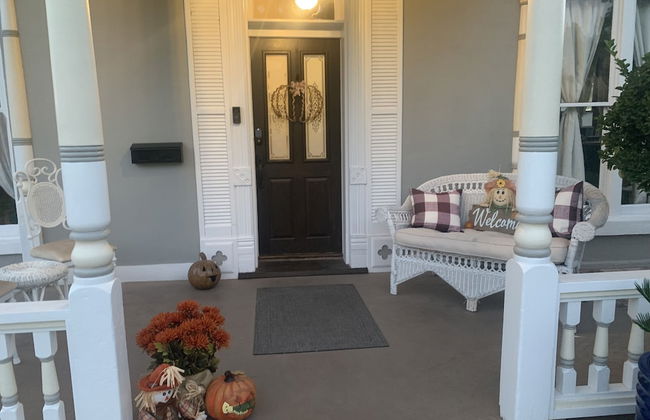
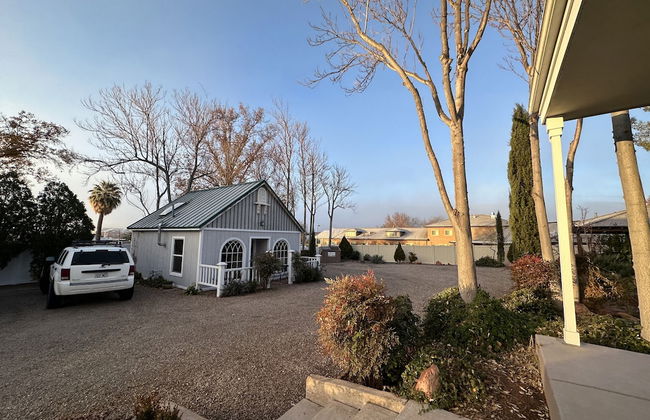
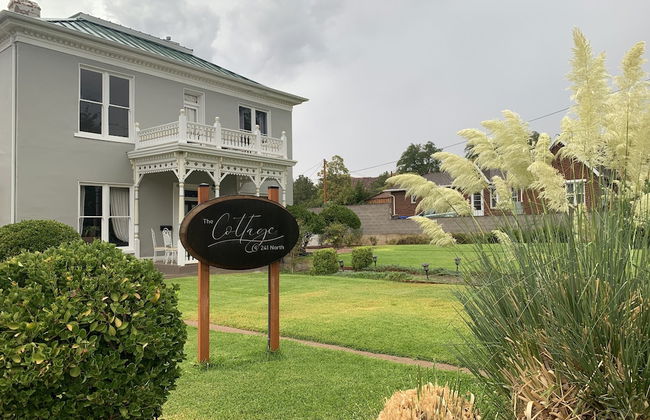

The Cottage @ 241 North
St George - En el centro
- 4 personas
- Aire acondicionado
- Calefacción
- Terraza
- Piscina
- Parking
- Balcón
- Jardín
- Televisión
- Lavadora
- Chimenea
- Barbacoa
- Toallas
- Sábanas
297 reseñas


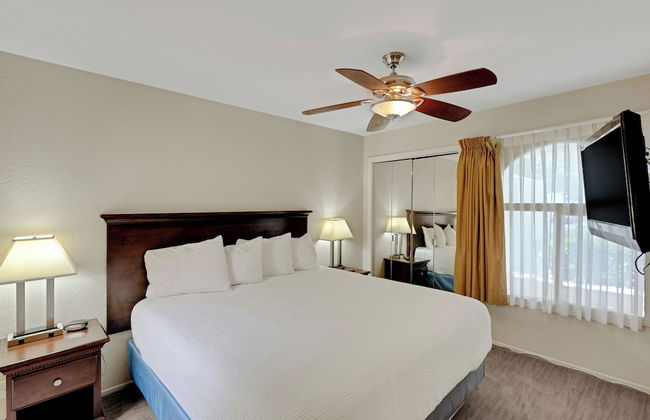
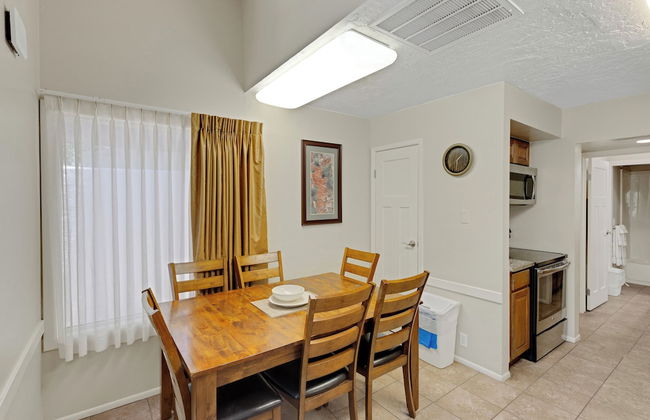
Mount Peale Country Inn and Cabins
La Sal
- 67 M2
- 6 personas
- Aire acondicionado
- Calefacción
- Parking
- Balcón
- Televisión
- Chimenea
- Barbacoa
- Toallas
- Sábanas
11 reseñas


Canyon Casitas at Zion
Springdale
- 4 personas
- Aire acondicionado
- Calefacción
- Parking
- Televisión
- Lavadora
- Chimenea
- Barbacoa
- Toallas
- Sábanas
15 reseñas
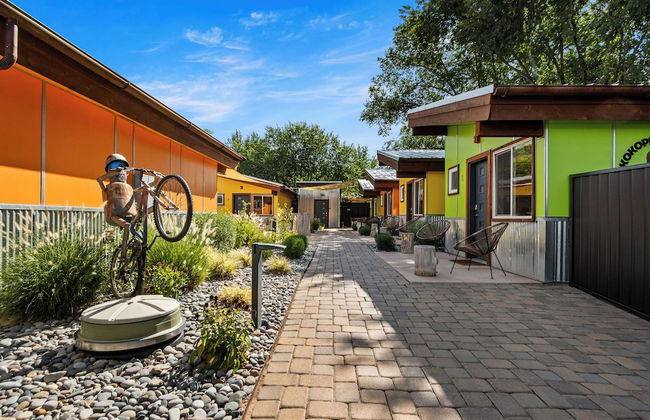

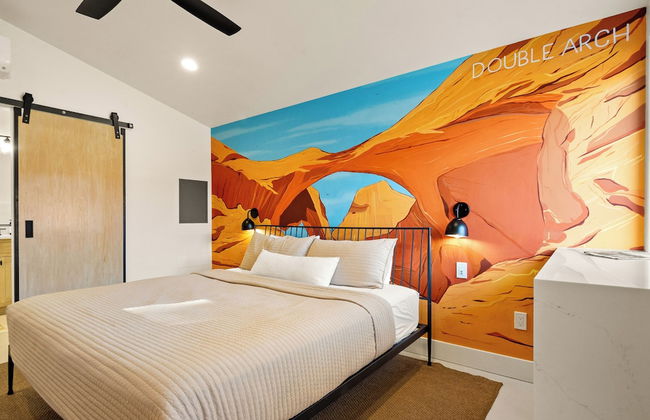


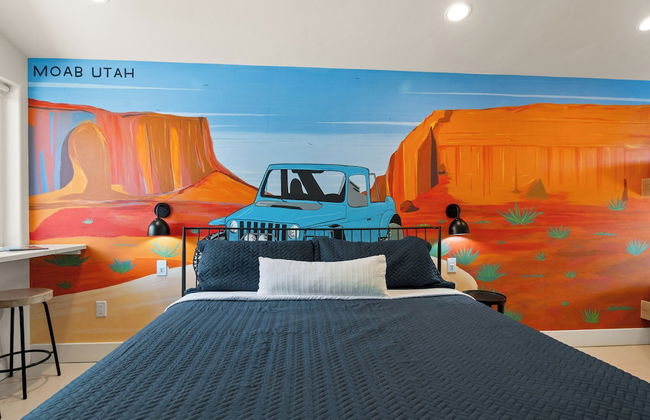
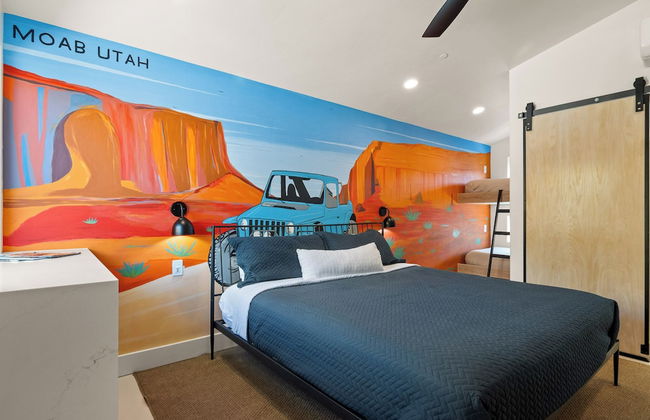
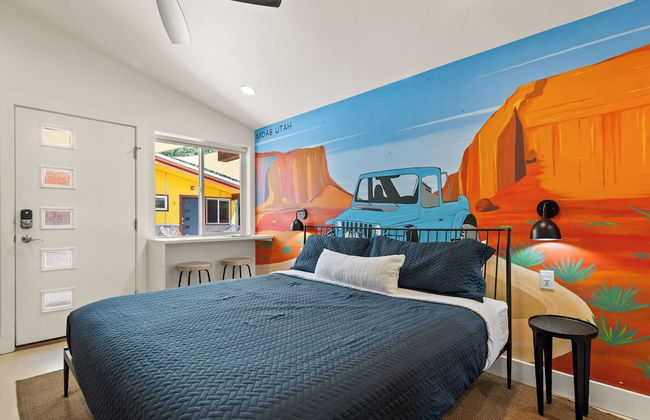
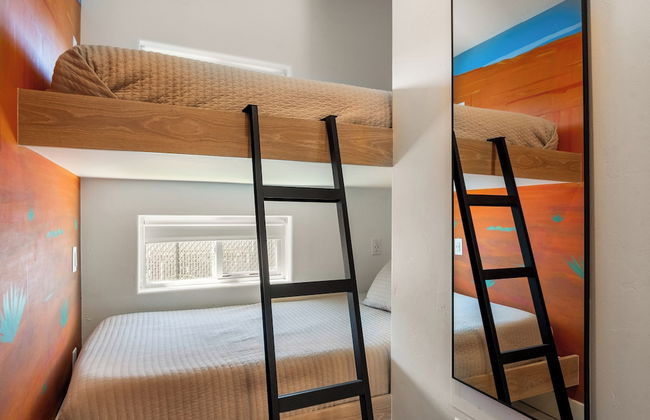


Downtown Kokopelli West 8 - Newly Remodeled Stylish Studio
Moab
- 33 M2
- 4 personas
- Aire acondicionado
- Calefacción
- Parking
- Balcón
- Jardín
- Televisión
- Chimenea
- Barbacoa
- Toallas
- Sábanas
132 reseñas


Raintree's The Miners Club Park City
Pk City - A 6.6 km del centro
- 204 M2
- 4 habitaciones
- 12 personas
- Aire acondicionado
- Calefacción
- Terraza
- Piscina
- Parking
- Ascensor
- Balcón
- Televisión
- Lavadora
- Chimenea
- Barbacoa
- Toallas
- Sábanas
199 reseñas


ZC1 Home Away From Home Near Zion
La Verkin - En el centro
- 93 M2
- 2 habitaciones
- 4 personas
- Cocina pequeña
- Aire acondicionado
- Calefacción
- Terraza
- Parking
- Balcón
- Televisión
- Barbacoa
- Toallas
- Sábanas
392 reseñas


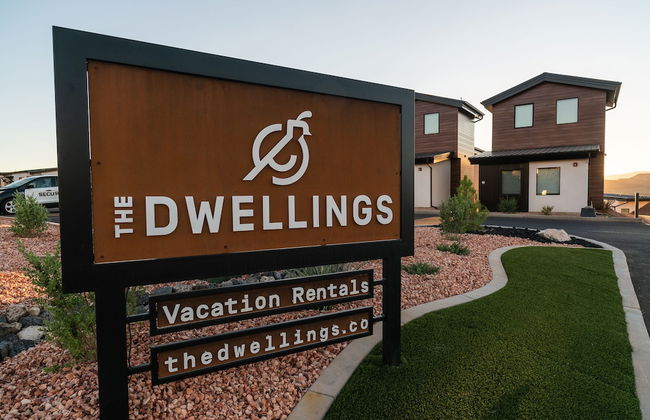
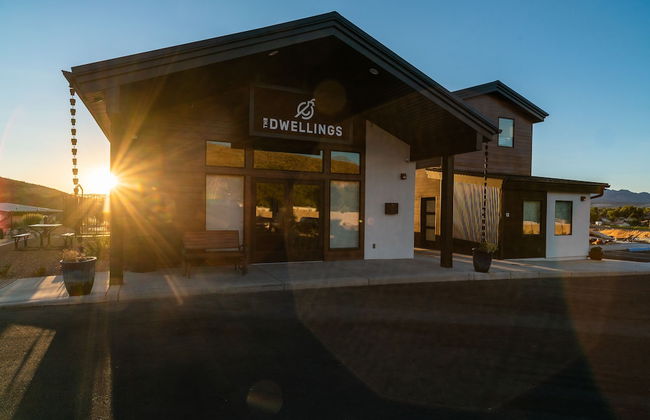
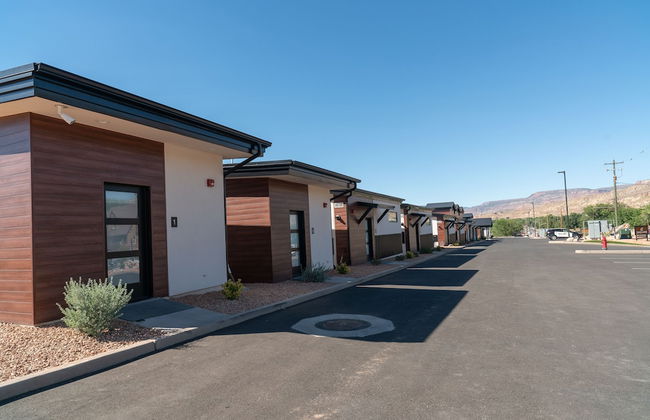


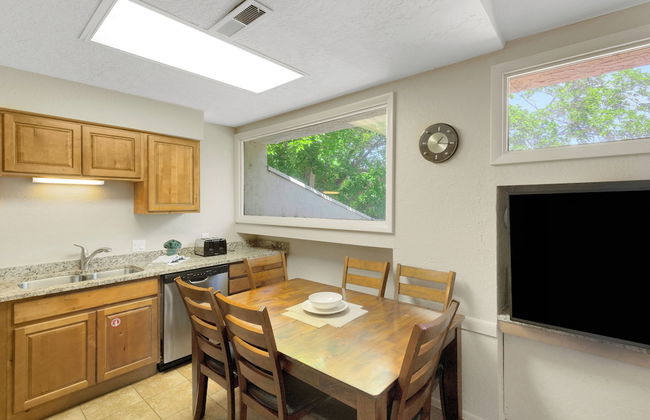
The Dwellings
La Verkin - A 1.6 km del centro
- 74 M2
- 6 personas
- Cocina pequeña
- Aire acondicionado
- Calefacción
- Piscina
- Parking
- Balcón
- Televisión
- Chimenea
- Toallas
- Sábanas
371 reseñas


AutoCamp Zion
Virgin - A 1.6 km del centro
- 6 personas
- Aire acondicionado
- Calefacción
- Piscina
- Parking
- Televisión
- Chimenea
- Toallas
- Sábanas
143 reseñas
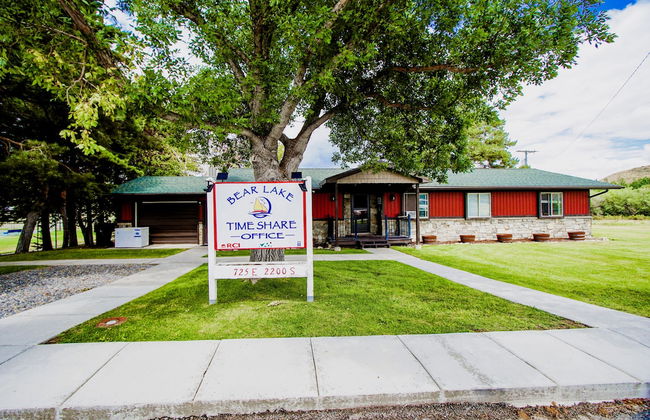


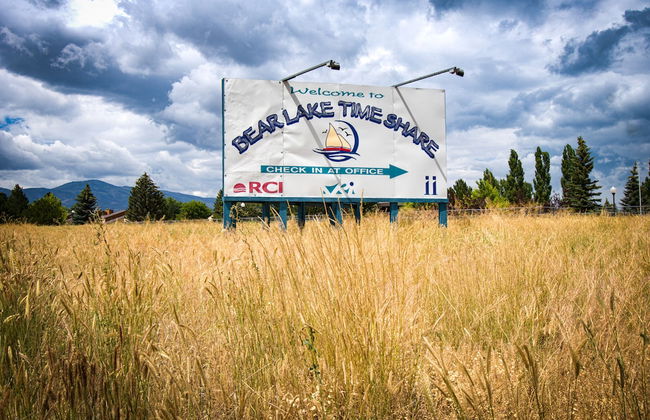
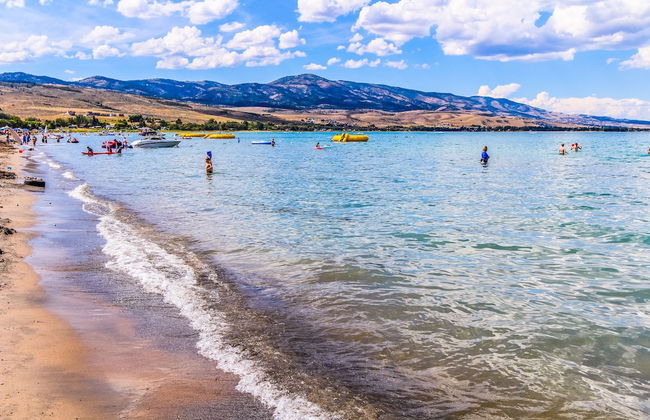
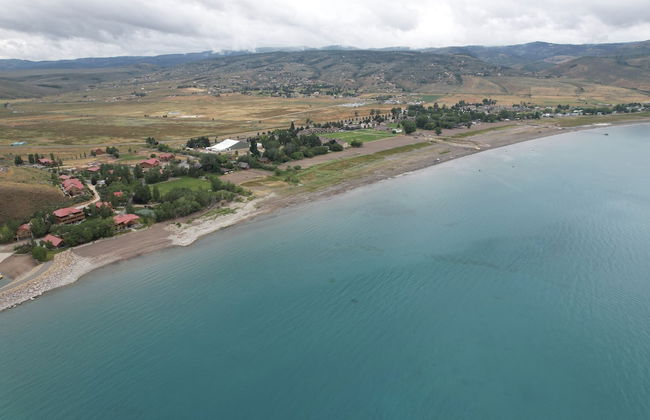
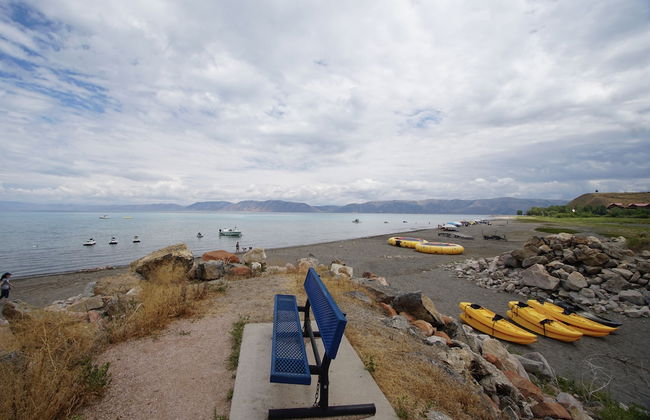
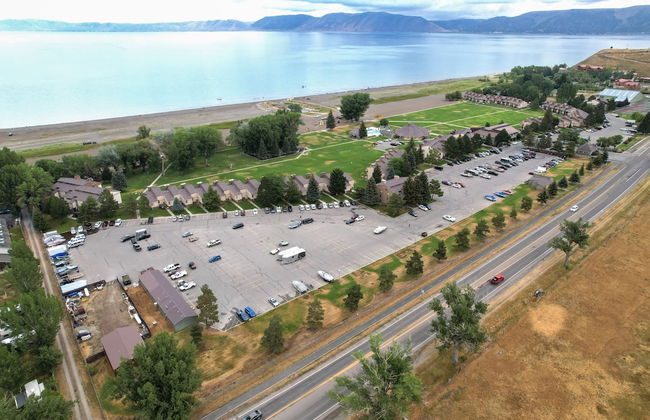
Multi Resorts at Bear Lake
Garden City - A 4.7 km del centro
- 88 M2
- 10 personas
- Calefacción
- Terraza
- Piscina
- Parking
- Jardín
- Televisión
- Barbacoa
- Toallas
- Sábanas
26 reseñas


Canyons of Escalante RV Park
Escalante
- 18 M2
- 5 personas
- Cocina pequeña
- Aire acondicionado
- Calefacción
- Parking
- Jardín
- Chimenea
- Barbacoa
- Toallas
- Sábanas
48 reseñas


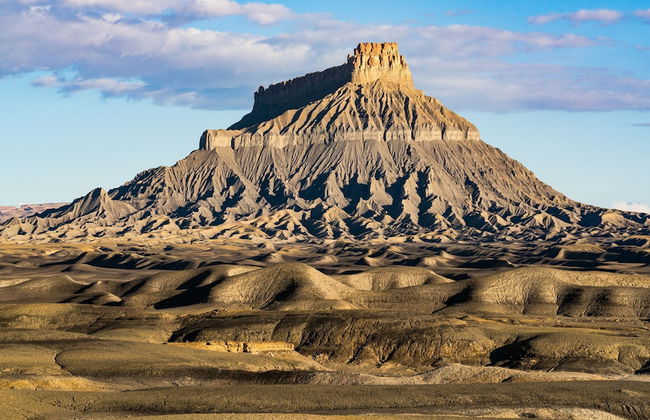
Muddy Creek Mining Company
Hanksville
- 74 M2
- 1 habitación
- 8 personas
- Aire acondicionado
- Calefacción
- Parking
- Jardín
- Televisión
- Chimenea
- Barbacoa
- Toallas
- Sábanas
114 reseñas


Perfect Family Escape - 3 Bed Condo with Pools
St George - A 3.6 km del centro
- 102 M2
- 3 habitaciones
- 9 personas
- Aire acondicionado
- Calefacción
- Terraza
- Piscina
- Parking
- Ascensor
- Jardín
- Barbacoa
18 reseñas


Villas at Southgate
St George - A 3.6 km del centro
- 6 personas
- Aire acondicionado
- Calefacción
- Piscina
- Parking
- Televisión
- Barbacoa
- Toallas
- Sábanas
64 reseñas
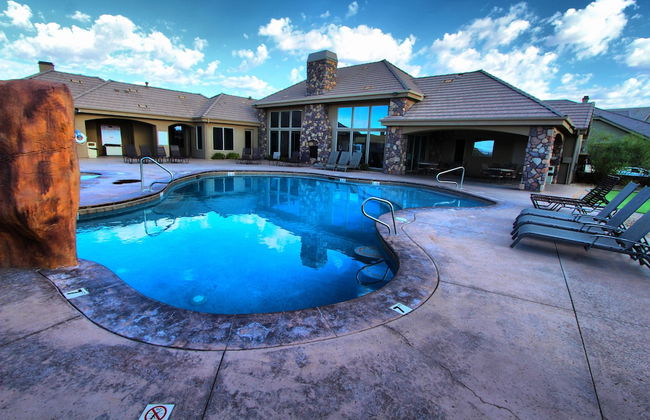

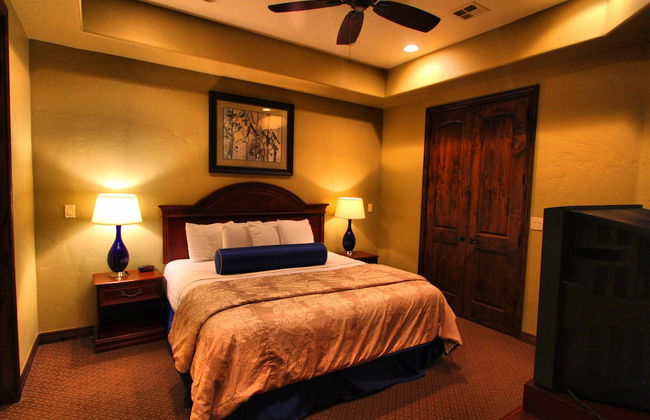

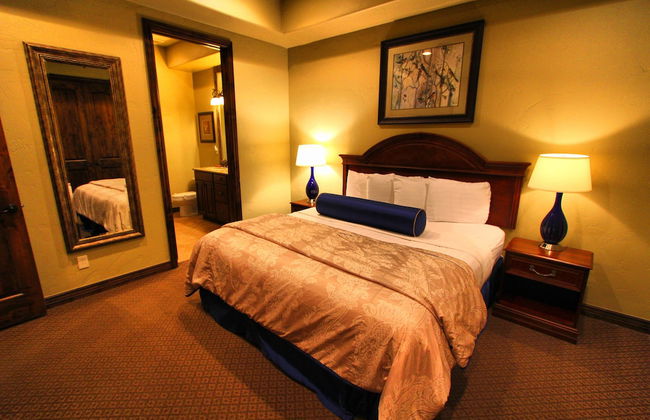


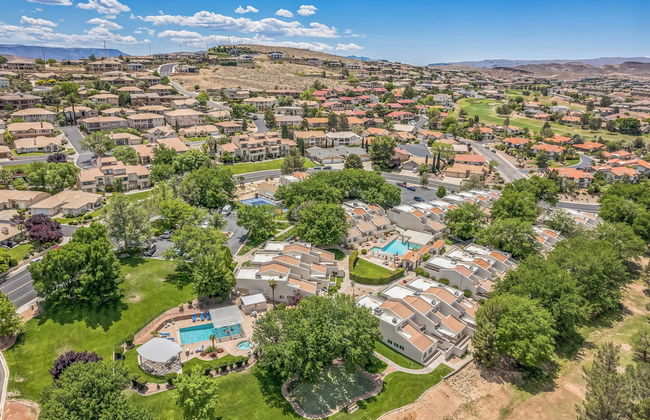
Canyon Villas at Coral Ridge
Wash - A 6.4 km del centro
- 174 M2
- 8 personas
- Aire acondicionado
- Calefacción
- Piscina
- Parking
- Televisión
- Lavadora
- Chimenea
- Toallas
- Sábanas
60 reseñas


The Escape to East Zion
Orderville - En el centro
- 651 M2
- 5 personas
- Cocina pequeña
- Aire acondicionado
- Calefacción
- Piscina
- Parking
- Balcón
- Jardín
- Televisión
- Lavadora
- Toallas
- Sábanas
16 reseñas