


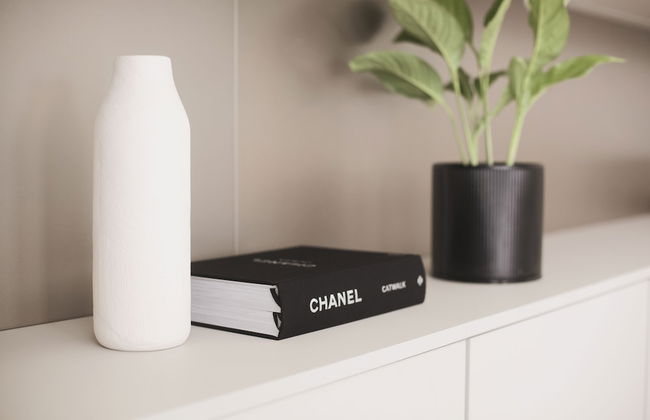
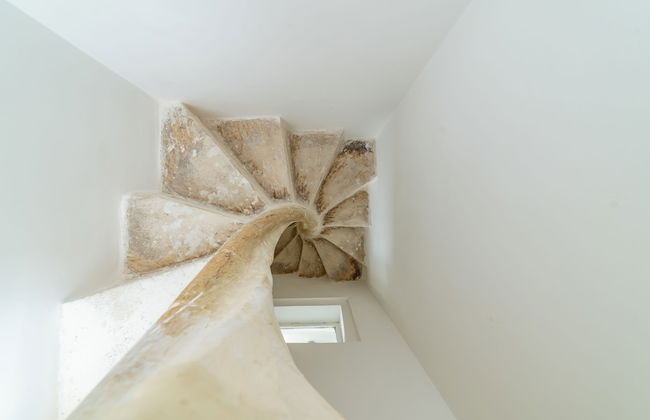
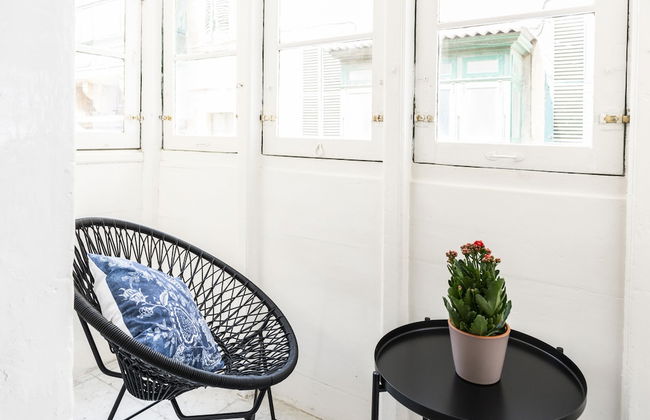
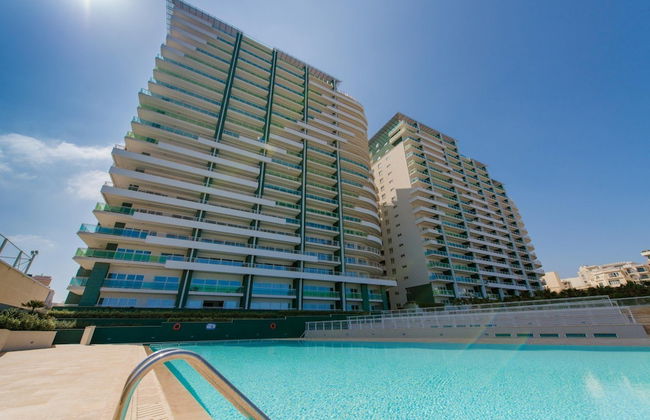
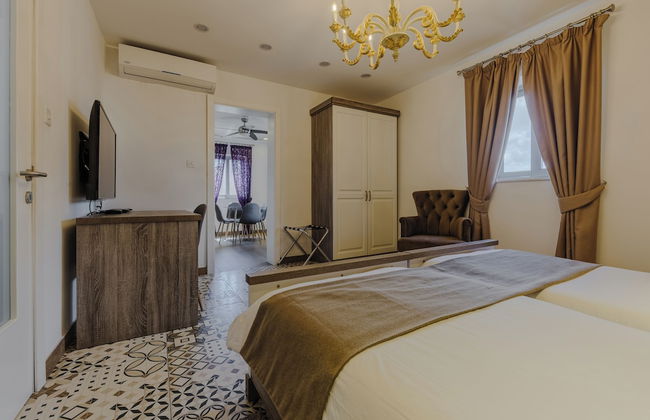
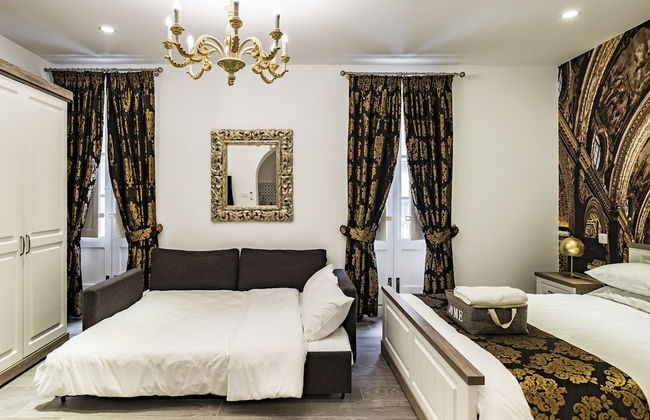
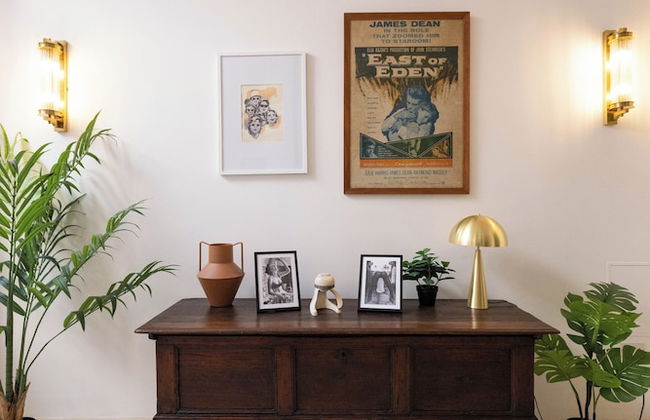
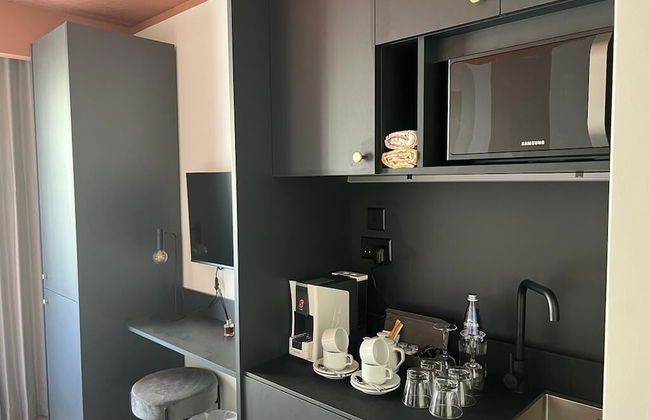
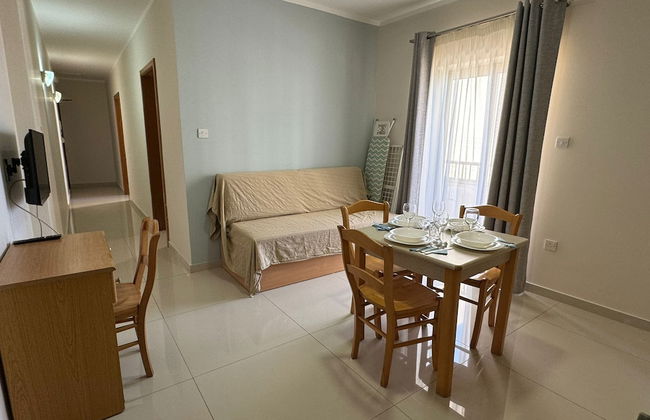
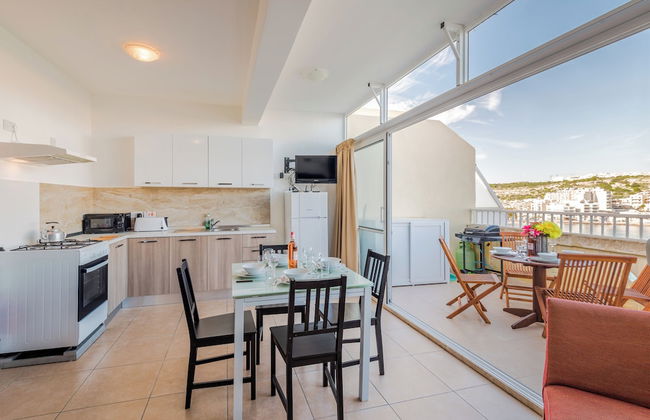
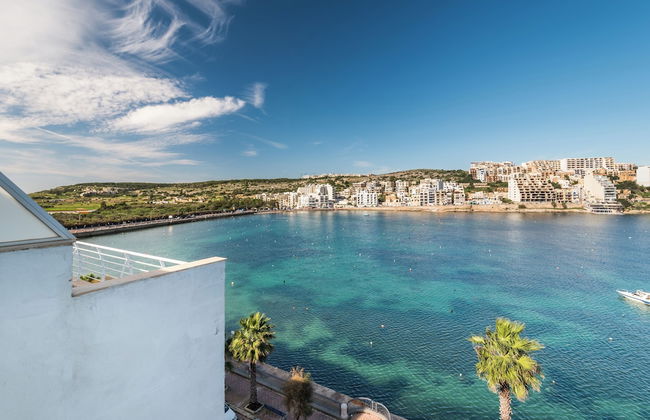
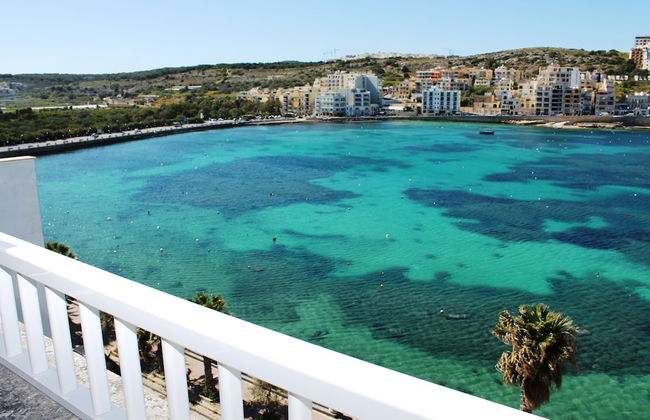
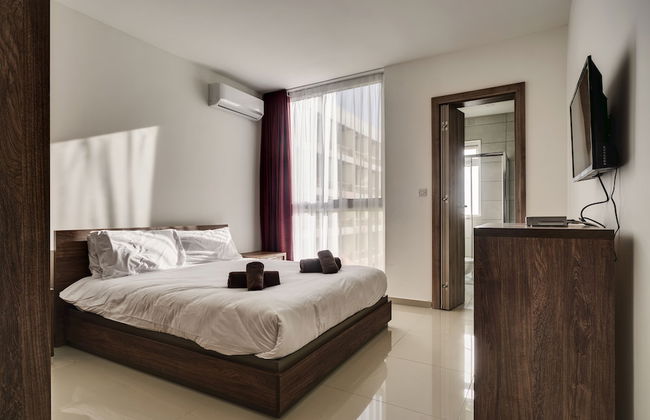
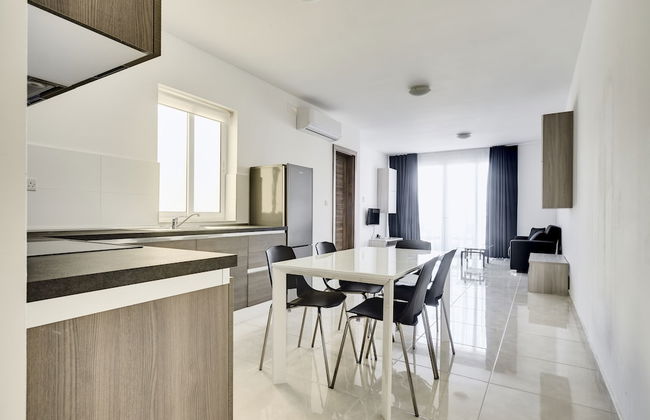
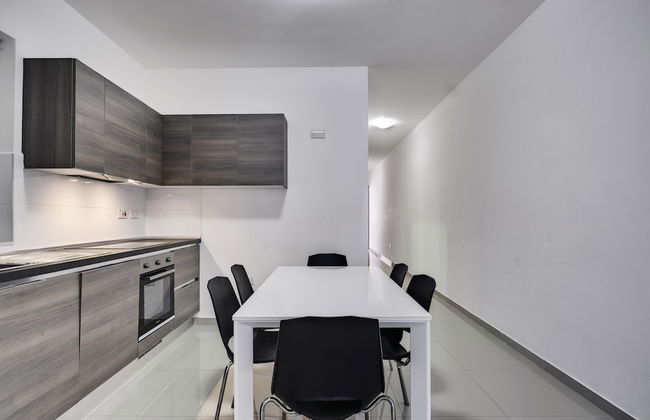
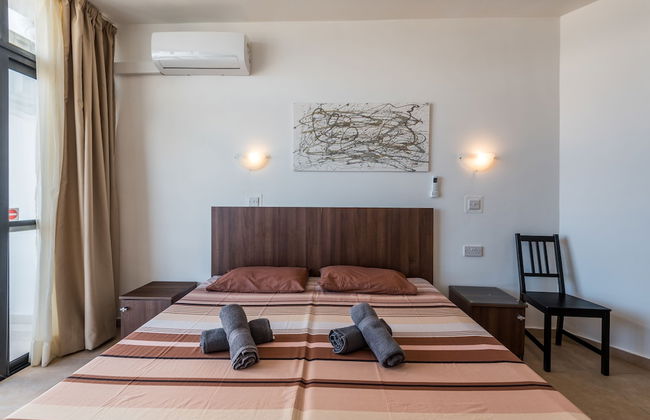
Park Heights by the Warren Collection
Msida - Msida
- 4 personas
- Aire acondicionado
- Calefacción
- Terraza
- Piscina
- Parking
- Ascensor
- Balcón
- Televisión
- Toallas
- Sábanas


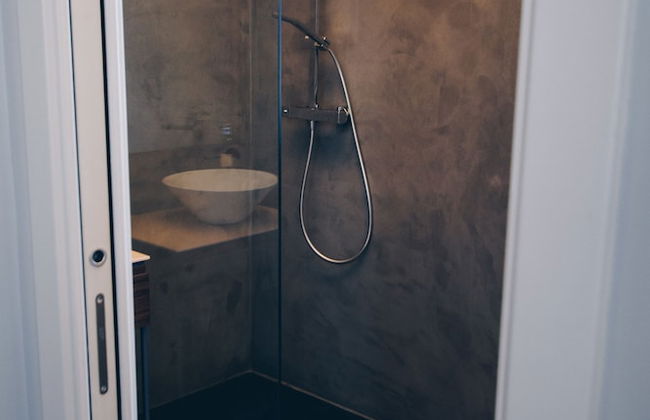


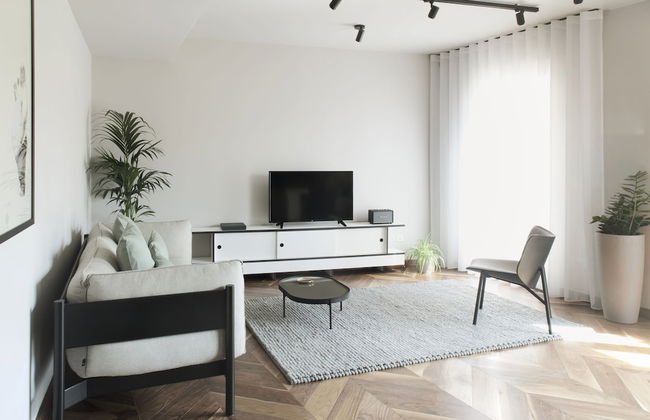
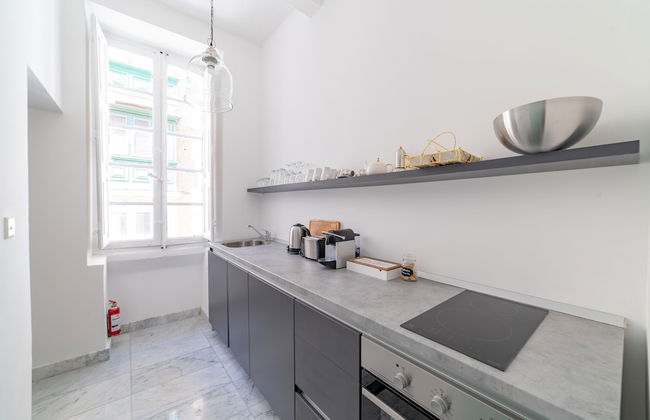
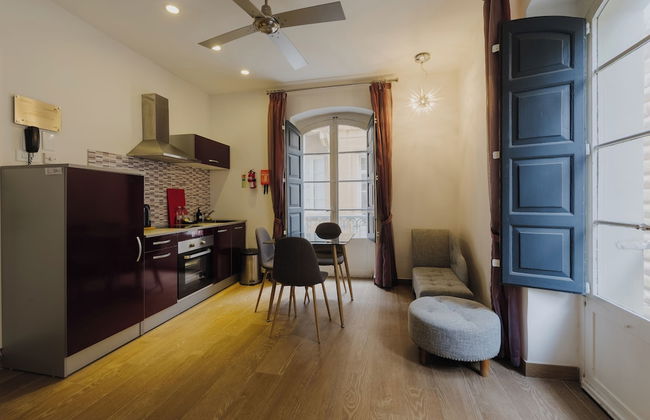
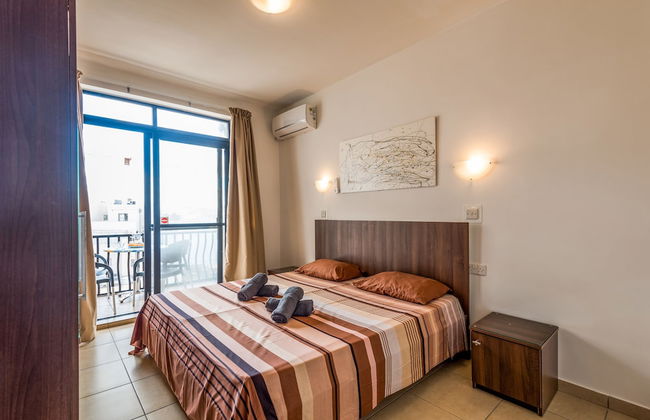
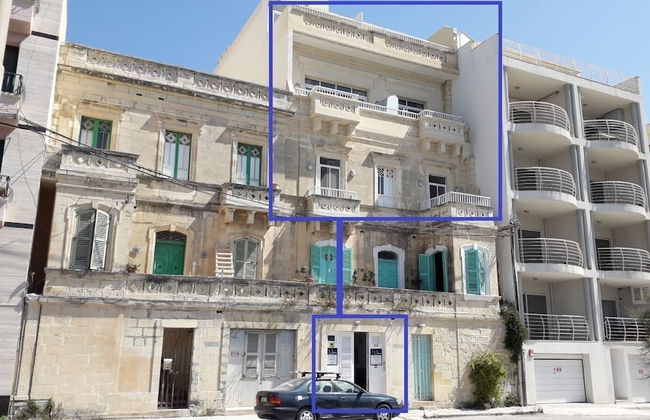
Sally Port Suites
La Valeta - Valletta
- 25 M2
- 2 personas
- Cocina pequeña
- Aire acondicionado
- Calefacción
- Terraza
- Televisión
- Toallas
- Sábanas


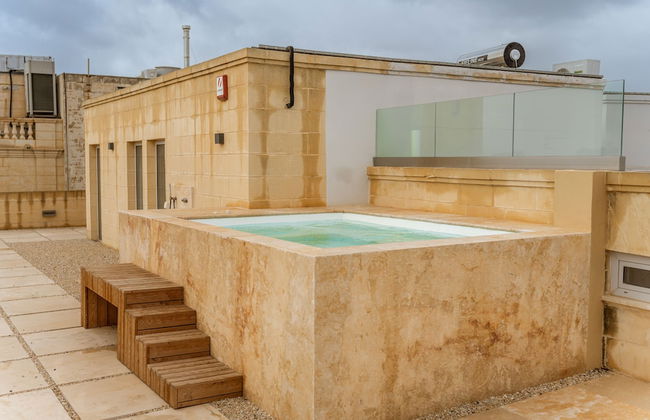


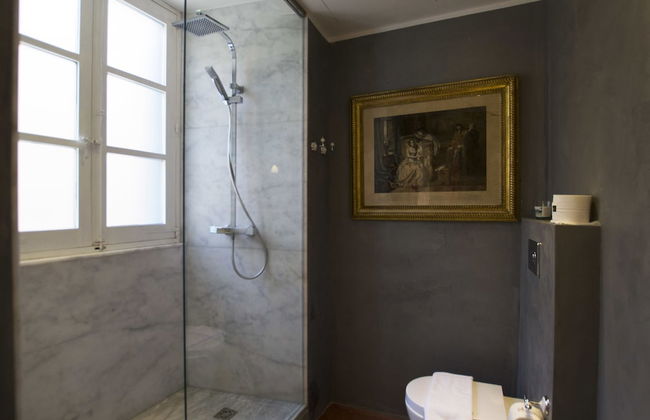
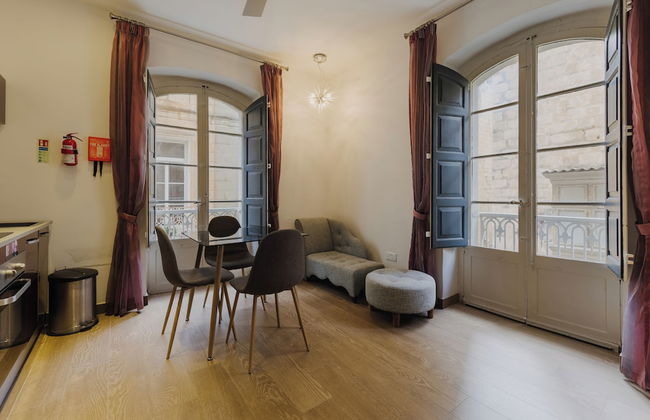
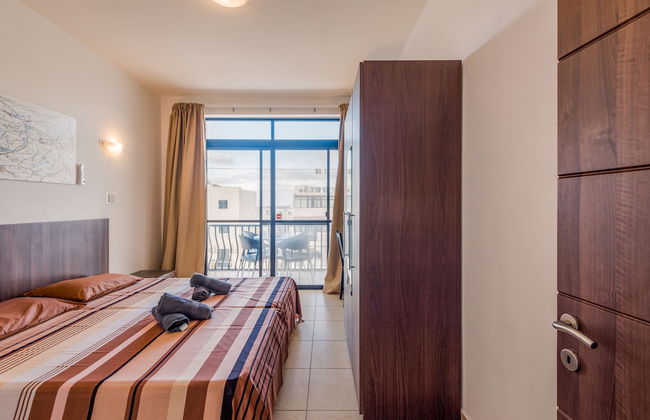
Trabuxu Boutique Living
La Valeta - Valletta
- 300 M2
- 4 personas
- Aire acondicionado
- Calefacción
- Terraza
- Piscina
- Ascensor
- Balcón
- Televisión
- Lavadora
- Toallas
- Sábanas


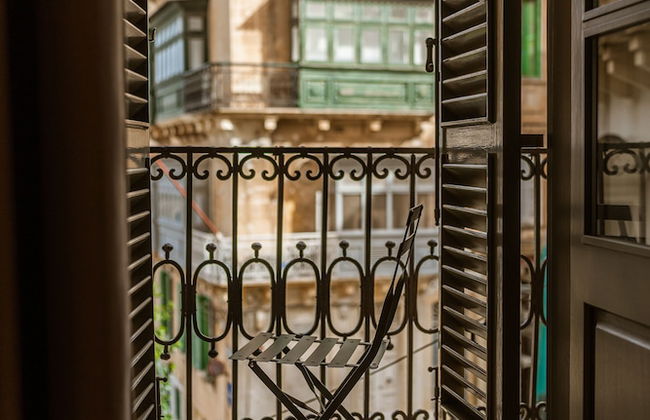
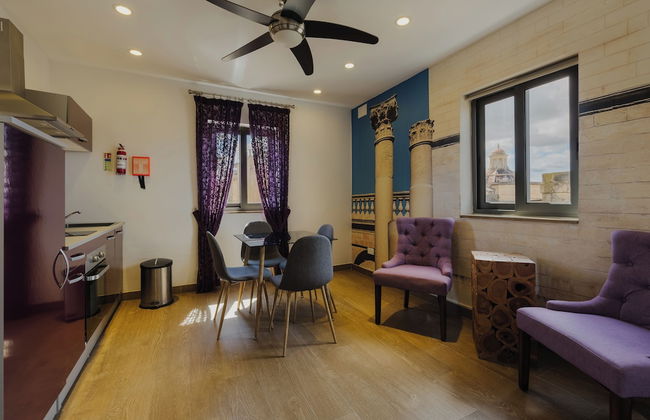
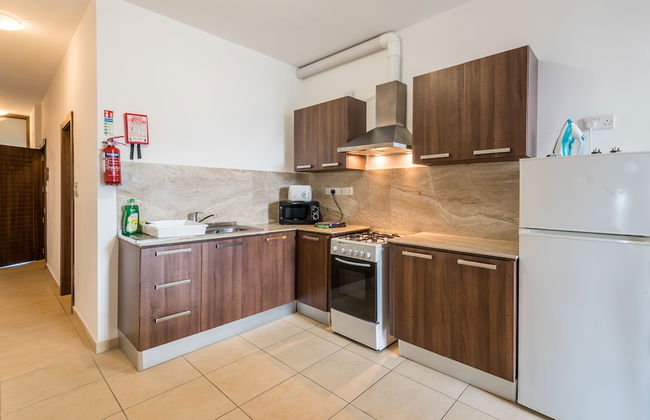
Carmelita
La Valeta - Valletta
- 55 M2
- 4 personas
- Cocina pequeña
- Aire acondicionado
- Calefacción
- Televisión
- Toallas


Three Cities Apartments
Bormla - Bormla
- 63 M2
- 2 personas
- Aire acondicionado
- Calefacción
- Terraza
- Parking
- Televisión
- Lavadora
- Toallas
- Sábanas


Seafront Luxury Apartment Incl Pool
- 4 personas
- Aire acondicionado
- Calefacción
- Terraza
- Piscina
- Parking
- Ascensor
- Balcón
- Televisión
- Lavadora
- Toallas
- Sábanas


Jean De Valette Boutique Living
La Valeta - Valletta
- 45 M2
- 4 personas
- Cocina pequeña
- Aire acondicionado
- Calefacción
- Terraza
- Ascensor
- Balcón
- Televisión
- Lavadora
- Toallas
- Sábanas


Ellul Living
Floriana - Floriana
- 100 M2
- 4 personas
- Calefacción
- Terraza
- Televisión
- Lavadora
- Toallas
- Sábanas


136 Old Bakery
La Valeta - Valletta
- 55 M2
- 2 personas
- Cocina pequeña
- Aire acondicionado
- Calefacción
- Ascensor
- Televisión
- Toallas
- Sábanas


Blue Harbour 2 by Getaways Malta
- 100 M2
- 9 personas
- Aire acondicionado
- Calefacción
- Terraza
- Parking
- Ascensor
- Televisión
- Lavadora
- Barbacoa
- Toallas
- Sábanas


Eleven by Warren Collection
Sliema - Sliema
- 3 personas
- Aire acondicionado
- Piscina
- Ascensor
- Balcón
- Televisión
- Toallas
- Sábanas


Seashells Self Catering Apartment by Getaways Malta
- 71 M2
- 5 personas
- Aire acondicionado
- Calefacción
- Terraza
- Parking
- Ascensor
- Balcón
- Televisión
- Lavadora
- Toallas
- Sábanas


Triton
- 40 M2
- 6 personas
- Aire acondicionado
- Calefacción
- Terraza
- Parking
- Ascensor
- Balcón
- Televisión
- Toallas


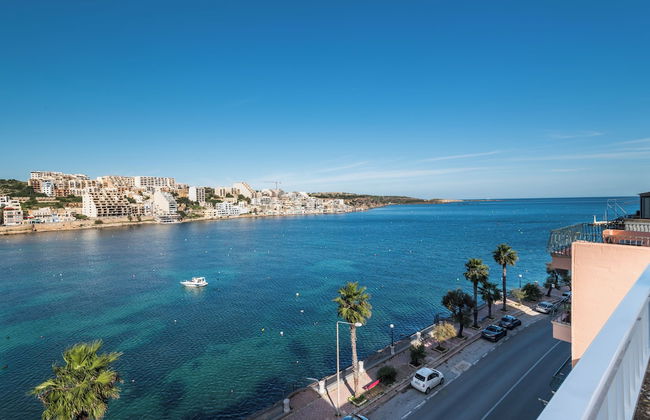


Blue Harbour – Seafront Self-Catering Holiday Penthouse – St Paul’s Bay
- 75 M2
- 4 personas
- Aire acondicionado
- Calefacción
- Terraza
- Parking
- Ascensor
- Balcón
- Televisión
- Lavadora
- Barbacoa
- Toallas
- Sábanas


The Village Apartments
- 110 M2
- 6 personas
- Aire acondicionado
- Calefacción
- Parking
- Balcón
- Televisión
- Lavadora
- Toallas
- Sábanas


Islet Seafront Apartment Corner Terrace
Saint Paul's Bay - Saint Paul's Bay
- 50 M2
- 4 personas
- Aire acondicionado
- Calefacción
- Terraza
- Parking
- Ascensor
- Balcón
- Televisión
- Lavadora
- Toallas
- Sábanas


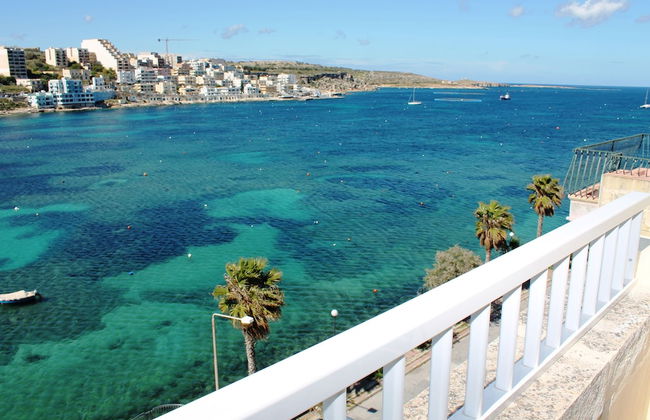
Seashells 2 bedroom Apartment with sunny terrace with stunning panoramic sea views by Getaways Malta
Saint Paul's Bay - Saint Paul's Bay
- 63 M2
- 5 personas
- Aire acondicionado
- Calefacción
- Terraza
- Parking
- Ascensor
- Televisión
- Lavadora
- Barbacoa
- Toallas
- Sábanas


Stunning Seaview Apartment, Wifi
- 55 M2
- 5 personas
- Aire acondicionado
- Calefacción
- Terraza
- Piscina
- Parking
- Balcón
- Televisión
- Toallas
- Sábanas


Art Deco Apartment in Central Sliema
- 100 M2
- 6 personas
- Aire acondicionado
- Calefacción
- Terraza
- Parking
- Ascensor
- Televisión
- Lavadora
- Toallas
- Sábanas
Apartamentos en Malta: Alojamiento junto al mar
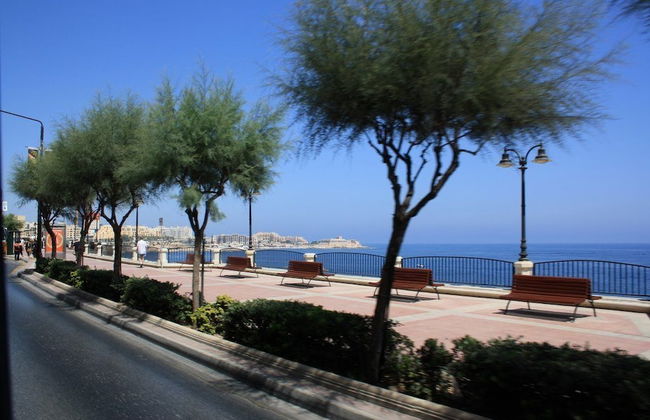
Situada en el medio del Mediterráneo, al sur de Sicilia y al norte de Libia, Malta es el país de la Comunidad Europea con mayor densidad de población. El archipiélago de 316 kilómetros cuadrados, está formado por tres islas y varios islotes, tiene un clima templado todo el año. Si bien tiene problemas de escases agua y casi todo lo que se consume se lleva desde el continente. En Malta se han rodados varias películas famosas y el turismo se ha transformado en un turismo de altísimo nivel. Su codiciada ubicación geopolítica le significó sufrir muchas ocupaciones a través de su historia, independizándose en septiembre de 1964 del imperio británico. Su cultura es una increíble muestra de la dominación italiana y británica. Las lenguas que se hablan son el maltés y el inglés. La gastronomía tiene esa fusión de sabores que deja al descubierto la influencia española, italiana de Sicilia y turca. Debido a las ocupaciones fenicias, napoleónica, italiana, española y británica, su arquitectura representa mundos arcaicos y la hacen atractiva a los visitantes especialmente su arquitectura medieval. La Valetta , su capital, posee numerosos y excelentes restaurantes, tiendas, bares y cafés. Si lo que te gusta es el mar y el sol hay calas bellísimas, con aguas cristalinas donde puedes bucear y cercanas a restaurantes típicos donde tomar algo. Para los amantes de los deportes de aventura existen lugares increíbles para escalar, hacer senderismo y lanzarse en parapente. Pero si de lo que disfrutas es de la movida nocturna, el moderno barrio de St. Julian, donde está Paceville, es el epicentro del baile, las copas y el bullicio. Si buscas que tus vacaciones sean inolvidables, nuestros apartamentos en Malta te ubicarán en el lugar perfecto y sentirás la magia de estar en medio del Mediterráneo.
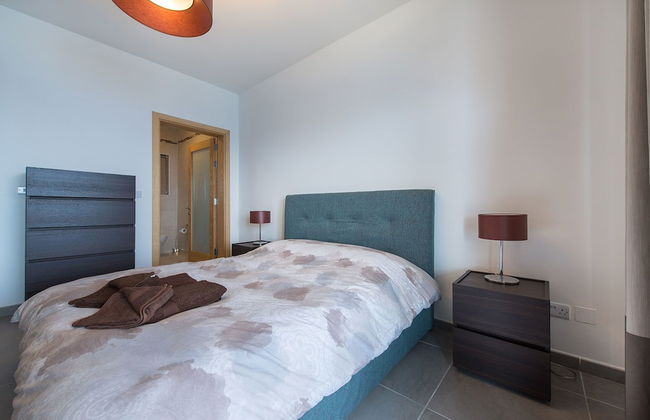
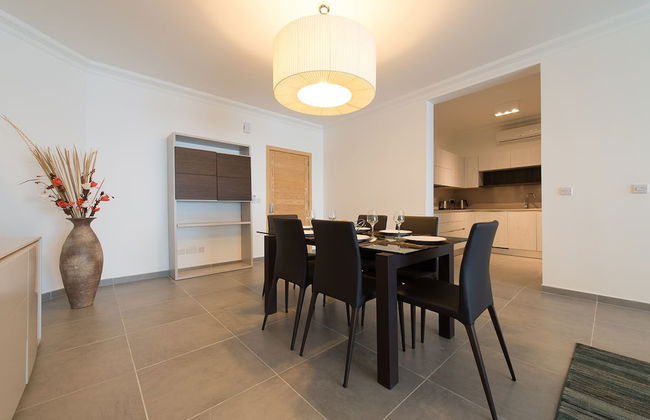
Alojamientos en Malta
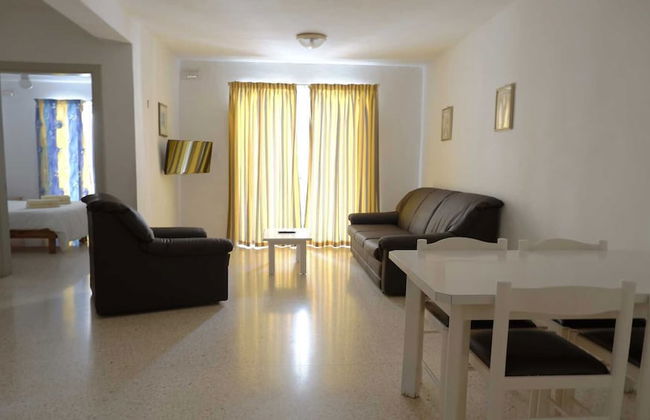
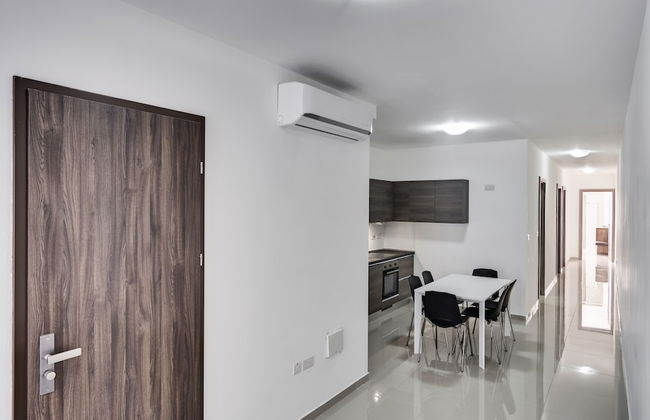
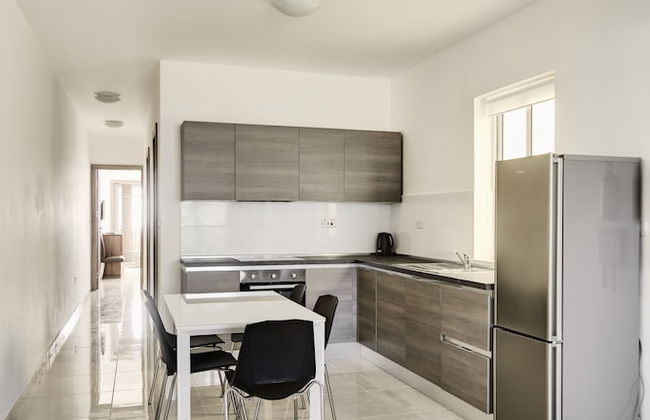
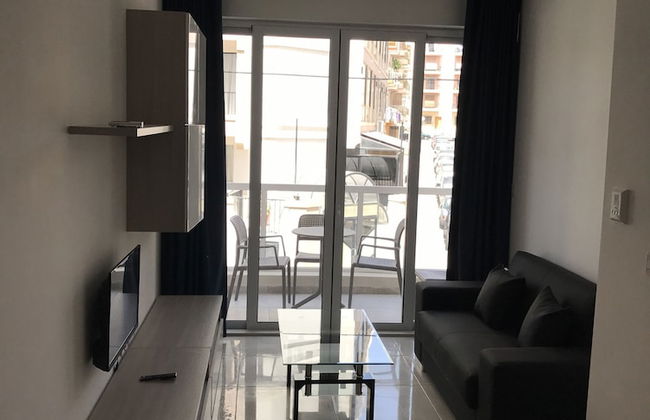
Respecto al alojamiento en Malta no hay nada que no puedas encontrar. Hoteles de toda clase, apartamentos, casas de huéspedes, B&B, pensiones, hostales, apartoteles, pisos, áticos, terrazas, habitaciones y estudios. Sin embargo, solo Only-apartments reúne buen gusto con precios inmejorables. Apartamentos con vistas al mar y perfectamente equipados con todo tipo de comodidades, estudios adaptados para hacer la vida grata y pisos divinos para quienes viajan en familia, donde puedes cocinar, lavar tu ropa o usar internet.
Ciudades y lugares que visitar en Malta
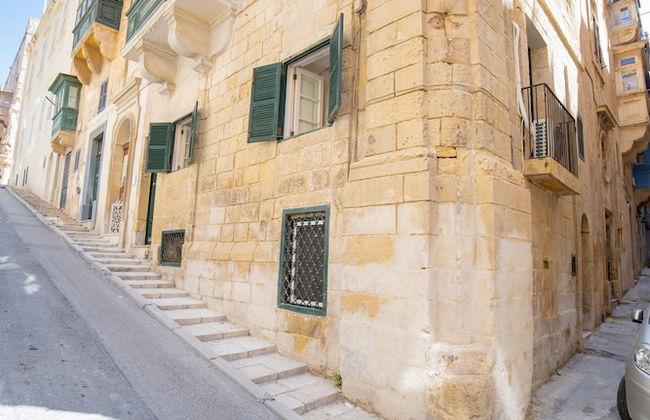
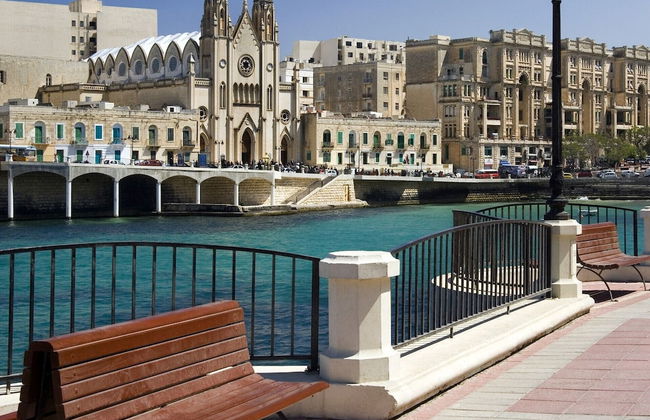
- Callejear por La Valetta es un placer increíble. Sus calles empinadas, los edificios con balcones medievales coloridos, las puertas labradas, los gatos durmiendo al sol. Sus escalerillas y los muros de las fortalezas te hacen sentir que estás en otro tiempo. Para ir de compras, el Centru Snajja Maltim tiene las mejores artesanías. No olvide regatear, es la costumbre.
- La ciudad de las callecitas empedradas es Hamrun. Ubicada en la zona del Inner Harbour, famosa porque en octubre se realiza el festival del chocolate.
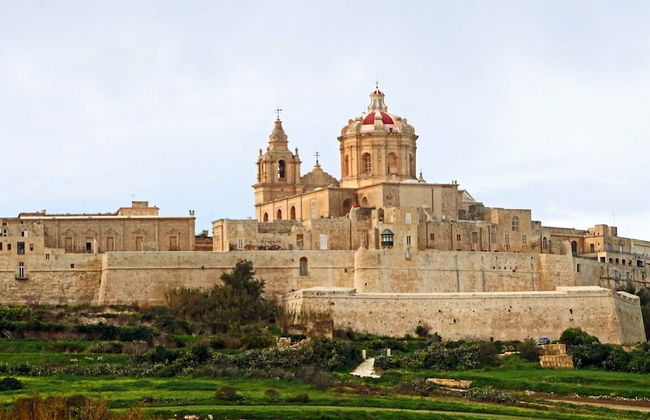
- La ciudad amurallada de Mdina es la más bella de la isla. Fundada por los fenicios en el 700 a.C. Conocida como la ciudad del silencio está situada al centro oeste de Malta. Fue la antigua capital de la isla, hoy es un museo. Tiene las calles medievales mejor conservadas de Malta, el Museo de Mdina, la catedral del siglo XI, el Palazzo Falson construido en el siglo XV, el Palazzo Vilhena donde se encuentra el Museo de Historia Natural y el Convento de las Carmelitas. Pasear por la noche recorriendo sus calles para sentir el silencio es una costumbre que no puedes perderte.
- Una postal es el pueblo pesquero de Marsaxlokk. Edificios con influencia gótica, palmeras, mar azul y curiosas góndolas multicolores reposan en sus aguas tranquilas. Conocer el mercado los domingos es muy placentero, así como almorzar en el muelle o fotografiar las construcciones del siglo XVII en Fort San Lucjan.
- En el camino a la Cottonera está la conurbación formada por Senglea , Vittoriosa y Cospicua. Estas tres ciudades son la historia viva del barroco europeo. Senglea conocida por el Forti San Mikel, del siglo XVI. Vittoriosa te sobrecogerá al caminar por Triq it Tarzna. Cospicua es la tierra de los Caballeros de la Orden de Malta y una visita que no puedes perderte.
- Mosta es conocida por su imponente iglesia con una gran cúpula, la tercera más grande de Europa.
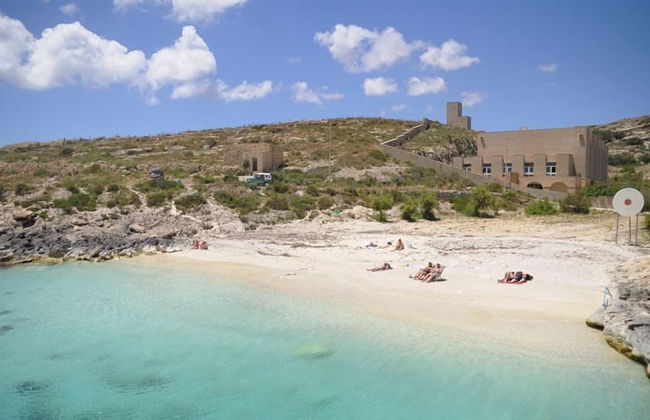
- Un día de mar y caminata en Isla Comino es imperdible. Puedes nadar en la cristalina Blue Lagoon, la playa más visitada de Malta. Para llegar toma un ferri en el puerto de Cirkewwa, al norte de Malta.
- Blue Grotto es uno de los atractivos naturales más visitados en la Isla. Se trata una gruta de piedra caliza tallada caprichosamente por el mar. Está a muy poca distancia de los templos megalíticos de Hagar Qim y Mnajdra.
- Para los amantes del senderismo, el Parque Natural Majjistrl's es una gran opción. Tiene varias rutas seguras que guían a los visitantes por la flora y fauna autóctona.
Si ya ha decidido su próximo destino recuerde que muchos de nuestros apartamentos en Malta están ubicados cerca de los lugares más interesantes y atractivos de la isla.
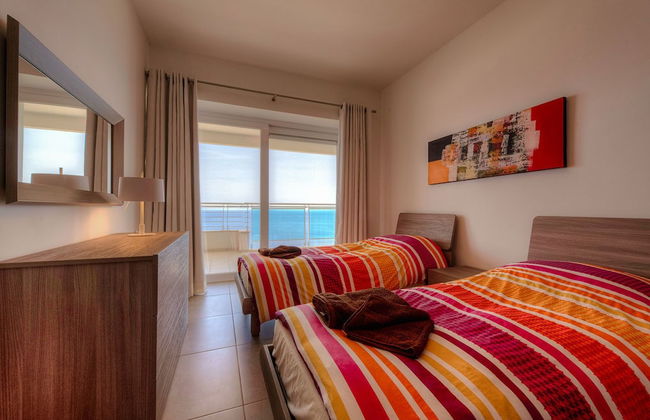
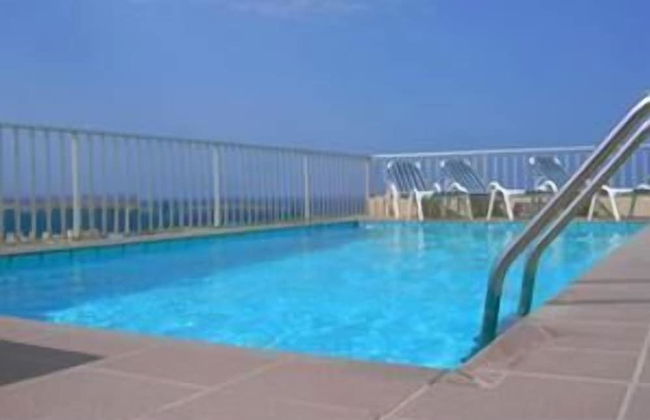
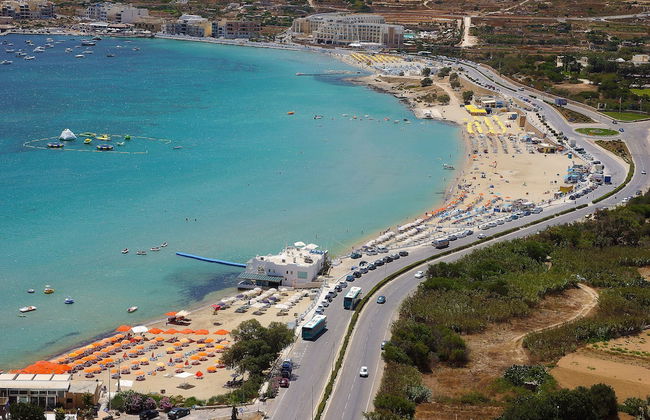
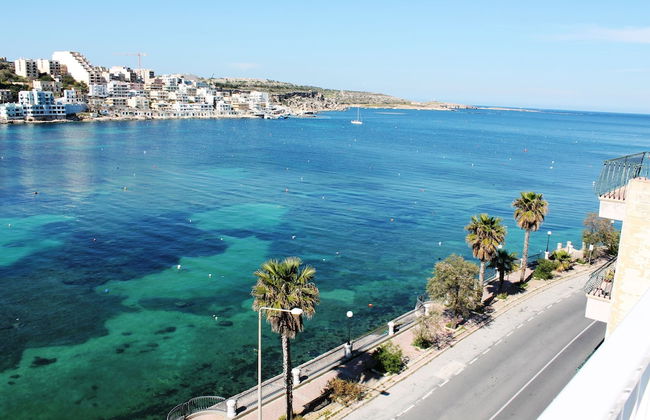
Playas en Malta
La costa de Malta es rocosa, por lo que muchas calas solo se recomiendan para actividades de buceo y snorkel.
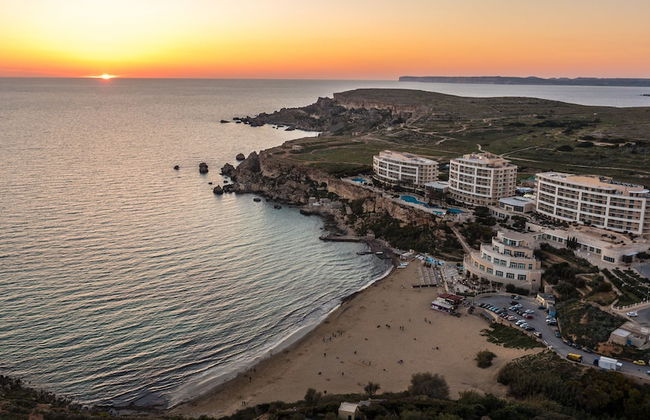
Golden Bay es la playa más popular de Malta. Tiene arenas finas, mar apto para el baño y está completamente equipada para los turistas.
Ghajn Tuffieha Bay queda muy cerca de Golden Bay y puede accederse caminando desde la misma. Playa de arenas finas y agradables para tomar el sol y el baño.
Paradise Bay, como señala su nombre, es un paraíso. Arenas finas, mar turquesa y calmada, ideal para tomar sol, hacer snorkel o disfrutar de un día junto al mar.
Gnejna Bay es una playa exquisita, con poco público, mar cristalino y arenas blancas que se ubica al oeste de la isla.
En todas las playas hay chiringuitos, baños, alquiler de sombrillas y hamacas de playa.
Como llegar a Malta
El aeropuerto internacional de Luga se encuentra a ocho kilómetros de La Valetta. Los autobuses de la línea 8 salen regularmente desde la parada frente a la sala de embarque y llegan al centro de la capital. Para viajar en taxi se debe comprar billetes en el aeropuerto. Si quieres más libertad de movimiento, también puedes alquilar un coche . También se puede llegar por vía marítima desde Sicilia, Civitacchia y Génova.