


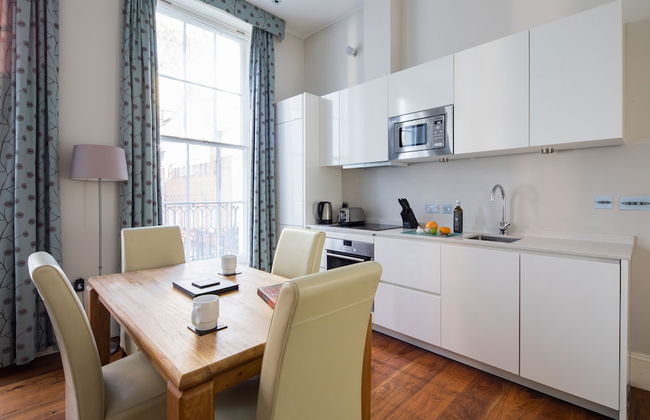
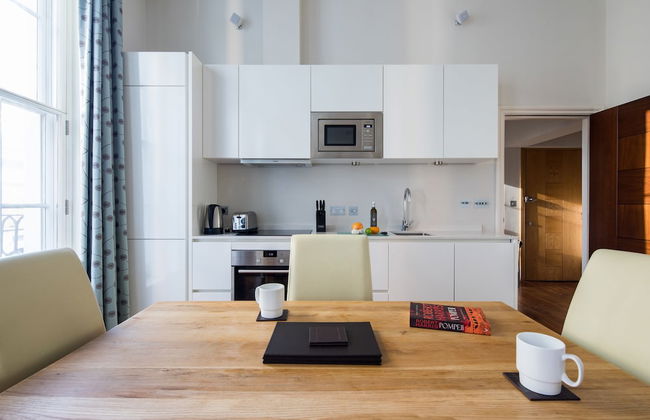
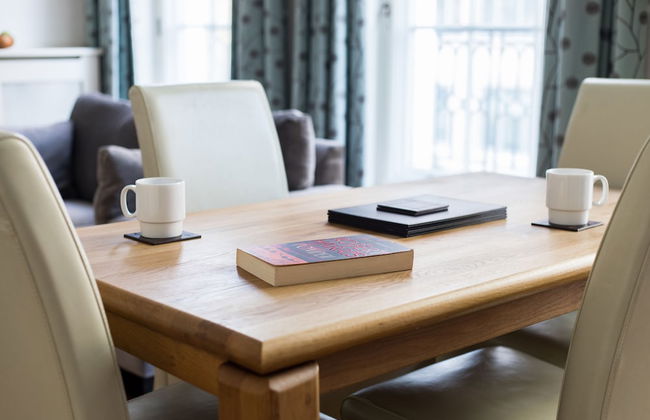


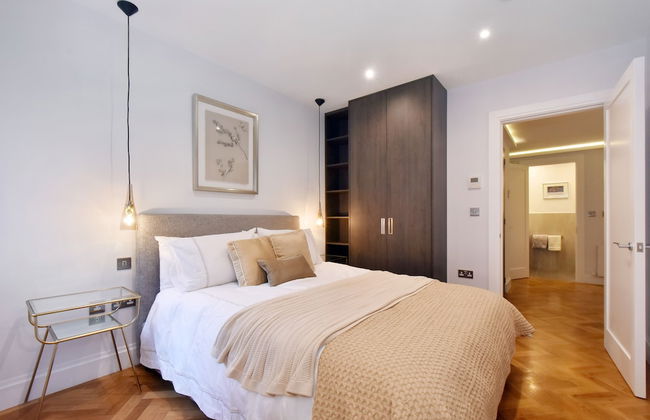
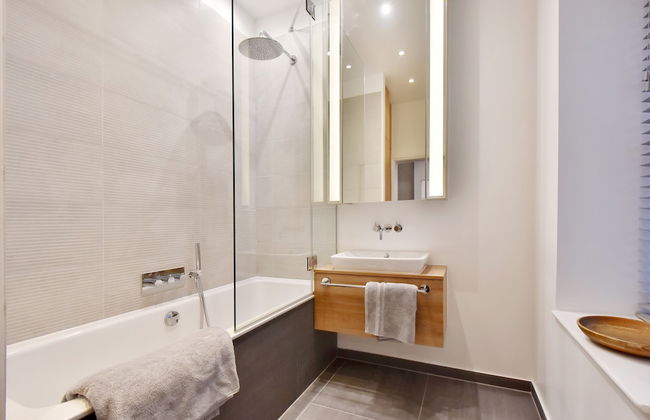
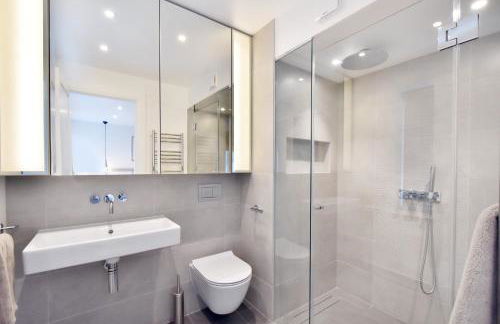
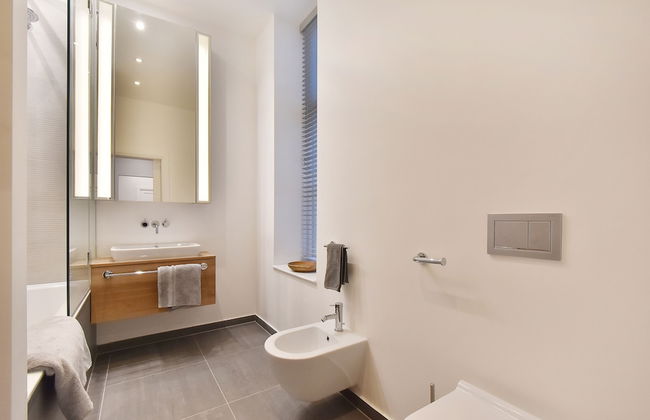
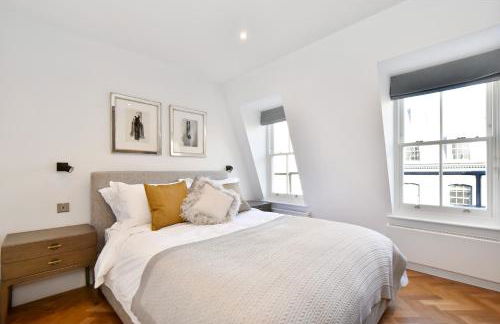
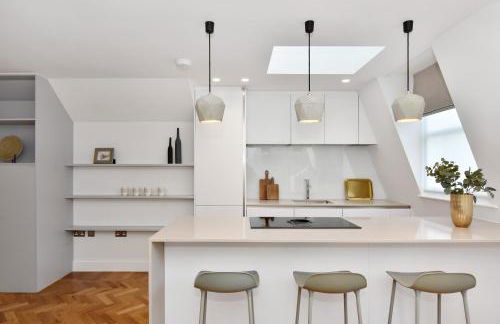
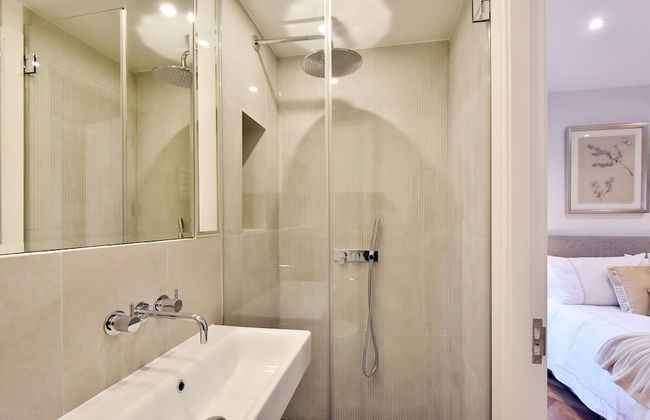
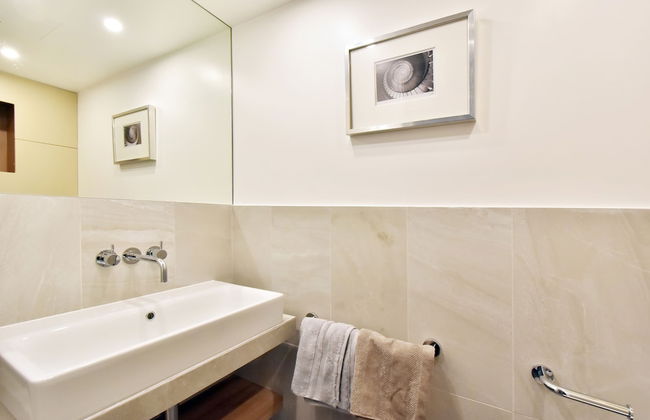
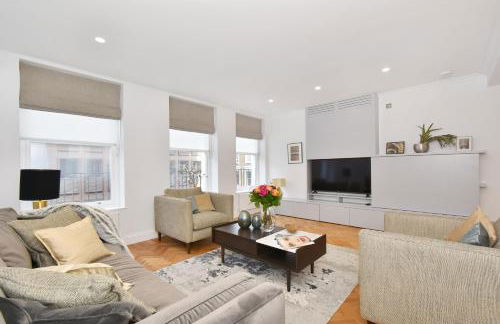
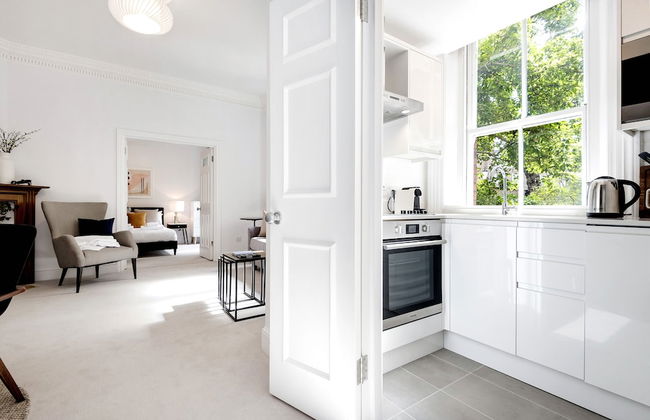
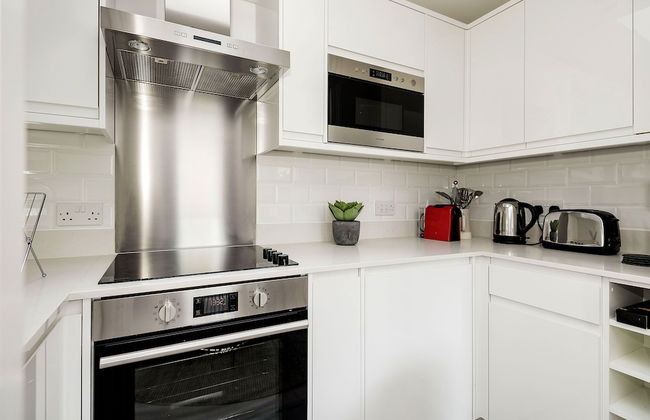
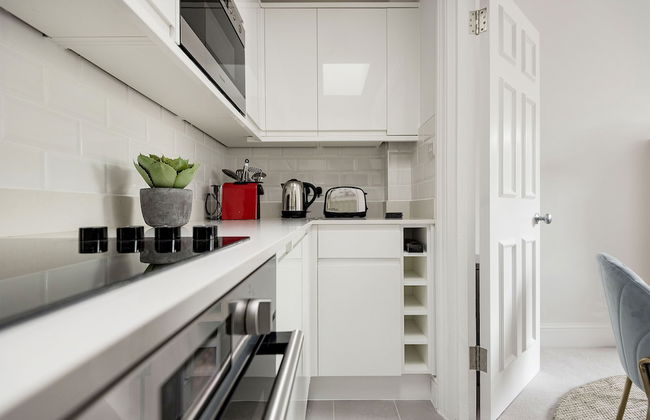
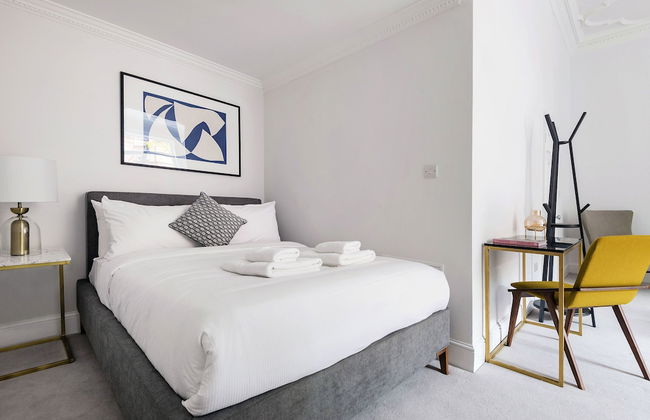
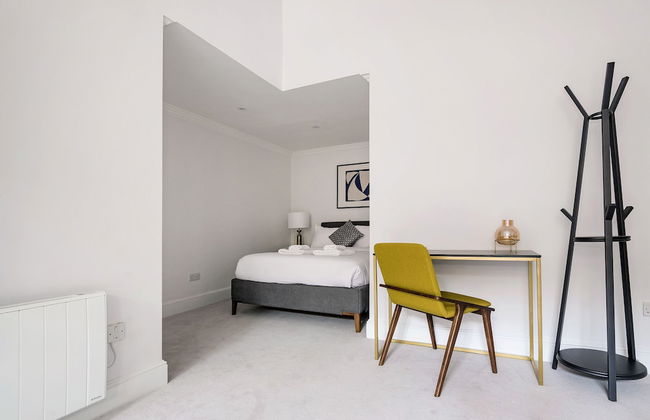
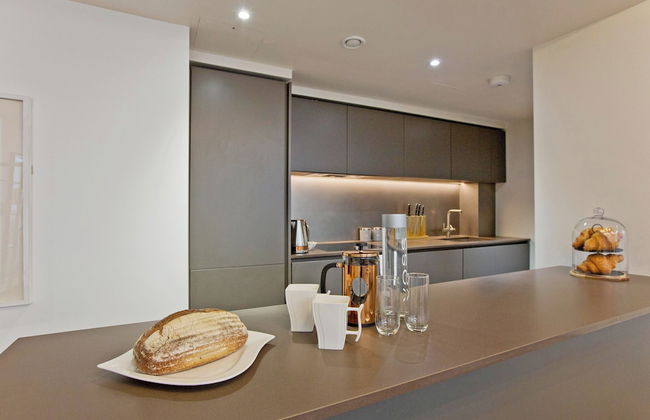
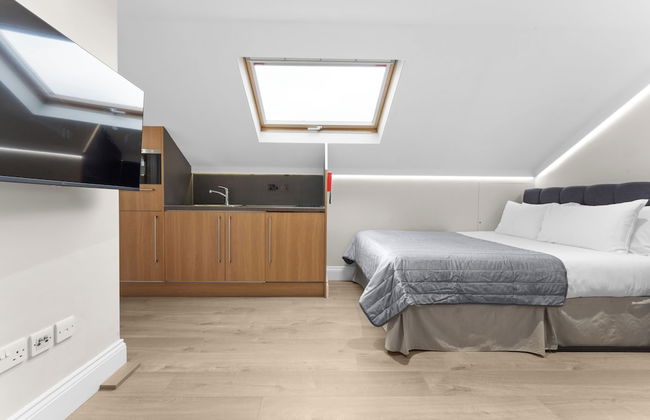
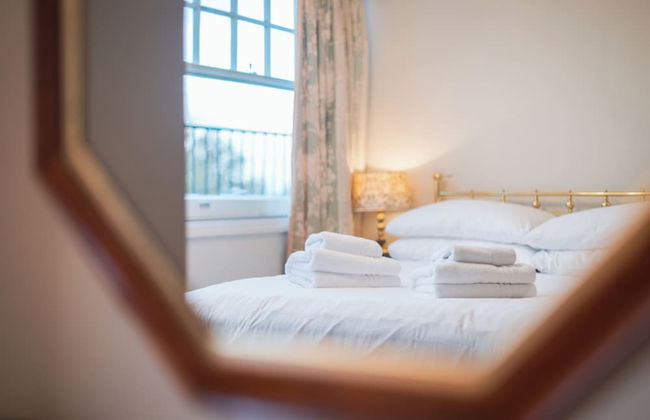
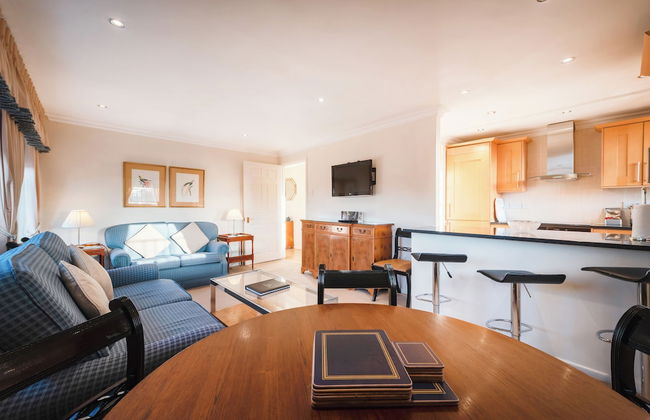
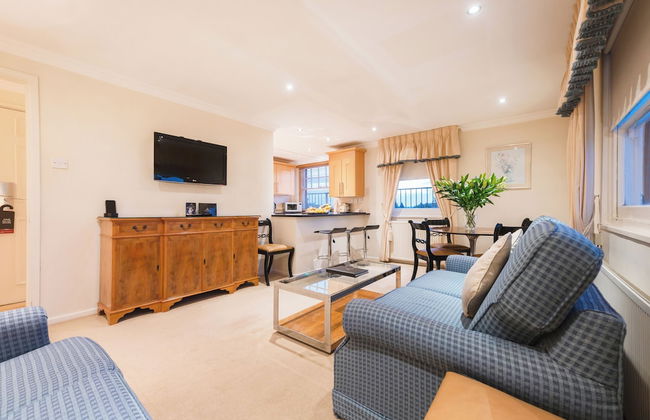
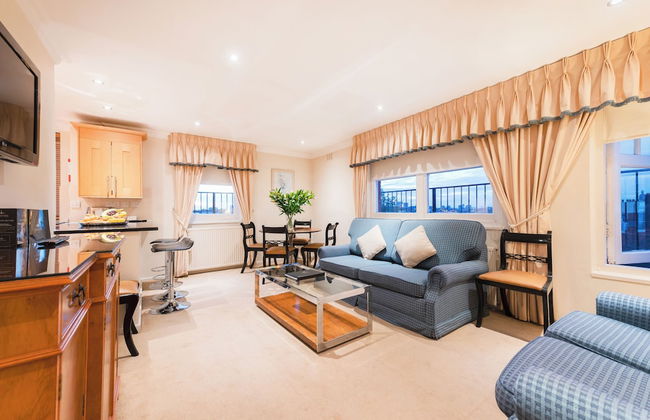
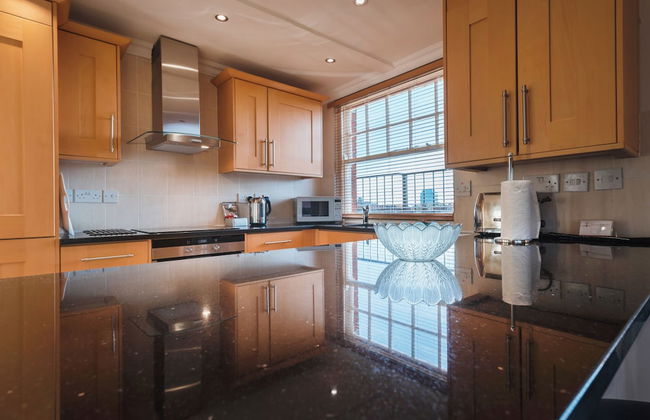
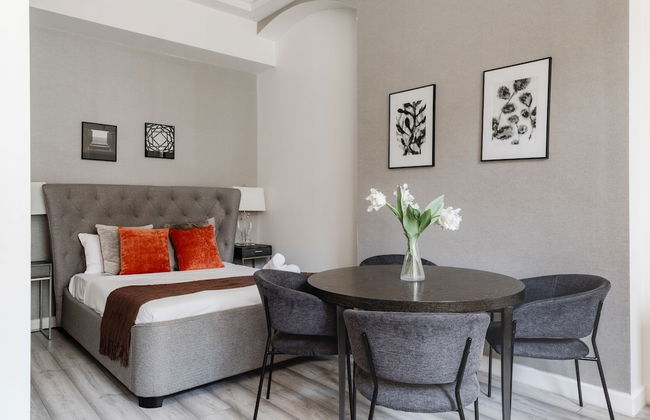
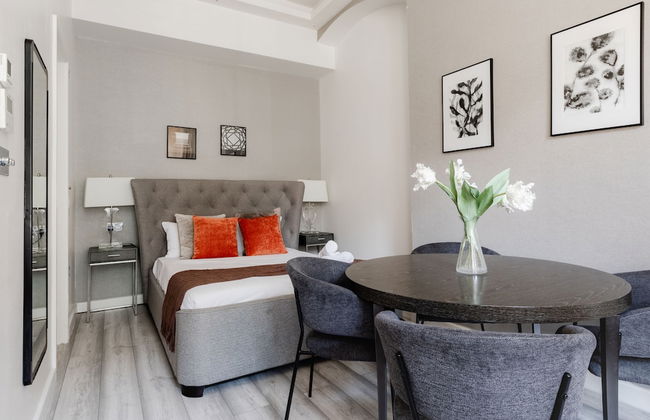
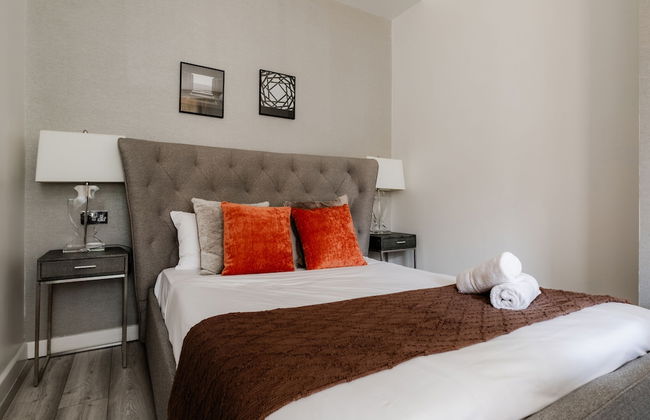
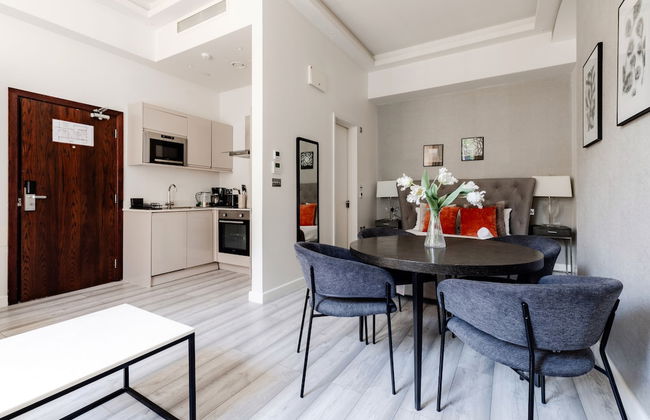
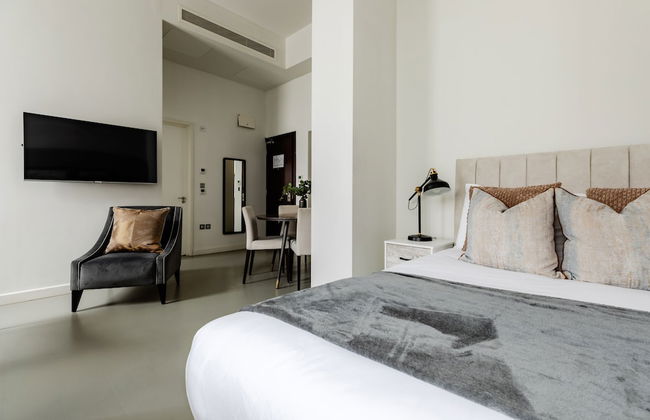
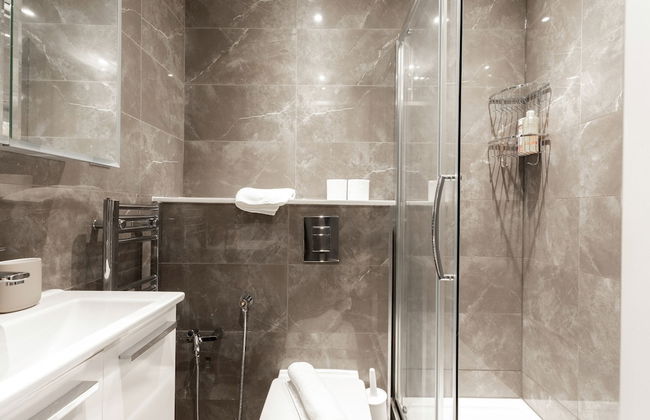
Tavistock Place Apartments
Londres - St Pancras - A 1.5 km del centro
- 105 M2
- 7 personas
- Calefacción
- Terraza
- Ascensor
- Balcón
- Televisión
- Lavadora
- Chimenea
- Toallas
- Sábanas
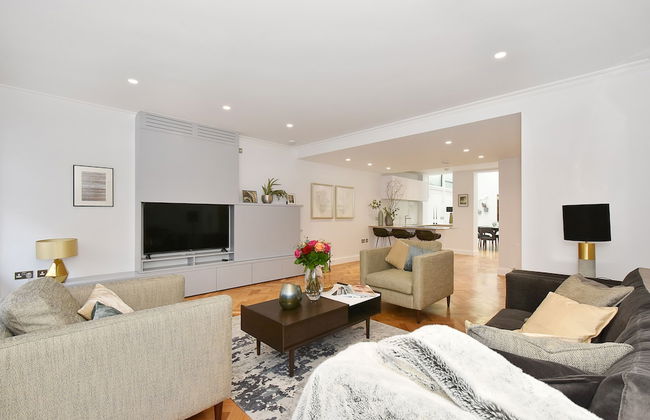
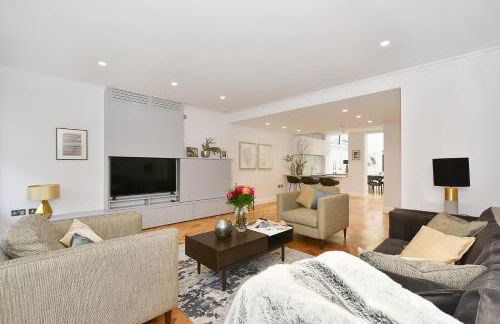
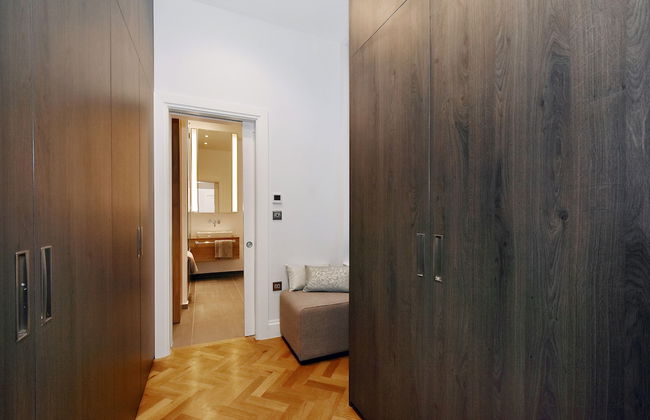


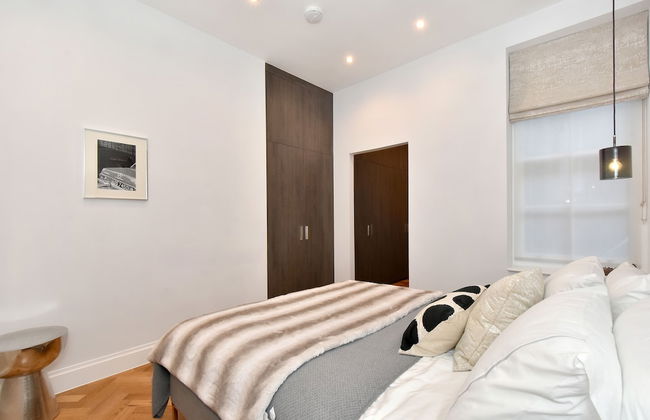
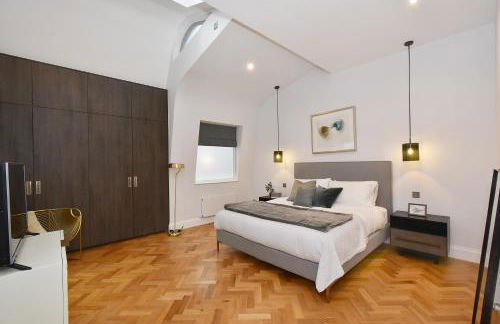
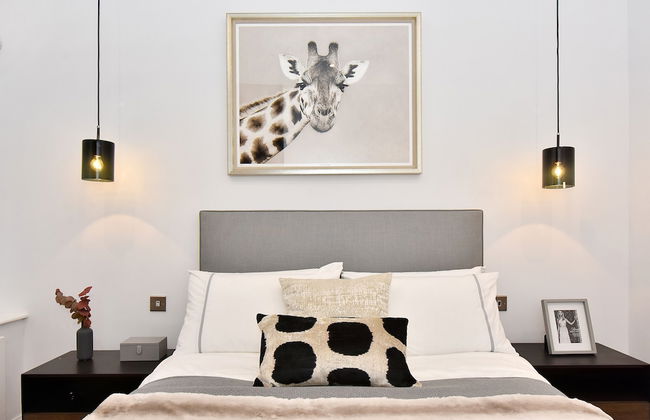
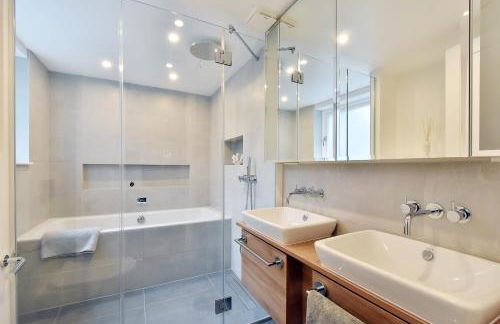
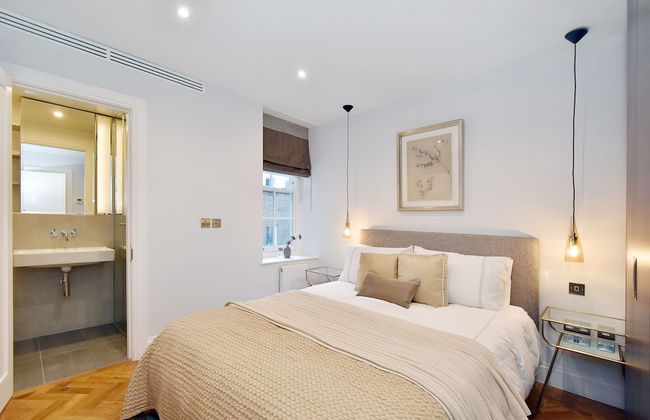
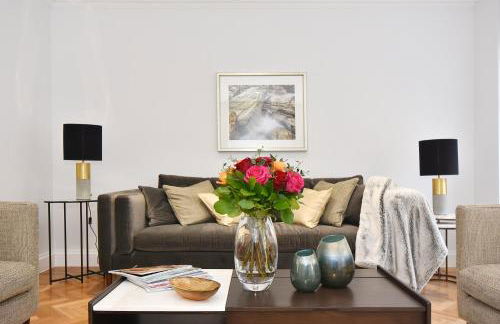
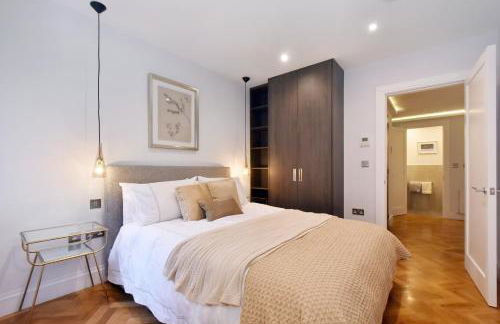


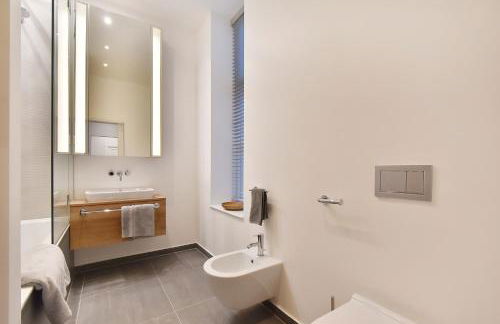


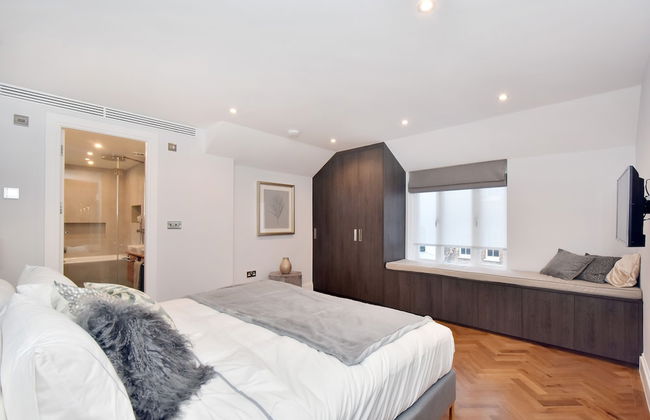

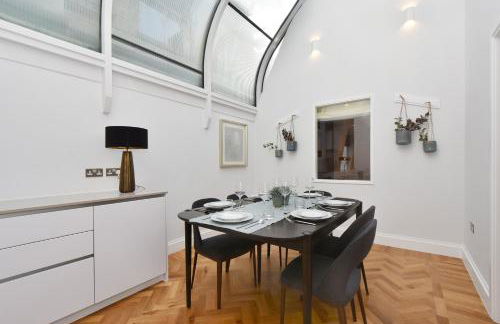

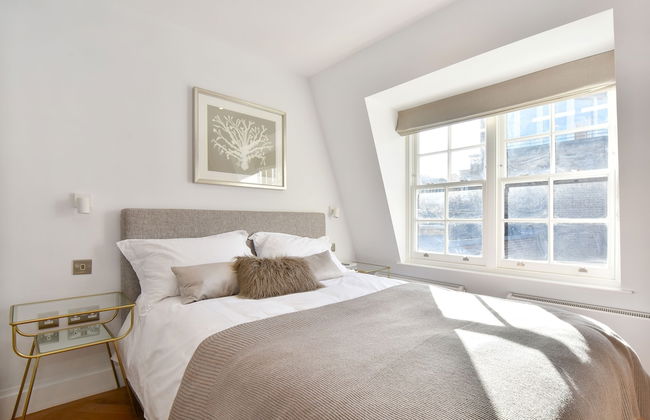
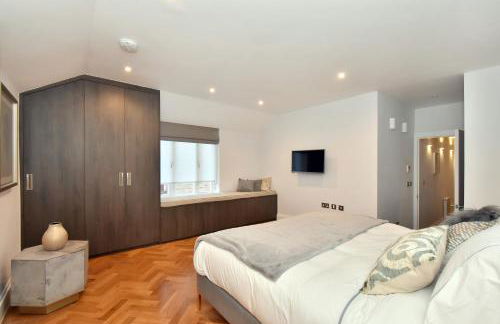
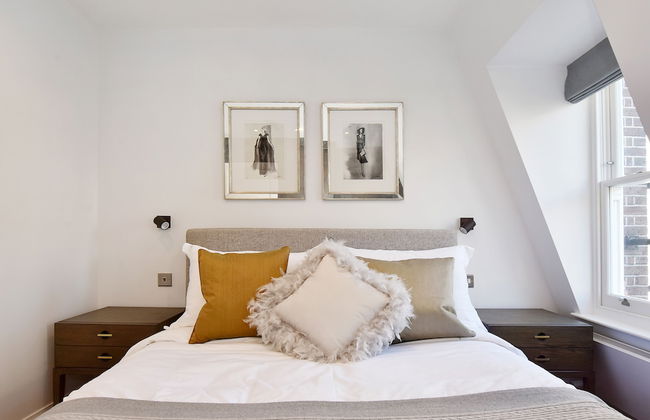

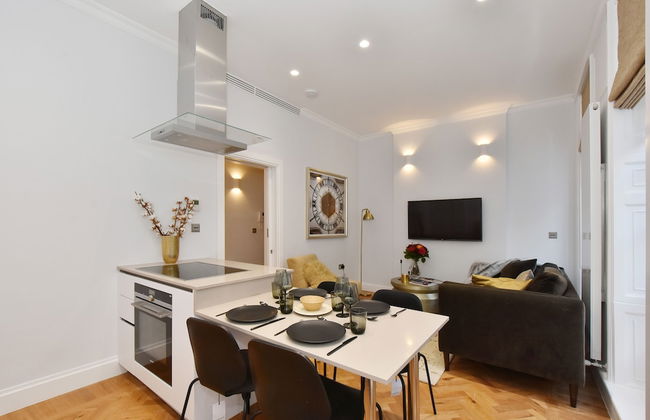


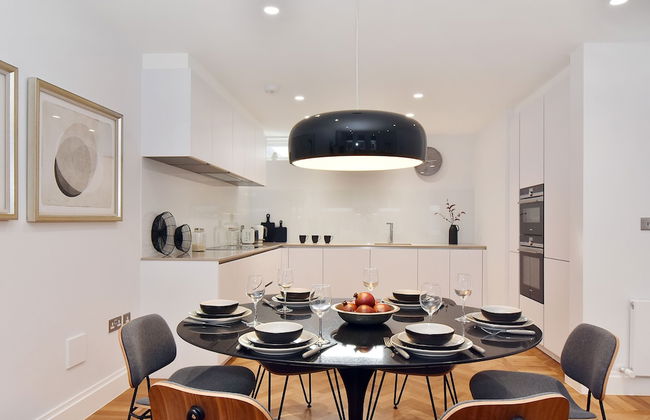
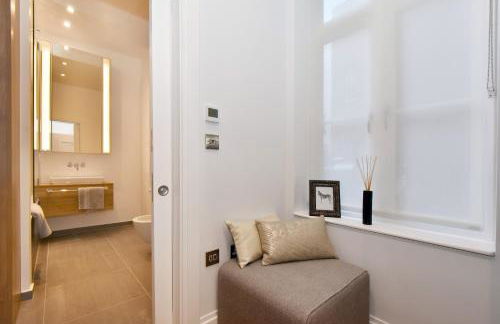
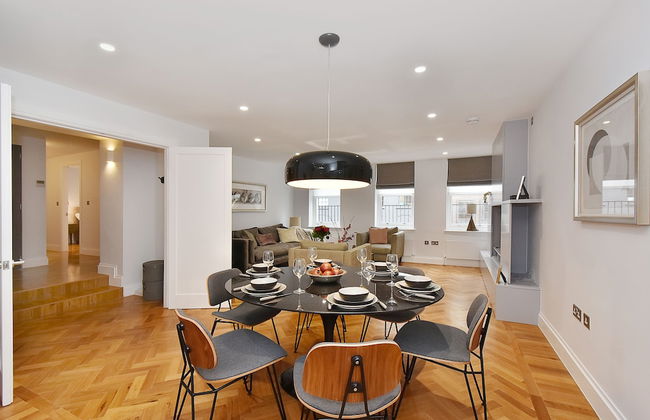

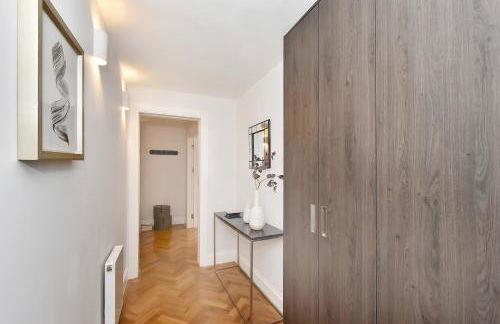
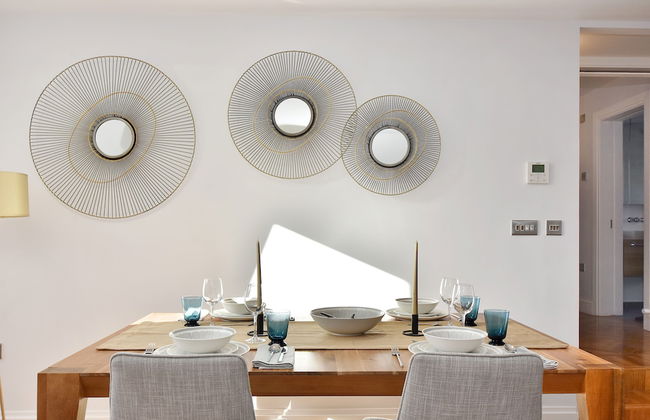
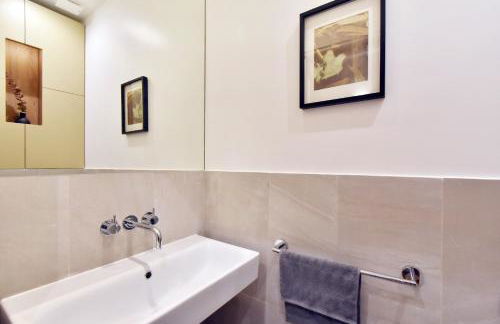
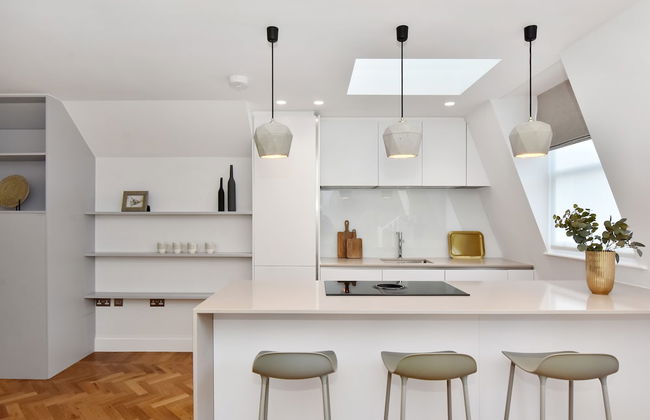

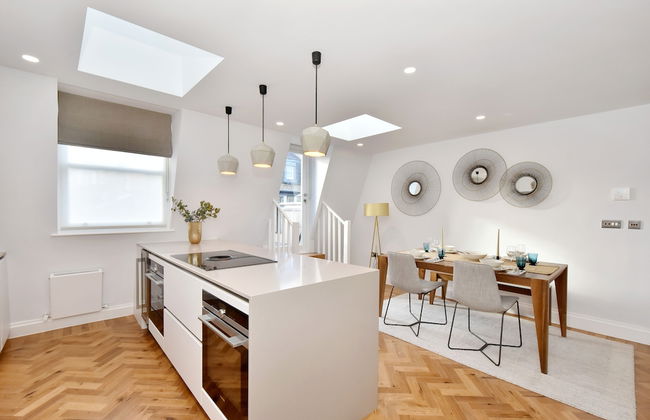
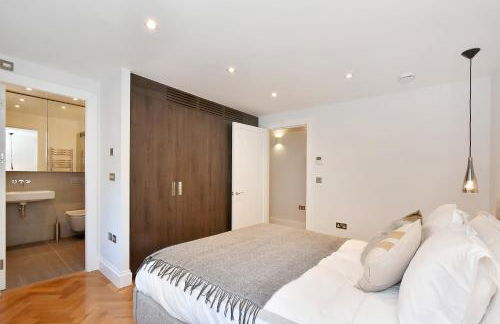
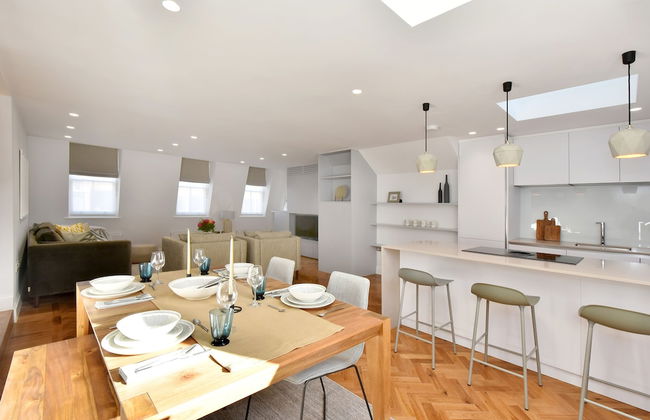

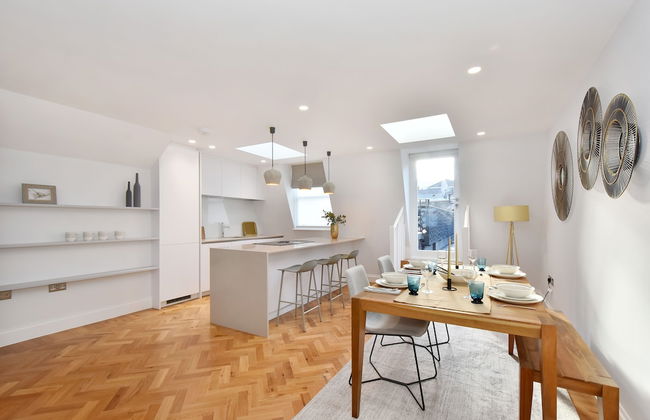


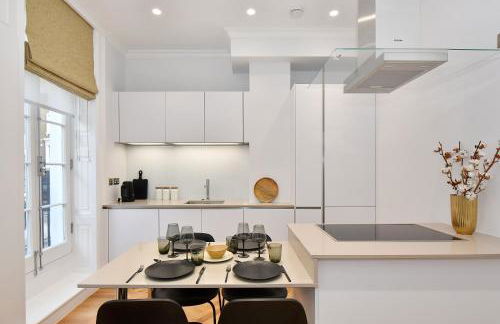
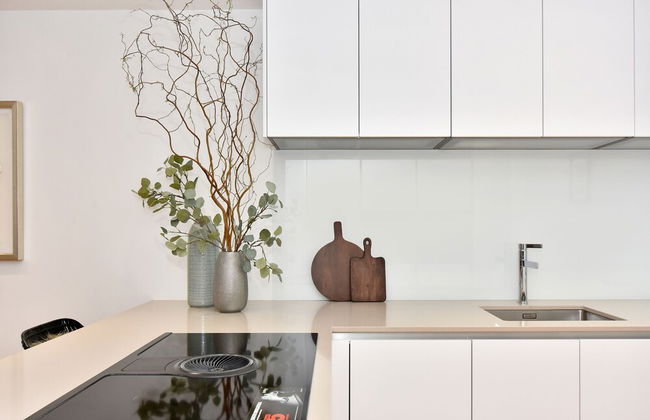
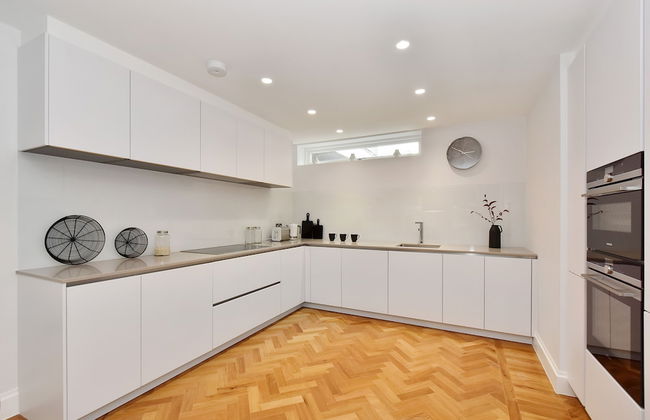
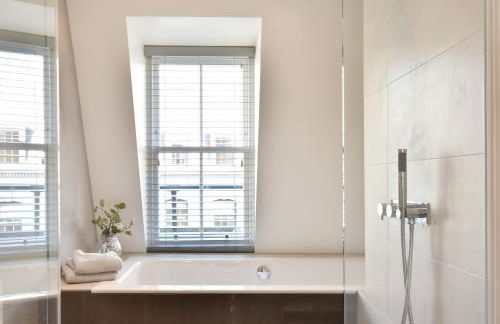
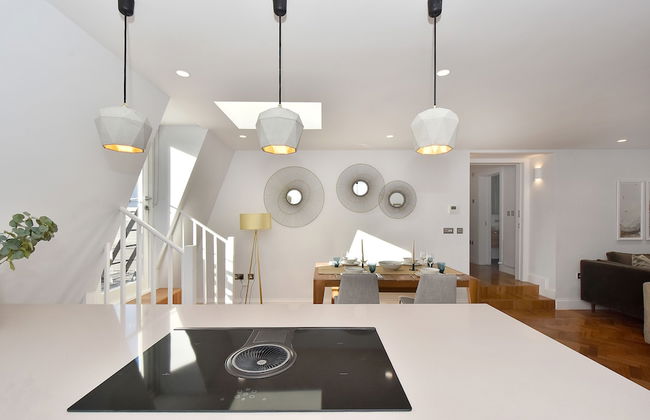
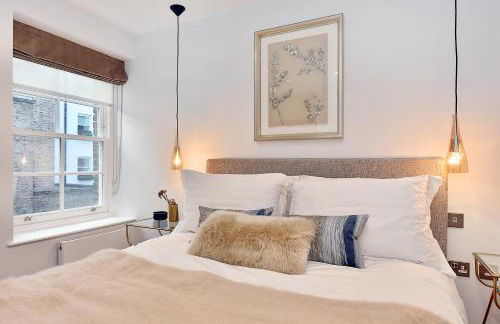
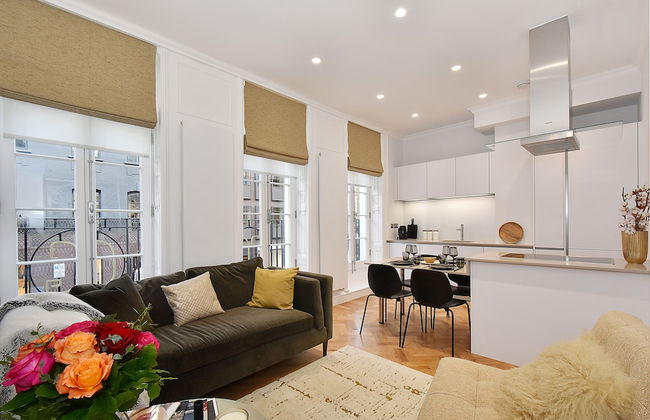
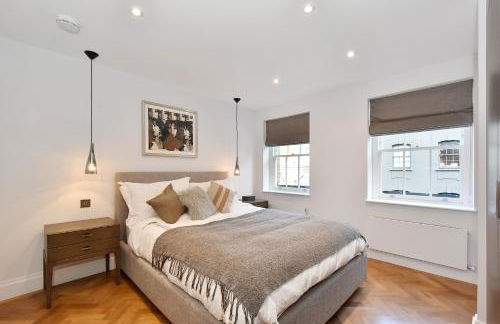
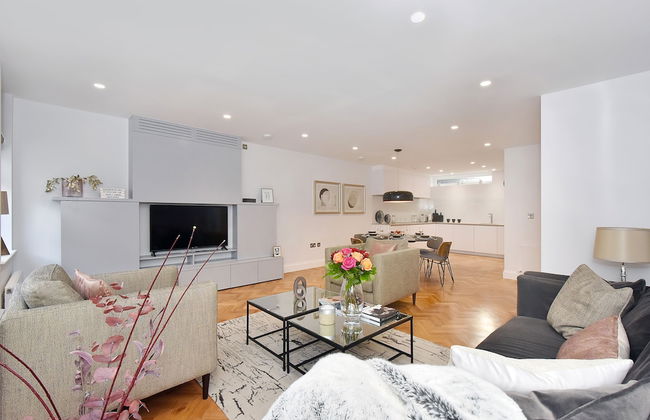

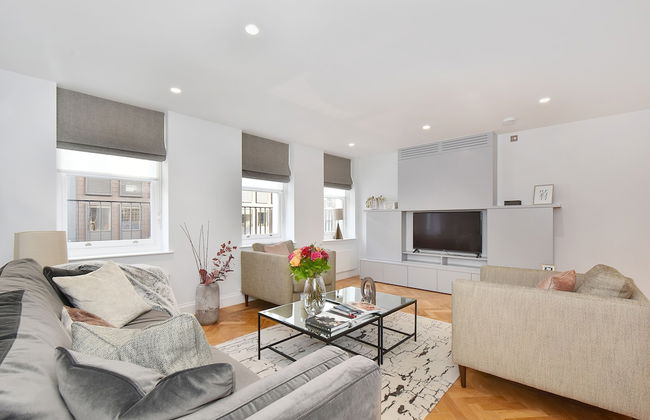
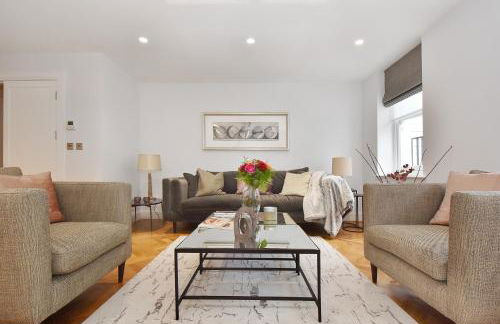
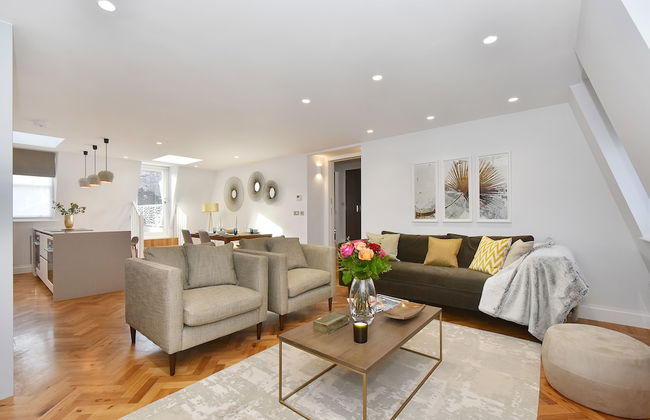

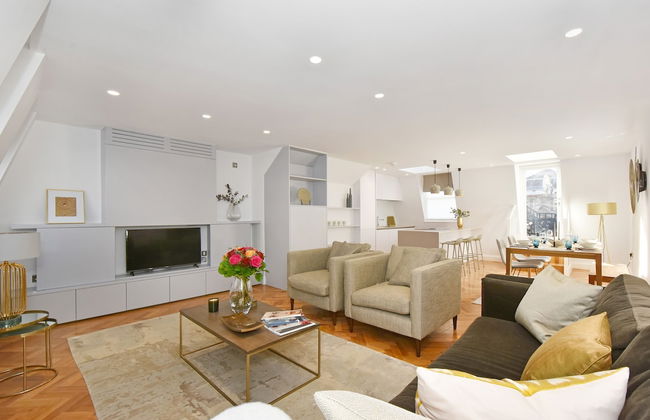
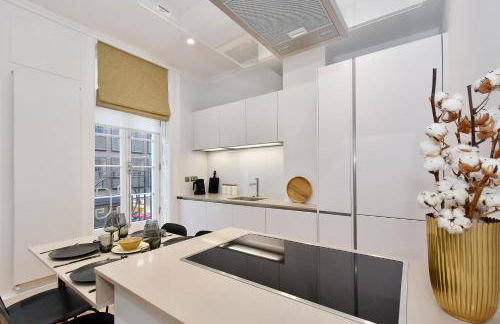
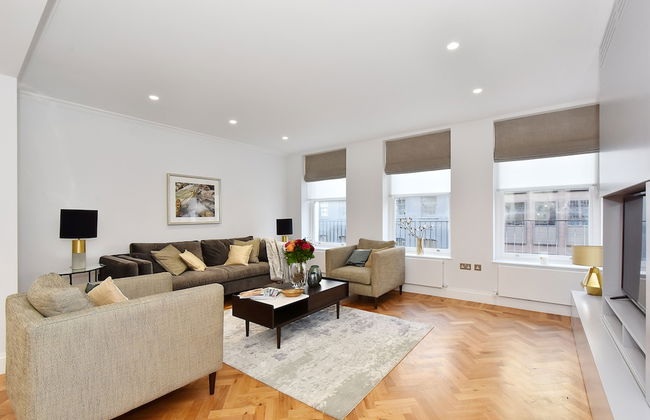

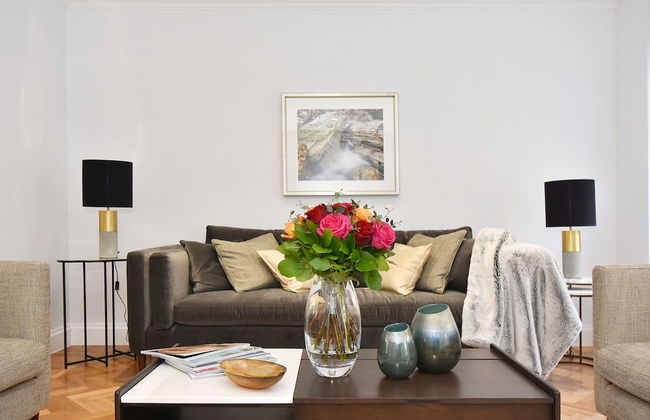
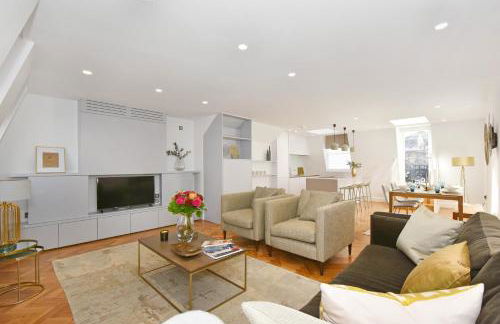
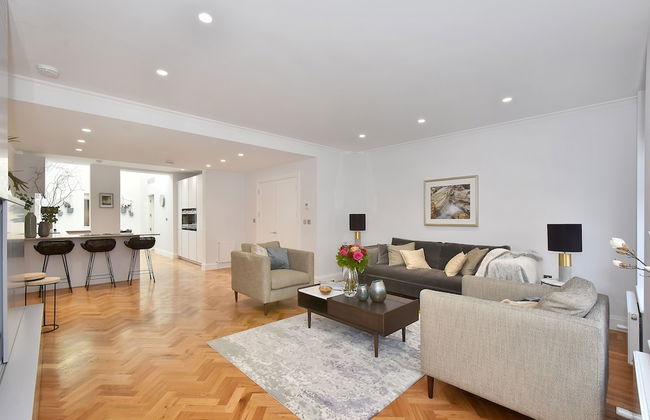

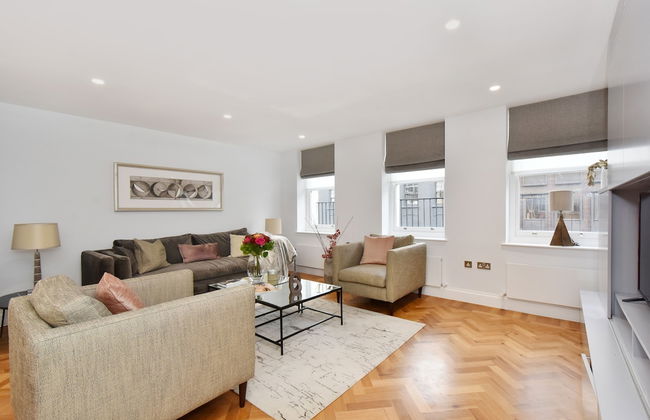
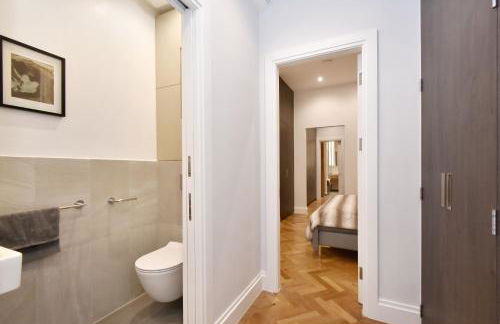
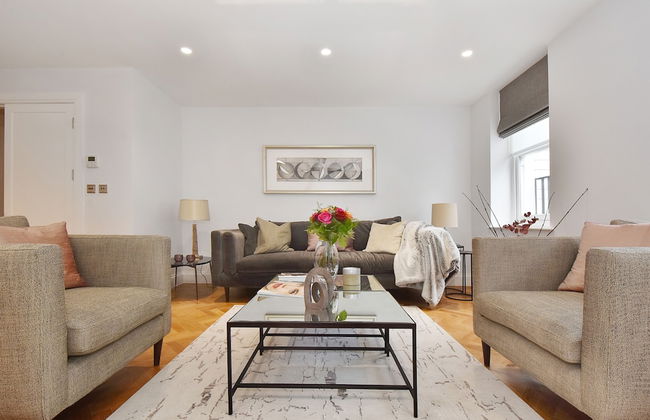

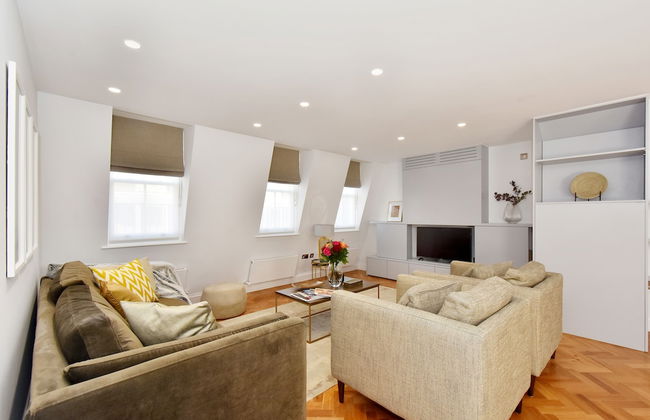
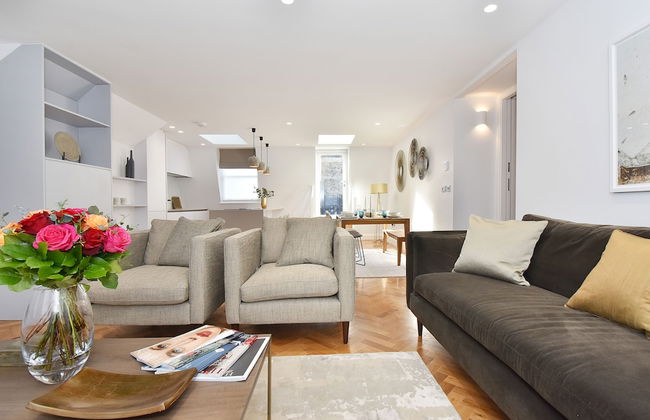
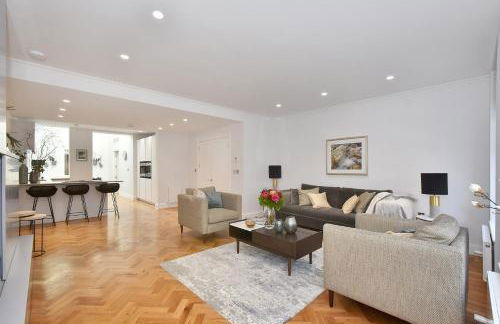


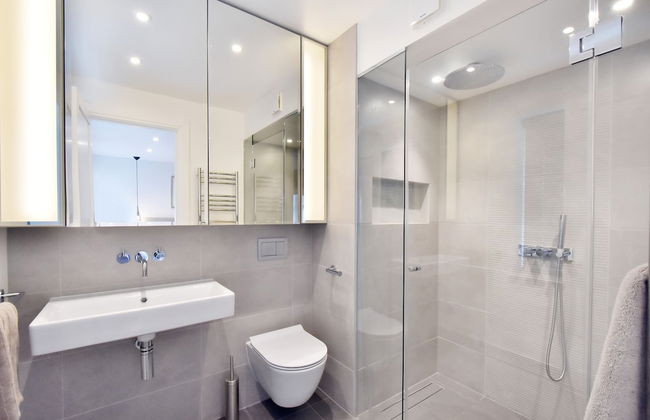


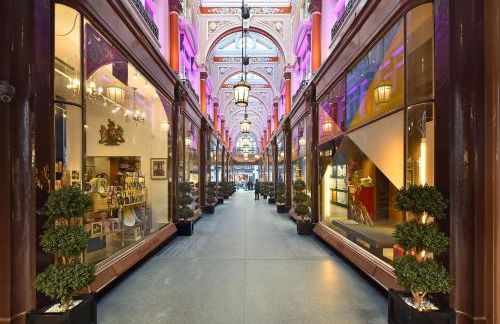
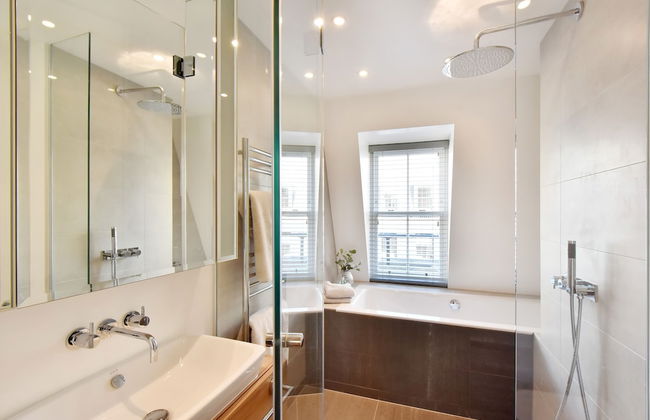


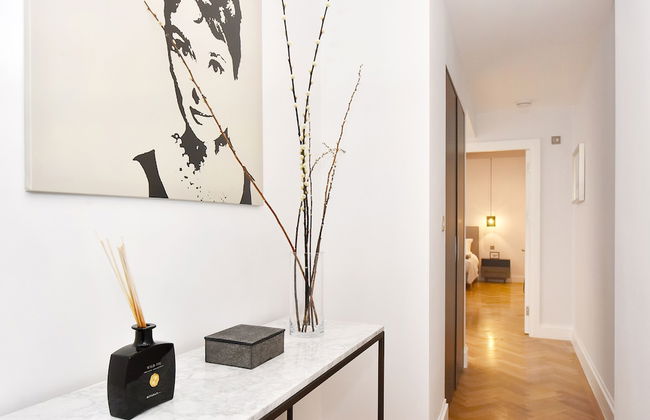


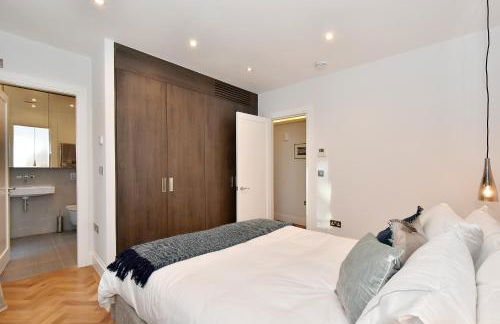


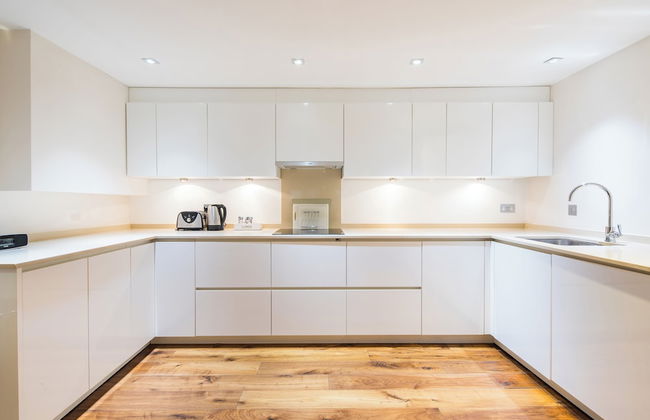
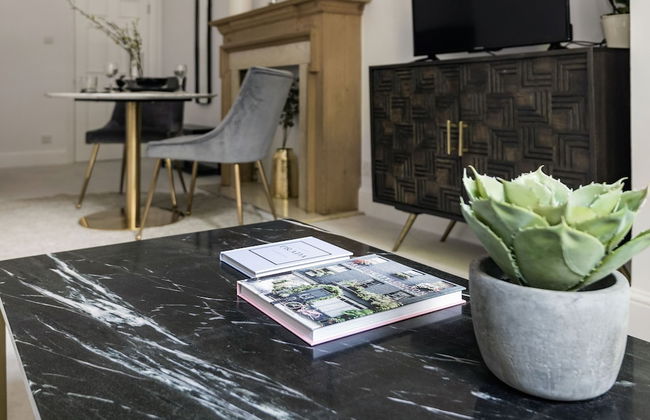
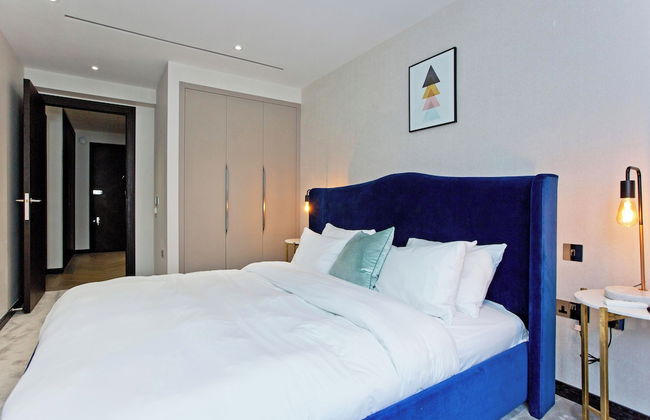
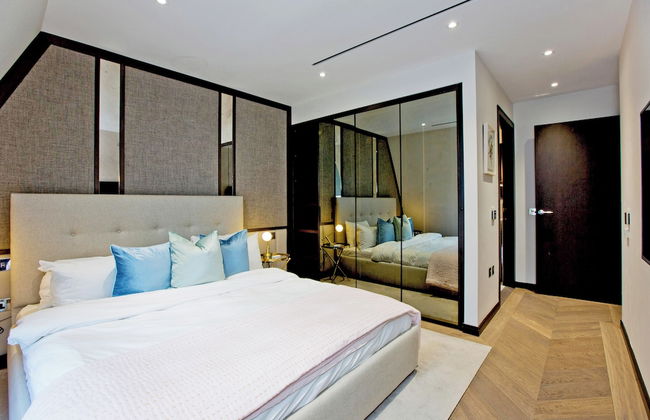
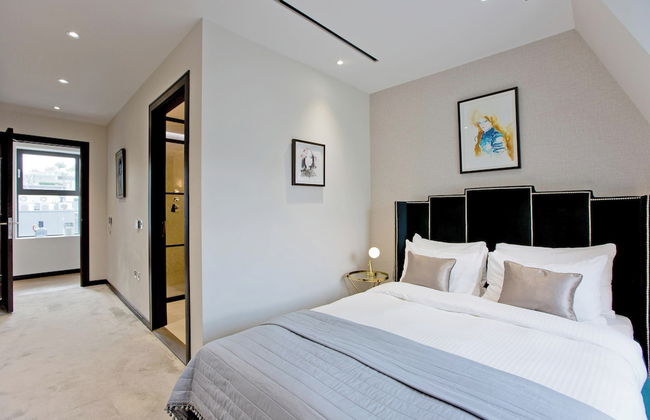
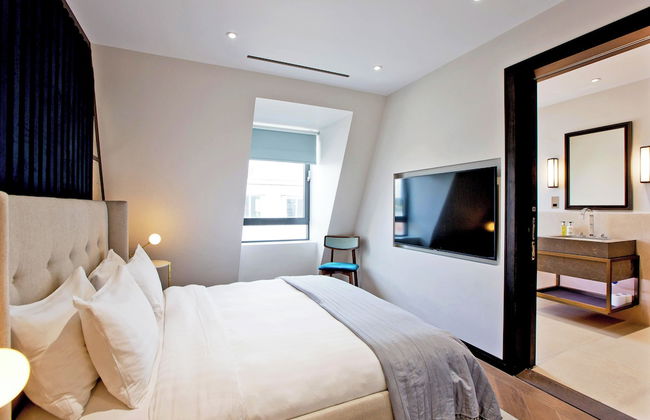
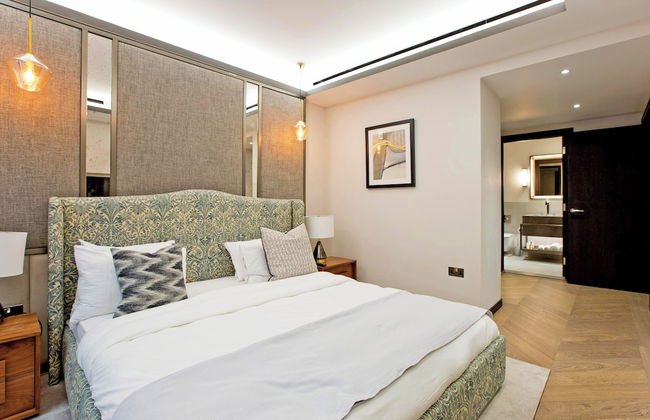
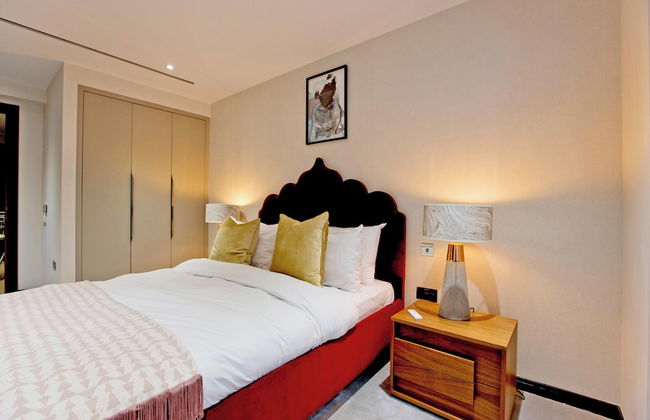
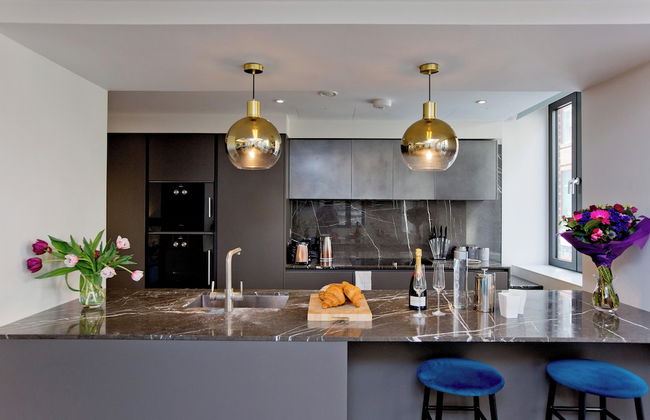
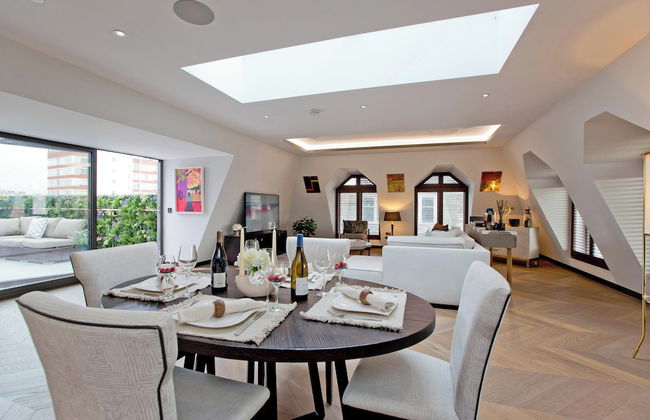
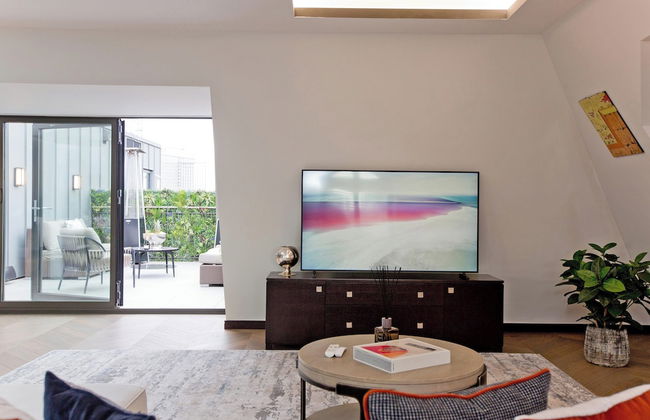
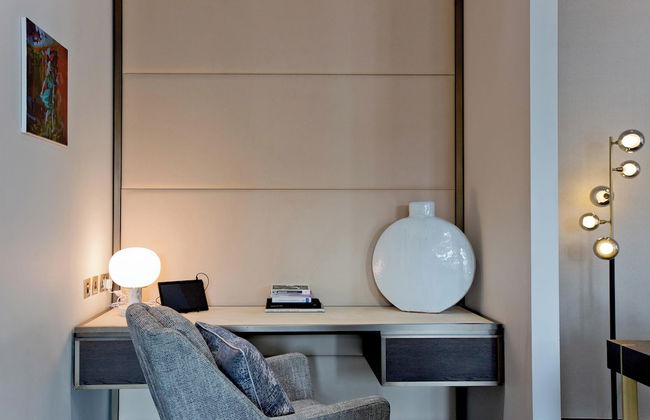
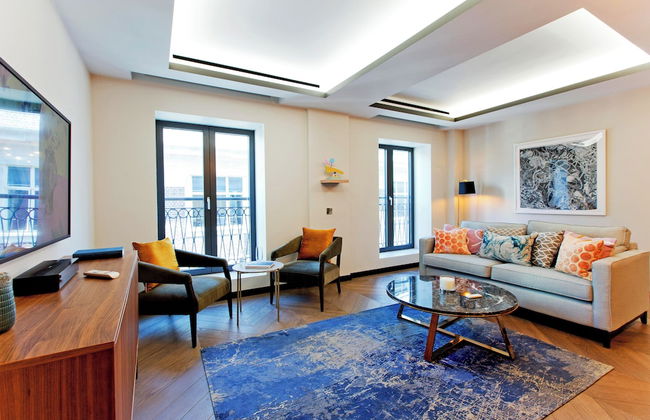
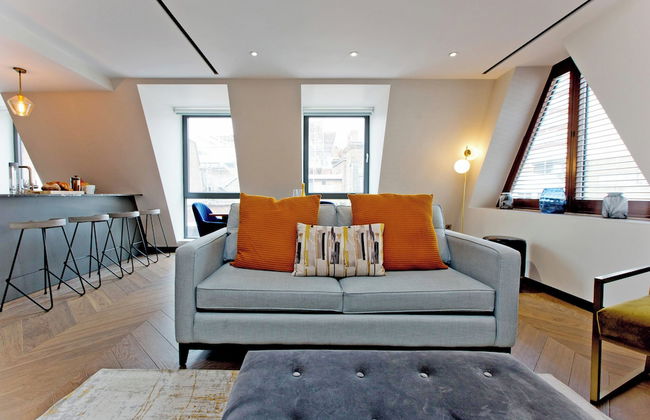
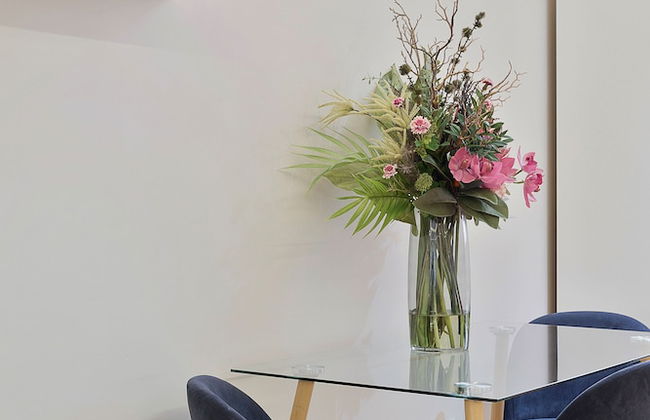
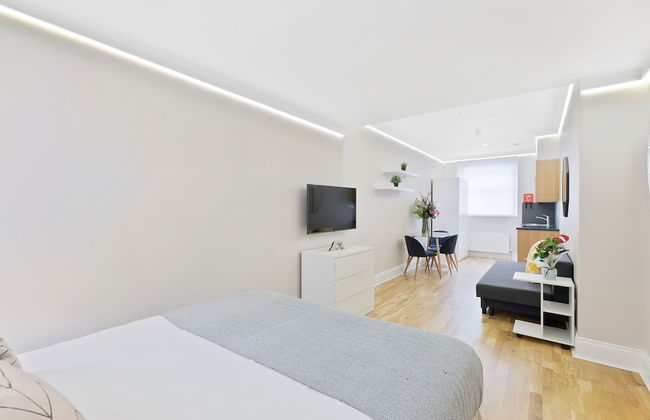
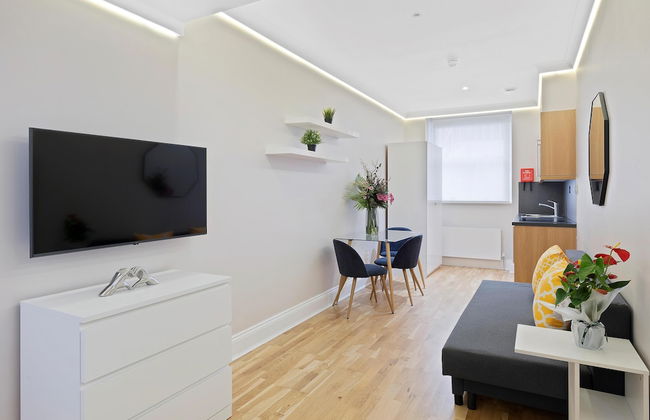
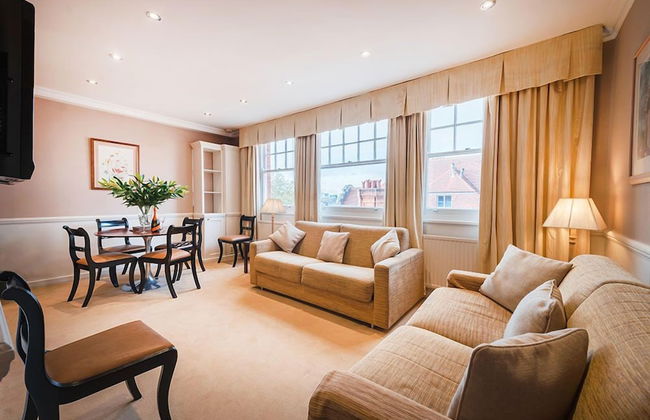
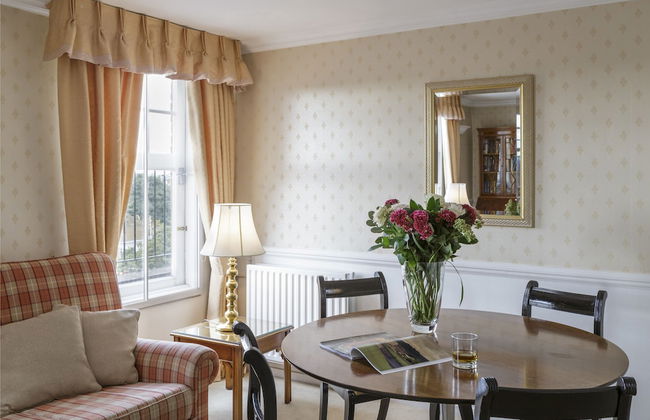
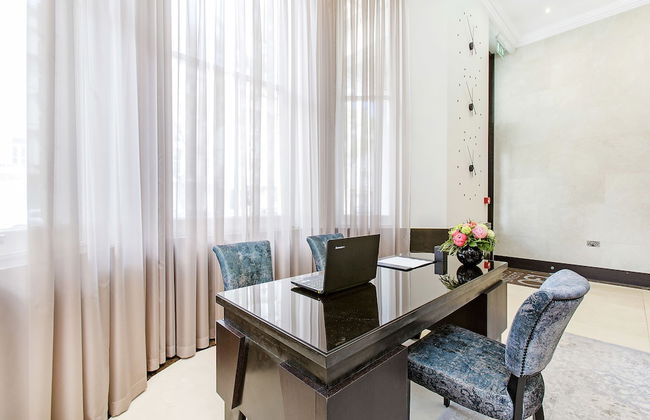
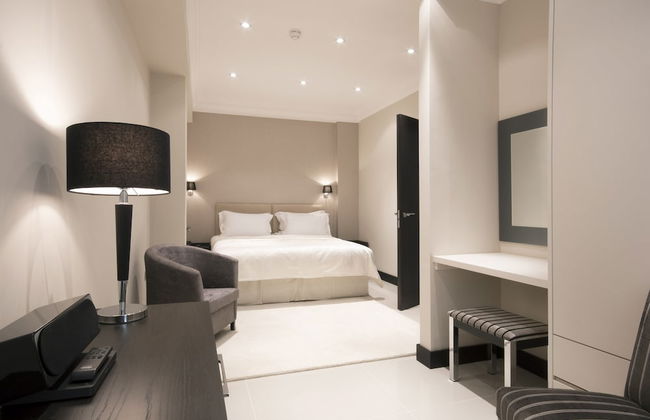
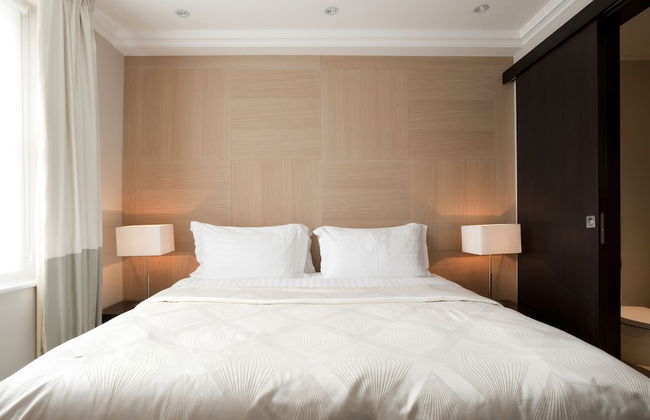
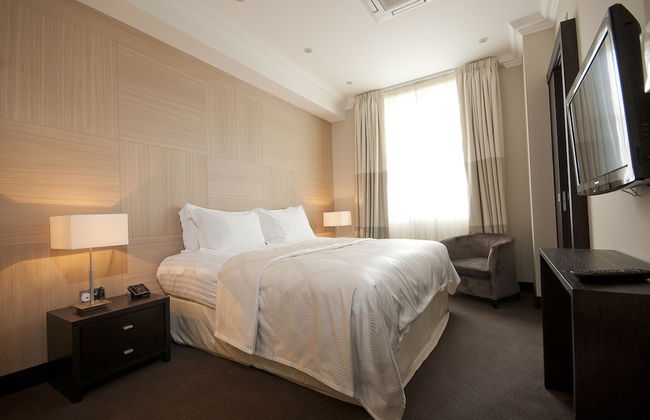
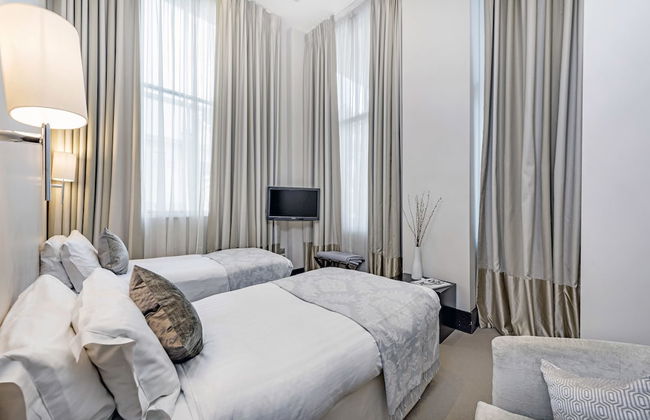
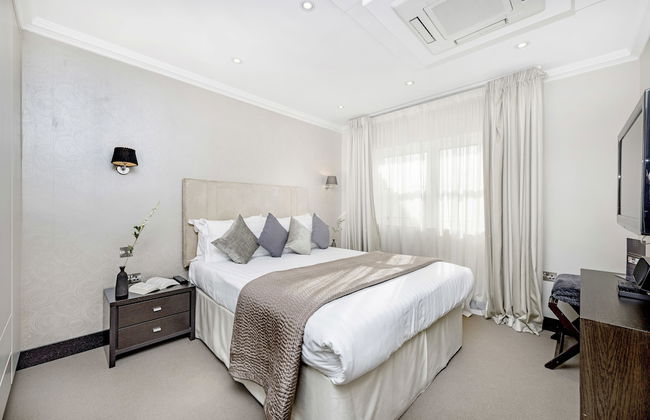
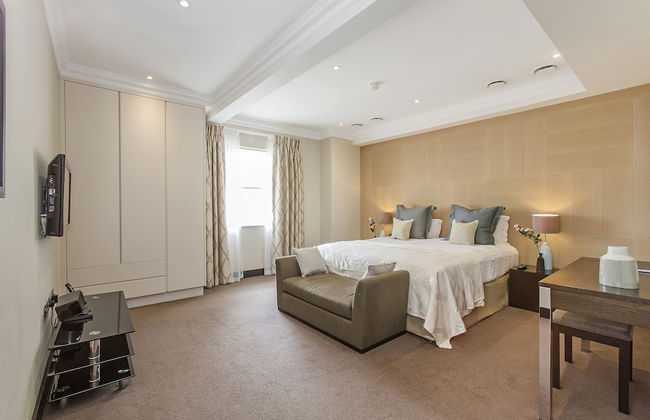
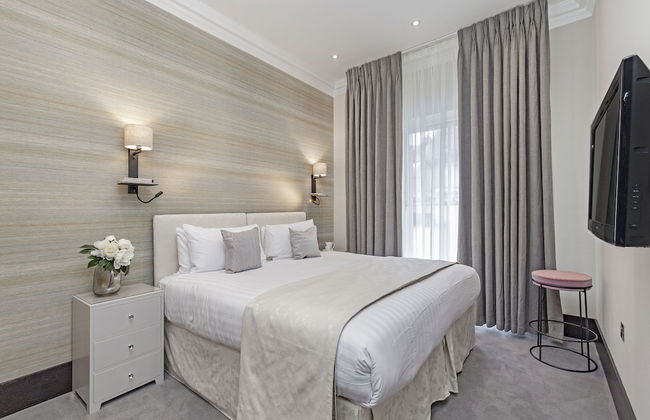
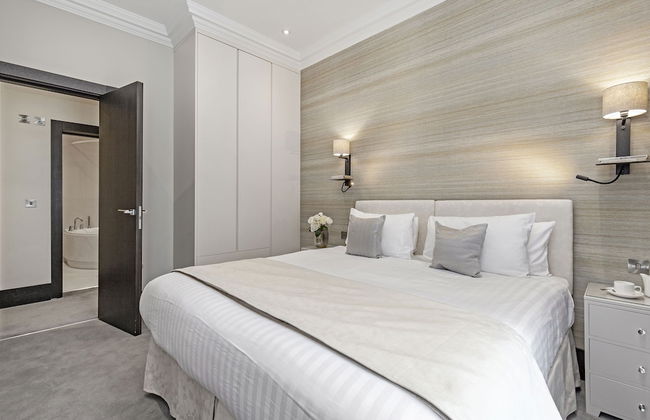
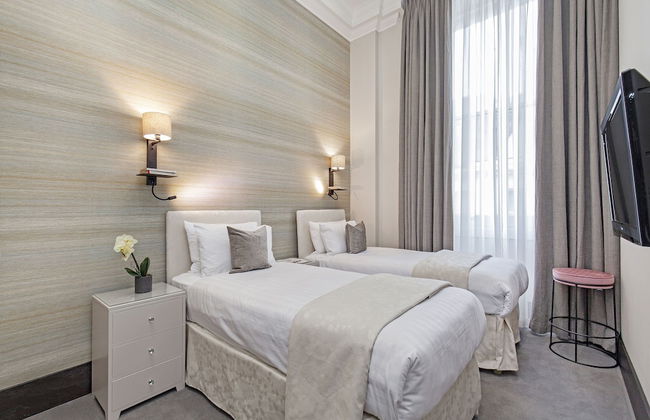
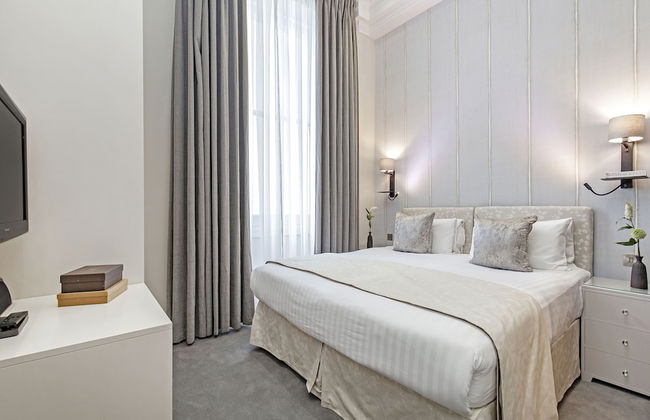
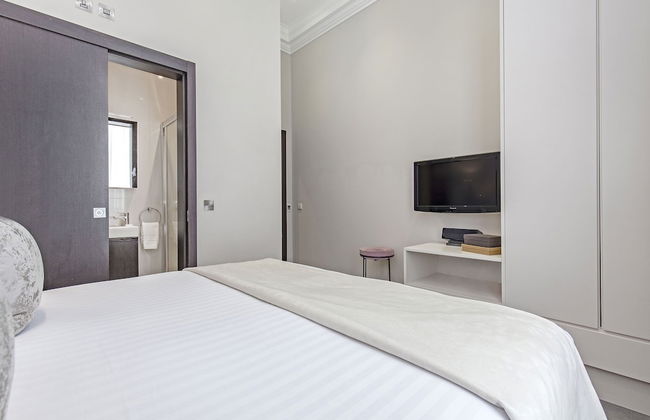
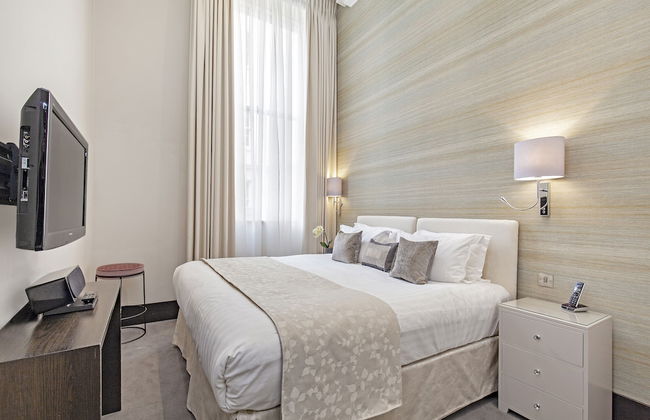
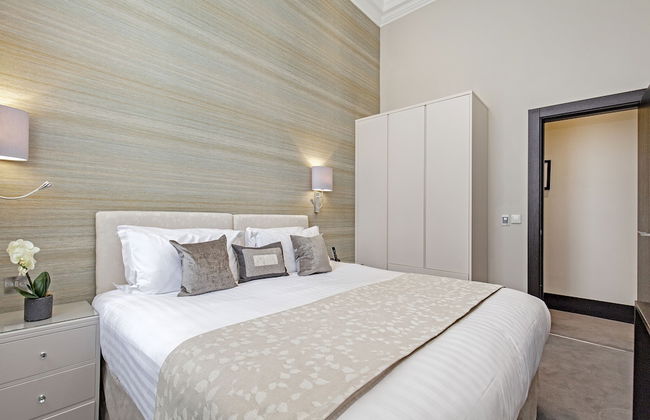
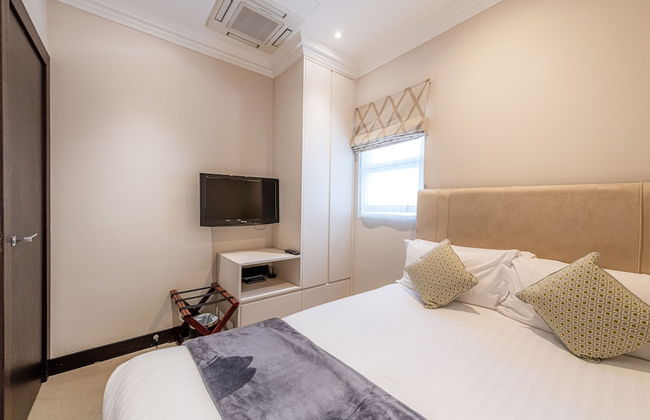
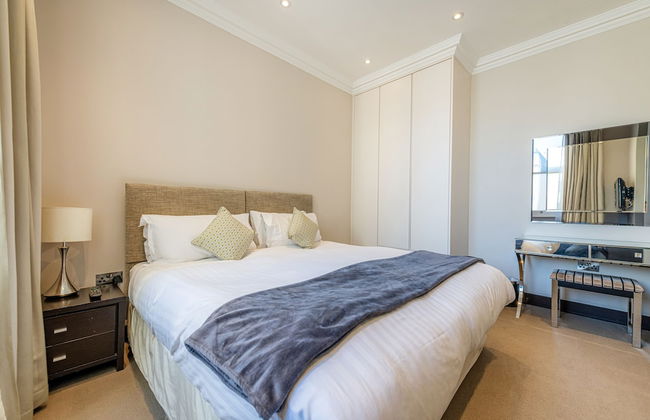
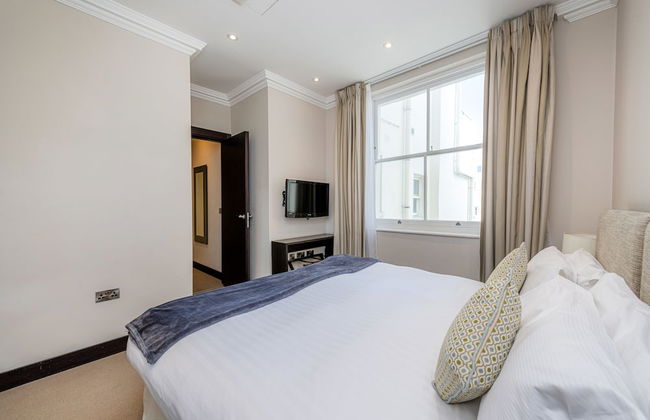
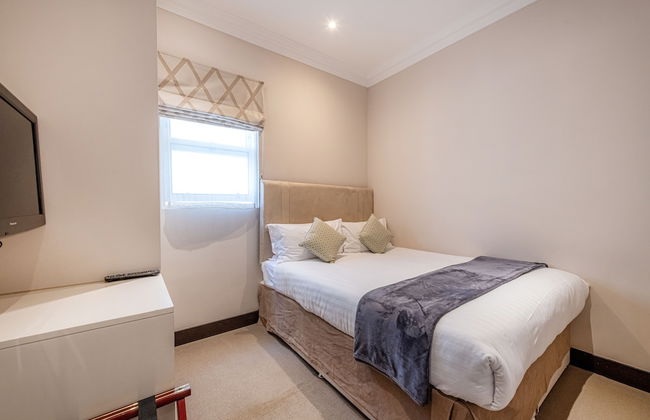
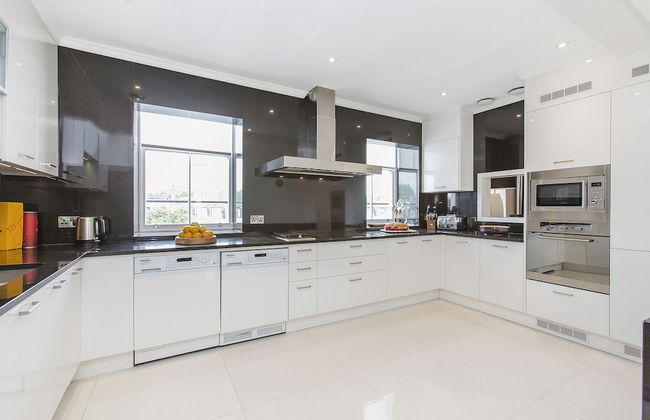
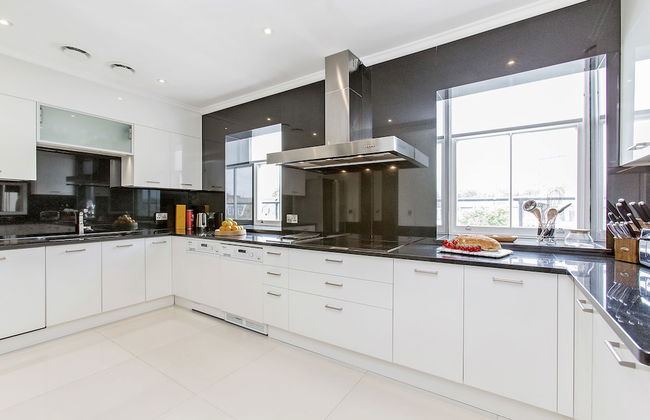
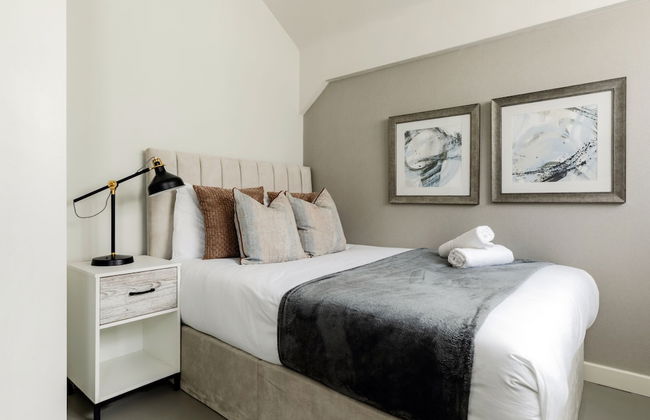
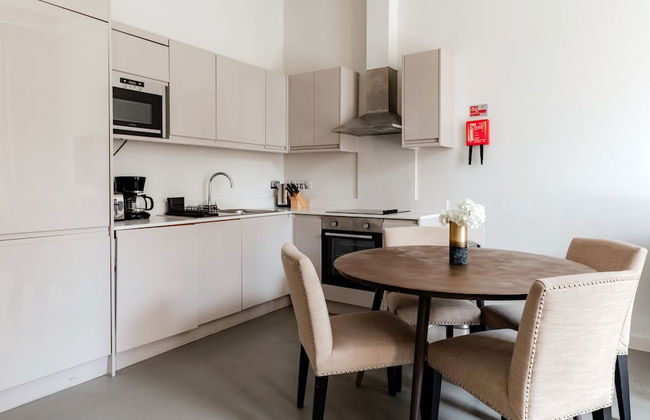
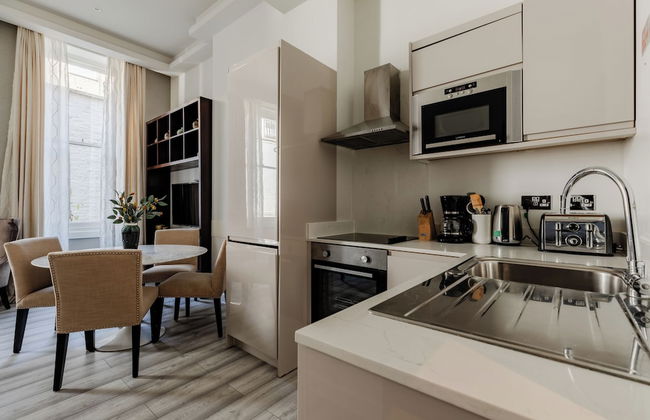
London Choice Apartments - Mayfair - Piccadilly
Londres - Mayfair - A 540 m del centro
- 150 M2
- 3 habitaciones
- 7 personas
- Aire acondicionado
- Calefacción
- Terraza
- Parking
- Ascensor
- Televisión
- Lavadora
- Sábanas


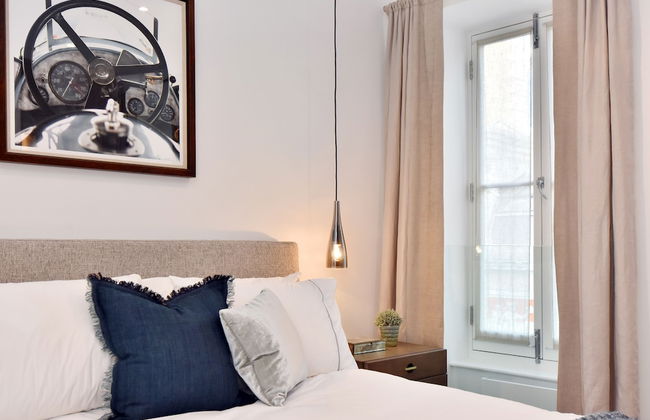
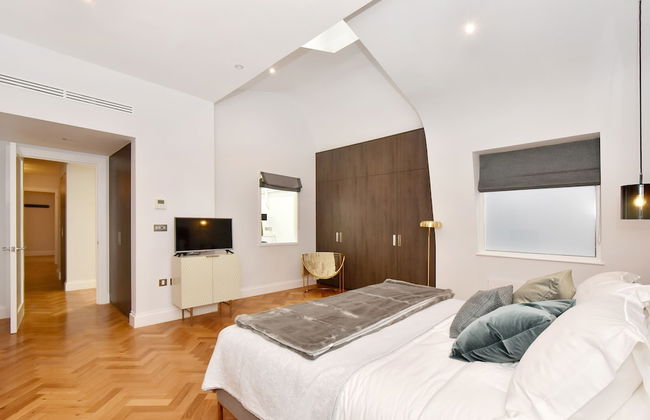
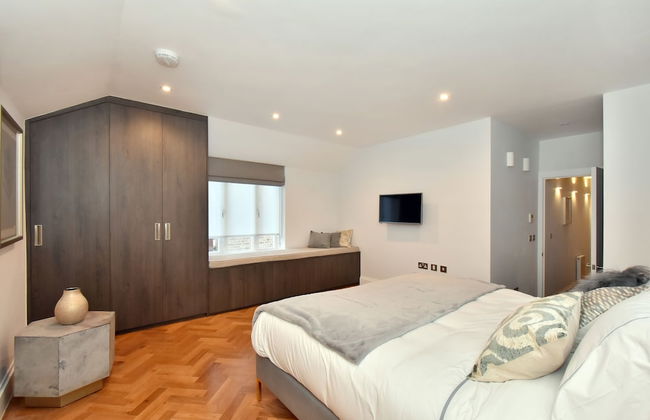
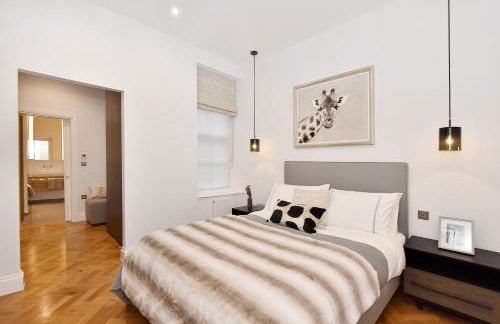
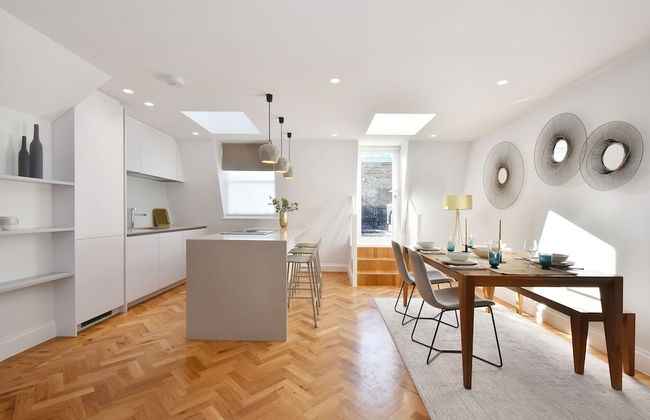
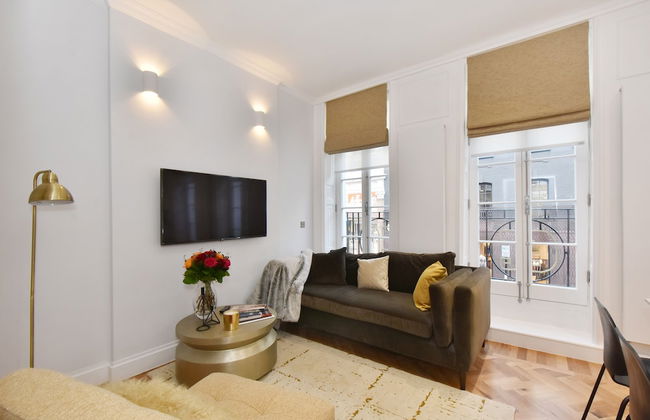
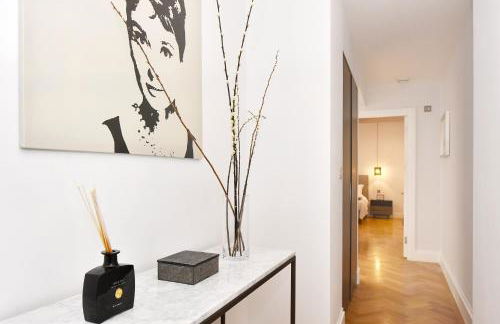
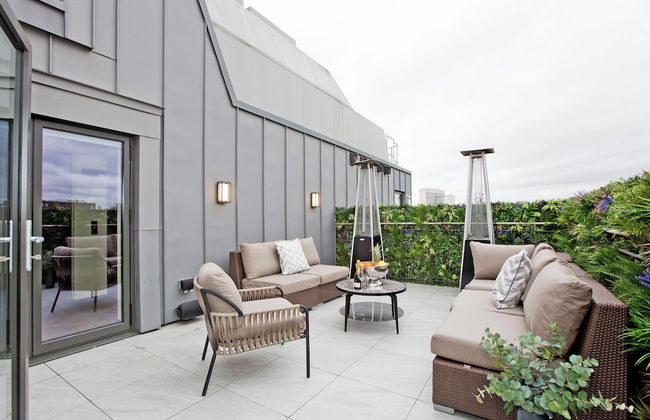
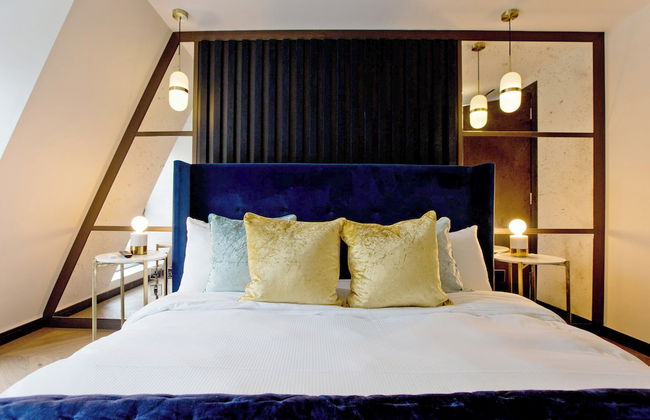
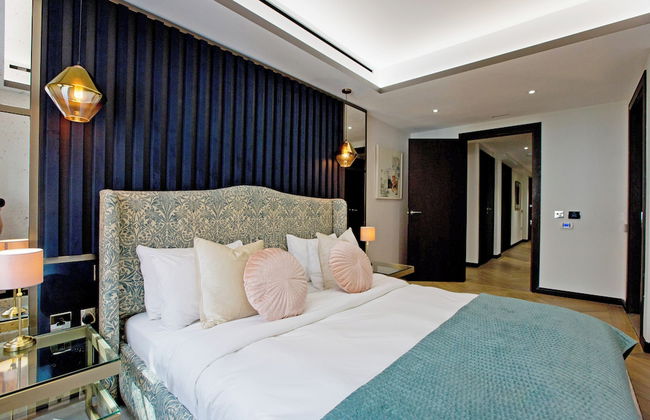
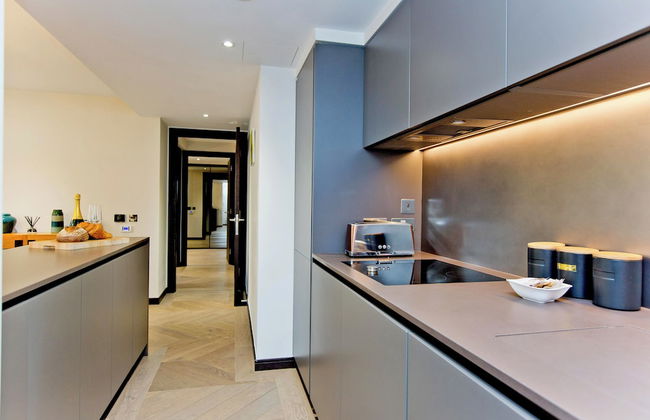
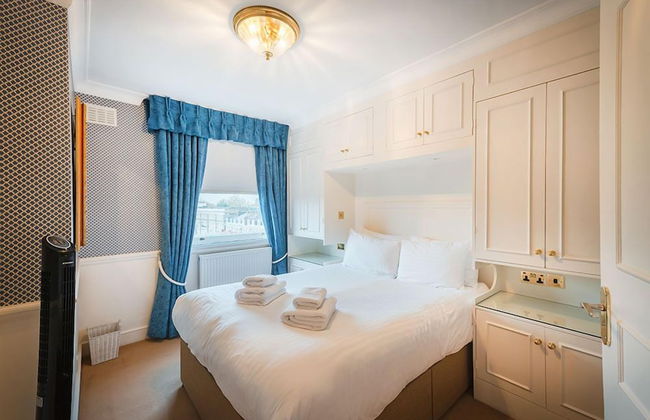
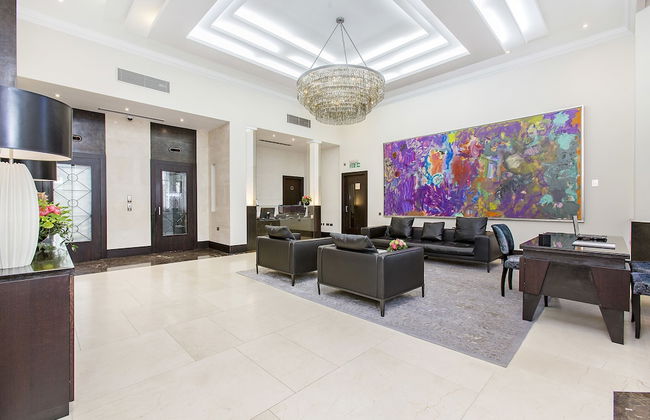
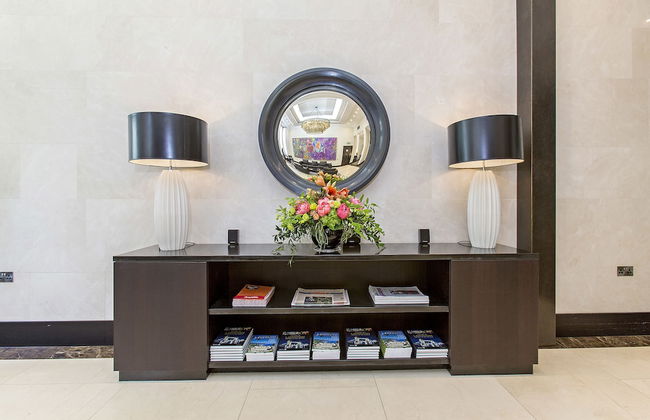
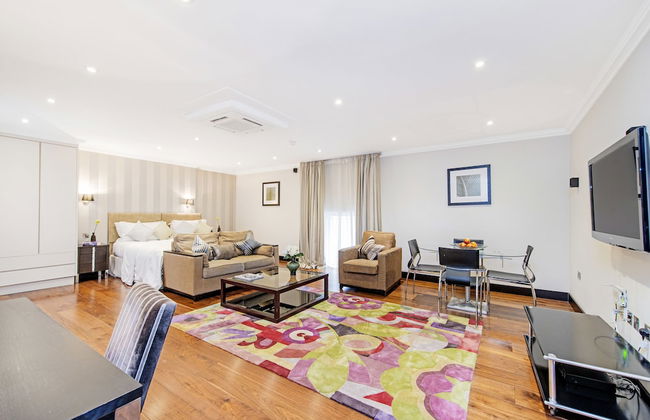
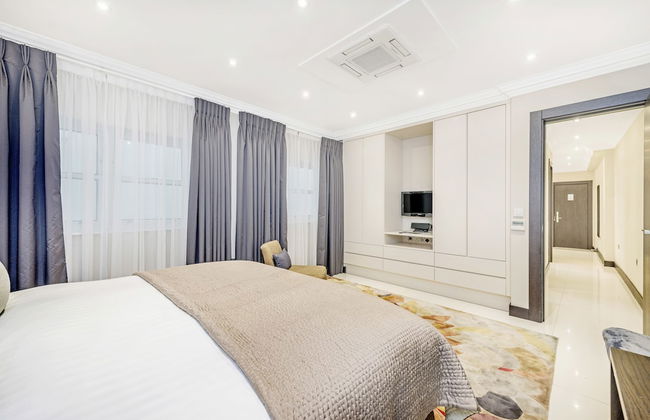
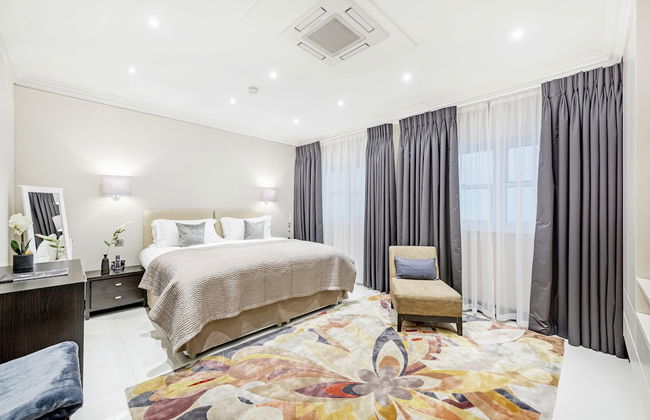
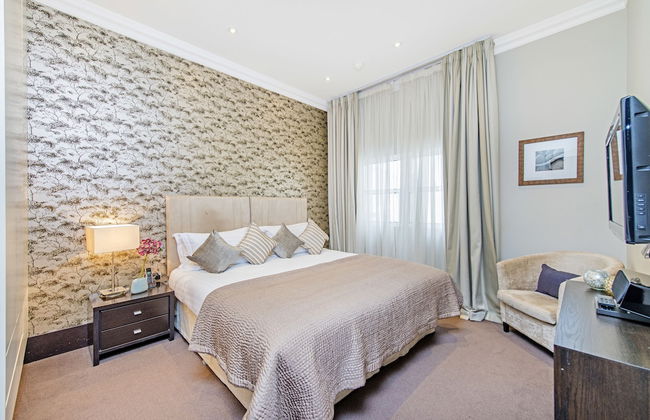
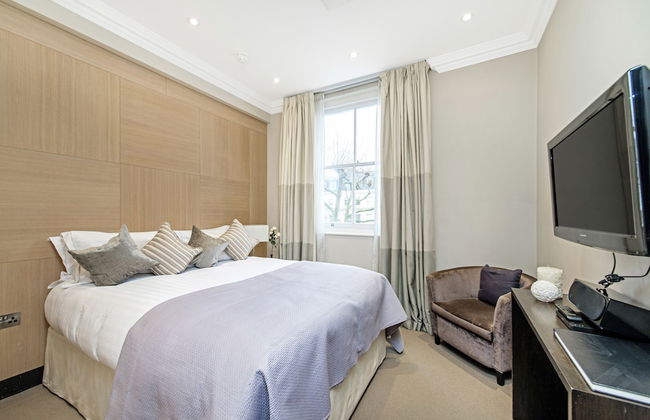
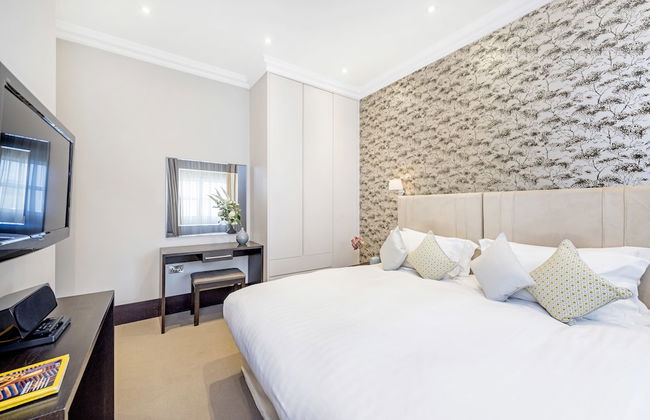
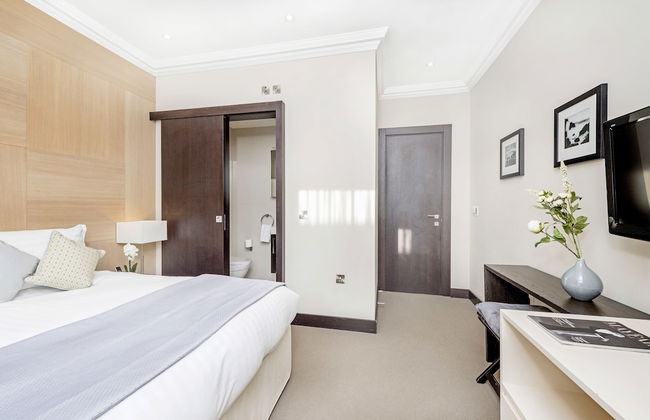
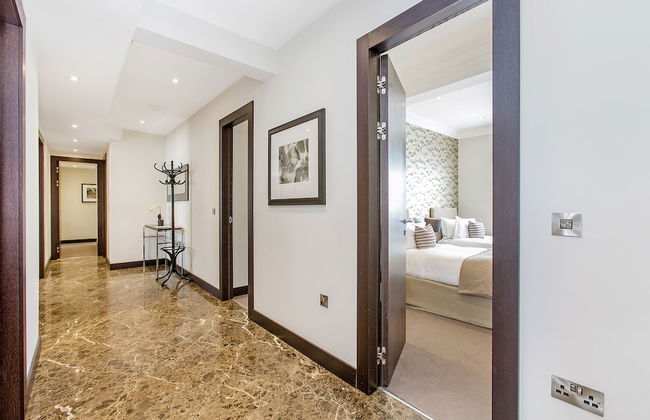
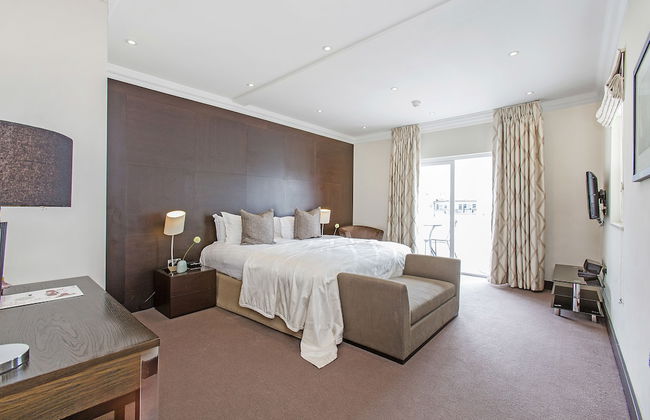
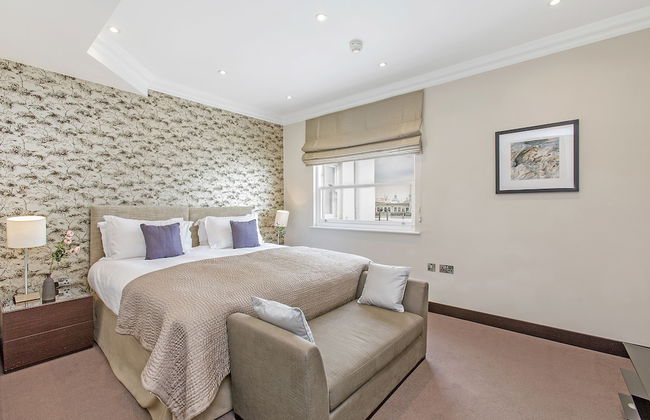
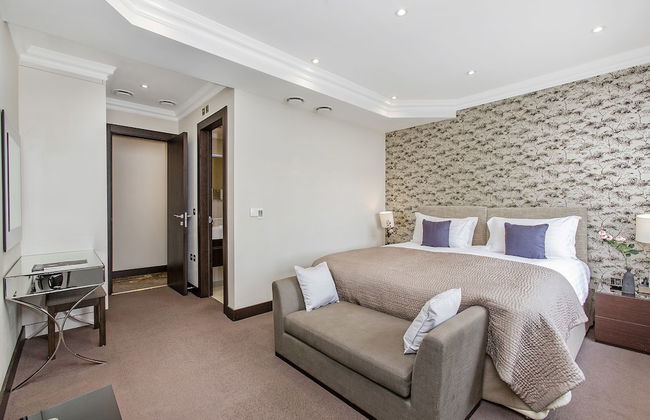
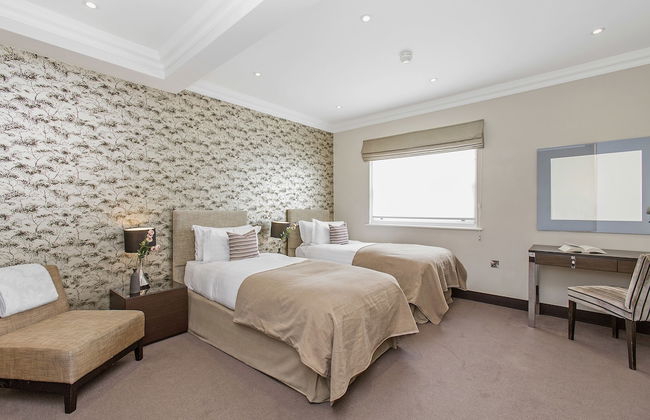
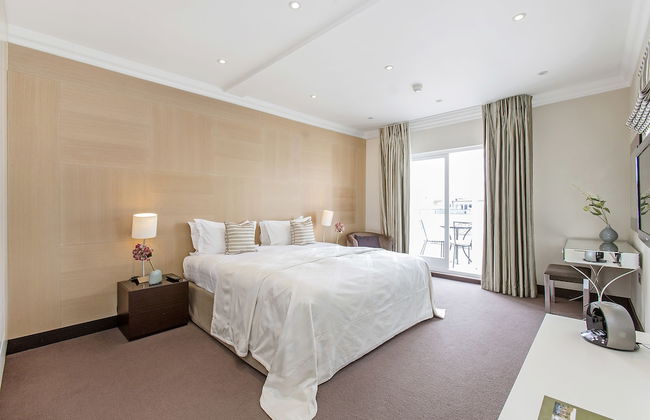
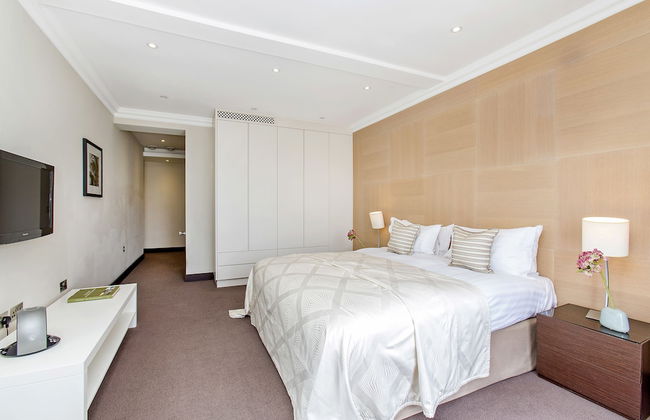
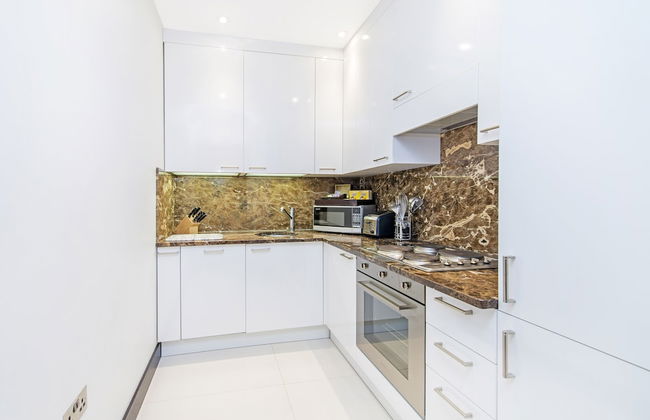
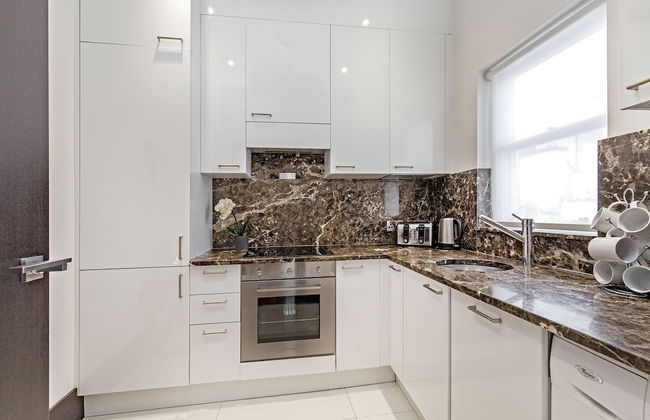
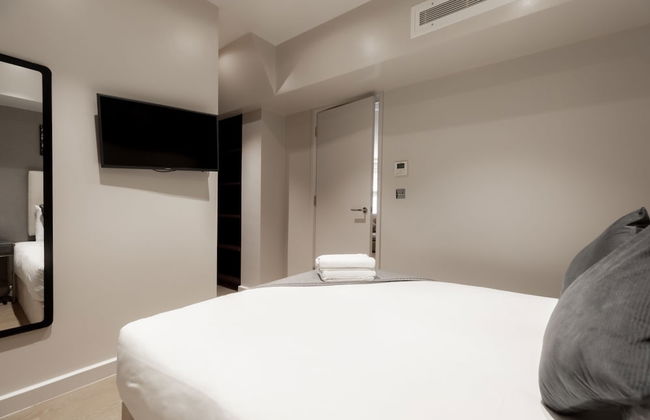
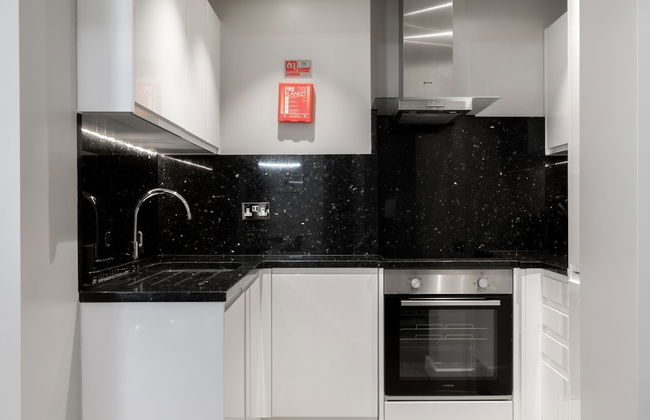
Monarch House - Serviced Apartments - Kensington
Londres - Kensington - A 4.5 km del centro
- 178 M2
- 3 habitaciones
- 9 personas
- Aire acondicionado
- Calefacción
- Terraza
- Parking
- Ascensor
- Balcón
- Jardín
- Televisión
- Toallas
- Sábanas


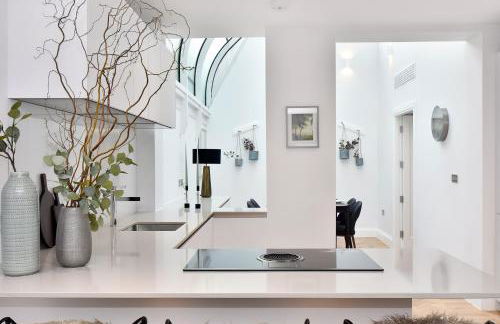
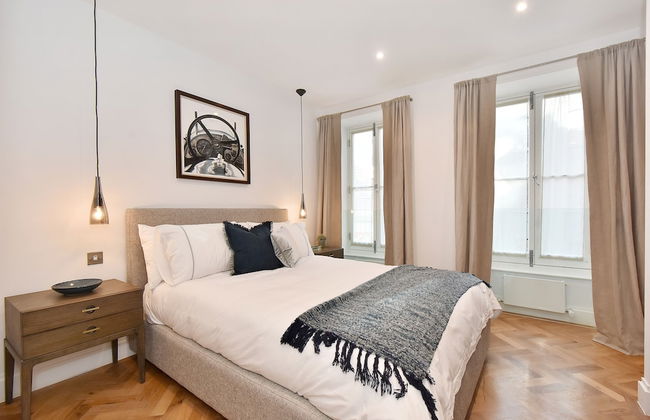
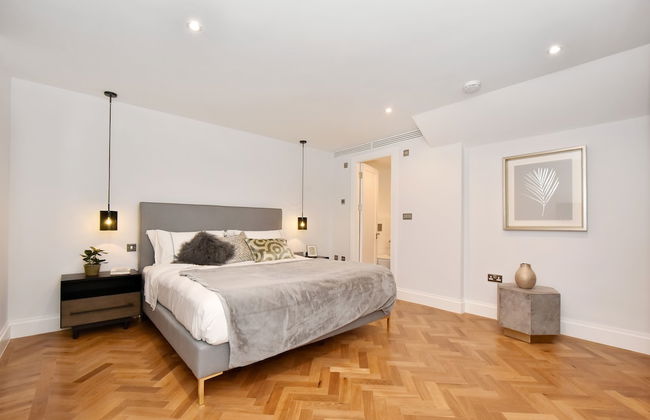
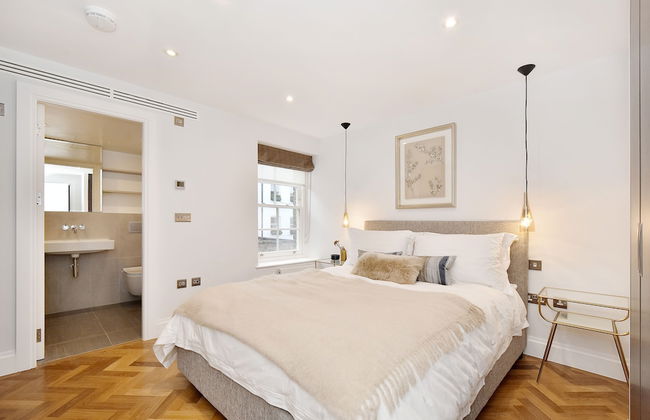
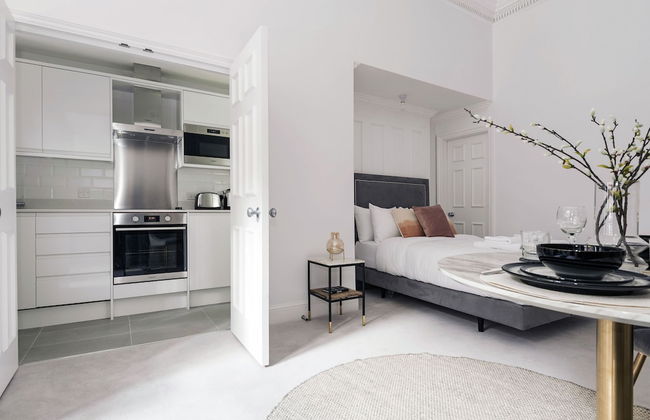
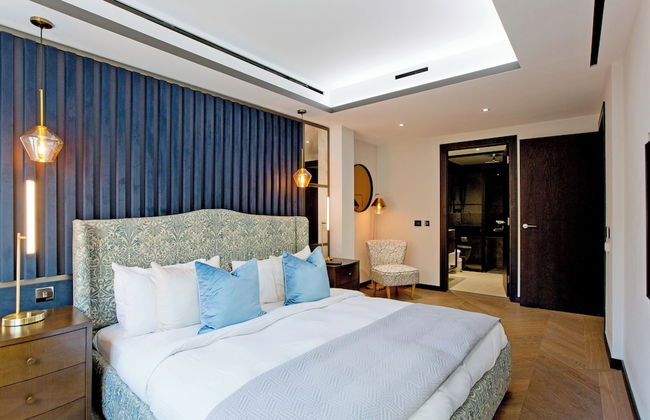
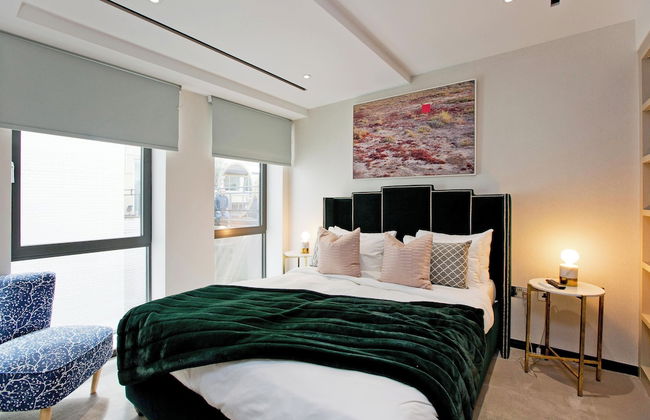
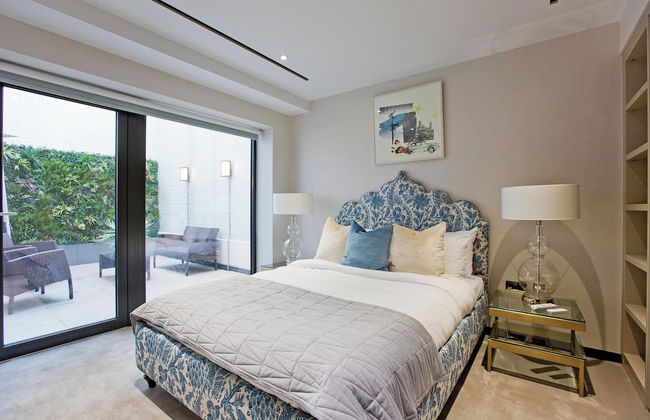
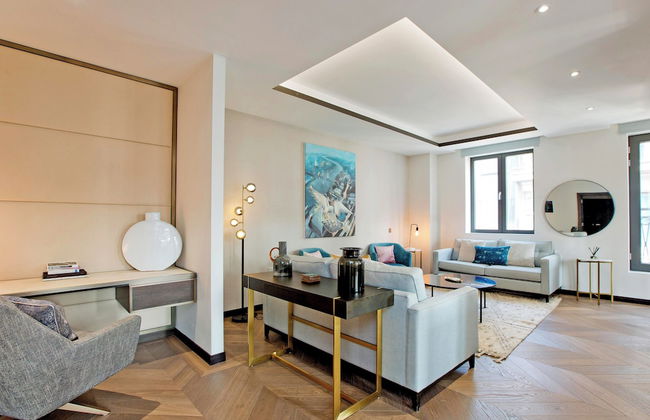
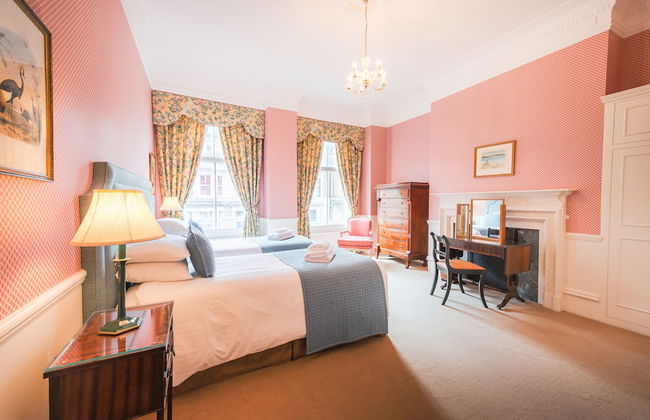
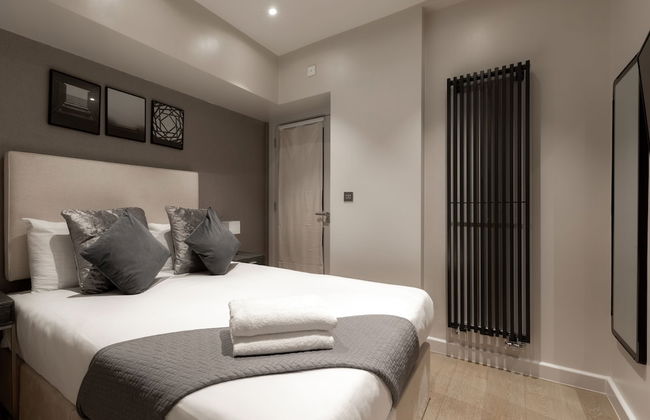
The Eight Apartments Shoreditch
Londres - Shoreditch - A 3.4 km del centro
- 112 M2
- 3 habitaciones
- 6 personas
- Aire acondicionado
- Calefacción
- Ascensor
- Televisión
- Lavadora
- Toallas


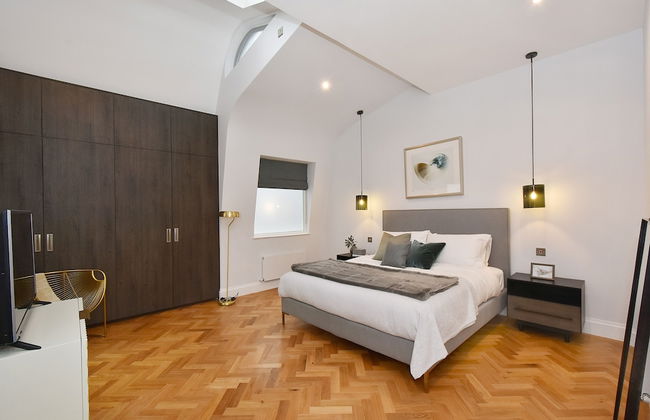
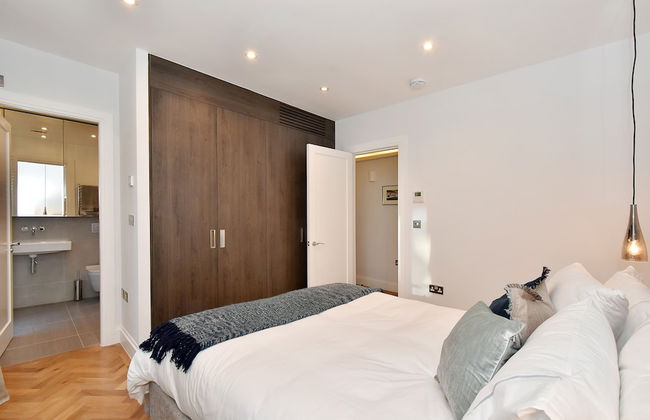
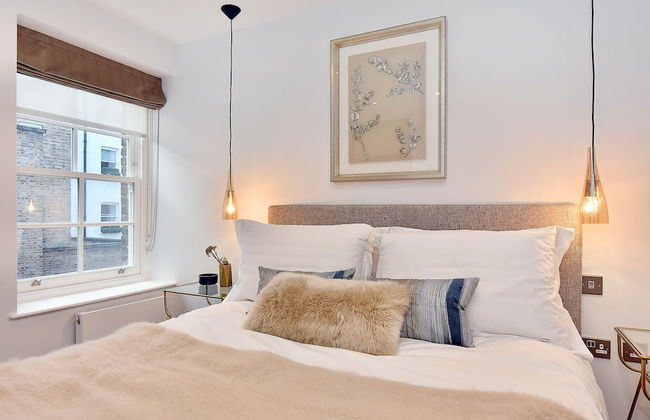
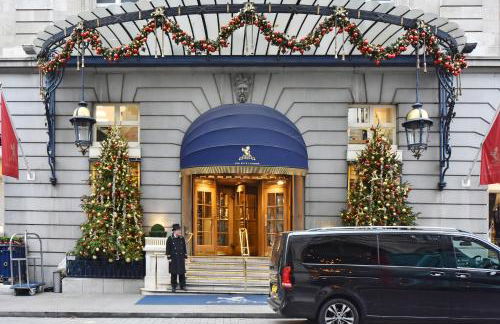
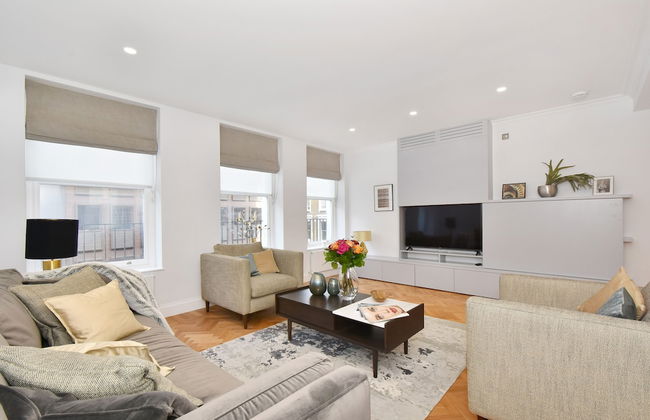
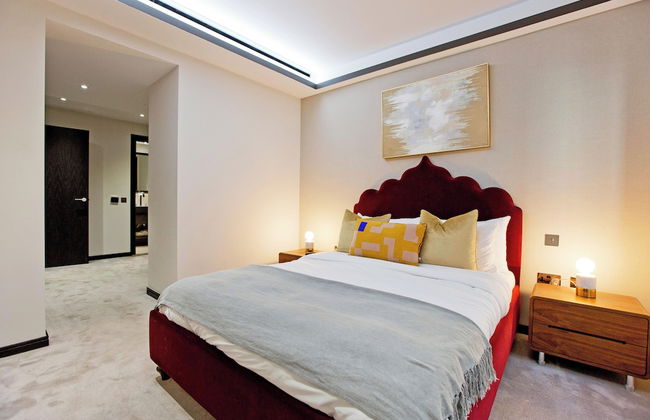
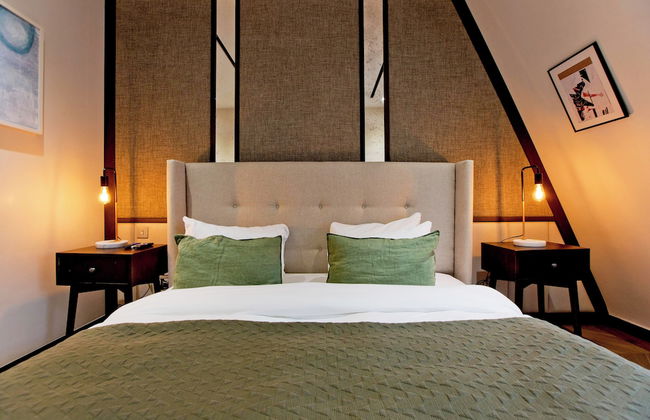
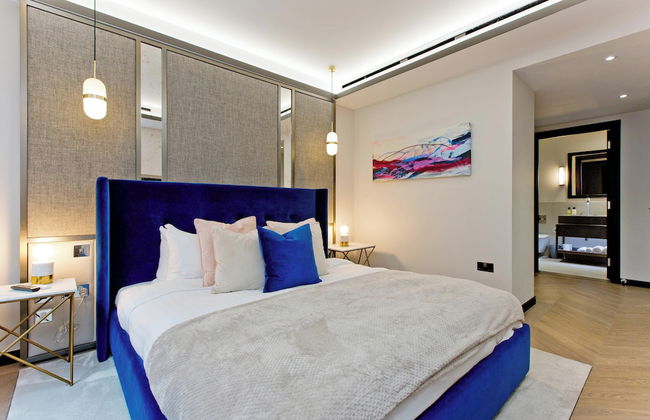
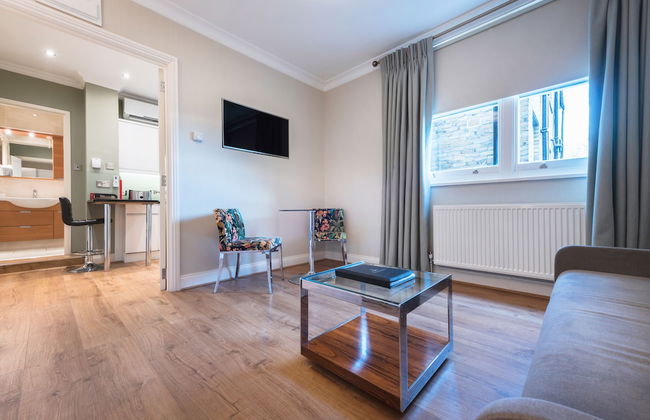
47 Park Street - Grand Residences by Marriott
Londres - Mayfair - A 1.5 km del centro
- 89 M2
- 6 personas
- Cocina pequeña
- Aire acondicionado
- Calefacción
- Parking
- Ascensor
- Televisión
- Toallas
- Sábanas


9 Hertford Street – 4 Stars VisitEngland
Londres - Mayfair - A 930 m del centro
- 75 M2
- 1 habitación
- 4 personas
- Aire acondicionado
- Calefacción
- Terraza
- Parking
- Ascensor
- Televisión
- Lavadora
- Chimenea
- Toallas
- Sábanas


3 Sloane Gardens by UnderTheDoormat
Londres - Chelsea - A 2.1 km del centro
- 51 M2
- 2 habitaciones
- 4 personas
- Aire acondicionado
- Calefacción
- Terraza
- Ascensor
- Jardín
- Televisión
- Lavadora
- Toallas
- Sábanas


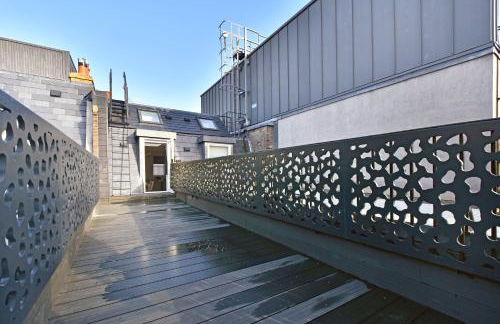
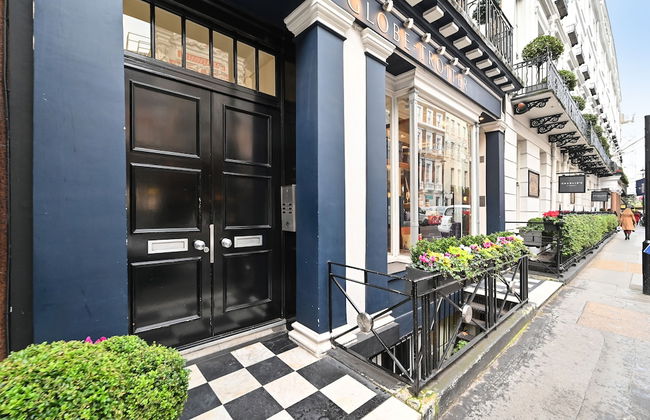
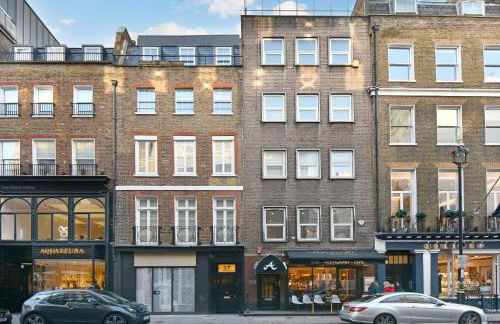
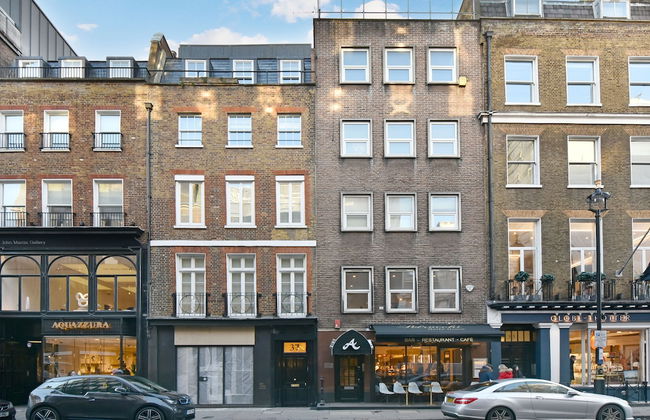
37GS Residences
Londres - Soho - A 440 m del centro
- 228 M2
- 3 habitaciones
- 6 personas
- Aire acondicionado
- Calefacción
- Terraza
- Parking
- Ascensor
- Balcón
- Jardín
- Televisión
- Lavadora
- Toallas
- Sábanas


Cheval Knightsbridge
Londres - South Kensington - A 2.3 km del centro
- 109 M2
- 3 habitaciones
- 6 personas
- Aire acondicionado
- Calefacción
- Parking
- Ascensor
- Balcón
- Televisión
- Lavadora
- Toallas
- Sábanas


Cheval Thorney Court at Hyde Park
Londres - Kensington - A 3.5 km del centro
- 269 M2
- 4 habitaciones
- 8 personas
- Aire acondicionado
- Calefacción
- Parking
- Ascensor
- Televisión
- Lavadora
- Toallas
- Sábanas


Vertus Edit Canary Wharf
Londres - Isle - A 7.6 km del centro
- 27 M2
- 2 personas
- Calefacción
- Terraza
- Parking
- Ascensor
- Jardín
- Televisión
- Toallas
- Sábanas


Still Life Aldgate Deluxe
Londres - City of London - A 3 km del centro
- 44 M2
- 2 personas
- Calefacción
- Terraza
- Ascensor
- Balcón
- Televisión
- Lavadora
- Toallas


Be London - The Russell Square Residences
Londres - Bloomsbury - A 480 m de British Museum
- 52 M2
- 3 personas
- Cocina pequeña
- Aire acondicionado
- Calefacción
- Ascensor
- Televisión
- Toallas
- Sábanas


Cove Cannon Street
Londres - City of London - A 410 m de Saint Paul's Cathedral
- 43 M2
- 3 personas
- Aire acondicionado
- Calefacción
- Ascensor
- Televisión
- Lavadora
- Toallas
- Sábanas


Citadines Islington London
Londres - Islington - A 3.5 km del centro
- 40 M2
- 1 habitación
- 4 personas
- Aire acondicionado
- Calefacción
- Ascensor
- Televisión
- Toallas
- Sábanas


The Rosebery by Supercity Aparthotels
Londres - City of London - A 1.7 km del centro
- 53 M2
- 2 habitaciones
- 4 personas
- Aire acondicionado
- Calefacción
- Ascensor
- Televisión
- Lavadora
- Toallas
- Sábanas


The Brondesbury by Nestor
Londres - Kilburn - A 7.2 km del centro
- 20 M2
- 2 personas
- Cocina pequeña
- Calefacción
- Terraza
- Ascensor
- Jardín
- Televisión
- Toallas
- Sábanas


No 1 The Mansion Apartments by Mansley
Londres - South Kensington - A 4.3 km del centro
- 170 M2
- 4 habitaciones
- 8 personas
- Calefacción
- Terraza
- Ascensor
- Balcón
- Televisión
- Lavadora
- Toallas
- Sábanas


130 Queen's Gate Apartments
Londres - South Kensington - A 3.3 km del centro
- 180 M2
- 4 habitaciones
- 8 personas
- Aire acondicionado
- Calefacción
- Terraza
- Parking
- Ascensor
- Balcón
- Televisión
- Lavadora
- Toallas
- Sábanas


High Street Kensington Apartments
Londres - Kensington - A 3.8 km del centro
- 59 M2
- 3 habitaciones
- 8 personas
- Cocina pequeña
- Aire acondicionado
- Calefacción
- Terraza
- Ascensor
- Televisión
- Lavadora
- Toallas
- Sábanas