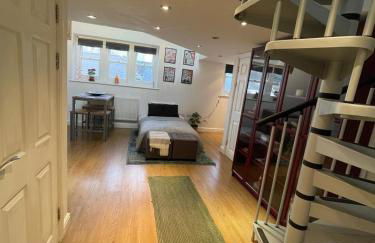
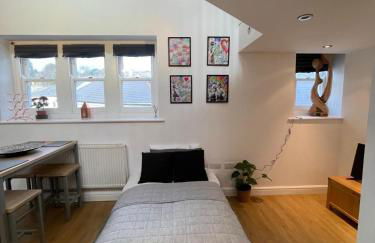
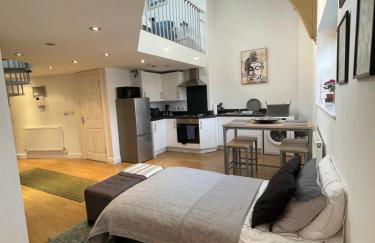
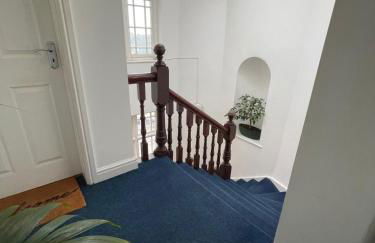
48 Apartamentos en St Austell


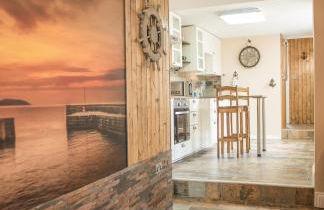
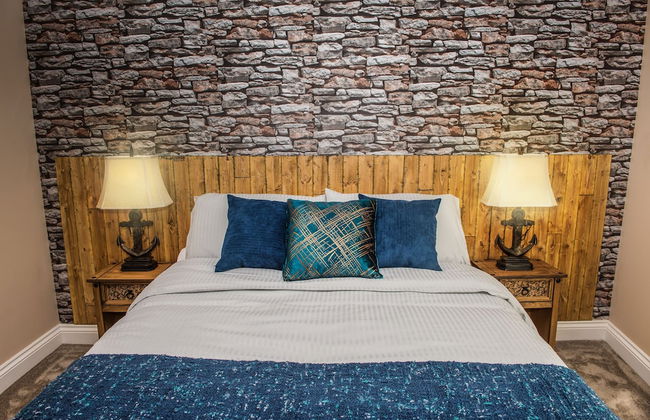
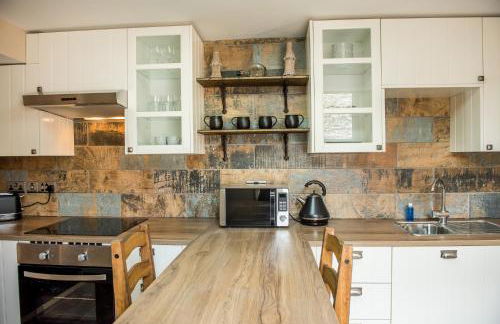


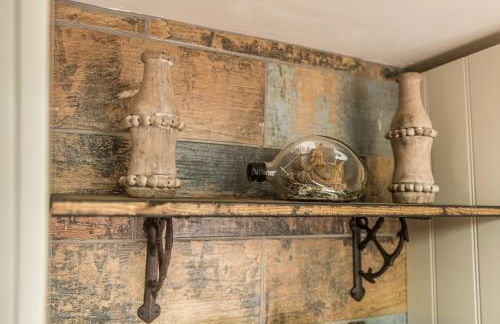

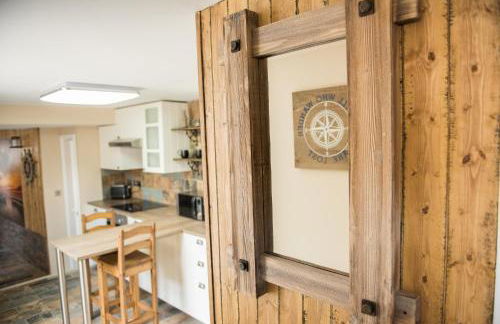

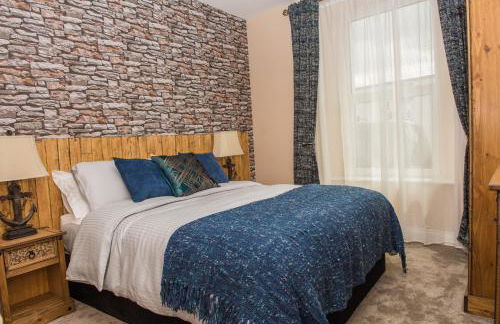

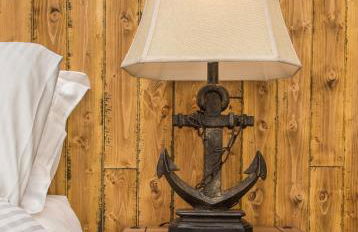

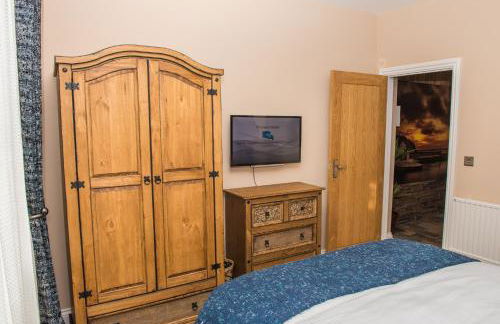


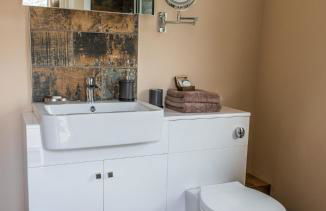
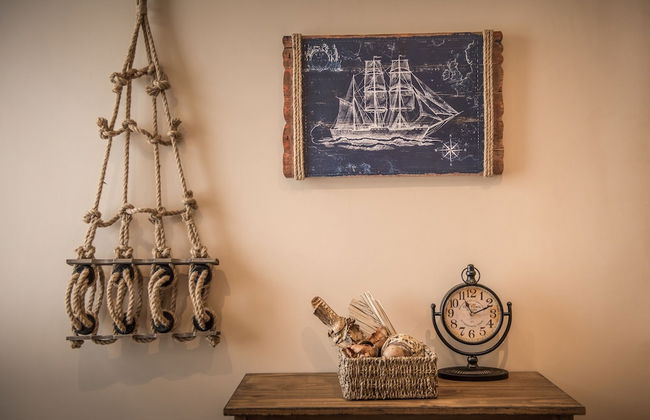


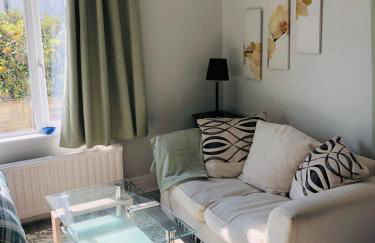
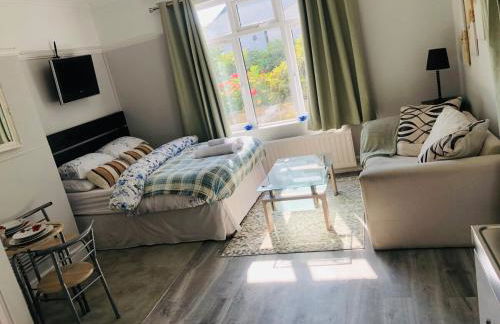
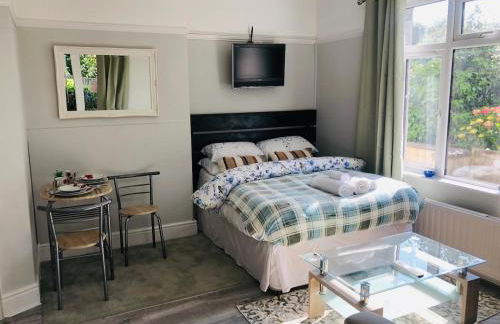
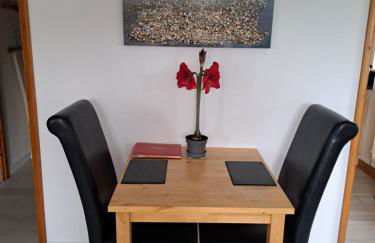
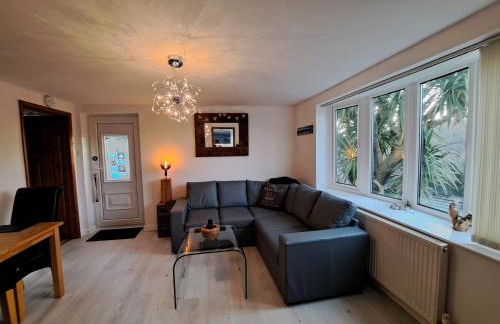
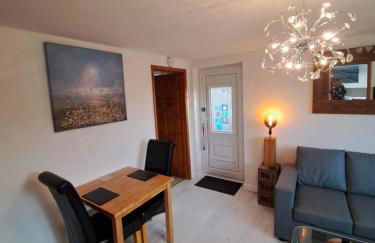
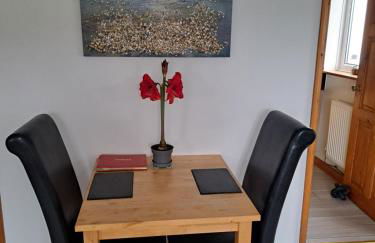
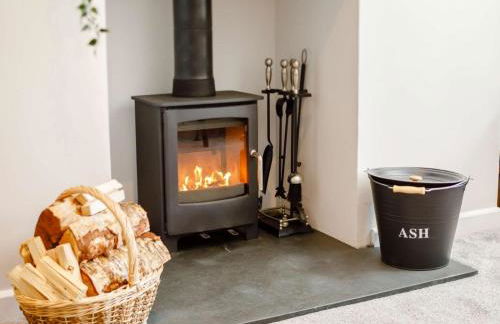
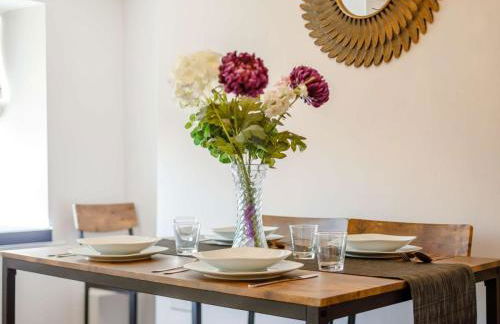
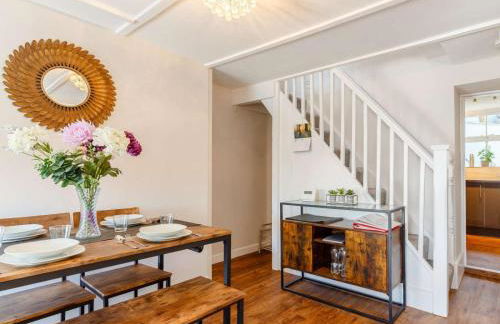
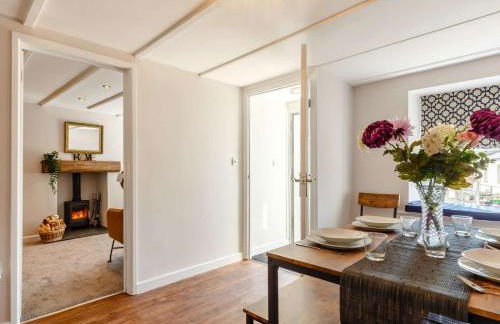
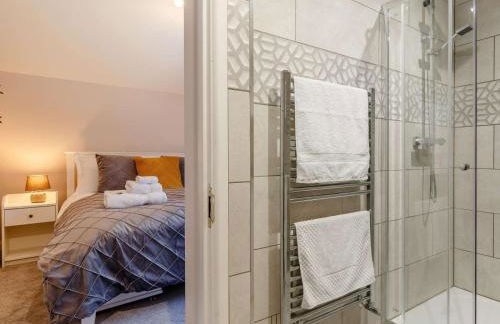
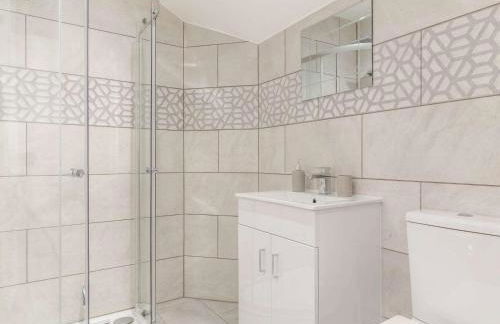
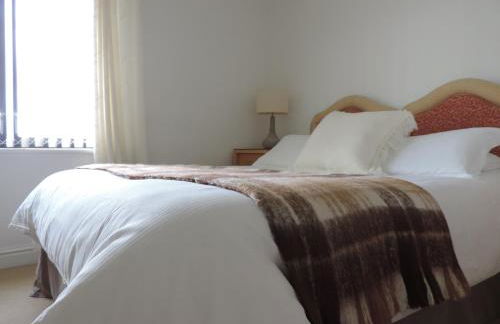
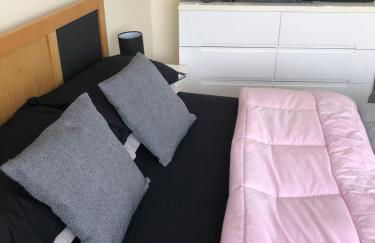
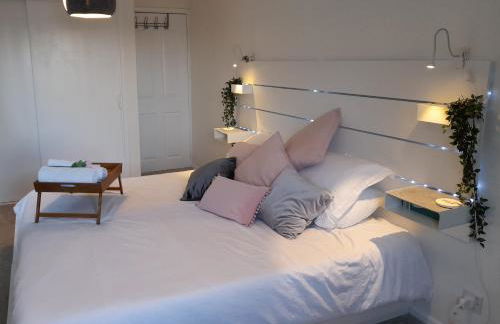
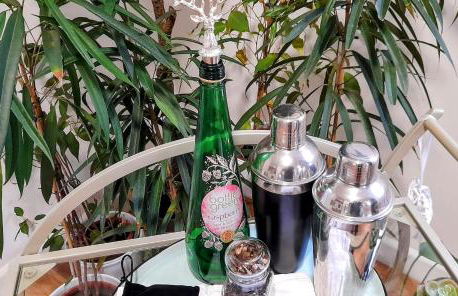
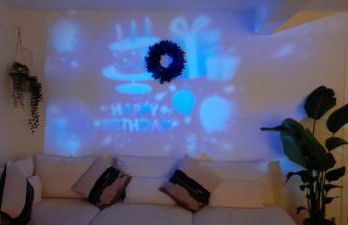
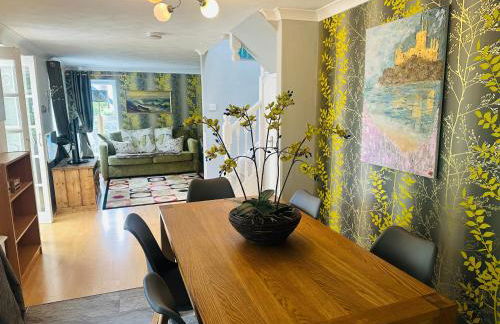
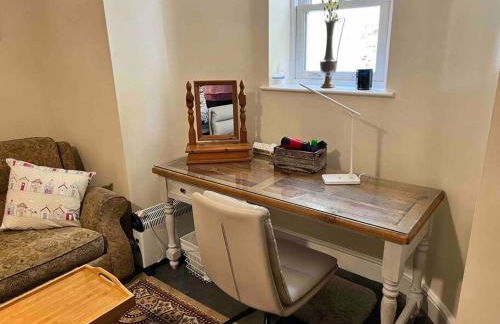
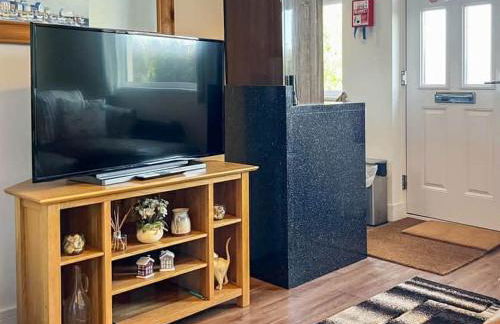
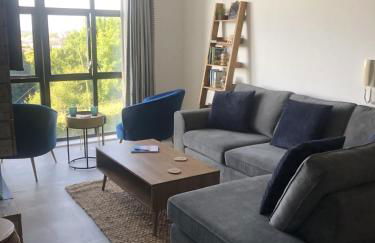
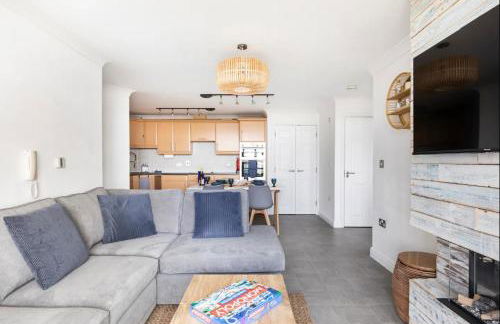
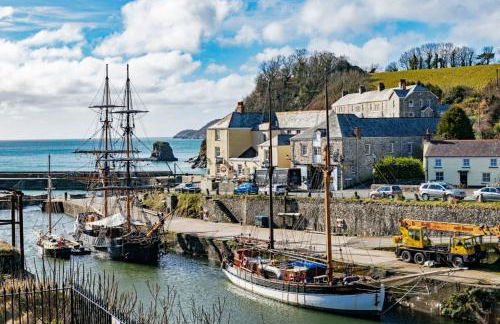
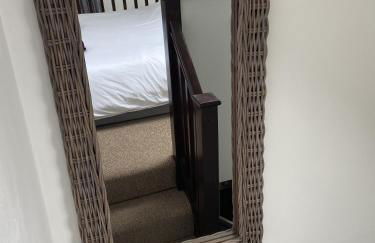
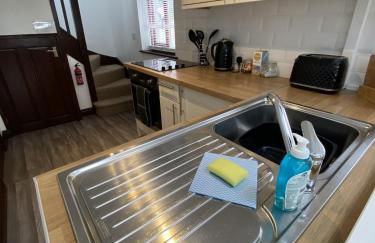
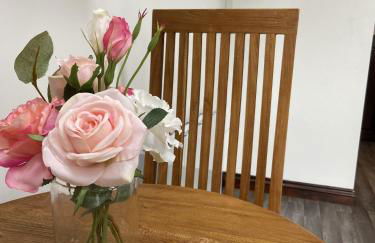
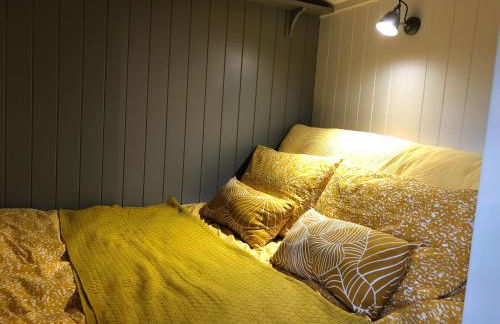
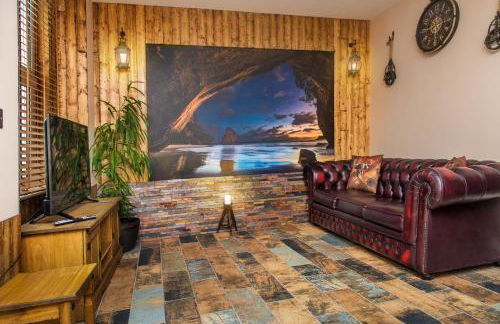
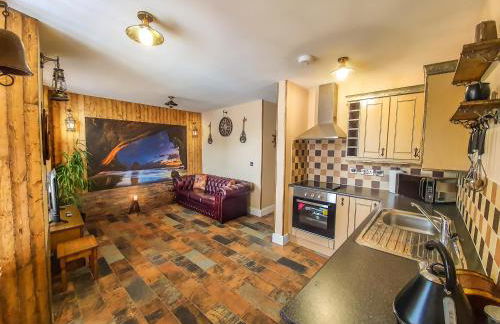
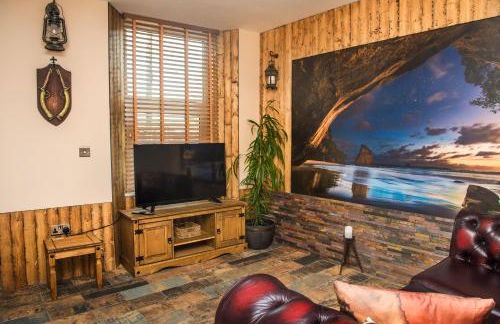
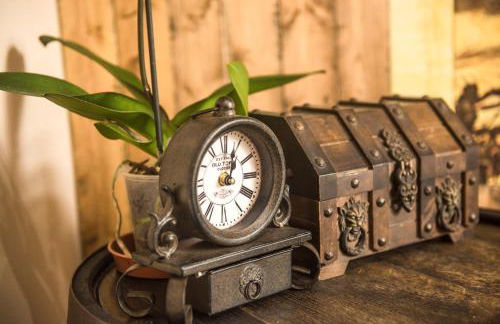
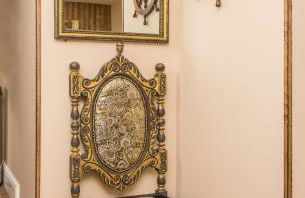
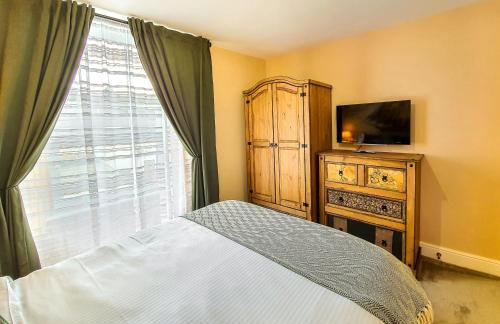
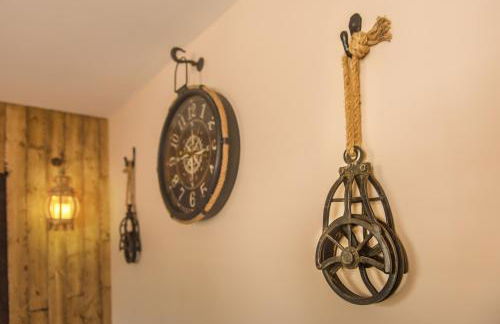
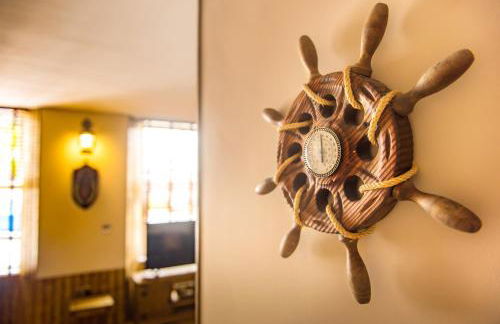
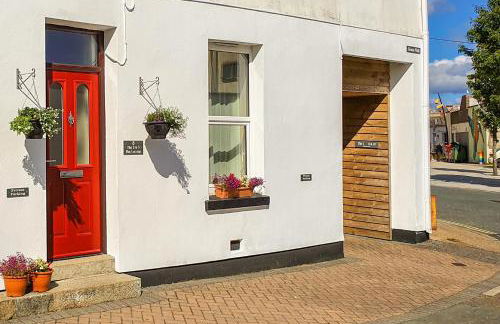
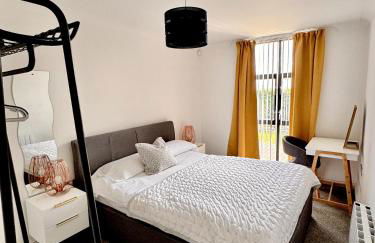
Deluxe Rustic Charlestown Themed Apartment
St Austell - St Austell
- 39 M2
- 1 habitación
- 2 personas
- Calefacción
- Parking
107 reseñas


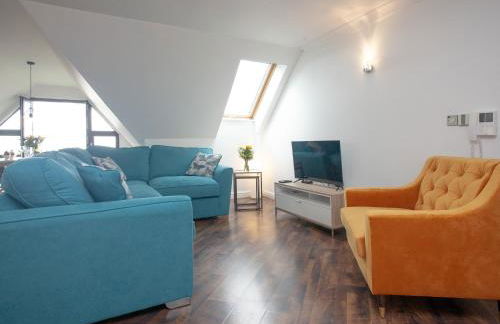


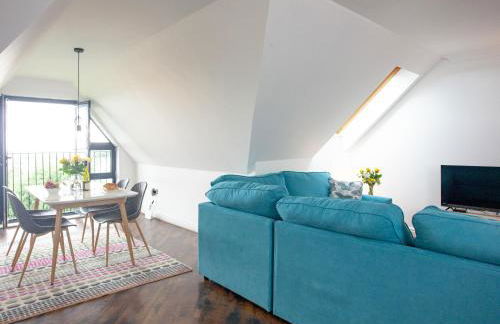


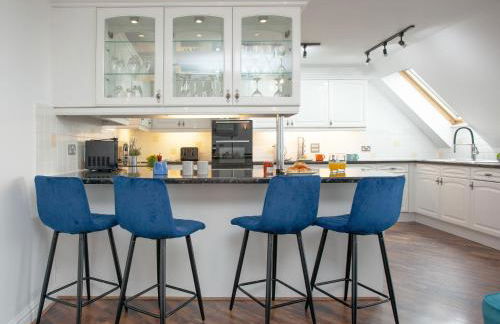

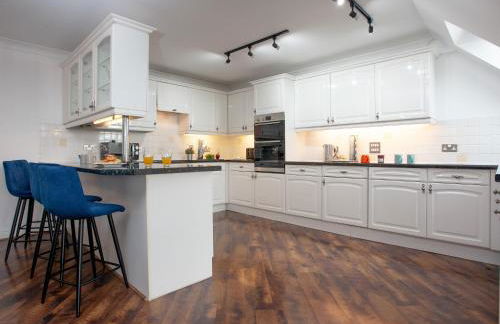

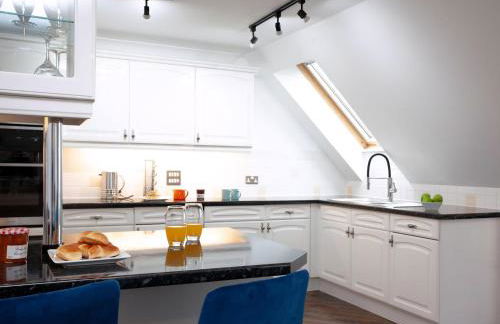

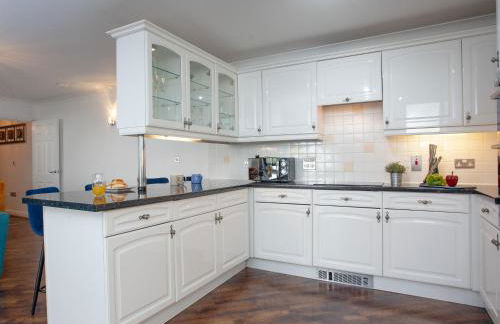

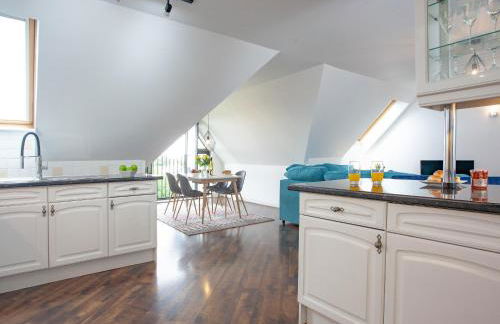

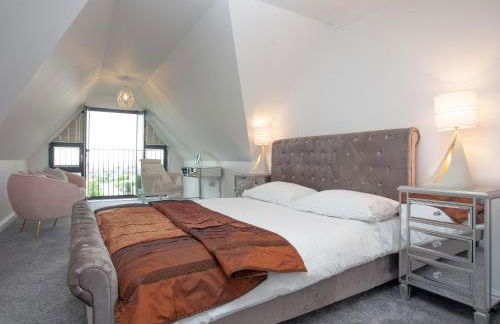


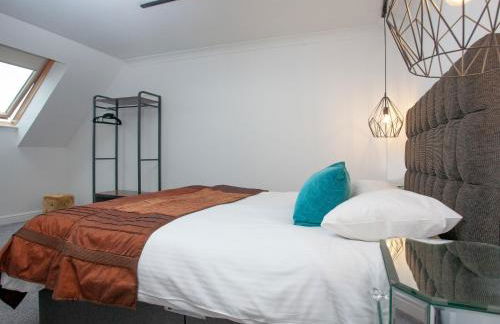

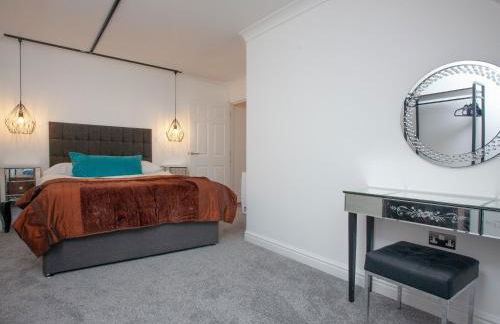


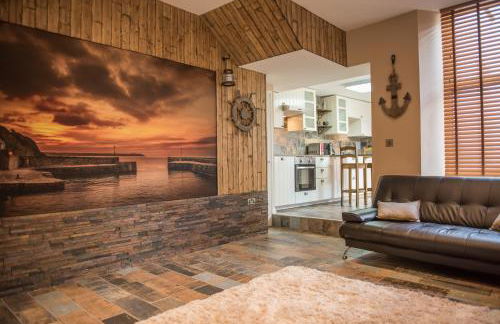
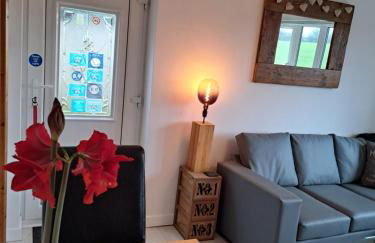
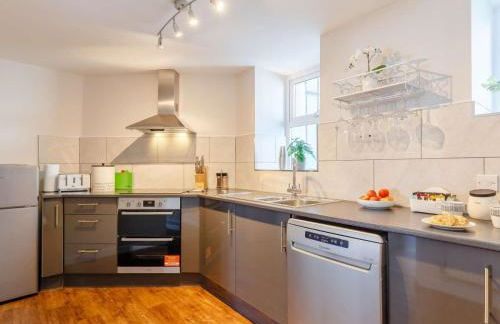
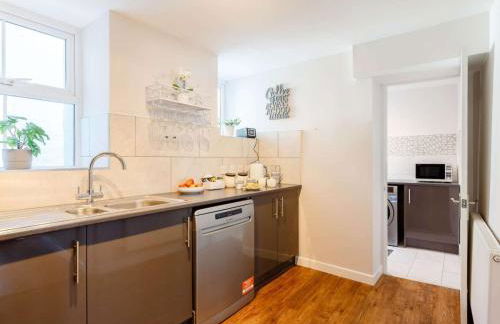
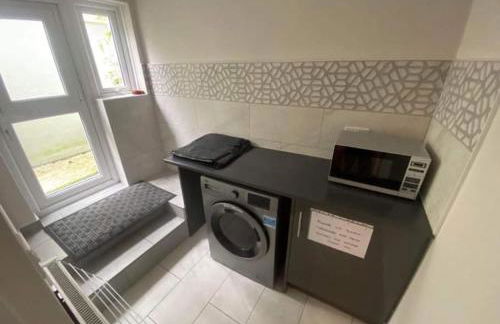
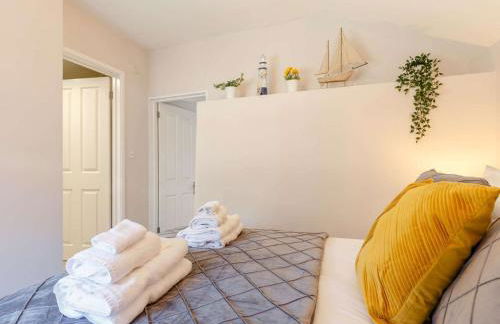
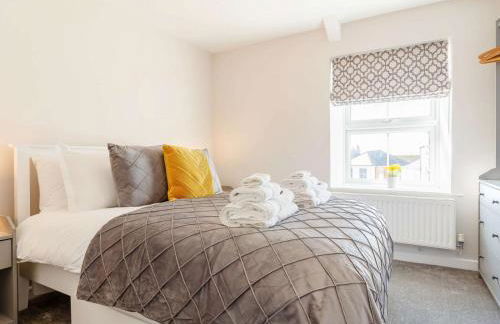
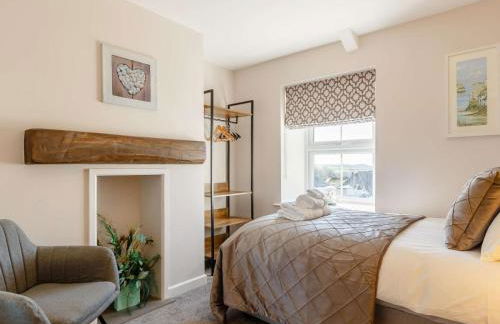
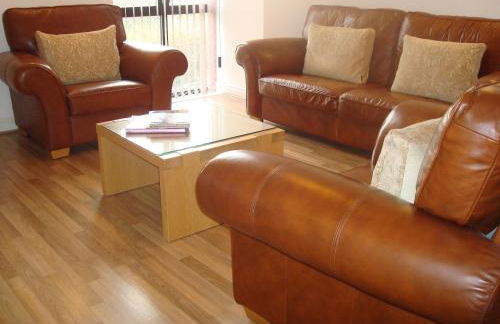
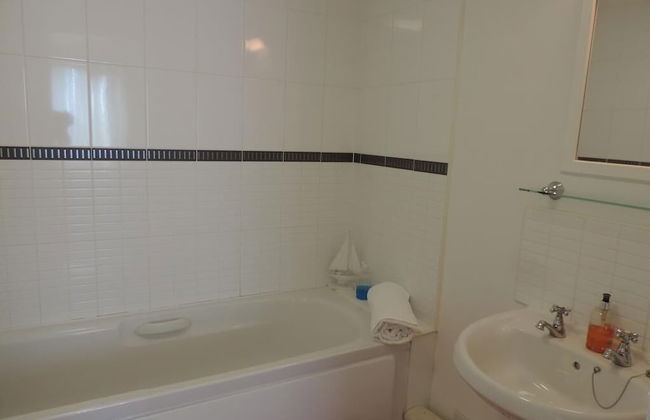
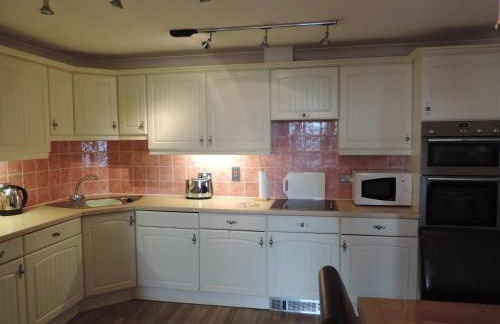
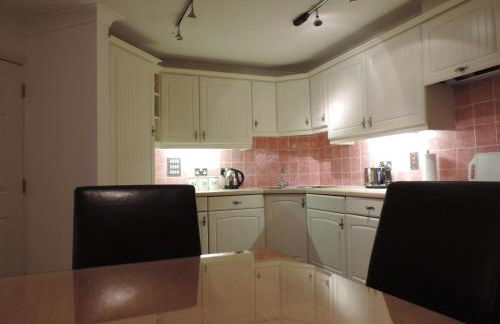
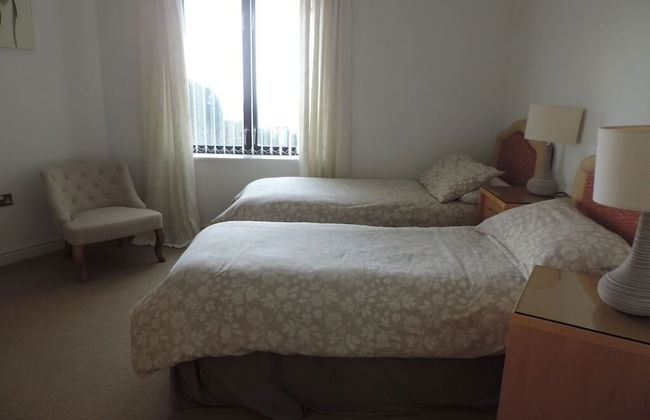
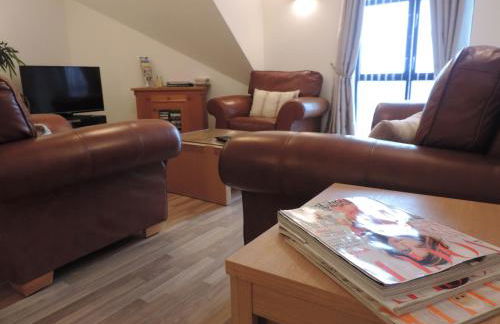
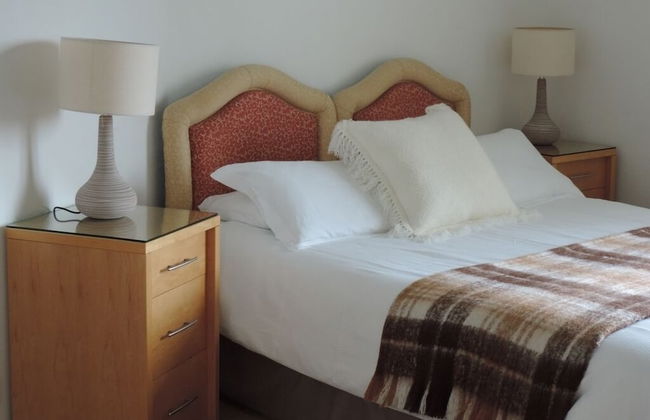
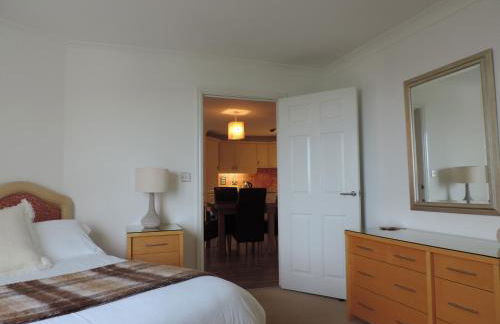
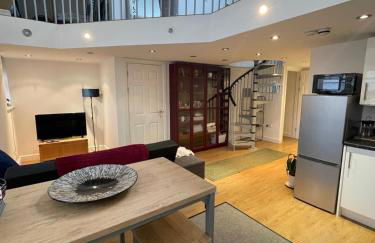
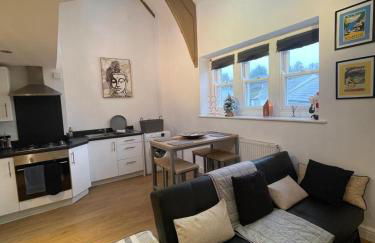
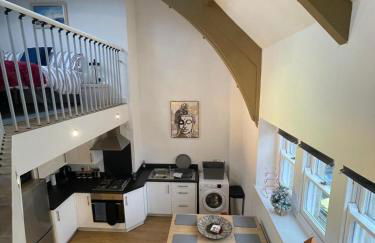
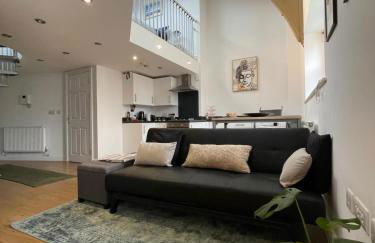
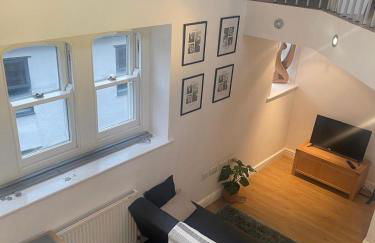
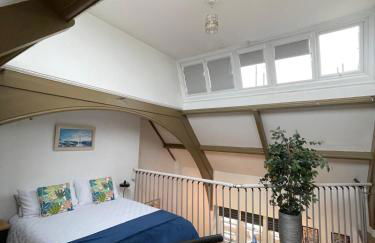
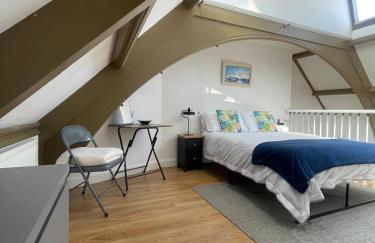
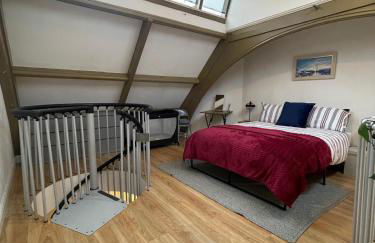
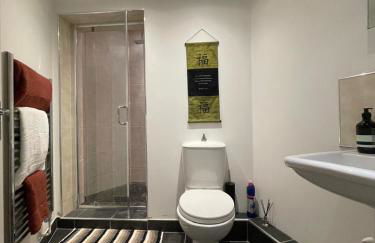
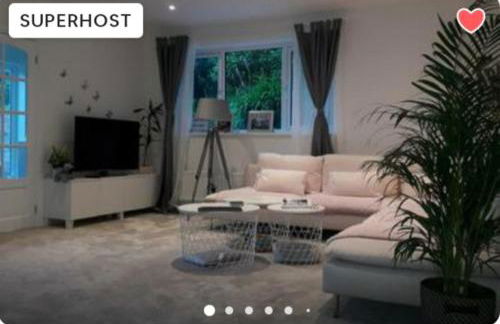
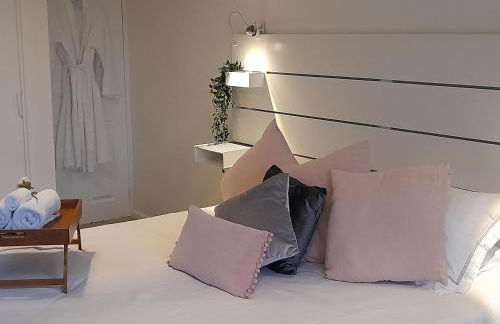
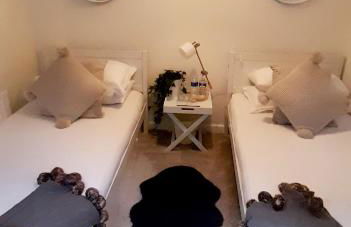
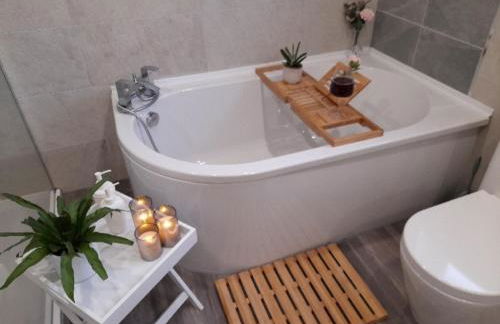
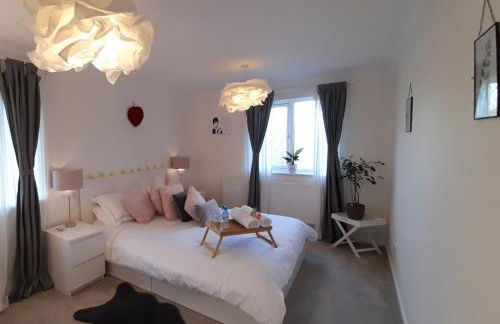
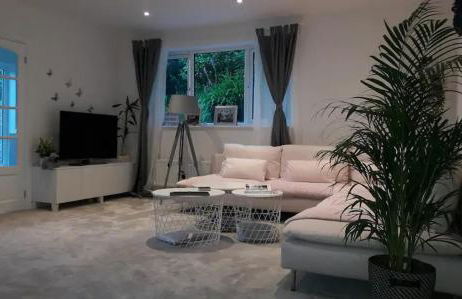
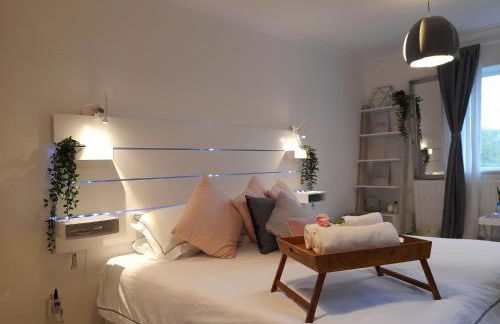
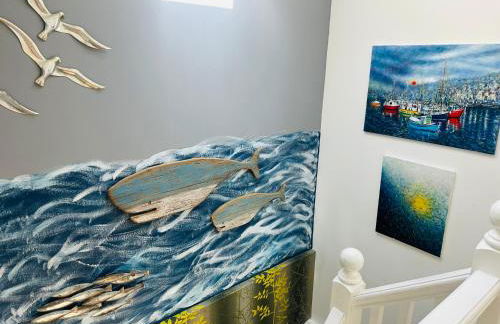
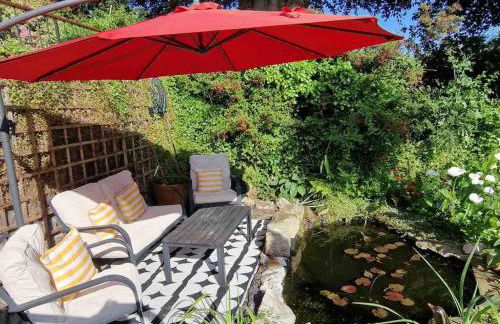
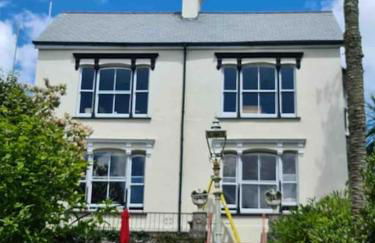
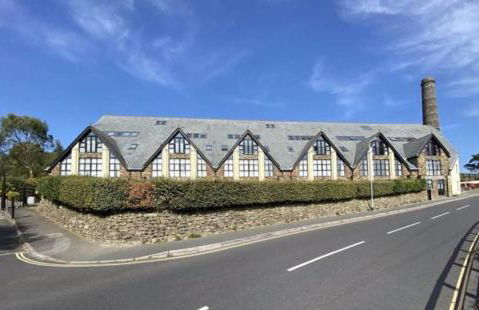
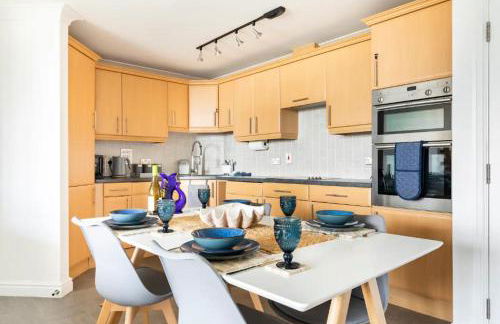
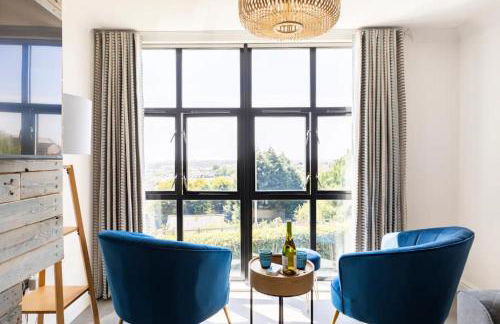
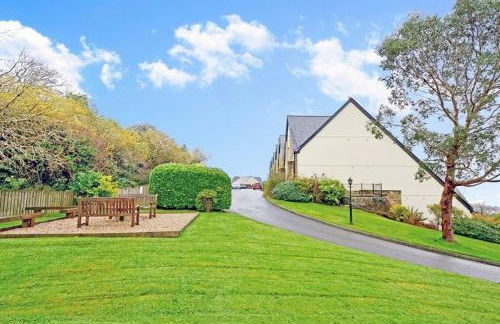
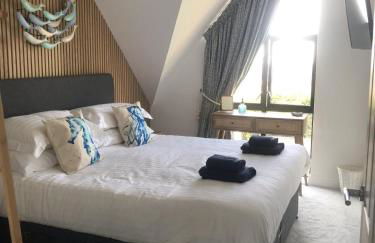
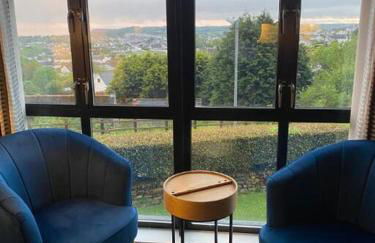
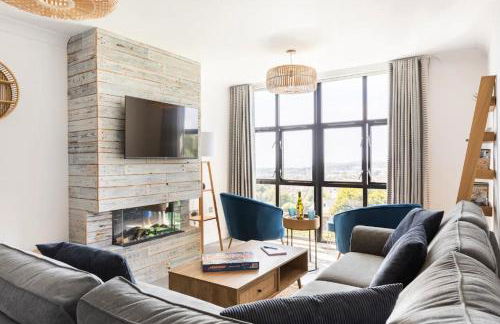
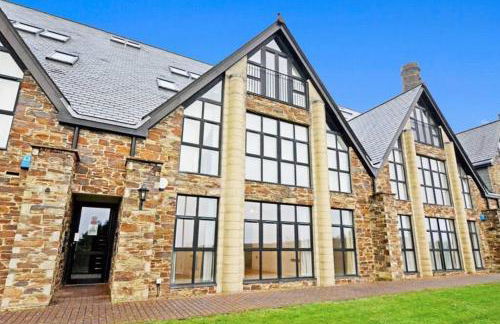
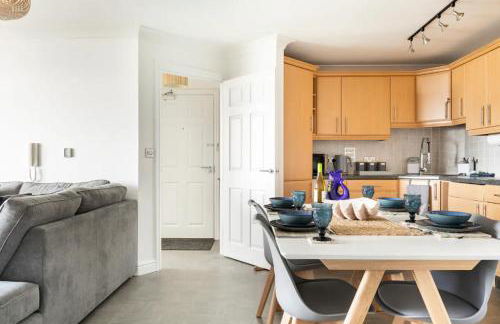
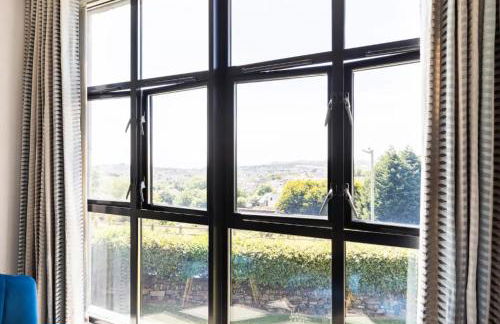
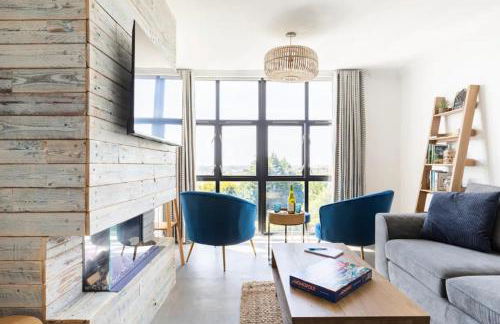
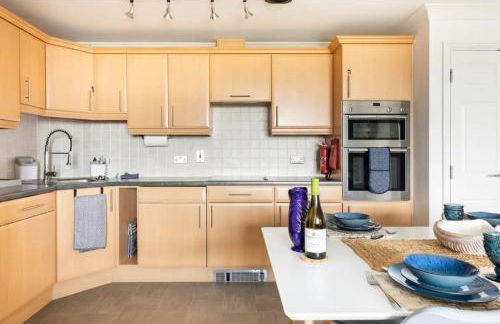
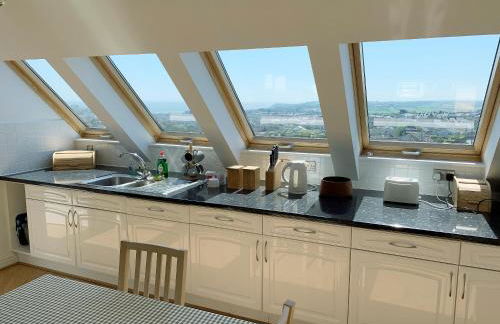
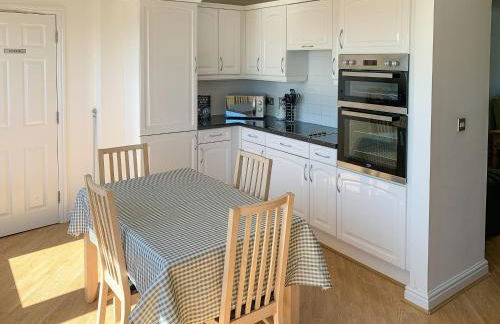
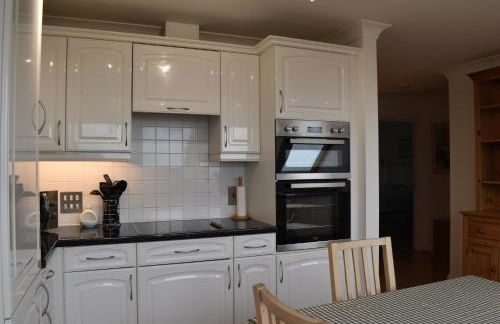
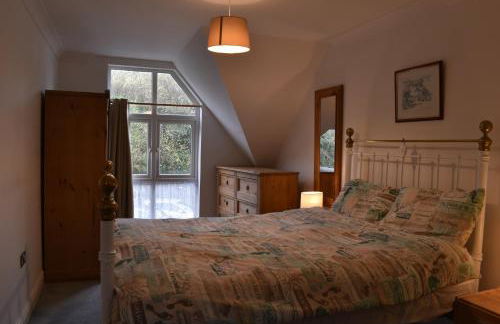
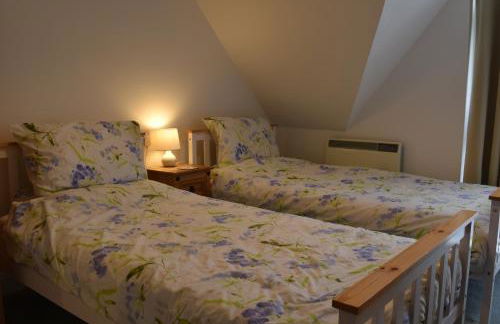
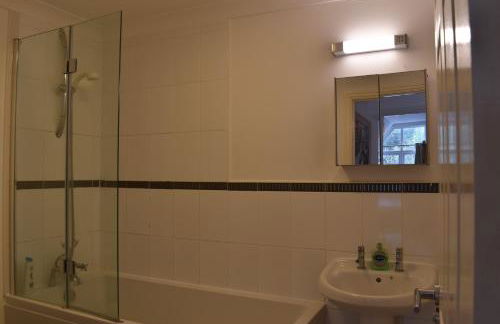
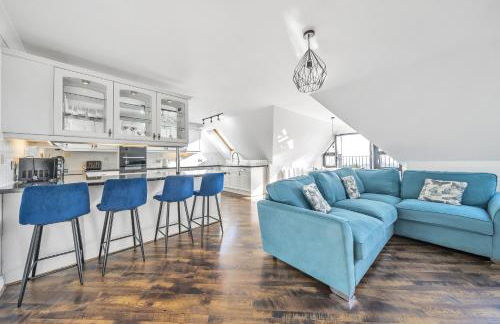
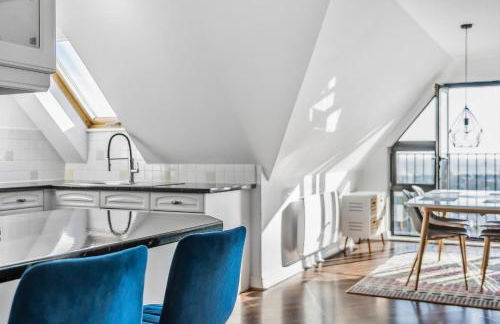
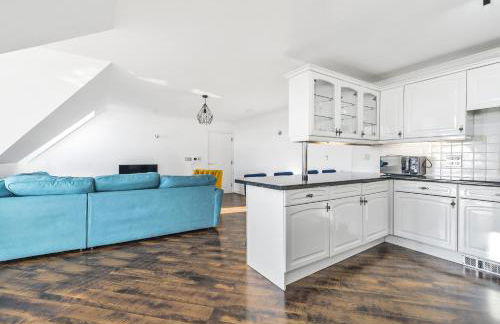
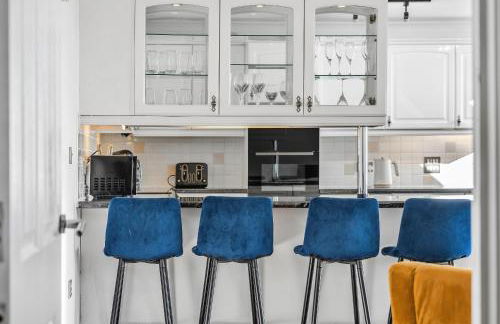
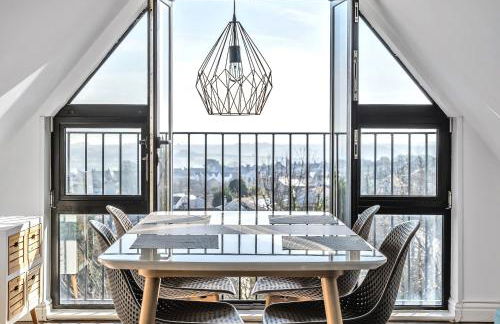
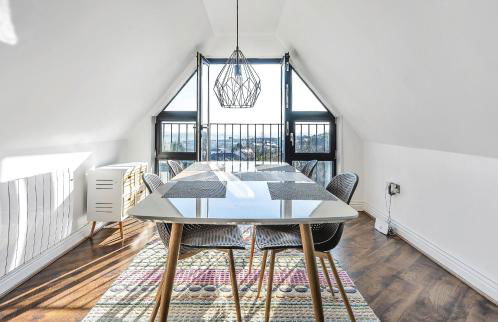
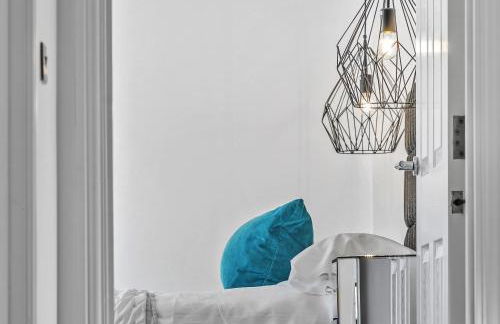
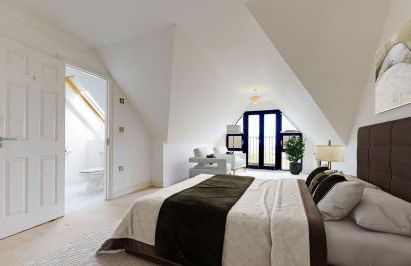
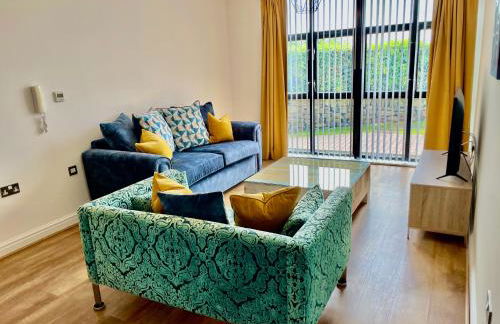
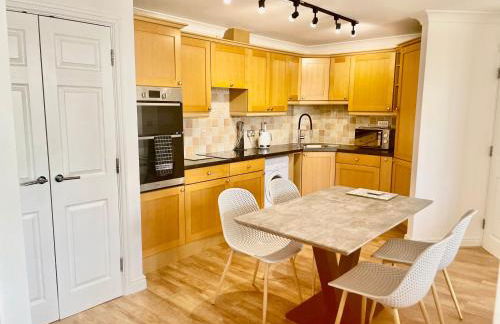
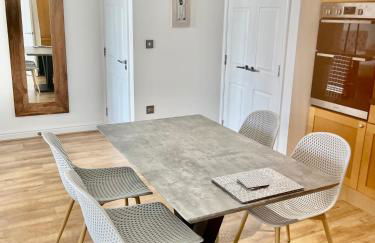
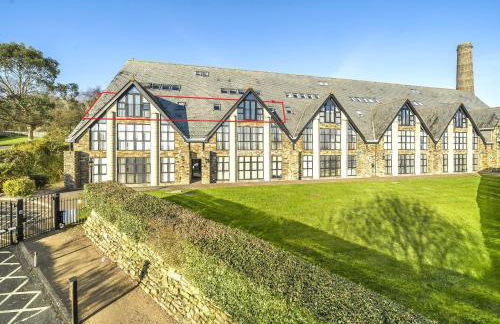
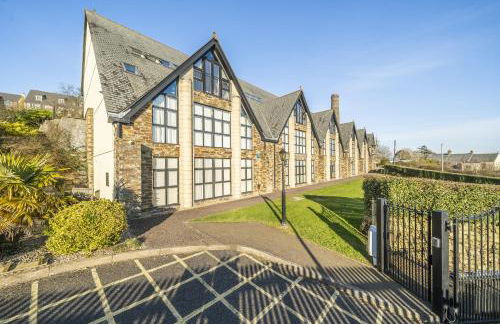
Pochin House Apartment Penthouse
St Austell - St Austell
- 141 M2
- 2 habitaciones
- 6 personas
- Calefacción
- Parking
- Televisión
- Lavadora
- Toallas
- Sábanas
29 reseñas
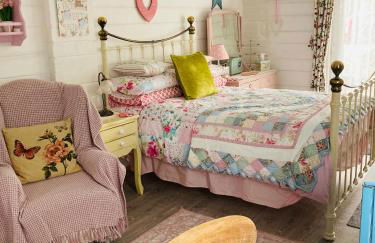
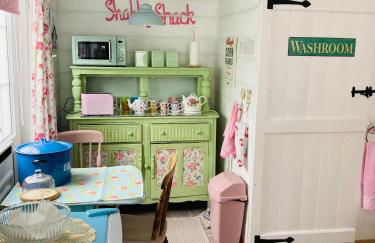
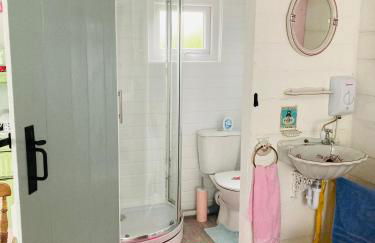

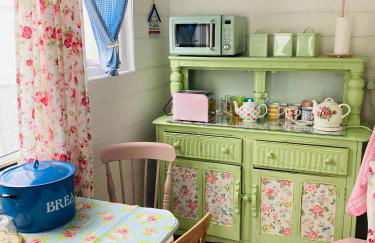
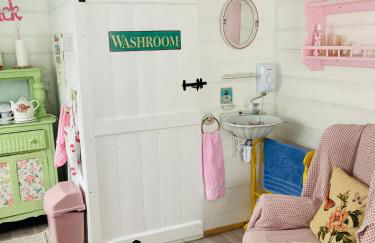

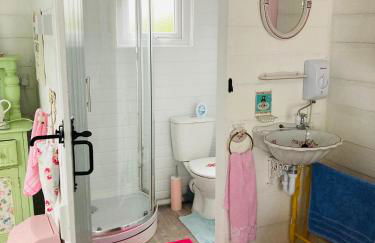
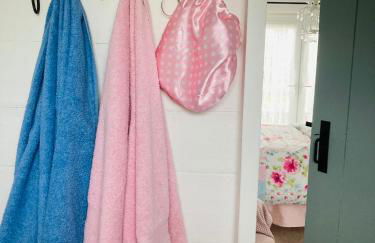


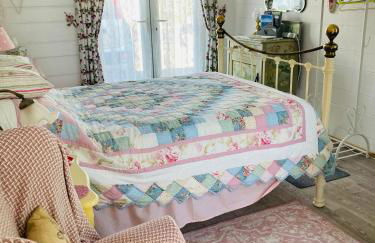
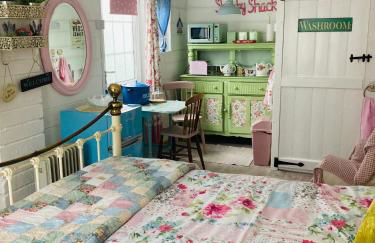


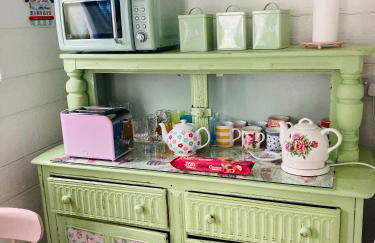
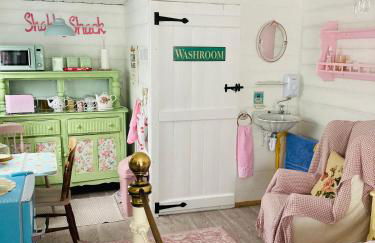
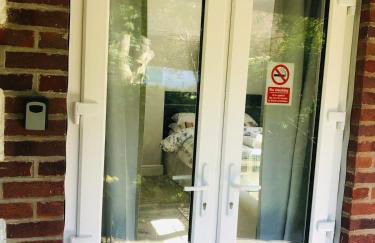
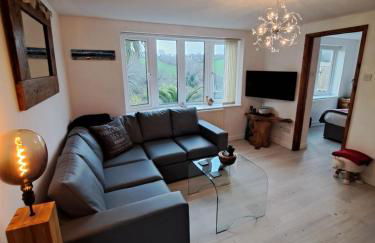
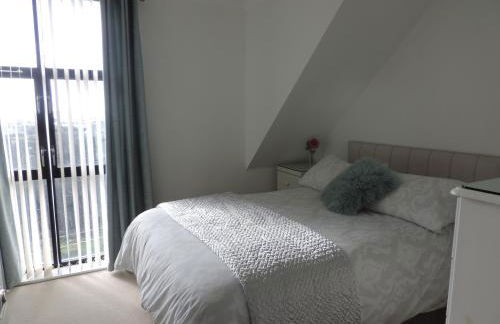
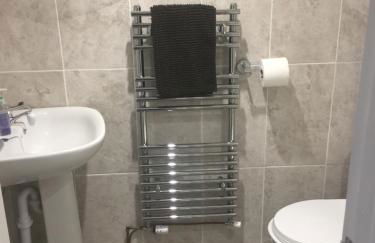
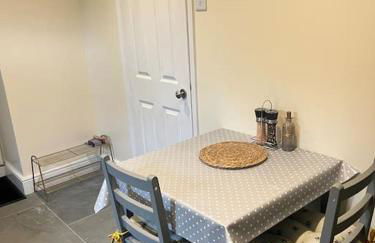
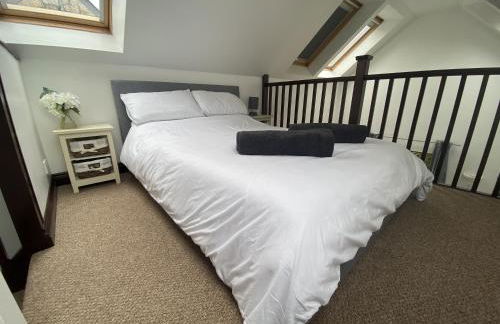
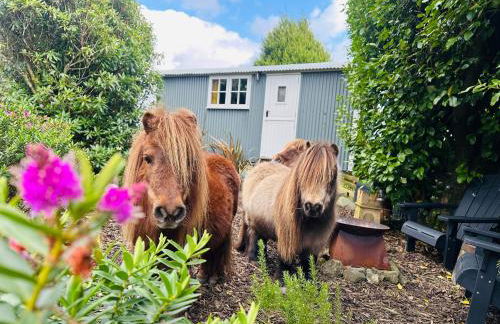
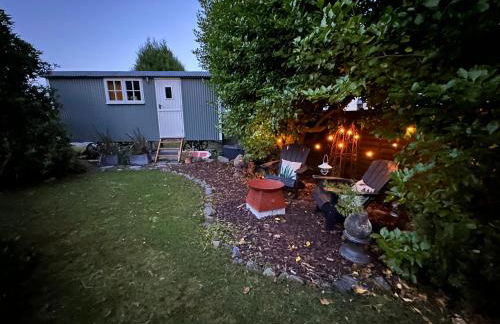
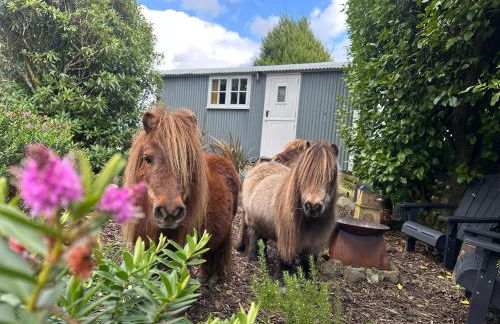
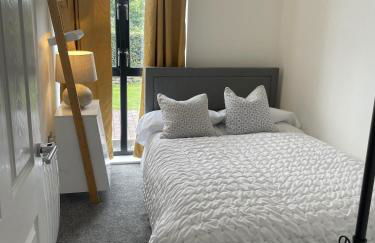
Shabby Shack near Charlestown & The Eden Project
St Austell - St Austell
- 20 M2
- 2 personas
- Calefacción
- Parking
49 reseñas

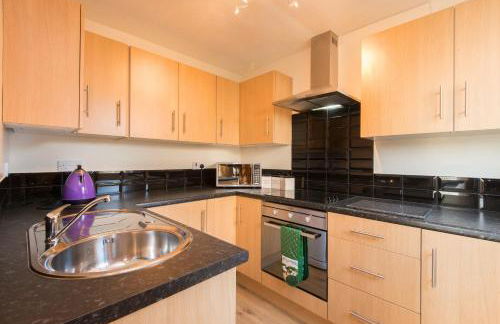


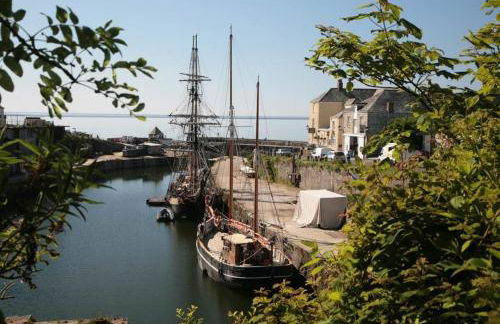
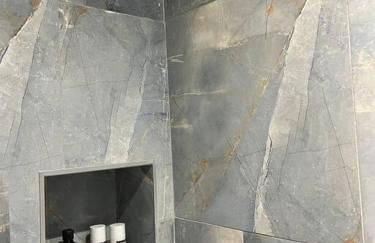
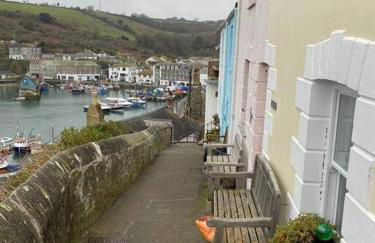
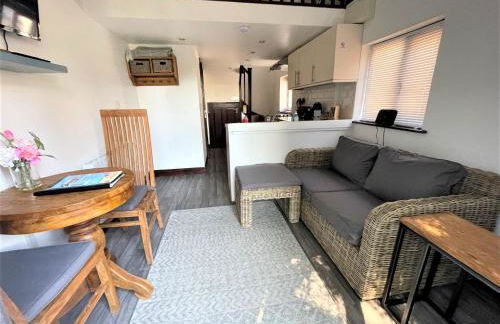
Bells Cottage - Explore Cornwall by rail
St Austell - St Austell
- 86 M2
- 3 habitaciones
- 5 personas
- Calefacción
- Parking
- Jardín
- Barbacoa
14 reseñas


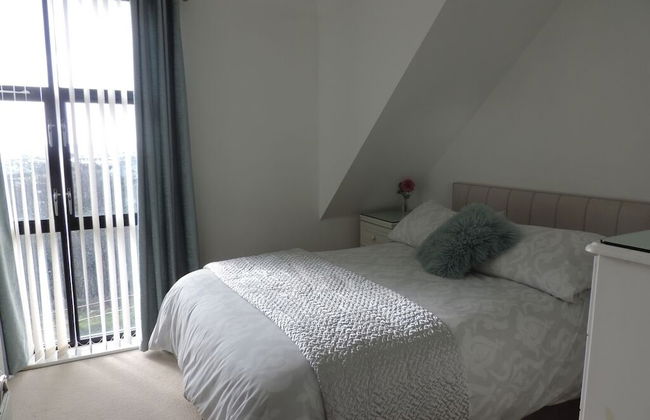


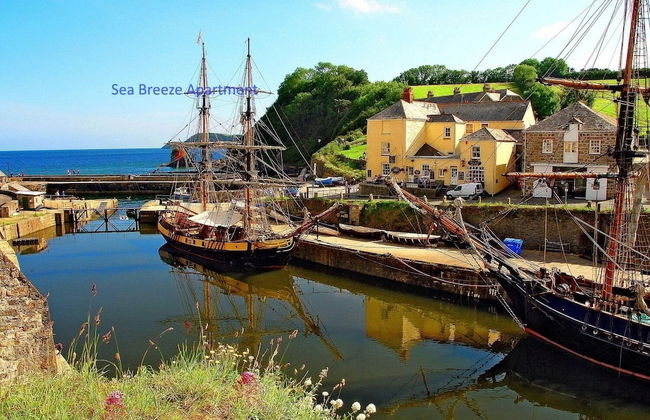
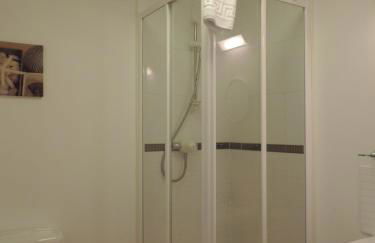


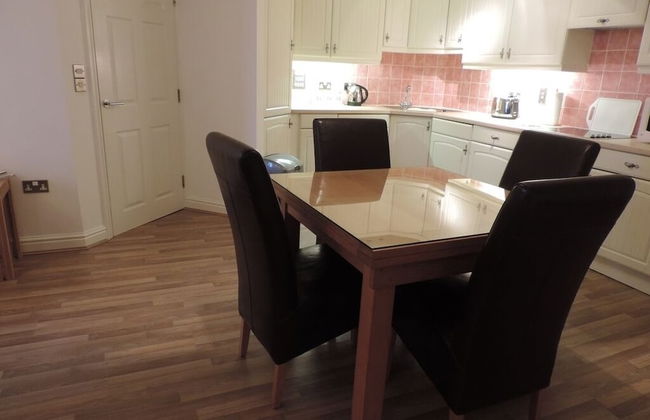

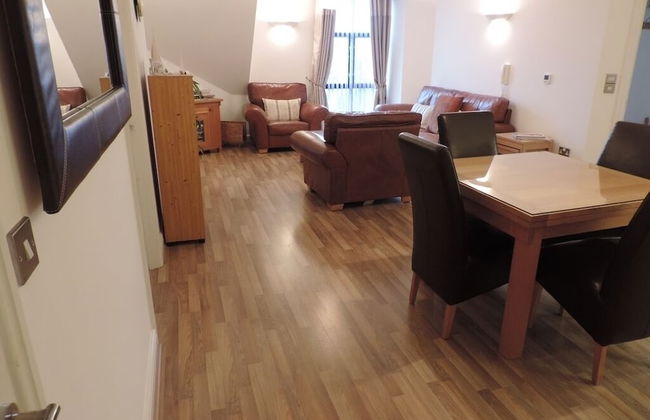


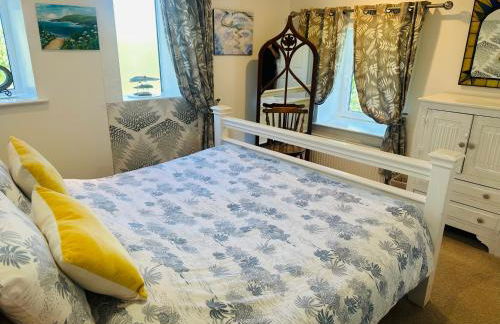
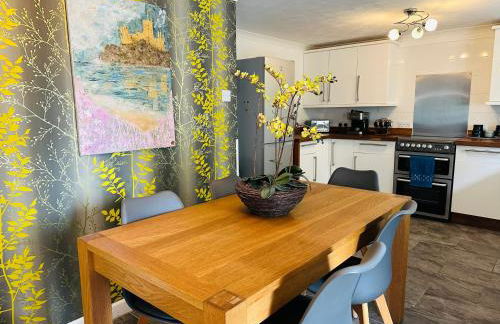
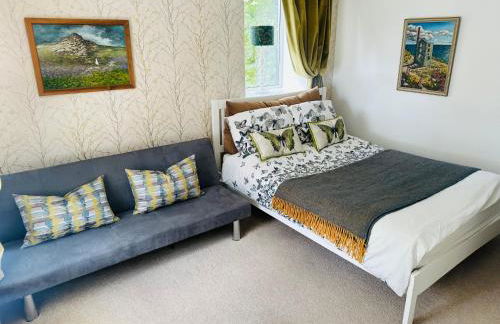
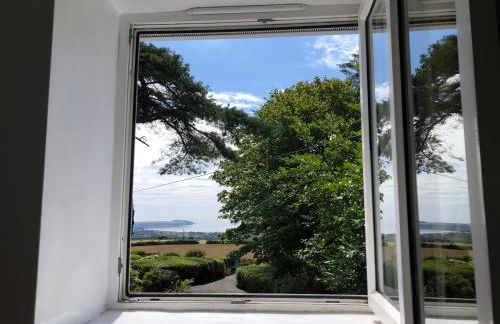
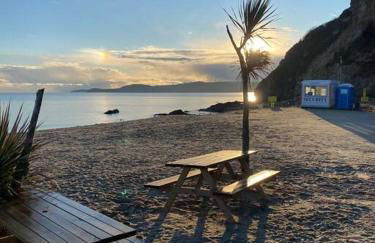
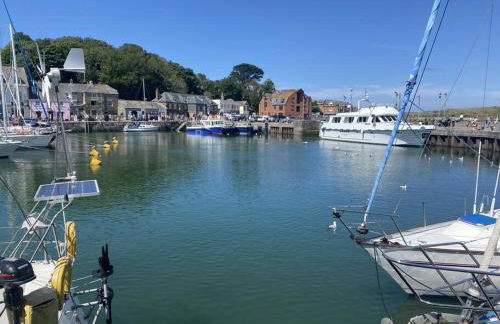
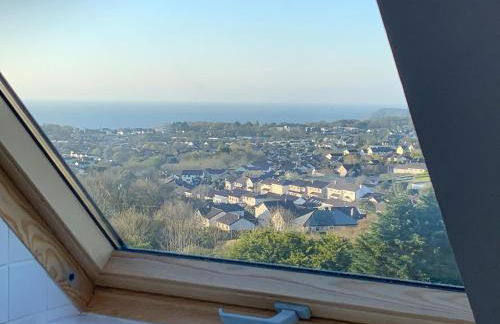
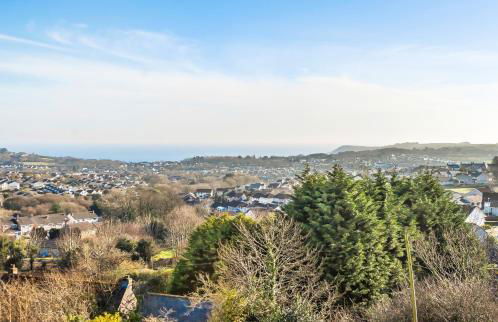
Sea Breeze Apartment Near the Eden Project
St Austell - St Austell
- 150 M2
- 2 habitaciones
- 5 personas
- Parking
- Televisión
- Toallas
- Sábanas
16 reseñas
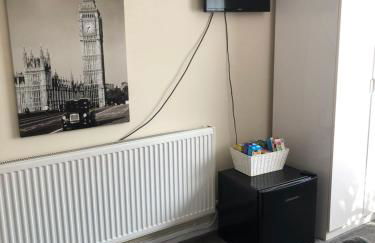
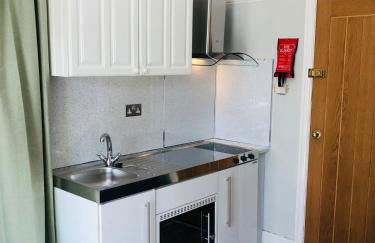
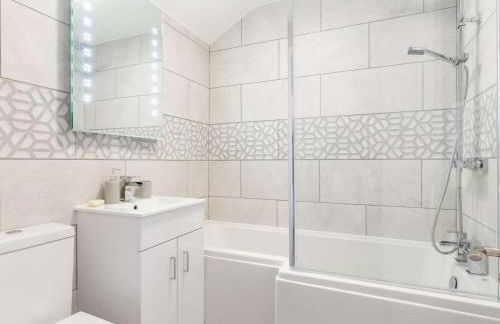
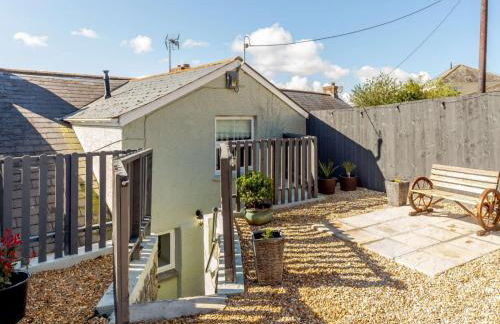
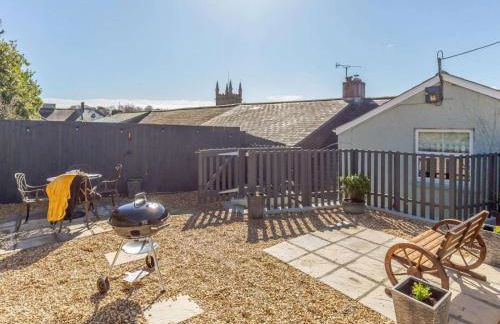
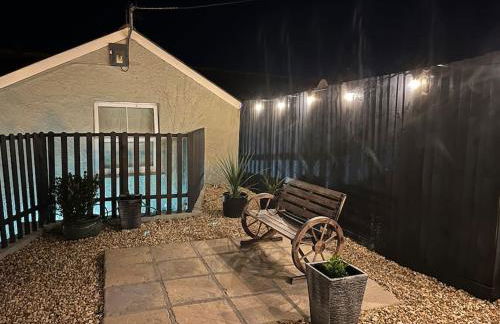
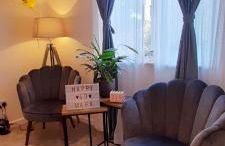
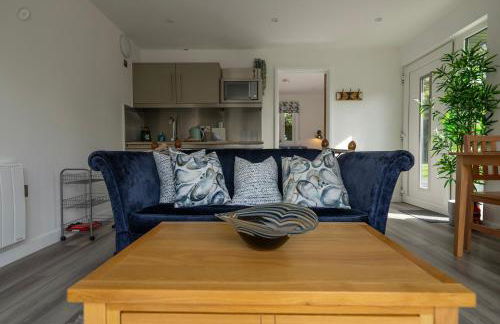
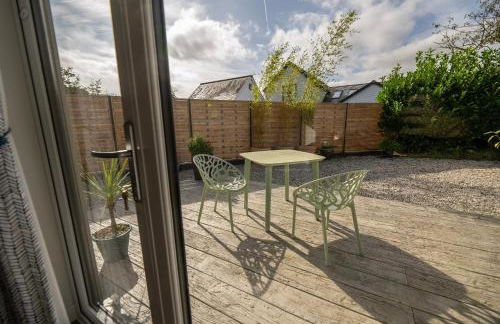
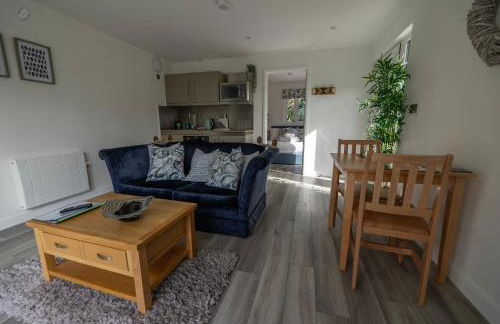
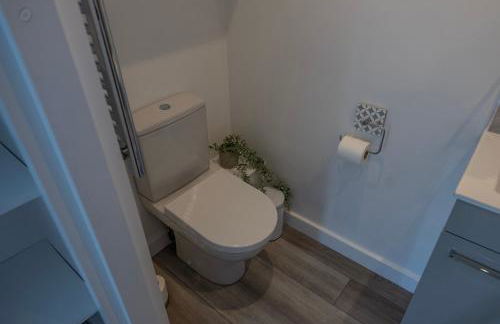
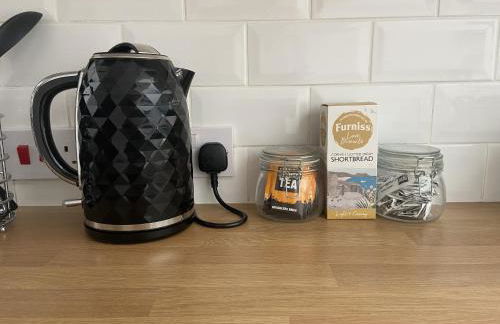
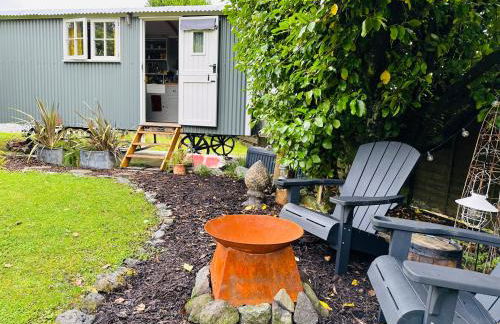
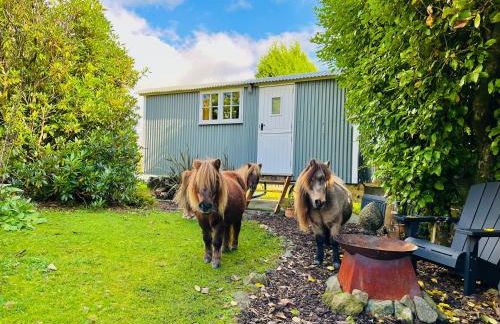
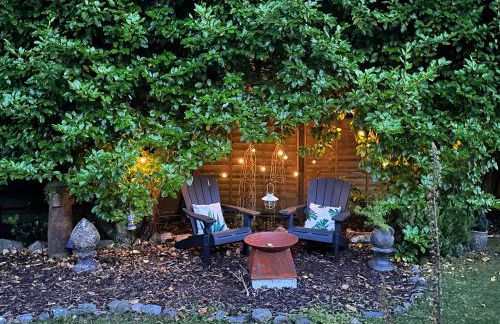
All March 70 pounds per night with 3 nights minimum stay
St Austell - St Austell
- 14 M2
- 2 personas
- Calefacción
- Parking
45 reseñas


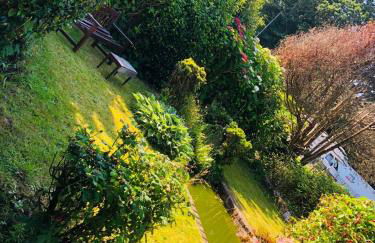
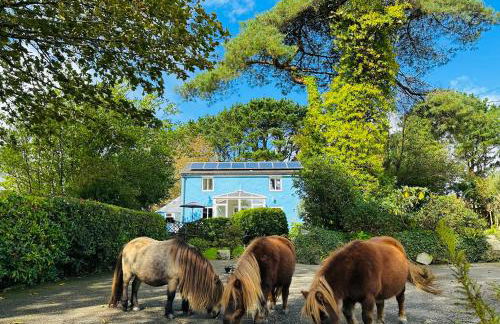
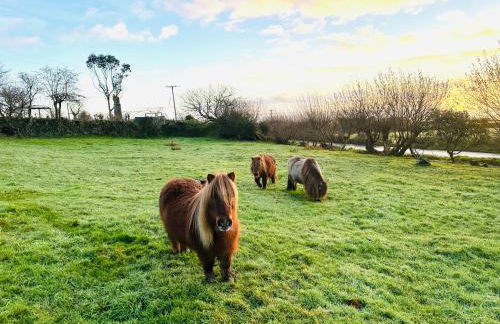
Sunny-side-up
St Austell - St Austell
- 800 M2
- 3 habitaciones
- 8 personas
- Calefacción
- Parking
- Jardín
116 reseñas


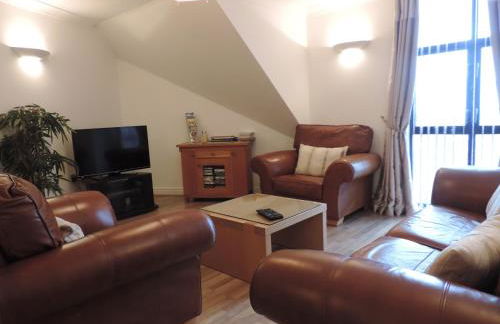
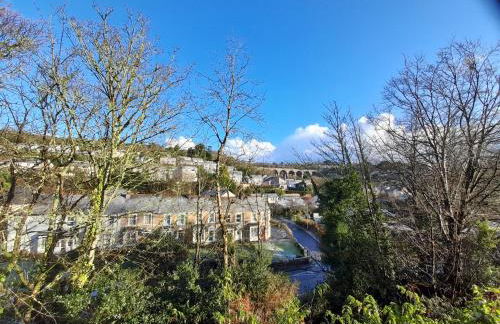
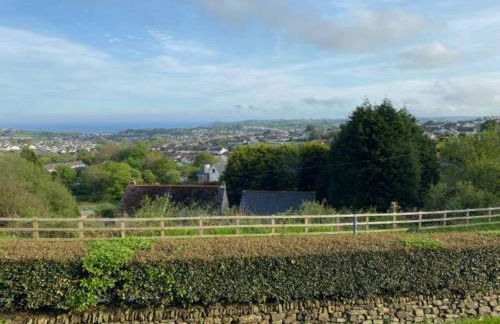
Bay View Cottage
St Austell - St Austell
- 120 M2
- 2 habitaciones
- 6 personas
- Calefacción
- Terraza
- Parking
- Jardín
- Barbacoa
103 reseñas


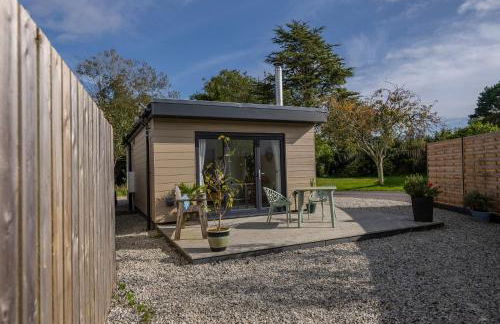


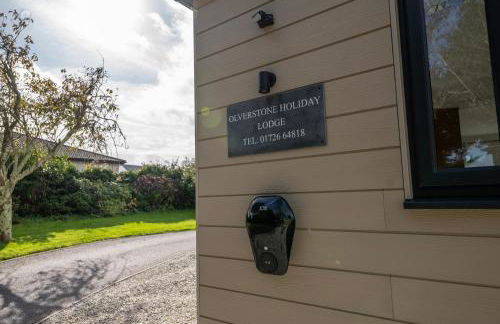
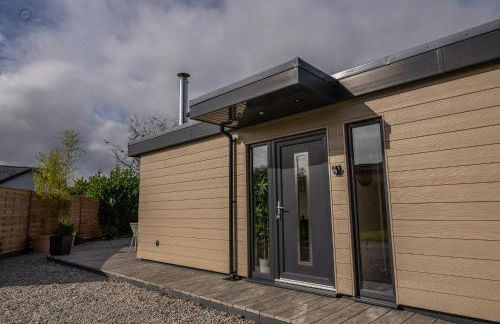
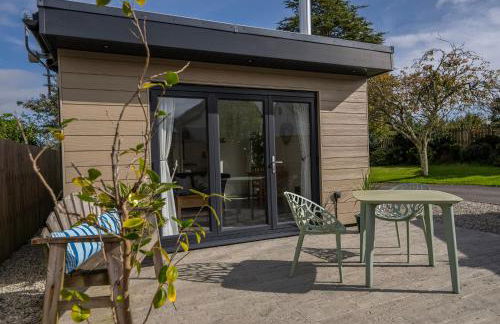
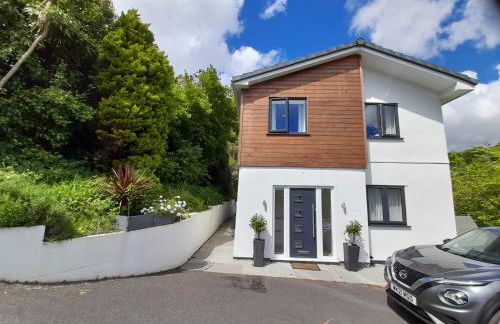
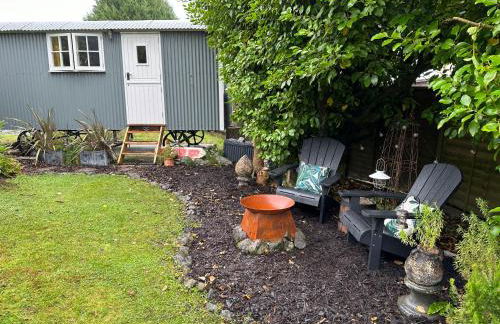
Olverstone Lodge, a beautiful Cornish lodge with wood burner & garden
St Austell - St Austell
- 32 M2
- 2 personas
- Calefacción
- Terraza
- Parking
- Jardín
57 reseñas


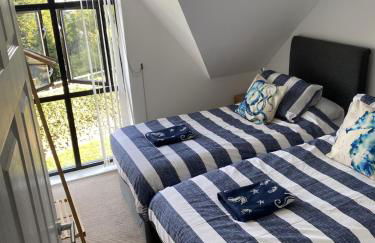


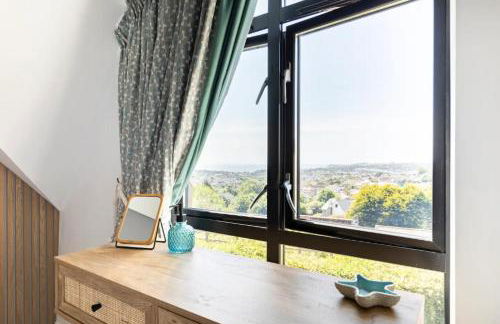
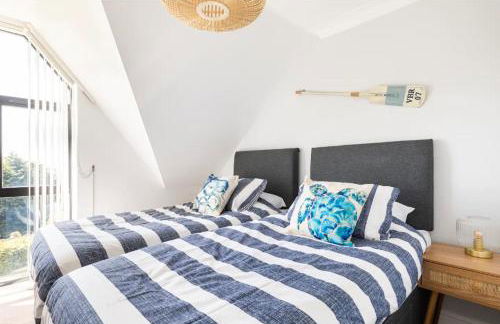
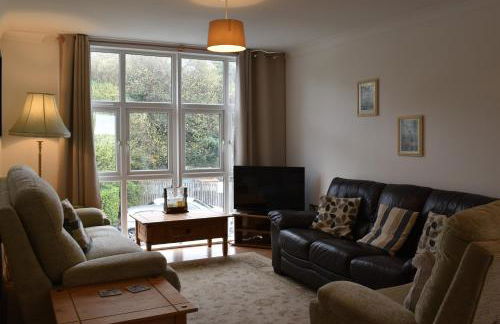
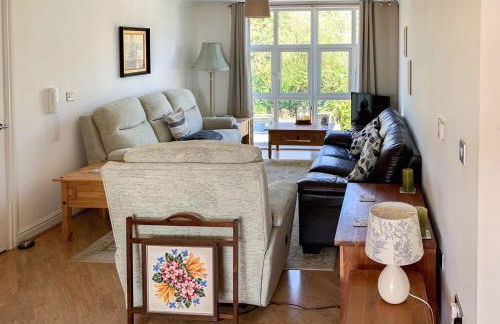
5 mins from the Eden Project Baybreeze Holiday Apartment, Sea Views, Super Kingsize Beds
St Austell - St Austell
- 69 M2
- 2 habitaciones
- 4 personas
- Calefacción
- Terraza
- Parking
- Jardín
28 reseñas
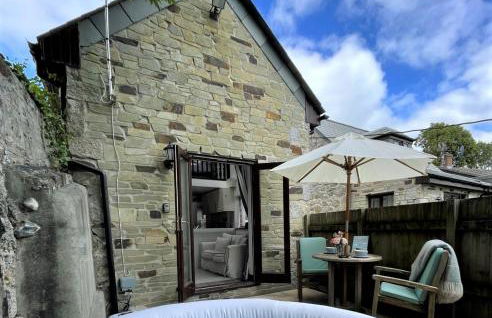
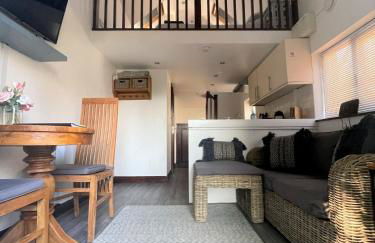
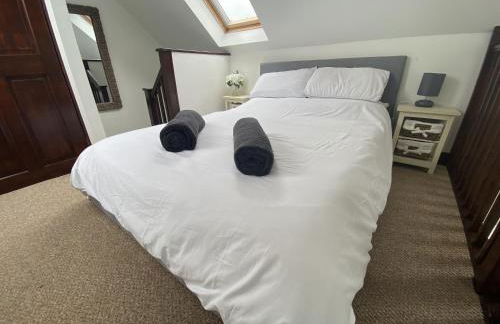
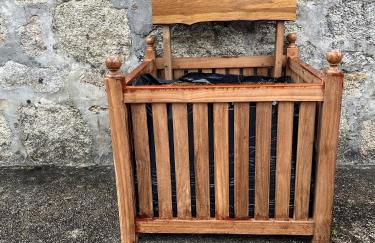

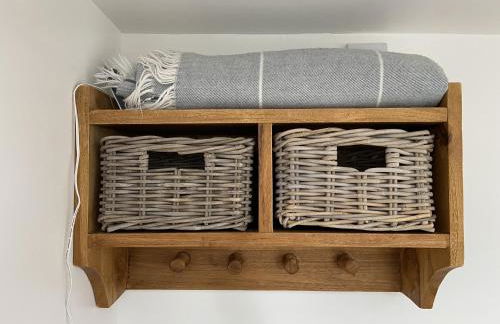
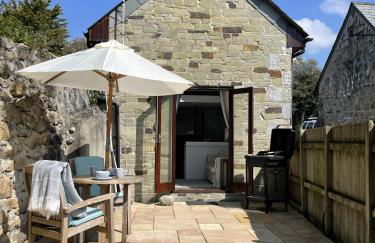
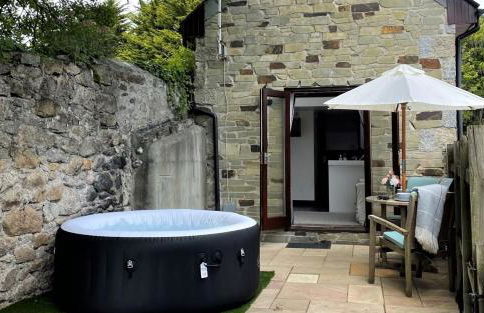
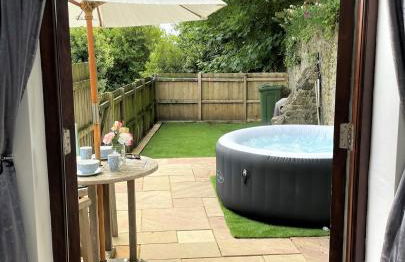
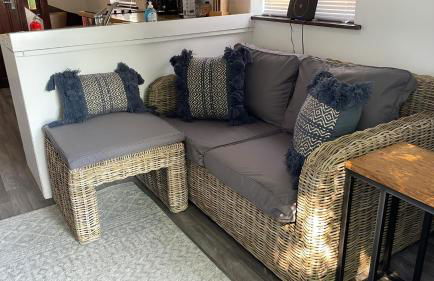
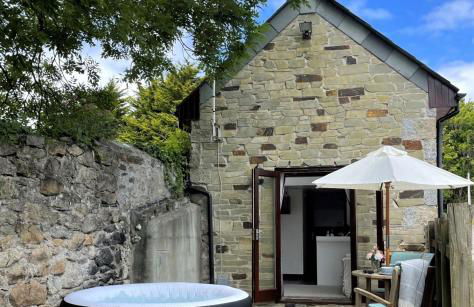
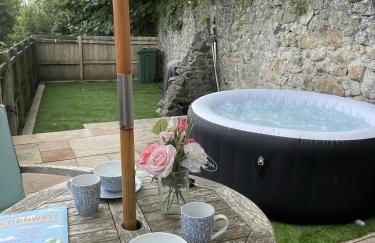
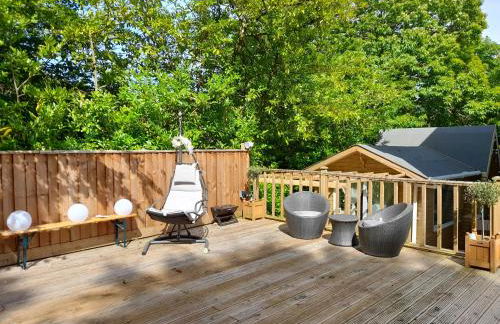
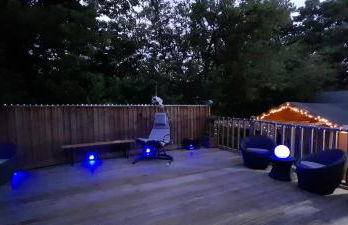
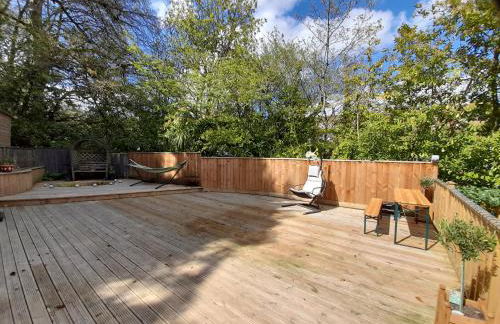
The Stables - Detached Cottage with Private Garden & Hot Tub
St Austell - St Austell
- 28 M2
- 2 personas
- Calefacción
- Terraza
- Parking
- Jardín
23 reseñas


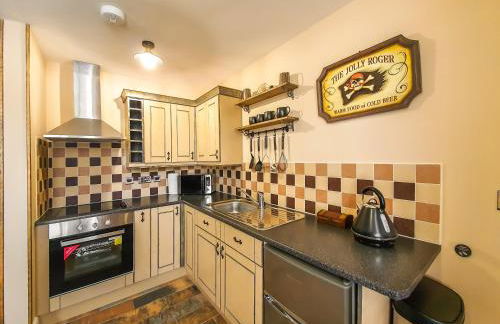
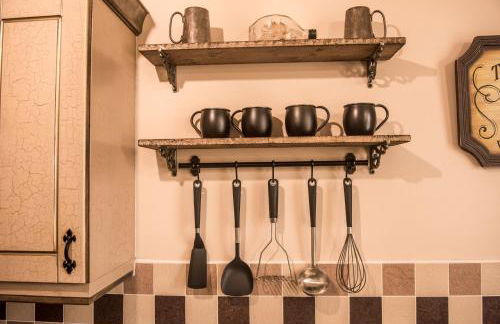
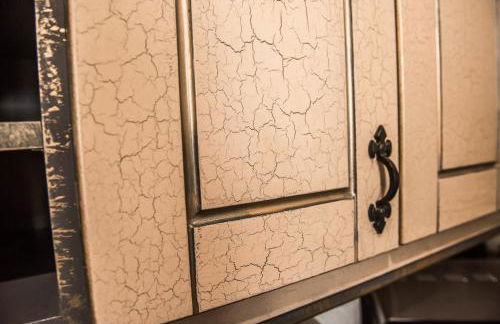
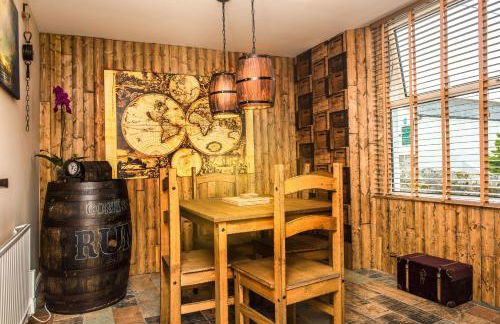
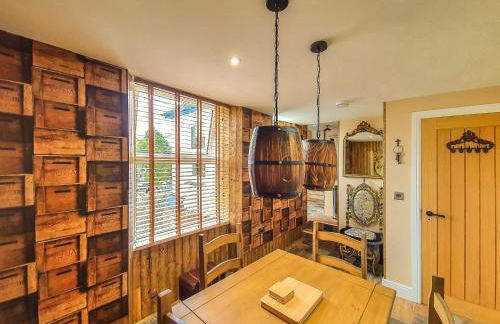
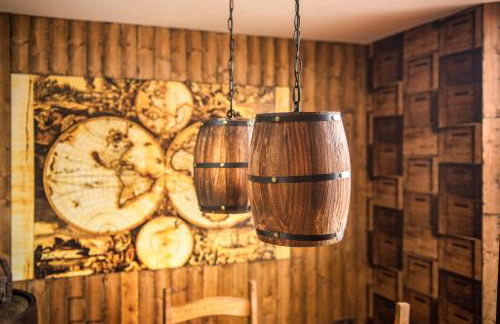


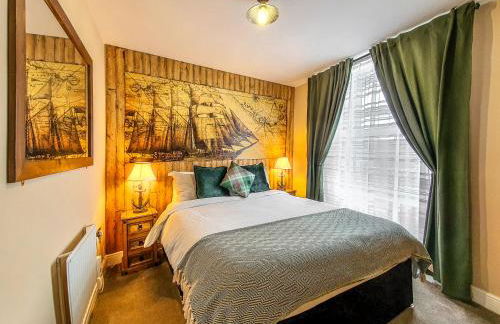
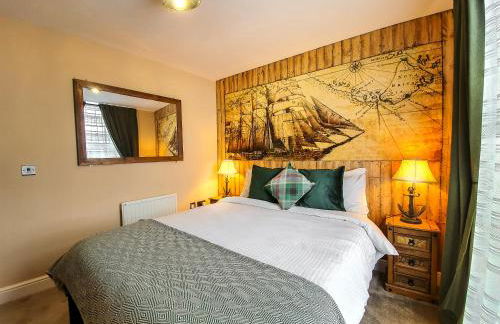

Deluxe Pirate's Cove Themed Apartment
St Austell - St Austell
- 39 M2
- 2 personas
- Calefacción
- Parking
68 reseñas


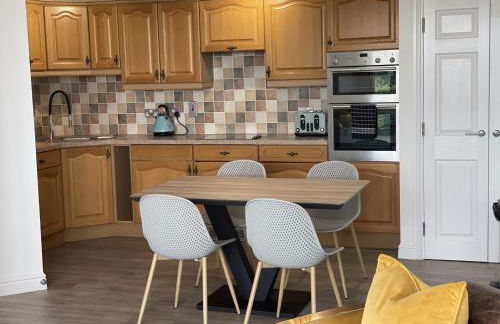
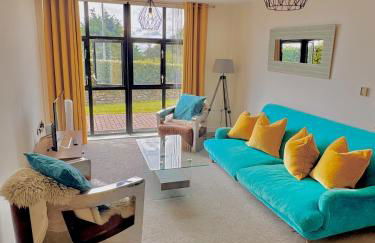

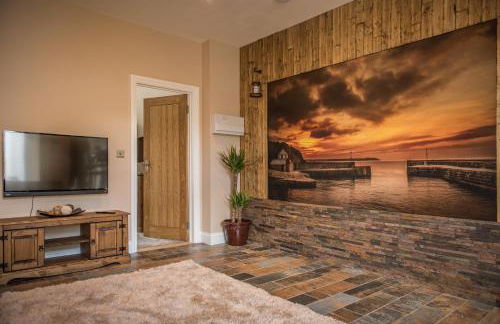
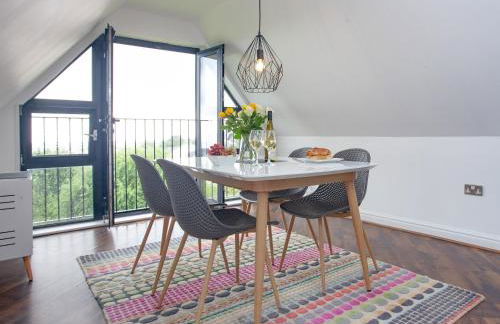
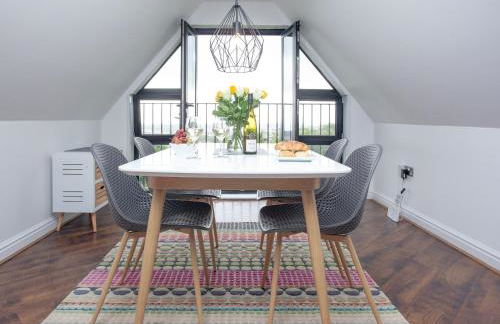
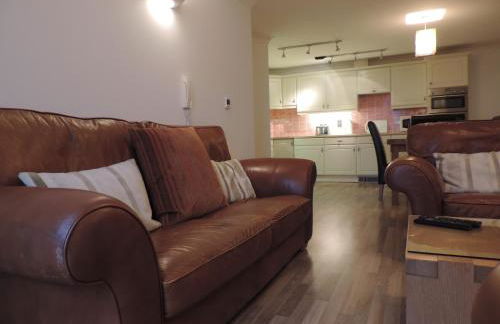
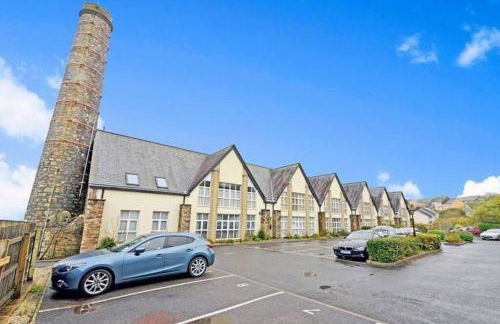
Pochin House Collections
St Austell - St Austell
- 141 M2
- 2 habitaciones
- 6 personas
- Calefacción
- Parking
173 reseñas