
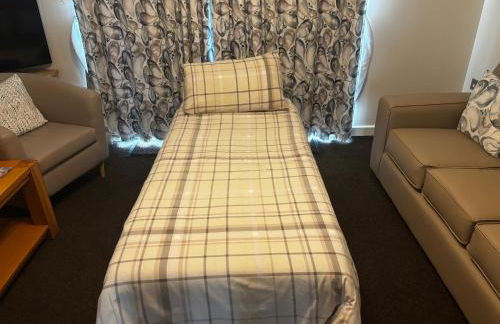
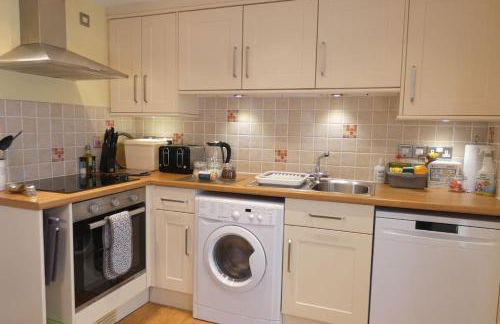
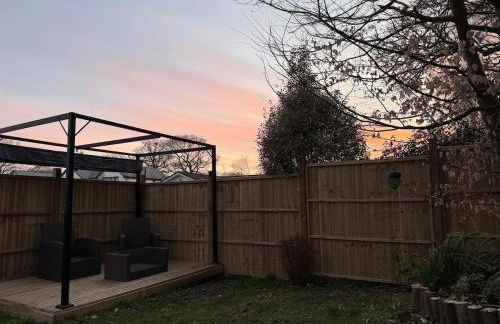
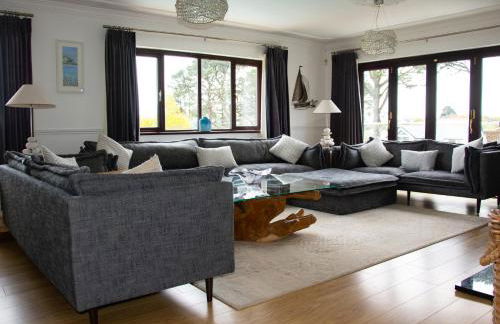
448 Apartamentos en St Austell


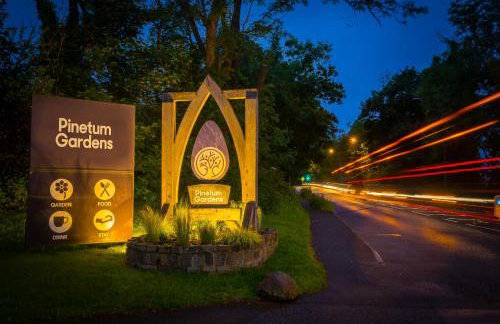


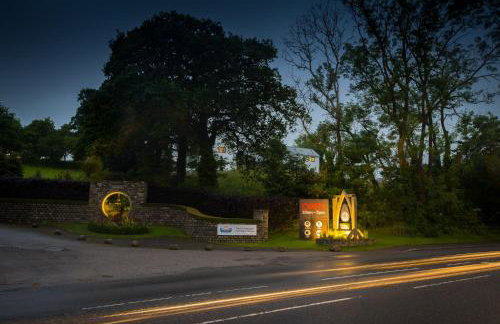


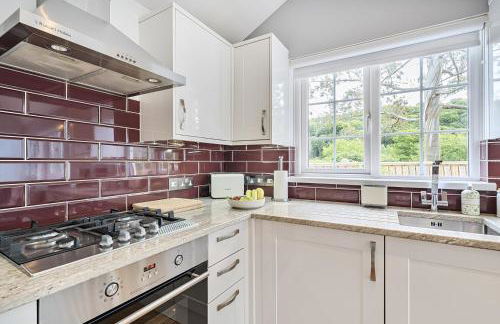
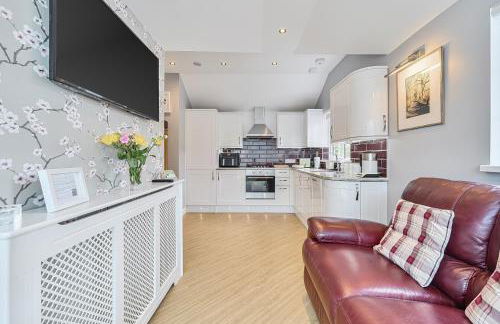
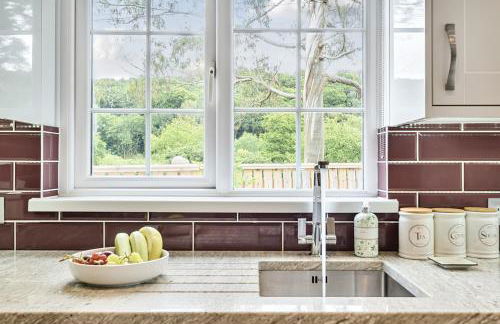
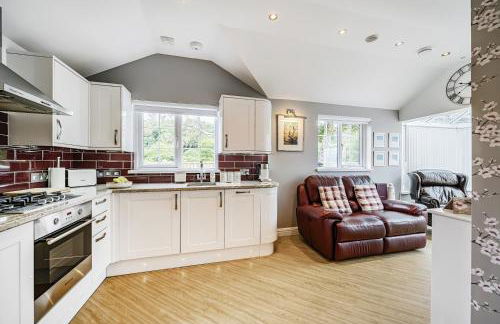
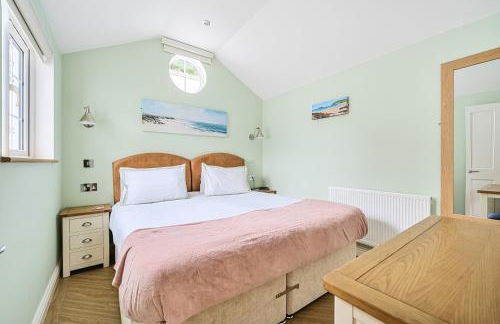
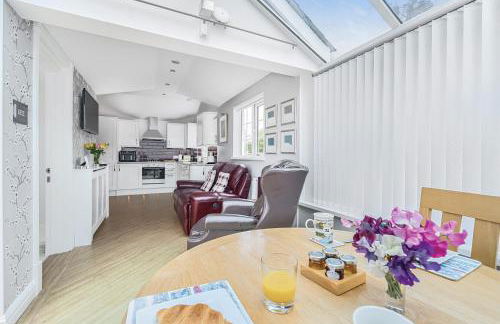
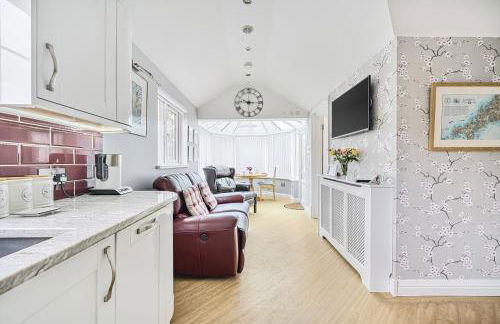
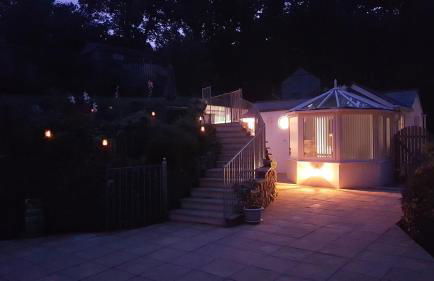
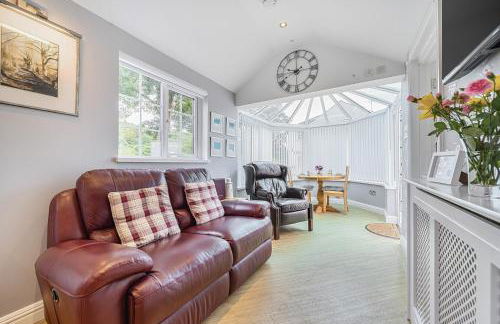
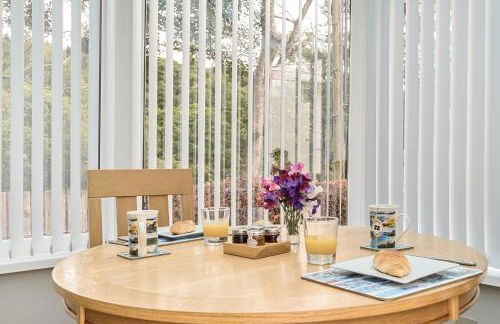
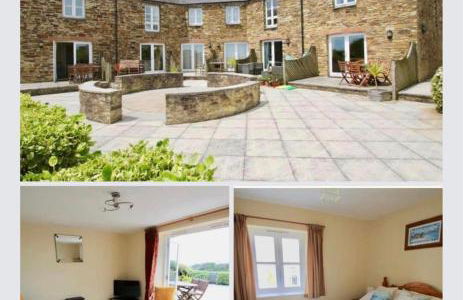
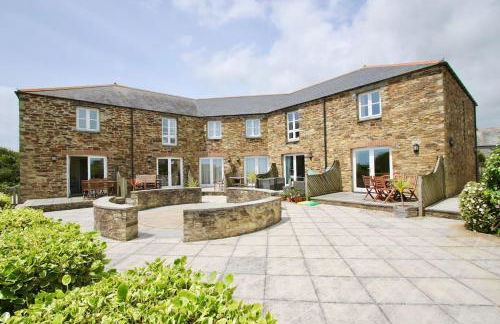
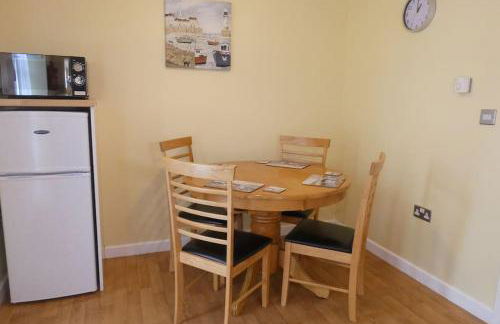
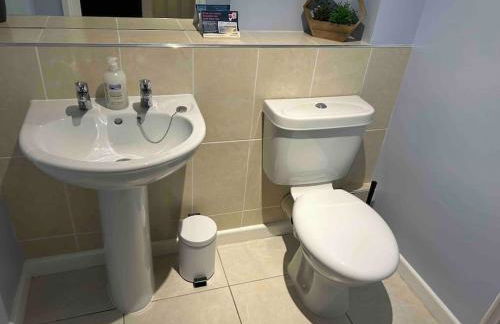
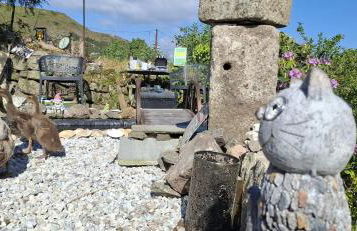
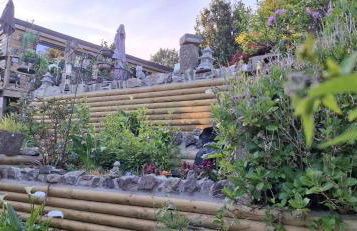
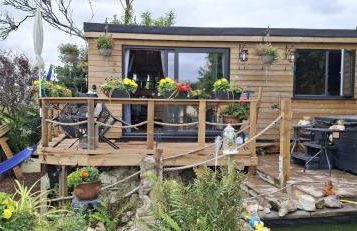
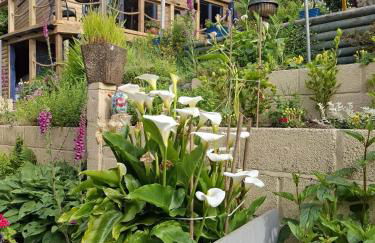
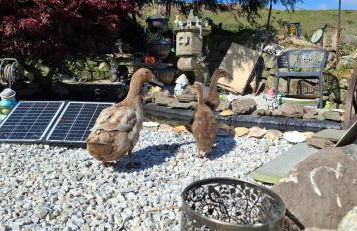
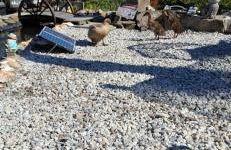
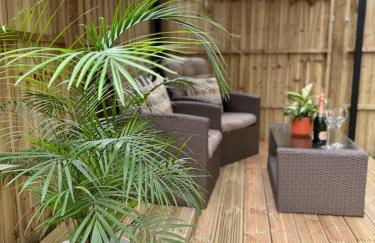
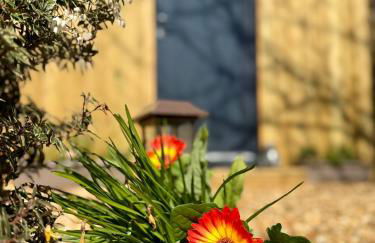
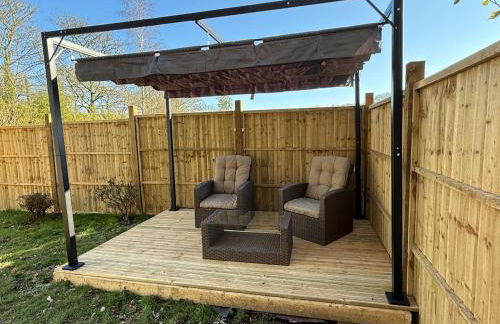
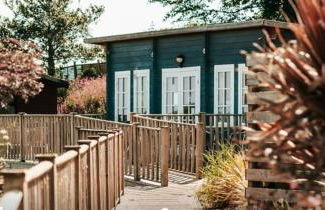
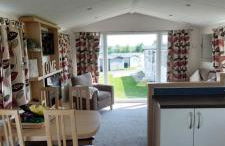
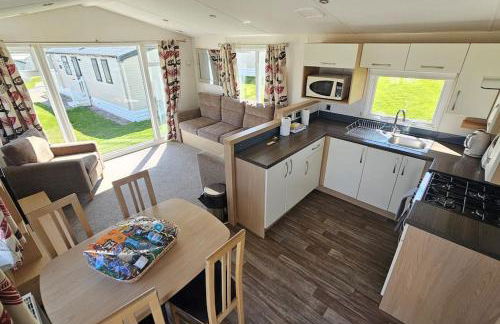
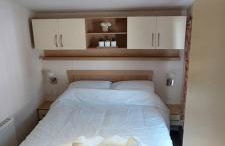
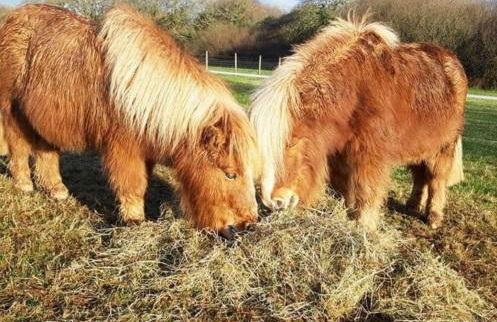
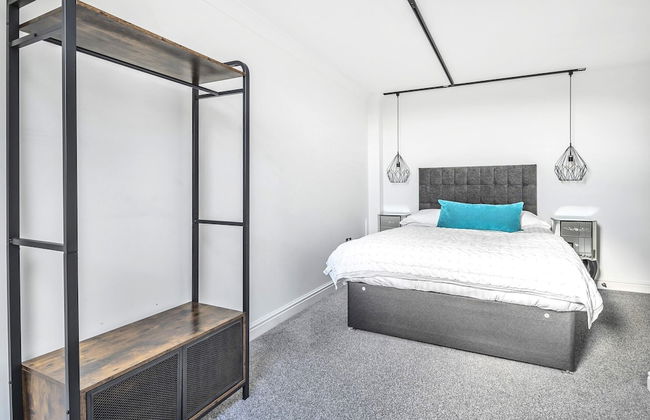
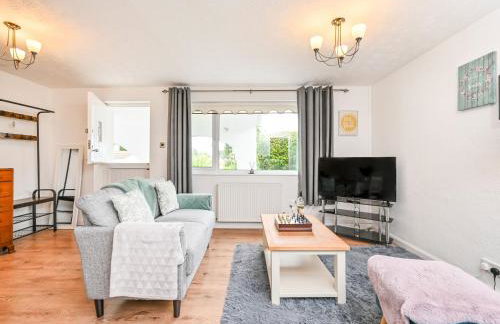
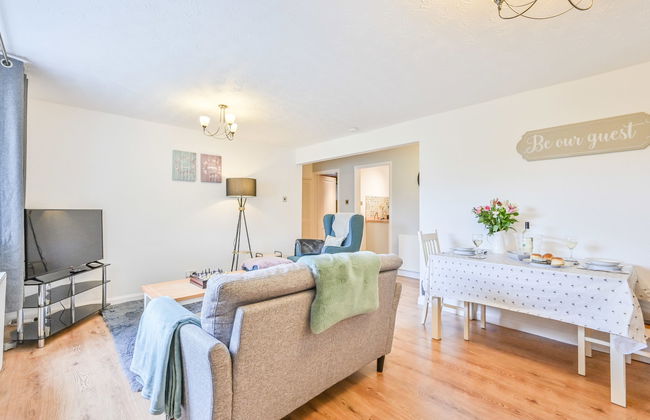
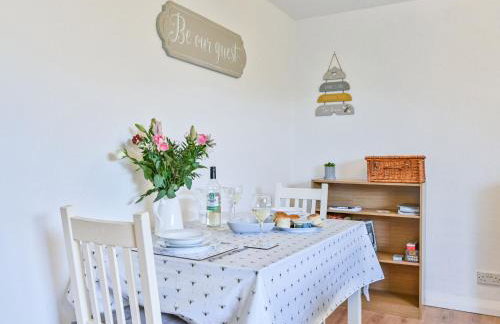
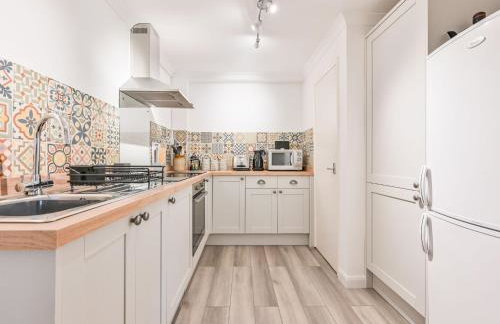
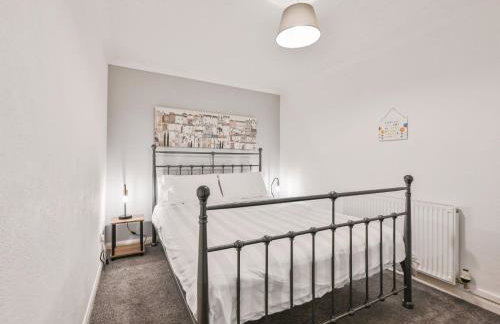
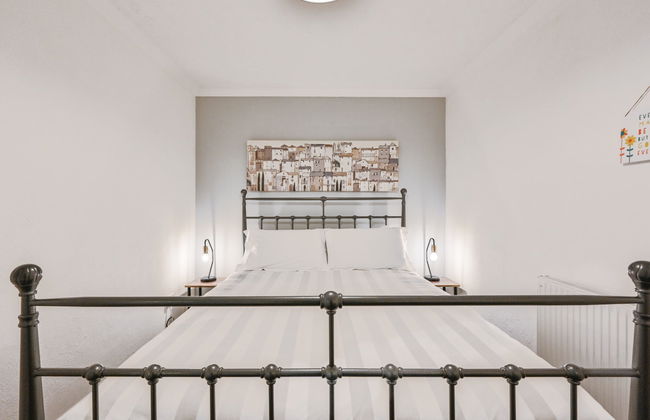
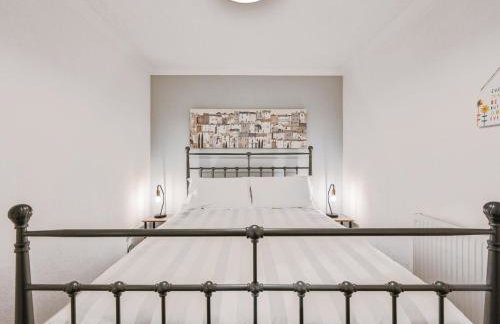
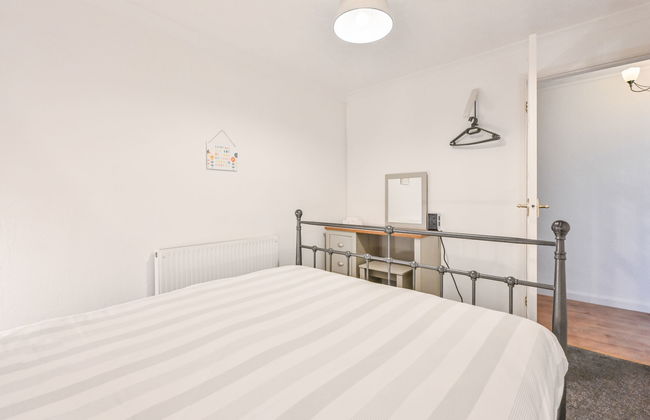
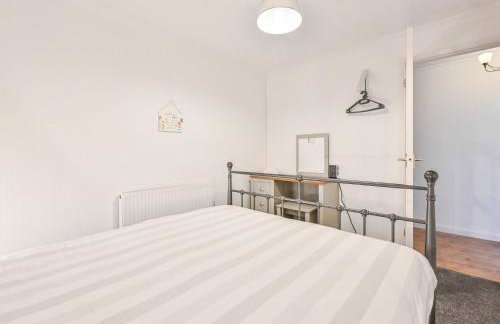
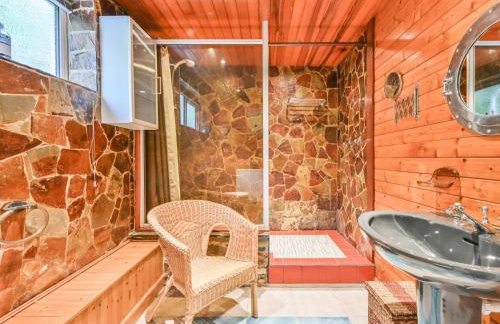
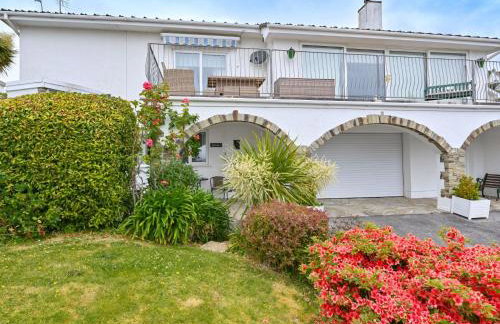
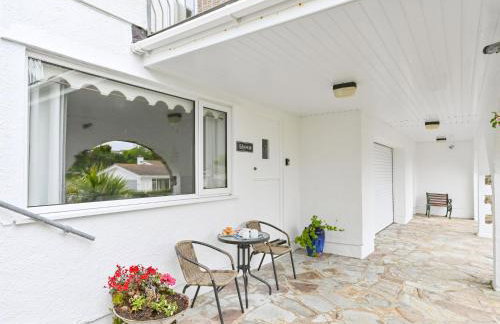
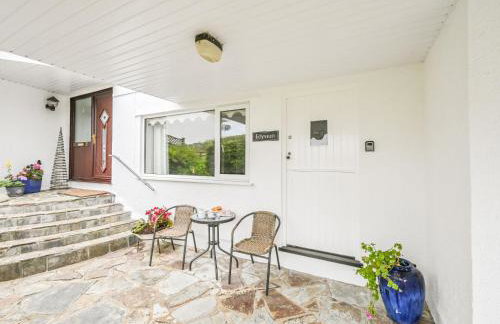
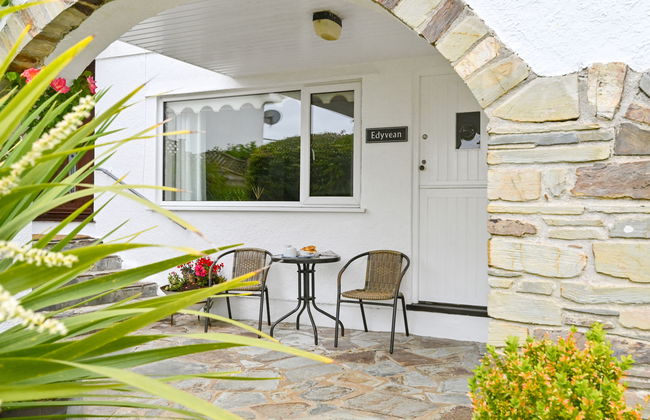
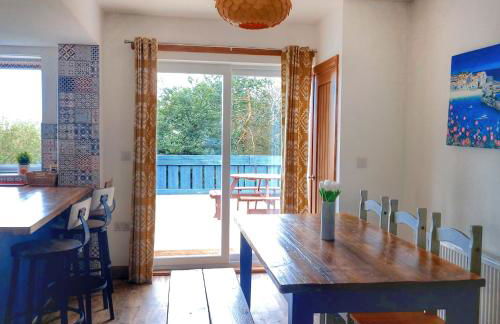
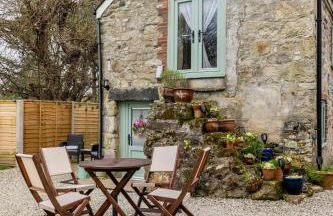
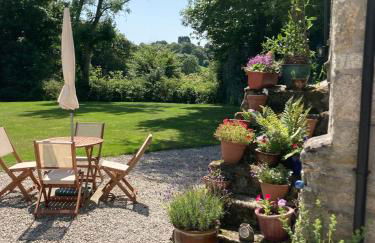
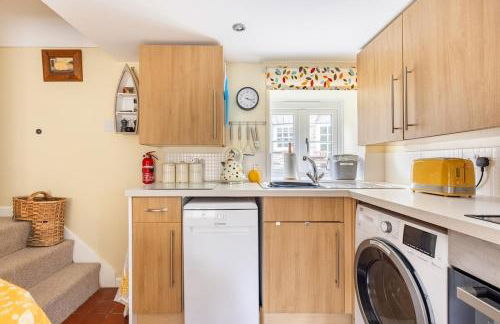
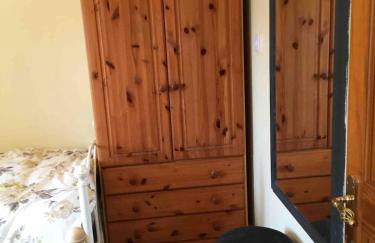
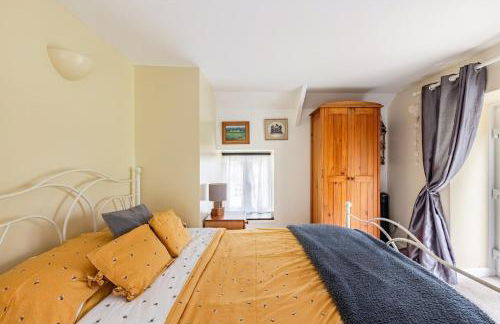
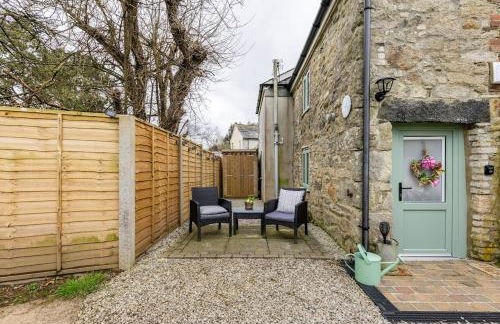
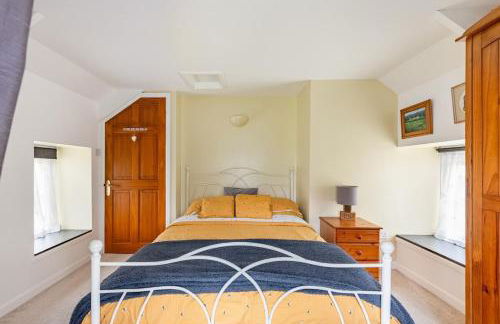
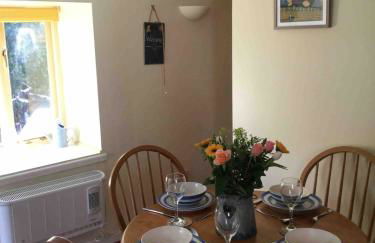
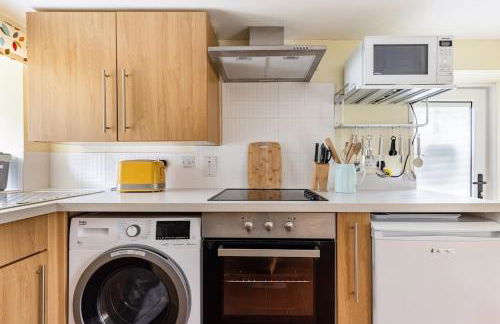
Pinetum Garden Cottages
St Austell - Holmbush
- 70 M2
- 2 habitaciones
- 6 personas
- Cocina pequeña
- Calefacción
- Terraza
- Parking
- Jardín
- Televisión
- Toallas
- Sábanas
1385 reseñas
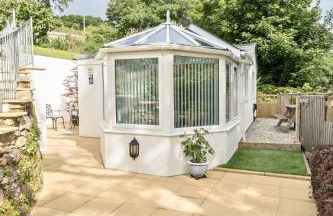
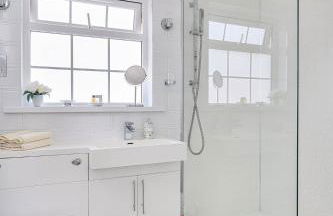

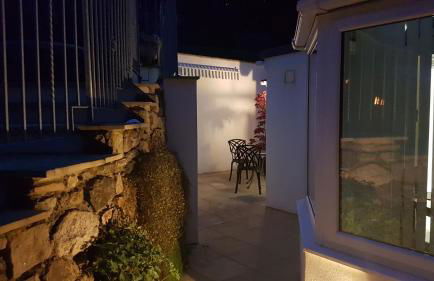


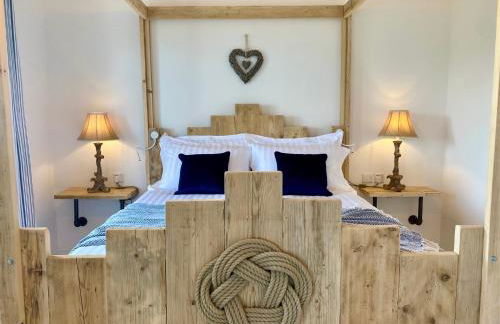
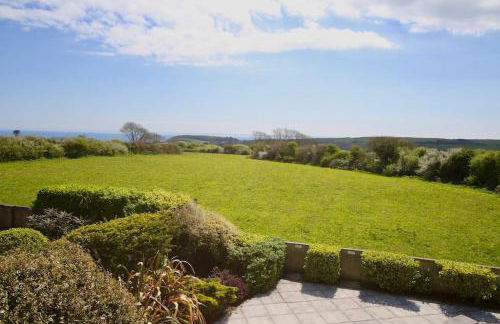
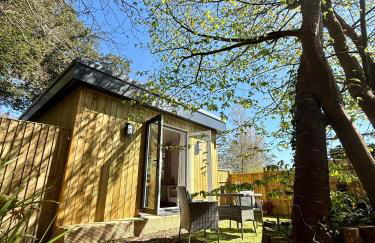
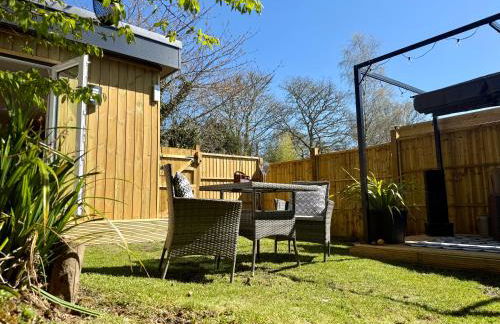
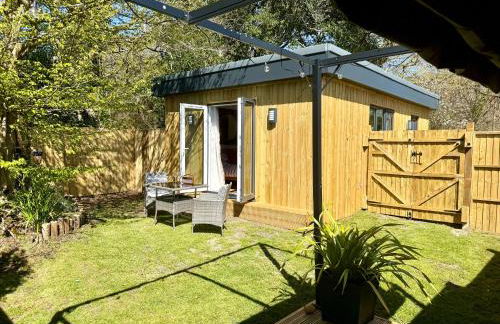
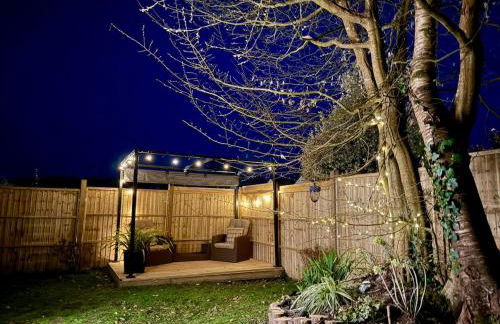
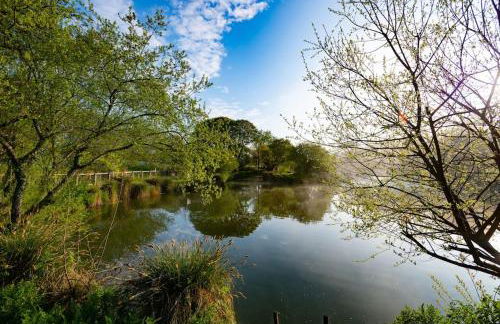
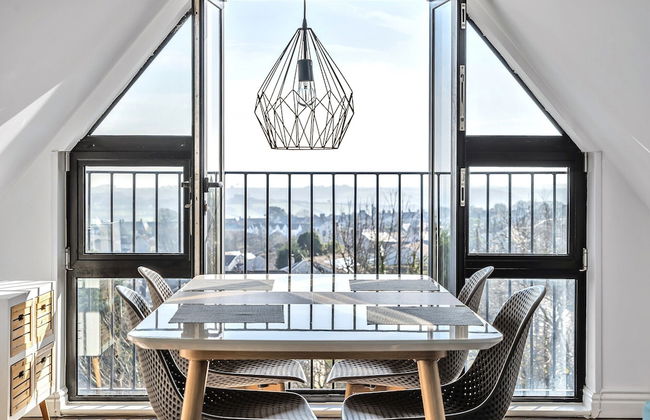
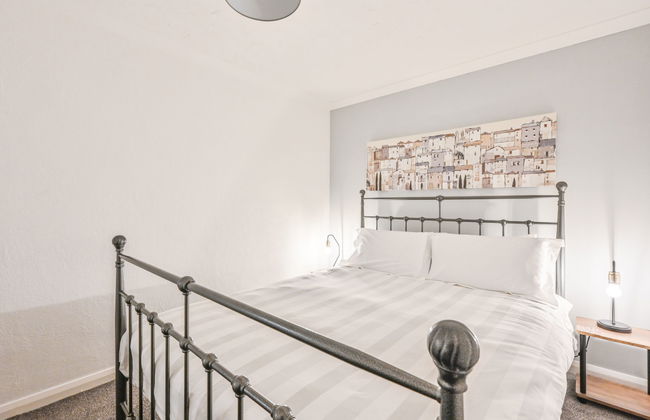
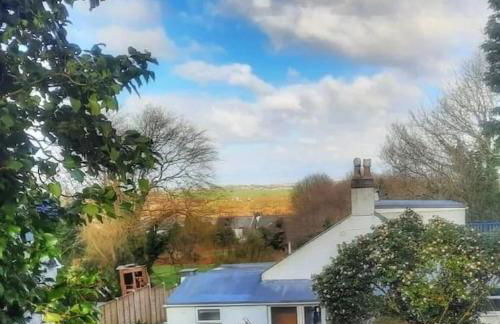
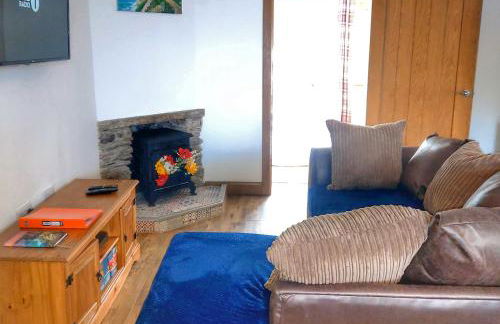
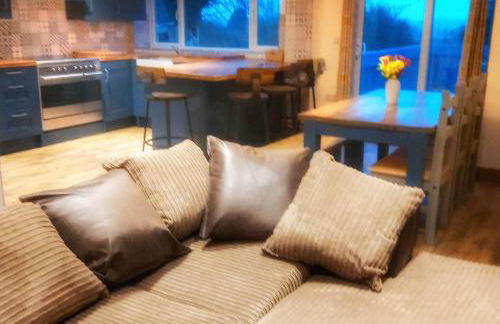
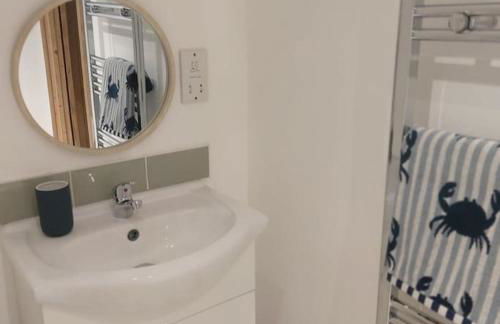
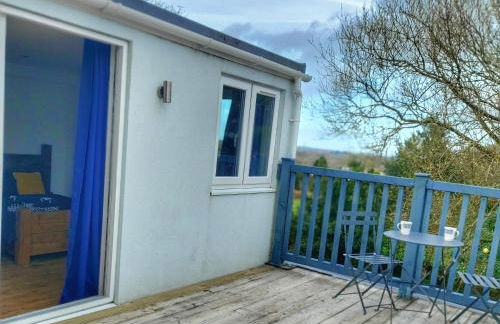
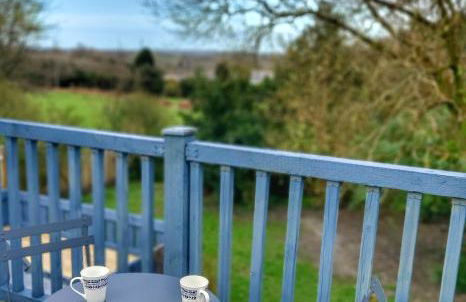
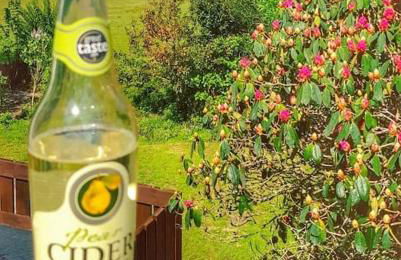
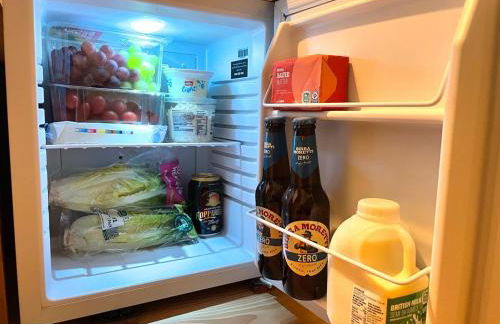
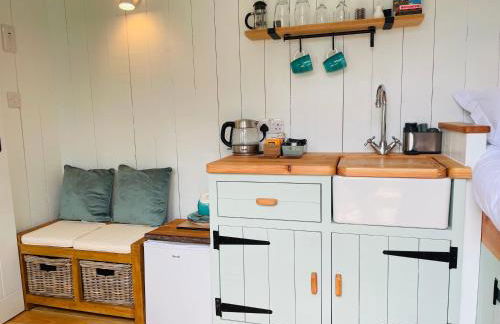
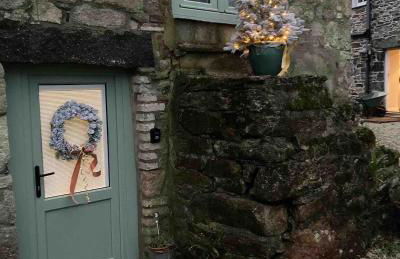
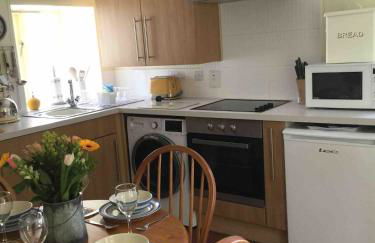
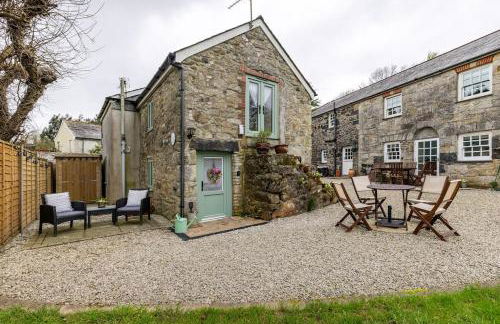
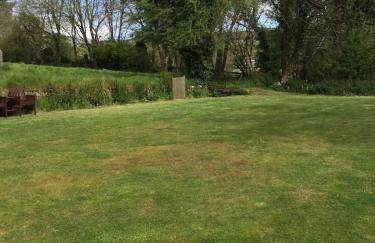
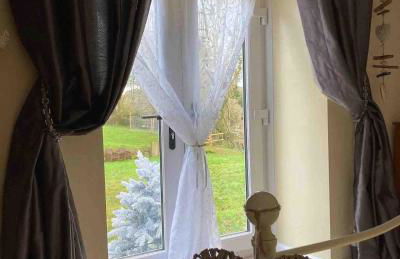
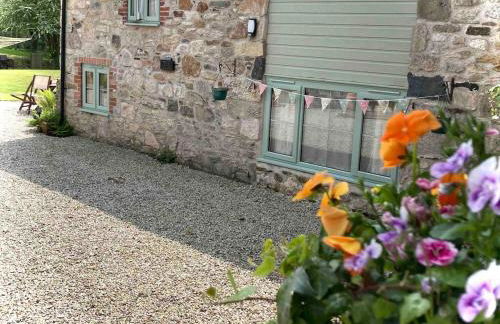
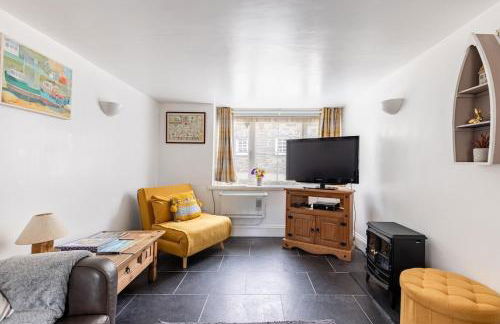
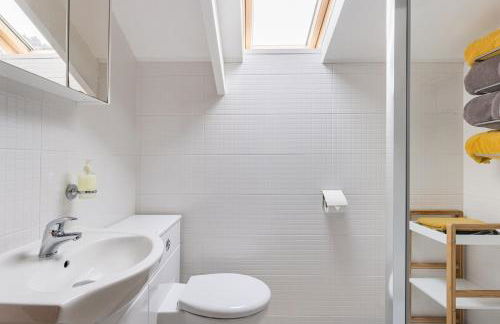
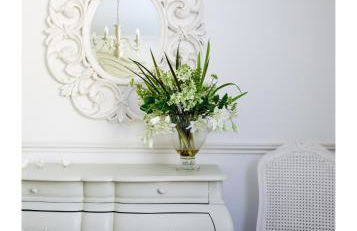
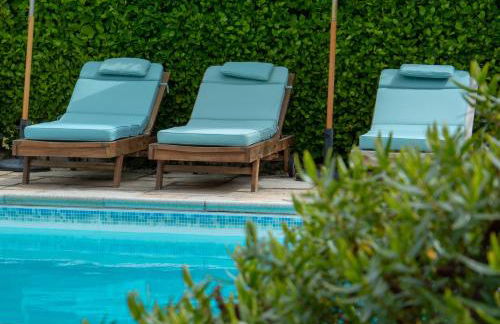
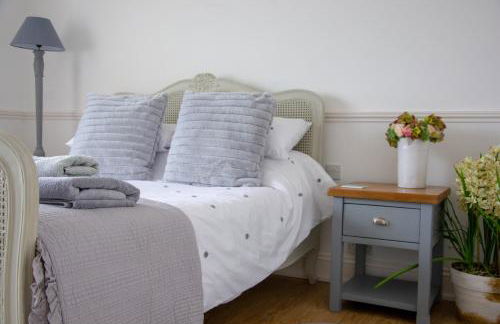
Luxury Cottage with Valley Views A Peaceful Couples Retreat
St Austell - Polgooth
- 50 M2
- 1 habitación
- 2 personas
- Calefacción
- Terraza
- Parking
- Jardín
19 reseñas
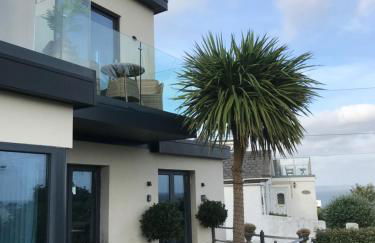
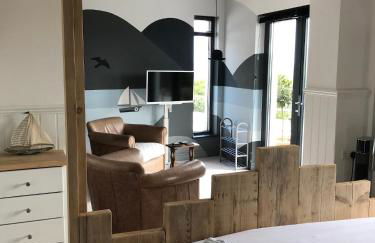
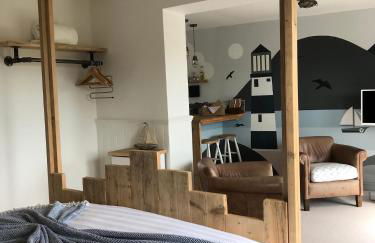
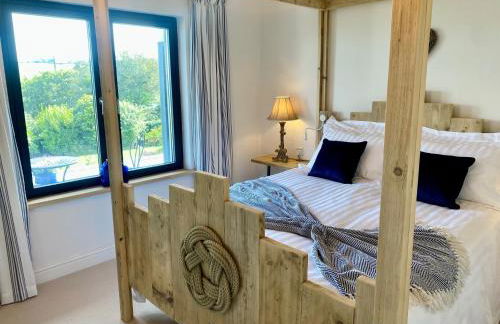
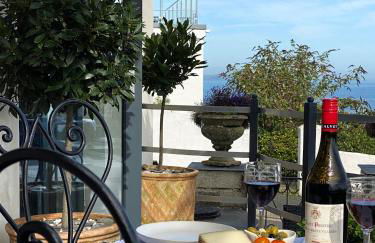
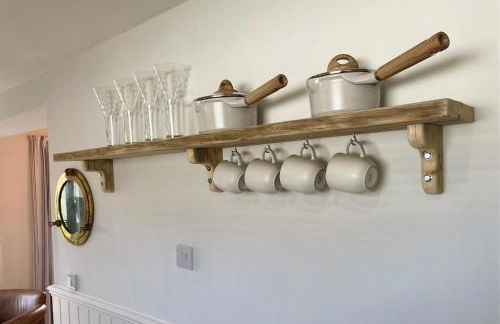
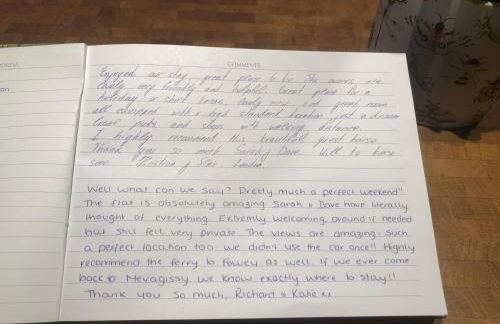

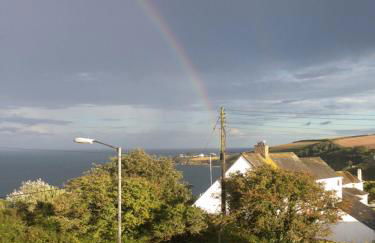
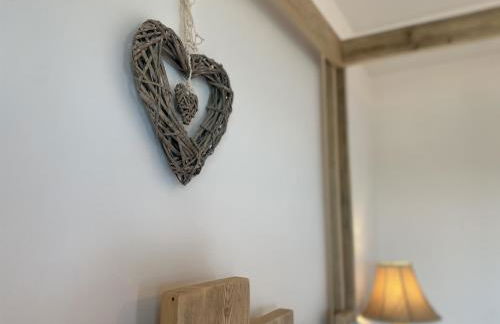


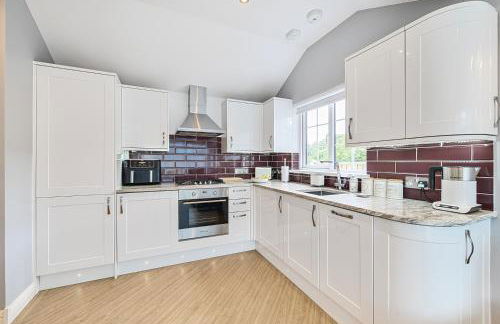
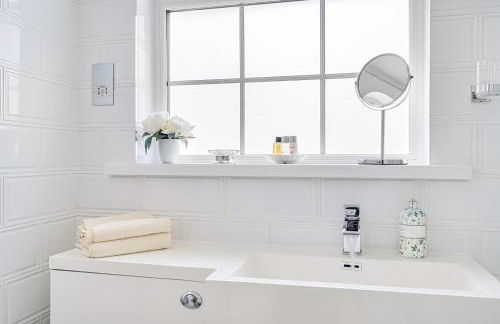
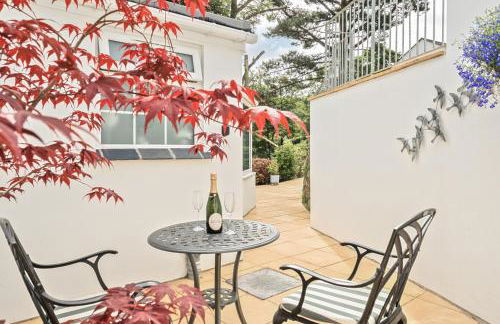
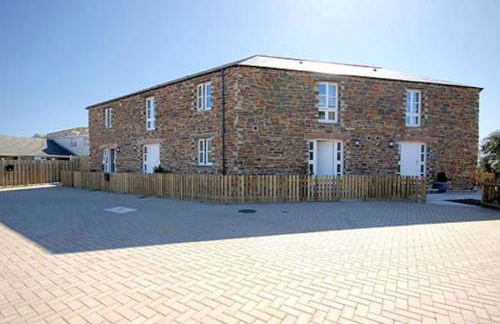
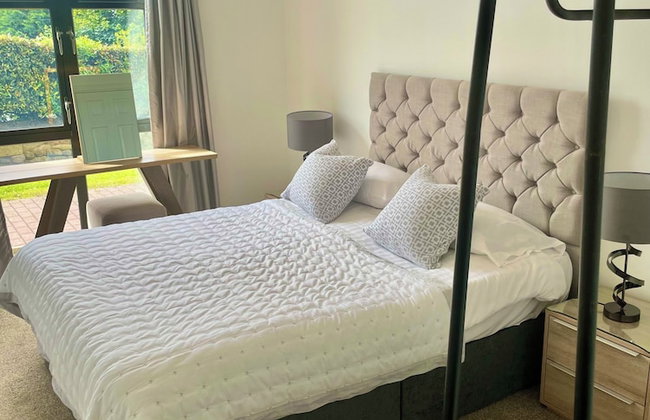
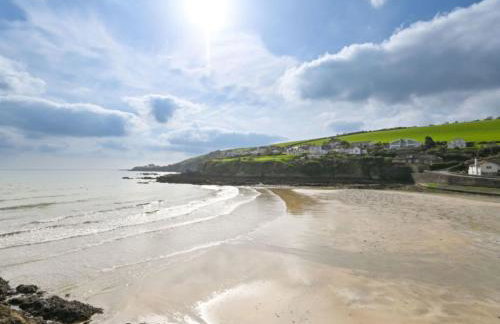
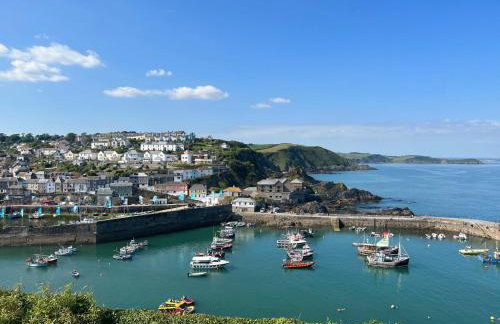
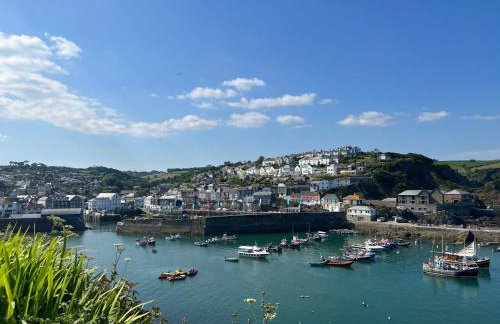
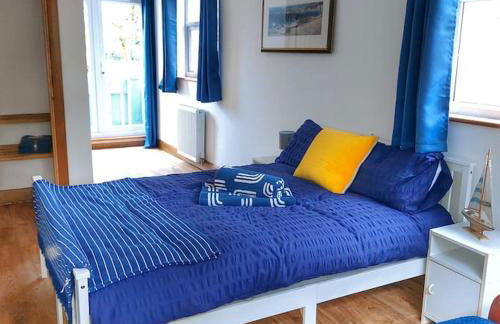
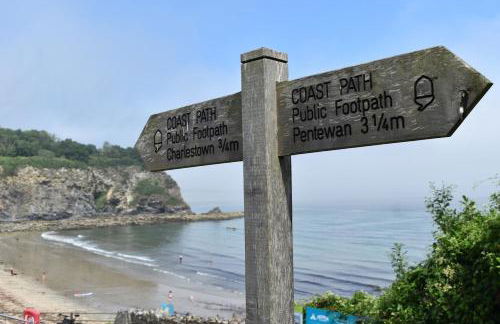
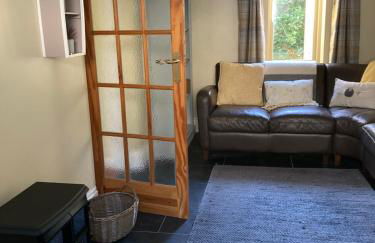
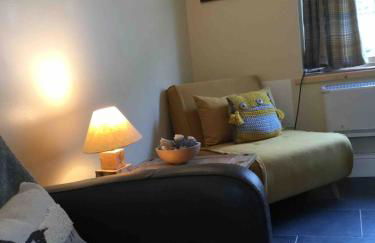
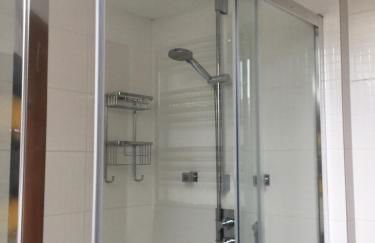
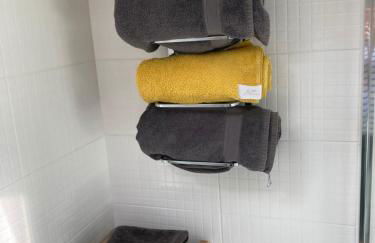
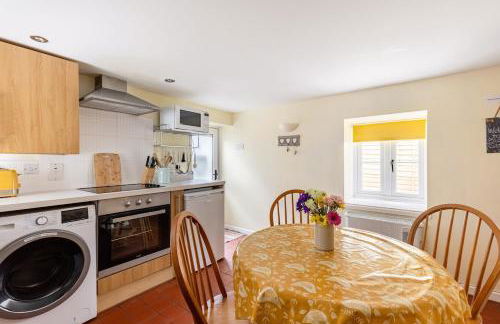
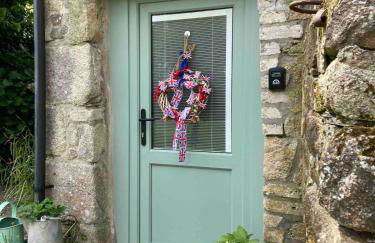
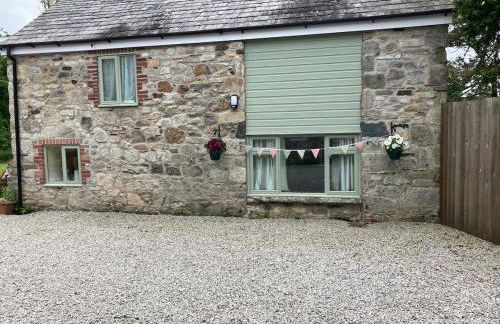
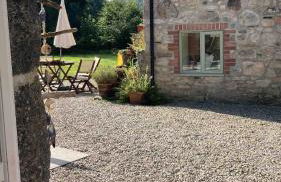
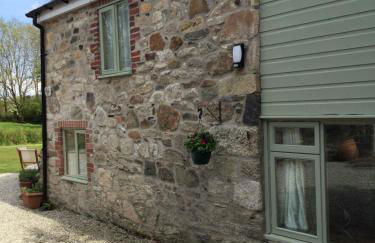
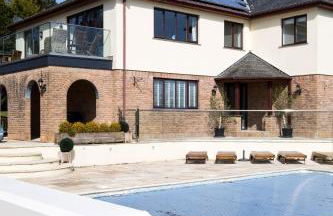
Mevagissey Boutique Flatlet with sea and countryside views
St Austell - Mevagissey
- 30 M2
- 2 personas
- Calefacción
- Terraza
- Parking
- Jardín
94 reseñas


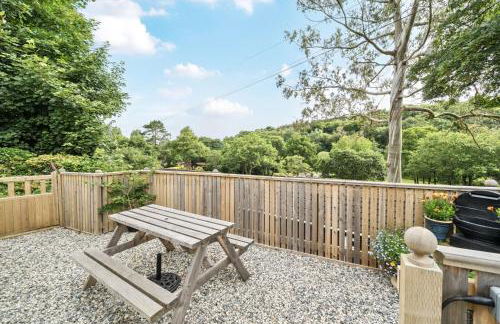
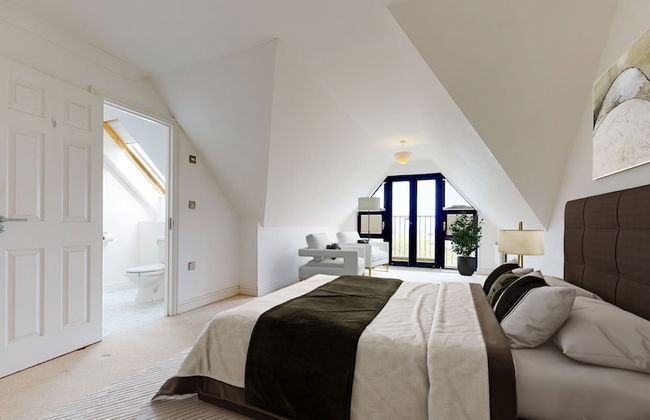
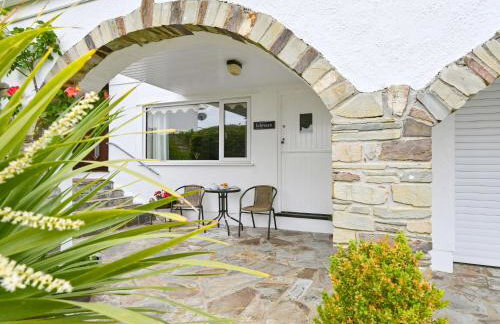
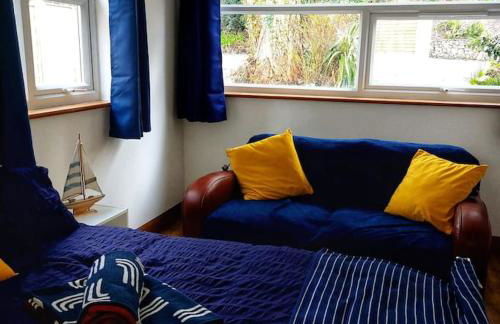
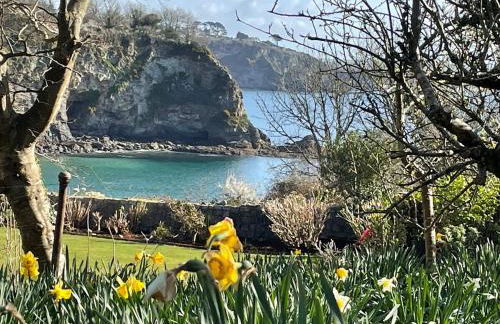
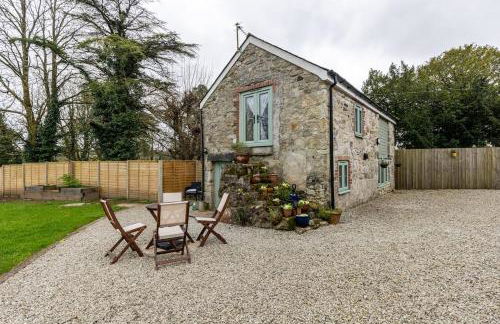
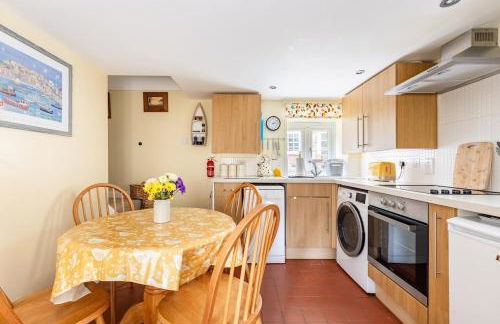
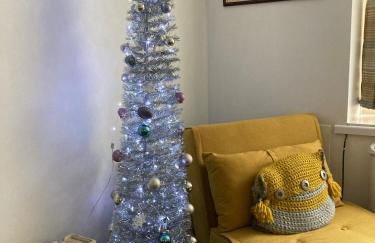
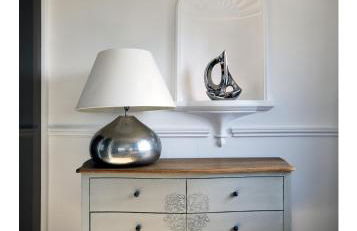
Two Bedroomed Holiday Cottage with Sea Views
St Austell - Gorran
- 1 M2
- 2 habitaciones
- 5 personas
- Calefacción
- Terraza
- Parking
28 reseñas


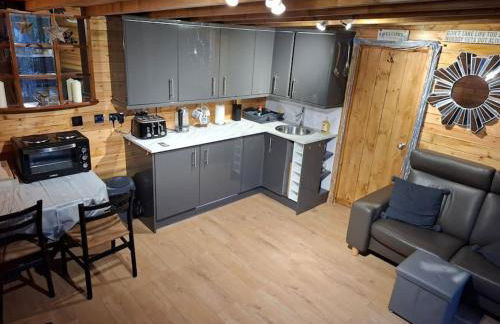
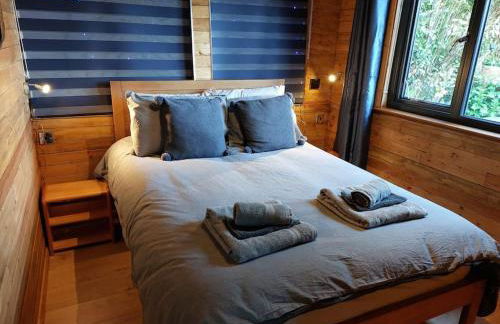


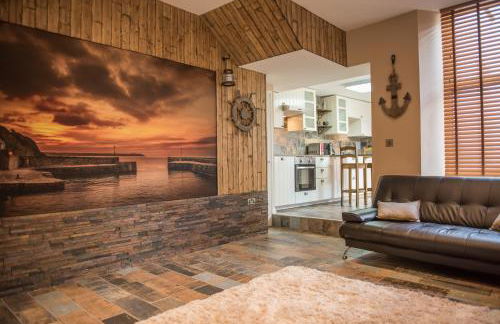


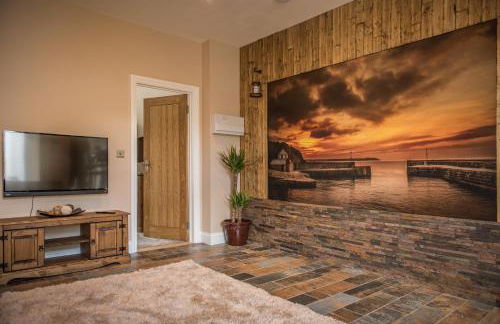

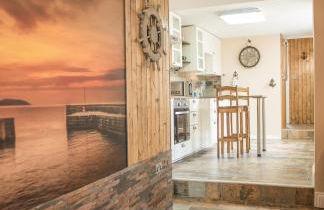
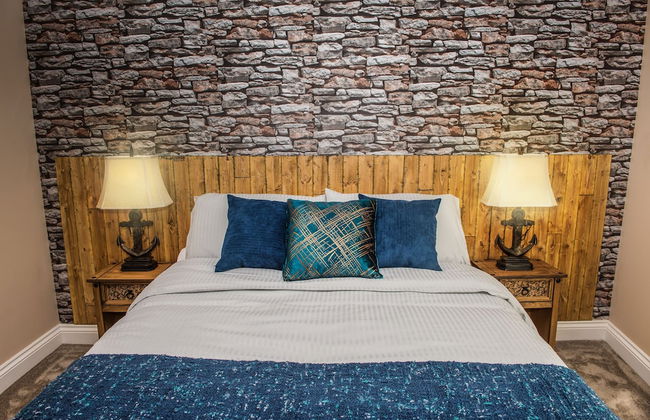
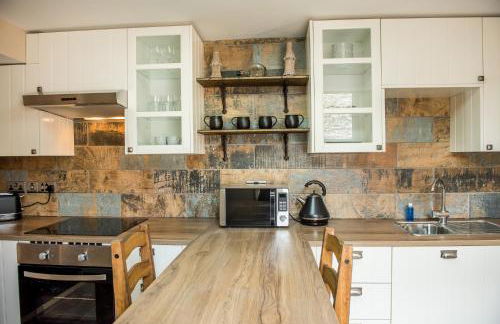


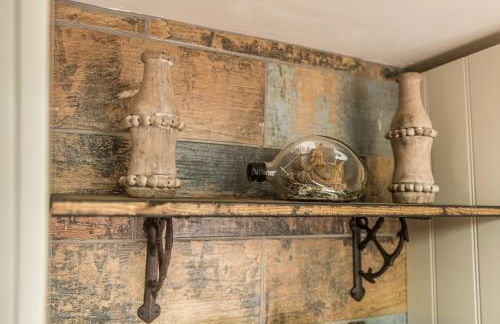

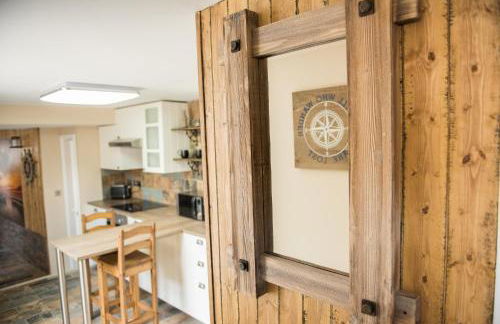

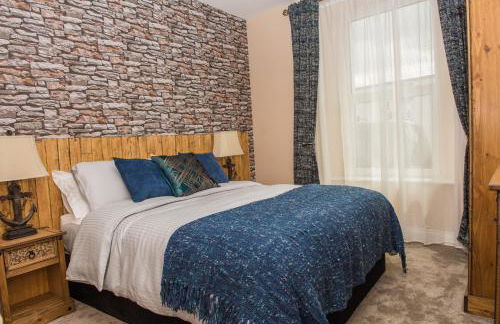

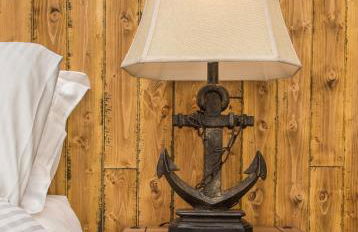

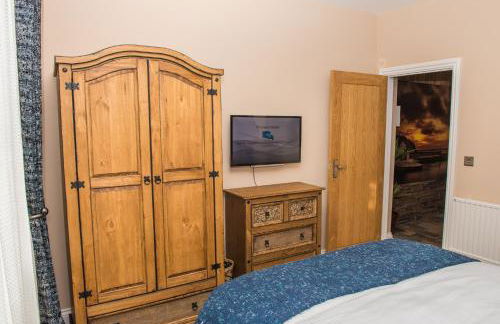

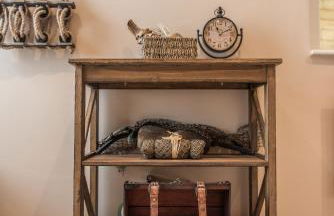

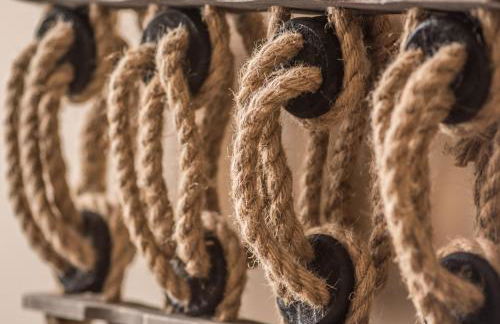


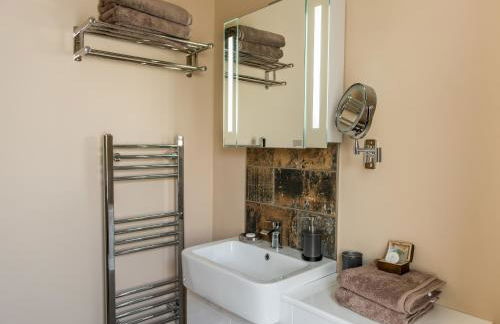


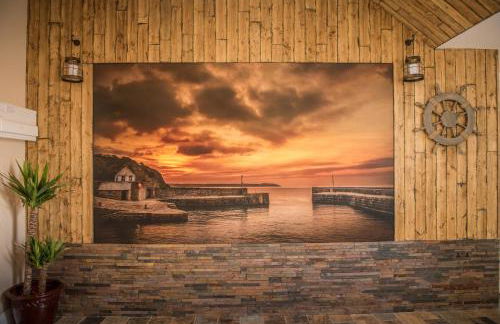


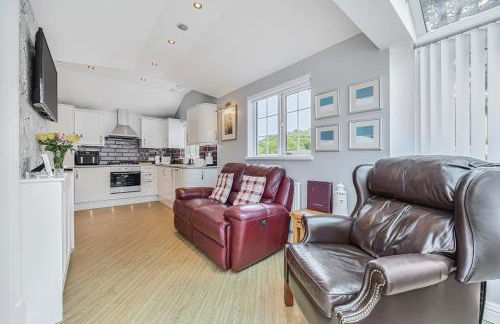
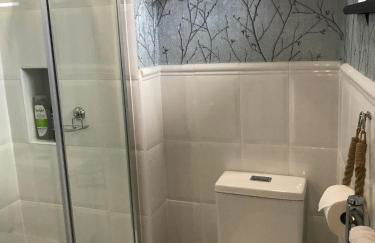
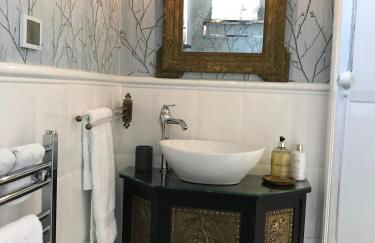
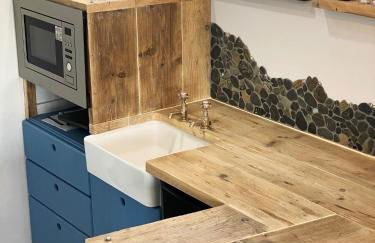
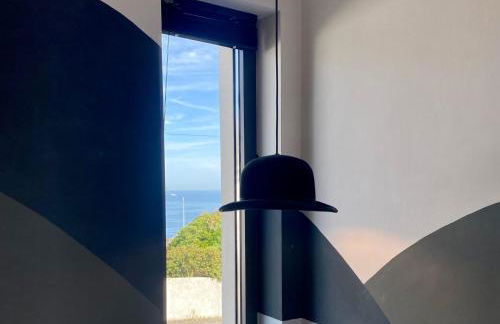
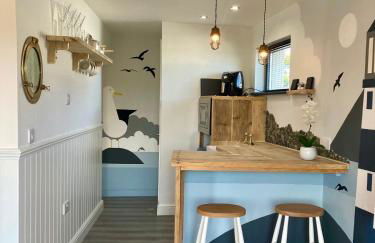
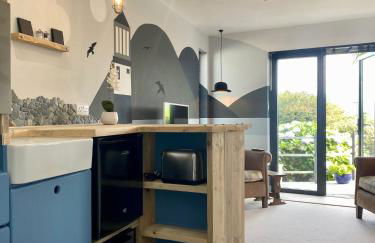
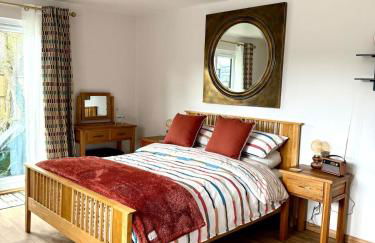
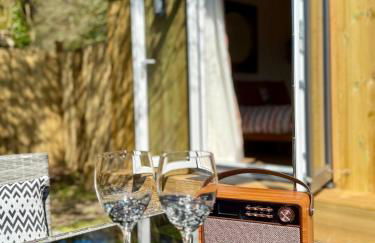
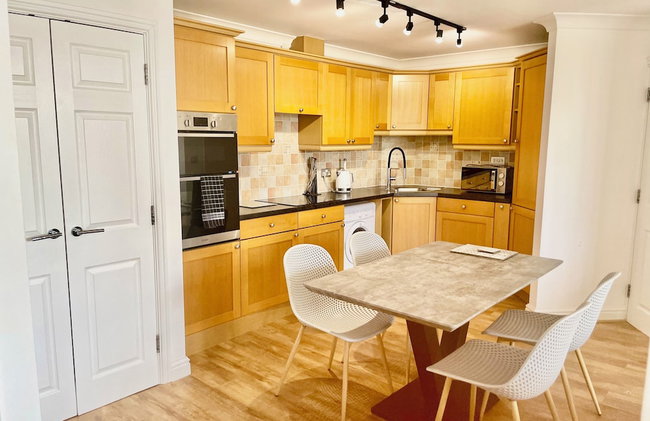
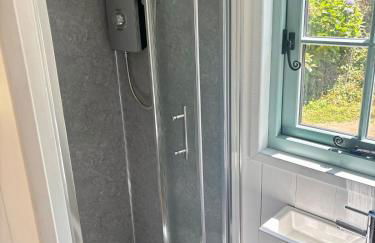
Deluxe Rustic Charlestown Themed Apartment
St Austell - St Austell
- 39 M2
- 1 habitación
- 2 personas
- Calefacción
- Parking
97 reseñas


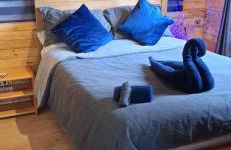
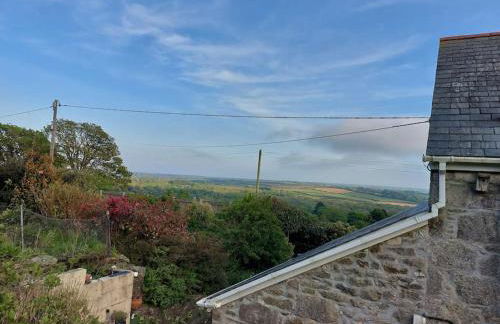
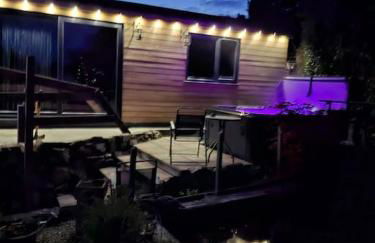
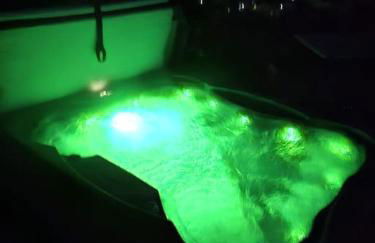
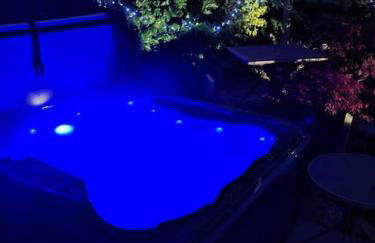
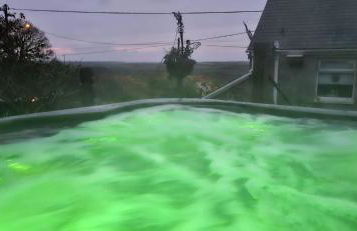
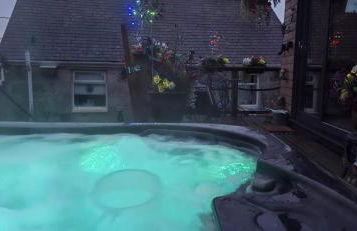
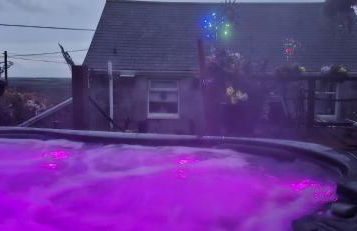
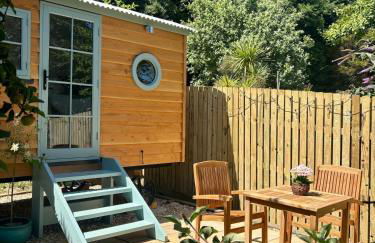
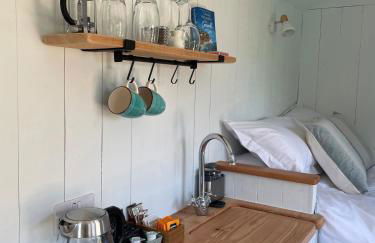
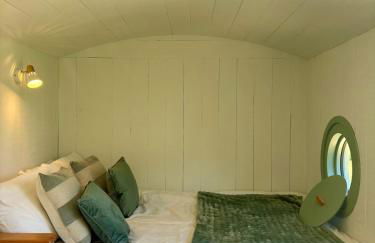
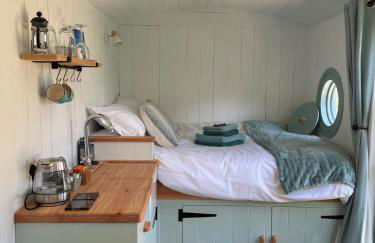
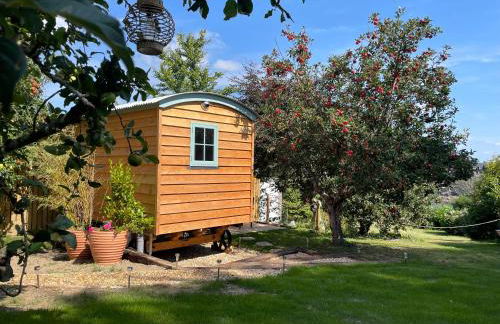
Glamping Pod in St Austell, Sleeps 2 With Spa Pool
St Austell - Bugle
- 2 personas
- Calefacción
- Piscina
- Parking
- Jardín
- Lavadora
- Chimenea
- Toallas
- Sábanas
7 reseñas


Stunning Yacht Sea Lion in Charlestown Harbour, Cornwall
St Austell - Charlestown
- 19 M2
- 4 habitaciones
- 8 personas
- Calefacción
- Terraza
- Parking
27 reseñas


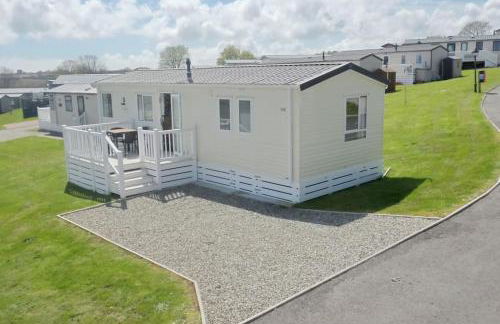
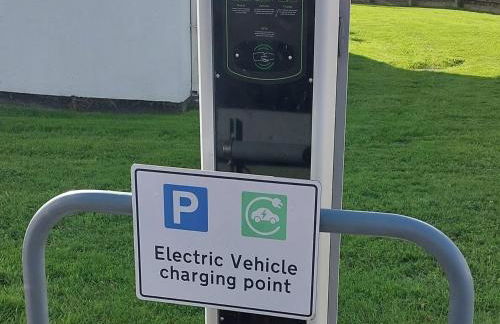
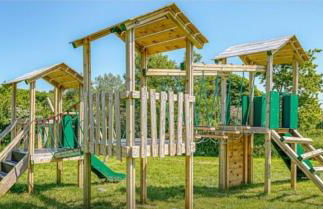


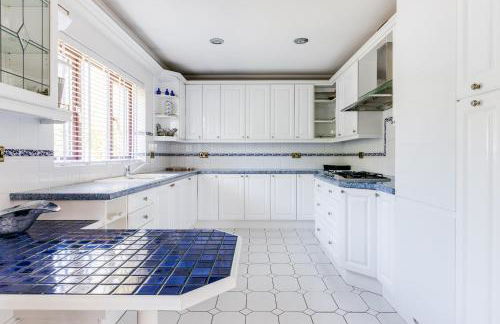
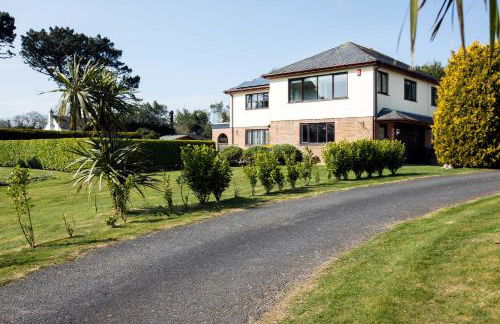
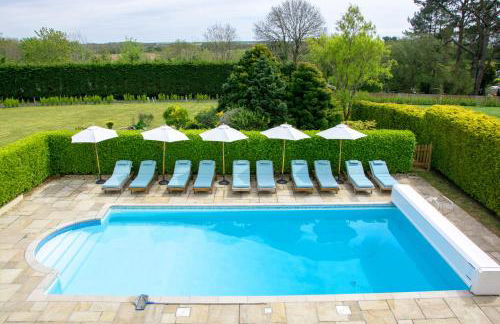
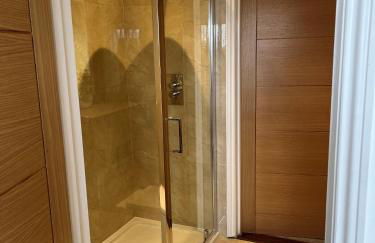
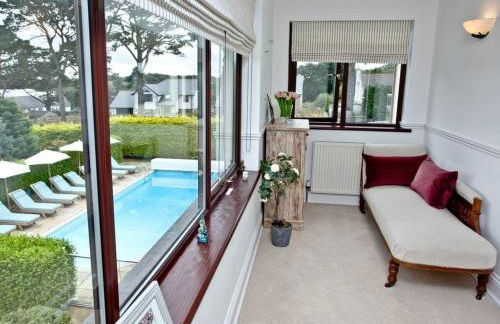
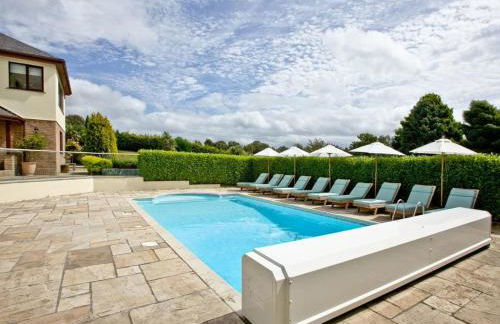
Holiday Home - St Austell
St Austell - Hewas Water
- 384 M2
- 2 habitaciones
- 4 personas
- Terraza
- Piscina
- Parking
41 reseñas


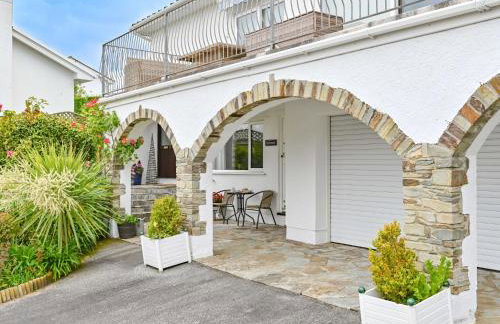
Holm Cottage near Charlestown
St Austell - Holmbush
- 45 M2
- 2 personas
- Calefacción
- Terraza
- Parking
- Jardín
10 reseñas


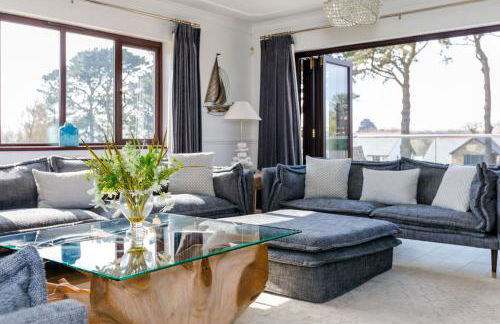
Pochin House Collections
St Austell - St Austell
- 141 M2
- 6 personas
- Calefacción
- Parking
- Televisión
- Lavadora
- Toallas
- Sábanas
35 reseñas


Apartment Rock Pools by Interhome
St Austell - Mevagissey
- 1 M2
- 1 habitación
- 2 personas
- Calefacción
- Terraza
- Parking
- Jardín
- Televisión
- Lavadora
- Sábanas
7 reseñas


Heart of Kernow Holidays
St Austell - Bugle
- 100 M2
- 4 habitaciones
- 9 personas
- Terraza
- Parking
- Jardín
17 reseñas


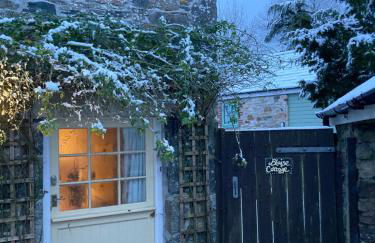
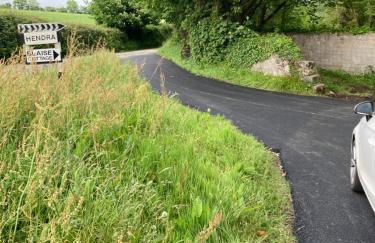
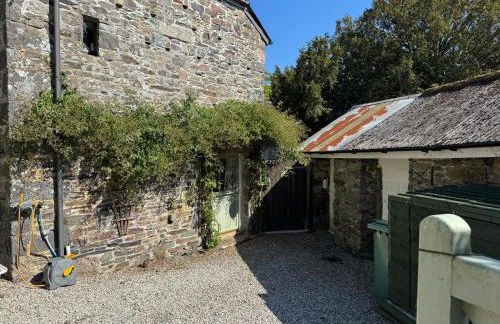
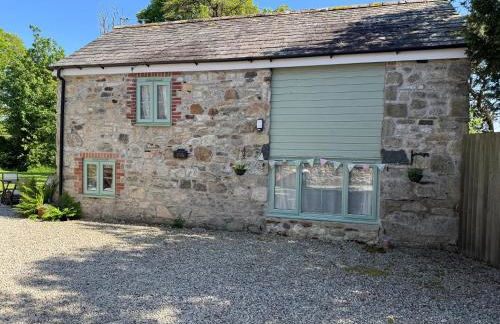


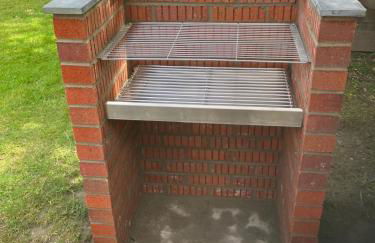


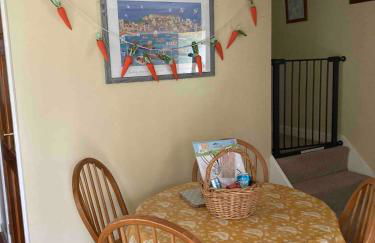
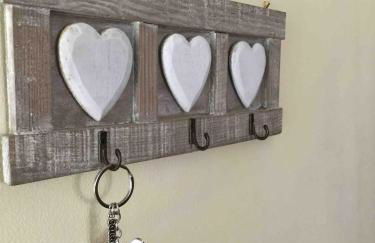
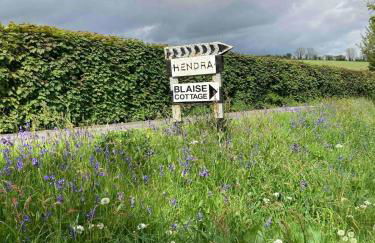
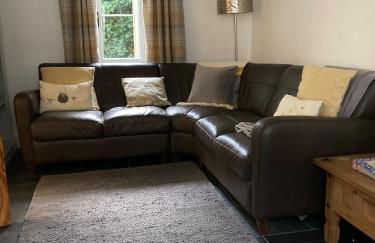


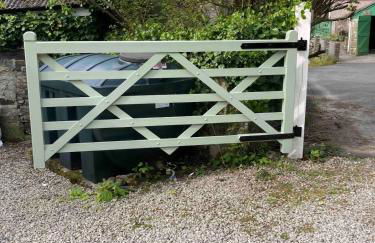
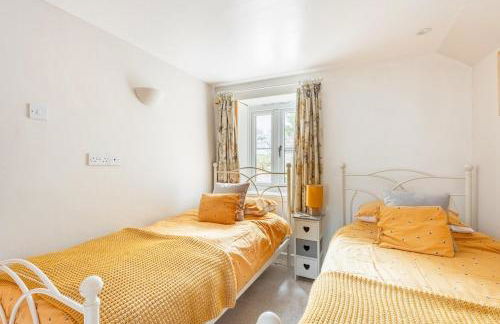
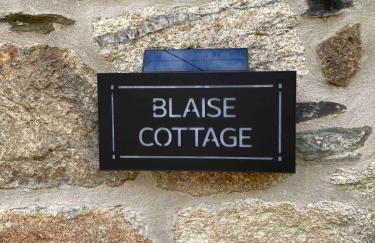
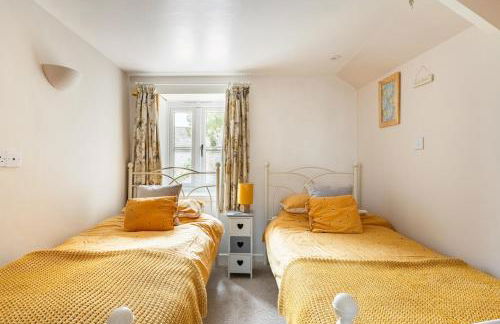


Blaise Cottage Cornwall
St Austell - Coombe
- 48 M2
- 2 habitaciones
- 4 personas
- Calefacción
- Parking
- Jardín
- Barbacoa
27 reseñas


Shorthorn Apartment, 53a Sea Road
St Austell - Charlestown
- 70 M2
- 2 habitaciones
- 4 personas
- Calefacción
- Terraza
- Parking
- Jardín
72 reseñas

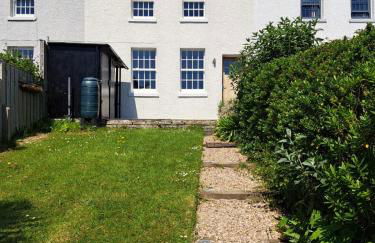
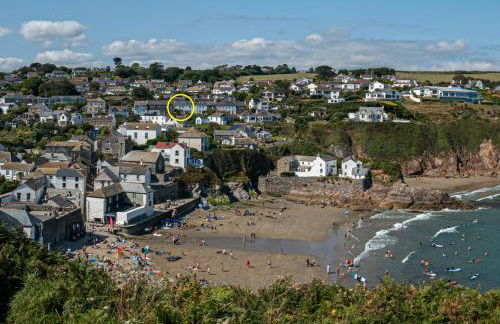

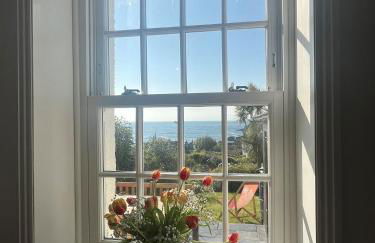
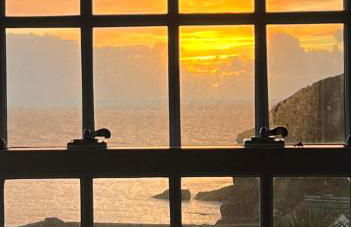


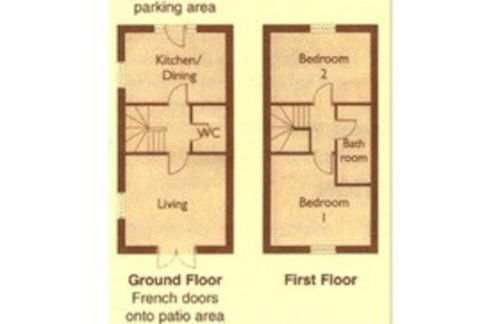
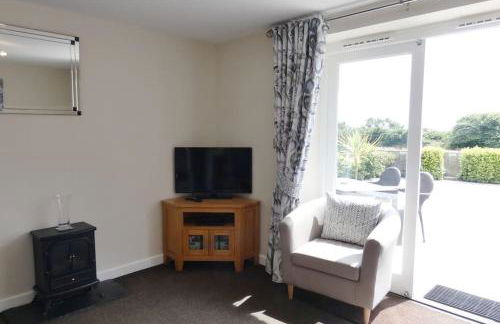
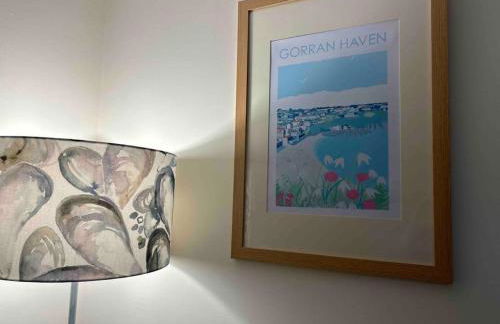
2a Coastguard Cottages
St Austell - Gorran Haven
- 72 M2
- 2 habitaciones
- 5 personas
- Calefacción
- Terraza
- Parking
- Jardín
11 reseñas
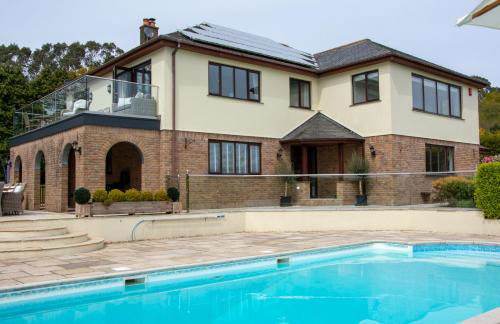

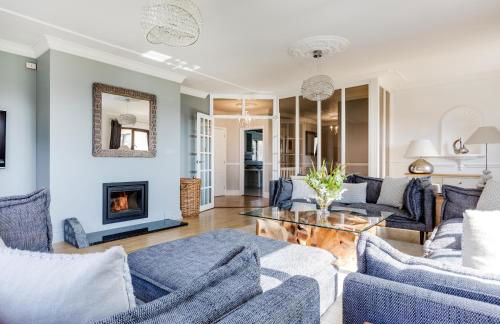
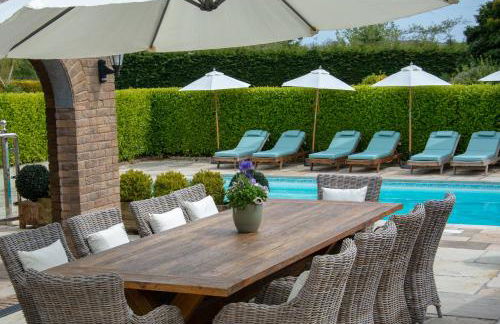


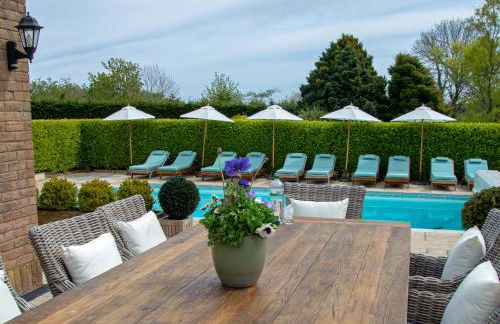
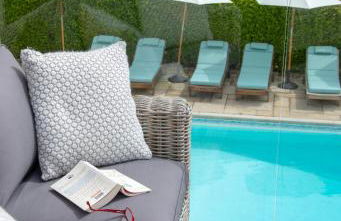

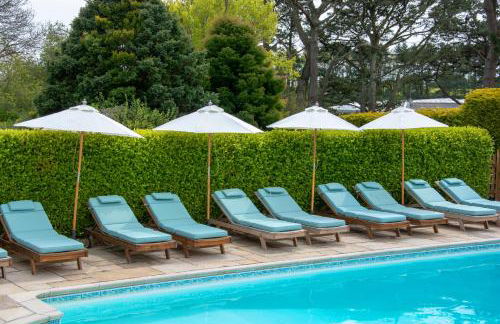


Hewas Water House with Pool, Hot Tub & Games room
St Austell - Hewas Water
- 181 M2
- 5 habitaciones
- 10 personas
- Calefacción
- Terraza
- Piscina
- Parking
- Jardín
- Barbacoa
17 reseñas