


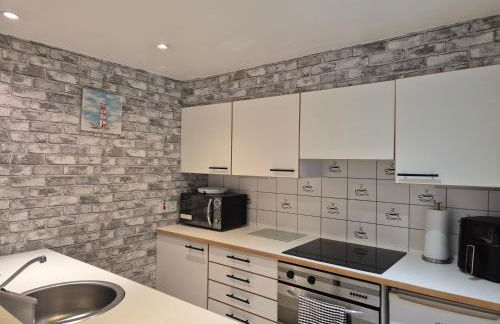


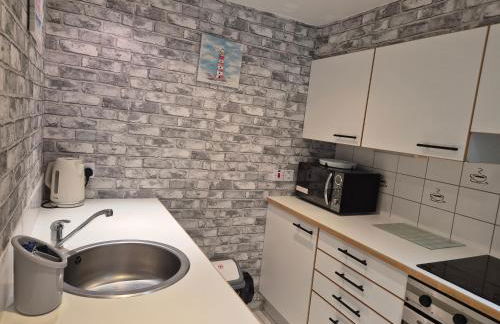

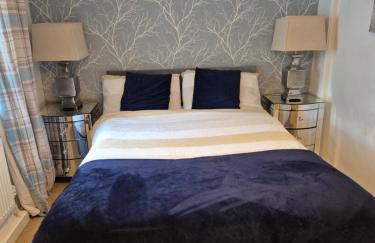


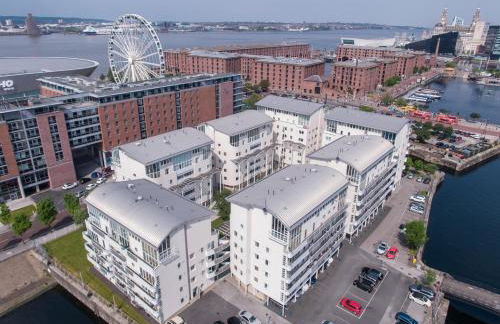
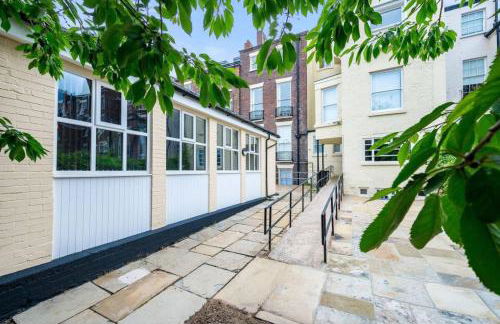
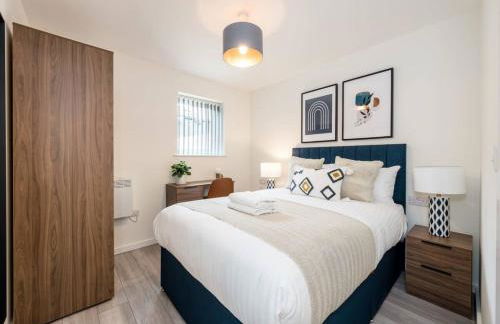
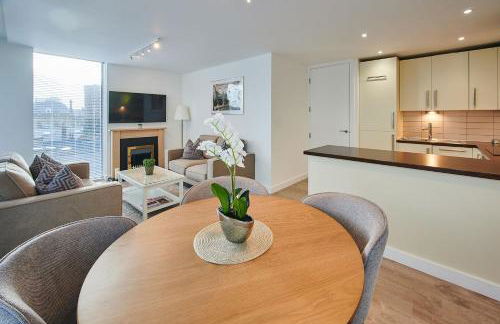
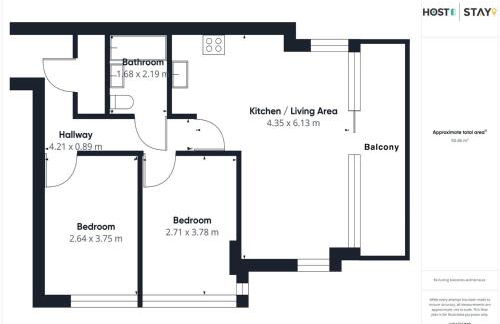
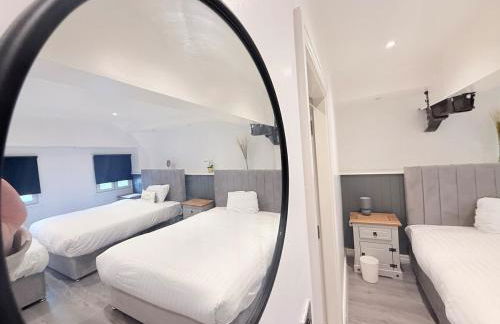
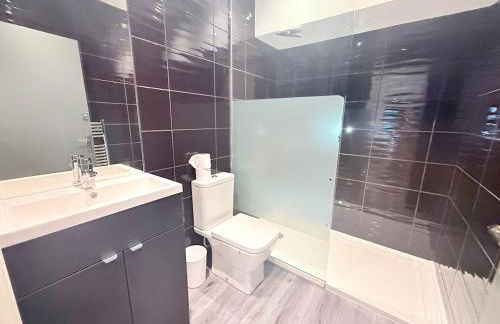
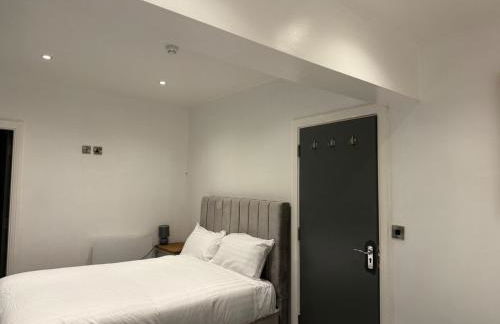
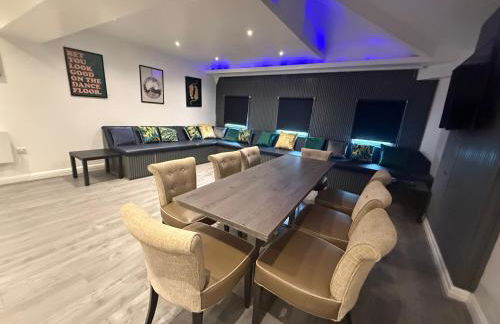
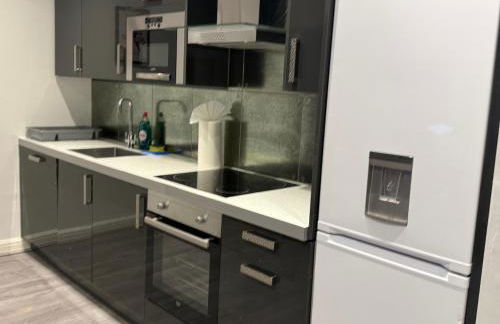
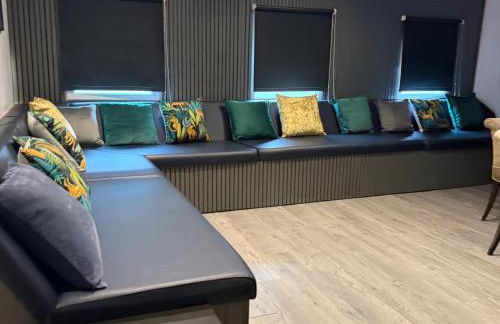
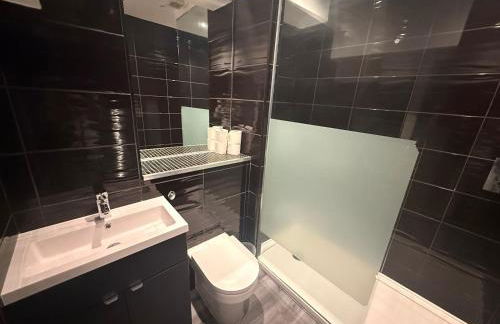
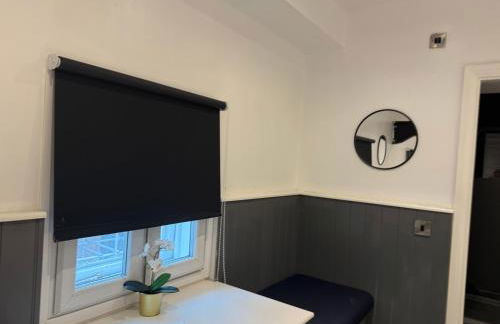
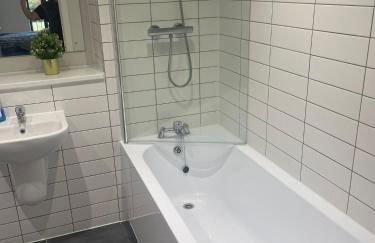
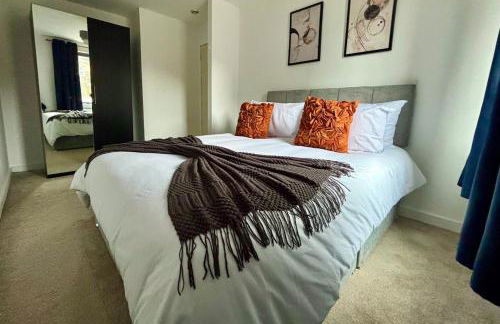
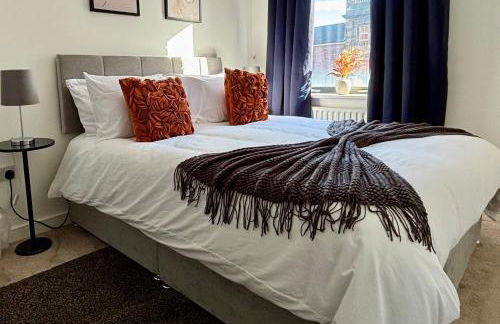
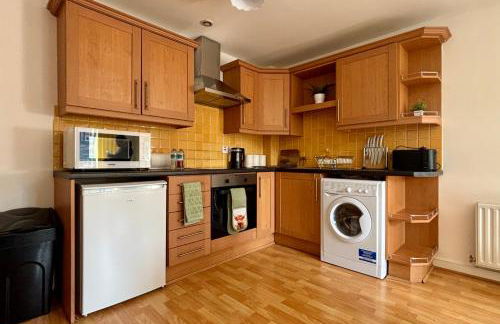
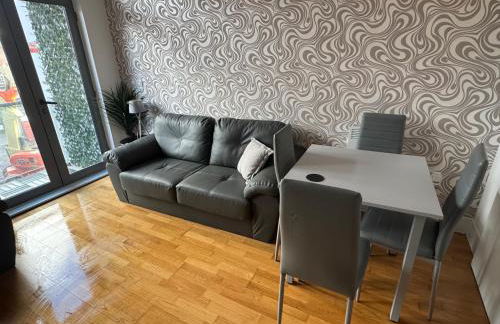
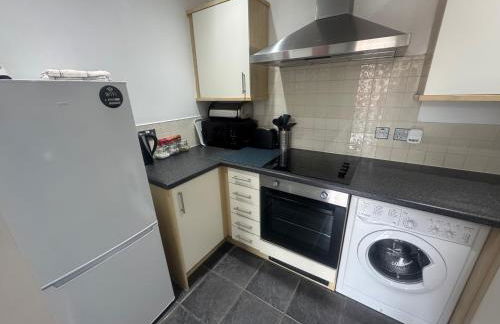
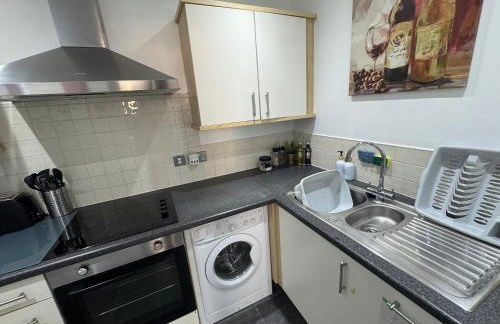
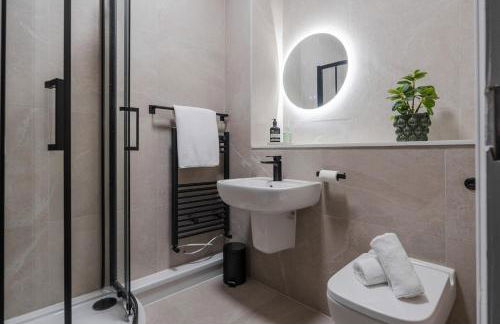
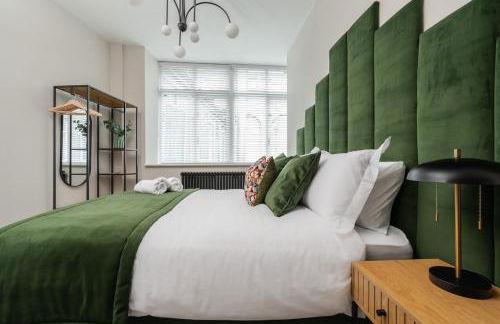
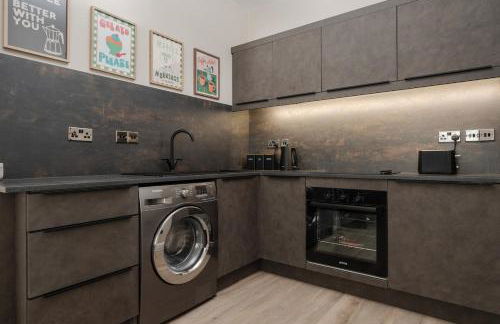
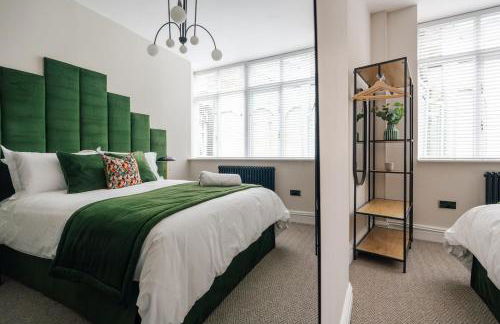
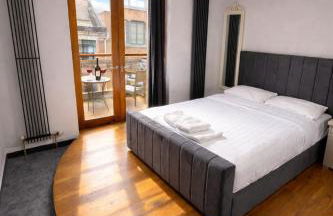
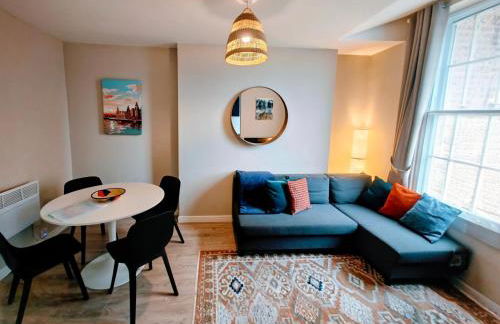
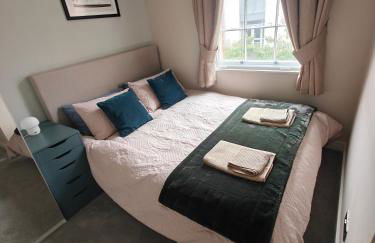
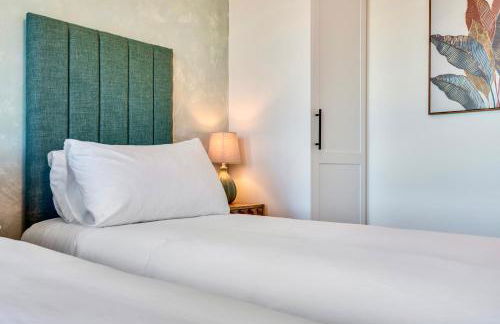
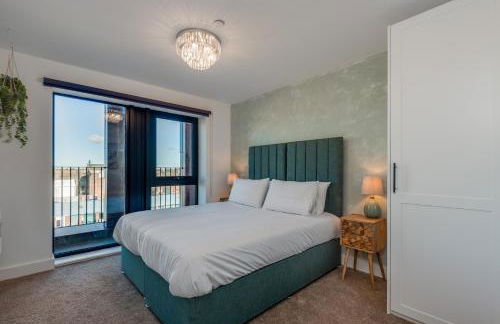
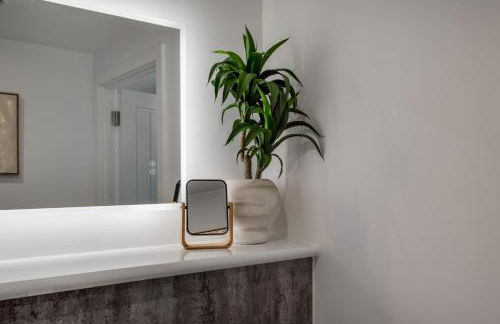
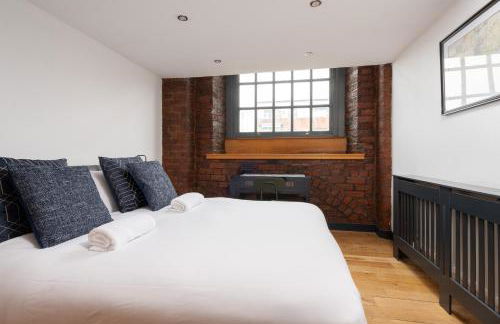
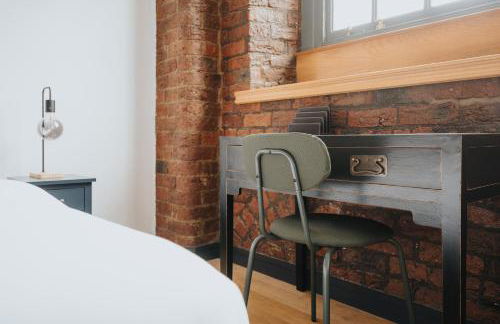
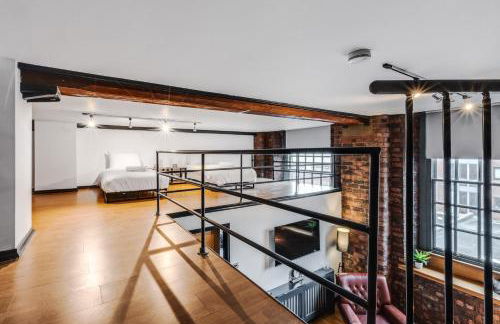
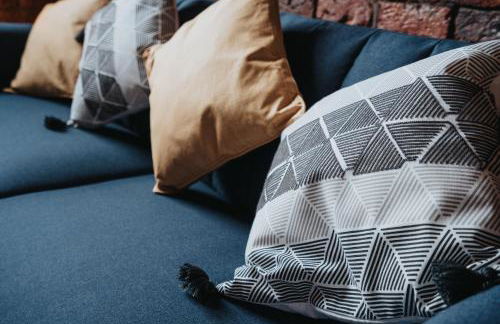
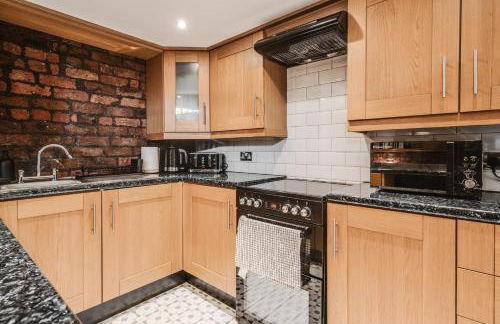
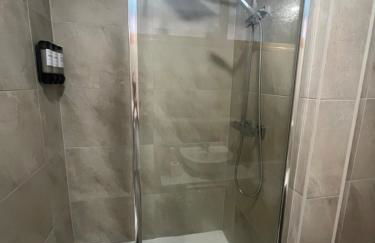
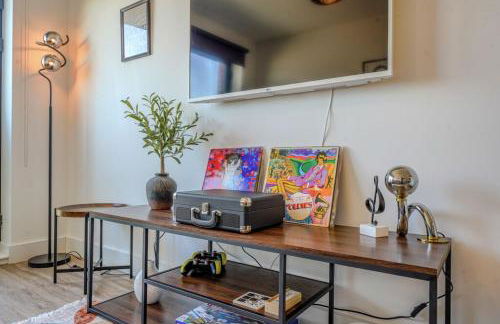
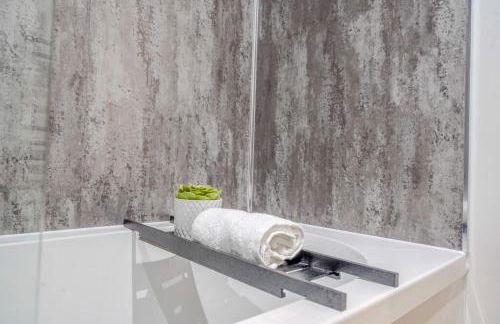
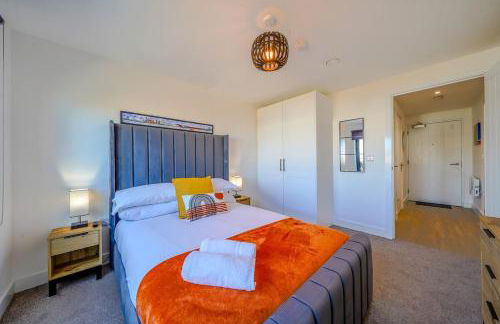
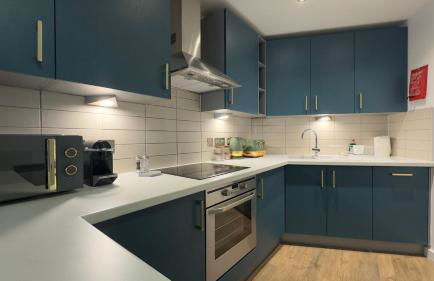
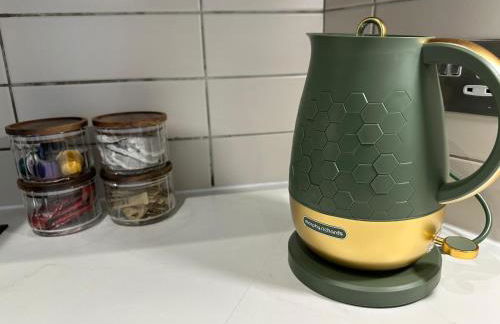
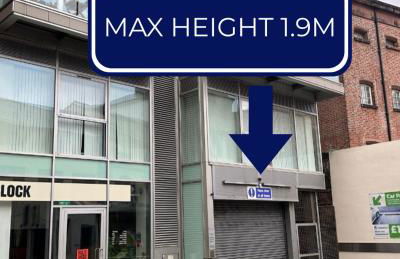
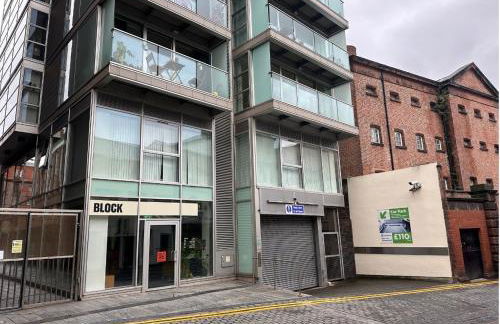
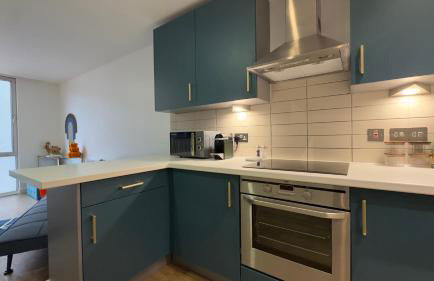
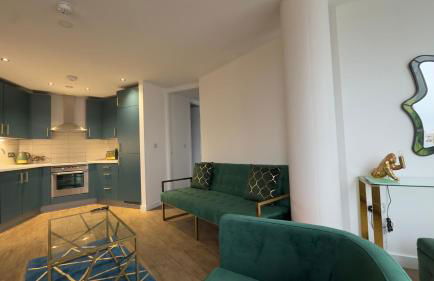
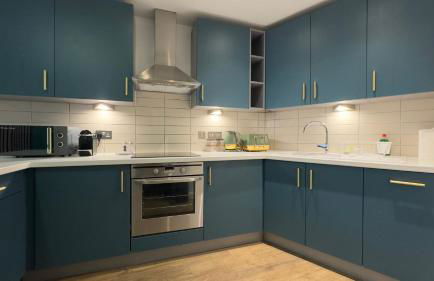
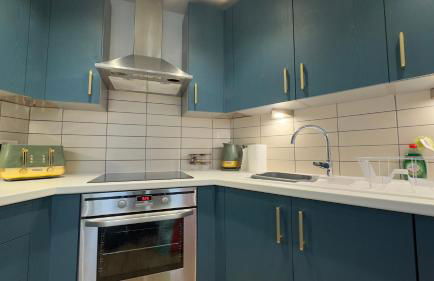
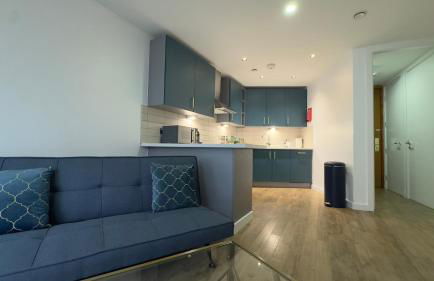
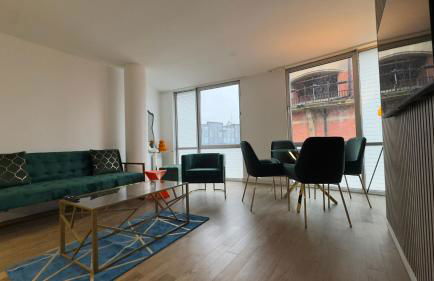
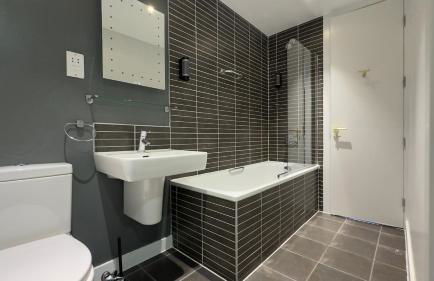
2 bed GF Docklands Apartment - Free Parking for 1 car
Liverpool - Kings - A 970 m del centro
- 67 M2
- 2 habitaciones
- 5 personas
- Calefacción
- Parking
- Ascensor
- Televisión
- Lavadora
- Toallas
- Sábanas

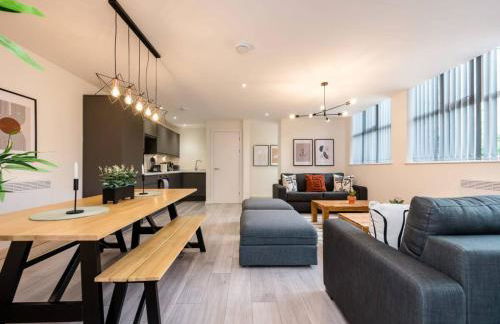


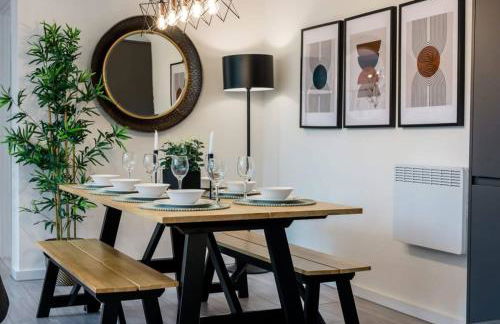


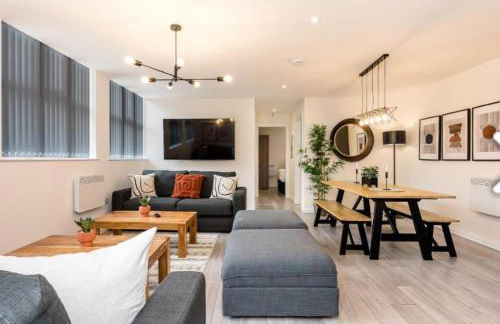

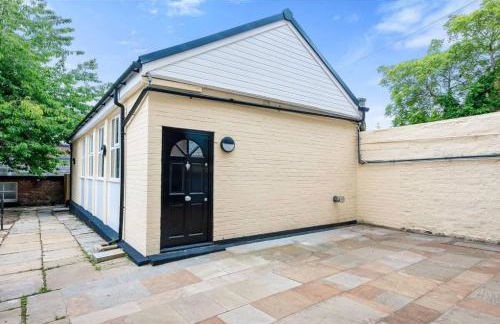


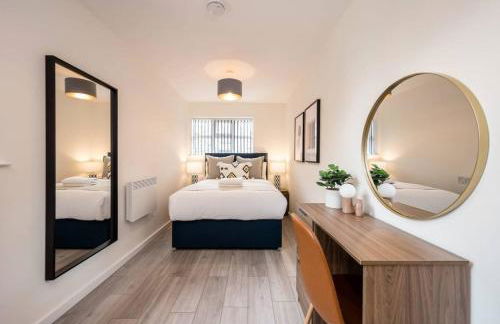


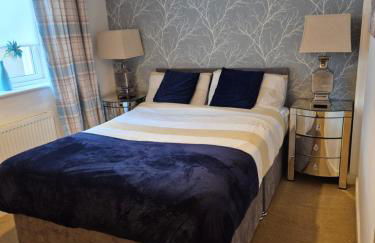
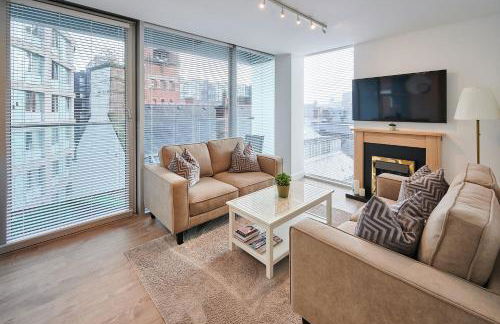
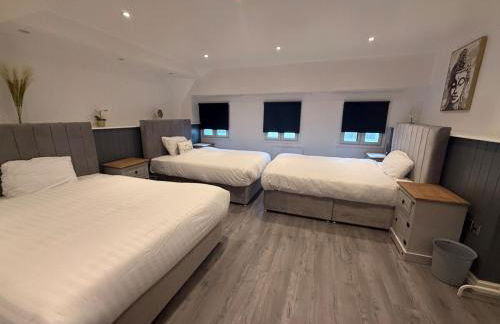
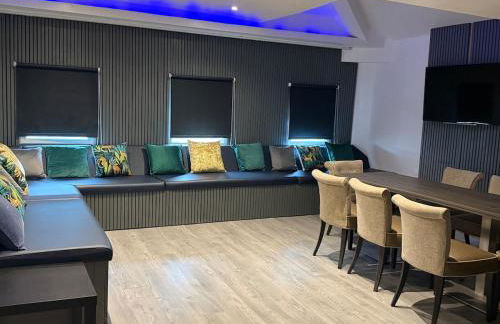
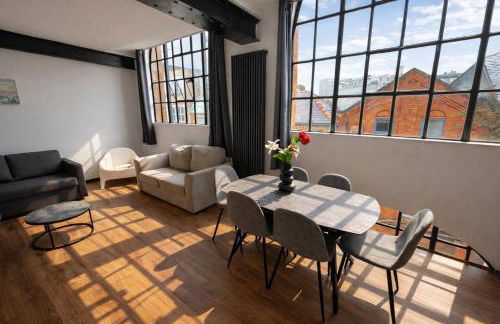
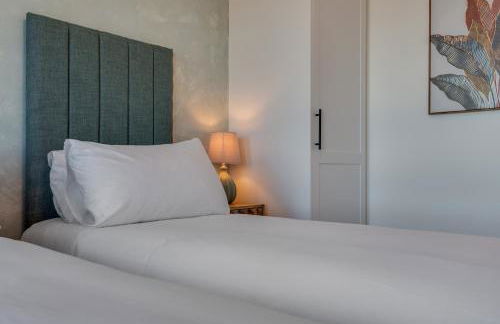
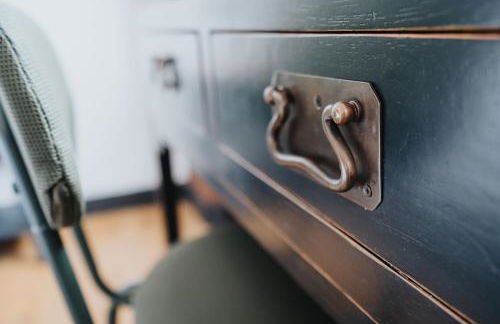
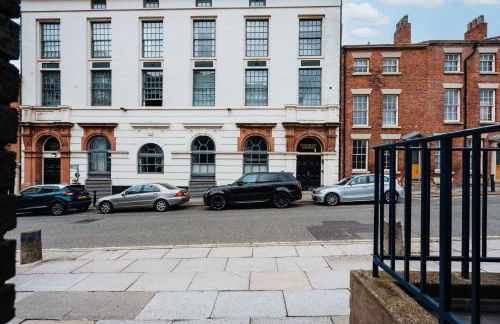
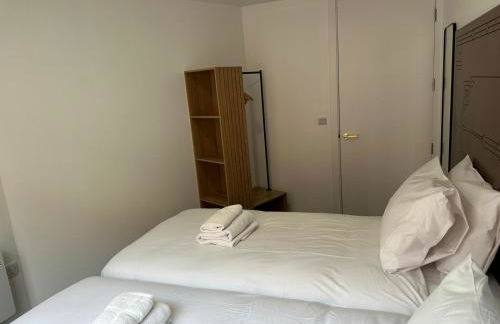
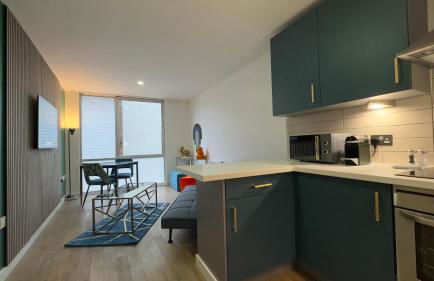
The Coach House by Elite
Liverpool - Chinatown - A 670 m del centro
- 100 M2
- 2 habitaciones
- 10 personas
- Calefacción
- Terraza
- Televisión
- Lavadora
- Toallas
- Sábanas


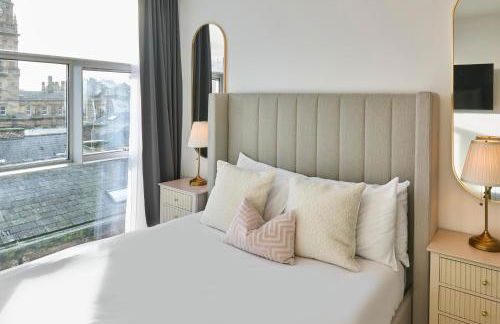


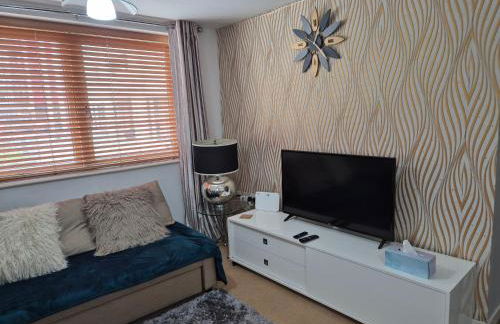
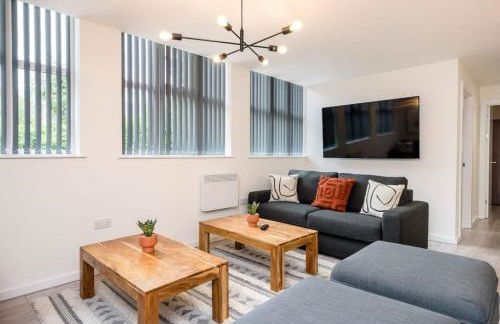
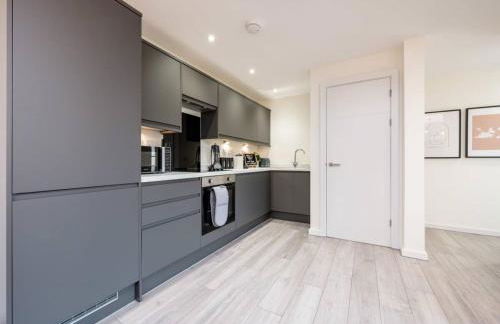
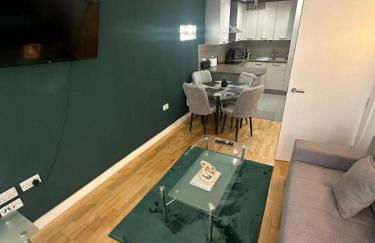
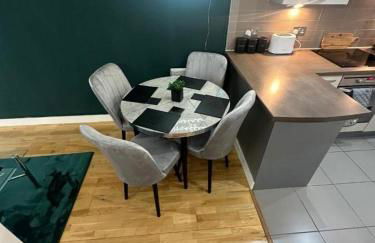
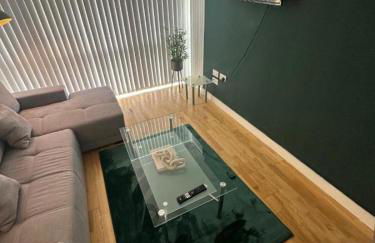
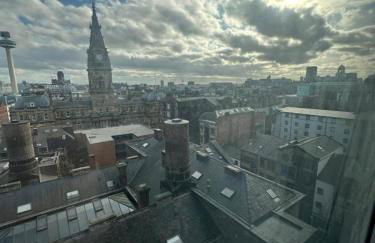
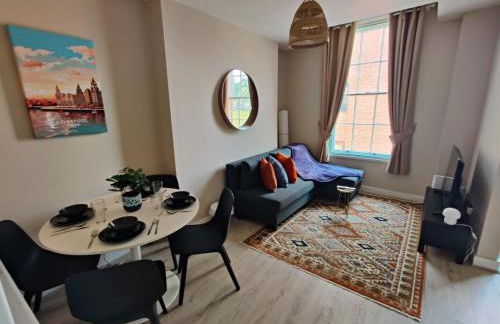
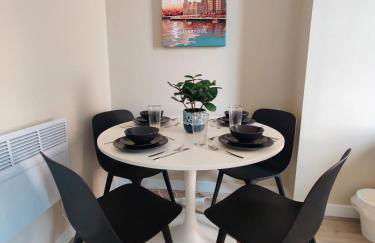
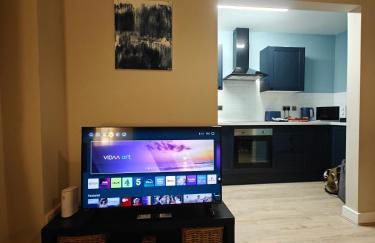
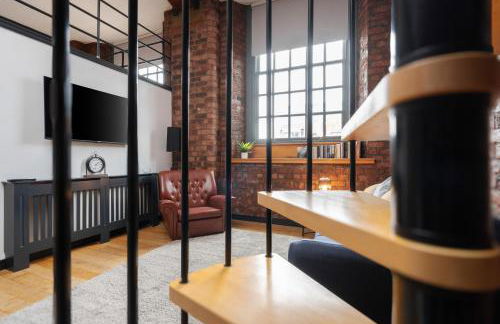
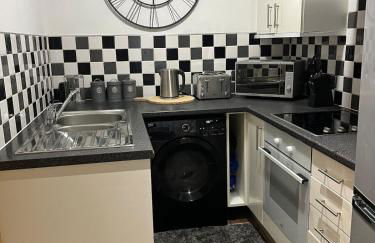
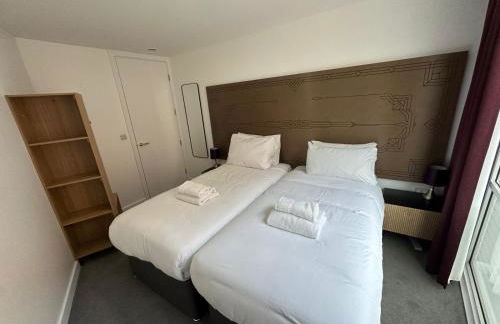
Host & Stay - The Municipal View Abode
Liverpool - Commercial District - En el centro
- 62 M2
- 2 habitaciones
- 4 personas
- Calefacción
- Parking
- Balcón
- Televisión
- Lavadora
- Toallas
- Sábanas


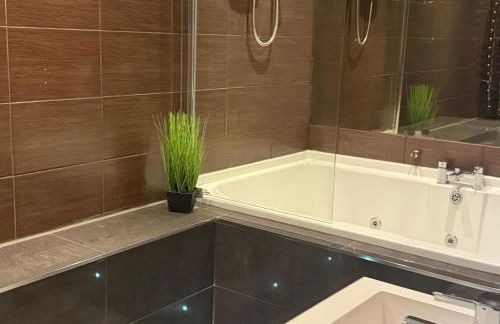
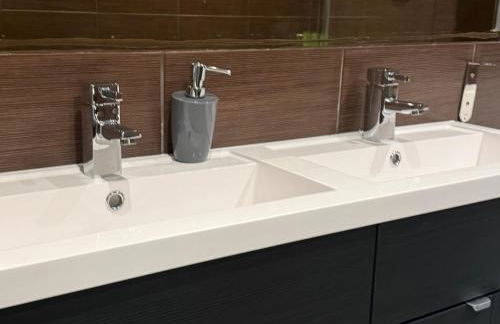


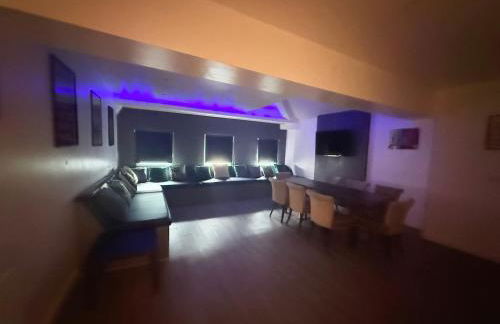


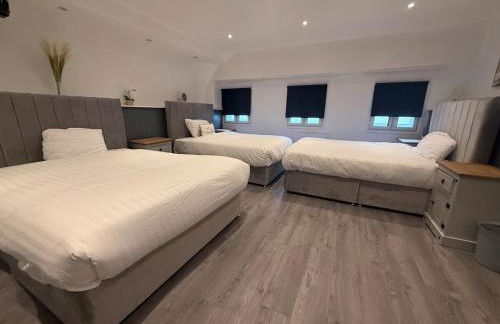


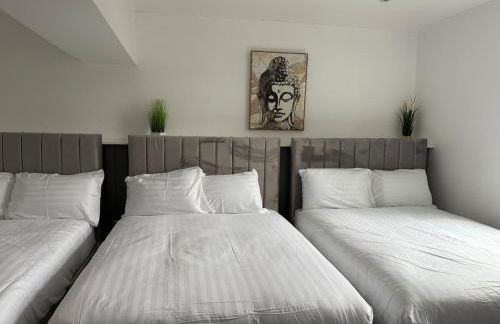


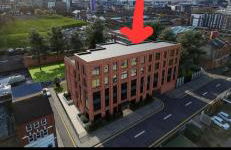
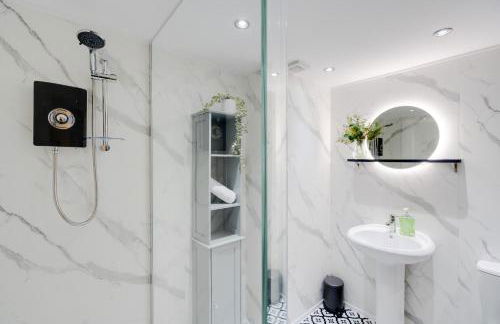
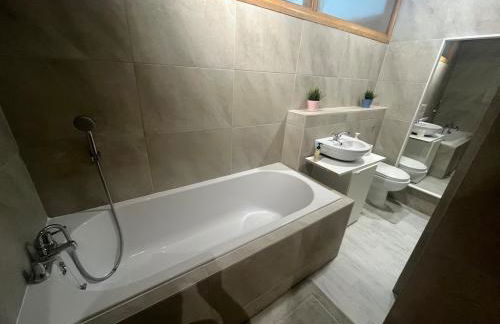
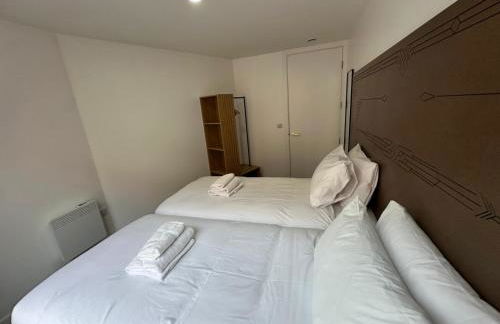
Amazing 10 bed apartments on Mathew Street
Liverpool - Cavern Quarter - En el centro
- 3 habitaciones
- 19 personas
- Calefacción
- Parking


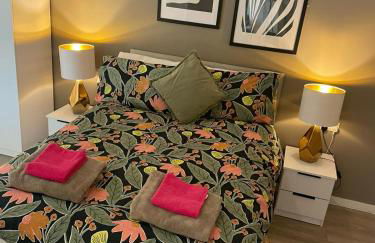


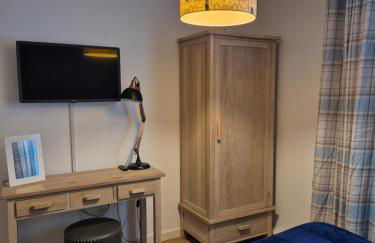
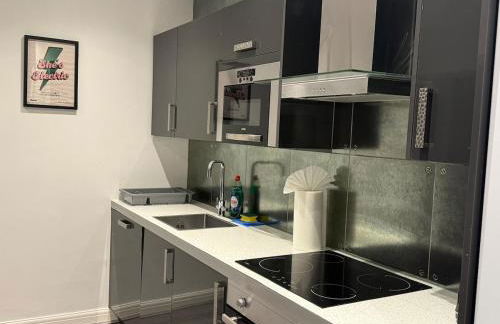
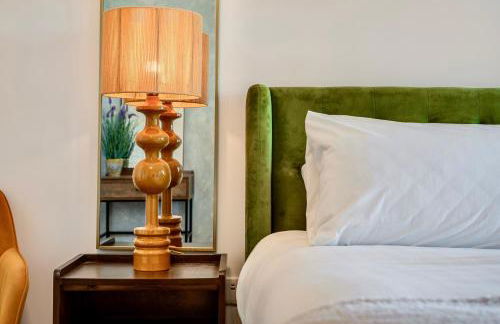
Gorgeous GF 2 Bed 2 bathroom Apartment Liverpool 3
Liverpool - Liverpool - En el centro
- 62 M2
- 2 habitaciones
- 6 personas
- Aire acondicionado
- Calefacción
- Parking
- Jardín


City View One Bedroom Apartment by StaySavvy Accommodation
Liverpool - Commercial District - En el centro
- 80 M2
- 1 habitación
- 3 personas
- Calefacción
- Parking
- Ascensor


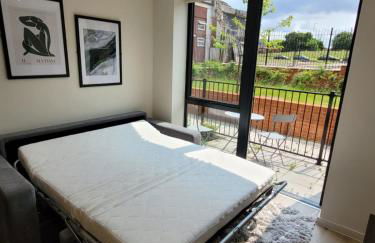
Stylish City Centre Stay - 4 mins to station - Fast Wifi - Near Stadiums
Liverpool - En el centro
- 500 M2
- 1 habitación
- 4 personas
- Calefacción
- Terraza
- Parking
- Ascensor


2 Bedroom Apartment - Henry St Central Liverpool
Liverpool - Ropewalks - A 570 m del centro
- 865 M2
- 2 habitaciones
- 4 personas
- Calefacción
- Ascensor


Sunnie stays apartment harrington chambers
Liverpool - Commercial District - A 320 m del centro
- 100 M2
- 2 habitaciones
- 6 personas


Central Apt With Balcony - Walk to Bars & Stations
Liverpool - Ropewalks - A 250 m del centro
- 60 M2
- 1 habitación
- 6 personas
- Calefacción
- Parking
- Jardín


Victoria's Bright Georgian Apartment
Liverpool - Lime Street Gateway - En el centro
- 36 M2
- 1 habitación
- 4 personas
- Calefacción


Cumberland Street Apartments by Happy Days
Liverpool - Commercial District - En el centro
- 65 M2
- 3 habitaciones
- 5 personas
- Aire acondicionado
- Calefacción
- Parking
- Ascensor
- Televisión
- Lavadora
- Toallas
- Sábanas


Luxury City Escape - Brand New Stylish 2 Bedroom Apartment with Parking
Liverpool - Liverpool - A 250 m del centro
- 84 M2
- 2 habitaciones
- Calefacción
- Parking
- Ascensor


Two Apartments in One , City Centre, Sleeps 11!
Liverpool - Chinatown - A 620 m del centro
- 109 M2
- 3 habitaciones
- 11 personas
- Calefacción


Liverpool Warehouse Flat - Sleeps 5, WiFi, Free On-Site Parking
Liverpool - Lime Street Gateway - En el centro
- 10 M2
- 1 habitación
- 5 personas
- Calefacción
- Parking
- Ascensor


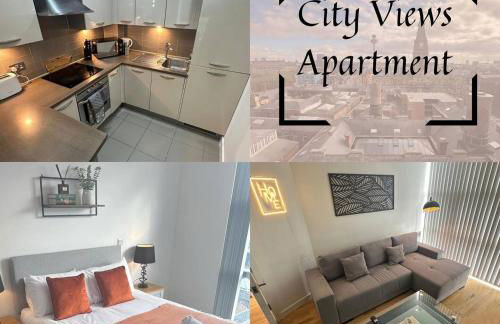
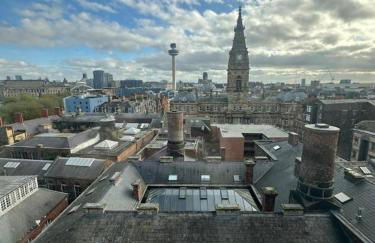
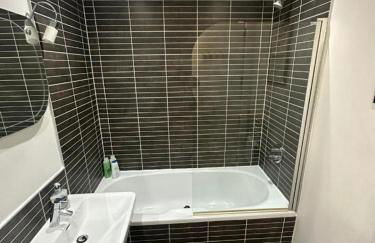
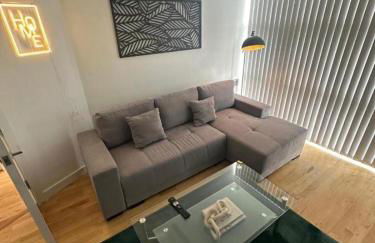
Liverpool Central 2 Bed Stay, City View
Liverpool - Liverpool - A 290 m del centro
- 61 M2
- 2 habitaciones
- 4 personas
- Calefacción
- Parking
- Ascensor


2 bed apartment Liverpool city centre
Liverpool - Commercial District - En el centro
- 7 personas
- Parking
- Ascensor
- Jardín


Stylish City Apartment with Juliette Balcony, Retro Games & Fast WiFi
Liverpool - Liverpool - A 330 m del centro
- 40 M2
- 1 habitación
- 4 personas
- Calefacción
- Ascensor


Liverpool Hatton Garden 1 & 2 Bedroom Apartments - WiFi & Secure Parking
Liverpool - Commercial District - En el centro
- 65 M2
- 2 habitaciones
- 5 personas
- Calefacción
- Parking
- Ascensor


Ropewalks Retreat III - Sleeping 8 Guests with Parking
Liverpool - Ropewalks - A 500 m del centro
- 91 M2
- 2 habitaciones
- Calefacción
- Parking