
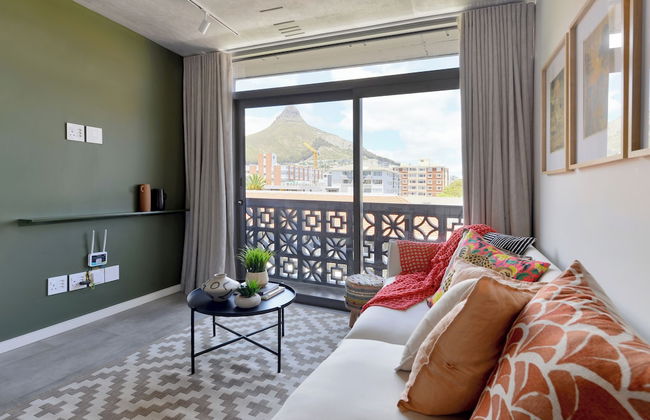
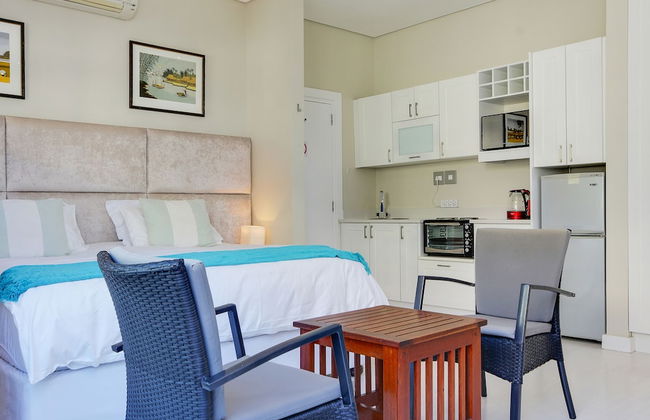
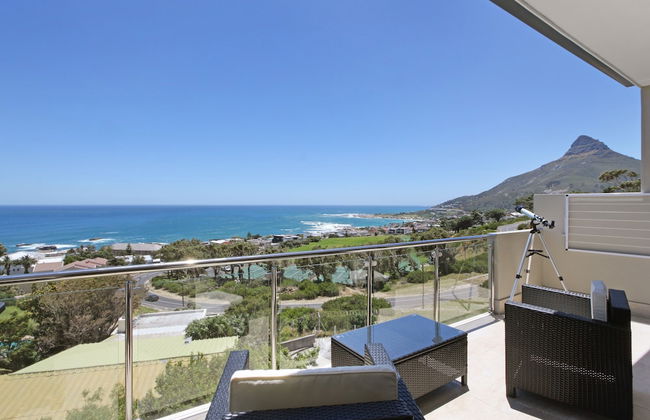
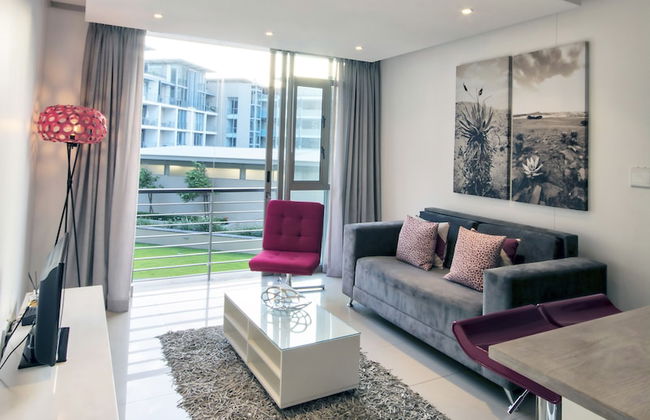
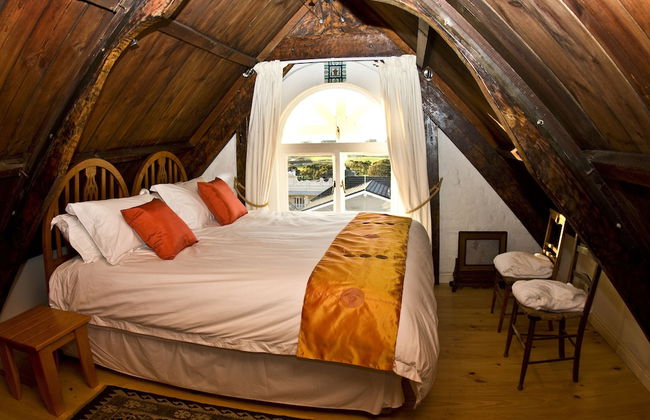
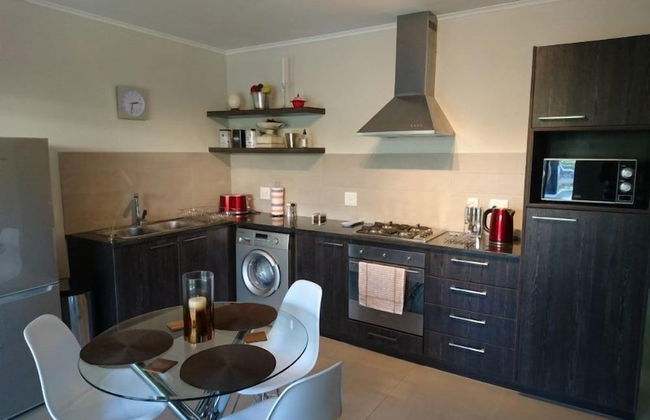
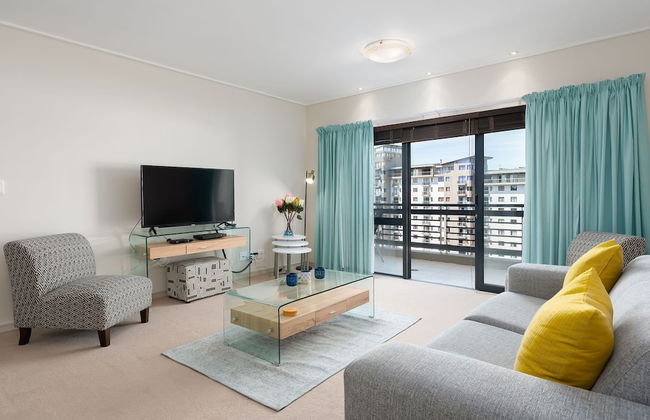
1184 Apartamentos en Ciudad del Cabo


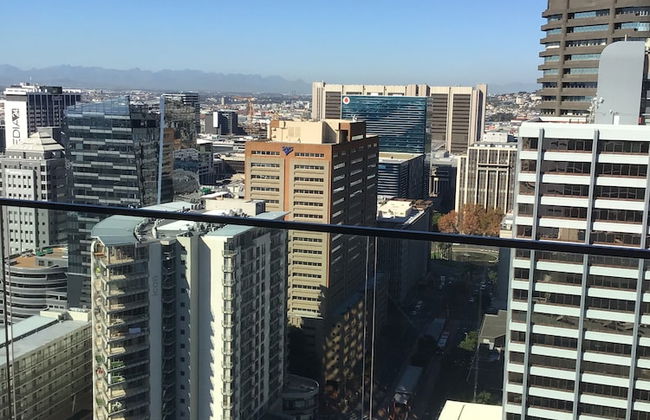
CB-ONE Luxury Stay
Ciudad del Cabo - A 5.6 km del centro
- 140 M2
- 4 personas
- Cocina pequeña
- Aire acondicionado
- Calefacción
- Terraza
- Piscina
- Parking
- Ascensor
- Balcón
- Jardín
- Televisión
- Lavadora
- Chimenea
- Toallas
- Sábanas
20 reseñas


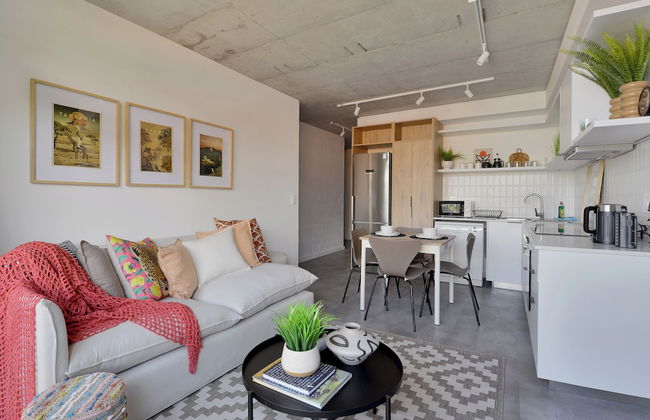
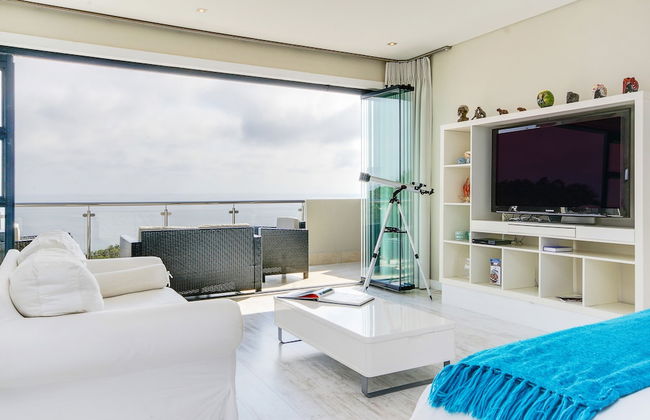
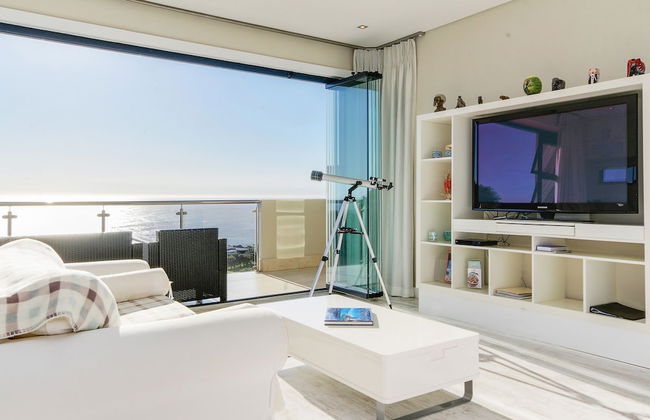
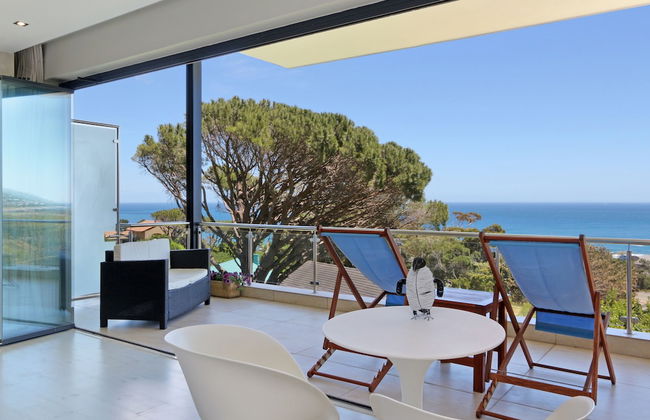
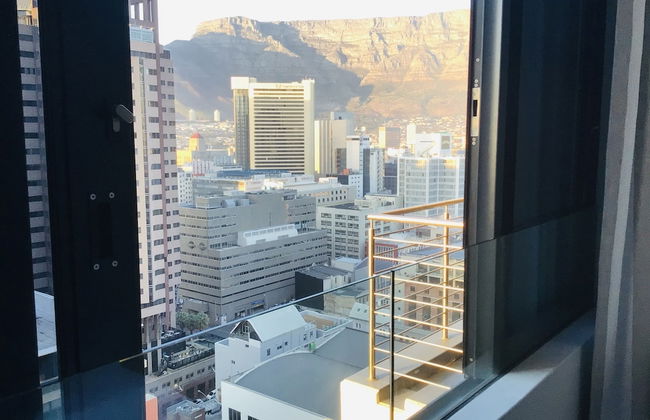
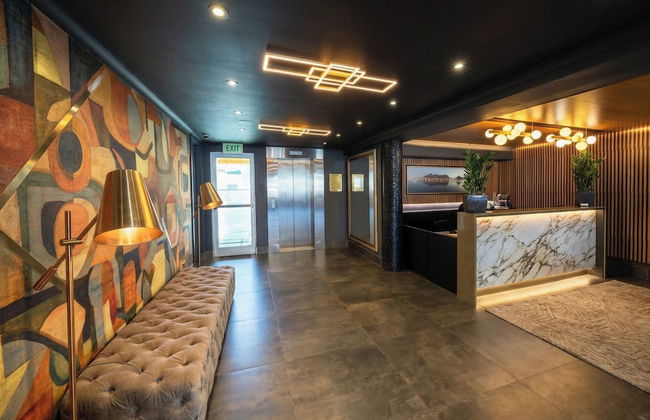
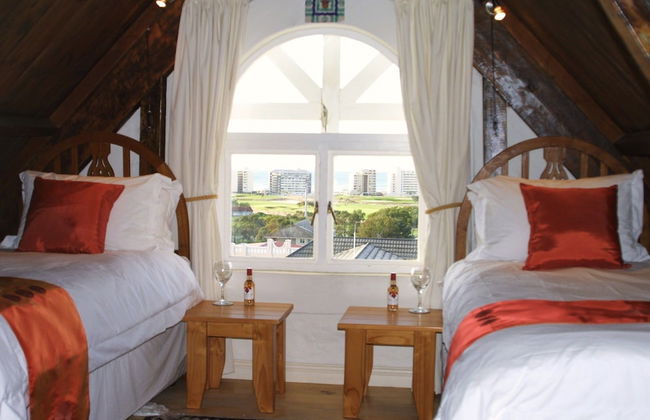
SIX ON N - Fluent Serviced Apartments
Ciudad del Cabo - Sea Point - A 2.4 km del centro
- 4 personas
- Calefacción
- Terraza
- Piscina
- Parking
- Ascensor
- Balcón
- Televisión
- Toallas
- Sábanas
11 reseñas


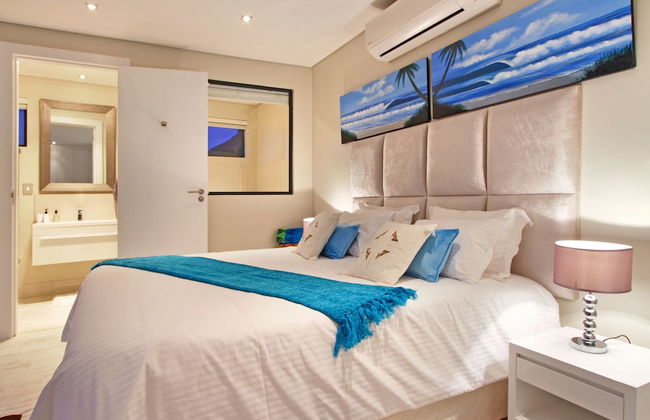
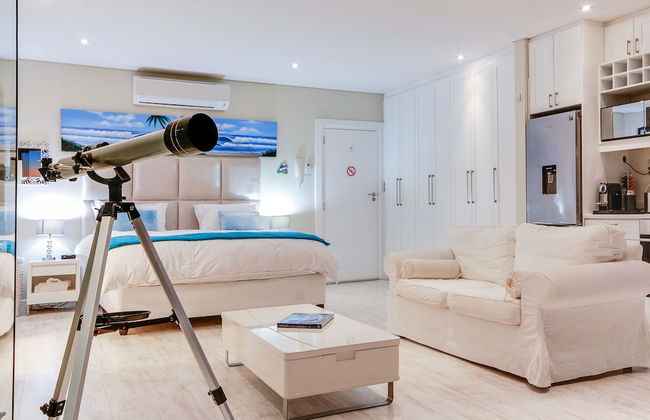
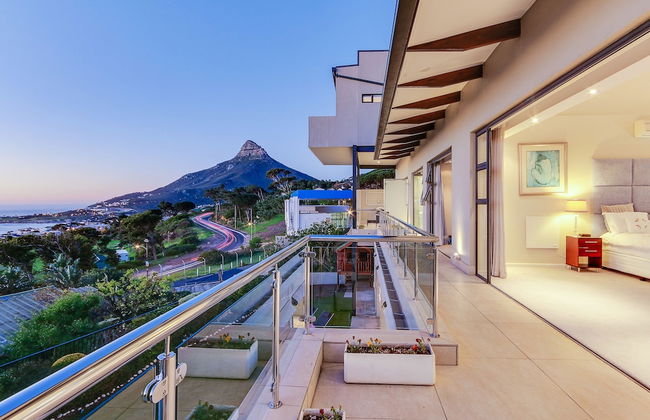
South Beach Camps Bay Boutique Hotel
Ciudad del Cabo - A 5.3 km del centro
- 89 M2
- 3 personas
- Aire acondicionado
- Calefacción
- Terraza
- Piscina
- Parking
- Ascensor
- Televisión
- Lavadora
- Toallas
- Sábanas
280 reseñas


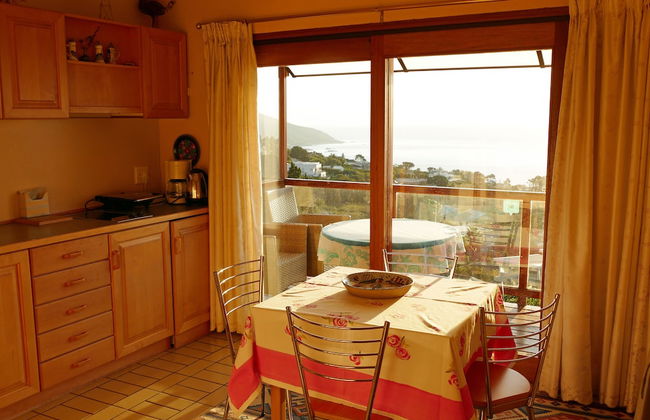
A Place in Thyme
Fish Hoek
- 89 M2
- 5 personas
- Cocina pequeña
- Calefacción
- Terraza
- Piscina
- Parking
- Balcón
- Jardín
- Televisión
- Lavadora
- Barbacoa
- Toallas
11 reseñas


Sea Mount
Ciudad del Cabo - A 5.8 km del centro
- 35 M2
- 2 personas
- Cocina pequeña
- Aire acondicionado
- Calefacción
- Terraza
- Piscina
- Parking
- Balcón
- Jardín
- Televisión
- Lavadora
- Barbacoa
- Toallas
- Sábanas
69 reseñas


Vrede Self Catering
Boskloof Eco Estate
- 20 M2
- 2 personas
- Aire acondicionado
- Calefacción
- Terraza
- Parking
- Balcón
- Jardín
- Televisión
- Lavadora
- Toallas
- Sábanas
28 reseñas


Stay Spectacular
Table View - En el centro
- 65 M2
- 4 personas
- Calefacción
- Piscina
- Parking
- Ascensor
- Balcón
- Televisión
- Toallas
- Sábanas
26 reseñas


Lawhill Luxury Apartments
V&A Waterfront - Foreshore
- 470 M2
- 6 personas
- Aire acondicionado
- Calefacción
- Terraza
- Piscina
- Parking
- Ascensor
- Televisión
- Lavadora
- Toallas
183 reseñas


Ashley on the Beach
Van Ryneveld
- 78 M2
- 4 personas
- Calefacción
- Parking
- Ascensor
- Jardín
- Televisión
- Toallas
- Sábanas
14 reseñas


Magic Camps Bay
Ciudad del Cabo - A 4.8 km del centro
- 45 M2
- 2 personas
- Aire acondicionado
- Calefacción
- Terraza
- Piscina
- Parking
- Balcón
- Jardín
- Televisión
- Barbacoa
- Toallas
- Sábanas
13 reseñas


Glen Avon Lodge Boutique Hotel
Belle Constantia
- 35 M2
- 3 personas
- Cocina pequeña
- Aire acondicionado
- Calefacción
- Terraza
- Piscina
- Parking
- Balcón
- Jardín
- Televisión
- Toallas
- Sábanas
26 reseñas


185 on Beach Boutique Suites and Apartments
Gordons Bay
- 50 M2
- 4 personas
- Cocina pequeña
- Aire acondicionado
- Calefacción
- Terraza
- Piscina
- Parking
- Balcón
- Jardín
- Televisión
- Lavadora
- Barbacoa
- Toallas
- Sábanas
50 reseñas


Urban Elephant 16 on Bree
Ciudad del Cabo - En el centro
- 65 M2
- 4 personas
- Aire acondicionado
- Calefacción
- Piscina
- Parking
- Ascensor
- Balcón
- Televisión
- Toallas
- Sábanas
103 reseñas


The Quadrant Apartments
Claremont
- 120 M2
- 4 personas
- Aire acondicionado
- Terraza
- Piscina
- Parking
- Ascensor
- Balcón
- Jardín
- Televisión
- Lavadora
- Toallas
15 reseñas


First Group Mount Sierra
Gardens
- 67 M2
- 4 personas
- Aire acondicionado
- Terraza
- Piscina
- Parking
- Ascensor
- Televisión
- Barbacoa
- Toallas
- Sábanas
19 reseñas


Kayleeway Apartments
Sea Point
- 154 M2
- 6 personas
- Aire acondicionado
- Calefacción
- Parking
- Televisión
- Toallas
- Sábanas
58 reseñas


Braeside House
Green Point
- 4 personas
- Aire acondicionado
- Calefacción
- Terraza
- Parking
- Balcón
- Televisión
- Lavadora
- Chimenea
- Barbacoa
- Toallas
- Sábanas
10 reseñas


Mount Bay
Helgarda Estate
- 110 M2
- 6 personas
- Aire acondicionado
- Calefacción
- Terraza
- Piscina
- Parking
- Balcón
- Jardín
- Televisión
- Lavadora
- Barbacoa
- Toallas
- Sábanas
7 reseñas


Century City Boutique Apartments
Century City
- 35 M2
- 6 personas
- Calefacción
- Piscina
- Parking
- Ascensor
- Televisión
- Lavadora
- Toallas
- Sábanas
20 reseñas