
29 Apartamentos en Droitwich Spa


Droitwich Spa centre apartment
Droitwich Spa - Droitwich Spa
- 2 habitaciones
- 4 personas
- Calefacción
- Parking
- Jardín
43 reseñas


Sunset Retreats The Double Barrell
Droitwich Spa - Ombersley
- 2 habitaciones
- 6 personas
- Aire acondicionado
- Barbacoa
11 reseñas


Woodland View Retreat - Luxury Stay, Endless Fun
Droitwich Spa - Wychbold
- 200 M2
- 4 habitaciones
- 8 personas
- Terraza
- Parking
- Jardín
- Barbacoa
6 reseñas


Sunset Retreats The Ice Viking
Droitwich Spa - Ombersley
- 2 personas
- Aire acondicionado
- Parking
26 reseñas


Sunset Retreats The Leaf
Droitwich Spa - Ombersley
- 1 habitación
- 3 personas
- Aire acondicionado
- Parking
- Barbacoa
19 reseñas


Modern 2 bedroom apartment in Historical Spa town
Droitwich Spa - Droitwich Spa
- 45 M2
- 2 habitaciones
- 3 personas
- Parking
8 reseñas


Sunset Retreats The Hogwarts
Droitwich Spa - Ombersley
- 1 habitación
- 3 personas
- Aire acondicionado
- Parking
- Barbacoa
27 reseñas


Spacious 5 bed Barn in the Heart of Worcestershire
Droitwich Spa - Droitwich Spa
- 250 M2
- 5 habitaciones
- 10 personas
- Calefacción
- Terraza
- Parking
- Jardín
- Barbacoa
4 reseñas


Sunset Retreats The Double Hobbit
Droitwich Spa - Ombersley
- 1 habitación
- 3 personas
- Aire acondicionado
- Parking
- Barbacoa
15 reseñas


Malvern, The Mount Barns & Spa
Droitwich Spa - Sneads Green
- 64 M2
- 2 habitaciones
- 4 personas
- Terraza
- Piscina
- Parking
- Jardín
- Barbacoa
1 reseña


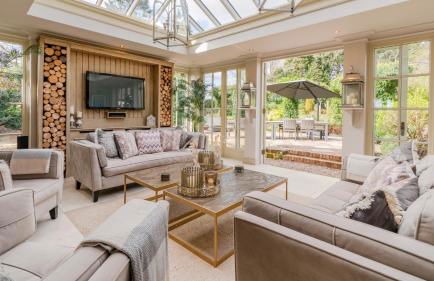
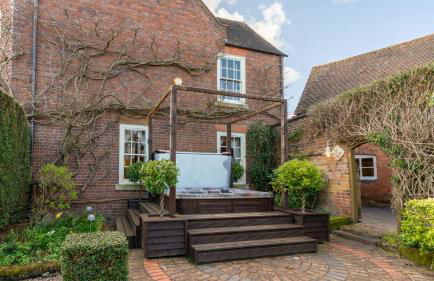
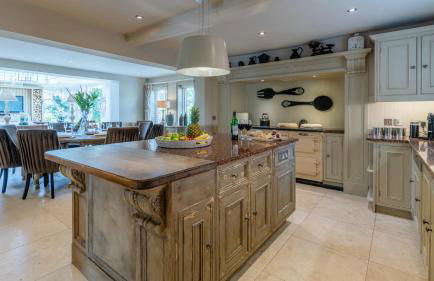

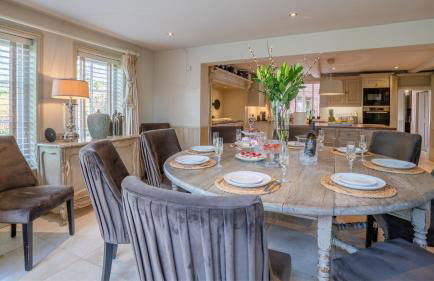
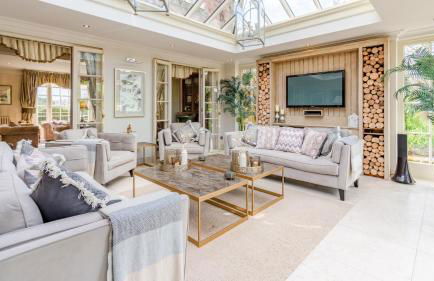
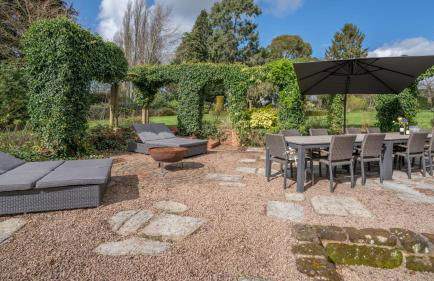


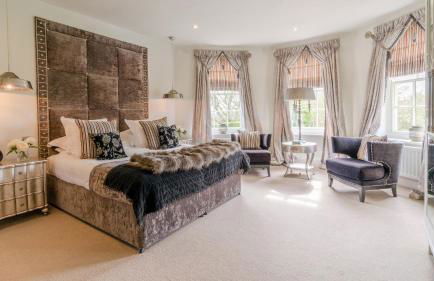
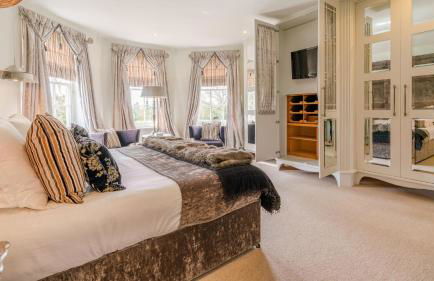


The Parsonage
Droitwich Spa - Ombersley
- 504 M2
- 6 habitaciones
- 12 personas
- Calefacción
- Terraza
- Parking
- Jardín
- Barbacoa