


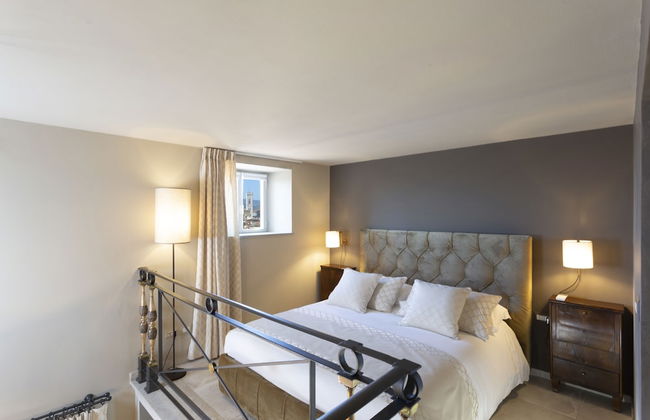
Garden House by Canto degli Aranci
Florencia - Centro Storico - A 970 m del centro
- 32 M2
- 2 habitaciones
- 4 personas
- Aire acondicionado
- Calefacción
- Terraza
- Parking
- Ascensor
- Televisión
- Toallas
- Sábanas


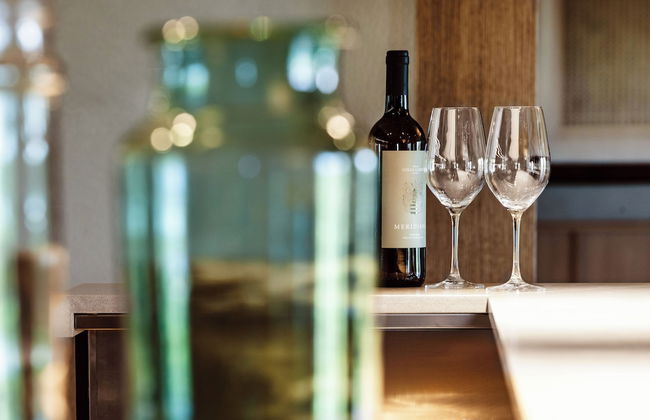
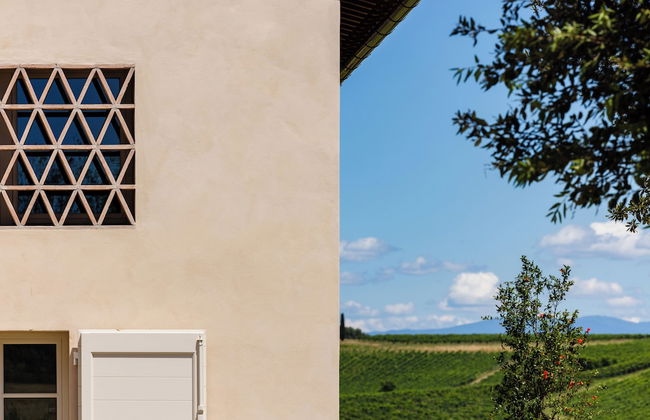
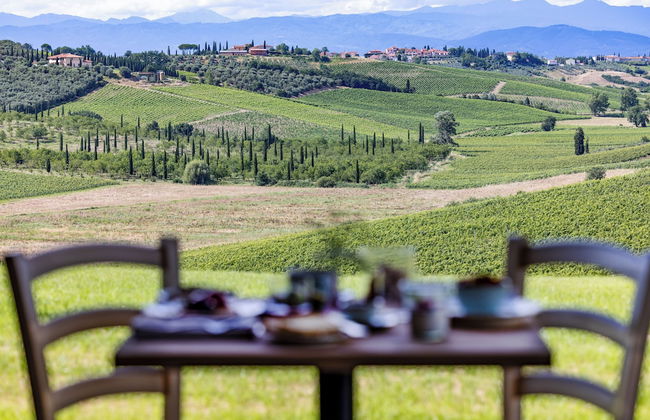
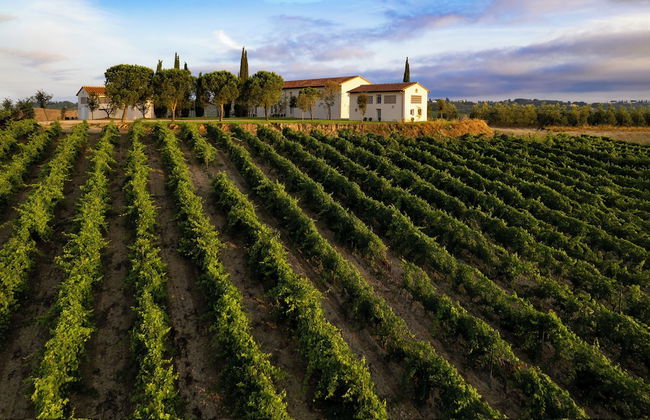
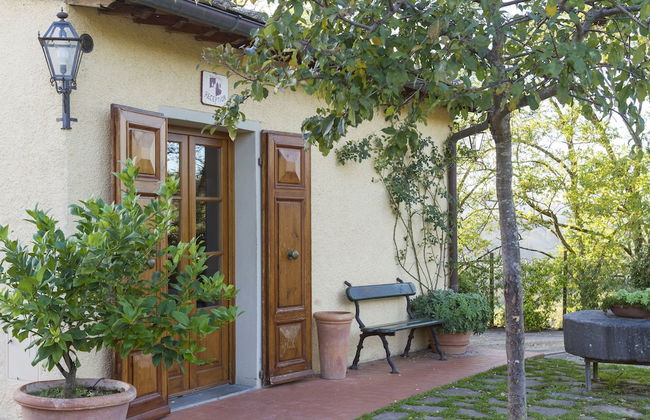
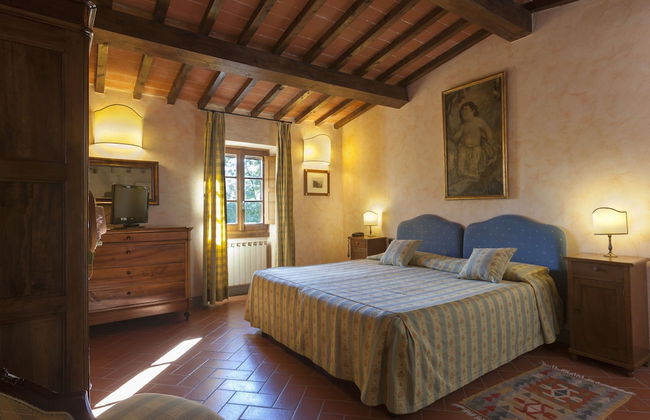
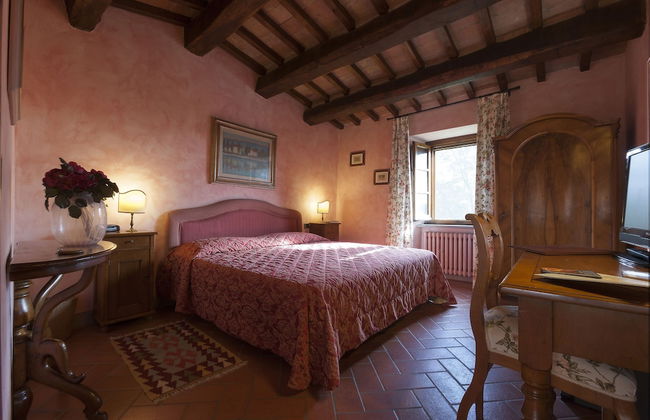
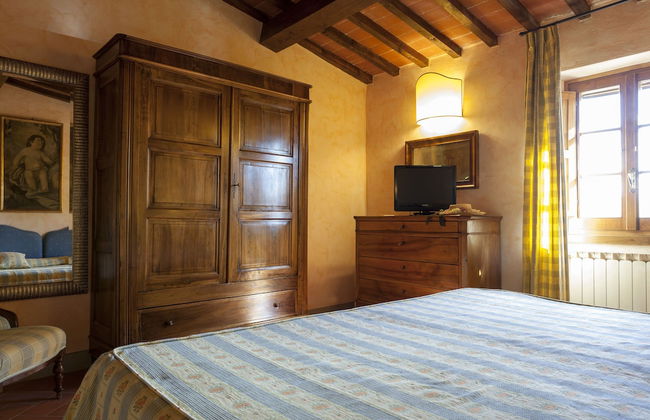
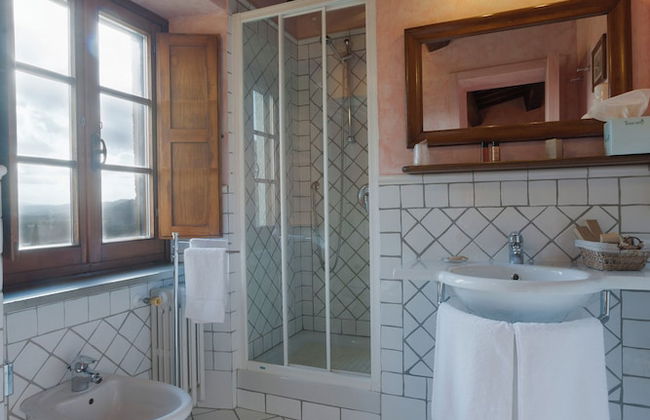
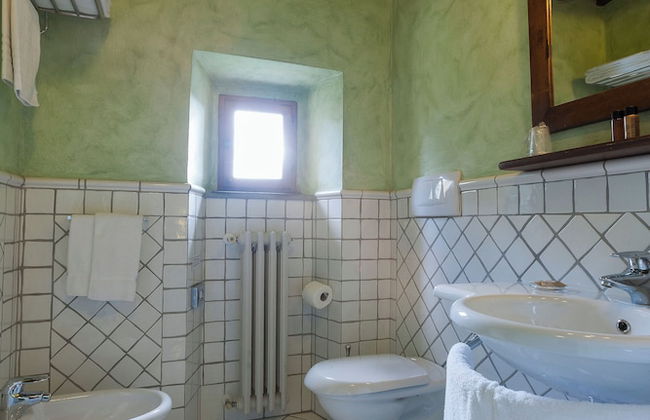
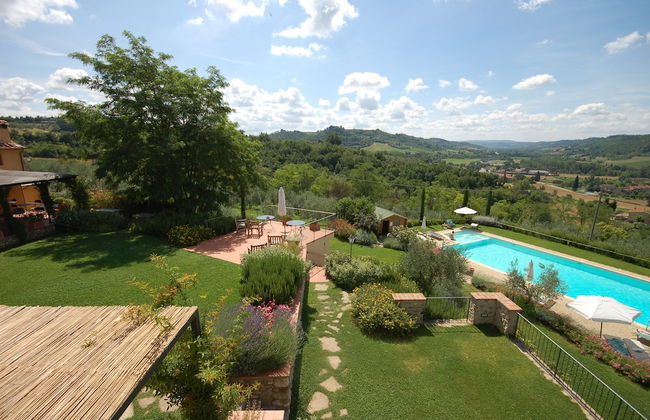
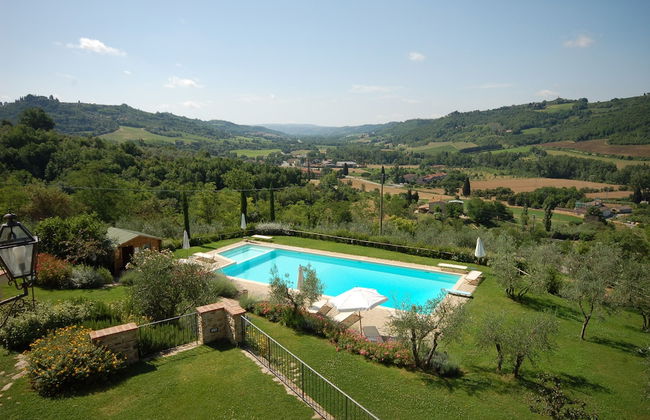
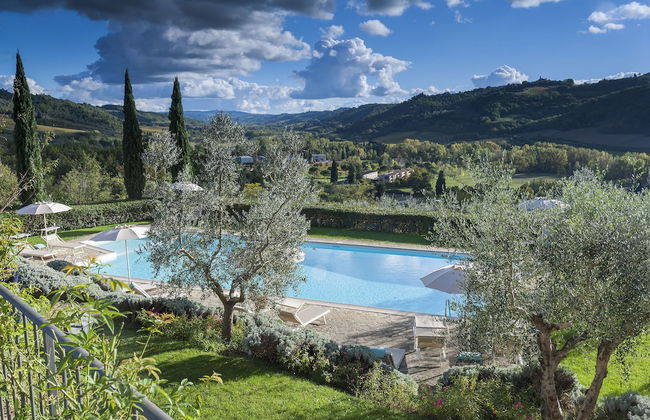
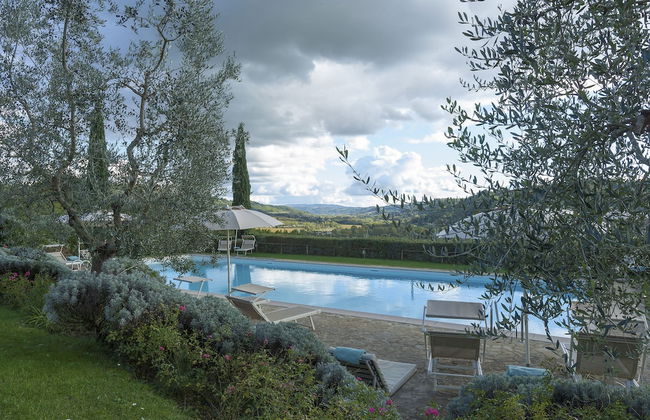
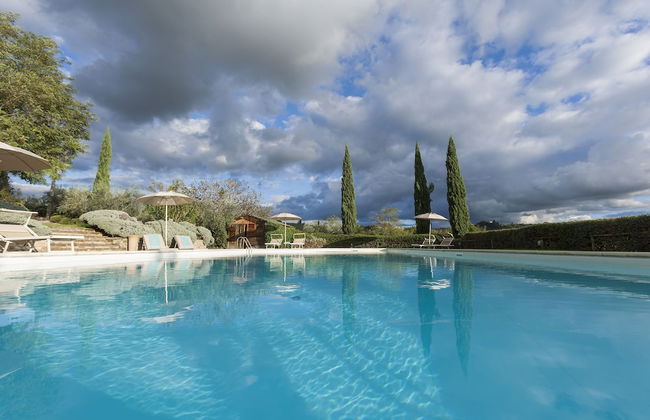
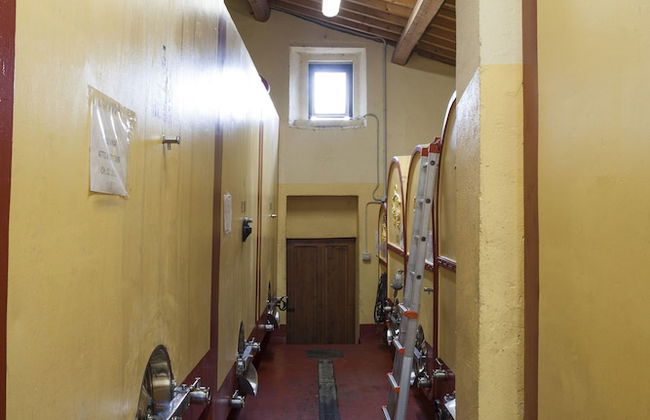
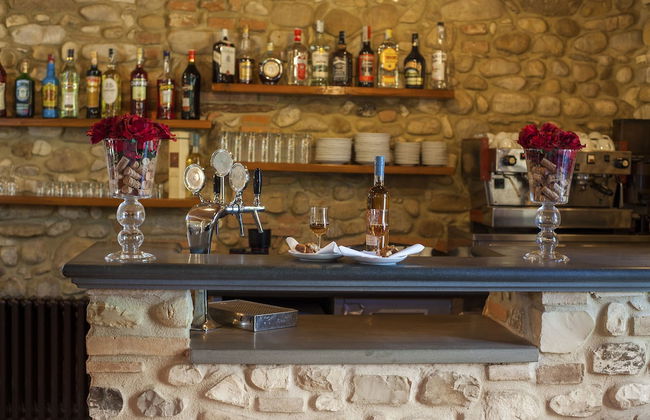
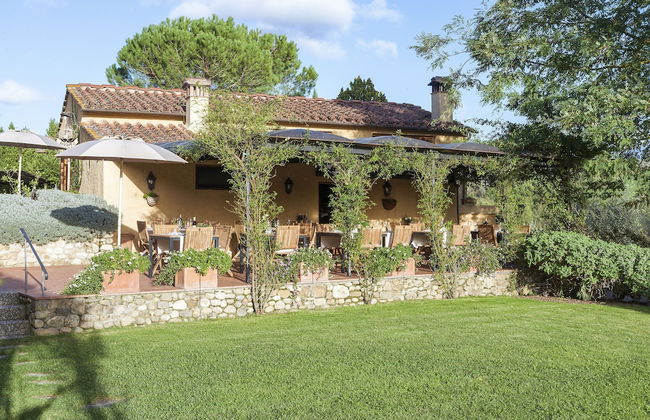
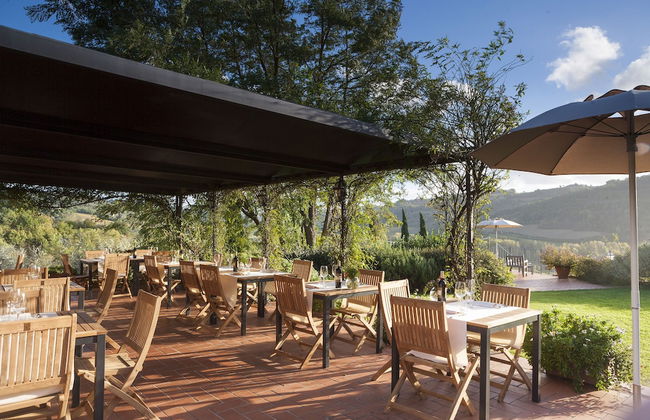
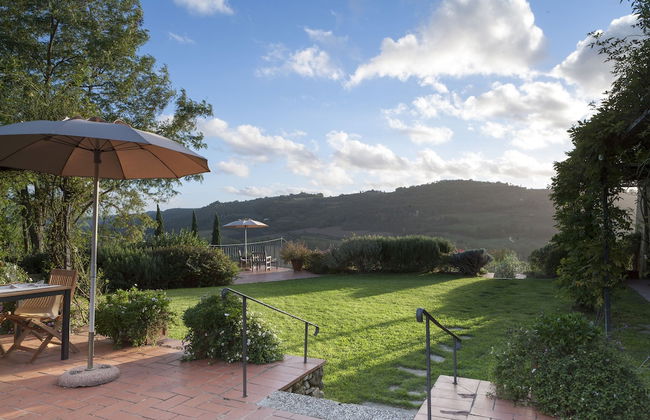
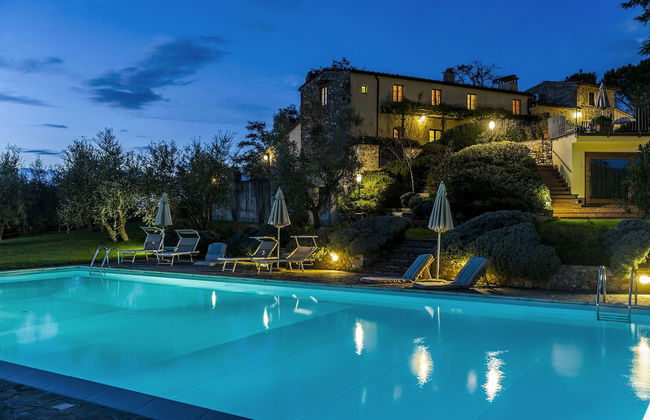
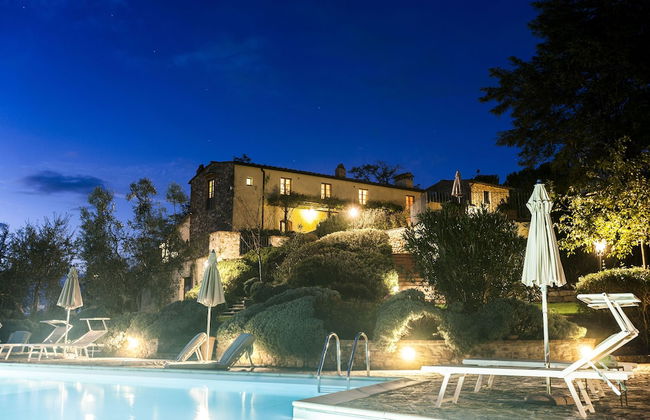
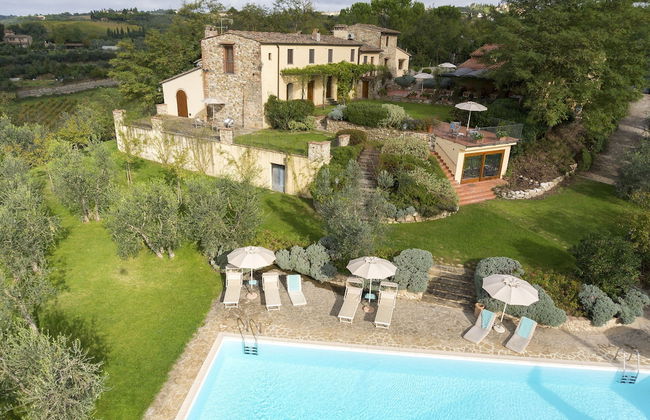
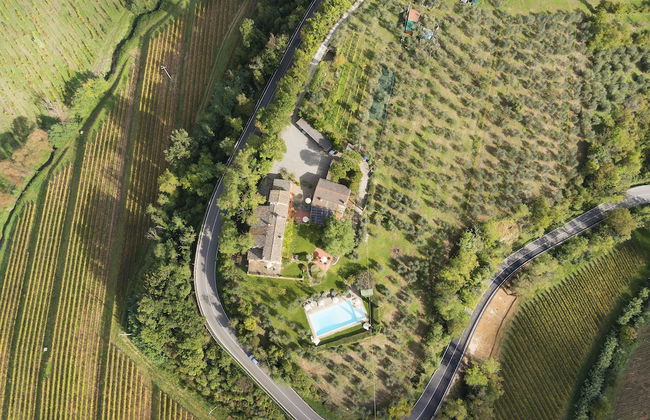
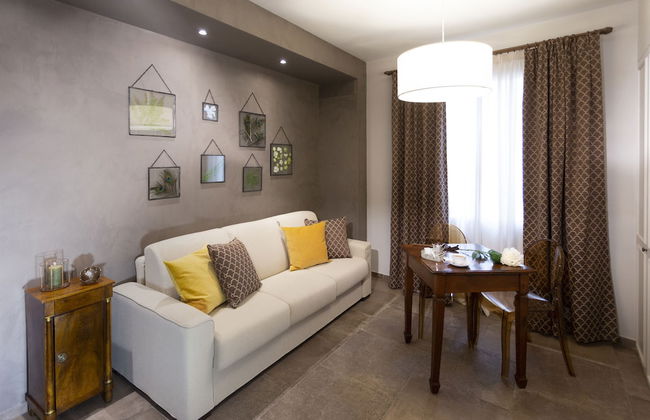
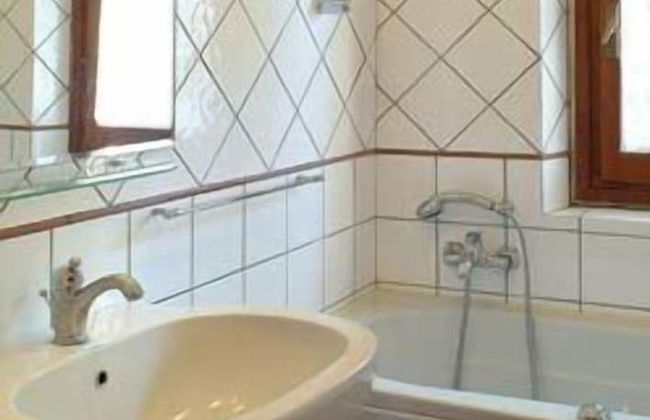
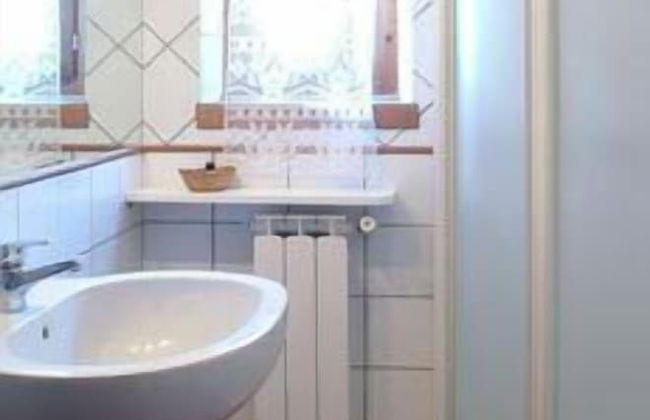
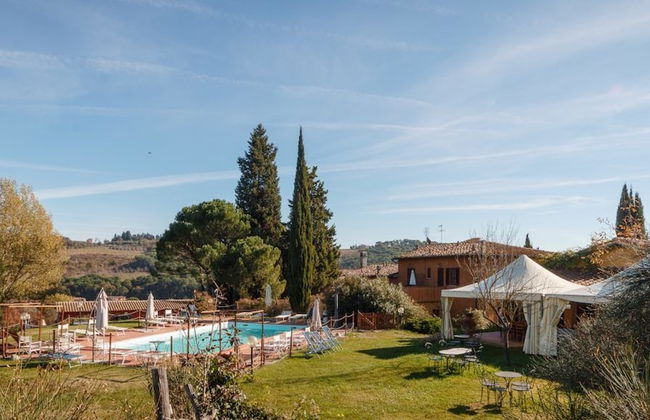
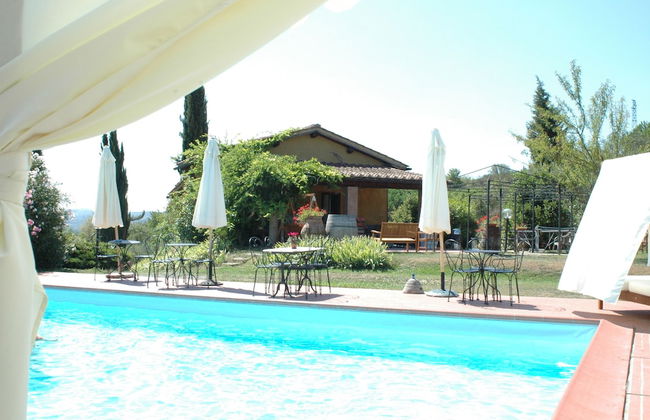
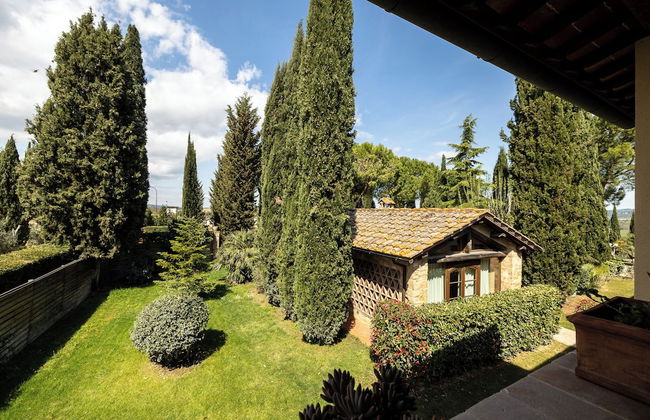
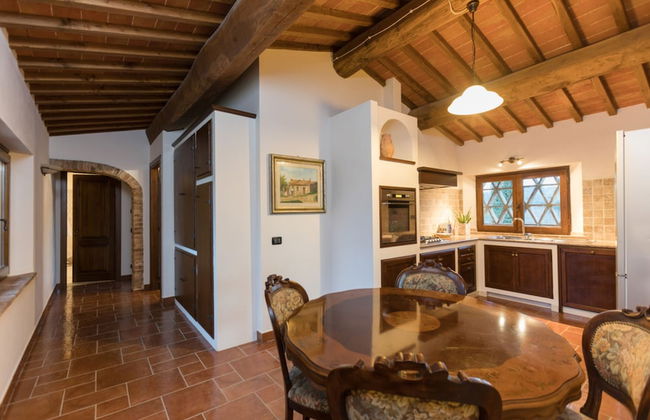
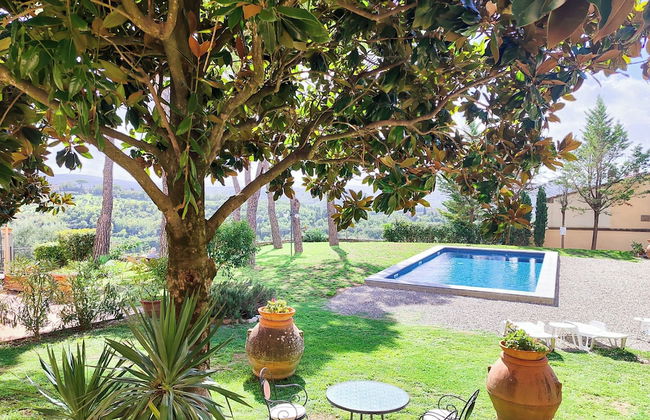
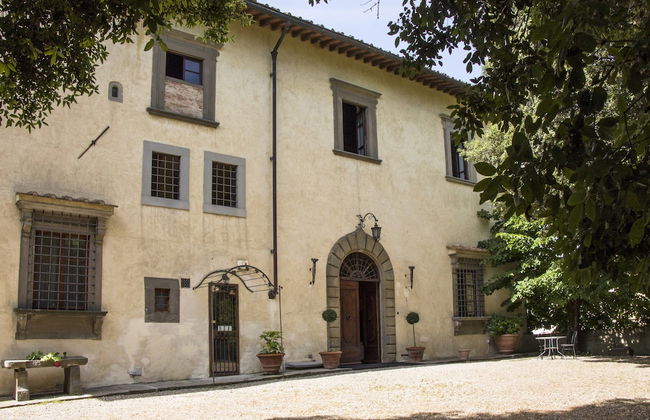
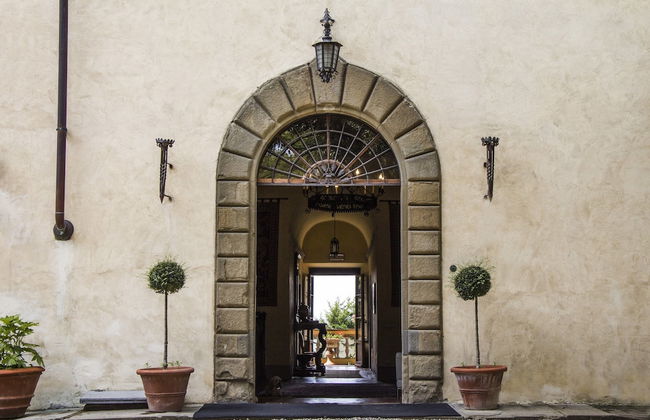
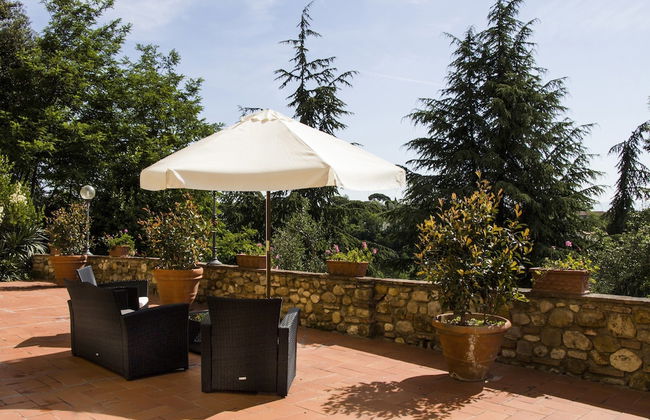
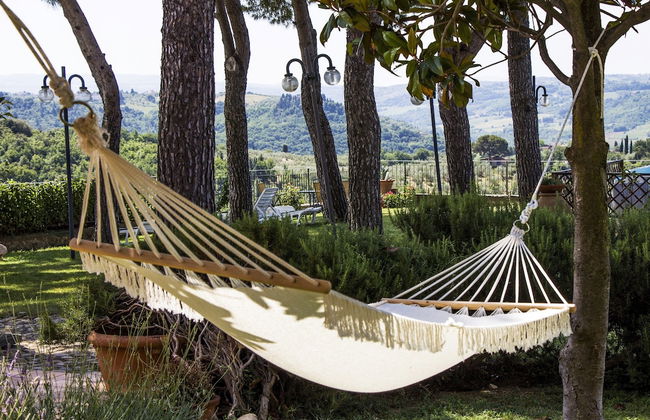
Terre di Baccio
Greve in Chianti - A 590 m del centro
- 70 M2
- 6 personas
- Aire acondicionado
- Calefacción
- Terraza
- Piscina
- Parking
- Jardín
- Televisión
- Chimenea
- Barbacoa
- Toallas
- Sábanas


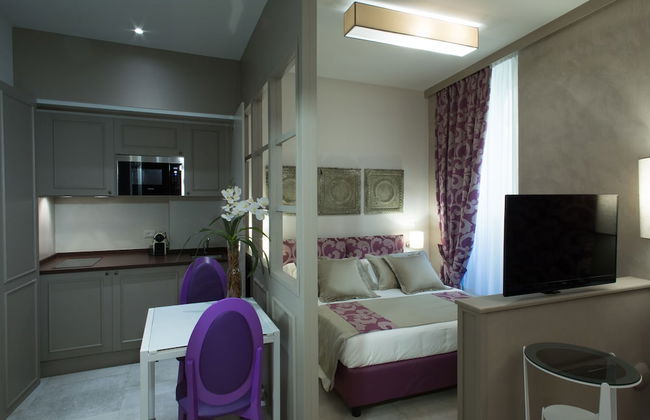
Relais Luce Florence
Florencia - Centro Storico - A 230 m del centro
- 20 M2
- 3 personas
- Aire acondicionado
- Calefacción
- Terraza
- Parking
- Ascensor
- Televisión
- Toallas
- Sábanas


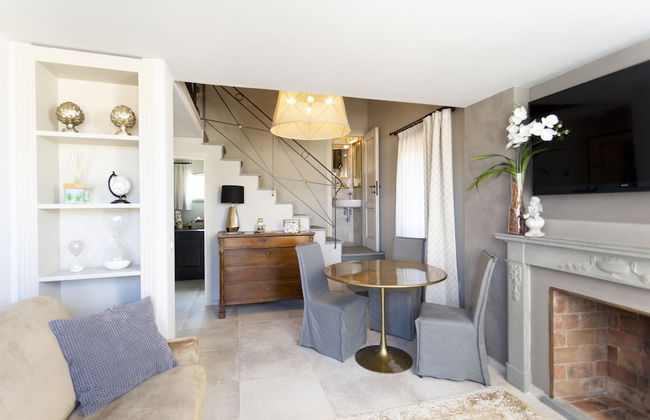
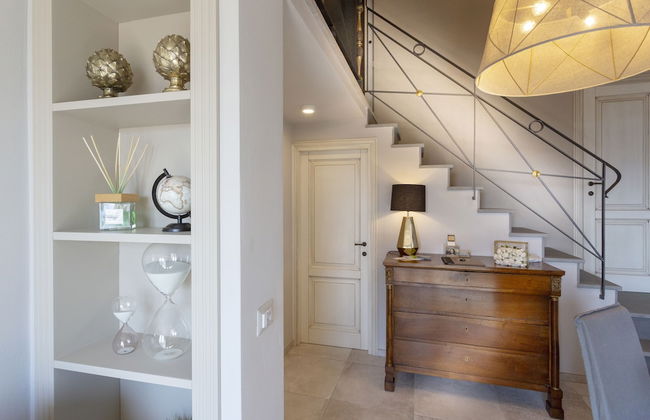
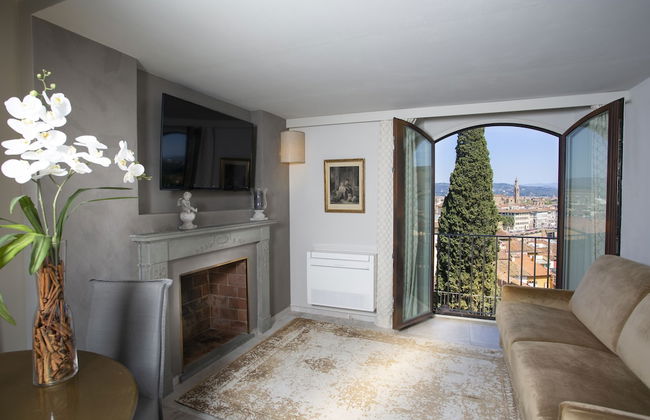
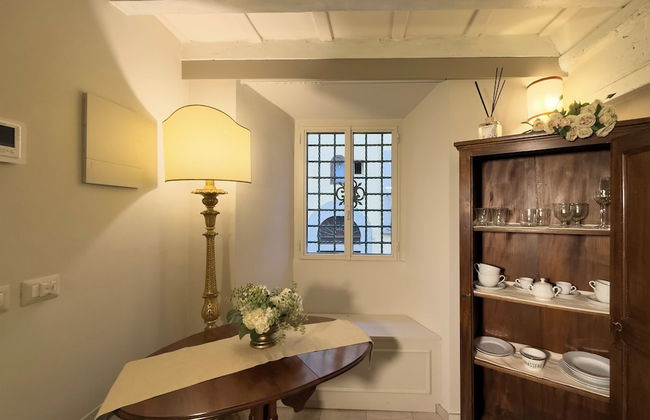
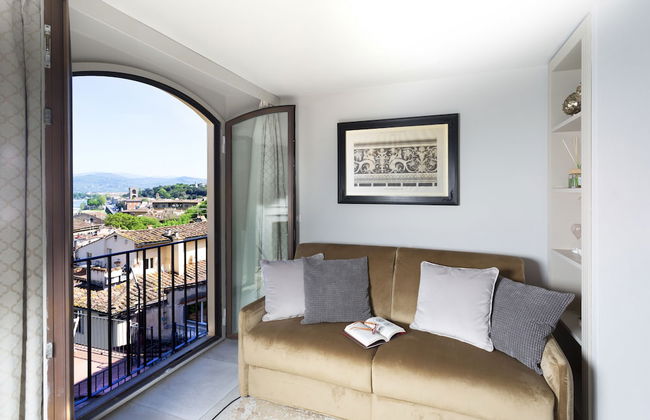
Forte16 View & Spa
Florencia - Centro Storico - A 1.2 km del centro
- 53 M2
- 6 personas
- Cocina pequeña
- Aire acondicionado
- Calefacción
- Terraza
- Piscina
- Parking
- Ascensor
- Balcón
- Jardín
- Televisión
- Toallas
- Sábanas

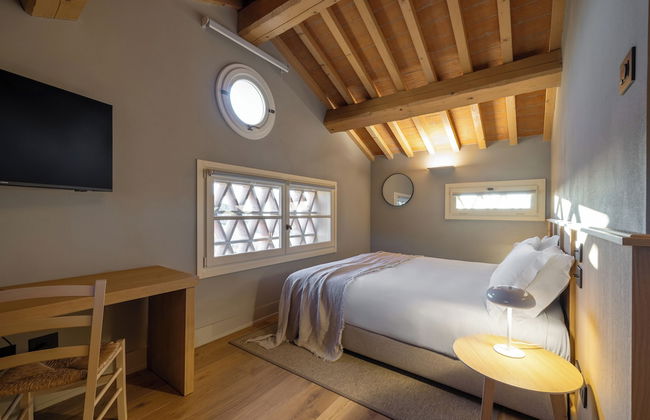
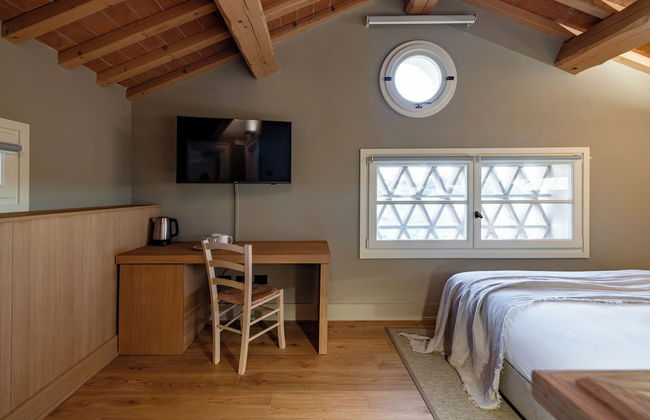
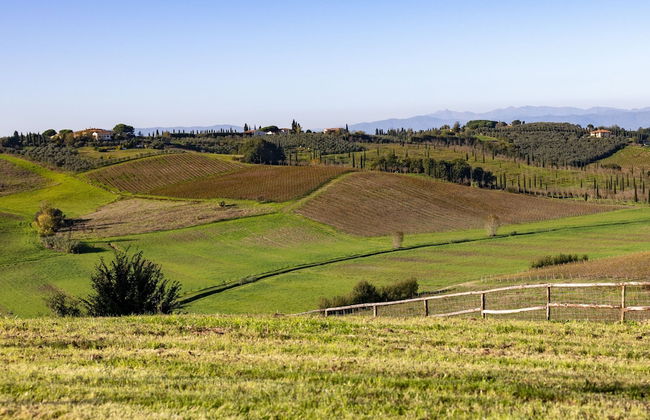
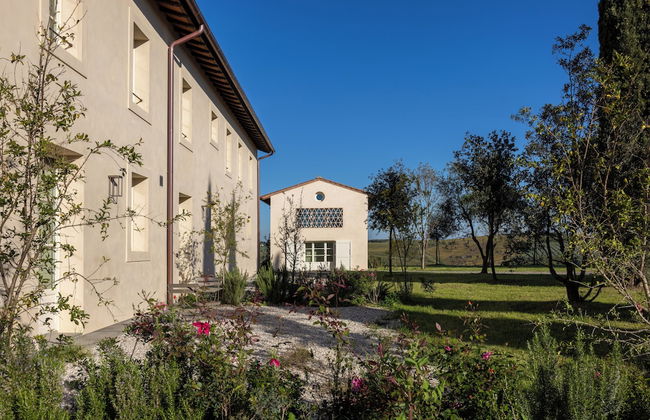
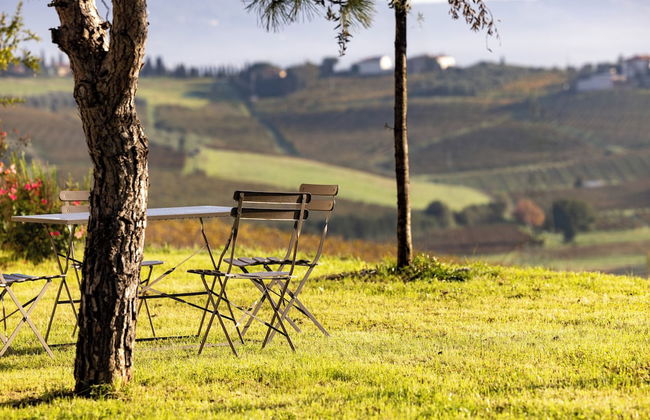

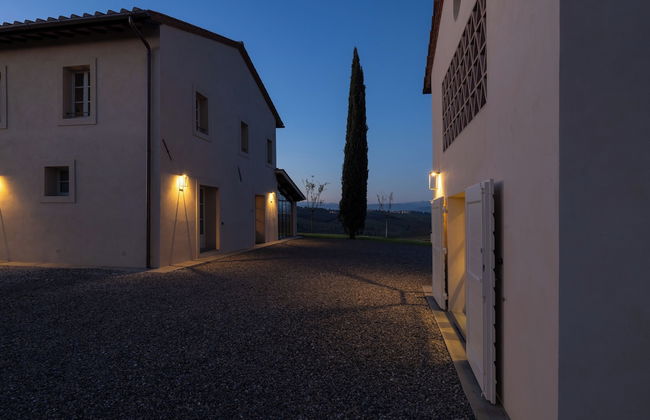
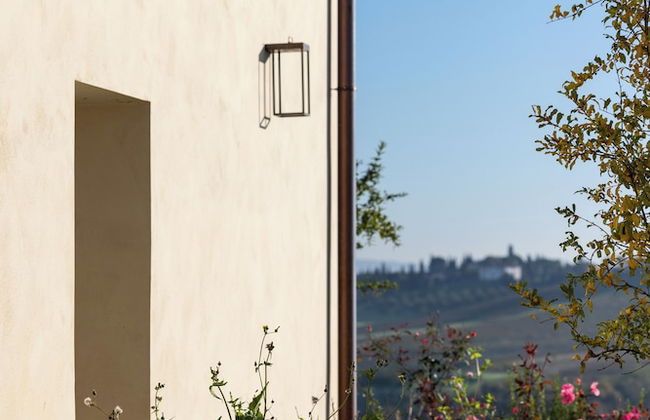
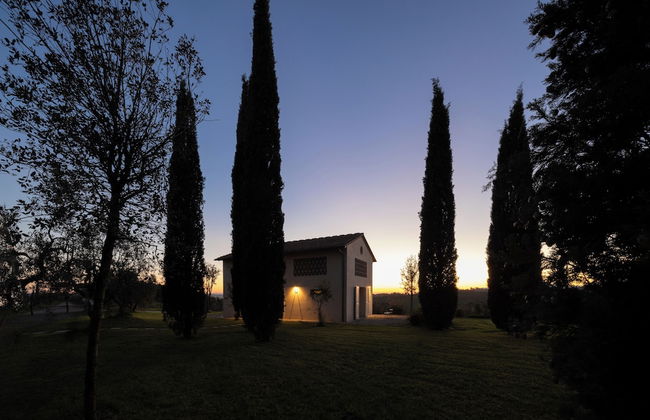
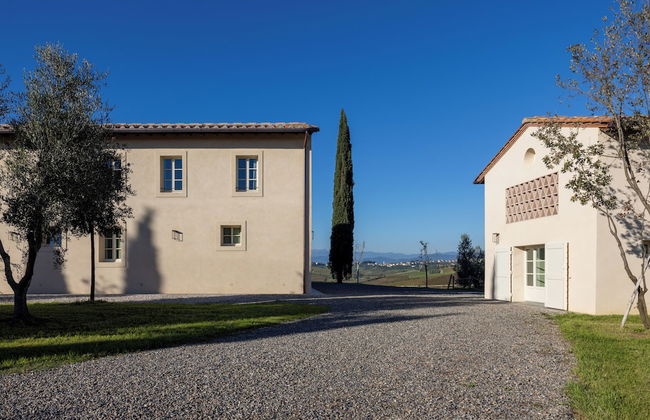
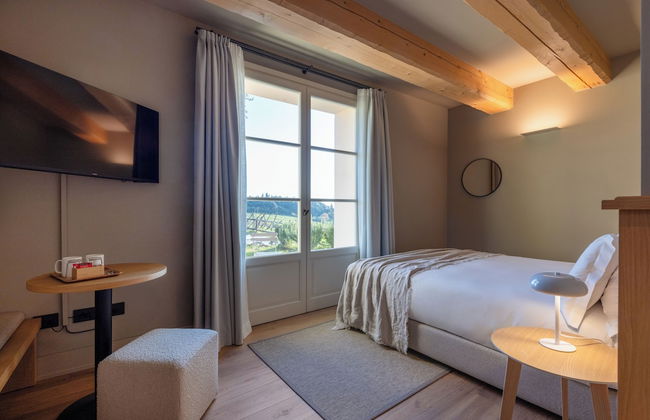

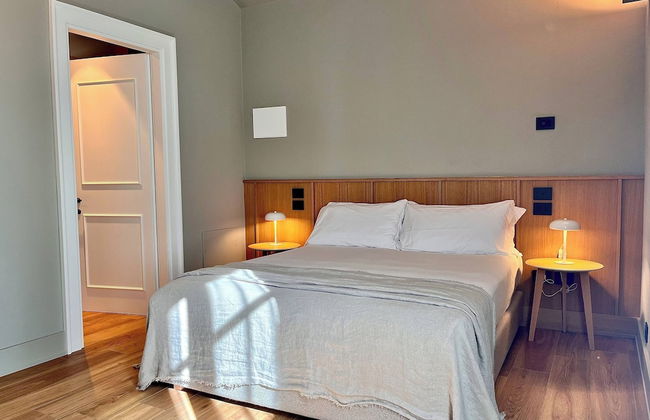


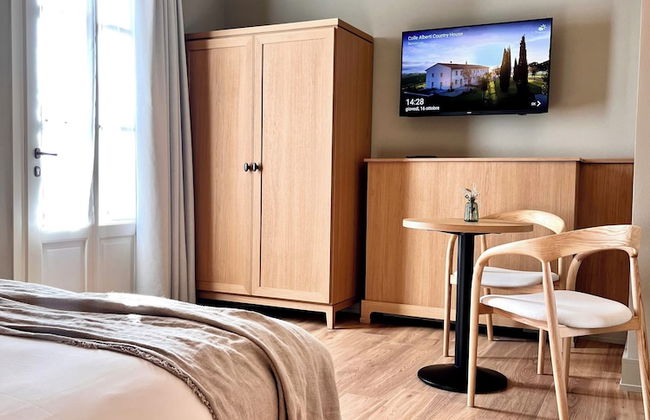


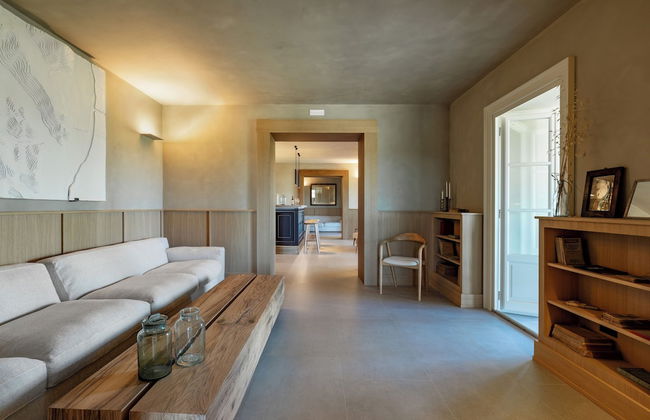

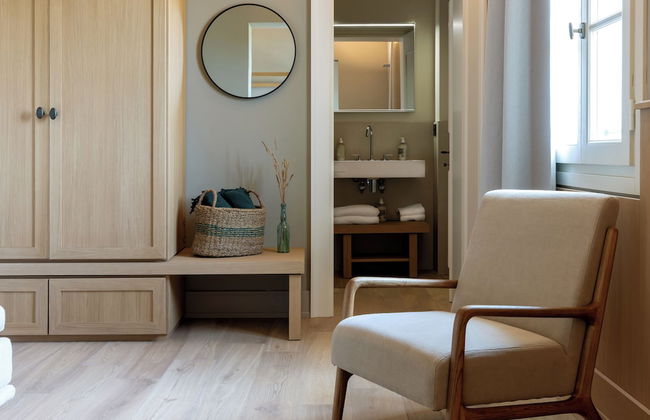


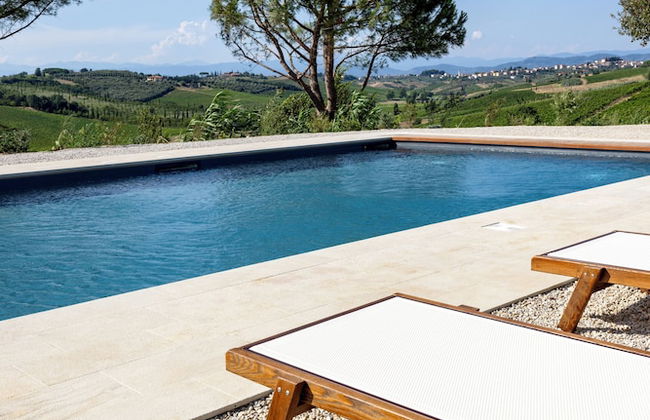
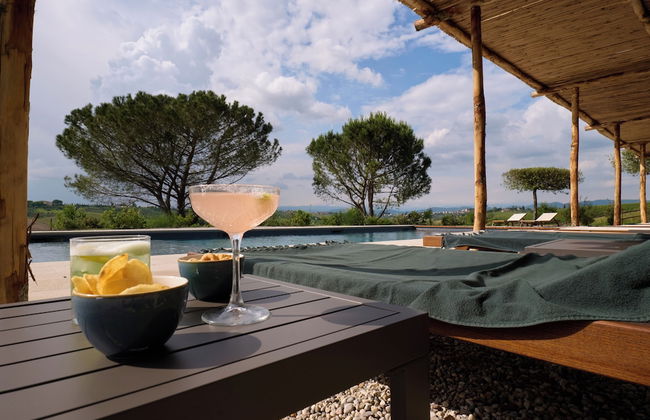

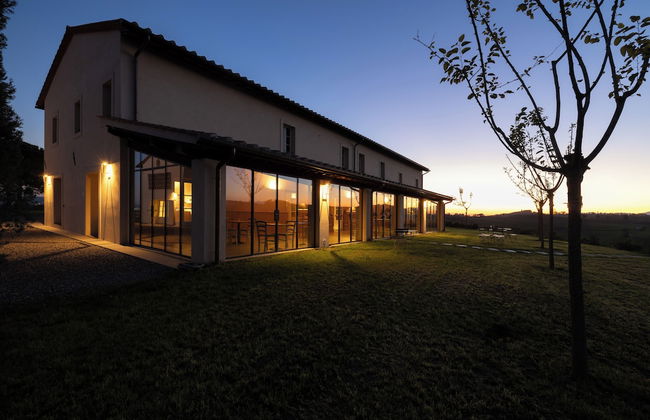
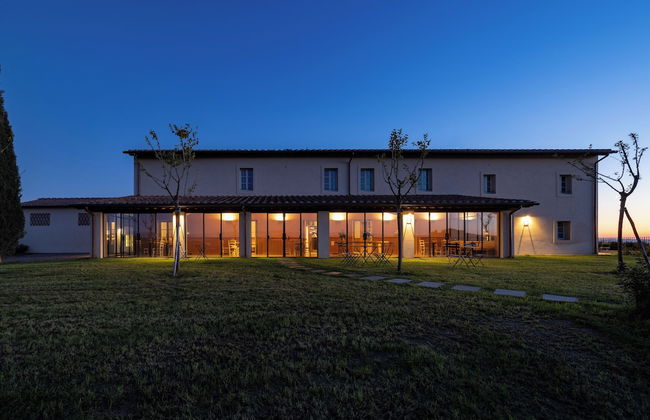
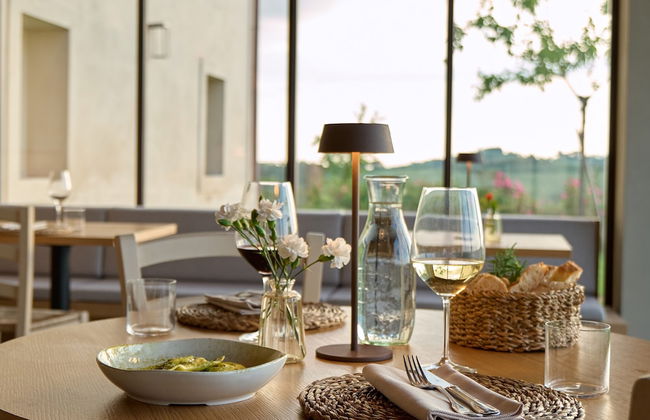

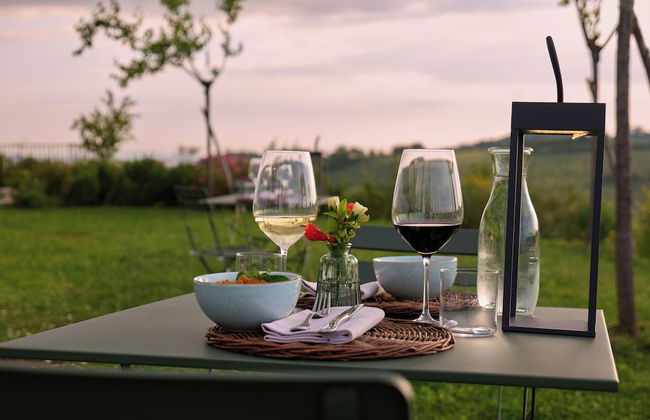


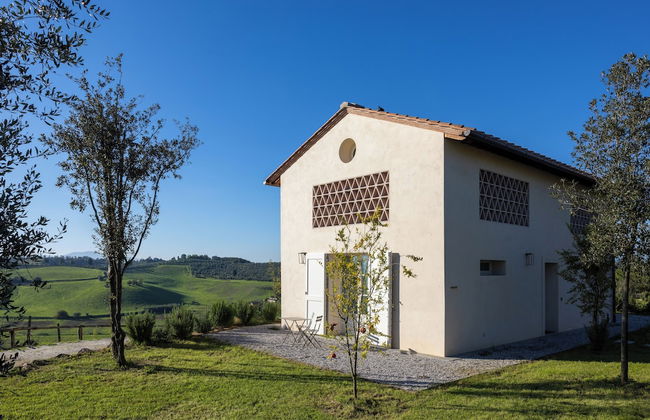


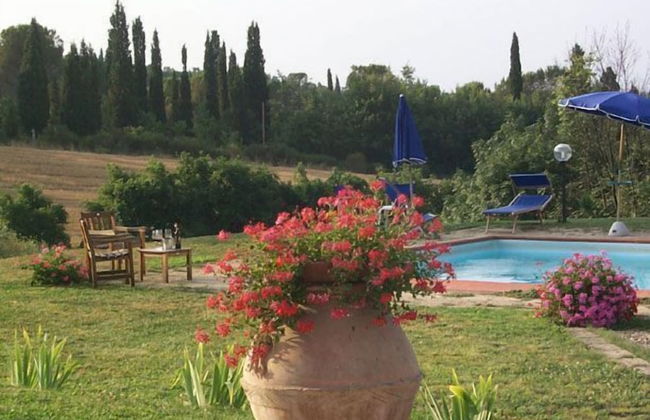
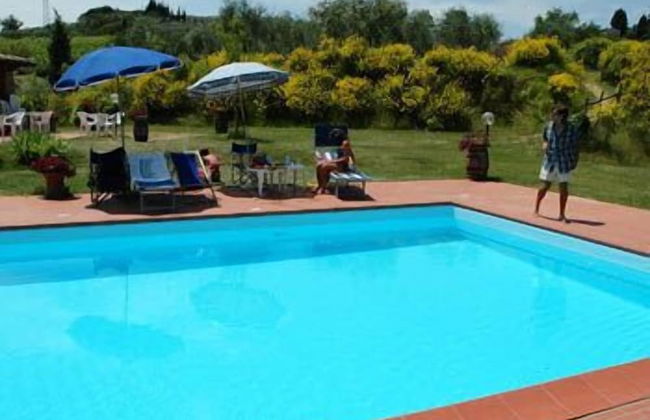
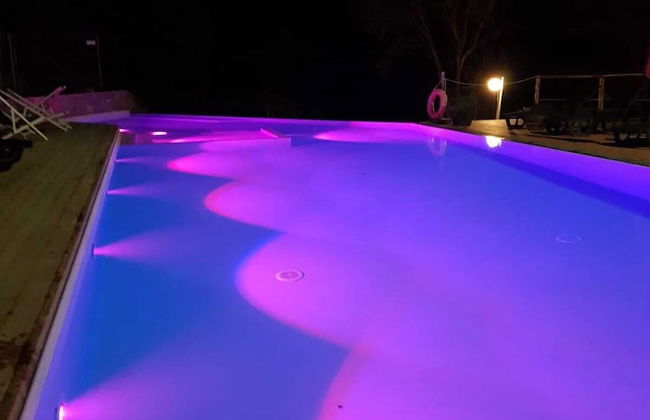
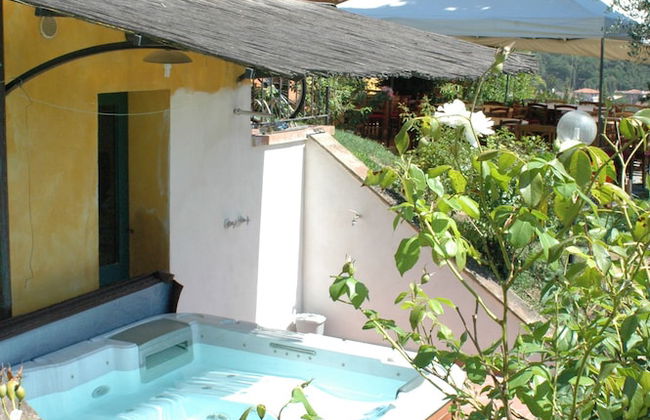
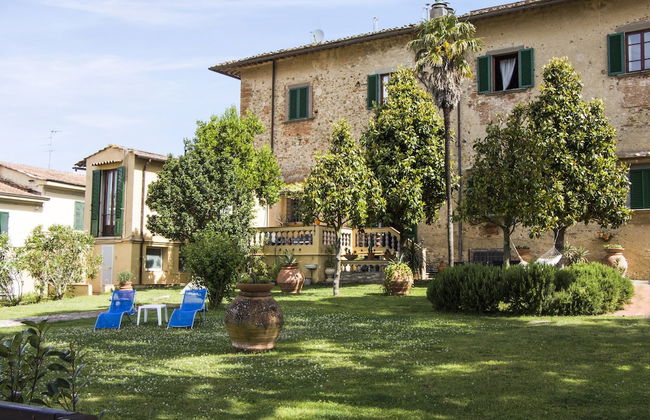
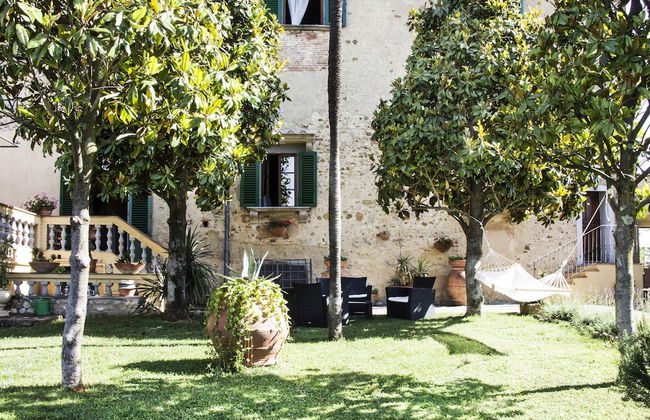
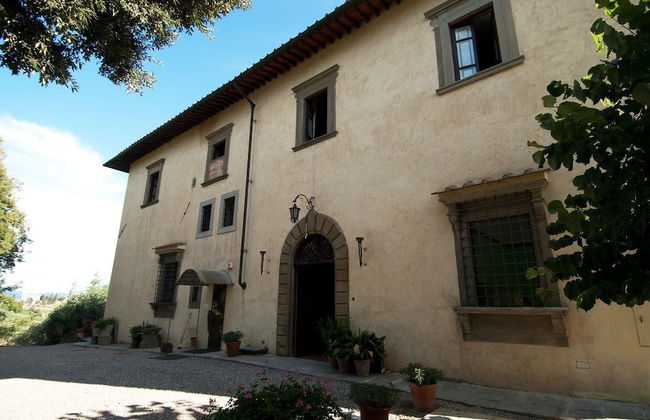
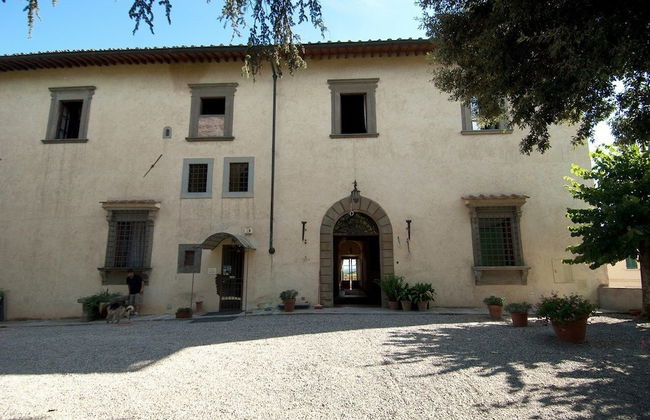
Colle Alberti Country House
Cerreto Guidi - Colle Alberti - A 2.7 km del centro
- 4 personas
- Aire acondicionado
- Calefacción
- Piscina
- Parking
- Jardín
- Televisión
- Toallas
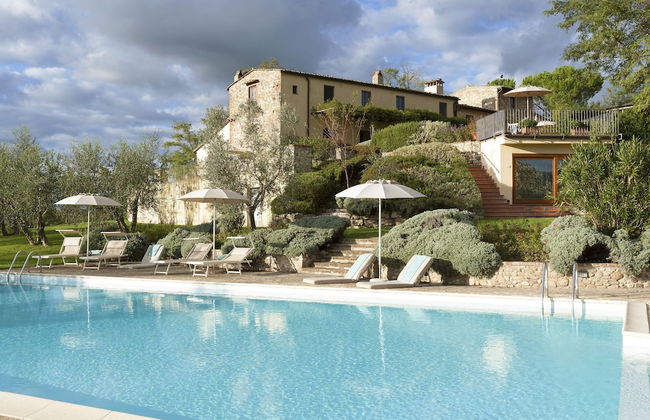


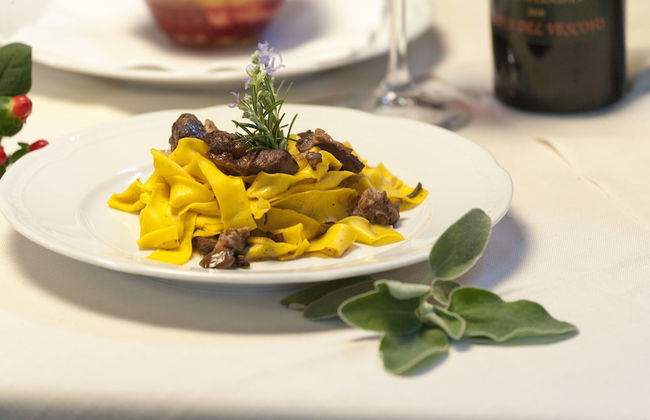

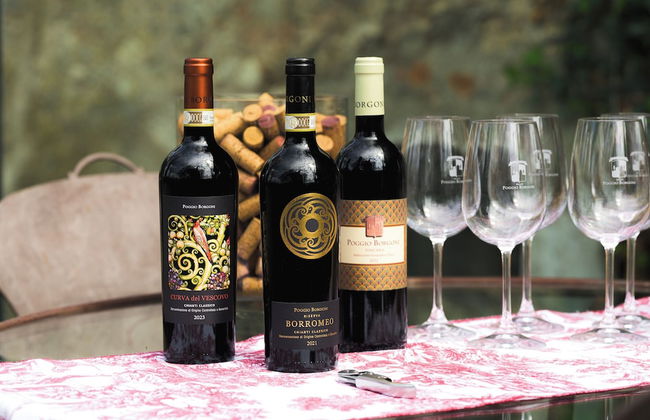


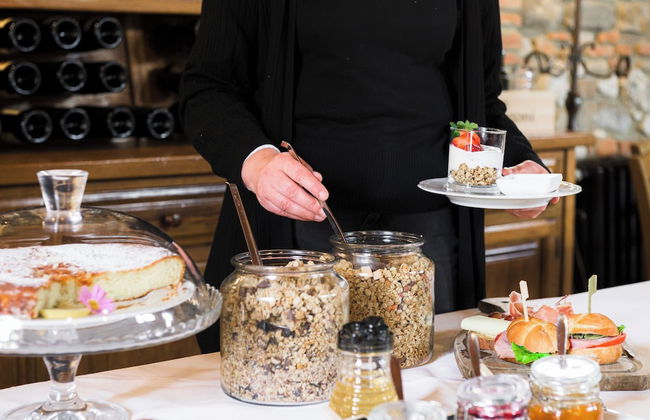

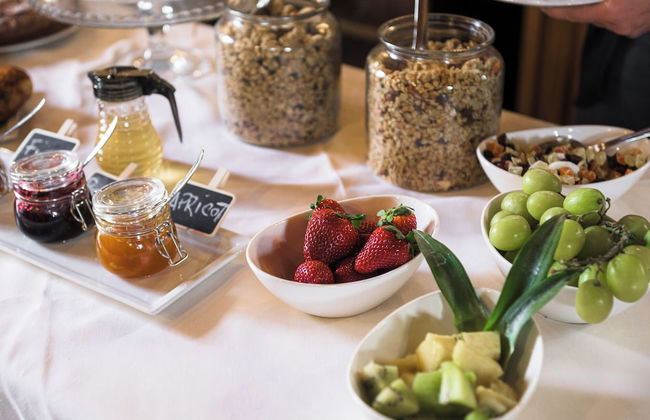


Relais Poggio Borgoni
San Casciano in Val di Pesa - A 1.2 km del centro
- 34 M2
- 1 habitación
- 3 personas
- Aire acondicionado
- Calefacción
- Terraza
- Piscina
- Parking
- Jardín
- Televisión
- Toallas
- Sábanas


Il Cipresso Home Tower QK Costa 58
Florencia - Centro Storico - A 210 m de Galleria degli Uffizi
- 30 M2
- 1 habitación
- 4 personas
- Aire acondicionado
- Calefacción
- Terraza
- Parking
- Ascensor
- Televisión
- Toallas
- Sábanas
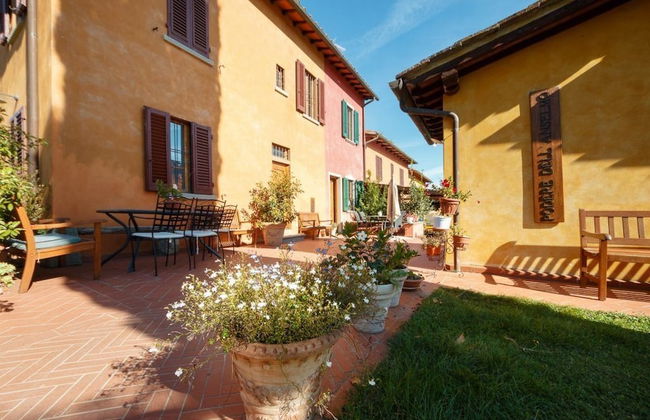

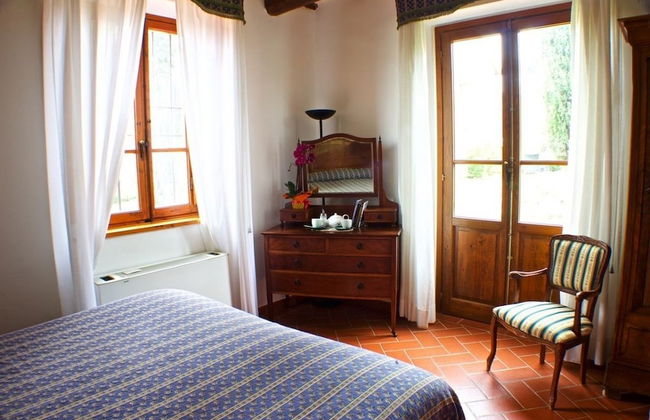


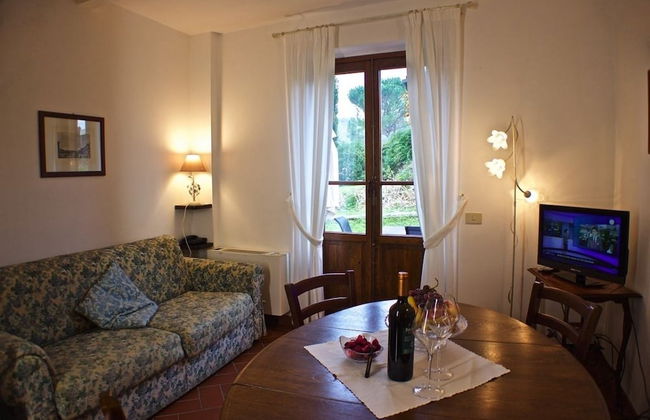

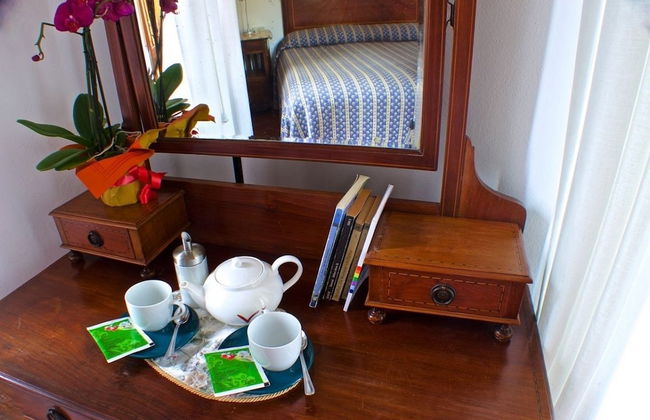


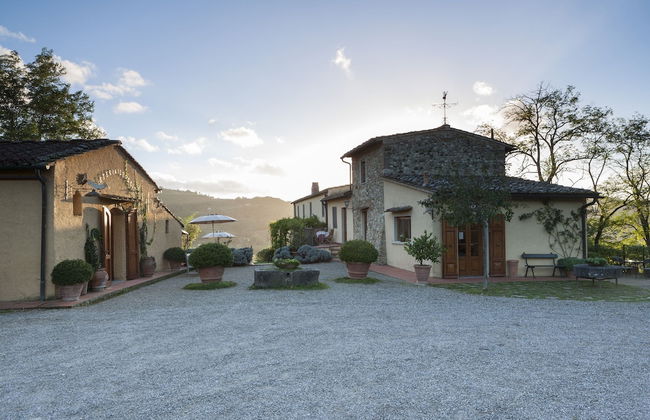
Podere dell'Anselmo
Montespertoli - Anselmo - A 4.5 km del centro
- 25 M2
- 2 habitaciones
- 7 personas
- Aire acondicionado
- Calefacción
- Terraza
- Piscina
- Parking
- Balcón
- Jardín
- Televisión
- Barbacoa


Casa Villa Rentals by Torre a Cona
Rignano sull'Arno - A 4.6 km del centro
- 10 habitaciones
- 20 personas
- Cocina pequeña
- Aire acondicionado
- Calefacción
- Piscina
- Parking
- Ascensor
- Jardín
- Televisión
- Lavadora
- Toallas
- Sábanas


Il Castelluccio Country Resort Restaurant & SPA
Barberino di Mugello - A 2.3 km del centro
- 45 M2
- 1 habitación
- 4 personas
- Aire acondicionado
- Calefacción
- Terraza
- Piscina
- Parking
- Jardín
- Televisión
- Chimenea
- Toallas
- Sábanas


Suite Jasmine by Mmega
Florencia - Centro Storico - A 80 m de Ponte Vecchio
- 85 M2
- 2 habitaciones
- 4 personas
- Cocina pequeña
- Aire acondicionado
- Calefacción
- Terraza
- Ascensor
- Televisión
- Lavadora
- Toallas
- Sábanas


Granduomo Charming Accomodation
Florencia - Centro Storico - A 500 m del centro
- 35 M2
- 2 habitaciones
- 4 personas
- Cocina pequeña
- Aire acondicionado
- Calefacción
- Terraza
- Parking
- Ascensor
- Balcón
- Televisión
- Toallas
- Sábanas


Residenza La Musa Amarcord
Florencia - Centro Storico - A 270 m de Galleria degli Uffizi
- 35 M2
- 4 personas
- Aire acondicionado
- Calefacción
- Ascensor
- Televisión
- Toallas
- Sábanas


Tenuta Torre Rossa Farm & Apartments
Impruneta - San Gersolè - A 3.4 km del centro
- 140 M2
- 3 habitaciones
- 6 personas
- Aire acondicionado
- Calefacción
- Piscina
- Parking
- Jardín
- Televisión
- Lavadora
- Toallas
- Sábanas


Kairos by Florence Art Apartments
Florencia - Centro Storico - A 320 m de Palazzo Vecchio
- 110 M2
- 2 habitaciones
- 6 personas
- Cocina pequeña
- Aire acondicionado
- Calefacción
- Parking
- Ascensor
- Balcón
- Televisión
- Lavadora
- Toallas
- Sábanas


Tenuta Tegolato
Barberino Tavarnelle - A 7.7 km del centro
- 64 M2
- 6 personas
- Aire acondicionado
- Calefacción
- Piscina
- Parking
- Jardín
- Chimenea
- Barbacoa
- Toallas
- Sábanas


N7 Rooms
Florencia - Centro Storico - A 250 m del centro
- 19 M2
- 2 personas
- Aire acondicionado
- Calefacción
- Ascensor
- Balcón
- Televisión
- Toallas
- Sábanas


Le Cetinelle B&B
Greve in Chianti - A 3.7 km del centro
- 21 M2
- 2 habitaciones
- 3 personas
- Aire acondicionado
- Calefacción
- Piscina
- Parking
- Jardín
- Barbacoa
- Toallas
- Sábanas


San Giuliano Inn - Adults Only
Florencia - Centro Storico - En el centro
- 14 M2
- 2 personas
- Aire acondicionado
- Calefacción
- Parking
- Ascensor
- Televisión
- Toallas
- Sábanas


Villa il Fedino
San Casciano in Val di Pesa - En el centro
- 4 personas
- Aire acondicionado
- Terraza
- Piscina
- Parking
- Jardín
- Televisión
- Toallas